 1. Go to
 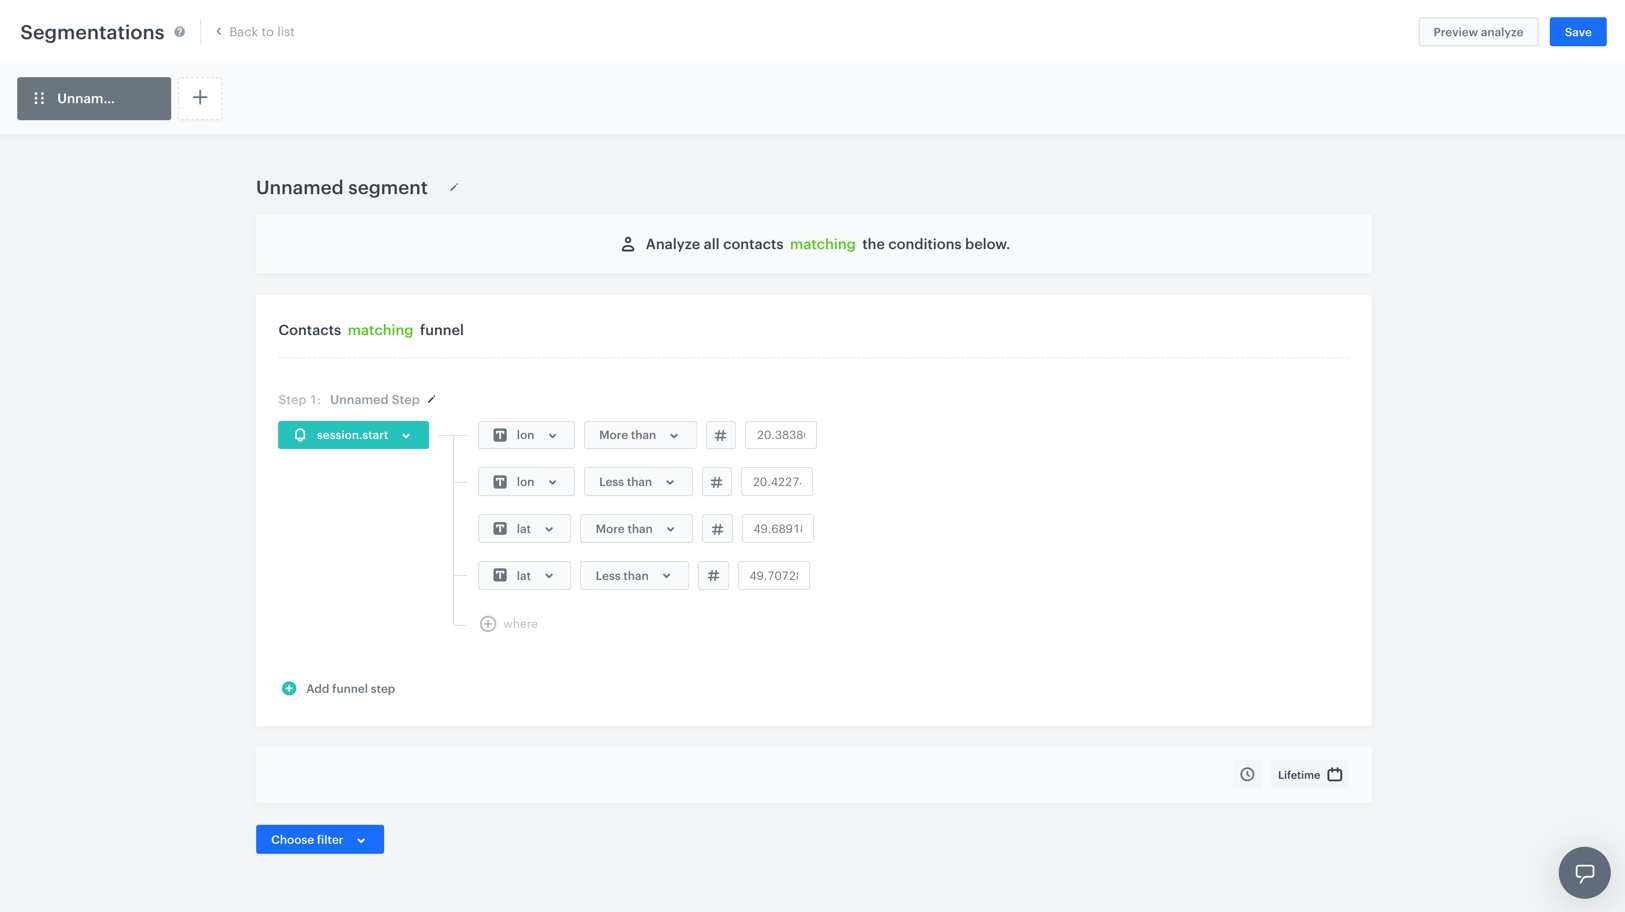 5. Enter the name of the segmentation.
6. Optionally, you can write a short description of the analysis.
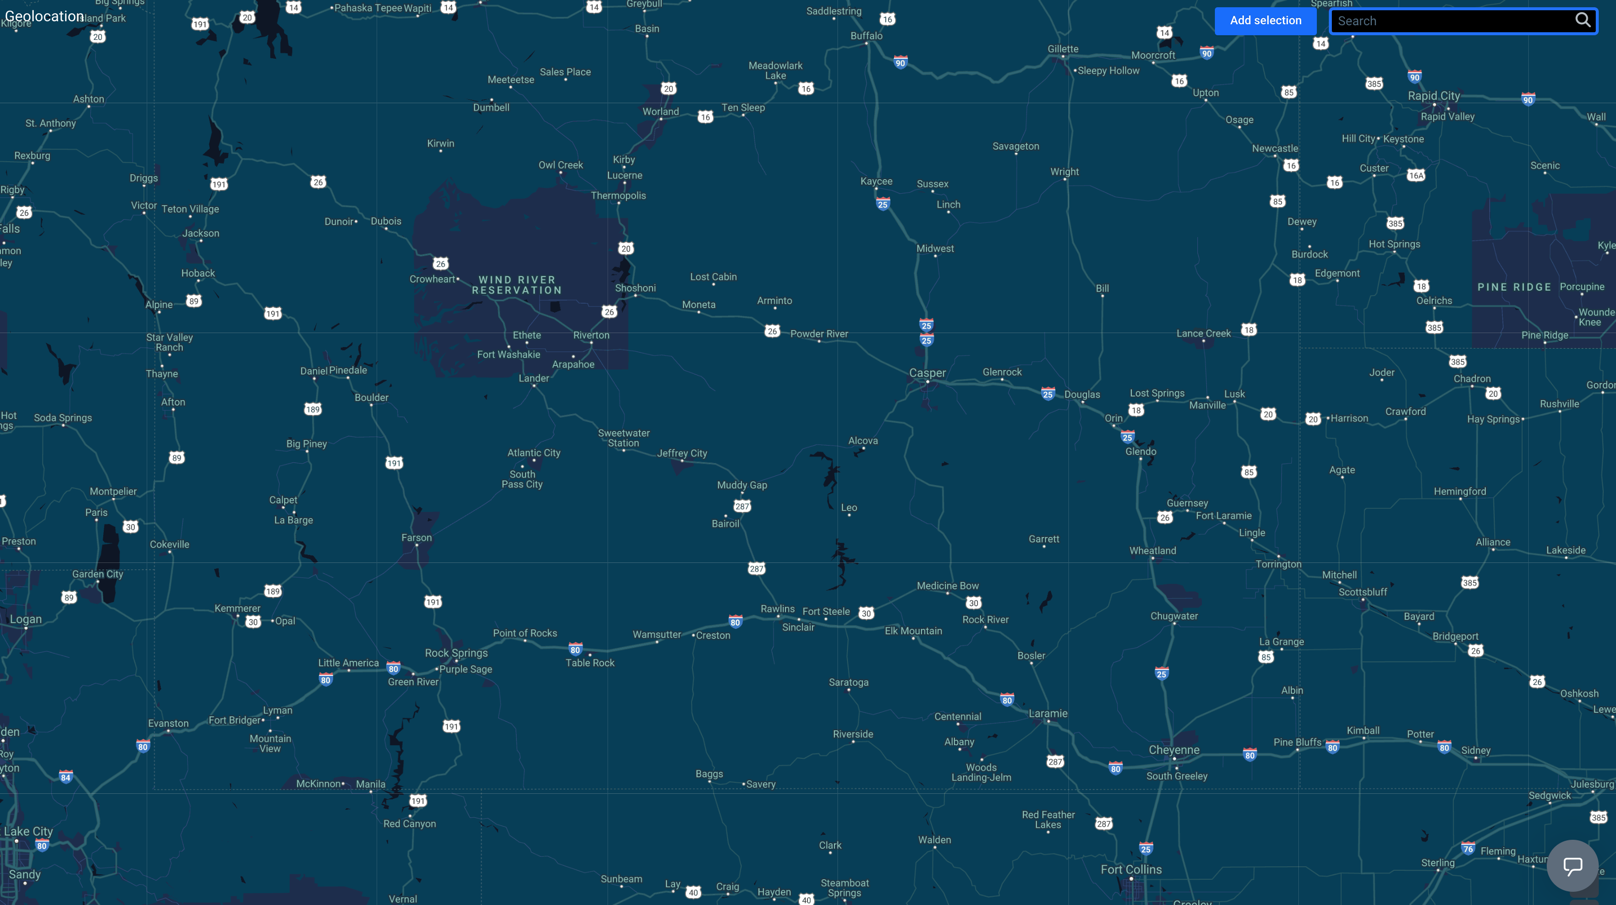
**Result**: The first step is already done for you - a `session.start` event with the geographical coordinates are already selected. The system selects the group of customers which performed this event in the location you selected. Out of the group selected this way, you can select customers who meet your conditions specified in the further steps.
8. To create the next step in the segmentation, click the **Add funnel step** button.
9. To select an event, click the **Choose event** button.
10. If needed, specify the [event parameters](/docs/analytics/i_events-parameter-value) by clicking the **Where** button.
11. If you want to add a condition to the segmentation, click the **Choose filter** button.
12. Specify the dependency between the conditions by choosing the **AND** or **OR** operator.
- **OR** - Only one condition needs to be met.
- **AND** - Both conditions need to be met.
13. To set the time needed to complete all steps in the segmentation, click the clock icon.
To be included in the segmentation, a customer must complete the steps in the specified order and time.
14. To determine the time range from which the data will be analyzed, click the [calendar](/docs/analytics/i_date-filters) icon.
15. You can create several segmentations in one and compare them in one preview. To create another segmentation, click the
5. Enter the name of the segmentation.
6. Optionally, you can write a short description of the analysis.
**Result**: The first step is already done for you - a `session.start` event with the geographical coordinates are already selected. The system selects the group of customers which performed this event in the location you selected. Out of the group selected this way, you can select customers who meet your conditions specified in the further steps.
8. To create the next step in the segmentation, click the **Add funnel step** button.
9. To select an event, click the **Choose event** button.
10. If needed, specify the [event parameters](/docs/analytics/i_events-parameter-value) by clicking the **Where** button.
11. If you want to add a condition to the segmentation, click the **Choose filter** button.
12. Specify the dependency between the conditions by choosing the **AND** or **OR** operator.
- **OR** - Only one condition needs to be met.
- **AND** - Both conditions need to be met.
13. To set the time needed to complete all steps in the segmentation, click the clock icon.
To be included in the segmentation, a customer must complete the steps in the specified order and time.
14. To determine the time range from which the data will be analyzed, click the [calendar](/docs/analytics/i_date-filters) icon.
15. You can create several segmentations in one and compare them in one preview. To create another segmentation, click the  button.
15. To complete the process, click the **Save** button.
**Result**: When you save the segmentation based on geoanalytics, you can find it on the list of segmentations under the given name.
button.
15. To complete the process, click the **Save** button.
**Result**: When you save the segmentation based on geoanalytics, you can find it on the list of segmentations under the given name.