Vouchers are the perfect solution if you plan, for example, to distribute unique discount codes. Thanks to Synerise's capabilities in the area of communication, you can distribute your vouchers through SMS, email, web push and mobile communication, but also directly on your webpage.
## Requirements
---
- You need user permissions that grants you access to Simple Imports or/and Automation
- [Create voucher pool](/docs/assets/code-pools)
- Prepare a file that contains the column (`code`) with the voucher codes.
- Values in the `code` column must be unique across the whole workspace and all voucher pools within it, and be limited to 36 characters.
- The maximum file size is 200 MB
### File requirements
- Recommended file metacharacters:
- A character that splits columns (delimiter): `,`
- A character that is used to contain the text (quotation mark): `"`
- A character (escape character) that changes the default interpretation of a sign or string followed by the escape character: `\`
- Spaces and special characters in the column headers are not allowed.
- `.csv` files must be UTF-8 encoded
## Procedure
---
### Selecting the file for import
In this part of the process, you will upload a file from your device.
1. Go to **Data Modeling Hub > Imports > New import**.
2. As the data type for import, select **Voucher pool**.
3. As the import method, select one of the following options:
- Import a local file - To import a single `.csv` file to Synerise.
- Import in Automation - To import a .`csv`, `.json`, `.jsonl`, and `.xml` files and execute periodical imports.
1. Upload the `.csv` file by using the **+ Upload file or drop one here** field.
2. Optionally, you can customize the file metacharacters by clicking the arrow down icon.
1. From the **Delimiter** dropdown, select the character that marks the end of a column.
2. From the **Quotation mark** dropdown list, select the characters that contain the text or data type.
3. From the **Escape character** dropdown lists, select the character which changes the default interpretation of a character or a string followed by the escape character.
3. To proceed to the next step, click the **Next** button.
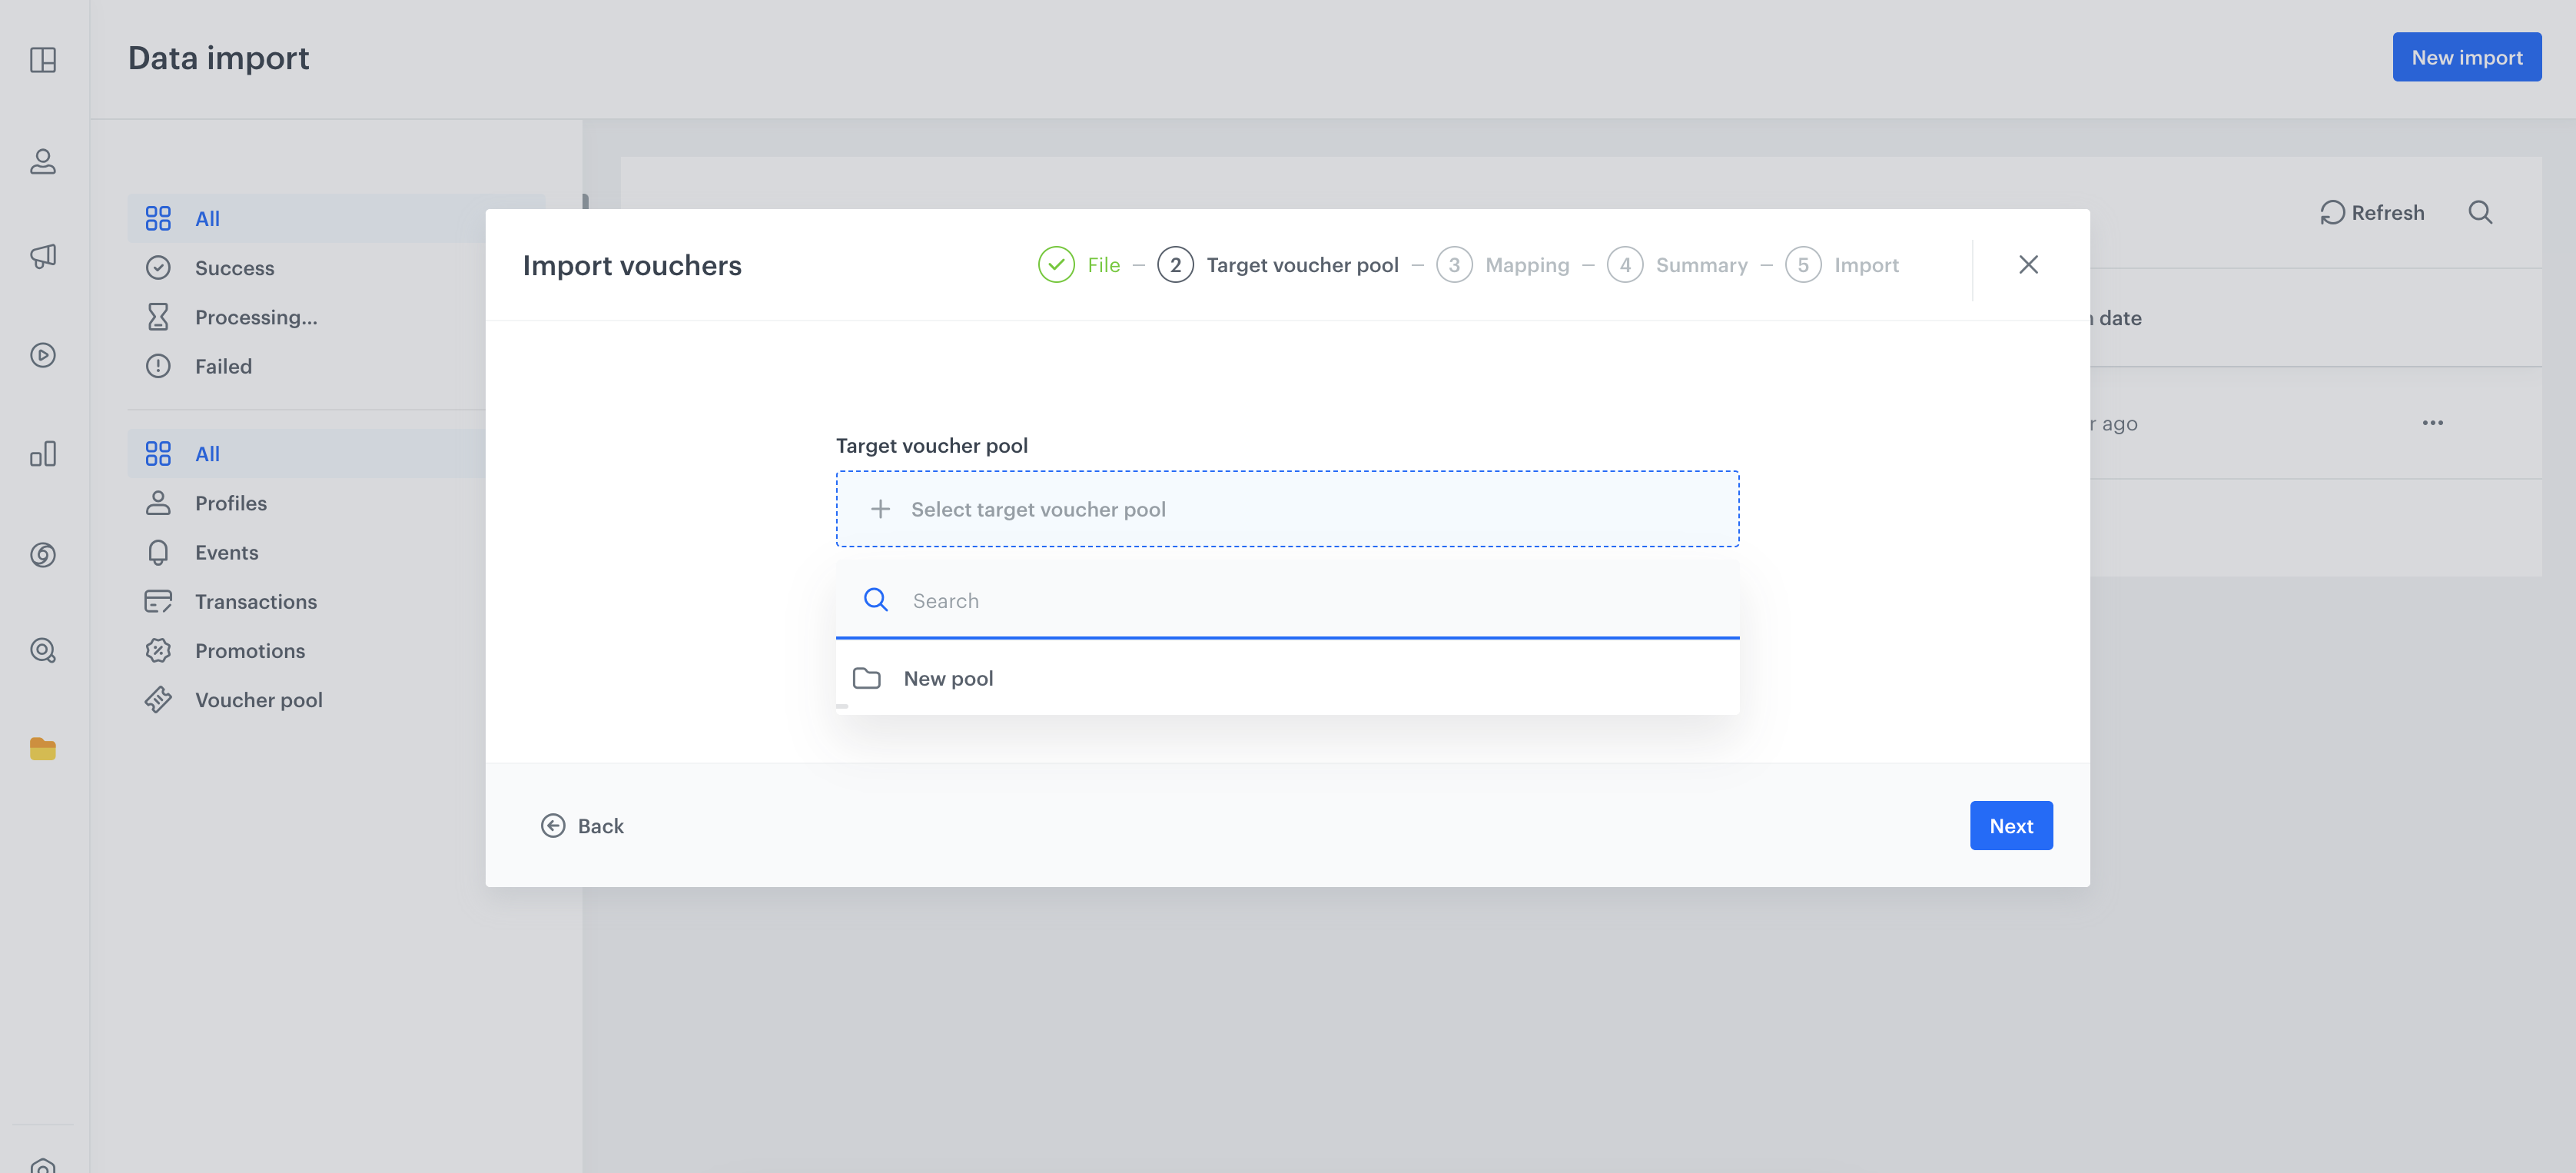
### Selecting voucher pool
Select the voucher pool to which you want to import your data. If you selected the Import option on the interface of a specific voucher pool (**Data Modeling Hub > Voucher pools**), the voucher pool will be selected automatically.
Selection of an existing voucher pool
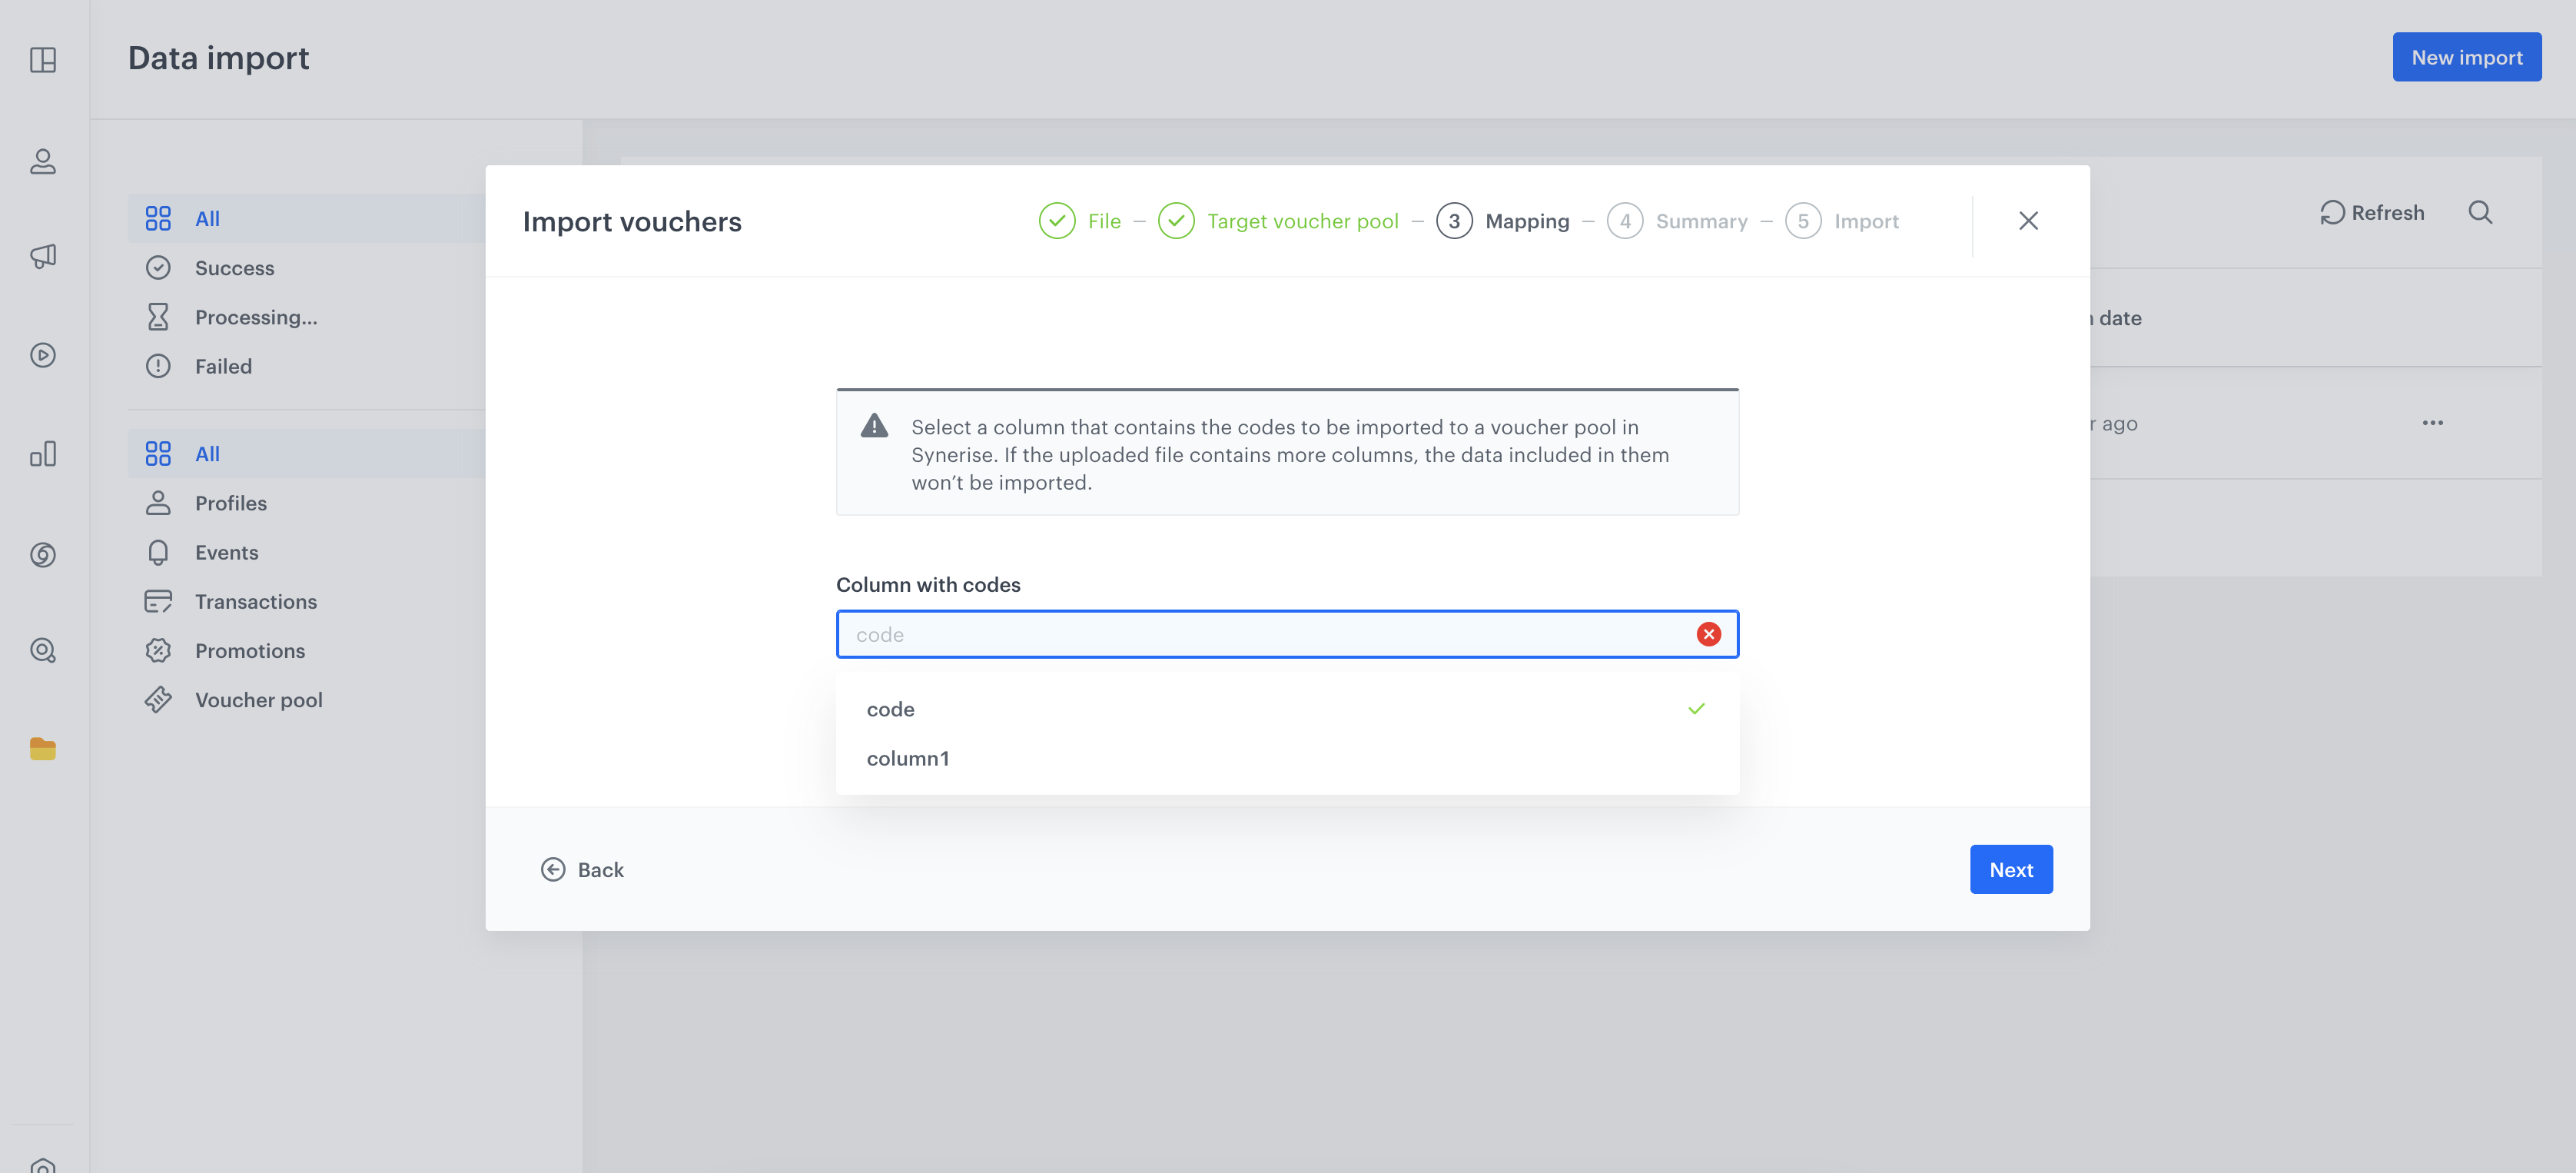
### Selecting column with codes
You can import only codes into the voucher pool. Your file must contain a column with the codes. However, if your file contains more than one column, at this stage you must indicate which column contains the codes.
The remaining columns will not be imported.
Selection of the column containing the codes
### Launching import
After selecting the column that contains a code, you will be redirected to the mapping summary. If it's correct, to launch the import, click **Run import**.
1. Select the method of delivering the file:
- Local File - This option allows you to upload a file from your device.
- SFTP protocol - This option allows you to upload a file from a server using the SFTP protocol.
- HTTPS protocol - This option allows you to upload a file from a server using the HTTPS protocol.
- Amazon S3 - This option allows you to upload a file from Amazon S3 bucket.
- Azure - This option allows you to upload a file from Azure Blob Storage.
- Google Cloud Storage - This option allows you to upload a file from Google Cloud Storage.
2. Click **Go to import template**.
3. Define the settings of the [Scheduled Run node](/docs/automation/triggers/scheduled-run).
4. Depending on the method of delivering the file, configure the settings of [Local File](/docs/automation/integration/http-integrations/http-get-file) or the [Get File](/docs/automation/integration/http-integrations/http-get-file) node that uses HTTP protocol or the [Get File](/docs/automation/integration/sftp-integrations/sftp-get-file) node that uses SFTP protocol.
5. If the data requires modification, configure the settings of the [Data Transformation node](/docs/automation/operation/data-transformation-node). If you have prepared the transformation rules for the data structure of the imported file, select it from the dropdown list. If not, create it from scratch.
You can remove this node if your data doesn't require transformation.
6. The rest of the nodes in the default template don't require any further configuration.
7. If your workflow is ready, click **Save & Run**.