The **Email Alert** node sends an email to selected users when an incident occurs in business processes. These email notifications are especially useful when urgent action is needed from Synerise users. You can use this node to inform about anomalies, getting closer to a workflow goal, form submissions, running out of coupons, and other events.
### Node logic
When a profile triggers a workflow containing the **Email Alert** node, a record of events from each workflow step is stored in the profile card's activity list (including the `message.send` event). However, the email alert is not sent to this profile unless their email is configured within the **Email Alert** node settings. Instead, the email alert is directed to the individual specified in the **Email Alert** node settings.
## Requirements
---
- [Configure an email account](/docs/campaign/e-mail/configuring-email-account) which you will use to send email alerts (and emails in general).
- Create an alert [email template](/docs/campaign/e-mail/creating-email-templates).
## Node configuration
---
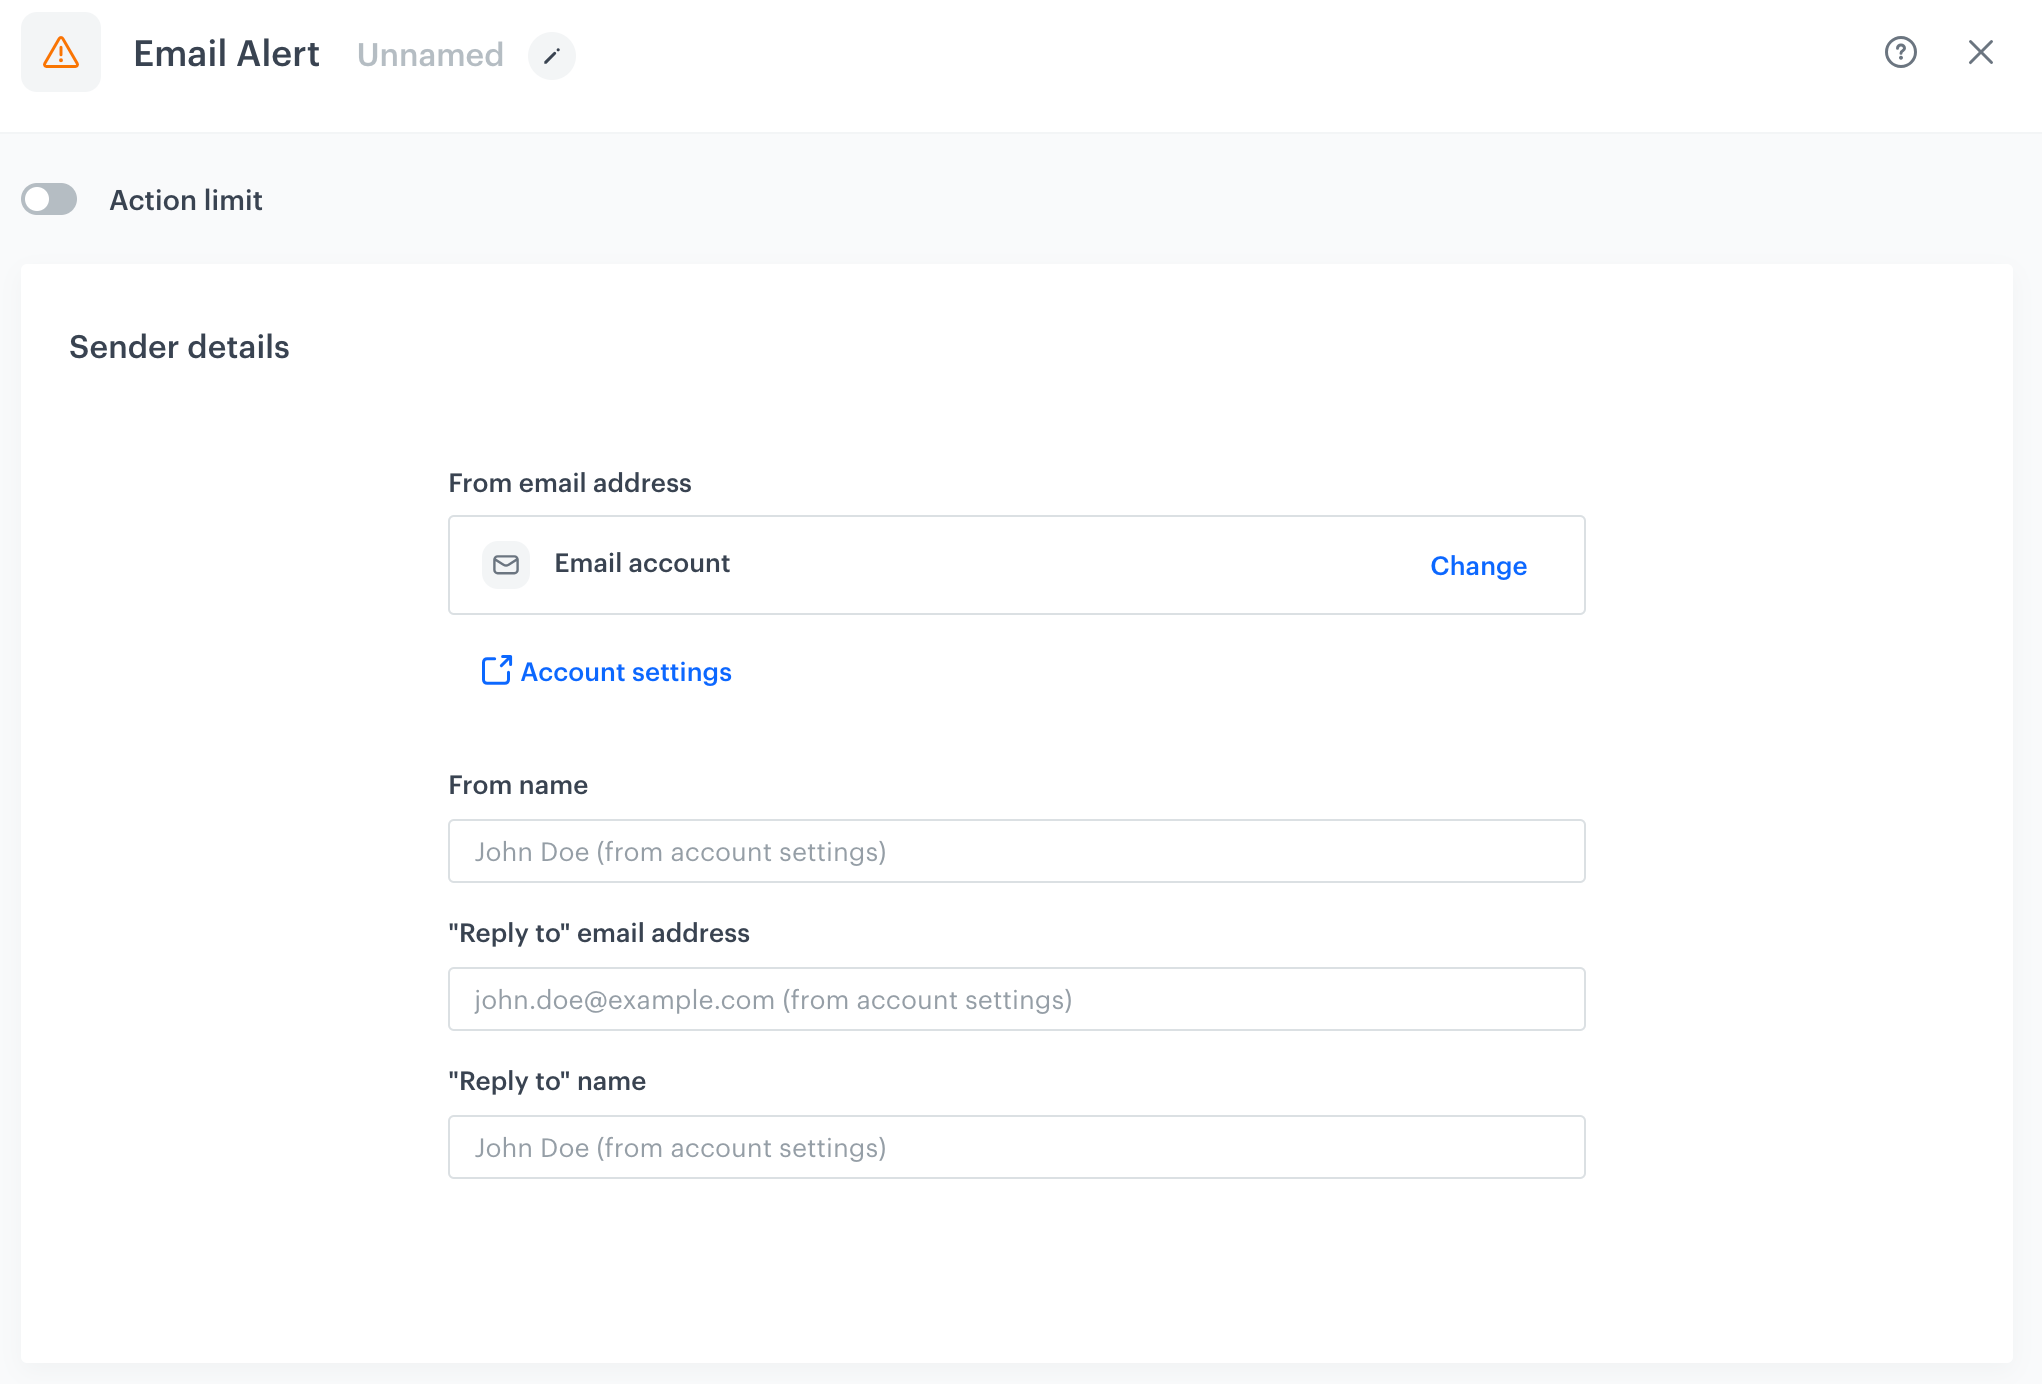
Blank Email Alert configuration form
1. To create a workflow that lets you send email alerts to the Synerise users, go to **Automation Hub > Workflows > New workflow**.
2. Select one of the business or profile [trigger nodes](/docs/automation/triggers).
3. Click **THEN > Email Alert**.
4. Click the node.
5. The **Sender details** section contains the default email account settings and configuration specific to it. These settings can be adjusted for sending the email alert only in this particular scenario, without affecting the default configuration. To change the settings:
1. In **From email address**, select the email account from which the alert will be sent.
2. In the **From name** field, enter the name of the sender that will be displayed in the message.
3. In the **"Reply to" email address** field, enter the email address to which the alert recipients can send replies to.
4. In the **"Reply to" name** field, enter the name of the reply's recipient that will be displayed in the message.
6. In the **Content** section:
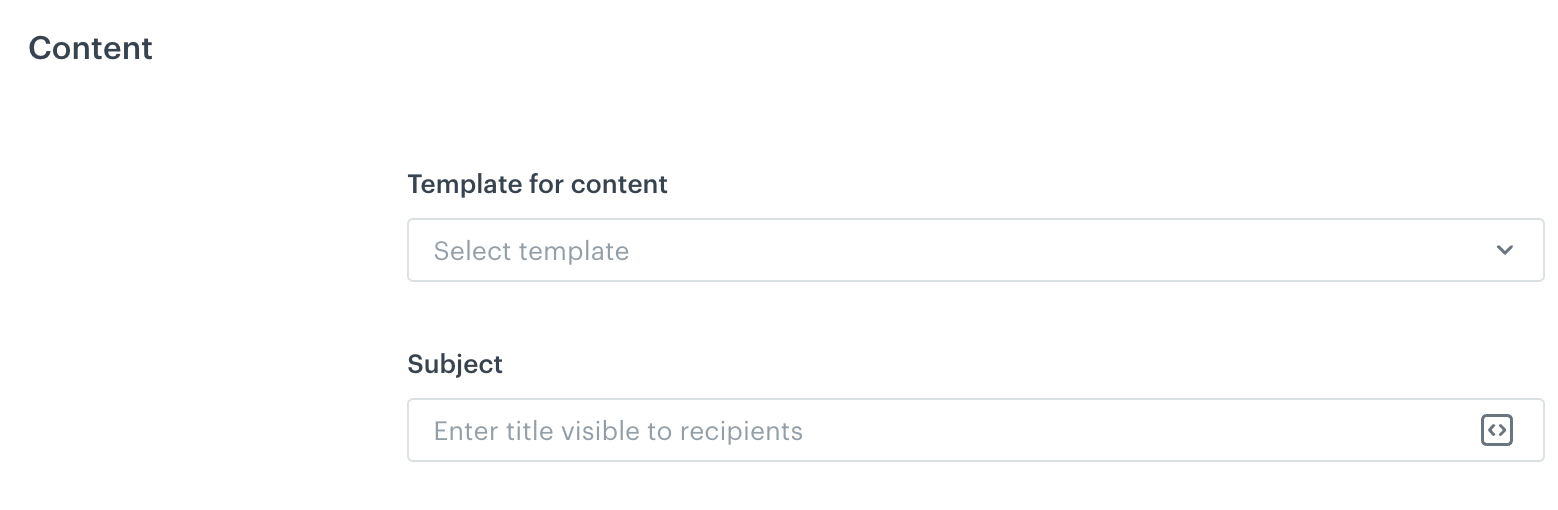
Blank configuration form for the Content section in the settings of the Send Email Alert node
1. In **Template for content**, select the template of the alert.
2. In **Subject**, enter the subject that will be displayed in the recipients' mailbox.
3. Optionally, by clicking you can select a [snippet](/docs/assets/snippets) which will let you personalize the message subject.
3. In the **Recipient** section:
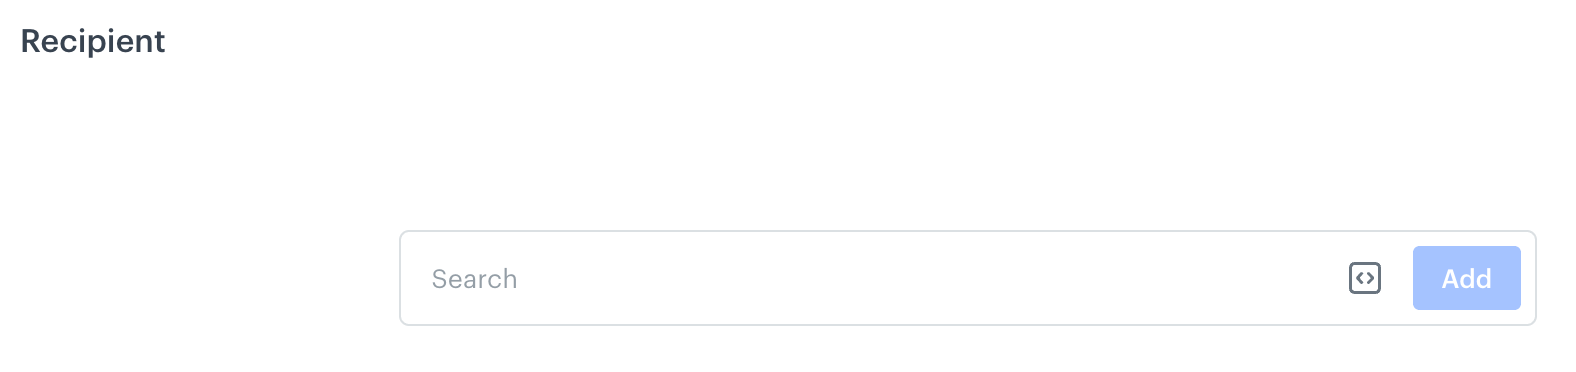
Blank configuration form for the Recipient section in the settings of the Send Email Alert node
- To choose an existing list, click the search box:
1. Go to the **Saved lists** tab.
2. Select a list of recipients.
- To create a list of recipients of the alert email, click the search box:
1. In the **Profiles** tab, use the text field to find recipients or enter an email address to add recipients outside the contact base.
2. Confirm the selection by clicking **Add**.
4. Confirm the list by clicking **Save list**. This way you can use this list in the future.
**Result**: A pop-up opens.
5. In the **List name** field, enter the name of the list.
6. Confirm by clicking **Apply**.
- Optionally, you can provide a dynamic value such as an [automation insert](/developers/inserts/automation) or you can select a reusable code ([snippet](/docs/assets/snippets)) by clicking
**Example of an automation insert**: To retrieve an email address from the [Profile Event](/docs/automation/triggers/client-event-node), use `{{ automationPathSteps['ProfileTriggerNodeTitle'].event.params.email }}` and replace `ProfileTriggerTitle` with the title of this node. This way, the profile who goes through the node will be sent an email alert.
6. Confirm the action setting by clicking **Apply**.
## Examples of use
---
Below are selected examples of use cases with Email Alert node, which can help you better understand its applications:
- [Send alerts to Microsoft Teams and email alerts about unsent and failed emails](/use-cases/teams-alerts)
- [Email notification to call center about expensive abandoned cart](/use-cases/abandoned-cart-call-center-notification)
- [Monitor Voucher Pool Levels and Receive Alerts for Replenishment](/use-cases/voucherpools)
- [Automated email campaign performance reports](/use-cases/data-reference)