The SMS Alert node sends a text message to the selected users in the workspace when an incident occurs in business processes. These text messages are especially useful when urgent action is needed from the Synerise users. You can use this node to inform about anomalies, getting closer to a workflow goal, form submissions, running out of coupons, and other events.
## Requirements
---
1. [Enable integration with an SMS provider in Synerise](/docs/campaign/SMS/configuring-sms-gateway#enable-integration).
2. [Create a sender account in Synerise](/docs/campaign/SMS/configuring-sms-gateway#create-sms-account).
3. [Create a message template](/docs/campaign/SMS/creating-SMS-template).
## Node configuration
---
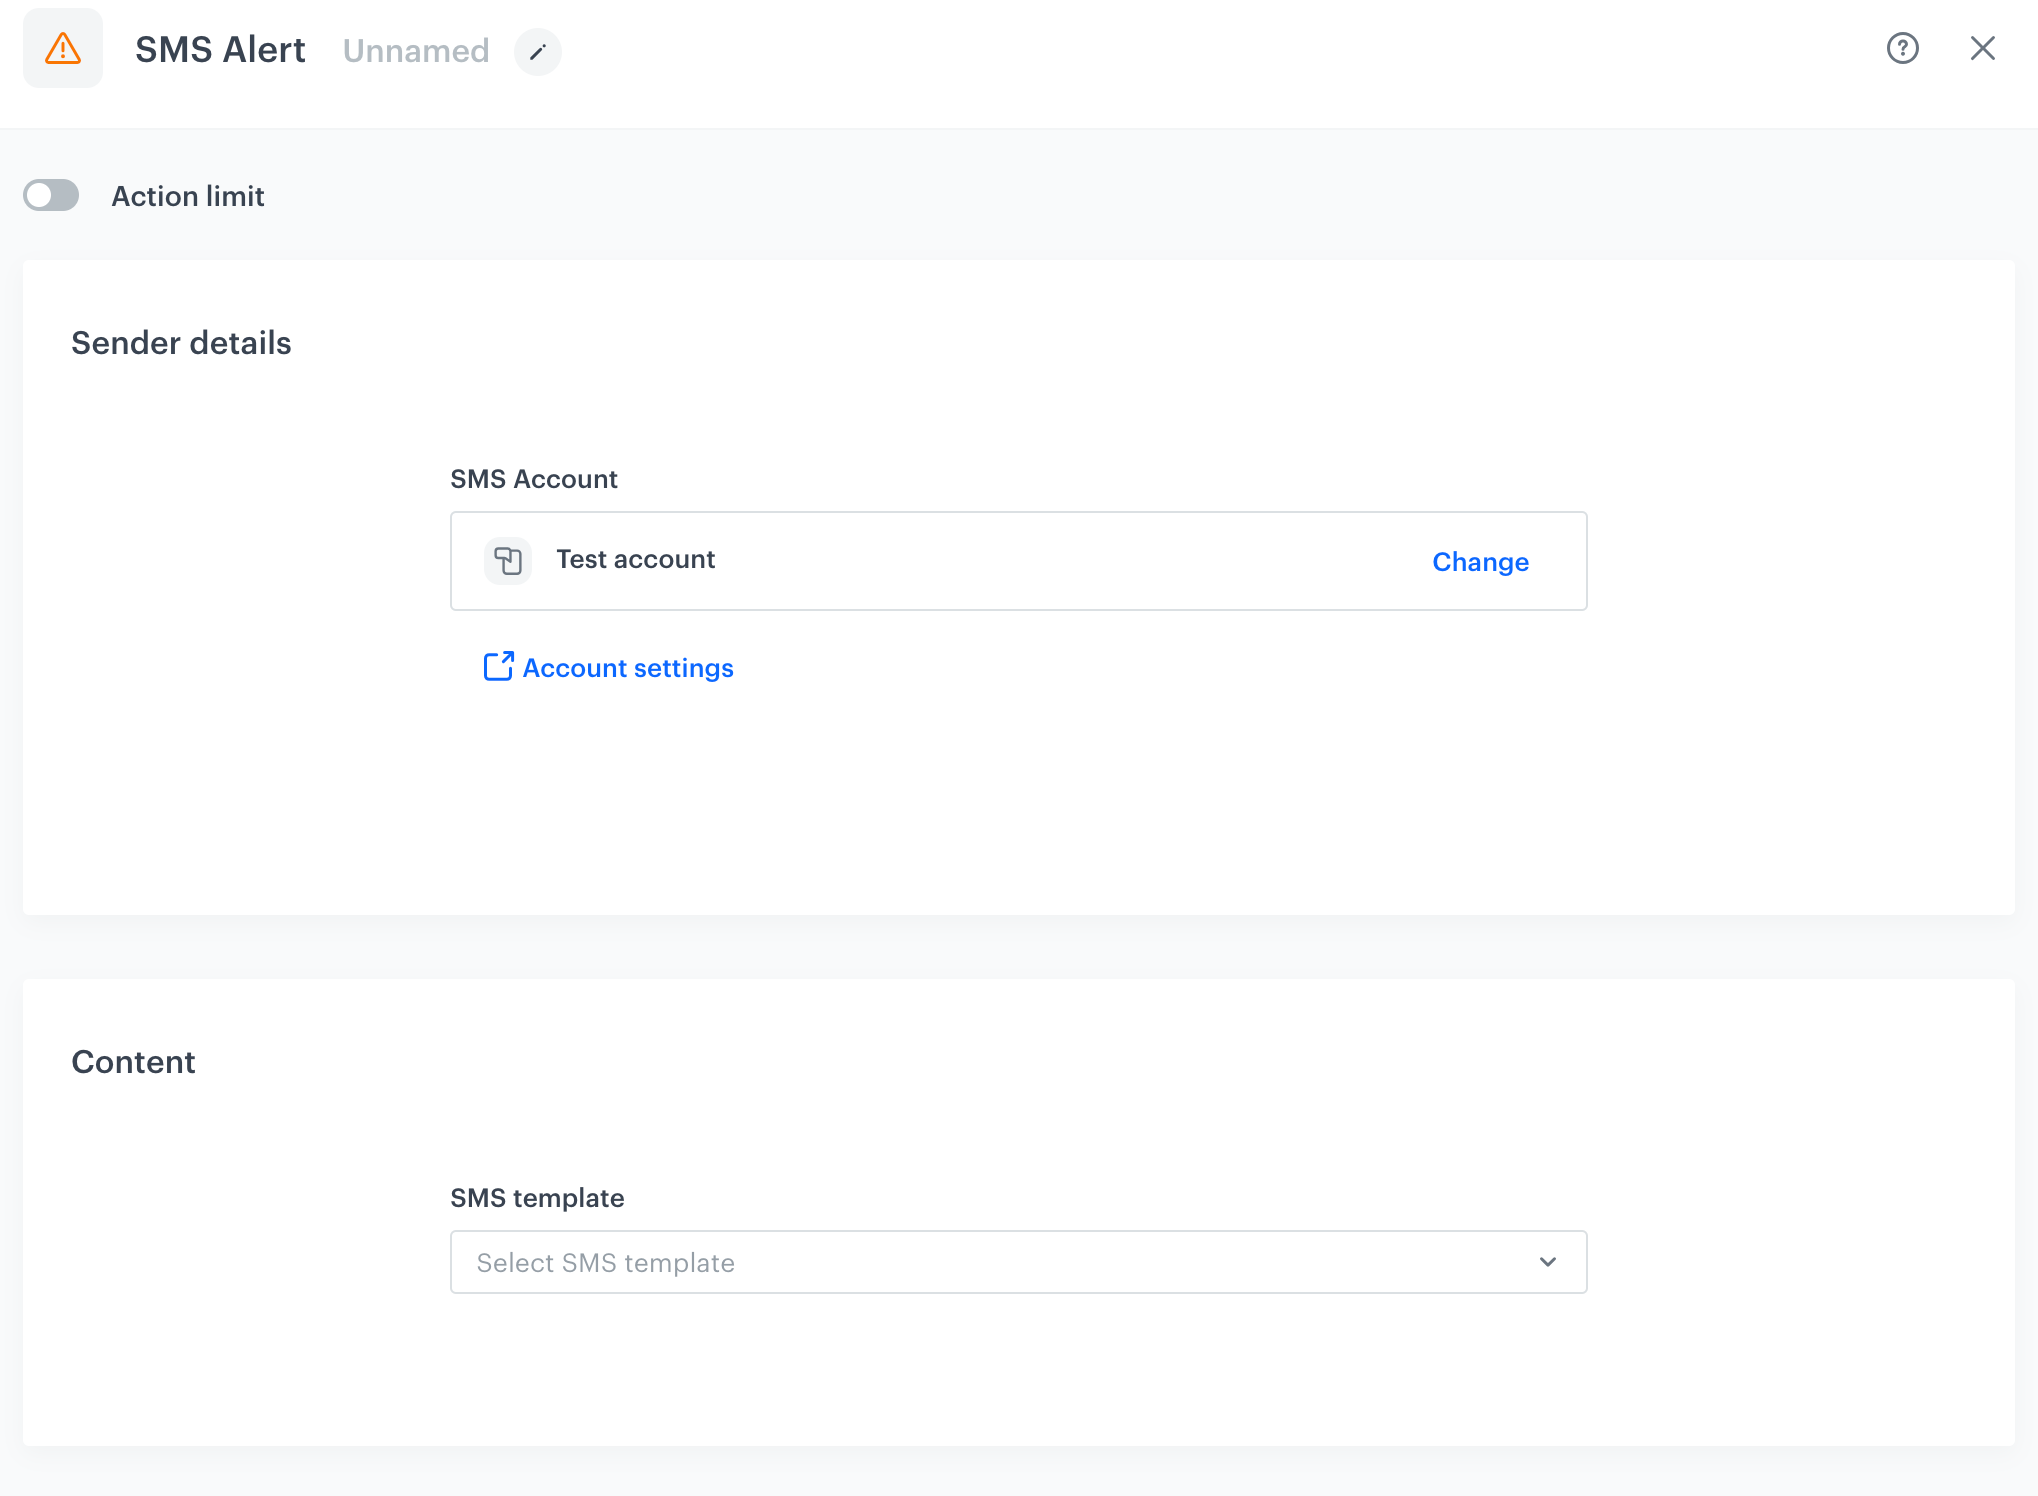
Blank SMS Alert configuration pop-up
1. To create a workflow that lets you send SMS alerts to the Synerise users, go to **Automation Hub > Workflows > New workflow**.
2. Select one of the business or profile [trigger nodes](/docs/automation/triggers).
3. Click **THEN > SMS Alert**.
4. Click the node.
5. In the **Sender details** section, select the SMS account from which the message will be sent.
6. In the **Content** section, select the message template created as a part of the [requirements](#requirements).
3. In the **Recipient** section:
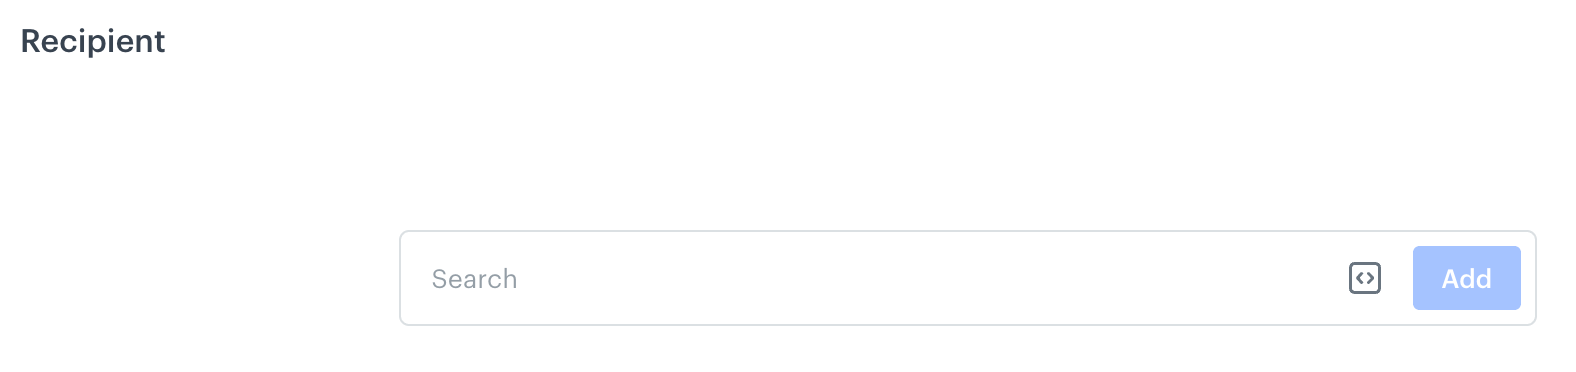
Blank configuration form for the Recipient section in the settings of the SMS Alert node
- To choose an existing list, click the search box:
1. Go to the **Saved lists** tab.
2. Select a list of recipients.
- To create a list of recipients of the alert SMS, click the search box:
1. In the **Profiles** tab, use the text field to find recipients or enter a phone number to add recipients outside the contact base.
2. Confirm the selection by clicking **Add**.
4. Confirm the list by clicking **Save list**. This way you can use this list in the future.
**Result**: A pop-up opens.
5. In the **List name** field, enter the name of the list.
6. Confirm by clicking **Apply**.
7. Go to **Saved lists** tab.
8. Select the list you created.
- Optionally, you can provide a dynamic value such as an [automation insert](/developers/inserts/automation) or you can select a reusable code ([snippet](/docs/assets/snippets)) by clicking
**Example of an automation insert**: To retrieve a phone number from the [Profile Event](/docs/automation/triggers/client-event-node), use `{{ automationPathSteps['ProfileTriggerNodeTitle'].event.params.phone }}` and replace `ProfileTriggerTitle` with the title of this node. This way, the profile who go through the node will be sent an SMS alert.
6. Confirm the action setting by clicking **Apply**.
## Example of use
---
Example of the workflow that uses the SMS Alert action
This example presents an automated scenario triggered by a lead form submission on a specific URL.
1. In the settings of **Profile Event**, select a form submission event.
2. Add **SMS Alert** action. In its setting, select the account from which the message will be sent, select the recipients and the template of the alert.
3. When a text message is sent to the recipients, the process ends.
 **Example of an automation insert**: To retrieve a phone number from the [Profile Event](/docs/automation/triggers/client-event-node), use `{{ automationPathSteps['ProfileTriggerNodeTitle'].event.params.phone }}` and replace `ProfileTriggerTitle` with the title of this node. This way, the profile who go through the node will be sent an SMS alert.
6. Confirm the action setting by clicking **Apply**.
## Example of use
---
**Example of an automation insert**: To retrieve a phone number from the [Profile Event](/docs/automation/triggers/client-event-node), use `{{ automationPathSteps['ProfileTriggerNodeTitle'].event.params.phone }}` and replace `ProfileTriggerTitle` with the title of this node. This way, the profile who go through the node will be sent an SMS alert.
6. Confirm the action setting by clicking **Apply**.
## Example of use
---
