The **Add item to catalog** node lets you add or update a single item in a [Synerise catalog](/docs/assets/catalogs) directly within a profile workflow. You define the item key and its JSON body inline in the node configuration — no file source node is required.
### Update mode
When importing data into your catalog, you can choose how to handle existing and new records. You can use the following options:
1. **Create or overwrite records**
**How it works:**
- If an item does not exist in the catalog, it will be created as a new record.
- If the item already exists, the entire record will be fully updated, replacing all existing parameters with the new data.
**When to use it**:
You want to discard some or all items in the catalog and replace them with their new versions, without keeping any of their old data.
**Example:**
Before import:
Item A:
{
          "Name": "Widget",
          "Price": 10,
          "Color": "Red"
          }
Imported data:
{
          "Name": "Widget",
          "Price": 12
          }
Results after import:
{
    "Name": "Widget",
    "Price": 12
    }
(Color removed)
2. **Create or partial update**
**How it works:**
- If an item does not exist, it will be created as a new record.
- If the item already exists, only the parameters included in the import will be updated or added; existing parameters not mentioned remain unchanged.
**When to use it:**
You want to update specific parts of existing records without losing any other data, allowing incremental or additive changes.
**Example**:
Before import
Item A:
{
          "Name": "Widget",
          "Price": 10,
          "Color": "Red"
          }
Imported data:
{
          "Price": 12
          }
After import
{
    "Name": "Widget",
    "Price": 12,
    "Color": "Red"
    }
### Summary
| Option | Creates new records? | Updates existing records? | Update type | When to use |
|----------------------------|---------------------|--------------------------|-------------------|----------------------------------|
| Create or overwrite records | Yes | Yes | Full replacement | Completely refresh existing data |
| Create or partial update | Yes | Yes | Partial / additive| Incrementally update or add parameters |
### Comparison with the Import to Catalog node
| | **Add item to catalog** | **Import to Catalog** |
|---|---|---|
| **Input** | Item key and JSON body defined directly in the node | File from a preceding source node (Local File, SFTP, Amazon S3, and so on) |
| **Volume** | Single item per workflow execution | Batch — all records in the imported file |
| **Workflow context** | Profile and business-oriented workflows | Business-oriented workflows |
| **Requires a file source node** | No | Yes |
## Prerequisites
---
- [Create a catalog](/docs/assets/catalogs/creating-catalogs). The catalog can be empty.
- You must be assigned a user role to:
- [create and edit workflows](/docs/settings/identity-access-management/permissions/automation-permissions#create-and-edit-workflows);
- [work with catalogs](/docs/settings/identity-access-management/permissions/data-management-permissions#work-with-catalogs)
## Node configuration
---
1. To configure the node, click it.
**Result**:
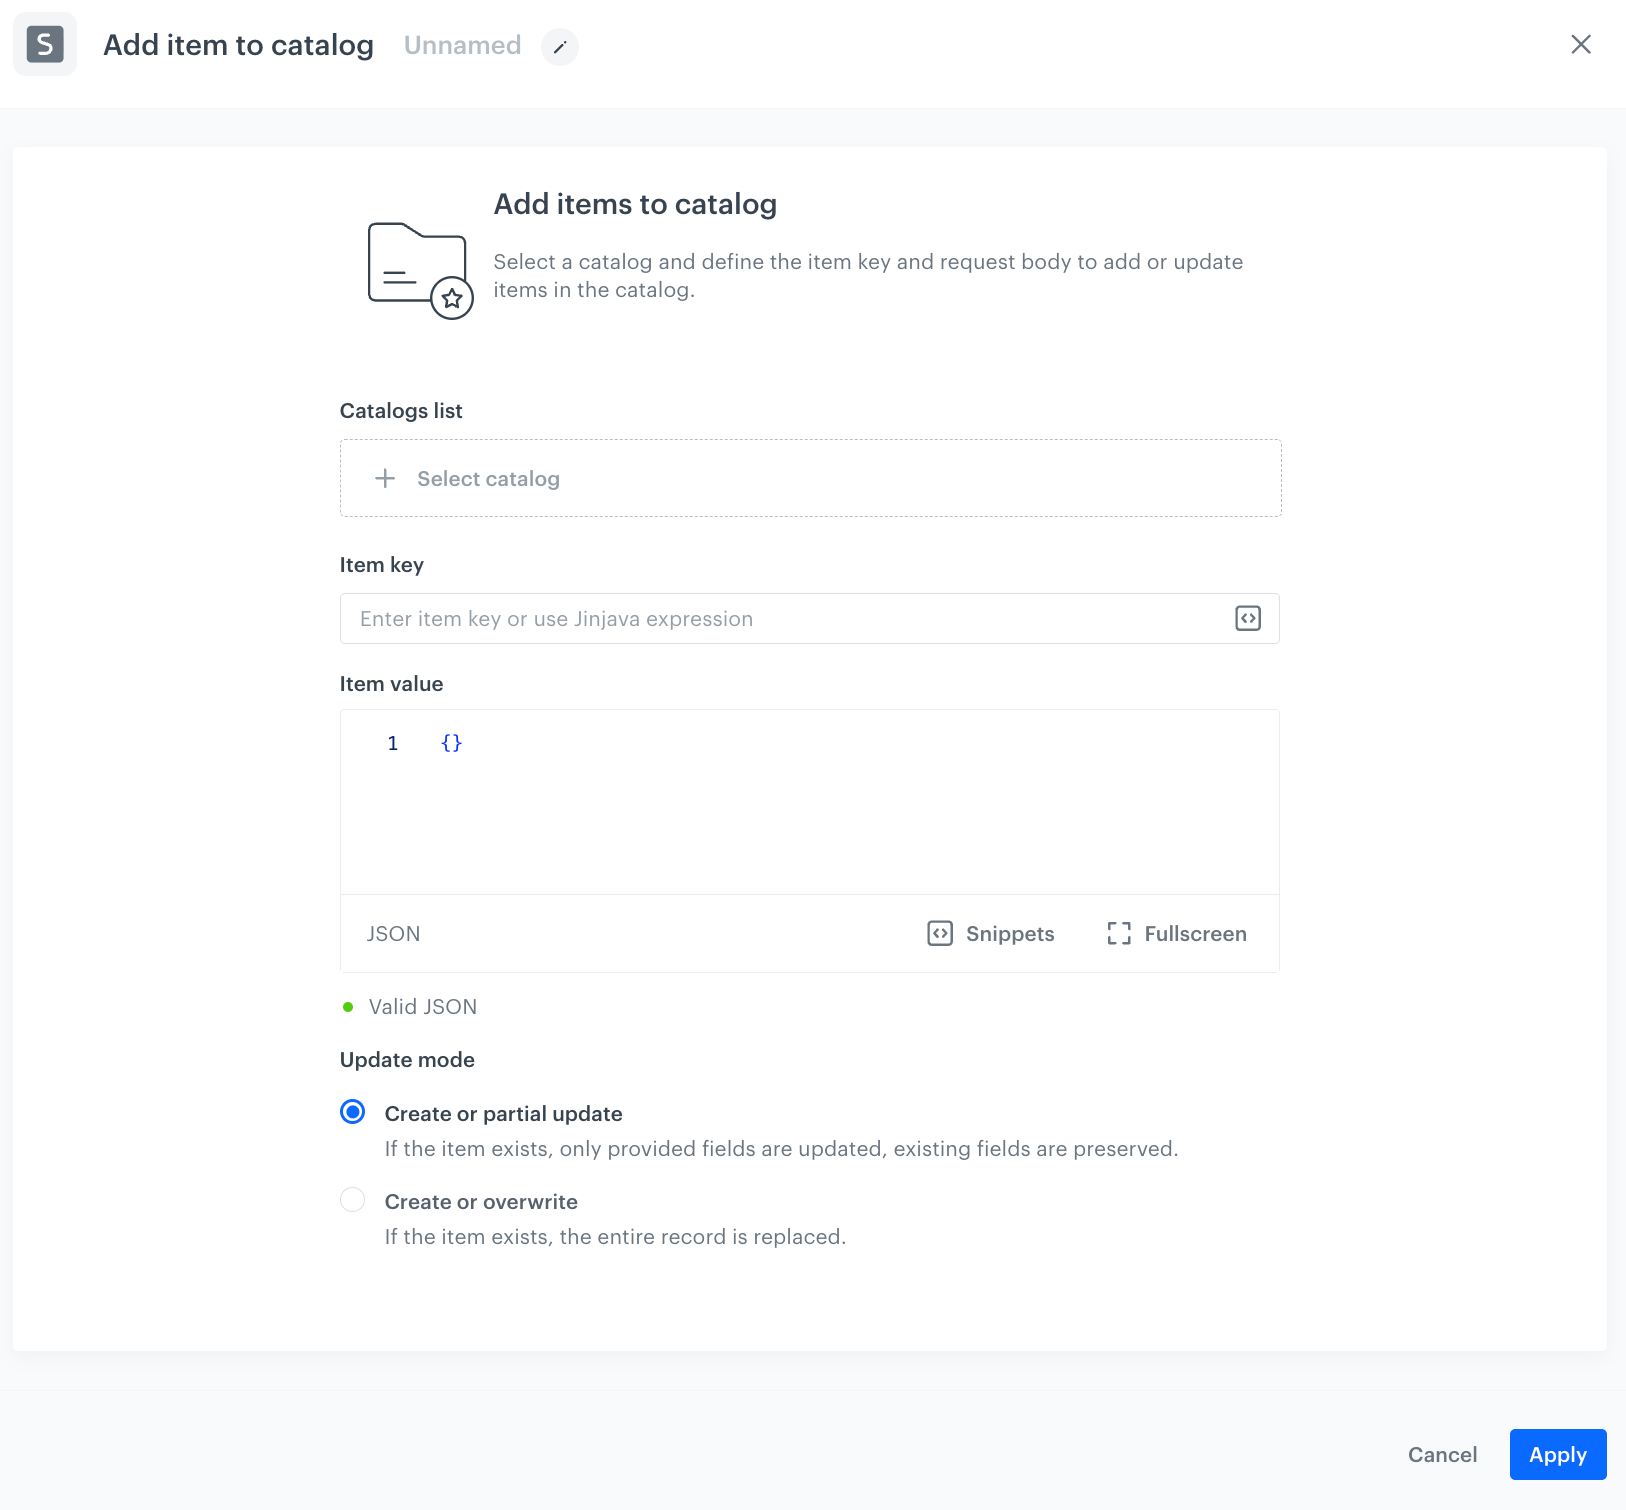
A blank Add item to catalog node configuration
2. From the **Select catalog** dropdown, select the catalog to which the item will be added or updated.
3. In **Item key**, enter the value that uniquely identifies the item in the catalog.
This field accepts [Jinjava](/developers/inserts/automation).
4. In **Item value**, define the JSON body of the item.
5. In the **Update mode** section, select how existing records are handled:
- **Create or partial update** - if the item exists in the catalog, only the provided fields are updated; existing fields not included in the request are preserved.
- **Create or overwrite** - if the item exists in the catalog, the entire record is replaced with the new data.
You can learn more in the [Update mode section](#update-mode).
6. Confirm by clicking **Apply**.
## Example of use
---
You can use this node in a profile workflow to update a customer's record in a catalog when a qualifying event occurs.
1. Start the workflow with a profile event trigger.
2. Add the **Add item to catalog** node.
3. In the configuration of the node:
1. Select the catalog you want to update.
2. In **Item key**, enter the value that uniquely identifies the item, for example, a product ID from the event payload using a Jinja expression.
3. In **Item value**, define the JSON body with the fields you want to add or update.
4. Select the update mode appropriate for your use case.
5. Click **Apply**.
4. Add the **End** node.