The **Get Catalog Data** node lets you export all data from a [Synerise catalog](/docs/assets/catalogs) in the form of JSON or JSON Lines file to external services which can help you repurpose collected data for your business operations.
If the data format in the Synerise catalog is not compliant with the requirements of the external resource, you can add the [Data Transformation node](/docs/automation/operation/data-transformation-node) within the same [workflow](/docs/glossary#workflow) to format the data (for example, rename columns, edit values, select only some fields, and so on) before exporting.
### Limitations
- Data cannot be exported as a CSV file.
- A file can contain up to 20,000,000 records and cannot exceed 5 GB.
- You can export one catalog per one node.
## Prerequisites
---
- [Create a catalog](/docs/assets/catalogs/creating-catalogs)
- You must be assigned a user role with an **Export catalog data** permission within Data export (read, execute, edit)
## Node configuration
---
1. To create a workflow that lets you export data from a catalog, go to **Automation Hub > Workflows > New workflow**.
2. Select one of the business trigger nodes, for example [Scheduled Run](/docs/automation/triggers/scheduled-run).
3. Click **THEN > Synerise > Get Catalog Data**.
4. To open the configuration form of the node, click it.
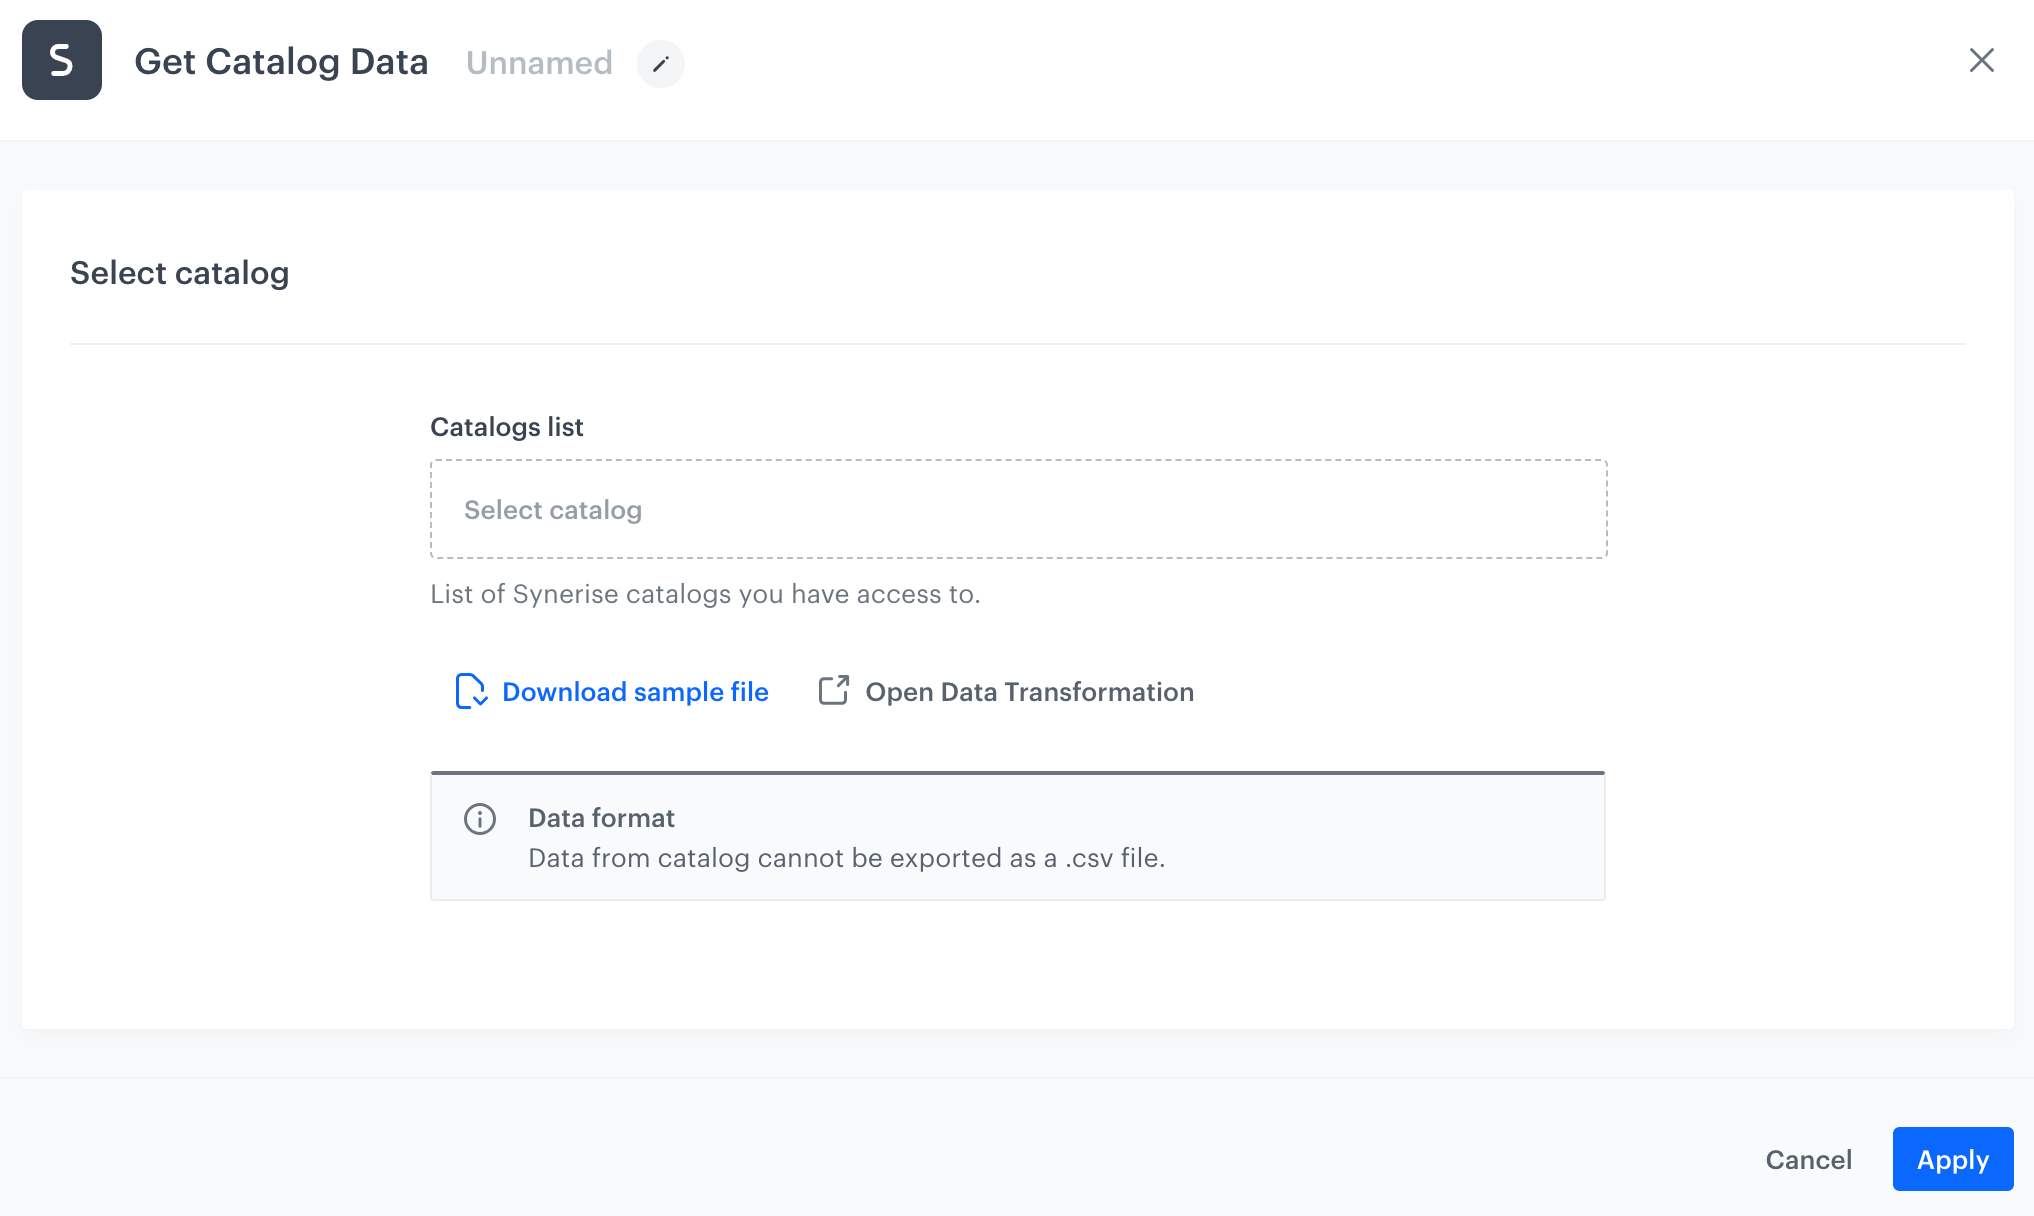
**Result**:
A blank node configuration form
5. From the **Catalog list** dropdown, select a catalog you want to export.
6. Confirm your choice by clicking **Apply**.
## Example of use
---
You can launch a workflow that exports catalog to Google Cloud Storage.
1. Start the workflow with the **Scheduled Run** node. In the configuration of the node:
1. Set the **Run trigger** to **one time**.
2. Select the **Immediately** tab.
2. Add the **Get Catalog Data** node. Configure the node according to the instruction in this article.
3. Add the **Google Cloud Storage > Send File** node. In the configuration of the node:
1. Select the connection.
- If no connections are available or you want to create a new one, see [Create a connection](/docs/automation/integration/google-cloud-storage/send-file-to-gcp#create-a-connection).
- If you selected an existing connection, proceed to [defining the integration settings](/docs/automation/integration/google-cloud-storage/send-file-to-gcp#define-the-integration-settings).
4. Add the **End** node.
**Result**:
Final configuration of the workflow