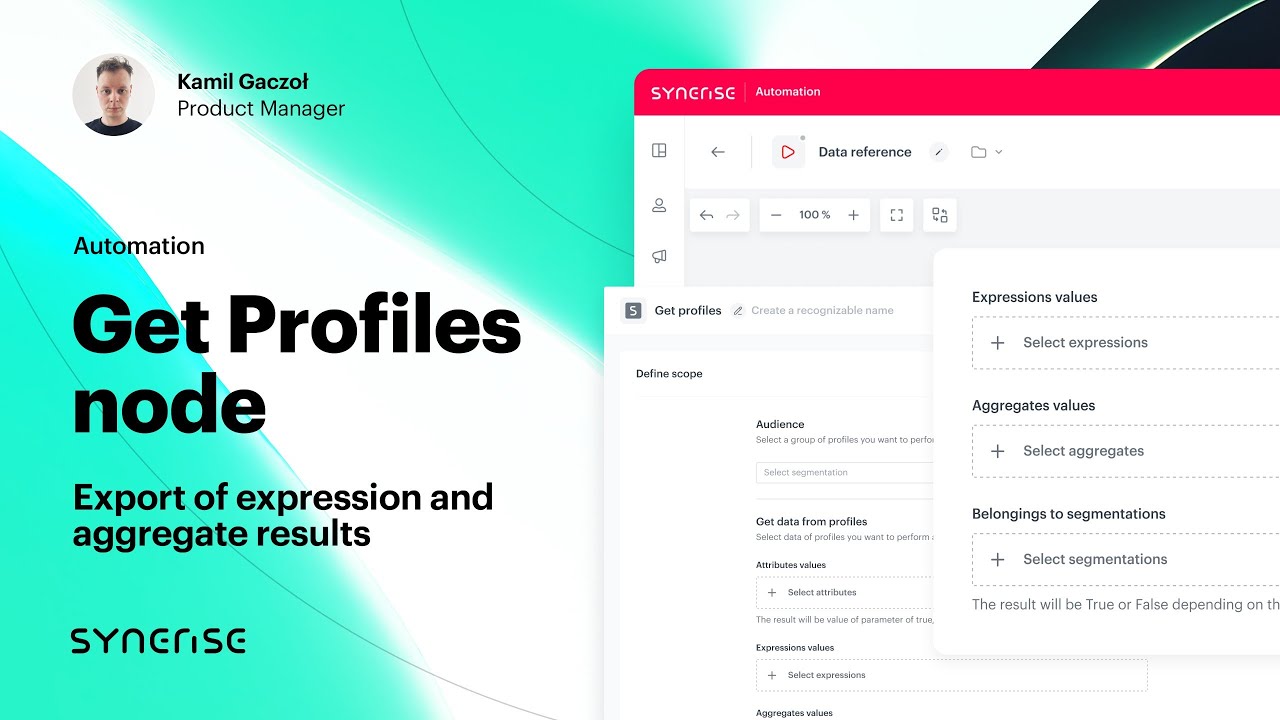
This node allows you to get the data of a selected group of customers. This allows you to create workflows in which the system retrieves the data of the selected customer groups at defined frequency, then you can edit the retrieved data by using [data transformation](/docs/automation/data-transformation-and-imports/introduction) (for example, change the value of `newsletter_agreement` from `enabled/disabled` to `true/false`) and send such modified data further, for example to an external server using the SFTP protocol.
### Scope of retrieved data
- [Aggregates](/docs/analytics/aggregates) - You can retrieve the values of the selected aggregates.
- [Attributes](/docs/assets/customer-properties) - You can retrieve the values of profile attributes (such as newsletter agreement, first name, last name, date of birth, size) and check if selected [profile tags](/docs/assets/customer-tag) are assigned to the profile.
- [Expressions](/docs/analytics/expressions) - You can retrieve the values of the selected expressions.
- [Segmentations](/docs/analytics/segmentations) - You can retrieve information if a profile belongs to the selected segmentations.
| Retrieved data types | Output in the exported file |
|----------------------|---------------------------------------------------------------------------------------------------------------------------------------------------------------------------------------------------------------------------------------------|
| Aggregates | When you choose an aggregate in the node, a new property is added to a file for export with that aggregate's name. Each aggregate property shows the aggregate value for each profile. **Example**: You select an aggregate with the Last purchased item title in the node configuration, the output of this aggregate in the exported file will be as follows: - For `.JSON` files `"Last purchased item": "Sneakers EY0934"`, - For `.CSV` files: A column with `Last purchased item` and row with `Sneakers EY0934` where: - `Last purchased item` is the title of the aggregate, - `Sneakers EY0934` is the value of the aggregate. |
| Attributes | Each attribute creates an property with the value of this property. |
| Expressions | When you choose an expression in the node, a new property is added to a file for export with that expression's name. Each expression property shows the expression value for each profile. |
| Segmentations | When you select a segmentation in the node, a new property is added to a file for export with that segmentation's name. Each segmentation property displays a true or false value which states whether a profile belongs to the segmentation (true) or not (false). |
| Tags | When you select a tag in the node, a new property is added to a file for export with that tag's name. Each tag property displays a true or false value which states whether a profile is assigned with this tag (true) or not (false). |
### Dynamic keys in attributes
---
If analyses selected in the node contain at least one dynamic key, the name of the keys with their default values are displayed in the configuration of the node.
- In the configuration of the **Get Profiles** node, you can enter values for the dynamic keys to use in the calculation.
- You can use static values, [snippets](/docs/assets/snippets) and [inserts](/developers/inserts) as dynamic key values.
- If multiple analyses include a dynamic key with the same name, it's included as a single item on the list. All analyses which contain that dynamic key will be calculated for the specified value.
- If an analysis is modified and the dynamic keys change, the results will be generated for the most recent version. If there is a difference between the keys in the node and the latest analysis version, you will receive information about it in the **Insights** section in the workflows which use this analysis.
The marked area on the screen presents the dynamic key value selected in a metric condition. In this example the $sku parameter must be equal to the value of the id dynamic key (default is 12345678)
### Limits
---
- You can only use a segmentation which contains up to 10,000,000 profiles. If the selected segmentation exceeds the limit at the moment of launching the workflow or triggering the node, an error is logged.
- You can use up to 10 attributes with dynamic values.
- You can use up to 100 attributes with static values.
- These limits apply per a single node and the limits do not combine.
### Recommendations
---
Make sure your attributes have unique names. If you select two attributes with the same name, for example, 2 aggregates: `Last purchased item`, the exported file will contain two properties with the following names:
- `Last purchased item`,
- `Last purchased item1`
## Prerequisites
---
- To be able to retrieve values of [aggregates](/docs/analytics/aggregates), [attributes](/docs/assets/customer-properties), [expressions](/docs/analytics/expressions), [profile tags](/docs/assets/customer-tag), and [segmentations](/docs/analytics/segmentations), they must exist before you open the node for editing.
- You must be assigned a user role with an **Export profiles** permission within Data export (read, execute, edit)
## Node configuration
---
A blank form in the Get Profiles node
1. Click the node.
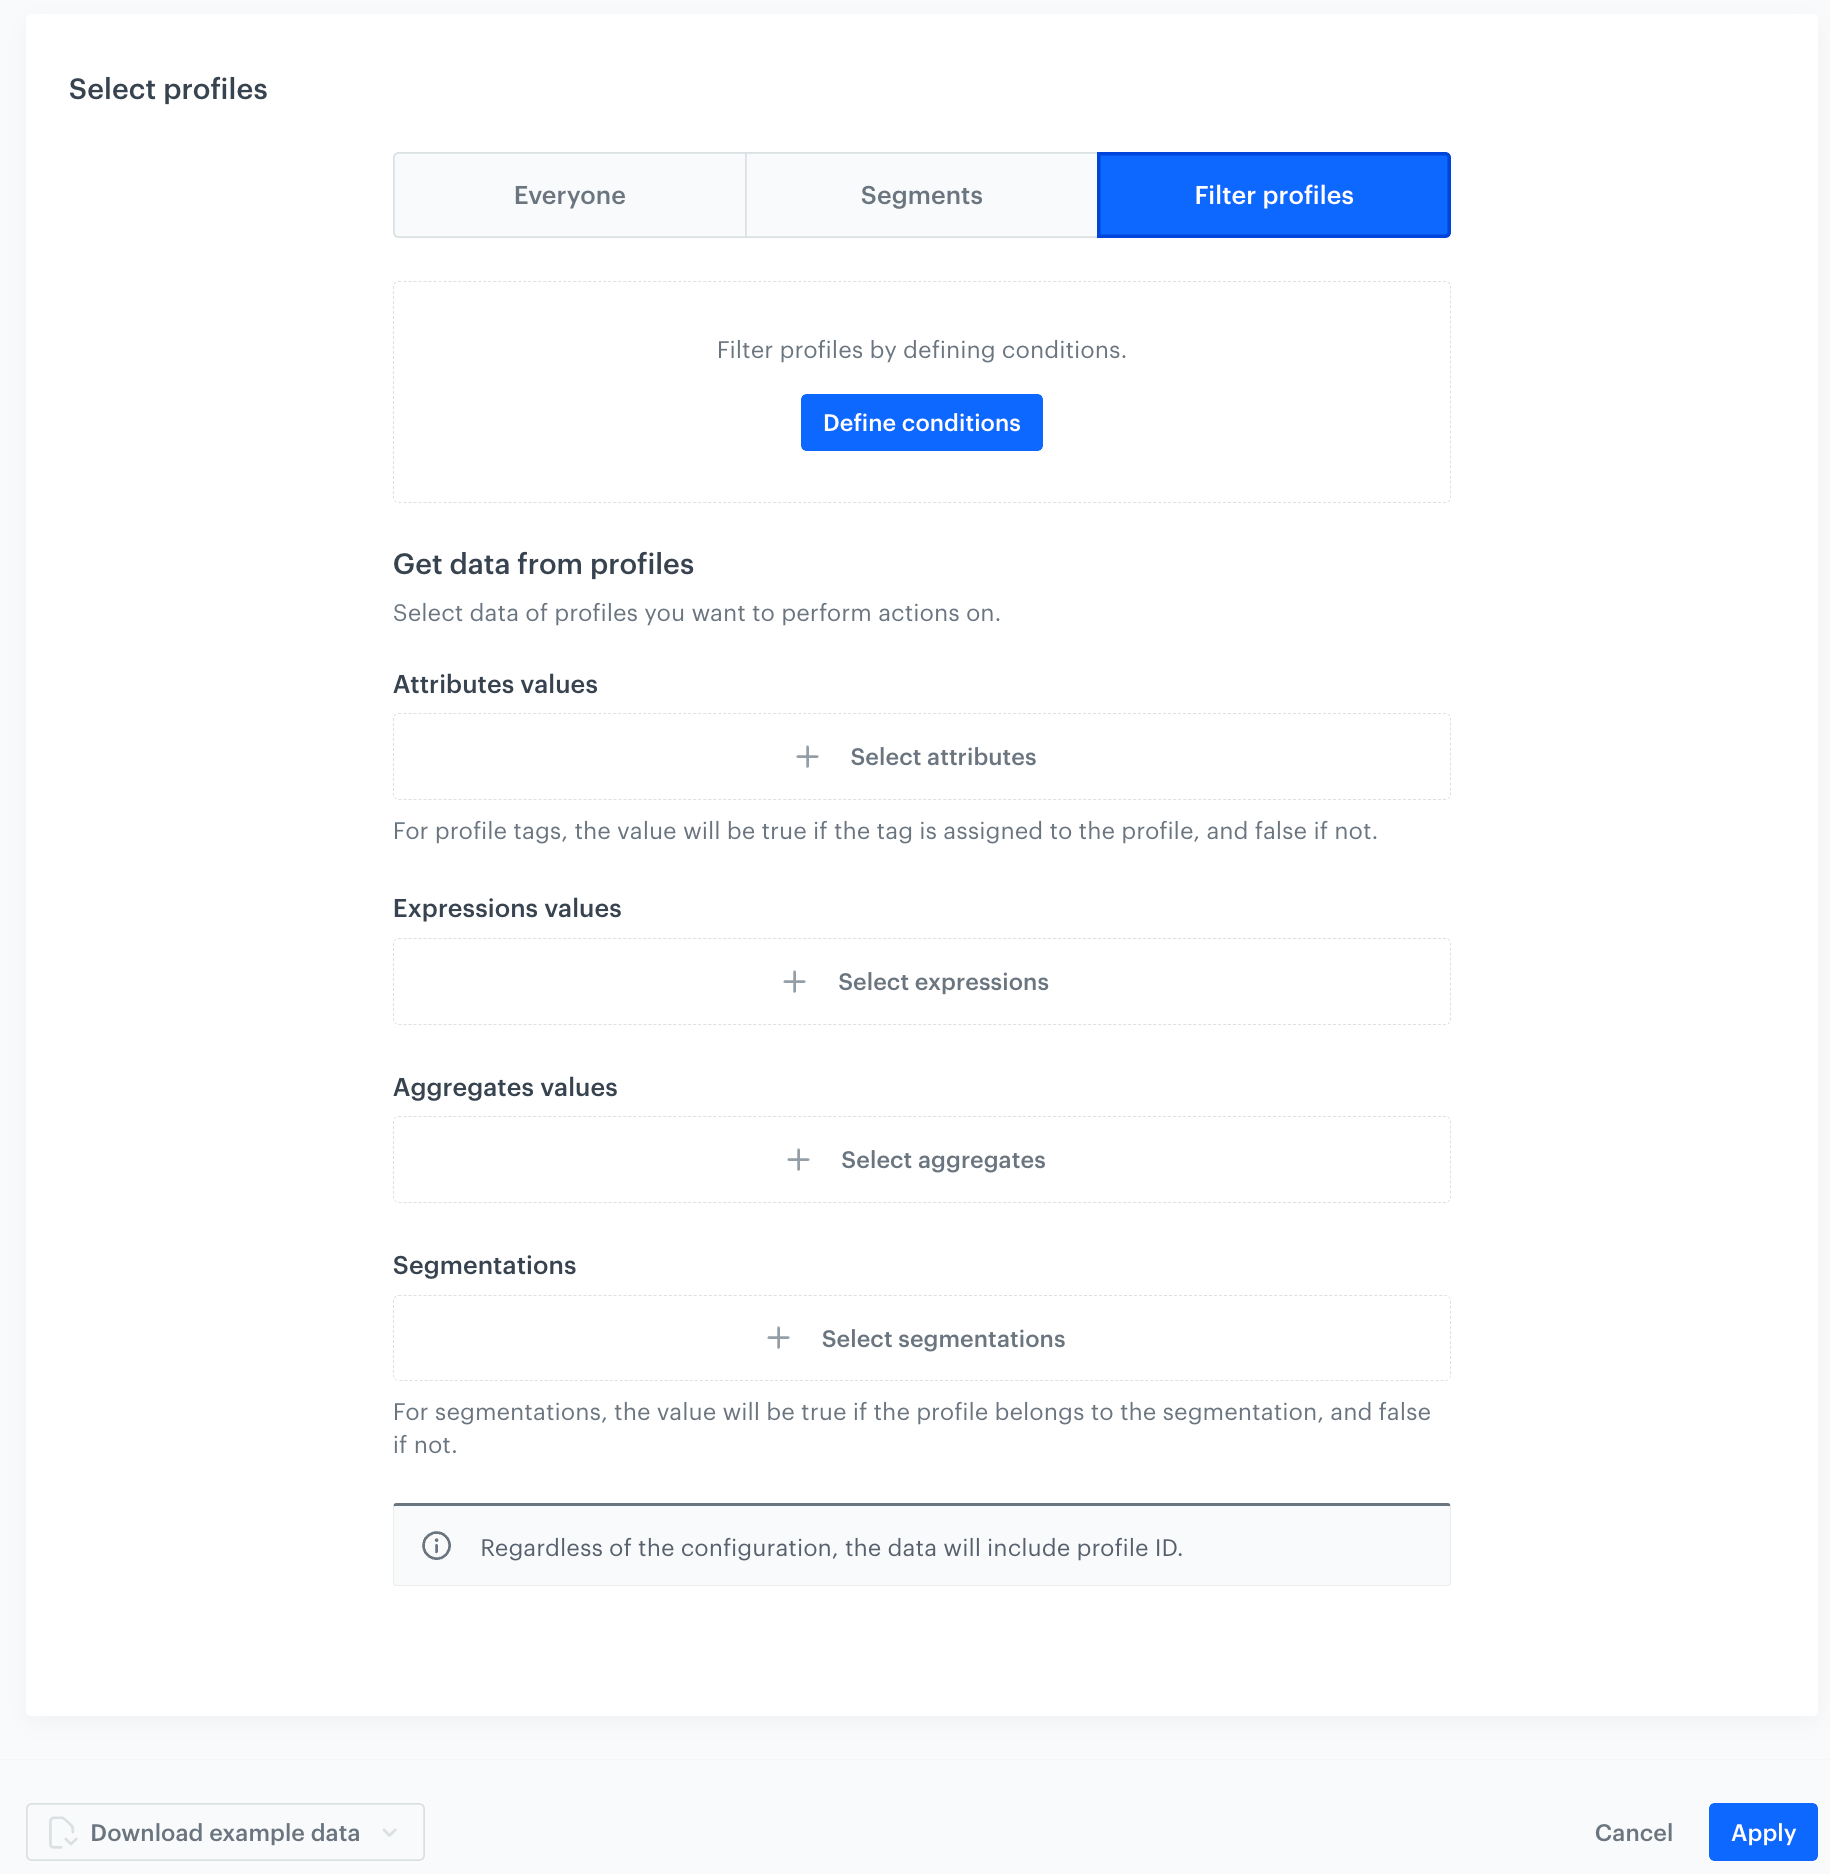
2. Select profiles whose data you want to export. You can do it in the following ways:
Select all recognized profiles
Click the Everyone tab. No further configuration is needed.
There is a limit of 10,000,000 records and the file cannot exceed 5GB.
Select profiles who belong to specific segmentations
To select profiles who belong to specific segmentations, click the Segments tab.
Click Select segments.
On the pop-up, next to the segmentations you want to include in the export, select the checkbox.
Confirm your choice by clicking Apply.
Define conditions the profiles must meet to be included in export
To define the conditions profiles must meet to be included in the export, click the Filter profiles tab.
Click Define conditions.
On the pop-up, click Add condition.
You can build conditions based on events, profile attributes, expressions, aggregates, segmentations, and tags. You can read more about building conditions in Filtering.
Confirm the conditions by clicking Apply.
3. To add attributes and profile tags whose values you want to retrieve, under **Attributes values**, click **Select attributes**.
- Each attribute is exported as a property with an assigned value.
- Each selected tag creates a property with its name. They can be assigned a `true` or `false` value;
- `true` if a profile is assigned with the selected tag,
- `false` if they aren't.
4. On the pop-up, select the attributes and profile tags.
5. To select expression values you want to retrieve, under **Expressions values**, click **Select expressions**.
4. On the pop-up, select the expressions whose values you want to extract.
5. To select aggregate values you want to retrieve, under **Aggregate values**, click **Select aggregates**.
4. On the pop-up, select the aggregates whose values you want to extract.
5. To check if a profile belongs to selected segmentations, under **Segmentations**, click **Select segmentations**.
Each selected segmentation creates a property with its name. These properties can be assigned a `true` or `false` value;
- `true` if a profile is belongs to the segmentation,
- `false` if they don't.
4. On the pop-up, select the segmentations which you want to check.
5. Confirm the configuration by clicking **Apply**.
## Example of use
---
In this example, you can select a group of customers and their attributes to pass it further to the external resource (for example, Azure) by using HTTP protocol.
Final workflow configuration
1. Add the **Scheduled Run** node.
2. In the configuration of the node, set it to **immediately**.
3. Add the **Get Profiles** node.
4. In the configuration of the node:
1. Select a segmentation of customers.
2. Select the attributes to be extracted.
3. Confirm by clicking **Apply**.
5. Click **THEN**, from the dropdown list, select **HTTPS > Send File**.
6. In the configuration of the node:
1. Select the authentication method.
- If no connections are available or you want to create a new one, see Add connection.
- If you selected an existing connection, proceed to defining the integration settings.
2. Select the method.
3. Enter the **URL** of the endpoint.
4. Select the format of the file.
5. **Only for CSV files**, verify the following fields: **Delimiter**, **Quotation mark**, **Escape character**, **Charset**, **Line ending**.
6. If required, enter the headers.
7. Confirm by clicking **Apply**.
7. Add the **End** node.