# Event Filter node
This condition allows a customer to proceed in the process only if they performed a specific action (in other words, if a specific event occurred in the context of a customer). Such actions are called [events](/docs/assets/events) and they define customer activity in the touchpoints integrated with Synerise.
## Requirements
---
You must implement a tracking code into the website.
## Configuration
---
1. Click the pencil icon on the node.
**Result**: A pop-up opens.
2. Define the event, its parameters and their values. If you choose several parameters of one event, it means that the customer needs to perform an action that covers **all** the values defined in the event parameters.
3. Define the limits.
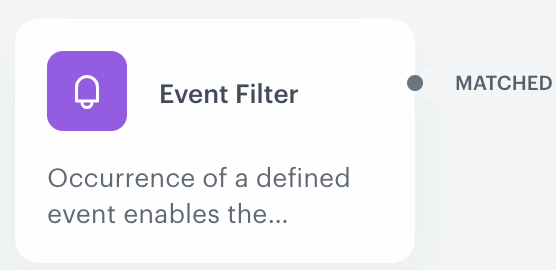
- By default, an **Event Filter** is set without limits. This means that the occurrence of any action defined in the settings of the condition allows the customer to continue the process. In such a limit configuration, this node has only one **MATCHED** path.
Event Filter one branch configuration
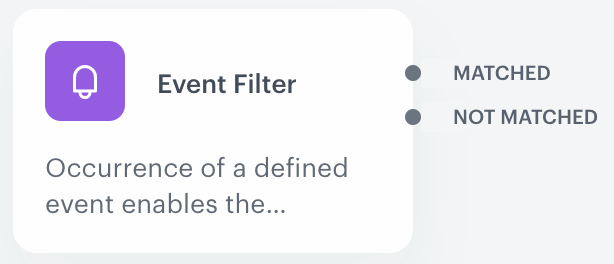
- You can set the time limit of the filter. In such a limit configuration, this node branches into two paths: **MATCHED** and **NOT MATCHED**.
- If the event occurs within the specified time, the customer follows the **MATCHED** path.
- If the conditions of the filter are not met in the specified time, the customer follows the **NOT MATCHED** path.
- If you change the limit configuration from specific limits to no limits, the connections with the nodes followed by the **Event Filter** are removed.
Event Filter two branch configuration
4. If If you want to monitor the entries into this step, switch the **Track datapoints** toggle on. As a result, events related to the movement between nodes (`automation.clientPathStep`) will be available in Decision Hub to use. These events (`automation.clientPathStep`, `automation.clientEndStep`, `automation.startPath`) are displayed on the activity list on the profile card regardless of the configuration of this option.
5. Confirm the settings by clicking **Apply**.
## Defining the date of event occurrence
---
As an example of use, uou can use these date filters to limit the communication with customers in the specific parts of the day.
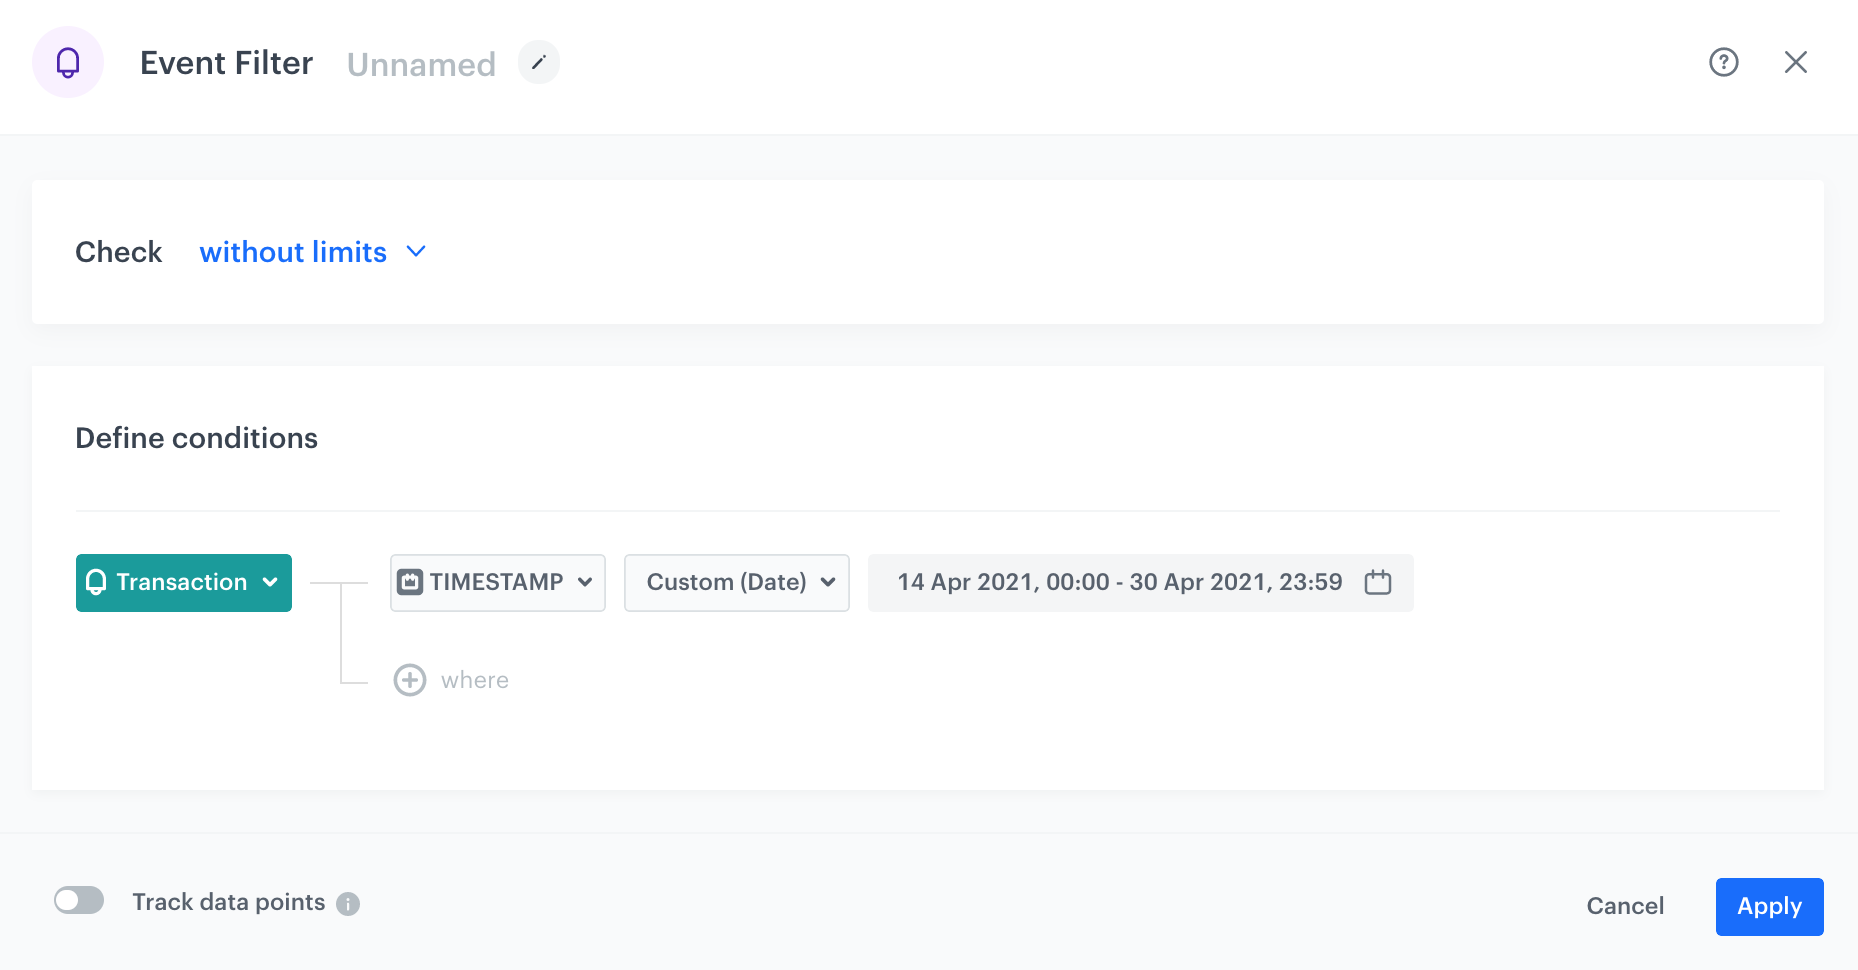
You can determine when a customer qualifies to move forward based on the occurrence of a specific event. In the example in the screenshot, the workflow continues only when a user visits a website between 0:00 on the 14th of April and 23:59 on the 30th of April, 2021.
The workflow is triggered according to the time zone selected in the workspace.
Selected event occurrence date range
1. From the **Choose event** dropdown list, select the event.
2. Click **+ where** button.
3. In the list of parameters, click the tab.
4. Select **Specials**.
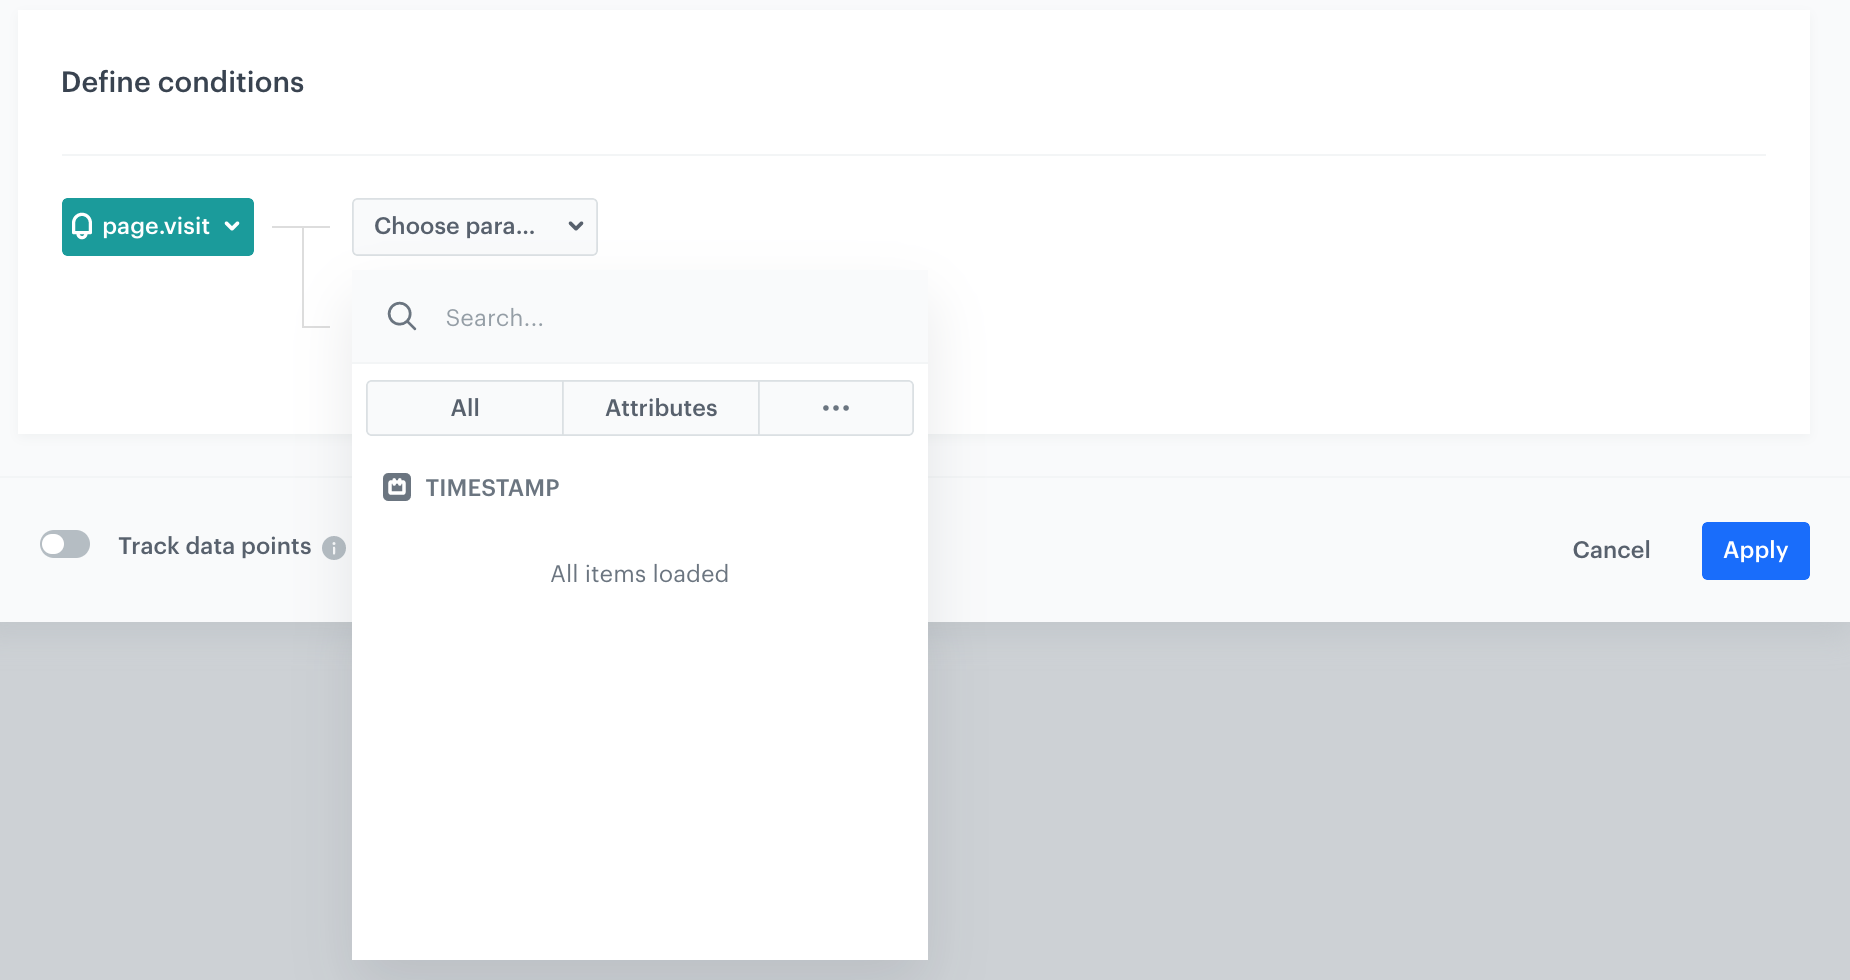
5. Select **TIMESTAMP**.
Timestamp parameter
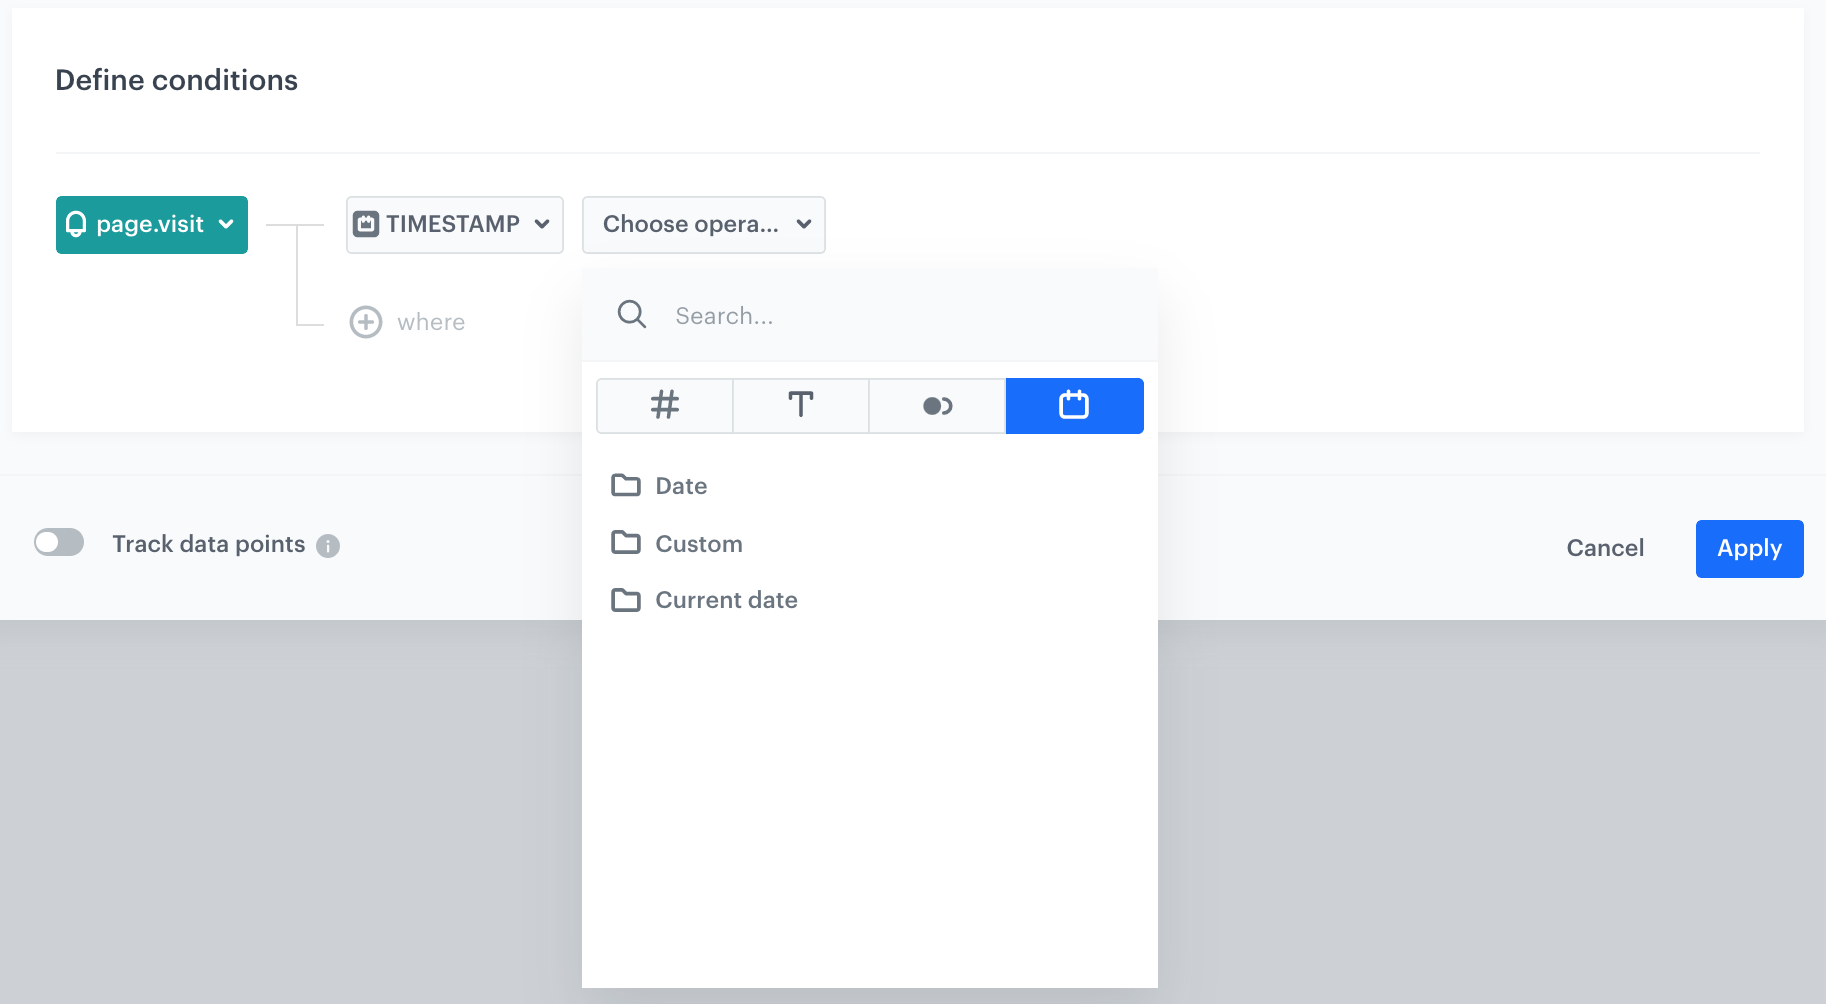
6. From the **Choose operator** list, select:
Timestamp parameter
- **Date** - if you want to select a start or end date
Click to see the explanation of operator options
More than - You choose dates after the selected date (including the selected date).
Less than - You choose dates before the selected date (including the selected date).
- **Custom** - apart from standard date ranges, you can use non-standard (dynamic) dates, for example, everyday from 8:00 to 14.00; Mondays and Thursdays between 15:00 and 17:00; the first and the fourteenth day of the month, and so on.
To use non-standard (dynamic) dates, click this option in the calendar.
The Enable date filter option
- **Current date** - if you want to include those event occurence that happen.
Click to see the explanation of operator options
Matches the current hour - matches only date that fits the current hour, day, month, and year (example: if current date is 2024-05-20 17:00:00, dates from 2024-05-20 17:00:00.000 to 2024-05-20 17:59:59.999 matches)
Matches current day - matches only date that fits the current day, month, and year (example: if current day is 2024-05-20, only 2024-05-20 matches)
Matches current month - matches any date that fits the current month in current year (example: if current month is May 2024, dates from 2024-05-01 to 2024-05-31 match)
Matches current year - matches any date that fits the current year (example: if current year is 2024, dates from 2024-01-01 to 2024-12-31 match)
## Example of use
---
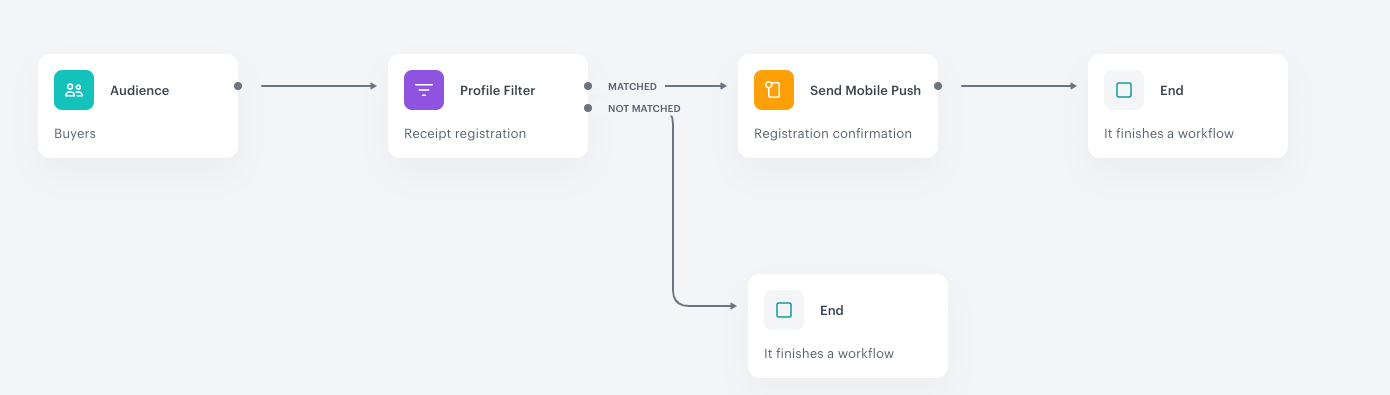
Example of a workflow that uses the Profile Event Filter condition
The purpose of the workflow is to allow the customers to register a receipt in a lottery directly after a purchase, but also to give this possibility to customers who made a transaction the week before.
1. It starts with the **Audience** trigger node. In the settings of the trigger, define the customer groups who participate in the workflow.
2. Add an **Event Filter** condition node. It checks if customers have registered their receipts within a time range.
3. Customers who register a receipt within the given time range receive a push notification.
4. When the push is sent, the workflow is completed.