This node lets you apply universal limits to all profiles (customers) within a workflow. For setting individual limits for each profile, you can use:
- [trigger limits](/docs/automation/automation-capping#trigger-limits),
- [flow control limits](/docs/automation/automation-capping#flow-control-limits),
- [action limits](/docs/automation/automation-capping#action-limits),
- [workflow capping](/docs/automation/automation-capping#workflow-capping)
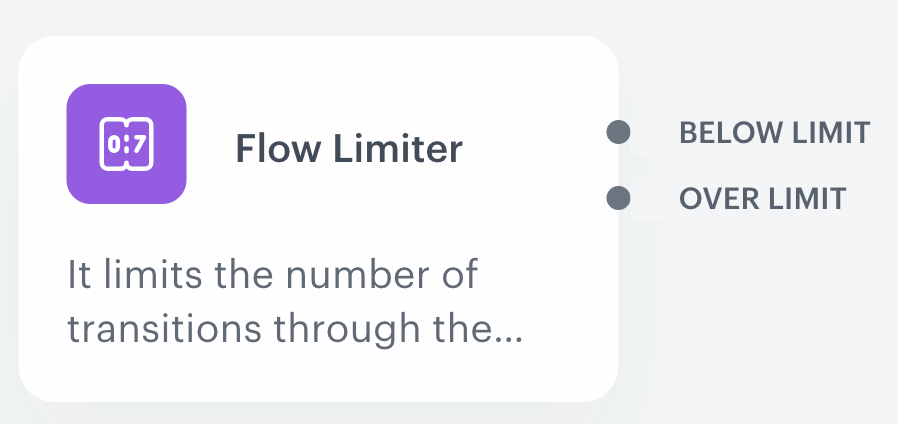
The **Flow Limiter** node lets you set the limit of passages through any stage of a workflow. The node branches out into two paths allowing you to specify scenarios in which the limit is exceeded (**over limit** path) or not (**below limit** path). You can use this node in [business](/docs/glossary#business-workflow) and [customer-oriented workflows](/docs/glossary#profile-oriented-workflow).
The Flow Limiter node on the canvas
The limit applies to passages even in a customer-oriented workflows and it's shared by all customers. For example, setting a limit to `100` within a node in a customer-oriented workflow means that the 101st passage by any customer will follow the path defined for "over limit".
In the configuration of the node, you can set the limit to apply to just one node or to be shared with other nodes in the workflow.
## Node configuration
---
1. To create a workflow, go to **Automation Hub > Workflows > New workflow**.
2. Select any trigger node, for example [Profile Event](/docs/automation/triggers/client-event-node).
3. Click **THEN > Flow Limiter**.
4. To open the configuration form of the node, click the node.
The blank configuration form of the Flow Limiter node
5. From the **Flow Limiter mode** dropdown list, select one of the following modes to define how limits will be counted:
- **Standalone** - This mode lets you define an individual limit for this node. It's recommended to use when you want to define individual limits for each workflow path.
- **Workflow** - This mode lets you define a global limit for the entire workflow. It's recommended to use when your workflow contains several paths and you want to count the passages through the limiters to one, shared limit. You must apply identical settings for these **Flow Limiter** nodes.
6. In the **Limit** field, enter the maximum number of passages.
For example, if you enter `100`, the 100th passage will be still within the limit.
7. In the **Timezone** field, select the timezone in which the value in **Time window** will be counted.
8. In the **Time window** field, select the time after which the counter resets:
- **1 hour** - Full clock hour, for example, if you select **1 hour** and set the limit to `100`, this means that the first 100 passages in one hour will continue through the **below limit** path. The limit resets after 60 minutes.
When the workflow is launched at 12:12, the passages are counted until 12:59. The counter resets to zero at 13:00 and starts counting passages towards the limit again from 13:00 to 14:00.
- **1 day** - A full day is the time range from 00:00:00 to 23:59:59. When the day changes, the limit will be reset.
9. Additionally, you can enable the **Generate transition events** option. Selecting this option will generate an `automation.flowLimiterCount` event, which includes, among other details, a number indicating the order in which a given profile passes through the Flow Limiter node.
Events are created for transitions below the node limit in the configuration. When using time windows, new events after the time window reset will show the transition order in the new cycle.
## Example of use
---
You are preparing to launch an SMS campaign with a daily limit of 100 text messages. The campaign's objective is to send discount codes to club members after they visit a particular product page, while also prompting non-members to join the club through text messages triggered by their visit. To achieve this, you can establish a workflow for the campaign.
This workflow will use the **Flow Limiter** nodes with the workflow mode, each passage through any limiter node contributes to a shared limit of 100 text messages.
1. Go to **Automation Hub > Workflows > New workflow**.
2. As the trigger node, select **Profile Event**. In the configuration of the node, select a page visit event and as the event parameter, use URL and set its value to the URL of the product.
3. As the next node, select **Profile Filter**. In the configuration of the node, select the customer attribute which signifies club membership and set its value to `true`.
4. To both paths (**Matched** and **Not matched**), add the **Flow Limiter** nodes. In the configuration of the nodes, set their mode to **Workflow**, limit to `100` and time window to **1 day**.
5. In the **matched** path, to the **below limit** connector, add the [Send SMS node](/docs/automation/actions/send-sms-node) and configure it according to your business assumptions to send codes to club members. After that node, add the [End node](/docs/automation/flow-control/end-node).
6. In the (**not matched**) path, at the **below limit** connector, add the [Send SMS node](/docs/automation/actions/send-sms-node) and configure it according to your business assumptions to send SMS messages that encourage joining the club. After that node, add the [End node](/docs/automation/flow-control/end-node).
7. To the paths for exceeded limits, add the [End node](/docs/automation/flow-control/end-node).
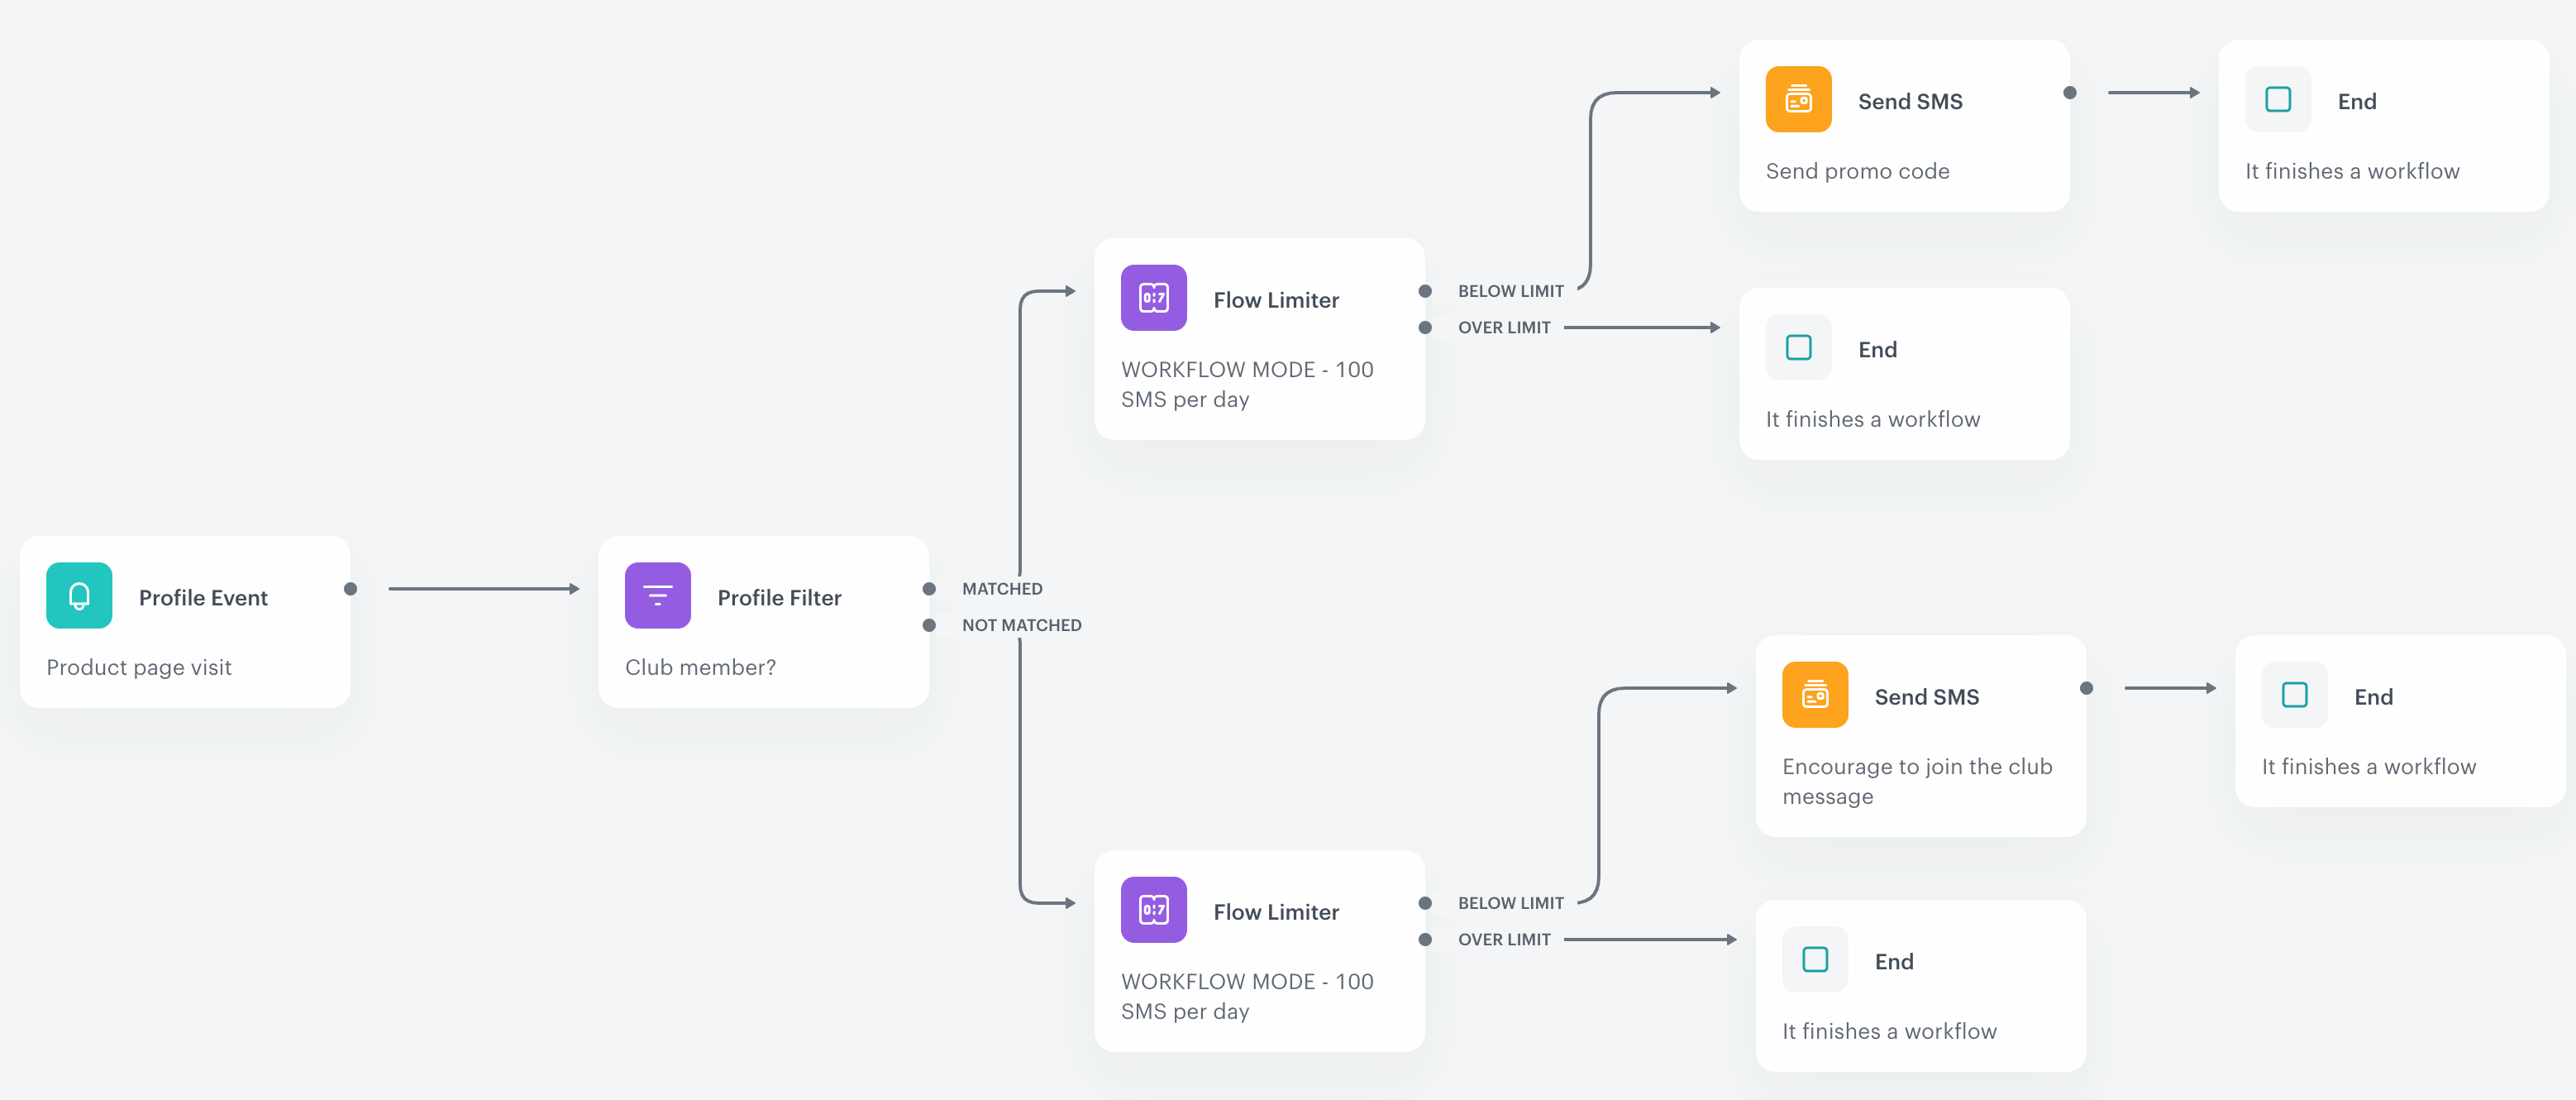
**Result**:
The final workflow configuration