This node allows you to supplement the file with the required data which your input file may be missing. It lets you create a new column with the rows that contain the target value in a file.
## Node configuration
---
1. In the **Add column** field, enter the unique column name.
2. Select one of the options:
- **Static value** - when you select this option, the rows in the new column are filled with the value you define.
If you leave an empty field for the **Static value** option, the values in the column will be empty strings.
- **Dynamic value** - when you select this option, the rows in the new column are filled with a [variable (Jinja)](/developers/inserts/imports). The use of custom Jinja tags (for example, referring to customer attributes, aggregates, expressions, and so on) is not possible.
- **No value** - when you select this option, the new column is added with empty rows.
If you choose the "No value" option, the values in the column will be null. It means that if a corresponding attribute exists in the database, it will be deleted.
- **UUID** - when you select this option, the rows in the new column are filled with a randomly generated UUID v4 (unique for each row).
- **Current date** - when you select this option, rows in the new column are filled with the current date (the date and time are generated on an ongoing basis during the transformation). After selecting the **Current date** option, [configure the date format](#current-date-option).
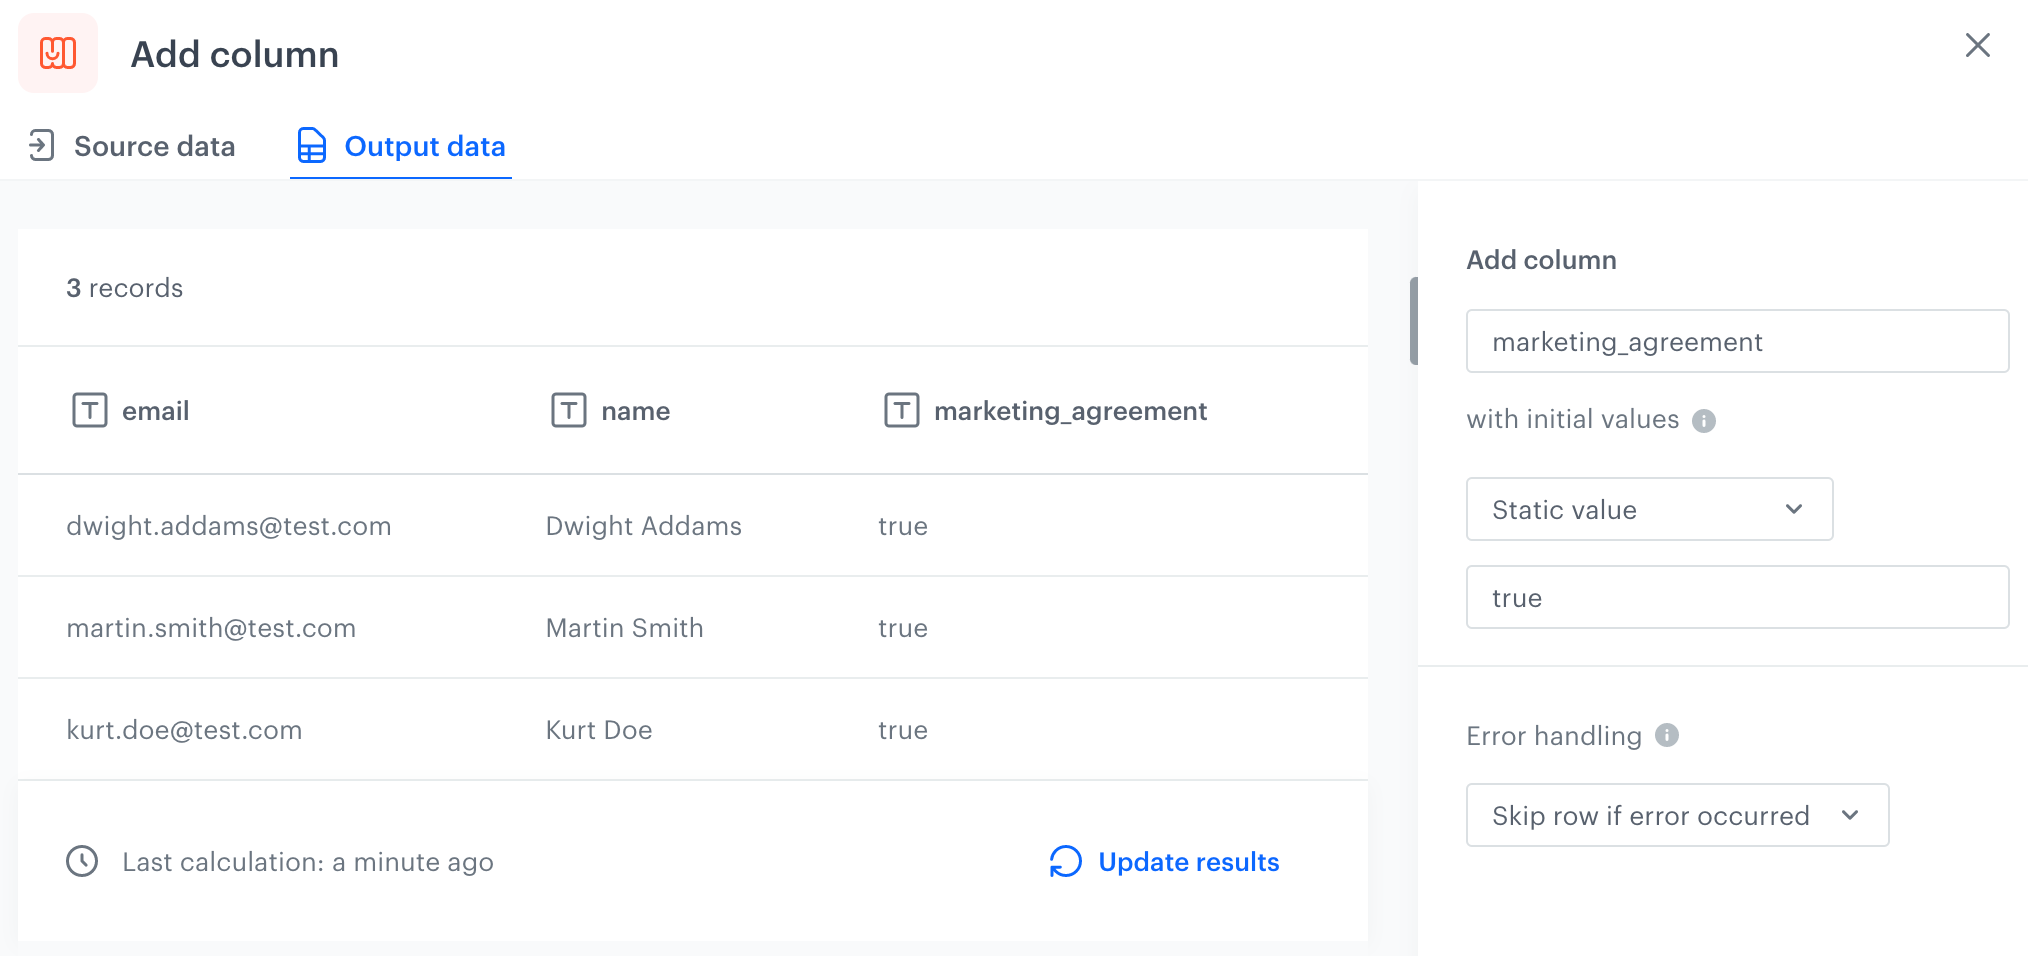
4. You can check the preview of the file after changes in the **Output data** tab.
4. To add more columns, add subsequent **Add column** nodes. You can add one column in each **Add column** node.
5. To define what happens if rows contain errors, select one of the options available in the [Error handling](#handle-errors) section.
6. Confirm the settings by clicking **Apply**.
### Current date option
Using the **Current date** option, you can enrich your data with a dynamically injected date and time which can be used, for example, to build an event salt.
To define a rule with **Current date**:
1. Select a timezone.
2. Select one of the available formats:
* ISO (for example 2022-10-05T05:55:16.786596Z)
* Timestamp (for example 1664949342323)
* MMM d, YYYY (for example Oct 5, 2022)
* MMM d, YYYY, HH:mm:ss (for example Oct 5, 2022, 05:57:14)
* YYYY-MM-dd HH:mm (for example 2022-10-05 05:57)
* Custom - you can create [your own date and time format](#custom-date-format).
#### Custom date format
You can use the following elements to build a custom format. The example values use October 05, 2022 as the date.
* MMM - name of month (Oct)
* MM - number of month (10)
* DD - day of year (278)
* dd - day of month (05)
* YYYY - year (2022)
* YY - year (22)
### Handle errors
You can define what to do with failed values (for example, as a result of Jinja rendering or in other cases) in cells where data type modification failed.
In the **Handle incomplete data** section, select one of the following options:
- **Skip row if error occurred** - It omits the row when an exception occurs.
- **Skip if result is null or empty string** - It omits rows with empty strings and `null` (which may be the result of rendering Jinja)
- **Stop further transformation** - The transformation stops at the row with an error. The data before the line that caused the error is transformed (and imported if the transformation rule is used in the Data Transformation node).
- **Insert null if error occurred** - Wrong values are replaced with `null`. If you use such a transformation for the import of profiles, the existing value of an attribute is cleared and replaced with the `null` value.
- **Insert empty string if error occurred** - Wrong value is removed and the cell remains empty.
## Example of use
---
You can create a transformation of a sample file with customers' data by adding a `marketing_agreement` column with the `true` value. Later, you can use this transformation while importing customers to Synerise.
Transformation of a sample file with customer's data
1. Start the transformation with the **Data Input** node.
2. Click the node.
3. In the configuration of the node, upload a sample file with customer data.
4. Add the **Add column** node and join it with the **Data Input**.
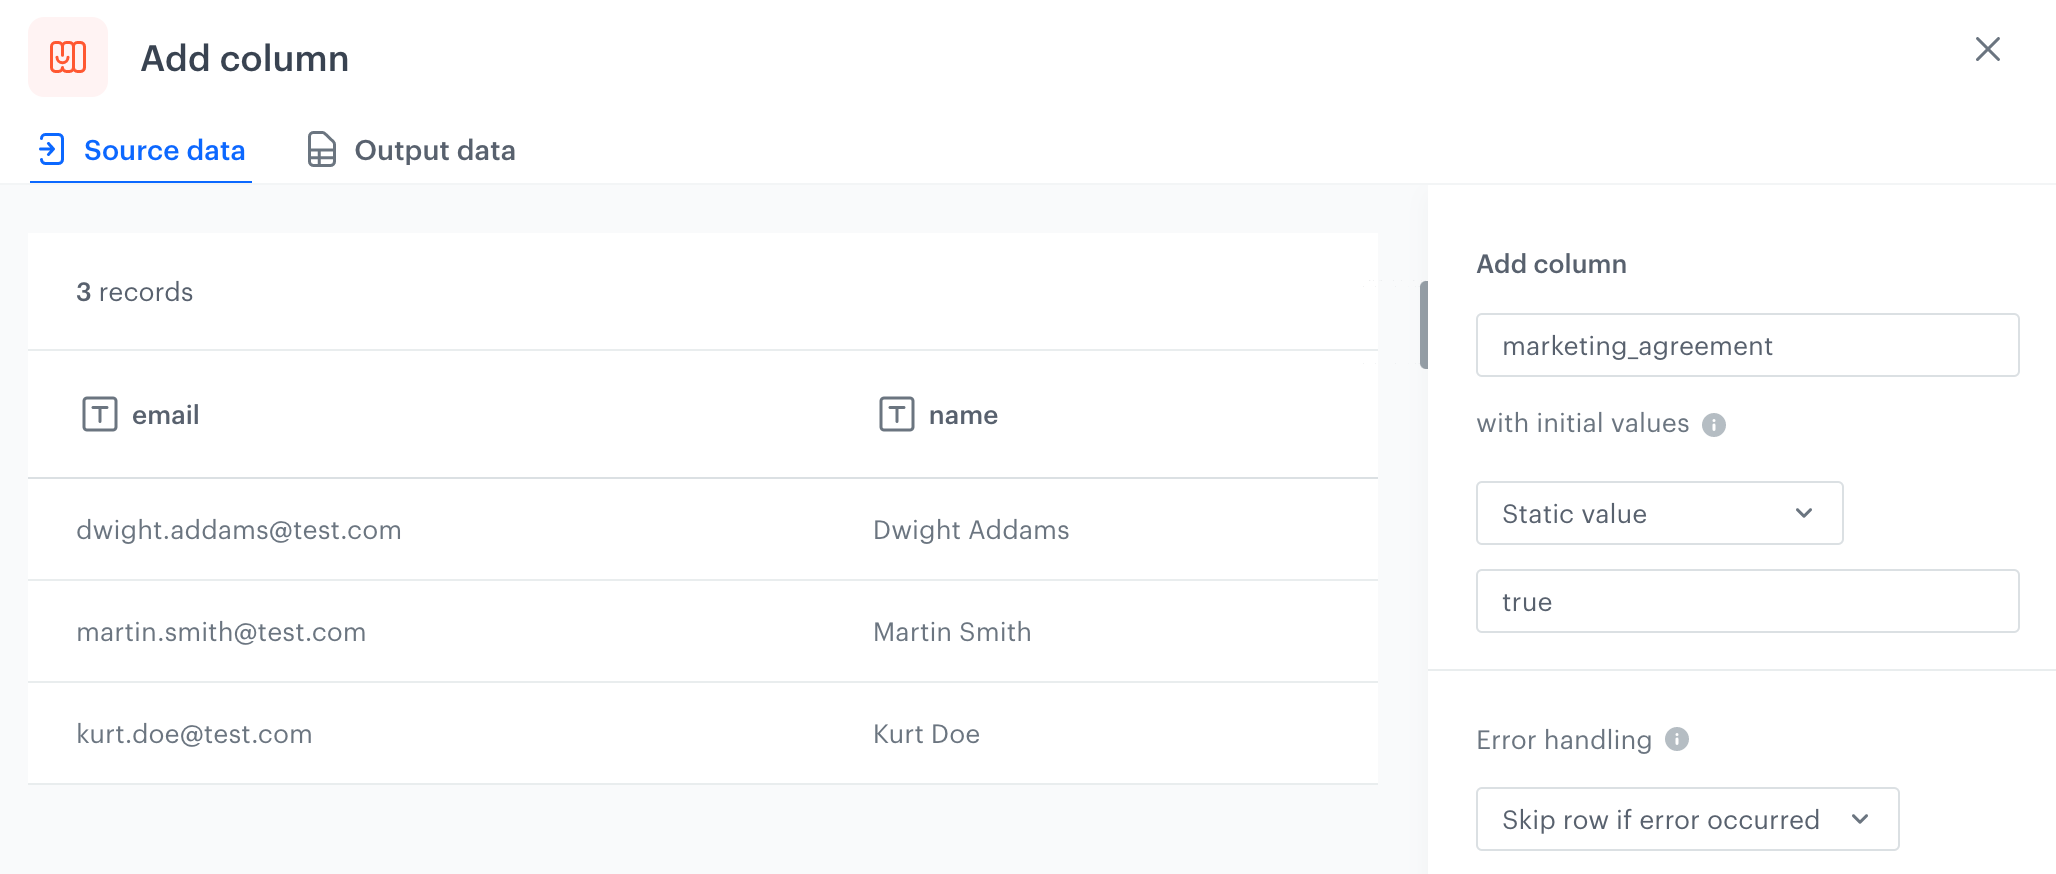
5. In the configuration of the **Add column** node:
1. In the **Add column** field, enter `marketing_agreement`.
2. Leave the first dropdown list at default (**Static value**).
3. In the last field, enter `true`.
Configuration of the Add column node
4. Confirm by clicking **Apply**.
5. Add the **Output data** node and join it with the **Add column** node.