The **Decrypt Data** node lets you decrypt values in selected columns of a dataset. Paired with the [**Encrypt data** node](/docs/automation/data-transformation-and-imports/transformations-and-data-operators/encrypt-data) or an external encryption tool, it enhances data security and confidentiality by encrypting sensitive information with AES-256 key using AES-GCM mode that is unreadable without a decryption key.
By using this transformation, you can safeguard your data and comply with privacy regulations while maintaining the integrity of your dataset.
## Requirements
---
- You must have a user role with the following permission: **Settings > Encryption keys > Read** - To preview list of encryption keys, preview list of encryption keys in Encrypt Data and Decrypt Data nodes in Data Transformation;
- [Create an encryption key in Synerise](/docs/settings/data-exchange-encryption)
- Your must encrypt the column values (**not** the column header) using the AES-GCM encryption algorithm with a 256-bit secret key, in the following format: `base64encode([IV] + [Encrypted Text] + [Authentication Tag])`, where `IV` is the initialization vector used to initiate the encryption algorithm.
## Node configuration
---
1. Double-click the **Decrypt Data** node.
2. Click **Add rule**.
3. Select one of the **Include** options, by clicking the icon next to **these**:
- **these** - the default; it lets you select the columns in which you want to decrypt data.
- **all except these** - this option lets you select the columns in which you do NOT want to decrypt data. Values from the other columns will be decrypted as defined in the further steps.
3. Select columns to include/exclude (according to the **Include** setting above) in one of the following ways:
- **Select column** - from the dropdown list, you can select the columns to be included or excluded from the transformation.
- **Add condition** - you can create a dynamic condition which columns must meet to decrypt their values; for this purpose, you can use logical operators such as contain, starts with, ends with, and so on.
You can't combine dynamic conditions with the **Include all except these** option.
For further instructions, select one of the tabs below, depending on the option you have chosen in step 4.
Select column option
4. From the dropdown list, select the first column whose values will be decrypted.
5. To add more columns, click icon.
5. From the **Decrypt data using** dropdown list, select the key with which the data will be decrypted.
Define condition option
1. Select one of the following logical operators to define the conditions which column name must:
- **Ends with** - for example, if you enter `a`, the operation will be performed on the columns whose names end with `a`.
- **Starts with** - for example, if you enter `pro`, the operation will be performed on the columns whose name starts with `pro`.
- **Contain** - for example, if you enter `xyz`, the operation will be performed on the columns whose name contains `xyz`.
- **Not contain** - for example, if you enter `123`, the operation will be performed on the columns whose names doesn't contain `123`.
- **Regex** - You can perform the operation on columns whose names match the regular expression.
5. From the **Decrypt data using** dropdown list, select the key with which the data will be encrypted.
5. To add more rules, click **Add rule** and repeat steps from 3 to 5.
5. You can check the preview of the file after changes in the **Output data** tab.
6. Confirm the settings by clicking **Apply**.
## Example of use
---
You can use the **Decrypt Data** node to decrypt a set of sensitive data you receive in Synerise. For example, you want to decrypt a column in a CSV file that contains email addresses of your customers. This example of use contains instructions how to create a transformation rule that decrypts a set of sensitive data. You can use the transformation rule from the [Data Transformation node](/docs/automation/operation/data-transformation-node) in a workflow that retrieves the file from an external source, decrypts email addresses, and imports them to Synerise.
Before you proceed to creating a transformation rule that uses this node, ensure that you meet the [requirements](#requirements).
File sample used in the Data Input node
1. As the first node of the transformation rule, add **Data Input**.
2. In the settings of the node, upload a file sample which imitates the structure of the source file (the one which will be received in a workflow which retrieves the actual file from your external source).
3. Confirm the settings by clicking **Apply**.
3. As the next node, add **Decrypt Data**.
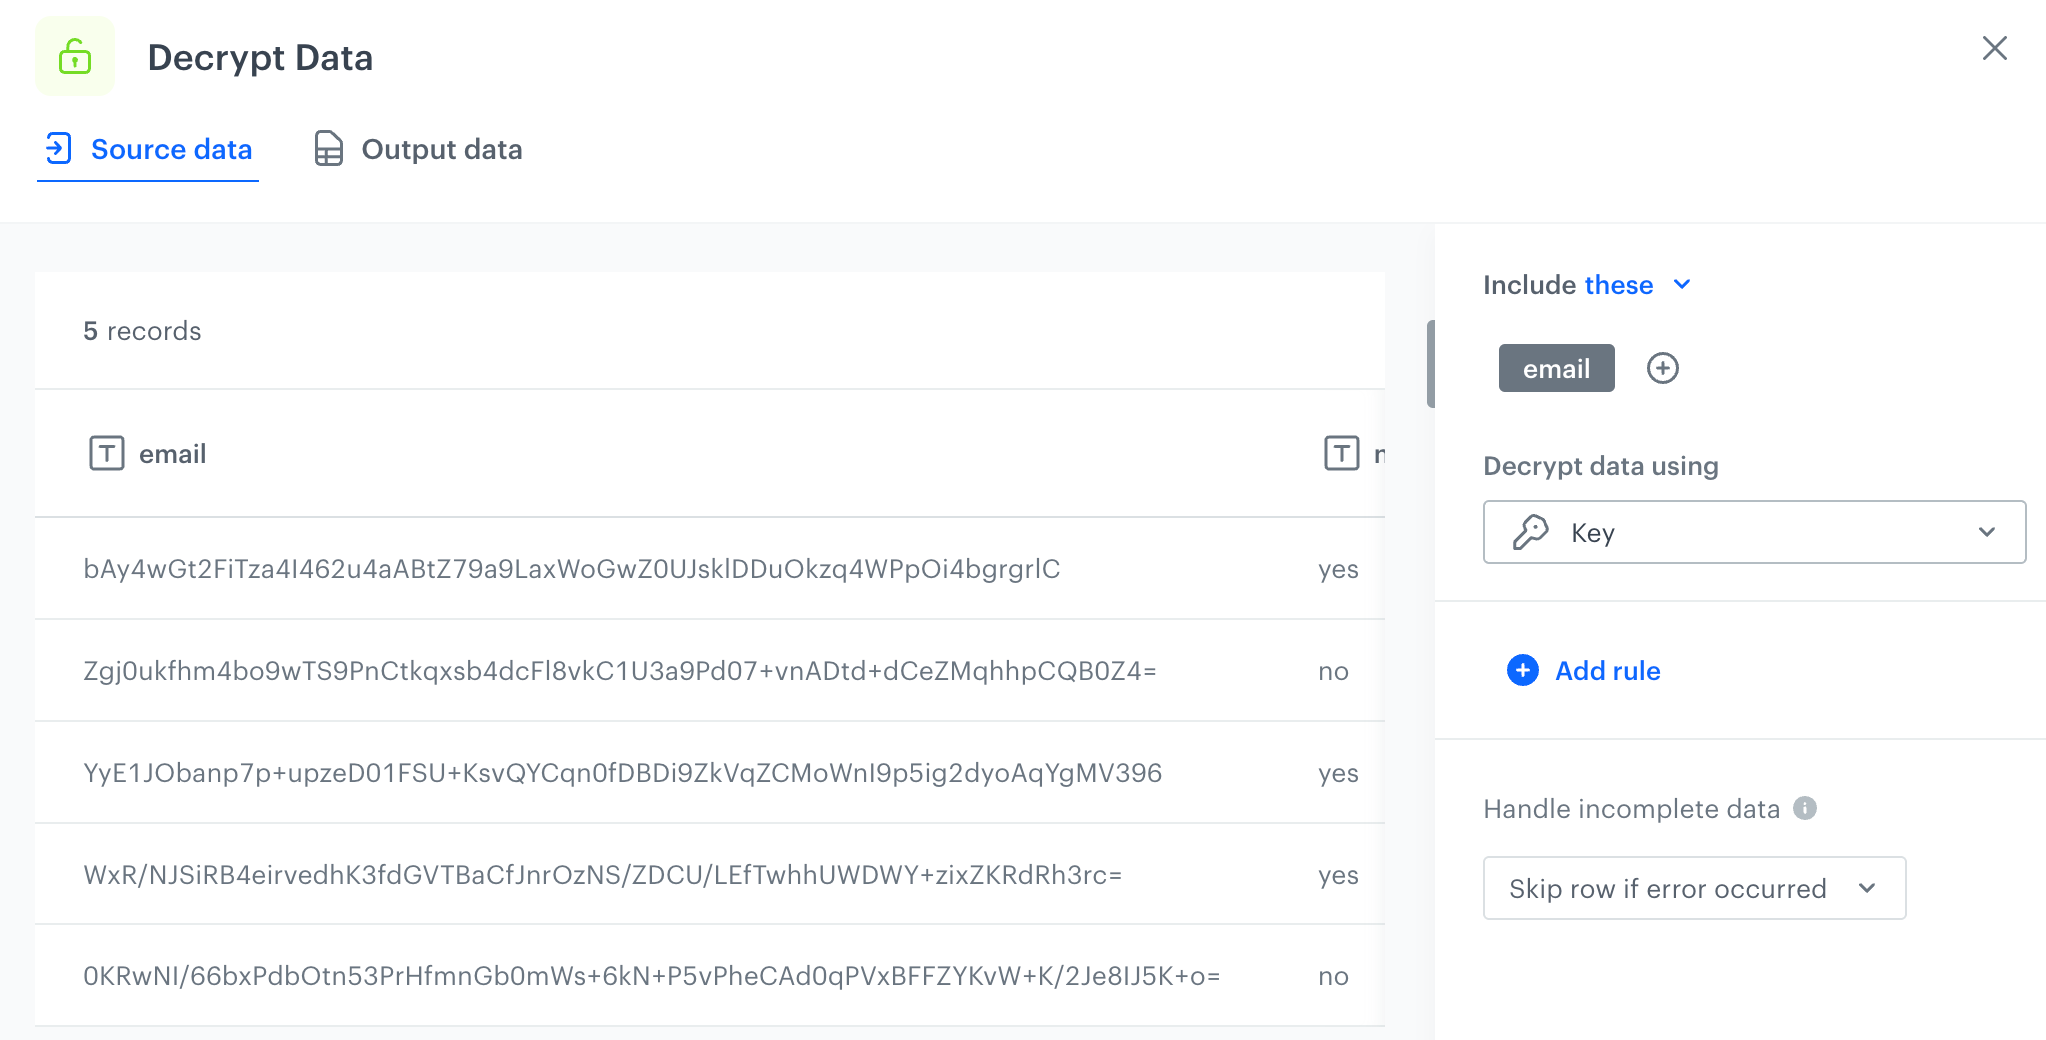
4. In the settings of the node, select the email column.
5. From the **Decrypt data using** dropdown list, select the Synerise encryption key which will be used to decrypt data in this column.
Configuration of the Decrypt Data node
6. Confirm the settings by clicking **Apply**.
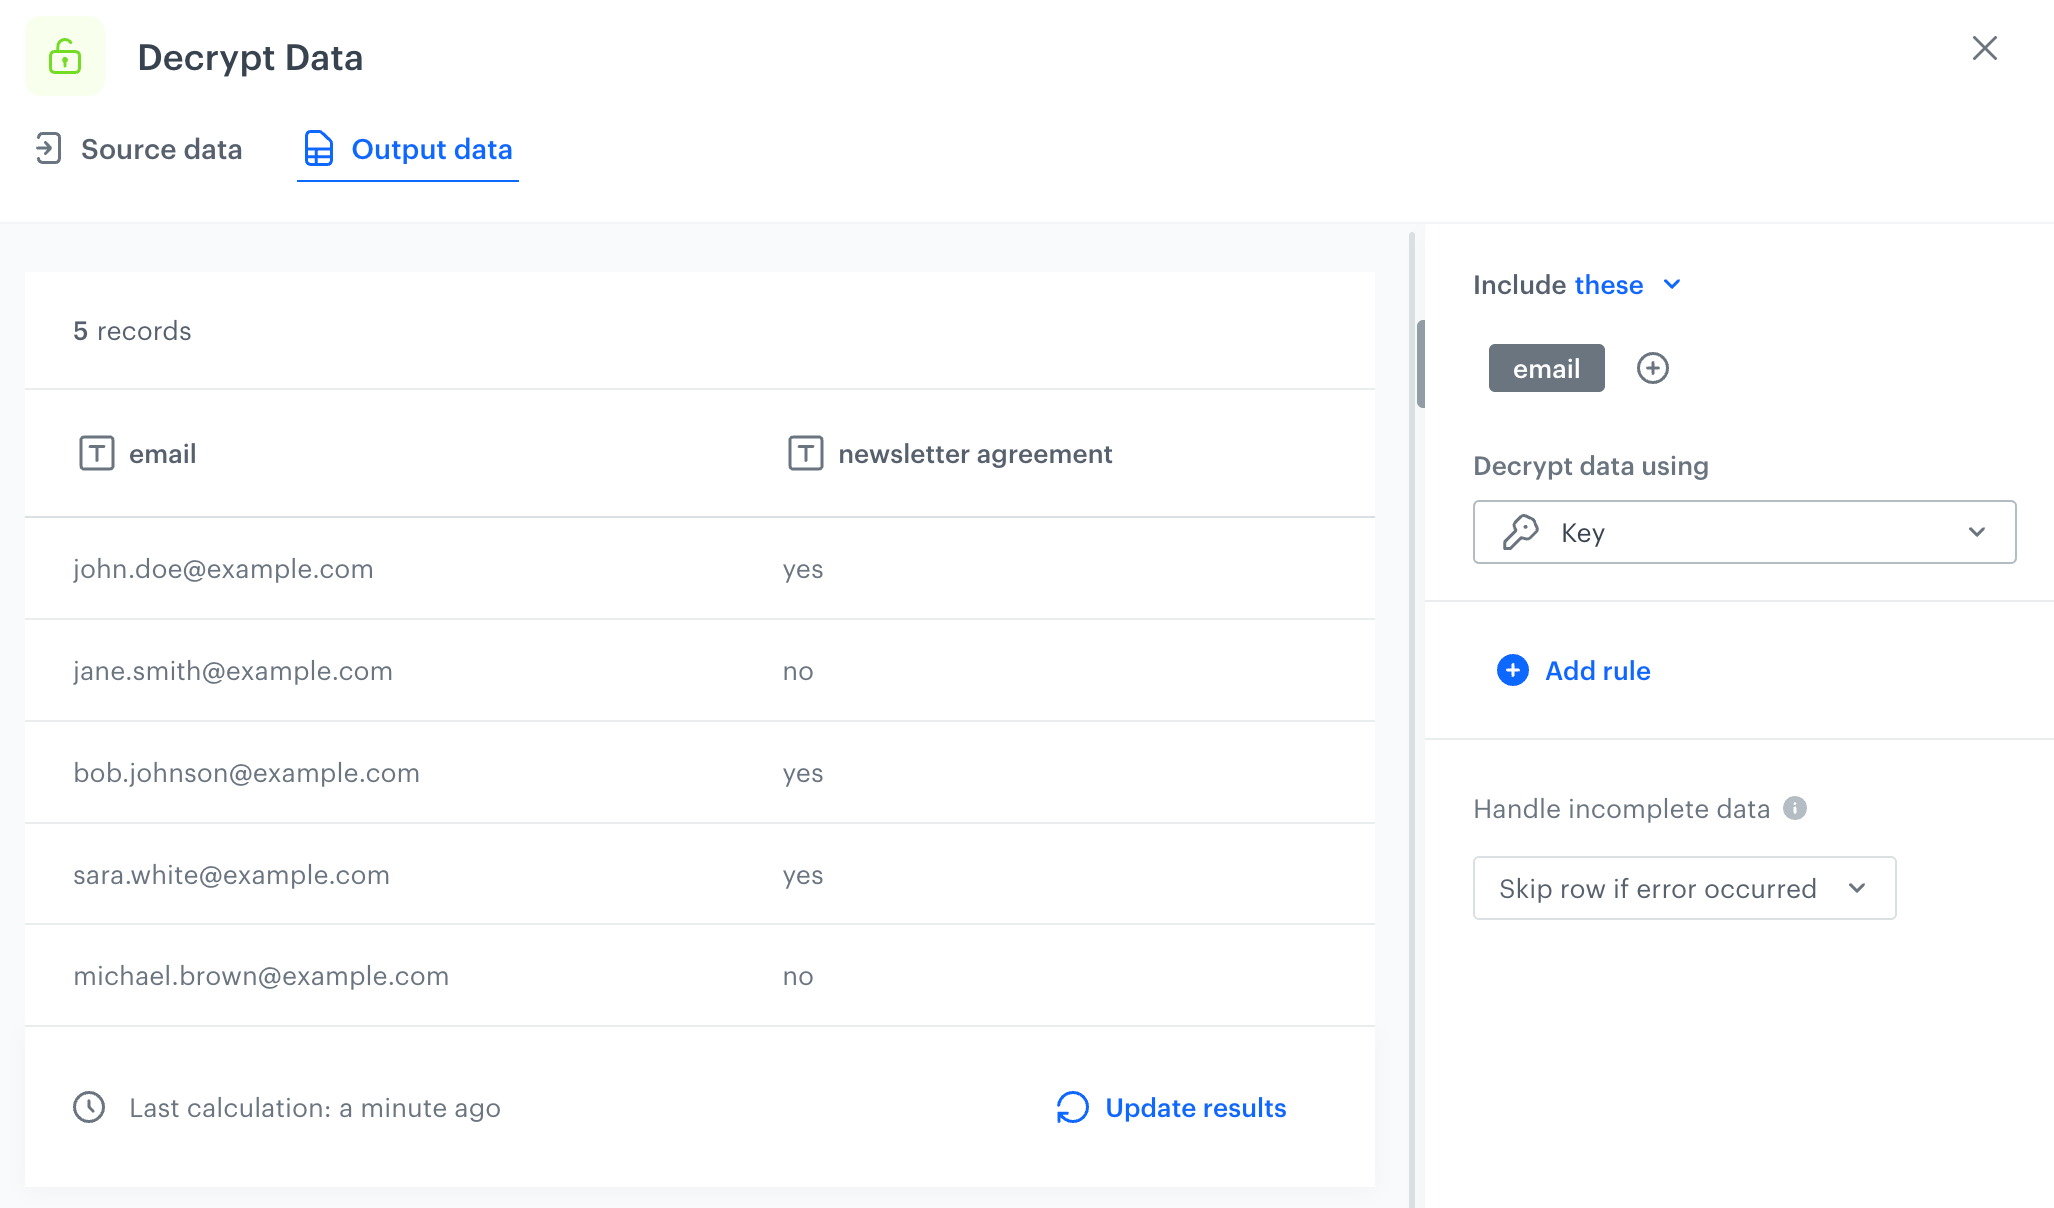
7. In the **Output data** tab in the **Decrypt Data** node, you can preview the results of the transformation in the node.
Output of the transformation performed within the Decrypt Data node
7. Add the **Output Data** node.
In the further steps, you can create a workflow that is triggered repeatedly, retrieves a file with encrypted email addresses, decrypts email addresses by means of the transformation rule created as described above, and imports customers with these decrypted email addresses to Synerise.
Example workflow that uses transformation rule in a workflow