The **Create Coupon** node lets you send requests for creating coupons in the AIR Wallet in Eagle Eye. This integration simplifies coupon generation by automating the communication between Synerise and Eagle Eye’s API, allowing marketers to efficiently manage promotions and engage customers.
This node is available for profile-oriented and business-oriented workflows.
Execution of the node in a workflow generates an [`eagleEye.couponCreated` event](/docs/assets/events/event-reference/integration#eagleeyecouponcreated) on the activity list of a profile who is an actor in the workflow.
## Prerequisites
---
You must have account in Eagle Eye. You will need the following data from Eagle Eye:
- client ID
- client secret
- EES AIR Wallet ID
- EES AIR Campaign ID
## Node configuration
---
1. Go to **Automation Hub > Workflows > New workflow**.
2. Create a workflow by adding nodes and arranging them in an order that aligns with your business requirements and the intended logic.
You can read more about the workflow basics in [Creating workflows](/docs/automation/creating-automation).
3. As one of the nodes, select **Eagle Eye > Create coupon**.
2. To allow the data exchange, establish a connection between Synerise and Eagle Eye, click **Select connection**.
3. From the dropdown list, select the connection.
- If no connections are available or you want to create a new one, see [Create a connection](#create-a-connection).
- If you selected an existing connection, proceed to [defining the integration settings](#define-the-integration-settings).
### Create a connection
If you haven't established any connection yet or you want to create another, establish a connection between Synerise and Eagle Eye that facilitates the exchange of data.
1. In the **Connection name** field, enter the name of the connection.
It's used to find the connection on the list.
2. In **Client ID**, enter a unique identifier assigned to your application by Eagle Eye.
3. In **Client secret**, enter client secret assigned to your application by Eagle Eye.
4. Confirm by clicking **Create**.
**Result**: You will be redirected to the form in which you will define the integration settings. The connection you created is available in **Settings > Connections**.
## Define the integration settings
In this part of the process, fill in the configuration form so that you can create a coupon in AIR Wallet in Eagle Eye.
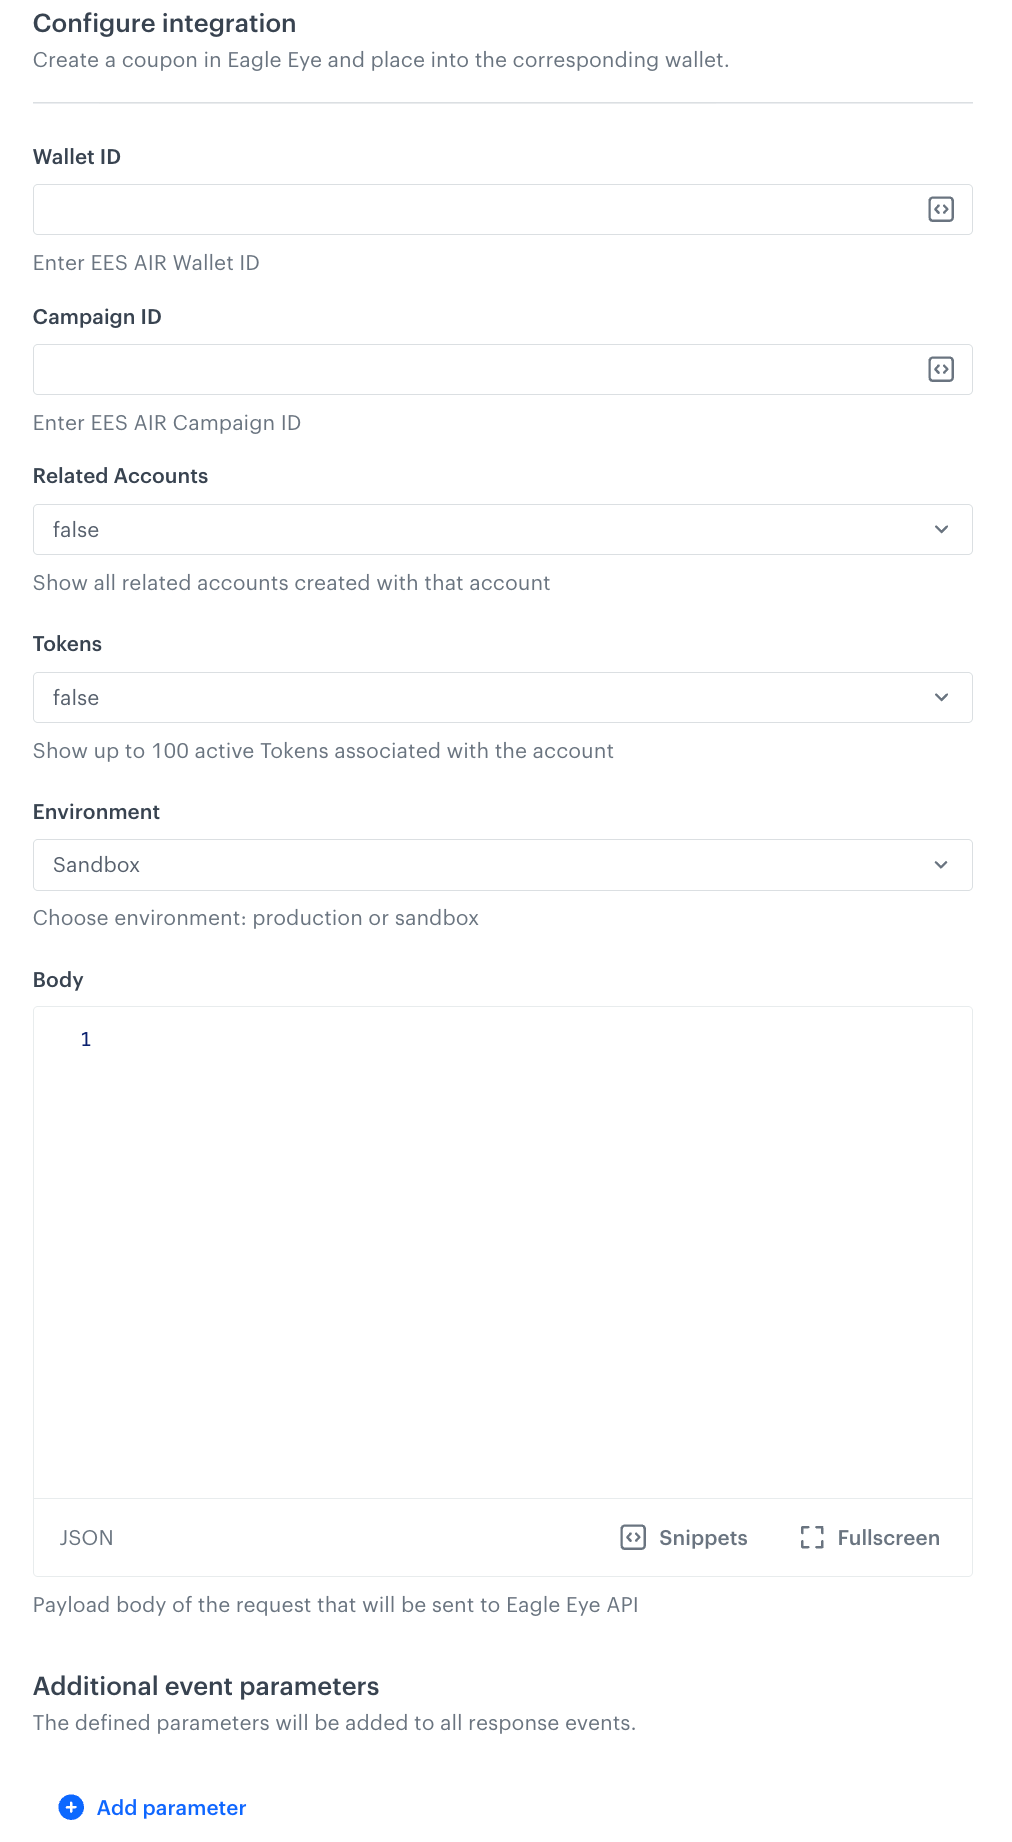
The empty configuration form of the Create Coupon node
1. In **Wallet ID**, enter EES AIR Wallet ID.
You can add [snippets](/docs/assets/snippets) by clicking the icon in the field.
2. In **Campaign ID**, enter EES AIR Campaign ID.
You can add [snippets](/docs/assets/snippets) by clicking the icon in the field.
3. Optionally, in **Related Accounts**, define if you want to show all related accounts created with that account in the `eagleEye.couponCreated` event.
4. Optionally, in **Tokens**, define if you want to show up to 100 active tokens associated with the account in the [`eagleEye.couponCreated` event](/docs/assets/events/event-reference/integration#eagleeyecouponcreated).
5. Optionally, in **Environment**, choose the environment in which the coupon will be created.
6. In **Body**, provide custom parameters which you can send to Eagle Eye.
You can add [snippets](/docs/assets/snippets) by clicking the icon in the field.
7. Optionally, in **Additional parameters**, you can add parameters which will be added to the event generated after request response (the [`eagleEye.couponCreated` event](/docs/assets/events/event-reference/integration#eagleeyecouponcreated)).
1. In the **Parameter** field, enter the name of the parameter.
- The name must not contain special characters or exceed 128 characters
- The following parameters cannot be sent:
- `eventUUID`
- `status`
- `statusDescription`
- `uuid`
- `clientId`
- `diagramId`
- `diagramName`
- `blockId`
- `blockName`
- `req`
- `name`
- `body`
2. In the **Value** field, enter the parameter value.
- The value is always sent as a string when the event's JSON payload is generated. The maximum length of the value is 230 characters.
- You can use [snippets](/docs/assets/snippets) in the **Value** field.
8. Confirm by clicking **Apply**.
**Result**: When the Create Coupon node is executed, the [`eagleEye.couponCreated` event](/docs/assets/events/event-reference/integration#eagleeyecouponcreated) is generated on the activity list of the profile who is the actor in the workflow.
### Test integration
---
You can run a test request. If the request body contains a dynamic reference to a profile attribute and/or an event data from preceding nodes, then you can define the context using [test profile data](/docs/settings/configuration/test-profiles).
Complete description of the feature is available in [Testing outgoing integrations](/docs/automation/test-requests-for-outgoing-integrations).
1. In the **Test integration** section, click **Send test request**.
**Result**: A test request builder opens. If:
- a request body contains dynamic references, the request preview appears after you select the context of test profiles and events.
- a request body contains static data, the preview of the body request appears immediately.
An empty test request builder
2. If your request contains dynamic references (otherwise, the options aren't available):
- From the **Test profile** dropdown, select a test profile in the context of whom the test request will be performed.
- From the **Event context** dropdown list, you can select a particular occurrence of an event whose values/information will be used for the test request.
1. Select a test profile.
**Result**: A history of test profile events appears.
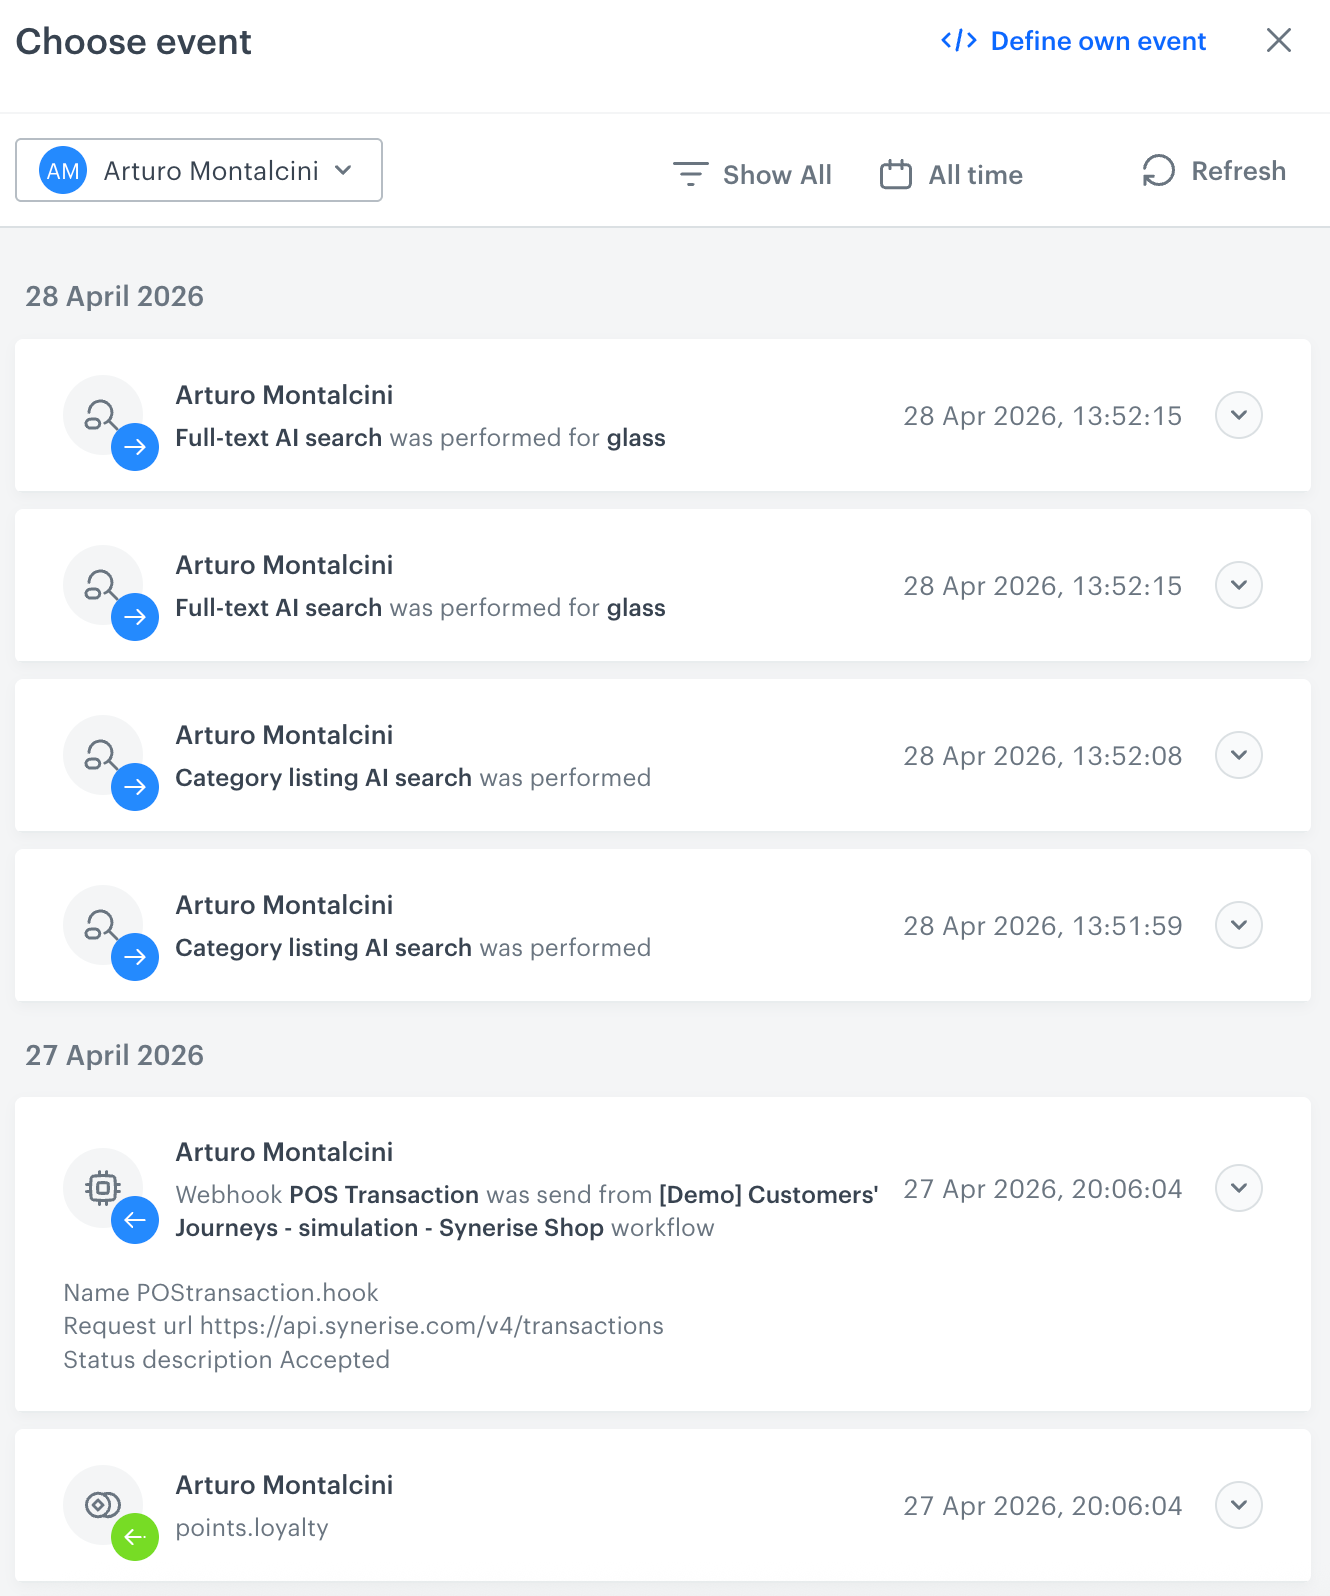
A stream of events of a test profile
2. From the list of events, select one whose data you want use as a context. If there is no event you can use, in the upper-right corner of the pop-up, click **Define own event** and provide the body of the event.
3. Confirm by clicking **Apply**.
3. Verify the request body. If there is something you want to change, come back to the node settings from previous steps.
3. If the request body is ready to test, in the upper-right corner, click **Send request**.
**Result**: The response section appears and the **Update response event** button becomes active.
4. Optionally, you can update response event with new parameters by clicking **Update response event** in the upper-right corner.
## Example of use
---
You can create a workflow that grants a coupon to a user when they subscribe to the newsletter. The Synerise workflow triggers an API call to Eagle Eye. Eagle Eye generates or assigns a unique coupon code to the user.
It is important to enforce limits within this workflow to ensure that only one coupon reward is granted per newsletter subscription.
1. Start the workflow with **Profile Event**. In the settings of the node, select an event which signifies newsletter subscription.
2. As the next node, add **Create coupon**. Fill out the configuration form in the node as described earlier in the article.
3. As the final node, add **End**.
**Result**:
Final workflow configuration