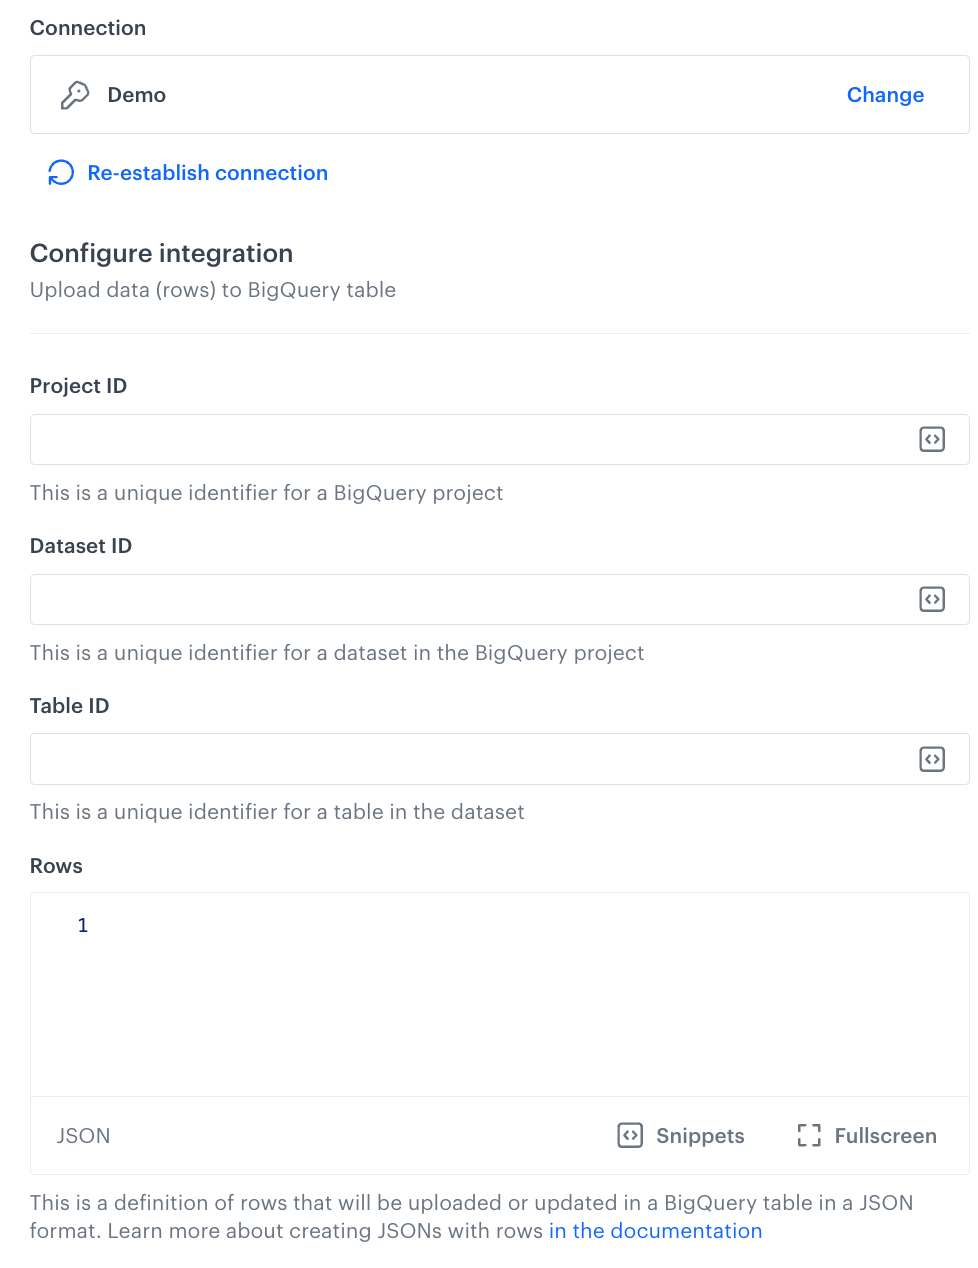
[ { "insertId": "{{ currentStep.actionId }}", "json": { "name": "{{ customer.firstname }}", "email": "{{ customer.email }}" } } ]
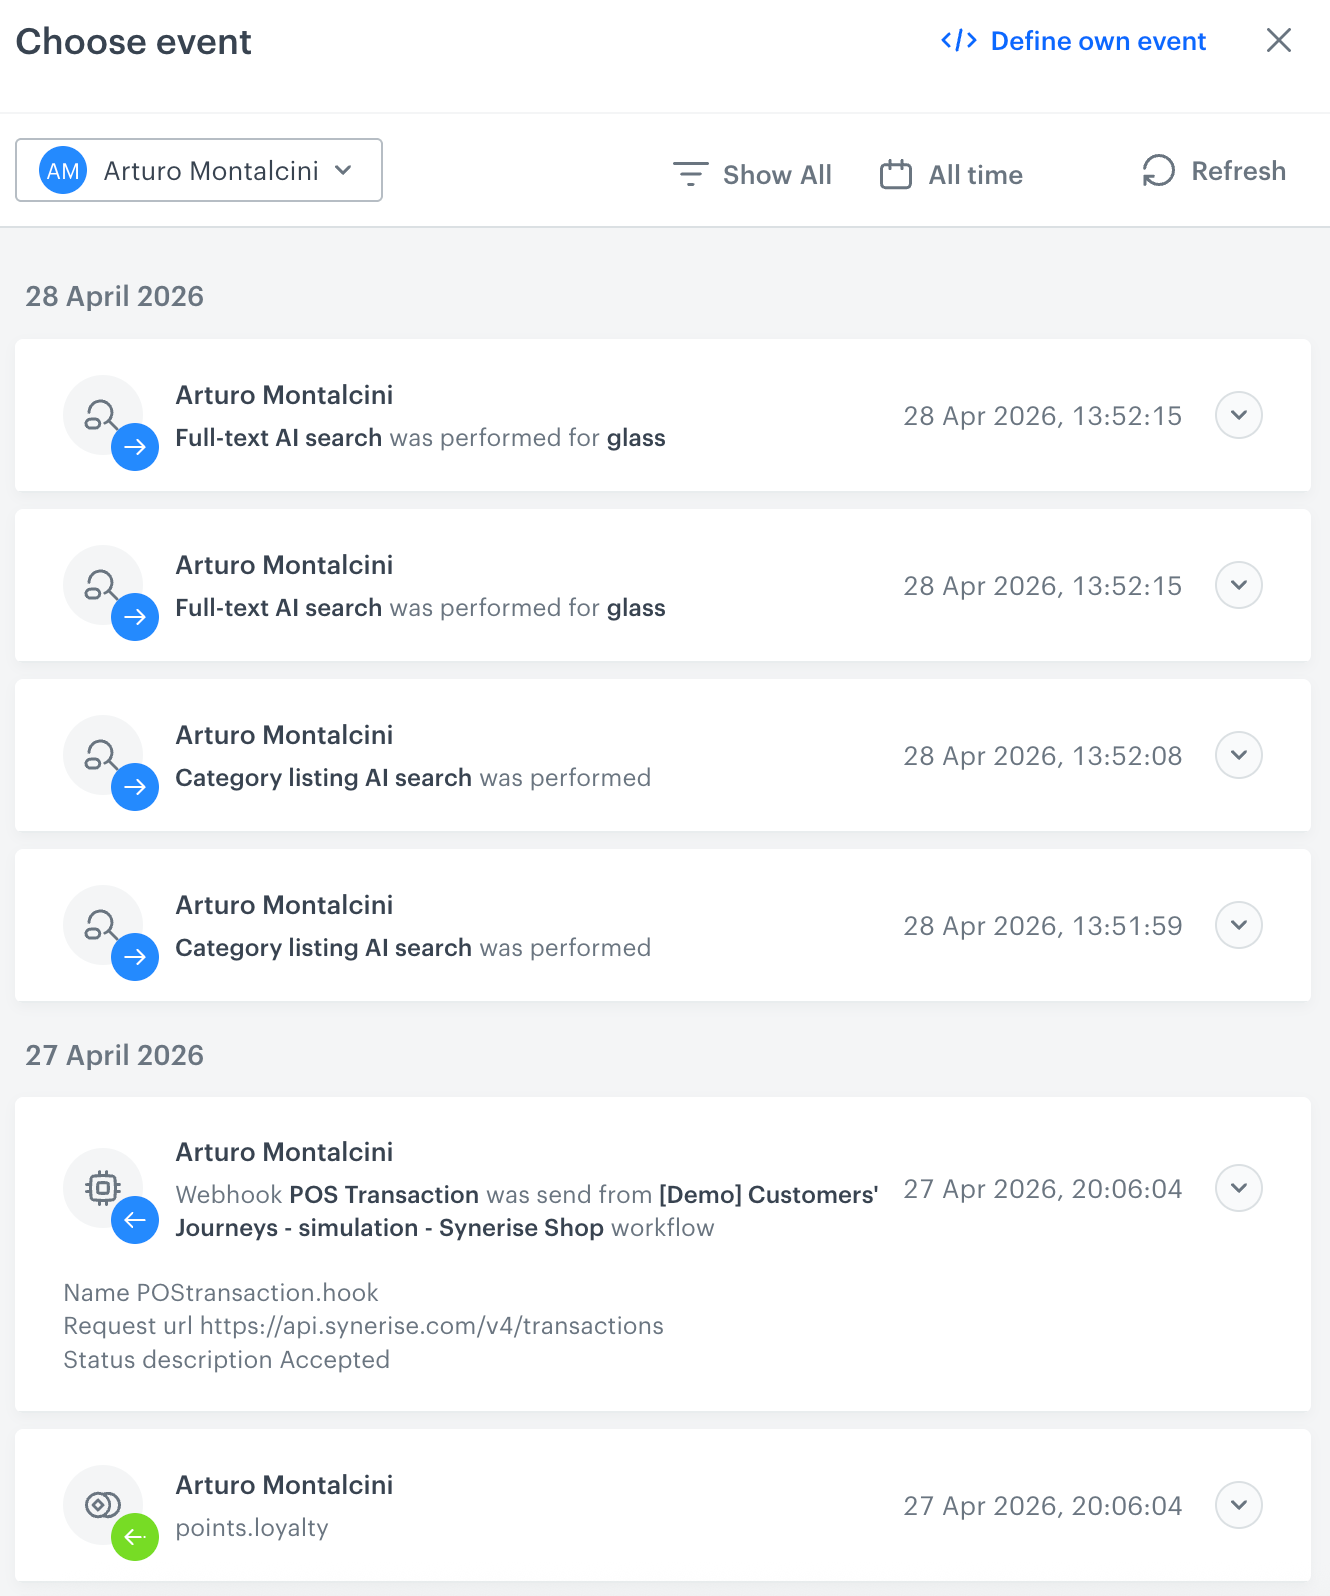
{ "time": "2023-02-15T15:24:49Z", "action": "complaint.filed", "label": "", "client": { "id": 5092159999, "email": "e0097757-d1e2-44ac-ba3c-d97979a354c1@anonymous.invalid", "uuid": "e0097757-d1e2-44ac-ba3c-d97979a354c1" }, "params": { "eventCreateTime": "2023-02-15T15:25:08.861Z", "name": "John", "surname": "Doe", "complaintNumber": "123", "complaintText": "Hello, my order didn't arrive." } }[
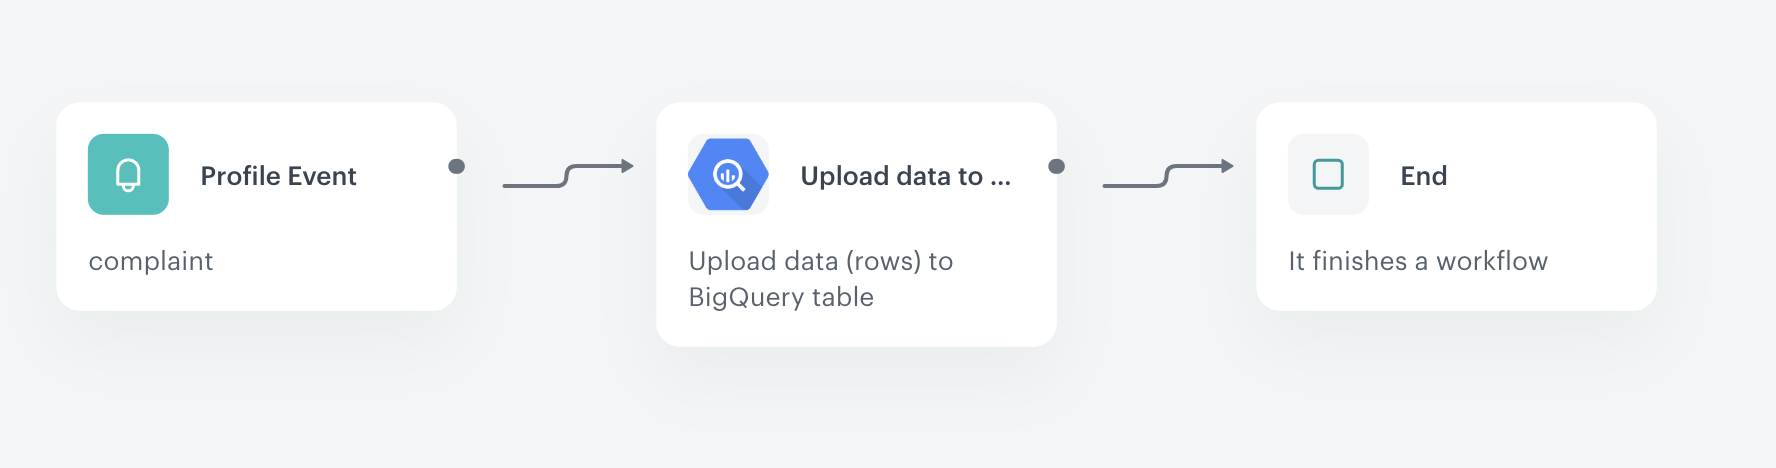
{
"insertId": "{{ currentStep.actionId }}",
"json": {
"name": "{{ automationPathSteps['complaint'].event.params.name }}",
"surname": "{{ automationPathSteps['complaint'].event.params.surname }}",
"complaintNumber": "{{ automationPathSteps['complaint'].event.params.complaintNumber }}",
"complaintText": "{{ automationPathSteps['complaint'].event.params.complaintText }}"
}
}
]