## Overview
---
An incoming integration is a custom endpoint you create in the Synerise platform to receive data from external systems. You can create this endpoint on the interface in the Synerise platform in **Automation > Incoming**.
You can use this with the ["Business Event" node](/docs/automation/triggers/businees-event-trigger) to trigger [workflows](/docs/glossary#workflow) by sending a request from somewhere in your infrastructure to the custom endpoint exposed by Synerise.
This article outlines the feature information and the [Creating incoming integration](#creating-incoming-integration) section explains the steps in the process and logic.
In the workflow, you can refer to the [parameters of request headers and body from the incoming request](/developers/inserts/automation#request-context).
## Requirements
---
- You must have the following user permissions to be able to create incoming integrations:
- [access Automation Hub](/docs/settings/identity-access-management/permissions/automation-permissions#access-the-automation-hub)
- [see incoming/outgoing integrations](/docs/settings/identity-access-management/permissions/automation-permissions#see-incomingoutgoing-integrations)
- [create and edit incoming/outgoing integrations](/docs/settings/identity-access-management/permissions/automation-permissions#create-and-edit-incomingoutgoing-integrations)
- [publish incoming/outgoing integrations](/docs/settings/identity-access-management/permissions/automation-permissions#publish-incomingoutgoing-integrations)
- If you plan to use JWT for request authorization, create a [workspace API key](/docs/settings/tool/api#adding-api-keys) with the following permission: `INCOMING_WEBHOOK_EXECUTE `
## Endpoint
---
The URL to which the request can be sent is unique and generated automatically in the Synerise interface when you [create an incoming integration](#creating-incoming-integration).
## Authorization
---
The following authorization methods are supported:
| Method | Description | Header |
|--------------------|-------------------------------------------|--------------------------------|
| None | You can disable the authorization requirement. | N/A |
| JWT Authentication | Requires a JSON Web Token (JWT). To generate the token, use the [Log in as Workspace method](https://developers.synerise.com/DataManagement/DataManagement.html#tag/Authorization/operation/profileLogin). | `Authorization: Bearer {jwt_token}` |
| Meta authentication | SHA-256 signature required only for the [Webhooks from Meta](/docs/automation/integration/webhook-from-meta). | `X-Hub-Signature-256: sha256={signature}` |
## Other headers
---
| Header | Type | Description | Required |
|-----------------------|--------|------------------------------------------------------------------------|------------------------------|
| Content-Type | string | Must be `application/json` | Yes |
| X-Deduplication-Hash | string | Custom hash to identify duplicate requests and avoid multiple triggers | Optional |
## Request body
---
The endpoint accepts a JSON payload containing any key-value structure. Nested JSON objects are automatically flattened, enabling their parameters to be used directly in the filter to define the conditions which will trigger a workflow.
- Flattening converts nested keys into dot notation or other flat structures.
- Up to 5 parameters from the body and/or headers can be selected in Synerise UI for deduplication hash creation.
### Example request
#### Without authorization
This error occurs when the API key selected in the configuration of the incoming integration lacks permissions. For the list of required permissions, see ["Requirements"](#requirements).
This error occurs when you make a request to a non-published endpoint or the endpoint URL is incorrect. Make sure you copied the entire URL.
```
The requested resource could not be found but may be available again in the future.
```
## Creating incoming integration
The table below outlines the steps which you will go through in this part of the process. The step-by-step instructions on creating the integration are under the table.
| Step | Description |
|-------|-----------------------------------------------------------------------------------------------------------------|
| **Select authentication method** | Select authentication method to secure the integration. You can choose from the following options: **JWT authentication**, **Without authentication**, **Webhook from Meta** |
| **Send sample data** | Enable data retrieval and send a request to the endpoint within 90 seconds to retrieve and view all parameters in Synerise. Use this information to test if the result meets your expectations. |
| **Set deduplication rules** | (Optional) Set deduplication rules to prevent duplicate data if needed. |
| **Publish the incoming integration** | Publish the integration to make the endpoint publicly accessible and allow sending data. |
1. Go to **Automation Hub > Incoming > New integration**.
2. On the pop-up, select:
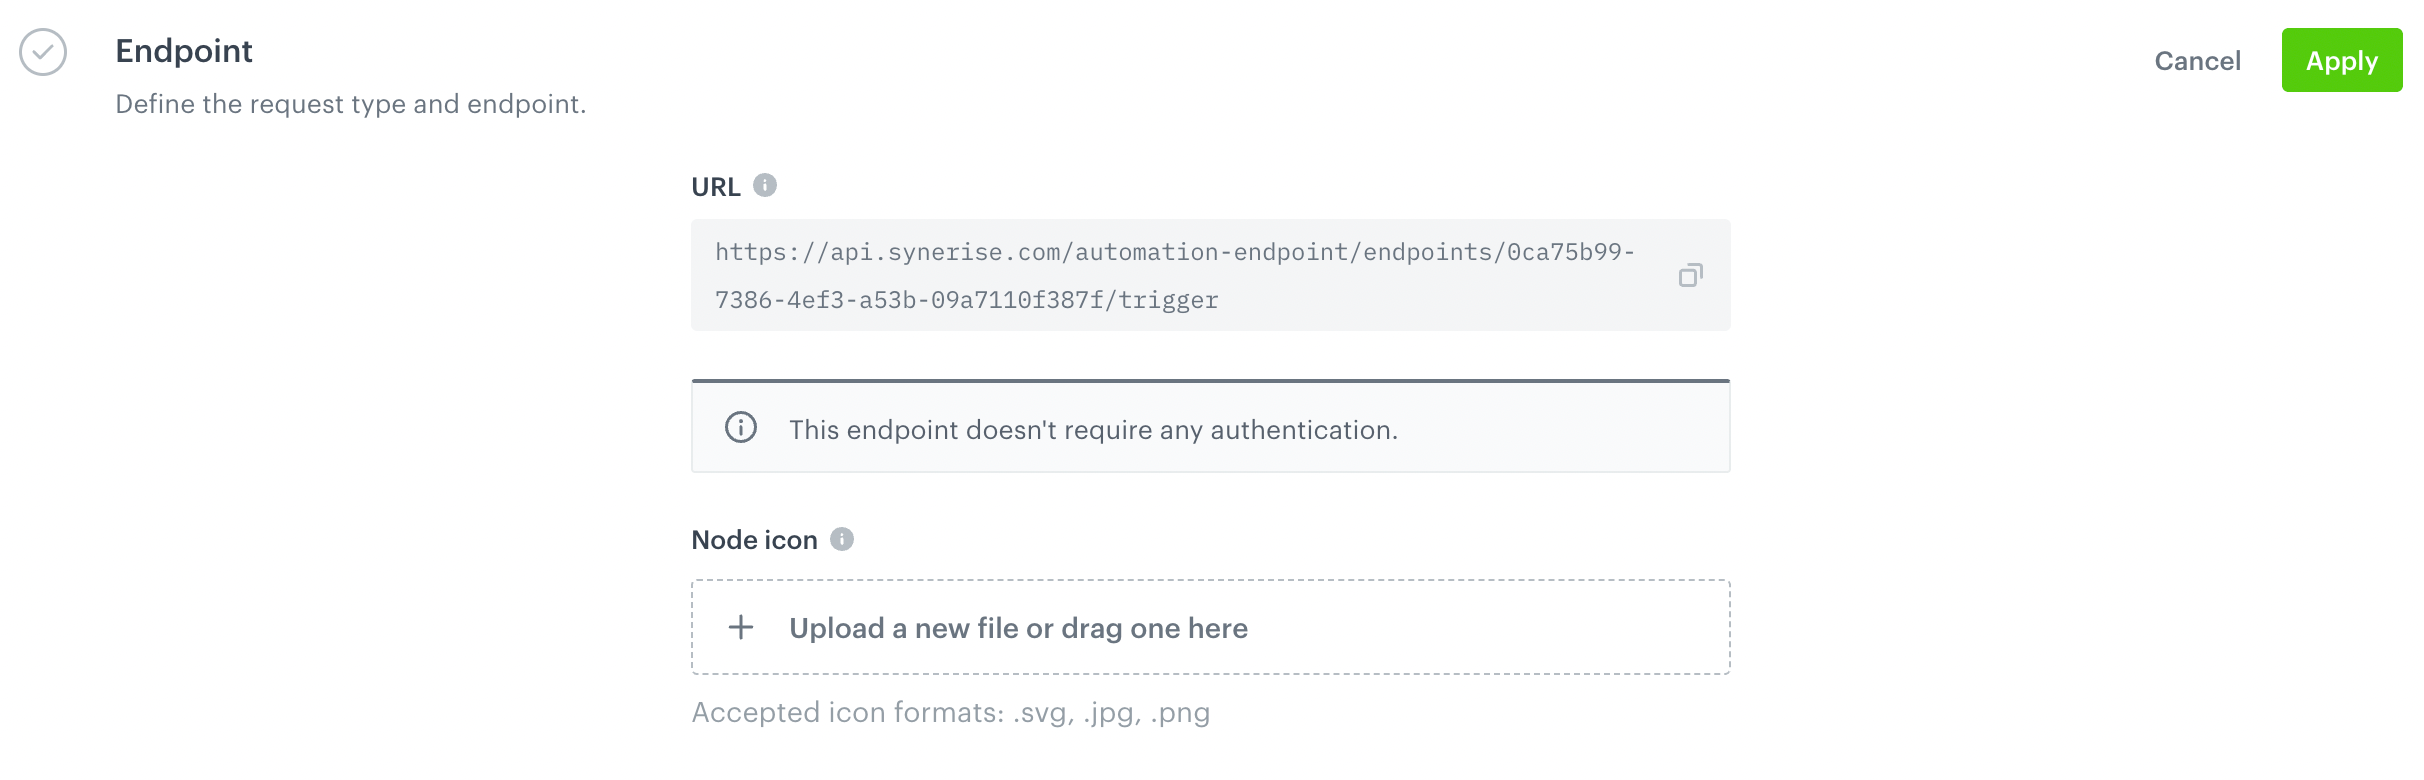
1. In the **Endpoint** section, click **Define**.
2. In the **URL** field, you can find the endpoint URL which is generated automatically. The endpoint is unique for every integration.
2. From the **API key** dropdown list, select the key which will be used for generating JWT for authentication. You must implement a solution that allows you to authenticate this way.
To generate the JWT, use the [`/uauth/v2/auth/login/profile` endpoint](https://developers.synerise.com/DataManagement/DataManagement.html#operation/profileLogin).
3. Optionally, you can personalize the integration by adding an icon in **Node icon**.
The Endpoint section while creating an incoming integration in Automation Hub
3. Confirm the settings by clicking **Apply**.
4.
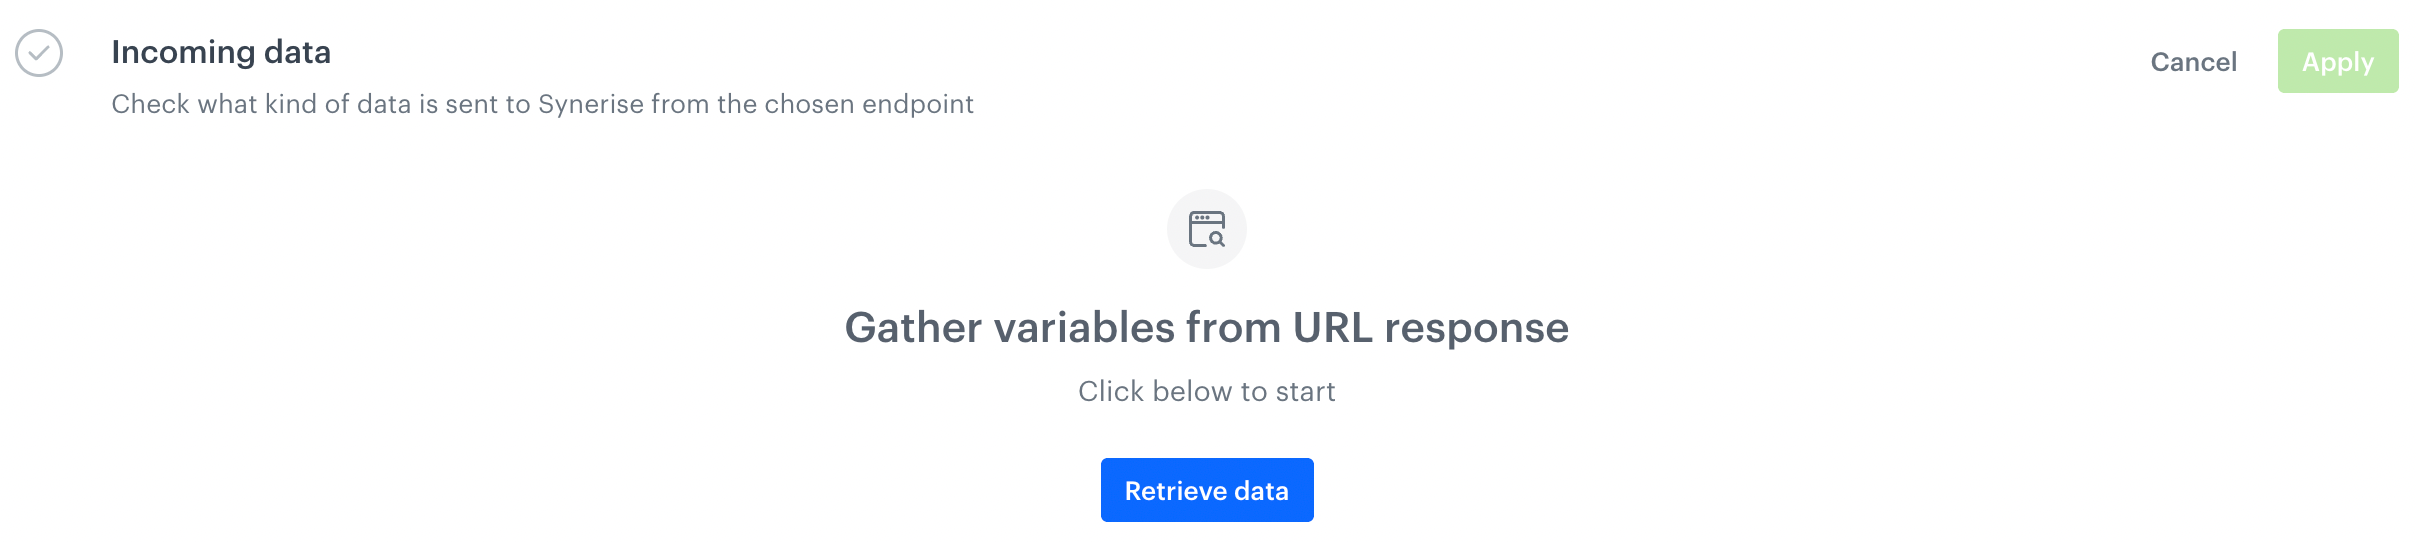
1. In the **Incoming data** section, click **Define**.
2. Click **Retrieve data**.
The Retrieve data option in the Incoming data section while creating an incoming integration in Automation Hub
2. Send a POST request to the endpoint defined in the **Endpoint** section. The system waits for the incoming request for 90 seconds.
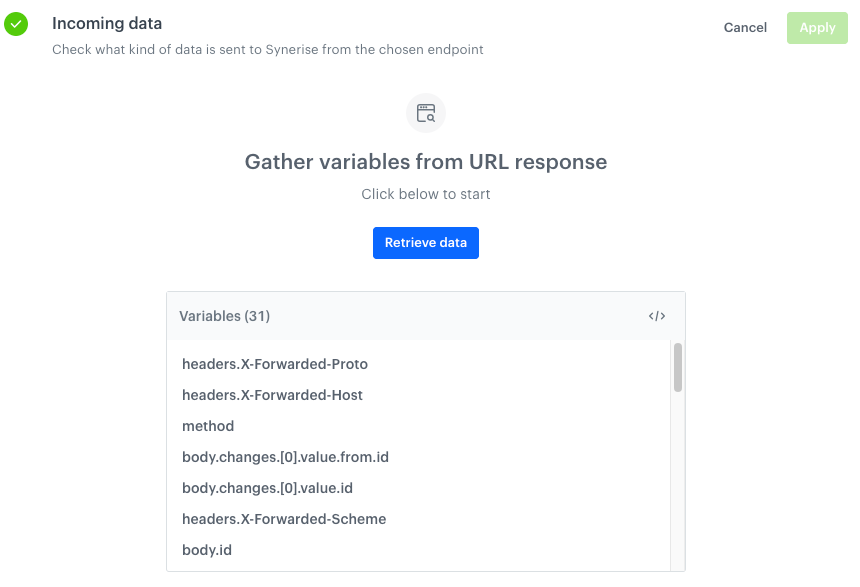
On the basis of received data, the system lists parameters which can be used in the future to filter requests.
If the endpoint receives the data, they appear in flattened form.
3. To see the raw JSON, click the icon.
4. If the received data has the expected structure, confirm by clicking the **Apply** button.
Example of retrieved data
Deduplication is the process that Incoming Integration uses to ensure your workflow only triggers for new information, avoiding duplicates. To prevent duplicated requests, it is possible to select the request parameters from which the deduplication hash will be calculated.
1. To select request parameters, you must first perform instructions described in the "Retrieve data" section in this document.
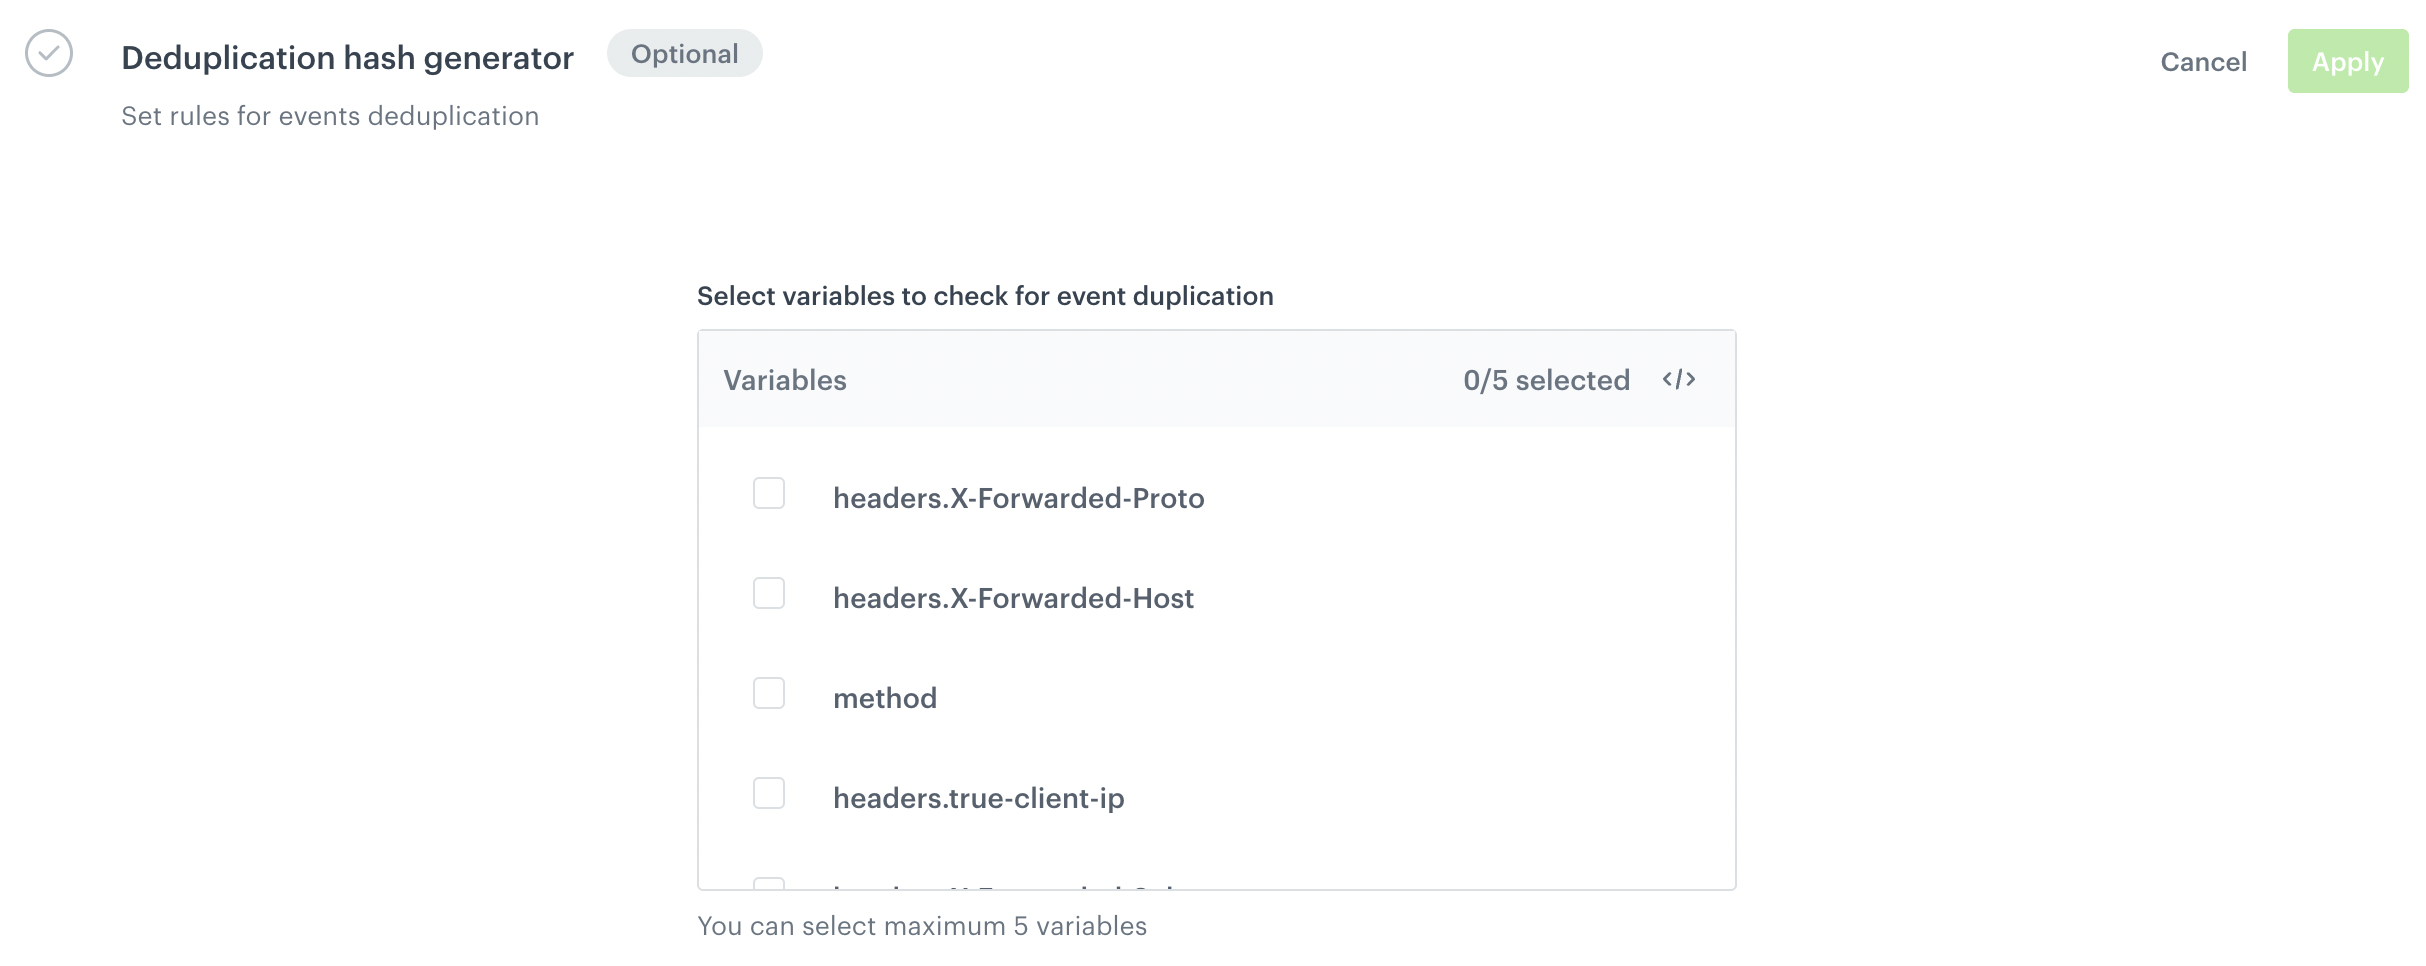
2. In **Deduplication hash generator** section, click **Define**.
The Deduplication hash generator section while creating an incoming integration in Automation Hub
3. Select up to 5 parameters from which the deduplication hash is to be built. You can use any incoming data from request body and headers.
2. Confirm the settings by clicking **Apply**.
Before you start using request deduplication, it's worth reviewing the key concepts:
- all deduplication keys are stored for the 7 days. It means that Synerise deduplicates requests with the same deduplication hash for a period of only 7 days from the last sent request.
- if a duplicated request is sent, Synerise will return `204` HTTP status code.
- for non-duplicated request, Synerise will return `200` HTTP status code.
- if you would like to provide your own deduplication hash, you can do so by including it in the request headers. In this case, choose only your header in the **Deduplication hash generator** section in the **Incoming Integration** settings.
1. In the **Endpoint** section, click **Define**.
2. In the **URL** field, you can find the endpoint URL which is generated automatically. The endpoint is unique for every integration.
3. Optionally, you can personalize the integration by adding an icon in **Node icon**.
The Endpoint section while creating an incoming integration in Automation Hub
3. Confirm the settings by clicking **Apply**.
3.
1. In the **Incoming data** section, click **Define**.
2. Click **Retrieve data**.
The Retrieve data option in the Incoming data section while creating an incoming integration in Automation Hub
2. Send a POST request to the endpoint defined in the **Endpoint** section. The system waits for the incoming request for 90 seconds.
On the basis of received data, the system lists parameters which can be used in the future to filter requests.
If the endpoint receives the data, they appear in flattened form.
3. To see the raw JSON, click the icon.
4. If the received data has the expected structure, confirm by clicking the **Apply** button.
Example of retrieved data
Deduplication is the process that Incoming Integration uses to ensure your workflow only triggers for new information, avoiding duplicates. To prevent duplicated requests, it is possible to select the request parameters from which the deduplication hash will be calculated.
1. To select request parameters, you must first perform instructions described in the "Retrieve data" section in this document.
2. In **Deduplication hash generator** section, click **Define**.
The Deduplication hash generator section while creating an incoming integration in Automation Hub
3. Select up to 5 parameters from which the deduplication hash is to be built. You can use any incoming data from request body and headers.
2. Confirm the settings by clicking **Apply**.
Before you start using request deduplication, it's worth reviewing the key concepts:
- all deduplication keys are stored for the 7 days. It means that Synerise deduplicates requests with the same deduplication hash for a period of only 7 days from the last sent request.
- if a duplicated request is sent, Synerise will return `204` HTTP status code.
- for non-duplicated request, Synerise will return `200` HTTP status code.
- if you would like to provide your own deduplication hash, you can do so by including it in the request headers. In this case, choose only your header in the **Deduplication hash generator** section in the **Incoming Integration** settings.
The full instructions are available in [Webhooks from Meta](/docs/automation/integration/webhook-from-meta).
### Saving integration
1. To save the integration as a draft, click **Save**.
2. To save the integration and make it available for use in workflows, click **Save & publish**.
## Example of use
---
You can check how the incoming integration is used in the [Send data from Microsoft Azure Forms to Synerise](/use-cases/send-data-from-forms) use case.

 icon.
4. If the received data has the expected structure, confirm by clicking the **Apply** button.
icon.
4. If the received data has the expected structure, confirm by clicking the **Apply** button.