The **Update a Lead** node is a native integration between Synerise and Salesforce CRM that enables seamless updating of existing lead data. Whenever lead information changes within Synerise, you can create a workflow that automatically sends a request to the Salesforce API to update the corresponding lead in Salesforce. This integration ensures that Salesforce CRM stays fully synchronized with Synerise, so both systems maintain consistent and up-to-date lead information.
This node is available only in the [customer-oriented workflows](/docs/glossary#profile-oriented-workflow).
## Node configuration
---
1. Go to **Automation Hub > Workflows > New workflow**.
2. Create a workflow by adding nodes and arranging them in an order that aligns with your business requirements and the intended logic.
You can read more about the workflow basics in [Creating workflows](/docs/automation/creating-automation).
3. As one of the nodes, select **Salesforce CRM > Update a Lead**.
2. To allow the data exchange, establish a connection between Synerise and Salesforce CRM, click **Select connection**.
3. From the dropdown list, select the connection.
- If no connections are available or you want to create a new one, see [Create a connection](#create-a-connection).
- If you selected an existing connection, proceed to [defining the integration settings](#define-the-integration-settings).
### Create a connection
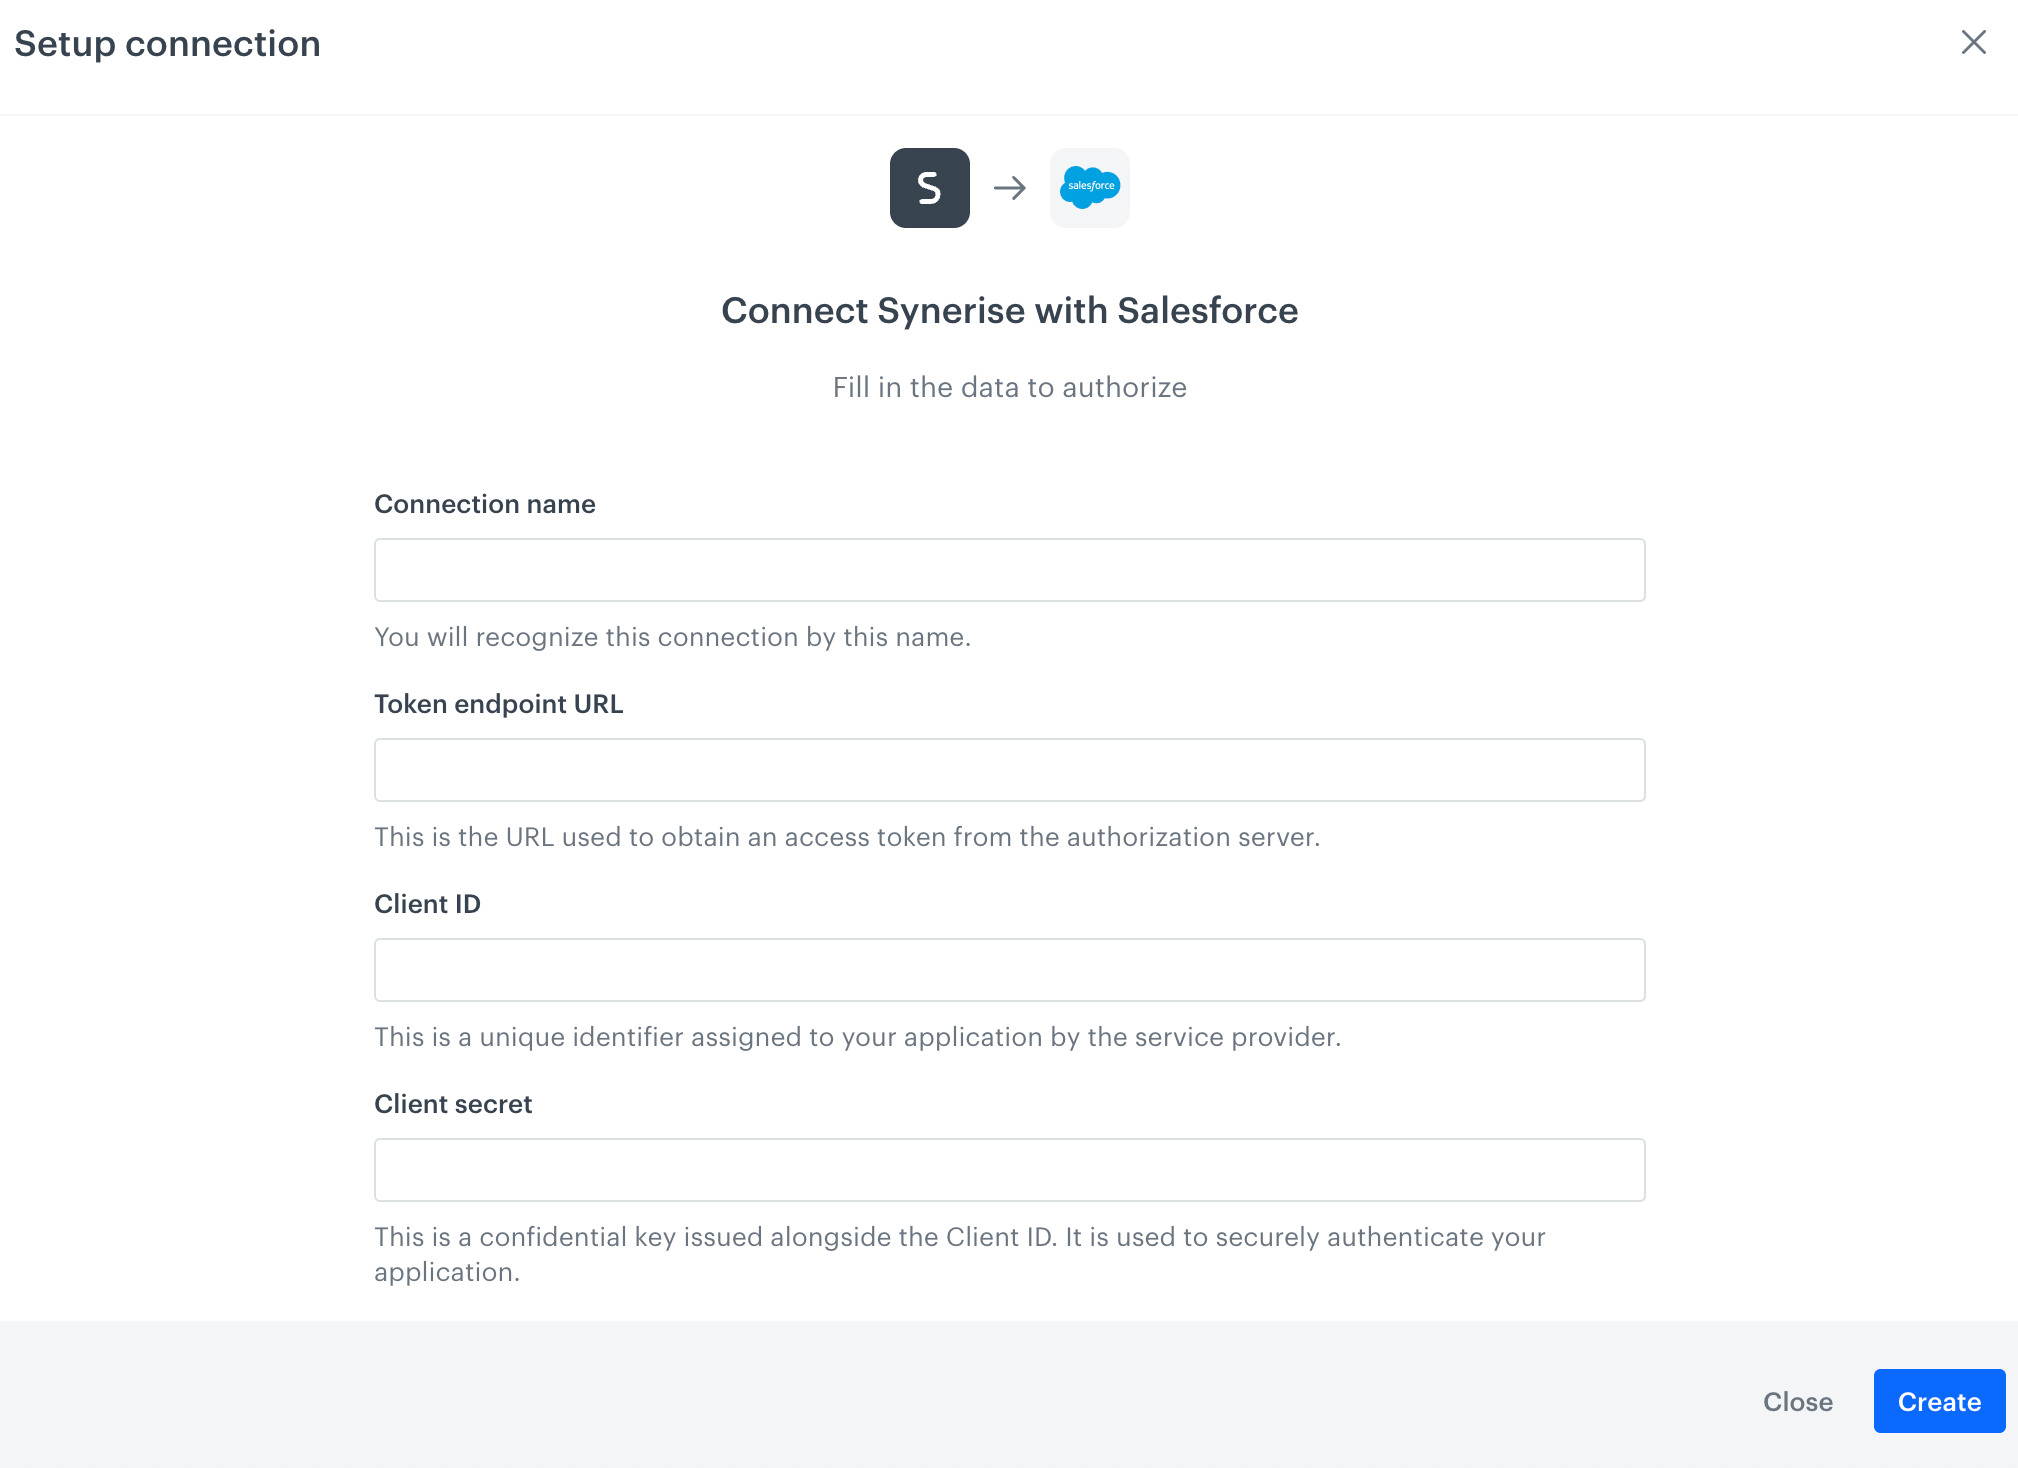
If you haven't established any connection yet or you want to create another, establish a connection between Synerise and Salesforce CRM that facilitates the exchange of data.
A blank configuration form for establishing connection between Synerise and Salesforce
1. In the **Connection name** field, enter the name of the connection.
It's used to find the connection on the list.
2. In **Token endpoint URL**, enter the URL used to obtain an access token from the authorization server.
2. In **Client ID**, enter a unique identifier assigned to your application by Salesforce CRM.
3. In **Client secret**, enter client secret assigned to your application by Salesforce CRM.
4. Confirm by clicking **Create**.
**Result**: You will be redirected to the form in which you will define the integration settings. The connection you created is available in **Settings > Connections**.
We recommend setting the app-specific token timeout in Salesforce to at least 1 hour. Read more about [Salesforce OAuth Settings](https://help.salesforce.com/s/articleView?id=xcloud.connected_app_create_api_integration.htm&type=5).
## Define the integration settings
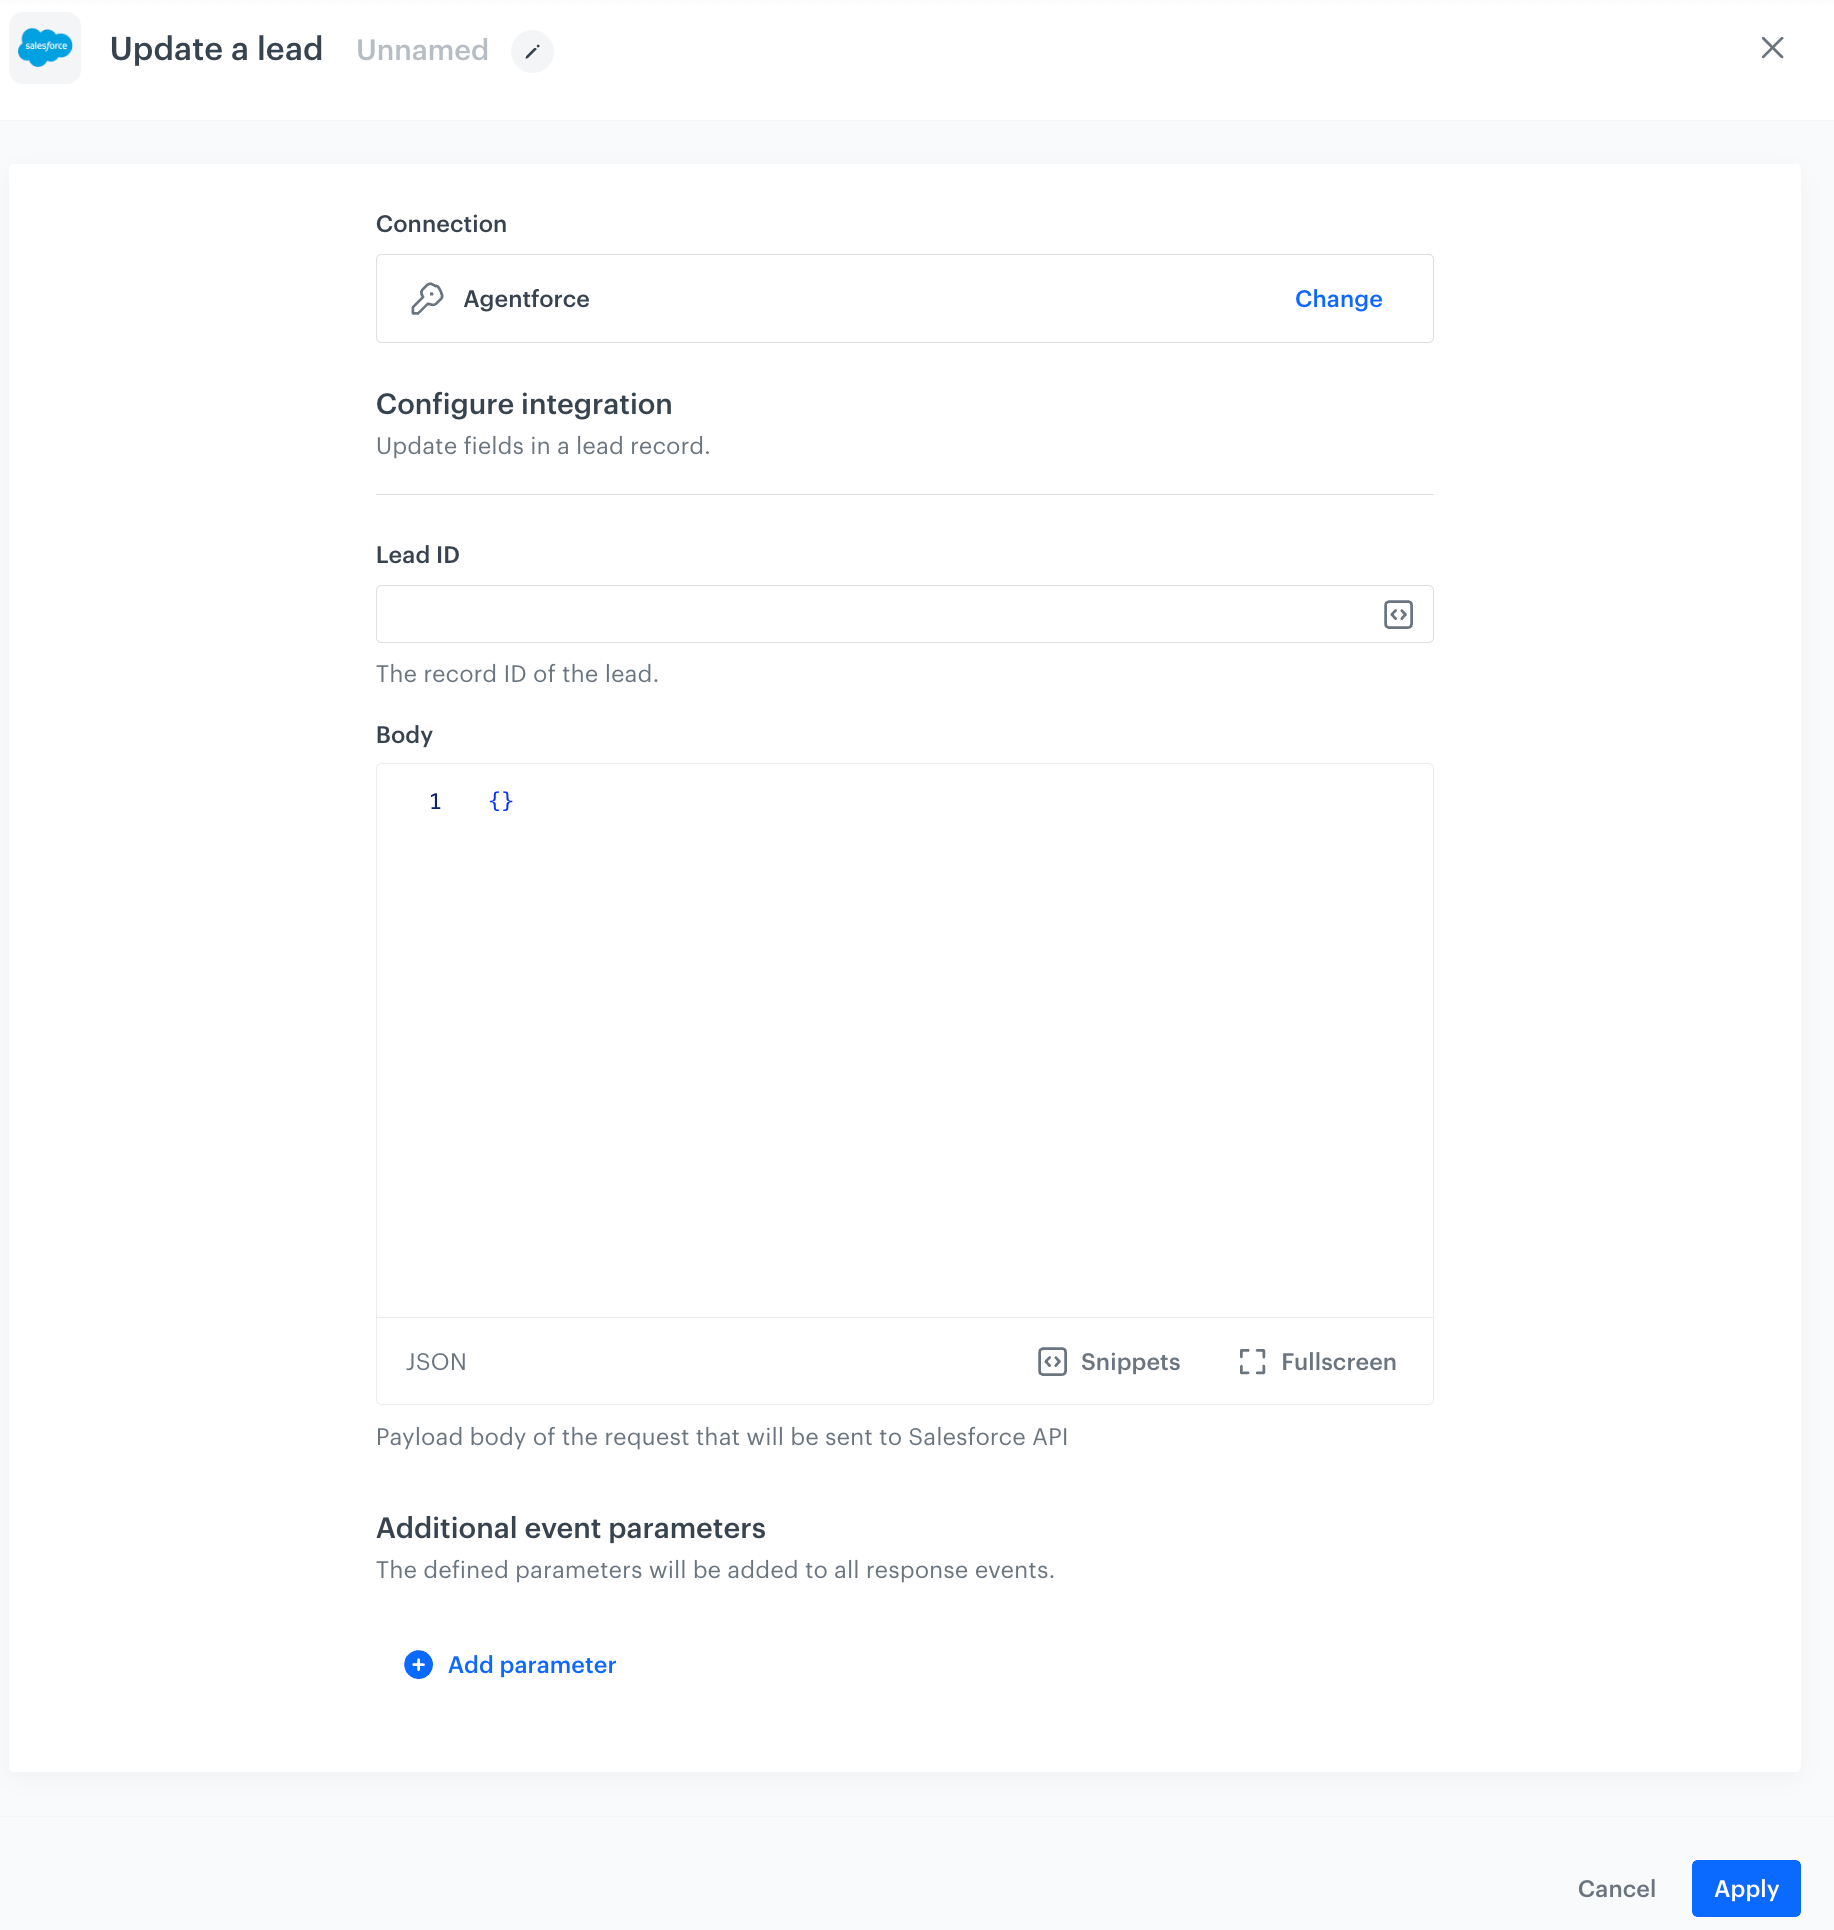
In this part of the process, fill in the configuration form so that you can update lead data.
A blank configuration form of the Update a Lead node
1. In **Lead ID**, provide the lead identifier.
- You can use Jinjava in this field
- You can check how to find a lead ID in the [Salesforce documentation](https://trailhead.salesforce.com/trailblazer-community/feed/0D54S00000A7yrrSAB).
1. In **Body**, provide information in the `JSON` format with which the lead information will be updated in Salesforce CRM.
- You can add custom information.
- You can add standard information (make sure the parameter names you use conform with the Salesforce API requirements).
- You can use Jinjava in this field.
1. In the **Additional event parameters** section, you can add parameters (jinjava in values not allowed) which will be added to the automatically generated [salesforce.leadUpdated](/docs/assets/events/event-reference/integration#salesforceleadupdated) event.
1. In the **Parameter** field, provide the name of the event parameter.
2. In **Value**, provide the value of the event parameter.
8. Confirm by clicking **Apply**.
**Result**: When the Update a Lead node is executed, a [`salesforce.leadUpdated` event](/docs/assets/events/event-reference/integration#salesforceleadupdated) is generated on the activity list of the profile who is the actor in the workflow.
## Example of use
---
You can create a workflow that sends a request to Salesforce to update a lead each time a lead's data changes in Synerise.
1. As the first node, add **Data Changed**. In the settings of the node, select the attribute whose modification triggers the workflow.
2. As the next node, add **Update a Lead**. Fill out the node settings according to the instructions in the ["Define the integration settings"](#define-the-integration-settings).
You can use data received from the event selected in the **Data Changed** node and include them in the request body to the Salesforce. To learn how to insert this data dynamically, see ["Event parameters" section](/developers/inserts/automation#event-parameters).
3. As the final node, add **End**.
**Result**:
Final workflow configuration