The **Send Channel Message** node allows you to create a business-oriented workflow for sending notifications to your team members in a Slack channel. For example, you may send notifications immediately after a deviation occurs in your workspace.
## Prerequisites
---
Create [an incoming webhook in Slack](https://api.slack.com/messaging/webhooks) and [learn how to build it JSON request body](https://app.slack.com/block-kit-builder).
## Node configuration
---
Fields marked with the icon accept [snippets](/docs/assets/snippets) or [inserts](/developers/inserts). This integration allows usage of profile-related inserts.
1. Go to **Automation > Workflows > Create new**.
2. Start the workflow with a trigger node that doesn't contain a customer's context (for example, Scheduled Run).
3. On the trigger node, click **THEN**.
4. From the dropdown list, click **Slack > Send Channel message**.
2. To allow the data exchange, establish a connection between Synerise and Slack, click **Select connection**.
3. From the dropdown list, select the connection.
- If no connections are available or you want to create a new one, see [Create a connection](#create-a-connection).
- If you selected an existing connection, proceed to [defining the integration settings](#define-the-integration-settings).
### Create a connection
If you haven't established any connection yet or you want to create another, establish a connection between Synerise and Slack that facilitates the exchange of data.
1. In the **Connection name** field, enter the name of the connection.
It's used to find the connection on the list.
2. In the **Incoming webhook URL** field, enter the webhook you created [as a part of prerequisites](#prerequisites).
4. Confirm by clicking **Apply**.
## Define the integration settings
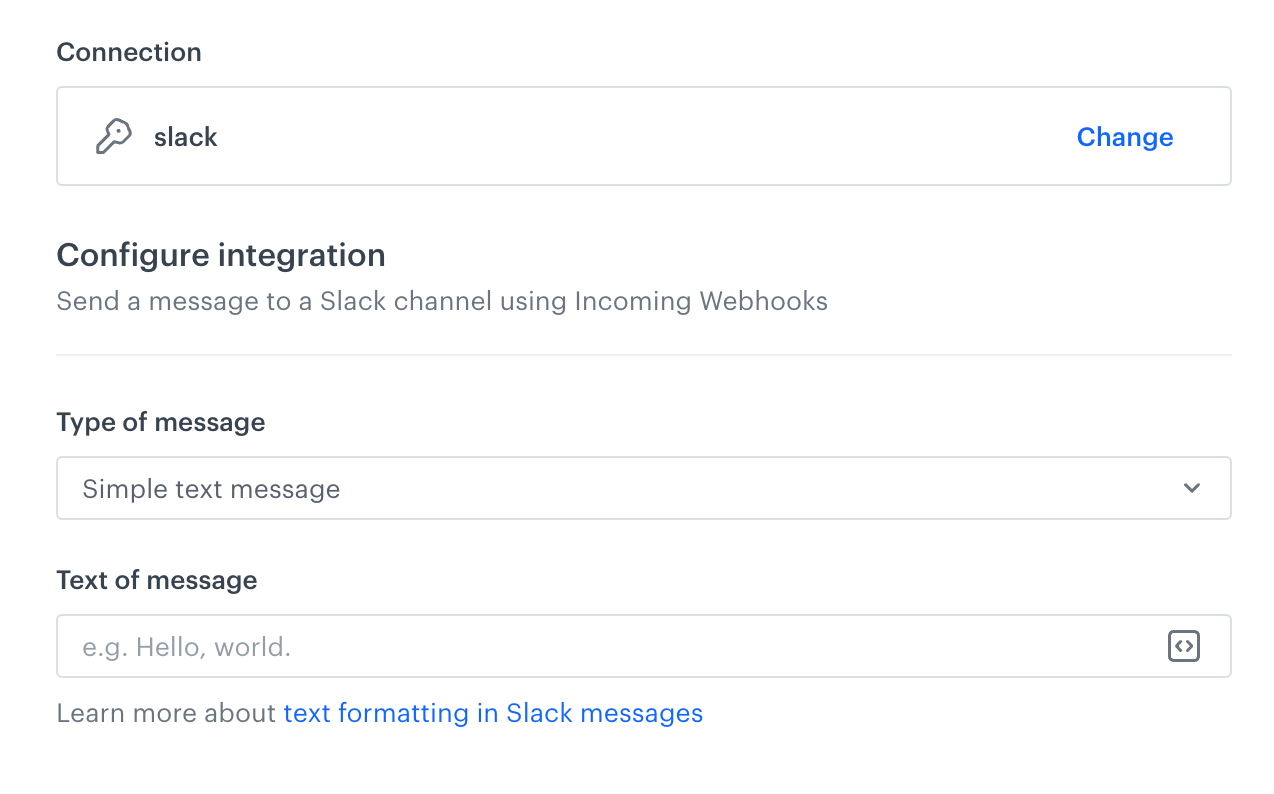
4. From the **Type of message** dropdown list, select the type of the message you want to create:
- **Simple message** - Choosing this option lets you write a plain text.
- **Interactive message (JSON)** - Choosing this option lets you build messages with sections, buttons, links, simple surveys.
5. Follow the scenario according to the message type you selected:
- If you selected the Simple message option:
1. In the **Text of message** field, enter the text you want to include in the message.
- If you selected the Interactive message (JSON) option:
1. In the **JSON body of message** field, enter the structure of the message as the JSON body.
A blank configuration form in Send message to channel node (Slack)
6. Confirm by clicking **Apply**.
**Result**: When the Send Channel Message node is executed, a [`slack.sendChannelMessage` event](/docs/assets/events/event-reference/integration#slacksendchannelmessage) is generated on the activity list of the profile who is the actor in the workflow.
### Test integration
---
You can run a test request. If the request body contains a dynamic reference to a profile attribute and/or an event data from preceding nodes, then you can define the context using [test profile data](/docs/settings/configuration/test-profiles).
Complete description of the feature is available in [Testing outgoing integrations](/docs/automation/test-requests-for-outgoing-integrations).
1. In the **Test integration** section, click **Send test request**.
**Result**: A test request builder opens. If:
- a request body contains dynamic references, the request preview appears after you select the context of test profiles and events.
- a request body contains static data, the preview of the body request appears immediately.
An empty test request builder
2. If your request contains dynamic references (otherwise, the options aren't available):
- From the **Test profile** dropdown, select a test profile in the context of whom the test request will be performed.
- From the **Event context** dropdown list, you can select a particular occurrence of an event whose values/information will be used for the test request.
1. Select a test profile.
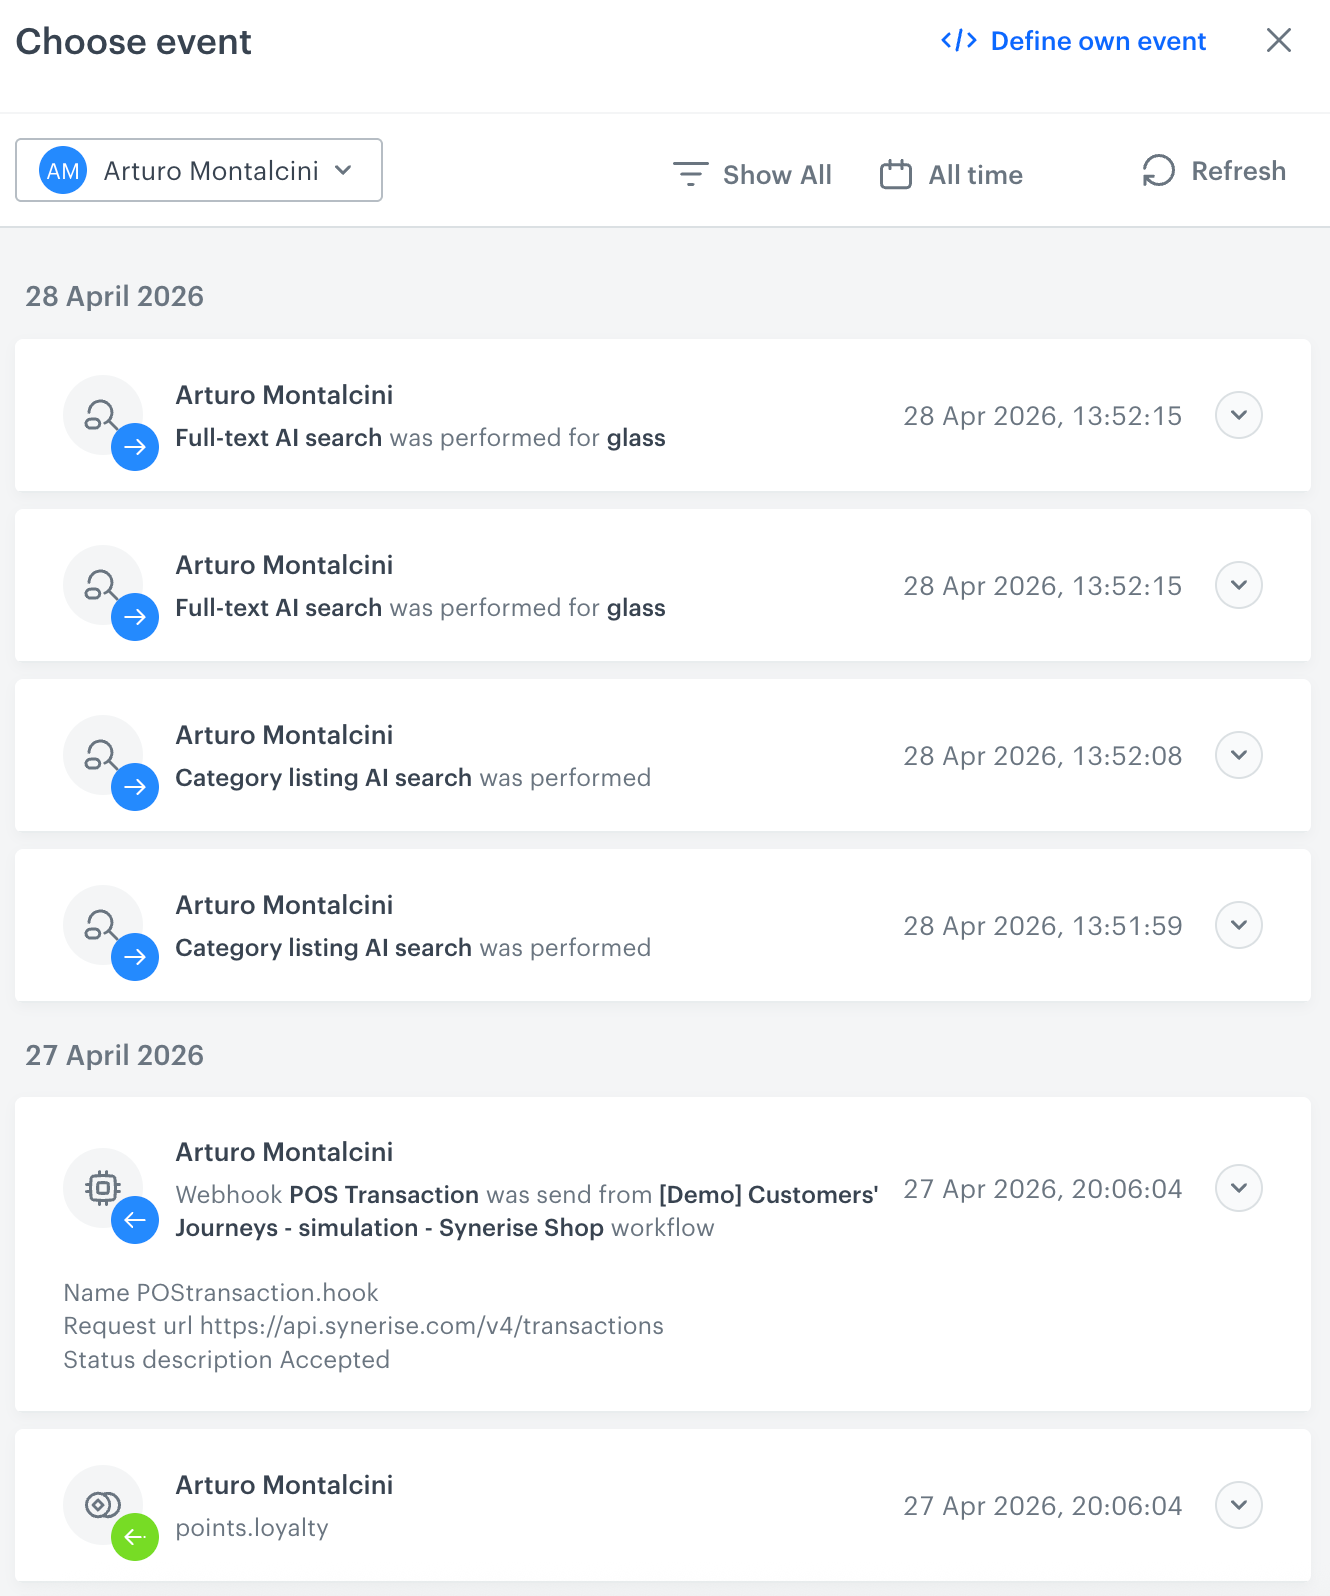
**Result**: A history of test profile events appears.
A stream of events of a test profile
2. From the list of events, select one whose data you want use as a context. If there is no event you can use, in the upper-right corner of the pop-up, click **Define own event** and provide the body of the event.
3. Confirm by clicking **Apply**.
3. Verify the request body. If there is something you want to change, come back to the node settings from previous steps.
3. If the request body is ready to test, in the upper-right corner, click **Send request**.
**Result**: The response section appears and the **Update response event** button becomes active.
4. Optionally, you can update response event with new parameters by clicking **Update response event** in the upper-right corner.
## Example of use
---
Read [our use case that uses the Send message to Slack channel node](/use-cases/slack-integration)
 icon accept [snippets](/docs/assets/snippets) or [inserts](/developers/inserts). This integration allows usage of profile-related inserts.