A sequence is a named, reusable group of connected workflow nodes. Instead of rebuilding the same node patterns in every workflow, you can capture a pattern once, save it to the sequence library, and insert it into any workflow with a single action.
#### Sequence types
Sequences come in two types:
| Type | What is saved |
|------|--------------|
| **Structure** | Nodes and their links only. Configuration is not saved, so you fill in the settings each time the sequence is inserted. |
| **Configured** | Nodes, links, and all parameter values. The sequence is ready to use as-is after insertion. |
Sequences are unchangeable. Once saved, a sequence cannot be edited. To update a pattern, save a new sequence and remove or replace the old one in the workflows that use it. This protects existing workflows from unintended changes.
## Sequence library
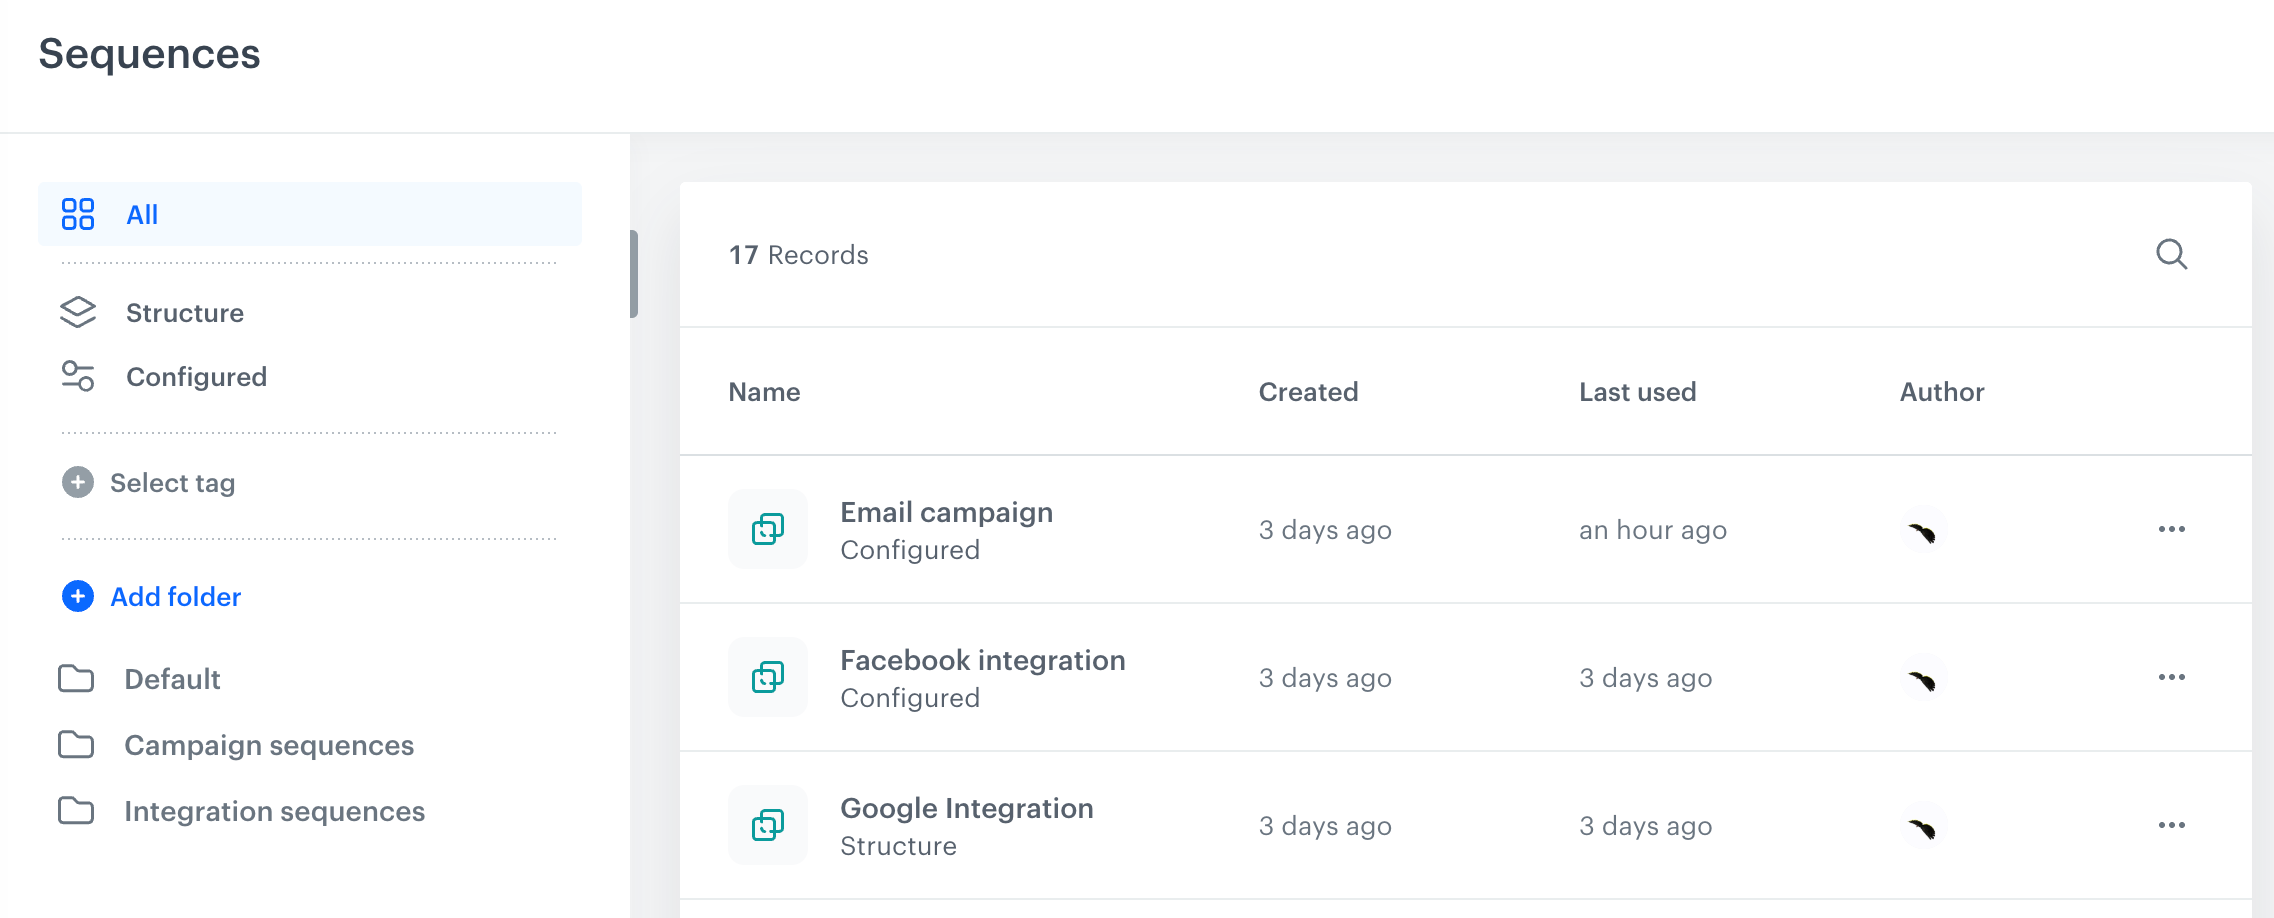
The sequence library is the central management view for all sequences in the workspace. To open it, go to **Automation Hub > Sequences**.
The Sequence Library
The library shows the following information for each sequence:
| Column | Description |
|--------|-------------|
| **Name** | The display name assigned when the sequence was saved. |
| **Type** | [Structure or Configured](#sequence-types). |
| **Created** | When the sequence was created. |
| **Last used** | When the sequence was last inserted into a workflow. |
### Organizing sequences into folders
You can create folders to group related sequences.
To add a folder:
1. In the left panel, click **Add folder**.
2. Enter the folder name and confirm.
To move a sequence to a folder, click next to the sequence and select **Move to**.
### Filtering sequences
- Use the **All**, **Structure**, and **Configured** tabs in the left panel to filter by type.
- Use **Select tag** to filter by tag. Tags are shared with workflow tags, so any tag you create here also appears in workflows and vice versa.
- Use the search icon in the upper-right corner of the list to search by name.
## Saving a selection as a sequence
---
You can save any group of connected nodes from a workflow canvas as a sequence.
### Requirements
- The workflow must be saved at least as a draft before you can save a sequence from it.
- The selected nodes must form a single connected chain with no gaps.
### Procedure
1. On the workflow canvas, select the nodes you want to save.
2. Hold **Shift** and click individual nodes, or drag a selection box around the desired area.
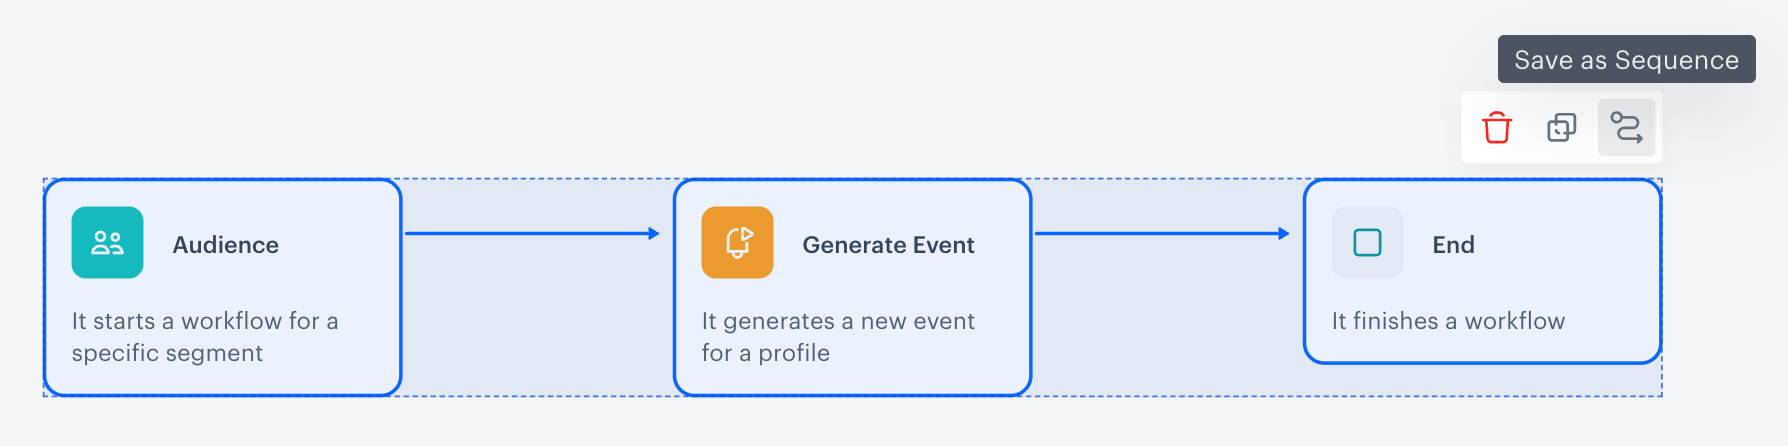
Selected nodes with the Save as Sequence toolbar
2. In the toolbar that appears above the selection, click the **Save as Sequence** icon.
**Result**: The **Save as Sequence** dialog opens.
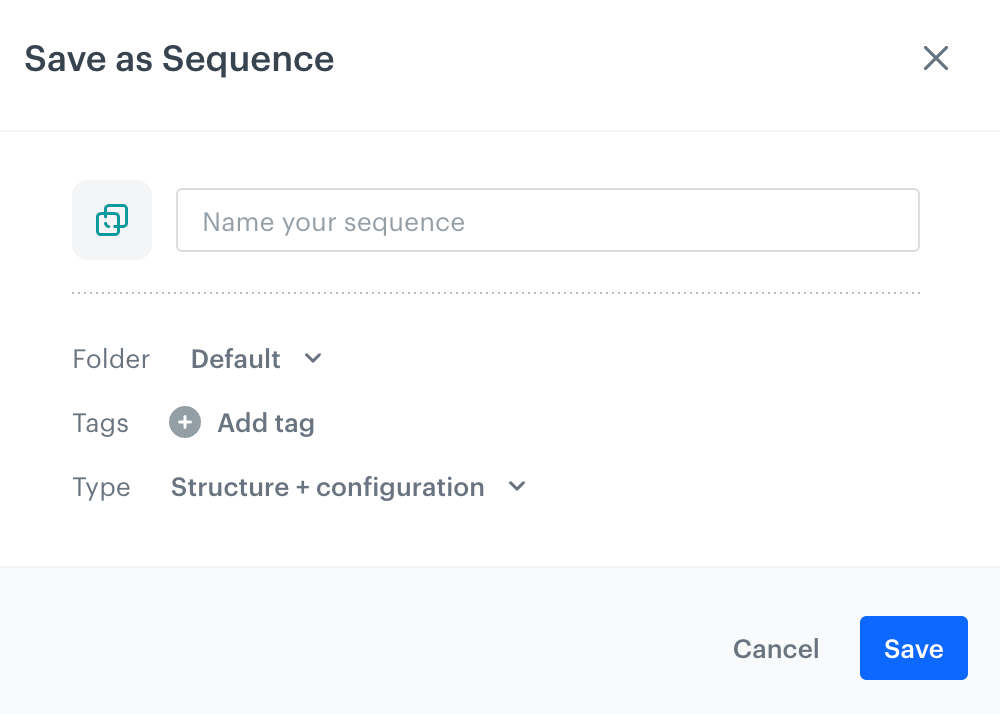
The Save as Sequence dialog
3. In the **Name your sequence** field, enter a name for the sequence.
4. From the **Folder** dropdown, select the folder where the sequence will be saved.
If you want to create a new folder, click **Add folder** in the dropdown.
5. Optionally, add tags to help organize and find the sequence later.
6. From the **Type** dropdown, select the sequence type:
- **Structure** - saves nodes and connections only, without configuration.
- **Configured** - saves nodes, connections, and all configured parameter values.
7. Click **Save**.
**Result**: The Sequence is saved and appears in the Sequence Library.
## Inserting a sequence into a workflow
---
You can insert a sequence into a workflow in two ways: from the workflow canvas, or directly from the sequence library.
### From the workflow canvas
1. On the workflow canvas, click the **THEN** button on the node after which you want to insert the sequence.
**Result**: A node picker opens. **Sequences** appears at the top of the list.
The node picker showing Sequences
2. Click **Sequences**.
**Result**: The sequence library opens as a picker.
3. Find the sequence you want to insert and click it.
**Result**: The nodes from the sequence appear on the canvas.
4. If the sequence type is **Structure**, configure each node before saving or activating the workflow.
If the sequence type is **Configured**, review the node settings and adjust any values specific to the current workflow.
### From the sequence library
1. Go to **Automation Hub > Sequences**.
2. Find the sequence you want to use.
3. Click next to the sequence and select **Start with sequence**.
**Result**: A new workflow is created with the sequence nodes already placed on the canvas.
## Deleting a sequence
---
Deleting a sequence does not affect workflows that have already used it - the nodes are already inserted to those canvases. However, the sequence will no longer be available to insert into new workflows.
To delete a sequence:
1. Go to **Automation Hub > Sequences**.
2. Find the sequence you want to delete.
3. Click on the right side of the row.
4. Select **Delete** and confirm.