[Tags](/docs/assets/tags) are a method of organizing and managing your workflows. By assigning relevant tags from the predefined **automations** folder, you can keep your workflows structured and easy to navigate.
- There is no limit to how many tags you can assign to a single workflow.
- Tags are case sensitive. For example, `newsletter` and `Newsletter` are considered two different tags.
- You can edit tags (for example, rename them) even after assignment.
Using tags effectively will help you keep your workflow organized, improve searching and filtering, and make reporting easier.
## Benefits
- Keeps your workflows well-organized
- Allows you to filter workflows by tags
- Makes reporting and analysis clearer
## Creating automation tags
---
To assign tags to a workflow, the tags must first be created in the **automations** tag folder:
1. Go to **Data Modeling Hub > Tags**,
2. On the left panel, click the predefined **automations** folder.
3. In the upper-right corner, click **Add tag**.
4. Follow the instructions in the ["Adding tags" section](/docs/assets/tags#adding-tags).
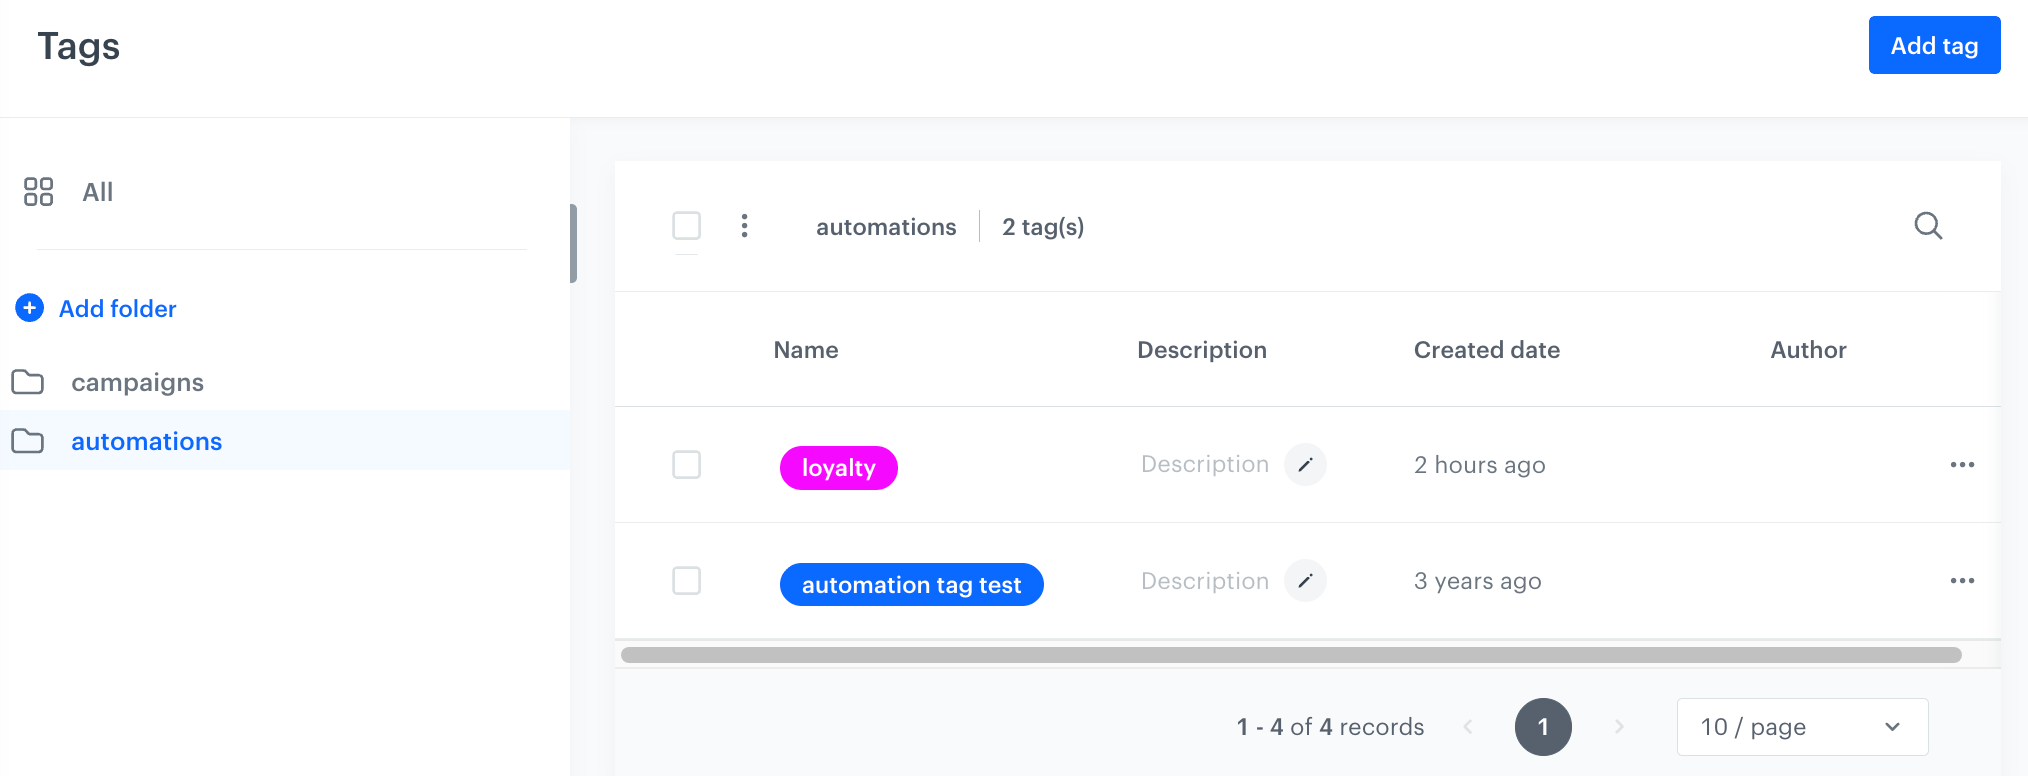
The list of tags in the predefined automations folder
### Assigning tags to workflow
- You can add tags while saving the workflow, the instructions are available in the ["Save as draft" section](/docs/automation/creating-automation#save-as-draft).
- You can also add tags to a workflow after saving it.
1. In **Automation Hub > Workflows**, find the workflow you want to assign a tag to.
2. On the far right, click .
3. From the dropdown list, select **Workflow details**.
**Result**:
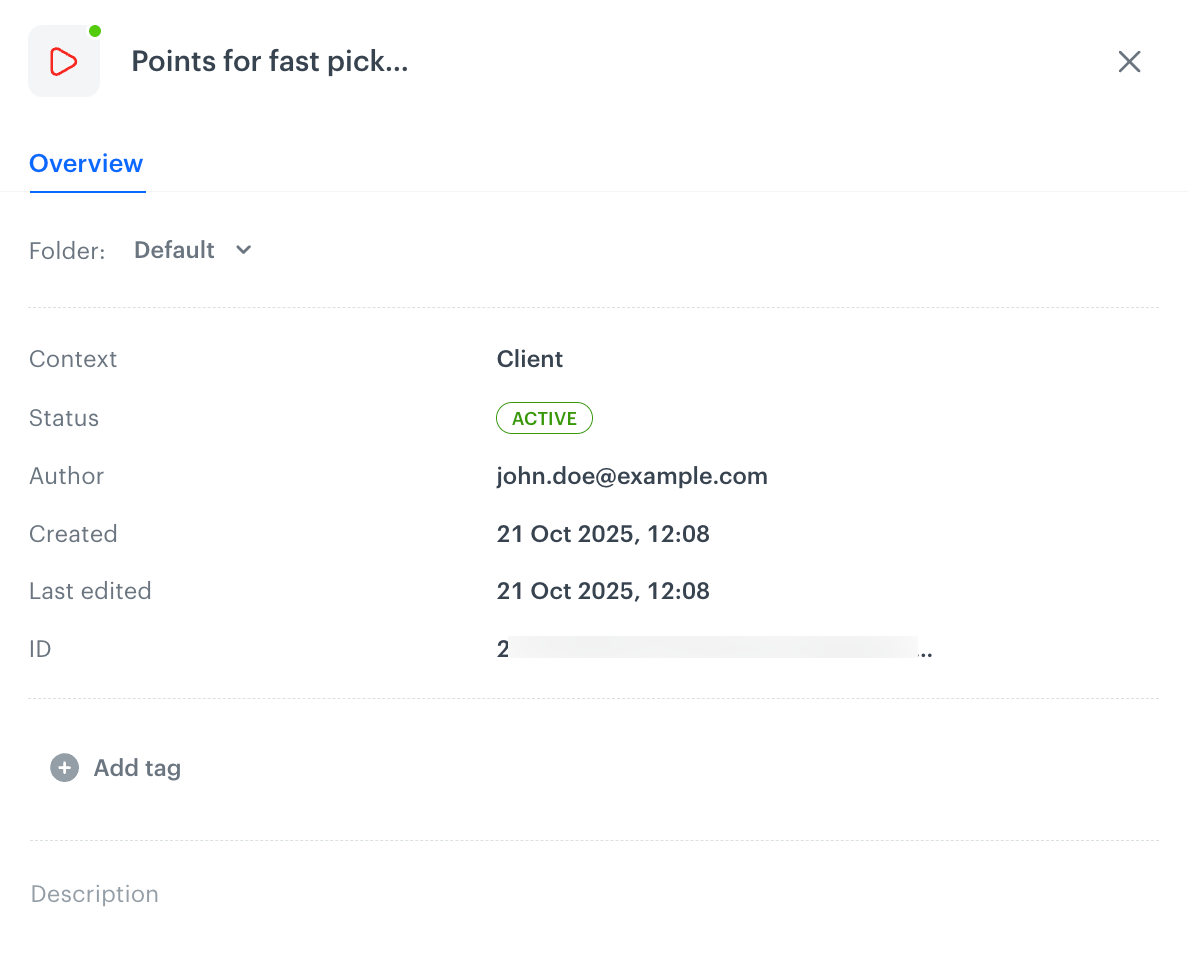
Example workflow details
4. Click **Add tags**.
**Result**: A dropdown list appears. The list contains tags only from the **automations** tag folder.
5. Select a tag or tags from the list.
### Assigning tags to nodes in a workflow
Communication-sending nodes can be tagged only with tags from the **campaigns folder**. Tagging these nodes enables more efficient filtering and tracking of the communications sent through them. Additionally, campaigns sent through these tagged nodes will be subject to applicable [sending limits](/docs/campaign/tagging-campaigns#managing-campaign-limits).
The sending nodes that can be tagged include:
- ["Send Email" node](/docs/automation/actions/send-email)
- ["Send Mobile Push" node](/docs/automation/actions/send-mobile-push)
- ["Send SMS" node](/docs/automation/actions/send-sms-node)
- ["Send Web Push" node](/docs/automation/actions/send-webpush-node)
## Filtering workflows by tags
You can filter and search workflows on the list using tags from the **automation** folder. When you select multiple tags, the filter uses an **AND** rule, meaning only campaigns with *all* selected tags will show up in the results.