Click here to expand the instruction on getting your UUID
- Go to your website.
- Open a browser console.
- Execute the following command:
SyneriseTC.uuid
Result: Your UUID is returned.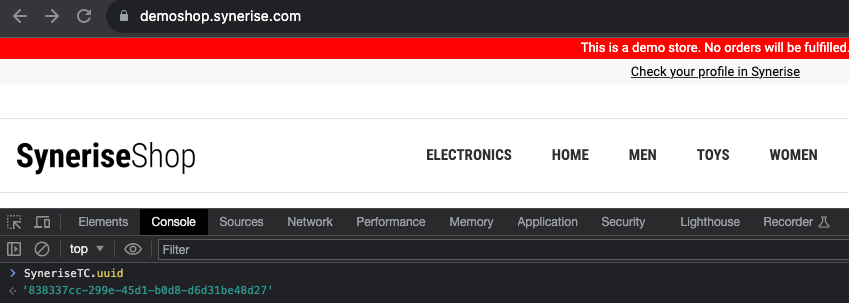
The image presents browser console with the Get UUID script executed - Copy the UUID and save it in the notepad.