<div class="admonition admonition-important"><div class="admonition-icon"><svg xmlns="http://www.w3.org/2000/svg" fill="none" viewBox="0 0 24 24" stroke="currentColor" stroke-width="2.5"><path stroke-linecap="round" stroke-linejoin="round" d="M12 8v4m0 4h.01M21 12a9 9 0 11-18 0 9 9 0 0118 0z" /></svg></div><div class="admonition-body"><div class="admonition-content">

This feature is available in  private preview mode and accessible only on selected workspaces. To get access, contact your account manager or Synerise Support.

</div></div></div>


The wallet pass builder lets you design a digital card for Apple Wallet and Google Wallet directly from the platform, without writing any code. You define the card's layout, colors, images, and content once, and the builder generates the correct format for each wallet provider.

You can personalize the card by using Jinjava inserts in any field - for example, a profile attribute, or an expression that calculates a value. Jinjava inserts resolve per cardholder when the pass is issued, so the same template can display a different loyalty balance, member ID, or barcode value for each customer. A plain text literal also works in any field if you don't need personalization.

Jinjava inserts only resolve to the cardholder's actual data if the pass is issued through an identified link - see [Anonymous vs. identified links](/docs/campaign/wallet-passes/distributing-wallet-passes#anonymous-vs-identified-links).

Once you publish the pass, you can distribute it to customers as a link - embedded in an email, SMS, or push message, or encoded as a QR code, for example for a physical point of sale. See [Distributing wallet passes](/docs/campaign/wallet-passes/distributing-wallet-passes).

## Prerequisites
---

Before you create a wallet pass, make sure you have the following:

- A role with the permissions to create and edit wallet passes - and to publish them, if you plan to publish the pass. See [Experience Hub permissions](/docs/settings/identity-access-management/permissions/campaigns-permissions#work-with-wallet-passes).
- Any logo, banner, or thumbnail images you want to use, uploaded to your [file library](/docs/assets/files-explorer).
- If you plan to publish the pass, a [Google Wallet](/docs/settings/tool/google-wallet) and an [Apple Wallet](/docs/settings/tool/apple-wallet) connection already configured in Synerise.

## Creating a wallet pass
---

1. Go to <img src="/api/docs/image/ad5911f3e3e1b87d3cda4bbfa051e6606d9bbc87/icons/experience-hub-icon.svg" alt="Experience Hub icon" class="icon"> **Experience Hub > Wallet passes**.
2. In the upper-right corner, click **Create wallet pass**.  
    **Result** The wallet pass editor opens.
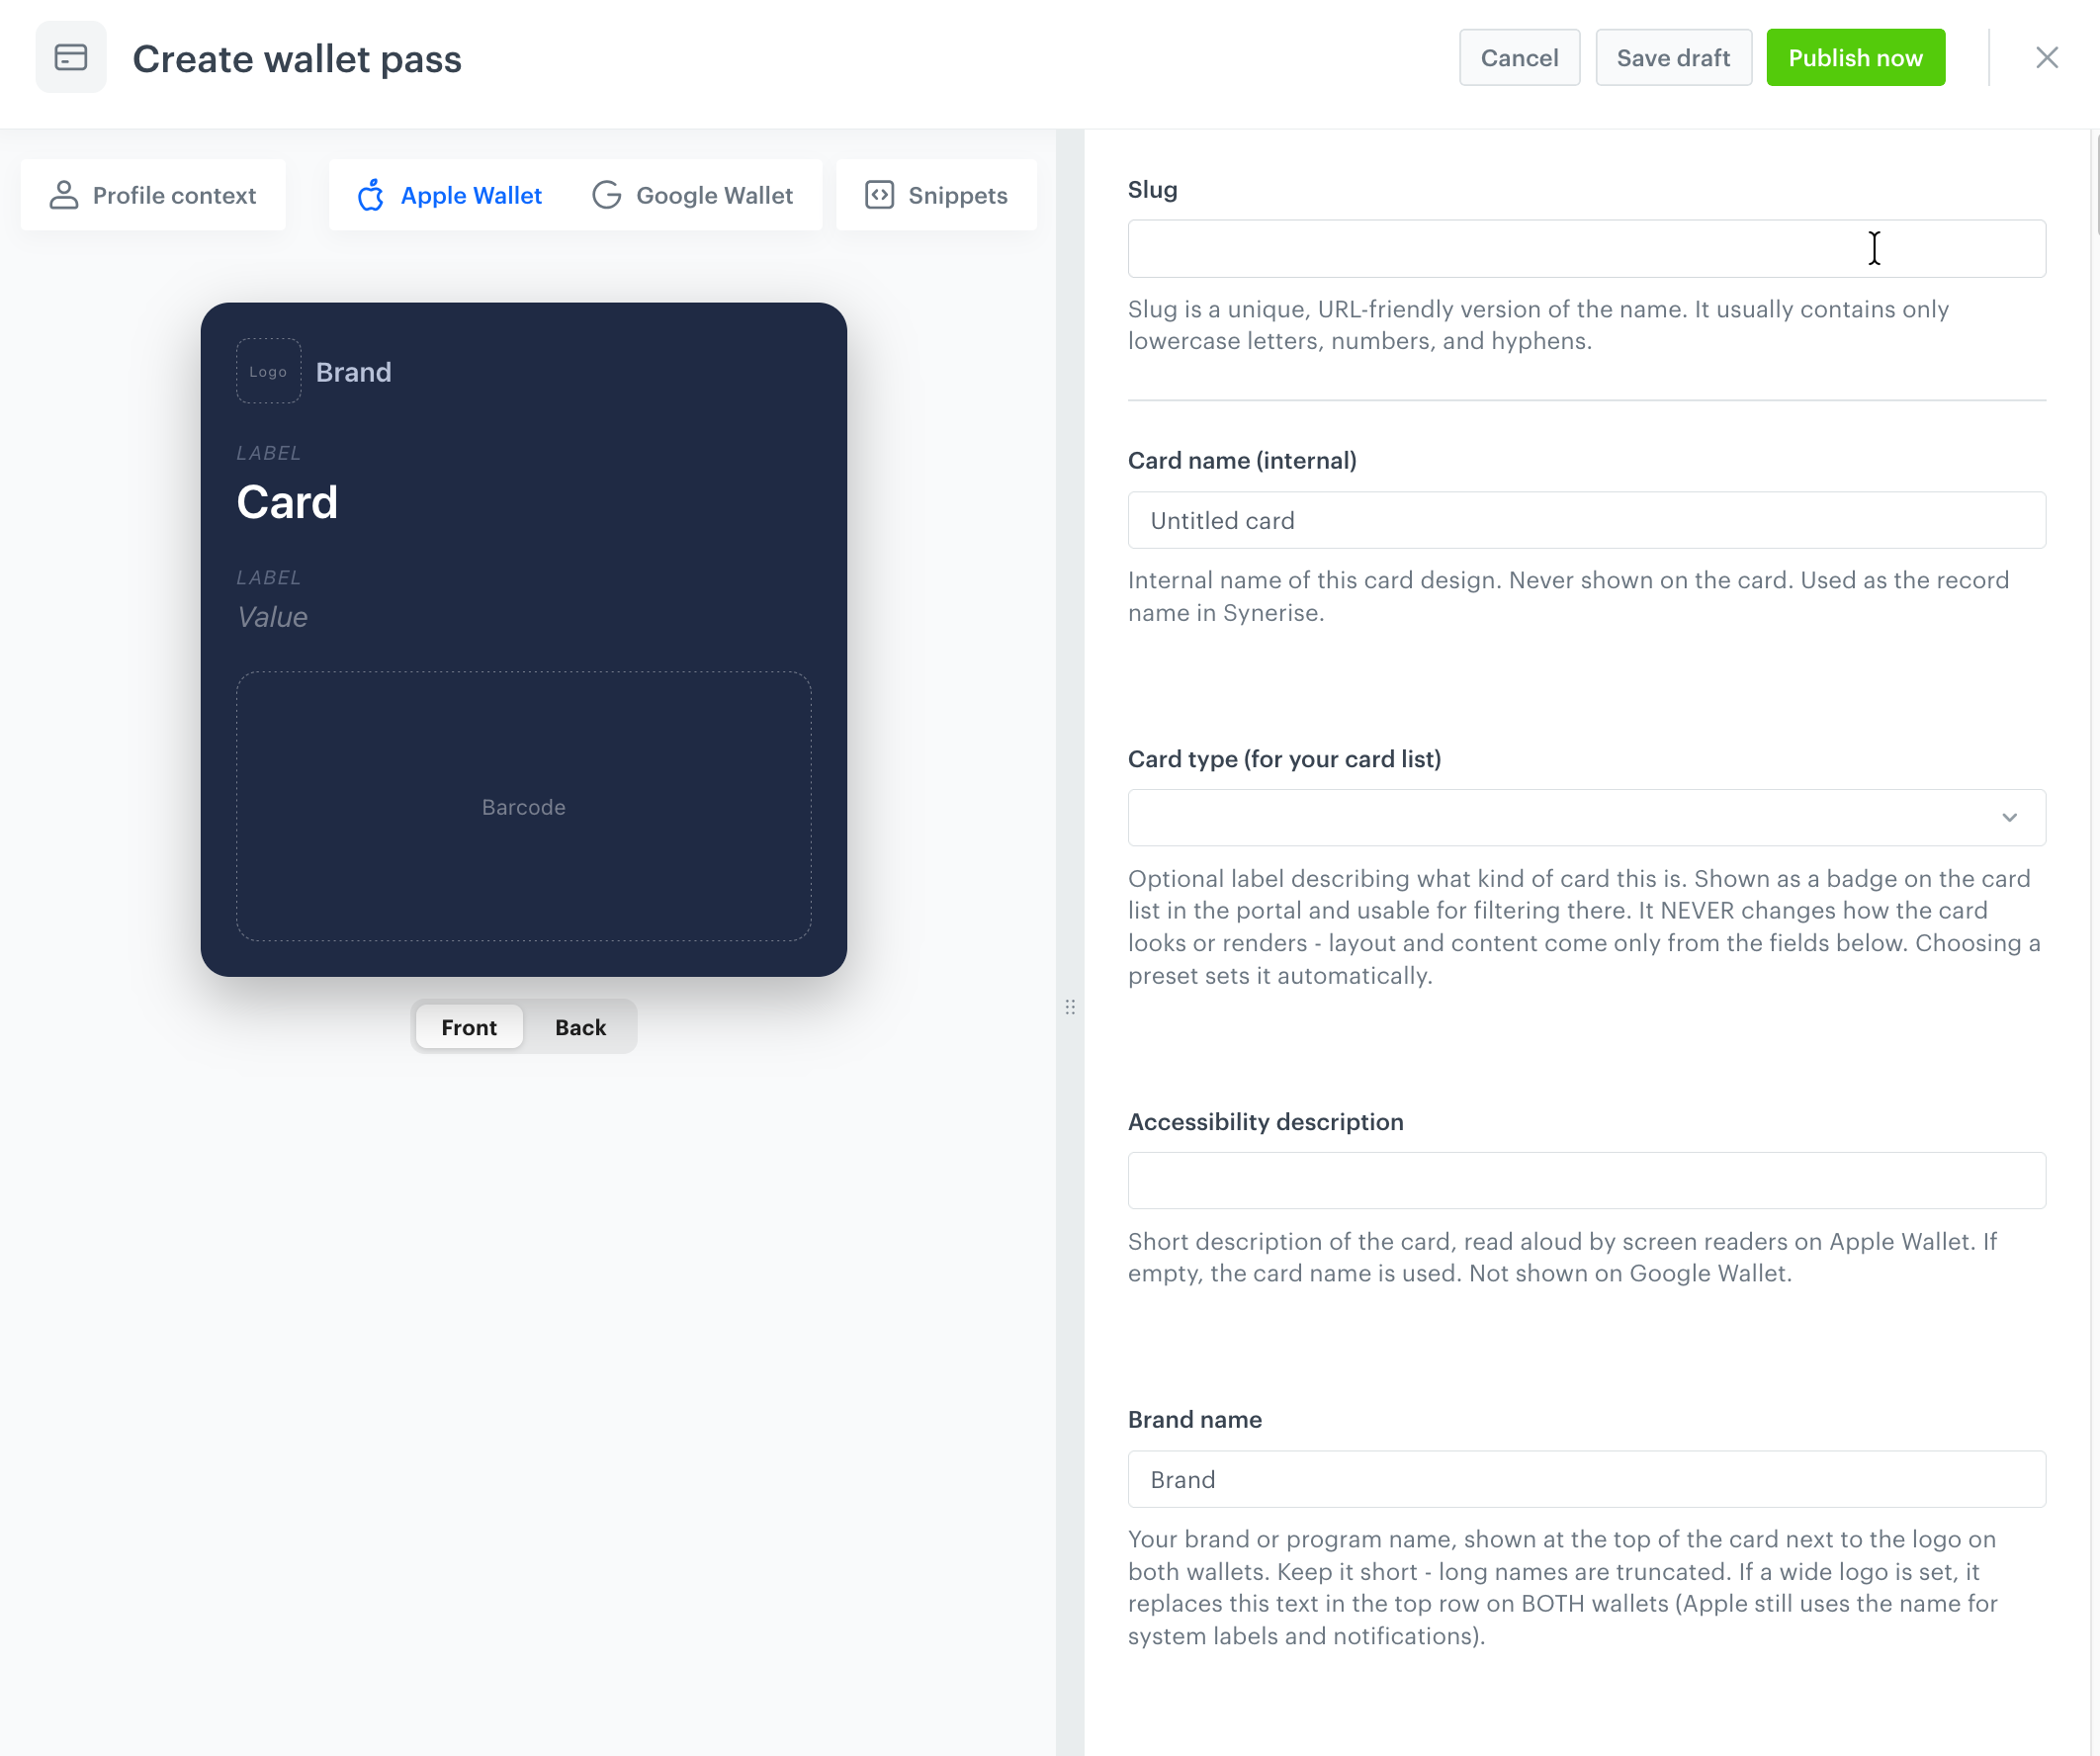
    <figure><img src="/api/docs/image/ad5911f3e3e1b87d3cda4bbfa051e6606d9bbc87/docs/campaign/_gfx/wallet-pass-editor.png" class="large" alt="Wallet pass editor"><figcaption>Wallet pass editor view. The left side presents the preview and its options. On the right, you can fill in the content and configuration. To see more options on the right, scroll up and down.</figcaption></figure>
3. Use the **Apple Wallet** and **Google Wallet** tabs above the preview to switch between the two card layouts as you configure the pass.  
    Most fields apply to both wallets; fields marked **(Apple)** or **(Google)** apply only to that wallet.

### Configuring the front of the card

The following fields, images, colors, and dynamic fields all appear on the front of the card - the side the cardholder sees first. For the fields displayed on the back, see [Configuring the back of the card](#configuring-the-back-of-the-card).

1. In the **Slug** field, enter a unique, URL-friendly identifier for the pass. Use only lowercase letters, numbers, and hyphens, for example `demo-loyalty-card`
2. In the **Card name** field, enter the internal name for the card.
3. From the **Card type** dropdown list, select one of the following card types:
   - Loyalty
   - Coupon
   - Gift card
   - Membership
   - Event
   - Info
   - Other
4. In the **Accessibility description** field, enter a short description for the card, read aloud by screen readers on Apple Wallet. If empty, the card name is used. Not shown on Google Wallet.
5. In the **Brand name** field, enter your brand or issuer name, for example `Synerise Club` - Apple maps this value to `logoText`; Google maps it to `cardTitle`

#### Adding images

1. Next to **Logo - square**, click **Select image** to choose a square brand logo (minimum 660×660 px). Google Wallet crops it to a circle; Apple Wallet uses it as the pass icon, and as the top-left logo if no wide logo is set.
2. Optionally, next to **Logo - wide**, click **Select image** to choose a wide logo. When set, it replaces the brand name text in the top row on both wallets: Apple shows it top-left (maximum 160×50 pt) instead of the brand name text, and Google shows it instead of both the circle logo and the brand name.  
    Check the preview before using a wide logo, since it replaces text-based branding entirely.

#### Setting colors

1. In the **Card background color** field, enter a HEX color code for the card background, for example `#1F2A44` - both wallets use this value; Google Wallet automatically picks readable text colors based on it.
2. In the **Text color (Apple only)** field, enter a HEX color code for the field values on Apple Wallet, for example `#FFFFFF` - Google Wallet ignores this and computes its own text colors.
3. In the **Label color (Apple only)** field, enter a HEX color code for the field labels on Apple Wallet, for example `#B8C2D9` - Google Wallet ignores this.

#### Defining dynamic fields

Each dynamic field has a value that can contain a Jinjava insert or a plain literal, and most also have a static label.

1. In the **Headline label** field, enter a static caption, for example `POINTS` - Apple uses it as the label of the main front field; Google shows it as the subheader above the hero text.
2. In the **Headline** code editor, enter a literal or a Jinjava expression that resolves to a per-cardholder value, for example `{{ customer.points_sum }} pts` - this is the biggest text on the card - Apple's main front field, Google's hero header.
3. Optionally, in the **Headline update notification** field, enter notification text to display when the headline's value changes, using `%@` as a placeholder for the new value, for example `Your points balance changed to %@` - leave this field empty for silent updates. It supports personalization.
4. In the **Top-right field - label (Apple only)** and **Top-right field - value (Apple only)** fields, enter the label and value of the small field shown in the top-right corner of Apple Wallet. This area also shows when cards are stacked, so keep the value very short. It isn't rendered on Google Wallet. If the expiry placement is set to **On the card front**, the expiry date appears next to this field.
5. Next to **Thumbnail photo (Apple only)**, select a square-ish photo to display to the right of the headline. It isn't rendered on Google Wallet.
6. Next to **Banner image (Google only)**, select a full-width banner to display below the card fields. It isn't rendered on Apple Wallet.
7. For each of the four front fields (**Front field 1** through **Front field 4**), fill in:
    - **Front field N - label** - the caption of the field, for example `Front field 1 - label` captions the first small front field (top row, left).
    - **Front field N - value** - a literal or a Jinjava expression that resolves to the field's value.
    - **Front field N - update notification** - notification text to display when the value changes, using `%@` as a placeholder for the new value. Leave empty for silent updates. Supports personalization.

A Jinjava insert can also reference an [Expression](/docs/assets/brickworks/synerise-objects#expression) - for example, to calculate a points or cashback balance. The expression is evaluated in the context of the cardholder's profile, so it returns a different result for each customer. Synerise doesn't detect when the expression's result changes on its own - call the update endpoint whenever the underlying data changes so the pass reflects the new value; see [Updating a wallet pass](/docs/campaign/wallet-passes/managing-wallet-passes#updating-a-wallet-pass-on-customer-devices).
### Configuring the back of the card

The following fields appear on the back of the card. This is an Apple Wallet-only part of the card - Google Wallet doesn't show this content.

1. For each of the four details entries (**Details 1** through **Details 4**), fill in:
    - **Details N - heading** - a short caption for the entry.
    - **Details N - text** - a literal or a Jinjava expression for the entry's content. Long text is fine, and URLs, phone numbers, and emails automatically become tappable on Apple. Leave empty to hide the entry.
2. For each of the two links (**Link 1** and **Link 2**), fill in:
    - **Link N - text** - the visible text of the link, for example `Visit our store` - if empty, the URL itself is shown.
    - **Link N - URL** - a literal or a Jinjava expression for the link's destination, for example `https://shop.example.com/account/{{ customer.id }}` - leave empty to hide the link.

On Apple Wallet, cardholders open the back of the card by tapping the information icon (ⓘ) on the front.

### Configuring the barcode

The barcode is displayed on the front of the card, below the front fields.

1. From the **Barcode type** dropdown list, choose a barcode to show on the card: **QR code**, **PDF417 barcode**, **Aztec code**, or **Code 128** - QR is the safest choice for scanning from phone screens. Leave it unset for no barcode.
2. In the **Barcode content** code editor, enter what the barcode should encode - usually personalized, for example `{{ customer.uuid }}` or a voucher code. This field is required when a barcode type is selected, and ignored otherwise.
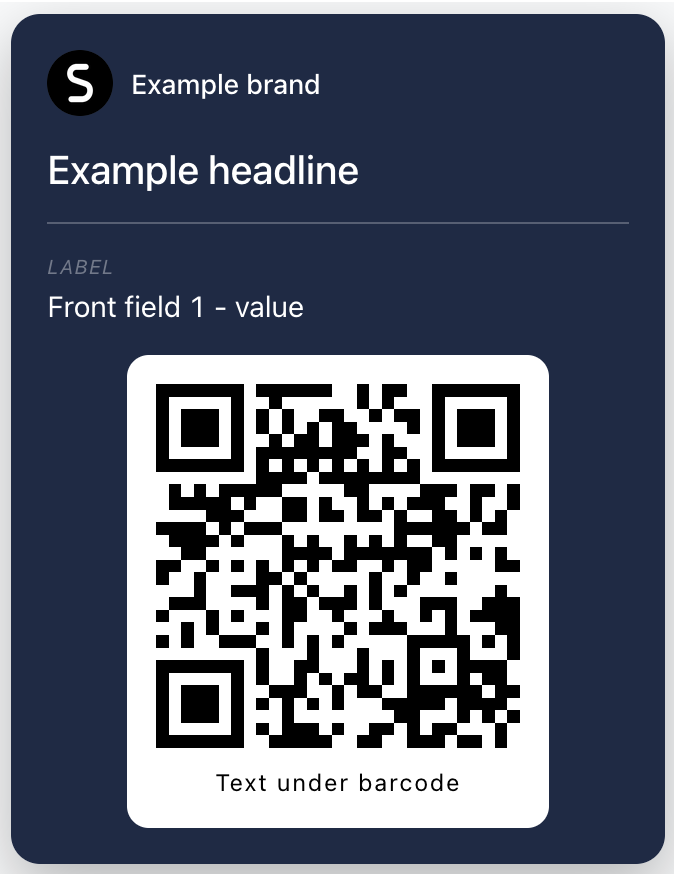
3. In the **Text under barcode** code editor, enter a literal or a Jinjava expression for the human-readable text to display under the barcode, for example `Scan this QR code at checkout to redeem your loyalty points`

<figure><img src="/api/docs/image/ad5911f3e3e1b87d3cda4bbfa051e6606d9bbc87/docs/campaign/_gfx/wallet-pass-preview-in-progress.png" class="small" alt="Wallet pass preview with a QR code (Google Wallet preview mode)"><figcaption>Wallet pass preview with a QR code (Google Wallet preview mode)</figcaption></figure>

### Setting expiration and status

1. In the **Expiration date & time** field, click the calendar icon and select when this card design expires, for example the end of a campaign. Apple marks the pass expired; Google closes the valid time interval. Leave empty for no expiry.
2. From the **Expiry placement** dropdown list, choose where to show the expiration date: **Hidden** (the card still expires silently), **On the card front** (Apple: top-right corner; Google: third row on the face), or **In the details view**. This setting only applies when an expiration date is set.
3. Unless you chose **Hidden**, in the **Expiry caption** field, enter a short caption to show next to the expiration date, for example `Expires` or `Valid until`
4. Select the **Card revoked** checkbox to invalidate every issued copy of the card: Apple marks the pass as voided, and Google deactivates it. Clear the checkbox to restore the card.

### Setting relevance (Apple only)

These fields help Apple Wallet decide when to suggest the pass on the lock screen. They aren't used by Google Wallet, except where noted.

1. In the **Relevant date & time (Apple only)** field, select when this card is most relevant, for example the start of an event. Apple suggests the pass on the lock screen around this time.
2. For up to two relevant places (**Location 1** and **Location 2**) (Apple only), fill in the coordinates of the place, for example your store. When a device holding this card comes within approximately 100 meters of these coordinates, Apple can notify the user and suggest the pass on the lock screen. This feature isn't available in Google Wallet yet.
    - **Location N - latitude (Apple only)** - the latitude of the place. Range -90 to 90.
    - **Location N - longitude (Apple only)** - the longitude of the place. Range -180 to 180.
    - **Location N - lock screen message (Apple only)** - a short message shown on the Apple lock screen near this location, for example `Show your card at the register`


### Configuring credentials
These fields are usually preconfigured by your integration team and don't need to change between cards.

1. In the **Apple credential ID (internal)** field, enter the UUID of the [Apple Wallet](/docs/settings/tool/apple-wallet) signing credential (Pass Type ID and certificate) configured in device-hub, for example `766e734d-5412-4d83-0000-00000000000`; this field is required - every card must reference a valid credential. Ask your integration team for the right value for your workspace.
2. In the **Google credential ID (internal)** field, enter the UUID of the [Google Wallet](/docs/settings/tool/google-wallet) issuer credential (service account) configured in device-hub, for example `76da8b70-c3cf-40e9-0000-00000000000`; this field is required for the same reason as above.
3. Optionally, in the **Base URL (internal)** field, override the base URL of the issuing service used in pass links. By default, links use the `api.synerise.com` domain. To use your own subdomain instead, set it up the same way as a custom tracking or email-sending domain - create the subdomain, then add a CNAME record pointing to Synerise, as described in [Custom tracking domain](/developers/web/first-party-tracking) - and enter that subdomain here, for example `https://link.example.com/device-hub`

## Previewing the pass
---

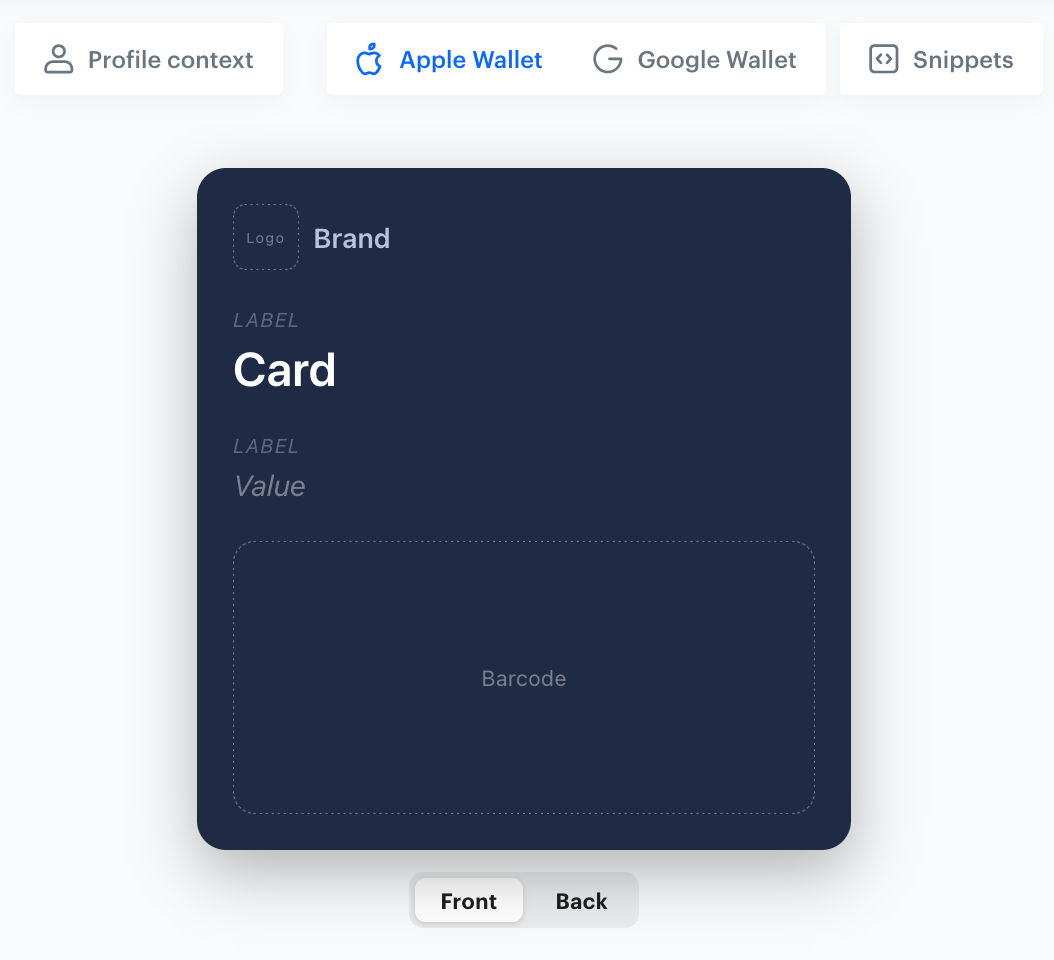
Use the **Apple Wallet** and **Google Wallet** tabs above the card preview to check how the pass looks on each platform. The two wallets use slightly different layouts: Google Wallet displays front fields side by side, while Apple Wallet stacks them.

<figure><img src="/api/docs/image/ad5911f3e3e1b87d3cda4bbfa051e6606d9bbc87/docs/campaign/_gfx/wallet-pass-preview.png" class="medium" alt="Wallet pass preview area"><figcaption>Wallet pass preview area</figcaption></figure>

To preview the pass with data resolved for a specific cardholder:

1. Click **Profile context**.
2. From the **Select** dropdown list, choose a customer profile.
3. Click **Apply**.

**Result**: The preview reflects the field values and barcode payload resolved for the selected profile instead of the raw Jinjava template.

## Using snippets
---

[Snippets](/docs/assets/snippets) let you insert reusable or dynamic content, such as profile attributes, promotions, aggregates, or recommendations, into any field that supports Jinjava.


<div class="admonition admonition-important"><div class="admonition-icon"><svg xmlns="http://www.w3.org/2000/svg" fill="none" viewBox="0 0 24 24" stroke="currentColor" stroke-width="2.5"><path stroke-linecap="round" stroke-linejoin="round" d="M12 8v4m0 4h.01M21 12a9 9 0 11-18 0 9 9 0 0118 0z" /></svg></div><div class="admonition-body"><div class="admonition-content">

If the snippet you insert resolves to a value that can change over time (for example, a profile attribute or an aggregate), remember to also set up a process for updating the wallet pass. Otherwise, the pass keeps showing the value from when it was issued or last updated - see [Updating a wallet pass](/docs/campaign/wallet-passes/managing-wallet-passes#updating-a-wallet-pass-on-customer-devices).

</div></div></div>


1. Click **Snippets**.
2. Search for the object or snippet you want to insert, or select a category such as **Attributes**, **Promotions**, **Aggregates**, or **Recommendations**.
3. Select the item to insert its reference into the field you were editing.

## Saving and publishing
---

1. In the upper-right corner, click **Save draft** to store the pass without making it available to customers, or click **Publish now** to make it active immediately.  
   **Result**: The wallet pass is saved and appears in the **Wallet passes** list with the status **Draft** or **Published**, depending on the option you chose.

Once the pass is published, see [Distributing wallet passes](/docs/campaign/wallet-passes/distributing-wallet-passes) to learn how to deliver it to your customers.