You can create an event expression that extracts a data from a timestamp and use them in reports to gain a time-related information for an analysis.
## Requirements
---
A tracking code implemented into the website.
## Creating event expression for reports
---
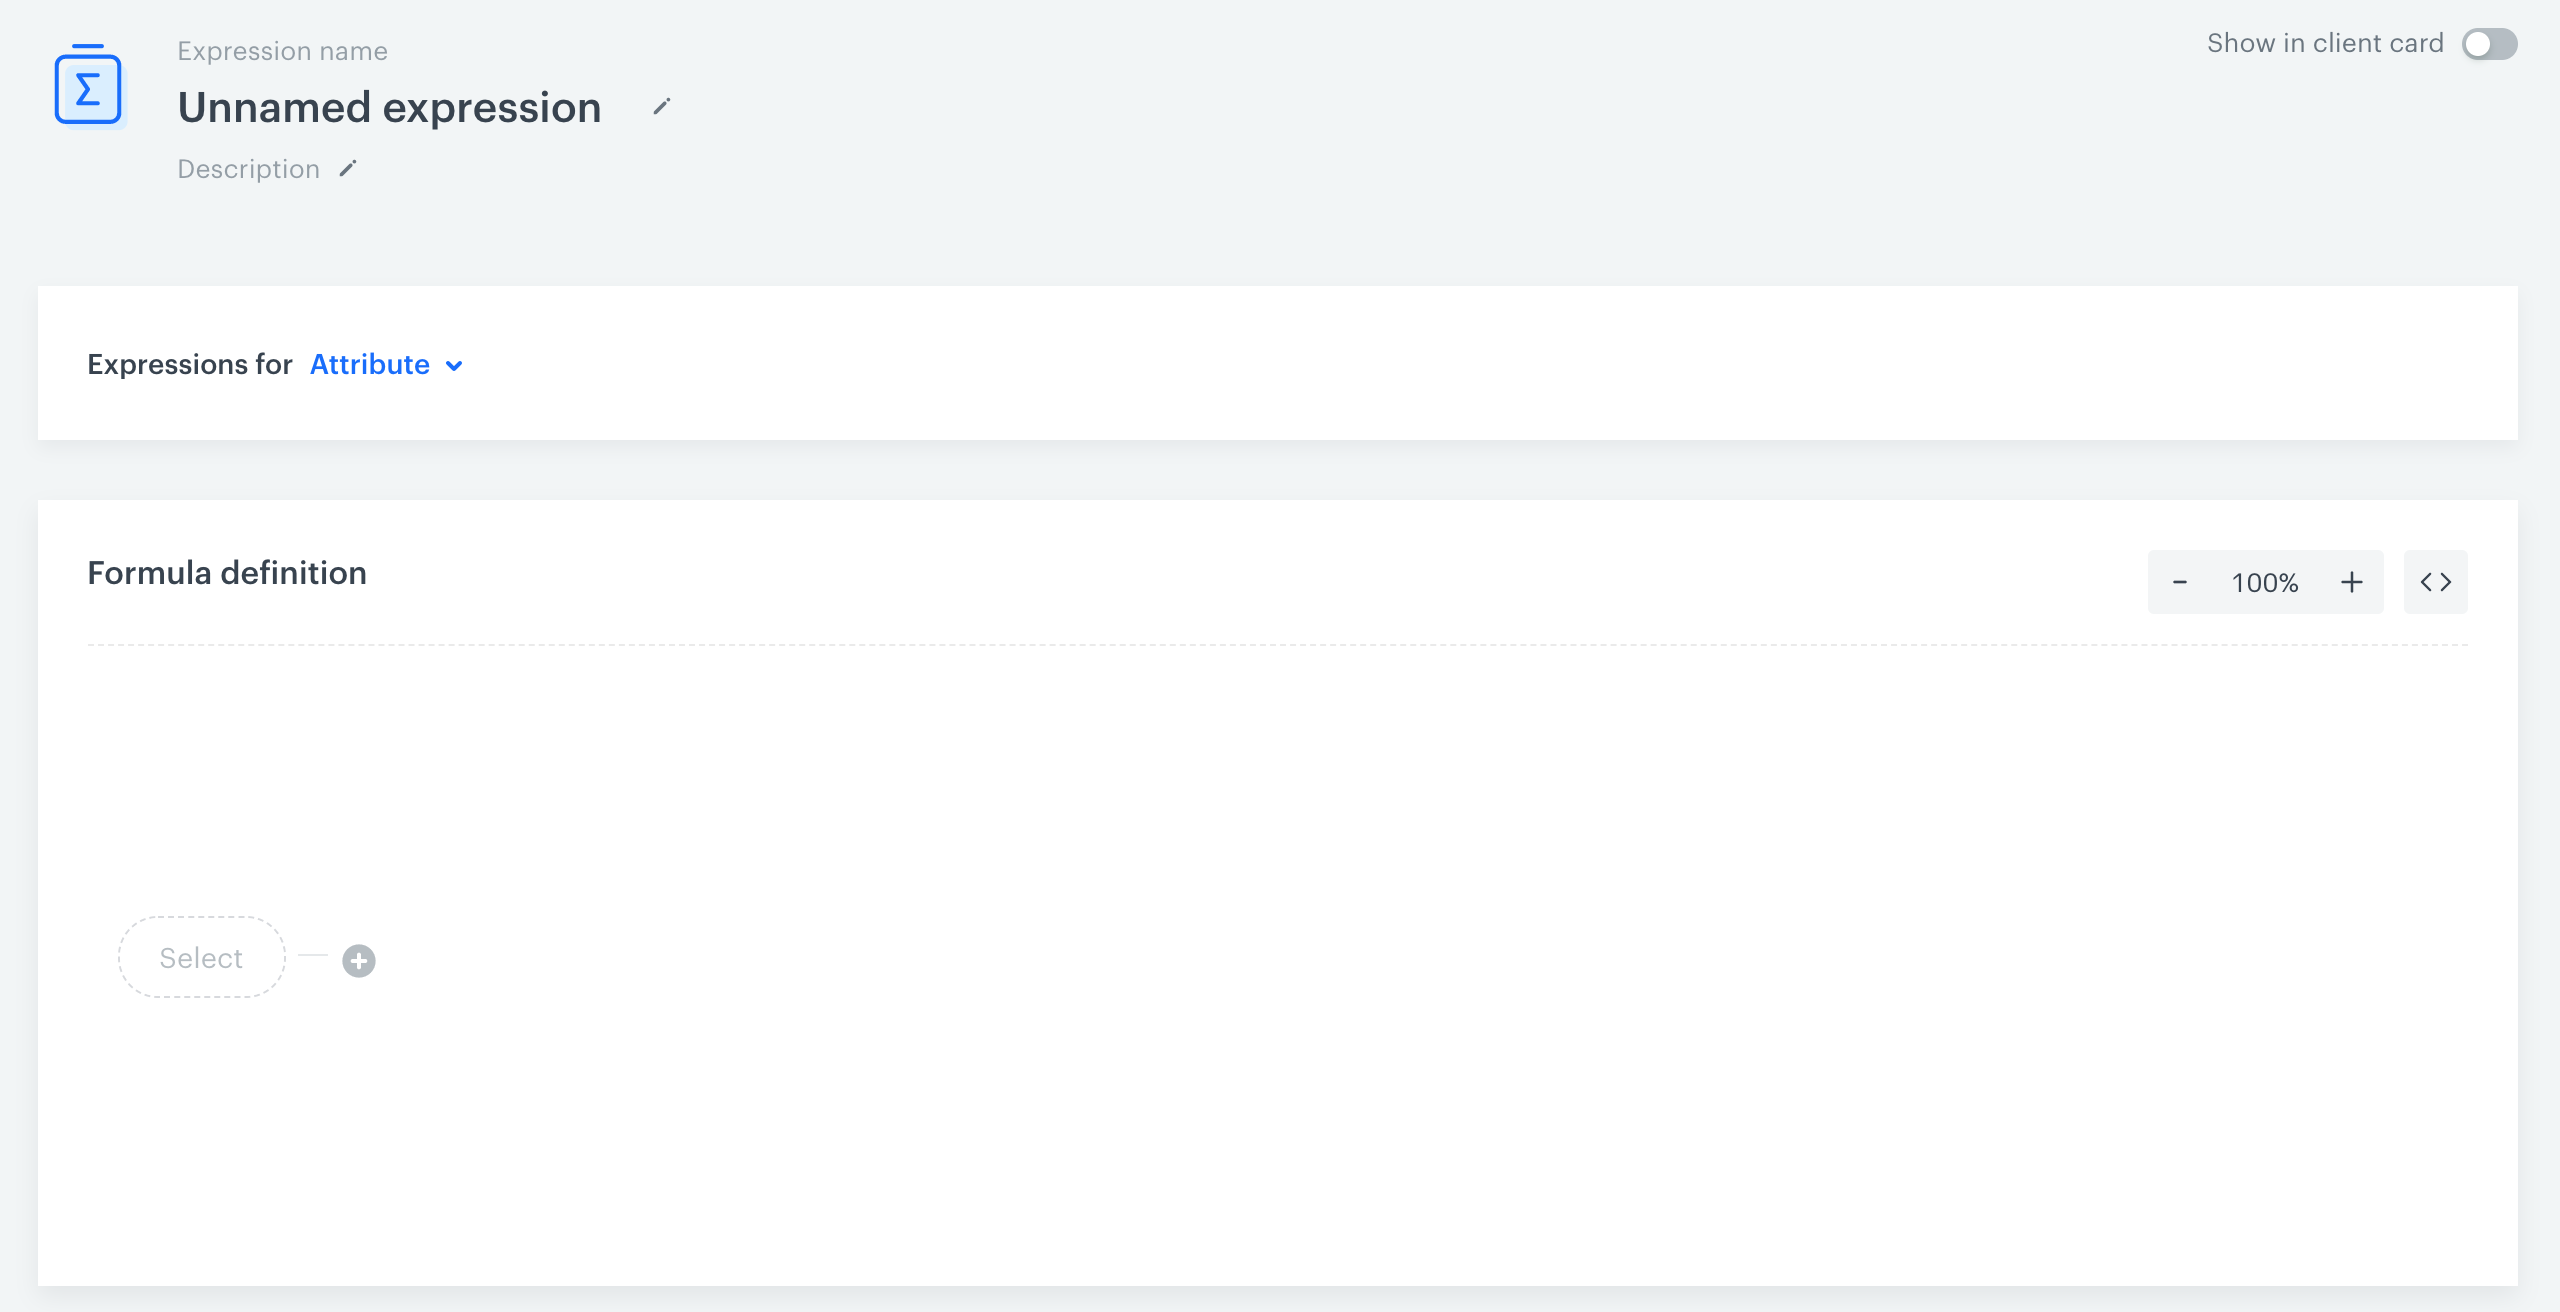
Expression wizard
1. Go to **Behavioral Data Hub > Expressions > New expression**.
2. Enter a name of the expression.
3. Optionally, you can let other users know about the purpose of the expression by writing a short description.
4. Define the kind of expression you are creating by selecting the **Events** option. To do so, click the button.
5. Select an event to analyze.
When applying an expression to a metric, the event in the expression must be the same as the event in the metric.
5. In the formula definition, click the **Select** button and on the dropdown list hover the mouse cursor over the **Function**.
6. Scroll down to options:
- To timestamp - To convert the format of the timestamp to a universal format (ISO).
- Day of month - To extract the number of the day in a month when an event occurred.
- Day of week (1 stands for Monday, 7 for Sunday) - To extract the day of the week when an event occurred.
- Day of year - To extract the day of the year when an event occurred.
- Hour (0-23 format) - To extract an hour when an event occurred.
- Week - To extract the number of the week when an event occurred.
- Month - To extract the number of the month when an event occurred.
- Year - To extract the number of the year when an event occurred.
7. Click the **Select** button in brackets and from the dropdown list, select **Event attribute**. As a result, an unnamed event attribute appears in brackets.
8. Open the settings of the unnamed attribute by clicking it.
9. To define the event attribute from which the date is extracted, click the **Choose parameter** button and use the search engine to find `TIMESTAMP`.
10. To complete the process, click the **Save** button.