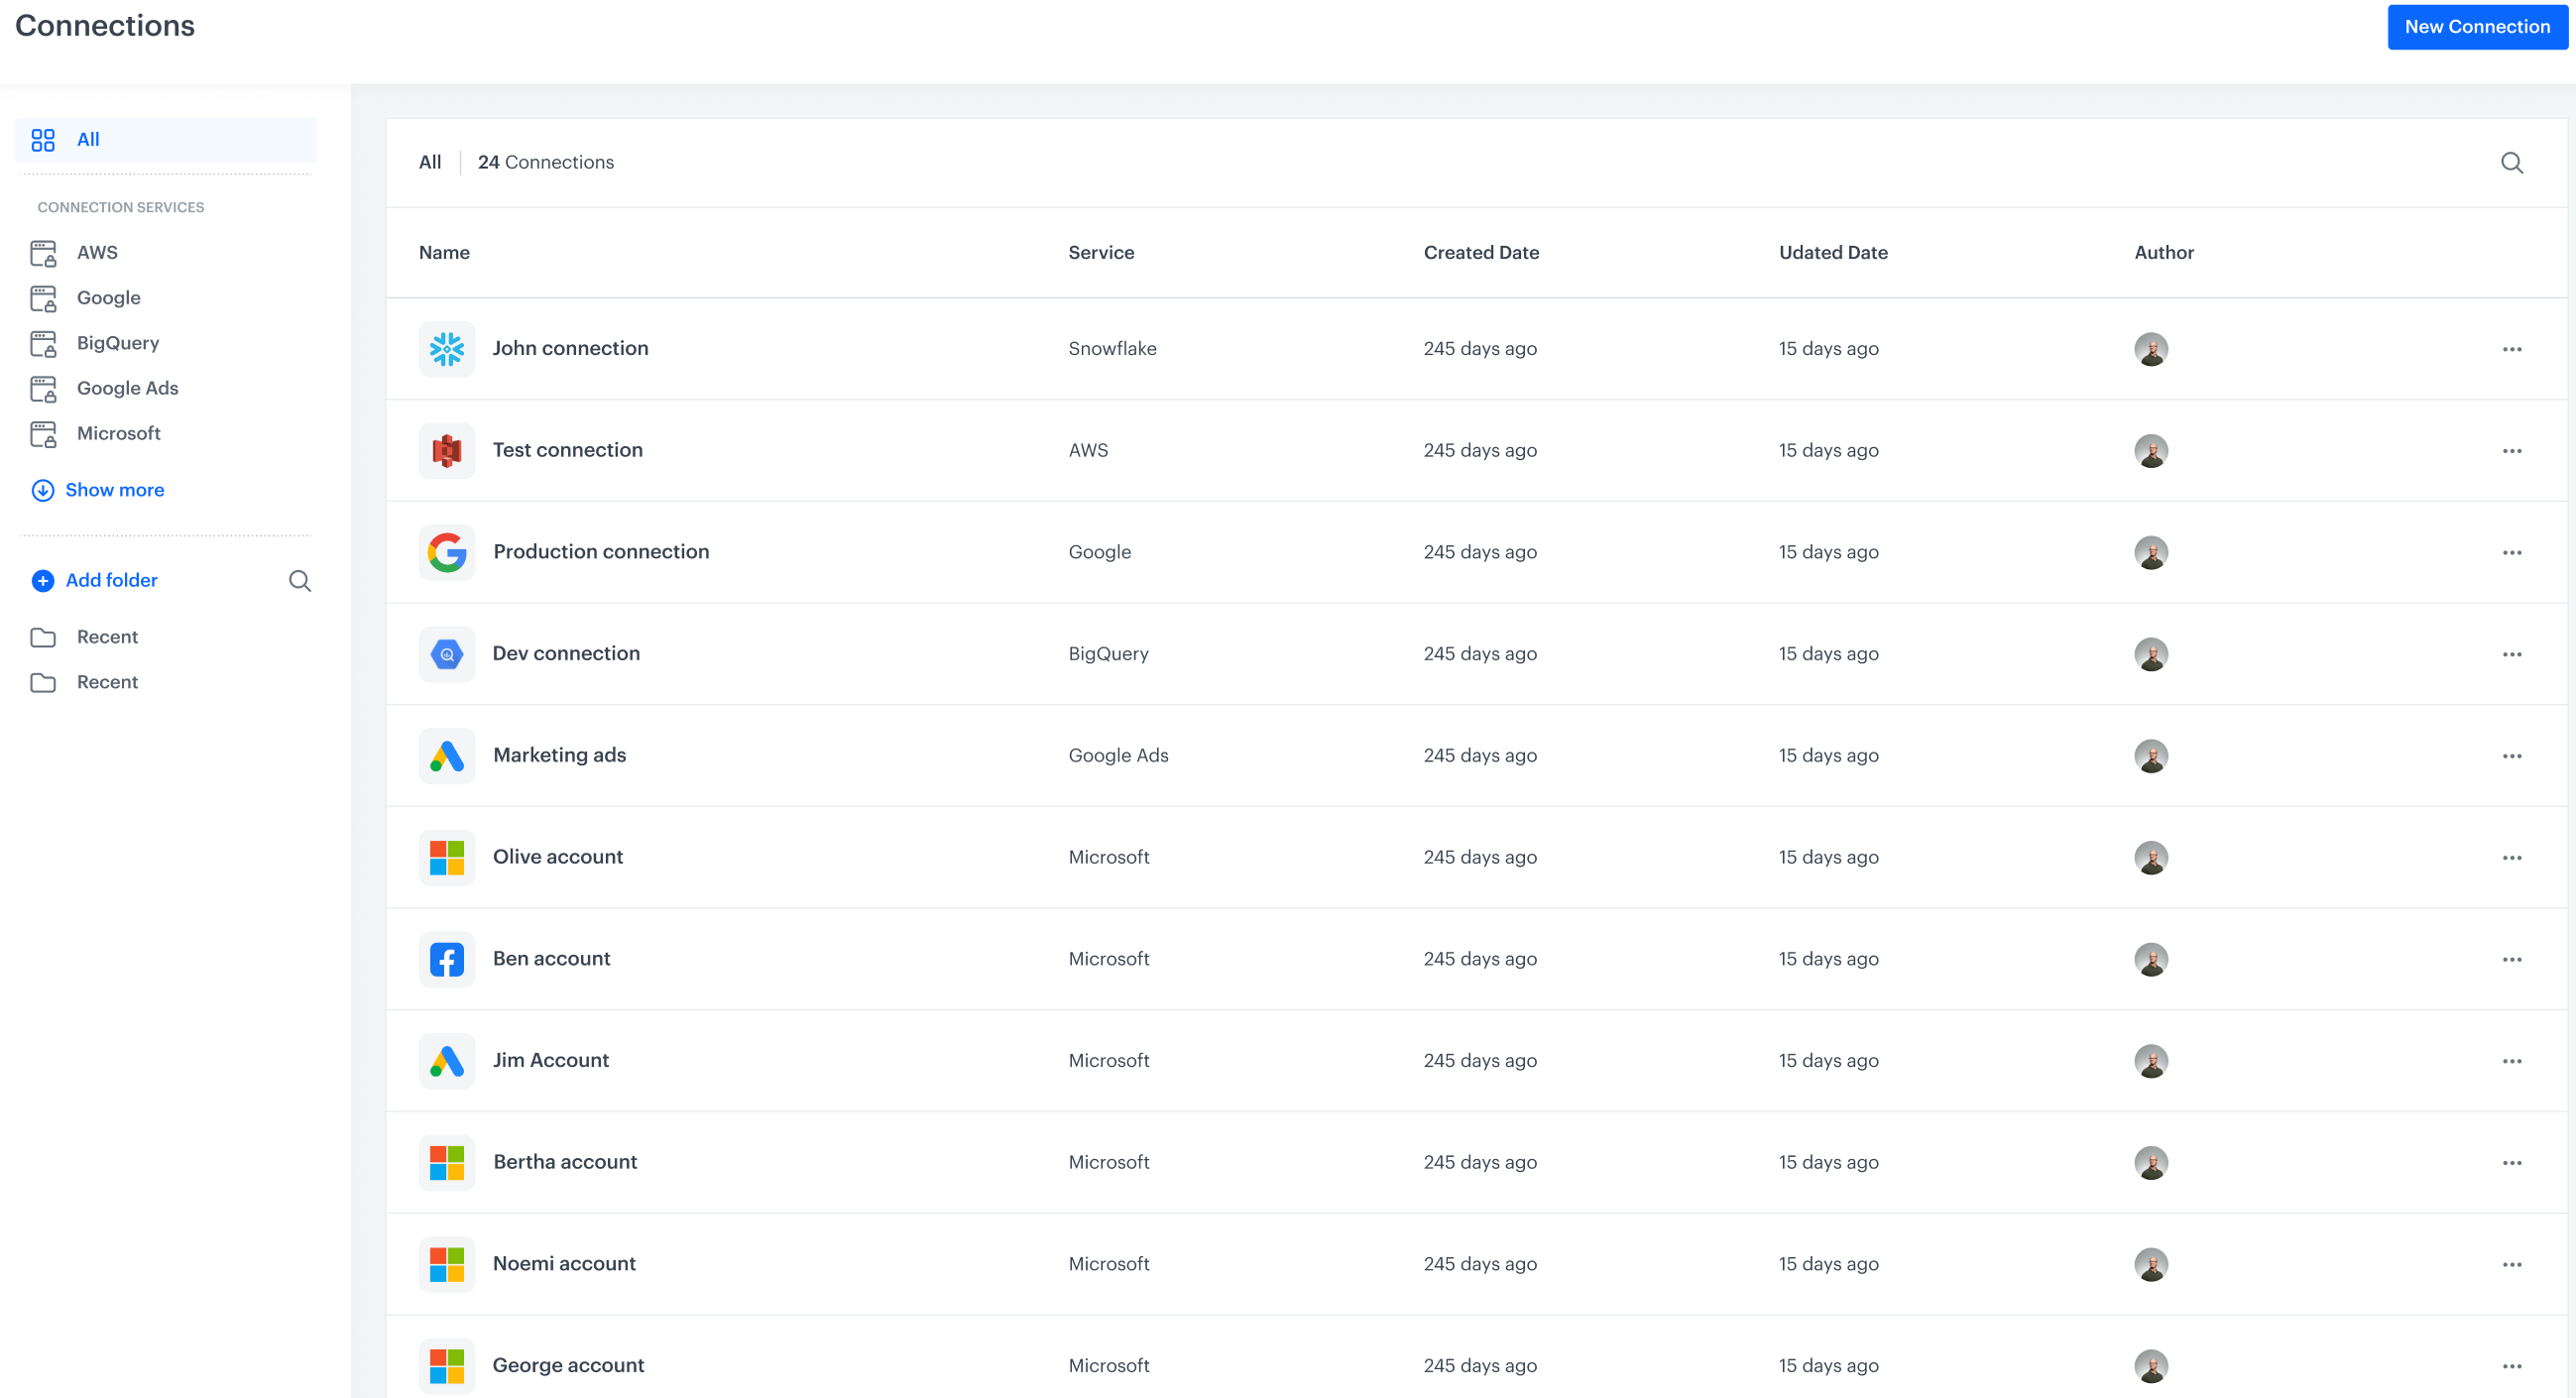
The Connections feature facilitates management of connections established within workflows in Automation Hub. This feature lets you organize and oversee the connection activity. Apart from [creating](#creating-connections) and [editing connections](#editing-connections), you can view a list of connections categorized according to services, as well as create your own custom connection categories.
The list of connections
## Prerequisites
---
You must be granted a user role that includes the `Connections` [permission](/docs/settings/identity-access-management/permissions#permissions) in the Settings permission catalog with the following scope: `READ`, `EXECUTE`, `CREATE`, `EDIT`, `DELETE`.
You can read about assigning roles to users in the ["Roles" article](/docs/settings/identity-access-management/permissions).
This permission allows:
- previewing, creating, editing, and deleting connections
- previewing and editing nodes which use connections
- launching workflows that contain the nodes which use connections
## Creating connections
---
You can create connections in the following places in the Synerise platform:
- within the [integration nodes](/docs/automation/integration), for example, [creating a connection in Snowflake - "Get Data - Reverse ETL" node](/docs/automation/integration/snowflake/get-data-reverse-etl#create-a-connection)
- in Settings
Instruction in this section describes the process of creating a connection in Settings.
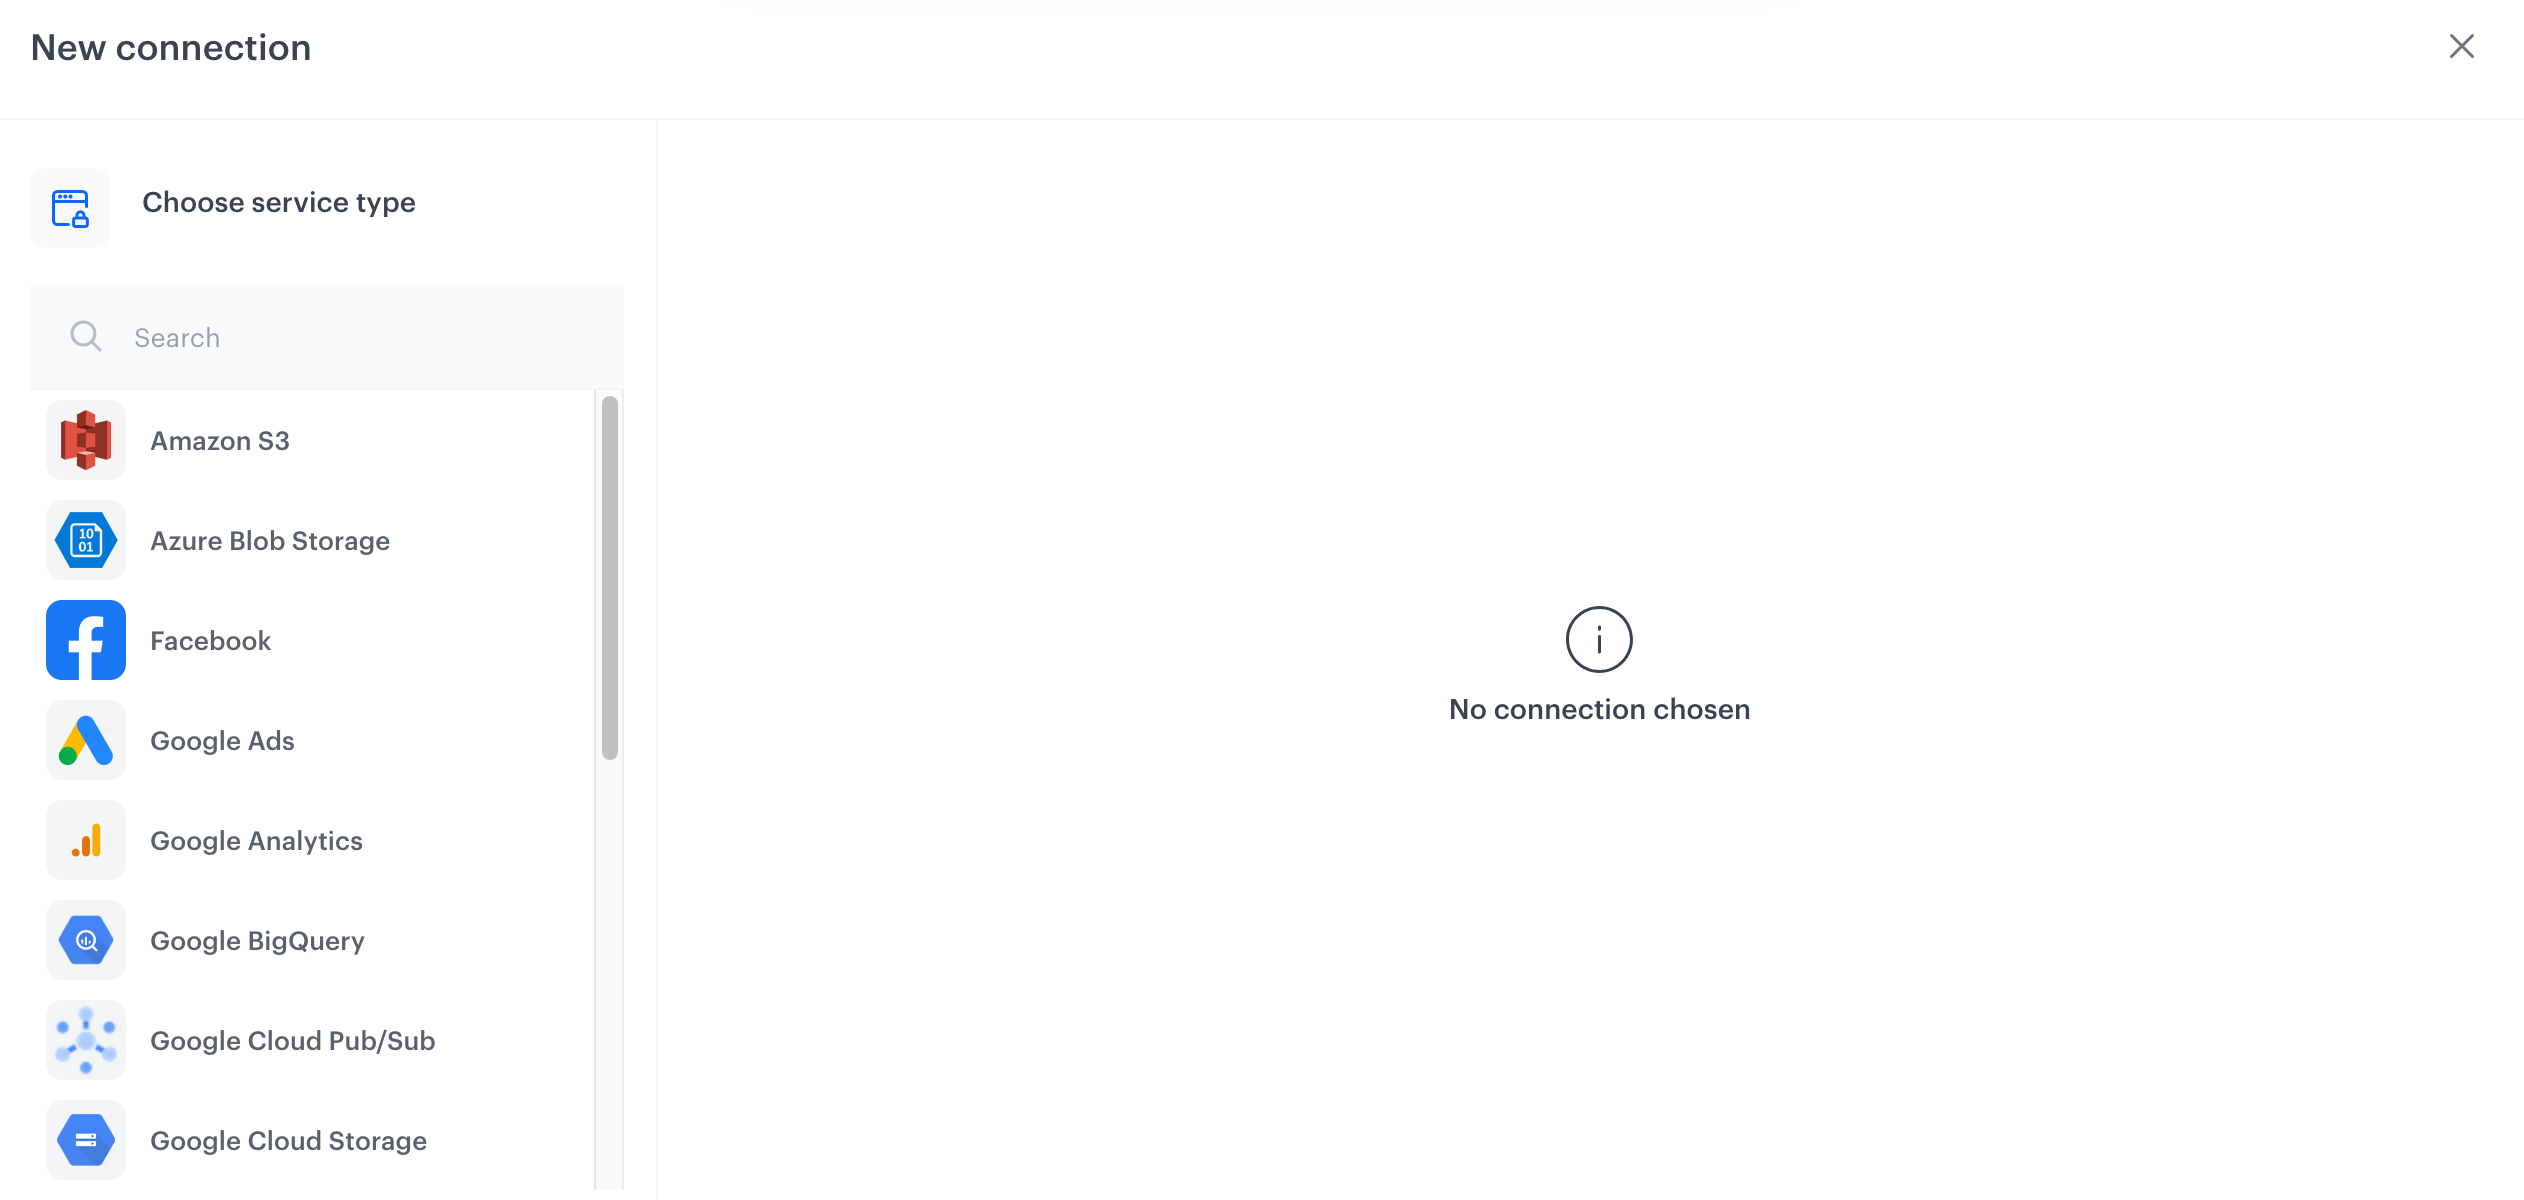
1. Go to **Settings > Connections > New connection**.
**Result**: A pop-up appears.
The pop-up with services available for selection
2. From the list on the pop-up, select a service with which you want to connect.
**Result**: A list of authorization methods appears.
3. Select the method of authorization with the service.
For each service, the selection of the authorization methods differs. To get the instruction on authorizing with a selected service you want to connect, refer to the documentation of services available in [Integration](/docs/automation/integration).
5. After selecting the authorization method, fill out the configuration form. To get the instruction on filling out the form, refer to the documentation of the integration service you selected.
6. Confirm the settings in the configuration form by clicking **Create**.
## Editing connections
---
To edit a connection:
1. Go to **Settings > Connections**.
2. Find the connection you want to edit.
3. Click the icon.
4. From the dropdown list, select **Edit**.
5. After you make the changes to the connection, confirm them by clicking **Apply**.