This section contains information about a Synerise user. Users can:
- find their own user ID
- check their own user status (for example, active, inactive)
- select language
- check and assign (if user permission allows) a user role in the workspace
- integrate your inbox with Synerise to collect responses from customers in the Synerise application
## Providing user details
---
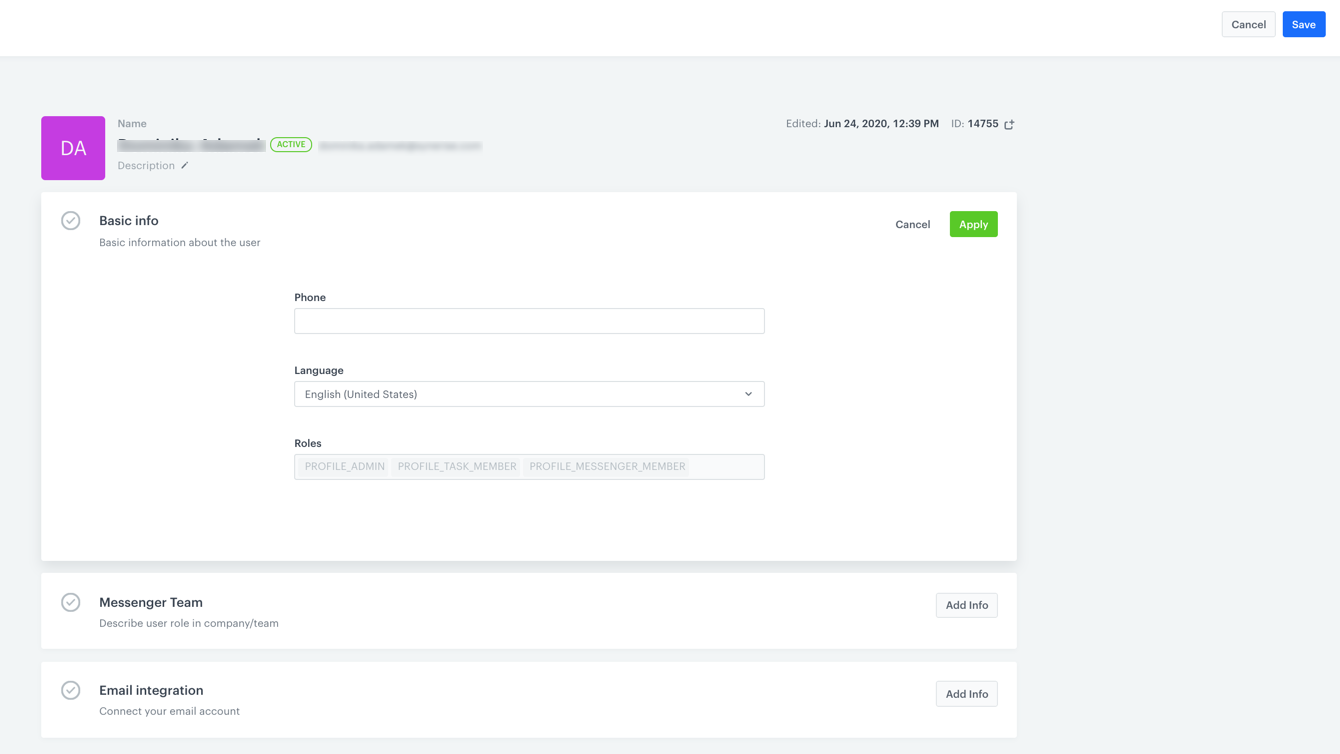
Account details section
1. Go to **Settings > Account Details**.
2. In the **Basic info** section, to fill in information, click **Add info**.
1. In the **Phone** field, enter a phone number (all formats allowed).
2. In the **Language** field, from the dropdown list, select a language (this setting is valid only for a user account, not a workspace).
3. In the **Roles** field, if the [user permissions](/docs/settings/identity-access-management/permissions) allow, define a user's role in the workspace.
4. Confirm by clicking **Apply**.
3. To describe your role in the company, in the **Messenger team** section, click **Add info** (currently unused).
5. To finish editing the user's profile, in the upper right side of the screen, click **Save**.
## Integrating mailbox
---
This option allows to collect responses from customers to emails. When a customer sends a response to an email, the `message.receive` event appears on the activity list on the card of this customer (Profiles). The event parameters include the `email title`, `email contents`, `from`, `to`, and `cc`.
1. To begin integrating a mailbox, in the **Email integration** section, click **Add info**.
2. Select the type of your email account.
2. For **Google/Gmail**:
1. Enter the email address you want to integrate.
2. Enter the password to your inbox.
3. Select the SMTP type.
4. To select the date from which the inbox will be synchronized, click the **Sync from** field.
**Result**: A calendar appears.
5. Select the date.
6. To confirm, click **Apply**.
3. For the **Other type** of an email account:
1. Provide information in: **IMAP server**, **IMAP type** and **Port** fields.
2. Provide information in: **SMTP server**, **SMTP type** and **Port** fields.
3. In the **Sync from**, to select the date from which the inbox will be synchronized, click the field.
4. Confirm by clicking **Apply**.
5. To finish editing the user's profile, in the upper right side of the screen, click **Save**.