> Synerise Documentation — Use Cases (Part 2 of 3)
>
> This is part 2 of 3 of the "Use Cases" section. To reconstruct the full section, fetch all 3 parts in order (part 1, part 2, …) and concatenate them. Each article begins with a top-level "# " heading. The manifest listing all sections is at https://hub.synerise.com/llms-full.txt
# Call center dashboard
Creating a dashboard for call center is a great way for call center epmloyees to monitor day-to-day operations, customer buying history as well as their satisfaction based on various metrics and KPIs.
In this use case you will design a dashboard for call center personnel. It will be a reporting tool that shows call center-related analytics so you can monitor, optimize and improve contact with your customers. The goal of the visual presentation is to make analysis simpler by cutting down the time it takes to ingest information from hours to seconds.
## Prerequisites
---
- Implement a [tracking code](/developers/web/installation-and-configuration) on your website.
- Implement transaction events using [SDK](/developers/web/transactions-sdk) or [API](https://hub.synerise.com/api-reference/data-management#operation/CreateATransaction).
- Add [custom events](https://hub.synerise.com/api-reference/data-management#operation/CustomEvent) and their [parameters](/docs/assets/events/adding-event-parameters) to save data to customers' profiles when they perform an activity.
In this particular use case:
- `product.return`,
- `callcenter.call`.
- Implement [OG tags](/developers/web/og-tags) on your website.
## Process
---
In this use case, you will go through the following steps:
1. [Create expressions](#create-expressions) that return the date of transaction, returns and page visit.
2. [Create aggregates](#create-aggregates) for transactions, returns, visits to the website and call center history.
3. [Create metrics](#create-metrics) for bought products, returns, top visited brands, top visited products and queries.
2. [Create reports](#create-reports) for history of bought products, returns, top visited brands, top visited products and history of queries.
3. [Create trends](#create-trends) of history of calls.
4. [Create a dashboard](#create-a-dashboard) that gathers created analyses.
5. [Add the dashboard to customer profiles](#add-the-dashboard-to-customer-profiles).
These are just examples of analytics you can use, such a dashboard can be expanded with various other analytics suitable for your business needs.
## Create expressions
---
In this part of the process, create two expressions for the following events: `transaction.charge` and `page.visit`. They will be later used in [aggregates](#create-aggregates) to return dates of specific events.
1. Go to **Behavioral Data Hub > Expressions > New expression**.
2. Enter the name of the expression.
3. Set the **Expression for** option to **Event**.
4. From the **Choose event** dropdown list, select `transaction.charge` event.
5. In the **Formula definition** section, click **Select**.
6. From the list that opens, select **Function > Regexp**.
7. In the brackets, click the **Select** button and from the list, select **Event attribute**.
1. Click the **Unnamed** node that appeared.
9. At the bottom of the page, click **Choose parameter**.
10. In the list of attributes, find and select **TIMESTAMP**.
8. Click the next **Select** button in the brackets and from the list, select **Constant**.
1. Click the **0** node that appeared.
2. At the bottom of the page, type `....-..-..` for date format.
9. Save the expression.
10. Create a second expression and repeat all steps for `page.visit` event.
Configuration of the expression returning transaction date
## Create aggregates
---
In this part of the process, you will create a number of aggregates on transactions, returns, page visits and call center calls, which will be used in the dashboard in the further part of the process.
### Transactions
Create aggregate that:
Returns the date of the first and last transaction made by a customer
Go to Behavioral Data Hub > Live Aggregates > Create aggregate.
As the aggregate type, select Profile.
Enter a meaningful name of the aggregate.
Switch the Show in profile card option on.
Click Analyze profiles by and select First to return the date of first transaction.
Click the Choose event dropdown list.
From the dropdown list, select the `transaction.charge` event.
Using the date picker in the lower-right corner, set the time range to Lifetime.
Click Apply.
Save the aggregate.
Create a second aggregate and repeat all steps for Last option, to return the date of last transaction.
Configuration of the aggregate returning first transaction date
Returns the last product a customer bought
Go to Behavioral Data Hub > Live Aggregates > Create aggregate.
As the aggregate type, select Profile.
Enter a meaningful name of the aggregate.
Switch the Show in profile card option on.
Click Analyze profiles by and select Last to return the name of the last bought product.
Click the Choose event dropdown list.
From the dropdown list, select the `product.buy` event.
Click choose parameter and choose the `$name` parameter.
Using the date picker in the lower-right corner, set the time range to Lifetime.
Click Apply.
Save the aggregate.
Configuration of the aggregate returning last brought product name
Returns last transaction value
Go to Behavioral Data Hub > Live Aggregates > Create aggregate.
As the aggregate type, select Profile.
Enter a meaningful name of the aggregate.
Switch the Show in profile card option on.
Click Analyze profiles by and select Last to return the value of the last transaction customer made.
Click the Choose event dropdown list.
From the dropdown list, select the `transaction.charge` event.
Click choose parameter and choose the `$totalAmount` parameter.
Using the date picker in the lower-right corner, set the time range to Lifetime.
Click Apply.
Save the aggregate.
Configuration of the aggregate returning customer's last transaction's value
Calculates the number of transactions for a customer
Go to Behavioral Data Hub > Live Aggregates > Create aggregate.
As the aggregate type, select Profile.
Enter a meaningful name of the aggregate.
Switch the Show in profile card option on.
Click Analyze profiles by and select Count to return the number of all the transactions customer made.
Click the Choose event dropdown list.
From the dropdown list, select the `transaction.charge` event.
Using the date picker in the lower-right corner, set the time range to Lifetime.
Click Apply.
Save the aggregate.
Configuration of the aggregate returning the number of transactions made by a customer
Calculates the value of all transactions for a customer
Go to Behavioral Data Hub > Live Aggregates > Create aggregate.
As the aggregate type, select Profile.
Enter a meaningful name of the aggregate.
Switch the Show in profile card option on.
Click Analyze profiles by and select Sum to return the value of all the transactions customer made.
Click the Choose event dropdown list.
From the dropdown list, select the `transaction.charge` event.
Click choose parameter and choose the `$totalAmount` parameter.
Using the date picker in the lower-right corner, set the time range to Lifetime.
Click Apply.
Save the aggregate.
Configuration of the aggregate returning the value of all transactions made by a customer
### Returns
Create an aggregate that:
Which result is the name of the last returned product
Go to Behavioral Data Hub > Live Aggregates > Create aggregate.
As the aggregate type, select Profile.
Enter a meaningful name of the aggregate.
Switch the Show in profile card option on.
Set the Analyze profiles by option to Last to display the last product a customer returned.
Click the Choose event dropdown list.
From the dropdown list, select the `product.return` event.
Click choose parameter and choose the `name` parameter.
Using the date picker in the lower-right corner, set the time range to Custom and set to 90 days.
Click Apply.
Save the aggregate.
Configuration of the aggregate returning the name of the last product customer returned
Which result is the price of the last returned product
Go to Behavioral Data Hub > Live Aggregates > Create aggregate.
As the aggregate type, select Profile.
Enter a meaningful name of the aggregate.
Switch the Show in profile card option on.
Click Analyze profiles by and select Last to display the price of the last product a customer returned.
Click the Choose event dropdown list.
From the dropdown list, select the `product.return` event.
Click choose parameter and choose the `price` parameter.
Using the date picker in the lower-right corner, set the time range to Custom and set to 90 days or according to your business needs.
Click Apply.
Save the aggregate.
Configuration of the aggregate returning the price of the last product customer returned
### Web activities
In this part of the process, create an aggregate that returns the date of the first or last visit to the web page.
1. Go to **Behavioral Data Hub > Live Aggregates > Create aggregate**.
2. As the aggregate type, select **Profile**.
2. Enter a meaningful name of the aggregate.
3. Switch the **Show in profile card** option on.
3. Click **Analyze profiles by** and select **First** or **Last** to return the date of the first or last date customer visited the web page.
4. Click the **Choose event** dropdown list.
5. From the dropdown list, select the `page.visit` event.
6. Click **choose parameter** and search for the [expression created in the previous part of the process](#create-expressions) regarding the chosen event.
7. Using the date picker in the lower-right corner, set the time range to **Lifetime**.
8. Click **Apply**.
9. Save the aggregate.
Configuration of the aggregate returning the date of the first customer vist to the web page
### Contact Center
In this part of the process, create aggregate that returns the time of call center calls.
1. Go to **Behavioral Data Hub > Live Aggregates > Create aggregate**.
2. As the aggregate type, select **Profile**.
2. Enter a meaningful name of the aggregate.
3. Switch the **Show in profile card** option on.
3. Click **Analyze profiles by** and select **Sum** to return the time of call center calls.
4. Click the **Choose event** dropdown list.
5. From the dropdown list, select the `callcenter.call` event.
6. Click **choose parameter** and choose the `callDuration` parameter.
7. Using the date picker in the lower-right corner, set the time range to **Custom** and set to **30 days** or according to your business needs.
8. Click **Apply**.
9. Save the aggregate.
Configuration of the aggregate returning duration of calls with call center
## Create metrics
---
In this part of the process, you will create five metrics for the following events: `product.buy`, `product.return`, `page.visit` and `item.search`. They will be later used in [reports](#create-reports).
### Number of bought products
This metric will return the number of all products bought by a customer.
1. Go to **Decision Hub > Metrics > New metric**.
2. Enter the name of the metric.
3. As a metric kind, select **Simple metric**.
4. As the type, set **Event**.
5. As the aggregator, set **Sum**.
4. As the occurrence type, set **All**.
5. From the **Choose event** dropdown list, select `product.buy`.
6. Click button.
**Result**: The **Choose parameter** button appears.
7. From the **Choose parameter** dropdown list, choose `$quantity`.
8. To select a specific time range, click the calendar icon. In our case it will be **Lifetime**. Confirm your choice with the **Apply** button.
9. Click **Save**.
Configuration of the metric returning the number of all bought products
### Number of returned products
This metric will return the number of all products returned by a customer.
1. Go to **Decision Hub > Metrics > New metric**.
2. Enter the name of the metric.
3. As a metric kind, select **Simple metric**.
4. As the type, set **Event**.
5. As the aggregator, set **Count**.
4. As the occurrence type, set **All**.
5. From the **Choose event** dropdown list, select `product.return`.
6. To select a specific time range, click the calendar icon. In our case it will be **Lifetime**. Confirm your choice with the **Apply** button.
7. Click **Save**.
Configuration of the metric returning the number of all returned products
### Number of page visits
This metric will return the number of all page visits made by a customer.
1. Go to **Decision Hub > Metrics > New metric**.
2. Enter the name of the metric.
3. As a metric kind, select **Simple metric**.
4. As the type, set **Event**.
5. As the aggregator, set **Count**.
4. As the occurrence type, set **All**.
5. From the **Choose event** dropdown list, select `page.visit`.
6. To select a specific time range, click the calendar icon. In our case it will be **Lifetime**. Confirm your choice with the **Apply** button.
7. Click **Save**.
Configuration of the metric returning the number of all page visits
### Number of visited products
This metric will return the number of all products visited by a customer.
1. Go to **Decision Hub > Metrics > New metric**.
2. Enter the name of the metric.
3. As a metric kind, select **Simple metric**.
4. As the type, set **Event**.
5. As the aggregator, set **Count**.
4. As the occurrence type, set **All**.
5. From the **Choose event** dropdown list, select `page.visit`.
6. Click button.
**Result**: The **Choose parameter** button appears.
7. From the **Choose parameter** dropdown list, choose `product:retailer_part_no`.
5. From the **Choose operator** dropdown list, select **String** and **Is not empty**.
6. Using the date picker in the lower-right corner, set the time range to **Lifetime**. Confirm your choice with the **Apply** button.
7. Click **Save**.
Configuration of the metric returning the number of all page visits
### Number of searched items
This metric will return the number of all products searched by a customer.
1. Go to **Decision Hub > Metrics > New metric**.
2. Enter the name of the metric.
3. As a metric kind, select **Simple metric**.
4. As the type, set **Event**.
5. As the aggregator, set **Count**.
4. As the occurrence type, set **All**.
5. From the **Choose event** dropdown list, select `item.search`.
6. Using the date picker in the lower-right corner, set the time range to **Custom** and set to **30 days** or according to your business needs. Confirm your choice with the **Apply** button.
7. Click **Save**.
Configuration of the metric returning the number of all item.search events
## Create reports
---
In this part of the process, you will create reports on transactions, returns and web activities which will be used in the dashboard in the further part of the process.
### History of bought products
This report will return the name of all products bought by a customer and the time of their purchase.
1. Go to **Decision Hub > Reports > New report**.
2. Enter a meaningful name of the report.
3. Click the **Choose metric** and from the dropdown list, select [a metric for number of bought products, created in the previous part of the process](#number-of-bought-products).
4. From the **Range** dropdown list, select the number of top (the most frequently bought) products to be shown in the preview of the report. In this case it will be **TOP 5** products.
5. In the **Dimension** section, from the dropdown list, select **Event > Parameters**. To be able to show products name in the report, choose `$name`.
6. Click **Add dimension**.
1. Click **Choose dimension** and from the dropdown list, select **Event > Specials**. To be able to show when the product wast bought, choose `TIMESTAMP`.
8. Click **Enable filter**.
1. Click **Choose filter** and from the dropdown list, select **CLIENT_ID**.
2. Click **Choose operator** and from the dropdown list, select **Equal (String)**.
3. Change the type of value by clicking the icon until you get .
3. In the first field, write `clientId` and in the second field enter `.`
4. Click **Apply**.
Configuration of the filter in report
8. Using the date picker in the lower-right corner, set the time range to **Custom** and set to **90 days** or according to your business needs. Confirm your choice with the **Apply** button.
9. Save the report.
Configuration of the report returning the name and the price of top 5 products bought by a customer
### History of returned products
This report will return the name of all products returned by a customer, their price and the time of return.
1. Go to **Decision Hub > Reports > New report**.
2. Enter a meaningful name of the report.
3. Click the **Choose metric** and from the dropdown list, select [a metric for number of returned products, created in the previous part of the process](#number-of-returned-products).
4. From the **Range** dropdown list, select the number of top (the most frequently returned) products to be shown in the preview of the report. In this case, it will be **TOP 3** products.
5. In the **Dimension** section, from the dropdown list, select **Event > Parameters**. To be able to show products name in the report, choose `name`.
6. Click **Add dimension**.
1. Click **Choose dimension** and from the dropdown list, select **Event > Parameters**. To be able to show what the product price is, choose `price`.
6. Click **Add dimension**.
1. Click **Choose dimension** and from the dropdown list, select **Event > Specials**. To be able to show when the product was returned, choose `TIMESTAMP`.
8. Click **Enable filter**.
1. Click **Choose filter** and from the dropdown list, select **CLIENT_ID**.
2. Click **Choose operator** and from the dropdown list, select **Equal (String)**.
3. Change the type of value by clicking the icon until you get .
3. In the first field, write `clientId` and in the second field enter `.`
4. Click **Apply**.
8. Using the date picker in the lower-right corner, set the time range to **Custom** and set to **90 days** or according to your business needs. Confirm your choice with the **Apply** button.
9. Save the report.
Configuration of the report returning the name, price and time of return for top 3 products returned by a customer
### Top visited brands
This report will return the name of the most frequently visited brands by a customer and the number of visits.
1. Go to **Decision Hub > Reports > New report**.
2. Enter a meaningful name of the report.
3. Click the **Choose metric** and from the dropdown list, select [a metric for number of all page visits, created in the previous step](#number-of-page-visits)
4. From the **Range** dropdown list, select the number of top (the most frequently viewed) products to be shown in the preview of the report. In this case it will be **TOP 5** products.
5. In the **Dimension** section, from the dropdown list select **Event > Parameters**. To be able to show product's brand in the report, choose `brand`.
8. Click **Enable filter**.
1. Click **Choose filter** and from the dropdown list, select **CLIENT_ID**.
2. Click **Choose operator** and from the dropdown list, select **Equal (String)**.
3. Change the type of value by clicking the icon until you get .
3. In the first field, write `clientId` and in the second field, enter `.`
4. Click **Apply**.
8. Using the date picker in the lower-right corner, set the time range to **Custom** and set to **30 days** or according to your business needs. Confirm your choice with the **Apply** button.
9. Save the report.
Configuration of the report returning the top 5 product brands visited by a customer
### Top visited products
This report will return the name of most visited products by a customer, their price, and the number of visits.
1. Go to **Decision Hub > Reports > New report**.
2. Enter a meaningful name of the report.
3. Click the **Choose metric** and from the dropdown list, select [a metric for number of all visited products, created in the previous step](#number-of-visited-products)
4. From the **Range** dropdown list, select the number of top (the most frequently visited) products to be shown in the preview of the report. In this case, it will be **TOP 5** products.
5. In the **Dimension** section, from the dropdown list, select **Event > Parameters**. To be able to show products name in the report, choose `title`.
6. 6. Click **Add dimension**.
1. Click **Choose dimension** and from the dropdown list, select **Event > Parameters**. To be able to show the product's price, choose `price`.
8. Click **Enable filter**.
1. Click **Choose filter** and from the dropdown list, select **CLIENT_ID**.
2. Click **Choose operator** and from the dropdown list, select **Equal (String)**.
3. Change the type of value by clicking the icon until you get .
3. In the first field, write `clientId` and in the second field, enter `.`
4. Click **Apply**.
8. Using the date picker in the lower-right corner, set the time range to **Custom** and set to **30 days** or according to your business needs. Confirm your choice with the **Apply** button.
9. Save the report.
Configuration of the report returning the top 5 products visited by a customer
### Searched queries
This report will return the name of the most frequently searched queries by a customer and the number of searches.
1. Go to **Decision Hub > Reports > New report**.
2. Enter a meaningful name of the report.
3. Click the **Choose metric** and from the dropdown list, select [a metric for number of all searched items, created in the previous step](#number-of-searched-items)
4. From the **Range** dropdown list, select the number of top (the most frequently searched) phrases to be shown in the preview of the report. In this case, it will be **TOP 10**.
5. In the **Dimension** section, from the dropdown list, select **Event > Parameters**. To be able to show the searched query in the report, choose `query`.
8. Click **Enable filter**.
1. Click **Choose filter** and from the dropdown list, select **CLIENT_ID**.
2. Click **Choose operator** and from the dropdown list, select **Equal (String)**.
3. Change the type of value by clicking the icon until you get .
3. In the first field, write `clientId` and in the second field, enter `.`
4. Click **Apply**.
8. Using the date picker in the lower-right corner, set the time range to **Custom** and set to **30 days** or according to your business needs. Confirm your choice with the **Apply** button.
9. Save the report.
Configuration of the report returning the top 10 most searched queries
## Create trends
---
In this part of the process, you will create trends on history of page visits and call center calls.
### Visits on the website
This trend will show number of customer visits to the webiste over a specific time frame.
1. Go to **Decision Hub > Trends > New trends**.
2. Enter a meaningful name of the trend.
3. Click the **Choose event** button and from the dropdown list, select `page.visit`.
8. Click **Enable filter**.
1. Click **Choose filter** and from the dropdown list, select **CLIENT_ID**.
2. Click **Choose operator** and from the dropdown list, select **Equal (String)**.
3. Change the type of value by clicking the icon until you get .
3. In the first field, write `clientId` and in the second field, enter `.`
4. Click **Apply**.
9. Set the **Interval** in the lower-right conrer to **day**.
8. Using the date picker in the lower-right corner, set the time range to **Last 7 days** or according to your business needs. Confirm your choice with the **Apply** button.
9. Save the trend.
Configuration of the trend of page visits in the last 7 days
### History of calls
This trend will show the number of customer call center calls over a specific time frame.
1. Go to **Decision Hub > Trends > New trends**.
2. Enter a meaningful name of the trend.
3. Click the **Choose event** and from the dropdown list, select `callcenter.call`.
8. Click **Enable filter**.
1. Click **Choose filter** and from the dropdown list, select **CLIENT_ID**.
2. Click **Choose operator** and from the dropdown list, select **Equal (String)**.
3. Change the type of value by clicking the icon until you get .
3. In the first field write `clientId` and in the second field enter `.`
4. Click **Apply**.
9. Set the **Interval** in the lower-right conrer to **day**.
8. Using the date picker in the lower-right corner, set the time range to **Last 7 days** or according to your business needs. Confirm your choice with the **Apply** button.
9. Save the trend.
Configuration of the trend of call center calls in the last 7 days
## Create a dashboard
---
In the final part of the process you will create a dashboard with [aggregates](#create-aggregates), [reports](#create-reports) and [trends](#create-trends) created in previous steps.
1. Go to **Decision Hub > Dashboards > Add dashboard**.
2. Enter the name of the dashboard.
3. To add a widget to the dashboard, click an icon on the panel. The icons are (left to right): HTML code, text field, image, [segmentation](/docs/analytics/segmentations/creating-segmentations), [trend](/docs/analytics/trends/creating-trends), [funnel](/docs/analytics/funnels/creating-funnels), [metric](/docs/analytics/metrics/creating-simple-metrics), [histogram](/docs/analytics/histograms/creating-histograms), [aggregate](/docs/crm/aggregates/creating-profile-aggregates), [expression](/docs/crm/expressions), and a [report](/docs/analytics/reports/creating-reports).
You can create the dashboard by grouping the created analytics in sections: Transactions, Returns, Web Activities, Call Center. You can create custom template according to your business needs with the help of this [article](/docs/analytics/analytics-dashboard/creating-dashboards) or follow the sample instructions below.
4. Click the Text icon on the panel.
**Result**: A **Text widget** will appear on the blank dashboard.
2. You can edit widget contents with the editor on the right. In the **Title** field type `Transactions`, you can add a **Description** below.
You can adjust the size of widgest by dragging their lower right corner.
Configuration of the text widget
3. Add an aggregate by clicking the Aggregate icon on the panel.
4. Edit widgets contents with the editor on the right. In the **Aggregate** section choose the [aggregate that returns the date of the first transaction made by customer you have created in the previous part of the process](#transactions). You can change the title and description. Do the same for the following [aggregates created in the previous part of the process](#transactions): the date of the last transaction, last bought product, last transaction value, number of transactions, value of all transactions.
Configuration of the aggregate widget
5. Add a report by clicking the Report icon on the panel.
6. Edit widgets contents with the editor on the right. In the **Report** section choose the [report on history of bought products you have created in the previous part of the process](#history-of-bought-products). You can change the title and description.
7. Click the **Style** section in the widget editor and change **Visualization type** to **Table**.
Configuration of the report widget
8. Repeat steps **4 to 10** to create another sections: Returns, Web activities and Call Center.
You can look up the sample dashboard created in the Demo workspace [here](https://app.synerise.com/analytics/dashboards/33651c9f-666e-4a48-aa6d-7dc1cfd0d9f8/edit?clientId=0)
11. When you complete creating the dashboard, click **Save dashboard**.
By default, a new dashboard is private. If you want to share it with others, check the instruction [here](/docs/analytics/analytics-dashboard/sharing-dashboards).
## Add the dashboard to customer profiles
---
Optionally, you can add the dashboard to customer profiles.
You can add a dashboard with dynamic data to a customer’s profile, only if at least one analysis inside the dashboard includes a dynamic key. To be able to display statistics about an individual customer, a dashboard must contain at least one analysis that uses the dynamic key - `clientId`. Aggregates and expressions don’t need `clientId` because they already contain it.
1. Go to **Profiles** and select a customer on the list.
2. On the top of the activity list, click **Statistics**.
**Result**: A set of statistics appears.
4. On the top of statistics, click the icon.
**Result**: A dropdown list appears.
5. Select **Manage dashboards**.
**Result**: A pop up appears.
6. On the top of the pop-up, click **Add dashboard**.
**Result**: A dropdown list appears.
7. From the dropdown list, select a dashboard.
8. To confirm your choice, click **Add**.
**Result**: The dashboard appears on the bottom of the list.
9. To manage the order of the dashboards added to the customer's profile, drag and drop them in the preferred order.
10. To save the changes, click **Apply**.
## Check the use case set up on the Synerise Demo workspace
---
You can check all configurations directly in Synerise Demo workspace:
- Expressions
- [Transaction date](https://app.synerise.com/analytics/expressions/0d844720-6bb7-4776-a661-52cc81577b06)
- [Page visit date](https://app.synerise.com/analytics/expressions/d31828b7-ef9c-4c7d-8316-3769eb8612c2)
- Aggregates
- [First transaction date](https://app.synerise.com/analytics/aggregates/7380e558-3d44-30b7-ac26-b1e233e9b16e)
- [Last transaction date](https://app.synerise.com/analytics/aggregates/d6baacd7-684e-31f6-b3c4-76376090c061)
- [Last bought product name](https://app.synerise.com/analytics/aggregates/ccbd08cc-1cd0-3b44-bc39-eb2dcd0998e5)
- [Last transaction value](https://app.synerise.com/analytics/aggregates/8a459dea-e2e7-3c99-8e9b-1b7e12f850e0)
- [Number of transactions](https://app.synerise.com/analytics/aggregates/24011aa2-632d-319f-9047-8f13712105c8)
- [Sum of all transactions](https://app.synerise.com/analytics/aggregates/55cf86a5-acd9-3540-8293-13737a495300)
- [Last returned product name](https://app.synerise.com/analytics/aggregates/d36783fa-382d-3141-8537-9c70ff53ba97)
- [Last returned product price](https://app.synerise.com/analytics/aggregates/2aee5c1f-2cbc-3961-9d07-cc15ef8550e1)
- [First page visit date](https://app.synerise.com/analytics/aggregates/b75f9b8f-01b8-3733-80cf-b31a35c46da7)
- [Last page visit date](https://app.synerise.com/analytics/aggregates/3ff1c746-488c-3f4f-b0ef-2ca09f0b593a)
- [Call center calls duration](https://app.synerise.com/analytics/aggregates/36bf88a6-e646-36cd-957e-a87c5f32a11e)
- Metrics
- [Bought products](https://app.synerise.com/analytics/metrics/077074e8-db7c-4e46-bd2e-24e292bee839)
- [Returned products](https://app.synerise.com/analytics/metrics/5772cbe8-5cef-4659-b049-383747f4a355)
- [Product page visits](https://app.synerise.com/analytics/metrics/ec561bb7-8227-4f56-9d9c-6979437fed51)
- [Page visits](https://app.synerise.com/analytics/metrics/4afbcbc7-ab8f-4bc9-8b73-2547b2dfeee2)
- [Number of searched items](https://app.synerise.com/analytics/metrics/e40f03f4-58d3-4156-9a41-776b3b2c2b24)
- Reports
- [History of bought products](https://app.synerise.com/analytics/reports/08639f32-0d6c-4b4b-a78e-4eec7a8d00cb)
- [History of returned products](https://app.synerise.com/analytics/reports/9e92b281-ef93-4cfb-9fd0-916334ef8df9)
- [Top visited brands](https://app.synerise.com/analytics/reports/2de0ad6c-3fb4-434f-8de9-1bf6b6528504)
- [Top searched queries](https://app.synerise.com/analytics/reports/1c09d8b2-fdfe-465a-b030-78f3593860e9)
- Trends
- [Page visits](https://app.synerise.com/analytics/trends/1bfa16b9-9518-4c1a-af12-9c4671048800)
- [Call center calls](https://app.synerise.com/analytics/trends/d813b0ae-aa02-4cb1-929b-de75fdbb46ac)
- [Dashboard](https://app.synerise.com/analytics/dashboards/33651c9f-666e-4a48-aa6d-7dc1cfd0d9f8?clientId=0)
If you’re our partner or client, you already have automatic access to the **Synerise Demo workspace (1590)**, where you can explore all the configured elements of this use case and copy them to your workspace.
If you’re not a partner or client yet, we encourage you to fill out the contact [form](https://demo.synerise.com/request) to schedule a meeting with our representatives. They’ll be happy to show you how our demo works and discuss how you can apply this use case in your business.
## Generated events
This use case does not generate any events.
## Read more
---
- [Aggregates](/docs/crm/aggregates)
- [Dashboards](/docs/analytics/analytics-dashboard)
- [Expressions](/docs/crm/expressions)
- [Metrics](/docs/analytics/metrics)
- [Behavioral Data Hub](/docs/crm)
- [Reports](/docs/analytics/reports)
- [Trends](/docs/analytics/trends)
# Sending reminder about recently visited category at the very best time
A properly personalized campaign can encourage the customer to make a purchase - but it is even more effective if it is sent at the very best time. For this purpose, it is worth using the time optimizer, a solution that allows you to send campaigns at the time best suited to the activity of a specific customer. Thanks to this option, you can be sure that the campaign will reach them during the time of their activity and will not go unnoticed. Using time optimizer, you increase the chances that the customer will read the communication, use the discount, and finalize the purchase.
In this use case, we will present sending a reminder to a customer with the information about promotion for a specific product category which they visited 7 days before and did not make a purchase. The email will be sent based on the time optimizer to reach each customer at the time when they open emails most often. We consider the time range between 8-22, during the specific day.
## Prerequisites
---
- Configure an [email account](/docs/campaign/e-mail/configuring-email-account).
- [Enable time optimizer](/docs/settings/configuration/time-optimizer#enabling-time-optimizer) in Synerise settings.
- [Create an Email mode](/docs/settings/configuration/time-optimizer#creating-modes) for time optimizer that will analyze the customer’s activity time in the email channel.
- Create an [email template](/docs/campaign/e-mail/creating-email-templates) with information about promotions for specific product category.
Optionally you can implement [coupons](/docs/assets/code-pools) which you can import and add to your email template as the [insert](/developers/inserts/insert-usage#code-pools).
- Implement transaction events using [SDK](/developers/web/transactions-sdk) or [API](https://hub.synerise.com/api-reference/data-management#operation/CreateATransaction). Make sure that you implement `category` parameter in the transaction events.
- Implement [Synerise JS SDK](/developers/web/installation-and-configuration) on your website.
- Implement [OG tags](/developers/web/og-tags). Thanks to this, the `product:category` parameter will be available in the `page.visit` events. We will later use this parameter to determine which product category the customer visited.
## Create a workflow
---
Prepare a workflow that sends an email with the information about discount for the product category, which customer visited 7 days before but have not made the purchase since then. In our case, it will be a promotion for the `decorations` category.
The workflow starts every day at 8 A.M. and it is targeted to people who meet the conditions above. Then, the time optimizer chooses the best time to deliver the email for the next 14 hours for every customer and then, the email is send.
1. Go to **Automation Hub > Workflows > New workflow**.
2. Enter the name of the workflow.
### Define the Audience node
---
Choose the **Audience** node as the trigger. In this step, you will select the group of customers who have visited the `decorations` category exactly 7 days before but did not make a purchase since then.
1. Start the workflow with the **Audience** node.
2. In the configuration of the node, set the **Run trigger** option to **repeatable**.
3. Set the interval to 1 per day.
4. Choose the day and time when the process starts. Choose 8 A.M. to provide plenty of time for the time optimizer to choose the best time for a particular customer.
5. Select the time zone.
6. In **Define audience**, choose **New Audience** and click **Define conditions**.
1. As the first condition, from **Choose filter** dropdown menu, choose `page.visit` event.
2. Click the **+ where** button, choose **product:category**, and then select **Equal**. As the value, enter the name of the category. In our case it is `decorations`.
3. Set the time range to **Last 1 day before 7 days**.
4. As the second condition, from **Choose filter** dropdown menu, choose the `product.buy` event.
5. Click the **+ where** button, choose **category**, and then select **Equal**. As the value, enter the category `decorations`.
6. Set the time range to **Last 8 days** to exclude the customers who have not made a purchase since the last visit in a specific category.
7. Change the **Profiles matching funnel** option to **Profiles not matching funnel** by clicking the **matching** word.
8. Click **Apply**.
Configuration of the Audience node
### Define the Optimize Time node
---
In this step you will set up the time optimizer, which will select the best time to send email for every customer.
1. Add the **Optimize Time** node.
2. From the **AI optimization mode** dropdown, choose **Mail**.
3. In **Time period to analyze**, choose the best moment to activate the node that follows the Optimize Time node. In our case it will be **Custom time period**.
4. In the **Time period** field, enter `14`, to be sure that the message will be sent between 8 and 22, and the best time for every customer will be narrowed to this period.
5. Click **Apply**.
Configuration of the Optimize Time node
You can choose the time period for sending your campaign based on your business needs. You can choose a wider range with the end date, and additional exclusions, for example - for weekends or night hours.
### Define the Send Email node
---
In this step, select the email template with information about the promotion for products from the `decorations` category and set up the final sending settings.
1. Add the **Send Email** node.
1. In the **Sender details** section, choose the email account from which the email is sent.
2. In the **Content** section, select the template that you prepared as a part of the prerequisites with information about current promotion for specific product category. Add the subject of the email.
3. In the **UTM & URL parameters** section, define the UTM parameters added to the links included in the email.
4. In the **Additional parameters** section, optionally describe campaigns with [additional parameters](/docs/campaign/e-mail/creating-email-campaigns#adding-custom-parameters).
5. Click **Apply**.
Send Configuration of the Send Email node
### Prepare the final settings
---
1. Add the **End** node.
2. Optionally, add titles to each node so the workflow will be more understandable to your colleagues.
3. Name the workflow.
4. To save it as a draft, click **Save** it or activate by clicking **Save & Run**.
Configuration of the workflow
## Check the use case set up on the Synerise Demo workspace
---
You can check the [workflow configuration](https://app.synerise.com/automations/automation-diagram/4b934898-00ef-49fb-927d-6bb3aff7e39a) directly in Synerise Demo workspace.
If you’re our partner or client, you already have automatic access to the **Synerise Demo workspace (1590)**, where you can explore all the configured elements of this use case and copy them to your workspace.
If you’re not a partner or client yet, we encourage you to fill out the contact [form](https://demo.synerise.com/request) to schedule a meeting with our representatives. They’ll be happy to show you how our demo works and discuss how you can apply this use case in your business.
## Generated events
This use case generates approximately 8 events per profile that completes the flow:
[`automation.clientStartPath`](/docs/assets/events/event-reference/automation#automationclientstartpath) (~1), [`automation.clientPathStep`](/docs/assets/events/event-reference/automation#automationclientpathstep) (~2), [`automation.clientEndPath`](/docs/assets/events/event-reference/automation#automationclientendpath) (~1), [`snr.ate.prediction`](/docs/assets/events/event-reference/predictions#snrateprediction) (~1), [`message.send`](/docs/assets/events/event-reference/email#messagesend) (~1), [`newsletter.open`](/docs/assets/events/event-reference/email#newsletteropen) (~1), [`newsletter.click`](/docs/assets/events/event-reference/email#newsletterclick) (~1).
## Read more
---
- [Automation Hub](/docs/automation)
- [Coupons](/docs/assets/code-pools)
- [Email campaigns](/docs/campaign/e-mail)
- [Time optimizer](/docs/settings/configuration/time-optimizer)
# In-app Memo Game
Gamification is an effective way to increase user engagement, boost session duration, and make in-app experiences more memorable. By combining a simple interactive game with product discovery, brands can capture user attention while promoting key products in an enjoyable and interactive way.
In this use case, you’ll create an in-app memo game (3x3 grid) where the tiles feature images of your most viewed products from the last 30 days. This approach blends entertainment with commerce — users play to match pairs while naturally discovering your bestsellers.
The in-app will be activated after every transaction, giving user the chance to gain the discount for the next shopping.
The game dynamically loads product images using a predefined recommendation frame. When a player completes the game, they can be rewarded with a discount code for your bestsellers for the next transaction.
It’s built on a ready-to-use template, so you don’t need any coding skills to set it up — the layout and logic are preconfigured.
## Prerequisites
---
- [Implement Synerise SDK in your mobile app](/developers/mobile-sdk).
- [Configure AI engine](/docs/settings/configuration/ai-engine-configuration/engine-configuration-for-search). Enable the **Top items** model.
- [Configure an item catalog for recommendations](/docs/settings/configuration/ai-engine-configuration/engine-configuration-for-recommendations). Select the **Top items** model to train the feed.
- Create a [promotion](/docs/ai-hub/promotions) code which will enable a discount when finalizing the purchase.
## Process
---
In this use case, you will go through the following steps:
1. [Create AI recommendations](/use-cases/in-app-memo#create-ai-recommendations) with top items.
2. [Create an in-app campaign](/use-cases/in-app-memo#create-an-in-app-campaign) with a memo game with top products.
## Create AI recommendations
---
In this step, create an AI recommendation campaign that will be used to display products in your in-app memo game.
1. Go to **AI Hub > (AI Recommendations) Models > Add recommendation**.
2. Enter the name of the recommendation (it is only visible on the list of recommendations).
3. In the **Type & Items feed** section, click **Define**.
4. From the **Items feed** dropdown list, select a product feed.
6. Choose the **Top items** recommendation type.
8. Click **Apply**.
9. In the **Items** section, click **Define**.
10. Click **Add slot**.
11. Define the minimum and maximum number of products that will be recommended to the user.
In our example, it is from 3 (minimum) to 3 (maximum).
12. Optionally, add a **Static filter**.
Learn about the differences between [elastic, static filters](/docs/ai-hub/recommendations-v2/creating-recommendation-campaign#select-conditions-of-displaying-items), and [distinct filters](/docs/ai-hub/recommendations-v2/creating-recommendation-campaign#distinct-filter).
*.
21. In the **Boosting** section, you can enable [boosting](/docs/ai-hub/recommendations-v2/creating-recommendation-campaign#define-the-boosting-factors).
22. In **Additional settings**, you can exclude already bought products.
23. Save the recommendation by clicking **Save**.
## Create an in-app campaign
---
In this part of the process, you will create an in-app campaign, presented after the user makes a transaction.
1. Go to **Experience Hub > In-app messages > Create new**
2. Enter a meaningful name for the in-app campaign.
### Define the audience
---
1. In the **Audience** section, click **Define**.
2. Select the **Everyone** tab.
3. Click **Apply**.
### Define content
---
1. In the **Content** section, click **Define**.
2. Click **Create message** and from the list of template folders, select **Predefined templates**.
3. Select **Memo game**.
**Result:** You are redirected to the code editor.
You can edit the template in two ways, by editing the code of the template ([add inserts](/docs/campaign/in-app-messages/creating-inapp-templates/creating-inapp-template#adding-a-snippet-to-the-template-code), [add variables](/docs/campaign/in-app-messages/creating-inapp-templates/creating-inapp-template#adding-a-variable)) and/or by filling out the form in the **Config** tab. In this use case, we will use the capabilities of the predefined **Config** tab.
#### Edit form in the Config tab
---
The **Config** tab already has default values filled in. You can keep them or change them to fit your business needs.
In-app configuration
1. In the **General Settings** section:
1. In the **Brand name** field, enter the name of your brand (for example, Synerise).
2. In the **Promotion code** field, enter the discount code displayed after the game is completed, created as a part of [prerequisites](#prerequisites).
3. In the **Promotion name** field, type the campaign name, presented in the middle box in the game.
4. In the **Picture source** field, select the source of images for the cards:
- Hardcoded URLs – enter image links manually.
- AI Recommendations – dynamically load images from an existing recommendation campaign (like in this case).
If you select AI Recommendations, enter the AI Recommendations Campaign ID in the dedicated field in the last section (for example, 5tf3u77lj3Hq).
2. In the **Game Settings** section:
1. Set up the time limit. To remove the time limit, enter `0`
2. If you want to allow users to replay the game, enable the **Show Restart button** option.
3. In the **Win Modal** section, enter the success message displayed after the user completes the game. Optionally, you can include a link or CTA to redirect users to a product page or a personalized offer.
4. In the **Hardcoded Pictures** section (optional): If you selected Hardcoded URLs as your picture source, paste the image links for each card in the fields provided.
5. In the **Colors** section, define your game’s color scheme.
6. In the **Layout** section, personalize the layout of the game.
7. In the **AI Recommendations** section, confirm that the AI Recommendations Campaign ID field contains the ID of the campaign you have created in the [previous step](#create-ai-recommendations) (for example, 5tf3u77lj3Hq). This setup ensures that images in the memo game come directly from your recommendation frame — for instance, Top Viewed Products – Last 30 Days.
8. After you make changes to the template, you can check the preview.
1. Click the **Preview** button on the upper left side.
2. Enter the ID of a customer or a product.
3. Click **Apply**.
Considering that the in-app is very interactive, the preview in the platform may not be enough to test the in-app performance. That's why we suggest checking how this campaign displays altogether directly in the mobile app.
9. If the template is ready, in the upper right corner, click **Save this template > Save as**.
10. On the pop-up:
1. In the **Template name** field, enter the name of the template.
2. From the **Template folder** dropdown list, select the folder where the template will be saved.
3. Confirm by clicking **Apply**.
11. Click **Next** to continue the process of configuring the in-app campaign.
12. Click **Apply** to save your content changes.
### Select events that trigger the in-app message display
---
In this part of the process, define the event that triggers the display of the in-app message. In our case, the trigger is `transaction.charge` event.
1. In the **Trigger events** section, click **Define**.
2. Click **Add event** and from the dropdown list, choose the `transaction.charge` event.
3. Click the **+ where** button and as the parameter, choose `source`.
4. As the logical operator, select **Equal** and as the value add `MOBILE`.
5. Click **Apply**.
### Schedule the message and configure display settings
---
As the final part of the process, you need to set the schedule, display settings configuration, capping, priority of the message among other in-app messages.
1. In the **Schedule** section:
1. Click **Define**.
2. Choose **Run immediately** option.
3. Click **Apply**.
2. In the **Display settings** section:
1. Click **Define**.
2. Define the **Delay display** as **0** and **Priority index** as **1**.
5. Click **Apply**.
3. Optionally, you can define the UTM parameters in the **UTM & URL parameters** section. Otherwise, click **Skip step**.
4. Optionally, you can add the custom parameters in the **Additional parameters** section. Otherwise, click **Skip step**.
3. To start your campaign, click **Activate**.
## What's next
---
Use the data collected from the memo game to:
- Retarget players who completed the game but did not make another purchase.
- Create follow-up in-app or email campaigns featuring items from the memo grid.
- Rotate the recommendation type (e.g., “Top purchased” or “Trending now”) to keep the game fresh.
## Check the use case set up on the Synerise Demo workspace
---
You can check the configuration of the campaign components directly in Synerise Demo workspace:
- [AI recommendation configuration](https://app.synerise.com/ai-v2/recommendations/tvHzWPoH4YfY),
- [In-app campaign](https://app.synerise.com/communications/in-app/0ff7a956-4372-45f2-8c4b-9b8c13798e1d)
If you’re our partner or client, you already have automatic access to the **Synerise Demo workspace (1590)**, where you can explore all the configured elements of this use case and copy them to your workspace.
If you’re not a partner or client yet, we encourage you to fill out the contact [form](https://demo.synerise.com/request) to schedule a meeting with our representatives. They’ll be happy to show you how our demo works and discuss how you can apply this use case in your business.
## Generated events
This use case generates approximately 4 events per profile that completes the flow:
[`transaction.charge`](/docs/assets/events/event-reference/items#transactioncharge) (~1), [`inApp.show`](/docs/assets/events/event-reference/inapp#inappshow) (~1), [`inApp.click`](/docs/assets/events/event-reference/inapp#inappclick) (~1), [`recommendation.generated`](/docs/assets/events/event-reference/recommendations#recommendationgenerated) (~1).
## Read more
---
- [In-app messages](/docs/campaign/in-app-messages)
- [Using in-app template builder](/docs/campaign/in-app-messages/creating-inapp-templates/creating-inapp-template)
- [Mobile campaigns](/docs/campaign/Mobile)
- [Recommendations](/docs/ai-hub/recommendations-v2)
# Propensity-based customer segmentation
This use case is a short continuation of the [Propensity - brand](/use-cases/propensity-brand) use case and it describes the process of creating a segmentation based on the score of the propensity prediction. The result of the segmentation shows the assignment of customers to the likelihood of purchase of particular products.
## Prerequisites
---
- Add a [tracking code](/developers/web/installation-and-configuration) to your website.
- Create a [Propensity prediction](/use-cases/propensity-brand) that produces the 5-point score (very low, low, medium, high, and very high).
- Make a note of the `modelId` parameter (available in the parameters of the `snr.propensity.score` event).
Click to see where to find modelId
Conditions of the segmentation
## Process
---
In this use case, you will go through the following steps:
1. [Create an aggregate](/use-cases/segmentation-propensity-based#create-an-aggregate).
2. [Create a segmentation](/use-cases/segmentation-propensity-based#create-segmentation).
## Create an aggregate
---
As the first part of the process, create an aggregate that returns the latest score of the propensity prediction of a specific model.
1. Go to **Behavioral Data Hub > Live Aggregates > Create aggregate**.
2. As the aggregate type, select **Profile**.
2. Enter a meaningful name of the aggregate.
2. Set **Analyze profiles by** to **Last**.
3. Select the **snr.propensity.score** event.
4. As the event parameter, select **score_label**.
5. Click **+ where**.
6. From the **Choose parameter** dropdown list, select **modelId**.
7. As the logical operator, select **Equal**.
8. In the text field, enter the value of the modelId parameter.
9. As the date range, select **Lifetime**.
10. Save the aggregate.
Conditions of the aggregate
## Create segmentation
---
1. Go to **Decision Hub > Segmentations > New segmentation**.
2. Enter the name of the segmentation.
3. By clicking **Add segment** add five segments and name each of them as follows: `Very low`, `Low`, `Medium`, `High`, `Very high`.
Very low
Conditions of the segmentation
### Preview segmentation
1. Click **Show preview**.
You receive the number of customers in each segment and the percentage of each segment in relation to the whole population in the segmentation.
2. Additionally you can change the chart type - pie chart and column chart. You can also export the information to CSV/XLSX (data) or JPEG/PNG/PDF (chart).
Preview of the segmentation
## Check the use case set up on the Synerise Demo workspace
---
You can check the configuration of every element of this process directly in Synerise Demo workspace:
- [Aggregate](https://app.synerise.com/analytics/aggregates/930e05c6-ec5f-3ade-a00b-c638a0f5bb0b)
- [Segmentation](https://app.synerise.com/analytics-v2/segmentations/07e00c22-e99c-4f95-b201-4124e703bd5c)
If you’re our partner or client, you already have automatic access to the **Synerise Demo workspace (1590)**, where you can explore all the configured elements of this use case and copy them to your workspace.
If you’re not a partner or client yet, we encourage you to fill out the contact [form](https://demo.synerise.com/request) to schedule a meeting with our representatives. They’ll be happy to show you how our demo works and discuss how you can apply this use case in your business.
## Generated events
This use case does not generate any events.
## Read more
---
- [Aggregates](/docs/crm/aggregates)
- [Segmentation](/docs/analytics/segmentations)
# Exporting reports to SFTP server
The Reports feature in Synerise gives lots of opportunities to create custom reports adjusted to your business needs and the data you store in the workspace. Thanks to data transformation and automation, you can create the mechanism of exporting reports to your external resource cyclically.
In this use case we will describe how to export a report to an SFTP server every day. We will also create a data transformation diagram which changes the name of a column in the report before sending it.
Completing this procedure requires some knowledge on sending API requests using cURL, Postman, or similar tools.
## Prerequisites
---
- Create a catalog in your SFTP server in which your reports will be stored.
- Create a [report](/docs/analytics/reports) that will be exported to the SFTP server.
The time scope of the report should be adjusted to the frequency of exporting data. For example, if you export the report every day, it should have the time scope set to **Yesterday** - thanks to this, you will export data each day from the previous day.
- Create a workspace [API key](/docs/settings/tool/api) with the permission required by [the "Preview report as CSV method](https://hub.synerise.com/api-reference/analytics-suite#operation/previewAllGroupingsCSVPOST_v4).
## Process
---
1. [Prepare a file with sample data](/use-cases/export-report-sftp#prepare-a-file-with-sample-data).
2. [Create data transformation diagram](/use-cases/export-report-sftp#create-data-transformation-diagram).
3. [Create a workflow](/use-cases/export-report-sftp#create-a-workflow).
## Prepare a file with sample data
---
In this part of the process, you need to prepare a file with sample data which will be used to create Data Transformation later.
1. Go to **Decision Hub > Reports**.
2. From the list, select the report you created for exporting.
3. Click the **Preview** tab.
4. Click **Download CSV**.
5. Open the file in text editor and remove rows from it until 10 are left. This copy is only needed as a file sample for creating the Data Transformation.
## Create data transformation diagram
---
In this part of the process, we define the rules of modifying data before sending it to the SFTP server. Each report exported from Synerise has a column named `Value`, which contains the value of metric used in the report. For the purposes of this use case, we will change the name of this column to `number of clicks`.
The data transformation diagram which is the output of this part of the process is used later to [automate sending the data](/use-cases/export-report-sftp#create-a-workflow).
1. Go to **Automation > Data Transformation > Create transformation**.
2. Enter the name of the transformation.
3. Click **Add input**.
### Add file with sample data
The **Data input** node allows you to add a data sample. In further steps, you define how the data must be modified. Later, when this transformation is used in the Automation workflow, the system uses the rules created with the sample data as a pattern for modifying actual data.
4. On the pop-up, click **Add example**.
5. Upload the file prepared in [this step](/use-cases/export-report-sftp#prepare-a-file-with-sample-data).
6. Change the default delimiter to `;`.
The configuration of the Data input node
6. Click **Generate**.
### Change the name of the column
7. On the canvas, click the right mouse button.
8. From the dropdown list, select **Rename column**.
9. Click the **Rename column** node.
10. In the configuration of the node:
1. Click **Add rule**.
2. Click **Add column**.
3. Select the **Value** column.
4. Under **Edit values by**, from the dropdown list, select **Replacing**.
6. In the text field, enter `number of clicks`.
The configuration of the Rename column node
7. Confirm by clicking **Apply**.
### Add the finishing node
This node lets you preview the output of the modifications to the sample data.
14. On the canvas, click the right mouse button.
15. From the dropdown list, select **Data output**.
15. In the upper right corner, click **Save and publish**.
**Result**: You have published a Data Transformation diagram and it can now be used in a Workflow.
The diagram of data transformation
## Create a workflow
---
In this part of the process, you will create the workflow that exports report data to SFTP server every day at 6:00 AM.
1. Go to **Automation Hub > Workflows > New workflow**.
2. Enter the name of the workflow.
### Define the launch date
3. As the trigger node, add **Scheduled Run**.
4. In the configuration of the node:
1. Leave the **Run trigger** option at default (**all time**).
2. From the **Timezone** dropdown list, select the time zone consistent with the timezone selected for your workspace.
3. Define the frequency of the workflow. In this use case, it's every day at 6:00 AM.
The workflow will automatically launch everyday at 6:00 AM.
The configuration of the Scheduled Run node
4. Confirm by clicking **Apply**.
### Define the report that will be exported
In this part of the process, we need to define an HTTPS request in the **Get File** node which retrieves a CSV file with report data. The full documentation of this request is available [here](https://hub.synerise.com/api-reference/analytics-suite#operation/previewAllGroupingsCSVPOST_v4).
1. Click **THEN** and from the dropdown list, select **HTTPS > Get File**.
2. In the configuration of the node:
1. From the **Method** dropdown menu, select **POST**.
2. Enter the **URL**: `https://api.synerise.com/analytics/analytics/v4/reports/preview-csv`
3. From the **File format** dropdown menu, select **CSV**.
4. Change the default **Delimiter** to `;`.
5. Add the JSON body of the request:
1. In a new browser tab, open the report you want to export.
2. Open the browser's developer tools and go to the tab where you can preview HTTP requests.
3. In the report, go to the **Preview** tab.
4. In the developer tools, locate the request to the `analytics/v4/reports/preview-csv` endpoint and copy its request body.
5. Paste the request body into the **Body** field of the automation node.
You can also build the request body manually, according to the [documentation](https://hub.synerise.com/api-reference/analytics-suite#operation/previewAllGroupingsCSVPOST_v4).
6. In the **Authorization** section, choose the API key with the required permissions (according to the [documentation](https://hub.synerise.com/api-reference/analytics-suite#operation/previewAllGroupingsCSVPOST_v4)).
7. Leave the rest of the settings as default.
The configuration of the Get File node
3. Confirm by clicking **Apply**.
### Select the data transformation rules
1. Add a **Data Transformation** node.
2. In the configuration of the node, select the [data transformation you have created before](/use-cases/export-report-sftp#create-data-transformation-diagram).
The configuration of the Data Transformation node
3. Confirm by clicking **Apply**.
### Configure settings for SFTP protocol
In this part of the process, we will configure the settings for an SFTP connection so that your report, after passing through transformation rules, can be stored in the external resource.
1. Add the **Send File** node by clicking **THEN > SFTP**.
2. In the configuration of the node:
1. Enter the path to your server.
2. Select the port.
3. Enter the path to the directory.
4. Enter the name of the file that the report will be saved as.
5. If needed, in the **File name suffix**, select the suffix of the file name.
We recommend choosing the **Date** suffix, which adds the current date to the file name, so that the names of your files do not repeat in the catalog (files will be sent every day) and are easier to browse.
6. From the **File format** dropdown list, select the **CSV** format.
7. Change the default **Delimiter** to `;`.
8. In the **Authentication** section, select the method of authentication.
9. Confirm by clicking **Apply**.
### Add the finishing node
1. Add the **End** node.
2. In the upper right corner, click **Save & Run**.
The workflow configuration
You can monitor the flow of the workflow in the **Transformation logs** tab. It contains information about each execution of the workflow.
The logs for the workflow
## Check the use case set up on the Synerise Demo workspace
---
You can check the configuration of use case in Synerise Demo workspace:
- [Created workflow](https://app.synerise.com/automations/automation-diagram/ddd30f46-9f9f-4427-a835-97324ffd3da1)
- [Data transformation rules](https://app.synerise.com/automations/data-transformation/04802b73-f425-494e-9a5d-c1e807b1d0e7).
If you’re our partner or client, you already have automatic access to the **Synerise Demo workspace (1590)**, where you can explore all the configured elements of this use case and copy them to your workspace.
If you’re not a partner or client yet, we encourage you to fill out the contact [form](https://demo.synerise.com/request) to schedule a meeting with our representatives. They’ll be happy to show you how our demo works and discuss how you can apply this use case in your business.
## Generated events
This use case generates approximately 5 events per workflow execution:
[`automation.clientStartPath`](/docs/assets/events/event-reference/automation#automationclientstartpath) (~1), [`automation.clientPathStep`](/docs/assets/events/event-reference/automation#automationclientpathstep) (~3), [`automation.clientEndPath`](/docs/assets/events/event-reference/automation#automationclientendpath) (~1).
## Read more
---
- [Automation Hub](/docs/automation)
- [Data Transformation](/docs/automation/data-transformation-and-imports/introduction)
- [Reports](/docs/analytics/reports)
# Personalized products on landing page
Synerise allows you to prepare a dedicated landing page containing a **personalized offer of recommended products**. You can send it via email or web push to people who were on the site but did not buy anything or didn't even add anything to their cart. This will allow you to attract their attention again after leaving the site. Also you can add a tab in the menu, like **Chosen for you**, which will redirect to such a landing page with an offer suited for a particular user.
## Example of use - Home appliances industry
Our client wanted to activate customers, who left an e-store but did not add anything to the shopping cart. They used automation to send an email message directing to the landing page with personalized recommendations after a customer had finished the session.
Landing Page
**Results**
- OR 25,2%,
- CTR 21,8%,
- Conversion 5,13%.
## Prerequisites
---
To be able to implement this use case, you must:
- [Implement a tracking code](/docs/settings/tool/tracking_codes)
- [Track forms](/developers/web/tracking-form-data)
- [Configure newsletter sign-up process](/docs/settings/configuration/newsletter-sign-up)
- [Create a sender account](/docs/campaign/e-mail/configuring-email-account)
## Process
---
Creating a landing page with personalized products, perform the steps in the following order:
1. [Prepare a subpage](/use-cases/landing-page-personalized#prepare-a-subpage).
2. [Prepare AI Recommendation](/use-cases/landing-page-personalized#prepare-ai-recommendation).
3. [Prepare Dynamic Content](/use-cases/landing-page-personalized#prepare-dynamic-content).
## Prepare a subpage
---
Prepare an empty page within the website of your ecommerce store, for example, `www.yourdomain/recommended-for-you`, which will contain only header and footer – the rest will be added by Dynamic Content.
## Prepare AI Recommendation
---
1. Go to **Experience Hub > Recommendations** and click **Add Recommendation**.
2. Choose personalised recommendation type.
3. Select how many products the user should get – as it is a landing page, you can show them way more products than by email or a typical recommendation frame.
4. Add additional filters if needed.
AI recommendation
## Prepare Dynamic Content
---
You can use Dynamic content to insert recommendations on the landing page.
1. Choose **Insert Object** type.
2. Select **everyone** in the Audience.
3. In Content select **Simple message**, and specify the CSS selector where you want to insert recommendations.
4. In the Content tab, click **Create Message**, insert Jinjava code with AI recommendation and add your own CSS. Let’s look at how to prepare the appropriate the jijnava code.
Check the jinja code
<!-- Downloading the AI campaign --> {% recommendations2 campaignId=cg3HBgRC5P2h %} {% for p in recommended_products2 %} <li data-snr-ai-product-id="{{p.productRetailerPartNo}}"> <a class="snrs-AI--item-link" href="{{p.link}}" title="{{p.title}}"> <img src="{{ p.imageLink }}" class="products-slider__item-image snrAI-product-image snrAI-product-image-{{p.productRetailerPartNo}}" width="90" alt="{{p.title}}" id="snrAI-image-{{p.productRetailerPartNo}}"> <h3 class="snrs-AI-product--product-name"> <span class="snrs-AI-product--name-first">{{p.title}}</span> </h3> </a> </li> {% endfor %} {% endrecommendations2 %}
5. Schedule when dynamic content is active.
6. In **Display settings**, specify that Dynamic contet has to be shown Always, On landing, or on a specific URL.
Display settings
Save the dynamic cotent, and use the ready recommendation in your landing page.
If you don’t want to use dynamic content, you can retrieve recommendations via API request [details](https://hub.synerise.com/api-reference/ai-recommendations#tag/Recommendations).
## Generated events
This use case generates approximately 13 events per profile that completes the flow:
[`session.end`](/docs/assets/events/event-reference/web-and-app#sessionend) (~1), [`automation.clientStartPath`](/docs/assets/events/event-reference/automation#automationclientstartpath) (~1), [`automation.clientPathStep`](/docs/assets/events/event-reference/automation#automationclientpathstep) (~1), [`automation.clientEndPath`](/docs/assets/events/event-reference/automation#automationclientendpath) (~1), [`message.send`](/docs/assets/events/event-reference/email#messagesend) (~1), [`newsletter.open`](/docs/assets/events/event-reference/email#newsletteropen) (~1), [`newsletter.click`](/docs/assets/events/event-reference/email#newsletterclick) (~1), [`landingpage.visit`](/docs/assets/events/event-reference/landing-page#landingpagevisit) (~1), [`dynamicContent.show`](/docs/assets/events/event-reference/dynamic-content#dynamiccontentshow) (~1), [`dynamicContent.click`](/docs/assets/events/event-reference/dynamic-content#dynamiccontentclick) (~1), [`recommendation.generated`](/docs/assets/events/event-reference/recommendations#recommendationgenerated) (~1), [`recommendation.view`](/docs/assets/events/event-reference/recommendations#recommendationview) (~1), [`recommendation.click`](/docs/assets/events/event-reference/recommendations#recommendationclick) (~1).
## Read more
---
- [AI API recommendations](https://hub.synerise.com/api-reference/ai-recommendations#tag/Recommendations/)
- [Dynamic content](/docs/campaign/dynamiccontent)
- [Jinjava inserts](/developers/inserts/insert-usage)
- [Personalized recommendations](/docs/ai-hub/recommendations-v2/recommendation-types#personalized)
# Search engine for a brand with multiple languages and currencies
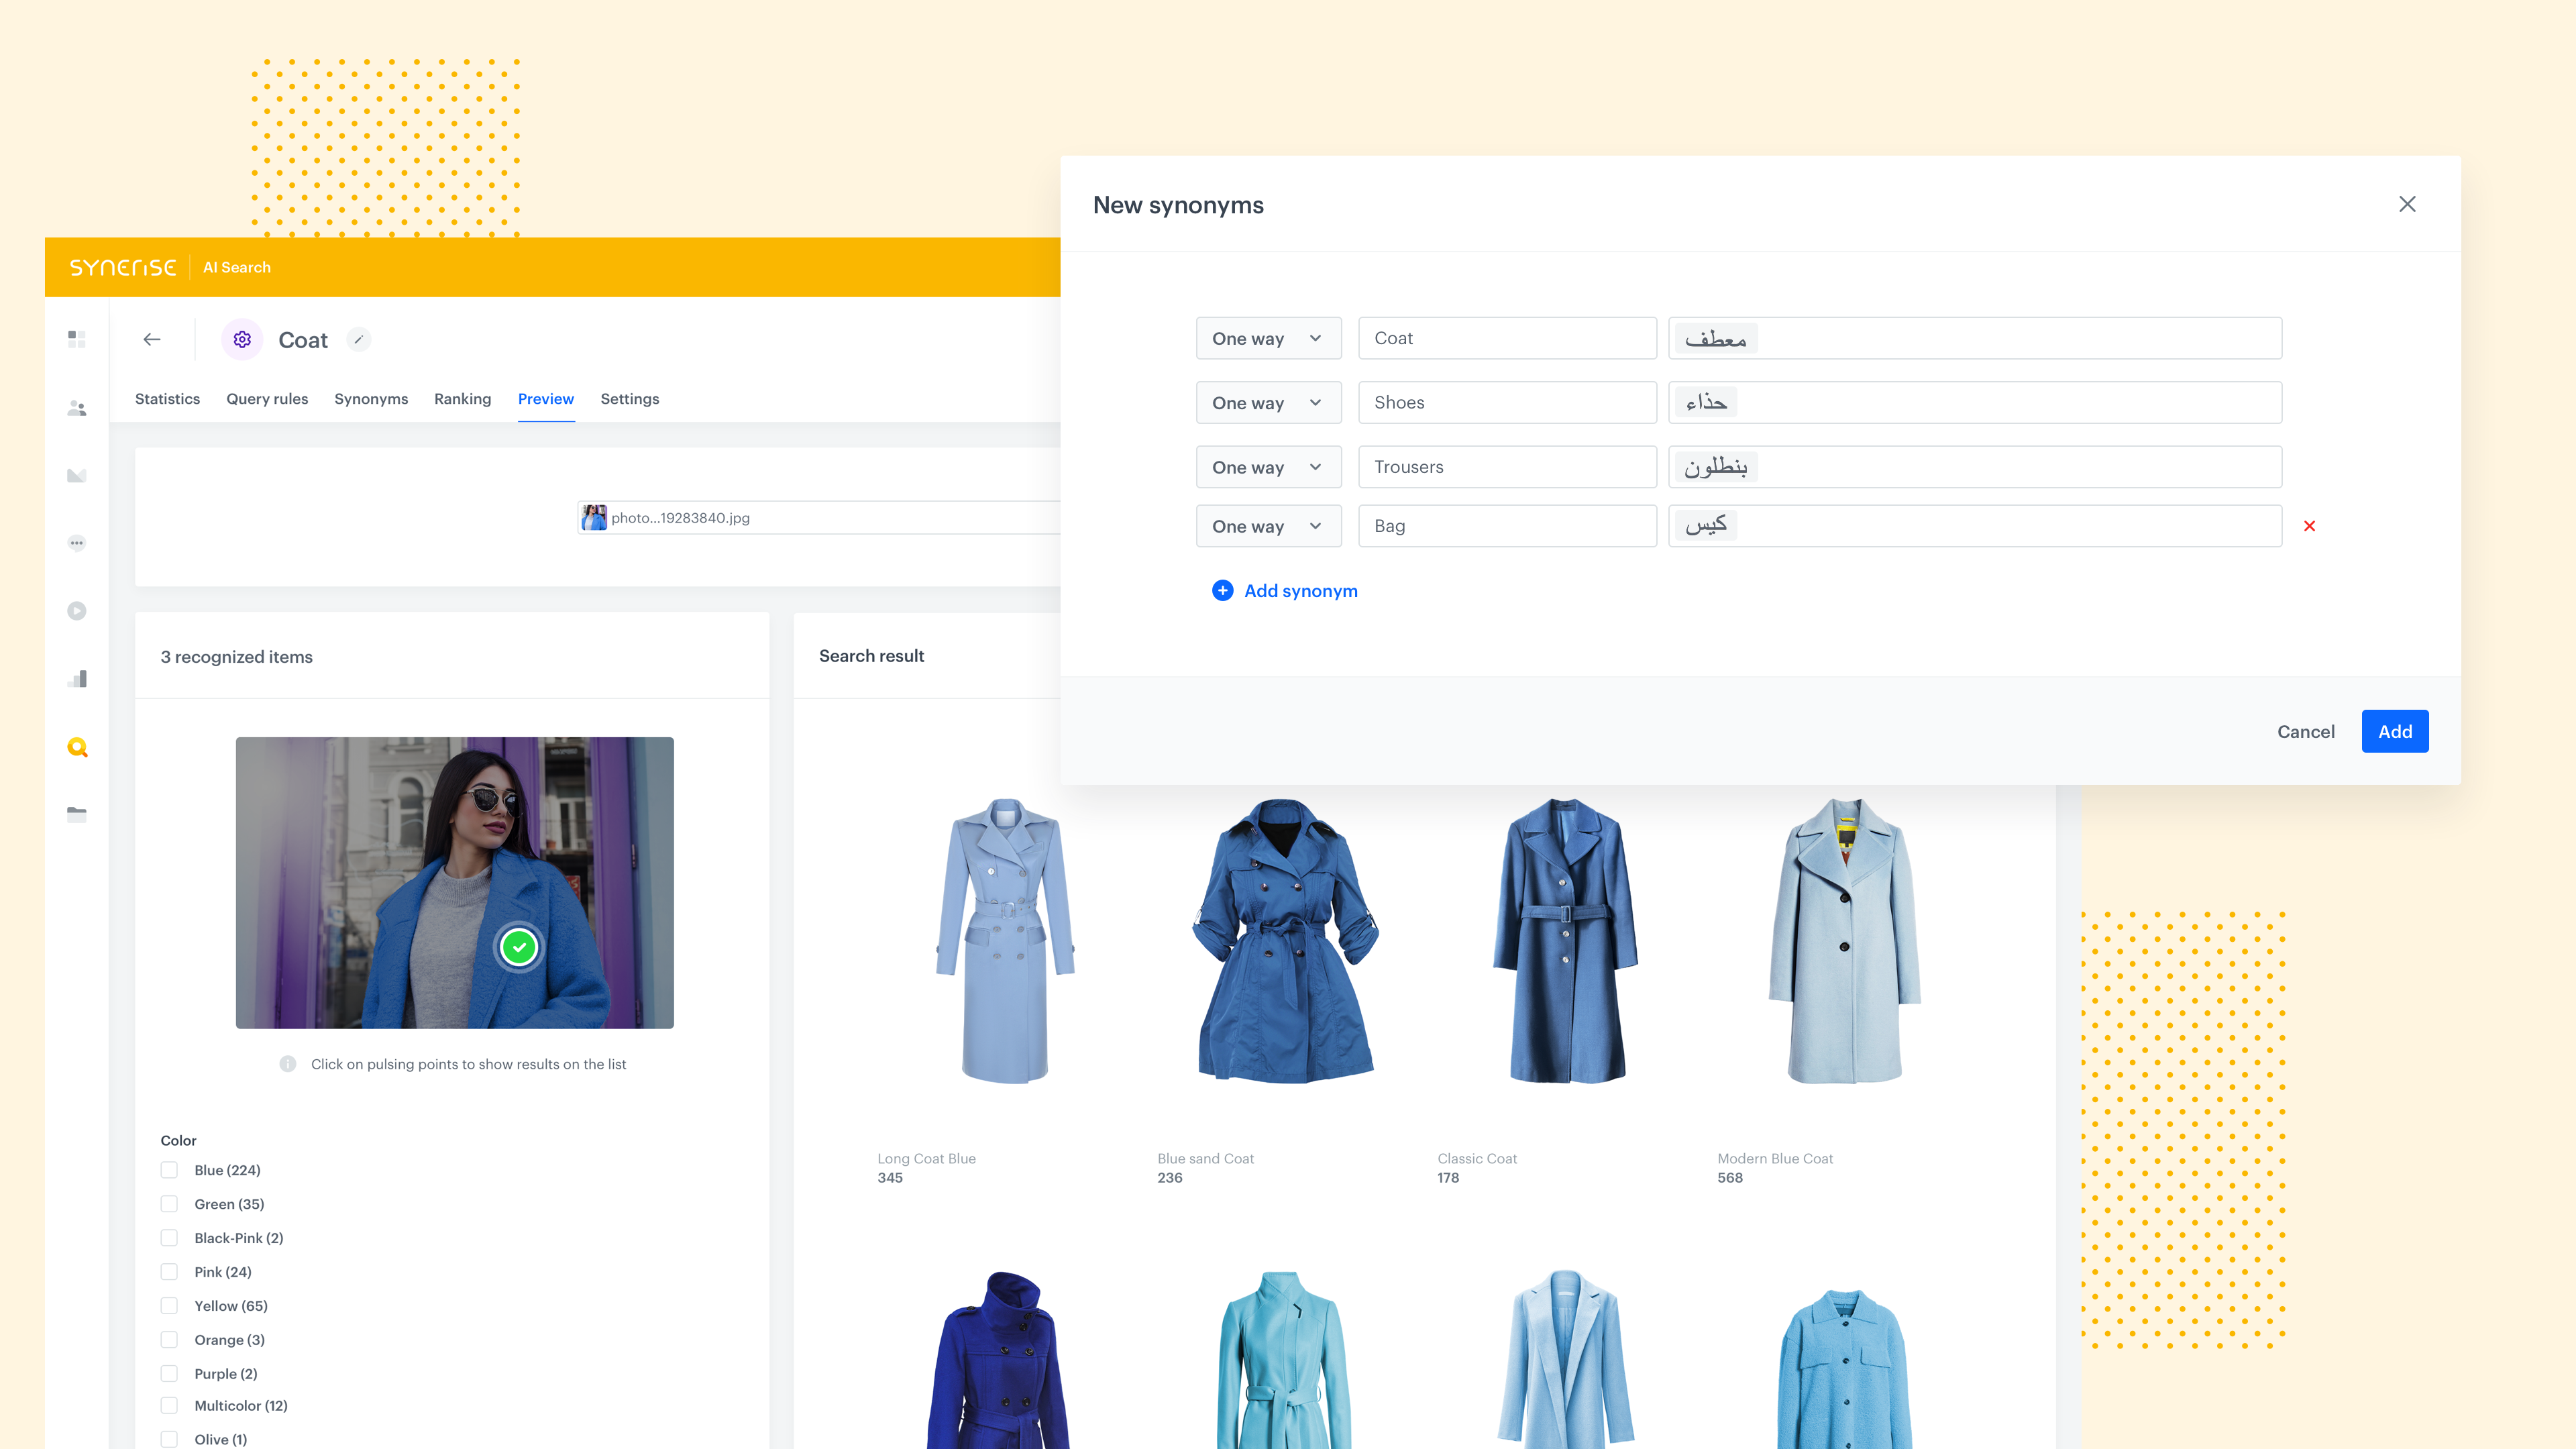
AI search is not difficult tool to use, especially when we use one language. A lot of our customers are operating in many markets and want to use search in different languages. It is hard to avoid a situation where a user enters a different language when searching certain categories in his language on the website. We can accept it and the fact that he will find a blank page with no results, but on the other hand we can set up the search process and, based on that, show him the products he is looking for no matter which language he uses.
**Challenge**
Our client had one e-commerce platform that uses different variants depending on the region chosen by customers, currencies available on the chosen region and website language. Additionally, each market had its own product stock. So, in fact we had several e-commerce operations under one domain.
Our customer wanted to have all the data in one place and execute all campaigns from the one place as well. He was also interested in creating AI search which makes it possible to search for products in different languages.
## Prerequisites
---
- Synerise [tracking code](/docs/settings/tool/tracking_codes), to collect all necessary events from the website.
- [Product feed](/developers/product-feed) implemented.
- [OG tags](/developers/web/og-tags).
- Collecting [transactional events](/docs/automation/actions/synerise-integrations/import-events).
## Process
---
1. [Prepare product feeds](/use-cases/search-multiple-languages#prepare-product-feeds) for each market.
2. [Prepare a search ranking](/use-cases/search-multiple-languages#prepare-a-search-ranking).
3. [Set up AI search](/use-cases/search-multiple-languages#set-up-ai-search) - query rules and synonyms.
## Prepare product feeds
---
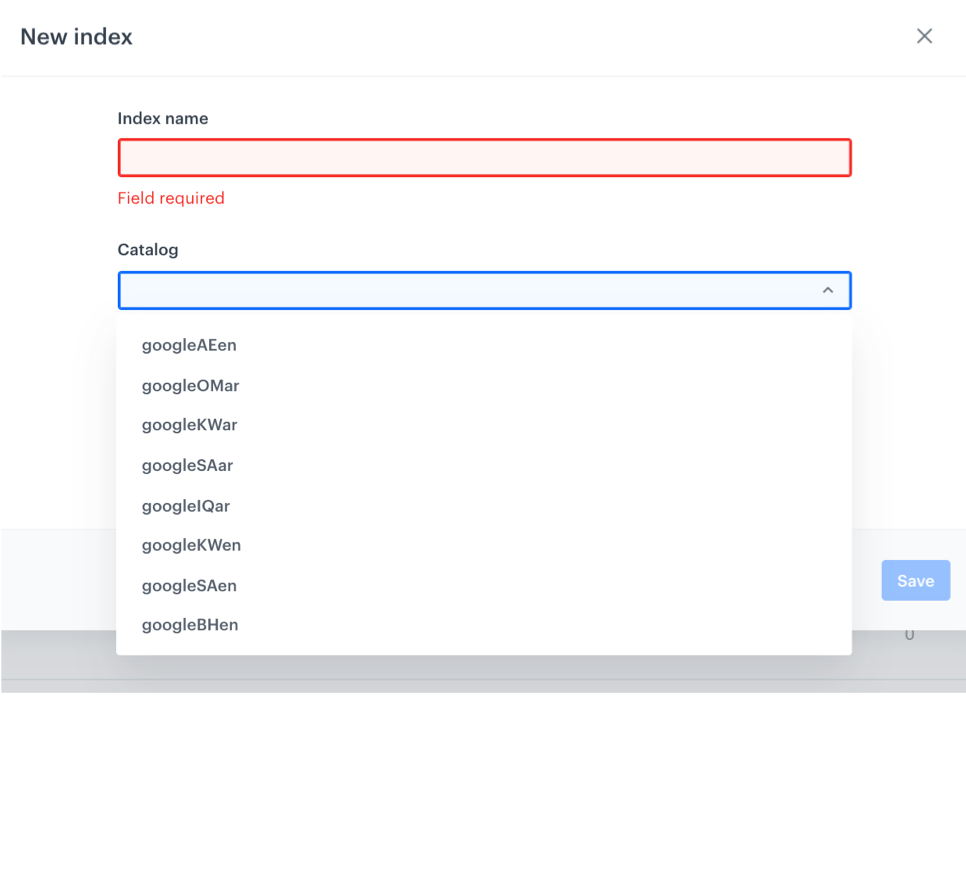
1. **Create separated product feeds** for each market with additional information about those languages on the website which we want to use in our search - every attribute like description, title, type, category should be added in two languages. Everything in the Google merchant format. Thanks to that, even if the customer is on the English version of the website, he can search using Arabic words as well.
2. Every search for each region has to be built on the basis of separate product feeds. So, we have to prepare **different indexes for such an AI search**. Thanks to that we can choose, based on which product feed we want to build our models on. As you can see below, we can choose one of the imported product catalogs and later use it to prepare the appropriate campaign.
## Prepare a search ranking
---
In the case of a search engine, the most important step of setting it up is to **prepare a search ranking**. This means you have to indicate which attributes around the product have to be searchable and assign their importance.
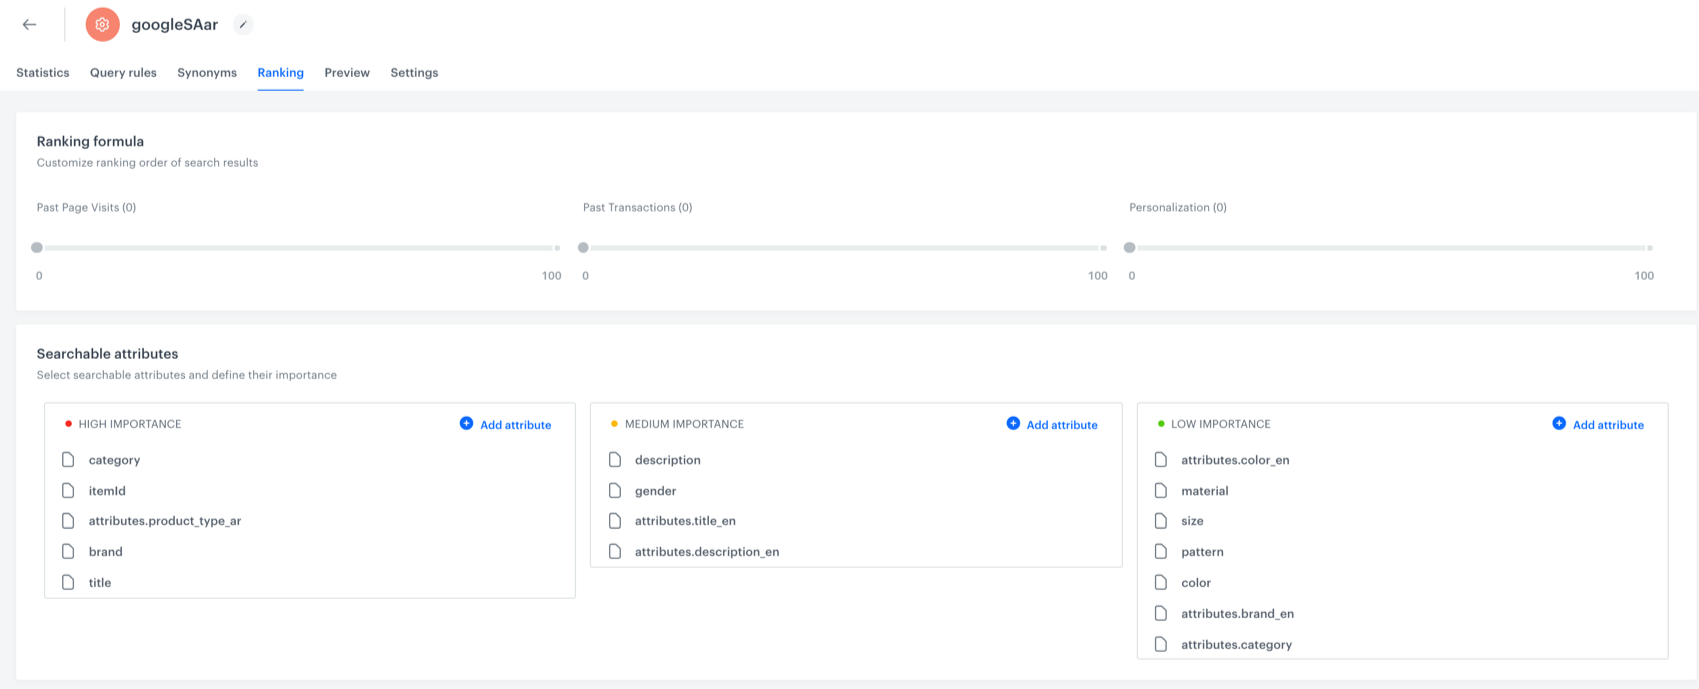
As you can see here, we have a lot of attributes from the product feed, from this customer, but the most important are searchable attributes which will be search at the beginning. In our case it will be:
- Category
- itemID
- attributes.product_type_ar – second language
- brand
- title
In medium and low importance, we have also the next attributes from the product; description, gender, attributes.title_ar, attributes.description_ar, and more of them in the low importance (e.g. size, pattern etc.).
## Set up AI Search
---
### Query rules
Synerise lets you optimize search using our query rules. It also allows us to prepare seven better search results.
Based on this, in just a few steps you can decide that if somebody enters a query, you can replace it with a different phrase and show him specific content.
We can prepare such query rules in AI Hub – Indexes - New index, clicking button “create new” in query rules.
We have to complete 3 sections:
- Conditions
- Consequences
- Schedule
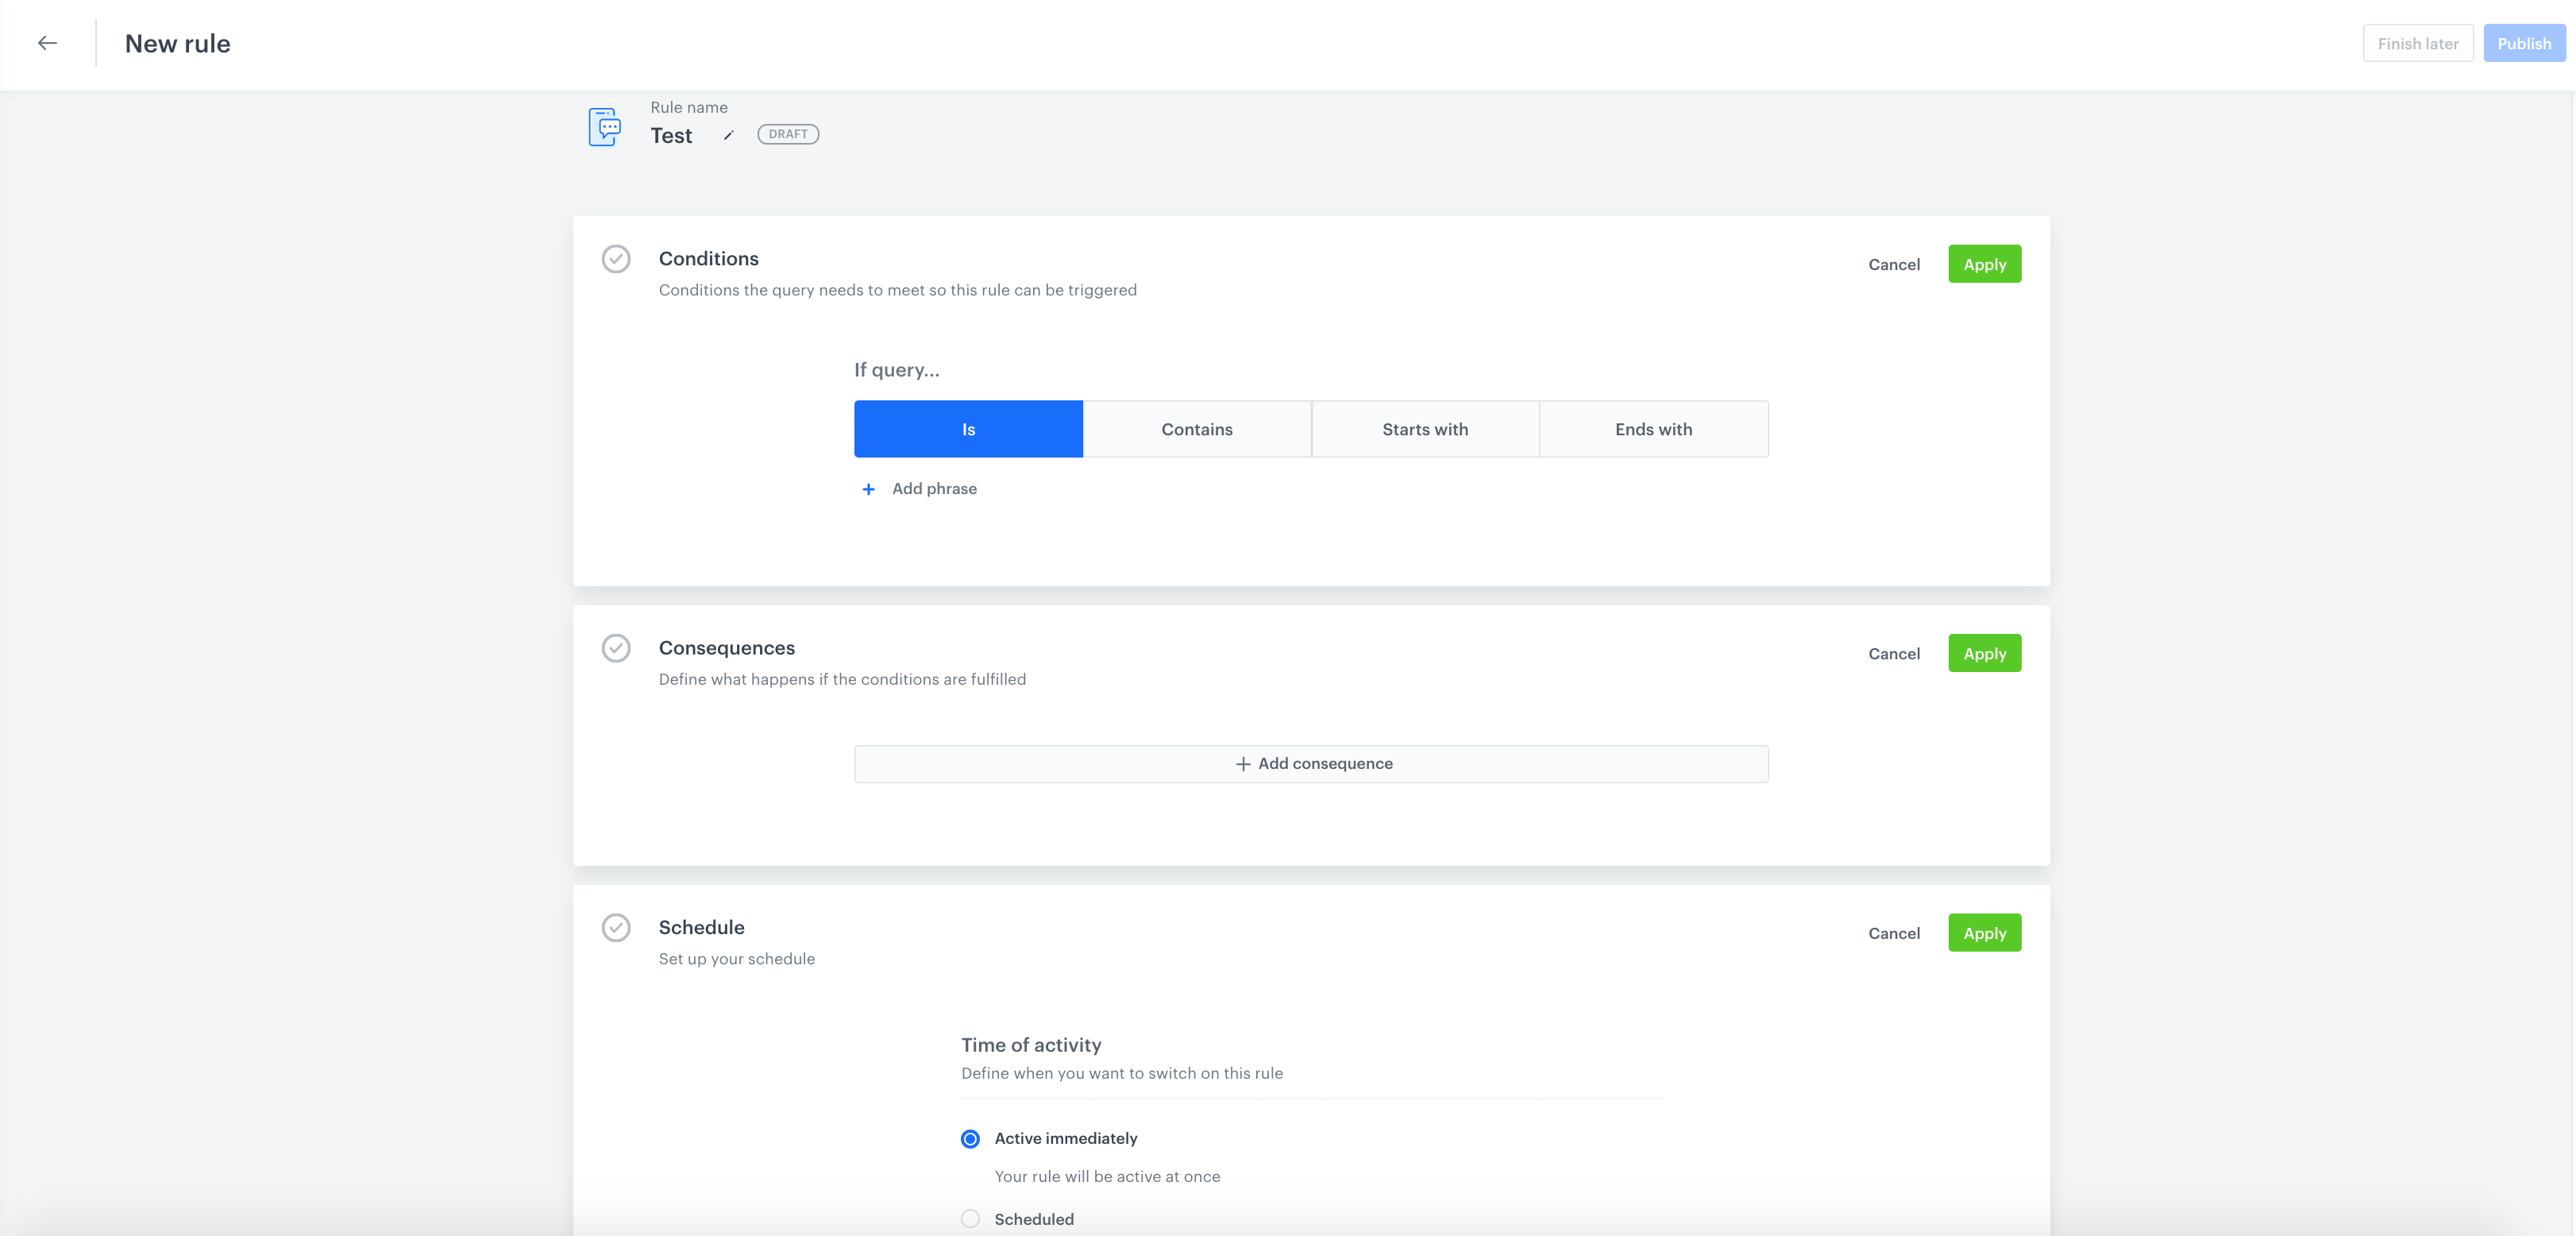
Let’s say that we want to prepare a query for when someone enters “dress” - we would like to show him products from the dress category in the Arabic language “فستان”.
So, we choose the title from the first steps subpage and add it to the consequences section. In this way we will define that if somebody enters “dress” we would like to replace this query with a new query, which is dress in Arabic.
### Synonyms
You can also use synonyms to make the search more effective. To do this, add new synonym in the synonym section. Choose if it should work in one way or two ways.
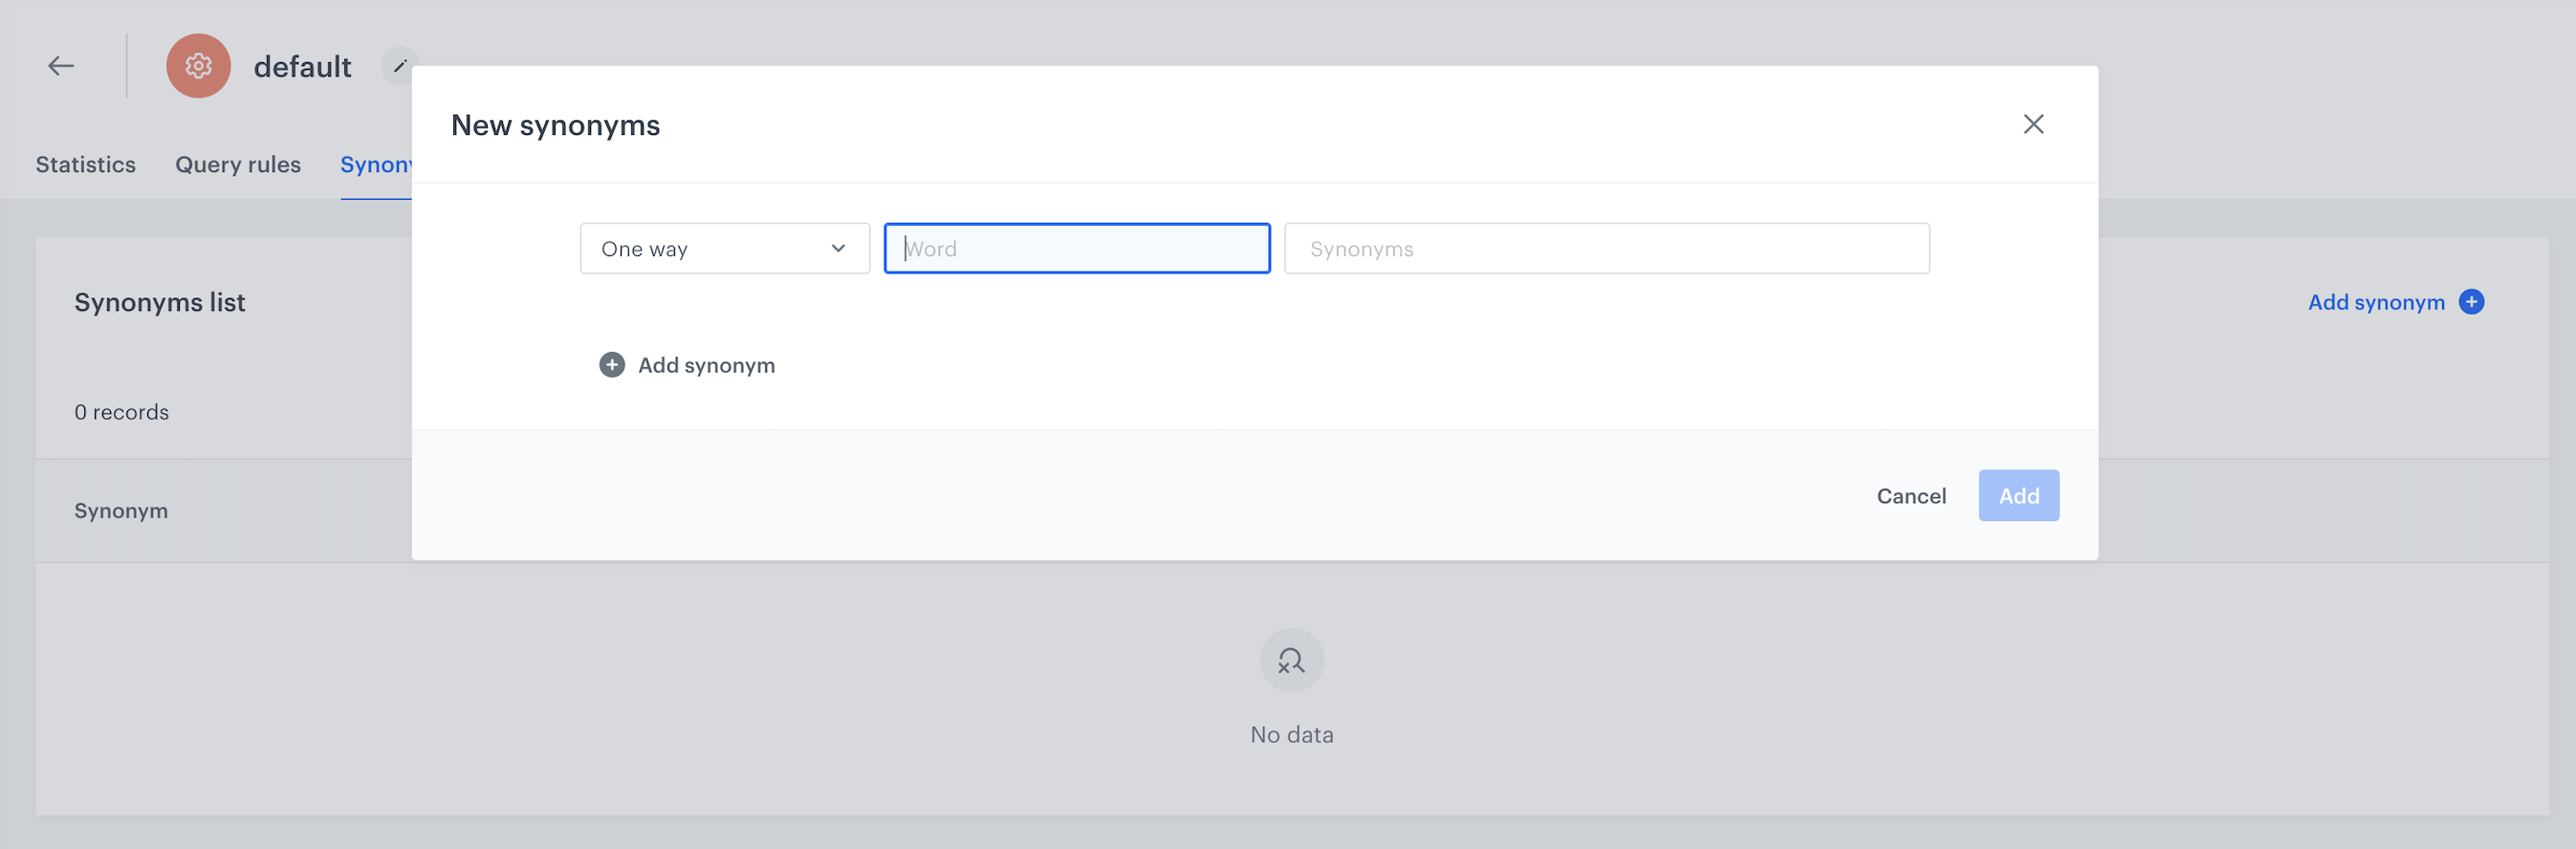
It can be helpful if a lot of similar words for your category exist (sweatshirt and hoodie) or a lot of different products are in the same category e.g. beach accessories, where you can find towels, bags, umbrellas etc.
You can always check the **zero page results section** in your search configurator to see what kind of words are often entered by your customers. It may be that some categories or product names are entered by mistake and you can automatically replace them with the proper word.
## Generated events
This use case generates approximately 2 events per profile that completes the flow:
[`item.search`](/docs/assets/events/event-reference/search#itemsearch) (~1), [`item.search.click`](/docs/assets/events/event-reference/search#itemsearchclick) (~1).
## Read more
---
- [AI search](/docs/ai-hub/ai-search/introduction-to-ai-search)
- [Catalogs](/docs/assets/catalogs/creating-catalogs)
- [Product Search API documentation](https://hub.synerise.com/api-reference/ai-search)
# Find profiles who will buy a specific item
In today's fast-paced business landscape, accurate predictions hold the key to informed decision-making and sustainable growth. As companies strive to stay ahead, they understand the pivotal role predictions play in optimizing their strategies.
Across industries, there exists a multitude of scenarios where predictions offer a competitive advantage. The nature of these scenarios is diverse and varies according to each company's unique objectives. Synerise simplifies prediction adoption with predefined templates, allowing businesses to swiftly integrate cutting-edge predictions into their strategies without the need for extensive data expertise. These templates span various goals, from reducing churn to predicting buying behavior and lifetime value.
In this use case, we focus on predicting buying behavior. Specifically, we'll follow a scenario aimed at finding customers who are willing to buy a specific product. You will discover how to effortlessly harness our templates and align them with your business goals.
## Prerequisites
---
- [Enable the "Propensity" prediction type](/docs/ai-hub/predictions/enabling-predictions#enabling-propensity-and-best-fit-predictions).
- The `itemID` attribute (the unique identifier attribute of an item) must be added to [filterable attributes](/docs/ai-hub/ai-search/define-attributes#filterable-attributes) in the item feed that you want to use for the prediction.
- Create the segmentation for which you want to create a prediction. You can also create an entirely new segmentation while creating the prediction.
## Create a prediction using a predefined template
---
In this use case, we will use a predefined scenario for the business goal of predicting buying behavior, specifically finding profiles that are willing to buy a certain item.
1. Go to **> New prediction** and select **Use Predefined scenarios**.
Two paths for creating predictions
### Define the business objective and the scenario you want to follow
---
In this part of the process, you need to select the business objective and its corresponding variant.
1. Define the prediction name.
2. On the left side of the screen, from the list of business objectives, select **Predict buying behavior**.
3. Select the **Find profiles who will buy a specific item, brand or category** scenario.
4. Click **Continue**.
Definition of the business objective and specific scenario
### Select an item feed to use as the source of items/item attributes
---
1. Click **+ Choose item feed**.
2. From the drop-down list, select the item feed.
3. Select an item for which you want to create a prediction. In this use case, select the default **Title / ID** option and click the **+ Select item** field.
4. From the list of all items, select the items for which the prediction will be created.
5. Click **Continue**.
Selection of item feed and specific items for prediction
### Select segmentation
---
In this part of the process, you need to select a group of profiles to examine their propensity to buy an item selected in the previous step.
1. Click **+ Select Segmentation**.
2. From the drop-down list, select the segmentation you created earlier as a part of prerequisites.
3. Click **Continue**.
Selection of the segmentation for which the propensity to buy the product will be calculated
### Define final settings
---
Configure the [additional settings](/docs/ai-hub/predictions/propensity#additional-settings) (or leave them at default) and click **Continue**.
Final setup screen
### Summary check
---
This is the final part of the process, where you can check all the settings configured during the prediction setup. If you want to make any changes, you can go back to the required step using the **Back** button and make the necessary modifications. If no changes are required, click the **Save and Calculate** button.
Prediction summary
## What's next
---
After the calculation is completed, a `snr.propensity.score` event is saved in the profiles of each customer in the audience. The event data includes detailed results of the prediction.
Based on the `snr.propensity.score` event, you can create segmentations of customers with different propensity and use those segmentations as campaign targets:
- [email](/docs/campaign/e-mail)
- [SMS](/docs/campaign/SMS)
- [web push](/docs/campaign/Webpush)
- [mobile push](/docs/campaign/Mobile)
- [dynamic content](/docs/campaign/dynamiccontent)
- [screen views](/docs/campaign/screen-views)
Email, SMS, web push and mobile push can be sent manually or you can launch them by using [Automation Hub](/docs/automation).
## Check the use case set up on the Synerise Demo workspace
---
You can check the configuration of the [Propensity prediction](https://app.synerise.com/ai-v2/predictions/propensity/ovwcgaomjlwu) directly in Synerise Demo workspace.
If you’re our partner or client, you already have automatic access to the **Synerise Demo workspace (1590)**, where you can explore all the configured elements of this use case and copy them to your workspace.
If you’re not a partner or client yet, we encourage you to fill out the contact [form](https://demo.synerise.com/request) to schedule a meeting with our representatives. They’ll be happy to show you how our demo works and discuss how you can apply this use case in your business.
## Generated events
This use case generates 1 event per profile that completes the flow:
[`snr.propensity.score`](/docs/assets/events/event-reference/predictions#snrpropensityscore) (~1).
## Read more
---
- [Predictions](/docs/ai-hub/predictions)
# Using Rules to Boost Specific Brands and Products in Search Results
You can promote brands in the search results using rules. For example, if you have a partnership with a certain brand, you might want to promote items from that brand for some queries. Another example of promoting is returning an item in a specified position in the search results. This is useful when you added a new item to your inventory and it lacks user interactions. You can promote that item to be the first in the search results for a given query.
In this use case, we will show you how to combine both scenarios in one rule that is triggered when a customer searches for `4k UHD TV` (the rule requires exactly this query string):
- `brandA` is promoted.
- An item (called `item1` in this example) is shown as the first result of the search.
## Prerequisites
---
- An item feed must be provided.
- The attribute containing the item's brand must be added to [filterable attributes](/docs/ai-hub/ai-search/define-attributes#filterable-attributes).
- The Search Engine must be enabled for your workspace.
## Creating the rule
---
1. Go to **AI Hub > Indexes**.
2. Choose the index for which you want to apply the rule.
3. Go to the **Rules** tab.
4. Click **Add rule**.
5. In the top left corner of the screen, enter the name of the rule.
6. In the **Conditions** section, click the **Define** button.
7. In the **Query** option (selected by default), leave the **If query** value at **is**.
8. In the **Phrase** input, type `4k UHD TV`.
9. Click **Apply**.
10. In the **Consequences** section, click the **Define** button.
11. Click **Add consequence** and from the dropdown menu choose **Promote item**.
12. In the **Item** input provide the item that will be promoted. In our example, it is `item1`.
13. Change the **Position** to the place in the search results that the item should be promoted to. In our case, it's `1`.
14. Click **Add consequence** and from the dropdown menu choose **Filter query results**.
Settings of the rule that promotes an item. The selection menu for the second consequence is open.
15. Click **Add filter**.
**Result:** A dropdown menu and an input field appear above the **Add filter** button.
16. From the dropdown menu, choose the attribute that contains the brand of the items that you want to show in the results.
17. In the input field to the right of the dropdown, provide the brand that will be promoted.
18. Click **Apply**.
19. **Optional**: To schedule your rule to be active from a start date to an end date, click **Define** in the **Schedule** section.
Otherwise, your rule will be active immediately, with no end date.
20. In the top right corner of the screen, click the **Save & publish** button.
## Generated events
This use case generates approximately 2 events per profile that completes the flow:
[`item.search`](/docs/assets/events/event-reference/search#itemsearch) (~1), [`item.search.click`](/docs/assets/events/event-reference/search#itemsearchclick) (~1).
## Read more
---
- [AI Search](/docs/ai-hub/ai-search)
- [Rules](/docs/ai-hub/ai-search/query-rules)
# Send a mobile push at the best time
Sometimes push notifications can end up annoying customers when sent at the wrong time. You can optimize time of sending push notifications with the help of our time optimizer and connect with your customers at the right time.
This use case describes a workflow that sends a mobile push notification encouraging to purchase when a customer adds a product to a wishlist. The sending time is adjusted to the customers' activity in the mobile app.
## Prerequisites
---
- [Implement Synerise SDK in your mobile application](/developers/mobile-sdk).
- Implement mobile push notifications in your mobile application: [iOS](/developers/mobile-sdk/configuring-push-notifications/ios), [Android](/developers/mobile-sdk/configuring-push-notifications/android).
- Implement the add to wishlist event in your [mobile application](/developers/mobile-sdk/event-tracking#product-added-to-favorites).
- [Create a mobile push template](/docs/campaign/Mobile/creating-mobile-push).
## Process
---
1. [Enable time optimizer](/use-cases/send-mobile-push-with-time-optimizer#enable-time-optimizer).
2. [Create a custom mode](/use-cases/send-mobile-push-with-time-optimizer#create-a-custom-mode) in time optimizer.
3. [Create a workflow](/use-cases/send-mobile-push-with-time-optimizer#create-a-workflow) to send the mobile push at the best time.
## Enable time optimizer
---
1. Go to **Settings > AI Engine Configuration**.
2. Select **Time optimizer** tab.
3. Click **Define**.
4. Switch the toggle on.
## Create a custom mode
---
In this part of the process, create a custom time optimizer mode which you will use in the workflow in further part of the process. In this use case, the idea is to define the events that will be taken into account by the time optimizer while calculating the best time to send the message. In our case, it will be the `screen.view` event, so the optimizer will choose the time when the customer is most active in the application (when the customer generates the `screen.view` events the most).
1. Go to **Settings > AI Engine Configuration**.
2. Select the **Time optimizer** tab.
3. Click **Define**.
4. Click **Add new node**.
5. Select **Custom** to create a new mode:
1. In the **Mode name** field enter the name for the custom mode.
2. From the **Predicted event** dropdown list, select the `screen.view` activity to calculate the most probable time of occurrence.
3. From the **Input events** dropdown list, select the event `screen.view`, based on which the engine will perform the predictions.
4. Click **Apply**.
6. Click **Apply** to save the new mode.
To keep the time optimizer enabled, at least one mode must be active.
Configuration of custom mode in time optimizer
## Create a workflow
---
As the second part of the process, create a workflow that manages the push notifications.
1. Go to **Automation Hub > Workflows > New workflow**.
2. Enter the name of the workflow.
3. As the first node of the workflow, add **Profile Event**. In the node settings:
1. In the **Define conditions** field, select the `addToWishlist` event.
8. Confirm by clicking **Apply**.
4. Add an **Optimize Time** node. In the configuration of the node:
1. Select the [custom mode](/use-cases/send-mobile-push-with-time-optimizer#create-a-custom-mode) you created in previous part of the process.
2. Set the time period to analyze according to your business needs.
3. Confirm by clicking **Apply**.
4. Add **Send Mobile Push** node. In the configuration of the node:
1. Define the **Template type**.
2. Select the **Push template** you have created.
3. Confirm by clicking **Apply**.
5. Add the **End** node to finish the workflow.
6. To run the workflow, click **Save & Run**.
The final configuration of the workflow
## Check the use case set up on the Synerise Demo workspace
---
You can check the [workflow configuration](https://app.synerise.com/automations/automation-diagram/d12e52a8-5827-4fca-b064-9b21d6f4c536) directly in Synerise Demo workspace.
If you’re our partner or client, you already have automatic access to the **Synerise Demo workspace (1590)**, where you can explore all the configured elements of this use case and copy them to your workspace.
If you’re not a partner or client yet, we encourage you to fill out the contact [form](https://demo.synerise.com/request) to schedule a meeting with our representatives. They’ll be happy to show you how our demo works and discuss how you can apply this use case in your business.
## Generated events
This use case generates approximately 9 events per profile that completes the flow:
`product.addToWishlist` (~1), [`automation.clientStartPath`](/docs/assets/events/event-reference/automation#automationclientstartpath) (~1), [`automation.clientPathStep`](/docs/assets/events/event-reference/automation#automationclientpathstep) (~2), [`automation.clientEndPath`](/docs/assets/events/event-reference/automation#automationclientendpath) (~1), [`snr.ate.prediction`](/docs/assets/events/event-reference/predictions#snrateprediction) (~1), [`push.send`](/docs/assets/events/event-reference/mobile-push#pushsend) (~1), [`push.view`](/docs/assets/events/event-reference/mobile-push#pushview) (~1), [`push.click`](/docs/assets/events/event-reference/mobile-push#pushclick) (~1).
## Read more
---
- [Configuring mobile notifications](/docs/campaign/Mobile/mobile_campaign)
- [Time optimizer](/docs/settings/configuration/time-optimizer)
- [Workflow settings](/docs/automation/creating-automation)
# Use cases
# Subscription for a product in mobile app
The advantage of creating a subscription model in your mobile commerce is that users can enjoy discounted rates on their desired products, which they buy regularly. This option is also beneficial for offline store owners, as it increases customer loyalty and encourages customers to visit more frequently and make more purchases.
In this use case we will create a subscription service mechanism based on Synerise's promotions and analytics. The subscription allows to collect one coffee a day for the next 30 days, 30 coffees in total. Customer pays upfront and the price per item is lower than if bought separately.
## Prerequisites
---
- Integrate Synerise [promotions](/docs/ai-hub/promotions)
- Implement subscription status management using your billing system or payment gateway:
- When the subscription is enabled (customer paid for a monthly subscription):
1. Send a `subscription.status` event with the `segment_enabled` parameter set to `1`
This parameter is used to track if a customer is eligible for a coffee on each day. It is changed with a workflow after the client buys coffee and resets at midnight.
2. Update the customer's profile with the `subscription.active` attribute set to `1`
This attribute is used to track if the monthly subscription is paid and active.
- When the subscription ends or is disabled, update the customer's profile with the `subscription.active` attribute set to `0`
In this example, Synerise doesn't de-activate the subscription after its period runs out. Your mobile application must do this.
## Security configuration
---
Before you start working with this hub, if you are a Synerise customer or partner, consider reading [the section about denylisting events](/docs/settings/tool/api#denylist). This natively accessible configuration will allow you to manage the restrictions in points management that may help you prevent fraud.
## Process
---
In this use case, you will go through the following steps:
1. [Create an aggregate](/use-cases/subscription#create-an-aggregate) checking the subscription status.
2. [Create a segmentation](/use-cases/subscription#create-a-segmentation) eligible for the subscription based on the previously created aggregate.
4. [Create a promotion](/use-cases/subscription#create-a-promotion) in Synerise, that reduces the subscribed item's price to zero for the customer.
3. [Create a workflow that tracks redemptions](/use-cases/subscription#create-a-workflow-that-tracks-redemptions) when the customer redeems a coffee. This is needed to track if a coffee was already picked up on a particular day (by using the aggregate created earlier).
5. [Create a workflow which checks the subscription status daily](/use-cases/subscription#create-a-workflow-which-checks-the-subscription-status-daily).
## Create an aggregate
---
In this part of the process, create an aggregate that returns the customer's daily redemption status from the most recent `subscription.status` event.
It is important to collect on the client-side transactional information about buying a subscription by customer. In this situation you should generate on your side event (in this case it is `subscription.status`) with the parameter (in this case named `segment_enabled`) with information if the customer is eligible for their daily coffee and send this event to Synerise (the value should be `1` if yes, or `0` if not).
1. Go to **Behavioral Data Hub > Live Aggregates > Create aggregate**.
2. As the aggregate type, select **Profile**.
2. Enter the name of the aggregate.
3. Click **Analyze profiles by** and select **Last**.
4. From the **Choose event** dropdown list, select the `subscription.status` event.
5. As the event parameter, select **segment_enabled**.
5. Click **+where** and choose the **segment_enabled** parameter.
9. From the **Choose operator** dropdown list, select **Equal**.
6. As the value set up `1` (it means that it is active).
6. Define the period from which the aggregate will look up event data - in this case, it is **Lifetime**.
7. Click **Save**.
Configuration of the aggregate
## Create a segmentation
---
Create a segmentation of customers based on the results of [the aggregate you created](/use-cases/subscription#create-an-aggregate) in the previous part of the process. This segmentation shows the customers who did not redeem a coffee on a particular day.
1. Go to **Decision Hub > Segmentations > New segmentation**.
2. Enter the name of the segmentation.
3. Click **Choose filter**.
4. From the dropdown list, select the [aggregate you created before](/use-cases/subscription#create-an-aggregate).
5. As the logical operator, select **Equal**.
6. In the text field, enter `true`.
7. Save the segmentation.
Segment settings
## Create a promotion
---
In this step, create a promotion that reduces the subscribed product’s price to zero and can be redeemed 30 times.
1. Go to **AI Hub > Regular Promotions > Add promotion**.
2. Select the **For selected items** option.
3. In the **Audience** section:
4. Choose the [segment created previously](/use-cases/subscription#create-a-segmentation).
5. Click **Apply**.
4. In the **Content** section:
2. Add the name in the **Display name**.
2. In the **Price** field, enter `0`.
3. In the **Long description** add the names and SKU's of products which price should be reduced to zero (in this case coffees).
4. Define the name and description of the promotion.
3. Confirm the settings by clicking **Apply**.
4. In **Type & limits** section:
1. Choose the **Custom** type.
2. Choose the **Multibuy** sub-type.
4. Define the number of usages per activation as `1`.
6. Define distribution period in the **Schedule** section and publish the promotion to apply all changes and run the promotion.
7. After buying the subscription the promotion created above should be activated on the client side - **for 30 times** (because it is the promotion for 30 coffees). Check the [first](https://hub.synerise.com/api-reference/loyalty-and-engagement#operation/ActivateAPromotion) or [second](https://hub.synerise.com/api-reference/loyalty-and-engagement#operation/BatchActivate) option which help you in activation of the promotion in our documentation.
## Create a workflow that tracks redemptions
---
In this step create a workflow that generates the event which informs that user collecting his daily coffee. In this workflow, after the promotion is redeemed by customer who has subscription - `client.removePoints` event is generated. This event is the trigger of the described workflow, which removes a customer from the segment for one day (they will not be able to use this subscription two times a day).
1. Go to **Automation Hub > Workflows > New workflow**.
2. Enter the name of the workflow.
### Define the Profile Event trigger node
---
At this stage, you configure the workflow to be triggered by a `client.removePoints` event.
1. As the first node of the workflow, add **Profile Event**. In the configuration of the node:
1. From **Choose event** dropdown menu, choose `client.removePoints` event.
2. Click the + where button, from the **Choose parameter** dropdown menu, choose **promotionUuid**.
3. From the **Choose operator** dropdown, choose **Equal (String)**.
4. In the next field, type the UUID of the promotion that you created earlier.
2. Confirm by clicking **Apply**.
### Define the Generate Event node
---
At this stage, an event is generated which is then used to exclude this profile from the segmentation of customers who did not pick up a coffee on this day.
1. As the second node of the workflow, add **Generate Event**.
2. In the **Event name**, enter `subscription.status`.
4. In the **Body** section, define the parameters of this event. In this case it is: ``` {"segment_enabled": "0"} ``` This removes the customer from the segment of customers eligible for a coffee on this day.
5. Click **Apply**.
### Add the finishing node
---
9. Add the **End** node.
10. In the upper right corner, click **Save & Run**.
The workflow configuration
## Create a workflow which checks the subscription status daily
---
In this step create a workflow that checks the current subscription status. It is triggered by the **Audience** node, which starts the automation every day at 00:00. This way, customers who picked up their daily coffee and were removed from the segment of eligible customers the day before, are re-added to the segment and can use the promotion during the next day. They must also have an active subscription.
### Define the Audience trigger node
---
At this stage, you configure the conditions that trigger the workflow.
1. As the trigger node, add an **Audience** node.
2. In the configuration of the node:
1. Set the **Run trigger** option to **repeatable**.
2. Set the interval to 1 per day.
3. As the time when the process starts, Choose 0:00 A.M. to make sure that the automation will check the customer status at the beginning of each day.
4. Select the time zone.
6. In **Define audience**, choose **New Audience** and click **Define conditions**.
1. As the first condition, from the **Choose filter** dropdown menu, choose the `subscription.status` event.
2. Click the **+ where** button, choose **segment_enabled**, and then select **Equal**. As the value, enter `0`
6. Set the time range to **Last 1 day before 1 day**.
3. As the second condition, from **Choose filter** dropdown menu, choose the `subscription.active` attribute and then select **Equal**. As the value, enter `1`.
8. Click **Apply**.
The configuration of the Audience node
### Define the Generate Event node
At this stage, an event with information that the customer has an active subscription and should be added to the segment again is generated. Based on that, the customer will be able to redeem another coffee during this day.
1. As the second node of the workflow, add **Generate Event**.
2. In the **Event name**, enter `subscription.status`.
4. In the **Body** section, define the parameters of this event. In this case, it is:
```json
{"segment_enabled": "1"}
```
This re-adds the customer to the segment of customers eligible for a coffee on this day.
5. Click **Apply**.
### Add the finishing node
---
9. Add the **End** node.
10. In the upper right corner, click **Save & Run**.
The workflow configuration
## Request from cash register
---
After using one of the [method](/use-cases/subscription#create-a-promotion)described in the promotion section - when customer buy a coffee, the cash register sends a request about promotions ([read more](https://hub.synerise.com/api-reference/loyalty-and-engagement#operation/GetClientPromotionsByACustomFilter)). If the cash register sees in the answer that customer has an active subscription, after processing the transaction, [redeem](https://hub.synerise.com/api-reference/loyalty-and-engagement#operation/RedeemAPromotion) the one promotion according to one of the methods above.
## What's next
---
This promotion can be the first step towards a more advanced marketing strategy and possibilities. While collecting your primary subscription (in this case coffee) you can for example receive a gift once in a billing period - (for example free muffin or small coffee).
## Check the use case set up on the Synerise Demo workspace
---
You can check the configuration directly in Synerise Demo workspace:
- [aggregate](https://app.synerise.com/analytics/aggregates/9b44ca29-0f2b-3d63-94ba-d5903707472d)
- [segmentation](https://app.synerise.com/analytics/segmentations/fdcf4f45-7268-49f1-b1dd-9d2add9f2723)
- [workflow which generates the event informing about collecting the coffee on a specific day](https://app.synerise.com/automations/automation-diagram/2a0fc77a-4784-4a5c-a2a9-bb6e6f123094)
- [workflow](https://app.synerise.com/automations/automation-diagram/5be43d01-05fd-4845-baa9-3d425f3196ab) which adds customers with active subscription to the segment again
- [promotion](https://app.synerise.com/campaigns/promotions/7bc157e2-0e43-4072-b5f7-5f5e7db90352)
If you’re our partner or client, you already have automatic access to the **Synerise Demo workspace (1590)**, where you can explore all the configured elements of this use case and copy them to your workspace.
If you’re not a partner or client yet, we encourage you to fill out the contact [form](https://demo.synerise.com/request) to schedule a meeting with our representatives. They’ll be happy to show you how our demo works and discuss how you can apply this use case in your business.
## Generated events
This use case generates approximately 42 events per profile that completes the flow:
`subscription.status` (~3), [`client.activatePromotion`](/docs/assets/events/event-reference/loyalty#clientactivatepromotion) (~30), [`transaction.charge`](/docs/assets/events/event-reference/items#transactioncharge) (~1), [`product.buy`](/docs/assets/events/event-reference/items#productbuy) (~1), [`client.removePoints`](/docs/assets/events/event-reference/loyalty#clientremovepoints) (~1), [`automation.clientStartPath`](/docs/assets/events/event-reference/automation#automationclientstartpath) (~2), [`automation.clientPathStep`](/docs/assets/events/event-reference/automation#automationclientpathstep) (~2), [`automation.clientEndPath`](/docs/assets/events/event-reference/automation#automationclientendpath) (~2).
## Read more
---
- [Aggregates](/docs/crm/aggregates)
- [Automation Hub](/docs/automation)
- [Loyalty programs basics](/use-cases/loyalty-programs-basics)
- [Promotions](/docs/ai-hub/promotions)
- [Segmentation](/docs/analytics/segmentations)
# Recommendations of similar products with item context
Similar item recommendations are a valuable tool for online retailers, offering customers product suggestions closely aligned with their current interests or past purchases. These recommendations serve a dual purpose: helping customers uncover new items they may have otherwise missed, while also boosting seller revenue by highlighting products that align with customer preferences.
To take these recommendations to the next level, you can add extra context by tailoring them to individual customer interests and needs. One example of this is considering the products a customer has added to their favorites.
This use case explores the scenario of creating a dynamic content (DC) campaign featuring similar recommendations enriched with the context of customers' favorite items. This approach enables you to provide a more personalized browsing experience for your customers, while also introducing them to a wider array of products similar to their favorites.
## Prerequisites
---
- [Configure an item catalog for recommendations](/docs/settings/configuration/ai-engine-configuration/engine-configuration-for-recommendations). Enable Similar recommendations.
- [Configure AI engine](/docs/settings/configuration/ai-engine-configuration/engine-configuration-for-recommendations).
- Implement a custom event for adding a product to favorites, which will be available in the customer profile.
In this example, the event is called `product.addToFavorite`.
Implement custom events in your [mobile application](/developers/mobile-sdk/event-tracking#product-added-to-favorites) or [website](/developers/web/event-tracking#declarative-tracking-custom-events).
## Process
---
In this use case, you will go through the following steps:
1. [Create an aggregate](/use-cases/dynamic-content-item-context-recommendation#create-an-aggregate) that returns products added to favorites.
1. [Prepare AI recommendations](/use-cases/dynamic-content-item-context-recommendation#prepare-ai-recommendations).
2. [Create dynamic content](/use-cases/dynamic-content-item-context-recommendation#create-dynamic-content-campaign) with similar item recommendations using the predefined dynamic content web layer template.
## Create an aggregate
---
In this part of the process, create an aggregate that will return the products customers added to favorites.
1. Go to **Behavioral Data Hub > Live Aggregates > Create aggregate**.
2. As the aggregate type, select **Profile**.
2. Enter the name of the aggregate.
3. AClick **Analyze profiles by** and select **Last**.
4. Select the **product.addToFavorite** event.
5. Select the **sku** parameter.
6. Define the period from which the aggregate will return products from the event.
7. Save the aggregate.
Configuration of the aggregate
## Prepare AI recommendations
---
In this part of the process, you will configure a similar items recommendation with context of items that customers added to their favorites. This recommendation will be later used in the dynamic content.
1. Go to **AI Hub > (AI Recommendations) Models > Add recommendation**.
2. Enter the name of the recommendation (it is only visible on the list of recommendation).
3. In the **Type & Items feed** section, click **Define**.
4. From the **Items feed** dropdown list, select an item feed.
5. In the **Type** section, choose the **Similar items** recommendation type.
6. Confirm the settings by clicking **Apply**.
7. In the **Items** section, click **Define**.
1. Click **Add slot**.
2. Define the minimum and maximum number of items that will be recommended to the customer in each slot.
3. Optionally, define [Static filters](/docs/ai-hub/recommendations-v2/creating-recommendation-campaign#static-filters) and [Elastic filters](/docs/ai-hub/recommendations-v2/creating-recommendation-campaign#elastic-filters).
4. Confirm by clicking **Apply**.
8. Optionally, you can define the **Boosting** factors.
9. In the **Additional settings** section click **Define**.
1.Enable the **Item context from analytics (aggregate, expression)** switch.
2. From the dropdown list select the created you created [in this part of the process](/use-cases/dynamic-content-item-context-recommendation#create-an-aggregate).
3. Click **Apply**.
9. In the right upper corner, click **Save**.
## Create dynamic content campaign
---
Create a dynamic content campaign with recommendations of similar products to those added to favorites using the predefined web layer dynamic content template. This dynamic content will be displayed as a pop-up on your site for the customers who have added products to their favorites.
1. Go to **Experience Hub > Dynamic content > Create new**.
2. Enter the name of the dynamic content.
3. Choose the **Web layer** type.
4. In the **Audience** section, click **Define**.
1. In the **New Audience** section, click **Define conditions**.
2. From **Choose filter** dropdown menu, choose **product.addToFavorite** event.
3. Define the period from which the segmentation will return customers.
4. Confirm the settings by clicking **Apply**.
5. Confirm the settings by clicking **Apply**.
### Define content
5. In the **Content** section, click **Define**.
6. In the **Content** tab, click **Create Message**.
7. From the list of template folders, select a folder with the predefined **Web layer templates**.
**Result**: You are redirected to the list of predefined templates.
Web layer templates folder
8. Select the **Recommendations** template.
**Result**: You are redirected to the template builder.
You can edit the template in two ways, by editing the code of the template ([add inserts](/docs/campaign/dynamiccontent/creating-dynamic-content-templates/dynamic-content-template-builder#adding-a-snippet-to-the-template-code), [add variables](/docs/campaign/dynamiccontent/creating-dynamic-content-templates/dynamic-content-template-builder#adding-a-variable)) and/or by [filling out the form in the Config tab](/use-cases/dynamic-content-item-context-recommendation#edit-the-form-in-the-config-tab). In this use case, we will use the capabilities of the predefined Config tab.
#### Edit the form in the Config tab
The form in the **Config** tab is already filled in with default values. You can keep them or change them to fit your business needs.
1. From the **Recommendation campaign** dropdown list, select the ID of recommendation campaign you created [in the previous step](/use-cases/dynamic-content-item-context-recommendation#prepare-ai-recommendations). You can find it by typing its name or ID in the search box.
2. In the **Header text** field, define the header text to appear in the popup message.
3. In the **Currency** field, specify the currency in which you want to display the prices of the recommended products.
4. In the **Bottom text** field, define the copy you want to appear in this section.
5. In the **Font** field, define the font of all text displayed in the dynamic content.
6. Define the colors in the **Bottom bar background** and **Bottom bar text color** fields.
7. Choose the most suitable carousel scrolling method for you by enabling one or all toggles at the same time:
- **Carousel autoplay**: activation of this toggle allows automatic scrolling of items in the carousel;
- **Carousel loop**: activation of this toggle allows users to navigate to the first article in the carousel by clicking the arrow after the last article displayed in the carousel;
- Enabling these two options at the same time will combine these functionalities. In this case, the recommendation carousel will scroll automatically and return to the first item automatically after displaying the last one.
- If you don't activate any of the toggles, users will have to scroll through the carousel on their own, and when they get to the last item, it won't automatically redirect them to the beginning of the carousel.
8. In the following fields, define the item amount that you would like to display in small, medium, large and extra large screens.
7. After you make changes to the template, you can check the preview.
1. Click the **Preview Contexts** button on the upper left side.
2. Enter the ID of a customer and define the product context.
3. Click **Apply**.
If you are using custom attributes in your product feed, you need to replace the names of the standard attributes used in the template code with the names of the attributes used in your feed. In our case, we changed the names of following attributes (according to the custom attribute names used in our product feed):
- `link` -> `productUrl`
- `imageLing` -> `image`
- `title` -> `name`
- `item.price.value`-> `item.price`
- `item.salePrice.value` -> `item.salePrice`
4. If the template is ready, in the upper right corner click **Save this template > Save as**.
5. On the popup:
1. In the **Template name field**, enter the name of the template.
2. From the **Template folder** dropdown list, select the folder where the template will be saved.
3. Confirm by clicking **Apply**.
6. To continue the process of configuring the dynamic content campaign, click **Next**.
7. To save your content changes, click **Apply**.
### Define schedule and display settings
1. In the **Schedule** section, click **Define** and set the time when the message will be active.
2. In the **Display Settings** section, click **Define**.
3. Specify circumstances for dynamic content to be displayed. Optionally, you can also define the Advanced options. In our case, we will define the frequency of dynamic content to be displayed to **Once per day**. You can also define the type of device you want to show your dynamic content.
4. Click **Apply**.
5. Optionally, you can define the UTM parameters and additional parameters for your dynamic content campaign.
Dynamic content configuration
6. Click **Activate**.
## Check the use case set up on the Synerise Demo workspace
---
You can check the configuration of each step from this use case in our Synerise Demo workspace:
- [Aggregate](https://app.synerise.com/analytics/aggregates/8b2c2e9e-24e0-30ff-aca6-a9f024a99306)
- [AI Recommendation](https://app.synerise.com/ai-v2/recommendations/CWP9JaQ05YAB)
- [Dynamic content](https://app.synerise.com/campaigns/create/84798cba-0cc3-4810-9207-114bdcf7989c)
If you’re our partner or client, you already have automatic access to the **Synerise Demo workspace (1590)**, where you can explore all the configured elements of this use case and copy them to your workspace.
If you’re not a partner or client yet, we encourage you to fill out the contact [form](https://demo.synerise.com/request) to schedule a meeting with our representatives. They’ll be happy to show you how our demo works and discuss how you can apply this use case in your business.
## Generated events
This use case generates approximately 5 events per profile that completes the flow:
[`dynamicContent.show`](/docs/assets/events/event-reference/dynamic-content#dynamiccontentshow) (~1), [`dynamicContent.click`](/docs/assets/events/event-reference/dynamic-content#dynamiccontentclick) (~1), [`recommendation.generated`](/docs/assets/events/event-reference/recommendations#recommendationgenerated) (~1), [`recommendation.view`](/docs/assets/events/event-reference/recommendations#recommendationview) (~1), [`recommendation.click`](/docs/assets/events/event-reference/recommendations#recommendationclick) (~1).
## Read more
---
- [Aggregates](/docs/crm/aggregates)
- [Dynamic content](/docs/campaign/dynamiccontent)
- [Dynamic content template builder](/docs/campaign/dynamiccontent/creating-dynamic-content-templates/dynamic-content-template-builder)
- [Recommendations](/docs/ai-hub/recommendations-v2)
# Send a mobile push to customers who are most likely to buy
In order to increase conversions, you might look into the use of lookalike predictions to identify the customers comparable to prior successful target audiences. Lookalikes let you compare two segments of customers and find those who display similar qualities of performance. Marketers may extend reach of campaigns by incorporating these lookalike audiences into their communication.
This use case describes a workflow that sends a mobile push notification to customers who did not receive it before, and might be likely to purchase after receiving it. Those customers are chosen using highest lookalike prediction score which is calculated on the basis of the segment of customers who reacted well to a previous iteration of that campaign. The workflow is triggered by the `session.start` event in the mobile application, and sends a mobile push after 48 hours if the customer did not make a purchase.
In this use case, we start from the assumption that we want to find customers similar to those who once made the desired conversion in a specific mobile push campaign. Therefore, we use the Lookalikes model. However, if we simply wanted to find customers with the highest probability of purchase, then we would use the propensity prediction model.
## Prerequisites
---
- [Enable the Lookalike prediction type](/docs/ai-hub/predictions/enabling-predictions#enabling-lookalikes).
- Select a campaign sent in the past, on the basis of which we will create a segment for lookalike prediction.
- Implement [transaction events](https://hub.synerise.com/api-reference/data-management#operation/CreateATransaction).
- [Implement Synerise SDK in your mobile application](/developers/mobile-sdk).
- Implement mobile push notifications in your mobile application: [iOS](/developers/mobile-sdk/configuring-push-notifications/ios), [Android](/developers/mobile-sdk/configuring-push-notifications/android).
- [Create a mobile push template](/docs/campaign/Mobile/creating-mobile-push).
## Process
---
1. [Create a lookalike prediction](/use-cases/send-mobile-push-customers-most-likely-to-buy#create-a-lookalike-prediction).
2. [Create a workflow](/use-cases/send-mobile-push-customers-most-likely-to-buy#create-a-workflow) that sends the mobile push.
## Create a lookalike prediction
---
In this step, we will calculate the prediction. As a result, on the customers' profiles from the target segmentation a [`snr.lookalike.score`](/docs/assets/events/event-reference/predictions#snrlookalikescore) event will appear. It contains a `score.label` parameter, which determines the similarity between the customers in the target and the source segmentations. The workflow configuration, will be based on this parameter. We will select customers who have the highest similarity to people who previously converted after receiving a given campaign.
1. Go to **AI Hub > (AI Predictions) Models > New prediction**.
2. Enter a meaningful name for the prediction.
2. In the **Select prediction type** window that appears, click **Lookalikes**.
3. Click **Apply**.
### Create a source segmentation
A source segmentation is a group of model customers to whom you compare the target group of customers in order to find similar customers in the target group. In this scenario, customers who made a purchase during past marketing campaign will be the source segmentation.
1. In the **Audience** section, click **Define**.
2. In the **Source segmentation** sub-section, click **Choose segmentation**.
3. On the dropdown list, click **Create new**.
4. In the **Segmentation name** field, enter a meaningful name of the segmentation.
5. Click **Netx step**.
5. Click **Choose filter**:
1. From the dropdown list, select the [`push.view`](/docs/assets/events/event-reference/mobile-push#pushview) event.
2. Click the **+ and where** button and select `id`.
3. As the logical operator, select **Equal**.
4. Type the campaign ID.
6. Click **+ Add funnel step**.
7. Click **Choose filter**:
1. From the dropdown list, select the [`transaction.charge`](/docs/assets/events/event-reference/items#transactioncharge) event.
8. In the lower-right corner, click the clock icon.
**Result**: **Completed within** section will appear.
9. Type `2` and from the dropdown list, select **Days**.
9. Using the date picker in the lower-right corner, select the **Lifetime** value.
6. Save the segmentation by clicking **Create segmentation**.
Source segmentation configuration
### Create a target segmentation
A target segmentation is a group of customers among which you want to find customers who are similar to those included in the source group. In this scenario, we are looking for customers who visited a mobile application in the specified time period and did not receive the previous campaign.
1. In the **Audience** section, click **Define**.
2. In the **Target segmentation** sub-section, click **Choose segmentation**.
3. On the dropdown list, click **Create new**.
4. In the **Segmentation name** field, enter a meaningful name of the segmentation.
5. Click **Netx step**.
5. Click **Choose filter**:
1. From the dropdown list, select the `push.view` event.
2. Click the **+ and where** button and select `id`.
3. As the logical operator, select **Equal**.
4. Type the campaign ID.
5. Change **Profiles matching funnel** to **not matching**.
7. Using the date picker in the lower-right corner, specify the time period:
1. Set the time range in **Relative date range** to **Custom**.
2. Type 30 below, and from the dropdown list next to the field, choose **Days**.
3. Click **Apply**.
8. Click **Choose filter**:
1. From the dropdown list, select the [`session.start`](/docs/assets/events/event-reference/web-and-app#sessionstart) event.
2. Click the **+ and where** button and select `mobile`.
3. As the logical operator, select **Is true**.
9. Using the date picker in the lower-right corner, specify the time period:
1. Set the time range in **Relative date range** to **Last 7 d**.
2. Click **Apply**.
10. Click **Choose filter**:
1. From the dropdown list, select the attribute for push agreement.
2. As the logical operator, select **Is true**.
6. Save the segmentation by clicking **Create segmentation**.
7. Confirm the settings in the **Audience** section by clicking **Apply**.
Target segmentation configuration
### Configure further settings
1. In the **Settings** section, click **Change**.
2. Choose **Set up recurring prediction calculation**:
1. Set the frequence of model training to 7 days.
3. Change the scale from 5 point scale to 2. The scale a customer reached will be available in the `snr.lookalike.score` event, as the `score_label` parameter.
4. Confirm the changes in the Settings section by clicking **Apply**.
5. Click **Save & Calculate**.
## Create a workflow
---
As the final part of the process, create a workflow that manages the push notifications. Visiting the mobile app triggers the start of the workflow. The push notification will be sent after 48 hours to customers with high prediction score and who didn't make a purchase.
1. Go to **Automation Hub > Workflows > New workflow**.
2. Enter the name of the workflow.
### Define the Profile Event trigger node
At this stage, we will configure the conditions that launch the workflow. As a trigger, we will use the `session.start` event.
1. As the first node of the workflow, add **Profile Event**. In the node settings:
1. From the dropdown list, select the `session.start` event.
2. Click the **+ and where** button and from the dropdown list, select `mobile`.
3. As the logical operator, select **Is true**.
4. Click **Apply**.
### Configure Delay node
This node will delay sending the push notification.
1. Add the **Delay** node. In the node settings:
1. In the **Delay** field, type `48`.
2. From the dropdown list, choose **Hour**.
2. Click **Apply**.
### Configure the Profile Filter node
This node will filter the customers visiting the mobile application to those who received the `high` value of the `score.label` parameter and those who didn't make a purchase in the last 7 days.
1. As the next node, add **Profile Filter**.
2. In the setting of the node, click **Choose filter** and from the dropdown list, select the `snr.lookalike.score` event:
1. For the event parameter, click the **+ where** button and select `modelId`.
2. As the logical operator, select **Equal**.
3. Enter the ID of the [lookalike prediction](/use-cases/send-mobile-push-customers-most-likely-to-buy#create-a-lookalike-prediction) created in the previous step.
8. Click the **+ and where** button and select `score_label`.
9. As the logical operator, select **Equal**.
10. Type `high`.
9. In the calendar in the right bottom of the page, in the **Relative date range** section, select **Last 7 d**.
3. Click **Apply**.
3. Click **Choose filter** and from the dropdown list, select the transaction charge event:
1. Change the Profiles **matching** funnel to **not matching**.
2. In the calendar in the right bottom of the page, in the **Relative date range** section, select **Last 7 d**.
3. Click **Apply**.
Profile Filter node configuration
4. For the **Not matched** path, add the **End** node .
### Configure settings for mobile push
1. As the next node for the **Matched** path, add the **Send Mobile Push** node. Configure it according to your business needs:
1. Select the template type of mobile push.
2. Select a template prepared earlier.
2. Confirm by clicking **Apply**.
### Add the finishing node and capping
1. Add the **End** node.
2. In the top right corner of the page, click the **Set capping** button. Define the settings:
1. Type as follows **Limit** 1 **Time** 7, and from the dropdown list choose **Day**.
2. Click **Apply**.
3. In the upper right corner, click **Save & Run**.
The workflow configuration
## Check the use case set up on the Synerise Demo workspace
---
You can check the configuration of the [workflow](https://app.synerise.com/automations/automation-diagram/a5388fc9-cf92-4fc2-9225-85e994162e87) in our Synerise Demo workspace:
If you’re our partner or client, you already have automatic access to the **Synerise Demo workspace (1590)**, where you can explore all the configured elements of this use case and copy them to your workspace.
If you’re not a partner or client yet, we encourage you to fill out the contact [form](https://demo.synerise.com/request) to schedule a meeting with our representatives. They’ll be happy to show you how our demo works and discuss how you can apply this use case in your business.
## Generated events
This use case generates approximately 10 events per profile that completes the flow:
[`snr.lookalike.score`](/docs/assets/events/event-reference/predictions#snrlookalikescore) (~1), [`session.start`](/docs/assets/events/event-reference/web-and-app#sessionstart) (~1), [`automation.clientStartPath`](/docs/assets/events/event-reference/automation#automationclientstartpath) (~1), [`automation.clientPathStep`](/docs/assets/events/event-reference/automation#automationclientpathstep) (~3), [`automation.clientEndPath`](/docs/assets/events/event-reference/automation#automationclientendpath) (~1), [`push.send`](/docs/assets/events/event-reference/mobile-push#pushsend) (~1), [`push.view`](/docs/assets/events/event-reference/mobile-push#pushview) (~1), [`push.click`](/docs/assets/events/event-reference/mobile-push#pushclick) (~1).
## Read more
---
- [Configuring mobile notifications](/docs/campaign/Mobile/mobile_campaign)
- [Lookalikes predictions](/docs/ai-hub/predictions/lookalikes)
- [Predictions](/docs/ai-hub/predictions/predictions-introduction)
- [Workflow](/docs/automation/creating-automation)
# Item comparison recommendations on the website
An overwhelming number of products can often discourage a customer from purchasing. An intelligent solution is to use product comparison recommendations to make the buying decision process smoother. Such offers make it easier for customers to decide when trying to choose between multiple models or styles of the same products to get a better idea of which option is best for them. But it also allows marketers to promote products with specific features. Such a solution is a great way to increase customer engagement and conversions.
This use case describes the process of creating dress comparison recommendations for customers on the website.
## Prerequisites
---
- Implement [Synerise tracking code](/developers/web/installation-and-configuration) on your website.
- Implement [OG Tags](/developers/web/og-tags) on your website.
- [Prepare a product feed](/docs/ai-hub/recommendations-v2/item-feed-requirements) with attributes to be used in item comparison recommendations.
- [Configure an item catalog for recommendations](/docs/settings/configuration/ai-engine-configuration/engine-configuration-for-recommendations). Enable the item comparison recommendations.
- Meet the minimum data requirements of interactions and events.
At least 10,000 item page visits for **Item comparison recommendations**.
## Create a recommendation
---
1. Go to **AI Hub > (AI Recommendations) Models > Add recommendation**.
2. Enter a meaningful name of the recommendation.
3. In the **Type & Items feed** section, click **Define**.
1. From the **Items feed** dropdown list, select the catalog that contains items for the recommendation.
2. As the type, select **Item comparison**.
3. Click **Apply**.
4. In the **Compare attributes** section, click **Define**.
5. Click **Choose**.
6. Select the item attributes from the list of all available attributes to be compared in the recommendations.
6. Click **Apply**.
7. In the **Items** section, click **Define**.
1. Click **Add slot**. You can name the slot for later reference.
2. In the **Number of items** subsection, set the minimum and maximum number of items to `3`.
Setting the minimum and maximum number of items to the same number ensures that exactly this many items will appear in the slot.
3. In **Static filters** set the following parameters:
1. From the dropdown list, choose **Visual Builder**.
2. Click **Select attribute**.
3. From the dropdown list, choose the **category** attribute.
4. Click **Operator**.
5. From the dropdown list, choose **Equals**.
6. Click **Select value**.
7. From the dropdown list, choose the `dress` category.
8. On the bottom of the static filter, click **Apply**.
9. In the **Items** section, click **Apply**.
Learn about the difference among [elastic, static filters](/docs/ai-hub/recommendations-v2/creating-recommendation-campaign#select-conditions-of-displaying-items), and [distinct filters](/docs/ai-hub/recommendations-v2/creating-recommendation-campaign#distinct-filter).
8. Optionally, you can define the settings in the **Boosting** and **Additional settings** sections.
Learn more about [boosting](/docs/ai-hub/recommendations-v2/creating-recommendation-campaign#define-the-boosting-factors) and [additional settings](/docs/ai-hub/recommendations-v2/creating-recommendation-campaign#additional-settings).
9. Save the recommendation by clicking **Save**.
You can also check the recommendation configuration directly in Synerise Demo workspace at this [link](https://app.synerise.com/ai-v2/recommendations/psaucwbowxkX).
If you’re our partner or client, you already have automatic access to the **Synerise Demo workspace (1590)**, where you can explore all the configured elements of this use case and copy them to your workspace.
If you’re not a partner or client yet, we encourage you to fill out the contact [form](https://demo.synerise.com/request) to schedule a meeting with our representatives. They’ll be happy to show you how our demo works and discuss how you can apply this use case in your business.
## What's next
---
You can display the recommendation to customers in a number of ways, for example by using the [recommendation insert](/developers/inserts/recommendations-v2) in [dynamic content](/docs/campaign/dynamiccontent/creating-dynamic-content).
## Generated events
This use case generates approximately 3 events per profile that completes the flow:
[`recommendation.generated`](/docs/assets/events/event-reference/recommendations#recommendationgenerated) (~1), [`recommendation.view`](/docs/assets/events/event-reference/recommendations#recommendationview) (~1), [`recommendation.click`](/docs/assets/events/event-reference/recommendations#recommendationclick) (~1).
## Read more
---
- [Creating recommendations](/docs/ai-hub/recommendations-v2/creating-recommendation-campaign)
- [Dynamic content campaigns](/docs/campaign/dynamiccontent/introduction-to-dynamic-content)
- [Dynamic content inserts](/developers/inserts/dynamic-content)
- [Filters in recommendations](/docs/ai-hub/recommendations-v2/recommendation-filters)
- [Requirements for item feed](/docs/ai-hub/recommendations-v2/item-feed-requirements)
# Gender-based promotion
Gender marketing is a sales strategy used to reach out to women and men consumers by understanding their tastes, preferences and consumption trends. It involves the use of market segmentation and focuses on building specific strategies to reach out to female or male consumers, incorporating consumers' gender-specific needs into communication. You can use gender-based promotions to advertise and sell your goods and services successfully.
This use case describes how to create a promotion for customers based on their gender with the use of segmentation.
## Prerequisites
---
- Implement promotions in your [mobile application](/developers/mobile-sdk/loyalty), website or through [API](https://hub.synerise.com/api-reference/loyalty-and-engagement#operation/profileLogin)
- [Implement transactional events](/developers/web/methods-reference#tracking-transactions).
- [Import your product feed to catalog](/use-cases/import-product-feed-to-catalog).
## Process
---
- [Prepare two segmentations](/use-cases/gender-based-promotion#prepare-two-segmentations) of customers based on the category of the products they already bought.
- [Create two promotions](/use-cases/gender-based-promotion#create-two-promotions) based on gender.
## Prepare two segmentations
---
In this part of the process create two segmentations that will group customers based on the category of purchased items.
In this use case, we will assign gender based on the category of products they purchase. These are just example conditions of the segmentation. These conditions may be completely different depending on your business goals and do not have to be based on this event.
1. Go to **Decision Hub > Segmentations > New segmentation**.
2. Enter the name of segmentation.
3. From the **Choose filter** dropdown list, select the `product.buy` event.
4. From the **Choose parameter** dropdown list, select **category**.
5. From the dropdown list that appears, select the **Contain** operator.
6. In the next field enter the phrase "-female-" or "-male-".
The construction of this condition depends on the implementation of transactional events and may vary.
7. To determine the time range from which the data will be analyzed, click the calendar icon and choose the **Lifetime** time range. Confirm your choice with the Apply button.
8. Click **Save**.
9. To create the second segmentation repeat the process from steps 1 to 8.
**Result**: The segmentations are saved and can be used as an audience for promotions.
An example of a segmentation of female customersAn example of a segmentation of male customers
## Create two promotions
---
1. Go to **AI Hub > Regular Promotions > Add promotion**.
2. Enter a name for the promotion.
3. According to your business needs select one of the scopes:
- **For selected items**
- **For entire basket**
4. In the **Audience** section, choose **Segments** and select one of segmentations created in [this step](/use-cases/gender-based-promotion#prepare-two-segmentations).
5. In the **Content** section:
1. Define the name, description, and image of the promotion.
2. Define the rest of the settings according to your needs.
3. Confirm the settings by clicking **Apply**.
Example of promotion content
5. Define the **Type and limits** section according to your business needs.
Example of Type and limits settings
6. In the **Schedule** section, define the promotion distribution period according to your business needs.
7. In the **Stores** section, according to you business needs you can specify stores where the promotion is available.
This is possible only if the list of stores is imported into a [catalog](/docs/assets/catalogs).
8. In the **Items** section, specify the catalog item to be discounted:
1. In the **Source catalog** field, select an item catalog to select the promotional items from.
2. In the **Include items** section, pick one according to your business needs.
11. To apply configuration and run the promotion, click **Publish**.
12. To create second promotion repeat all the steps.
## Check the use case set up on the Synerise Demo workspace
---
You can check the configuration of the segmentations directly in Synerise demo workspace:
- [a segmentation of female customers](https://app.synerise.com/analytics/segmentations/e4046377-e385-42ff-88c0-92fa14740c61),
- [a segmentation of male customers](https://app.synerise.com/analytics/segmentations/4040a08c-f30a-4709-9ab2-610701e61aaf).
Here you can find the configuration of promotions, available on Synerise demo workspace:
- [for female customers](https://app.synerise.com/campaigns/promotions/ef6a9396-70a9-4d8f-b1d0-fde456e49a9d),
- [for male customers](https://app.synerise.com/campaigns/promotions/0a79c12c-eaa7-4a70-9e35-aa055c0b72db).
If you’re our partner or client, you already have automatic access to the **Synerise Demo workspace (1590)**, where you can explore all the configured elements of this use case and copy them to your workspace.
If you’re not a partner or client yet, we encourage you to fill out the contact [form](https://demo.synerise.com/request) to schedule a meeting with our representatives. They’ll be happy to show you how our demo works and discuss how you can apply this use case in your business.
## Generated events
This use case generates 1 event per profile that completes the flow:
[`client.activatePromotion`](/docs/assets/events/event-reference/loyalty#clientactivatepromotion) (~1).
## Read more
---
- [Promotions](/docs/ai-hub/promotions)
- [Segmentations](/docs/analytics/segmentations)
# Integrating Synerise Decision Hub with Google Marketing Platform for Targeted Remarketing
Remarketing campaigns are used to **show targeted ads to people who have visited your website earlier.** Using the right customer information will help you prepare better campaigns on other websites (not only yours) and cut advertising costs. Remarketing allows you to reach a highly targeted audience of people interested in your company and offer. Showing them targeted ads in external services you can give them another chance to convert.
Using Synerise, you can send information about aggregates, metrics, attributes to Data Layer and, based on this, you can prepare appropriate remarketing campaigns.
If you use RFM analysis and divide your customers into a groups based on their engagement, you can easily monitor to which group specific clients who clicked on your campaign belong.
With this knowledge, you can personalize communication and content and adapt it to customer needs.
## Example of use - Retail industry
**Challenge**
A customer with a pet store decided to use RFM segmentation to find the most engaged customers and reduce advertising expenditures by stopping spending for advertising on unprofitable customers. For this purpose, he prepared a Dynamic content campaign, which sent information to Data Layer regarding to which RFM segment the customer belonged - whether it was, for example, a Top customer or Almost Lost customer. With this information, he could prepare the appropriate remarketing campaigns.
What happened on the site? After customer visit on the website, event was sent to the Data Layer and available for further use in GMP campaigns, and it was completely transparent to the client.
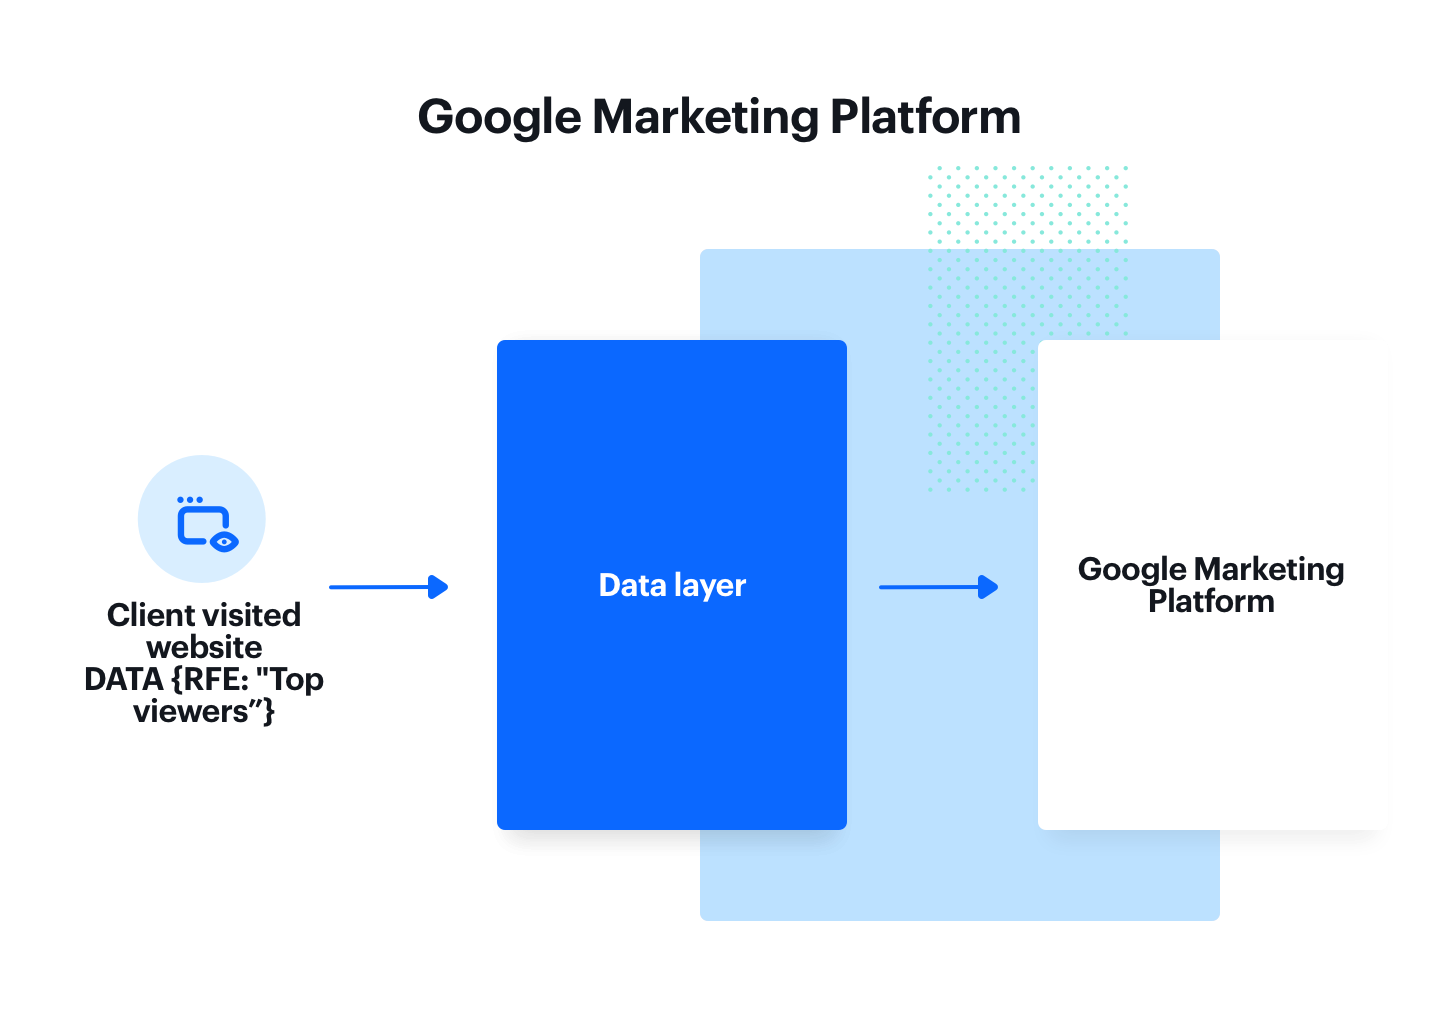
## Requirements
---
- Synerise Tracker
- Integration of events
- Google Data Layer implemented on the website
Remember that if you embed our tracking code in the page code, Data Layer events will be sent even if the user uses Adblock-type tools.
## How to do it
---
You can integrate with Google Analytics and send segments (or events) to GA using Synerise Dynamic Content. You will need to implement JS, which can send events to Data Layer:
We can send to the Data Layer any event, segment, aggregate or even products from the AI campaign.
- Read more about [Data Layer push events.](https://developers.google.com/tag-manager/devguide/)
**Using RFM analysis**
1. Create aggregate with type:Last with the name of the RFM segment to which the customer belongs. Take variable values from the client.assignSyneriseAI event
2. Prepare a Dynamic Content campaign that will be displayed daily, and insert the following code in the JS section:
In the place AGGREGATE_ID enter the aggregate ID which is located in the link to this aggregate.
## Generated events
This use case generates 1 event per profile that completes the flow:
[`dynamicContent.show`](/docs/assets/events/event-reference/dynamic-content#dynamiccontentshow) (~1).
## Read more
---
- Read more about [aggregates](/docs/crm/aggregates)
- Read more about [dynamic analytics](/docs/analytics)
- Read more about [dynamic content campaign](/docs/campaign/dynamiccontent)
# Predicting Churn and Favorite Brands to Retain Lapsing Customers
Customer churn is a major challenge for businesses looking to maintain engagement and revenue. Instead of reacting to churn after it happens, predictive analytics allows us to intervene before customers leave. In this use case, we use machine learning to predict both a **customer's likelihood to churn** and their **preferred brand**. By combining these insights, we can craft highly targeted retention campaigns.
Our approach begins with two key predictions:
- identifying each customer’s best-fit brand,
- assessing their churn probability.
Customers with a high risk of churn are then segmented based on their preferred brand. Using this segmentation, we launch a personalized email campaign featuring product recommendations from their favorite brand. The final step involves integrating this process into an automated workflow, ensuring that high-risk customers receive timely, brand-aligned email with optimized delivery timing for the best engagement results.
## Prerequisites
---
- Implement the [transaction events](/developers/web/transactions-sdk).
- [Enable Time Optimizer](/docs/settings/configuration/time-optimizer#enabling-time-optimizer) in Synerise settings.
- Enable the personalized recommendation type in [AI Engine Configuration](/docs/settings/configuration/ai-engine-configuration/engine-configuration-for-recommendations).
- Configure [a sender account](/docs/campaign/e-mail/configuring-email-account).
**Prepare 2 predictions**
1. **Churn prediction** (for example, as described in [Predict churn](/use-cases/churn-prediction)).
See an example preview of the Churn Prediction
2. **Bestfit brand prediction** (for example, as described in [Boosting item selection with best fit predictions](/use-cases/bestfit-brand)).
See an example preview of the Bestfit Brand Prediction
## Process
---
1. [Create a segmentation](/use-cases/lapsing-customer#create-a-segmentation) that retrieves the result of the churn prediction prepared as a part of [prerequisites](#prerequisites) - users with high and very high churn risk.
2. [Create an aggregate for best brand](/use-cases/lapsing-customer#create-an-aggregate-for-best-brand) with best fit brand recommendation, thet retrieves the result of a prediction.
2. [Create AI recommendations](/use-cases/lapsing-customer#create-ai-recommendations) with personalized products from specific, personalized brand based on the results of the bestfit brand prediction prepared as a part of [prerequisites](#prerequisites).
3. [Create a workflow](/use-cases/lapsing-customer#create-a-workflow) sending email with AI recommendations with personalized brand to users with the high risk of churn.
## Create a segmentation
---
In this part of the process, we will create a group of customers who have the high and very high risk of churn - based on the churn prediction prepared as a part of [prerequisites](#prerequisites).
1. Go to **Decision Hub > Segmentations > New segmentation**.
2. Give the segmentation a meaningful name, for example `High churn risk`.
3. Click **Choose filter** and select the `snr.prediction.score` event.
The event may have a custom label in the list, but can always be found by entering the system name (`snr.prediction.score`) in the search field.
3. Add the following conditions to the event:
- `modelId` parameter equals the ID of the prediction you want to use.
- `score_label` parameter contains `High`, as this will cover customers with High and Very High probability of churning.
The model ID can be copied from the menu in the Prediction list. Remember, that the values are examples and the model ID needs to be changed.
4. Click **Save**.
The segment
## Create an aggregate for best brand
---
Create an aggregate which will return the latest value from the `topValue` parameter of the **snr.bestfit.score** event with modelID representing bestfit brand prediction. This aggregate will be referenced in the filters of AI recommendation configuration.
1. Go to **Behavioral Data Hub > Live Aggregates > Create aggregate**.
2. As the aggregate type, select **Profile**.
2. Enter the name of the aggregate.
3. Click **Analyze profiles by** and select **Last**.
5. From the **Choose event** dropdown list, select the **snr.bestfit.score** event.
6. As the event parameter, select **topValue**.
7. Click **+ where** button.
8. From the **Choose parameter** dropdown list, select the **modelID** parameter.
9. From the **Choose operator** dropdown list, select **Equal (string)**.
10. Enter the ID of the created prediction.
You can find the ID in the URL of the Prediction, it is the last string of characters. Below you can find a screenshot which represents exemplary value, and the place in the URL of the prediction where you can find the prediction ID. Remember that the values presented below are examples and the model ID needs to be changed.
ID of the prediction
11. Set the period from which the aggregate will analyze the results to the last **365 days**.
12. Save the aggregate.
Configuration of the aggregate
## Create AI recommendations
---
In this part of the process, you will create an AI recommendation that will display items from the customer's favorite brand returned in the prediction results.
1. Go to **AI Hub > (AI Recommendations) Models > Add recommendation**.
2. Enter the name of the recommendation (it is only visible on the list of recommendations).
3. In the **Type & Items feed** section, click **Define**.
4. From the **Items feed** dropdown list, select a product feed.
5. Select the **Personalized** recommendation type.
6. Confirm the recommendation type by clicking **Apply**.
6. In the **Items** section, click **Define**.
8. Define the minimum and maximum number of products displayed in the frame according to your needs.
9. Use filters to include specific items in the recommendation frame.
6. Click **Elastic filter**.
Learn about the difference among [elastic, static filters](/docs/ai-hub/recommendations-v2/creating-recommendation-campaign#select-conditions-of-displaying-items), and [distinct filters](/docs/ai-hub/recommendations-v2/creating-recommendation-campaign#distinct-filter).
7. From the dropdown list, choose **Visual Builder**.
7. Click **Select attribute**.
7. From the dropdown list, choose the **brand** attribute.
8. Click **Operator**.
9. From the dropdown menu, choose **Equals**.
10. Click the icon next to **Select value**.
11. Select **Aggregate**
12. Click **Select value**.
11. From the dropdown list, choose the aggregate created in the [previous step](#create-an-aggregate-for-best-brand).
11. At the bottom of the elastic filter pop-up, click **Apply**.
Recommendations configuration
12. In the **Items** section, click **Apply**.
10. In the **Slots and items ordering**, click **Define**.
1. Define how you want to arrange the order of slots and their items in the recommendation frame.
2. In the **Items sorting method within slots** section, select your desired item sorting method within slots.
1. In **Boosting**, you can enable [boosting](/docs/ai-hub/recommendations-v2/creating-recommendation-campaign#define-the-boosting-factors).
13. In **Additional settings**, optionally you can exclude already bought products and set a metric to sort by. Remember that you can define the order of slots if you have created more than one.
14. Save the recommendation by clicking **Save**.
## Create a workflow
---
In this part of the process, create a workflow which sends an email with the recommendations of the products from a favorite brand to the customers with the high and very high risk of churn. Additionally you can add the time optimizer node to optimize the time of sending the email.
1. Go to **Automation Hub > Workflows > New workflow**.
2. Enter the name of the workflow.
### Define the Audience node
---
Choose the **Audience** node as the trigger.
1. Start the workflow with the **Audience** node.
2. Leave the **Run trigger** as one time or repeatable with period configured depending on your needs.
3. Choose the day and time when the process starts.
4. In **Define audience**, choose **Segments** and choose the segmentation created in the [previous step](#create-a-segmentation).
The following screen shows the audience configuration used in this use case.
Audience configuration
### Define the Optimize Time node to the Matched path
---
1. Optionally you can add the **Optimize Time** node. In the node settings:
1. From the **AI optimization mode** dropdown list, choose **Web**.
2. In **Time period to analyze**, choose the best moment to activate the node that follows the **Optimize Time** node. In our case it will be **Custom time period**.
3. In the **Time period** field, enter specific number of hours, for example, `12`
2. Click **Apply**.
## Define the Send Email node
---
To distribute the product recommendations based on the results from the best fit prediction, prepare an email template that contains the recommendation you created in the previous part of the process.
1. Add the **Send Email** node.
2. In the **Sender details** section, choose the email account from which the email will be sent.
3. In the **Content** section, in the **Subject** field, enter the subject of the email. You can use the template from the folder or create your own one using the email code editor.
To use the template, click **New Template**.
4. Create your email according to your business needs.
5. Click **Inserts** in the upper right corner, find **AI Recommendations** on the list of inserts, then choose the recommendation you prepared in the [previous step](/use-cases/bestfit-brand#create-ai-recommendations).
6. Save the template.
### Add the finishing node
---
1. Add the **End** node.
2. In the upper right corner, click **Save & Run**.
Workflow configuration
## Check the use case set up on the Synerise Demo workspace
---
You can also check on our demo account the:
- [churn prediction](https://app.synerise.com/ai-v2/predictions/wrqifoexkwcm)
- [bestfit prediction](https://app.synerise.com/ai-v2/predictions/orbypencokue)
- [segmentation](https://app.synerise.com/analytics-v2/segmentations/134c8225-72da-4cd9-90c5-c9f1a4cfe541)
- [aggregate](https://app.synerise.com/analytics-v2/aggregates/673eb2b8-8869-329c-b6d4-b79e3a0f99bf)
- [AI recommendations](https://app.synerise.com/ai-v2/recommendations/eb5qO10yrfXe)
- [workflow](https://app.synerise.com/automations/workflows/automation-diagram/0fd6f246-b12d-485b-9baf-2e470f7d6639)
If you’re our partner or client, you already have automatic access to the **Synerise Demo workspace (1590)**, where you can explore all the configured elements of this use case and copy them to your workspace.
If you’re not a partner or client yet, we encourage you to fill out the contact [form](https://demo.synerise.com/request) to schedule a meeting with our representatives. They’ll be happy to show you how our demo works and discuss how you can apply this use case in your business.
## What's next
---
Once the initial workflow is in place, there are several ways to enhance and optimize it further.
Here are some ideas:
- **A/B Testing** – Split high-risk churn customers into different test groups using **A/B/X node**, choose the group percentage allocation to analyze what works best. For example:
- Each segmentation receives different types of recommendations,
- Each segmentation gets various discount level (e.g., 10%, 20%, or free shipping).
This allows us to determine the most effective tactics for re-engagement and customer recovery.
- **Multi-Channel Optimization** – Identify the preferred communication channel for each customer based on historical interactions (e.g., push, email, SMS, in-app messages) as in this use case [Identifying Customers' Preferred Communication Channel](/use-cases/channel-preference). Adapt the workflow to automatically select the most effective channel for each individual. This ensures higher deliverability and engagement by reaching customers where they are most active. Read more about [recommendation ABX testing](/docs/ai-hub/recommendations-v2/recommendation-abx-test)
## Check our latest Case Study
---
Check our [Case Study](https://www.synerise.com/case-study/modivo) with **Modivo** and discover how they leveraged Synerise BaseModel.AI to send personalized mailing with customers's favourite brand.
## Generated events
This use case generates approximately 13 events per profile that completes the flow:
[`snr.prediction.score`](/docs/assets/events/event-reference/predictions#snrpredictionscore) (~1), [`snr.bestfit.score`](/docs/assets/events/event-reference/predictions#snrbestfitscore) (~1), [`snr.ate.prediction`](/docs/assets/events/event-reference/predictions#snrateprediction) (~1), [`automation.clientStartPath`](/docs/assets/events/event-reference/automation#automationclientstartpath) (~1), [`automation.clientPathStep`](/docs/assets/events/event-reference/automation#automationclientpathstep) (~2), [`automation.clientEndPath`](/docs/assets/events/event-reference/automation#automationclientendpath) (~1), [`message.send`](/docs/assets/events/event-reference/email#messagesend) (~1), [`newsletter.open`](/docs/assets/events/event-reference/email#newsletteropen) (~1), [`newsletter.click`](/docs/assets/events/event-reference/email#newsletterclick) (~1), [`recommendation.generated`](/docs/assets/events/event-reference/recommendations#recommendationgenerated) (~1), [`recommendation.view`](/docs/assets/events/event-reference/recommendations#recommendationview) (~1), [`recommendation.click`](/docs/assets/events/event-reference/recommendations#recommendationclick) (~1).
## Read more
---
- [Aggregates](/docs/crm/aggregates)
- [Creating recommendations](/docs/ai-hub/recommendations-v2/creating-recommendation-campaign)
- [Email](/docs/campaign/e-mail)
- [Predictions](/docs/ai-hub/predictions/predictions-introduction)
# Loyalty points for completing a survey
By incorporating loyalty points into your survey strategy, you can gather valuable insights while fostering a loyal customer base, ultimately enhancing customer satisfaction and driving business growth. Offering loyalty points in exchange for survey participation can encourage new customers to enroll in your loyalty program as well as foster long-term loyalty with exsisting ones. Rewarding customers with loyalty points upon completing a survey creates a compelling incentive for customers to not only share their valuable feedback but also increase their spending.
In this use case, we will create a workflow that grants 500 loyalty points for customers who fill out a survey.
## Prerequisites
---
- Integrate mechanism for awarding loyalty points.
- [Create a dynamic content campaign with a survey](/use-cases/exit-popup-with-survey) according to your business needs.
- Implement a [custom event](https://hub.synerise.com/api-reference/data-management#operation/CustomEvent) (`survey.completed`) that is generated on customer's profiles when they submit a form.
- Integrate Synerise [mobile SDK](/developers/) in your mobile application.
Find more in the [Loyalty programs basics](/use-cases/loyalty-programs-basics) use case.
## Security configuration
---
Before you start working with this hub, if you are a Synerise customer or partner, consider reading [the section about denylisting events](/docs/settings/tool/api#denylist). This natively accessible configuration will allow you to manage the restrictions in points management that may help you prevent fraud.
## Create a workflow
---
Create a workflow that grants 500 loyalty points for filling out a survey.
1. Go to **Automation Hub > Workflows > New workflow**.
2. Enter the name of the workflow.
### Define the Profile Event trigger node
At this stage, we will configure the conditions that launch the workflow. As a trigger, we will use the `survey.completed` event.
1. As the first node of the workflow, add **Profile Event**. In the configuration of the node:
1. From **Choose event** dropdown menu, choose the `survey.completed` event.
2. Confirm by clicking **Apply**.
Profile Event node configuration
### Congifure the Generate Event node
1. Add **Generate Event** node.
2. In the settings of the node:
1. In the **Event name** field, enter the name of the event. In our case, we are using `points.loyalty` event.
4. In the **Body** section, use the following code and modify it to your needs:
{
               "points": "500"
               "source": "survey A"
               }
3. Click **Apply**.
Generate Event node configuration
### Add final setting to your workflow
1. Add the **End** node to both paths.
2. Launch the workflow by clicking **Save&Run**.
Configuration of the workflow
## Check the use case set up on the Synerise Demo workspace
---
In Synerise Demo workspace, you can check the configuration of the [Workflow](https://app.synerise.com/automations/automation-diagram/eb46bed4-55ee-43bd-9553-b3a27abceb8b).
If you’re our partner or client, you already have automatic access to the **Synerise Demo workspace (1590)**, where you can explore all the configured elements of this use case and copy them to your workspace.
If you’re not a partner or client yet, we encourage you to fill out the contact [form](https://demo.synerise.com/request) to schedule a meeting with our representatives. They’ll be happy to show you how our demo works and discuss how you can apply this use case in your business.
## Generated events
This use case generates approximately 5 events per profile that completes the flow:
`survey.completed` (~1), [`automation.clientStartPath`](/docs/assets/events/event-reference/automation#automationclientstartpath) (~1), [`automation.clientPathStep`](/docs/assets/events/event-reference/automation#automationclientpathstep) (~1), [`automation.clientEndPath`](/docs/assets/events/event-reference/automation#automationclientendpath) (~1), [`points.loyalty`](/docs/assets/events/event-reference/loyalty#pointsloyalty) (~1).
## Read more
---
- [Automation Hub](/docs/automation)
- [Dynamic content](/docs/campaign/dynamiccontent)
- [Jinjava inserts](/developers/inserts)
# Similar recommendations from the same category
This recommendation focuses on showing similar products to the one currently viewed on the page. It aims to help users discover alternatives within the same category while avoiding exact duplicates. The logic is split into two slots to balance precision and completeness, ensuring a consistent and meaningful recommendation experience.
In this use case, the recommendation returns 12 products, divided into two slots:
- Slot A returns 1 to 4 items using a static filter. Recommended products must have the same category and categoryId as the context product but a different title and item ID, ensuring that only distinct alternatives are shown.
- Slot B fills the remaining space with 4 to 8 products using an elastic filter. It still excludes items with the same title or ID but allows for more variation, such as partial name matches or model variants, to increase coverage when Slot A produces limited results.
These two slots together form a complete "You may also like" recommendation block, where:
Slot A focuses on quality (diverse alternatives), Slot B ensures quantity (variants and similar products).
## Prerequisites
---
- Implement a [tracking code](/developers/web/installation-and-configuration) into your website.
- [Configure AI engine](/docs/settings/configuration/ai-engine-configuration/engine-configuration-for-recommendations). Enable similar recommendation model.
- Implement the [transaction events](/developers/web/transactions-sdk).
## Prepare an AI recommendation
---
We will configure similar recommendation which returns 2 slots.
1. Go to **AI Hub > (AI Recommendations) Models > Add recommendation**.
2. Enter the name of the recommendation (it is only visible on the list of recommendations).
3. In the **Type & Items Feed** section, click **Define**.
4. From the **Items Feed** dropdown list, select an item feed.
5. In the **Type** section, choose the **Similar recommendation** type.
6. Confirm the settings by clicking **Apply**.
7. In the **Items** section, click **Define**.
2. Define the minimum and maximum number of items that will be recommended to the customer in the first slot. In our case it will be 1-4.
3. Define [Static filters](/docs/ai-hub/recommendations-v2/creating-recommendation-campaign#static-filters).
4. Click **Define filter**.
5. Select **Visual Builder**.
6. Click **Select value**.
5. Choose **category**.
6. As an operator, choose **Equals**.
7. Click the icon which appeared next to the field with operator and from the dropdown list, select **Context** (eye icon).
7. As the value, choose `category`, to be sure that the category of recommended products will be the same as the category of the currently viewed item.
8. In the **Category level** input, select **Category as a whole**.
9. Click **and where** to add another condition.
10. Choose **itemId**.
6. As an operator, choose **Does not equal**.
7. Click the icon which appeared next to the field with operator and from the dropdown list, select **Context** (eye icon).
7. As the value, choose `itemId`, to be sure that the itemId of recommended products will not be the same as the ID of the currently viewed item.
9. Click **and where** to add another condition.
10. Choose **name**.
6. As an operator, choose **Does not equal**.
7. Click the icon which appeared next to the field with operator and from the dropdown list, select **Context** (eye icon).
7. As the value, choose `name`, to be sure that the title of recommended products will not be the same as the name of the currently viewed item.
4. Confirm by clicking **Apply**.
Configuration of the static filter
5. Add the second slot.
2. Define the minimum and maximum number of items that will be recommended to the customer in the first slot. In our case it will be 4-8.
4. In the **Elastic filter** section, click **Define filter**.
5. Select **Visual Builder**.
6. Click **Select value**.
5. Choose **category**.
6. As an operator, choose **Equals**.
7. Click the icon which appeared next to the field with operator and from the dropdown list, select **Context** (eye icon).
7. As the value, choose `category`, to be sure that the category of recommended products will be the same as the category of the currently viewed item.
8. In the **Category level** input, select **Category level - Take first (2)**.
9. Click **and where** to add another condition.
10. Choose **itemId**.
6. As an operator, choose **Does not equal**.
7. Click the icon which appeared next to the field with operator and from the dropdown list, select **Context** (eye icon).
7. As the value, choose `itemId`, to be sure that the itemId of recommended products will not be the same as the ID of the currently viewed item.
9. Click **and where** to add another condition.
10. Choose **name**.
6. As an operator, choose **Does not equal**.
7. Click the icon which appeared next to the field with operator and from the dropdown list, select **Context** (eye icon).
7. As the value, choose `name`, to be sure that the title of recommended products will not be the same as the name of the currently viewed item.
4. Confirm by clicking **Apply**.
Configuration of the elastic filter
8. Additionally define the boosting rules by clicking **Define** in the **Boosting** section.
9. In the **Additional settings** section, choose **Exclude already bought products**. If your company sells replenishable products, you can set exclusion for specific number of days, for example, exclude products bought not later than 30 days ago.
9. In the right upper corner, click **Save**.
## Check the use case set up on the Synerise Demo workspace
---
You can check the configuration of the [AI Recommendation](https://app.synerise.com/ai-v2/recommendations/6gKg9VwwoAyC) in our Synerise Demo workspace.
If you’re our partner or client, you already have automatic access to the **Synerise Demo workspace (1590)**, where you can explore all the configured elements of this use case and copy them to your workspace.
If you’re not a partner or client yet, we encourage you to fill out the contact [form](https://demo.synerise.com/request) to schedule a meeting with our representatives. They’ll be happy to show you how our demo works and discuss how you can apply this use case in your business.
## Generated events
This use case generates approximately 4 events per profile that completes the flow:
[`recommendation.generated`](/docs/assets/events/event-reference/recommendations#recommendationgenerated) (~2), [`recommendation.view`](/docs/assets/events/event-reference/recommendations#recommendationview) (~1), [`recommendation.click`](/docs/assets/events/event-reference/recommendations#recommendationclick) (~1).
## Read more
---
- [Aggregates](/docs/crm/aggregates)
- [Recommendations](/docs/ai-hub/recommendations-v2)
# Dynamic NPS survey
Net Promoter or **Net Promoter Score (NPS)** is a management tool that can be used to measure the loyalty of a brand's customer relationships. It serves as an alternative to traditional customer satisfaction research and is correlated with revenue growth. If you send your NPS surveys right after the purchase, you increase the chances of getting an immediate reply with relevant feedback.
In this use case, we describe the process of sending a short NPS survey right after the customer makes a purchase in a mobile application. The survey consists of two fields: an NPS rating on a scale from 1 to 10 and a comment field. The customer can provide such a rating only within 48 hours after a purchase.
The campaign layout is different based on the conditions meet by the customer:
- If the customer has already filled out the survey within 48 hours after the purchase and clicks the link again, they will see a message which informs that they have already filled out this survey.
- If the customer has not filled out the survey within 48 hours after the purchase and clicks the link after more than 48 hours, they will see a message which informs that this survey has expired.
- If the customer has not filled out the survey within 48 hours after the purchase and clicks the link in less than 48 hours, a NPS survey is displayed.
In the further part of the process, we will also present you how to create basic analyses based on customers' answers and results from the survey.
Based on these analyses, we will create a Net Promoter Score, which is simply the percentage of customers who are promoters (those who scored 9 or 10) minus the percentage of customers who are critics (those who scored 1 to 6).
## Prerequisites
---
- Implement [tracking code](/docs/settings/tool/tracking_codes) into your website.
- Integrate Synerise [mobile SDK](/developers/mobile-sdk) in your mobile application.
- Implement mobile pushes in your mobile application: [iOS](/developers/mobile-sdk/configuring-push-notifications/ios) and/or [Android](/developers/mobile-sdk/configuring-push-notifications/android).
- Implement all additional information about the transactions based on the documentation for our [transactional API](https://hub.synerise.com/api-reference/data-management#operation/CreateATransaction). Check the documentation to see how you can set up the `transaction.charge` event to track the mobile transactions directly via **source** parameter.
- In this use case, we use the `form.submit` event, which is sent after filling out the NPS survey. You can send this event using the [API](https://hub.synerise.com/api-reference/data-management#operation/CustomEvent) or [JS SDK](/developers/web/tracking-form-data/tracking-form-data-sdk#calling-the-sdk-directly).
## Process
---
In this use case, you will go through the following steps:
1. [Create a landing page](/use-cases/dynamic-nps#create-a-landing-page) with 3 different layouts.
2. [Create an aggregate which returns the date of completing the survey](/use-cases/dynamic-nps#create-an-aggregate-which-returns-the-date-of-completing-the-survey) - if it exists, it means that the user has completed the survey, if there is no date, it means that they have not completed it.
3. [Create an aggregate which returns the sending time of last mobile push](/use-cases/dynamic-nps#create-an-aggregate-which-returns-the-sending-time-of-last-mobile-push) with a survey which was sent to a user.
4. [Create an expression](/use-cases/dynamic-nps#create-an-expression) which checks if 48 hours have passed since the push message with the NPS survey was sent (expiration condition).
5. [Create a dynamic content campaign](/use-cases/dynamic-nps#create-a-dynamic-content-campaign) with the Jinjava code that checks the conditions which a user must meet to see one of the three landing page version.
6. [Create a mobile push](/use-cases/dynamic-nps#create-a-mobile-push-template) with the link to the landing page.
7. [Create a workflow](/use-cases/dynamic-nps#create-a-workflow) which sends a push notification with the NPS survey to a user after making the transaction.
8. [Create a basic segmentation with NPS score](/use-cases/dynamic-nps#create-a-basic-segmentation-with-nps-score).
9. [Create a Net Promoter Score](/use-cases/dynamic-nps#create-a-net-promoter-score) based on a metric.
## Create a landing page
---
Prepare a landing page within the website of your mobile store, which will contain three different layouts (as it was present in the introduction):
- a message which informs that the survey has been already filled out (in this case marked as #COMPLETED),
- a message which informs that this survey has expired (in this case marked as #EXPIRED),
- a NPS survey in which the customer can rate the purchase or the whole shopping experience (in this case marked as #NPS).
In order for a landing page to correctly collect data, it is necessary to embed the Synerise SDK into the [landing code](/docs/campaign/landing-page). To do this, generate and copy the Synerise [tracking code](/developers/web/installation-and-configuration) and paste it in the landing page's edit panel in **JavaScript insert before end body**, in the Customize section. Below you can find an example how it can look like.
- Replace the value of `trackerKey` with your own, generated [tracking code](/developers/web/installation-and-configuration).
In the code, add the information about the events which will be sent after filling the NPS form. In this case, it is `nps.send` with the `score` parameter that contains the number of points chosen for a particular customer. It should be a number. It will be important in the further analysis of the campaign results.
All the conditions that determine the display of a specific message will be created as a dynamic content campaign displayed on this landing page in the further steps.
## Create an aggregate which returns the date of completing the survey
---
In this step, you will create an aggregate which returns the date of completing the NPS survey - if it exists, it means that the user has completed the survey, if there is no date, it means that the survey has not been completed.
1. Go to **Behavioral Data Hub > Live Aggregates > Create aggregate**.
2. As the aggregate type, select **Profile**.
2. Enter the name of the aggregate.
3. Click **Analyze profiles by** and select **Last**.
4. Select the `form.submit` event.
5. As the parameter, choose **TIMESTAMP**
6. Click the **+ where** button and from the **Choose parameter** list, select **title** to indicate the specific form.
7. Choose the **Equal** operator and add the specific name of the form submitted as the value.
8. Set the period from which the aggregate will analyze the results to the last **48 hours**.
12. Save the aggregate.
Configuration of the aggregate that returns the date of completing the survey
## Create an aggregate which returns the sending time of last mobile push
---
In this step, you will create an aggregate which returns the sending time of last mobile push with a survey which was sent to a user.
1. Go to **Behavioral Data Hub > Live Aggregates > Create aggregate**.
2. As the aggregate type, select **Profile**.
2. Enter the name of the aggregate.
3. Click **Analyze profiles by** and select **Last**.
4. Select the `push.send` event.
5. As the parameter, choose **TIMESTAMP**
6. Click the **+ where** button and from the **Choose parameter** dropdown list, select **title** to indicate the specific form.
7. Choose the **Equal** operator and enter the name of the latest push message campaign.
8. Set the period from which the aggregate will analyze the results to the last **48 hours**.
12. Save the aggregate.
Configuration of the aggregat that returns the sending time of last mobile push
## Create an expression
---
In this step, you will create an expression which checks if the customer has filled out the form in the last 48 hours.
1. Go to **Behavioral Data Hub > Expressions > New expression**.
2. Enter the name of the expression.
3. Leave the **Expression** option at default (**Attribute**).
4. Build the following formula of the expression:
Configuration of the expression which checks if the customer has filled out the form in the last 48 hoursExplanation of the expression logic
The expression formula contains the following logic:
The expression checks if the current date is "higher" than the date of submitting the form (48 hours is added to the date of submission).
If more than 48 hours have passed, returns `48h or more`.
If less, returns `0`.
5. Save the expression.
## Create a dynamic content campaign
---
In this part of the process, you will create the dynamic content campaign which will display the layout of campaign in accordance with the conditions met by the customer.
### Create a dynamic content message
---
1. Go to **Experience Hub > Dynamic Content > Create new**.
2. Enter the name of the campaign.
3. Choose the **Insert Object** type.
4. In the **Audience** section, select the **Everyone** tab.
4. In the **Content** section, select **Simple message**, and in the CSS selector field, enter where you want to insert the content - in this case, select **After (in div)**, and enter `.main`.
5. Click **Create message** and choose **Code editor**.
6. In the JS section add the following code, which will display the campaign layout based on conditions met by the customer.
{% expressionvar 90703adb-b985-4a67-abdf-337bd858c4f1 %}
       {% set showAfterDays = expression_result %}
       {% aggregate 492ba339-09b6-37bd-b368-7120275e54dc %}
       {% if aggregate_result[0] is truthy %}
           {% set isReviewCompleted = true %}
       {% else %}
           {% set isReviewCompleted = false %}
           {% if isReviewCompleted != false %}
           {showImage('#COMPLETED')}
           {% else if showAfterDays == '48h or more'%}
           {showImage('#EXPIRED')}
           {% else %}
           {showImage('#NPS')}
           {% endif %}
       {% endif %}
       {% endaggregate %}
       {% endexpressionvar %}
"{showImage('#COMPLETED')}" is just an example of how a reference to a specific view on your landing page may look like, it can be coded in a different way, it is important to remember, that in this place must contain the reference to a specific view from landing page.
What is more, remember to change the ID of the aggregate and expression in the code to IDs of your own analyses built in your workspace.
### Set up the schedule and display settings
---
6. In the **Schedule** section, set the display time to **Display immediately** and save your changes.
7. In the **Display settings** section, choose **On landing**.
8. Click **Advanced settings**.
9. In the **Page targeting** section, choose **Others**, and in the **Display on pages** section, click **Add rule**.
10. Select **Page URL containing** and enter the name of your landing page created in the [previous step](/use-cases/dynamic-nps#create-a-landing-page).
8. In the **UTM & URL parameters** section, click **Skip step**.
9. Click **Activate** and start your dynamic content campaign.
## Create a mobile push template
---
In this part of the process, you will create a mobile push template with the link to the landing page with the NPS survey.
1. Go to **Experience Hub > Mobile > Templates**.
2. Create your mobile push in the code editor. In the content of the push notification:
- Add a message
- Add the link to landing page where you have display NPS survey
For more information on creating a simple mobile push, visit our [User Guide](/docs/campaign/Mobile/creating-mobile-push).
## Create a workflow
---
In this part of the process, prepare a workflow that sends the push message with the link to the survey to customers who made a transaction in the mobile application. The workflow excludes customers who have already received the link to this survey during last 30 days.
1. Go to **Automation Hub > Workflows > New workflow**.
2. Enter the name of the workflow.
### Define the Profile Event trigger node
---
At this stage, we will configure conditions that launch the workflow. As a trigger, we will use the `transaction.charge` event in the mobile application.
1. As the first node of the workflow, add **Profile Event**. In the configuration of the node:
1. From the **Choose event** dropdown menu, choose the `transaction.charge` event.
2. Click the **+ where** button, from the **Choose parameter** dropdown menu, choose **source**.
3. From the **Choose operator** dropdown, choose **String**, and then select **Contain (String)**.
4. In the next field, type the `mobile` to analyze only transaction made in the mobile application.
2. Confirm by clicking **Apply**.
Profile Event node configuration
### Define the Profile Filter node
---
As the next step, add a Profile Filter node that checks whether the customer has previously received the NPS survey. In this case, we verify it by using the `push.send` event with a link to the NPS survey. This way, the customer who has already received a survey in the last 30 days will not receive another one.
1. Add the **Profile Filter** node.
2. To configure the node settings, click the node.
3. Click the **Choose filter** button and choose the `push.send` event.
4. Click the **+ where** button and from the **Choose parameter** drop-down menu, choose **campaignName**.
5. From the **Choose operator** drop-down, choose **Equal(String)**.
6. Enter the name of the mobile push campaign created in the [previous step](/use-cases/dynamic-nps#create-a-mobile-push-template).
8. Set the time range to **Last 30 days**.
13. Change the **Profiles matching funnel** option to **Profiles not matching funnel** by clicking the **matching** word.
12. Confirm by clicking **Apply**.
13. For the **Not matched** path, add the **End** node.
Profile Filter node configuration
### Configure the Send Mobile Push node
---
1. To the **Matched** path, add a **Send Mobile Push** node.
2. In the settings of the node, from the **Template type** dropdown list, select the template you have prepared in the [previous step](/use-cases/dynamic-nps#create-a-mobile-push-template).
2. Click **Apply**.
### Prepare the final settings
---
1. To the **Not matched** path and after **Send Mobile Push**, add **End** nodes.
3. Optionally, add titles to each node so the workflow will be more understandable to your colleagues.
4. Activate the workflow by clicking **Save & Run**.
The workflow configuration
## Create a basic segmentation with NPS score
---
In this step, create a basic segmentation which divides your customers into 3 groups based on results from your NPS survey and the event `nps.send` and its parameter `score`. In this case, we have three exemplary groups:
- Promoters: 9-10 points
- Indifferent: 7-8 points
- Critics: 1-6 points
Create a segmentation that includes all three groups.
### Create the Promoters segment
---
Create a segment that includes only customers who assessed the purchase/shopping experience at 9 or 10 points.
1. Go to **Decision Hub > Segmentations > New segmentation**.
2. Enter the name of the segmentation.
3. Optionally, switch the **Show in profile card** toggle on.
3. Enter the name of the segment.
3. From the **Add condition** dropdown list, select the `nps.send` event.
4. Click **+ where** button and select the **score** parameter.
4. As the logical operator, select **Less or equal**.
5. Next to the logical operator, in the text field, enter `10`.
4. Click the **and where** button and select the **score** parameter.
4. As the logical operator, select **More or equal**.
5. Next to the logical operator, in the text field, enter `9`.
Configuration of the Promoters segment
### Create the Indifferent segment
---
Create a segment that includes only customers who assessed the purchase/shopping experience between 7 and 8 points.
3. Click **Add segment**.
3. Enter the name of the segment.
3. From the **Add condition** dropdown list, select the `nps.send` event.
4. Click **+ where** button and select the **score** parameter.
4. As the logical operator, select **Less or equal**.
5. Next to the logical operator, in the text field, enter `8`.
4. Click the **and where** button and select the **score** parameter.
4. As the logical operator, select **More or equal**.
5. 5. Next to the logical operator, in the text field, enter `7`.
Configuration of the Indifferent segment
### Create the Critics segment
---
Create a segment that includes only customers who assessed the purchase/shopping experience between 1 and 6 points.
3. Click **Add segment**
3. Enter the name of the subsegmentation.
3. From the **Add condition** dropdown list, select the `nps.send` event.
4. Click **+ where** button and select the **score** parameter.
4. As the logical operator, select **Less or equal**.
5. Next to the logical operator, in the text field enter `6`.
Configuration of the Critics segment
11. Choose a time range as **lifetime**.
12. Save the segmentation.
**Result:** Now you can compare how many customers were in the specific segment.
## Create a Net Promoter Score
---
In this step, create a metric which counts the example Net Promotor Score which is simply the percentage of customers who are promoters (those who scored 9 or 10) minus the percentage of customers who are critics (those who scored 1 to 6).
1. Go to **Decision Hub > Metrics > New metric**.
2. Enter the name of the metric.
3. As a metric kind, select **Formula metric**.
4. Build the formula of the metric as presented on the screen:
The final form of a metric
In this metric:
- **Promoters** are based on **Profile Filter**.
1. Click **Choose filter** and select the segment created in the [previous step](/use-cases/dynamic-nps#create-a-basic-segmentation-with-nps-score).
2. Choose operator **Equal**.
3. As the value choose the name of the first subsegment, in our case Promoter.
4. Click **Apply**.
Metric settings
- **All - who filled out the form** are based on **Profile Filter**.
1. Click **Choose filter**, and select the segment created in the [previous step](/use-cases/dynamic-nps#create-a-basic-segmentation-with-nps-score).
2. Choose operator **is true**. In this way you will analyze the whole group of users from every subsegment.
4. Click **Apply**.
Metric settings
- **Critics** are based on **Profile Filter**.
7. Click **Choose filter**, and select the segment created in the [previous step](/use-cases/dynamic-nps#create-a-basic-segmentation-with-nps-score).
8. Choose operator **Equal**.
9. As the value choose the name of the last subsegment, in our case Critic.
10. Click **Apply**.
Metric settings
You can also enrich your analysis measuring:
- the average result from the NPS,
- the number of submitted forms with NPS,
- report with most often chosen notes in order,
and more analyses, which you can show on the dedicated dashboard.
## What's next
---
In case you need, you can prepare an export of your NPS results to external systems, for example [to Google Sheets](/use-cases/google-spreadsheet-integration).
## Check the use case set up on the Synerise Demo workspace
---
You can check the configuration of every element of this process directly in Synerise Demo workspace:
- [Configurartion of the aggregate](https://app.synerise.com/analytics/aggregates/492ba339-09b6-37bd-b368-7120275e54dc), which measure the date of filling out the survey
- [Configurartion of the aggregate](https://app.synerise.com/analytics/aggregates/fe2acb42-1a38-3fc2-9c00-5ab363dce20c), which checks sending time of last mobile push
- [Configurartion of the expression](https://app.synerise.com/analytics/expressions/90703adb-b985-4a67-abdf-337bd858c4f1)
- [Dynamic content campaign](https://app.synerise.com/campaigns/create/20b6430d-0b2b-4de7-96bd-5fc55dfcc0b3)
- [Automation configuration](https://app.synerise.com/automations/automation-diagram/4cbb9e50-65b0-4a96-8c88-d0ecf3d7c577)
- [Segmentation](https://app.synerise.com/analytics-v2/segmentations/64546b35-40b1-4afa-b406-43102c2c57e7)
- [Metric with NPS score](https://app.synerise.com/analytics/metrics/c38e6fd4-fda8-43c3-9f29-865893533d47)
If you’re our partner or client, you already have automatic access to the **Synerise Demo workspace (1590)**, where you can explore all the configured elements of this use case and copy them to your workspace.
If you’re not a partner or client yet, we encourage you to fill out the contact [form](https://demo.synerise.com/request) to schedule a meeting with our representatives. They’ll be happy to show you how our demo works and discuss how you can apply this use case in your business.
## Generated events
This use case generates approximately 15 events per profile that completes the flow:
[`transaction.charge`](/docs/assets/events/event-reference/items#transactioncharge) (~1), [`product.buy`](/docs/assets/events/event-reference/items#productbuy) (~2), [`automation.clientStartPath`](/docs/assets/events/event-reference/automation#automationclientstartpath) (~1), [`automation.clientPathStep`](/docs/assets/events/event-reference/automation#automationclientpathstep) (~2), [`automation.clientEndPath`](/docs/assets/events/event-reference/automation#automationclientendpath) (~1), [`push.send`](/docs/assets/events/event-reference/mobile-push#pushsend) (~1), [`push.view`](/docs/assets/events/event-reference/mobile-push#pushview) (~1), [`push.click`](/docs/assets/events/event-reference/mobile-push#pushclick) (~1), [`landingpage.visit`](/docs/assets/events/event-reference/landing-page#landingpagevisit) (~1), [`dynamicContent.show`](/docs/assets/events/event-reference/dynamic-content#dynamiccontentshow) (~1), [`dynamicContent.click`](/docs/assets/events/event-reference/dynamic-content#dynamiccontentclick) (~1), [`form.submit`](/docs/assets/events/event-reference/web-and-app#formsubmit) (~1), `nps.send` (~1).
## Read more
---
- [Aggregates](/docs/crm/aggregates)
- [Automation Hub](/docs/automation)
- [Dynamic content](/docs/campaign/dynamiccontent)
- [Expressions](/docs/crm/expressions)
- [Landing page](/docs/campaign/landing-page)
- [Mobile campaigns](/docs/campaign/Mobile)
# Send Bestselling Products to Customers via Email
Sometimes your customers are not sure what they are looking for. Help them to decide by sending the best-selling items - promote them further in your communication. When people see the bestseller label on your product, they’ll feel more inclined to buy it over another items offering in the same category. It is called “purchase pressure.” Some buyers go straight to the bestseller list to see what is popular now.
You can promote your bestsellers among your customers. You can dynamically add to this email all bestsellers from all categories or just from specific category, often visited by customers.
## Examples of use - Retail industry
**Challenge**
A client from the retail industry prepared a -20% summer sale for the entire collection. This client have sent an email with information about the discount to half of the customers. The second half received an email with a discount and several best-selling items. The email with bestsellers had better results.
Example email with best-selling items
**Results**
- 2,3% CTR for email with bestsellers
- 1,8% CTR for email only with discount
## Prerequisites
---
To be able to implement this use case, you must:
- [Implement a tracking code](/docs/settings/tool/tracking_codes).
- [Upload a product feed](/first-steps/integration/product).
- [Configure AI recommendations](/docs/settings/configuration/ai-engine-configuration/engine-configuration-for-recommendations).
- [Create transaction events](/developers/web/transactions-sdk).
- [Configure email account](/docs/campaign/e-mail/configuring-email-account).
- [Upload subscriber’s database](/docs/automation/actions/synerise-integrations/import-customers).
## Process
---
To create an email with top products, perform the steps in the following order:
1. [Configure AI recommendations](/use-cases/email-with-top-products#create-ai-recommendations-with-top-products) with top products.
2. [Create email template](/use-cases/email-with-top-products#create-email-template) with previously created recommendations.
3. [Create an email campaign](#create-an-email-campaign).
## Create AI recommendations with top products
---
If you do not have AI models trained yet, follow this [instruction](/docs/settings/configuration/ai-engine-configuration/engine-configuration-for-recommendations) to import product feed to Synerise.
To be able to recommend items from the top category in various communication types, first you need to initiate the model training for the item feed from which you want to recommend your items.
1. Go to **Settings > AI Engine Configuration > Add feed**.
2. Select the type of the feed.
We recommend using Google Merchant feed due to the size limits for XML files imported to catalogs.
3. After you add the feed, it's added to the list.
4. Double-click the feed on the list of feeds.
5. In the **Recommendation models** section, select **top products**.
Top products recommendations
4. In the **Items** section, define the type of items to be included in the recommendation by using filters.
You can check the [instruction](/docs/ai-hub/recommendations-v2/recommendation-filters) for the recommendation filters and explore [examples of use](/docs/ai-hub/recommendations-v2/recommendation-filters-examples).
1. You must choose **Minimum** and **Maximum** number of items which the recommendation frame includes.`
2. Use elastic and static filters to select items to your recommendation frame.
3. In the **Additional settings** section, you have to influence the arrangement of items in the recommendation. More information is available [here](/docs/ai-hub/recommendations-v2/creating-recommendation-campaign#define-the-boosting-factors).
{{< important >}}
Items section requires you to define more details about your recommendation. Obligatory choose **Min.** and **Max.** number of products which user has to get, and in **Sorting** define metric which has to be used to find products to the message.
{{< /important >}}
5. After saving the recommendation, get the ID of the message.
List of email recommendation
6. **Save** your recommendations.
## Create email template
---
1. Go to **Experience Hub > Email > Templates** and add new template.
2. Prepare your email message, according to your business needs.
3. Using **Inserts** choose previously created recommendations from the list and add them to your template as special code with ID of your recommendations.
4. Save your template.
## Create an email campaign
---
In this use case, configure an email communication that will reuse the content of the recommendation you created in the previous step. While configuring the email, you must select a group of customers, create the content of the email and set up the final setting.
### Select the audience of the email message
Select the customers who will get the email with the top selling items.
1. Choose the customers in [segmentation](https://app.synerise.com/spa/modules/analytics/segmentations/new) or create a new segment directly in the **email message**.
2. Choose users who will get email.
Define the audience
### Create content
After selecting the email recipients, create content.
1. Select the **email account** from which the email will be sent.
2. Prepare the subject of the email.
3. Click **Create message** and built the template of your email. To include the top item recommendations, use the following Jinjava code and your own CSS. Let’s look at how to prepare the appropriate jijnava code.
{{< accordion "Check the Jinjava code" >}}
{{< highlight "jinja" >}}
{% recommendations3 campaignId=xxx %} for loop below: {% for r in recommended_products3 %} {{r.itemId}} {{r.title}} {{r.imageLink}} {{r.price.value}} {{r.salePrice.value}} {% endfor %} {% endrecommendations3 %}
{{< /highlight >}}
{{< /accordion >}}
4. Optionally, add the B variant of the template which will not contain the top product.
### Prepare the final settings
1. Add the title of the email.
2. In the **Schedule tab**, decide when your email is sent.
3. In the **UTM & URL** parameters section, add the parameters to track the email performance.
4. Send **tests** of your message to verify if the content of the email is displayed correctly.
Set up settings page
{{< important >}}
Test message can only be sent when it has a title.
{{< /important >}}
## Check the use case set up on the Synerise Demo workspace
---
Check the [AI recommendations settings](https://app.synerise.com/ai-v2/recommendations/VrEXZm00A7CK) and [email campaign](https://app.synerise.com/campaigns/create/49d6e315-06ab-4a35-bb45-deb5f5264cec) directly in Synerise Demo workspace.
{{% include "/reuse/use-cases/synerise-demo-workspace.md" %}}
## Generated events
This use case generates approximately 6 events per profile that completes the flow:
[`message.send`](/docs/assets/events/event-reference/email#messagesend) (~1), [`newsletter.open`](/docs/assets/events/event-reference/email#newsletteropen) (~1), [`newsletter.click`](/docs/assets/events/event-reference/email#newsletterclick) (~1), [`recommendation.generated`](/docs/assets/events/event-reference/recommendations#recommendationgenerated) (~1), [`recommendation.view`](/docs/assets/events/event-reference/recommendations#recommendationview) (~1), [`recommendation.click`](/docs/assets/events/event-reference/recommendations#recommendationclick) (~1).
## Read more
---
- [AI recommendation](/docs/ai-hub/recommendations-v2/creating-recommendation-campaign)
- [Emails](/docs/campaign/e-mail/creating-email-campaigns)
- [Email communication](/docs/campaign/e-mail)
# Automate Sending NPS Survey Data to Google Cloud Pub/Sub
[Google Could Pub/Sub](https://cloud.google.com/pubsub/docs/overview) is a messaging service for exchanging event data among applications and services. It lets you create systems of event producers and consumers, called **publishers** and **subscribers**. Publishers communicate with subscribers asynchronously by broadcasting events to a **topic** regardless of how or when these events are to be processed. Pub/Sub then delivers events to all the subscribers of that topic, and each subscriber has its own logic of reacting to the event.
Integrating Synerise with Google Cloud Pub/Sub provides a seamless solution for exporting data from Synerise to Pub/Sub through dedicated nodes, including the valuable NPS survey data.
With Google Cloud Pub/Sub integration, you can send selected data to this messaging service. This service makes data available to all subscribers, which can include any Google service or other third-party tools.
In this use case, we will create a workflow that sends information with NPS survey data to Google Cloud Pub/Sub using a dedicated node in our Automation.
## Prerequisites
---
- Implement a custom event for NPS survey data, which will be available in the customer profile. In this example, the event is called `nps.sent`. Implement custom events in your [mobile application](/developers/mobile-sdk/event-tracking#basic-custom-event) or website [Web](/developers/web/event-tracking#declarative-tracking-custom-events). You can learn more about NPS survey in [this use case](/use-cases/dynamic-nps).
- Check [the requirements](/docs/automation/integration/google-cloud-pubsub/publish-message#prerequisites) you must meet to integrate Synerise with Google Cloud Pub/Sub.
## Create a workflow
---
Create a workflow which sends information with NPS survey data to Google Cloud Pub/Sub. Every time the `nps.sent` event is generated, the data from the event is sent automatically to Pub/Sub.
1. Go to **Automation Hub > Workflows > New workflow**.
2. Enter the name of the workflow.
### Define the Profile Event trigger node
---
At this stage, we will configure conditions that launch the workflow. As a trigger, we will use the `nps.sent` event.
Click here to see example event and its parameters for an example customer
{ "time": "2023-02-15T15:24:49Z", "action": "nps.sent", "label": "", "client": { "id": 5092159999, "email": "e0097757-d1e2-44ac-ba3c-d97979a354c1@anonymous.invalid", "uuid": "e0097757-d1e2-44ac-ba3c-d97979a354c1" }, "params": { "eventCreateTime": "2023-02-15T15:25:08.861Z", "name": "John", "surname": "Doe", "location": "Warsaw", "age": "23", "feedback": "I am very satisfied with the service. The support team was responsive and helpful.", "product_id": "PROD123", "order_id": "ORD456", "nps_score": 9, "NPSsource": "mobile_app" } }
1. As the first node of the workflow, add **Profile Event**. In the configuration of the node:
1. Enter the name of the node.
2. From the **Choose event** dropdown menu, choose the `nps.sent` event.
2. Confirm by clicking **Apply**
### Configure the Publish Message node
---
At this stage, we will configure the Google Cloud Pub/Sub **Publish Message** node.
We recommend publishing data in Google Cloud Pub/Sub using the CloudEvents standard, however, if you want to publish a message out of this standard or if you want to publish more than one message at once, proceed with [“Publish raw messages” node](/docs/automation/integration/google-cloud-pubsub/publish-raw-messages).
1. As the next node, add **Google Cloud Pub/Sub > Publish Message**.
2. Click **Select connection**.
3. From the dropdown list, select the connection.
- If no connections are available or you want to create a new one, see [Create a connection](/docs/automation/integration/google-cloud-pubsub/publish-message#create-a-connection).
- If you selected an existing connection, proceed to defining the integration settings.
4. In the configuration of the node:
1. In the **Project ID** field, enter the unique identifier of your project in Google Cloud Console.
You can learn how to find the project ID [here](https://support.google.com/googleapi/answer/7014113).
2. In the **Topic ID** field, enter the unique identifier of the topic (a named resource that represents a feed of messages).
Learn more about [creating and managing topics](https://cloud.google.com/pubsub/docs/create-topic).
3. In the **Attributes (optional)** field, enter a JSON key-value object with message attributes.
This can be used to filter messages in the subscription. Learn more about [building the "attributes" object](https://cloud.google.com/pubsub/docs/reference/rest/v1/PubsubMessage). The Attributes object can contain up to 100 attributes. In this use case, we will add source of the NPS event as an attribute. This will allow subscribers in Pub/Sub to filter the proper messages to be consumed. The example of Attributes object contains [the Automation inserts](/developers/inserts/automation) that retrieve data from the event included in the **Profile Event** node.
Click here to see an example of Attributes object used in this use case
{ "NPSsource": "{{ event.params.NPSsource }}" }
4. In the **CloudEvent type** field, enter the type of data sent in the CloudEvent.
Learn more about [CloudEvent types](https://github.com/cloudevents/spec/blob/v1.0.2/cloudevents/spec.md#type).
5. In the **Data (optional)** field, enter the event data.
It will be sent to Pub/Sub as the `data` object in a [CloudEvent JSON Object](https://github.com/cloudevents/spec/blob/v1.0.2/cloudevents/formats/json-format.md). The CloudEvent object will be automatically encoded with base64 and sent as the `data` field in a [Pub/Sub Message](https://cloud.google.com/pubsub/docs/reference/rest/v1/PubsubMessage). In this use case, we will send values of `nps.sent` event parameters such as, among others, **name**, **surname** and **feedback**. The example of Data field contains [the Automation inserts](/developers/inserts/automation) that retrieve data from the event included in the **Profile Event** node.
Click here to see an example of the Data field used in this use case
6. Confirm the settings by clicking **Apply**.
### Add the finishing node
---
1. Add the **End** node.
The workflow configuration
2. In the upper right corner, click **Save & Run**.
**Result**: Every time the `nps.sent` event is performed on the profil of customer, data from this event is streamed to Pub/Sub. After each such action, a response event (`pubSub.publishMessage`) is generated on the customer's profile.
Example of pubSub.publishMessage event, generated after sending data to Google Cloud Pub/Sub
## Check the use case set up on the Synerise Demo workspace
---
You can check the [workflow configuration](https://app.synerise.com/automations/automation-diagram/1fbf41b2-7e9e-46e1-b450-8ceff9289695) directly in Synerise Demo workspace.
If you’re our partner or client, you already have automatic access to the **Synerise Demo workspace (1590)**, where you can explore all the configured elements of this use case and copy them to your workspace.
If you’re not a partner or client yet, we encourage you to fill out the contact [form](https://demo.synerise.com/request) to schedule a meeting with our representatives. They’ll be happy to show you how our demo works and discuss how you can apply this use case in your business.
## Generated events
This use case generates approximately 5 events per profile that completes the flow:
`nps.sent` (~1), [`automation.clientStartPath`](/docs/assets/events/event-reference/automation#automationclientstartpath) (~1), [`automation.clientPathStep`](/docs/assets/events/event-reference/automation#automationclientpathstep) (~1), [`automation.clientEndPath`](/docs/assets/events/event-reference/automation#automationclientendpath) (~1), [`pubSub.publishMessage`](/docs/assets/events/event-reference/integration#pubsubpublishmessage) (~1).
## Read more
---
- [Automation Hub](/docs/automation)
- [Publish Message node](/docs/automation/integration/google-cloud-pubsub/publish-message)
- [Jinjava inserts](/developers/inserts/automation)
# Promoting customer favourite brands in search results
The main goal of AI search engine is to provide the best possible experience for the customer. That means delivering relevant and accurate results for their queries, whether they’re looking for information or looking to make a purchase. To that end, you should improve the customer experience on your site. One way is to use [A/B tests](/docs/ai-hub/ai-search/configuring-ab-test) and check whether the used filters have a positive effect on conversions.
Another way we can optimize search engine is by promoting products customer might actually like in the search results - for example those from their favorite brands.
Knowing that customers often use search engines when they’re shopping online, you should make sure that they can easily find the brands they like. Boosting search results with customer favorite brands makes it easier for customers to find the products they could be interested in and makes their shopping experience more enjoyable. In this way, you not only promote specific brands in the search results, but also personalize customer experience and make customers more satisfied.
In this use case, you will create an aggregate that returns 5 favorite brands. In the further part of the process, you will proceed to create a rule to present in the top of the search results items from the brands most often bought by the specific customer during last year.
## Prerequisites
---
- Enable [the Search Engine](/docs/ai-hub/ai-search/introduction-to-ai-search#configuring-ai-search) for your workspace.
- Create and configure [search index](/docs/ai-hub/ai-search/create-index) and in the [filterable attributes](/docs/ai-hub/ai-search/define-attributes#filterable-attributes) add `Brand` as an attribute.
- Implement transaction events using [SDK](/developers/web/transactions-sdk) or [API](https://hub.synerise.com/api-reference/data-management#operation/CreateATransaction).
- [Implement AI search](https://hub.synerise.com/api-reference/ai-search) in any of your channels (mobile app, website, and so on).
### Process
---
1. [Create an aggregate](/use-cases/query-filtering-brand#create-an-aggregate) that returns the customer's 5 most frequently purchased product brands.
2. [Create a query rule](/use-cases/query-filtering-brand#create-a-query-rule) which promotes products from customers' favorite brands at the top of search results.
## Create an aggregate
---
In this part of the process, create an aggregate that returns customer's 5 most frequently purchased product brands during last year.
1. Go to **Behavioral Data Hub > Live Aggregates > Create aggregate**.
2. As the aggregate type, select **Profile**.
2. Enter the name of the aggregate.
3. Click **Analyze profiles by** and select **Top Multi**, and set the size to `5`.
4. From the **Choose event** dropdown list, select the **product.buy** event.
5. As the event parameter, select **brand**.
6. Define the period which the aggregate will analyze. In this case it will be 1 last year.
7. Save the aggregate.
Configuration of the aggregate
## Create a query rule
---
In this part of the process, create a query rule which promotes products from customer' 5 favorite brands at the top of search results.
1. Go to **AI Hub > Indexes**.
2. Select an index from the list.
3. Go to the **Rules** section.
4. On the right side of the screen, click **Add rule**.
5. Name the rule.
6. To adjust the query conditions, in the **Conditions** section, click **Define**.
1. Choose the **All queries** tab.
2. Click **Apply**.
7. To define how the search engine reacts to the defined conditions, in the **Consequences** section, click **Define**.
1. Click **Add consequence** and choose **Filter query results** from the dropdown list.
9. From the **Attribute** dropdown list, choose `Brand`.
10. Choose the **In** operator.
10. In the left field, click the **T** icon and from the dropdown list, select **Aggregate**.
11. From the list, choose [aggregate](/use-cases/query-filtering-brand#create-an-aggregate) created in the previous step.
12. Enable the **Mark as elastic** option, to make sure that the products from favorite brands appear at the top of search results. If you do not activate this option, search results will show only products from favorite brands.
13. Click **Apply**.
8. In the **Schedule** section, define when the query rule applies.
8. Click **Save & Publish**.
Query rule settings
## Check the use case set up on the Synerise Demo workspace
---
You can check the [aggregate](https://app.synerise.com/analytics/aggregates/a9adc80b-026b-3de6-9f33-215f289a6599) and [query rule settings](https://app.synerise.com/ai-v2/search/indices/98167fa2726dc2460deb41870c0e6d1c1729168383/query-rules/33492) directly in Synerise Demo workspace.
If you’re our partner or client, you already have automatic access to the **Synerise Demo workspace (1590)**, where you can explore all the configured elements of this use case and copy them to your workspace.
If you’re not a partner or client yet, we encourage you to fill out the contact [form](https://demo.synerise.com/request) to schedule a meeting with our representatives. They’ll be happy to show you how our demo works and discuss how you can apply this use case in your business.
## Generated events
This use case generates approximately 2 events per profile that completes the flow:
[`item.search`](/docs/assets/events/event-reference/search#itemsearch) (~1), [`item.search.click`](/docs/assets/events/event-reference/search#itemsearchclick) (~1).
## Read more
---
- [Aggregates](/docs/crm/aggregates)
- [AI Search](/docs/ai-hub/ai-search)
# Abandoned search scenario
Recover customers who have abandoned their search. When customers conduct a search on your website without adding any items to their cart, this is known as search abandonment. When a customer doesn’t complete a purchase, send an email with products related to the phrase they searched.
This use case describes how to prepare an automated workflow that is triggered by customer searching a specific phrase and sends them an email with an offer based on the abandoned search after 48 hours. One of the challenges addressed in this use case is the use of outgoing integration.
## Prerequisites
---
- [Implement AI search](https://hub.synerise.com/api-reference/ai-search) in any of your channels (mobile app, website, and so on).
- Match customers using search in any of your channels with their emails. To do so, we suggest to implement customer identification [on the website](/developers/web/tracking-form-data) and [in your mobile app](/developers/mobile-sdk/user-identification-and-authorization).
- [Create an email account](/docs/campaign/e-mail/configuring-email-account).
- [Create an email template](/docs/campaign/e-mail/creating-email-templates).
## Prepare a workflow
---
Create a workflow which sends your customers an email offer with the products from their abandoned AI search. Optionally, you can add additional nodes, depending on your business needs.
1. Go to **Automation Hub > Workflows > New workflow**.
2. Enter the name of the workflow.
### Define the Profile Event trigger node
At this stage, we will configure conditions that launch the workflow. As a trigger, we will use the `item.search` event.
1. As the first node of the workflow, add **Profile Event**. In the configuration of the node:
1. From **Choose event** dropdown menu, choose `item.search` event.
`item.search` is an event that our system generates automatically, when our AI search is implemented somewhere in any of your channels, when customer searches for a phrase. It contains `query` parameter which stores the phrase entered by customer.
2. Confirm by clicking **Apply**.
### Configure the Event Filter node
This node will set the workflow to wait for 48 hours for customer conversion (`product.buy`). If the purchase is made, then the workflow ends. If it doesn't happen, the workflow moves on because the customer meets the abandoned search scenario. This setting is just an example and can be configured according to your business needs.
1. As the next node, add **Event Filter**. In the configuration of the node:
1. In the **Check** field, from the dropdown menu choose **for period of time**.
2. Set the time range. In our case, it is 48 hours.
3. In the **Define conditions** field, from the **Choose event** dropdown menu, choose `product.buy` event.
2. Confirm by clicking **Apply**.
3. For the **Matched** path, add the **End** node .
### Configure the Outgoing Integration node
In this step, we will use the phrase that the customer has searched for (it is stored as a `query` event parameter in the trigger) to send a request to AI search for products related to this phrase. In further steps, we will use these products in the email which will be added to it through a dynamic insert. You can find the method to retrieve products related to the phrase [at this link](https://hub.synerise.com/api-reference/ai-search#operation/SearchAutocompletePost).
In order to create a request, we configure a custom webhook by defining the Endpoint URL, body request, and so on. This action allows you to send requests from Synerise to external systems.
1. To the **Not matched** path, add **Outgoing Integration**. In the configuration of the node:
1. Choose **Custom webhook**.
2. Name the webhook. In our case `get search result`.
3. In **Webhook event name**, click **Create event** and create a new event:
1. As **Name**, enter `search.ai.abandoned`
2. As **Display name**, enter `Abandoned AI search`
3. In the **URL** section, next to **POST**, type the endpoint of request: `https://api.synerise.com/search/v2/indices/{indexId}/autocomplete`, where `{indexId}` is the ID of your AI search index.
4. In the **Headers** section, click **Add header**. In the first field type `x-api-key`, and in the second, enter the tracker key from your [tracking code](/developers/web/installation-and-configuration).
5. In the **Body** section add the following JSON frame with Jinjava code:
{
               "query": "{{event.params.query}}",
               "limit":6
               }
**Where:**
| Phrase | Explanation |
|------------ |--------------------------------------------------------------------------------------------------------------------------------------------------------------------------------------------------------------------------------------------------------------- |
| `query` | this is the phrase the customer used in their search, taken from the event triggering the workflow -
`item.search`. To insert this phrase dynamically we used [an insert](/developers/inserts/automation#event-parameters). |
| `limit` | this phrase limits how many products the customer will receive. |
6. Leave **None** as the the method of authorization.
2. Confirm by clicking **Apply**.
Outgoing Integration configuration
### Configure the Event Filter node
This node will allow you to use the products returned by the AI search in the previous step, to send an email with those products. The data of the returned products will be included in the parameters of the `search.ai.abandoned` event.
1. As the next node, add **Event Filter**. In the configuration of the node:
1. In the **Define conditions** field, from the **Choose event** dropdown menu, choose the `search.ai.abandoned` event.
2. Confirm by clicking **Apply**.
### Configure settings for email
1. As the next node, add **Send Email**. Configure it according to your business needs.
2. Configure the sender details section.
3. Configure the Content section.
1. In the **Subject** field, enter your message subject.
2. In the **Template** section, choose the template email template prepared earlier.
3. You can define **UTM & URL parameters**.
4. Confirm by clicking **Apply**.
You need to enrich your email template with products related to the phrase your customer searched. To do so, use [Jinjava code](/developers/inserts/automation#event-parameters) and correlate it with parameters from the `search.ai.abandoned` event.
### Add the finishing node
1. Add the **End** node.
2. In the upper right corner, click **Save & Run**.
**Result**:
The workflow configuration
## Check the use case set up on the Synerise Demo workspace
---
You can also check the [workflow configuration](https://app.synerise.com/automations/automation-diagram/b4661379-1a4e-4b32-a8c9-fd3aede43cdc) directly in Synerise Demo workspace.
If you’re our partner or client, you already have automatic access to the **Synerise Demo workspace (1590)**, where you can explore all the configured elements of this use case and copy them to your workspace.
If you’re not a partner or client yet, we encourage you to fill out the contact [form](https://demo.synerise.com/request) to schedule a meeting with our representatives. They’ll be happy to show you how our demo works and discuss how you can apply this use case in your business.
## Generated events
This use case generates approximately 11 events per profile that completes the flow:
[`item.search`](/docs/assets/events/event-reference/search#itemsearch) (~1), [`automation.clientStartPath`](/docs/assets/events/event-reference/automation#automationclientstartpath) (~1), [`automation.clientPathStep`](/docs/assets/events/event-reference/automation#automationclientpathstep) (~4), [`automation.clientEndPath`](/docs/assets/events/event-reference/automation#automationclientendpath) (~1), `search.ai.abandoned` (~1), [`message.send`](/docs/assets/events/event-reference/email#messagesend) (~1), [`newsletter.open`](/docs/assets/events/event-reference/email#newsletteropen) (~1), [`newsletter.click`](/docs/assets/events/event-reference/email#newsletterclick) (~1).
## Read more
---
- [Automation inserts](/developers/inserts/automation)
- [Creating workflows](/docs/automation/creating-automation)
- [Outgoing Integration](/docs/automation/actions/webhook-node)
# Promote a brand in recommendations
You can tweak the results of recommendations by increasing the probability of certain brands appearing in the recommendation frames. Thanks to this, you can offer a brand to promote their items more often than those from their competition.
This can be done by using **recommendation boosting** to promote items from those brands. Boosting rules are built using the same editor as the filters, but unlike filtering, boosting does not entirely exclude items that do not meet the conditions - it only tells the AI model to assign more weight to the `brand` parameter when calculating the final recommendation score (relevance to a particular customer) of an item.
This is different from the [AI-Powered Personalized Brand Recommendations on Category Pages](/use-cases/personalized-brand-reco) use case, in which the other brands are completely removed from the recommendation.
In this use case example, items from two brands will be promoted in the recommendation results.
## Prerequisites
---
- **Recommended**: Become familiar with [creating recommendations](/docs/ai-hub/recommendations-v2/creating-recommendation-campaign).
This article does not explain every step of creating a recommendation in detail.
- The item catalog must include an attribute that denotes the brand; the brands you want to promote must exist in that attribute's values.
## Creating the recommendation
---
### Choose source, type, and add slots
1. Go to **AI Hub > (AI Recommendations) Models > Add recommendation**.
2. In the **Type & Items feed** section:
1. Select an item catalog.
2. Select a recommendation type.
Boosting can be used with all recommendation types.
3. Click **Apply**.
3. In the **Items** section, configure at least one slot and click **Apply**.
### Build the boosting rule
In this part of the process, you build a rule that promotes an item if its brand is **XYZ** or **ABC** (brand names in filters are not case-sensitive).
1. In the **Boosting** section, click **Define**.
2. Click **Add rule**.
3. Click **Define rule** and select **Visual Builder**.
**Result** The Visual Builder window opens.
4. From the **Select attribute** drop-down list, select the brand attribute.
You can use the search field.
5. From the **Operator** drop-down list, select **Equals**.
6. From the **Select value** drop-down list, select **xyz**.
7. Click **Add filter**.
8. Leave the operator between the filters at default (**OR**).
9. Add the filter for brand **abc** by repeating steps 4-6 and selecting **abc** as the value in step 6.
10. Click **Apply**.
11. In the **Promote/Demote** selector, select **Promote** (default value).
12. Use the slider to adjust how much you want the rule to affect the results.
The boosting strength slider
13. Save the **Boosting** section settings by clicking **Apply**.
After applying the settings, you can use the **Preview** tab (available in the upper left part of the recommendation creator screen) to see how your rule changed the recommendation result. If necessary, you can return to the settings and adjust the boosting strength to meet your expectations.
A boosting filter that matches one of two brands
### Additional settings and saving
1. Configure the **Additional settings** section and click **Apply**.
2. Save the recommendation.
## What's next
---
You can use the ID of the recommendation and [inject it with a snippet](/docs/assets/snippets) in other types of communication, such as:
- [dynamic content](/docs/campaign/dynamiccontent) - this way you can show the recommendations on your website.
- [email](/docs/campaign/e-mail) - this way you can send out recommended items through emails.
- mobile application - you can use [documents](/docs/assets/documents) to build your own mobile app and show the recommended items.
- [mobile push](/docs/campaign/Mobile) - you can send recommendations through notifications in your mobile application.
- [web push](/docs/campaign/Webpush) - this way you can send notifications to your customers through a web browser.
- [SMS](/docs/campaign/SMS) - this way you can reach your customers with recommendations on their mobile.
## Check the use case set up on the Synerise Demo workspace
---
In the Synerise Demo workspace, you can check:
- [Recommendation campaign settings](https://app.synerise.com/ai-v2/recommendations/Bn6BCxXNL2aX)
- [Email campaign](https://app.synerise.com/campaigns/create/5a0afcb8-bf8d-46a0-b7e5-a65fd4edd509)
If you’re our partner or client, you already have automatic access to the **Synerise Demo workspace (1590)**, where you can explore all the configured elements of this use case and copy them to your workspace.
If you’re not a partner or client yet, we encourage you to fill out the contact [form](https://demo.synerise.com/request) to schedule a meeting with our representatives. They’ll be happy to show you how our demo works and discuss how you can apply this use case in your business.
## Generated events
This use case generates approximately 3 events per profile that completes the flow:
[`recommendation.generated`](/docs/assets/events/event-reference/recommendations#recommendationgenerated) (~1), [`recommendation.view`](/docs/assets/events/event-reference/recommendations#recommendationview) (~1), [`recommendation.click`](/docs/assets/events/event-reference/recommendations#recommendationclick) (~1).
## Read more
---
- [Predictions](/docs/ai-hub/predictions)
- [Recommendations](/docs/ai-hub/recommendations-v2)
# Managing campaigns with priorities and weekly contact limit
When multiple campaigns are running within a single week, a customer may qualify for more than the desired number of messages. Without proper control, this leads to over-communication and a poor customer experience.
This use case describes how to orchestrate five weekly campaigns across three priority levels while enforcing a maximum of three messages per customer per week. The mechanism ensures that the highest-priority campaigns are always delivered first (as long as the weekly limit allows), and lower-priority campaigns only go out if the weekly contact limit has not yet been reached.
The example in this use case uses five campaigns and a limit of three messages per week, but both values are fully configurable. You can adjust the number of campaigns, priority levels, and the weekly cap to match your business needs.
This use case focuses on the **mobile push** channel, but the same logic and architecture can be applied to other communication channels such as email, SMS, or web push.
The key principles of this approach are:
- Each campaign has an assigned priority level (high, medium, or low).
- Each campaign has a specific scheduled send date and time within the week.
- The system runs cyclically (every hour) and checks whether the current moment matches a campaign's planned send time.
- Before sending, the system verifies how many messages the customer has already received and how many higher-priority campaigns the customer still qualifies for.
- Once the weekly limit is reached, all remaining campaigns are blocked for that customer.
This approach separates the scheduling logic (when a campaign should go out) from the priority logic (which campaigns are most important), and combines both with a hard weekly cap.
## Prerequisites
---
- Implement [tracking code](/docs/settings/tool/tracking_codes) on your website.
- Implement [Synerise SDK in your mobile app](/developers/mobile-sdk).
- Configure [mobile push](/docs/campaign/Mobile) as a communication channel.
- Define the criteria used to qualify customers for each campaign. These can be based on behavioral events, customer attributes, segmentation rules, or any combination of conditions available in Synerise. The first step of this process involves [creating segmentations](#create-individual-campaign-segmentations) that define the audience for each campaign.
- Create a mobile push template that will be used later in workflows.
## Process
---
In this use case, you will go through the following steps:
1. [Create individual campaign segmentations](#create-individual-campaign-segmentations) — one per campaign, defining who qualifies.
2. [Create expressions](#create-expressions) — for current timestamp comparison and counting higher-priority campaign eligibility.
3. [Create workflows](#create-workflows) — one per priority group, running cyclically and sending mobile pushes when conditions are met. These must be created before aggregates so that you have the diagram IDs needed in the next step.
4. [Create aggregates for counting sent pushes](#create-aggregates-for-counting-sent-pushes) — to track how many messages each customer has already received per priority level and in total.
5. [Create priority-level segmentations with split audience](#create-priority-level-segmentations-with-split-audience) — one per priority group, combining campaign eligibility, send-time matching, and contact-limit checks.
## Create individual campaign segmentations
---
Create five separate segmentations, one for each campaign planned for the week. Each segmentation defines the audience that qualifies for a given campaign. The conditions can be based on any criteria available in Synerise — behavioral events, customer attributes, transactional data, or other segmentation rules.
In this example, the five campaigns and their priority assignments are:
- **Campaign A** (high priority): customers who recently made a high-value purchase (for example, order total above 500) — targeting premium buyers with an exclusive loyalty offer
- **Campaign B** (high priority): customers who abandoned their cart in the last 7 days — a recovery campaign with a time-limited discount
- **Campaign C** (medium priority): customers who browsed a specific product category more than 3 times without purchasing — a nudge campaign with personalized recommendations
- **Campaign D** (medium priority): customers who haven't made a purchase in the last 30 days but were active on the website — a re-engagement campaign
- **Campaign E** (low priority): customers who signed up for the newsletter in the last 14 days — a welcome series follow-up
The priority labels used throughout this use case are: **high** (priority 1), **medium** (priority 2), and **low** (priority 3).
The segmentation conditions and business scenarios presented here are only illustrative examples. In practice, they can be freely defined and adjusted based on user behavior, available data, and any additional parameters relevant to your setup. You can tailor these conditions to reflect your specific business logic, campaign goals, and communication strategy.
The number of values returned by expressions (for example, 0, 1, or 2 for a two-campaign priority level) is specific to this example and depends on how many campaigns you assign to each priority level in your setup.
### Create Campaign A segmentation
1. Go to **Decision Hub > Segmentations > New segmentation**.
2. Enter the name of the segmentation, for example `Campaign A - high priority`.
3. Click **Add condition**.
4. From the dropdown list, select the `transaction.charge` event.
5. Click the **+ where** button, from the **Choose parameter** dropdown menu, choose `$totalAmount`.
6. From the **Choose operator** dropdown, choose **More than**.
7. In the next field, type the value `500`.
8. Using the date picker in the lower-right corner, set the time range to **Last 30 days**. Confirm by clicking **Apply**.
9. Save the segmentation.
Configuration of the Campaign A segmentation
### Create Campaign B segmentation
1. Go to **Decision Hub > Segmentations > New segmentation**.
2. Enter the name of the segmentation, for example `Campaign B - high priority`.
3. Click **Add condition**.
4. Define the conditions that identify customers who qualify for this campaign (for example, customers who performed the `product.addToCart` event but did not complete a purchase within the last 7 days).
5. Using the date picker in the lower-right corner, set the appropriate time range. Confirm by clicking **Apply**.
6. Save the segmentation.
### Create Campaign C segmentation
1. Go to **Decision Hub > Segmentations > New segmentation**.
2. Enter the name of the segmentation, for example `Campaign C - medium priority`.
3. Click **Add condition**.
4. Define the conditions that identify customers who qualify for this campaign (for example, customers who visited a specific product category page more than 3 times without purchasing).
5. Using the date picker in the lower-right corner, set the appropriate time range. Confirm by clicking **Apply**.
6. Save the segmentation.
### Create Campaign D segmentation
1. Go to **Decision Hub > Segmentations > New segmentation**.
2. Enter the name of the segmentation, for example `Campaign D - medium priority`.
3. Click **Add condition**.
4. Define the conditions that identify customers who qualify for this campaign (for example, customers who were active on the website but haven't purchased in the last 30 days).
5. Using the date picker in the lower-right corner, set the appropriate time range. Confirm by clicking **Apply**.
6. Save the segmentation.
### Create Campaign E segmentation
1. Go to **Decision Hub > Segmentations > New segmentation**.
2. Enter the name of the segmentation, for example `Campaign E - low priority`.
3. Click **Add condition**.
4. Define the conditions that identify customers who qualify for this campaign (for example, customers who signed up for the newsletter in the last 14 days).
5. Using the date picker in the lower-right corner, set the appropriate time range. Confirm by clicking **Apply**.
6. Save the segmentation.
## Create expressions
---
Expressions are central to this use case. They provide real-time computed values used inside segmentation conditions. You will create the following expressions:
- **Current timestamp expression** — returns the current date and hour so the system can match it against each campaign's planned send time.
- **High priority campaign count expression** — counts how many high priority campaigns the customer qualifies for (used in medium priority segmentations).
- **Medium priority campaign count expression** — counts how many medium priority campaigns the customer qualifies for.
- **Combined high + medium priority campaign count expression** — sums the two above expressions (used in low priority segmentations).
### Create the current timestamp expression
---
This expression returns the current date and hour in the format `yyyy-mm-ddThh`, which allows the system to compare the current moment against each campaign's scheduled send time. The first 13 characters of the timestamp are used so that when the workflow runs every hour, it matches exactly the planned send hour.
1. Go to **Behavioral Data Hub > Expressions > New expression**.
2. Enter the name, for example `Now (yyyy-mm-dd hh)`.
3. Set the expression type to **Attribute**.
4. In the **Formula definition** section, build the formula using the `Regexp` function.
5. Then add function `Now`.
6. Add the `Constant` pattern to extract the first 13 characters of the current timestamp, adding it as the value: `^.{13}`.
7. Save the expression.
Configuration of the current timestamp expression
The regular expression pattern `^.{13}` extracts the first 13 characters of the current timestamp, which corresponds to the date and hour portion (for example, `2026-04-30T08`). This expression is shared across all segmentation conditions and ensures that each segment (group within a segmentation) only returns customers at the exact planned hour of a campaign's send time. Every segmentation references this same expression, which means that it acts as an alternative schedule — the segmentation only becomes active when the current timestamp matches the planned send date and hour.
### Create the high priority campaign count expression
---
This expression calculates how many high priority campaigns the customer qualifies for. It checks whether the customer belongs to the Campaign A segmentation and the Campaign B segmentation, and sums the results. The output for this specific case is a number (0, 1, or 2) representing the potential number of high priority messages the customer may receive.
1. Go to **Behavioral Data Hub > Expressions > New expression**.
2. Enter the name, for example `How many high priority campaigns user qualifies for`.
3. Set the expression type to **Attribute**.
4. Build the formula to check membership in the [Campaign A](#create-campaign-a-segmentation) and [Campaign B](#create-campaign-b-segmentation) segmentations and return the sum.
5. Save the expression.
Configuration of the high priority campaign count expression
### Create the medium priority campaign count expression
---
This expression calculates how many medium priority campaigns the customer qualifies for. It checks whether the customer belongs to the Campaign C segmentation and the Campaign D segmentation, and sums the results. The output for this specific case is a number (0, 1, or 2) representing the potential number of medium priority messages the customer may receive.
1. Go to **Behavioral Data Hub > Expressions > New expression**.
2. Enter the name, for example `How many medium priority campaigns user qualifies for`.
3. Set the expression type to **Attribute**.
4. Build the formula to check membership in the [Campaign C](#create-campaign-c-segmentation) and [Campaign D](#create-campaign-d-segmentation) segmentations and return the sum. Build it in the same way as the [previous expression](#create-the-high-priority-campaign-count-expression), replacing the high priority segmentations with medium priority ones.
5. Save the expression.
Configuration of the medium priority campaign count expression
### Create the combined high and medium priority campaign count expression
---
This expression calculates how many campaigns the customer qualifies for across both high and medium priority levels. It sums the results of the [high priority campaign count expression](#create-the-high-priority-campaign-count-expression) and the [medium priority campaign count expression](#create-the-medium-priority-campaign-count-expression). The output is used in low priority segmentations to determine the remaining contact slots.
1. Go to **Behavioral Data Hub > Expressions > New expression**.
2. Enter the name, for example `How many high + medium priority campaigns user qualifies for`.
3. Set the expression type to **Attribute**.
4. Build the formula as a sum of the two previously created expressions: the high priority campaign count expression and the medium priority campaign count expression, as presented on the screen below.
5. Save the expression.
Configuration of the combined high + medium priority campaign count expression
## Create workflows
---
Create three workflows — one for each priority level. Each workflow uses the corresponding split audience segmentation (which you will create in a [later step](#create-priority-level-segmentations-with-split-audience)) and runs cyclically every hour. When the current hour matches a campaign's scheduled send time and all conditions are met, the mobile push is sent.
Workflows must be created **before** the [aggregates](#create-aggregates-for-counting-sent-pushes) because the aggregates need the diagram IDs of these workflows to correctly scope the push count. At this stage, create each workflow with its schedule and structure (Audience node, Send Mobile Push nodes, and End nodes). You can leave the split audience segmentation reference empty or use a placeholder — you will update it after creating the [priority-level segmentations with split audience](#create-priority-level-segmentations-with-split-audience) in a later step.
After saving each workflow, note the **diagram ID** from the workflow URL (the part after `/automation-diagram/`). You will need these IDs in the next step when configuring the aggregates.
### Create the workflow for high priority campaigns
---
1. Go to **Automation Hub > Workflows > New workflow**.
2. Enter the name of the workflow, for example `Split audience - high priority`.
#### Define the Audience trigger node
1. Start the workflow with the **Audience** node. In the configuration:
1. Set the **Action limit** to `1` times per workflow.
2. In the **Schedule** section, select **Repeat runs**.
3. Select the timezone, for example `Europe/Warsaw (Central European Standard Time) UTC+01:00`.
4. Set the interval type to **Interval**.
5. Set the interval to `1 Hour`.
6. Set the **Begin at** date to the start of the campaign week.
7. In the **Audience** section, select **Split audience**.
8. Select the `Split audience - high priority` segmentation (you will create this segmentation in a [later step](#create-the-high-priority-split-audience-segmentation) — for now, you can leave this field empty or use a placeholder and update it later).
9. Map **Segment A** to **Path A** (Campaign A).
10. Map **Segment B** to **Path B** (Campaign B).
2. Click **Apply**.
#### Configure Path A (Campaign A)
1. On Path A (Segment A), add the **Send Mobile Push** node.
2. Configure the mobile push message content for Campaign A according to your business needs.
3. Add the **End** node after the Send Mobile Push node.
#### Configure Path B (Campaign B)
1. On Path B (Segment B), add the **Send Mobile Push** node.
2. Configure the mobile push message content for Campaign B.
3. Add the **End** node.
4. In the upper right corner, click **Save & Run**.
The complete high priority workflow configuration
### Create the workflow for medium priority campaigns
---
1. Go to **Automation Hub > Workflows > New workflow**.
2. Enter the name, for example `Split audience - medium priority`.
3. Configure the **Audience** node with the same settings as the high priority workflow:
- Action limit: `1`
- Repeat runs at an interval of `1 Hour`
- Begin at: the start of the campaign week
- Split audience using the `Split audience - medium priority` segmentation (to be created in a [later step](#create-the-medium-priority-split-audience-segmentation))
- Map Segment C → Path A, Segment D → Path B
4. On each path, add a **Send Mobile Push** node followed by an **End** node.
5. Click **Save & Run**.
The complete medium priority workflow configuration
### Create the workflow for low priority campaigns
---
1. Go to **Automation Hub > Workflows > New workflow**.
2. Enter the name, for example `Split audience - low priority`.
3. Configure the **Audience** node with the same settings:
- Action limit: `1`
- Repeat runs at an interval of `1 Hour`
- Begin at: the start of the campaign week
- Select the `Split audience - low priority` segmentation (to be created in a [later step](#create-the-low-priority-split-audience-segmentation))
4. Add a **Send Mobile Push** node followed by an **End** node.
5. Click **Save & Run**.
The complete low priority workflow configuration
The automation runs every hour and checks the segmentation conditions at each iteration. Since the `Now (yyyy-mm-dd hh)` expression is compared against the planned send timestamp, the segment will only return customers at the exact hour the campaign is scheduled. At all other hours, the segment will be empty and no messages will be sent.
## Create aggregates for counting sent pushes
---
To enforce the weekly contact limit, you need aggregates that count how many push notifications have already been sent to each customer. You will create three aggregates — one scoped to the high priority workflow, one scoped to the medium priority workflow, and one that counts all pushes sent across all campaign workflows.
Each aggregate is based on the `push.send` event and uses the `diagramId` parameter to scope the count to the relevant workflow. The `diagramId` is the unique identifier of a workflow and can be found in the URL when viewing the workflow in the Automation Hub (the part of the URL that comes after `/automation-diagram/`).
This step requires the diagram IDs of the workflows you created in the [previous step](#create-workflows). If you haven't noted them yet, open each workflow in the Automation Hub and copy the ID from the URL.
### Create the aggregate for high priority sent pushes
---
This aggregate counts how many push notifications were sent to a customer from the high priority workflow.
1. Go to **Behavioral Data Hub > Live Aggregates > Create aggregate**.
2. As the aggregate type, select **Profile**.
3. Enter the name of the aggregate, for example `Number of sent pushes - high priority`.
4. Click **Analyze profiles by** and select **Count**.
5. From the **Choose event** dropdown list, select the `push.send` event.
6. Click the **+ where** button.
7. From the **Choose parameter** dropdown list, select **diagramId**.
8. From the **Choose operator** dropdown list, select **Equal**.
9. In the value field, enter the diagram ID of the high priority workflow (for example, `71526b66-51e1-47b8-9ecb-6cc61f821dec`). You can find this ID in the URL of the workflow in the Automation Hub.
10. Define the period to **Last 30 days**.
11. Save the aggregate.
Configuration of the aggregate counting sent pushes for the high priority workflow
The time range of **Last 30 days** is intentionally set broader than the actual campaign week to ensure coverage regardless of which day the aggregate is evaluated. Since the workflow and segmentations are designed to operate within a single week, the aggregate will in practice only count pushes sent during that week. A broader time range provides a safety margin without affecting the logic.
### Create the aggregate for medium priority sent pushes
---
This aggregate counts how many push notifications were sent to a customer from the medium priority workflow. The configuration is identical to the high priority aggregate, but uses the diagram ID of the medium priority workflow.
1. Go to **Behavioral Data Hub > Live Aggregates > Create aggregate**.
2. As the aggregate type, select **Profile**.
3. Enter the name of the aggregate, for example `Number of sent pushes - medium priority`.
4. Click **Analyze profiles by** and select **Count**.
5. From the **Choose event** dropdown list, select the `push.send` event.
6. Click the **+ where** button.
7. From the **Choose parameter** dropdown list, select **diagramId**.
8. From the **Choose operator** dropdown list, select **Equal**.
9. In the value field, enter the diagram ID of the medium priority workflow.
10. Define the period to **Last 30 days**.
11. Save the aggregate.
### Create the aggregate for all sent pushes
---
This aggregate counts how many push notifications were sent to a customer across all campaign workflows combined. Unlike the per-priority aggregates, this one uses the **In array** operator to match against the diagram IDs of all three priority workflows at once.
1. Go to **Behavioral Data Hub > Live Aggregates > Create aggregate**.
2. As the aggregate type, select **Profile**.
3. Enter the name of the aggregate, for example `Number of sent pushes - all`.
4. Click **Analyze profiles by** and select **Count**.
5. From the **Choose event** dropdown list, select the `push.send` event.
6. Click the **+ where** button.
7. From the **Choose parameter** dropdown list, select **diagramId**.
8. From the **Choose operator** dropdown list, select **In array**.
9. In the value field, enter the diagram IDs of all three priority workflows (the high priority workflow ID, the medium priority workflow ID, and the low priority workflow ID).
10. Define the period to **Last 30 days**.
11. Save the aggregate.
Configuration of the aggregate counting all sent pushes across all campaign workflows
The `push.send` event is automatically generated by Synerise when a mobile push notification is sent through a workflow. The `diagramId` parameter identifies the specific workflow (diagram) that triggered the send.
## Create priority-level segmentations with split audience
---
Create three segmentations — one per priority level — that combine campaign eligibility, scheduled send-time matching, and weekly contact-limit enforcement. Each segmentation uses the **split audience** feature to create separate segments (groups within a segmentation) for each campaign within the priority level.
Within a single priority level, only **one campaign can be scheduled per hour**. The split audience mechanism processes segments sequentially — if two campaigns within the same priority are scheduled for the same hour, only the first segment will be processed. For example, if Campaign A and Campaign B are both high priority, Campaign A could be scheduled for 10:00 and Campaign B no earlier than 11:00.
In the examples below, all campaigns are planned within a single week (Monday through Friday). The specific dates used here are illustrative — adjust them to match your actual campaign week.
Each split audience segmentation groups campaigns by priority level, not by campaign name. This means that the segments within each segmentation are labeled sequentially (Segment A, Segment B, etc.) and correspond to the campaigns assigned to that priority level. For example, in the high priority segmentation, Segment A corresponds to Campaign A and Segment B to Campaign B. In the medium priority segmentation, Segment A corresponds to Campaign C and Segment B to Campaign D. In the low priority segmentation, Segment A corresponds to Campaign E. The segment labels (A, B) are internal to each segmentation and reset for each priority level.
### Create the high priority split audience segmentation
---
This segmentation contains two segments — one for Campaign A and one for Campaign B. Since high priority is the highest level, these campaigns are sent as long as the scheduled time matches and the weekly limit has not been exceeded. No checks against higher-priority campaigns are needed.
1. Go to **Decision Hub > Segmentations > New segmentation**.
2. Enter the name, for example `Split audience - high priority`.
#### Configure Segment A (Campaign A)
3. In the first segment, add the following conditions connected by the **AND** operator:
1. **Condition A** — Has property: `Campaign A - high priority` segmentation **Is true**. This checks if the customer qualifies for Campaign A.
2. **Condition B** — Has property: `Now (yyyy-mm-dd hh)` expression **Contain** the value representing Campaign A's planned send date and hour (for example, `2026-04-15T10`). This ensures the campaign only triggers at the exact scheduled hour.
3. **Condition C** — Has property: `Number of sent pushes - high priority` aggregate **Less than** `3`. This enforces the weekly contact limit within the high priority workflow.
4. **Condition D** — Has property: `Number of sent pushes - all` aggregate **Less than** `3`. This enforces the overall weekly contact limit.
4. Click **Apply**.
#### Configure Segment B (Campaign B)
5. Click **Add segment** and add the following conditions connected by the **AND** operator:
1. **Condition A** — Has property: `Campaign B - high priority` segmentation **Is true**.
2. **Condition B** — Has property: `Now (yyyy-mm-dd hh)` expression **Contain** the value representing Campaign B's planned send date and hour (for example, `2026-04-16T10`).
3. **Condition C** — Has property: `Number of sent pushes - all` aggregate **Less than** `3`.
4. **Condition D** — Has property: `Number of sent pushes - high priority` aggregate **Less than** `3`.
6. Save the segmentation.
Configuration of segments in the high priority split audience segmentation
After saving this segmentation, go back to the [high priority workflow](#create-the-workflow-for-high-priority-campaigns) and update the Audience node to reference this segmentation. Do the same for the medium and low priority workflows after creating their respective segmentations.
### Create the medium priority split audience segmentation
---
This segmentation contains two segments — one for Campaign C and one for Campaign D. In addition to the send-time and contact-limit checks, each segment includes a condition that verifies how many high priority campaigns the customer qualifies for. This prevents medium priority campaigns from consuming contact slots that should be reserved for higher-priority ones.
1. Go to **Decision Hub > Segmentations > New segmentation**.
2. Enter the name, for example `Split audience - medium priority`.
#### Configure Segment A (Campaign C)
3. In the first segment, add the following conditions connected by the **AND** operator:
1. **Condition A** — Has property: `Campaign C - medium priority` segmentation **Is true**.
2. **Condition B** — Has property: `Now (yyyy-mm-dd hh)` expression **Contain** the value representing Campaign C's planned send date and hour (for example, `2026-04-13T09`).
3. **Condition C** — Has property: `Number of sent pushes - all` aggregate **Less than** `3`.
4. **Condition D** — Has property: `How many high priority campaigns user qualifies for` expression **Less than** `3`. This ensures that the total number of potential high priority sends plus this send would not exceed the weekly limit.
5. **Condition E** — Has property: `Number of sent pushes - high priority` aggregate **Less than** `3`.
4. Click **Apply**.
#### Configure Segment B (Campaign D)
5. Click **Add segment** and add the following conditions connected by the **AND** operator:
1. **Condition A** — Has property: `Campaign D - medium priority` segmentation **Is true**.
2. **Condition B** — Has property: `Now (yyyy-mm-dd hh)` expression **Contain** the value representing Campaign D's planned send date and hour (for example, `2026-04-13T14`).
3. **Condition C** — Has property: `Number of sent pushes - all` aggregate **Less than** `3`.
4. **Condition D** — Has property: `How many high priority campaigns user qualifies for` expression **Less than** `3`.
5. **Condition E** — Has property: `Number of sent pushes - high priority` aggregate **Less than** `3`.
6. Save the segmentation.
Configuration of segments in the medium priority split audience segmentation
### Create the low priority split audience segmentation
---
This segmentation contains one segment for Campaign E. It includes the broadest set of checks — verifying the weekly limit and counting how many campaigns the customer qualifies for across both high and medium priority levels.
1. Go to **Decision Hub > Segmentations > New segmentation**.
2. Enter the name, for example `Split audience - low priority`.
#### Configure Segment A (Campaign E)
3. In the first segment, add the following conditions connected by the **AND** operator:
1. **Condition A** — Has property: `Campaign E - low priority` segmentation **Is true**.
2. **Condition B** — Has property: `Now (yyyy-mm-dd hh)` expression **Contain** the value representing Campaign E's planned send date and hour (for example, `2026-04-14T10`).
3. **Condition C** — Has property: `Number of sent pushes - all` aggregate **Less than** `3`.
4. **Condition D** — Has property: `How many high + medium priority campaigns user qualifies for` expression **Less than** `3`. This ensures that the combined potential sends from higher priorities plus this send would not exceed the weekly limit.
4. Save the segmentation.
Configuration of the segment in the low priority split audience segmentation
## How the priority logic works in practice
---
Consider the following example scenario where high priority campaigns are scheduled **later** in the week than medium and low priority ones. This demonstrates how the slot reservation mechanism ensures that lower-priority campaigns do not consume contact slots that are reserved for higher-priority campaigns — regardless of chronological order.
- A customer qualifies for all five campaigns: Campaign A (high priority), Campaign B (high priority), Campaign C (medium priority), Campaign D (medium priority), and Campaign E (low priority).
- The weekly contact limit is 3 messages.
- Campaign C is scheduled for Monday at 09:00, Campaign D for Monday at 14:00, Campaign E for Tuesday at 10:00, Campaign A for Wednesday at 10:00, and Campaign B for Thursday at 10:00.
The system processes the campaigns as follows:
1. **Monday at 09:00 — Campaign C (medium priority)**. The medium priority workflow runs. The customer qualifies for Campaign C and the time matches. Before sending, the system checks the expressions: the customer qualifies for 2 high priority campaigns (A and B). This means 2 of the 3 weekly slots are reserved for high priority. Only 1 slot remains available for medium priority. Since no medium priority pushes have been sent yet, Campaign C is sent. Push count becomes 1.
2. **Monday at 14:00 — Campaign D (medium priority)**. The medium priority workflow runs again. The customer qualifies for Campaign D and the time matches. However, the system checks: the customer still qualifies for 2 high priority campaigns (A and B are not yet sent but are planned). Since 1 medium priority campaign was already sent and only 1 slot was available for this priority level (3 total minus 2 reserved for high), Campaign D is **blocked**.
3. **Tuesday at 10:00 — Campaign E (low priority)**. The low priority workflow runs. The customer qualifies for Campaign E and the time matches. The system checks how many campaigns the customer qualifies for across high and medium priority: 2 (high) + 2 (medium) = 4, but the weekly limit is 3. In practice, 1 push has already been sent and 2 slots are reserved for high priority. No remaining capacity exists for low priority. Campaign E is **blocked**.
4. **Wednesday at 10:00 — Campaign A (high priority)**. The high priority workflow runs. The customer qualifies for Campaign A, the time matches, and the overall push count is 1 (below 3). No additional reservation checks are needed at the highest priority level. Campaign A is sent. Push count becomes 2.
5. **Thursday at 10:00 — Campaign B (high priority)**. The high priority workflow runs again. The customer qualifies for Campaign B, the time matches, and the push count is 2 (below 3). Campaign B is sent. Push count becomes 3.
**Result:** The customer received 3 messages — Campaign C (medium), Campaign A (high), and Campaign B (high). Despite Campaigns A and B being scheduled later in the week, their slots were reserved from the beginning. Campaign D (medium) and Campaign E (low) were correctly blocked because the remaining weekly capacity was already allocated to higher-priority campaigns.
This mechanism ensures that high priority campaigns are always delivered as long as the weekly limit allows, medium priority campaigns are sent only when there is remaining capacity after accounting for higher-priority reservations, and low priority campaigns fill any leftover slots.
Keep in mind that segmentations are evaluated dynamically. A customer's eligibility for a given campaign may change during the week — for example, if a customer performs an action that adds them to a new segmentation, or if their behavior causes them to leave a segmentation they were previously in. This means that the slot reservation calculations (based on how many higher-priority campaigns the customer qualifies for) reflect the state at the moment of evaluation, not a fixed snapshot from the beginning of the week.
The expressions that count potential higher-priority campaign eligibility effectively **reserve contact slots** for higher-priority campaigns. This means that regardless of how campaigns are distributed across the week, lower-priority campaigns will not consume slots that could be needed by higher-priority ones — even if the higher-priority campaigns are scheduled later in the week.
However, keep in mind that within a single priority level, if you have more campaigns than the weekly limit allows, only the first campaigns (in chronological order) will be sent. For example, if you assign 5 campaigns to high priority with a weekly limit of 3, only the first 3 scheduled campaigns will go out.
## Check the use case set up on the Synerise Demo workspace
---
You can check the configuration of each step directly in the Synerise Demo workspace:
**Individual campaign segmentations:**
- [Campaign A - high priority](https://app.synerise.com/analytics-v2/segmentations/70120506-a0f3-49bf-81b7-9741d5be3515)
- [Campaign B - high priority](https://app.synerise.com/analytics-v2/segmentations/32e043c4-1c03-443d-8e2b-3e5556e95027)
- [Campaign C - medium priority](https://app.synerise.com/analytics-v2/segmentations/962b7546-9ec9-45e3-955e-43e40c510a22)
- [Campaign D - medium priority](https://app.synerise.com/analytics-v2/segmentations/af0a9237-8352-4d6c-9dca-960894be7801)
- [Campaign E - low priority](https://app.synerise.com/analytics-v2/segmentations/2016e126-55d0-4f7d-a19d-76b433d9d824)
**Priority-level split audience segmentations:**
- [Split audience - high priority](https://app.synerise.com/analytics-v2/segmentations/cb7ecafa-64e5-4e98-b675-85094de41aba)
- [Split audience - medium priority](https://app.synerise.com/analytics-v2/segmentations/ad2871e1-5d93-4168-a45e-0d43b1f11d9d)
- [Split audience - low priority](https://app.synerise.com/analytics-v2/segmentations/7e46627b-ef8e-45bb-8674-f5f823824983)
**Aggregates:**
- [Number of sent pushes - high priority](https://app.synerise.com/analytics-v2/aggregates/df5bc4aa-971b-3a55-bd95-3c6c21adfc25)
- [Number of sent pushes - medium priority](https://app.synerise.com/analytics-v2/aggregates/0bb96bcd-1906-3603-b1aa-6f3891b7279c)
- [Number of sent pushes - all](https://app.synerise.com/analytics-v2/aggregates/1f9250a1-83e3-3ee2-8439-6d7b4846c7e8)
**Expressions:**
- [Now (yyyy-mm-dd hh)](https://app.synerise.com/analytics/expressions/363d0fc1-bf57-481e-ad02-7715fd7ba81c)
- [High priority campaign count](https://app.synerise.com/analytics/expressions/794299b1-8e4c-496c-94fa-4a188f970fcf)
- [Medium priority campaign count](https://app.synerise.com/analytics/expressions/971bb8bd-15ce-457b-b2e4-8647b745cfc9)
- [High + medium priority campaign count](https://app.synerise.com/analytics/expressions/3b79df31-920d-4977-96c8-592a2b3cc068)
**Workflows:**
- [Workflow for high priority](https://app.synerise.com/automations/workflows/automation-diagram/76e67c89-5300-4a9e-b371-df64edf274f4)
- [Workflow for medium priority](https://app.synerise.com/automations/workflows/automation-diagram/eafba479-ec37-47e7-9763-40efe1a5f767)
- [Workflow for low priority](https://app.synerise.com/automations/workflows/automation-diagram/84b6be35-4775-4ef1-a75c-20942d62635a)
If you’re our partner or client, you already have automatic access to the **Synerise Demo workspace (1590)**, where you can explore all the configured elements of this use case and copy them to your workspace.
If you’re not a partner or client yet, we encourage you to fill out the contact [form](https://demo.synerise.com/request) to schedule a meeting with our representatives. They’ll be happy to show you how our demo works and discuss how you can apply this use case in your business.
## Generated events
This use case generates approximately 21 events per profile that completes the flow:
[`automation.clientStartPath`](/docs/assets/events/event-reference/automation#automationclientstartpath) (~3), [`automation.clientPathStep`](/docs/assets/events/event-reference/automation#automationclientpathstep) (~6), [`automation.clientEndPath`](/docs/assets/events/event-reference/automation#automationclientendpath) (~3), [`push.send`](/docs/assets/events/event-reference/mobile-push#pushsend) (~3), [`push.view`](/docs/assets/events/event-reference/mobile-push#pushview) (~3), [`push.click`](/docs/assets/events/event-reference/mobile-push#pushclick) (~3).
## Read more
---
- [Segmentations](/docs/analytics/segmentations)
- [Expressions](/docs/crm/expressions)
- [Aggregates](/docs/crm/aggregates)
- [Automation Hub](/docs/automation)
- [Creating workflows](/docs/automation/creating-automation)
- [Mobile push campaigns](/docs/campaign/Mobile)
- [Branching logic in workflows](/docs/automation)
# Message Duplication Prevention for SMS Campaigns Based on Unique Phone Numbers
This use case presents a solution to prevent sending the same message to the profiles who have the same phone number. Sharing the same phone number by profiles may happen for example, when a person leaves the company and a new employee takes over a work phone with the phone number of the previous employee; or when a person creates two accounts with different personal data but the same phone number.
The core idea of this use case is to check the database for the same phone number and ensure that only one message is sent out when multiple profiles have the same number. This solution is designed to save costs and ensure that profiles do not receive unnecessary messages.
The assumption of this use case is importing all customers with unique phone numbers and enabled marketing agreement in the SMS channel to a catalog. All these customers will have a `phone_unique` tag assigned to them. Then, every time a customer enables SMS marketing agreement a workflow will verify whether the phone number for this customer is unique. If so, it will be tagged with `phon_unique`.
We recommend using the `phone_unique` tag for addressing recipients in mass campaigns to all customers (for example, general information about important changes that do not contain personalization). It is not necessary for real-time campaigns, especially those triggered by specific user behaviors and activities such as entering a page, purchasing, and so on, because there is a small probability of sending the same message several times to one number. However, this risk is high with large and mass shipments.
It is important to be careful with the personalization of such messages, especially without additional verification of ness of the phone number.
## Prerequisites
---
- Create a catalog in Synerise in which you will store customers with unique phone numbers
This will allow you to select customers with a `phone_unique` tag as the recipients of your future SMS campaigns - this way you will make sure each customer won't receive the same message several times.
- In **Data Modeling Hub > Profile Tags**, [add the following tag](/docs/assets/tags): `phone_unique`
It will be used later in the process.
- Create a workspace [API Key](/docs/settings/tool/api) which you will use in the process.
## Process
---
In this use case, you will go through the following steps:
1. [Create a segmentation](/use-cases/double-phone-number#create-a-segmentation) to group customers who have a phone number assigned and enabled marketing agreement in the SMS channel.
2. [Create a workflow which sends the customers from the segmentation to the catalog](/use-cases/double-phone-number#create-a-workflow-which-sends-the-customers-from-the-segmentation-to-the-catalog).
3. [Download the file with customers from the catalog](/use-cases/double-phone-number#export-the-file-from-the-catalog).
4. [Transform data](/use-cases/double-phone-number#transform-data) in the file: add a column with a `phone_unique` tag, remove `item_key` column, and rename the `id` column.
5. [Create a workflow which imports the modified file with customers to Synerise](/use-cases/double-phone-number#create-a-workflow-which-imports-the-modified-file-with-customers-to-synerise).
6. [Create a workflow that verifies uniqueness of the phone number and assigns a tag to a customer](/use-cases/double-phone-number#create-a-workflow-that-verifies-uniqueness-of-the-phone-number-and-assigns-a-tag-to-a-customer).
7. [Create a workflow that deletes a tag when a customer withdraws consent for receiving SMS](/use-cases/double-phone-number#create-a-workflow-that-deletes-a-tag-when-a-customer-withdraws-consent-for-receiving-sms).
## Create a segmentation
---
In this part of the process, you will create a segmentation of customers who have a phone number and enabled a marketing agreement in the SMS channel.
1. Go to **Decision Hub > Segmentations > New segmentation**.
3. Enter the name of the segmentation.
4. From the **Add condition** dropdown list, select the `phone` attribute.
5. Click the **Choose** button, and from the list of operators, choose **Boolean**, and then select **Is true**.
4. From the **Add condition** dropdown list, select the `SMS agreement` attribute.
5. Click the **Choose** button, and from the list of operators, choose **Boolean**, and then select **Is true**.
6. Save the segmentation.
Segmentation configuration
## Create a workflow which sends the customers from the segmentation to the catalog
---
In this part of the process, you will create a workflow that imports customer data (phone number) to a file and sends it to the catalog you created as a part of prerequisites. The data will be deduplicated, which means the catalog will contain only unique phone numbers.
1. Go to **Automation Hub > Workflows > New workflow**.
2. Enter the name of the workflow.
### Define the Scheduled Run trigger node
---
At this stage, configure the conditions that trigger the workflow.
1. As the trigger node, select **Scheduled Run**.
2. In the configuration of the node:
1. Change the **Run trigger** option to **one time**.
2. Choose the **Immediately** option.
3. Confirm by clicking **Apply**.
The configuration of the Scheduled Run node
### Select customers to export
---
In this part of the process, select a [segmentation of customers you created in the previous part of the process](#create-a-segmentation). Then, you will select the attribute (`phone`) whose value will be exported to a catalog in further steps.
1. Add the **Get Profiles** node.
2. In the configuration of the node:
1. Select the segmentation you [created in the previous step](#create-a-segmentation) to extract customers’ data.
2. In the **Attributes** section, select **phone**.
3. Confirm by clicking **Apply**.
The configuration of the Get Profiles node
### Add the Import to Catalog node
---
In this part of the process, select a catalog to which the customer data will be imported.
1. Add the **Import to Catalog** node.
2. In the configuration of the node:
1. Select the catalog created as a part of the prerequisites to which the data will be imported.
2. In the **Primary key** field, enter the `phone` attribute.
3. Confirm by clicking **Apply**.
The configuration of the Import to Catalog node
### Prepare the final settings
---
1. Add the **End** node and connect it to the **Import to Catalog** node.
3. Optionally, add titles to each node so the workflow will be more understandable to your colleagues.
Prepare workflow
5. Activate the workflow by clicking **Save & Run**.
**Result**: The data will be sent to a catalog and de-duplicated during import.
## Export the file from the catalog
---
In this part of the process, you will download the file you imported to the catalog.
1. Go to **Data Modeling Hub > Catalogs**.
2. Choose the catalog from the list.
3. To download the file with your data, click **Download CSV** .
In the next step, you will use the exported file to create a data transformation rule which you will use further in the process in the Data Transformation node.
## Transform data
---
In this part of the process, you will perform the following modifications to the file:
- remove the `item_key` column
- rename the `id` column to `clientId`
- add the `tags` column with the `phone_unique` value
1. Go to **Automation > Data Transformation > Create transformation**.
2. Enter the name of the transformation.
3. Click **Add input**.
### Add file with sample data
---
The **Data input** node allows you to add a file to be modified. In further steps, you define how the data in the file will be modified (transformation rules). Later, when this transformation is used in the workflow in the [Data Transformation node](/docs/automation/operation/data-transformation-node), the system uses the rules to transform a file selected in the workflow.
1. On the pop-up, click **Add example**.
2. Upload the file exported in [the previous step](/use-cases/double-phone-number#export-the-file-from-the-catalog).
3. Click **Apply**.
### Remove column
---
Use the **Remove columns** node, which allows you to remove the `item_key` column.
1. On the **Data Input** node, click the grey dot.
2. From the dropdown list, select **Remove columns**.
4. In the configuration of the node:
1. Leave the **Remove Columns** option selected in the dropdown menu.
2. Leave the default value in the dropdown (**Equal**).
3. In the text field, enter `item_key`.
The configuration of the Remove columns node
6. Confirm by clicking **Apply**.
### Rename column
---
In this part of the process, change the name of the `id` column to `clientId`.
1. On the **Filter column** node, click the grey dot.
8. From the dropdown list, select **Rename column**.
9. Click the **Rename column** node.
10. In the configuration of the node:
1. Click **Add rule**.
2. Click **Add column**.
3. Select the **id** column.
4. Under **Edit values by**, from the dropdown list, select **Replacing**.
6. In the text field, enter `clientId`.
The configuration of the Rename column node
7. Confirm by clicking **Apply**.
### Add the new column
---
In this part of the process, you will add the new `tags` column with the `phone_unique` value.
1. On the **Rename Column** node, click the grey dot.
2. From the dropdown list, select **Add column**.
9. Click the **Add column** node.
10. In the configuration of the node:
1. In the **Add column** field, enter the name of the column. In this use case, it's `tags`.
3. From the dropdown list, select **Static value**.
4. In the value box, enter `phone_unique`.
5. Leave **Handle incomplete data** at default (**Skip row if error occurred**) to skip missing or invalid data which may occur during transformation.
7. Confirm by clicking **Apply**.
The configuration of the Add new column node
### Add the finishing node
---
This node lets you preview the output of the transformation rules applied to the file.
1. On the **Add column** node, click the grey dot.
2. From the dropdown list, select **Data Output**.
3. To preview the results, click the **Data Output** node.
The preview of modifications to the file
4. Close the preview
3. In the upper right corner, click **Save and publish**.
The diagram of data transformation
## Create a workflow which imports the modified file with customers to Synerise
---
In this part of the process, you will create a workflow that applies transformation rules you created in the [previous part of the process](#transform-data) to the file with customers data and import the modified file to Synerise. As a result, the profiles will be updated.
1. Go to **Automation Hub > Workflows > New workflow**.
2. Enter the name of the workflow.
### Define the Scheduled Run trigger node
---
At this stage, you will define the conditions that launch the workflow.
1. As the trigger node, add **Scheduled Run**.
2. In the configuration of the node:
1. Change the **Run trigger** option to **one time**.
2. Choose the **Immediately** option.
4. Confirm by clicking **Apply**.
The configuration of the Scheduled Run node
### Select file to import
---
Select the file you exported in [part of the process](#export-the-file-from-the-catalog).
1. Add the **Local File** node.
2. In the configuration of the node:
1. Upload the file.
2. Confirm by clicking **Apply**.
Local File transfer
### Add Data Transformation node
---
Select a data transformation rule you created [in this part of the process](#transform-data).
1. Add the **Data Transformation** node.
2. In the configuration of the node, select the [data transformation you have created before](#transform-data).
The configuration of the Data Transformation node
3. Confirm by clicking **Apply**.
### Add import profiles and finishing node
---
In this part of the process, you will import the transformed file with customers to Synerise.
1. Add the **Import Profiles** node.
2. Add the **End** node.
3. In the upper right corner, click **Save & Run**.
The workflow configuration
## Create a workflow that verifies uniqueness of the phone number and assigns a tag to a customer
---
In this part of the process, you will create a workflow that is launched when a customer enables marketing agreement in the SMS channel. The workflow checks whether the phone number is unique, if so the customer is assigned with a `phone_unique` tag and the catalog which stores unique phone numbers is updated.
1. Go to **Automation Hub > Workflows > New workflow**.
2. Enter the name of the workflow.
### Define the trigger node
---
The workflow is triggered by **Profile Event** where the triggering event is `profile.updated` with the `profile.receivesmses` parameter which is set to true.
1. Add the first node - **Profile Event**. In the node configuration:
1. From the **Choose event** dropdown list, choose the **profile.updated** event.
2. Click button.
3. From the **Choose parameter** dropdown list, select **profile.receivesmses**.
5. From the **Choose operator** dropdown list, select **Is true(Boolean)**.
2. Click **Apply**.
Configuration of the Profile Event node
### Add the Profile Filter node
---
In the next stage, using the Profile Filter node, you check if the customer already has the `phone_unique` tag and phone number. You take into account customers who have phone but do not have the `phone_unique` tag.
1. Add the **Profile Filter** node.
2. In the settings of the node, choose **Profiles > Attributes** and select the `phone_unique` tag.
3. As **Operator**, choose **Boolean - Is true** and nd modify the "Profile `matching` attribute" to "`not matching` attribute."
5. Click **Choose filter** and select the attribute `phone`.
3. As the **Operator**, choose **Boolean - Is true**.
4. Click **Apply**.
3. For the **Not Matched** path, add the **End** node .
4. Click **Apply**.
The Profile Filter node configuration
### Configure the Outgoing Integration node
---
In this part of the process, you will send a request to [retrieve all items from the catalog](https://hub.synerise.com/api-reference/data-management#operation/getItemsByBag) to check if the phone number exists in the catalog.
1. To the **Matched** path, add the **Outgoing Integration** node. In the configuration of the node:
1. Choose **Custom webhook**.
2. In the **Webhook name** field, enter `getPhoneFromCatalog`.
3. In the **URL** section:
1. Choose the **GET** method.
2. Enter the following endpoint: `https://api.synerise.com/catalogs/bags/XXXX/items?itemKey={{client.phone}}`, replace `XXXX` with the ID of your catalog.
7. As the method of authorization, select **by API key**.
8. From the dropdown list, select the API key you created as a [part of prerequisites](#prerequisites).
7. Click **Apply**.
Webhook settings
### Configure the Event Filter node
The workflow will wait for the webhook to return the value of the body.metaData.totalCount parameter. If it's other than 0, the workflow will end. If it is 0, the profile will be updated with the `phone_unique` tag.
1. As the next node, add **Event Filter**. In the configuration of the node:
1. In the **Check** field, from the dropdown menu choose **for period of time**.
2. Set the time range. In our case, it is 5 minutes.
3. In the **Define conditions** field, from the **Choose event** dropdown menu, choose `webhook.response` event.
3. Click the **+ where** button and select `name`.
4. As the logical operator, select **Equal (String)**.
5. As the value, add the name of the event used in the previous node: `getPhoneFromCatalog`.
3. Click the **+ where** button and select `body.metaData.totalCount`.
4. As the logical operator, select **Equal (Number)**.
5. As the value, add `0`.
5. Click **Apply**.
3. For the **Not matched** path, add the **End** node .
Event Filter node settings
### Add the Update Profile node
---
1. For the **Matched** path, add the **Update Profile** node.
2. From the dropdown list, select **phone_unique** tag.
3. Leave the right dropdown list at default (**Add**).
3. To save the changes, click **Apply**.
The configuration of the Update Profile node
### Configure the Outgoing Integration node
---
In this step, [your catalog with unique phone numbers will be updated](https://hub.synerise.com/api-reference/data-management#operation/addItems).
1. Add **Outgoing Integration** node. In the configuration of the node:
1. Choose **Custom webhook**.
2. In the **Webhook name**, enter `addPhoneToCatalog`.
3. In the **URL** section:
1. Choose the **POST** method.
2. Enter the following URL: `https://api.synerise.com/catalogs/bags/XXXX/items?itemKey={{client.phone}}`, where `XXXX` is the ID of your catalog.
4. In the **Body** section, enter:
7. As the authorization method, select **by API key**.
Webhook settings
### Add the finishing node
---
1. Add the **End** node.
2. In the upper right corner, click **Save & Run**.
**Result**:
The workflow configuration
## Create a workflow that deletes a tag when a customer withdraws consent for receiving SMS
---
The next step is to create a workflow that will be triggered when a customer withdraws their consent. The workflow has similar structure to the previous one. What changes here is the trigger, instead of Profile Event, you will use the Audience node that is repeatedly triggered, for example everyday, at a certain time.
1. Go to **Automation Hub > Workflows > New workflow**.
2. Enter the name of the workflow.
### Define the trigger node
---
The workflow is triggered for specific group of customers every date at a define time.
1. Start the workflow with the **Audience** node.
2. In the configuration of the node, set the **Run trigger** option to **repeatable**.
3. Set the interval to 1 per day.
4. Choose the day and time when the process starts.
5. Select the time zone.
6. In **Define audience**, choose **New Audience** and click **Define conditions**. Our audience will be a group of users who has `phone_unique` tag and change their sms agreement.
1. As the first condition, from the **Choose filter** dropdown menu, choose `phone_unique` attribute.
2. Choose operator as **Is true (Boolean)**.
4. As the second condition, from the **Choose filter** dropdown menu, choose the `SMS agreement` attribute.
5. Choose operator as **Equal (String)** and add the value. In our case it will be `false`.
Configuration of the segmentation in the Audience node
8. Click **Apply**.
Configuration of the Audience node
### Add the Profile Filter node
---
In the next stage, using the Profile Filter node, you check if the customer has the `phone_unique` tag and phone number.
1. Add **Profile Filter** node.
2. In the settings of the node choose **Profiles > Attributes** and select the tag `phone_unique`.
3. As the **Operator**, choose **Boolean - Is true**.
5. Click **Choose filter** and select the attribute `phone`.
3. As the **Operator**, choose **Boolean - Is true**.
4. Click **Apply**.
3. For the **Not Matched** path, add the **End** node .
The Profile Filter node configuration
### Configure the Outgoing Integration node
---
In this part of the process, you will send a request to [retrieve all items from the catalog](https://hub.synerise.com/api-reference/data-management#operation/getItemsByBag) to check if the phone number exists in the catalog.
1. To the **Matched** path, add the **Outgoing Integration** node. In the configuration of the node:
1. Choose **Custom webhook**.
2. In the **Webhook name** field, enter `getPhoneFromCatalog`.
3. In the **URL** section:
1. Choose the **GET** method.
2. Enter the following endpoint: `https://api.synerise.com/catalogs/bags/XXXX/items?itemKey={{client.phone}}`, replace `XXXX` with the ID of your catalog.
7. As the method of authorization, select **by API key**.
8. From the dropdown list, select the API key you created as a [part of prerequisites](#prerequisites).
7. Click **Apply**.
Webhook settings
### Configure the Event Filter node
---
The workflow will wait for the webhook to return the value of the body.metaData.totalCount parameter. If it's equal 0, the workflow will end, because it means that the number is not in the catalog and no need to remove the tag since the number was not unique and the workflow ends. If it's 1, it means the number exists in the catalog because it was unique and the workflow must go on.
1. As the next node, add **Event Filter**. In the configuration of the node:
1. In the **Check** field, from the dropdown menu choose **for period of time**.
2. Set the time range. In our case, it is 5 minutes.
3. In the **Define conditions** field, from the **Choose event** dropdown menu, choose `webhook.response` event.
3. Click the **+ where** button and select `name`.
4. As the logical operator, select **Equal (String)**.
5. As the value, add the name of the event used in the previous node: `getPhoneFromCatalog`.
3. Click the **+ where** button and select `body.metaData.totalCount`.
4. As the logical operator, select **Equal (Number)**.
5. As the value, add `1`.
5. Click **Apply**.
3. For the **Not matched** path, add the **End** node .
Event Filter node settings
### Add the Update Profile node
---
1. For the **Matched** path, add the **Update Profile** node.
2. From the dropdown list, select **phone_unique** tag.
3. Click the right dropdown list and select **Remove**.
3. To save the changes, click **Apply**.
The configuration of the Update Profile node
### Configure the Outgoing Integration node
---
In this step, [you will remove a customer with their phone number from the catalog](https://hub.synerise.com/api-reference/data-management#operation/deleteItem).
1. Add the **Outgoing Integration** node. In the configuration of the node:
1. Choose **Custom webhook**.
2. In the **Webhook name** field, enter `removePhoneFromCatalog`
3. In the **URL** section:
1. Choose the **DELETE** method.
2. Enter the following URL:`https://api.synerise.com/catalogs/bags/XXXX/items/{{event.params['body.data[0].id']}}`, where `XXXX` is the ID of your catalog.
7. As the authorization method, select **by API key**.
8. From the dropdown list, select the API key you created as a [part of prerequisites](#prerequisites).
7. Click **Apply**.
Webhook settings
### Add the finishing node
---
1. Add the **End** node.
2. In the upper right corner, click **Save & Run**.
**Result**:
The workflow configuration
## Check the use case set up on the Synerise Demo workspace
---
In the Synerise Demo workspace, you can check:
- [segmentation configuration](https://app.synerise.com/analytics-v2/segmentations/8e08c002-e0bf-4e66-bb28-7bf276918ee0)
- [workflow configuration](https://app.synerise.com/automations/automation-diagram/cd94653c-b2a6-43c2-afa8-7090dee0d81e)
- [data transformation](https://app.synerise.com/automations/data-transformation/8888bd88-53a8-4f3a-89c6-93fddf4e6392)
- [workflow which imports modified file with customers back to Synerise](https://app.synerise.com/automations/automation-diagram/3f15df7f-10fb-428c-aa52-047d56dfe7d9)
- [workflow which updates the customer's profile](https://app.synerise.com/automations/automation-diagram/9bf58473-d660-4f4b-a7be-61b4605b0673)
- [workflow that deletes a tag when a customer withdraws consent for receiving SMS](https://app.synerise.com/automations/automation-diagram/afbc1610-892e-43cb-ac8c-e6e49eea56f3)
If you’re our partner or client, you already have automatic access to the **Synerise Demo workspace (1590)**, where you can explore all the configured elements of this use case and copy them to your workspace.
If you’re not a partner or client yet, we encourage you to fill out the contact [form](https://demo.synerise.com/request) to schedule a meeting with our representatives. They’ll be happy to show you how our demo works and discuss how you can apply this use case in your business.
## Generated events
This use case generates approximately 11 events per profile that completes the flow:
[`profile.updated`](/docs/assets/events/event-reference/profiles#profileupdated) (~2), [`automation.clientStartPath`](/docs/assets/events/event-reference/automation#automationclientstartpath) (~1), [`automation.clientPathStep`](/docs/assets/events/event-reference/automation#automationclientpathstep) (~5), [`automation.clientEndPath`](/docs/assets/events/event-reference/automation#automationclientendpath) (~1), [`webhook.response`](/docs/assets/events/event-reference/integration#webhookresponse-and-custom-webhook-response-names) (~2).
## Read more
---
- [Automation Hub](/docs/automation)
- [Catalogs](/docs/assets/catalogs/introduction-to-catalogs)
- [Data Transformation](/docs/automation/data-transformation-and-imports)
- [Import](/docs/assets/imports/introduction-to-imports)
- [Segmentation](/docs/analytics/segmentations)
- [SMS campaigns](/docs/campaign/SMS)
# Step discount promotion
Elevate your customers engagement with step discounts, aligning savings with their journey, while strengthening their connection to your brand. Enable them to access higher discounts with each transaction, incentivizing loyalty and fostering more interactions. Transform their shopping experience into a journey towards greater value, connecting them with offers that resonate.
This use case describes how to create a step discount promotion for one product. The customer will receive a discount of 5, 10 and 15% respectively on the first, second and third purchase of the same product. The promotion will work only for loyalty program members (customers logged into the mobile app).
## Prerequisites
---
- Implement promotions in your [mobile application](/developers/mobile-sdk/loyalty), website or through [API](https://hub.synerise.com/api-reference/loyalty-and-engagement#operation/profileLogin)
- [Implement transactional events](/developers/web/methods-reference#tracking-transactions).
- [Import the product feed to a catalog](/use-cases/import-product-feed-to-catalog).
## Process
---
In this use case, you will go through the following steps:
1. [Prepare a segmentation](#prepare-a-segmentation) of customers who are members of the loyalty program.
2. [Create a promotion](#create-a-promotion) with step discount for one product.
## Prepare a segmentation
---
In this part of the process, create a segmentation of customers who are members of the company's loyalty program.
1. Go to **Decision Hub > Segmentations > New segmentation**.
2. Enter the name of segmentation.
3. From the **Add condition** dropdown list, select the **loyaltyCard** attribute.
4. As the logical operator select Boolean **Is true**.
The conditions used in the segment will vary depending on your loyalty program integration (for example, the name of the attribute may be different). You must define the segmentation accordingly.
## Create a promotion
---
Create a step discount promotion aimed at loyalty club members for one specific product. The promotion gives a 5, 10 and 15% discount for the item, the discount grows with every transaction.
1. Go to **AI Hub > Regular Promotions > Add Promotion**.
2. Enter a name for the promotion.
3. Select the **For selected items** type of promotion.
4. In the **Audience** section, select the [segmentation created in the previous step](#prepare-a-segmentation).
5. In the **Content** section:
1. Define the name, descriptions, thumbnail and image of the promotion.
3. Optionally, you can add tags to the promotion and JSON code with advanced params.
2. Confirm the settings by clicking **Apply**.
Content configuration
6. In the **Type and limits** section:
1. Leave **General** in the **Type section**.
2. Enter a **Priority** for the promotion.
Priority defines the order of display in the customer’s view. 1 is the highest priority. If two or more promotions applicable to a customer have the same priority, the order of display is determined by the date of creation. The one that was created earlier takes the priority over the other promotion.
3. Leave **Single** for the promotion logic.
4. In the **Limit per profile** field, type 1.
5. From the **Discount type** dropdown list, select **Percentage**.
6. From the **Discount mode** dropdown list, select **Steps**.
7. Assign **Transaction number** for each **Discount value**.
Configuration of discount thresholds for each purchase
8. Confirm the settings by clicking **Apply**.
Type and limits configuration
7. In the **Schedule** section, specify the time, when you want to display your promotion according to yout business needs.
8. In the **Items** section:
1. From the **Source catalog** dropdown list, select a catalog of items.
2. In the **Include items** section, choose **Selected items**.
3. Click **Select items** and select the product you want the step discount to apply to.
Items configuration
10. Optionally select **stores** where the profiles can redeem the promotion.
9. To apply configuration and run the promotion, click **Publish**.
## Check the use case set up on the Synerise Demo workspace
---
You can also check the configuration of the [segmentation](https://app.synerise.com/analytics-v2/segmentations/614f5ac1-8bdb-41ec-8d9d-8ad2d6cd65f2) and [promotion settings](https://app.synerise.com/campaigns/promotions/97531b2e-0440-4bf0-806b-52ab594d9c06) directly in Synerise Demo workspace.
If you’re our partner or client, you already have automatic access to the **Synerise Demo workspace (1590)**, where you can explore all the configured elements of this use case and copy them to your workspace.
If you’re not a partner or client yet, we encourage you to fill out the contact [form](https://demo.synerise.com/request) to schedule a meeting with our representatives. They’ll be happy to show you how our demo works and discuss how you can apply this use case in your business.
## Generated events
This use case generates approximately 9 events per profile that completes the flow:
[`client.activatePromotion`](/docs/assets/events/event-reference/loyalty#clientactivatepromotion) (~3), [`transaction.charge`](/docs/assets/events/event-reference/items#transactioncharge) (~3), [`product.buy`](/docs/assets/events/event-reference/items#productbuy) (~3).
## Read more
---
- [Catalogs](/docs/assets/catalogs/introduction-to-catalogs)
- [Promotions](/docs/ai-hub/promotions)
- [Segmentation](/docs/analytics/segmentations)
# Daily additional points for the fastest buyers
Synerise offers endless possibilities for creating business loyalty scenarios. One of them may be a campaign that ends after a specific number of redemptions and revokes every day. It can increase the traffic in your mobile app. Combining this with additional loyalty points may bring you new customers.
In this use case, you will create a scenario that awards customers with additional 1500 loyalty points for the purchase of a soda. The promotion works every day for the first 1000 buyers. The mechanism controls the number of purchases and informs the mobile app user if they can still get the additional points, or if they are late and need to try again on another day.
## Prerequisites
---
- [Create a workspace API key](/docs/settings/tool/api#adding-api-keys) with permissions allowing to calculate metrics and update the catalog.
- [Create a schema type](https://hub.synerise.com/api-reference/asset-management#operation/addSchemaType).
- Implement transaction events using [SDK](/developers/web/transactions-sdk) or [API](https://hub.synerise.com/api-reference/data-management#operation/CreateATransaction).
- Integrate Synerise [mobile SDK](/developers/) in your mobile application.
- Integrate mechanism for awarding loyalty points.
Find more in the [Loyalty programs basics](/use-cases/loyalty-programs-basics) use case.
## Security configuration
---
Before you start working with this hub, if you are a Synerise customer or partner, consider reading [the section about denylisting events](/docs/settings/tool/api#denylist). This natively accessible configuration will allow you to manage the restrictions in points management that may help you prevent fraud.
## Process
---
In this use case, you will go through the following procedures:
1. [Create a metric](#create-a-metric) that calculates the number of purchases of soda on the current day.
2. [Create a catalog](#create-a-catalog) which stores the current information for the customers: whether they can get additional points or not.
3. [Create an automation updating the catalog content and awarding points](#create-an-automation-updating-the-catalog-content-and-awarding-points).
4. [Create an automation updating the catalog content to the default value](#create-an-automation-updating-the-catalog-content-to-the-default-value). Thanks to this, the mechanism will reset the information about promotion availability every day.
5. [Create a document with a catalog content](#create-a-document-with-a-catalog) which sends the content of the catalog with information for the customer to the mobile app.
## Create a metric
---
In this part of the process, you will create a metric which counts how many times the product on promotion was bought on the current day.
1. Go to **Decision Hub > Metrics > New metric**.
2. Enter the name of the metric.
2. As the metric type, select **Simple metric**.
3. Leave the **Aggregator** at default (Count).
5. As the occurrence type, set **All**.
6. From the **Choose event** dropdown list, select the **product.buy** event.
7. Click the button.
8. From the **Choose parameter** dropdown list, select **$sku**.
10. From the **Choose operator** dropdown list, select **Equal**.
12. As the value of the operator, add the SKU of the product for which you award the additional points.
13. Open the time range settings by clicking the calendar icon.
1. In the **Relative date range** section, choose **Today**.
2. Click **Apply**.
13. Click **Save**.
Configuration of the metric
## Create a catalog
---
In this part of the process, you need to create a catalog, which will store the current information about promotion availability. At later stages of the process, this catalog will be updated on the basis of how many soda transactions have been made on a given day. Also, it will be separately updated at midnight every day when resetting the daily redemption counter.
1. Prepare a CSV file of your promotion content, according to [requriements](/docs/assets/catalogs/creating-catalogs#requirements).
Below is the sample file used in this article. It consists of two columns, where the first is a message that will be shown to customers and the second is the key of the promotion.
```
copy;key
Buy a soda and get extra loyalty points!;copyKey
```
You can use this file in your implementation, after changing the message to your business needs.
2. Go to **Data Modeling Hub > Catalogs > New Catalog**.
3. Enter the name of the catalog.
4. Click **Apply** to confirm. The catalog will appear on the list.
5. Click on the created catalog.
5. In the upper right corner, click **Import**.
**Result:** A pop-up appears.
6. As the import method, select **Import a local file**.
7. Click **Next**.
7. Upload the CSV file you prepare by using the **+ Upload file or drop one here** field.
8. Optionally, you can customize the file metacharacters by clicking the arrow down icon.
1. From the **Delimiter** dropdown, select the character that marks the end of a column.
2. From the **Quotation** mark dropdown list, select the characters that contain the text or data type.
4. From the **Escape character** dropdown lists, select the character which changes the default interpretation of a character or a string followed by the escape character.
9. To proceed to the next step, click the **Next** button.
10. Select the name of the column which is treated as the primary key.
In our example, it’s `key`.
11. Click **Next**.
12. Click **Run import**.
Configuration of the catalog
## Create an automation updating the catalog content and awarding points
---
In this part, you will create a workflow which triggers when the product for which you assign additional points is bought. If the [result of the metric created earlier](#create-a-metric) is greater than 1000, it will update the catalog with the message that the promotion is over today. If the metric's result is smaller than 1000, it will grant extra points to the customer.
1. Go to **Automation Hub > Workflows > New workflow**.
2. Enter the name of the workflow.
### Define the trigger node
---
At this stage, you will configure the conditions that trigger the workflow.
1. Add the first node - **Profile Event**. In the node configuration:
1. From the **Choose event** dropdown list, choose the **product.buy** event.
2. Click button.
3. From the **Choose parameter** dropdown list, select **$sku**.
5. From the **Choose operator** dropdown list, select **Equal**.
7. As the value of the operator, add the SKU of the product for which you want to award additional points.
2. Click **Apply**.
Configuration of the Profile Event node
### Define the Outgoing Integration node
---
In the **Outgoing Integration** node, you will create a webhook calculating the metric from [the previous step](/use-cases/limited-promotion#create-a-metric). The continuation of the workflow will depend on the result of the metric.
1. After the trigger node, add **Outgoing Integration**.
2. Select **Synerise API key** as your method of authorization.
1. From the dropdown list below, select your **API key**.
3. In the **Webhook name**, field enter a name for the webhook. In this case, `Metric recalculation`.
4. Optionally, in the **Webhook event name** field, choose an action name for the event that will be generated when Synerise receives a response from your selected endpoint.
4. In the **URL** section, select the **POST** method.
1. In the URL of the endpoint, enter `https://api.synerise.com/analytics/analytics/v3/metrics/ID/recalculate`, where the **ID** is the ID of your [metric created earlier](#create-a-metric).
5. Optionally, add key-value pairs for headers and the body of the request in the **Body** section.
5. Confirm the settings by clicking **Apply**.
Configuration of the Outgoing Integration node
### Define two Event Filter nodes on the metric result
---
In this step, you will split the automation path, so different actions can happen according to the [metric result created earlier](#create-a-metric). If the result is greater than 1000, it will update the catalog with copy that today the promotion is over. If the metrics result is smaller than 1000, it will grant extra points to the customer.
1. Click **THEN** on the **Outgoing Integration** node, and add **Split Path**.
2. Add two **Event Filter** nodes.
3. Configure the first **Event Filter** node:
1. Enter the meaningful name of the node, ex. `when promotion is over on the current day`.
1. From the **Choose event** dropdown list, choose the **webhook.response** event.
2. Click button.
3. From the **Choose parameter** dropdown list, select **name**.
5. From the **Choose operator** dropdown list, select **Equal**.
6. As the value of the operator, add the name of [the webhook created earlier](#define-the-outgoing-integration-node).
In this case, it's `Metric recalculation`.
7. Click the button.
8. From the **Choose parameter** dropdown list, choose **body.result**.
9. From the **Choose operator** dropdown list, select **More than (Number)**.
10. As the value of the operator, type `1000`.
11. Click **Apply**.
Configuration of the first Event Filter node
4. Configure the second **Event Filter** node:
1. Enter the meaningful name of the node, ex. `when promotion still lasts on the current day`.
1. From the **Choose event** dropdown list, choose the **webhook.response** event.
2. Click button.
3. From the **Choose parameter** dropdown list, select **name**.
5. From the **Choose operator** dropdown list, select **Equal**.
6. As the value of the operator, add the name of [the webhook created earlier](#define-the-outgoing-integration-node).
In this case, it's `Metric recalculation`.
7. Click button.
8. From the **Choose parameter** dropdown list, choose **body.result**.
9. From the **Choose operator** dropdown list, select **Less or equal to (Number)**.
10. As the value of the operator, type `1000`.
11. Click **Apply**.
Configuration of the second Event Filter node
### Define the Outgoing Integration node changing the catalog copy
---
This **Outgoing Integration** node will be connected to the first **Event Filter** node (where the condition is that the metric result is above 1000). When the number of sold sodas exceeds 1000, the automation will update the text in the catalog to inform that the offer is no longer available for the current day and the customer will receive such information in the mobile app.
1. To the first **Event Filter**, add the **Outgoing Integration** node.
2. As your method of authorization, select **Synerise API key**.
1. From the dropdown list below, select your **API key**.
3. In the **Webhook name**, field enter name for the webhook. In this case, it's `change.documentCopy`.
4. Optionally, in the **Webhook event name** field, choose an action name for the event that will be generated when Synerise receives a response from your selected endpoint.
4. In the **URL** section, select the **POST** method.
1. In the URL of the endpoint, enter `https://api.synerise.com/catalogs/bags/ID/items`, where the **ID** is the ID of your [catalog created earlier](#create-a-catalog).
5. Enter the request body. For the form used in this case, the body is as follows:
{
           "value": {
               "key": "copyKey",
               "copy": "Today, the use limit on this offer has already been reached 😞 Come back tomorrow!"
               },
           "itemKey": "copyKey"
       }
You can use this JSON code in your implementation, but change the names of the columns within the catalog and `copy` content according to your business needs.
7. Click **Apply**.
8. Add the **End** node.
### Define Generate Event node
---
This **Generate event** node will be connected to the second **Event Filter** node. When the number of sold sodas is below 1000, the automation will generate an event granting extra loyalty points to the customers.
1. To the second **Event Filter**, add the **Generate Event** node.
2. In the **Define event** section:
1. As the **Event name** choose `points.upcharge`.
3. Enter the request body. For the form used in this case, the body is as follows:
{
               "name": "Extra points for buying a soda",
               "points": "1500"
               }
3. Click **Apply**.
Configuration of the Generate Event node
4. Add the **End** node.
**Result**:
Automation updating the catalog copy or awarding points
## Create an automation updating the catalog content to the default value
---
In this part of the process, you will create a workflow which triggers at midnight every day and changes the message in the catalog to its default value: information that you can buy a soda and get extra loyalty points.
1. Go to **Automation Hub > Workflows > New workflow**.
2. Enter the name of the workflow.
3. As the trigger node, add **Scheduled Run**.
4. In the configuration of the node:
1. Leave the **Run trigger** setting at default (**all time**).
2. In the **Repeat runs** section, set your **Timezone**, then choose **Everyday** and set the time to `0:00`.
3. Click **Apply**.
5. Add the **Outgoing Integration** node.
6. In the configuration of the node:
1. As your method of authorization, select **Synerise API key**.
1. From the dropdown list below, select your **API key**.
2. In the **Webhook name**, field enter name for the webhook. In this case, it's `change.documentCopy`.
3. Optionally, in the **Webhook event name** field, choose an action name for the event that will be generated when Synerise receives a response from your selected endpoint.
4. In the **URL** section, select the **POST** method.
1. In the URL of the endpoint, enter `https://api.synerise.com/catalogs/bags/ID/items`, where the **ID** is the ID of your [catalog created earlier](#create-a-catalog).
5. Enter the request body. For the form used in this case, the body is as follows:
{
                   "value": {
                       "key": "copyKey",
                       "copy": "Buy a soda and get extra 1500 loyalty points!
                       Take advantage of this offer while you still can!"
                       },
                   "itemKey": "copyKey"
               }
You can use this JSON code in your implementation, but change the names of the columns within the catalog and `copy` content according to your business needs.
8. Click **Apply**.
7. Add the **End** node.
**Result**:
Workflow updating the message in the catalog to the default value
## Create a document with a catalog
---
In the final step of this process, you will create a document with [the catalog created earlier](#create-a-catalog) in order to be able to return the catalog content to the mobile application. This will let you display information for the customer whether they can still use the promotion or not.
1. Go to **Data Modeling Hub > Documents > Add document**.
2. Enter the name for your document.
A slug (the ID of the document) is filled in automatically.
3. To select the type of schema, in the **Type** section, open the dropdown list.
A schema defines the method of validating the data included in the document.
4. Optionally, in the **Description** field, you can add a description of the document.
5. In the **Content (JSON)** section, paste the JSON code:
The above code contains the JSON object that will be returned to your mobile app. It contains one field (`copy`) with the value of message that should be displayed to the customer. This value is retreived using [the Jinjava insert](/developers/inserts/insert-usage#extracting-values-from-catalogs) that enables to extract values form catalogs. You can use the code in your implementation but change the name of the catalog to the one you have created, as well as the names of the columns within it.
6. Click **Apply** to save the document.
Configuration of the document
## What's next
---
For this business scenario and automation to work, creating a document with a catalog is crucial. The mobile application will be able to retrieve the document with the current copy content, with the download document method ([Android](/developers/mobile-sdk/method-reference/android/content#generate-document), [iOS](/developers/mobile-sdk/method-reference/ios/content#generate-document), [React Native](/developers/mobile-sdk/method-reference/react-native/content#generate-document)). Then, a JSON file with the raw content will be returned, which the app must properly display to the customer.
## Check the use case set up on the Synerise Demo workspace
---
You can check the:
- [catalog](https://app.synerise.com/assets/catalogs/14170)
- [metric](https://app.synerise.com/analytics/metrics/5f7a2aff-27bd-4045-9d9b-e88837d41d25)
- [automation updating the catalog copy or awarding points](https://app.synerise.com/automations/automation-diagram/271368bf-51f3-49a8-b172-b5509104f8e4)
- [automation updating the catalog to the default value](https://app.synerise.com/automations/automation-diagram/dce35c9c-926a-4306-9404-28fffd40229c)
- [document](https://app.synerise.com/assets/documents/a2cc179a-8d44-4555-9ac2-6d4c0723ccbb)
configurations directly in the Synerise Demo workspace.
If you’re our partner or client, you already have automatic access to the **Synerise Demo workspace (1590)**, where you can explore all the configured elements of this use case and copy them to your workspace.
If you’re not a partner or client yet, we encourage you to fill out the contact [form](https://demo.synerise.com/request) to schedule a meeting with our representatives. They’ll be happy to show you how our demo works and discuss how you can apply this use case in your business.
## Generated events
This use case generates approximately 9 events per profile that completes the flow:
[`product.buy`](/docs/assets/events/event-reference/items#productbuy) (~1), [`automation.clientStartPath`](/docs/assets/events/event-reference/automation#automationclientstartpath) (~1), [`automation.clientPathStep`](/docs/assets/events/event-reference/automation#automationclientpathstep) (~4), [`automation.clientEndPath`](/docs/assets/events/event-reference/automation#automationclientendpath) (~1), [`webhook.response`](/docs/assets/events/event-reference/integration#webhookresponse-and-custom-webhook-response-names) (~1), `points.upcharge` (~1).
## Read more
---
- [Automation Hub](/docs/automation)
- [Catalogs](/docs/assets/catalogs/introduction-to-catalogs)
- [Documents](/docs/assets/documents/introduction-to-documents)
- [Metrics](/docs/analytics/metrics)
# In-app abandoned cart message
In-app messaging feature allows businesses to target customers who have abandoned their shopping carts, encouraging them to complete their purchases. The messaging can be personalized and triggered based on specific actions, such as how long the item has been in the cart or the customer's browsing history, increasing the chances of conversion. This can help boost revenue and improve the overall customer experience.
This use case describes the process of creating a reminder that a customer did not complete a purchase and sending it through an in-app message. In this case, we assume that the customer added products to cart and hasn't finalized a purchase in the following hour.
This use case provides you with an instruction how to use a ready-made in-app template that can be used 1:1 in a business scenario.
## Prerequisites
---
- [Implement Synerise SDK](/developers/mobile-sdk) in your mobile app.
- Implement the [transaction events](/developers/web/transactions-sdk) using [SDK](/developers/web/transactions-sdk) or [API](https://hub.synerise.com/api-reference/data-management#operation/CreateATransaction).
- [Implement the `cart.status` event](/developers/web/cart), which stores the current status of the basket in the form of an event on the customer's card. Event has to be sent to Synerise, after every change in the cart status.
- Collect [product.addToCart event](/docs/assets/events/event-definitions).
## Process
---
In this use case, you will go through the following steps:
1. [Create an aggregate](#create-an-aggregate) with abandoned products.
2. [Create an in-ap message](#create-an-in-app-message) with abandoned cart using the predefined template.
## Create an aggregate
---
In this step, create an aggregate that will be used to display products in your in-app message.
1. Go to **Behavioral Data Hub > Live Aggregates > Create aggregate**.
2. As the aggregate type, select **Profile**.
2. Enter the name of the aggregate.
3. Click **Analyze profiles by** and select **Last**.
5. From the **Choose event** dropdown list, select the `cart.status` event.
6. As the event parameter, select **products**.
7. Set the period from which the aggregate will analyze the results to **Lifetime**.
12. Save the aggregate.
Configuration of the aggregate
## Create an in-app message
---
In this part of the process, you create an in-app campaign triggered by the `session.start` event for customers who haven't made a transaction within an hour from adding the product to cart. We will use a predefined template for the message about abandoned cart, so there is no need to create a template from scratch.
1. Go to **Experience Hub > In-app messages> Create in-app**.
2. Enter the name of the in-app.
### Define the audience
---
As the first step, define the target group of customers for the in-app message. In this case, the group will consist of the customers who abandoned their cart within an hour from adding the product to cart.
1. In the **Audience** section, click **Define**.
4. Click **New Audience** and then **Define conditions**.
5. Click **Add condition**, from the dropdown list, select the `product.addToCart` event.
7. Click the calendar in the right bottom of the page.
1. In the **Relative date range** section define the period from which the segmentation will return the customers. In this case, choose **Today**.
2. Click **Apply**.
8. Click **Add condition**, from the dropdown list, select the `product.addToCart` event.
9. Click **and then...**, from the dropdown list, select the `transaction.charge` event.
10. Change **Performed** to **Not performed**.
11. Click the calendar in the right bottom of the page.
1. In the **Relative date range** section define the period from which the segmentation will return the customers. In this case, choose **Today**.
2. Click **Apply**.
12. Click the clock next to the calendar.
1. Type `1` and from the dropdown list, select **Hours**.
In-app Audience configuration
9. Click **Apply**.
8. To save the audience, click **Apply**.
### Define content
---
In this part of the process, you will create the content of the in-app message that will appear in the mobile application with the help of ready-made template.
1. In the **Content** section, click **Define**.
2. Click **Create message** and from the list of template folders, select **Predefined templates**.
3. Select the **Abandoned cart** template.
**Result:** You are redirected to the code editor.
You can edit the template in two ways, by editing the code of the template ([add snippets](/docs/campaign/in-app-messages/creating-inapp-templates/creating-inapp-template#adding-a-snippet-to-the-template-code), [add variables](/docs/campaign/in-app-messages/creating-inapp-templates/creating-inapp-template#adding-a-variable) and/or by filling out the form in the Config tab. In this use case, we will use the capabilities of the predefined Config tab.
#### Edit form in the Config tab
---
The form in the **Config** tab is already filled in with default values. You can keep them or change them to fit your business needs.
The fields in Config are split into two types: ones for dynamic content (related to Jinja) and ones for in-app appearance. The dynamic content fields must match the values in the catalog and the names of the attributes returned by the recommendations. The appearance fields only affect how the information presents itself in the in-app.
1. From the **Aggregate with products left in the cart** drop-down list, select the [aggregate you created in the previous step](#create-an-aggregate). You can find it by typing its name or ID in the search box.
2. In the **Header text** text box, type the header you want to display in the in-app message.
3. In the **Header description text** text box, type the header description you want to display in the in-app message.
4. In the **Name of the catalog with product information** field, change the default `Snrs-produktu-ogTag` value to the catalog name with product information. In our case, it's `store-1`.
5. In the **Name of the column with image link** field, change the default `og:image` value to the name of the column with image link in your catalog with product information. In our case, the name of the column with image link is `image`.
6. In the **Name of the column with title** field, change the default `og:title` value to the name of the column with the title in your catalog with product information. In our case, the name of the column with title is `name`.
7. In the **Name of the column with price** field, change the default `product:original_price:amount` value to the name of the column with original price in your catalog with product information. In our case, the name of the column with original price is `price`.
8. In the **Name of the column with product link** field, change the default `og:url` value to the name of the column with product link in your catalog with product information. In our case, the name of the column with product link is `productUrl`.
9. Define the colors for the following fields: **Wrapper background, Header background, Header text, Header description text, Close icon background** and **Close icon** to your needs.
10. After you make changes to the template, you can check the preview.
1. Click the **Preview** button on the upper left side.
2. Enter the ID of a customer.
Select a customer who has the `product.AddtoCart` event in their activity list in **Behavioral Data Hub > Profiles**.
3. Click **Apply**.
Considering that the in-app is very interactive, the preview in the platform may not be enough to test the in-app performance. That’s why we suggest checking the preview directly in the mobile app.
In-app preview
11. If the template is ready, in the upper right corner click **Save this template > Save as**.
12. On the pop-up:
1. In the **Template name field**, enter the name of the template.
2. From the **Template folder** dropdown list, select the folder where the template will be saved.
3. Confirm by clicking **Apply**.
13. To continue the process of configuring the in-app campaign, click **Next**.
14. To save your content changes, click **Apply**.
### Select events that trigger the in-app message display
---
In this part of the process, you will define the event triggering the display of the in-app message.
1. In the **Trigger events** section, click **Define**.
2. Select **Add event** and from the dropdown list, choose `session.start` event.
3. Click the **+ where** button and select `mobile`.
4. As the logical operator, select **Exists**.
5. Click **Apply**.
In-app trigger event configuration
### Schedule the message and configure display settings
---
As the final part of the process, you will set the display settings of the in-app message such as schedule, capping, priority of the message among other in-app messages.
1. In the **Schedule** section, click **Define** and set the time when the message will be active.
2. In the **Display Settings** section, click **Change**.
3. Define the **Delay display**, **Priority index** and enable the **Frequency limit** toggle to manage the frequency of in-app message display in the application.
In our case, we want to display the message to the customer a maximum of 1 time in period of 7 days.
You can additionally enable the **Capping limit** toggle to limit the amount of time the in-app message can be displayed to a user in general.
16. Click **Apply**.
In-app schedule and display configuration
17. Optionally, you can define the UTM parameters and additional parameters for your in-app campaign.
18. Click **Activate**.
## Check the use case set up on the Synerise Demo workspace
---
You can check the [Aggregate](https://app.synerise.com/analytics/aggregates/17d214c4-5644-33b1-b0c6-9fab96b26b3e) and [In-app message](https://app.synerise.com/communications/in-app/91c87167-7881-4c9d-a0a2-52d68f2dfd25) configuration directly in Synerise Demo workspace.
If you’re our partner or client, you already have automatic access to the **Synerise Demo workspace (1590)**, where you can explore all the configured elements of this use case and copy them to your workspace.
If you’re not a partner or client yet, we encourage you to fill out the contact [form](https://demo.synerise.com/request) to schedule a meeting with our representatives. They’ll be happy to show you how our demo works and discuss how you can apply this use case in your business.
## Generated events
This use case generates approximately 5 events per profile that completes the flow:
[`product.addToCart`](/docs/assets/events/event-reference/items#productaddtocart) (~1), [`cart.status`](/docs/assets/events/event-reference/items#cartstatus) (~1), [`session.start`](/docs/assets/events/event-reference/web-and-app#sessionstart) (~1), [`inApp.show`](/docs/assets/events/event-reference/inapp#inappshow) (~1), [`inApp.click`](/docs/assets/events/event-reference/inapp#inappclick) (~1).
## Read more
---
- [Aggregates](/docs/crm/aggregates)
- [In-app messages](/docs/campaign/in-app-messages)
- [Snippets](/docs/assets/snippets)
- [Mobile campaigns](/docs/campaign/Mobile)
- [Using in-app template builder](/docs/campaign/in-app-messages/creating-inapp-templates/creating-inapp-template)
# Personalize item suggestions based on a clicked advertisement
In today's digital landscape, delivering personalized experiences to customers has become essential for businesses to stand out and engage their audience effectively. One powerful approach to personalization is tailoring the content and product offerings based on the traffic source that brings visitors to a personalized landing page.
This use case describes the process of implementing a dynamic content that displays item suggestions which are based on the clicked ad.
Before you proceed to implementing this use case, you must configure an external advertisement campaign within which UTMs are added to URLs. These UTMs will be used in the targeting options of the dynamic content campaign, enabling the display of items suggestions based on the clicked ad.
This use case provides you with an HTML code for the dynamic content to be edited in the [dynamic content template builder](/docs/campaign/dynamiccontent/creating-dynamic-content-templates/dynamic-content-template-builder). When you paste it to the editor, you will be able to configure the fields in the template by means of a user-friendly configuration form.
The HTML code of the dynamic content consists of the following configurable elements:
- The banner field in which you can paste a link to the image of the collection
- The field with the main title displayed in the dynamic content
- One object, dedicated to one item. The object let you define the title of the product, its description and price, and the link to the product's image.
- Recommendation selection section.
## Prerequisites
---
- [Configure AI engine](/docs/settings/configuration/ai-engine-configuration/engine-configuration-for-recommendations) and enable it for personalized recommendations.
- Prepare an external advertising campaign for specific product category and configure UTM parameters for the ads.
- Create a [landing page](/docs/campaign/landing-page). The dynamic content will be displayed on this page.
## Process
---
In this use case, you will go through the following steps:
1. [Create a recommendation campaign](/use-cases/personalization-based-on-traffic-source#create-a-recommendation-campaign) which promotes the specific product category.
2. [Create a dynamic content](/use-cases/personalization-based-on-traffic-source#create-an-editable-dynamic-content) that will display the item collection based on the ad a customer has been redirected from.
## Create a recommendation campaign
---
Create a recommendation campaign that will return the items of the specific category. Such recommendation will return the items based on customer's behavior on the website and browsing history.
1. Go to **AI Hub > (AI Recommendations) Models > Add recommendation**
2. Enter the meaningful name of the recommendation.
3. In the **Type & Items feed** section, click **Define**.
1. From the **Items feed** dropdown list, select the main catalog with all products and categories.
2. As the type, select **Personalized**.
4. Click **Apply**.
4. In the **Items** section, click **Define**.
5. Click **Add slot**. You can name the slot for later reference.
6. In the **Number of items** subsection, set the minimum and maximum number of items to `6`.
Setting the minimum and maximum number of items to the same number ensures that exactly this many items will appear in the slot.
7. From the **Statics filters** dropdown, click **define filter** and choose **Visual Builder**.
8. In the visual builder, choose the **category** (or **brand**) attribute and set its value to the category from which the items will be presented in the recommendation.
8. Additionally, if you want to, you can apply [other filters types](/docs/ai-hub/recommendations-v2/recommendation-filters) to specify the range of items displayed in the recommendation.
9. In the **Items** section, click **Apply**.
10. In the **Boosting** section, you can enable [define boosting rules](/docs/ai-hub/recommendations-v2/creating-recommendation-campaign#define-the-boosting-factors).
11. Optionally, in the **Additional settings** section, you can exclude the items which were already purchased or select the metric according to which the items will be ordered in the recommendation.
12. Save the recommendation by clicking **Save**.
## Create an editable dynamic content
---
In this part of the process, you will create a dynamic content campaign dedicated to a specific category. The provided HTML code has defined variables that can be easily customized to meet your unique business needs using the configuration form. The variables that are defined include: title, description, price, item link, and image link.
1. Go to **Experience Hub > Dynamic Content > Create new**.
2. Enter the name of the content.
3. Choose the **Insert object** type.
2. In the **Audience** section, select **Everyone**.
3. In the **Content** section, select **Simple message**, and specify the CSS selector where you want to insert dynamic content to your website.
4. Click **Create Message > New template**.
5. In the code editor, insert Jinjava with the configurable boxes and add your own CSS.
Below you will find the ready-to-use code with variables that will appear in the configuration form. You can implement it in your campaign, add CSS with specific styles and fill the config boxes based on your preferences. What is important, the code contain information about one exemplary item. You can add as many items as you want.
Dynamic content settings
6. Additionally, you can add to the campaign as an insert link to the recommendation campaign with products from a specific brand. Click **Insert**, select **AI Recommendations 2** from the list and choose the recommendation campaign crated in the [previous step](/use-cases/personalization-based-on-traffic-source#create-a-recommendation-campaign).
7. Click **Get HMTL code**, click **Copy to clipboard** button visible on the upper right side of the screen.
8. Go to the HTML tab of the campaign editor on the right side of the screen and paste the code below the code added before.
7. Add CSS styles based on your business assumptions.
8. Save the template.
5. In the **Schedule** section, select the date when the dynamic content is activated.
6. In **Display settings**, define the circumstances for displaying the content.
1. In the **Triggers** section, select **on landing**.
2. Click **Advanced options**, go to the **Page targeting** section.
3. Below the **Display on pages** banner, click **Add rule**.
4. From the left dropdown list, select **RegExp**.
5. In the right field set the URL where you want your dynamic content to be shown. Add the UTMs of the external campaign. It will decide which DC campaign should be displayed.
3. In the **Frequency** section, select **Always**.
4. In the **stop display** section, select **Never**.
5. In the **Device** section, select on which device you want to show the dynamic content.
6. Confirm by clicking **Apply**.
7. In the **UTM & URL parameters** section, click **Skip step**.
8. Activate dynamic content.
Dynamic content settings
## What’s next
---
To measure campaign performance, you can create various custom analytics. Once these analytics are created, they can be brought together in a single dashboard to provide a holistic view of campaign performance, allowing you to quickly assess whether the given results met your specific campaign goals and objectives.
## Check the use case set up on the Synerise Demo workspace
---
You can check the configuration of every element of this process directly in Synerise [Demo workspace](https://demo.synerise.com/request):
- [Recommendation campaign](https://app.synerise.com/ai-v2/recommendations/rotdrWmS5iJU)
- [Dynamic content campaign](https://app.synerise.com/campaigns/create/ee4bbc3a-627d-4e20-bd95-9288cf411b23)
If you’re our partner or client, you already have automatic access to the **Synerise Demo workspace (1590)**, where you can explore all the configured elements of this use case and copy them to your workspace.
If you’re not a partner or client yet, we encourage you to fill out the contact [form](https://demo.synerise.com/request) to schedule a meeting with our representatives. They’ll be happy to show you how our demo works and discuss how you can apply this use case in your business.
## Generated events
This use case generates approximately 4 events per profile that completes the flow:
[`page.visit`](/docs/assets/events/event-reference/web-and-app#pagevisit) (~1), [`dynamicContent.show`](/docs/assets/events/event-reference/dynamic-content#dynamiccontentshow) (~1), [`dynamicContent.click`](/docs/assets/events/event-reference/dynamic-content#dynamiccontentclick) (~1), [`recommendation.generated`](/docs/assets/events/event-reference/recommendations#recommendationgenerated) (~1).
## Read more
---
- [Dynamic content](/docs/campaign/dynamiccontent)
- [Recommendations](/docs/ai-hub/recommendations-v2)
# Personalized recommendations compliant with the Omnibus Directive
The e-commerce industry is the new frontier of innovation, providing both consumers and companies with a better experience. However, there are some issues that can disrupt the relationship between the two parties. The volatility of pricing information along with promotions and discounts is one of them: it often leads to situations where users have been misled or deceived by a company's promotional scenarios. That's why the Omnibuse Directive was introduced to strengthen consumer rights and ensure a better customer experience.
The directive implements a new obligation to regulate price transparency for discounts and promotions. The purpose of this new regulation is to strengthen control over misleading business practices, ensure free access to price information, and guarantee that citizens and businesses can benefit from clear and effective information. To comply with the Omnibus Directive, for discounted products/services, companies must additionally display the lowest price that was applied during the 30-day period before the price reduction.
In this case, you will learn how to create personalized recommendations that additionally include the price that must be mandatorily displayed for discounted products using dynamic content. We want customers to know the real deal when they shop, so we've got three prices for discounted products:
- **The current promotional price**,
- **The lowest price in the last 30 days (the omnibus price)**,
- **The regular price outside the promotional period.**
This way, customers can see all the savings and get even more motivated to grab that sweet promo offer!
The most important step to take before creating a recommendation is to update your product feed. You need to expand your product feed with an additional attribute that indicates the lowest price of the discounted product from the last 30 days. In our case, this attribute is marked as **c:omnibus_price**.
Later in the process, you will see a Jinjava code containing a rule that checks if the sale price (**g:salePrice.value**) of the product is lower than the actual price (**g:price.value**). If so, this indicates that the product is discounted and the omnibus will be displayed with the discount percentage.
Note that all attribute names shown in this use case are just examples, you can use any naming for your own purposes.
If you don’t want to use dynamic content, you can retrieve recommendations through API, [using this method](https://hub.synerise.com/api-reference/ai-recommendations#operation/GetRecommendationsByCampaignV2). This way, you may keep fragile or frequently changing parameters at your end. Using the mentioned method, you retrieve the product ID from Synerise via API and pull all other necessary product information on your side.
## Prerequisites
---
- [Configure an item catalog for recommendations](/docs/settings/configuration/ai-engine-configuration/engine-configuration-for-recommendations). Enable personalized recommendations.
- [Import your product feed to AI engine](/docs/settings/configuration/ai-engine-configuration/engine-configuration-for-recommendations).
## Process
---
In this use case, you will go through the following steps:
1. [Prepare AI recommendations](/use-cases/recommendations-bestsellers#prepare-ai-recommendation).
2. [Create dynamic content campaign](/use-cases/recommendations-bestsellers#create-dynamic-content).
## Prepare AI recommendation
---
1. Go to **AI Hub > (AI Recommendations) Models > Add recommendation**.
2. Enter the name of the recommendation (it is only visible on the list of recommendations).
3. In the **Type & Items feed** section, click **Define**.
4. From the **Items feed** dropdown list, select a product feed that has a trained model.
5. Select the **Personalized** recommendation type.
6. Confirm the recommendation type by clicking **Apply**.
7. In the **Items** section, click **Define**.
8. Click **Add slot**.
9. Click the **Unnamed slot** that was created.
10. Define the minimum and maximum number of products displayed in the frame according to your needs.
11. Optionally, you can use filters to include specific items in the recommendation frame.
12. Confirm the configuration by clicking **Apply**.
13. Optionally, you can define the settings in the **Boosting** and **Additional settings** sections.
Learn more about [boosting](/docs/ai-hub/recommendations-v2/creating-recommendation-campaign#define-the-boosting-factors) and [additional settings](/docs/ai-hub/recommendations-v2/creating-recommendation-campaign#additional-settings).
14. Click **Save**.
AI recommendation campaign configuration
## Create dynamic content
---
1. Go to **Experience Hub > Dynamic content > Create new**.
2. Enter the name of the dynamic content.
3. Choose the **Insert Object** type.
4. As an audience, select the user segment for which you want to display the recommendation.
5. In the **Content** section, select **Simple message**, and specify the CSS selector where you want to insert the dynamic content with recommendations.
6. In the **Content** tab, click **Create Message**.
7. In the code editor, insert Jinjava with the AI recommendation.
Replace `your_campaign_ID` with the ID of the AI recommendation. The ID of the AI campaign is contained in the URL of the recommendation.
Replace the price attributes used in the jinjava below with price attributes with the nomenclature you have implemented at your site. In this use case, we use **g:price.value** for the original price of the product, **g:salePrice.value** for the sale price of the product and **c:omnibus_price** for the omnibus price.
8. Save the template.
9. In the **Schedule** section, select the date when the dynamic content is activated.
10. In **Display settings**, define the circumstances for displaying the content.
Instructions how to do it are available [here](/docs/campaign/dynamiccontent/creating-dynamic-content/creating-dynamic-content).
11. Confirm by clicking **Apply**.
12. In the **UTM & URL parameters** section, click **Skip step**.
13. Activate the dynamic content.
## What's next
---
You can also use the ID of the recommendation in other types of communication, described [here](/docs/ai-hub/recommendations-v2/creating-recommendation-campaign#distributing-recommendations).
## Check the use case set up on the Synerise Demo workspace
---
You can check the configuration of the campaign components directly in Synerise Demo workspace:
- [AI recommendation](https://app.synerise.com/ai-v2/recommendations/Bav1emo6BnwX),
- [Dynamic content](https://app.synerise.com/campaigns/preview/75feed6e-fee2-4562-bc63-6248714c8ed1).
If you’re our partner or client, you already have automatic access to the **Synerise Demo workspace (1590)**, where you can explore all the configured elements of this use case and copy them to your workspace.
If you’re not a partner or client yet, we encourage you to fill out the contact [form](https://demo.synerise.com/request) to schedule a meeting with our representatives. They’ll be happy to show you how our demo works and discuss how you can apply this use case in your business.
## Generated events
This use case generates approximately 5 events per profile that completes the flow:
[`dynamicContent.show`](/docs/assets/events/event-reference/dynamic-content#dynamiccontentshow) (~1), [`dynamicContent.click`](/docs/assets/events/event-reference/dynamic-content#dynamiccontentclick) (~1), [`recommendation.generated`](/docs/assets/events/event-reference/recommendations#recommendationgenerated) (~1), [`recommendation.view`](/docs/assets/events/event-reference/recommendations#recommendationview) (~1), [`recommendation.click`](/docs/assets/events/event-reference/recommendations#recommendationclick) (~1).
## Read more
---
- [Dynamic content](/docs/campaign/dynamiccontent)
- [Recommendations](/docs/ai-hub/recommendations-v2/recommendation-statistics)
- [Using recommendations in dynamic content](/developers/inserts/recommendations-v2)
# Landing page with personalized promotions shared via SMS channel
In a highly competitive digital environment, personalization is key to capturing user attention and driving higher conversion rates. Personalized promotions based on customer behavior, purchase history, and preferences can significantly enhance user experience, especially when delivered through targeted channels such as SMS notifications. By redirecting users to a personalized landing page with tailored promotions, businesses can increase engagement and sales.
This use case illustrates how personalized promotional offers can be curated and presented on a landing page that is customized for each user. The landing page displays a list of promotions based on the user’s profile, with the information gathered from their purchase history, on-site activity, and preferences. Users are directed to this landing page through an SMS campaign. This process ensures that the user is exposed only to the most relevant offers, increasing the likelihood of conversion.
In this use case, we will configure a promotion in Synerise, create an SMS campaign, and set up a landing page displaying the promotions. When the customer clicks the link in the SMS, they will be redirected to the personalized landing page with the relevant promotional content. The landing page will be created based on a predefined template which make the scenario easy to prepare by adapting the ready project to your business needs.
## Prerequisites
---
To be able to implement this use case, you must:
- [SMS account](/docs/settings/configuration/sms-account) configuration (integration e.g. with SMS API).
- Implement transaction events using [SDK](/developers/web/transactions-sdk) or [API](https://hub.synerise.com/api-reference/data-management#operation/CreateATransaction).
- If you plan to publish a landing page within your own domain, follow [the listed requirements in "Creating landing page" documentation in "Requirements for custom domains" section](/docs/campaign/landing-page/creating-landing-page); if you choose to publish it on the Synerise domain, no additional requirements are necessary.
## Process
---
In this use case, you will go through the following steps:
1. [Create promotions](/use-cases/landing-page-promotions#create-promotions).
4. [Create a landing page](/use-cases/landing-page-promotions#create-a-landing-page).
3. [Create a SMS campaign](/use-cases/landing-page-promotions#create-a-sms-campaign).
## Create promotions
---
In this part of the process, create a promotion (or more) which will be displayed on the landing page. You can create a promotion with the following scopes:
- [For selected items](/docs/ai-hub/promotions/creating-promotions) - you can select items to which you want to apply a discount
- [For entire basket](/docs/ai-hub/promotions/creating-promotions-for-entire-basket) - you can reduce the value of the whole shopping cart if its value matches the fixed price limit,
Regardless of the promotion scope, in the configuration of the promotion, in the **Content** section:
- find the **Add tag** field and add a tag of your choice. The selection of the promotions of the landing page will be narrowed down to those labeled with this tag.
Example of tag
- include all necessary promotional elements such as the product image, promotion name, description, and any other details required for displaying the promotion on the landing page. This ensures a clear presentation of the promotion to the customer, enhancing their engagement and understanding of the offer.
Make sure that all necessary promotional elements are included in the content, such as the product image, name, description, and any other details required for displaying the promotion on the landing page. Including all key elements ensures that the promotion is presented clearly and effectively to the customer, enhancing their engagement and understanding of the offer.
Alternatively, if you already created promotions in an external service, you can [import them to Synerise](/docs/automation/actions/synerise-integrations#import-promotions).
## Create a Landing Page
---
In this part of the process, you will create a landing page. We will use a predefined one, so there is no need to create the content from scratch.
1. Go to **Experience Hub > Landing Page**.
2. Enter the name of the campaign.
### Define content
---
1. In the **Content** section, click **Create Message**.
2. From the list of template folders, select a folder with the predefined **Landing Page templates**.
**Result:** You are redirected to the list of predefined templates.
3. Select the **Promotions** template. The form in the **Config** tab is pre-filled with default values, which you can modify to suit your business needs.
**Result:** You are redirected to the code editor.
4. In the **Promotions section** set up all the settings connected with promotions like the **Number of promotions** and **Number of promotions in row**. Add additional elements like **Space between promotions**, **Gap between elements in promotion**, **Background**.
Optionally: If you used a tag to categorize promotions while creating them and want to display only those with the selected tag, click **Filter promotions by tag** option and enter the tag in the **Tag name** field. This way, only the active promotions that have the specified tag will be shown on the landing page. If you leave this field empty, all activated promotions available for the given customer will be displayed.
5. In the **Enable Elements** you can decide which element should be visible on your landing page.
6. In the **Buttons, Hero, Footer,** and **General** sections, you can configure the layout and appearance of your landing page, including fonts, colors, and backgrounds, to ensure it matches your branding.
To preview the template without switched off sections, use the **Preview Contexts** option.
7. After you make changes to the template, you can check the preview.
1. Click the **Preview Contexts** button on the upper left side.
2. Enter the ID of a customer.
3. Click **Apply**.
Edit form in the Config tab
8. If the template is ready, click the arrow next to **Use in communication** in the upper right corner.
### Define schedule settings
---
1. In the **Schedule** section, click **Define**.
1. Select the timezone.
2. Select the time when the landing page will be active.
6. Click **Apply**
### Define the SEO settings
---
In this part of the process you can define technical details concerning search engine optimization and increase the chances of placing high in search results.
### Set up the URL
---
In this part of the process, you will define the URL to your landing page.
1. From the **Domain** dropdown list, select the address of your landing page.
2. Optionally, if you want to add a part to the address after the domain, in **Nice URL** provide this part, for example, `dresses-and-skirts` (don't use a slash, it is added automatically).
3. In **URL for redirecting users when the landing expires (optional)** enter the URL to which you will redirect users after the landing page expires.
4. Optionally, in **Fallback URL** enter the URL to which users will be redirected if your landing page is unavailable due to errors (for example, when it can't be rendered due to Jinjava syntax error). If you leave this field empty, users will be redirected to a generic error page.
4. In **URL preview**, you are provided with a final link to your landing page. The preview is in real time, so if you fill a domain or URL, you get the preview of the address simultaneously.
5. Confirm the settings by clicking **Apply**.
### Add optional settings
---
1. In the **HTTP headers** section, you can add custom HTTP headers to your landing page. In the **Key** and **Value** fields, enter a header and its value, respectively.
2. In the **Customize** section:
- you can add CSS and scripts to your landing page
- you can define the URLs to external sources or paste the snippets
- in the JS section under the **Advanced options** option, to enable tracking users on your landing page, you can paste the [tracking code](/developers/web/installation-and-configuration#adding-the-tracking-code-to-your-site).
### Save your campaign
---
1. After you make changes to the campaign, you can check the preview. Click the **Preview** button on the upper right side.
2. When your landing page is ready you can **Save it as a draft** or directly click **Publish**.
## Create a SMS campaign
---
In this step, create the SMS campaign with the link to the landing page with personalized list of promotions.
1. Go to **Experience Hub > SMS > Create new**
2. In the **Audience** section, choose the campaign recipients.
3. In **Content** section, click **Define**.
4. From the **Sender name** dropdown list, select the account from which the campaign will be sent.
5. Click **Create message > New template**.
The template must contain a link to the landing page. You can read more on SMS templates in ["Creating SMS templates" documentation](/docs/campaign/SMS/creating-SMS-template) .
To ensure that the landing page content is personalized and rendered specifically for the customer who is being redirected, you must pass the UUID of the customer in the link. This can be done by adding `snrs_cl` parameter in the URL in the following ways:
- by adding manually the Jinjava insert that retrieves UUID to the link, for example: `https://your.landingpage.com?snrs_cl={{customer.uuid}}`
- by inserting the link using `{% preparelink %}YOUR_LANDING_PAGE_URL{% endpreparelink %}` tags which automatically adds the `snrs_cl` parameter to the link.
You can read more about customer context in landing pages in ["Establishing customer context" section](/docs/campaign/landing-page/creating-landing-page).
6. After finishing the template, click **Use in communication**.
7. In the **Content** section, confirm the settings by clicking **Apply**.
7. In **Schedule** section, choose what time the campaign will be sent.
8. If you want to test your SMS, add your phone number and click **Send test** to check how the message is displayed.
9. To launch the campaign, in the upper right corner, click **Send**.
## Check the use case set up on the Synerise Demo workspace
---
You can check the configuration of the [landing page](https://app.synerise.com/campaigns/landing-pages/create/357dd8d8-e298-4254-9dd6-d2cf66269ee6:2024-10-07T07:58:32.436674852) with personalized product listing directly in Synerise Demo workspace.
If you’re our partner or client, you already have automatic access to the **Synerise Demo workspace (1590)**, where you can explore all the configured elements of this use case and copy them to your workspace.
If you’re not a partner or client yet, we encourage you to fill out the contact [form](https://demo.synerise.com/request) to schedule a meeting with our representatives. They’ll be happy to show you how our demo works and discuss how you can apply this use case in your business.
## Generated events
This use case generates approximately 4 events per profile that completes the flow:
[`sms.send`](/docs/assets/events/event-reference/sms#smssend) (~1), [`sms.click`](/docs/assets/events/event-reference/sms#smsclick) (~1), [`landingpage.visit`](/docs/assets/events/event-reference/landing-page#landingpagevisit) (~1), [`client.activatePromotion`](/docs/assets/events/event-reference/loyalty#clientactivatepromotion) (~1).
## Read more
---
- [Jinjava inserts](/developers/inserts)
- [Landing page](/docs/campaign/landing-page)
- [Promotions](/docs/ai-hub/promotions)
- [SMS campaigns](/docs/campaign/SMS)
# Event authorization in JS SDK with Flask
In the digital age, understanding and engaging with your customers on a personalized level has become a pivotal factor in business success. Synerise provides an efficient solution to this with its advanced tracking capabilities. By implementing the authorization of events with the Synerise tracking script, businesses can open doors to a plethora of opportunities.
Employing JWT (JSON Web Tokens) authentication for these events ensures data security, giving businesses the confidence in knowing their customer data is protected. JWT, being a compact and self-contained way for securely transmitting information, is an industry-standard for authorization. Synerise's insistence on using JWT with the RS256 algorithm provides an additional layer of security.
In essence, authorizing events with Synerise is not just about sending and receiving data. It's about transforming the way businesses interact with their customers, providing them with unique, personalized experiences, all the while ensuring the utmost data security. This integration is an essential step for companies aiming for growth, increased customer satisfaction, and improved ROI.
In our step-by-step guide to authorizing events with Synerise, we'll be leveraging two prominent technologies: Python Flask and JavaScript React. Flask is a lightweight web framework for Python, ideal for creating small to medium-sized web applications with ease and efficiency. On the other hand, React is a renowned JavaScript library developed by Facebook, designed for building user interfaces in a modular and reactive manner. Together, Flask will power our backend, providing necessary endpoints and logic, while React will drive our frontend, ensuring a seamless user experience. This combination allows for a robust and scalable solution, optimized for both development and production scenarios.
After you complete this integration and your website is ready to authorize events with JWT, you can start requiring authorization for sensitive events. For details on enabling JWT requirements for events, see ["Event authentication settings"](/docs/assets/events/event-settings).
Overview of JWT implementation logic
### Prerequisites
---
- Public RSA key added to Synerise. If keys were not added before, check how you can add them [here](/developers/web/jwt-auth#prerequisites).
- Local machine with installed Python and Node environments.
- Tracking code added to your React website.
- Basic skills in React and Python.
### Process
---
The logic is described in [Authenticating requests with JSON Web Tokens (JWT)](/developers/web/jwt-auth) and this use case presents an example implementation step by step.
1. [Implement back-end](/use-cases/anonymous-profile-to-recognized#implement-back-end)
2. [Implement front-end](/use-cases/anonymous-profile-to-recognized#implement-front-end)
### Implement back-end
---
Before creating the front-end, we must create a backend—our bridge to the Synerise platform. The PyJWT and cryptography libraries ensure that a secure JWT is created according to Synerise's standards. The primary endpoint, **/generate-jwt** (created with Flask), facilitates this by generating a JWT from customer data.
#### Install libraries
Using the `pip install Flask PyJWT cryptography` command, install three Python packages: Flask, PyJWT, and cryptography.
Explanation of these packages:
- **[Flask](https://flask.palletsprojects.com/en/3.0.x/)** - Lightweight web framework for Python. We will use it to create the web server and define the API endpoint to generate JWT and return it to our React application.
- **[PyJWT](https://pyjwt.readthedocs.io/en/stable/)** - Python library which allows encoding and decoding JSON Web Tokens (JWT).
- **[cryptography](https://github.com/pyca/cryptography)** - Python library that offers secure cryptographic operations, essential for RS256 algorithm support in generating JWTs in our project.
When developing any Python application, it’s a best practice to use virtual environments! Virtual environments allow you to create isolated Python environments for different projects, avoiding conflicts between dependencies.
#### Implement the Flask application
The application imports the private RSA key, which is needed to sign the JWT.
The **/generate-jwt** endpoint of the application accepts POST requests with customer information (email and UUID) and uses that data to generate a JWT compliant with Synerise's requirements.
Error handling is included in the code. To better understand the code, read the comments.
from flask import Flask, jsonify, request
import jwt
import datetime

app = Flask(__name__)

## Load the RSA private key for JWT signing.
## Synerise requires JWTs to be signed with RSA.

with open('private.pem', 'r') as f:
    PRIVATE_KEY = f.read()

@app.route('/generate-jwt', methods=['POST'])
def generate_jwt():

    """
    Endpoint to generate JWT using the RS256 algorithm, as required by Synerise. This method expects a JSON payload containing the "email" and "uuid" of a customer.
    """

    # Retrieve the JSON payload from the request

    data = request.get_json()

    # Ensure both 'email' and 'uuid' are present in the request
    # As per documentation, the JWT payload should include customer's email and UUID.

    if not data or 'email' not in data or 'uuid' not in data:
        return jsonify({'error': 'Missing email or uuid in request'}), 400

    email = data['email']
    uuid = data['uuid']

    # JWT header as defined in the documentation
    # Synerise requires the JWT to use the RS256 algorithm.

    headers = {
        "alg": "RS256",
        "typ": "JWT"
    }

    # JWT payload as per Synerise's requirements

    payload = {
        "exp": datetime.datetime.utcnow() + datetime.timedelta(days=7),  # Token expiry set to 7 days as stated in the documentation
        "uuid": uuid,   # customer's UUID
        "email": email  # customer's email
    }

    # Generate the JWT token
    # The token is signed with the RSA private key as required by the documentation.
    token = jwt.encode(payload, PRIVATE_KEY, algorithm="RS256", headers=headers)


    return jsonify({'jwt': token})


if __name__ == '__main__':

    # Start the Flask application

    app.run(debug=True)
### Implement front-end
---
The front-end part is modular to ensure efficiency and easier maintenance.
The **useSyneriseAuthentication** hook creates an UUIDv5 for the customer and uses it in the request for a JWT.
Next, the hook is used in the **LoginForm** component, which collects the customer's email that's passed to the hook for creating a JWT.
To better understand the code, read the comments.
#### Implement custom authentication hook
import { useState } from 'react';


/**
 * Custom hook to handle Synerise authentication.
 */
function useSyneriseAuthentication() {
    const [loading, setLoading] = useState(false);
    const [error, setError] = useState(null);


    // Function to generate UUIDv5 based on a salt and unique identifier
    const generateUUIDv5 = (uniqueIdentifier) => {
        const salt = "someString";
        return uuid.uuid5(uuid.NAMESPACE_URL, (salt + uniqueIdentifier));
    };


    // Function to fetch JWT from the backend
    const fetchJWT = async (email, uuidValue) => {
        const response = await fetch('/generate-jwt', {
            method: 'POST',
            headers: {
                'Content-Type': 'application/json',
            },
            body: JSON.stringify({ email, uuid: uuidValue }),
        });


        if (!response.ok) {
            throw new Error("Failed to fetch JWT");
        }


        const { jwt } = await response.json();
        return jwt;
    };


    // Function to authenticate a user with Synerise
    const authenticate = async (email) => {
        setLoading(true);
        setError(null);


        try {
            const existingIdentityHash = SR.client.getIdentityHash();
            const hashedEmail = SR.client.hashIdentity(email);

            let uuidValue;

            if (!existingIdentityHash || hashedEmail !== existingIdentityHash) {
                uuidValue = generateUUIDv5(email); // Derive from a cookie in a real-world scenario

                const jwt = await fetchJWT(email, uuidValue);
                SR.client.setUuidAndidentityHash(hashedEmail, uuidValue);
                SR.client.setAccessToken(jwt);
            } else {
                // Identity matches the current customer; Continue with the existing JWT
                // This can be enhanced based on specific requirements
            }

            setLoading(false);
        } catch (err) {
            setError(err.message);
            setLoading(false);
        }
    };


    return { authenticate, loading, error };
}


export default useSyneriseAuthentication;
#### Implement LoginForm component
Below you can find the example of useSyneriseAuthentication usage:
import { useState } from 'react';
import useSyneriseAuthentication from './useSyneriseAuthentication'; // Ensure you've created this hook as mentioned earlier.


function LoginForm() {
    const [email, setEmail] = useState('');
    const syneriseAuth = useSyneriseAuthentication();


    const handleSubmit = async (event) => {
        event.preventDefault();


        // Initiate authentication process using the provided email
        const success = await syneriseAuth.authenticate(email);


        if (success) {
            console.log("Authentication successful.");
            // Here, you can redirect or update the UI as necessary.
        } else {
            console.log("Authentication failed.");
            // Handle failure, maybe show an error message or retry.
        }
    };


    return (
        <div>
            <h2>Login</h2>
            <form onSubmit={handleSubmit}>
                <div>
                    <label>Email:</label>
                    <input
                        type="email"
                        value={email}
                        onChange={e => setEmail(e.target.value)}
                        required
                    />
                </div>
                <div>
                    <button type="submit">Login</button>
                </div>
            </form>
        </div>
    );
}


export default LoginForm;
Test the solution and adapt it to fit your specific needs. For example, we recommend adding authentication on your website before a visitor can request the JWT and start sending events.
### What's next
---
Send events from your website as described in ["Event tracking"](/developers/web/event-tracking).
### Generated events
This use case does not generate any events.
### Read more
---
[Introduction to events](/docs/assets/events/introduction-to-events).
# Referral program
Want an effective way to attract new customers? Use referral programs to work for you. Referral marketing is a great way to reach out to future customers while engaging your current ones to endorse your brand. A win-win benefit for both parties.
Referral programs are one of the most powerful tools in building your sales by encouraging your customers to share something valuable with their friends. The power of a customer recommending your product to their friends is undeniable. When they do, they not only help you win business, but also increase awareness of your brand, which ultimately helps you reap big profits.
This use case describes the process of creating a refferal program by which current users of a mobile app can refer it to their friends and earn additional loyalty points for this action.
**The main principles of the referral program:**
**Referrer**
An active user of the application can refer it by distributing its unique code among friends and will receive 500 loyalty points as a reward.
The list below contains the business assumptions this use case is based on:
- A unique code is generated for each active app user, which they can share with their friends as a part of the referral program. In order to see their code, users must verify phone number first. Only after the phone number is correctly verified, the code is displayed in the user's account.
- A user can only receive 500 loyalty points when the invitee downloads the app, makes a purchase for min. $20, and has a verified phone number.
- A user can recommend the app to a maximum of 3 people. When as all 3 invited users make a purchase, the referrer receives points (3x500) and the code section disappears which means the user can no longer continue to refer the app.
- Loyalty points can only be awarded to the referrer.
- The referrer is informed each time after receiving loyalty points for referring the application through a mobile push.
**Invitee**
- A new user does not receive additional loyalty points for using the provided code.
- The new user must have a verified phone number for the referrer to receive loyalty points.
To simplify naming in this use case, in further steps of the process referrer will be represented as `user 1` and invitee will be described as `user 2`.
## Prerequisites
---
- Implement [loyalty programs basics](/use-cases/loyalty-programs-basics)
- Integrate Synerise [mobile SDK](/developers/) in your mobile application.
- Implement [mobile pushes](/developers/mobile-sdk/configuring-push-notifications) in your mobile application.
- [Configure mobile push notifications](/docs/campaign/Mobile/mobile_campaign)
## Process
---
In this use case, you will go through the following steps:
1. [Create an aggregate](/use-cases/referral-program#create-an-aggregate-that-counts-the-sum-of-all-user-transactions) that counts the sum of all user transactions.
2. [Create a segment](/use-cases/referral-program#create-a-segment-of-users-who-meet-the-requirements-of-the-referral-program) of users who meet the requirements of the referral program.
3. [Create an expression](/use-cases/referral-program#create-an-expression-that-determines-the-number-of-points-awarded-for-each-referral) that determines the number of points awarded for each referral.
4. [Create an expression](/use-cases/referral-program#create-an-expression-to-determine-the-maximum-number-of-points-to-be-awarded) to determine the maximum number of points to be awarded.
5. [Create a workflow](/use-cases/referral-program#create-a-workflow-that-generates-a-unique-referral-code) that generates a unique referral code for the user 1.
6. [Create a workflow](/use-cases/referral-program#create-a-workflow-that-adds-referral-points) that adds referral points to user 1.
7. [Create an expression](/use-cases/referral-program#create-an-expression-that-calculates-the-number-of-points-remaining-for-user-1) that calculates the number of points left.
8. [Prepare a mobile push notification](/use-cases/referral-program#prepare-a-mobile-push-notification).
9. [Create a workflow](/use-cases/referral-program#create-a-workflow-that-assigns-the-number-of-points-awarded) that assigns the number of codes awarded to user 1.
## Create an aggregate that counts the sum of all user transactions
---
In this part of the process, create an aggregate that returns the sum of all transactions a user made. This aggregate will be used to describe a condition (an invited user must spend at least $20, so the referring person can receive loyalty points for a referral) in a segmentation that will be created in further part of the proces.
1. Go to **Behavioral Data Hub > Live Aggregates > Create aggregate**.
2. As the aggregate type, select **Profile**.
2. Enter the name of the aggregate.
3. Click **Analyze profiles by** and select **Sum**.
4. From the **Choose event** dropdown list, select the **transaction.charge** event.
5. As the event parameter, select **$revenue**.
6. Set the period from which the aggregate will analyze results to **Lifetime**.
7. Save the aggregate.
Aggregate settings
## Create a segment of users who meet the requirements of the referral program
---
The conditions that **user 2** must meet include:
- execution of transactions for a minimum of $20,
- verification of the phone number,
- user 1 can receive loyalty points for a successful referral of a friend only once - the last condition is a security feature: **webhook.response** with the addition of points to **user 1** can not occur more than 1 time.
1. Go to **Decision Hub > Segmentations > New Segmentation**.
2. Enter the name of the segmentation.
3. Choose **Add condition** and find the [aggregate counting the sum of all user transactions](/use-cases/referral-program#create-an-aggregate-that-counts-the-sum-of-all-user-transactions), created in the previous step.
4. From the **Choose operator** dropdown, choose **Number**, and then select **More or equal to**.
5. In the next field, enter the required transaction value, in our case it is `20`.
6. Choose **Add condition** and find **phoneVerified** tag.
7. From the **Choose operator** dropdown, choose **Is true**.
8. Choose **Add condition** and find **webhook.response** event.
9. Click the + where button, from the **Choose parameter** dropdown menu, choose **name**.
10. From the **Choose operator** dropdown, choose **Contain**.
11. In the next field, type `add points to user 1`.
`add points to user 1` is the name of the Outgoing Integration node used in [this automation](/use-cases/referral-program#create-a-workflow-that-adds-referral-points).
12. Change the **Performed** action to **Not performed** by clicking the **Performed** word.
13. Set the period from which the aggregate will analyze results to **Lifetime**.
14. Save the aggregate.
The segmentation settings
This segmentation will be used [in a workflow that assigns loyalty points to user 1](/use-cases/referral-program#create-a-workflow-that-adds-referral-points).
## Create an expression that determines the number of points awarded for each referral
---
In this part of the process, create an expression that will later be used to assign a defined number of points to **user 1** for an application referral. In our case, each user receive 500 points for each referral.
1. Go to **Behavioral Data Hub > Expressions > New expression**.
2. Enter the name of the expression.
3. Leave the **Expression** option at default (**Attribute**).
4. Click the **Select** button.
5. Choose **# Constant**.
6. Open the settings of Constant value by clicking `0`.
7. In the field below, type `500`
8. Click **Save**.
## Create an expression to determine the maximum number of points to be awarded
---
In this part of the process, you will create an expression that determines the maximum number of points that can be awarded to **user 1**. In our case, it is 1500 points. This expression will be used to [calculate the number of points remaining for user 1](/use-cases/referral-program#create-an-expression-that-calculates-the-number-of-points-remaining-for-user-1).
1. Go to **Behavioral Data Hub > Expressions > New expression**.
2. Enter the name of the expression.
3. Leave the **Expression** option at default (**Attribute**).
4. Click the **Select** button.
5. Choose **# Constant**.
6. Open the settings of Constant value by clicking `0`.
7. In the field below, type `1500`
8. Click **Save**.
## Create a workflow that generates a unique referral code
---
In this part of the process, you will create a workflow that will generate a unique referral code for both new users who are about to join the application and existing ones, which will be stored in the **my_referral_code** attribute. In addition, you will generate a special attribute that will be used to count the number of codes granted to **user 1** - **referral_points_received**.
1. Go to **Automation Hub > Workflows > New workflow**.
2. Enter the name of the workflow.
### Define the trigger nodes
Configure the conditions that will trigger the workflow. In this case, you will run a workflow for new users who are just joining the application and for existing users for whom the code has not been generated yet.
#### Define the Profile Event node
1. As the first node of the workflow, add **Profile Event**. In the configuration of the node:
1. From **Choose event** dropdown menu, choose `client.add` event.
2. Confirm by clicking **Apply**.
#### Define the Audience node
1. Add the **Audience node**.
2. In the configuration of the node, leave the value of the **Run trigger** option at default (**one time**).
3. In **Define audience**, choose **New Audience** and click **Define conditions**.
1. As the first condition, from **Choose filter** dropdown menu, choose `anonymous_type` attribute.
2. From the **Choose operator** dropdown list, select **Equal**.
3. **Result**: A text field appears.
4. In the text field type `NONE`.
The `anonymous_type` attribute determines whether the profile is anonymous or recognized. By selecting the value `NONE`, you will include only recognized users.
5. Click **Choose filter** and from the dropdown list, select **my_referral_code**.
6. From the **Choose operator** dropdown list, select **Boolean - Is true**.
7. Change the **Profiles matching attribute** option to **Profiles not matching attribute** by clicking the **matching** word.
8. Click **Apply**.
### Add the Merge Paths node
Join the paths of the triggers created in the previous step by adding a **Merge Paths** node.
### Configure the Delay node
1. Add the **Delay** node. In the node settings:
1. In the **Delay** field, type `3`.
2. From the dropdown list, choose **Second**.
2. Click **Apply**.
### Define the Profile Filter node
In this step, you will check whether the user passing this workflow already has the **my_referral_code** attribute assigned to their profile. If the user does not have the **my_referral_code** attribute, it will be generated in the next step of the workflow. If the user already has this attribute assigned, the flow ends.
1. Add the **Profile Filter** node.
2. In the settings of the node, click **Choose filter** and from the dropdown list, select **my_referral_code**.
3. As the **Operator**, choose **Boolean - Is false**.
4. Click **Apply**.
5. Add the **End** node to the unmatched path from the **Profile Filter** node.
### Define the Update Profile node
In this part of the process, you will create an attribute **my_referral_code** for users who do not have this attribute yet.
- The attribute value with a unique referral code will be generated using the Jinjava code presented in the following steps.
- The generated code will be used by **user 1** to invite friends to the application.
For later tracking of points received by **user 1**, an additional attribute is added - **referral_points_received**, which is initially assigned the value `0`, since the user has not yet received points for the referral.
1. Join the matched paths from the **Profile Filter** node with the **Update Profile** node.
2. From the left dropdown list, select **Attributes > my_referral_code**.
3. From the right dropdown list, select **Change**.
4. In the text field, add Jinjava that will generate a unique reference code for **user 1** based on the user's unique client ID.
For security reasons, we do not publish any examples. In case you need any support in creating such a unique mechanism, do not hesitate to contact us, we will be happy to help.
5. Click **Add field** and from the dropdown list, select **Attributes > referral_points_received**
6. From the right dropdown list, select **Change**.
7. In the text field, enter `0`.
8. Click **Apply**.
The configuration of the Update Profile node
9. Select the **End** node.
Final configuration of the workflow
## Create a workflow that adds referral points
---
In this part of the process you will create a workflow that will add points to **user 1** if all the necessary conditions are met, such as:
- **user 2** has made a transaction for a minimum of $20,
- **user 2** has a verified phone number,
- **user 1** has not exceeded the limit of the possible number of referrals (3 referrals).
1. Go to **Automation Hub > Workflows > New workflow**.
2. Enter the name of the workflow.
### Define the trigger nodes
Configure the conditions that will trigger the workflow. In this case, the workflow is triggered for invited users who have already verified their phone number or completed a transaction. Meeting both conditions will also be checked in a further step of the workflow.
#### Define the Profile Event node
1. As the first node of the workflow, add **Profile Event**. In the configuration of the node:
1. From **Choose event** dropdown menu, choose `transaction.charge` event.
2. Confirm by clicking **Apply**.
#### Define the Profile Event node
1. Add **Profile Event**. In the configuration of the node:
1. From **Choose event** dropdown menu, choose `client.addTag` event.
2. Click the + where button, from the **Choose parameter** dropdown menu, choose **name**.
3. From the **Choose operator** dropdown, choose **Equal**.
4. In the next field, type `phoneVerified`.
The tag name shown in this case is only an example. You can use any other tag that is dedicated to recognizing a verified phone number.
2. Confirm by clicking **Apply**.
### Add the Merge Paths node
Join the nodes defined in the previous step into a single path using the **Merge Paths** node.
### Configure the Delay node
1. Add the **Delay** node. In the node settings:
1. In the **Delay** field, type `10`.
2. From the dropdown list, choose **Second**.
2. Click **Apply**.
### Define the Profile Filter node
In this step, you will verify if all conditions have been met in order to assign points to **user 1** . If not, the workflow ends for a user.
1. Add the **Profile Filter** node.
2. In the settings of the node click **Choose filter** and from the dropdown list, select the segmentation you already created in [this step](/use-cases/referral-program#create-a-segment-of-users-who-meet-the-requirements-of-the-referral-program).
3. As the **Operator**, choose **Boolean - Is true**.
4. Click **Apply**.
### Define the Outgoing Integration node
In the **Outgoing Integration** node, you will create a webhook that will find the user to whom the points should be assigned - **user 1**.
Outgoing Integration will be performed only for users who meet the conditions defined in the **Profile Filter** node, otherwise the flow is finished - to the **Not matched** path from the **Profile Filter** node, add the **End** node.
1. Add the **Outgoing Integration** node for the matching path.
2. In the **Definition** section, choose the **Custom webhook** tab.
3. In the **Webhook name** field, enter a name for the webhook. In this case `find user 1`.
4. Select the **GET** method.
3. In the URL of the endpoint, enter `https://api.synerise.com/crm/v1/list?search=my_referral_code:{{client.friends_referral_code}}`.
We are looking for a profile in Synerise whose attribute value corresponds to the referrer.
5. In the **Authorization** section, select **by API key** as your method of authorization.
6. From the dropdown list below, select your **API key**.
7. Click **Apply**.
### Define the Event Filter node
In this step, you will check whether:
- **user 1** has been found,
- **user 1** has already reached the maximum number of possible points received from the referral program,
- there are no phone fraud tags for this user (the number of that user isn't used in more than one profile).
1. As the next node, add **Event Filter**. In the configuration of the node:
1. In the **Check** field, leave the default value **without limits**.
2. In the **Define conditions** field, from the **Choose event** dropdown menu, choose `webhook.response` event.
3. Click the + where button, from the **Choose parameter** dropdown menu, choose **name**.
4. From the **Choose operator** dropdown, choose **Equal**.
5. In the next field, type `find user 1`.
6. From the **Choose parameter** dropdown menu, choose **body.customers[0].referral_points_received**.
In order for such a parameter to appear in the webhook.response options, you need to launch the automation at least once for a test user.
7. From the **Choose operator** dropdown, choose **Less or equal**.
8. In the next field, type `3`
2. Confirm by clicking **Apply**.
### Define the Outgoing Integration node
In this **Outgoing Integration** node, you will create a webhook that sends the **points.upcharge** event that adds points to **user 1**.
1. Add the **Outgoing Integration** node for the matching path.
2. In **Definition** section, choose the **Custom webhook** tab.
3. In the **Webhook name**, field enter a name for the webhook. In this case `add points to user 1`.
4. Select the **POST** method.
3. In the URL of the endpoint, enter `https://api.synerise.com/v4/events/custom`.
5. In the headers section:
- set `content-type` value to `application/json`
- set`accept` value to `application/json`
- define `api-version` to `4.4`
6. Enter the request body. The structure of the request body includes:
- the expression created in [this step](/use-cases/referral-program#create-an-expression-that-determines-the-number-of-points-awarded-for-each-referral)
- dynamic reference to a customer ID
7. In the **Authorization** section, select **by API key** as your method of authorization.
1. From the dropdown list below, select your **API key**.
8. Click **Apply**.
### Add the End node
1. On the **Outgoing Integration** node, click the plus button.
2. From the dropdown list, select **End**.
3. Save and activate the automation by clicking **Save&Run**.
Final configuration of the workflow
## Create an expression that calculates the number of points remaining for user 1
---
In this part of the process, you will create a formula that will calculate the number of points remaining for **user 1**. To do this, you will subtract the value of the **points.upcharge** event from [the expression with the maximum number of points](/use-cases/referral-program#create-an-expression-to-determine-the-maximum-number-of-points-to-be-awarded).
1. Go to **Behavioral Data Hub > Expressions > New expression**.
2. Enter the name of the expression.
3. Leave the **Expression** option at default (**Attribute**).
4. In the formula of the expression:
1. Click **Select**.
2. From the dropdown list, select **Function > Profile**.
3. Click the **unnamed** node.
4. At the bottom of the page, click **Choose attribute**.
5. From the dropdown list, select the [expression with the maximum number of points](/use-cases/referral-program#create-an-expression-to-determine-the-maximum-number-of-points-to-be-awarded) you created earlier.
6. Click + button and from the dropdown list select **Profile**.
7. Click the **unnamed** node.
8. At the bottom of the page, click **Choose attribute**.
9. From the dropdown list, select the **points.upcharge** attribute.
10. Click the + button and change it to `-`.
11. In the upper-right corner, click **Save**.
12. In the upper-right corner, click **Publish**.
Final configuration of the expression
## Prepare a mobile push notification
---
Prepare a mobile push notification informing about the number of points awarded and points remaining for **user 1**, which will be used in the workflow created in the next steps of the process.
1. Go to **Experience Hub > Mobile > Templates**.
2. Create your mobile push using the code editor or Drag&drop builder.
3. If you use the code editor, you can use the code sample available below and adjust it as needed.
Remember to change the expression IDs in this code, as they refer to the expressions created in this use case.
Check the Jinjava code
{ "notification": { "title": "You have earned 500 points!", "body": "Congratulations!!! You just earned 500 points for the registration of a new referred user!", "sound": "default", "priority":"high" }, "data": { "issuer": "Synerise", "message-type": "static-content", "content-type": "simple-push", "content": { "notification": { "action": { "type": "OPEN_APP" } } }, "payload": { "type": "points-earned", "pointsReward": "{% expression %} f05e644c-7009-49d0-9208-18e9319af4a5 {% endexpression %}", "title": "You have earned 500 points!", "subtitle": "Thank you for being with us!", "description": "You receive 500 points for the registration of a new user. You can earn {% expression %} 819f23f5-4f97-4039-b3ef-eb83130ac7c6 {% endexpression %} more points for the registration of additional users in the application." } } }
## Create a workflow that assigns the number of points awarded
---
In this part of the process, you will create a workflow that will assign the amount of times that points have been awarded to **user 1**. This information is stored in the **referral_points_received** attribute. Once the **referral_points_received** attribute is updated, **user 1** will receive information about the number of points still to be earned, in the form of a mobile push.
### Define the Profile Event node
Configure the condition that will trigger the workflow. This workflow will be triggered by the event generated in the previuos step - `points.upcharge`.
1. Add the **Profile Event** node. In the configuration of the node:
2. From **Choose event** dropdown menu, choose `points.upcharge` event.
3. Click the + where button, from the **Choose parameter** dropdown menu, choose **description**.
4. From the **Choose operator** dropdown, choose **Contain**.
5. In the next field, type `referral_points`.
6. Confirm by clicking **Apply**.
### Configure the Delay node
1. Add the **Delay** node. In the node settings:
1. In the **Delay** field, type `3`.
2. From the dropdown list, choose **Second**.
2. Click **Apply**.
### Define the Profile Filter node
In this step, as well as in further steps related to the **Profile Filter** node, you will check whether the **user 1** **referral_points_received** attribute is equal to `0`, `1` or `2`, presenting the total number of times user 1 has received referral points.
Depending on the value of the attribute, it will be increased by one.
For example:
- if the attribute value is equal to `0`, it will be updated to `1`;
- if the attribute value is equal to `1`, it will be updated to `2`;
- if the attribute value is equal to `2`, it will be updated to `3`.
1. Add the **Profile Filter** node.
2. In the settings of the node, click **Choose filter** and from the dropdown list, select **referral_points_received**.
3. As the **Operator**, choose **Equal**.
4. In the next field, enter `0`.
5. Click **Apply**.
6. To the **Matched** path, add the **Update Profile** node.
### Define the Update Profile node
In this part of the process you will update the **referral_points_received** attribute by increasing its value by a unit.
1. Select the **Update Profile** node.
2. From the left dropdown list, select **Attributes > referral_points_received**.
3. From the right dropdown list, select **Change**.
4. In the text field, type `1`.
5. Click **Apply**.
### Define the Send Mobile Push node
Add **Send Mobile Push** node. This node will send a mobile push to **user 1** with information about the number of points still available to earn from the referral campaign.
1. Select the type of the mobile push notification as **Simple Push**.
2. Select the push template, created [in this step](/use-cases/referral-program#prepare-a-mobile-push-notification) with the information about points gained.
3. Skip the **Additional parameters**.
3. Confirm the settings by clicking **Apply**.
### Add the End node
Add the **End** node for this part of the flow.
To the **Not Matched** path from the [Profile Filter node](/use-cases/referral-program#define-the-profile-filter-node-2) add **Profile Filter node**.
### Define the Profile Filter node
In this step, you will check whether the attribute **referral_points_received** of **user 1** is equal to `1`.
1. Add the **Profile Filter** node after the first **Profile Filter** node.
2. In the settings of the node, click **Choose filter** and from the dropdown list, select **referral_points_received**.
3. As the **Operator**, choose **Equal**.
4. In the next field, type `2`.
5. Click **Apply**.
6. Define the **Update Profile** node for the **Matched** path.
For the **Matched** path:
1. Define the **Update Profile** node in the same way as in the [previous node](/use-cases/referral-program#define-the-update-profile-node-1), but updating the value of the **referral_points_received** attribute to `2`.
2. Add **Send Mobile Push** node with the same settings as in [this step](/use-cases/referral-program#define-the-send-mobile-push-node) of the process.
3. Add the **End** node.
For the **Unmatched** path of the [Profile Filter node](/use-cases/referral-program#define-the-profile-filter-node-3):
1. Define **Profile Filter** node that will check whether the attribute **referral_points_received** of **user 1** is equal to `2`.
For the **Unmatched** path, add the **End** node.
2. For the **Matched** path:
1. Define **Update Profile** node updating the value of the **referral_points_received** attribute to `3`.
2. Add **Send Mobile Push** node.
3. Add the **End** node.
3. Save and activate the automation by clicking **Save&Run**.
Final configuration of the workflow
## Check the use case set up on the Synerise Demo workspace
---
You can check the configuration of all process steps directly in the Synerise Demo workspace:
- [Aggregate that counts the sum of all user transactions](https://app.synerise.com/analytics/aggregates/8072b100-e090-3d59-8067-c27df1e1d735)
- [Segment of users who meet the requirements of the referral program](https://app.synerise.com/analytics-v2/segmentations/9323140e-6226-4117-8b79-06bb088d828c)
- [Expression that determines the number of points awarded for each referral](https://app.synerise.com/analytics/expressions/f05e644c-7009-49d0-9208-18e9319af4a5)
- [Expression to determine the maximum number of points to be awarded](https://app.synerise.com/analytics/expressions/3581a34e-6dbb-431a-a84d-987826a28b94)
- [Workflow that generate a unique refferal code for user 1](https://app.synerise.com/automations/automation-diagram/5928505b-2814-4f20-b160-405bb2607877)
- [Workflow that add referral points to the user 1](https://app.synerise.com/automations/automation-diagram/5c270e53-3b72-462e-985b-b2eac91e5a0e)
- [Expression that calculate the number of points remaining for user 1](https://app.synerise.com/analytics/expressions/819f23f5-4f97-4039-b3ef-eb83130ac7c6)
- [Workflow that assign the number of codes granted by user 1](https://app.synerise.com/automations/automation-diagram/91b849b9-0196-4e5a-aa04-8db479c9143c)
If you’re our partner or client, you already have automatic access to the **Synerise Demo workspace (1590)**, where you can explore all the configured elements of this use case and copy them to your workspace.
If you’re not a partner or client yet, we encourage you to fill out the contact [form](https://demo.synerise.com/request) to schedule a meeting with our representatives. They’ll be happy to show you how our demo works and discuss how you can apply this use case in your business.
## Generated events
This use case generates approximately 31 events per profile that completes the flow:
[`client.add`](/docs/assets/events/event-reference/profiles#clientadd) (~1), [`automation.clientStartPath`](/docs/assets/events/event-reference/automation#automationclientstartpath) (~3), [`automation.clientPathStep`](/docs/assets/events/event-reference/automation#automationclientpathstep) (~14), [`automation.clientEndPath`](/docs/assets/events/event-reference/automation#automationclientendpath) (~3), [`profile.updated`](/docs/assets/events/event-reference/profiles#profileupdated) (~2), [`transaction.charge`](/docs/assets/events/event-reference/items#transactioncharge) (~1), [`client.addTag`](/docs/assets/events/event-reference/profiles#clientaddtag) (~1), [`webhook.response`](/docs/assets/events/event-reference/integration#webhookresponse-and-custom-webhook-response-names) (~2), `points.upcharge` (~1), [`push.send`](/docs/assets/events/event-reference/mobile-push#pushsend) (~1), [`push.view`](/docs/assets/events/event-reference/mobile-push#pushview) (~1), [`push.click`](/docs/assets/events/event-reference/mobile-push#pushclick) (~1).
## Read more
---
- [Aggregates](/docs/crm/aggregates)
- [Automation Hub](/docs/automation)
- [Expressions](/docs/crm/expressions)
- [Segmentation](/docs/analytics/segmentations)
# Personalized promotion tailored to last visited main category
In online retail, timing and relevance are key when presenting promotions. Shoppers often browse multiple sections of a website but don’t always convert immediately. By leveraging the last visited main category, businesses can deliver contextually relevant promotions that feel timely and personalized.
This use case illustrates how to dynamically display a promotion related to the last main category visited by the user — for example, if the customer recently viewed items from "Electronics", a banner or content block can highlight current deals or featured products from that specific category. This approach increases the chance of re-engagement and encourages return visits or immediate conversions by matching promotional content to current user interest.
In this use case, we return personalized promotions based on the last visited main category by the user. However, the same configuration logic can be easily adapted to display category-specific promotions directly on each category page.
To do this, you simply skip the use of segments and aggregates related to browsing history and instead implement static personalization rules per category. For example, on the “Electronics” category page, you display promotions tailored specifically to electronics products. This approach allows for consistent and relevant promotional messaging across the entire website structure.
## Prerequisites
---
- [Import your product feed to catalog](/use-cases/import-product-feed-to-catalog).
- [Integrate Synerise promotions](/docs/ai-hub/promotions/introduction-to-promotions).
- Implement transaction events using [API](https://hub.synerise.com/api-reference/data-management#operation/CreateATransaction).
## Process
---
2. [Create an aggregate](/use-cases/personalized-category-promotions#create-an-aggregate) which returns the last visited category.
1. [Create a segmentation](/use-cases/personalized-category-promotions#create-a-segmentation) for each category.
1. [Create a promotion](/use-cases/personalized-category-promotions#create-a-promotion) for each category.
4. [Create a dynamic content](/use-cases/personalized-category-promotions#create-a-dynamic-content) with the personalized promotions.
## Create an aggregate
---
In this part of the process, create an aggregate that will return the category that the user last visited.
1. Go to **Behavioral Data Hub > Live Aggregates > Create aggregate**.
2. As the aggregate type, select **Profile**.
2. Enter the name of the aggregate.
3. Click **Analyze profiles by** and select **Last**.
5. From the **Choose event** dropdown list, select the `page.visit` event.
6. As the event parameter, select **category**.
7. Add the value **product:retailer_part_no**.
8. As the value add **Is true**.
7. Set the period from which the aggregate will analyze the results to **Lifetime**.
12. Save the aggregate.
Configuration of the aggregate
## Create a segmentation
---
Create a segmentation for each category on your page. It will group the users based on the specific category being the last one they visited.
1. Go to **Decision Hub > Segmentations > New segmentation**.
2. Enter the name of the segmentation.
3. From the **Choose filter** dropdown list, select the [aggregate you created](#create-an-aggregate).
4. As the logical operator, select **Equal**.
5. Next to the logical operator, in the text field enter the name of the specific category.
Configuration of the segmentation
Duplicate the segmenaton, and repeat this step as many times as you have categories on your website, changing only the name of the category.
## Create a promotion
---
In this step, create set of promotions for each category on the website. It will be good, if all of them will be connected to categories choosen in the segmentation. In this way we will have minimum 1 promo for each form choosen categories. What is more aeach of them will be **marked with a special tag** to distinguish them from other promotions.
You can create a promotion with the following scopes:
- [For selected items](/docs/ai-hub/promotions/creating-promotions) - you can select items to which you want to apply a discount
- [For entire basket](/docs/ai-hub/promotions/creating-promotions-for-entire-basket) - you can reduce the value of the whole shopping cart if its value matches the fixed price limit
1. In the **Audience** section, choose the [segmentation](#create-a-segmentation). This way you make sure that, for example, the promotion for Electronics is only visible on the main page to users for whom Electronics was the last visited category.
Configuration of the the audience of the promotion
2. Include all necessary promotional elements such as the product image, promotion name, description, and any other details required for displaying the promotion on the landing page. This ensures a clear presentation of the promotion to the customer, enhancing their engagement and understanding of the offer.
3. In **Content** section add informaton about promotion and its details. Also add there a tag of your choice. The selection of the promotions of the dynamic content will be narrowed down to those labeled with this tag. In our case they can be tagged as **CategoryPromo**.
Configuration of the the content of the promotion
3. In the **Items** section, select the specific products or categories to which the promotion should apply.
3. In the **Types & Limits** section, define the logic of the promotion — for example, whether it’s a fixed discount, a percentage-based reduction, or a special offer limited to a certain number of uses. This configuration determines how the promotion behaves and under what conditions it is applied.
Make sure that all necessary promotional elements are included in the content, such as the product image, name, description, and any other details required for displaying the promotion on the landing page. Including all key elements ensures that the promotion is presented clearly and effectively to the customer, enhancing their engagement and understanding of the offer.
Alternatively, if you already created promotions in an external service, you can [import them to Synerise](/docs/automation/actions/synerise-integrations#import-promotions).
## Create a dynamic content
---
You can display the promotions on your home page (or category page) by using [dynamic content](/docs/campaign/dynamiccontent).
1. Go to **Experience Hub > Dynamic content > Create new**
2. Enter the name of the dynamic content.
3. Choose the **Insert Object** type.
2. As the audience, select **New Audience**.
1. Click **Define conditions**.
2. Click **Add condition** and choose the [aggregate, created in the previous step](#create-an-aggregate).
4. As the operator choose **Is not null**. In this way, the campaign will be visible only for users who have any value in the aggregate, so they have visited any category previously.
2. Confirm by clicking **Apply**.
Configuration of the the dc
2. In the body of the dynamic content, use the promotion snippet.
Read more about how to use snippets [here](/docs/assets/snippets).
Configuration of the the snippet
4. Click the snippet widget, providing quick access to a variety of useful code sections.
5. Select a category of snippets: **Profiles promotions** and add them to the template.
3. In the template editor add CSS and/or HTML to the dynamic content.
Be cautious when using the default Profile’s Promotions insert, as it may display more promotions than intended for the current campaign. To maintain control over the display, use tags specifically designated for the promotions in this use case
4. In this step, we will customize the snippet by including a line that limits the selection of promotions to those from the current campaign. In case you need to add more personalized options - read more about inserts [here](/developers/inserts/insert-usage).
5. Add **tagNames=["XXX"]** to the code in the place presented below in the example code. Remember to add the name of the tag created earlier in the place of **XXX**.
{%- set getFields=["code"] -%}
   {%- promotions fields=getFields tagNames=["categoryPromo"] -%}
   {%- for item in promotions_result -%}
   {{ item }}{%- endfor -%}
   {%- endpromotions -%}
4. [Define the rest of the settings](/docs/campaign/dynamiccontent/creating-dynamic-content).
## Check the use case set up on the Synerise Demo workspace
---
You can check the [aggregate](https://app.synerise.com/analytics-v2/aggregates/78b590fc-88bd-3831-8419-5c080efceeec), [segmentation](https://app.synerise.com/analytics-v2/segmentations/3ae2e8a9-8f63-4c51-978b-32e245cfb331) and [promotion configuration](https://app.synerise.com/campaigns/promotions/ca9b580d-e0a6-47ad-9c65-520dd68398ae) directly in Synerise Demo workspace.
If you’re our partner or client, you already have automatic access to the **Synerise Demo workspace (1590)**, where you can explore all the configured elements of this use case and copy them to your workspace.
If you’re not a partner or client yet, we encourage you to fill out the contact [form](https://demo.synerise.com/request) to schedule a meeting with our representatives. They’ll be happy to show you how our demo works and discuss how you can apply this use case in your business.
## Generated events
This use case generates approximately 3 events per profile that completes the flow:
[`dynamicContent.show`](/docs/assets/events/event-reference/dynamic-content#dynamiccontentshow) (~1), [`dynamicContent.click`](/docs/assets/events/event-reference/dynamic-content#dynamiccontentclick) (~1), [`client.activatePromotion`](/docs/assets/events/event-reference/loyalty#clientactivatepromotion) (~1).
## Read more
---
- [Dynamic content](/docs/campaign/dynamiccontent)
- [Recommendations](/docs/ai-hub/recommendations-v2)
# Send customers SMS with link to download the application
In today's retail landscape, engaging customers through smart technology is essential. This use case demonstrates how a customer service system, integrated with automation and messaging tools, can boost customer interaction. By using Synerise's API, retailers can send timely SMS notifications, promoting app downloads and driving personalized marketing campaigns.
The workflow is triggered when a customer contacts a consultant, sending an SMS with an app download link. This enhances the customer experience by providing immediate app access, improving efficiency, and encouraging deeper engagement with the platform.
This strategy fosters customer loyalty, ensures relevant, well-timed communications, and respects preferences with a weekly message cap. The integration is simple, scalable, and adaptable to future needs.
## Prerequisites
---
- [Implement a dedicated custom event](/developers/api/events/sending-events#send-custom-event-endpoint), triggered when a customer contacts a consultant, sending an SMS with an app download link. In this use case, we use `customer.call` event.
- [Integrate with the SMS provider](/docs/campaign/SMS/configuring-sms-gateway).
## Create a workflow
---
You will create a workflow which will be triggered by a custom.call event and send an SMS to a customer with a link to the application.
### Select the trigger
1. Go to **Automations > Workflow > New workflow**.
2. Enter a name of the workflow.
2. Define the trigger by choosing **Profile Event**.
3. To open the settings of the node, click the node.
4. In the settings of the node, from the **Choose event** dropdown list, select **customer.call**.
5. Confirm the settings by clicking **Apply**.
### Select the action node
1. To add a node, click **THEN**.
2. From the dropdown list, select **Send SMS**.
3. To open the settings of the node, click the node.
4. In the settings of the node, in the **Content** section, click **Define**.
5. From the **From phone number** dropdown list, select the SMS account from which the message will be sent.
6. Click **Create message**.
7. In the upper right corner, click **New template**.
8. In the **SMS Message** field, enter the contents of your message. You can [use inserts to personalize](/docs/campaign/SMS/creating-SMS-template#personalization) the message, you can use emoji to make the message look breezy or use [short links](/docs/campaign/SMS/creating-SMS-template#short-links).
Profile Event trigger configuration
9. After the content is ready, click **Use in Node**.
10. In the **Content** section, click **Apply**.
24. If you want to add custom parameters to the events generated automatically by this workflow (for example, sms.send), in the **Additional parameters** section, click **Define** and add a pair or more of parameter and value. Confirm the settings by clicking **Apply**.
25. If you want to send a test SMS, perform the instructions in the [Sending a test message](/docs/automation/actions/send-sms-node#sending-a-test-message) section.
26. You can define additional node setting such as enabling ignoring limits or global control group. You can find more information about it in [Defining additional node settings](/docs/automation/actions/send-sms-node#defining-additional-node-settings) section.
Profile Event trigger configuration
27. To confirm the node settings, click **Apply**.
**Result**:
Profile Event trigger configuration
### Add finishing node
1. To add a node, click **THEN**.
2. From the dropdown list, select **End**. This node doesn't require configuration.
Remember to define additional settings for the workflow, in this case: capping, for example 1x per week.
3. In the upper-right corner, click **Save & Run**.
## Check the use case set up on the Synerise Demo workspace
---
You can check the [workflow](https://app.synerise.com/automations/workflows/automation-diagram/5201cfbf-e695-406a-858c-949ff34e367f) configuration directly in Synerise demo workspace.
If you’re our partner or client, you already have automatic access to the **Synerise Demo workspace (1590)**, where you can explore all the configured elements of this use case and copy them to your workspace.
If you’re not a partner or client yet, we encourage you to fill out the contact [form](https://demo.synerise.com/request) to schedule a meeting with our representatives. They’ll be happy to show you how our demo works and discuss how you can apply this use case in your business.
## Generated events
This use case generates approximately 6 events per profile that completes the flow:
`customer.call` (~1), [`automation.clientStartPath`](/docs/assets/events/event-reference/automation#automationclientstartpath) (~1), [`automation.clientPathStep`](/docs/assets/events/event-reference/automation#automationclientpathstep) (~1), [`automation.clientEndPath`](/docs/assets/events/event-reference/automation#automationclientendpath) (~1), [`sms.send`](/docs/assets/events/event-reference/sms#smssend) (~1), [`sms.click`](/docs/assets/events/event-reference/sms#smsclick) (~1).
## Read more
---
[Send SMS node](/docs/automation/actions/send-sms-node)
# Low-stock abandoned cart campaign
In the constantly evolving e-commerce landscape, optimizing sales and minimizing shopping cart abandonment rates is crucial. There are several ways to prevent the abandoned cart scenarios. While the classic approach to solving this problem is well known, there is an even more effective strategy - low-stock campaigns.
To keep your potential customers from abandoning their shopping carts, consider implementing a low-stock campaign, which is a comprehensive solution that applies not only to abandoned shopping carts, but also to abandoned pages or abandoned favorite lists.
Here's how a low-stock campaign strategy unfolds, especially for abandoned shopping carts. When users add products to their shopping carts that either already have low-stock levels or are predicted to have limited availability in the near future, and fail to complete the purchase, you can capitalize on the situation by triggering your low-stock abandoned cart communication.
By promptly informing customers that the products they are at risk of selling out due to declining inventory, you provide them with a compelling reason to complete their purchase. This urgency can become a key element in the decision-making process, potentially leading to higher conversion rates.
The beauty of a low inventory campaign is that it is highly customizable. What constitutes "low inventory" is entirely up to your discretion and tailored to your specific business needs. Whether you have 10 units left or even 1000 , the definition of low inventory can fit perfectly with your inventory management strategy. This flexibility ensures that your campaign can be tailored to different product categories and customer preferences, optimizing its effectiveness.
In this use case you will learn how to create a low-stock campaign for customers with an abandoned shopping cart.
## Prerequisites
---
- [Implement a tracking code](/docs/settings/tool/tracking_codes) into your website.
- [Implement the `cart.status` event](/developers/web/cart), which stores the current status of the basket in the form of an event on the customer's card. This event must to be sent to Synerise after every change in the cart status.
- [Import product feed into the Synerise catalog](/use-cases/import-product-feed-to-catalog).
Click to see a sample catalog
Example of a catalog
- Prepare an email template for Low stock campaign. This template will be used later in the workflow.
In the template, you can retrieve the event context from the preceding nodes. In this case, you can reuse the context of a product that has been added to the cart, but has not been purchased and is running out of stock. For more information on how to reuse event parameters, check out this [article](/developers/inserts/automation).
## Process
---
In this use case, you will go through the following steps:
1. [Create a product.LowInStock event](/use-cases/low-stock-campaign#create-a-productlowinstockevent)
2. [Create an aggregate that returns products in a cart](/use-cases/low-stock-campaign#create-an-aggregate-that-returns-the-products-in-a-cart)
3. [Create a workflow](/use-cases/low-stock-campaign#create-a-workflow)
## Create a product.LowInStock event
---
In this part of the process, add the **product.LowInStock** event, which will later be generated in the workflow that checks whether the product is low in stock. In addition, this event must include the **sku** parameter, which contains the SKU of the low-in-stock product which the customer added to the shopping cart.
1. Go to **Data Modeling Hub > Events > Add event**.
3. In the **Name** field, enter `product.LowInStock`
In the API and SDK, the name parameter is usually called `action` or `action name`
4. Optionally, define a human-friendly display name that will be shown in **Data Modeling Hub** and **Decision Hub Hub**.
5. Optionally, in the **Description** field, enter the description of the event.
6. Enable the **Make this event available to anonymous profiles without JWT** toggle.
7. Click **Apply**.
8. In the list of events, find the event you just created.
9. On the right side of the screen, click **Add property**.
10. In the **Source parameter** field, enter `lowstock_cart`.
This parameter will be used to save the SKUs of items which are low in stock.
11. In the **Property name** field, enter a human-readable label of the property for display in the Synerise platform.
12. Optionally, in the **Description** field, you can add an explanation about the purpose of this parameter.
13. To complete the process, click **Save**.
## Create an aggregate that returns the products in a cart
---
This aggregate will be used later in the **product.LowInStock** event to get products a customer added to their cart.
1. Go to **Behavioral Data Hub > Live Aggregates > Create aggregate**.
2. As the aggregate type, select **Profile**.
2. Enter the name of the aggregate.
3. Click **Analyze profiles by** and select **Last**.
4. From the **Choose event** dropdown list, select the `cart.status` event.
5. As the event parameter, select **ItemIds**.
6. Set the period from which the aggregate will analyze the results. In our case, we set the time period to **Lifetime**.
7. Save the aggregate.
Configuration of the aggregate
## Create an aggregate that returns the number of products in a cart
---
This aggregate will be used in the first workflow to check if a customer has any products in the shopping cart.
1. Go to **Behavioral Data Hub > Live Aggregates > Create aggregate**.
2. As the aggregate type, select **Profile**.
2. Enter the name of the aggregate.
3. Click **Analyze profiles by** and select **Last**.
5. From the **Choose event** dropdown list, select the `cart.status` event.
6. As the event parameter, select **totalQuantity**.
7. Set the period from which the aggregate will analyze the results to **Lifetime**.
12. Save the aggregate.
Configuration of the aggregate
## Create a workflow
---
In this part of the process, we create a workflow to send an email campaign to customers who have added products to their cart but haven't completed their purchase. The workflow follows this logic:
1. Target customers who:
- Have added products to their cart.
- Haven't made a purchase in the last 60 minutes.
- Have agreed to receive email communications.
2. If a customer meets all these conditions, we generate a **product.LowInStock** event. This event contains information about the items in the customer's cart that are running low in stock.
3. The workflow then waits for 10 minutes for the event to be generated.
4. Once the event is generated, the customer receives an email message with details about the products mentioned in the **product.LowInStock** event.
### Configure a trigger
---
In this part of the process, select the segmentation for which you want to target low-stock campaign.
1. As the first node of the workflow, add **Profile Event**.
2. From **Choose event** dropdown menu, choose the **product.addToCart** event.
3. Confirm by clicking **Apply**.
### Define the Delay node
---
This node creates an hour's delay before moving to the next condition of the workflow.
1. Add the **Delay** node. In the node settings:
1. In the **Delay** field, type `1`.
2. From the dropdown list, choose **Hour**.
2. Click **Apply**.
Configuration of the Delay node
### Configure the Profile Filter node
---
This part of the process defines the conditions that the customer should meet in order to move to the next step of the workflow. If the customer does not meet the defined conditions, the workflow ends for them.
1. Add the **Profile Filter** node. In the node settings:
1. Click **Choose filter** and select the [aggregate](/use-cases/low-stock-campaign#create-an-aggregate-that-returns-the-number-of-products-in-a-cart) you created earlier in the process.
2. From the **Choose operator** dropdown, choose **More than (Number)** and type `0` in the empty field.
3. From the **Choose filter** dropdown list, select the **transaction.charge** event.
4. Change the funnel type from **profiles matching** to **profiles not matching**.
5. Click the calendar icon and set the date/time filter to **Last 60 minutes**.
6. From the **Choose filter** dropdown list, select the **newsletter_agreement** attribute.
7. From the **Choose operator** dropdown, choose **Equal (String)** and type `enabled` in the empty field.
2. Click **Apply**.
Profile Filter node configuration
### Configure the Generate Event node for the Matched path
---
Before sending the email to the customer, an event must be generated on the customer's profile. The event must contain the IDs of products that are running low in stock (these are the products that will be sent to the customer in the email).
1. Add the **Generate Event** node to the **Matched** path.
In the configuration of the node:
1. In **Event name**, enter `product.LowInStock`
2. In the **Body** section, use the following Jinjava and modify it to your needs:
{{< note >}} Jinjava inserted in **Generate event** body must have all empty spaces deleted. {{< /note >}}
{{< highlight jinja >}}
{
"lowstock_cart":
"{% set skus = [] %}
{% aggregate PRODUCTS-IN-CART %} {# replace PRODUCTS-IN-CART with the ID of the aggregate that returns products in the cart #}
{% for items in aggregate_result %}
{% do skus.append(items) %}
{%endfor%}
{% endaggregate %}
{% set lowstock = []%}
{% for sku in skus %}
{% catalogitemv2.CATALOG-NAME(sku) %} {# replace CATALOG-NAME with the name of your feed catalog #}
{% set object = catalog_result %}
{% if object.get('Quantity')|int < NUMBER %} {# NUMBER defines the amount of products you consider as low in stock #}
{% set quantity = object.get('Quantity') %}
{% do lowstock.append(sku) %}
{%else%}
{%endif%}
{% endcatalogitemv2 %}
{%endfor%}
{% if lowstock|count==0 %}0{% else %}{{lowstock[0]}}{% endif %}"
}
{{< /highlight >}}
**Result:** a **product.LowInStock** event is generated. Its **lowstock_cart** parameter contains the ID of a product that is low in stock.
An example of a generated event:
Profile Filter node configuration
### Configure the Event Filter node
---
This filter serves as a security measure to ensure that the **product.LowInStock** event was generated in the previous step.
1. Add the **Event Filter** node. In the configuration of the node:
1. Set **Check** to **for period of time**.
2. Define the time range to **10 minute**.
3. From the **Choose event** dropdown list, select the **product.LowInStock** event.
4. As the event parameter, select **lowstock_cart**.
5. From the **Choose operator** dropdown list, select **Regular expression**.
6. In the text field, type `.`
{{< note >}}
This regular expression is necessary to exclude product.LowInStock events with the empty value of the lowstock_cart parameter.
{{< /note >}}
2. Confirm by clicking **Apply**.
The final configuration of the workflow
If an event was not generated for a customer, then the workflow ends for this customer. If the event is generated, then the next step is sending an email to the customer.
### Configure the Send Email node
---
In this part of the process, send email communication to customers for whom the **product.LowInStock** event was generated. The email should contain the products returned in the event.
1. Add the **Send Email** node and open its settings.
2. In the **Sender details** section, choose the email account from which the email is sent.
3. In the **Content** section, select the template that you prepared as a part of the prerequisites.
4. **Optional**: In the **UTM & URL parameters** section, define the UTM parameters added to the links included in the email.
5. **Optional**: In the **Additional parameters** section, describe the campaign with [additional parameters](/docs/campaign/e-mail/creating-email-campaigns#adding-custom-parameters).
6. Click **Apply**.
### Add final settings to your workflow
---
1. Add the **End** nodes.
2. Launch the workflow by clicking **Save&Run**.
The final configuration of the workflow
## Check the use case set up on the Synerise Demo workspace
---
You can check the configuration of each step from this use case in our Synerise Demo workspace:
- [Aggregate](https://app.synerise.com/analytics/aggregates/da49583b-f35a-349b-9906-55d5c1e820df) that returns the itemIds of products in the shopping cart for each customer.
- [Aggregate](https://app.synerise.com/analytics/aggregates/0d351702-fb43-356e-a90a-c405fa0a388c) that returns the total quantity of products in the shopping cart for each customer.
- [Workflow](https://app.synerise.com/automations/workflows/automation-diagram/e48f3760-2799-43d4-ae12-338ef8af0ea3)
- [Catalog](https://app.synerise.com/assets/catalogs/183729)
{{% include "/reuse/use-cases/synerise-demo-workspace.md" %}}
## Generated events
This use case generates approximately 12 events per profile that completes the flow:
[`product.addToCart`](/docs/assets/events/event-reference/items#productaddtocart) (~1), [`automation.clientStartPath`](/docs/assets/events/event-reference/automation#automationclientstartpath) (~1), [`automation.clientPathStep`](/docs/assets/events/event-reference/automation#automationclientpathstep) (~5), [`automation.clientEndPath`](/docs/assets/events/event-reference/automation#automationclientendpath) (~1), `product.LowInStock` (~1), [`message.send`](/docs/assets/events/event-reference/email#messagesend) (~1), [`newsletter.open`](/docs/assets/events/event-reference/email#newsletteropen) (~1), [`newsletter.click`](/docs/assets/events/event-reference/email#newsletterclick) (~1).
## Read more
---
- [Aggregates](/docs/crm/aggregates)
- [Automation Hub](/docs/automation)
- [Catalogs](/docs/assets/catalogs/introduction-to-catalogs)
- [Email campaigns](/docs/campaign/e-mail)
- [Jinjava inserts](/developers/inserts)
- [Segmentation](/docs/analytics/segmentations)
# Personalized Checkout Promotions Based on Category Slots in Offline Stores
Don't ignore dedicated discounts in your brick-and-mortar stores and their possibilities to increase revenue. To keep customers, give them an additional reason to come back and buy with a personalized promotion.
This use case will help you create a set of personalized promotions for customers to receive at check-out in physical stores. The set contains slots of customer-dedicated promotions from specific categories. Promotions will work for 24 hours from the date of assigning and can be printed together with the receipt after the transaction. Personalization of promotions on check out can work for both recognized customers, for example paying with card, or those paying with cash.
## Prerequisites
---
- Implement transaction events using [API](https://hub.synerise.com/api-reference/data-management#operation/CreateATransaction).
We recommend implementation of transactional events so that the hash of the card can become an identifier for the customer when they are paying by card. Thanks to this, a customer who will come to the store and pay with the same card can get personalized offer (even if they are not recognized, for example does not scan the mobile application at checkout), because we will be able to properly collect their transaction history.
- [Import the product feed to a catalog](/use-cases/import-product-feed-to-catalog).
## Security configuration
---
Before you start working with this hub, if you are a Synerise customer or partner, consider reading [the section about denylisting events](/docs/settings/tool/api#denylist). This natively accessible configuration will allow you to manage the restrictions in points management that may help you prevent fraud.
## Process
---
In this use case, you will go through the following steps:
1. [Create personalized promotion](#create-personalized-promotions).
2. [Define groups of promotions](/use-cases/personalized-promotions-on-checkout#define-groups-of-promotions) to use them as base for AI engine.
3. [Define a personalized promotion](/use-cases/personalized-promotions-on-checkout#define-a-personalized-promotion).
## Create personalized promotions
---
In this part of the process, create personalized promotion. Further on, the AI engine selects among the available candidates the best tailored promotions to display in personalized promotions.
1. Go to **> Regular Promotions > Add promotion**.
2. According to your buissness needs select one of the scopes:
- **For selected items**
- **For entire basket**
3. Define **Audience**. Select the group of customers for whom you want to prepare promotion.
4. In the **Content** section:
1. Define the name, description, and image of the promotion.
2. In the **Price** field, enter `0`.
Example of promotion content
3. Confirm the settings by clicking **Apply**.
4. Add [customer tags](/docs/crm/customer-tag). In our case, to each promotion we will add a customer tag with the name of category it concerns - so that we can make groups of promotions dedicated for the certain category.
5. In the **Types & limits** section, select **Handbill** as the promotion type.
1. Leave the rest of the settings in this section at default.
2. Confirm by clicking **Apply**.
Handbill type of promotion
7. In the **Schedule** section, define the promotion distribution period according to your business needs.
8. Optionally, in the **Stores** section, specify stores where the promotion is available.
This is possible only if the list of stores is imported into a [catalog](/docs/assets/catalogs).
9. In the **Items** section, select the item catalog from which the items will be discounted:
1. From the **Source catalog** dropdown list, select the item catalog.
2. Select the **Entire catalog** tab using the **Select items** option, as in this use case promotion works on all items.
10. To apply configuration and run the promotion, click **Publish.**
11. Repeat all the steps and create more personalized promotions. In step 9, instead of entire catalog, select specific items (for example, a brand, a category of items - depending on your business assumptions).
## Define groups of promotions
---
In this part of the process, you create a filter of promotions which will be used in a personalized promotion.
1. In **Promotions**, above the list of promotions, click **> Define.**
2. Click **Choose filters**.
3. Use the tag you assigned to [personalized promotion](#create-personalized-promotions) for categories you selected. This filter will be used while creating a personalized promotion.
Example of filters
4. Save the filter
5. Confirm the settings by clicking **Apply**.
## Define a personalized promotion
---
In this part of the process, create a personalized promotion. The AI engine will select items from the group of personalized promotion [created in the previous step](#define-groups-of-promotions) based on the customer preferences. In personalized promotions you can also set how many products will be shown and adjust the variety of the offer.
1. Go to **AI Hub > Personalized Promotions > New personalized promotion**.
1. As a type, choose **Check-out**.
2. In the **A/B Test settings**, click **Define**.
3. Click .
4. Click **Advanced options**.
5. Select **AI Engine**.
6. Confirm by clicking **Apply**.
7. In the **Filters and limits** section, define two slots and to each slot assign the filter created before. Also, define the number of promotions in each slot that will be allocated for the customer.
1. In the **Promotions in set**, enter a number of personalized promotion to be used as candidates to display in a slot.
2. Click **Define filter**.
3. Select the filter you created in this [step](/use-cases/personalized-promotions-on-checkout#define-groups-of-promotions).
4. To add more slots, click **Ad another** and repeat steps i-iii.
5. Confirm by clicking **Apply**.
8. Define **Exclude items** section accordingly to your business needs.
9. In the **Activity** section:
1. Leave the **Lasting** option at default (**Relative**).
2. Set the activity time according to your business needs. In our case it is 24 hours.
3. Confirm by clicking **Apply**.
10. Configure the **Engine settings** section according to your needs.
You can read more about engine settings [here](/docs/ai-hub/personalized-promotions/creating-ai-promotions#ai-engine-boosting-settings).
2. To apply configuration and run the promotion, click **Publish.**
## What's next
---
For this promotion to work you need to implement the personalized promotion in stores. Personalization of promotions on check out works for any customer, even for the anonymous ones.
When the customer is anonymous/paying in cash, the personalization engine takes into consideration the current transaction that the customer makes in the store - and gives promotions with the context of products bought in this transaction.
- To assign checkout personalized promotions coupons for anonymous profile/customer paying in cash, based on items in basket - implement anonymous Profile's checkout process in POS [using the API method](https://hub.synerise.com/api-reference/loyalty-and-engagement#operation/processAnonymousCheckout_POST).
If the customer is recognized, the engine takes into consideration the whole history of their transactions and gives the most relevant results. For this to work we recommend using hash of the payment card as an identifier of the customer - for better personalization.
- To assign checkout personalized promotions coupons for a profile, based on items in the basket and historical transactions - implement checkout process in POS [using the API method](https://hub.synerise.com/api-reference/loyalty-and-engagement#operation/processCheckout_POST).
As the `identifierType` use `externalId`, where the `identifierValue` will be the hash of the payment card.
## Check the use case set up on the Synerise Demo workspace
---
In the Synerise Demo workspace, you can check the:
- [handbill promotions](https://app.synerise.com/campaigns/promotions/27ea16b6-521b-448c-9551-2f12d96257ad)
- [personalized promotion](https://app.synerise.com/campaigns/handbills/ec712c10-dad1-407e-afe5-0344ab9321e7)
If you’re our partner or client, you already have automatic access to the **Synerise Demo workspace (1590)**, where you can explore all the configured elements of this use case and copy them to your workspace.
If you’re not a partner or client yet, we encourage you to fill out the contact [form](https://demo.synerise.com/request) to schedule a meeting with our representatives. They’ll be happy to show you how our demo works and discuss how you can apply this use case in your business.
## Generated events
This use case generates approximately 6 events per profile that completes the flow:
[`transaction.charge`](/docs/assets/events/event-reference/items#transactioncharge) (~1), [`product.buy`](/docs/assets/events/event-reference/items#productbuy) (~2), [`snr.bestfit.score`](/docs/assets/events/event-reference/predictions#snrbestfitscore) (~1), [`client.activatePromotion`](/docs/assets/events/event-reference/loyalty#clientactivatepromotion) (~2).
## Read more
---
[Personalized promotions](/docs/ai-hub/personalized-promotions/creating-ai-promotions#create-promotion-candidates)
# Show basket value needed to enable a promotion
Personalized in-app campaigns within a mobile application can improve your customers' experience and help you increase your revenue from mobile shopping.
Targeted in-app marketing campaigns are most effective when they’re personalized based on each individual’s in-app behavior and provide a better customer experience than campaigns developed for a general audience.
Using [inserts](/developers/inserts/insert-usage) in your in-app campaigns, you can refer to analyses results, customer's attributes, prediction results, and so on created in the platform. It can be used in the content of various campaigns such as discount threshold campaign, which offers a discount to customers when the total value of a cart reaches a specified amount.
In this use case, you will create an in-app campaign displayed in your mobile app. In the content of the message, you will inform the mobile app user about the amount of money they still have to spend to be able to use the discount. The campaign will be triggered when a product is added to a cart. This way you will encourage app users to spend more money and increase the value of the basket in the mobile application. Additional benefit of this campaign is a promotion support as every customer who adds the first product to the basket is informed about this campaign.
The promotion used as an example in this use case is a 10% discount triggered when the cart value reaches 200 PLN.
This use case contains ready-to-use code snippets. You can use them in your campaign as-is.
## Prerequisites
---
- [Implementation of Synerise SDK in your mobile app](/developers/mobile-sdk).
- Implementation of the [transaction events](/developers/web/transactions-sdk) using [SDK](/developers/web/transactions-sdk) or [API](https://hub.synerise.com/api-reference/data-management#operation/CreateATransaction).
- [Implementation of the `cart.status` event](/developers/web/cart), which stores the current status of the basket in the form of an event on the customer's card. Event has to be sent to Synerise, after every change in the cart status.
- Collect [product.addToCart event](https://hub.synerise.com/api-reference/data-management#operation/ClientAddedProductToCart).
- Implement a [promotion](/docs/ai-hub/promotions) which gives a discount after the customer reaches the discount threashold. In our case we assume a 10% discount for 200 PLN (or more) basket value.
## Process
---
In this use case, you will go through the following steps:
1. [Create an aggregate](/use-cases/in-app-with-discount-threshold#create-an-aggregate) which shows the last cart status with the information about the total value of the cart.
2. [Create an expression](/use-cases/in-app-with-discount-threshold#create-an-expression) which returns information on how much money the customer has to spent to reach the discount threshold.
2. [Create an in-app message](/use-cases/in-app-with-discount-threshold#create-an-in-app-message) triggered by the `product.addToCart` event with information about the amount of money the customer still needs to spend to get the discount.
## Create an aggregate
---
In this part of the process, create an aggregate, which returns the last cart status with the information about the current value of the customer's cart. This aggregate will be used later in an expression that counts the remaining amount of money that must be spent to get the discount.
1. Go to **Behavioral Data Hub > Live Aggregates > Create aggregate**.
2. As the aggregate type, select **Profile**.
2. Enter the name of the aggregate.
3. Set **Analyze profiles by** to **Last**.
4. From the **Choose event** dropdown list, select the `cart.Status` event.
5. As an event parameter, select `totalAmount`.
6. Set the date range to **Lifetime**.
6. Save your aggregate.
Aggregate settings
## Create an expression
---
In this step, you will create an expression which returns the difference between the current basket value and the discount threshold (in our case 200 PLN or more). If the basket value exceeds the discount threshold, the result of the expression is a negative number (for example, -40, which means that the customer exceeded the threshold by 40). If not, the result of the expression is higher than 0 and it means that the customer hasn't reached the threshold yet.
1. Go to **Behavioral Data Hub > Expressions > New expression**.
2. Enter the name of the expression.
2. As a type of expression, select **Attribute**.
3. In the **Formula definition** section, click **Select**.
4. From the list that opens, select **Constant** and set its value to the discount threshold value.
5. Click + button and from the dropdown list select **Profile**.
6. Click the **unnamed** node that appeared.
8. At the bottom of the page, click **Choose attribute**.
9. On the list of attributes, choose **Aggregates**, find and select the [aggregate](/use-cases/in-app-with-discount-threshold#create-an-aggregate) you have prepared in the previous part of the process.
10. Click the + button and change it to `-`.
11. In the upper-right corner, click **Save**.
12. In the upper-right corner, click **Publish**.
Expression settings
## Create an in-app message
---
In this part of the process, you create an in-app campaign triggered by the `product.addToCart` event. The message contains information about the amount of money the customer needs to spend to get the discount. The audience of this campaign are the customers for whom the [expression](/use-cases/in-app-with-discount-threshold#create-an-expression) result is higher than 0.
The capping for the in-app campaign is set to 1 time a week.
1. Go to **Experience Hub > In-app messages > Create in-app**
2. Enter a meaningful name for the in-app campaign.
1. In the **Audience** section:
1. Click **Define**.
2. Select the **New audience** tab.
3. Select **Define conditions**.
4. Choose **Add condition** and find the [expression](/use-cases/in-app-with-discount-threshold#create-an-expression) created in the previous part of the process.
5. As an operator, choose **More** and set the value to `0`. This way, the message will be displayed to the customers who haven't reached the threshold yet.
3. Click **Apply**.
Audience settings
1. In the **Content** section:
1. Click **Define**.
2. Click **Create message** and select **Code Editor**
2. Create the content of your in-app campaign. You can reuse the code snippets presented below in your in-app template. The code snippet includes the [expression](/use-cases/in-app-with-discount-threshold#create-an-aggregate) that returns the amount of money customer has to spend to be given a discount.
Check the HTML code
<div class="in-app-wrapper"> <div class="in-app-wrapper-inner"> <div class="in-app__upper"> <div class="in-app-close"></div> <p class="in-app-title"> Hello {% customer firstname %}</p> </div> <div class="in-app__middle"> <div class="in-app__content"><h1>Get</h1> <div class="in-app__flexbox"> <div class="in-app__number">10</div> <div class="in-app__off">% <br> OFF</div> </div> <p>When you spend <br> 200 PLN or more! </p> </div> </div> <div class="in-app__lower"> <p class="in-app__lower--text">You need to spend <span class="in-app__lower--span">{% expression %} d3b58957-febf-4374-b96e-85f1f3e462a0 {% endexpression %} PLN</span><br> more to use our special<br>discount!</p> <button>Close</button> </div> </div> </div>
(function () { var closeButton = document.querySelector(".in-app-close"); closeButton.addEventListener("click", function () { SRInApp.close(); SRInApp.trackCustomEvent( "inapp.custom", { action: "close", }, "Custom event from In-App message" ); }); var ctaButton = document.querySelector('.in-app-wrapper-inner button'); ctaButton.addEventListener('click', function () { SRInApp.trackCustomEvent('inapp.custom', { 'action': 'call to action' }, 'Custom event from In-App message'); SRInApp.close(); }); var modalBackground = document.querySelector(".in-app-wrapper"); modalBackground.addEventListener("click", function (event) { if (event.target.getAttribute("class") == "in-app-wrapper") { SRInApp.close(); SRInApp.trackCustomEvent( "inapp.custom", { action: "click outside modal", }, "Custom event from In-App message" ); } }); })();
The CSS and JS codes snippets presented above let you create ready-to-use in app campaign presented in the example. In the HTML code snippet, replace the expression ID with the expression you created in your workspace.
1. In the **Trigger events** section:
1. Click **Define**.
2. Select **Add event** and from the dropdown list, choose the `product.addToCart` event.
2. Click the **+ where** button and as the parameter, choose `finalUnitPrice`.
3. As the logical operator, select **Less than** and set the value to the discount threshold value.
4. Click **Apply**.
Trigger event settings
1. In the **Schedule** section:
1. Click **Define**.
2. Choose **Run immediately** option.
3. Click **Apply**.
2. In the **Display settings** section:
1. Click **Change**.
2. Define the **Delay display** and **Priority index** option according to your business requirements. Enable the **Frequency limit** toggle to manage the frequency of in-app message display in the application, and set it to once per week.
3. Click **Apply**.
The mobile application can display one in-app message at a time. If the conditions allow the display of several in-apps at a time, the priority is a decisive factor for displaying the message. The messages with lower priority aren’t queued.
1. Optionally, you can define the **UTM parameters**. Otherwise, click **Skip step**.
2. Optionally, you can add the custom parameters in the **Additional parameters** section. Otherwise, click **Skip step**.
3. To start your campaign, click **Activate**.
## Check the use case set up on the Synerise Demo workspace
---
You can check the [aggregate](https://app.synerise.com/analytics/aggregates/79712849-4a22-3ef4-8cec-fe36d5a6eb0f), [expression](https://app.synerise.com/analytics/expressions/d3b58957-febf-4374-b96e-85f1f3e462a0) and the final [in-app campaign configuration](https://app.synerise.com/communications/in-app/0a26a269-b22d-44a5-8034-3edf27037a42) directly in Synerise Demo workspace.
If you’re our partner or client, you already have automatic access to the **Synerise Demo workspace (1590)**, where you can explore all the configured elements of this use case and copy them to your workspace.
If you’re not a partner or client yet, we encourage you to fill out the contact [form](https://demo.synerise.com/request) to schedule a meeting with our representatives. They’ll be happy to show you how our demo works and discuss how you can apply this use case in your business.
## Generated events
This use case generates approximately 4 events per profile that completes the flow:
[`product.addToCart`](/docs/assets/events/event-reference/items#productaddtocart) (~1), [`inApp.show`](/docs/assets/events/event-reference/inapp#inappshow) (~1), [`inApp.click`](/docs/assets/events/event-reference/inapp#inappclick) (~1), `inapp.custom` (~1).
## Read more
---
- [Aggregates](/docs/crm/aggregates)
- [In-app messages](/docs/campaign/in-app-messages)
- [Mobile campaigns](/docs/campaign/Mobile)
- [Promotion for entire basket](/use-cases/promotion-for-entire-basket#create-a-promotion)
# Campaign optimizer
Campaign optimization is very important and allows you to increase the effectiveness of the campaign using data already available. The two main factors that should be optimized are the communication channel tailored to the user and the optimization of the campaign delivery time.
## Example of use - Retail Industry
**Challenge**
A client from the retail industry expressed the need to optimize their campaigns.
Their main goals were:
- Personalization of sending time for campaign messages
- Selecting the optimal communication channel for each particular client (depending on which communication channel the client responds better to)
**Solution**
We created the solution in the form of channel and time optimization. Both options are available in the campaign creator (channel optimization can be chosen in the Audience tab, and time optimization in the Schedule tab).
Based on predefined aggregates, expressions and automation, the algorithm automatically **compares all the channels our customer has contact with and selects the best one**. Based on that one customer will get a SMS message with the promotion and another one will get an email based on individual preferences.
What is more, our AI algorithm will automatically select **the best time to send specific campaigns**, taking into consideration not only data about previous campaigns but also customer activity.
Based on those recommendations, Synerise users do not need to analyze channel effectiveness or any other data, because everything is generated and selected in real time by Synerise.
## Prerequisites
---
**General**
- Implement [Synerise tracker](/developers/web/installation-and-configuration#creating-a-tracking-code) on your website.
- Channel optimization configuration.
- [Email account configuration](/docs/campaign/e-mail/configuring-email-account).
- [SMS account](/docs/settings/configuration/sms-account) configuration (integration e.g. with SMS API).
- [Webpush integration](/docs/campaign/Webpush/configuring-web-push).
- [Mobile Push integration](/docs/campaign/Mobile/mobile_campaign).
- [Transactional events](/developers/web/transactions-sdk) implemented (optional).
**AI time optimizer configuration**
- Page visits & other campaign visits.
## Process
---
1. [Configure campaigns](/use-cases/campaign-optimizer#configure-campaigns).
2. [Create a workflow](/use-cases/campaign-optimizer#configure-a-workflow).
## Configure campaigns
---
1. Go to **Campaigns** and create a new one for a specific channel, e.g. SMS.
2. **In the Audience tab**, choose a specific predefined segment of customers created for a specific type of campaign.
3. **In the Schedule tab** you can also choose the recommended time of campaign delivery based on our AI algorithms. You need to define the time range during which you would like to send the campaign. Based on the time range the optimal time will differ.
4. Save the campaign.
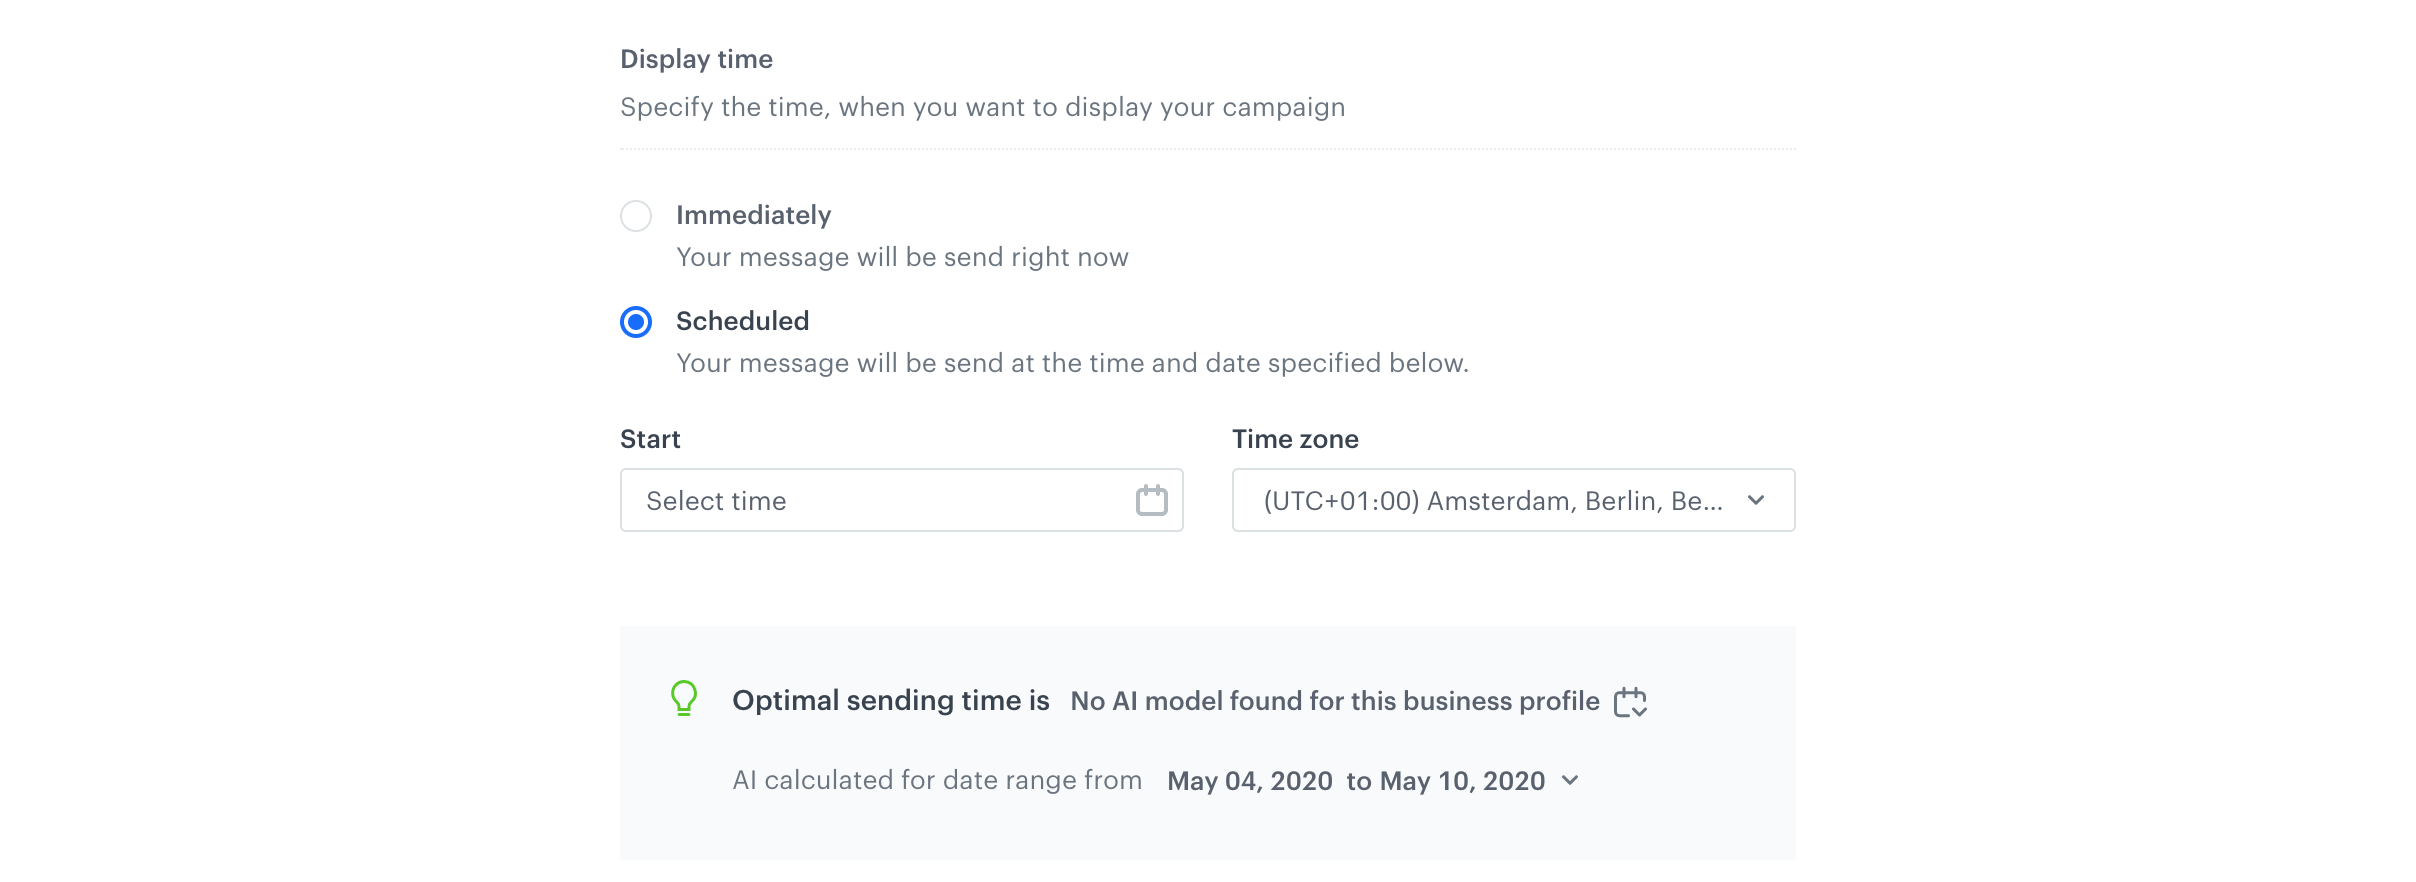
5. Do the same for other channels you want to use, e.g. email, webpush etc.
Learn how to do It – check [advanced optimizer configuration](/use-cases/campaign-optimizer2)
## Configure a workflow
---
1. Go to the **Automation Hub > Workflow > New workflow**.
2. As a trigger choose **Audience** node.
3. As an audience define the group of users to which you would like to send the campaign, e.g. you can add here a whole database or a segment of people.
4. Add **Generate Event** event. It is responsible for calculating the channel scoring. The effect of this calculation is the “optimal.channel” event sent to everyone you selected in the Audience trigger.
5. **Split Path** into different campaigns.
6. The next step is the **Event Filter** node. Here we check the result of the scoring calculation. Each of those four nodes allow the selected campaign to be sent. The journey will proceed in one path – the one that will be calculated as a result of Send Event node
7. The last step is responsible for **sending the campaign** in selected channel: sms/email/webpush/mobile push. The action required in this step is to setup the proper template for each channel.
8. Save & Run the automation and wait for your campaign to be sent.
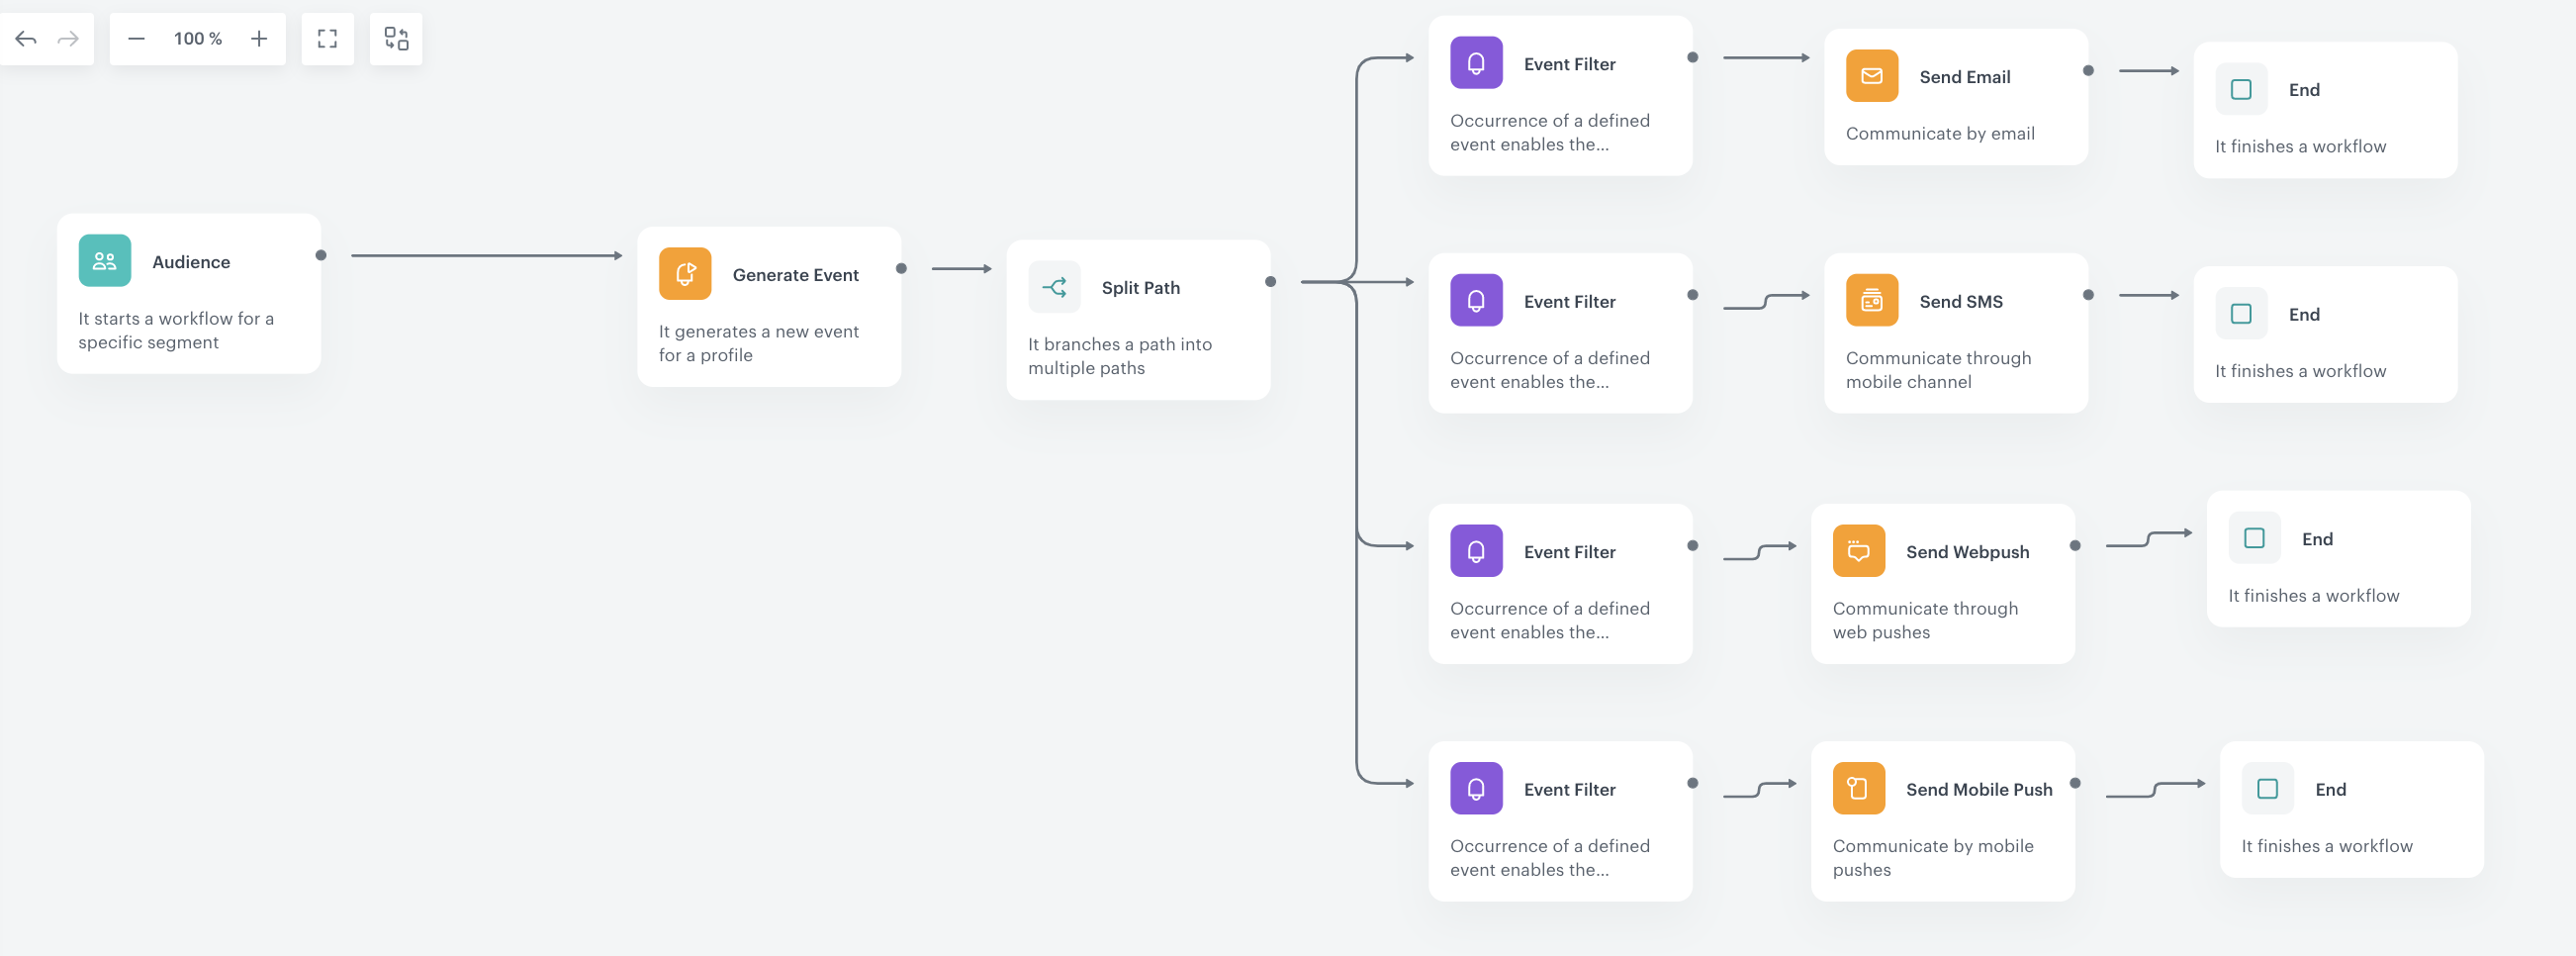
It is recommended to collect the history of customer interactions before preparing the optimization process. You should have as much data as possible to prepare it in a more precise way and to make it more accurate.
We require at least one month of history for particular users to create an optimization of this type for them. But remember that more data you have, the more accurate your algorithms are. For the optimization of channels, we need to have at least 5 campaigns based on our assumptions.
To learn more about the next step and the usage of predefined analytics in the advanced optimizer configuration, read this [case](/use-cases/campaign-optimizer2)
## Generated events
This use case generates approximately 10 events per profile that completes the flow:
[`automation.clientStartPath`](/docs/assets/events/event-reference/automation#automationclientstartpath) (~1), [`automation.clientPathStep`](/docs/assets/events/event-reference/automation#automationclientpathstep) (~3), [`automation.clientEndPath`](/docs/assets/events/event-reference/automation#automationclientendpath) (~1), `optimal.channel` (~1), [`snr.ate.prediction`](/docs/assets/events/event-reference/predictions#snrateprediction) (~1), [`message.send`](/docs/assets/events/event-reference/email#messagesend) (~1), [`newsletter.open`](/docs/assets/events/event-reference/email#newsletteropen) (~1), [`newsletter.click`](/docs/assets/events/event-reference/email#newsletterclick) (~1).
## Read more
---
- [Advanced optimizer configuration](/use-cases/campaign-optimizer2)
- [Aggregates](/docs/crm/aggregates/introduction-to-aggregates)
- [Automation Hub](/docs/automation)
- [Build segmentation](/docs/analytics/segmentations/creating-segmentations)
- [Expressions](/docs/crm/expressions)
- [Metrics](/docs/analytics/metrics)
# In-app personalized recommendations with dynamic resize
Returning users who revisit a product category but haven’t purchased anything often face the same friction as during their first visit — large assortment, filters, and product overload.
To re-engage them effectively, you can display a personalized top (or bottom) bar that appears only for this specific audience.
The bar acts as a shortcut to AI-based personalized recommendations from a category that the user viewed before, and allows them to explore those items on a personalized in-app.
This campaign will be visible only for customers who have visited the specific category during the past 30 days but have not made any purchase.
This approach works best on product or category-level pages and for users who already showed intent but didn’t complete a purchase.
It combines behavioral segmentation and personalization in a single, adaptive in-app campaign.
## Prerequisites
---
- [Configure AI engine](/docs/settings/configuration/ai-engine-configuration/engine-configuration-for-recommendations) for recommendations; enable the personalized recommendation type.
- Implement the transaction events using [SDK](/developers/web/transactions-sdk) or [API](https://hub.synerise.com/api-reference/data-management#operation/CreateATransaction).
- [Implement Synerise SDK in your mobile app](/developers/mobile-sdk).
## Process
---
In this use case, you will go through the following steps:
1. [Prepare the segmentation](#prepare-the-segmentation) of users who have visited the specific category during last 30 days but have not made a purchase from this category.
2. [Prepare the recommendations](#prepare-the-recommendations) of personalized products from the category.
2. [Create an in-app campaign](#create-an-in-app-campaign) as a top bar which, after tapping, resizes to full screen with personalized products recommendations.
## Prepare the segmentation
---
In this part of the process, you will create a segmentation of users who have visited the `women/shoes` category in the last 30 days (mobile/web) but have not made any transaction during that time.
In this part of the process, we will create a segmentation of users who have visited the `women/shoes` category in the last 30 days (website of mobile) but have not made any transaction during that time.
1. Go to **Decision Hub > Segmentations > New segmentation**.
3. Enter the name of the segmentation.
4. Click **Add condition**.
4. From the dropdown list, select the `page.visit` event.
6. Click **+ where** and from the dropdown list, select `url`.
7. Choose the **Contain** operator and enter the fragment of the URL for the specific category. In our case it will be `women-shoes`. Alternatively, you can build the following condition: **category equal [category name]**.
7. Using the date picker in the lower-right corner, set the time range to **Last 30 days**.
8. Click **Add condition**.
10. From the list, choose the `screen.view` event.
6. Click **+ where** and from the dropdown list, select `url`.
7. Choose the **Contain** operator and enter the fragment of the URL for the specific category. In our case it will be `women-shoes`. Alternatively, you can build the following condition: **category equal [category name]**.
12. Connect these conditions by the **OR** operator.
7. Using the date picker in the lower-right corner, set the time range to **Last 30 days**.
8. Click **Add condition**.
9. From the list, choose the `transaction.charge` event.
10. By clicking **Performed** above the event name change the condition to **Not performed**.
6. Save the segmentation.
Segmentation configuration
## Prepare the recommendations
---
In this part of the process, you will prepare the personalized recommendations of products from a specific category.
1. Go to **AI Hub > (AI Recommendations) Models > Add recommendation**.
2. Enter the name of the recommendation (it is only visible on the list of recommendations).
3. In the **Type & Items feed** section, click **Define**.
4. From the **Items feed** dropdown list, select an item feed that has a the **Personalized** model ready to use.
5. Select the **Personalized** recommendation type.
6. Confirm the recommendation type by clicking **Apply**.
7. In the **Items** section, click **Define**.
8. Click **Add slot**.
9. Click the **Unnamed slot** that was created.
10. Define the minimum and maximum number of products displayed in the frame according to your needs.
3. Define [Static filters](/docs/ai-hub/recommendations-v2/creating-recommendation-campaign#static-filters).
4. Click **Define filter**.
5. Select **Visual Builder**.
6. Click **Select value**.
5. Choose **category**.
6. As the operator, choose **Equals**.
7. Click the icon which appeared next to the field with the operator and from the dropdown list, select **Context** (eye icon).
7. As the value, choose `category`, to be sure that the category of recommended products will be the same as the category of the currently viewed item.
8. In the **Category level** input, select **Take first subcategories**.
9. In this use case, the **how many levels** setting is **2**, but remember to adjust it to how your item feed is built.
9. In the items, choose a category. In this case: `women/shoes`.
Recommendation configuration
11. Optionally, you can use filters to include specific items in the recommendation frame.
12. Confirm the configuration by clicking **Apply**.
13. Optionally, you can define the settings in the **Boosting** and **Additional settings** sections.
Learn more about [boosting](/docs/ai-hub/recommendations-v2/creating-recommendation-campaign#define-the-boosting-factors) and [additional settings](/docs/ai-hub/recommendations-v2/creating-recommendation-campaign#additional-settings).
## Create an in-app campaign
---
In this part of the process, you’ll use a predefined "Resize Recommendations" template that starts as a compact top bar and expands into a full screen view with personalized recommendations.
1. Go to **Experience Hub > In-app messages> Create in-app**.
2. Enter the name of the in-app.
### Define the audience
---
As the first step, define the target group of customers for the in-app message. In this case, we will use the segmentation created in the [previous step](#prepare-the-segmentation).
1. In the **Audience** section, click **Define**.
2. Click **Segmentations**.
3. Click **Select segmentation** and choose the segmentation created in the [previous step](#prepare-the-segmentation).
3. Save settings in the **Audience** section by clicking **Apply**.
### Define content
---
In this part of the process, you will use a ready-made template to create the content of the in-app message that will be displayed in the mobile application.
1. In the **Content** section, click **Define**.
2. Click **Create message** and from the list of template folders, select **Predefined templates**.
3. Select the **Resize Recommendations** template.
**Result:** You are redirected to the code editor.
You can edit the template in two ways:
- by editing the code of the template, [adding inserts](/docs/campaign/in-app-messages/creating-inapp-templates/creating-inapp-template#adding-a-snippet-to-the-template-code), [adding variables](/docs/campaign/in-app-messages/creating-inapp-templates/creating-inapp-template#adding-a-variable)
- by filling out the form on the **Config** tab.
In this use case, we will use the capabilities of the predefined Config tab.
#### Edit form in the Config tab
---
The form in the **Config** tab is already filled in with default values. You can keep them or change them to fit your business needs.
In-app configuration
1. In the **Bar settings** section, set up the copy and style of the first banner. Choose the bar position (top or bottom bar).
2. In the **General Settings** section:
- In **Title** and **Subtitle**, define the title and subtitles for the in-app. If you don't want to display them, enter a dash (-).
3. In the **AI Recommendations** section:
- Enter your **AI Recommendation Campaign Hash** based on the [previously created campaign](#prepare-the-recommendations).
- Decide if you want to display special price and cross out regular price when available
3. In the **CTA** section:
- Customize the action button by defining the text on the button (**Text on the button**), the URL to which a user will be redirected (**Destination link**), colors of the button (**Button text color** and **Button color**).
5. After you complete editing the form, disable the **Config mode** option.
5. After you make changes to the template, you can check the preview.
1. Click the **Preview contexts** button on the upper left side.
2. Enter the ID of a customer.
3. Click **Apply**.
Considering that the in-app is very interactive, the preview in the platform may not be enough to test the in-app performance. That’s why we suggest checking the campaign preview directly in the mobile app.
6. If the template is ready, in the upper right corner click **Save this template > Save as**.
7. On the pop-up:
1. In the **Template name field**, enter the name of the template.
2. From the **Template folder** dropdown list, select the folder where the template will be saved.
3. Confirm by clicking **Apply**.
8. To continue the process of configuring the in-app campaign, click **Use in communication**.
9. To save your content changes, click **Apply**.
### Select events that trigger the in-app message display
---
In this part of the process, you will define the event triggering the display of the in-app message. In this case, it will be visible after opening the application but - as it was specified in the campaign settings - only for a specific segment as it was set up before.
1. In the **Trigger events** section, click **Define**.
2. Select **Add event** and from the dropdown list, choose `screen.view` event.
3. Click the **+ where** button and select `source`.
4. As the logical operator, select **Equal**.
5. As the value add `MOBILE`.
5. Click **Apply**.
In-app trigger event configuration
### Schedule the message and configure display settings
---
As the final part of the process, you will set the display settings of the in-app message such as schedule, capping, priority of the message among other in-app messages.
1. In the **Schedule** section, click **Define** and set the time when the message will be active.
2. In the **Display Settings** section, click **Change**.
3. Define the **Delay display**, **Priority index** and enable the **Frequency limit** toggle to manage the frequency of in-app message display in the application.
16. Click **Apply**.
17. Optionally, you can define the UTM parameters and additional parameters for your in-app campaign.
18. Click **Activate**.
### Test the in-app campaign
---
Read the ["Testing" section](/docs/campaign/in-app-messages/create-inapp-message#testing) to discover how to test your in-app campaign.
## Check the use case set up on the Synerise Demo workspace
---
You can check the [segmentation](https://app.synerise.com/analytics-v2/segmentations/e9ba4f5e-76e6-4782-8bc5-3bdb72281688), [AI recommendations](https://app.synerise.com/ai-v2/recommendations/yYjFMYPeofN5) and [in-app message campaign](https://app.synerise.com/communications/in-app/1edbf12c-47c2-4c20-83b8-a7c8edb0cff5) configuration directly in Synerise Demo workspace.
If you’re our partner or client, you already have automatic access to the **Synerise Demo workspace (1590)**, where you can explore all the configured elements of this use case and copy them to your workspace.
If you’re not a partner or client yet, we encourage you to fill out the contact [form](https://demo.synerise.com/request) to schedule a meeting with our representatives. They’ll be happy to show you how our demo works and discuss how you can apply this use case in your business.
## Generated events
This use case generates approximately 6 events per profile that completes the flow:
[`screen.view`](/docs/assets/events/event-reference/web-and-app#screenview) (~1), [`inApp.show`](/docs/assets/events/event-reference/inapp#inappshow) (~1), [`inApp.click`](/docs/assets/events/event-reference/inapp#inappclick) (~1), [`recommendation.generated`](/docs/assets/events/event-reference/recommendations#recommendationgenerated) (~1), [`recommendation.view`](/docs/assets/events/event-reference/recommendations#recommendationview) (~1), [`recommendation.click`](/docs/assets/events/event-reference/recommendations#recommendationclick) (~1).
## Read more
---
- [In-app messages](/docs/campaign/in-app-messages)
- [Using in-app template builder](/docs/campaign/in-app-messages/creating-inapp-templates/creating-inapp-template)
# Earn and Burn - Exchange points for rewards
In this use case, we will walk you through implementation of Earn & Burn model within your loyalty program, where customers can see their current point balance and exchange the points for available rewards directly from their profile. Customers will only see the rewards that are currently available and stay within the range of their available points.
To follow this process, it’s important that you’ve already implemented the foundation of your loyalty program, where customers earn points for money they spent. If you haven’t yet, start with our [Loyalty Programs: Basics article](/use-cases/loyalty-programs-basics).
In the next steps, we’ll show how to use the point balance to:
- display the current points balance for each customer,
- configure a promotion to become a reward,
- display available rewards,
- activate a promotion (reward),
- redeem the promotion after it is used.
In this use case, we’ll show how to implement each part of this Earn & Burn process using the Synerise platform interface and Synerise API.
## Prerequisites
---
- Get familiar with how [documents](/docs/assets/documents/introduction-to-documents) work in Synerise, as creating a document is a key part of the procedure in this use case.
- [Integrate mechanism for awarding loyalty points](/use-cases/loyalty-programs-basics).
For example, you can award loyalty points after a transaction. In such case, create an [expression that counts how many loyalty points](/docs/crm/expressions/loyalty-point-count) are assigned to a customer for a transaction. Once you prepare the expression, please contact [Support Team](https://synerise.com/support) to configure materialization of loyalty points. After such configuration, every time loyalty points are assigned to a customer, the `points.loyalty` event will be generated in a customer’s profile with information about the number of loyalty points they received after a transaction (the `points` parameter).
Learn more about events in the [Events documentation](/docs/assets/events/event-definitions).
- [Integrate Synerise promotions](/docs/ai-hub/promotions/introduction-to-promotions) and create first promotions in Synerise.
- Use the points balance as a condition for displaying targeted promotions (for example, show only to users who have more than 500 points) which will be important in this specific case.
## Process
---
**Points Balance:**
1. [Create an aggregate](/use-cases/earn-burn#create-an-aggregate-counting-the-number-of-points) which counts the number of points gained by customer.
3. [Create an aggregate](/use-cases/earn-burn#create-an-aggregate-counting-the-redeemed-points) which counts the number of points used for activating the promotion.
4. [Create an expression which returns points balance](/use-cases/earn-burn#create-an-expression-which-returns-points-balance)
5. [Display points balance](/use-cases/earn-burn#display-points-balance)
**Retrieve, activate and redeem promotions:**
6. [Configure a promotion to become a reward](/use-cases/earn-burn#configure-a-promotion-to-become-a-reward)
7. [Retrieve all available promotions through API](/use-cases/earn-burn#retrieve-all-available-promotions-through-api).
7. [Activate promotions](/use-cases/earn-burn#activate-promotions).
8. [Redeem promotions](/use-cases/earn-burn#redeem-promotions) - (burn promotions).
## Points balance
---
### Create an aggregate counting the number of points
---
In this part of the process, you will create an aggregate which counts the total number of points received by a user in a loyalty program.
1. Go to **Behavioral Data Hub > Live Aggregates > Create aggregate**.
2. As the aggregate type, select **Profile**.
2. Enter the name of the aggregate.
3. Click **Analyze profiles by** and select **Sum**.
4. From the **Choose event** dropdown list, select the **points.loyalty** event.
5. As the event parameter, select **points**.
6. Set the date filter to **Lifetime**.
7. Click **Save**.
Aggregate counting the number of points
### Create an aggregate counting the redeemed points
---
In this part of the process, you will create an aggregate which returns the number of points which were redeemed.
1. Go to **Behavioral Data Hub > Live Aggregates > Create aggregate**.
2. As the aggregate type, select **Profile**.
2. Enter the name of the aggregate.
3. Click **Analyze profiles by** and select **Sum**.
4. From the **Choose event** dropdown list, select the **client.activatePromotion** event.
5. As the event parameter, select **promotionrequireRedeemedPoints**.
6. Set the date filter to **Lifetime**.
7. Click **Save**.
Aggregate counting the number of redeemed points
## Create an expression which returns points balance
---
Create an expression that calculates the current points balance. This expression allows you to dynamically track the total number of loyalty points each customer currently holds.
The described expression configuration is just an example. You can define additional conditions according to your business specifications and requirements. Such additional conditions can be, for example, taking into account points burned or considering points added additionally for completing some other extra activity. It all depends on how your loyalty program is implemented.
For more advanced scenarios with loyalty points, check out [Transfer loyalty points between customers](/use-cases/loyalty-points-transfer-with-push) describing the process of configuring the transfer of loyalty points between customers.
1. Go to **Behavioral Data Hub > Expressions > New expression**.
2. Enter a meaningful name of the expression.
3. Leave the expression type at default (**Attribute**).
4. Build the formula of the expression.
1. Click the **Select** node.
2. From the dropdown list, select **Profile**.
3. Click the **unnamed** node that appeared on the canvas.
4. Scroll down the page and click **Choose attribute**.
5. From the dropdown list, select the aggregate counting the number of points that you created [earlier](#create-an-aggregate-counting-the-number-of-points).
6. Click **+** and from the dropdown list, select **Profile**.
3. Click the **unnamed** node that appeared on the canvas.
4. Scroll down the page and click **Choose attribute**.
5. From the dropdown list, select the aggregate counting the number of redeemed points that you created [earlier](#create-an-aggregate-counting-the-redeemed-points).
7. Add **-** sign between the both elements.
6. Save the expression.
The configuration of the expression
## Display points balance
---
To display the current loyalty points balance for a customer in a mobile application or on a website, you can retrieve the value of the [expression which returns points balance](#create-an-expression-which-returns-points-balance) in a [document](/docs/assets/documents) and then retrieve this document through API. To do so, follow instructions in this section:
### Create a document with an expression
---
1. In the Synerise platform, go to **Data Modeling Hub > Documents > Add document**.
2. Configure the settings in the **Audience** and **Configuration** sections, according to the instructions in the ["Procedure" section](/docs/assets/documents/creating-documents#procedure).
1. In **Body** include the following expression reference:
This value of the PointsBalance parameter will dynamically show the points value for the specific customer when the document is accessed in a context of a customer. Replace the ID of the expression with the ID of the [expression from the previous step](#create-an-expression-which-returns-points-balance) - you can find on the list of expressions by clicking the icon
### Retrieve the document in profile context (API)
---
To get the value of PointBalance for a specific customer, use the [`generateDocumentWithProfileContext` method](https://hub.synerise.com/api-reference/asset-management#tag/Documents/operation/generateDocumentWithProfileContextPost) through API.
This method renders the document based on the actual profile data.
Request (example using email as identifier):
Replace:
- `{DOCUMENT_UUID}` with the UUID of your document (you can find it by entering the configuration form of the document - it will be in the final part of the URL).
- `customer@email.com` with the **customer’s identifier** (email, clientId, etc.).
- If you're using Azure instead of Google Cloud Platform, use this link for **curl**: `https://api.synerise.com/schema-service/v2/documents/{DOCUMENT_UUID}/generate/by/email`
Example response will look like this:
### Connect the expression to promotions
---
If you want to enable the ability to connect the expression to promotions, we recommend contacting the Service Desk at Synerise to request activation of the rewards module. This is required to use expressions in promotion logic.
If you prefer to proceed independently, you can follow the optional instructions below.
Connect the expression to promotions
To make this expression usable in other areas (for example, for filtering available promotions for the user), you must add the expression to the workspace settings. The expression field should contain the UUID of the expression used to calculate points.balance.
Use the PUT `/v4/promotions/settings` endpoint to configure which expression should be used globally in promotion logic. Use this endpoint: `https://hub.synerise.com/api-reference/loyalty-and-engagement#tag/Promotion-settings/operation/endpointSettingsUpdateSettingsPUT`.
## Configure a promotion to become a reward
---
If you want to configure a promotion into a loyalty-based reward, you can configure it to be available only to customers who have collected a specific number of loyalty points. Follow the steps below to set up this condition.
1. In the configuration of Promotion - in the **Loyalty** section, click **Change**.
2. If you want to enable the promotion only to customers who gathered a certain number of loyalty points, perform the following actions:
1. Select the **Minimum loyalty score** checkbox.
2. In the **Value** field, enter the number of required points.
3. Click **Apply**.
The configuration
## Retrieve all available promotions through API
---
In this part of the process, we’ll show you how to retrieve a list of promotions that are available to a specific customer based on audience targeting and publication status — using the Synerise API.
### Use the “Get all client promotions” endpoint
---
When a user enters your website (or a mobile app) you can call the following endpoint to check if any promotions are assigned to them using the [Get a Profile's promotions as Workspace (v2)
method](https://hub.synerise.com/api-reference/loyalty-and-engagement#operation/GetAllClientPromotionsV2).
An examplary cURL:
This API returns only the promotions that meet these two conditions:
- The promotion is published
- The user is included in the audience segment of the promotion
Replace the email with the actual customer's identifier.
You can also use other types of identifiers, such as `custom_identify` or `uuid`.
This does not check if the customer has enough points.
This endpoint only confirms promotion eligibility based on:
- Targeting (segment)
- Publication (is the promotion active?)
To optionally show if user has enough points to use the specific promotion, use the `requireRedeemedPoints` parameter in the response. Compare it with the user's PointsBalance, obtained as described in step 1. Based on that comparison, you can:
- Show or hide promotions,
- Mark unavailable ones as "locked",
- Display a personalized message, for example: "You need 200 more points".
**Note:** You don’t need to modify the request.
The `requireRedeemedPoints` value is returned as part of each promotion in the response — simply compare it with the user’s CurrentBalance to determine which promotions they can afford.
## Activate promotions
---
After a customer selects a promotion they wish to use from the previously retrieved list, the next step is activating the selected promotion for them using the API. Activation ensures the promotion is reserved for the customer along with the required number of points, if applicable. Depending on the promotion's configuration, this process may trigger a `client.removePoints` event, indicating that loyalty points have been deducted from the customer's balance. This signifies that the promotion has been fully used and is now unavailable for the customer. Unless explicitly configured otherwise, the promotion cannot be reused.
Promotion statuses in Synerise database
### Make an API call to activate the promotion
---
Use the [ActivateAPromotionAsProfile method](https://hub.synerise.com/api-reference/loyalty-and-engagement#operation/ActivateAPromotionAsProfile) to activate a promotion for a customer. You must provide their identifier (such as email or custom_identify), and the code of the promotion you want to activate.
Check the cURL to request to activate promotion:
The value field should contain the promotion code, which you get from the [previous step](#retrieve-all-available-promotions-through-api).
Depending on the customer’s eligibility and points balance, the response will look as follows:
{
  "message": "You don't have required amount of points"
}
This means the customer tried to activate a promotion that requires more points than they currently have.
If the request is valid and the user has enough points, the promotion will be successfully activated. In this case - if we receive the 200 status it means that:
- The customer had enough loyalty points
- The promotion was available and matched to the customer
- The promotion has now been activated specifically for this customer
The `client.activatePromotion` event will appear on the activity list on the profile card. This event contains info about:
- the promotion code,
- the number of points that were used (defined in `requireRedeemedPoints`),
- the timestamp of activation and so on.
Using an expression to calculate points balance, it will automatically subtract the redeemed points from the customer’s available balance. The updated balance is always accurate and can be reused in real time across all channels.
Event configuration
## Redeem promotions
---
After a promotion has been activated, and the user actually uses it, the final step is to mark the promotion as redeemed in Synerise. This is known as burning the promotion, and it helps track usage, prevent multiple redemptions, and close the promotion lifecycle.
### Make the API call to redeem the promotion
---
Once the customer confirms usage, call the following endpoint: `https://hub.synerise.com/api-reference/loyalty-and-engagement#tag/Promotions/operation/RedeemAPromotion`
The **code** should be the promotion code the customer activated [earlier](#retrieve-all-available-promotions-through-api)
Use either email or clientId as clientKey, depending on your setup.
If the promotion is properly redeemed, the API will return a **201** status with a success message:
{
  "message": "Promotion redeemed successfully"
}
Once redemption is confirmed, a promotion redemption event is automatically added to the customer’s profile in Synerise as `client.removePoints`.
This event confirms that the promotion has been fully used and is now closed from the customer’s perspective — it cannot be used again unless configured otherwise.
## Check the use case set up on the Synerise Demo workspace
---
You can check the configuration of each step directly in the Synerise Demo workspace:
- [Aggregate](https://app.synerise.com/analytics/aggregates/174ba14c-b0d7-372d-acb2-8f1365af3083) which counts the number of points gained by customer.
- [Aggregate](https://app.synerise.com/analytics-v2/aggregates/f7d84d87-5a2b-3c4d-9aa2-c007850c5716) which counts the number of points used for activating the promotion.
- [Expression with the points balance](https://app.synerise.com/analytics/expressions/787c2cb5-15a7-4d90-ac37-d812803bcb20)
If you’re our partner or client, you already have automatic access to the **Synerise Demo workspace (1590)**, where you can explore all the configured elements of this use case and copy them to your workspace.
If you’re not a partner or client yet, we encourage you to fill out the contact [form](https://demo.synerise.com/request) to schedule a meeting with our representatives. They’ll be happy to show you how our demo works and discuss how you can apply this use case in your business.
## Generated events
This use case generates approximately 3 events per profile that completes the flow:
[`points.loyalty`](/docs/assets/events/event-reference/loyalty#pointsloyalty) (~1), [`client.activatePromotion`](/docs/assets/events/event-reference/loyalty#clientactivatepromotion) (~1), [`client.removePoints`](/docs/assets/events/event-reference/loyalty#clientremovepoints) (~1).
## Read more
---
- [Aggregates](/docs/crm/aggregates)
- [Expressions](/docs/crm/expressions)
- [Loyalty introduction](/loyalty/lesson-1/ )
- [Promotions](/docs/ai-hub/promotions)
# Gamified quest with personalized reward offer loop
Modern engagement strategies go beyond static campaigns. By combining gamification with real-time personalization, you can create experiences that react to user behavior instantly — rewarding action, adapting to inaction, and delivering the right incentive to the right person at the right moment.
This use case describes a gamified in-app flow where a user completes a quest (for example, browsing 3 product categories). Upon completion, the system immediately evaluates the user's profile — their spending history and recency of activity — to assign them to a segment (VIP, at-risk, or standard). A personalized offer with a time-limited voucher is then presented directly in the app.
If the user dismisses the offer or does not interact before it expires, the system sets a profile attribute and a workflow sends a mobile push notification after a delay, bringing the user back to the app where a modified offer with a higher discount is presented. Different users receive different rewards and timeout windows, even though the entire logic runs within a single flow.
The key value of this approach is **event-driven orchestration in one place** using [Brickworks](/docs/assets/brickworks). All segmentation logic, voucher pool selection, offer copy, and escalation rules are defined within a single schema — eliminating the need to chain multiple campaign tools or maintain separate backend logic.
## Prerequisites
---
- [Implement Synerise SDK in your mobile app](/developers/mobile-sdk).
- Implement [transaction events](/developers/web/transactions-sdk) using [SDK](/developers/web/transactions-sdk) or [API](https://hub.synerise.com/api-reference/data-management#operation/CreateATransaction).
- [Create voucher pools](/docs/assets/code-pools) for each customer segment:
- A voucher pool for VIP customers (for example, 20–25% discount on premium items).
- A voucher pool for at-risk customers (for example, 30–40% discount).
- A voucher pool for standard customers (for example, 10–15% discount).
- [Configure Google Firebase](/docs/settings/tool/firebase) for mobile push notifications.
## Process
---
In this use case, you will go through the following steps:
1. [Create aggregates](#create-aggregates) to collect customer spending and transaction recency data.
2. [Create expressions](#create-expressions) that reference the aggregates to calculate customer spend and inactivity.
3. [Create a Brickworks schema](#create-a-brickworks-schema) with the offer logic.
4. [Create an in-app campaign](#create-an-in-app-campaign) with the gamified quest and reward flow.
5. [Create a workflow](#create-a-workflow) that sends a mobile push after the user dismisses or ignores the offer.
## Create aggregates
---
In this part of the process, you will create two [aggregates](/docs/crm/aggregates) that collect the data needed for customer segmentation. These aggregates will be referenced by the expressions in the next part of the process.
### Aggregate for lifetime transaction sum
This aggregate calculates the total value of all transactions made by a customer over their lifetime.
1. Go to **Behavioral Data Hub > Live Aggregates > Create aggregate**.
2. As the aggregate type, select **Profile**.
3. Enter the name of the aggregate, for example `Sum of transactions lifetime`.
4. Click **Analyze profiles by** and select **Sum**.
5. From the **Choose event** dropdown list, select the `transaction.charge` event.
6. As the event parameter, select `$totalAmount`.
7. Set the time range to **Lifetime**.
8. Save the aggregate.
Configuration of the lifetime transaction sum aggregate
### Aggregate for last transaction timestamp
This aggregate returns the timestamp of the customer's most recent transaction where revenue was greater than zero.
1. Go to **Behavioral Data Hub > Live Aggregates > Create aggregate**.
2. As the aggregate type, select **Profile**.
3. Enter the name of the aggregate, for example `Last transaction time`.
4. Click **Analyze profiles by** and select **Last**.
5. From the **Choose event** dropdown list, select the `transaction.charge` event.
6. As the event parameter, select `TIMESTAMP`.
7. Click the **+ where** button. From the **Choose parameter** dropdown list, select `$revenue`. From the **Choose operator** dropdown, select **More than (Number)**. In the value field, enter `0`.
8. Set the time range to **Last 30 days**.
9. Save the aggregate.
Configuration of the last transaction timestamp aggregate
## Create expressions
---
In this part of the process, you will create two [expressions](/docs/crm/expressions) that reference the aggregates created in the previous step. These expressions are later used inside the Brickworks schema to determine which segment a customer belongs to.
### Expression for total spend
This expression returns the result of the lifetime transaction sum aggregate.
1. Go to **Behavioral Data Hub > Expressions > New expression**.
2. Enter the name of the expression, for example `Total customer spend`.
3. In the **Expressions for** dropdown, select **Attribute**.
4. In the **Formula definition** area, add the aggregate created in the [previous step](#aggregate-for-lifetime-transaction-sum) (`Sum of transactions lifetime`).
5. Set the expression **Type** to **Profile**.
6. Click **Publish**.
Configuration of the total spend expression
### Expression for last transaction time
This expression returns the result of the last transaction timestamp aggregate.
1. Go to **Behavioral Data Hub > Expressions > New expression**.
2. Enter the name of the expression, for example `Last transaction time`.
3. In the **Expressions for** dropdown, select **Attribute**.
4. In the **Formula definition** area, add the aggregate created in the [previous step](#aggregate-for-last-transaction-timestamp) (`Last transaction time`).
5. Set the expression **Type** to **Profile**.
6. Click **Publish**.
Configuration of the last transaction time expression
## Create a Brickworks schema
---
In this part of the process, you will [create a Brickworks schema](/docs/assets/brickworks/quick-start/creating-a-schema) that contains all the personalization logic. The schema uses expressions and Jinjava logic to determine the customer's segment, select the appropriate voucher pool, and output a structured JSON payload consumed by the in-app message.
The schema checks the `questOfferShown` profile attribute to determine whether the customer has already seen the initial offer. If the attribute exists, the schema returns the modified offer with a higher discount. Otherwise, it returns the initial offer. The `questOfferShown` attribute is set from the in-app JavaScript code when the user dismisses or ignores the offer — it does not need to be created manually in advance.
The voucher is not assigned at schema level — instead, the schema returns the voucher pool UUID so the mobile app can handle voucher assignment directly. The voucher pool selection also differs between the initial and modified offer, allowing you to use separate pools for each stage if needed.
### Segmentation logic
The Jinjava code inside the schema evaluates two data points:
- **Spend** (from the total spend expression): customers who spent more than 200 and were active in the last 14 days are classified as **VIP**.
- **Inactivity** (from the last activity expression): customers inactive for more than 14 days are classified as **at-risk**.
- All other customers are classified as **standard**.
### Offer configuration per segment
| Segment | Initial offer | Timeout | Modified offer |
|---|---|---|---|
| VIP | 20% off premium items | 30 seconds | 25% VIP flash deal |
| At-risk | 30% flash comeback deal | 5 seconds | 40% emergency deal |
| Standard | 10% off + 2x loyalty points | 15 seconds | 15% off + 2x points |
### Schema creation steps
1. Go to **Data Modeling Hub > Brickworks > New schema**.
2. Choose **Singleton**.
3. Enter a name for the schema, for example `Quest reward offer`.
#### Add the Offer field
4. Click **Add new field** and choose **Jinjava code**.
5. Complete the fields:
- In the **Display name** field, enter `Offer`.
- The **API name** will be pre-filled automatically.
6. In the **Cast to** field, select `JSON`.
7. In the Jinjava code editor, paste the following code:
{%- set spendArr = [] -%}
     {%- set inactiveArr =[] -%}

     {%- expressionvar EXPRESSION_ID_SPEND -%}
       {%- do spendArr.append(expression_result) -%}
     {%- endexpressionvar -%}

     {%- expressionvar EXPRESSION_ID_INACTIVITY -%}
       {%- do inactiveArr.append(expression_result) -%}
     {%- endexpressionvar -%}

     {%- set spend = spendArr[0] -%}
     {%- set inactive = inactiveArr[0] -%}

     {%- set now_dt = timestamp|timestamp_to_time -%}
     {%- set event_dt = '' -%}

     {%- if inactive == 'null' -%}
       {%- set event_dt = timestamp|timestamp_to_time -%}
       {% else %}
       {%- set event_dt = inactive|iso8601_to_time -%}
     {%- endif -%}

     {%- set now_day = now_dt|datetimeformat('%Y')|int * 365 + now_dt|datetimeformat('%j')|int -%}
     {%- set event_day = event_dt|datetimeformat('%Y','UTC')|int * 365 + event_dt|datetimeformat('%j','UTC')|int -%}
     {%- set days = now_day - event_day -%}

     {% set seg = '' %}
     {%- if spend > 200 and days < 14 -%}{% set seg = 'vip'%}
     {%- elif days > 14 -%}{% set seg = 'atrisk'%}
     {%- else -%}{% set seg = 'standard'%}
     {%- endif -%}

     {%- set isMutated = [] -%}
     {%- if customer.questOfferShown -%}
       {% do isMutated.append(true)%}
     {%- else -%}
       {% do isMutated.append(false)%}
     {%-endif-%}

     {%- set mutated = isMutated[0] -%}

     {#- Resolve voucher pool UUID per segment and mutation state -#}
     {%- set code = [] -%}
     {%- if mutated -%}
         {%- if seg == "vip" -%}
           {% do code.append('VIP_VOUCHER_POOL_UUID') %}
       {%- elif seg == "atrisk" -%}
           {% do code.append('ATRISK_VOUCHER_POOL_UUID') %}
       {%- else -%}
           {% do code.append('STANDARD_VOUCHER_POOL_UUID') %}
       {%- endif -%}
     {%- else -%}
       {%- if seg == "vip" -%}
           {% do code.append('VIP_VOUCHER_POOL_UUID') %}
       {%- elif seg == "atrisk" -%}
           {% do code.append('ATRISK_VOUCHER_POOL_UUID') %}
       {%- else -%}
           {% do code.append('STANDARD_VOUCHER_POOL_UUID') %}
       {%- endif -%}
     {%-endif-%}

     {%- if seg == "vip" -%}
     {%- if mutated -%}
       {%- set title = "25% VIP flash deal" -%}
       {%- set desc = "We've upgraded your offer! 25% off premium items." -%}
       {%- set discount = 25 -%}
       {%- set cta = "Claim 25% off" -%}
     {%- else -%}
       {%- set title = "20% Exclusive deal" -%}
       {%- set desc = "As a VIP member, you've unlocked an exclusive discount on premium items." -%}
       {%- set discount = 20 -%}
       {%- set cta = "Claim 20% off" -%}
     {%- endif -%}
     {%- set timeout = 30 -%}

     {%- elif seg == "atrisk" -%}
     {%- if mutated -%}
       {%- set title = "40% emergency deal" -%}
       {%- set desc = "Final offer: 40% off anything. This won't come back." -%}
       {%- set discount = 40 -%}
       {%- set cta = "Claim 40% off NOW" -%}
     {%- else -%}
       {%- set title = "Flash 30% off" -%}
       {%- set desc = "Welcome back! Here's a special comeback deal. Don't let it slip away." -%}
       {%- set discount = 30 -%}
       {%- set cta = "Grab 30% off now" -%}
     {%- endif -%}
     {%- set timeout = 5 -%}

     {%- else -%}
     {%- if mutated -%}
       {%- set title = "15% off + 2x points" -%}
       {%- set desc = "We've boosted your offer! 15% off and double loyalty points." -%}
       {%- set discount = 15 -%}
       {%- set cta = "Claim 15% off" -%}
     {%- else -%}
       {%- set title = "10% off + 2x points" -%}
       {%- set desc = "Great job! Enjoy a 10% coupon and double loyalty points on your next order." -%}
       {%- set discount = 10 -%}
       {%- set cta = "Claim reward" -%}
     {%- endif -%}
     {%- set timeout = 15 -%}

     {%- endif -%}

     {
     "segment": "{{ seg }}",
     "offerTitle": "{{ title }}",
     "offerDescription": "{{ desc }}",
     "discountValue": {{ discount }},
     "ctaLabel": "{{ cta }}",
     "offerTimeout": {{ timeout }},
     "offerStyle": "{{ seg }}",
     "voucherCode": "{{ code[0] }}",
     "isMutated": {{ mutated }}
     }
Replace the following placeholders with your actual IDs:
- `EXPRESSION_ID_SPEND` — the ID of the [total spend expression](#expression-for-total-spend).
- `EXPRESSION_ID_INACTIVITY` — the ID of the [last transaction time expression](#expression-for-last-transaction-time).
- `VIP_VOUCHER_POOL_UUID`, `ATRISK_VOUCHER_POOL_UUID`, `STANDARD_VOUCHER_POOL_UUID` — the UUIDs of the voucher pools for each segment. You can use different pool UUIDs for the initial and modified branches if needed.
The schema does not assign voucher codes directly. Instead, it returns the voucher pool UUID in the `voucherCode` field. The mobile application is responsible for calling the voucher assignment API using this UUID when the user accepts the offer. The voucher pool resolution is split into two branches (mutated and non-mutated), so you can configure separate pools for each stage if your business logic requires it.
8. Click **Apply** to save the field.
### Set up the Audience & Settings
1. Click the **Audience & Settings** tab.
2. In the **Audience** section, click **Define**.
3. Choose the schema recipients, in this case, choose **Everyone**.
4. Click **Apply**.
5. In the upper-right corner, click **Save**.
## Create an in-app campaign
---
In this part of the process, you will [create an in-app campaign](/docs/campaign/in-app-messages/create-inapp-message) that renders the gamified quest interface. The in-app message uses JSON to call the Brickworks schema once and handle the quest and reward flow client-side.
1. Go to **Experience Hub > In-app > Create new**.
2. Enter the name of the in-app campaign, for example `Quest reward offer loop`.
### Define the audience
---
1. In the **Audience** section, click **Define**.
2. Choose **Everyone** or specify the audience according to your business needs.
3. Click **Apply**.
### Define content
---
In this part of the process, you will create the in-app message template containing the quest UI and reward overlay.
1. In the **Content** section, click **Define**.
2. Click **Create message**.
3. Click **+ New template** in the upper right corner.
3. Choose **Code editor**.
#### HTML tab
The HTML defines the key structural elements required for the flow to work. The essential parts are:
- **Quest area** (`#mainArea`) — dynamically rendered quest card with progress bar and claim button.
- **Reward overlay** (`#overlay`) — bottom sheet that displays the personalized offer, countdown timer, and action buttons.
#### CSS tab
Define styles for the quest card, progress bar, overlay, reward sheet, and buttons according to your brand guidelines. The key functional styles that must be present are:
- `.overlay` — must be hidden by default and shown via a `.show` class (for example, using `display: none` / `display: flex` or opacity transitions).
- `.progress-bar` and `.progress-fill` — the fill element's `width` is set dynamically via inline styles in JavaScript.
- `.claim-btn[data-state="locked"]` — should appear disabled; `[data-state="ready"]` should appear active and clickable.
All other visual styling (colors, fonts, spacing, animations) can be customized to match your brand.
#### JavaScript tab
The JavaScript manages the core flow. The critical part is the **Brickworks integration at the top** — the Jinjava block that calls the Singleton schema and injects the offer payload as a JavaScript constant. Since the schema type is Singleton, the same schema ID is used for both `schemaId` and `recordId`:
This produces a single JavaScript object at render time containing the full offer payload (`segment`, `offerTitle`, `offerDescription`, `discountValue`, `ctaLabel`, `offerTimeout`, `voucherCode`, `isMutated`). Whether this is the initial or escalated offer is determined automatically by the Brickworks schema based on the `questOfferShown` profile attribute.
The rest of the JavaScript implements the following flow logic:
1. **Quest progress tracking** — increments a counter on each user action. When the counter reaches the target (for example, 3 steps), the claim button becomes active.
2. **Claim action** — when the user taps the claim button, a `form.submit` event with `fd:formType = quest` is fired and the offer from `BW_OFFER` is presented in the overlay.
3. **Offer presentation** — the overlay is populated with data from the Brickworks payload (title, description, CTA label) and a countdown timer is started using the `offerTimeout` value.
4. **Accept** — the user taps the CTA button. The mobile app uses the voucher pool UUID from `BW_OFFER.voucherCode` to assign a voucher via the API. A success state is shown.
5. **Dismiss / Timeout** — if the user taps "Maybe later" or the timer expires, an `offer.dismissed` event is fired and the `questOfferShown` attribute is set to `true` on the customer's profile. This triggers the [workflow](#create-a-workflow) that sends a mobile push notification after a delay.
Replace `SCHEMA_ID` in the Jinjava block with the actual ID of the [schema](#create-a-brickworks-schema) you created. For Singleton schemas, the same ID is used for both `schemaId` and `recordId`. You can find the ID in the URL when viewing the schema in the Synerise platform.
4. To continue the process of configuring the in-app campaign, click **Next**.
5. Click **Apply**.
### Select events that trigger the in-app message display
---
In this part of the process, you will define the event that triggers the display of the in-app message. The quest interface should appear when the user opens a specific screen or section in the app.
1. In the **Trigger events** section, click **Define**.
2. Select **Add event** and from the dropdown list, choose `screen.view` event.
3. Click the **+ where** button and select the appropriate parameter to target the quest hub screen according to your app structure.
4. Click **Apply**.
### Schedule the message and configure display settings
---
1. In the **Schedule** section, click **Define** and set the time when the message will be active.
2. In the **Display Settings** section, click **Change**.
3. Define the **Delay display**, **Priority index** and enable the **Frequency limit** toggle to manage how often the quest is shown. For example, display the quest a maximum of 1 time per day.
You can additionally enable the **Capping limit** toggle to limit the total number of times the in-app message can be displayed to a user.
4. Click **Apply**.
5. Optionally, define UTM parameters and additional parameters for your in-app campaign.
6. Click **Activate**.
## Create a workflow
---
In this part of the process, you will create a [workflow](/docs/automation/creating-automation) that sends a mobile push notification to users who dismissed the offer or let it time out. The push brings them back to the app, where the Brickworks schema — now reading `questOfferShown = true` on their profile — returns the escalated (mutated) offer automatically.
1. Go to **Automation Hub > Workflows > New workflow**.
2. Enter the name of the workflow, for example `Quest offer follow-up push`.
### Define the Profile Event trigger nodes
---
The workflow uses two trigger nodes connected via a Merge Paths node, so the push is sent regardless of whether the user completed the quest without claiming or dismissed the offer.
#### First trigger — quest completed without claim
1. As the first node of the workflow, add **Profile Event**. In the configuration of the node:
2. From the **Choose event** dropdown menu, choose the `form.submit` event.
3. Click the **+ where** button. From the **Choose parameter** dropdown menu, choose `fd:formType`. From the **Choose operator** dropdown, choose **Equal**. In the value field, enter `quest`.
2. Confirm by clicking **Apply**.
Configuration of the first Profile Event trigger node
#### Second trigger — offer dismissed
1. Add a second **Profile Event** node. In the configuration of the node:
2. From the **Choose event** dropdown menu, choose the `offer.dismissed` event.
2. Confirm by clicking **Apply**.
Configuration of the second Profile Event trigger node
### Configure the Delay node
---
1. Add the **Merge Paths** node and connect both Profile Event trigger nodes to it.
1. Add the **Delay** node. Configure the delay duration according to your business needs (for example, 15 minutes). This gives the user time before receiving the follow-up push.
2. Confirm by clicking **Apply**.
### Configure the Send Mobile Push node
---
1. Add the **Send Mobile Push** node. In the configuration of the node:
1. Define the push notification content. For example:
- **Title:** `Look at your new offer`
- **Body:** `We have a new deal for you`
2. Optionally, enable the **Send without marketing agreement** option if your business requirements allow it.
2. Confirm by clicking **Apply**.
### Add the finishing node
---
1. Add the **End** node.
2. In the upper right corner, click **Save & Run**.
The workflow configuration
## Summary
---
The following describes the end-to-end flow from the user's perspective and how the system components interact:
1. **Quest phase:** The user sees a quest card (for example, "Browse 3 product categories"). As they complete each step, the progress bar advances. The quest progress is tracked client-side in the in-app message.
2. **Claim phase:** When all steps are completed, the "Claim your reward" button becomes active. Tapping it fires a `form.submit` event with `fd:formType = quest` and triggers the offer presentation.
3. **Initial offer:** The in-app reads the `BW_OFFER` payload (generated from the Brickworks schema). Since the `questOfferShown` attribute does not exist yet on the profile, the schema returns the initial offer. A bottom sheet overlay appears showing the personalized offer with the segment-appropriate discount, copy, and a countdown timer.
4. **User interaction paths:**
- **Accept:** The user taps the CTA button. The app uses the voucher pool UUID from the payload to assign a voucher via the API, and shows a success confirmation.
- **Dismiss / Timeout:** The `offer.dismissed` event is fired and the `questOfferShown` attribute is set to `true` on the profile. The overlay closes.
5. **Follow-up push:** The workflow detects either the `form.submit` or `offer.dismissed` event and, after the configured delay, sends a mobile push notification encouraging the user to return to the app.
6. **Escalated offer:** When the user opens the app via the push, the in-app campaign triggers again. This time, the Brickworks schema reads `questOfferShown = true` on the profile and returns the modified offer with a higher discount.
## Check the use case set up on the Synerise Demo workspace
---
You can check the configuration of each step directly in the Synerise Demo workspace:
- [Aggregate — Sum of transactions lifetime](https://app.synerise.com/analytics-v2/aggregates/bb592bec-43b6-3577-8e98-bf3a95a87f23)
- [Aggregate — Last transaction time](https://app.synerise.com/analytics-v2/aggregates/6be97f2c-ace2-3d9c-9da1-d9d6e2fdf0e0)
- [Expression — Total customer spend](https://app.synerise.com/analytics/expressions/8b0c8d34-f3ef-4368-bc51-dcdf198eb6f9)
- [Expression — Last transaction time](https://app.synerise.com/analytics/expressions/b7e698f6-9da1-4c98-aed5-e0e6a0130f22)
- [Brickworks schema](https://app.synerise.com/assets/brickworks/schemas/751096cf-b7a8-45b8-b673-c191bbe0d30f)
- [In-app campaign](https://app.synerise.com/communications/in-app/ee3fa59b-bd5c-4449-bf29-86f90f4f9431/content-manager/template/editor?variant=0)
- [Workflow — Quest offer follow-up push](https://app.synerise.com/automations/workflows/automation-diagram/542b1d19-6901-4880-99dd-b8c21143e2ea)
If you’re our partner or client, you already have automatic access to the **Synerise Demo workspace (1590)**, where you can explore all the configured elements of this use case and copy them to your workspace.
If you’re not a partner or client yet, we encourage you to fill out the contact [form](https://demo.synerise.com/request) to schedule a meeting with our representatives. They’ll be happy to show you how our demo works and discuss how you can apply this use case in your business.
## Generated events
This use case generates approximately 20 events per profile that completes the flow:
[`screen.view`](/docs/assets/events/event-reference/web-and-app#screenview) (~1), [`inApp.show`](/docs/assets/events/event-reference/inapp#inappshow) (~2), [`inApp.click`](/docs/assets/events/event-reference/inapp#inappclick) (~2), [`brickworks.generated`](/docs/assets/events/event-reference/brickworks#brickworksgenerated) (~2), [`form.submit`](/docs/assets/events/event-reference/web-and-app#formsubmit) (~1), `offer.dismissed` (~1), [`automation.clientStartPath`](/docs/assets/events/event-reference/automation#automationclientstartpath) (~1), [`automation.clientPathStep`](/docs/assets/events/event-reference/automation#automationclientpathstep) (~4), [`automation.clientEndPath`](/docs/assets/events/event-reference/automation#automationclientendpath) (~1), [`push.send`](/docs/assets/events/event-reference/mobile-push#pushsend) (~1), [`push.view`](/docs/assets/events/event-reference/mobile-push#pushview) (~1), [`push.click`](/docs/assets/events/event-reference/mobile-push#pushclick) (~1), [`voucherCode.assigned`](/docs/assets/events/event-reference/loyalty#vouchercodeassigned) (~1).
## Read more
---
- [Aggregates](/docs/crm/aggregates)
- [Brickworks](/docs/assets/brickworks)
- [Creating workflows](/docs/automation/creating-automation)
- [Expressions](/docs/crm/expressions)
- [In-app messages](/docs/campaign/in-app-messages)
- [Mobile push](/docs/campaign/Mobile/mobile_campaign)
- [Voucher pools](/docs/assets/code-pools)
- [Using in-app template builder](/docs/campaign/in-app-messages/creating-inapp-templates/creating-inapp-template)
# Import Customer Profiles to Synerise Using CSV Files
To leverage the AI capabilities of Synerise, personalize communication, and explore numerous other possibilities, you need a seamless method of importing your customer profiles. Whether you're migrating from another system or starting from scratch, our Imports feature, available in Data Modeling Hub, offers a streamlined process for importing profiles into our platform. Unlock the complete potential of your customer data with Synerise and gain invaluable insights to drive your business forward. By utilizing the Imports feature, you can conveniently upload and integrate customer data in CSV files, ensuring a smooth transition and accurate representation of your customer base.
In this use case, you will import customers' data to Synerise using a `.csv` file in a seamless and efficient manner.
## Prerequisites
---
- Prepare a `.csv` file that contains one of the following profile identifiers: (the list contains recommended column names, if you use different names you will be able to map data during the process):
- `email`,
- `uuid`,
- `clientID`,
- or `customID`.
This is the only required column, the rest is optional.
If you choose an email as an identifier, pay attention to the correct format of emails. Otherwise, your import will fail.
In this case, we will use data from a sample file, which can be downloaded during the [Select the file for import](#select-the-file-for-import) step, using the **Get Sample File** button.
- `.CSV` files must be UTF-8 encoded, spaces and special characters in the column headers are not allowed. Check [tips for preparing a CSV file](/docs/assets/imports/importing-clients#tips-for-preparing-a-csv-file).
## Select the file for import
---
In this part of the process, you will upload a file from your device.
1. Go to **Data Modeling Hub > Imports> New import**.
2. As the data type for import, select **Profiles**.
3. As the import method, to import a single `.csv` file to Synerise, select **Import a local file**.
4. To upload the `.csv` file, click the **+ Upload file or drag one here field** .
5. Optionally, you can customize the file metacharacters by clicking the arrow down icon next to **Customize file markup**.
1. From the **Delimiter** dropdown, select the character that marks the end of a column.
2. From the **Quotation mark** dropdown list, select the characters that contain the text.
3. From the **Escape character** dropdown lists, select the character which changes the default interpretation of a character or a string followed by the escape character.
6. You can preview the data output by clicking **Preview data**.
7. Click the **Next** button to upload the file.
8. When the file is uploaded, click **Next** to proceed.
Import Profiles configuration
## Mapping the columns with parameters in Synerise
---
In this part of the process, you will connect the columns from the file with their counterparts (the existing attributes) in Synerise. This way, you will point which parameters in Synerise will contain the profile information from the imported file.
You can also exclude parameters from the import.
On the user interface, you will be presented with two columns - the left column displays the names of the columns from the imported file, the other contains dropdown lists with the parameters available in Synerise. The dropdown lists indicate required parameters for a successful import.
If you skip mapping the non-required parameters, the name of these parameters will be the same as the names from the imported file. If parameters don't exist in Synerise, they will be imported as new parameters.
1. Next to the file column name, from the dropdown list, select the corresponding parameter in Synerise. Perform this step for all columns in your file.
In our case, we do not need to map the parameters, because the uploaded file meets all the requirements from the prerequisites.
2. To exclude a parameter from import, next to the column name, click this icon: Mapping
3. To proceed to the summary of the import, click **Next**.
**Result:** The summary of the import is displayed.
Import summary
4. After checking the import summary, to start the import, click **Run import**.
5. You can monitor the status of your import and potential errors due to incorrect data in the **Imports List**.
## Generated events
This use case generates 1 event per profile that completes the flow:
[`client.add`](/docs/assets/events/event-reference/profiles#clientadd) (~1).
## Read more
---
- [Imports](/docs/assets/imports/introduction-to-imports)
# Landing page with personalized listing and brand-focused product recommendations
In today's competitive e-commerce landscape, personalization plays a crucial role in improving customer engagement and increasing conversion rates. By leveraging customer data such as purchase history, browsing patterns, and product preferences, businesses can provide a tailored shopping experience. This is especially critical during high-stakes sales events like Black Friday, when customers are bombarded with a vast range of products and deals. A well-executed personalized approach not only enhances user experience but also helps in reducing decision fatigue and boosting conversion rates.
This use case demonstrates how a dynamically personalized product listing can be integrated into a landing page. The listing presents products that are relevant to each customer's interests, based on their past purchases and browsing activities. With the use of Synerise Predictions, presented results will be even more accurate.
**Here’s how it works**:
- Customers with a high propensity to purchase from a particular brand will receive an email that guides them to a personalized landing page.
- The page features an **automatically filtered product listing that spotlights items from their preferred brand**.
- Customers can further refine their browsing experience by applying additional filters, such as product category or price, for an even more tailored shopping journey.
For special occasions such as Black Friday or Power Monday, you can enrich this scenario and apply additional settings, such as showcasing only offers with a specific "black-friday" tag.
In this use case, we will guide you through every step of the scenario. We will prepare the email campaign as well as the landing page which will be created based on a predefined template that makes the scenario easy to prepare by adapting the ready project to your business needs.
## Prerequisites
---
To be able to implement this use case, you must:
- [Create a sender account](/docs/campaign/e-mail/configuring-email-account)
- Configure AI Engine for:
- [AI Search](/docs/settings/configuration/ai-engine-configuration/engine-configuration-for-search)
- [Propensity predictions](/docs/settings/configuration/ai-engine-configuration/engine-configuration-for-propensity#enabling-propensity-and-best-fit-predictions)
- Create and configure [search index](/docs/ai-hub/ai-search/create-index) and add the desired [filterable attributes](/docs/ai-hub/ai-search/define-attributes#filterable-attributes)
- [Predict propensity to buy items from specific brand](/use-cases/propensity-brand)
- If you plan to publish a landing page within your own domain, follow instructions from ["Requirements for custom domains" section](/docs/campaign/landing-page/creating-landing-page#requirements-for-custom-domains); if you choose to publish it on the Synerise domain, no additional requirements are necessary
- Optionally you can [configure AI engine](/docs/settings/configuration/ai-engine-configuration/engine-configuration-for-recommendations) to be able to add personalized AI recommendations to your landing.
- Optionally create [AI recommendations](/docs/ai-hub/recommendations-v2) which you can add to your landing page.
## Process
---
Perform the steps in the following order:
2. [Create a landing page](/use-cases/landing-page-personalized-listing#create-a-landing-page).
2. [Create an email campaign](/use-cases/landing-page-personalized-listing#create-an-email-campaign).
## Create a landing page
---
In this part of the process, you will create a landing page with personalized product listing. The listing will have filtering options (such as filters by brand, by category or price) as well as sorting. We will use a predefined template so there is no need to create a template from scratch.
In this example we will use a landing page approach, but you can implement the same scenario in any other structure or flow that fits your project.
1. Go to **Experience Hub > Landing Page > Create new**.
2. Enter the name of the campaign.
### Define content
---
1. In the **Content** section, click **Create message**.
2. From the list of template folders, select the **Predefined templates** folder.
**Result:** You are redirected to the list of predefined templates.
3. Select the **Personalized Listing** template.
**Result:** You are redirected to the code editor. The form in the **Config** tab is pre-filled with default values, which you can modify to suit your business needs.
5. In the **General** section:
1. In the **ID of AI search index** field, enter the ID of search index you created as a part of [prerequisites](/use-cases/landing-page-personalized-listing#prerequisites).
10. In **Additional Recommendation**, you can select an AI recommendation that will be used to present additional product offers, if switched on. In this section, apart from selecting the recommendation, define the header for the recommendation frame, and the number of items to display in the recommendation frame.
6. In the **Buttons, Hero, Footer** sections, you can configure the layout and appearance of your landing page, including fonts, colors, and backgrounds, to ensure it matches your branding.
7. After you make changes to the template, you can check the preview.
1. Click the **Preview Contexts** button on the upper left side.
2. Enter the ID of a customer.
3. Click **Apply**.
Edit form in the Config tab
8. If the template is ready, click **Use in communication** in the upper right corner.
### Define schedule settings
---
1. In the **Schedule** section, click **Define**.
1. Select the timezone.
2. Select the time when the landing page will be active - in this case, choose the start and end date, so they overlap the period before and after Black Friday.
6. Click **Apply**
Edit form in the Schedule tab
### Define the SEO settings
---
In this part of the process you may define technical details concerning search engine optimization and increase the chances of placing high in search results.
### Set up the URL
---
In this part of the process, you will define the URL to your landing page.
1. From the **Domain** dropdown list, select the address of your landing page.
2. Optionally, if you want to add a part to the address after the domain, in **Nice URL** provide this part, for example, `black-friday` (don't use a slash, it is added automatically).
3. In **URL for redirecting users when the landing expires (optional)**, enter the URL to which you will redirect users after the landing page expires.
4. Optionally, in **Fallback URL**, enter the URL to which users will be redirected if your landing page is unavailable due to errors (for example, when it can't be rendered due to Jinjava syntax error). If you leave this field empty, users will be redirected to a generic error page.
4. In **URL preview**, you are provided with a final link to your landing page. The preview is in real time, so if you fill a domain or URL, you get the preview of the address simultaneously.
5. Confirm the settings by clicking **Apply**.
### Adjust optional settings
---
1. In the **HTTP headers** section, you can add custom HTTP headers to your landing page. In the **Key** and **Value** fields, enter a header and its value, respectively.
2. In the **Customize** section:
- you can add CSS and scripts to your landing page
- you can define the URLs to external sources or paste the snippets
- in the JS section under the **Advanced options** option, to enable additional tracking on your landing page, you can paste the [tracking code](/developers/web/installation-and-configuration#adding-the-tracking-code-to-your-site).
### Save your campaign
---
1. After you make changes to the campaign, you can check the preview. Click the **Preview** button on the upper right side.
2. When your landing page is ready you can **Save it as a draft** or directly click **Publish**.
## Create an email campaign
---
In this part of the process, you will create an email campaign with the link to the landing page with personalized listing, automatically filtered to the brand you specified while [building prediction](/use-cases/landing-page-personalized-listing#prerequisites). The campaign will be directed to all customers with high propensity to buy items from that brand.
1. Go to **Experience Hub > Email campaign > Create new**.
2. In the **Audience** section, choose the **New audience**.
3. Define the conditions:
1. Choose event `snr.propensity.score`.
2. As the parameter, choose **modelId**.
3. As the operator, choose **Equal**.
4. In the text field, enter the ID of the prediction you created as a part of [prerequisites](/use-cases/propensity-brand).
5. Click **+ where**.
6. From the dropdown list, select **source_label**.
7. As the operator, choose **Equal**.
8. Depending on the scale selected in the prediction, please enter the highest possible value that can be achieved here. In our case, in the text field, enter `high`.
The conditions for the audience of the email
4. Apply and save your changes.
3. Configure the **Content** section.
3. Choose the email account from which you want to send your message.
2. In the **Subject** field, enter your message subject.
2. Click **Create message**.
You can create a template out of scratch or use the ready-made templates in the **Predefined dynamic templates** and **Predefined simple templates** folders.
An email template must contain a link to the landing page with brand filter passed in the link. Based on the personalized listing on our predefined template, the link would look in the following way: `https://your.landingpage.com/black-friday?brand=xyz`.
To ensure that the landing page content is personalized and rendered specifically for the customer who is being redirected, you must also pass the UUID of the customer in the link. This can be done by adding `snrs_cl` parameter in the URL in the following ways:
- by adding manually the Jinjava insert that retrieves UUID to the link, for example: `https://your.landingpage.com?snrs_cl={{customer.uuid}}`
- by inserting the link using `{% preparelink %}YOUR_LANDING_PAGE_URL{% endpreparelink %}` tags which automatically adds the `snrs_cl` parameter to the link.
Taking the above into consideration, the final link that must be embedded in email template will look in the following way: `{% preparelink %}https://your.landingpage.com/black-friday?brand=xyz{% endpreparelink %}`.
You can read more about customer context in landing pages in ["Establishing customer context" section](/docs/campaign/landing-page/creating-landing-page).
4. After finishing email template, click **Use in communication**.
5. In the **Content** section, to confirm the settings, click **Apply**
4. In the **Schedule** section, specify the time when you want to send your communication.
4. You can optionally define **UTM & URL parameters**.
4. To send the email, click **Send**.
Example of email template
## Check the use case set up on the Synerise Demo workspace
---
You can check the configuration of the [landing page](https://app.synerise.com/campaigns/landing-pages/create/d2fffb37-e736-4ef2-acd7-e80c23516b01:2024-11-13T11:06:52.595559351) with personalized product listing directly in Synerise Demo workspace.
If you’re our partner or client, you already have automatic access to the **Synerise Demo workspace (1590)**, where you can explore all the configured elements of this use case and copy them to your workspace.
If you’re not a partner or client yet, we encourage you to fill out the contact [form](https://demo.synerise.com/request) to schedule a meeting with our representatives. They’ll be happy to show you how our demo works and discuss how you can apply this use case in your business.
## Generated events
This use case generates approximately 7 events per profile that completes the flow:
[`snr.propensity.score`](/docs/assets/events/event-reference/predictions#snrpropensityscore) (~1), [`message.send`](/docs/assets/events/event-reference/email#messagesend) (~1), [`newsletter.open`](/docs/assets/events/event-reference/email#newsletteropen) (~1), [`newsletter.click`](/docs/assets/events/event-reference/email#newsletterclick) (~1), [`landingpage.visit`](/docs/assets/events/event-reference/landing-page#landingpagevisit) (~1), [`item.search`](/docs/assets/events/event-reference/search#itemsearch) (~1), [`item.search.click`](/docs/assets/events/event-reference/search#itemsearchclick) (~1).
## Read more
---
- [Email communication](/docs/campaign/e-mail/creating-email-campaigns)
- [Jinjava inserts](/developers/inserts)
- [Landing page](/docs/campaign/landing-page)
# OAuth Integration via Firebase JWK Authentication
OAuth-based authentication is one of the most secure and scalable ways to identify users across platforms. In this use case, we show you how to integrate Firebase Authentication with Synerise Identity and Access Management (IAM) using the JWK method. This setup allows you to authenticate users via Firebase and automatically create or update their Synerise profiles — all based on validated token data, without handling credentials directly.
This method is ideal for mobile and web applications that use Firebase for user authentication and need to seamlessly connect those identities with Synerise.
## Prerequisites
---
- Firebase project with OAuth enabled. More info in [Firebase documentation](https://firebase.google.com/docs).
## Process
---
In this use case, you will go through the following steps:
1. [Enable OAuth Method in IAM](/use-cases/firebase#enable-oauth-method-in-iam).
6. [Integrate the method in the mobile application](/use-cases/firebase#integrate-in-mobile-application).
## Enable OAuth Method in IAM
---
In this part of the process, you will activate OAuth-based authentication in Synerise.
1. Go to **Settings > Authentication for mobile apps**
2. Choose and click **OAuth** from Authentication methods.
3. Enable the OAuth method.
4. Provide a name for this authentication method.
5. Select JWT_TOKEN as the authentication method.
6. In **Endpoint URI** provide the URI where the JSON Web Key (JWK) is stored. For Firebase, use: `https://www.googleapis.com/service_accounts/v1/jwk/securetoken@system.gserviceaccount.com`
7. Enable the **Identification based on OAuth response data** option.
8. Specify a unique identifier key from the token (for example, `user_id` or `sub`).
9. Map any additional fields from the OAuth response token to corresponding Synerise profile attributes as needed.
**Example of a decoded Firebase token:**
10. Enable Claim Validation. It is recommended to enable claim validation to verify token claims during the authentication process. This ensures that only valid and trusted tokens are accepted.
11. To save your settings, click **Apply**.
## Integrate in mobile application
--
In this final step, you will implement login via the Synerise Mobile SDK.
After a user successfully logs in via OAuth, invoke the authentication method from the Synerise mobile SDK: [Authenticate Customer by Identity Provider – Mobile SDK](/developers/mobile-sdk/method-reference/android/client-authentication#authenticate-customer-by-identityprovider).
Upon successful authentication, a customer profile is automatically created and recognized within Synerise. This integration ensures that users authenticated via Firebase are automatically recognized in Synerise without managing credentials separately. It allows seamless identity synchronization, enabling consistent user data for personalization, analytics, and automation.
Profile
## More information
---
If you need more information about the autentication process, we recommend you to start the [free course](https://academy.synerise.com/course/android-integration-labs) on our Synerise Academy platform.
This course will teach you how to implement Synerise features in your mobile applications by using an example application and explaining how to add functionalities to it, step-by-step. After each codelab, you can check the related folders in our Github repository to see if your code matches the expected results.
You need to just create a free account to be able to start the course.
## Generated events
This use case generates approximately 2 events per profile that completes the flow:
[`client.add`](/docs/assets/events/event-reference/profiles#clientadd) (~1), [`client.identify`](/docs/assets/events/event-reference/profiles#clientidentify) (~1).
## Read more
---
- [Method reference - Android - Mobile SDK - mobile SDK help](/developers/mobile-sdk/method-reference/android/client-authentication#authenticate-customer-by-identityprovider)
- [OAuth - OAuth documentation](/docs/settings/tool/iam-for-apps/oauth)
# Send customer data to SFTP server
The SFTP integration allows you to send data from Synerise to your other platforms and vice versa, ensuring that all your customer data is synchronized across all platforms. By using the Synerise Automation Hub and the Create Directory node, you can streamline your data management process, saving time and resources while ensuring that all your customer data is organized and up-to-date. This ensures that any data exports can be automatically saved in the correct folder in your resources, making it easier to manage and analyze your data.
This use case describes how to prepare an automated workflow that exports customer data with the agreement for email communication to SFTP. This workflow will be triggered everyday and before it sends a file with extracted customer data, it will send a request to your SFTP to create a directory whose name will be a date of the export.
## Prerequisites
---
- You must have customers in **Behavioral Data Hub > Profiles**.
- You must have a target resource with which you synchronize the data (in this use case, an SFTP server is used).
## Process
---
In this use case, you will go through the following steps:
1. [Create a segmentation](#create-a-segmentation) of customers whose data you want to send to the external resource.
2. [Create a workflow](#create-a-workflow) that sends a request to your SFTP server to create a new file with customer data from Synerise in a dedicated folder.
## Create a segmentation
---
As the first part of the process, create a segmentation of customers who agreed to receive emails. Data of these customers will be sent to the external resource.
1. Go to **Decision Hub > Segmentation > New segmentation**.
2. Enter the name of the segmentation.
3. Click **Choose filter**.
4. From the dropdown list, select `Email agreement`.
5. As the logical operator, select **Equal**.
6. In the text field, enter `enabled`.
7. Click **Save**.
The configuration of the segmentation
## Create a workflow
---
In the final part of the process, create a workflow which will send everyday a request to your SFTP server to deposit customers' data in a dedicated folder.
1. Go to **Automation Hub > Workflows > New workflow**.
2. Enter the name of the workflow.
### Define the Scheduled Run trigger node
1. As the trigger node, add **Scheduled Run**.
2. In the configuration of the node:
1. Leave the **Run trigger** option at **all time**.
2. From the **Timezone** dropdown list, select the time zone consistent with the timezone selected for your workspace.
3. Leave the **Everyday** tab.
3. In the **Select time** field, choose the time when the workflow will be triggered.
4. Confirm by clicking **Apply**.
The configuration of the Scheduled Run node
### Select customers to export
1. Add the **Get Profiles** node.
2. In the configuration of the node:
1. Select the segmentation you [created in the previous step](#create-a-segmentation) to extract customers’ data.
2. In the **Attributes** section, select **newsletter_agreement** and **email**.
3. Confirm by clicking **Apply**.
The configuration of the Get Profiles node
### Create a new directory in your SFTP
The **Create Directory** node allows you to send a request to your SFTP server to create a new folder.
1. Add a **Create Directory** node.
2. In the configuration of the node:
1. In the **Server** field, enter the URL of the server.
2. In the **Port** field, set the port. The default value is the most commonly used SFTP port.
3. In the **Path to directory** field, provide a path where your new directory will be created (for example: `/home/file-directory/`).
4. In the **Directory name**, you can use the following Jinjava code to use a date of launching the node as the directory name.
The Jinjava code returns the date in the following format: `08-03-2023`.
5. In the **Authentication** section, select the method of authentication.
6. Test the connection by clicking **Check connection**.
7. Confirm by clicking **Apply**.
### Configure settings for SFTP protocol
1. Add the **Send File** node by clicking **THEN > SFTP**.
2. In the configuration of the node:
1. In the **Server** field, enter the URL of the server.
2. In the **Port** field, set the port.
3. In the **Path to directory** field, provide the path to the directory.
4. In the **File name** field, enter the name of the file under which it will be passed to your SFTP server.
5. If needed, in the **File name suffix**, select the suffix of the file name.
6. From the **File format** dropdown list, select the **CSV** format.
7. Verify and modify the delimiters if needed.
8. In the **Authentication** section, select the method of authentication.
9. Confirm by clicking **Apply**.
The configuration of the SFTP node
### Add the finishing node
12. Add the **End** node.
13. In the upper right corner, click **Save & Run**.
**Result**:
The workflow configuration
## Check the use case set up on the Synerise Demo workspace
---
You can check all the configurations directly in Synerise Demo workspace:
- [Segmentation](https://app.synerise.com/analytics/segmentations/7655038e-99bc-4876-9d7a-90f801ae6a5c)
- [Workflow](https://app.synerise.com/automations/automation-diagram/a82d48de-f57c-4b18-a48f-c07e26dd630f)
If you’re our partner or client, you already have automatic access to the **Synerise Demo workspace (1590)**, where you can explore all the configured elements of this use case and copy them to your workspace.
If you’re not a partner or client yet, we encourage you to fill out the contact [form](https://demo.synerise.com/request) to schedule a meeting with our representatives. They’ll be happy to show you how our demo works and discuss how you can apply this use case in your business.
## Generated events
This use case generates approximately 5 events per workflow execution:
[`automation.clientStartPath`](/docs/assets/events/event-reference/automation#automationclientstartpath) (~1), [`automation.clientPathStep`](/docs/assets/events/event-reference/automation#automationclientpathstep) (~3), [`automation.clientEndPath`](/docs/assets/events/event-reference/automation#automationclientendpath) (~1).
## Read more
---
- [Automation Hub](/docs/automation)
- The ["Create Directory" node](/docs/automation/integration/sftp-integrations/create-directory)
- The ["Send File" node](/docs/automation/integration/sftp-integrations/sftp-send-file)
- [Segmentation](/docs/analytics/segmentations)
# Anniversary of the transaction
Happy customers are loyal customers. Satisfied customers are those who become advocates for your business and help you grow it by sharing their positive experiences with others. To perpetuate positive customer experiences, you need to make them feel appreciated and noticed. For example, you can use transaction history to identify individuals with a transaction anniversary on the current day and reward them with a discount code delivered in the form of a mobile push message.
This use case describes the process of creating a workflow that will send a mobile push with a promo code to a segment of customers who have a transaction anniversary on the current day.
## Prerequisites
---
- Implement transaction events using [SDK](/developers/web/transactions-sdk) or [API](https://hub.synerise.com/api-reference/data-management#tag/Events).
- Implement mobile push notifications in your mobile application: [iOS](/developers/mobile-sdk/configuring-push-notifications/ios), [Android](/developers/mobile-sdk/configuring-push-notifications/android).
- Create a [voucher pool](/docs/assets/code-pools).
## Process
---
1. [Create an aggregate](/use-cases/transaction_anniversary#prepare-an-aggregate) that returns the timestamp of the customer's first transaction.
3. [Create a mobile push template](/use-cases/transaction_anniversary#create-mobile-push-template)
2. [Create a workflow](/use-cases/transaction_anniversary#create-a-workflow) that sends a mobile push with a discount code for the customers who made their first transaction exactly one year ago.
## Prepare an aggregate
---
Build an aggregate that returns the timestamp of the customer's first transaction.
1. Go to **Behavioral Data Hub > Live Aggregates > Create aggregate**.
2. As the aggregate type, select **Profile**.
2. Enter the name of the aggregate.
3. Click **Analyze profiles by** and select **First**.
4. Select the **transaction.charge** event.
5. As the event parameter, select **TIMESTAMP**.
6. Set the period from which the aggregate will analyze the event to **Lifetime**.
7. Save the aggregate.
Configuration of the aggregate
## Create mobile push template
---
1. Go to **Experience Hub > Mobile Push > Templates**.
2. You can use the template from the folder or create your own one using the mobile push code editor.
To use the template, click **New Template**.
3. Choose what type of message you want to create. In our case it's **Simple Push**.
4. Choose how you want to create a mobile push message. In this use case, we will use **Visual Builder**.
5. Create your mobile push message according to your business needs.
For more information on creating a simple mobile push, visit our [User Guide](/docs/campaign/Mobile/creating-mobile-push).
To add a voucher code in the form of the barcode, add the following insert:
Mobile push template example
## Create a workflow
---
In this part of the process, create a workflow that will manage mobile push notifications with a promo code for customers with an anniversary of transaction. The mobile notifications will be sent once a day to the segment of customers whose transaction anniversary falls on the current day.
1. Go to **Automation Hub > Workflows > New workflow**.
2. Enter the name of the workflow.
3. As the first node of the workflow, add **Audience**. In the configuration of the node:
1. Select **New audience** and **Define conditions**.
2. From **Choose event** dropdown menu, select the aggregate created in the [previous step](/use-cases/transaction_anniversary#prepare-an-aggregate).
3. From the **Choose operator** dropdown menu, select **Date > Current date > Matches current day**.
4. From **Choose filter** dropdown menu, select the [aggreagate](/use-cases/transaction_anniversary#prepare-an-aggregate).
5. From the **Choose operator** dropdown menu, select **Date > Current date > Matches current month**.
6. From **Choose filter** dropdown menu, select the [aggreagate](/use-cases/transaction_anniversary#prepare-an-aggregate).
7. From the **Choose operator** dropdown menu, select **Date > Current date > Matches current year**.
8. In the condition **Matches current year** define the attribute Contacts **not matching**.
9. Confirm your audience settings by clicking **Apply**.
10. Confirm by clicking **Apply**.
4. As the next node, add **Send Mobile Push**. In the configuration of the node:
1. Define the **Template type**.
2. Select the **Push template** you have created.
3. Confirm by clicking **Apply**.
5. Add the **End** node to finish the workflow.
6. Set a workflow capping where each customer can run a workflow once every 12 months. In the configuration of the **Capping**:
1. Define **Limit** as `1`.
2. Define the **Time** to `12 month`.
3. Confirm by clicking **Apply**.
7. To run the workflow, click **Save & Run**.
Configuration of the workflow
## Check the use case set up on the Synerise Demo workspace
---
You can check the configuration of each step from this use case in our Synerise Demo workspace:
- [Aggregate](https://app.synerise.com/analytics/aggregates/378f75ac-c7a3-3658-bf56-174facc48587)
- [Voucher pool](https://app.synerise.com/assets/vouchers/pools/0b0c1720-e9b3-4185-ae04-0df0e16a989a/coupons)
- [Workflow](https://app.synerise.com/automations/automation-diagram/bb591c14-3f83-4769-bd82-0e1c16cd423b)
If you’re our partner or client, you already have automatic access to the **Synerise Demo workspace (1590)**, where you can explore all the configured elements of this use case and copy them to your workspace.
If you’re not a partner or client yet, we encourage you to fill out the contact [form](https://demo.synerise.com/request) to schedule a meeting with our representatives. They’ll be happy to show you how our demo works and discuss how you can apply this use case in your business.
## Generated events
This use case generates approximately 7 events per profile that completes the flow:
[`automation.clientStartPath`](/docs/assets/events/event-reference/automation#automationclientstartpath) (~1), [`automation.clientPathStep`](/docs/assets/events/event-reference/automation#automationclientpathstep) (~1), [`automation.clientEndPath`](/docs/assets/events/event-reference/automation#automationclientendpath) (~1), [`push.send`](/docs/assets/events/event-reference/mobile-push#pushsend) (~1), [`push.view`](/docs/assets/events/event-reference/mobile-push#pushview) (~1), [`push.click`](/docs/assets/events/event-reference/mobile-push#pushclick) (~1), [`voucherCode.assigned`](/docs/assets/events/event-reference/loyalty#vouchercodeassigned) (~1).
## Read more
---
- [Aggregates](/docs/crm/aggregates/introduction-to-aggregates)
- [Jinjava inserts](/developers/inserts)
- [Segmentation](/docs/analytics/segmentations)
- [Mobile push](/docs/campaign/Mobile/creating-mobile-push)
- [Workflow](/docs/automation/creating-automation)
- [Voucher pools](/docs/assets/code-pools)
# Personalized search on "no results" website
Your search engine should understand even poorly worded queries and return a good set of results – you can optimise it using [Synerise AI search](/use-cases/search-multiple-languages). It will handle misspellings, but what’s more, you can use synonyms and query rules to help customers find what they are looking for.
But if you don’t use AI search yet, or your clients are searching for new queries, don’t let them waste time on a ‘No Results’ page. Instead of this, prepare personalized recommendations, which will show products suited to users based on their activity.
## Example of use - Home appliances industry
A client from the electronics industry had their own search solution, but noticed that very often users were getting **zero page results**. The fastest way to improve the customer experience was to add additional recommendation frames on such subpages. Users were informed that there were no results matching their queries, but maybe they will be interested in some recommended products.
Search on a website with no results
**Results**
- **3,1%** CTR
## Prerequisites
---
To implement this use case:
- Add [tracking code](/docs/settings/tool/tracking_codes) to your website.
- Import [product feed](/developers/product-feed).
- Import [transaction events](/developers/web/transactions-sdk).
## Process
---
To create AI recommendation adjusted to the customer's preferences, perform the steps in the following order:
1. [Prepare AI recommendation](/use-cases/personalized-search-no-results#prepare-ai-recommendation).
2. [Prepare dynamic content ](/use-cases/personalized-search-no-results#prepare-dynamic-content).
## Prepare AI recommendation
---
To show recommendations on the website, first you must prepare AI recommendations.
1. Go to **Experience Hub** > **Recommendations**.
2. Add **New recommendation**.
3. Choose personalized recommendation type and define the number of products you want to show in the frame. You can add additional filters if needed.
more information about using filters you will find in [these](/docs/ai-hub/recommendations-v2/recommendation-filters) articles.
AI campaign
## Prepare dynamic content
---
Use dynamic content to insert recommendations in the specific place on your website - you can recognize zero search results in two ways:
- You can prepare a unique CSS selector which will be added only on zero search result pages.
- If you won’t have such a selector, you will have to additionally use JS to check if there is no product on the page. It will depend on your website structure how to check it.
To prepare dynamic content:
1. Go to **Experience Hub > Dynamic content > Add new**
2. Choose **Insert Object** type.
2. Select **Everyone** in the Audience.
3. In **Content** section, select **Simple message**, and specify CSS selector in which you want to insert recommendations.
4. In the **Content** tab, add appropriate **CSS selector** and click **Create message**. Insert Jinjava code with AI recommendation - let’s look at how to prepare the appropriate Jijnava code (you will have to add your own CSS to it).
Check the jinja code
<!-- Downloading the AI campaign --> {% recommendations2 campaignId=cg3HBgRC5P2h %} {% for p in recommended_products2 %} <li data-snr-ai-product-id="{{p.productRetailerPartNo}}"> <a class="snrs-AI--item-link" href="{{p.link}}" title="{{p.title}}"> <img src="{{ p.imageLink }}" class="products-slider__item-image snrAI-product-image snrAI-product-image-{{p.productRetailerPartNo}}" width="90" alt="{{p.title}}" id="snrAI-image-{{p.productRetailerPartNo}}"> <h3 class="snrs-AI-product--product-name"> <span class="snrs-AI-product--name-first">{{p.title}}</span> </h3> </a> </li> {% endfor %} {% endrecommendations2 %}
5. Schedule when the dynamic content has to be active.
6. In **Display settings**, specify that dynamic content has to be shown **Always, On landing, on Specific URL** which indicates its search page.
If you don’t want to use dynamic content, you can implement recommendations via API request, you can find details [here.](https://hub.synerise.com/api-reference/ai-recommendations#tag/Recommendations/)
## Generated events
This use case generates approximately 5 events per profile that completes the flow:
[`dynamicContent.show`](/docs/assets/events/event-reference/dynamic-content#dynamiccontentshow) (~1), [`dynamicContent.click`](/docs/assets/events/event-reference/dynamic-content#dynamiccontentclick) (~1), [`recommendation.generated`](/docs/assets/events/event-reference/recommendations#recommendationgenerated) (~1), [`recommendation.view`](/docs/assets/events/event-reference/recommendations#recommendationview) (~1), [`recommendation.click`](/docs/assets/events/event-reference/recommendations#recommendationclick) (~1).
## Read more
---
- [AI API](https://hub.synerise.com/api-reference/ai-recommendations#tag/Recommendations/)
- [Dynamic content](/docs/campaign/dynamiccontent)
- [Jinjava inserts](/developers/inserts/insert-usage)
- [Personalized recommendations](/docs/ai-hub/recommendations-v2/recommendation-types#personalized)
# Promotions for customers at risk of churning
An essential aspect of churn prediction is preventing customer from leaving. Because it is more expensive to acquire new consumers than it is to keep existing ones, you might try to entice them back with special offers.
In this use case, you wil create a buy one, get one free (BOGO) promotion for a group of customers who are most likely to churn.
## Prerequisites
---
- [Integrate JS SDK](/developers/web/installation-and-configuration).
- [Enable the Custom prediction model](/docs/ai-hub/predictions/enabling-predictions#enabling-regression-and-classification-predictions).
- Implement promotions in your [mobile application](/developers/mobile-sdk/loyalty), [API](https://hub.synerise.com/api-reference/loyalty-and-engagement#operation/profileLogin).
- [Import your product feed to catalog](/use-cases/import-product-feed-to-catalog).
- If you want to limit the promotion to only some of your stores, add the list of stores to a catalog. Such a catalog must contain a unique store ID and any other store attributes by which you will filter stores, such as city, zip code, and so on. More information about catalogs can be found [here](/docs/assets/catalogs).
- Predict churn for a group of customers. The [Predict churn](/use-cases/churn-prediction) use case includes detailed instructions.
## Security configuration
---
Before you start working with this hub, if you are a Synerise customer or partner, consider reading [the section about denylisting events](/docs/settings/tool/api#denylist). This natively accessible configuration will allow you to manage the restrictions in points management that may help you prevent fraud.
## Process
---
1. [Prepare a segmentation](/use-cases/promotions-for-customers-at-risk-of-churning#prepare-a-segmentation-based-on-prediction) of customers who are at high risk of churn.
2. [Create a promotion](/use-cases/promotions-for-customers-at-risk-of-churning#create-a-promotion).
## Prepare a segmentation based on prediction
---
As the first part of the process, create a segmentation of customers based on the prediction results.
1. Go to **Decision Hub > Segmentations > New segmentation**.
2. Give the segmentation a meaningful name, for example `Customers at risk of churn`.
3. Click **Choose filter** and select the `snr.prediction.score` event.
The event may have a custom label in the list, but can always be found by entering the system name (`snr.prediction.score`) in the search field.
3. Add the following conditions to the event:
- `score_label` parameter equals `High`
- `modelId` parameter equals the ID of the prediction you want to use.
The model ID can be copied from the menu in the Prediction list.
4. Click **Save**.
**Result:** The segmentation is saved and can be used as an audience for a promotion.
Segment
## Create a promotion
---
1. Go to **AI Hub > Regular Promotions > Add promotion**.
2. Select the **For selected items** option.
3. In the **Audience** section, select the segmentation created in [this step](/use-cases/promotions-for-customers-at-risk-of-churning#prepare-a-segmentation-based-on-prediction).
4. In the **Content** section:
1. Define the name, description, and image of the promotion.
2. In the **Price** field enter `0`.
3. Confirm the settings by clicking **Apply**.
Example of promotion content
5. In the **Type and limits** section:
1. In the **Type** dropdown list, choose **Members only**.
2. In the **Discount type** dropdown list, choose **Exact price**.
3. Leave the **Discount mode** field value at default (**Static**).
4. In the **Limit per profile** section, enter `1`.
5. In the **Value** section, define the discount as `0`.
6. Enable the **Buy one, get one promotion** toggle.
7. Define the number of required and discounted items.
8. Enable the **Turn on required items** toggle.
Example of Type and limits settings
6. In the **Schedule** section, define the promotion distribution period according to your business needs.
7. *Optionally*: In the **Stores** section, specify stores where the promotion is available.
This is possible only if the list of stores is imported into a [catalog](/docs/assets/catalogs).
8. In the **Items** section, specify the catalog item to be discounted:
1. From the **Source catalog** dropdown list, select an item catalog from which the items will be selected.
2. Select the **Select items** tab.
3. Click the **Select items** button.
4. On the list, select the item a customer will get for free.
9. In the **Required Items** section, choose the items a customer must buy to unlock "buy one, get one" discount:
1. From the **Source catalog** dropdown list, select an item catalog from which the items will be selected.
2. Select the **Select items** tab.
3. Click the **Select items** button.
4. On the list, select the item a customer will get for free.
11. To apply configuration and run the promotion, click **Publish**.
## Check the use case set up on the Synerise Demo workspace
---
You can check the configuration of every element of this process directly in Synerise Demo workspace:
- [Propensity prediction](https://app.synerise.com/ai-v2/predictions/generic-scoring/bgycsoovxgby)
- [Segmentation](https://app.synerise.com/analytics-v2/segmentations/9ec901b4-2ea0-47dc-9285-023d2000e8cf)
- [Promotion](https://app.synerise.com/campaigns/promotions/c4b75133-6235-42c4-98fd-0956def1f96a)
If you’re our partner or client, you already have automatic access to the **Synerise Demo workspace (1590)**, where you can explore all the configured elements of this use case and copy them to your workspace.
If you’re not a partner or client yet, we encourage you to fill out the contact [form](https://demo.synerise.com/request) to schedule a meeting with our representatives. They’ll be happy to show you how our demo works and discuss how you can apply this use case in your business.
## Generated events
This use case generates 1 event per profile that completes the flow:
[`client.activatePromotion`](/docs/assets/events/event-reference/loyalty#clientactivatepromotion) (~1).
## Read more
---
- [Promotions](/docs/ai-hub/promotions)
- [Propensity predictions](/docs/ai-hub/predictions)
- [Segmentations](/docs/analytics/segmentations)
# Promotion with limited number of uses per user
Promotions with a limited number of uses per user have a unique appeal in the marketing field because of their ability to create a sense of exclusivity and urgency. This exclusivity factor is a powerful tool for effectively engaging customers and has numerous benefits. When customers are aware that an offer is only available a limited number of times, they tend to act quickly. This urgency can significantly increase conversion rates and drive sales.
This use case describes a scenario in which a special promotion is created for members of a loyalty program. The product included in the promotion is coffee, which each loyalty program member can get for free 5 extra coffees.
## Prerequisites
---
- POS must be integrated with Synerise promotion engine to calculate the promotion limits per user directly in the offline store.
- Apply [the Process basket method](https://hub.synerise.com/api-reference/loyalty-and-engagement#operation/processSale_POST) which sends information to Synerise about the transaction such as basket value and transaction items made at the checkout to Synerise (both in online and offline stores). This way, we can determine whether the transaction qualifies for being included in this specific promotion.
- Implement transaction events using [SDK](/developers/web/transactions-sdk) or [API](https://hub.synerise.com/api-reference/data-management#operation/CreateATransaction).
- Implement promotions in your [mobile application](/developers/mobile-sdk/loyalty), website or through [API](https://hub.synerise.com/api-reference/loyalty-and-engagement#operation/profileLogin).
This use case only works when Synerise is the main source of promotion calculation.
## Process
---
In this use case, you will go through the following steps:
1. [Prepare a segmentation](/use-cases/promotion-limit-per-user/#prepare-a-segmentation) of customers who are members of the loyalty program.
2. [Create a promotion](/use-cases/promotion-limit-per-user#create-a-promotion).
## Prepare a segmentation
---
In this part of the process, create a segmentation of customers who are members of the company's loyalty program.
1. Go to **Decision Hub > Segmentations > New segmentation**.
2. Enter the name of segmentation.
3. From the **Choose filter** dropdown list, select the **loyaltyCard** attribute.
4. As the logical operator, select a boolean value: **Is true**.
The conditions used in the segmentation will vary depending on your loyalty program integration (for example, the name of the attribute may be different). You must define the segmentation accordingly.
5. Click **Save**.
An example of a customer segment that participates in a loyalty program
## Create a promotion
---
In this part of the process, create a promotion for specific products (coffee) with usage limits (maximum 5) per user.
1. Go to **AI Hub > Regular Promotions > Add promotion**.
2. Select the **For selected items** option.
3. In the **Audience** section, select the segmentation created in ["Prepare a segmentation"](/use-cases/promotion-limit-per-user#prepare-a-segmentation).
4. In the **Content** section, define the name, description, and an image of the promotion. Confirm the settings by clicking **Apply**.
5. In **Type & limits** section:
1. As **Discount type**, choose **Exact price**.
2. In the **Value** field, enter the amount of discount - in our case - `0` because the coffee is for free.
5. Apply changes.
Configuration of the promotion
6. In the **Schedule** section, define the distribution period.
7. In the **Stores** section, select stores where the profiles can redeem the promotion.
8. In the **Items** section, select the catalog and specific items to be included.
Configuration of the promotion
8. To apply all changes and run the promotion, click **Publish**.
As the next step, you can create a [document](/docs/assets/documents) within Synerise that includes this promotion, so that it becomes visible, for example, in the mobile application. Thanks to this, you can enhance the promotion's reach and effectiveness, potentially increasing customer engagement and sales.
## Check the use case set up on the Synerise Demo workspace
---
You can check the [promotion configuration](https://app.synerise.com/campaigns/promotions/7e83d2b5-c852-465d-b173-2651a730c54d) directly in Synerise Demo workspace.
If you’re our partner or client, you already have automatic access to the **Synerise Demo workspace (1590)**, where you can explore all the configured elements of this use case and copy them to your workspace.
If you’re not a partner or client yet, we encourage you to fill out the contact [form](https://demo.synerise.com/request) to schedule a meeting with our representatives. They’ll be happy to show you how our demo works and discuss how you can apply this use case in your business.
## Generated events
This use case generates approximately 4 events per profile that completes the flow:
[`client.activatePromotion`](/docs/assets/events/event-reference/loyalty#clientactivatepromotion) (~1), [`transaction.charge`](/docs/assets/events/event-reference/items#transactioncharge) (~1), [`product.buy`](/docs/assets/events/event-reference/items#productbuy) (~2).
## Read more
---
- [Promotions](/docs/ai-hub/promotions)
- [Segmentations](/docs/analytics/segmentations)
# Cart-Based Recommendation with Last Seen and Last Bought Exclusion
When building product recommendations in the checkout flow, it's important to avoid redundancy and overexposure. Showing users items they’ve just viewed or recently bought can reduce relevance and lower conversion potential.
In this use case, we implement a recommendation that suggests products related to items currently in the cart. To ensure the results remain fresh and relevant, we apply the following filters:
- one to exclude last seen products,
- and another to exclude items recently purchased,
- using product context – excluding the currently viewed product from recommendations
- considering the product context – displaying recommendations from the same category as the currently viewed product.
You can refine the item context even more by displaying items in the same color, style, or size as the item currently viewed, using the available item attributes in your product feed.
What is more, we will use boosting factors, to promote in recommendations products which:
- costs more than 10$. In this way, you exclude recommending products that are too cheap and encourage the purchase of more expensive ones.
This setup ensures that recommendations stay distinct from other modules on the page (like last seen or personalized offers) and avoid repeating content the user already interacted with — helping drive meaningful discovery and cross-sell opportunities. Additional boosting and filters let you present more personalized recommendations using the product context.
## Prerequisites
---
- Implement a [tracking code](/developers/web/installation-and-configuration) into your website.
- [Configure AI engine](/docs/settings/configuration/ai-engine-configuration/engine-configuration-for-recommendations). Enable similar item recommendation model.
- Implement the [transaction events](/developers/web/transactions-sdk) using [SDK](/developers/web/transactions-sdk) or [API](https://hub.synerise.com/api-reference/data-management#operation/CreateATransaction).
## Process
---
In this use case, you will go through the following steps:
1. [Create an aggregate returning last seen products](#create-an-aggregate-returning-last-seen-products) that returns the ID of the last seen product.
3. [Prepare an AI recommendation](#prepare-an-ai-recommendation) with the exclusion of last bought and last seen products.
## Create an aggregate returning last seen products
---
In this part of the process, create an aggregate that returns the ID of the last 10 products a customer had visited. The recently viewed product itself will not display in the template, but will serve as a context for recommendations.
1. Go to **Behavioral Data Hub > Live Aggregates > Create aggregate**.
2. As the aggregate type, select **Profile**.
2. Enter the name of the aggregate.
3. Click **Analyze profiles by** and select **Last Multi**. As a size add **10**. You can also add more results.
4. From the **Choose event** dropdown list, select the **Visited page** event.
5. As the event parameter, select **product:retailer_part_no**.
6. Click the **+ where** button.
7. From the **Choose parameter** dropdown list, select the **product:retailer_part_no** parameter.
8. From the **Choose operator** dropdown list, select **Is true (Boolean)**.
9. Using the date picker in the lower-right corner, set the time range to **Last 7 days**. Confirm your choice with the **Apply** button.
7. Click **Save**.
Configuration of the aggregate returing the ID of the last seen product
## Prepare an AI recommendation
---
In this part of the process, you will configure AI Recommendations which exclude last seen and last bought products. AI Recommendations will be added to the website to the product page.
1. Go to **AI Hub > (AI Recommendations) Models > Add recommendation**.
2. Enter the name of the recommendation (it is only visible on the list of recommendations).
3. In the **Type & Items Feed** section, click **Define**.
4. From the **Items Feed** dropdown list, select an item feed.
5. In the **Type** section, choose the **Similar items** recommendation type.
6. Confirm the settings by clicking **Apply**.
7. In the **Items** section, click **Define**.
2. Define the minimum and maximum number of items that will be recommended to the customer in each slot.
3. Define [Static filters](/docs/ai-hub/recommendations-v2/creating-recommendation-campaign#static-filters) and [Elastic filters](/docs/ai-hub/recommendations-v2/creating-recommendation-campaign#elastic-filters).
4. In our case, in the **Elastic filter** section, click **Define filter**.
5. Select **Visual Builder**.
6. Click **Select value**.
5. Choose **itemId**.
6. As an operator, choose **Not in**.
7. Click the icon which appeared next to the field with operator and from the dropdown list, select **Aggregate**.
8. From the list, choose the [aggregate created in the previous part of the process](#create-an-aggregate-returning-last-seen-products).
4. Confirm by clicking **Apply**.
Configuration of the elastic filter
10. In the **Static filters** section, click **Define filter**.
11. Select **Visual Builder**.
5. From the **Select value** dropdown list, choose **category**.
6. As an operator, choose **Equals**.
7. Click the icon which appeared next to the field with operator and from the dropdown list select **Context** (eye icon).
8. From the **Select value** dropdown list, choose the **category**. Then, choose how you want to select your category level. In our case it will be **Whole**.
9. Click **and where** to add another filter.
5. From the **Select value** dropdown list, choose **itemId**.
6. As an operator, choose **Does not equal**.
7. Click the icon which appeared next to the field with operator and from the dropdown list, select **Context** (eye icon).
8. From the **Select value** dropdown list, choose **itemID**.
4. Confirm by clicking **Apply**.
Configuration of the static filter
You can refine the item context even more by displaying items in the same color, style, or size as the item currently viewed, using the available item attributes in your product feed.
8. Define the boosting rules by clicking **Define** in the **Boosting** section.
1. In **Attributes** section, click **Add rule**.
2. Click **Define rule**.
3. Choose **Visual builder**.
3. From the **Select value** dropdown list, choose **price**.
4. As **Operator**, choose **More than**.
5. As the value, enter the minimum price a product should cost to be included in the recommendations. This way, you exclude recommending products that are too cheap and encourage the purchase of more expensive ones.
6. Click **Apply**.
7. Click **Promote**.
8. In the **Impact** section, set the impact of this rule to **High**.
Configuration of the aggregate
9. In the **Additional settings** section:
1. Choose **Exclude already bought products**. If your company sells replenishable products, you can set exclusion for specific number of days, for example, exclude products bought not later than 30 days ago.
2. To make sure that you only display available products in the recommendations, click **Apply default filters**.
9. In the right upper corner, click **Save**.
## Check the use case set up on the Synerise Demo workspace
---
You can check the configuration of each step directly in our Synerise Demo workspace:
- [Aggregate returning last seen products](https://app.synerise.com/analytics/aggregates/1162c599-338f-32f7-ba20-b1bb64fcaed0)
- [AI Recommendation](https://app.synerise.com/ai-v2/recommendations/nNL1ec4aj19V)
If you’re our partner or client, you already have automatic access to the **Synerise Demo workspace (1590)**, where you can explore all the configured elements of this use case and copy them to your workspace.
If you’re not a partner or client yet, we encourage you to fill out the contact [form](https://demo.synerise.com/request) to schedule a meeting with our representatives. They’ll be happy to show you how our demo works and discuss how you can apply this use case in your business.
## Generated events
This use case generates approximately 3 events per profile that completes the flow:
[`recommendation.generated`](/docs/assets/events/event-reference/recommendations#recommendationgenerated) (~1), [`recommendation.view`](/docs/assets/events/event-reference/recommendations#recommendationview) (~1), [`recommendation.click`](/docs/assets/events/event-reference/recommendations#recommendationclick) (~1).
## Read more
---
- [Aggregates](/docs/crm/aggregates)
- [Recommendations](/docs/ai-hub/recommendations-v2)
# Encourage customers with the highest propensity to join the loyalty club
By promoting our loyalty program, we want to reach with our communication mainly those who are most likely to join it. Thanks to such optimization, campaigns encouraging to become a member are better targeted - only to a specific, most promising group.
This use case describes the process of creating a segmentation of customers with the highest propensity for joining the loyalty club. This segmentation can later be used in selected campaigns that promote the loyalty club membership. It can help you optimize the cost of campaigns that are oriented toward users who will enjoy the loyalty program and the probability that this group of users will be really interested in joining is really high.
## Prerequisites
---
- [Create an email account](/docs/campaign/e-mail/configuring-email-account).
- Collect the [custom event](/developers/mobile-sdk/event-tracking) which sends information to Synerise about joining a loyalty program (for example `account.status` with parameter `accountStatus` equal to `active`). Such an event with the appropriate status must be sent each time the membership status changes (when the customer resigns from the program or joins again).
- [Enable the Lookalike prediction type](/docs/ai-hub/predictions/enabling-predictions#enabling-lookalikes).
- Create an email template with a message which encourages users to become your loyalty club members.
We recommend using [snippets](/docs/assets/snippets) in email templates to personalize the message, for example, you can use the first name of the customer and [the promotion code for the first transaction](/use-cases/discount-promotion-for-first-transaction).
## Process
---
In this use case, you will go through the following steps:
1. [Create an aggregate](/use-cases/probability-joining-loyalty-club#create-an-aggregate) that returns the current status of the customer’s membership in loyalty program.
3. [Create source segmentation](/use-cases/probability-joining-loyalty-club#create-source-segmentation) of customers who are members of loyalty program.
4. [Create target segmentation](/use-cases/probability-joining-loyalty-club#create-target-segmentation).
4. [Create a prediction](/use-cases/probability-joining-loyalty-club#create-a-prediction).
5. [Create an email campaign](/use-cases/probability-joining-loyalty-club#create-an-email-campaign).
## Create an aggregate
---
In this part of the process, you create an aggregate analyzing the current status of the customer's membership.
1. Go to **Behavioral Data Hub > Live Aggregates > Create aggregate**.
2. As the aggregate type, select **Profile**.
2. Enter the name of the aggregate.
3. Click **Analyze profiles by** and select **Last**.
4. From the **Choose event** dropdown list, select the **account.status** event.
5. As the event parameter, choose **accountStatus**.
6. Define the period for the event as **Lifetime**.
7. To save the aggregate, click **Save**.
Configuration of the aggregate
## Create source segmentation
---
In this part of the process, create a source segmentation that contains model customers. These customers will be compared with those in the target segmentation to find the customers who are similar to the model group. This segmentation includes customers who currently are members of your loyalty club.
1. Go to **Decision Hub > Segmentations > New segmentation**.
2. Enter the name of segmentation.
5. From the **Add condition** dropdown list, select the [aggregate analyzing the active status of the customer's membership](/use-cases/probability-joining-loyalty-club#create-an-aggregate) you created in the previous step.
6. As an operator, choose **Equal**.
7. In the text field, enter `active`.
7. Confirm the settings by clicking **Save**.
Configuration of the source segmentation
## Create target segmentation
---
Create a segmentation of customers among whom you would like to find those who are most likely to become a member of your loyalty program. In our case, as we want to direct to such customers email communication, we will narrow down the segmentation to customers who agreed to receive newsletters.
1. Go to **Decision Hub > Segmentations > New segmentation**.
2. Enter the name of the segmentation.
3. From the **Add condition** dropdown list, select the [aggregate analyzing the active status of the customer's membership](/use-cases/probability-joining-loyalty-club#create-an-aggregate) created in the previous step.
4. As an operator, choose **Not equal**.
5. In the text field, enter `active`.
5. From the **Add condition** dropdown list, select `newsletter_agreement`.
6. As an operator, choose **Equal**.
7. In the text field, enter `enabled`.
7. Confirm the settings by clicking **Save**.
Configuration of the target segmentation
## Create a prediction
---
In this part of the process, create a Lookalikes prediction which compares the two segmentations - the engine looks for customers in the target segmentation who are most similar to the customers in the source segmentation. On the profile cards of all customers from the target segmentation, a snr.lookalike.score event is generated. In the details of the event, you can find the score_label parameter that describes the similarity of a customer to the customers in the source segmentation. The score_label parameter for this particular prediction takes two values: low or high.
1. Go to **Predictions > New prediction**.
2. As the type of prediction, select **Lookalikes**.
3. In the **Audience** section, click **Define**.
4. In the **Source segmentation** subsection, click **Choose segmentation**.
5. From the dropdown list, select the [source segmentation you created before.](/use-cases/probability-joining-loyalty-club#create-source-segmentation)
6. In the **Target segmentation** subsection, click **Choose segmentation**.
7. From the dropdown list, select the [target segmentation you created before.](/use-cases/probability-joining-loyalty-club#create-target-segmentation)
8. Confirm by clicking **Apply**.
9. In the **Settings** section, click Change.
10. Enable the Set up recurring prediction calculation option.
12. Select the 2-point scale.
13. Confirm by clicking **Apply.**
14. Click **Save & Calculate**.
Configuration of the prediction
## Create an email campaign
---
In this part of the process, you create an email campaign, targeted to customers with the high propensity to join the loyalty program. This campaign will encourage them to become a member.
1. Go to **Experience Hub > Email campaign > Create new**.
2. In the **Audience** section, choose the **New audience**.
3. Define the conditions:
1. Choose event `snr.lookalike.score`.
2. As the parameter choose **modelId**.
3. As the operator, choose **Equal**.
4. In the text field, enter the ID of the prediction you created.
5. Click **+ where**.
6. From the dropdown list, select **source_label**.
7. As the operator, choose **Equal**.
8. In the text field, enter `high`.
The conditions for the audience of the email
4. Apply and save your changes.
3. Configure the **Content** section.
1. Choose the email account from which you want to send your message.
2. In the **Subject** field, enter your message subject.
2. Click **Create message** and choose an email template created as a part of prerequisites.
3. Apply changes.
4. In the **Schedule** section, specify the time when you want to send your communication.
4. You can optionally define **UTM & URL parameters**. If not, click **Skip step**.
4. Confirm by clicking **Apply**.
## Check the use case set up on the Synerise Demo workspace
---
In the Synerise Demo workspace, you can check:
- [aggregate configuration](https://app.synerise.com/analytics/aggregates/4538a92b-b5e7-338e-a7f0-a4c690b63272),
- [target segmentation](https://app.synerise.com/analytics-v2/segmentations/978b1740-9d89-45f5-b39a-44f66541c923),
- [source segmentation](https://app.synerise.com/analytics-v2/segmentations/c84d0d14-6361-4007-9325-ff2cb7f3d18a),
- [prediction](https://app.synerise.com/ai-v2/predictions/lookalike/pogtpohudlin),
- [email campaign](https://app.synerise.com/campaigns/create/5a0afcb8-bf8d-46a0-b7e5-a65fd4edd509).
If you’re our partner or client, you already have automatic access to the **Synerise Demo workspace (1590)**, where you can explore all the configured elements of this use case and copy them to your workspace.
If you’re not a partner or client yet, we encourage you to fill out the contact [form](https://demo.synerise.com/request) to schedule a meeting with our representatives. They’ll be happy to show you how our demo works and discuss how you can apply this use case in your business.
## Generated events
This use case generates approximately 4 events per profile that completes the flow:
[`snr.lookalike.score`](/docs/assets/events/event-reference/predictions#snrlookalikescore) (~1), [`message.send`](/docs/assets/events/event-reference/email#messagesend) (~1), [`newsletter.open`](/docs/assets/events/event-reference/email#newsletteropen) (~1), [`newsletter.click`](/docs/assets/events/event-reference/email#newsletterclick) (~1).
## Read more
---
- [Aggregates](/docs/crm/aggregates)
- [Email campaigns](/docs/campaign/e-mail)
- [Predictions](/docs/ai-hub/predictions)
- [Segmentation](/docs/analytics/segmentations)
# Using Segmentations in Expressions to Personalize Content
In an expression, you can include segmentations that consist of several subgroups and conditions to receive the subsegmentation a customer belongs to. You can later use this expression in the dynamic content to display the specific content depending on the expression result.
## Prerequisites
---
- Implement [tracking code](/developers/web/installation-and-configuration#creating-a-tracking-code) on your website.
## Process
---
In this use case, you will go through the following steps:
1. [Create an aggregate](/use-cases/check-if-client-in-segmentation#create-an-aggregate) that calculates the number of all transactions each customer has made.
2. [Create a segmentation](/use-cases/check-if-client-in-segmentation#create-a-segmentation) that will divide the customers into three groups.
3. [Create an expression](/use-cases/check-if-client-in-segmentation#create-an-expression) that includes in its formula only the segmentation you created in the previous part of the process.
## Create an aggregate
---
As the first part of the process, create an aggregate that calculates the number of all transactions each customer has made.
1. Go to **Behavioral Data Hub > Live Aggregates > Create aggregate**.
2. As the aggregate type, select **Profile**.
2. Enter the title of the aggregate.
3. Click **Analyze profiles by** and select **Count**.
4. From the **Add condition** dropdown list, select **transaction.charge**.
5. In the date range, select **Lifetime**.
6. Save the aggregate.
Configuration of the aggregate
## Create a segmentation
---
In this part of the process, create a segmentation that will divide the customers into three groups:
1. Customers who have made more than 5 transactions.
2. Customers who have made between 3 and 5 transactions.
3. Customers who have made less than 3 transactions.
The subsegments (groups) are built on the basis of the aggregate you created in the [first part](/use-cases/check-if-client-in-segmentation#create-an-aggregate) of the procedure.
### Create the first subsegmentation
Create a subsegmentation that includes only customers who have made more than 5 transactions.
1. Go to **Decision Hub > Segmentations > New segmentation**.
2. Enter the name of the segmentation.
3. Optionally, switch the **Show in profile card** toggle on.
3. Enter the name of the subsegmentation.
3. From the **Choose filter** dropdown list, select the aggregate you created.
4. As the logical operator, select **More than**.
5. Next to the logical operator, in the text field enter `5`.
Configuration of the aggregate
### Create the second subsegmentation
Create a subsegmentation that includes only customers who have made between 3 and 5 transactions.
6. Under the main title of the segmentation, click the icon.
7. Enter the name of the subsegmentation.
8. From the **Choose filter** dropdown list, select the aggregate you created.
9. As the logical operator, select **Less or equal to**.
10. Next to the logical operator, in the text field, enter `5`.
11. Click **Choose filter**.
12. From the dropdown list, select the aggregate you created.
13. As the logical operator, select **More or equal to**.
14. Next to the logical operator, in the text field, enter `3`.
15. Join the two conditions by selecting **AND**.
Configuration of the aggregate
### Create the third subsegmentation
Create a subsegmentation that includes only customers who have made less than 3 transactions.
6. Under the main title of the segmentation, click the icon.
7. Enter the name of the subsegmentation.
8. From the **Choose filter** dropdown list, select the aggregate you created.
9. As the logical operator, select **Less than**.
10. Next to the logical operator, in the text field enter `3`.
Configuration of the aggregate
12. Save the segmentation.
## Create an expression
---
In this part of the process, create an expression that includes in its formula only the [segmentation](/use-cases/check-if-client-in-segmentation#create-a-segmentation) you created in the previous part of the process.
1. Go to **Behavioral Data Hub > Expressions > New expression**.
2. Enter the name of the expression.
3. Leave the **Expression** option at default (**Attribute**).
4. Optionally, switch the **Show in profile card** toggle on.
4. Click the **Select** button.
5. From the dropdown list, select **Profile**.
6. Click the button that appeared on the dashboard.
7. On the **Choose attribute** dropdown list, use the search box to find the segmentation you created.
8. Save the expression.
Configuration of the expression
## What's next
---
You can preview the results in several ways:
- **Expression preview**
The first way to check the results of the expression is the preview of the expression. In the search box, type the ID of the customer (for example, an email address), and you will get the results of the expression for the individual customer.
Expression preview
- **Customer's profile**
If you enabled **Show in profile card** option for the segmentation and expression, you can see them listed on a customer's profile.
Preview of customer's profile
1. If the customer belongs to the segmentation, its name is listed on the segmentation list.
2. The expression shows the subsegmentation to which the customer belongs.
- **Analytical dashboard**
You can create an analytical dashboard and add the expression to the dashboard. In the **Dynamic key** field, enter the ID of the customer for which you want to see the result.
Expression used in the dashboard
## Check the use case set up on the Synerise Demo workspace
---
In the Synerise Demo workspace, you can check the configuration of:
- the [aggregate that returns the number of transactions](https://app.synerise.com/analytics/aggregates/554ca4db-fdde-3682-971c-038694dcafaa),
- the [segmentation that groups customers according to the number of transactions](https://app.synerise.com/analytics/segmentations/8ef8ffa0-c7ee-42fe-bc9d-496759233ab8)
- the [expression that returns the segment to which a customer belongs](https://app.synerise.com/analytics/expressions/b42707bd-4122-4bdc-bcb6-684fefd6e055)
If you’re our partner or client, you already have automatic access to the **Synerise Demo workspace (1590)**, where you can explore all the configured elements of this use case and copy them to your workspace.
If you’re not a partner or client yet, we encourage you to fill out the contact [form](https://demo.synerise.com/request) to schedule a meeting with our representatives. They’ll be happy to show you how our demo works and discuss how you can apply this use case in your business.
## Generated events
This use case does not generate any events.
## Read more
---
- [Aggregates](/docs/crm/aggregates)
- [Dashboards](/docs/analytics/analytics-dashboard)
- [Expressions](/docs/crm/expressions)
- [Segmentation](/docs/analytics/segmentations)
# Promoting high margin products in all types of recommendations
There are certain types of products that you want to promote in the recommendations by default. In this use case, we will show you how to promote high margin products in all types of recommendations. In order to do this we will use default filters.
Default filters are set up per recommendation type. To promote high margin items, we will set the filters to be elastic. This way, recommendations will always filter to products with high margin, unless there are no such products. Then the recommendations will return the rest of the products. For this approach to work, you will have to add information about the margin to the items feed or catalog as an item's attribute. The margin can be a numeric value, however, this approach will also work with labels, for example: `low`, `medium` and `high`, or even a boolean value of `true` for high margin products.
## Prerequisites
---
- The `margin` attribute must be added to the items feed or catalog.
- The recommendation models for which you want to add default filters to must be enabled.
## Create AI recommendations
---
1. Go to **Settings > AI Engine Configuration**.
2. Choose the **Items feed** for which you want to apply the filters.
3. In the **Recommendation models** section click **Show** for the chosen recommendation model.
4. Click **Add default filter**.
5. Click **Define filter**.
6. Click **Select attribute** and from the dropdown menu choose the attribute that you assigned the `margin` to.
- If your `margin` attribute contains numeric values:
1. Click **Choose** and click **More or equal**.
2. In the **Value** input type the number above which products will be included. In our example products have the `margin` value from 10 to 100, so we will type 70.
3. Click **Apply**.
- If your `margin` has labels (`low`, `medium`, `high`):
1. Click **Choose** and click **Equal**.
2. From the dropdown menu with the attribute values click `high`.
3. Click **Apply**.
7. Click **Apply**.
Default filters in recommendations
8. Repeat steps 3.- 9. for each recommendation type you want to promote high margin products in.
9. In the top right corner click **Save**.
The default filter will filter products for previously existing campaigns as well as the ones created later, for the specified recommendation type.
In order to disable the default filter for a specific campaign:
1. Go to **Experience Hub > Recommendations**.
2. Choose the campaign for which you want to turn off the default filter from the list.
3. Click **Define** in the `Additional settings` section.
4. Disable the **Default filters** toggle.
5. Click **Apply**.
6. In the top right corner click **Save**.
### Additional example
---
The screenshot below shows a situation where our margin is the average_rating. In this case, setting the index to high means selecting the filter More or equal with a value of 4.
Margin
## Check the use case set up on the Synerise Demo workspace
---
You can check the [item feed](https://app.synerise.com/ai-v2/config/edit/13168), [catalog](https://app.synerise.com/assets/catalogs/13168) and [recommendations](https://app.synerise.com/ai-v2/recommendations/vyoOsvIIHCGZ) directly in Synerise Demo workspace.
If you’re our partner or client, you already have automatic access to the **Synerise Demo workspace (1590)**, where you can explore all the configured elements of this use case and copy them to your workspace.
If you’re not a partner or client yet, we encourage you to fill out the contact [form](https://demo.synerise.com/request) to schedule a meeting with our representatives. They’ll be happy to show you how our demo works and discuss how you can apply this use case in your business.
## Generated events
This use case does not generate any events.
## Read more
---
- [Filters](/docs/ai-hub/recommendations-v2/recommendation-filters)
- [Setting up campaigns](/docs/ai-hub/recommendations-v2/creating-recommendation-campaign)
# RFM analysis
RFM segmentation is a method used to identify clusters of customers for special treatment. It is commonly used in database marketing and direct marketing, and has received particular attention in many different industries. In order to differentiate customers from data sets, the RFM method uses three different attributes:
- **Recency of the last purchase (R)** -
refers to the interval between the time of the latest customer purchase and the current date. The shorter the interval between current date and last purchase, the higher R score is.
- **Frequency of the purchases (F)** - refers to the number of transactions
in a particular period. The higher number of transactions, the higher the F score is.
- **Monetary value of the purchases (M)** - refers to monetary value of products purchased by the customer. The more the customer spends, the higher the M score is.
This lets you isolate groups, identify new or most active customers, and target personalized messages based on transaction data.
## Prerequisites
---
- Come up with the categories you want to organize your customers, for example: Top customers, Recent customers, Churn risk, Heavy buyers, Lost heavy buyers, Lost customers.
## Process
---
1. Create some [basic analyses](/use-cases/rfm-analysis#create-a-set-of-basic-analyses) for later use in more complex calculations.
2. Create a [set of metrics](/use-cases/rfm-analysis#create-metrics) for Recency, Frequency, and Monetary scores to return the value of 0.20, 0.40, 0.60, 0.80 quantiles. This way you receive four thresholds for all scores.
4. Prepare [segmentations](/use-cases/rfm-analysis#create-segmentations) for Recency, Frequency, and Monetary scores based on the values returned by the metrics you created before. The segments in these segmentations are named in the following way:
- For Recency score: 500, 400, 300, 200, 100
- For Frequency score: 50, 40, 30, 20, 10
- For Monetary score: 5, 4, 3, 2, 1
5. Create an [expression](/use-cases/rfm-analysis#create-an-expression) that adds all three segmentations, the example result is 555, which is the highest score a customer can get.
6. Create a [RFM segmentation](/use-cases/rfm-analysis#create-a-rfm-segmentation) that contains the segments which correspond to the customer categories (for example, Top customers, Heavy buyers, Lost customers, and so on). Define the range of scores for each category.
7. Create a workflow which automates the process of updating the values of the quantile calculation metrics used in the [Recency](/use-cases/rfm-analysis#recency), [Frequency](/use-cases/rfm-analysis#frequency), and [Monetary](/use-cases/rfm-analysis#monetary) segments. Such automation will ensure that you are always operating with the most up-to-date metrics, maintaining an appropriate range between all segments.
8. Create a [dashboard](/use-cases/rfm-analysis#create-a-dashboard) to conveniently display the results of the metrics.
You can find furhter explanation in the corresponding sections in the article.
## Create a set of basic analyses
----
In this part of the process, you must create a number of analyses which will be reused later in the process.
### Number of transactions
Create the aggregate that calculates the number of transactions for a single customer. It will be reused in the further analyses.
The time ranges used in this use case are just an example. Apply such time ranges that suit your business needs.
You can read more about aggregates [here](/docs/crm/aggregates).
1. Go to **Behavioral Data Hub > Live Aggregates > Create aggregate**.
2. As the aggregate type, select **Profile**.
2. Enter a meaningful name of the aggregate.
3. Set the **Analyze profiles by** option to **Count**.
4. Click the **Choose event** dropdown list.
5. From the dropdown list, select the event that signifies a purchase.
Events may have different labels between workspaces, but you can always find them by their action name (in this step, it’s transaction.charge).
9. Using the date picker in the lower-right corner, set the time range to **Lifetime**.
10. Save the aggregate.
The aggregate that returns the number of transactions for a customer
### Time of the first purchase
Create the aggregate which returns the time when a customer made the first purchase. It will be reused in the further analyses.
1. Go to **Behavioral Data Hub > Live Aggregates > Create aggregate**.
2. As the aggregate type, select **Profile**.
2. Enter a meaningful name of the aggregate.
3. Set the **Analyze profiles by** option to **First**.
4. Click the **Choose event** dropdown list.
5. From the dropdown list, select the event that signifies a purchase.
Events may have different labels between workspaces, but you can always find them by their action name (in this step, it’s transaction.charge).
6. Click **+ where** button.
7. On the dropdown list, click > **Specials**.
8. Choose **TIMESTAMP**.
9. Using the date picker in the lower-right corner, set the time range to **Lifetime**.
10. Save the aggregate.
The aggregate that returns the time of first transaction of a customer
### Time of the last purchase
Create the aggregate which returns the time when a customer made the latest purchase. It will be reused in the further analyses.
1. Go to **Behavioral Data Hub > Live Aggregates > Create aggregate**.
2. As the aggregate type, select **Profile**.
2. Enter a meaningful name of the aggregate.
3. Set the **Analyze profiles by** option to **Last**.
4. Click the **Choose event** dropdown list.
5. From the dropdown list, select the event that signifies a purchase.
Events may have different labels between workspaces
, but you can always find them by their action name (in this step, it’s transaction.charge).
6. Click **+ where** button.
7. On the dropdown list, click > **Specials**.
8. Choose **TIMESTAMP**.
9. Using the date picker in the lower-right corner, set the time range to **Lifetime**.
10. Save the aggregate.
The aggregate that returns the time of last transaction for a customer
### Value of purchase
Create the aggregate that returns the total amount of money a single customer spent.
1. Go to **Behavioral Data Hub > Live Aggregates > Create aggregate**.
2. As the aggregate type, select **Profile**.
2. Enter a meaningful name of the aggregate.
3. Set the **Analyze profiles by** option to **Sum**.
4. Click the **Choose event** dropdown list.
5. From the dropdown list, select the event that signifies a purchase.
Events may have different labels between workspaces, but you can always find them by their action name (in this step, it’s transaction.charge).
6. Click **+ where** button.
7. On the dropdown list, select the parameter that signifies the total amount of a transaction, for example, `$totalAmount`
9. Using the date picker in the lower-right corner, set the time range to **Lifetime**.
10. Save the aggregate.
The aggregate that returns the total amount of money a customer spent
### Number of days since last transaction
Create an attribute expression that calculates how many days passed since the last transaction. This expression reuses the [aggregate that returns the timestamp of the last transaction](/use-cases/rfm-analysis#time-of-the-last-purchase) in the last 90 days.
1. Go to **Behavioral Data Hub > Expressions > New expression**.
2. Enter a meaningful name of the expression.
3. Leave the expression type at default (**Attribute**).
4. Build the following expression formula:
The expression formula that returns the number of days that passed since the last transaction Click here to watch the video tutorial
In the formula of the expression, you must deduct the [date of the last transaction](/use-cases/rfm-analysis#time-of-the-last-purchase) from the current date and divide the result by 86400000 to receive the number of days which passed since the last purchase.
5. Save the expression.
### Number of days since the first transaction
Create an attribute expression that calculates how much time passed since the first transaction. This expression reuses the [aggregate that returns the timestamp of the first transaction](/use-cases/rfm-analysis#time-of-the-first-purchase) in the last 90 days and it will be reused in the [expression that returns the number of weeks](/use-cases/rfm-analysis#weeks-from-the-first-transaction) that passed from the first transaction.
1. Go to **Behavioral Data Hub > Expressions > New expression**.
2. Enter a meaningful name of the expression.
3. Leave the expression type at default (**Attribute**).
4. Build the following expression formula:
The expression formula that returns the time that passed since the first transaction Click here to watch the video tutorial
In the formula of the expression, you must deduct the [date of the first transaction](/use-cases/rfm-analysis#time-of-the-first-purchase) from the current date. The result of the expression is given in milliseconds.
5. Save the expression.
### Weeks from the first transaction
Create an expression that calculates the number of weeks since the first transaction of a customer in the last 90 days. This expression reuses the [expression that calculates the time from the first transaction](/use-cases/rfm-analysis#number-of-days-since-the-first-transaction).
1. Go to **Behavioral Data Hub > Expressions > New expression**.
2. Enter a meaningful name of the expression.
3. Leave the expression type at default (**Attribute**).
4. Build the following expression formula:
1. Click the **Select** node.
2. From the dropdown list, select **Profile**.
3. Click the **unnamed** node that has been added to the canvas.
4. Scroll down the page and click **Choose attribute**.
5. Search and select [the expression that calculates the time from the first transaction](/use-cases/rfm-analysis#number-of-days-since-the-first-transaction).
6. Next to the expression on the canvas, click the plus button icon.
7. Select **Constant**.
8. Click **0** that has been added to the canvas.
9. Change the number to `604800000`.
10. Click the mathematical operator between the nodes and change it to a division sign.
5. Save the expression.
The expression formula that returns the number of weeks that passed since the first transaction
### Average number of transactions per week
Create an expression that calculates the average number of transactions a customer made per week in the last 90 days. This expression reuses the [aggregate that calculates the number of transactions](/use-cases/rfm-analysis#number-of-transactions) in the last 90 days and the [expression that calculates the number of weeks since the first transaction](/use-cases/rfm-analysis#weeks-from-the-first-transaction) in the last 90 days.
1. Go to **Behavioral Data Hub > Expressions > New expression**.
2. Enter a meaningful name of the expression.
3. Leave the expression type at default (**Attribute**).
4. Build the following expression formula:
1. Click the **Select** node.
2. From the dropdown list, select **Profile**.
3. Click the **unnamed** node that has been added to the canvas.
4. Scroll down the page and click **Choose attribute**.
5. Search and select the [aggregate that calculates the number of transactions](/use-cases/rfm-analysis#number-of-transactions).
6. Next to the expression on the canvas, click the plus button icon.
7. Select **Profile**.
8. Click the **unnamed** node that has been added to the canvas.
9. Scroll down the page and click **Choose attribute**.
10. Search and select the [expression that calculates weeks from first transactions](/use-cases/rfm-analysis#weeks-from-the-first-transaction).
11. Click the mathematical operator between the nodes and change it to a division sign.
5. Save the expression.
The expression formula that returns the average number of transactions per week
## Create metrics
---
In this part of the process, prepare metrics which will calculate the following quantiles: `0.80`, `0.60`, `0.40`, `0.20` for the values of the expressions and an aggregate:
- [the number of days that passed since last transaction](/use-cases/rfm-analysis#time-of-the-last-purchase) (**Recency**)
- [the average number of transactions in a week](/use-cases/rfm-analysis#average-number-of-transactions-per-week) (**Frequency**)
- [total value of transactions in last 90 days](/use-cases/rfm-analysis#value-of-purchase) (**Monetary**)
Create four metrics for each score (which means that in total you will create 12 metrics). This way, you can distinguish tresholds for Recency, Frequency, and Monetary scores.
### Recency score
1. Go to **Decision Hub > Metrics > New metric**.
2. Enter a meaningful metric name.
3. Leave the metric kind at default (**Simple**).
4. Change the **Metric** type to **Profile**.
5. Change the **Aggregator** option to **Quantile**.
5. Next to the **Quantile** option, in the text field, enter `0.80`.
6. Click **Choose value**.
7. Search and select the [expression that returns the number of days that passed since the last transaction](/use-cases/rfm-analysis#number-of-days-since-last-transaction).
8. Click **Enable filter**.
9. Click **Choose filter**.
10. Search and select the **transaction.charge** event.
11. Set the time range to **Lifetime**.
12. Confirm the filter settings by clicking **Apply**.
13. Save the metric.
14. Create three metrics with the same settings for the following quantile values: `0.60`, `0.40`, and `0.20`.
The metric that calculates 0.80 quantile of the expression
### Frequency score
1. Go to **Decision Hub > Metrics > New metric**.
2. Enter a meaningful metric name.
3. Leave the metric kind at default (**Simple**).
4. Change the **Metric** type to **Profile**.
5. Change the **Aggregator** option to **Quantile**.
5. Next to the **Quantile** option, in the text field, enter `0.20`.
6. Click **Choose value**.
7. Search and select the [expression that returns the average number of transactions in a week](/use-cases/rfm-analysis#average-number-of-transactions-per-week).
8. Click **Enable filter**.
9. Click **Choose filter**.
10. Search and select the **transaction.charge** event.
11. Set the time range to **Lifetime**.
12. Confirm the filter settings by clicking **Apply**.
13. Save the metric.
14. Create three metrics with the same settings for the following quantile values: `0.40`, `0.60`, and `0.80`.
The metric that calculates 0.20 quantile of the expression
### Monetary score
1. Go to **Decision Hub > Metrics > New metric**.
2. Enter a meaningful metric name.
3. Leave the metric kind at default (**Simple**).
4. Change the **Metric** type to **Profile**.
5. Change the **Aggregator** option to **Quantile**.
5. Next to the **Quantile** option, in the text field, enter `0.20`.
6. Click **Choose value**.
7. Search and select the [aggregate that returns the value of purchases in last 90 days](/use-cases/rfm-analysis#value-of-purchase).
8. Click **Enable filter**.
9. Click **Choose filter**.
10. Search and select the **transaction.charge** event.
11. Set the time range to **Lifetime**.
12. Confirm the filter settings by clicking **Apply**.
13. Save the metric.
14. Create three metrics with the same settings for the following quantile values: `0.40`, `0.60`, and `0.80`.
The metric that calculates 0.20 quantile of the aggregate
## Create segmentations
---
Based on the values returned by the metrics you created before, create three segmentations for Recency, Frequency and Monetary scores. Each of the segmentation contains 5 segments. Each segment reuses the result of a quantile calculated by the metrics.
The segments are named in the following way:
- For Recency score: 500, 400, 300, 200, 100
| Segment | 500 | 400 | 300 | 200 | 100 |
|---------|-----------------------------------|-----------------------------------|----------------------------------|-----------------------------------|---------------------------------------|
| Conditions | The value lower than the 0.20 quantile | The value lower than the 0.40 quantile but higher than 0.20 quantile | The value lower than the 0.60 quantile but higher than 0.40 quantile | The value lower than the 0.80 quantile but higher than 0.60 quantile | The value higer than 0.80 quantile |
- For Frequency score: 50, 40, 30, 20, 10
| Segment | 50 | 40 | 30 | 20 | 10 |
|---------|-----------------------------------|-----------------------------------|----------------------------------|-----------------------------------|---------------------------------------|
| Conditions | The value higher than 0.80 quantile | The value lower than 0.80 quantile but higher than 0.60 quantile | The value lower than 0.60 quantile but higher than 0.4 quantile | The value lower than 0.40 quantile but higher than 0.20 quantile | The value lower than 0.20 quantile |
- For Monetary score: 5, 4, 3, 2, 1
| Segment | 5 | 4 | 3 | 2 | 1 |
|---------|-----------------------------------|-----------------------------------|----------------------------------|-----------------------------------|---------------------------------------|
| Conditions | The value higher than 0.80 quantile | The value lower than 0.80 quantile but higher than 0.60 quantile | The value lower than 0.60 quantile but higher than 0.4 quantile | The value lower than 0.40 quantile but higher than 0.20 quantile | The value lower than 0.20 quantile |
Customers belong to a specific segment under defined circumstances and based on the segment classification the overall score will be created, for example, a customer can belong to the following segments: 500 (R), 20 (F), 3 (M). In the next part of the process, these values will be added in an [expression](/use-cases/rfm-analysis#create-an-expression) to produce the final RFM score, which in this example will be 523.
### Recency
1. Go to **Decision Hub > Segmentations > New segmentation**.
2. Enter a meaningful name of the segmentation.
3. As the name of the segment, enter `500`.
4. Click **Add condition**.
5. Search and select the [expression that returns the number of days since the last transaction](/use-cases/rfm-analysis#number-of-days-since-last-transaction).
6. As the logical operator select **Less than**.
7. In the text field, next to the logical operator, enter the number returned by the metrics that calculate the `0.20` quantile. In this use case, the quantile result amounts to `43.3`, so the customers who made a transaction less than 43 days after the date of the last transaction, belong to 500. It means that the R score of the customer is 500, which is the highest.
6. Add the rest of segments by clicking the icon.
7. For the following segments, add the conditions listed below:
- For the 400 segment: more than the value of the `0.20` quantile **AND** less than `0.40` quantile
- For the 300 segment: more than the value of the `0.40` quantile **AND** less than `0.60` quantile
- For the 200 segment: more than the value of the `0.60` quantile **AND** less than `0.80` quantile
- For the 100 segment: less than the value of the `0.80` quantile **AND** segment of loyal customers **AND** add the **transaction.charge** event with the **Lifetime** time range.
The configuration of the Recency score segmentation
### Frequency
1. Go to **Decision Hub > Segmentations > New segmentation**.
2. Enter a meaningful name of the segmentation.
3. As the name of the segment, enter `50`.
4. Click **Add condition**.
5. Search and select the [expression that returns the average number of transactions per week](/use-cases/rfm-analysis#average-number-of-transactions-per-week).
6. As the logical operator select **More than or equal**.
7. In the text field, next to the logical operator, enter the number returned by the metrics that calculate the `0.80` quantile. In this use case, the quantile result amounts to `0.4`, so the customers who make more than 0.4 transaction a week, belong to 50. It means that the F score of the customer is 50, which is the highest.
6. Add the rest of segments by clicking the icon.
7. For the following segments, add the conditions listed below:
- For the 40 segment: more than the value of the `0.60` quantile **AND** less than `0.80` quantile
- For the 30 segment: more than the value of the `0.40` quantile **AND** less than `0.60` quantile
- For the 20 segment: more than the value of the `0.20` quantile **AND** less than `0.40` quantile
- For the 10 segment: less than the value of the `0.20` quantile **AND** segment of loyal customers **AND** add the **transaction.charge** event with the **Lifetime** time range.
The configuration of the Frequency segmentation
### Monetary
1. Go to **Decision Hub > Segmentations > New segmentation**.
2. Enter a meaningful name of the segmentation.
3. As the name of the segment, enter `5`.
4. Click **Add condition**.
5. Search and select the [aggregate that returns the value of transactions](/use-cases/rfm-analysis#value-of-purchase).
6. As the logical operator select **More than or equal**.
7. In the text field, next to the logical operator, enter the number returned by the metrics that calculate the `0.80` quantile. In this use case, the quantile result amounts to `2243 PLN`, so the customers who spent this amount of money or more, belong to 5. It means that the M score of the customer is 5, which is the highest.
6. Add the rest of segments by clicking the icon.
7. For the following segments, add the conditions listed below:
- For the 4 segment: more than the value of the `0.60` quantile **AND** less than `0.80` quantile
- For the 3 segment: more than the value of the `0.40` quantile **AND** less than `0.60` quantile
- For the 2 segment: more than the value of the `0.20` quantile **AND** less than `0.40` quantile
- For the 1 segment: less than the value of the `0.20` quantile **AND** add the **transaction.charge** event with the **Lifetime** time range.
The configuration of the Monetary segmentation
## Create an expression
---
In this part of the process, create an expression that adds the segmentations a customer belongs to, in order to produce the final RFM score.
1. Go to **Behavioral Data Hub > Expressions > New expression**.
2. Enter a meaningful name of the expression.
3. Leave the expression type at default (**Attribute**).
4. Build the formula of the expression that adds the [three segmentations](/use-cases/rfm-analysis#create-segmentations) you created in the previous part of the procedure.
1. Click the **Select** node.
2. From the dropdown list, select **Profile**.
3. Click the **unnamed** node that appeared on the canvas.
4. Scroll down the page and click **Choose attribute**.
5. On the dropdown list select the [Recency](/use-cases/rfm-analysis#recency) segmentation.
6. Next to the segmentation added to the canvas, click the plus button.
6. Repeat steps from 1 to 6 for the [Frequency](/use-cases/rfm-analysis#frequency) and [Monetary](/use-cases/rfm-analysis#monetary) segmentations.
7. Click the mathematical operator between the nodes and change it to a plus sign.
The configuration of the expression
5. Save the expression.
**Result**: The table below contains all possible results:
| Possible results |
|------------------------------------------------------------------------------------------------------------------------------------------------------------------------------------------------------------------------------------------------------------------------------------------------------------------------------------------------------------------------------------------------------------------------------------------------------------------------------------------------------------------------------------------------------------------------------------------------------------------------------------------------|
| 111, 112, 113, 114, 115, 121, 122, 123, 124, 125,131, 132, 133, 134, 135, 141, 142, 143, 144, 145, 151, 152, 153, 154, 155, 211, 212, 213, 214, 215, 221, 222, 223, 224, 225, 231, 232, 233, 234, 235, 241, 242, 243, 244, 245, 251, 252, 253, 254, 255, 311, 312, 313, 314, 315, 321, 322, 323, 324, 325, 331, 332, 333, 334, 335, 341, 342, 343, 344, 345, 351, 352, 353, 354, 355, 411, 412, 413, 414, 415, 421, 422, 423, 424, 425, 431, 432, 433, 434, 435, 441, 442, 443, 444, 445, 451, 452, 453, 454, 455, 511, 512, 513, 514, 515, 521, 522, 523, 524, 525, 531, 532, 533, 534, 535, 541, 542, 543, 544, 545, 551, 552, 553, 554, 555 |
You need to come up with categories of the customers and assign the results to the specific category. Example categories can be: Top customers, Recent customers, Churn risk, Heavy buyers, Lost heavy buyers, Lost customers.
## Create a RFM segmentation
---
In the final part of the process, create a segmentation that contains segments. Each segment represents a category of customers. As the condition for each segment, use the [expression created in the previous part of the process](/use-cases/rfm-analysis#create-an-expression) and define the scores that fall into a particular category.
1. Go to **Decision Hub > Segmentations > New segmentation**.
2. Enter a meaningful title of the segmentation.
3. Click **Add condition**.
4. On the dropdown list, search and select the [expression created in the previous part of the process](/use-cases/rfm-analysis#create-an-expression).
5. As the logical operator, select **In**.
6. Enter the score that fall into a category.
7. Click the icon.
7. Repeat steps from 3 to 7 for the rest of the categories.
The configuration of the RFM segmentation
8. Save the segmentation.
Example preview of the RFM analysis
## Create a workflow
---
Create a workflow which automates the process of updating the values of the quantile calculation metrics used in the [Recency](/use-cases/rfm-analysis#recency), [Frequency](/use-cases/rfm-analysis#frequency), and [Monetary](/use-cases/rfm-analysis#monetary) segmentations. These segmentations will be updated using webhooks, where each webhook is dedicated to updating the value of the metrics in one segmentation.
Before you start creating a workflow, create a test user that you will later use in the trigger node. All webhook responses will be sent to this profile, this way you will be able to check if the update was successful.
1. Go to **Automation Hub > Workflows > New workflow**.
2. Enter the name of the workflow.
### Define the Audience node
---
Choose the **Audience** node as the trigger. In this step, you will select a test user for whom the automation will be run.
1. Start the workflow with the **Audience** node.
2. In the configuration of the node, set the **Run trigger** option to **repeatable**.
3. Set the interval to 1 per day.
4. Choose the day and time when the process starts.
5. Select the time zone.
6. In **Define audience**, choose **New Audience** and click **Define conditions**.
1. As the first condition, from **Choose filter** dropdown menu, choose `Email address` attribute.
You may have a different naming for the attribute responsible for the email address. Choose the attribute you use for this purpose.
2. From the **Choose operator** dropdown list, select **Equal**.
3. In the right field, enter the email address of your test user.
4. Click **Apply**.
7. Add the **Split Path** node.
### Outgoing Integration
---
1. Add the **Outgoing Integration** node, which will update the value of metrics used in the [Recency score](/use-cases/rfm-analysis#recency) segmentation.
4. In the configuration of the node:
1. Change the webhook type to **Custom**.
2. As the connection type, select **API Key**.
3. Click **Select connection** and select a connection.
If you want to create a connection, click **Add connection** and [create it](/docs/automation/actions/webhook-node#set-up-a-connection).
1. Enter the title of the **Outgoing Integration** node.
2. In the **Webhook name** field, enter the value of the `name` parameter of the event generated by this node.
3. In **Webhook event name**, click **Create event** and create a new event:
1. As **Name**, enter `rfm.reportGenerated`
2. As **Display name**, enter `RFM report generated`
In this use case, you will create 3 nodes. If you want to differentiate between the events they generate, you can set different webhook names and/or event names for each of them.
2. Select the **PUT** method.
3. In the URL of the endpoint, enter the endpoint for the segmentation update: `https://api.synerise.com/analytics/analytics/v2/segmentations/f08a0f4d-4209-40cc-bfe9-4734cd9e0db9`.
4. Replace the segmentation ID in this endpoint (`f08a0f4d-4209-40cc-bfe9-4734cd9e0db9`) with the ID of the Recency score segmentation.
5. Enter the body of the request.
In the body, you need to add the payload of the segmentation you want to update. To get the payload perform the following steps:
1. Open the respective segmentation.
2. Open console and go to the Network tab.
3. Refresh the page.
4. Search for preview in the Network.
5. Right click and copy the object.
Click here to see the console view
How to copy an object of segmentation
6. In the copied body replace all constant values with the dynamic values of relevant metrics.
Example:
You have the folowing constant: "constant": `43.3`
`43.3` should be replaced in this case with the relevant metric ID. You can additionally round the value of the metric to three decimal places. The final appearance of the substituted constant will look as follows:
This is just an example of the body we are using in this use case, and it contains all the metrics IDs that were created in the previous steps. If your analytics settings differ from the configuration shown in this use case, you will have a different body that matches your custom settings.
3. Click **Apply**.
Configuration of the Outgoing Integration node
Configure two **Outgoing Integration** nodes for the remaining Frequency and Monetary segments. Follow the steps described for the configuration of the **Outgoing Integration** node for the Recency score segmantation, but make sure to adjust the configuration for each specific segment.
Add the **Merge Paths** node and the **End** node.
The workflow continuously updates the metrics in the segmentations at a set frequency, ensuring that all segmentations remain up-to-date.
Final workflow setup view
## Create a dashboard
---
In this part of the process, to conveniently preview the results of all metrics you created in the previous part of the process, create a dashboard.
1. Go to **Decision Hub > Dashboard > New dashboard**.
2. Enter a meaningful name of the dashboard.
3. Add all metrics you created earlier in the process.
You can learn more about creating dashboards [here](/docs/analytics/analytics-dashboard/creating-dashboards).
4. Save the dashboard.
The example dashboard
## Check the use case set up on the Synerise demo workspace
---
Check the analytics from our use case in Synerise demo workspace:
- [Aggregate](https://app.synerise.com/analytics/aggregates/603cb871-beb7-3f40-abbd-6cd59c1e7e41) which counts transactions,
- [Aggregate](https://app.synerise.com/analytics/aggregates/85043c5b-a23a-39c6-b95b-9a8680eb20cb) counts first transactions,
- [Aggregate](https://app.synerise.com/analytics/aggregates/64dd4cc6-f45d-31a0-b789-8c2eeb17a72f) counts last transactions,
- [Aggregate](https://app.synerise.com/analytics/aggregates/ca3285c4-23f4-3b30-a849-fe29517e2323) presented monetary value,
- [Expression](https://app.synerise.com/analytics/expressions/73d13360-2074-463c-9978-79861889dff0) counts days from last transaction,
- [Expression](https://app.synerise.com/analytics/expressions/6fe20450-5bbb-4cb1-9977-8c49f09effc7) that calculates how much time passed since the first transaction,
- [Expression](https://app.synerise.com/analytics/expressions/5d9a091c-727a-4efe-b95e-74edae60653c) that calculates the number of weeks since the first transaction of a customer,
- [Expression](https://app.synerise.com/analytics/expressions/f9345935-d637-486a-b802-f533148b2312) that calculates the average number of transactions a customer made per week.
See the metrics which will calculate the qunatiles for the values of the expressions and an aggregate"
- [Metric 1](https://app.synerise.com/analytics/metrics/fb1c9bff-ce29-42c0-93ee-b56f092ae03f),[Metric 2](https://app.synerise.com/analytics/metrics/8031ccf4-2444-42bf-8eba-ba61d952d52f),[Metric 3](https://app.synerise.com/analytics/metrics/e571679c-0f04-466f-aa43-ff6d5023bb09),[Metric 4](https://app.synerise.com/analytics/metrics/97488c6a-746e-42fc-a1ca-b2fb4b8dfa94), counting the number of days that passed since last transaction (Recency),
- [Metric 1](https://app.synerise.com/analytics/metrics/7976c8ab-8047-42d1-8eba-8075d1453e94),[Metric 2](https://app.synerise.com/analytics/metrics/31cac7c2-5e56-4937-80fc-5fbc04ef3b14),[Metric 3](https://app.synerise.com/analytics/metrics/68749154-dea2-4947-91a1-8cf01700f84c),[Metric 4](https://app.synerise.com/analytics/metrics/da817b2a-ce02-4e41-a740-a19061c3e17f), counting the average number of transactions in a week (Frequency)
- [Metric 1](https://app.synerise.com/analytics/metrics/430d45b3-6bde-474e-9b6a-86c0554e4d50),[Metric 2](https://app.synerise.com/analytics/metrics/028a3c2a-06ef-40c2-a7fb-8b0fe7667db7),[Metric 3](https://app.synerise.com/analytics/metrics/804ce3bc-73ad-415d-9a7e-dcb53b78b068),[Metric 4](https://app.synerise.com/analytics/metrics/9dc245b1-014c-47f4-93e6-afc42e8f9ab6), counting total value of transactions in last 90 days (Monetary).
Check the [dashboard](https://app.synerise.com/analytics/dashboards/6e956c95-27fb-418b-92f1-da45a89291d3) presenting RFM summary.
Check three segments, created in this case:
- Segmentation - [Recency](https://app.synerise.com/analytics-v2/segmentations/f08a0f4d-4209-40cc-bfe9-4734cd9e0db9),
- Segmentation - [Frequency](https://app.synerise.com/analytics-v2/segmentations/280bd3dd-2000-4fc0-8c29-89f8403a255b),
- Segmentation - [Monetary](https://app.synerise.com/analytics-v2/segmentations/674c7467-d96e-4139-9fa8-eb2506caf212).
Check the [RFM general score](https://app.synerise.com/analytics/expressions/70716383-93cf-479c-99f0-15ad4c826472) and [RFM segmentation](https://app.synerise.com/analytics-v2/segmentations/bcb2ceb6-fa7d-40ec-a6d2-e2e5573e3995).
Check the [workflow](https://app.synerise.com/automations/automation-diagram/cdcf3c3f-1f28-4fb2-86f0-ed49729ba4a2).
If you’re our partner or client, you already have automatic access to the **Synerise Demo workspace (1590)**, where you can explore all the configured elements of this use case and copy them to your workspace.
If you’re not a partner or client yet, we encourage you to fill out the contact [form](https://demo.synerise.com/request) to schedule a meeting with our representatives. They’ll be happy to show you how our demo works and discuss how you can apply this use case in your business.
## Generated events
This use case generates approximately 9 events per workflow execution:
[`automation.clientStartPath`](/docs/assets/events/event-reference/automation#automationclientstartpath) (~1), [`automation.clientPathStep`](/docs/assets/events/event-reference/automation#automationclientpathstep) (~4), [`automation.clientEndPath`](/docs/assets/events/event-reference/automation#automationclientendpath) (~1), `rfm.reportGenerated` (~3).
## Read more
---
- [Aggregates](/docs/crm/aggregates)
- [Dashboards](/docs/analytics/analytics-dashboard)
- [Expressions](/docs/crm/expressions)
- [Metrics](/docs/analytics/metrics)
- [Segmentation](/docs/analytics/segmentations)
# Email Reminder with Abandoned Cart Products to Boost Conversions
The most common way that stores reduce abandoned carts is by setting up an automated email sequence. Thanks to the collected database with email addresses, you can easily reach customers and send them messages reminding them about unfinished purchases. The message contains products left by users in the cart, with the goal of “saving” abandoned carts and convicing the customer to make a purchase.
Email with abandoned cart
## Prerequisites
---
- Implement a [tracking code](/docs/settings/tool/tracking_codes).
- Import a product feed to Synerise.
You can import your feed following these [instructions](/use-cases/import-product-feed-to-catalog) or you can use Snrs-product-ogTag catalog which is automatically built from product page og tags.
Both options are correct and can be used in this use case to extract and present data about the products. However, we highly recommended using the product feed.
- Product feed is updated more frequently than the OG tag catalog, so the feed uses up-to-date data. The OG catalog is updated when a customer visits the page with the product, in consequence less visited items are rarely updated, so the risk of sending out-of-date product information is higher.
- Product feed contains more information about items than the OG tag catalog.
- When you use the product feed, you use one source of truth, so you minimize the risk of displaying divergent information about your products.
- Implement [transaction events](/developers/web/transactions-sdk).
- Implement [cart status event](/developers/web/cart) which stores the current status of the basket in the form of an event on the customer's card. Event has to be sent to Synerise, after every change in the cart status.
- Configure an [email account](/docs/campaign/e-mail/configuring-email-account).
- Implement [form data tracking](/developers/web/tracking-form-data).
## Process
---
In this use case, you will go through the following steps:
1. [Prepare an aggregate](/use-cases/save-abandoned-cart#prepare-an-aggregate).
2. [Prepare an email template](/use-cases/save-abandoned-cart#prepare-an-email-template).
3. [Prepare a workflow](/use-cases/save-abandoned-cart#prepare-a-workflow).
## Prepare an aggregate
---
Create an aggregate that returns the last **cart.status** event and returns the product parameter from the last 120 minutes. Thanks to this, it will be possible to use in the email data that are labeled as products.
1. Go to **Behavioral Data Hub > Live Aggregates > Create aggregate**.
2. As the aggregate type, select **Profile**.
3. Set **Analyze profiles by** to **Last**.
3. From the **Choose event** dropdown list, select the **cart.status** event.
4. As the event parameter select **products**.
Final settings
## Prepare an email template
---
In this part of the procedure, you create an email template that contains items from an abandoned cart.
1. Go to **Experience Hub > Email**.
2. On the left side of the screen, click **Templates**.
3. Select **Code editor**.
4. In the HTML section add the following Jinjava code that contains the items from the abandoned cart.
Click to see the Jinjava code with items from abandoned cart
<!-- Opening the tag that retrieves the value from the aggregate prepared in the Prepare an aggregate section in the article--> {% aggregate XXXXXXXXXXX %} for loop below: <!-- In the section {% for r in aggregate_result %} a {% endfor %} there is access to all variables from a given object (products here) - which parameters you add to the template depends on you. -> {% for r in aggregate_result %} next item: <!-- {{ r.brand }} {{ r.category }} {{ r.sku }} - parameters taken from the cart.status event - the sku is key. The use of brand and category is optional--> {{ r.brand }} {{ r.category }} {{ r.sku }} <!-- {% catalog.Snrs-produktu-ogTag(r.sku).og:XXX %} downloads additional data from a catalog built on the basis of og tags - which information about the product you want to add in the template depends on you. If you want to add the product name, photo, link, price in the e-mail - you can take it from the catalog --> {% catalog.Snrs-produktu-ogTag(r.sku).og:image %} {% catalog.Snrs-produktu-ogTag(r.sku).og:title %} {% catalog.Snrs-produktu-ogTag(r.sku).product:price:amount %}{% catalog.Snrs-produktu-ogTag(r.sku).product:price:currency %} {% catalog.Snrs-produktu-ogTag(r.sku).og:url %} {% endfor %} <!-- Closing of the tag that gets the value from the aggregate prepared in point 1 --> {% endaggregate %}
To find the aggregate ID to replace XXX in the code, simply navigate to the aggregate in the Synerise application. The ID is the part of the URL that comes after /aggregates/, for example: **bfba46b4-e0d6-3ea9-8ae6-c7a2495c54c7** in the URL `https://app.synerise.com/analytics-v2/aggregates/bfba46b4-e0d6-3ea9-8ae6-c7a2495c54c7`. Copy this ID and use it in your code where needed.
5. Use CSS to style the email according to your preferences.
6. Click **Save this template > Save as**.
7. Enter the name of the template and select the folder in which the template will be saved.
## Prepare a workflow
---
To start sending emails with items from an abandoned cart to customers, prepare a workflow. Optionally, you can add additional nodes, depending on your business needs.
The diagram contains the following nodes:
1. **Profile Event** - the workflow is triggered by the event of adding an item to the cart.
2. **Delay** - before the workflow continues it waits 24 hours.
3. **Profile Filter** - the workflow rejects all customers who made a transaction in the last 24 hours.
4. **Send Email** - the workflow sends the email with items from an abandoned cart to the customers who didn't finish the purchase.
5. Two **End** nodes:
- one for the **not matched** path - customers who made the purchase in the last 24 hours end the workflow there.
- one at the end of the diagram - after the email is sent to customers.
The diagram of the workflow
1. Go to **Automation > Workflows > New worklfow**.
2. Enter the name of the worklfow.
3. As the first node, add the **Profile Event**. In the settings of the node, select the **productAddToCart** event.
Configuration of the Profile Event node
2. As the second node, add **Delay**. In the configuration of the node, set delay to 24 hours.
Configuration of the Delay node
3. As the third node, add **Profile Filter**. In the settings of the node:
1. Select **transaction.charge** event.
2. On the top of the pop-up, click the green **matching** word.
**Result**: The word changes to **not matching**.
2. Set the date range to the last 1440 minutes.
{{< important >}} Use 1440 minutes instead of 1 day – smaller granulation is recommended as in this case 1 day would take the time from current hour till the midnight, so such analysis will not take into consideration all necessary users.
{{< /important >}}
3. Confirm by clicking **Apply**.
4. Click the plus button on the **Profile Filter** node.
5. Select **Send Email**.
**Result**: The **Matched** path leads to the **Send Email** node.
6. Click the plus button on the **Profile Filter** node.
7. Select the **End** node.
**Result**: The **Not matched** path leads to the **End** node.
Configuration of the Profile Filter node
4. Click the **Send Email** node. In the settings of the node:
1. In the **Sender details** section, choose the email account from which the email is sent.
2. In the **Content** section, select the template that you prepared in the [Prepare an email template section](/use-cases/save-abandoned-cart#prepare-an-email-template), add the subject of the email and UTM parameters.
3. In the **UTM & URL parameters** section, define the UTM parameters for the email.
Send Configuration of the Send Email node
5. After the **Send Email** node, add the **End** node.
5. Configure the final settings:
- Define capping - 1 for 1 day.
- Optionally, add titles to each node so the workflow will be more understandable to your colleagues.
- To save it as a draft, click **Save it** or activate by clicking **Save & Run**.
## Check the use case set up on the Synerise Demo workspace
---
You can check the configuration of all steps directly in the Synerise Demo workspace:
- [Aggregate](https://app.synerise.com/analytics/aggregates/5aeb4fcd-d679-3c56-8369-a52f63e0b46c)
- [Workflow](https://app.synerise.com/automations/automation-diagram/bd183f9c-e4b7-4b4f-b5a5-ec869c007b94)
If you don't have access to the Synerise Demo workspace, please leave your contact details in this [form](https://demo.synerise.com/request) and our representative will contact you shortly.
## Generated events
This use case generates approximately 9 events per profile that completes the flow:
[`product.addToCart`](/docs/assets/events/event-reference/items#productaddtocart) (~1), [`automation.clientStartPath`](/docs/assets/events/event-reference/automation#automationclientstartpath) (~1), [`automation.clientPathStep`](/docs/assets/events/event-reference/automation#automationclientpathstep) (~3), [`automation.clientEndPath`](/docs/assets/events/event-reference/automation#automationclientendpath) (~1), [`message.send`](/docs/assets/events/event-reference/email#messagesend) (~1), [`newsletter.open`](/docs/assets/events/event-reference/email#newsletteropen) (~1), [`newsletter.click`](/docs/assets/events/event-reference/email#newsletterclick) (~1).
## Read more
---
- [Automation Hub](/docs/automation)
- [Creating aggregates](/docs/crm/aggregates/creating-profile-aggregates)
- [Email templates](/docs/campaign/e-mail/creating-email-templates)
- [Event Cart status](/developers/web/event-tracking#declarative-tracking-custom-events)
- [Importing product feed to catalog](/use-cases/import-product-feed-to-catalog)
- [Jinjava inserts](/developers/inserts/insert-usage)
# Send data from Google Spreadsheet to Synerise
In your business you probably use various tools to store customer information from different sources. With the help of Incoming Integration, Synerise can collect this data and store it in your workspace in any way you want - for example as customer data (attributes, events) or in a catalog.
This use case describes how to prepare an automated workflow that synchronizes an updated list of customers opinions on your company stored in Google Spreadsheet with Synerise. The workflow is triggered with an incoming webhook and it creates an event with opinion on the customers' profiles. In Google Spreadsheet, we use Apps Script to send data every day to the incoming webhook. This article describes the example of custom events but you can perform other actions in Synerise using the data in Google Spreadsheet depending on what you store there, for example, you can update data in a Synerise catalog or add new customers.
Completing this procedure requires some knowledge on sending API requests using cURL, Postman, or similar tools.
## Prerequisites
---
Create a [Google Spreadsheet](https://www.google.com/sheets/about/) with data you would like to synchronise with Synerise. In our case, the spreadsheet document contains two columns:
- `opinion` which contains information about the feedback that customer gave about the company
- `email` which contains the customer's email.
## Process
---
In this use case, you will go through the following steps:
1. [Create an iconming integration](#create-an-incoming-integration).
2. [Configure a Google Spreadsheet](#configure-a-google-spreadsheet).
3. [Create a workflow](#create-a-workflow).
## Create an incoming integration
---
In this part of the process, create an incoming integration to which you will send the data submitted through Google Spreadsheet.
1. Go to **Automation Hub > Incoming > New integration**.
2. On the pop-up, select **Without authentication**.
2. Enter the name of the webhook.
3. In the **Endpoint** section, click **Define**.
The URL field is already filled in with the endpoint to which the data submitted throught the form will be sent.
1. Optionally, you can add an icon to this integration.
3. Confirm by clicking **Apply**.
Configuration of the Endpoint section
4. In the **Incoming data** section, click **Define**.
5. Click **Retrieve data**. Right after you click the button, send a request to the endpoint in the **Endpoint** section with the sample of data that will be sent through forms. The system waits for the incoming request for 1 minute and 30 seconds. Example request:
Replace the endpoint URL from the example with the endpoint URL from step 4.
6. When the endpoint receives data from the request, verify the list of variables. If the variables include those which are in the payload (in this case, opinion and email), click **Define**. If not, click **Start again** re-send request, and wait for the results.
Collected variables from the request
7. Click **Save & publish**.
## Configure a Google Spreadsheet
---
In this part of the process, you will create and schedule a script that sends data from your spreadsheet to Synerise at a specific time, everyday. The script will be created in Apps Script - one of the extensions available in Google Spreadsheets.
1. Go to your **Google Sheets** account and select the Spreadsheet with customers' opinions.
2. Click on **Extensions** and from the dropdown list, selct **Apps Script**.
Google Sheet toolbar
**Result**: A window opens.
Apps Script view
4. Paste the below JavaScript into code window.
5. In the fragment of the code marked as `#insert_endpoint_URL_here#`, insert the endpoint URL from [first step](#create-an-incoming-integration).
This script is responsible for sending requests to the incoming webhook with maximum 1000 rows (this limit is configurable in the below code), if the `email` or `opinion` columns are not empty.
function onOpen() {
    var ss = SpreadsheetApp.getActiveSpreadsheet();
    var menuEntries = [
        { name: "Send to Synerise ", functionName: "doGet" },
    ];
    ss.addMenu("Export to Synerise", menuEntries);
   }
   function doGet() {
    var ss = SpreadsheetApp.getActiveSpreadsheet();
    var sheet = ss.getSheets()[0];
    var range = sheet.getRange(2, 1, 1000, 2); // 1000 is number of last row
    var values = range.getValues();
    for (var row in values) {
        if (values[row][0].length != 0 && values[row][1].length != 0) {
            var obj = {};
            obj.email = values[row][0]
            obj.opinion = values[row][1]
            UrlFetchApp.fetch('#insert_endpoint_URL_here#', {
                "method": "post",
                payload: JSON.stringify(obj), headers: { "content-type": "application/json" }
            })
        }
    }
   }
5. To save the script, in the program controls bar, click the disk icon.
6. In the menu on the left side, click the clock icon > **Triggers** .
7. In the right bottom corner, click the **Add Trigger** button.
8. Configure as below:
Time trigger configuration in Apps Script
9. Click **Save**.
**Result:** The data from your Google Sheet spreadsheet will be sent to the endpoint in Synerise everyday between 7 and 8 A.M.
This schedule and script are just for reference and both can be adapted to your business needs. For example, sending data can be triggered by making changes in cells, or adding a new row. You can find more information on triggers [here](https://developers.google.com/apps-script/guides/triggers).
## Create a workflow
---
As the final part of the process, create a workflow which captures data sent to incoming integration and creates custom events on the customers' profiles. The workflow starts with the business event trigger that is launched every time the data from Google sheet is sent to Synerise. In response to that, a custom event with an opinion about the company is created.
1. Go to **Automation Hub > Workflows > New workflow**.
2. Enter the name of the workflow.
3. As the first node, select **Business Event**. In the configuration of the node, select the [incoming integration](#create-an-incoming-integration) you created as the first part of the process.
2. Confirm by clicking **Apply**.
4. On the **Buisness Event** node, click **then**.
5. From the dropdown list, select the **Outgoing Integration** node.
6. Click the node. In the configuration of the node:
1. Select the **Custom webhook**.
2. Enter the name of the webhook.
2. Select the **POST** method.
3. Enter the endpoint URL:
- For workspaces hosted in Microsoft Azure EU: `https://api.synerise.com/v4/events/custom`
- For workspaces hosted in Microsoft Azure USA: `https://api.azu.synerise.com/v4/events/custom`
- For workspaces hosted in Google Cloud Platform: `https://api.geb.synerise.com/v4/events/custom`
4. Enter the following headers:
- set the `content-type` header to `application/json` (default),
- set the `accept` header to `application/json`,
- set the `api-version` header to `4.4`
5. Enter the request body. For the sheet used in this case, the body is as follows:
{
           "label":"customer made an opinion about company",
           "client":{
               "email":"{{ request.body.email }}"
           },
           "action":"company.opinion",
           "params":{
               "opinion":"{{ request.body.opinion }}"
           }
           }
This is just an example, you can create JSON according to your business needs. In the example request body, we used the event context from the trigger which inserts an email address and opinion received in the Business Event trigger. You can read more about it [here](/developers/inserts/automation#context).
6. In the **Authorization** section, select **By API key**.
6. From the dropdown list, select API key that has permissions to create custom events.
You can read more about API keys [here](/docs/settings/tool/api) and you can find more information about the endpoint and required API key permissions [here](https://hub.synerise.com/api-reference/data-management#operation/CustomEvent).
6. Confirm by clicking **Apply**.
7. On the **Outgoing Integration** node, click **then**.
8. From the dropdown list, select **End**.
8. In the upper right corner, click **Save & Run**.
Workflow configuration
**Result:** A `company.opinion` event is saved to the profiles of the customers.
Custom event in customer's profile
## Check the use case set up on the Synerise Demo workspace
---
You can check the [incoming webhook configuration](https://app.synerise.com/automations/custom-blocks/integrations/incoming/edit/1f8d50ee-5c7b-4ca6-9d78-1ad946e569db) and [workflow configuration](https://app.synerise.com/automations/automation-diagram/68e3eb29-6d9e-4439-8100-73ef3e03c022) directly in Synerise Demo workspace.
If you’re our partner or client, you already have automatic access to the **Synerise Demo workspace (1590)**, where you can explore all the configured elements of this use case and copy them to your workspace.
If you’re not a partner or client yet, we encourage you to fill out the contact [form](https://demo.synerise.com/request) to schedule a meeting with our representatives. They’ll be happy to show you how our demo works and discuss how you can apply this use case in your business.
## Generated events
This use case generates approximately 5 events per profile that completes the flow:
[`automation.clientStartPath`](/docs/assets/events/event-reference/automation#automationclientstartpath) (~1), [`automation.clientPathStep`](/docs/assets/events/event-reference/automation#automationclientpathstep) (~1), [`automation.clientEndPath`](/docs/assets/events/event-reference/automation#automationclientendpath) (~1), [`webhook.response`](/docs/assets/events/event-reference/integration#webhookresponse-and-custom-webhook-response-names) (~1), `company.opinion` (~1).
## Read more
---
- [Apps Script documentation](https://developers.google.com/apps-script/reference/spreadsheet/sheet)
- [Automation Hub](/docs/automation)
- [Incoming integration](/docs/automation/integration/incoming-webhook-node)
- [Triggers provided by Apps Script](https://developers.google.com/apps-script/guides/triggers)
# Export Customer Profiles with Marketing Consent to Google Cloud Storage
Synerise allows you to collect data from any touchpoint with a customer. With advanced Synerise Decision Hub, you can create precise customer segments that you can use not only in Synerise, but also pass them to external tools. Using Synerise's seamless integration with Google Cloud Storage (GCS), you can transfer any data collected in Synerise and use it in other Google tools.
In this use case, we will send a customer database with a marketing communications agreement to Google Cloud Storage. Before creating the workflow, we will also create a Data Transformation rule, which will modify the value of one of the exported attributes to another format. This is not a mandatory step, you can export the data in the format you store it in the platform, in accordance with your needs.
## Prerequisites
---
- Implement solutions that collect marketing agreements from various touch points with your customers.
- Prepare a sample of data that will be used in data transformation.
Click here to see an example file
- Make sure you meet all [prerequisites](/docs/automation/integration/google-cloud-storage/send-file-to-gcp#prerequisites) to integrate Synerise with Google Cloud Storage.
## Process
---
In this use case, you will go through the following steps:
1. [Create a segmentation of customers](/use-cases/send-profiles-to-gcs#prepare-a-segmentation) whose data you want to send to the GCS.
2. [Create a data transformation diagram](/use-cases/send-profiles-to-gcs#prepare-data-transformation) to prepare the data for sending to Google Cloud Storage.
This is an optional step. If you don't need to change the exported data, you can skip it.
3. [Create a workflow](/use-cases/send-profiles-to-gcs#prepare-a-workflow) that will send selected customer profiles to GCS.
## Prepare a segmentation
---
As the first part of the process, create a segmentation of customers who agreed to receive emails. The data of these customers will be sent to the external resource.
1. Go to **Decision Hub > Segmentations > New segmentation**.
2. Define the name of the segmentation.
3. Click **Add condition**.
4. From the dropdown list, select `newsletter_agreement`.
5. As the logical operator, select **Equal**.
6. In the text field, enter `enabled`.
7. Click **Save**.
The configuration of the segmentation
## Prepare data transformation
---
This step is not mandatory, you can skip it in case you don't need to make any changes to the exported data.
In this part of the process, you define the rules of modifying data before sending it to GCS. For the purposes of this case, the `newsletter_agreement` parameter value will be changed from `enabled` to `true`.
The data transformation diagram which is the output of this part of the process is used later to [automate sending the data](/use-cases/send-profiles-to-gcs#prepare-a-workflow).
1. Go to **Automation Hub > Data Transformation > Create transformation**.
2. Enter the name of the transformation.
3. Click **Add input**.
### Add file with sample data
Add the **Data input** node to add a data sample. In further steps, you define how the data must be modified. Later, when this transformation is used in the workflow, the system uses the rules created with the sample data as a pattern for modifying actual data.
4. On the pop-up, upload the file with the sample data you prepared earlier.
5. Click **Apply**.
The configuration of the Data input node
### Edit the newsletter_agreement value
In this part of the process, you will use the **Edit value** node. This node allows you to replace the `enabled` value of the `newsletter_agreement` attribute with `true`.
7. On the canvas, click the right mouse button.
8. From the dropdown list, select **Edit values**.
9. Click the **Edit values** node.
10. In the configuration of the node:
1. Click **Add rule**.
2. Click **Add column**.
3. Select the **newsletter_agreement** column.
4. Under **Edit values by**, from the dropdown list, select **Replacing**.
5. In the left dropdown, leave the **Static value** option at default.
6. In the text field, enter `true`.
7. Confirm by clicking **Apply**.
The configuration of the Edit values node
### Add the finishing node
To complete the transformation, use the **Data Output** node, which allows you to preview the output of the modifications to the sample data.
11. On the canvas, click the right mouse button.
12. From the dropdown list, select **Data output**.
13. In the upper right corner, click **Save and publish**.
The diagram of data transformation
## Prepare a workflow
---
As the final part of the process, create a workflow which sends the customers' data every day to GCS.
1. Go to **Automation Hub > Workflows > New workflow**.
2. Enter the name of the workflow.
### Define the launch date
3. As the trigger node, add **Scheduled Run**.
4. In the configuration of the node:
1. Leave the **Run trigger** option at default (**all time**).
2. From the **Timezone** dropdown list, select the time zone consistent with the timezone selected for your workspace.
3. Define the frequency of the workflow (for example, every day at 6.00 A.M.).
The workflow will automatically launch at the scheduled time.
4. Confirm by clicking **Apply**.
The configuration of the Scheduled Run node
### Select customers to export
5. Add a **Get Profiles** node.
6. In the configuration of the node:
1. Select the segmentation you [created in the first part of the process](/use-cases/send-profiles-to-gcs#prepare-a-segmentation).
2. In the **Attributes** section, select **newsletter_agreement** and **email**.
3. Confirm by clicking **Apply**.
The configuration of the Get Profiles node
### Select the data transformation rules
7. Add a **Data Transformation** node.
8. In the configuration of the node, select the [data transformation you have created before](/use-cases/send-profiles-to-gcs#prepare-data-transformation).
9. Confirm by clicking **Apply**.
### Configure Send File node
1. Add **Google Cloud Storage > Send File** node.
2. Click **Select connection**.
3. From the dropdown list, select the connection.
- If no connections are available or you want to create a new one, see [Create a connection](/docs/automation/integration/google-cloud-storage/send-file-to-gcp#create-a-connection).
- If you selected an existing connection, proceed with the integration settings.
1. In the **Project ID** field, enter the unique identifier of your project in Google Cloud.
You can learn how to find the project ID [here](https://support.google.com/googleapi/answer/7014113).
2. In the **Bucket** field, enter the name of an existing bucket (container) to which you will send a file with data.
3. In the **Path to directory** field, enter the path to which the file will be saved in the bucket.
4. In the **File name** field, enter the name of the file you want to send to the storage. If the file already exists, the contents of the file will be overwritten.
5. From the **File format** dropdown list, select the format in which the file will be saved in the storage.
6. Confirm by clicking **Apply**.
The configuration of the Send File node
### Add the finishing node
12. Add the **End** node.
13. In the upper right corner, click **Save & Run**.
The workflow configuration
You can monitor the flow of the workflow in the **Transformation logs** tab. It contains information about each execution of the workflow.
The logs for the workflow
## Check the use case set up on the Synerise Demo workspace
---
You can check the configuration of each item created in this use case on our Synerise Demo workspace:
- [Segmentation](https://app.synerise.com/analytics-v2/segmentations/7655038e-99bc-4876-9d7a-90f801ae6a5c)
- [Data Transformation](https://app.synerise.com/automations/data-transformation/032c34b2-1eae-4542-98db-5392244119aa)
- [Workflow](https://app.synerise.com/automations/automation-diagram/56ba2ace-197f-4361-b9ef-db5aab607656)
## Generated events
This use case generates approximately 6 events per workflow execution:
[`automation.clientStartPath`](/docs/assets/events/event-reference/automation#automationclientstartpath) (~1), [`automation.clientPathStep`](/docs/assets/events/event-reference/automation#automationclientpathstep) (~3), [`automation.clientEndPath`](/docs/assets/events/event-reference/automation#automationclientendpath) (~1), `googleCloudStorage.sendFile` (~1).
## Read more
---
- [Data Transformation](/docs/automation/data-transformation-and-imports/introduction)
- [Send File](/docs/automation/integration/google-cloud-storage/send-file-to-gcp)
- [Segmentations](/docs/analytics/segmentations)
- [Workflows](/docs/automation)
# Email with Contextual Recommendations Based on Last Visited Products
Drive conversions and foster long-lasting customer relationships with personalized recommendations by analyzing customers' browsing history. By curating a tailored selection of similar items and recommending relevant products, you can boost sales, elevate the shopping experience, and increase engagement with just an email.
This use case describes the process of creating a set of personalized recommendations of products similar to the last seen by the customer and sending them in an email to customers who had a transaction in the last 30 days.
This use case provides you with an instruction how to use a ready-made email template that can be used 1:1 in a business scenario.
## Prerequisites
---
- Implement a [tracking code](/developers/web/installation-and-configuration) into your website.
- [Configure AI engine](/docs/settings/configuration/ai-engine-configuration/engine-configuration-for-recommendations).
- [Configure an item catalog for recommendations](/docs/settings/configuration/ai-engine-configuration/engine-configuration-for-recommendations). Enable similar items recommendations.
- Implement the [transaction events](/developers/web/transactions-sdk) using [SDK](/developers/web/transactions-sdk) or [API](https://hub.synerise.com/api-reference/data-management#operation/CreateATransaction).
- Configure a [sender account](/docs/campaign/e-mail/configuring-email-account).
## Process
---
In this use case, you will go through the following steps:
1. [Create an aggregate](#create-an-aggregate) returning the ID of the last visited product, it will be used in the template configuration.
2. [Prepare an AI recommendation](#prepare-an-ai-recommendation), it will be used in the template configuration.
4. [Prepare an email template](#prepare-an-email-template).
3. [Create a workflow](#create-a-workflow).
## Create an aggregate
---
In this part of the process, create an aggregate that returns the ID of the last product a customer had visited. The recently viewed product itself will not display in the template, but will serve as a context for recommendations.
1. Go to **Behavioral Data Hub > Live Aggregates > Create aggregate**.
2. As the aggregate type, select **Profile**.
2. Enter the name of the aggregate.
3. Click **Analyze profiles by** and select **Last**.
4. From the **Choose event** dropdown list, select the **Visited page** event.
5. As the event parameter, select **product:retailer_part_no**.
6. Click the **+ where** button.
7. From the **Choose parameter** dropdown list, select the **product:retailer_part_no** parameter.
8. From the **Choose operator** dropdown list, select **Is true (Boolean)**.
9. Using the date picker in the lower-right corner, set the time range to **Last 7 days**. Confirm your choice with the **Apply** button.
7. Click **Save**.
Configuration of the aggregate returing the ID of the last seen product
## Prepare an AI recommendation
---
In this part of the process, you will configure a similar items recommendation which will be later used in the email template. You can use a differenct recommendation type according to your business needs.
1. Go to **AI Hub > (AI Recommendations) Models > Add recommendation**.
2. Enter the name of the recommendation (it is only visible on the list of recommendations).
3. In the **Type & Items feed** section, click **Define**.
4. From the **Items feed** dropdown list, select an item feed.
5. In the **Type** section, choose the **Similar items** recommendation type.
6. Confirm the settings by clicking **Apply**.
7. In the **Items** section, click **Define**.
1. Click **Add slot**.
2. Define the minimum and maximum number of items that will be recommended to the customer in each slot.
3. Optionally, define [Static filters](/docs/ai-hub/recommendations-v2/creating-recommendation-campaign#static-filters) and [Elastic filters](/docs/ai-hub/recommendations-v2/creating-recommendation-campaign#elastic-filters).
4. Confirm by clicking **Apply**.
8. Optionally, you can define the **Boosting** factors and settings in the **Additional settings** section.
9. In the right upper corner, click **Save**.
## Prepare an email template
---
In this part of the process, you will create an email campaign. We will use a predefined template for the recommendations similar to last seen products, so there is no need to create a template from scratch. In the configuration, we will use the [aggregate](#create-an-aggregate) and [recommendation](#prepare-an-ai-recommendation) created in the previous steps.
1. Go to **Experience Hub > Email**.
2. On the left pane, click **Templates** and from the list of template folders, select **email default templates**.
3. Select **Products similar to last seen** template.
**Result:** You are redirected to the code editor.
You can edit the template in two ways, by editing the code of the template ([add inserts](/docs/campaign/in-app-messages/creating-inapp-templates/creating-inapp-template#adding-a-snippet-to-the-template-code), [add variables](/docs/campaign/in-app-messages/creating-inapp-templates/creating-inapp-template#adding-a-variable) and/or by filling out the form in the Config tab. In this use case, we will use the capabilities of the predefined Config tab.
### Edit form in the Config tab
---
The form in the **Config** tab is pre-filled with default values, which you can modify to suit your business needs.
1. In the **Logo** section, you have the option to customize the logo's height, link, title, and image source.
2. In the **Main image** section, you can specify the height, link, title, and the source of the main image.
3. In the **Last seen product** section, from the **Aggregate id with last seen product** dropdown list, select the [aggregate you created in the previous step](#create-an-aggregate). You can find it by typing its name or ID in the search box.
4. In the **Recommendation header** section, you can type the header you want to display and define the background and font colors.
5. In the **Recommendation products** section:
1. From the **Recommendation id** dropdown list, select the [recommendation you prepared in the previous step](#prepare-an-ai-recommendation). You can find it by typing its name or ID in the search box.
2. Customize the **Number of product in row**, **Product name font color**, **Font color**, **Button font color**, **Button background color**, **Button border radius** and **Button text** options.
6. Optionally, you can configure **Category section**, **Contact section**, **Social media** and **Footer** or hide them by switching off the respective toggle.
To preview the template without switched off sections, use the **Preview Contexts** option.
7. After you make changes to the template, you can check the preview.
1. Click the **Preview Contexts** button on the upper left side.
2. Enter the ID of a customer.
3. Click **Apply**.
Edit form in the Config tab
8. If the template is ready, click the arrow next to **Use in communication** in the upper right corner, and from the dropdown select **Save as**.
9. On the pop-up:
1. In the **Template name field**, enter the name of the template.
2. From the **Template folder** dropdown list, select the folder where the template will be saved.
3. Confirm by clicking **Save**.
## Create a workflow
---
In this part of the process, you will create the workflow which sends emails with recommendations of products similar to those last seen by a customer, triggered when they finish their session on the site. The email will be sent maximum once a month, to customers who didn’t make a purchase in the last 30 days.
1. Go to **Automation Hub > Workflows > New workflow**.
2. Enter the name of the workflow.
### Define the Profile Event trigger node
At this stage, we will configure the conditions that launch the workflow. As a trigger, we will use the `session.end` event.
1. As the first node of the workflow, add **Profile Event**. In the configuration of the node:
1. From **Choose event** dropdown menu, choose the `session.end` event.
2. Confirm by clicking **Apply**.
### Define the delay
Add the Delay node to define the lag between the `session.end` event and sending an email with voucher to specific segment of customers. In this example it is 1 hour.
1. Add the **Delay** node, in the configuration of the node:
1. In the **Delay** field, enter `1`.
2. From the **Unit** dropdown, choose **Hour**.
3. Confirm by clicking **Apply**.
### Define the Profile Filter node
As the next step, add the **Profile Filter** node, which checks if the customer made a transaction in the last 30 days. If the customer has not made a transaction, we will send them an email with recommendations, and if they have, then the workflow ends.
1. Add the **Profile Filter** node.
2. From the **Choose filter** dropdown list, select the **transaction.charge** event.
4. Using the date picker in the lower-right corner, set the time range to **Custom> Last 30 days**. Confirm your choice with the **Apply** button.
5. Click **Apply**.
### Configure the Send Email node
1. To the **Not matched** path, add the **Send Email** node. In the node settings:
1. In the **Sender details** section, choose the email account from which the email will be sent.
2. In the **Content** section, type the **Subject** and from the **Template** dropdown, select [the template you prepared in the previous step](#prepare-an-email-template).
3. In the **UTM & URL parameters** section, you can define the UTM parameters added to the links included in the email.
4. In the **Additional parameters** section, you can optionally assaign [parameters](/docs/campaign/e-mail/creating-email-campaigns#adding-custom-parameters), which will be added to every event generated by this communication.
2. Click **Apply**.
### Add the finishing nodes and set capping
1. Add the **End** nodes after **Send Email** node and to the **Matched** path after the **Profile Filter** node.
2. In the upper right corner, click **Set Capping** and define the limit of workflows a profile can start:
1. Set **Limit** to 1.
2. Set **Time** to 30 days.
4. Confirm by clicking **Apply**.
5. In the upper right corner, click **Save & Run**.
Workflow configuration
## Check the use case set up on the Synerise Demo workspace
---
You can check the configuration of each step directly in our Synerise Demo workspace:
- [Aggregate](https://app.synerise.com/analytics/aggregates/1162c599-338f-32f7-ba20-b1bb64fcaed0)
- [AI Recommendation](https://app.synerise.com/ai-v2/recommendations/pcJ44bk6rXz2)
- [Workflow](https://app.synerise.com/automations/automation-diagram/8b4368c2-9a57-4340-a20f-976664c7cd75)
If you’re our partner or client, you already have automatic access to the **Synerise Demo workspace (1590)**, where you can explore all the configured elements of this use case and copy them to your workspace.
If you’re not a partner or client yet, we encourage you to fill out the contact [form](https://demo.synerise.com/request) to schedule a meeting with our representatives. They’ll be happy to show you how our demo works and discuss how you can apply this use case in your business.
## Generated events
This use case generates approximately 10 events per profile that completes the flow:
[`session.end`](/docs/assets/events/event-reference/web-and-app#sessionend) (~1), [`automation.clientStartPath`](/docs/assets/events/event-reference/automation#automationclientstartpath) (~1), [`automation.clientPathStep`](/docs/assets/events/event-reference/automation#automationclientpathstep) (~3), [`automation.clientEndPath`](/docs/assets/events/event-reference/automation#automationclientendpath) (~1), [`recommendation.generated`](/docs/assets/events/event-reference/recommendations#recommendationgenerated) (~1), [`message.send`](/docs/assets/events/event-reference/email#messagesend) (~1), [`newsletter.open`](/docs/assets/events/event-reference/email#newsletteropen) (~1), [`newsletter.click`](/docs/assets/events/event-reference/email#newsletterclick) (~1).
## Read more
---
- [Aggregates](/docs/crm/aggregates)
- [Recommendations](/docs/ai-hub/recommendations-v2)
- [Email template builder](/docs/campaign/e-mail/creating-email-templates/email-code-editor)
# Suggest heavy buyers higher-priced items from their most frequently purchased brands
The search engine is sometimes underestimated, even though it is a critical component of an e-commerce site's user experience and directly affects customer satisfaction and conversion rates. Efficient search engine optimization is essential for e-commerce businesses looking to improve their site's search functionality, increase customer engagement, and drive sales growth.
The main benefit of personalizing search results is improved relevance, which leads to increased engagement. By defining the recipients for search query rules, you can offer targeted and personalized search results to specific customer groups. By analyzing customer behavior and purchase patterns, you can identify customers who share similar preferences and interests, enabling you to tailor search results to meet their unique needs and preferences.
In this use case, we are targeting heavy buyers who frequently purchase products from specific brands. By creating a segmentation that contains these customers, we can use query rules to suggest higher-priced items from the brands they already know and trust.
## Prerequisites
---
- Enable [the AI Search Engine](/docs/settings/configuration/ai-engine-configuration/engine-configuration-for-search) for your workspace.
- Create and configure [search index](/docs/ai-hub/ai-search/create-index) and in the [filterable attributes](/docs/ai-hub/ai-search/define-attributes#filterable-attributes) add `Price` as a range attribute.
- Implement transaction events using [SDK](/developers/web/transactions-sdk) or [API](https://hub.synerise.com/api-reference/data-management#operation/CreateATransaction).
- [Implement AI search](https://hub.synerise.com/api-reference/ai-search) in any of your channels (mobile app, website, and so on).
- Create an RFM analysis thanks to which you will be able to define the segmentation of heavy buyers. You'll find a detailed process for creating the RFM analysis in [this use case](/use-cases/rfm-analysis).
The heavy buyers segmentation shown in this use case is just an example. You can create it using your own rules according to your specific assumptions and business needs.
## Process
---
In this use case, you will go through the following steps:
1. [Create segmentation of heavy buyers](/use-cases/segment-as-a-rule-condition#create-a-segmentation-of-heavy-buyers) based on RFM analysis.
2. [Create an aggregate](/use-cases/segment-as-a-rule-condition#create-an-aggregate-for-average-customer-purchase-expenses) to calculate the average value a customer spent in the last 30 days.
3. [Create an aggregate](/use-cases/segment-as-a-rule-condition#create-aggregates-to-identify-top-bought-brands) to identify top-bought brands.
4. [Create a query rule](/use-cases/segment-as-a-rule-condition#create-a-query-rule) based on the prepared segmentation and aggregates created in the previous steps. This rule will enforce showing heavy buyers higher-priced products from the top brands they most frequently purchase in search results.
## Create a segmentation of heavy buyers
---
In this part of the process, create a segmentation of heavy buyers based on the RFM segmentation you created earlier.
1. Go to **Decision Hub > Segmentations > New segmentation**.
2. Enter the name of the segment.
3. Choose **Add condition** and find the RFM segmentation you created earlier.
4. Select the **Equal** operator and in the right field enter the name of the sub-segment that defines the heavy buyers. In our case, we type - `Heavy Buyers`
5. Save the aggregate.
Segmentation settings
## Create an aggregate for average customer purchase expenses
---
In this section, create an aggregate that returns the average value of products purchased by an individual customer in the last 30 days.
1. Go to **Behavioral Data Hub > Live Aggregates > Create aggregate**.
2. As the aggregate type, select **Profile**.
2. Enter the name of the aggregate.
3. Click **Analyze profiles by** and select **Average**.
4. From the **Choose event** dropdown list, select the `product.buy` event.
5. As the event parameter, select **$finalUnitPrice**.
6. Define the period from which data will be analyzed. In our case it will be last 30 days.
7. Save the aggregate.
Aggregate settings
## Create aggregates to identify top-bought brands
---
In this section, create an aggregate that returns the top-bought brands by an individual customer.
1. Go to **Behavioral Data Hub > Live Aggregates > Create aggregate**.
2. As the aggregate type, select **Profile**.
2. Enter the name of the aggregate.
3. Click **Analyze profiles by** and select **Top**.
4. From the **Choose event** dropdown list, select the **product.buy** event.
5. As the event parameter, select **brand**.
6. Define the period from which the aggregate will return products from the event.
7. Save the aggregate.
Configuration of the aggregate
## Create a query rule
---
In this part of the process, create a query rule for heavy buyers that will enforce showing to them higher-priced products from the top brands they most frequently purchase in search results.
1. Go to **AI Hub > Indexes**.
2. Select an index from the list.
3. Go to the **Rules** section.
4. On the right side of the screen, click **Add rule**.
5. Name the rule.
6. To define the audience group for the rule, in the **Audience** section, click **Change**.
1. Choose the **Segments** tab and click **Add segments**.
2. Find the segment of heavy buyers you created [earlier in the process](/use-cases/segment-as-a-rule-condition#create-a-segmentation-of-heavy-buyers) and apply that segment.
7. To adjust the query conditions, in the **Conditions** section, click **Define**.
1. Choose the **All queries** tab.
2. Click **Apply**.
8. To define how the search engine reacts to the defined conditions, in the **Consequences** section, click **Define**.
1. Click **Add consequence** and choose **Filter query results** from the dropdown list.
2. From the **Attribute** dropdown list, choose `Price`.
3. Choose the **More than** operator.
4. In the left field, click the **#** icon and from the dropdown list, select **Aggregate**.
5. From the list, choose [aggregate](/use-cases/segment-as-a-rule-condition#create-an-aggregate-for-average-customer-purchase-expenses) created earlier in the process.
6. Click **Add filter** and from the **Attribute** dropdown list, choose **Brand**.
7. Choose the **In** operator.
8. In the left field, click the **T** icon and from the dropdown list, select **Aggregate**.
9. From the list, choose [aggregate](/use-cases/segment-as-a-rule-condition#create-aggregates-to-identify-top-bought-brands) created earlier in the process.
10. Enable the **Mark as elastic** option to make sure that the items you set will appear at the top of the search results. If you do not activate this option, search results will show only those products.
11. Click **Apply**.
9. In the **Schedule** section, you can define when the query rule applies.
10. Click **Save & Publish**.
Query rule settings
## Check the use case set up on the Synerise Demo workspace
---
You can check the configuration directly in Synerise demo workspace:
- [Segmentation](https://app.synerise.com/analytics/segmentations/a8b2ed5c-c342-436f-a98e-eca642767926) of heavy buyers,
- [Aggregate](https://app.synerise.com/analytics/aggregates/869e7abf-f235-3614-af7c-69b22ad88175) with the average value a customer spent in the last 30 days,
- [Aggregate](https://app.synerise.com/analytics/aggregates/04a8575c-9c62-37bb-a4ee-c99238e38ba5) to identify top-bought brands,
- [Query rule settings](https://app.synerise.com/ai-v2/search/indices/afc98c53b968b4c47ff1e21e7219d4f41668083405/query-rules/15408).
If you’re our partner or client, you already have automatic access to the **Synerise Demo workspace (1590)**, where you can explore all the configured elements of this use case and copy them to your workspace.
If you’re not a partner or client yet, we encourage you to fill out the contact [form](https://demo.synerise.com/request) to schedule a meeting with our representatives. They’ll be happy to show you how our demo works and discuss how you can apply this use case in your business.
## Generated events
This use case generates approximately 2 events per profile that completes the flow:
[`item.search`](/docs/assets/events/event-reference/search#itemsearch) (~1), [`item.search.click`](/docs/assets/events/event-reference/search#itemsearchclick) (~1).
## Read more
---
- [Aggregates](/docs/crm/aggregates)
- [AI Search](/docs/ai-hub/ai-search)
- [Segmentation](/docs/analytics/segmentations)
# Send propensity-based customers to Facebook
With Synerise you can choose very specific segments of customers for your marketing communication on Facebook and spend less on your campaigns.
In this use case, you will use the Predictions feature to calculate the probability of customers buying items from shoes category. The results will be later used in the conditions of segmentation that will trigger the workflow. In the workflow we will use the native Facebook integration to send customers with highest propensity to buy, as a Custom Audience. This group of customers can be later used for better targeting of your marketing efforts.
## Prerequisites
---
- [Enable the Propensity prediction type](/docs/ai-hub/predictions/enabling-predictions#enabling-propensity-and-best-fit-predictions).
- [Generate the system user access token in Facebook](https://developers.facebook.com/docs/audience-network/optimization/report-api/system-user/); as the `scope` value, select `ads_management`.
- [Create Custom Audience in Facebook](https://developers.facebook.com/docs/marketing-api/reference/custom-audience/)
- Implement transaction events using [SDK](/developers/web/transactions-sdk) or [API](https://hub.synerise.com/api-reference/data-management#tag/Events).
- Create an [item feed](/docs/ai-hub/recommendations-v2/item-feed-requirements).
- The `category` attribute must be added to [filterable attributes](/docs/ai-hub/ai-search/define-attributes#filterable-attributes).
## Process
---
In this use case, you will go through the following steps:
1. [Create a Propensity prediction](/use-cases/send-propensity-to-facebook#create-a-propensity-prediction) that produces the 2-point score (low and high).
2. [Create a segmentation](/use-cases/send-custom-audience-webhook#create-a-segmentation) of customers.
3. [Create a workflow](/use-cases/send-custom-audience-webhook#create-a-workflow).
## Create a Propensity prediction
---
In this part of the process, you will create a propensity prediction to purchase any product from the shoes category for the audience of recognized customers (those that have the email attribute, and have a page vist event in the last 30 days). In further steps, an email address will be used as a customer identifier while sending audience to Facebook.
### Select the model type
1. Go to **AI Hub > (AI Predictions) Models > New prediction**.
2. On the pop-up, select the **Create from scratch** option.
3. Select **Propensity**.
4. Name your prediction.
### Select customers to be analyzed
Select the audience for whom you want to prepare a prediction.
1. In the **Audience** section, click **Define**.
2. Click **Choose segmentation**.
3. On the dropdown list, click **Create new**.
4. In the **Segmentation name** field, enter a meaningful name of the segmentation.
5. Click **Next step**.
5. Click **Add condition**:
1. From the dropdown list, select the `email` attribute.
2. From the **Choose operator** dropdown list, select **String** and **Is not empty**.
6. Once again click **Add condition**:
1. From the dropdown list, select the `Visited page` event.
2. In the calendar in the bottom right corner, leave **Last 30 days**.
7. Save the segmentation by clicking **Create segmentation**.
8. Click **Apply**.
Propensity audience configuration
### Define the item
In this section, you define the category for which you want to calculate the prediction, in our case it's the shoes category. This is done by creating a filter that matches the category in the catalog.
1. In the **Item selection** section, click **Define**.
2. Click **Choose item feed**.
3. Select the catalog that contains the items you want to make the prediction for.
**Result**: The **Item filter** section appears.
4. Click **Define item filter**.
5. From the **Select attribute** dropdown list, select the `category` attribute.
6. As the logical operator, select **Equal**.
7. Click **0 items**.
**Result**: An **Array values** pop-up appears.
8. Use the search field to add the desired product category. In our case:`root catalog> default category>men>shoes`.
9. Click **Add**.
10. Click **Apply**.
12. Click **Add filter** and repeat steps **5-10** to add another category. In our case: `root catalog> default category>women>shoes`.
13. Click **Save**.
10. Save the item feed configuration by clicking **Apply**.
Propensity item filter configuration
### Additional settings and saving
Configure the [additional settings](/docs/ai-hub/predictions/propensity#additional-settings) (or leave them at default) and click **Save & Calculate**.
**Result:**
After the calculation is complete a `snr.propensity.score` event is saved in the profiles of each customer in the audience. The event data includes detailed results of the prediction. Based on the `snr.propensity.score` event, you can create segmentations of customers with different propensity.
## Create a segmentation
---
Based on the `snr.propensity.score` event, create a segmentation of customers with high propensity to purchase any item from the shoes category.
1. Go to **Decision Hub > Segmentations > New segmentation**.
2. Enter the name of the segmentation.
1. Click **Add condition**.
2. Select the `snr.propensity.score` event.
3. Click **+ where**.
4. As the event parameter, select `modelId` (available in the parameters of the `snr.propensity.score` event).
Properties of the snr.propenisty.score event
3. As the logical operator, select **Equal**.
4. In the text field, enter the value of the `modelId` parameter.
5. Click **+ and where**.
6. As the event parameter, select `score_label`.
7. As the logical operator, select **Equal**.
8. In the text field, enter `high`.
9. Set the date range according to your buisness needs.
5. Click **Save**.
Segmentation configuration
## Create a workflow
---
As the final part of the process, create a workflow that sends customers with the high propensity to buy items from the shoes category to Facebook.
1. Go to **Automation Hub > Workflows > New workflow**.
2. Enter the name of the workflow.
### Choose the segmentation of customers
1. As the first node of the workflow, add **Audience**. In the node settings:
1. In the **Define audience** section, select the [segmentation you created in the previous step](#create-a-segmentation), click **Apply** to confirm.
9. Confirm by clicking **Apply**.
### Configure the Facebook integration
1. On the **Audience** node, click **then**.
2. From the dropdown list, select the **Add Profiles to Custom Audience** node.
3. Click the node.
4. From the **Select connection** dropdown list, select an existing connection which allows you to authorize in Facebook Ad.
If you haven't established a connection yet:
1. At the top of the dropdown list, click **Add connection**.
2. In the **Access token** field, paste the token generated as a part of [prerequisites](#prerequisites).
3. Click **Next**.
4. In the **Connection name**, enter the name of the connection (it will be only visible on the list of connections).
The connection can be re-used to any custom audience created in the Facebook Ad Account related to the token generated as a part of [prerequisites](#prerequisites).
3. In the **API version** field, enter the Facebook API version according to the [Facebook documentation](https://developers.facebook.com/docs/marketing-api/audiences/guides/custom-audiences/).
5. From the **Identified type** dropdown list, select **Email**.
6. In the **Identifier source** field, enter `{{ client.email }}`.
You can read more about Jinjava tags in Automation Hub [here](/developers/inserts/automation).
4. In the **Audience ID** field, enter the ID of the Custom Audience to which you want to send your group of customers.
5. Confirm by clicking **Apply**.
### Add the End node
1. On the **Add Profiles to Custom Audience** node, click **then**.
2. From the dropdown list, select **End**.
3. In the upper right corner, click **Save & Run**.
Wait a few minutes for the response of the webhook.
**Result**: An **automation** event is saved to the profiles of the customers. Then, go Facebook, to **Facebook Manager > Audiences** to check your Custom Audience.
Workflow configuration
## What's next?
---
You can start creating personalized ads to your customers in Facebook. You can see your custom audience in **Facebook Manager > Audiences**.
## Check the use case set up on the Synerise Demo workspace
---
You can check the configuration of every element of this process directly in Synerise Demo workspace:
- [Propensity prediction](https://app.synerise.com/ai-v2/predictions/rrkxxklvzaip)
- [Segmentation](https://app.synerise.com/analytics-v2/segmentations/cf199cb0-c497-4c04-bfe4-4136f2640982)
- [Workflow configuration](https://app.synerise.com/automations/automation-diagram/e9aa0276-521f-44df-8774-cc2484d266c2)
If you’re our partner or client, you already have automatic access to the **Synerise Demo workspace (1590)**, where you can explore all the configured elements of this use case and copy them to your workspace.
If you’re not a partner or client yet, we encourage you to fill out the contact [form](https://demo.synerise.com/request) to schedule a meeting with our representatives. They’ll be happy to show you how our demo works and discuss how you can apply this use case in your business.
## Generated events
This use case generates approximately 5 events per profile that completes the flow:
[`snr.propensity.score`](/docs/assets/events/event-reference/predictions#snrpropensityscore) (~1), [`automation.clientStartPath`](/docs/assets/events/event-reference/automation#automationclientstartpath) (~1), [`automation.clientPathStep`](/docs/assets/events/event-reference/automation#automationclientpathstep) (~1), [`automation.clientEndPath`](/docs/assets/events/event-reference/automation#automationclientendpath) (~1), `facebook.addProfilesToCustomAudience` (~1).
## Read more
---
- [Predictions](/docs/ai-hub/predictions)
- [Segmentation](/docs/analytics/segmentations)
- [Add Profiles to Custom Audience node](/docs/automation/integration/facebook/send-custom-audience)
# Promote Complementary Products in Search Using Contextual Rules
AI Search allows you to improve the search experience of your users by customizing search results to individual requirements by setting rules. The possibilities are endless.
Define a rule condition and consequence which tailors results based on the context of the search, so customers can find the products they're looking for easier and faster than ever before.
This use case describes the process of creating a rule in AI search which promotes mobile chargers when a customer searches for `charger` from a mobile device.
## Prerequisites
- An item feed must be provided.
- Enable [the search engine](/docs/ai-hub/ai-search/introduction-to-ai-search) for your workspace and create an [index](/docs/ai-hub/ai-search/create-index).
- [Implement AI search](https://hub.synerise.com/api-reference/ai-search#operation/profileLogin) in any of your channels (mobile app, website etc.).
- Implement the context parameter with value mobile to search request. It should be added when your customer enters the query on the mobile device.
## Create rules
---
1. Go to **AI Hub > Indexes**.
2. Select an index from the list.
3. Go to the **Rules** section.
4. On the right side of the screen, click **Add rule**.
5. Enter the name of the rule.
6. To adjust the query conditions, in the **Conditions** section, click **Define**.
1. On the **Query** tab, to define the method of checking the query, choose the **is** condition.
The **is** condition means the rule works only if a customer searches exactly for the phrase defined in the rule.
2. In the text field, enter: `charger`
3. In the **Context (optional)** field, enter: `mobile`.
This means that the rule only works when the search request has the `context = mobile` parameter.
Example of query conditions
1. Confirm the settings by clicking the **Apply** button.
7. To define how the search engine reacts to the defined conditions, in the **Consequences** section, click **Define**.
1. Click **Add consequence**.
2. From the dropdown list, select the **Filter query results** consequence.
3. Click **Add filter**.
4. Select attribute that corresponds to **product type**.
5. In the field next to the attribute name, enter the value that denotes mobile phone chargers or select it from the dropdown list.
Please note that the attribute name and its value depends on the rules used in the implementation process.
8. Toggle the **Mark as elastic** switch on.
9. Confirm by clicking **Apply**.
10. To save and enable the query rule, click **Publish**.
Search context promotion settings
## Check the use case set up on the Synerise Demo workspace
---
You can check the [rule configuration](https://app.synerise.com/ai-v2/search/indices/1c7fac97ddd2c12b7cf1e71d7b4489261657270872/query-rules/14432) directly in Synerise Demo workspace.
If you’re our partner or client, you already have automatic access to the **Synerise Demo workspace (1590)**, where you can explore all the configured elements of this use case and copy them to your workspace.
If you’re not a partner or client yet, we encourage you to fill out the contact [form](https://demo.synerise.com/request) to schedule a meeting with our representatives. They’ll be happy to show you how our demo works and discuss how you can apply this use case in your business.
## Generated events
This use case generates approximately 2 events per profile that completes the flow:
[`item.search`](/docs/assets/events/event-reference/search#itemsearch) (~1), [`item.search.click`](/docs/assets/events/event-reference/search#itemsearchclick) (~1).
## Read more
---
- [Configuring AI Search](/docs/ai-hub/ai-search/introduction-to-ai-search#configuring-ai-search)
- [Creating rules in AI Search](/docs/ai-hub/ai-search/query-rules)
# Calculating Customer Age from Birthdate Attribute
The Customer Age Calculation offers businesses a robust solution to automatically calculate their customers' age based on the birthdate attribute.
This approach has several noteworthy benefits for businesses:
- Improved Customer Insights: Access to age demographics enables more informed decision-making, enhancing the effectiveness of marketing initiatives and customer engagement strategies.
- Personalized Customer Experiences: Armed with accurate age data, businesses can provide tailored interactions and experiences, such as age-specific discounts, content recommendations, and product suggestions.
- Compliance and Age Verification: In industries governed by age-related regulations, such as age-restricted products or services, this use case serves as a robust tool for age verification, ensuring compliance and safeguarding against unauthorized access.
In this use case, you will verify the presence of the birthdate attribute within a customer's profile. Upon confirmation, the use case proceeds with a series of precise calculations. In summary, this process simplifies age calculations, it will enrich customer understanding, enable personalized interactions, and contribute to more effective marketing campaigns and age-related compliance. What's more, this calculation also takes leap years into account.
## Prerequisites
---
- Implement [tracking code](/developers/web/installation-and-configuration#creating-a-tracking-code) on your website.
- Import of customer base with birthdate attribute.
To collect birthdates from customers already in the database without this attribute, consider using targeted email campaigns with incentives, implementing loyalty programs that require birthdate information, engaging customers on social media with contests, and training customer support to politely request this missing data during interactions, emphasizing the benefits of sharing it. These methods will enhance your customer relationships and enable tailored marketing strategies.
## Process
---
In this use case, you will go through the following steps:
2. [Create an expression](#create-an-expression).
2. [Create a segmentation](#create-a-segmentation).
## Create an expression
---
Create an expression that will calculate age of a customer based on the birthdate attribute.
1. Go to **Behavioral Data Hub > Expressions > New expression**.
2. Enter the name of the expression.
2. As a type of expression, select **Attribute**.
3. Click the **Select** button and select **Function**.
4. From the dropdown list, select **To date**.
5. Click the **Select** button.
6. From the dropdown list, select **Profile**.
6. Click **Unnamed** to display the settings.
7. Choose the **birthdate** attribute.
6. Save the expression.
Expression with age calculation
## Create a segmentation
Create a segmentation that groups profiles whose birthday falls on the current date. In the settings of the segmentation, you will use the expression you created in the [previous step](#create-an-expression).
1. Go to **Decision Hub > Segmentation > New Segmentation**.
2. Enter the name of segmentation.
3. From the list, select an expression created in the [previous step](#create-an-expression).
7. Choose the **Matches current day** operator.
7. From the **Add condition** dropdown list, select again the expression created in the [previous step](#create-an-expression).
7. Choose the **Matches current month** operator.
9. Click **Save**.
Segment configuration
## Check the use case set up on the Synerise Demo workspace
---
Check the prepared [expression](https://app.synerise.com/analytics/expressions/61824dcd-6689-490b-838d-d31c0998be0c) and [segmentation](https://app.synerise.com/analytics-v2/segmentations/cdb3467d-a292-4916-b075-0e14a63ec2f2) directly in the Synerise Demo workspace.
If you’re our partner or client, you already have automatic access to the **Synerise Demo workspace (1590)**, where you can explore all the configured elements of this use case and copy them to your workspace.
If you’re not a partner or client yet, we encourage you to fill out the contact [form](https://demo.synerise.com/request) to schedule a meeting with our representatives. They’ll be happy to show you how our demo works and discuss how you can apply this use case in your business.
## Generated events
This use case does not generate any events.
## Read more
---
- [Expressions](/docs/crm/expressions)
- [Functions in expressions](/docs/crm/expressions/functions-in-expressions)
- [Birthday-related use cases](/use-cases/?query=birthday&ordering=DESC&sortBy=publishDate)
# Integration with Storyly
The user engagement platform [Storyly](https://www.storyly.io/) allows to embed full-screen, interactive stories, in both mobile applications and websites. With those stories you can post interactive ads and engaging videos with call to action. You can include GIFs, use ready made templates or create your own without the use of code. To improve your communication and drive conversion you can use customer data collected in Synerise to personalize the stories.
In this use case, we will enrich stories with information about customer's favourite day for shopping, to show them personalized stories in the mobile app. This information will be extracted using an expression and passed to the mobile application in a document.
## Prerequisites
---
- [Implement Synerise SDK in your mobile app](/developers/mobile-sdk).
- Implement transaction events using [SDK](/developers/web/transactions-sdk) or [API](https://hub.synerise.com/api-reference/data-management#operation/CreateATransaction).
- [Implement Storyly SDK in your mobile app](https://integration.storyly.io/getting-started/what-is-storyly.html).
## Process
---
In this use case, you will go through the following steps:
1. [Create an event expression](#create-an-event-expression).
2. [Create an aggregate](#create-an-aggregate).
3. [Create an expression](#create-an-expression).
2. [Create a document](#create-a-document) with expression inserts.
## Create an event expression
---
In this part of the process, create an expression that extracts the number of the week day out of a timestamp of the `transaction.charge` event. The result of this expression will be a number from 1 to 7 (1 is Monday, 7 is Sunday).
1. In Synerise, go to **Behavioral Data Hub > Expressions> New expression**.
2. Enter the name of the expression.
3. From the **Expressions for** dropdown list, select **Event**.
4. From the dropdown list, select `transaction.charge` event.
5. In the **Formula definition** section of the page, click **Select**.
Result: A dropdown list appears.
6. From the list that opens, select **Function > Day of week**.
7. In the brackets, click the left **Select** button and from the list, select **Event attribute**.
8. Click **Unnamed** in the brackets, to display the settings of the event attribute.
9. From the **Choose parameter** dropdown list, select `TIMESTAMP`.
10. Save the expression.
Expression configuration
## Create an aggregate
---
In this step, create an aggregate that returns the day of the week in which a customer makes transactions most frequently - it is the day of the week on which the customer is most likely to make a purchase.
1. Go to **Behavioral Data Hub > Live Aggregates > Create aggregate**.
2. As the aggregate type, select **Profile**.
2. Enter the name of the aggregate.
3. Click **Analyze profiles by** and select **Top**.
4. From the **Choose event** dropdown list, select the `transaction.charge `event.
5. From the **Choose parameter** dropdown list, select the [expression created in the previous step](#create-an-event-expression).
6. In the calendar in the right bottom of the page:
1. In the **Relative date range** section, click **Custom**, type 365 and from the the dropdown list, select **Days**.
2. Click **Apply**.
7. Save the aggregate.
Aggregate configuration
## Create an expression
---
In this part of the process, you will create an expression that will return the value of the [aggregate made in the previous step](#create-an-aggregate). This expression will later be placed in the document retrieved by the application.
1. In Synerise, go to **Behavioral Data Hub > Expressions> New expression**.
2. Enter the name of the expression.
3. Leave the **Expression for** option at default (**Attribute**).
4. In the **Formula definition** section of the page, click **Select**.
Result: A dropdown list appears.
5. From the list that opens, select **Profile**.
6. Click **Unnamed** to display the settings of the profile attribute.
7. From the **Choose parameter** dropdown list, select the [aggregate created in the previous step](#create-an-aggregate).
8. Save the expression.
Expression configuration
## Create a document
---
As the final part of the process, create a document with parameters that will be passed to Storyly. The document contains a Jinjava insert with expression value for individual customer.
1. Go to **Data Modeling Hub > Documents > Add document**.
2. Enter the name for your document. Automatically, the field with a slug is filled as well. A slug is an ID of the document.
3. To select the type of schema, in the **Type** section, unfold the dropdown list. A schema defines the method of validating the data included in the document. To create a schema type, please refer to the [API reference pages](https://hub.synerise.com/api-reference/asset-management#operation/addSchemaType).
4. Optionally, in the **Description** field, you can add a description of the document.
5. In the **Content (JSON)** section, paste the JSON code:
{
   "storyly_fav_day": "{% expression %} insert the ID of the expression {% endexpression %}"
   }
6. Click **Apply** to save the document.
Document configuration
7. Click the icon and from the dropdown list select **Versions**.
8. In order to publish a document, next to the version, click the **Publish** button.
## What's next
---
Once the document is created, the mobile app retrieves it using get document method:
- [iOS](/developers/mobile-sdk/method-reference/ios/content#generate-document)
- [Android](/developers/mobile-sdk/method-reference/android/content#generate-document)
- [React Native](/developers/mobile-sdk/method-reference/react-native/content#generate-document).
Then, the document content will be passed as the value of the variables defined in Storyly when executing the Storyly SDK methods for displaying stories:
- [method for iOS](https://integration.storyly.io/ios/personalized-userproperties.html)
- [method for Android](https://integration.storyly.io/android/personalization-userproperties.html).
This way the customer will see personalized stories in the mobile app.
We also encourage you to enrich your integration with events sent to Synerise, for example, when user views or responds to a story. This way you can build different analyses or use this information in other customer communications. Find out which [events](https://integration.storyly.io/android/sending-events.html) you can send from Storyly to Synerise, and [how to send them](/developers/mobile-sdk/event-tracking#declarative-tracking).
## Check the use case set up on the Synerise Demo workspace
---
You can check the configuration of this integration directly in Synerise Demo workspace:
- [Expression that returns the day of week a transaction was made](https://app.synerise.com/analytics/expressions/282ac206-ebbb-4fc0-9cbb-48be59b4d2ed).
- [Aggregate](https://app.synerise.com/analytics/aggregates/070e06fc-3416-3ff5-a3a1-86489f1ce956).
- [Expression that returns the number of the week day of the `transaction.charge` event for specific customer](https://app.synerise.com/analytics/expressions/f01a7761-2d63-4229-b315-e0cd7c0d273e).
If you’re our partner or client, you already have automatic access to the **Synerise Demo workspace (1590)**, where you can explore all the configured elements of this use case and copy them to your workspace.
If you’re not a partner or client yet, we encourage you to fill out the contact [form](https://demo.synerise.com/request) to schedule a meeting with our representatives. They’ll be happy to show you how our demo works and discuss how you can apply this use case in your business.
## Generated events
This use case does not generate any events.
## Read more
---
- [Aggregates](/docs/crm/aggregates)
- [Documents](/docs/assets/documents/introduction-to-documents)
- [Expressions](/docs/crm/expressions)
- [Jijava inserts](/developers/inserts)
- List of pre-defined events in Storyly’s SDK:
- [iOS](https://integration.storyly.io/ios/storyly-events.html)
- [Android](https://integration.storyly.io/android/storyly-events.html)
# Personalization of the main banner on the homepage
Customers are looking for personalized experiences that make their shopping journey more enjoyable. To extend the solutions you have already implemented on your site, you can combine several features to deliver greater value to the customer. You might consider creating a personalized banner on the homepage with product recommendations from a specific category and subcategories presented in a customized form. For example, you can display the product from a specific category with a personalized background matching the featured category and subcategories presented in the form of linked tiles.
This use case describes the process of creating a personalized banner on the main page using section and attribute recommendations.
## Prerequisites
---
- Implement [Synerise tracking code](/developers/web/installation-and-configuration#creating-a-tracking-code) on your website.
- Create an [item catalog](/docs/ai-hub/recommendations-v2/item-feed-requirements).
- You must [configure the AI engine](/docs/settings/configuration/ai-engine-configuration/engine-configuration-for-recommendations):
- Enable the Section page model.
- In the **Attributes for distinct filters** section, you must select the attributes which will be available for use in the **Item attribute** field when [creating a section page recommendation](/docs/ai-hub/recommendations-v2/creating-section-recommendations#configure-item-settings). In the **Item attribute** field you will choose the item feature (for example, brand) based on which the items will be selected for a slot in the recommendation. If this step is skipped, the field will remain empty, making it impossible to complete the recommendation.
- Create [Metadata catalogs](/docs/ai-hub/item-feed/metadata-catalog) that include additional information about section attributes.
For example, suppose your section attribute is a category. In that case, such a metacatalog must include additional category information, such as an image or link to the category and other custom information to help you represent the category.
Click to see a sample metacatalog
Example of a metacatalog
## Process
---
In this use case, you will go through the following steps:
1. [Create section recommendation](/use-cases/banner-personalization-on-homepage#create-section-recommendation).
2. [Create attribute recommendation](/use-cases/banner-personalization-on-homepage#create-attribute-recommendation).
## Create section recommendation
---
Create a section recommendation to display a slot with personalized item recommendations based on item categories.
1. Go to **AI Hub > (AI Recommendations) Models > Add recommendation**.
2. Enter the name of the recommendation.
3. In the **Type & Items feed** section, click **Define**.
4. From the **Items feed** dropdown list, select an item feed.
5. Below, select the **Section page** recommendation type.
6. From the **Metadata catalog** dropdown, select the catalog that includes additional information about items in your feed.
7. Confirm the settings by clicking **Apply**.
8. In the **Items** section, click **Define**.
9. Click **Add slot**.
10. In the **Number of sections** field, enter the number of rows you want to dedicate to display recommendations.
In this case, enter `1` to create only one raw.
11. In the **Number of items in a section**, enter the maximum number of items to be displayed in one section.
In this case, enter `1` to display only one item in the section.
12. From the **Item attribute** dropdown, choose the attribute of the item based on which the item will be selected to the section.
13. Optionally, define **Static filters** and **Elastic filters**.
14. Save the changes by clicking **Apply**.
15. Optionally, define the **Boosting** factors.
16. Configure the **Additional settings** section.
17. Save the recommendation.
## Create attribute recommendation
---
Create an attribute recommendation to recommend an item attribute without showing the item in the recommendation frame. In this case, you will return the linked product subcategory titles based on the category returned in the [first recommendation](/use-cases/banner-personalization-on-homepage#create-section-recommendation).
1. Go to **AI Hub > (AI Recommendations) Models > Add recommendation**.
2. Enter the name of the recommendation.
3. In the **Type & Items feed** section, click **Define**.
4. From the **Items feed** dropdown list, select an item feed.
5. Below, select the **Attribute** recommendation type.
6. From the **Metadata catalog** dropdown, select the catalog that include additional information about items in your feed.
7. In the **Items** section, click **Define**.
9. Click **Add slot**.
10. In the **Number of items**, enter the minimum and maximum number of items to be displayed in a recommendation frame.
In this case, enter `1` in **Minimum number of items** and `3` in **Maximum number of items**.
11. From the **Item attribute** dropdown, choose the attribute that will represent an item in the recommendation frame.
12. Save the changes by clicking **Apply**.
13. Optionally, define the **Boosting** factors.
14. Configure the **Additional settings** section.
15. Save the recommendation.
## What's next
---
You can display the recommndation to customer for example by using the [recommendation insert](/developers/inserts/recommendations-v2) in [dynamic content](/docs/campaign/dynamiccontent/creating-dynamic-content).
## Check the use case set up on the Synerise Demo workspace
You can also check the [section recommendation](https://app.synerise.com/ai-v2/recommendations/YgSVYsukXhBb) and [attribute recommendation](https://app.synerise.com/ai-v2/recommendations/9Y2tPsBpccw8) directly in Synerise Demo workspace
If you’re our partner or client, you already have automatic access to the **Synerise Demo workspace (1590)**, where you can explore all the configured elements of this use case and copy them to your workspace.
If you’re not a partner or client yet, we encourage you to fill out the contact [form](https://demo.synerise.com/request) to schedule a meeting with our representatives. They’ll be happy to show you how our demo works and discuss how you can apply this use case in your business.
## Generated events
This use case generates approximately 6 events per profile that completes the flow:
[`dynamicContent.show`](/docs/assets/events/event-reference/dynamic-content#dynamiccontentshow) (~1), [`recommendation.generated`](/docs/assets/events/event-reference/recommendations#recommendationgenerated) (~2), [`recommendation.view`](/docs/assets/events/event-reference/recommendations#recommendationview) (~2), [`recommendation.click`](/docs/assets/events/event-reference/recommendations#recommendationclick) (~1).
## Read more
---
- [Creating catalogs](/docs/assets/catalogs/creating-catalogs)
- [Dynamic content](/docs/campaign/dynamiccontent/creating-dynamic-content/?helpCenterAi=dynamic)
- [Recommendations](/docs/ai-hub/recommendations-v2/creating-recommendation-campaign)
# Notify Customers About Order Delays with Automated Emails
You can use Synerise to inform customers that their order will be delayed, instead of calling them or waiting until they call and ask about the products they orderd.
This use case provides the instructions on the basic implementation of this use case, that is sending an email with information about the delay in delivery of the order.
## Prerequisites
---
- Integrate with Synerise JS SDK.
- Configure [a sender account](/docs/campaign/e-mail/configuring-email-account).
## Process
---
In this use case, you will go through the following steps:
1. [Implement a custom event](/use-cases/automatic-notification-about-delay#implement-a-custom-event).
2. [Prepare an email template](/use-cases/automatic-notification-about-delay#prepare-an-email-template).
3. [Create a workflow](/use-cases/automatic-notification-about-delay#create-a-workflow).
## Implement a custom event
---
As the first part of the process, send through API a custom event (for a test user with a test order ID) to Synerise, that signifies the delay of the order delivery. Use [this method](https://hub.synerise.com/api-reference/data-management#operation/CustomEvent).
You will need this event in the [further part of the process](/use-cases/automatic-notification-about-delay#create-a-workflow) to select it as a trigger of the workflow.
- If you have more than one reason for the order delay, insert them in the parameter. This way, you can prepare an email template for every reason and prepare a workflow that is reason-dependant.
- In the event information, add the ID of the order. This way, you can later use it as an [insert](/developers/inserts) in the email template.
Example of an event:
## Prepare an email template
---
In this part of the process, prepare an email template that includes the information about the order ID.
If you have more than one reason for the order delay, prepare template for each reason of delay. Later on, you can prepare workflow for every reason.
1. Go to **Experience Hub > Email**.
2. On the left side of the screen, click **Templates**.
3. Select the wizard.
4. In the content of the message add this insert:
{{ event.params.orderId }}
It will be replaced with the actual ID of the order.
When you use the syntax above, the parameters are retrieved from the event that is in the current context. The context is the most recent Trigger or Event Filter node in the workflow. Learn more about [reusing event context from preceding nodes](/developers/inserts/automation#event-parameters)
5. Adjust the design of the template according to your needs.
6. Save the template.
## Create a workflow
---
In this part of the process, prepare a workflow that is triggered by the event that signifies the delay of the delivery. As a result, an email is sent to the customer whose order will be delayed.
If you have more than one reason for the order delay, insert them in the parameter. This way, you can prepare workflows for each reason of the delay.
1. Go to **Automation Hub > Workflows > New workflow**.
2. Enter the name of the workflow.
3. As the first node of the workflow, add **Profile Event**. In the node settings:
1. Select the event you implemented in the first part of the process.
2. As the parameter, select the parameter that signifies the reason of the delay.
3. As the logical operator, select **Equal**.
4. In the text field that appeared, enter the reason of the delay.
Settings of the Profile Event trigger
5. Confirm by clicking **Apply**.
4. As the next node, add **Send Email**. In the node settings:
1. In the **Sender details** section, select the sender account from which the email will be sent. Confirm the changes by clicking **Apply**.
2. In the **Content** section, enter the subject of the email (it will display in the recipient's inbox).
In the email subject, you can also put the order number by using an insert, for example `Order information no {{event.params.orderId}}`.
3. Select the template you created in [Prepare an email template](/use-cases/automatic-notification-about-delay#prepare-an-email-template) step.
4. Confirm the settings of the **Content** section by clicking **Apply**.
5. In the **UTM & URL parameters** section, click **Change**.
6. Enter the parameters.
7. Confirm the settings in the **UTM & URL parameters** section by clicking **Apply**.
6. Confirm the settings of the **Send Email** node by clicking **Apply** on the bottom of the pop-up.
5. As the last node, add **End**.
6. Click **Save & Run**.
Final configuration of the workflow
## Check the use case set up on the Synerise Demo workspace
---
You can check the [workflow](https://app.synerise.com/automations/automation-diagram/8faf5493-7126-4763-b2c8-1b0ac644941d) created in this use case.
If you’re our partner or client, you already have automatic access to the **Synerise Demo workspace (1590)**, where you can explore all the configured elements of this use case and copy them to your workspace.
If you’re not a partner or client yet, we encourage you to fill out the contact [form](https://demo.synerise.com/request) to schedule a meeting with our representatives. They’ll be happy to show you how our demo works and discuss how you can apply this use case in your business.
## What's next
---
As an extra step, you can send a discount coupon after a delayed shipment. If the ordered goods cannot be delivered on time for logistical reasons, you can inform customers ahead of time and offer a discount coupon to be applied in future purchases, boosting the loyalty of your customers.
## Generated events
This use case generates approximately 7 events per profile that completes the flow:
`order.delayed` (~1), [`automation.clientStartPath`](/docs/assets/events/event-reference/automation#automationclientstartpath) (~1), [`automation.clientPathStep`](/docs/assets/events/event-reference/automation#automationclientpathstep) (~1), [`automation.clientEndPath`](/docs/assets/events/event-reference/automation#automationclientendpath) (~1), [`message.send`](/docs/assets/events/event-reference/email#messagesend) (~1), [`newsletter.open`](/docs/assets/events/event-reference/email#newsletteropen) (~1), [`newsletter.click`](/docs/assets/events/event-reference/email#newsletterclick) (~1).
## Read more
---
- [Automation Hub](/docs/automation)
- [Automation Jinjava inserts](/developers/inserts/automation)
- [Creating custom events](https://hub.synerise.com/api-reference/data-management#operation/CustomEvent)
- [Email templates](/docs/campaign/e-mail/creating-email-templates)
# Recommend Top-Rated Products on Category Pages Based on Customer Reviews
Customer reviews play a great role in the customer journey. You can use them for your advantage with recommendations. If properly used, they can significantly increase the conversion rate and revenue. This is because customers are more likely to use the services of a company which presents an offer that best suits their needs and preferences, and they pay as much attention to good online reviews.
## Prerequisites
---
- [Import your item feed to AI engine](/docs/ai-hub/recommendations-v2/item-feed-requirements). In the item feed you need to provide a custom attribute storing the average rating of an item.
- Implement [Synerise tracking code](/developers/web/installation-and-configuration#creating-a-tracking-code) on your website.
- Implement [OG Tags](/developers/web/og-tags) on your website.
- Enable the personalized recommendation type in [AI Engine Configuration](/docs/settings/configuration/ai-engine-configuration/engine-configuration-for-recommendations).
## Create a recommendation
---
1. Go to **AI Hub > (AI Recommendations) Models > Add recommendation**.
3. In the top left corner, enter the name of your recommendation.
4. In the **Type & Items feed** section, click **Define**.
5. From the **Items feed** dropdown menu, choose the provided feed.
6. Choose the **Top items** recommendation type.
8. Click **Apply**.
9. In the **Items** section, click **Define**.
10. Click **Add slot**.
11. Define the minimum and maximum number of brands that will be recommended to the user.
In our example, it is from 10 (minimum) to 15 (maximum).
12. Click **Static filter**.
Learn about the differences between [elastic, static filters](/docs/ai-hub/recommendations-v2/creating-recommendation-campaign#select-conditions-of-displaying-items), and [distinct filters](/docs/ai-hub/recommendations-v2/creating-recommendation-campaign#distinct-filter).
13. From the dropdown list, choose **Visual Builder**.
14. Click **Select attribute**.
15. From the dropdown list, choose an attribute that contains average item rating.
16. Click **Operator**.
17. From the dropdown list, choose **More than**.
18. In the text input enter the value. In our case, it is `4` (items whose minimum average rating is 4).
19. On the bottom of the elastic filter pop-up, click **Apply**.
20. Click **Apply**.
21. In **Boosting** section, you can enable [boosting](/docs/ai-hub/recommendations-v2/creating-recommendation-campaign#define-the-boosting-factors).
22. In **Additional settings**, optionally you can exclude already bought products and set a metric to sort by.
23. Save the recommendation by clicking **Save**.
## What's next
---
You can display the recommendation on a category page by using [dynamic content](/docs/campaign/dynamiccontent).
1. Go to **Experience Hub > Dynamic content > New dynamic content**.
2. In the body of the dynamic content, use the [recommendation insert](/developers/inserts/recommendations-v2).
Optionally, you can apply an [additional filter](/developers/inserts/recommendations-v2#open-graph-meta-tags-in-filters) to the insert in order to always display products that are from the same category as your customer currently browses.
3. Add CSS and/or HTML to the dynamic content.
4. [Define the rest of the settings](/docs/campaign/dynamiccontent/creating-dynamic-content).
## Check the use case set up on the Synerise Demo workspace
---
You can also check the [AI recommendation configuration](https://app.synerise.com/ai-v2/recommendations/dGZaKdmzVads) directly in Synerise Demo workspace.
If you’re our partner or client, you already have automatic access to the **Synerise Demo workspace (1590)**, where you can explore all the configured elements of this use case and copy them to your workspace.
If you’re not a partner or client yet, we encourage you to fill out the contact [form](https://demo.synerise.com/request) to schedule a meeting with our representatives. They’ll be happy to show you how our demo works and discuss how you can apply this use case in your business.
## Generated events
This use case generates approximately 5 events per profile that completes the flow:
[`dynamicContent.show`](/docs/assets/events/event-reference/dynamic-content#dynamiccontentshow) (~1), [`dynamicContent.click`](/docs/assets/events/event-reference/dynamic-content#dynamiccontentclick) (~1), [`recommendation.generated`](/docs/assets/events/event-reference/recommendations#recommendationgenerated) (~1), [`recommendation.view`](/docs/assets/events/event-reference/recommendations#recommendationview) (~1), [`recommendation.click`](/docs/assets/events/event-reference/recommendations#recommendationclick) (~1).
## Read more
---
- [Dynamic content](/docs/campaign/dynamiccontent)
- [Dynamic content inserts](/developers/inserts/dynamic-content)
- [Recommendation campaigns](/docs/ai-hub/recommendations-v2/creating-recommendation-campaign)
# Send mobile push notifications with birthday promotion
A truly personalized and targeted marketing campaign can significantly improve your customers' experience. This approach has the potential to lead to more satisfied customers, greater revenue, and greater customer loyalty to your business.
Customers may feel happy if you offer them a birthday discount to celebrate their big day. In this use case, you will learn how to prepare a mobile push campaign with a discount on products from specific categories for customers who have a birthday on the current day. The promotion will be available for 14 days after the birthday.
## Prerequisites
---
- Implement promotions in your [mobile application](/developers/mobile-sdk/loyalty), [API](https://hub.synerise.com/api-reference/loyalty-and-engagement#operation/profileLogin).
- Implement mobile pushes in your mobile application: [iOS](/developers/mobile-sdk/configuring-push-notifications/ios), [Android](/developers/mobile-sdk/configuring-push-notifications/android).
- [Import your product feed to catalogs](/use-cases/import-product-feed-to-catalog).
- Collect data about customers' birthdays in their profiles.
- If you want to limit the promotion to only some of your stores, add the list of stores to a catalog. Such a catalog must contain a unique store ID and any other store attributes by which you will filter stores, such as city, zip code, etc. More information about catalogs can be found [here](/docs/assets/catalogs).
## Security configuration
---
Before you start working with this hub, if you are a Synerise customer or partner, consider reading [the section about denylisting events](/docs/settings/tool/api#denylist). This natively accessible configuration will allow you to manage the restrictions in points management that may help you prevent fraud.
## Process
---
1. Create segmentation:
1. [A segmentation of customers whose birthday is on the current day](/use-cases/mobile-push-birthday-promotion#create-a-segmentation-of-customers-whose-birthday-is-on-the-current-day) - needed to send the push notification.
2. [A segmentation of customers whose birthday was in the last 14 days](/use-cases/mobile-push-birthday-promotion#create-a-segmentation-for-customers-whose-birthday-was-in-the-last-14-days) - needed to keep the promotion active for 14 days after the birthday.
2. [Create a promotion](/use-cases/mobile-push-birthday-promotion#create-a-promotion) for customers who have celebrated their birthday within the last 14 days on products in specific categories.
3. [Prepare a mobile push notification](/use-cases/mobile-push-birthday-promotion#prepare-a-mobile-push-notification).
4. [Create a workflow](/use-cases/mobile-push-birthday-promotion#create-a-workflow) to send the mobile push. The workflow runs once a day.
## Prepare segmentations
---
### Create a segmentation of customers whose birthday is on the current day
1. Go to **Decision Hub > Segmentations > New segmentation**.
2. Enter the name of segmentation.
3. From the **Choose filter** dropdown list, select the birthday attribute.
4. In the operator selection menu that opens:
1. Click the calendar icon.
2. Click **Current date**.
3. Click **Matches current day**.
5. From the **Choose filter** dropdown list, select the birthday attribute.
6. In the operator selection menu that opens:
1. Click the calendar icon.
2. Click **Current date**.
3. Click **Matches current month**.
7. Click **Save**.
Segment of customers who have a birthday on the current day
### Create a segmentation for customers whose birthday was in the last 14 days
This segment identifies customers who have received a mobile notification about the birthday promotion within the last 14 days.
1. Go to **Decision Hub > Segmentations > New segmentation**.
2. Enter the name of segmentation.
3. From the **Choose filter** dropdown list, select the **Mobile push sent** event.
4. Add the **campaignName** parameter.
5. As the logical operator, select **Equal**.
6. In the blank field enter the campaign name.
You must use the same name later, when creating the mobile push template.
7. In the time range settings:
1. Click **Custom**.
2. Set the range to last 14 days.
8. Add additional filters identical to the ones in the previous segmentation. The operator between the funnel filter and the first contact filter must be `OR`.
This is to ensure that customers who immediately respond to the push will have the promotion active in case of a delay in processing the "push received" event.
Segment of customers who have received a mobile notification of a birthday promotion within the last 14 days.
## Create a promotion
---
Create a promotion for customers whose birthday was within the last 14 days (including the current day) on products from the following categories: sweets, cosmetics, and coffee.
1. Go to **AI Hub > Regular Promotions > Add promotion**.
2. Select the **For selected items** option.
3. In the **Audience** section, select the segment created in [this step](/use-cases/mobile-push-birthday-promotion#create-a-segmentation-for-customers-whose-birthday-was-in-the-last-14-days).
4. In the **Content** section,:
1. Define the name, description, and image of the promotion..
2. In the price field, enter `0`.
3. Confirm the settings by clicking **Apply**.
Example of birthday promotion content
5. In **Type & limits**, define the settings so that the promotion is available for use for up to 6 products in the cart, while giving a 20% discount on products defined in the "items" section.
1. As the **Discount type**, choose **Percentage**.
2. In the **Limit per profile**, as the maximum value, enter `6`.
3. In the **Value** section, define the discount as `20%`.
6. In the **Schedule** section, define the distribution period of your promotion.
7. **Optional** In the **Stores** section, specify stores where the promotion is available.
This is possible only if the list of stores is imported into a [catalog](/docs/assets/catalogs).
8. In the **Items** section, define a product catalog and a filter - specifying the products that will be discounted.
Example of a catalog filter with products from specific categories
You can define the filter directly in the catalog with the products for which the promotion is created. To do this, go to **Catalogs** located in **Data Modeling Hub**, select the catalog you need and define a filter for the products in the categories that are included in the promotion.
Catalog filter
10. To apply all changes and run the promotion, clich **Publish**.
## Prepare a mobile push notification
---
1. Go to **Experience Hub > Mobile > Templates**.
2. Create your mobile push in the code editor.
For more information on creating a simple mobile push, visit our [User Guide](/docs/campaign/Mobile/creating-mobile-push).
The campaign name in the template must be the same as the one you used in the filter when [creating the segmentation](/use-cases/mobile-push-birthday-promotion#create-a-segmentation-for-customers-whose-birthday-was-in-the-last-14-days) earlier!
Example of mobile push notification
## Create a workflow
---
In this part of the process, prepare a workflow that notifies customers who celebrate their birthday today of their birthday promotion.
1. Go to **Automation Hub > Workflows > New workflow**.
2. Enter the name of the workflow.
3. As the first node of the workflow, add **Audience**. In the node settings:
1. As the **Run trigger** option, select **repeatable**.
2. Set the interval to 1 day.
3. In the **Begin at** field, select the date.
4. From the **Timezone** dropdown list, select the time zone consistent with the time zone of your workspace.
5. In the **Define audience** section, click **Segments**.
6. Click **Select segment**.
7. Select the segment of [customers whose birthday is on the current day](/use-cases/mobile-push-birthday-promotion#create-a-segmentation-of-customers-whose-birthday-is-on-the-current-day).
8. Confirm by clicking **Apply**.
4. As the next node, add **Send Mobile Push**.
5. In the configuration of the **Send Mobile Push** node:
1. Define the **Template type**.
2. Select the **Push template** created in [this part](/use-cases/mobile-push-birthday-promotion#prepare-a-mobile-push-notification) of the process.
6. Confirm by clicking **Apply**.
7. Add the **End** node to finish the workflow.
8. Click **Save & Run**.
Final configuration of a workflow that sends a mobile push to customers whose birthday is on the current day
## Check the use case set up on the Synerise Demo workspace
---
You can check the configuration of the segmentations directly in Synerise demo workspace:
- [a segmentation of customers whose birthday is on the current day](https://app.synerise.com/analytics/segmentations/eb0dc5de-da7b-420e-a20a-3f96e57546ff),
- [a segmentation of customers whose birthday was in the last 14 days](https://app.synerise.com/analytics/segmentations/5c1343d0-c156-4f1f-9389-b04b5bf8da24).
Check also the [configuration of the promotion](https://app.synerise.com/campaigns/promotions/42cfd4d0-dea4-43b5-aa19-34440a3ca350) and [workflow](https://app.synerise.com/automations/automation-diagram/aad0b2b5-401c-43f4-8f1a-48c8f2e265af) created for this use case.
If you’re our partner or client, you already have automatic access to the **Synerise Demo workspace (1590)**, where you can explore all the configured elements of this use case and copy them to your workspace.
If you’re not a partner or client yet, we encourage you to fill out the contact [form](https://demo.synerise.com/request) to schedule a meeting with our representatives. They’ll be happy to show you how our demo works and discuss how you can apply this use case in your business.
## Generated events
This use case generates approximately 7 events per profile that completes the flow:
[`automation.clientStartPath`](/docs/assets/events/event-reference/automation#automationclientstartpath) (~1), [`automation.clientPathStep`](/docs/assets/events/event-reference/automation#automationclientpathstep) (~1), [`automation.clientEndPath`](/docs/assets/events/event-reference/automation#automationclientendpath) (~1), [`push.send`](/docs/assets/events/event-reference/mobile-push#pushsend) (~1), [`push.view`](/docs/assets/events/event-reference/mobile-push#pushview) (~1), [`push.click`](/docs/assets/events/event-reference/mobile-push#pushclick) (~1), [`client.activatePromotion`](/docs/assets/events/event-reference/loyalty#clientactivatepromotion) (~1).
## Read more
---
- [Creating promotions](/docs/ai-hub/promotions)
- [Mobile push notifications](/docs/campaign/Mobile)
- [Workflow](/docs/automation/creating-automation)
# Boosting item selection with best fit predictions
Best Fit prediction model returns the best item attribute value for the each customer in the analyzed group. It can be either color, brand, category or any other attribute value you would like to recommend.
In this use case, the goal is to reach customers with a personalized newsletter featuring products from their "Favorite Brand," based on predictions made by Synerise's AI. By leveraging the Best Fit model, products presented in the email campaign can be customized to match the preferences of individual customers and display products from their favorite brand to make it more personalized.
By offering personalized content to each customer, focusing on products from the brand most likely to resonate with their preferences, you can increase engagement and conversion rates.
## Prerequisites
---
- [Create item catalog](/docs/ai-hub/recommendations-v2/item-feed-requirements) that contain `brand` attribute.
- [Enable the best fit predictions](/docs/ai-hub/predictions/enabling-predictions). It usually takes several hours to initialize Predictions and perform necessary calculations.
- The attributes that you want to use for best fit predictions must be configured as [filterable attributes](/docs/settings/configuration/ai-engine-configuration/engine-configuration-for-propensity#selecting-filters).
- Implement transaction events using [SDK](/developers/web/transactions-sdk) or [API](https://hub.synerise.com/api-reference/data-management#operation/CreateATransaction) to track customer transaction-related interactions.
## Process
---
1. [Create a segmentation](/use-cases/bestfit-brand#create-a-segmentation) of people who made minimum 1 purchase during last year to be sure that we generate brand prediction for users based on their previous choices.
1. [Create a best fit prediction](/use-cases/bestfit-brand#create-a-best-fit-prediction) to return the brand which a customer is most likely to purchase from.
3. [Create an aggregate](/use-cases/bestfit-brand#create-an-aggregate) that retrieves the result of the prediction.
4. [Create AI recommendations](/use-cases/bestfit-brand#create-ai-recommendations) with personalized products from specific brand.
2. [Create an email campaign](/use-cases/bestfit-brand#create-an-email-campaign) template with AI recommendations.
## Create a segmentation
---
In this part of the process, we will create a group of customers who have made transaction during last year. This group will be the selected as the subject of prediction analysis in further part of the process.
1. Go to **Decision Hub > Segmentations > New segmentation**.
3. Enter the name of the segmentation.
4. Click **Add condition**.
4. From the dropdown list, select the `product.buy` event.
6. From the **Choose operator** dropdown, choose **Boolean**, and then select **Is true**.
7. Using the date picker in the lower-right corner, set the time range to **Relative time range > Last 365 days**. Confirm by clicking **Apply**.
6. Save the segmentation.
Segmentation configuration
## Create a best fit prediction
---
In this part of the process, you will create a prediction that analyzes the group of customers you created in the previous part of the process. The prediction will predict which brand each customer in your selected group is most likely to buy from. The prediction results will be available on the profile card of each customer from the segmentation in the form of a `snr.bestfit.score` event. The `attribute` parameter will contain the name of the brand.
1. Go to **AI Hub > (AI Predictions) Models > New prediction**.
2. On the pop-up select one **Create from scratch**, and then select **Best Fit**.
### Go to Audience section
---
1. In the **Audience** section, click **Define**.
2. Click **Choose segmentation** and select the [segmentation](/use-cases/bestfit-brand#create-a-segmentation) created in the previous step.
3. Confirm by clicking **Apply**.
**Result**: The result of this prediction will be saved on the activity list on the profile of each customer from the segmentation as the **snr.bestfit.score** event.
Segmentation configuration
### Select items
---
1. In the **Item selection** section, click **Define**.
2. Click **Choose item feed**.
3. From the list of available catalogs, select the item feed which you created as a part of [prerequisites](/use-cases/bestfit-brand#prerequisites).
4. From the **Choose item attribute** dropdown list, select **brand**.
5. Optionally, from the **Define item filter** dropdown list, you can define the filters to include the item or items that you want to include in the analysis.
3. Click **Apply**.
### Launch the Prediction
---
1. If you want to leave the settings as default, the prediction is ready to calculate.
2. If you want to change the settings, in the **Settings** section, click **Change**.
3. To schedule a recurring calculation:
1. Select the **Set up recurring prediction calculation** checkbox.
2. In the input field, enter the number of days between calculations.
4. To change the start date of the prediction, in the **Settings** section, click **Change**.
1. Select the **Scheduled** checkbox.
2. In the **Select start date and time** field, specify the date and time for launching the calculation of the prediction.
5. Click **Apply**.
**Results** will be saved in the form of an event: **snr.bestfit.score.**
## Create an aggregate
---
Create an aggregate which will return the latest value from the `topValue` parameter of the **snr.bestfit.score** event. This aggregate will be referenced in the filters of AI recommendation configuration.
1. Go to **Behavioral Data Hub > Live Aggregates > Create aggregate**.
2. As the aggregate type, select **Profile**.
2. Enter the name of the aggregate.
3. Click **Analyze profiles by** and select **Last**.
5. From the **Choose event** dropdown list, select the **snr.bestfit.score** event.
6. As the event parameter, select **topValue***.
7. Click **+ where** button.
8. From the **Choose parameter** dropdown list, select the **modelID** parameter.
9. From the **Choose operator** dropdown list, select **Equal (string)**.
10. Enter the ID of the created prediction.
You can find the ID in the URL of the Prediction, it is the last string of characters.
11. Set the period from which the aggregate will analyze the results to the last **365 days**.
12. Save the aggregate.
Configuration of the aggregate
## Create AI recommendations
---
In this part of the process, you will create an AI recommendation that will display items from the customer's brand returned in the prediction results.
1. Go to **AI Hub > (AI Recommendations) Models > Add recommendation**.
2. Enter the name of the recommendation (it is only visible on the list of recommendations).
3. In the **Type & Items feed** section, click **Define**.
4. From the **Items feed** dropdown list, select a product feed.
5. Select the **Personalized** recommendation type.
6. Confirm the recommendation type by clicking **Apply**.
6. In the **Items** section, click **Define**.
8. Define the minimum and maximum number of products displayed in the frame according to your needs.
9. Use filters to include specific items in the recommendation frame.
6. Click **Elastic filter**.
Learn about the difference among [elastic, static filters](/docs/ai-hub/recommendations-v2/creating-recommendation-campaign#select-conditions-of-displaying-items), and [distinct filters](/docs/ai-hub/recommendations-v2/creating-recommendation-campaign#distinct-filter).
7. From the dropdown list, choose **Visual Builder**.
7. Click **Select attribute**.
7. From the dropdown list, choose the **brand** attribute.
8. Click **Operator**.
9. From the dropdown menu, choose **Equals**.
10. Click the icon next to **Select value**.
11. Select **Aggregate**
12. Click **Select value**.
11. From the dropdown list, choose the aggregate created in the [previous step](/use-cases/bestfit-brand#create-an-aggregate).
11. At the bottom of the elastic filter pop-up, click **Apply**.
12. In the **Items** section, click **Apply**.
1. In **Boosting**, you can enable [boosting](/docs/ai-hub/recommendations-v2/creating-recommendation-campaign#define-the-boosting-factors).
13. In **Additional settings**, optionally you can exclude already bought products and set a metric to sort by. Remember that you can define the order of slots if you have created more than one.
14. Save the recommendation by clicking **Save**.
## Create an email campaign
---
To distribute the product recommendations based on the results from the best fit prediction, prepare an email template that contains the recommendation you created in the previous part of the process.
1. Go to **Experience Hub > Emails > Templates > Drag&drop builder** or **Code editor** to create an email template..
2. Click **Inserts** in the upper right corner, find **AI Recommendations** on the list of inserts, then choose the recommendation you prepared in the [previous step](/use-cases/bestfit-brand#create-ai-recommendations).
4. Save the template.
Prepare an email template
Use the template in an [email campaign](/docs/campaign/e-mail/creating-email-campaigns) which you can send to the group of customers created [at the beginning of the process](/use-cases/bestfit-brand#create-a-segmentation) to encourage them to make another purchase from their favorite brand.
## Check the use case set up on the Synerise Demo workspace
---
You can also check on our demo account the:
- [segmentation](https://app.synerise.com/analytics-v2/segmentations/c39f2834-3f44-4f1d-96d8-0ed6fb272221),
- [aggregate](https://app.synerise.com/analytics/aggregates/673eb2b8-8869-329c-b6d4-b79e3a0f99bf),
- [prediction](https://app.synerise.com/ai-v2/predictions/best-fit-propensity/orbypencokue),
- [AI recommendations](https://app.synerise.com/ai-v2/recommendations/eb5qO10yrfXe).
If you’re our partner or client, you already have automatic access to the **Synerise Demo workspace (1590)**, where you can explore all the configured elements of this use case and copy them to your workspace.
If you’re not a partner or client yet, we encourage you to fill out the contact [form](https://demo.synerise.com/request) to schedule a meeting with our representatives. They’ll be happy to show you how our demo works and discuss how you can apply this use case in your business.
## Check our latest Case Study
---
Check our [Case Study](https://www.synerise.com/case-study/modivo) with **Modivo** and discover how they leveraged Synerise BaseModel.AI to send personalized mailing with customers's favourite brand.
## Generated events
This use case generates approximately 7 events per profile that completes the flow:
[`snr.bestfit.score`](/docs/assets/events/event-reference/predictions#snrbestfitscore) (~1), [`message.send`](/docs/assets/events/event-reference/email#messagesend) (~1), [`newsletter.open`](/docs/assets/events/event-reference/email#newsletteropen) (~1), [`newsletter.click`](/docs/assets/events/event-reference/email#newsletterclick) (~1), [`recommendation.generated`](/docs/assets/events/event-reference/recommendations#recommendationgenerated) (~1), [`recommendation.view`](/docs/assets/events/event-reference/recommendations#recommendationview) (~1), [`recommendation.click`](/docs/assets/events/event-reference/recommendations#recommendationclick) (~1).
## Read more
---
- [Aggregates](/docs/crm/aggregates)
- [Creating recommendations](/docs/ai-hub/recommendations-v2/creating-recommendation-campaign)
- [Email](/docs/campaign/e-mail)
- [Predictions](/docs/ai-hub/predictions/predictions-introduction)
# Voucher-based referral program
Creating a solid loyalty program is key to building lasting relationships with customers. Among the countless strategies to achieve this, the use of discount codes stands out as a powerful tool. Implementing a referral program based on discount codes opens up many opportunities to attract new users, while encouraging current users to engage more deeply. These codes not only encourage customers to make additional purchases, but also serve as a channel to expand our customer base through word-of-mouth referrals.
What's more, this referral system isn't just advantageous for the invitee; it's a win-win scenario that rewards both the inviter and the invitee when the shopping voucher is utilized.
In this use case, the loyalty program works by giving customers a discount code that they can share with their friends after they've made a purchase. If a friend then uses this code to buy something, the original customer gets a reward, usually in the form of another discount. These discount codes are shared through email. This approach keeps customers engaged and encourages them to spread the word, benefiting both the business and its customers.
## Prerequisites
---
- [Create an email account](/docs/campaign/e-mail/configuring-email-account) which you will use to send emails.
- Implement transaction events using [SDK](/developers/web/transactions-sdk) or [API](https://hub.synerise.com/api-reference/data-management#operation/CreateATransaction). Additionally, implement a custom parameter for the **transaction.charge** event, which will contain the coupon code that was used in the transaction. In our case, we will use the `discountCode` parameter.
- Create two different [voucher pools](/docs/assets/code-pools):
- One pool is for voucher codes that customers can share with their friends.
- The second pool contains rewards for customers after someone they shared a voucher code with makes a purchase using the code from the first pool.
To easily identify discount codes in the next process steps, you can start each voucher with the same set of letters. For example, use prefixes like `SPR`_F45670, `SPR`_J20948.
- Meet [all requirements](https://hub.synerise.com/api-reference/loyalty-and-engagement#operation/RedeemAVoucher) necessary to redeem a voucher
- Make two types of email templates:
- One for customers who have made a purchase and will get a voucher code to share with friends.
- Another for customers whose shared voucher code was used by a friend, so they get a new voucher code for themselves.
We recommend using Jinjava in templates to retrieve the voucher code for the customer. To get the same voucher code, use this Jinjava code:
## Process
---
1. [Create a workflow](/use-cases/voucher-codes-share#create-first-workflow) that sends a discount code to customers who have made a transaction to share the code with another person.
2. [Create a workflow](/use-cases/voucher-codes-share#create-second-workflow) that checks the use of the code by the recipient of the code.
3. [Create a workflow](/use-cases/voucher-codes-share#create-third-workflow) that will reward a customer from the first workflow who gifted someone with the code.
## Create first workflow
---
This workflow is used to send a discount code to customers who have made a transaction to share the code with another person.
1. Go to **Automation Hub > Workflows > New workflow**.
2. Enter the name of the workflow.
### Define the Profile Event trigger node
---
1. As the first node of the workflow, add **Profile Event**. In the node settings:
1. Click **Choose event** and from the dropdown list, select the [`transaction.charge` event](/docs/assets/events/event-reference/items#transactioncharge).
2. Confirm by clicking **Apply**.
Profile Event trigger configuration
### Configure the Send email node
---
In this part of the process, send email communication to customers who have made a transaction. Following the allocation of a voucher to a customer, a [**voucherCode.assigned**](/docs/assets/events/event-reference/loyalty#vouchercodeassigned) event will be recorded in their customer profile.
1. Add the **Send Email** node and open its settings.
2. In the **Sender details** section, choose the email account from which the email is sent.
3. In the **Content** section, select the template that you prepared as a part of the prerequisites.
4. **Optional**: In the **UTM & URL parameters** section, define the UTM parameters added to the links included in the email.
5. **Optional**: In the **Additional parameters** section, assign [additional parameters](/docs/campaign/e-mail/creating-email-campaigns#adding-custom-parameters) to the events generated by interactions with the message.
6. Confirm by clicking **Apply**.
### Configure the Event filter node
---
In this step, we verify if the **voucherCode.assigned** event has been generated for a customer.
1. Add the **Event Filter** node. In the configuration of the node:
1. Enter the title of the node, (for example, we use `voucherCheck`).
1. Check event **for period of time**.
2. Define the time range to **5 Minute**.
3. From the **Choose event** dropdown list, select the **voucherCode.assigned** event.
4. As the event parameter, select **poolName**.
5. From the **Choose operator** dropdown list, select **Equal**.
6. As the value, enter the name of the voucher pool you are referring to.
7. Confirm by clicking **Apply**.
Event filter node configuration
2. For the **not matched** path, select the **End** node.
3. For the matched path, select the **Update profile** node.
### Add the Update Profile node
---
In this step, assign an attribute to customer's profile with the value of the voucher code. In our case, we use **my_refferal_code** attribute.
1. For the **Matched** path, add the **Update Profile** node.
2. Click dropdown list and create **my_refferal_code** attribute.
3. From the next dropdown list, choose **Change** operator.
4. In the **Value** section, insert the following jinjava which will display as the **voucherCode**:
Note that `voucherCheck` is the name of the **Event Filter** trigger added manually.
Update Profile node configuration
3. To save the changes, click **Apply**.
4. Add the **End** node.
Final view of the workflow configuration
## Create second workflow
---
This workflow will be used to redeem discount code.
1. Go to **Automation Hub > Workflows > New workflow**.
2. Enter the name of the workflow.
### Define the Profile Event trigger node
---
1. As the first node of the workflow, add **Profile Event**. In the node settings:
1. Create name for this node, as it will be used later in the workflow.
2. Click **Choose event** and from the dropdown list, select the `transaction.charge` event.
3. Click **+where** and from the dropdown list, select **discountCode** parameter.
4. From the **Choose operator** dropdown list, select **Starts with (String)**.
5. In the **Value** section insert the prefix that is used in all codes from the first voucher pool you created as a part of prerequisites. In our case it's `SPR` prefix.
3. Confirm by clicking **Apply**.
Profile Event trigger configuration
### Configure the Profile filter node
---
This Profile filter creates a security measure so that this code cannot be used by people who received it through the [first workflow](#create-first-workflow).
1. Add the **Profile Filter** node. In the configuration of the node:
1. From the **Choose filter** dropdown list, select the **my_refferal_code** attribute.
2. From the **Choose operator** dropdown list select **Starts with (String)**.
3. In the **Value** section, insert the prefix that is used in all codes from the first voucher pool you created as a part of prerequisites. In our case it's `SPR` prefix.
4. Modify the **Profile matching** attribute to **Profile not matching**.
5. From the **Choose filter** dropdown list, select the **voucherCode.assigned** event.
8. Click **+where** and from the dropdown list, select **poolName** parameter.
9. From the **Choose operator** dropdown list, select **Equal (String))**.
5. In the **Value** section insert the prefix that is used in all codes from the first voucher pool you created as a part of prerequisites. In our case it's `SPR` prefix.
6. Modify the **Profile matching** attribute to **Profile not matching**.
7. Define the time period for which the event will be calculated.
8. Use the **AND** logical operator to connect set rules.
7. Confirm by clicking **Apply**.
Event filter node configuration
2. For the **not matched** path, select the **End** node.
3. For the matched path, select the **Outgoing integration** node.
## Configure the Outgoing Integration node
---
In this step, we will redeem the used coupon during the transaction using [Synerise API reference](https://hub.synerise.com/api-reference/loyalty-and-engagement#operation/RedeemAVoucher).
1. Add **Outgoing Integration** node.
2. In **Definition** section, choose the **Custom** tab.
2. Choose Webhook connection type.
3. Select a connection.
If you haven't created any connection yet, see instructions in ["Set up a connection" section](/docs/automation/actions/webhook-node#set-up-a-connection).
3. In the **Webhook name**, enter your preferred name. The value of this field will be stored as a Name parameter in the response event. It makes it easier to identify the event and is useful for creating analysis. In our use case, we will use the following name `voucherRedeemed`.
4. Define the **Webhook event name**. In our use case, we use the `voucherCode.redeemed` event.
This is the event key. While naming it, follow the pattern used for the default events in the application such as page.visit, product.buy and so on.
5. In the **URL** section, choose the **POST** method.
2. Enter the following URL: `https://api.synerise.com/v4/vouchers/item/redeem`
5. In the **Key** field, enter `Accept` and in the **Value** field, enter `application/json`
6. Click **Add header**.
7. Add **Accept** with `application/json`
7. In the **Key** field, enter `Api-Version` and in the **Value** field, enter `4.4`
4. In the **Body** section, enter the following Jinjava:
Note that `transactionCode` is the name of the **Profile Event** trigger added manually.
In this Jinjava we reference to code that has been used. Because this code was assigned in the first workflow to the user who shares it, the voucherCode.redeemed event (which is the result of using this API request) is assigned to the profile of the person who shares the code. Such configuration is crucial for the [third workflow](#create-third-workflow) which sends out reward discount code which is based on the `voucherCode.redeemed` event.
3. Confirm by clicking **Apply**.
Outgoing integration node configuration
4. Add the finishing **End** node.
Final view of the workflow configuration
## Create third workflow
---
This workflow will send a reward to a customer from the first workflow after the code they shared with someone has been used.
### Define the Profile Event trigger node
---
The worflow is triggered by the `voucherCode.redeemed` event which was generated in the previous workflow.
1. As the first node of the workflow, add **Profile Event**. In the node settings:
1. Click **Choose event** and from the dropdown list, select the `voucherCode.redeemed` event.
2. Click **+ where** and from the dropdown list, select **poolName**.
3. From the **Choose operator** dropdown list select **Equal (String)**.
4. As the value, enter the name of the voucher pool you are referring to.
5. Confirm by clicking **Apply**.
Profile Event trigger configuration
### Configure the Send email node
---
In this part of the process, send email communication to customers who previously shared the code. They'll receive a reward in the form of a voucher code for their own use.
1. Add the **Send Email** node and open its settings.
2. In the **Sender details** section, choose the email account from which the email is sent.
3. In the **Content** section, select the template that you prepared as a part of the prerequisites.
4. **Optional**: In the **UTM & URL parameters** section, define the UTM parameters added to the links included in the email.
5. **Optional**: In the **Additional parameters** section, assign [additional parameters](/docs/campaign/e-mail/creating-email-campaigns#adding-custom-parameters) to the events generated by interactions with the message.
6. Confirm by clicking **Apply**.
4. Add the **End** node.
Final view of the workflow configuration
## Check the use case set up on the Synerise Demo workspace
---
Check all items (metrics and dynamic content) created in this use case in our Synerise Demo workspace:
- [Workflow 1](https://app.synerise.com/automations/automation-diagram/8b5add66-f831-412b-880a-e687a31e651a)
- [Workflow 2](https://app.synerise.com/automations/automation-diagram/b05c6666-cf7d-49c9-aff4-9efe742e1149)
- [Workflow 3](https://app.synerise.com/automations/automation-diagram/52294202-031a-4a19-ae01-86a91ae456bd)
- [Voucher codes for referral](https://app.synerise.com/assets/vouchers/pools/193bf1b4-3e95-4236-9117-35d161ab62cc/coupons)
- [Voucher codes for those who shared the code](https://app.synerise.com/assets/vouchers/pools/3d914818-46e0-42dd-b703-f07736d73c70/coupons)
If you’re our partner or client, you already have automatic access to the **Synerise Demo workspace (1590)**, where you can explore all the configured elements of this use case and copy them to your workspace.
If you’re not a partner or client yet, we encourage you to fill out the contact [form](https://demo.synerise.com/request) to schedule a meeting with our representatives. They’ll be happy to show you how our demo works and discuss how you can apply this use case in your business.
## Generated events
This use case generates approximately 28 events per profile that completes the flow:
[`transaction.charge`](/docs/assets/events/event-reference/items#transactioncharge) (~2), [`product.buy`](/docs/assets/events/event-reference/items#productbuy) (~4), [`automation.clientStartPath`](/docs/assets/events/event-reference/automation#automationclientstartpath) (~3), [`automation.clientPathStep`](/docs/assets/events/event-reference/automation#automationclientpathstep) (~6), [`automation.clientEndPath`](/docs/assets/events/event-reference/automation#automationclientendpath) (~3), [`message.send`](/docs/assets/events/event-reference/email#messagesend) (~2), [`newsletter.open`](/docs/assets/events/event-reference/email#newsletteropen) (~2), [`newsletter.click`](/docs/assets/events/event-reference/email#newsletterclick) (~2), [`voucherCode.assigned`](/docs/assets/events/event-reference/loyalty#vouchercodeassigned) (~2), [`profile.updated`](/docs/assets/events/event-reference/profiles#profileupdated) (~1), [`voucherCode.redeemed`](/docs/assets/events/event-reference/loyalty#vouchercoderedeemed) (~1).
## Read more
---
- [Automation Hub](/docs/automation)
- [API](/developers/api)
- [Email campaigns](/docs/campaign/e-mail)
- [Voucher pools](/docs/assets/code-pools)
# Calculate the percentage of unique transactions
An accurate analysis of the transaction is a must for businesses. By using the Synerise Decision Hub, you can calculate the number of transactions for a specific period. To make sure you receive a reliable result, use an aggregator which lets you exclude duplicated transactions in case some occur in your workspace, for example due to duplicate data from an external source used in an import.
Additionally, you may calculate the ratio of the unique transactions to all transactions to find out the scale of duplicated transactions in your workspace.
This use case describes a process of creating metrics on the basis of the `transaction.charge` event and the `$orderId` event parameter. One of them counts only the number of all unique transactions with the use of the Count Distinct aggregator. The other calculates the percentage of unique transactions through a mathematical formula.
## Prerequisites
---
Implement transaction events either through [SDK](/developers/web/transactions-sdk) or [API](https://hub.synerise.com/api-reference/data-management#operation/CreateATransaction).
## Process
---
1. [Create a metric that calculates the number of unique transactions](/use-cases/calculate-unique-transactions#calculate-the-number-of-unique-transactions).
2. [Create a metric that calculates the ratio of unique transactions to all transactions](/use-cases/calculate-unique-transactions#calculate-the-percentage-of-unique-transactions).
## Calculate the number of unique transactions
---
Create a metric on the basis of the `transaction.charge` event to count the unique occurrences of the event with an `$orderId` parameter.
This analysis uses a `transaction.charge` event, which is generated after a purchase as a summary of an order (as opposed to `product.buy` which is generated separately for each item from a specific order). The names of the events may be different in your workspace.
1. Go to **Decision Hub > Metrics > New metric**.
2. Leave the metric kind at default (**Simple**).
3. Leave the type at default (**Event**).
4. As the aggregator, select **Count Distinct**.
5. From th **Choose event** dropdown list, select **transaction.charge**.
6. As the event parameter, select **$orderId**.
7. In the lower right corner, select the data range for which you want to analyze the data.
8. Save the metric.
**Result**:
The configuration of the metric
## Calculate the percentage of unique transactions
---
Create a metric with a mathematical formula which calculates the ratio of unique transactions to all transactions in your workspace.
1. Go to **Decision Hub > Metrics > New metric**.
2. As the metric kind, select **Formula metric**.
3. On the dashboard, click **Select**.
4. From the dropdown list, select **Event**.
5. Click the **unnamed** node.
6. From the **Choose event** dropdown list, select **transaction.charge**.
7. As the aggregator, select **Count Distinct**.
8. In the lower right corner, set the date range to **Lifetime**.
9. Click the button.
10. From the dropdown list, select **Event**.
11. Click the **unnamed** node.
12. From the **Choose event** dropdown list, select **transaction.charge**.
13. Leave the aggregator type at default (**Count**).
14. In the lower right corner, set the date range to **Lifetime**.
15. Click the button.
16. From the dropdown list, select **Number**.
17. Replace `0` with `100`.
18. Change the mathematical operators:
1. Between the nodes with events, change the plus sign to the division sign.
2. Between the transaction.charge node and `100`, change the plus sign to the multiplication sign.
19. Save the metric.
**Result**:
The configuration of the metric
## What's next
---
You can display the metrics you created on a [dashboard](/docs/analytics/analytics-dashboard), which will help you present them in a convenient and readable form.
Additionally, you may use one of the metrics in an alert system that notifies you when the metric result deviates from the norm. To create such an alert, you can use Automation Hub, create a workflow and include a [Metric Filter](/docs/automation/conditions/metric-filter-node) node. If the metric results exceeds a specific number, you can send an email alert, SMS alert, or a message to a third party tool by using [Outgoing Integration](/docs/automation/integration/outgoing-webhook).
You can get inspired by one of our [use cases which presents a workflow that sends a message to a Slack channel with the metric results](/use-cases/slack-integration).
## Check the use case set up on the Synerise Demo workspace
---
You can check the configuration of both metrics on our Synerise Demo workspace:
- [The number of unique transactions](https://app.synerise.com/analytics/metrics/1c56a0aa-0331-47c7-8d5f-f56bbb32d1e9)
- [Ratio of unique transactions to all transactions](https://app.synerise.com/analytics/metrics/09ddb511-83f3-4d1e-a423-0d234fab9286)
If you’re our partner or client, you already have automatic access to the **Synerise Demo workspace (1590)**, where you can explore all the configured elements of this use case and copy them to your workspace.
If you’re not a partner or client yet, we encourage you to fill out the contact [form](https://demo.synerise.com/request) to schedule a meeting with our representatives. They’ll be happy to show you how our demo works and discuss how you can apply this use case in your business.
## Generated events
This use case does not generate any events.
## Read more
---
- [Metrics](/docs/analytics/metrics)
- [Metric use cases](/use-cases/?ordering=DESC&sortBy=publishDate&filters=tags%3D%3D"metrics")
# Extra loyalty points for buying a product from a specific brand
Loyalty programs have emerged as a crucial factor in determining the success and performance of companies across various industries. These programs provide a means for businesses to establish and nurture stronger connections and relationships with customers. By offering incentives and rewards to loyal customers, companies can effectively encourage repeat purchases and foster a sense of loyalty and affinity towards their brand.
This use case demonstrates a specific loyalty activity in which customers receive 100 loyalty points for each product bought from specific brand within a certain time period. This strategy effectively stimulates sales of the brand's products while fostering customer loyalty by encouraging additional purchases and the accumulation of loyalty points.
## Prerequisites
---
- Implement transaction events using [SDK](/developers/web/transactions-sdk) or [API](https://hub.synerise.com/api-reference/data-management#operation/CreateATransaction).
- Implement basic [loyalty program](/use-cases/loyalty-programs-basics) based on which you granted customers with 1 point for every 1 PLN spent.
## Security configuration
---
Before you start working with this hub, if you are a Synerise customer or partner, consider reading [the section about denylisting events](/docs/settings/tool/api#denylist). This natively accessible configuration will allow you to manage the restrictions in points management that may help you prevent fraud.
## Create a workflow
---
Create a workflow that awards 100 loyalty points for each product bought from a specific brand.
### Define the Profile Event trigger node
Configure the conditions that launch the workflow. As a trigger, we will use the `product.buy` event.
1. As the first node of the workflow, add **Profile Event**.
2. From **Choose event** dropdown menu, choose the `product.buy` event.
3. Click the **+ where** button and from the dropdown list, choose **brand**.
4. From the **Choose operator** dropdown, select **Equal**.
5. In the text field, type the name of the brand. In our case it will be `XYZ`.
6. Click the **+ where** button and from the dropdown list, choose **TIMESTAMP**.
7. From the **Choose operator** dropdown, choose **Custom (Date)**.
8. Click **Select date range**.
9. Set the time range in which your promotion is active. In this use case, it will be one week.
6. Confirm by clicking **Apply**.
Profile Event trigger node
### Configure the Generate Event node
In this part of the process, you will create a node which generates a `points.loyalty` event which adds extra loyalty points. This event is created in addition to the regular `points.loyalty` event. In result, the customer receives points for a purchase from specified brand twice:
- Points based on the [loyalty points schema](/use-cases/loyalty-programs-basics#prepare-the-points-schema) described as a part of prerequisites.
- Extra points through this workflow.
The body of the additional event will contain the `points` parameter calculated by multiplying the `$quantity` parameter from the `product.buy` event by the constant value of `100`.
1. As the second node of the workflow, add **Generate Event**.
2. In the **Event name** field, enter `points.loyalty`.
4. In the **Body** section, define the parameters of this event, and click **Apply**.
**Example content of **Body** section:**
The event body is an example. You can add more parameters or change the point calculation, perform any mathematical formula according to your business needs.
Generate Event node configuration
### Add the End node
1. On the **Generate Event** node, click the plus icon.
2. From the dropdown list, select **End**.
3. In the upper right corner, click **Save & Run**.
The final configuration of the workflow
## Check the use case set up on the Synerise Demo workspace
---
You can check the configuration of the [workflow](https://app.synerise.com/automations/automation-diagram/edbdd32f-34d7-4b1d-a7ba-8c0890ce687f) directly in Synerise Demo workspace.
If you’re our partner or client, you already have automatic access to the **Synerise Demo workspace (1590)**, where you can explore all the configured elements of this use case and copy them to your workspace.
If you’re not a partner or client yet, we encourage you to fill out the contact [form](https://demo.synerise.com/request) to schedule a meeting with our representatives. They’ll be happy to show you how our demo works and discuss how you can apply this use case in your business.
## Generated events
This use case generates approximately 5 events per profile that completes the flow:
[`product.buy`](/docs/assets/events/event-reference/items#productbuy) (~1), [`automation.clientStartPath`](/docs/assets/events/event-reference/automation#automationclientstartpath) (~1), [`automation.clientPathStep`](/docs/assets/events/event-reference/automation#automationclientpathstep) (~1), [`automation.clientEndPath`](/docs/assets/events/event-reference/automation#automationclientendpath) (~1), [`points.loyalty`](/docs/assets/events/event-reference/loyalty#pointsloyalty) (~1).
## Read more
---
- [Automation Hub](/docs/automation)
- [Jinjava inserts](/developers/inserts)
- [Loyalty programs basics](/use-cases/loyalty-programs-basics)
# Efficiently Sync Customer Data Across Multiple Platforms Using Automation
If you manage the customers' data in several places at once, you can use Automation Hub to synchronize it. It's possible thanks to the HTTP and SFTP integrations that allow you to send data from Synerise to external sources and the other way round.
This use case describes how to prepare an automated workflow that launches every day and sends the updated list of customers with the agreement for email communication from Synerise to an external resource using the SFTP protocol.
One of the challenges addressed in this use case is modifying the value of the customer attribute (a newsletter agreement attribute) so the data structure is consistent.
## Prerequisites
---
- You must have customers in **Behavioral Data Hub > Profiles**.
- You must have a target resource with which you synchronize the data (in this use case, an SFTP server is used).
## Process
---
1. [Create a segmentation of customers](/use-cases/synchronize-profile-data-with-external-services#prepare-a-segmentation) whose data you want to send to the external resource.
2. [Prepare data transformation](/use-cases/synchronize-profile-data-with-external-services#prepare-data-transformation) to modify the data to meet the requirements of the external resource data structure.
3. [Prepare a workflow](/use-cases/synchronize-profile-data-with-external-services#prepare-a-workflow) that sends the data of customers from Synerise to the external resource.
## Prepare a segmentation
---
As the first part of the process, create a segmentation of customers who agreed to receive emails. Data of these customers will be sent to the external resource.
1. Go to **Decision Hub > Segmentation > New segmentation**.
2. As the name of the segmentation, enter `Subscribers`.
3. Click **Choose filter**.
4. From the dropdown list, select `newsletter_agreement`.
5. As the logical operator, select **Equal**.
6. In the text field, enter `enabled`.
7. Click **Save**.
The configuration of the segmentation
## Prepare data transformation
---
In this part of the process, you define the rules of modifying data before sending it to the SFTP server, so the data is consistent. For the purposes of this case, a `newsletter_agreement` parameter value will be changed from `enabled` to `true`. Additionally, we add a parameter which marks data as imported, so this import can be distinguished in the SFTP server.
The data transformation diagram which is the output of this part of the process is used later to [automate sending the data](/use-cases/synchronize-profile-data-with-external-services#prepare-a-workflow).
### Prerequisites
You need a sample of data that will be used in data transformation. You can add it in two ways:
- Prepare a `.csv` file with a few columns and example values.
Click here to see an example file
- Export several customers from **Behavioral Data Hub > Profiles** to a `.csv file`.
Click here to read the instructions
Go to Behavioral Data Hub > Profiles
On the list, select several customers.
At the top of the list, click the Export button.
On the pop-up, enter the name of the export.
Select three attributes: email, clientId, and newsletter_agreement.
Click Apply.
On the pop-up, click Go to Reports.
On the list, find your export.
Next to the export, click the icon.
From the context menu, select Download. Result: A `.csv` file is downloaded.
1. Go to **Automation Hub > Data Transformation > Create transformation**.
2. Enter the name of the transformation.
3. Click **Add input**.
### Add file with sample data
This node allows you to add a data sample. In further steps, you define how the data must be modified. Later, when this transformation is used in the workflow, the system uses the rules created with the sample data as a pattern for modifying actual data.
4. On the pop-up, click **Add example**.
5. Upload the file with the sample data.
6. Click **Generate**.
The configuration of the Data input node
### Edit the newsletter_agreement value
This node allows you to replace the `enabled` value of the `newsletter_agreement` attribute with `true`.
7. On the canvas, click the right mouse button.
8. From the dropdown list, select **Edit values**.
9. Click the **Edit values** node.
10. In the configuration of the node:
1. Click **Add rule**.
2. Click **Add column**.
3. Select the **newsletter_agreement** column.
4. Under **Edit values by**, from the dropdown list, select **Replacing**.
5. In the left dropdown, leave the **Value** option at default.
6. In the text field, enter `true`.
7. Confirm by clicking **Apply**.
The configuration of the Edit values node
### Add the parameter which marks data as imported
This node allows you to add a column to the data - in result, you can easily identify the import in the external source (the SFTP server).
11. On the canvas, click the right mouse button.
12. From the dropdown list, select **Add column**.
13. In the configuration of the node:
1. In the **Add column** field, enter `importType`.
2. In the dropdown, leave the **Defined** value.
3. In the text field, enter `synerise_subscribers`.
4. Confirm by clicking **Apply**.
The configuration of the Add column node
### Add the finishing node
This node lets you preview the output of the modifications to the sample data.
14. On the canvas, click the right mouse button.
15. From the dropdown list, select **Data output**.
The preview of modifications to the file
15. In the upper right corner, click **Save and publish**.
The diagram of data transformation
## Prepare a workflow
---
As the final part of the process, create a workflow which sends the customers' data every day to the external source using the SFTP protocol.
1. Go to **Automation Hub > Workflows > New workflow**.
2. Enter the name of the workflow.
### Define the launch date
3. As the trigger node, add **Scheduled Run**.
4. In the configuration of the node:
1. Leave the **Run trigger** option at default (**all time**).
2. From the **Timezone** dropdown list, select the time zone consistent with the timezone selected for your workspace.
3. Define the frequency of the workflow (for example, everyday at 6.00 A.M.).
The workflow will automatically launch everyday at 6.00 A.M.
4. Confirm by clicking **Apply**.
The configuration of the Scheduled Run node
### Select customers to export
5. Add a **Get Profiles** node.
6. In the configuration of the node:
1. Select the segmentation you [created in the first part of the process](/use-cases/synchronize-profile-data-with-external-services#prepare-a-segmentation).
2. In the **Attributes** section, select **newsletter_agreement** and **email**.
3. Confirm by clicking **Apply**.
The configuration of the Get Profiles node
### Select the data transformation rules
7. Add a **Data Transformation** node.
8. In the configuration of the node, select the [data transformation you have created before](/use-cases/synchronize-profile-data-with-external-services#prepare-data-transformation).
9. Confirm by clicking **Apply**.
The configuration of the Data Transformation node
### Configure settings for SFTP protocol
10. Add the **Send File** node by clicking **THEN > SFTP**.
11. In the configuration of the node:
1. Enter the path to your server.
2. Select the port.
3. Enter the path to the directory.
4. Enter the name of the file.
5. If needed, in the **File name suffix**, select the suffix of the file name.
6. From the **File format** dropdown list, select the **CSV** format.
7. Verify and modify the delimiters if needed.
8. In the **Authentication** section, select the method of authentication.
9. Confirm by clicking **Apply**.
The configuration of the SFTP node
### Add the finishing node
12. Add the **End** node.
13. In the upper right corner, click **Save & Run**.
**Result**:
The workflow configuration
You can monitor the flow of the workflow in the **Transformation logs** tab. It contains information about each execution of the workflow.
The logs for the workflow
## Check the use case set up on the Synerise Demo workspace
---
You can check the configuration of each item created in this use case on our Synerise Demo workspace:
- [Segmentation of customers who agreed to receive newsletters](https://app.synerise.com/analytics/segmentations/7655038e-99bc-4876-9d7a-90f801ae6a5c).
- [Data Transformation](https://app.synerise.com/automations/data-transformation/19add353-ade6-406f-8e1c-db51229aa785).
- [The workflow](https://app.synerise.com/automations/automation-diagram/72a4d7e2-d2a0-40bd-a1a2-373bb7ae33b8).
If you’re our partner or client, you already have automatic access to the **Synerise Demo workspace (1590)**, where you can explore all the configured elements of this use case and copy them to your workspace.
If you’re not a partner or client yet, we encourage you to fill out the contact [form](https://demo.synerise.com/request) to schedule a meeting with our representatives. They’ll be happy to show you how our demo works and discuss how you can apply this use case in your business.
## Generated events
This use case generates approximately 5 events per workflow execution:
[`automation.clientStartPath`](/docs/assets/events/event-reference/automation#automationclientstartpath) (~1), [`automation.clientPathStep`](/docs/assets/events/event-reference/automation#automationclientpathstep) (~3), [`automation.clientEndPath`](/docs/assets/events/event-reference/automation#automationclientendpath) (~1).
## Read more
---
- [Data Transformation](/docs/automation/data-transformation-and-imports/introduction)
- [Segmentations](/docs/analytics/segmentations)
- [Workflows](/docs/automation)
# Monitor Voucher Pool Levels and Receive Alerts for Replenishment
A voucher pool is a form of digital currency that allows businesses to provide rewards and incentives to their customers for engaging with their products or services. The pool of voucher codes can be redeemed for a variety of items, such as discounts, coupons, or special offers. While setting up a voucher pool, you typically add a certain number of codes to the pool, so it's a good practice to implement a kind of monitoring system that alarms you when codes in the voucher pool are slowly running out.
In this use case, you will learn how to build a monitoring system for all voucher pools you have in your workspace. The system will alert you when the number of codes in a voucher pool drops below a predetermined threshold (500 codes in a pool). This alert serves as a reminder for the business to replenish the pool with more codes, as well as an alert to customer service teams to communicate with customers to ensure they are aware of the updated balance.
There are even more benefits:
- the monitoring system helps businesses avoid running out of vouchers, which can lead to customer dissatisfaction and loss of revenue.
- it helps businesses ensure they have enough vouchers available to meet customer needs and maximize sales.
- it allows businesses to plan ahead and easily adjust their voucher pool when needed.
- this system allows businesses to quickly and efficiently track their voucher pools, making it easier to identify any discrepancies or irregularities.
In this use case, we present a method in which we create a profile in **Behavioral Data Hub > Profiles** for each voucher pool we want to monitor (1 voucher pool = 1 profile). This will enable us to set up a workflow which will monitor the number of active vouchers and send an alert when the number of codes in a pool drops below 500.
## Prerequisites
---
- Implement a [tracking code](/developers/web/installation-and-configuration#creating-a-tracking-code).
- Configure an [email account](/docs/campaign/e-mail/configuring-email-account).
- Depending on your needs, you can send to a customer a general code with promotion, eg. SHOPPING20%, or coupon code individually for each customer. If you decide on this second option, you will have to import coupons to Synerise prepared in your ecommerce platform which will apply the appropriate discount in the shopping cart. In [this](/docs/assets/code-pools) article, you will find the rules and procedures needed to create and use voucher pool in Synerise.
- You must have an API key of the **Workspace** type and in the permission matrix: `VOUCHERS_ITEM_LIST_BY_POOL_READ` permission must be checked, otherwise the webhook response will return the 403 error code.
## Process
---
In this use case, you will go through the following steps:
1. [Add voucher pools to Profiles](/use-cases/voucherpools#add-voucher-pools-to-profiles).
2. [Prepare an email template](/use-cases/voucherpools#prepare-an-email-template).
3. [Create a workflow](/use-cases/voucherpools#create-a-workflow) which sends the email alert if the number of unassigned codes in a pool will be lower than 500.
## Add voucher pools to Profiles
---
In this part of the process, you will create Synerise profiles for each voucher pool you want to monitor, where 1 voucher pool = 1 profile in **Behavioral Data Hub > Profiles**. You can add them manually or using API. In this case, we present how to add them manually, API method is described below in the advanced section.
1. Go to **Behavioral Data Hub > Profiles**
2. Click **Add new > Profile**.
3. In the `firstname` box, add `Voucher Pool 1`.
4. In the `email` box, add any fake email, for example `fakevoucher1@pool.com`.
5. In the properties section, select the `voucherpool_id` attribute, and as the value, add the ID of the voucher pool which you can find in the URL of a specific pool.
If your workspace lacks the `voucherpool_id` attribute, you can add it in **Data Modeling Hub > Profile attributes**.
6. Click **Create**.
**Result**: The separated profile for the voucher pool will be generated in the **Behavioral Data Hub > Profiles** in Synerise.
Advanced version of adding pools using API
Below you will find cURL with a ready request, which you can use in the Postman tool, where:
`token` - authorization token
`firstName` - voucher pool name
`voucherpool_id` - voucher pool ID for a specific pool (in Data Modeling Hub > Voucher Pools, enter the details of the voucher to retrieve its ID from the URL)
`customId` - voucher pool ID for a specific voucher (in Data Modeling Hub > Voucher Pools, enter the details of the voucher to retrieve its ID from the URL)
optionally, `tag` in this case is `voucher_campaign`
curl --location --request POST 'https://api.synerise.com/v4/clients/batch' \ --header 'Accept: application/json' \ --header 'Api-Version: 4.4' \ --header 'Authorization: Bearer xxx' \ --header 'content-type: application/json' \ --data-raw '[ { "customId": "Insert a voucher pool ID here", "firstName": "Insert a voucher pool name", "agreements": { }, "attributes": { "voucherpool_id": "Insert a voucher pool ID here" }, "tags": [ "voucher_campaign" ] } ]'
Send this request as many times as you need, just changing the `voucherpool_id`, `firstName`, and `customId` parameters. The voucher pools created in Behavioral Data Hub > Profiles will be available on the list of unrecognized profiles.
## Prepare an email template
---
In this part of the process, prepare an email alert template that includes the information about the number of unassigned codes remaining in a voucher pool.
1. Go to **Experience Hub > Email**.
2. On the left side of the screen, click **Templates**.
3. Select the wizard.
4. In the content of the message, add this insert:
{%set link = "https://app.synerise.com/assets/vouchers/pools/*/coupons"%}
      <p>{{customer.firstname}},</p>
      <h1> Alert for Voucher pool: {{customer.firstname}} </h1>
      <p> Remaining: {{ event.params['voucherCount'] }} vouchers </p>
      <a href='{{link|replace("*",customer.voucherpool_id)}}'>
      <p> Link to voucher pool {{customer.firstname}} </p></a>
5. Adjust the design of the template according to your needs.
6. Save the template.
## Create a workflow
---
In this step create a workflow which sends the email alert if the number of codes in a voucher pool is lower than 500.
1. Go to **Automation Hub > Workflows > New workflow**.
2. Enter the name of the workflow.
### Configure the Audience node
---
In this part of the process, select the audience for which you will run this campaign - all vouchers added as profiles. In our case, we start the workflow everyday at 7 A.M., for profiles (voucher pools) who has the `voucherpool_id` parameter defined.
In this case, we use the `voucherpool_id` parameter, but you can use any other parameter or tag which is assigned to your profiles (voucher pools). In our case based on the contents of cURL presented in previous steps, it might be for example a tag: `voucher_campaign`.
1. Click **Add trigger**.
2. From the dropdown list, select the **Audience** node.
3. Leave the **Run trigger** option as default (**repeatable**).
4. Define the values for the **Interval** (frequency), **Begin at**, and **Timezone** fields according to your business requirements. In our case, it will be every day at 7 A.M.
4. In the **Define audience** section, click **New audience**.
5. Click **Define conditions**.
6. From the **Choose filter** dropdown list, select the `voucherpool_id`.
5. From the **Choose operator** dropdown list, select **String** and **Is not empty**.
14. Confirm by clicking **Apply**.
Configuration of the Audience node
### Add the Outgoing Integration node
---
This node will be used to send a request to get the number of codes available in the voucher pools. You will use the following method: `https://api.synerise.com/v4/vouchers/item/count/{{client.voucherpool_id}}`.
1. Click **THEN**.
2. From the dropdown list, select **Outgoing Integration**.
1. Select the **Custom webhook** tab, and **API Key** authorization.
3. From the dropdown list, select the Workspace API key that has enabled this permission: `VOUCHERS_ITEM_LIST_BY_POOL_READ`.
2. In the **Action name** field, enter **Check Voucher Pool** (you can use different name, it's just an example).
3. Select the **POST** method.
4. In the **Endpoint** field, enter `https://api.synerise.com/v4/vouchers/item/count/{{client.voucherpool_id}}` where `{{client.voucherpool_id}}` will be dynamically replaced with the ID of the monitored voucher pool.
4. Leave **content-type** at default: `application / json`.
5. Click **Add header**.
6. Add **Api-Version** with the value set to `4.4`
5. Click **Add header**.
7. Add **Accept** with the value set to `application/json`.
5. Leave the request body at default (with `{}`).
11. Confirm the settings by clicking **Apply**.
The configuration of the Outgoing Integration node
### Configure the Event Filter node
---
This node will be used to wait for the webhook response. Set the waiting time to 5 minutes, this period is recommended as it eliminates the possibility of the workflow completion due to lags in response.
1. As the next node, add **Event Filter**. In the configuration of the node:
1. In the **Check** field, from the dropdown menu choose **for period of time**.
2. Set the time range. In our case, it is 5 minutes.
3. In the **Define conditions** section, from the **Choose event** dropdown list, choose `webhook.response` event.
4. Confirm by clicking **Apply**.
5. For the **Not matched** path, add the **End** node.
6. For the **Matched** path, add the **Generate Event** node.
The Event Filter node
### Define the Generate Event node
---
At this stage, we are checking the difference between the number of assigned and used codes. It will be responsible for showing the difference between the vouchers. This event will be generated only for those persons/vouchers that are in this group.
1. To the **Matched** path, add **Generate Event**.
2. In the **Event name**, enter the name of the event that will be generated on the customer's profile. In this case, it is `custom.event`.
4. In the **Body** section, use the code below, and click **Apply**.
{
"voucherCount": "{{event.params['body.data.activeCount'] - event.params['body.data.assignedCount']}}"
}
The Generate Event node
### Configure the Event Filter node
This node will check if the amount of codes dropped below a certain level. For us, it is 500. We will check it based on the event generated in the [previous step](/use-cases/voucherpools#define-the-generate-event-node).
1. As the next node, add **Event Filter**. In the configuration of the node:
1. In the **Check** field, from the dropdown menu choose **for period of time**.
2. Set the time range. In our case, it is 10 minutes.
3. In the **Define conditions** field, from the **Choose event** dropdown menu, choose `custom.event`.
4. Click **+ where**.
5. As the parameter, choose `voucherCount`
5. Choose **Less than (Number**).
6. Set the value to `500`.
2. Confirm by clicking **Apply**.
The Event Filter node
### Configure the Email Alert node
---
In this step, if the number of vouchers has decreased below 500, an email alert will be sent to email addresses selected in the configuration of the node. After sending the email alert, the workflow ends.
1. Add **Email Alert**. Configure according to your business needs.
2. Define Content:
1. In the **Template for content** field, select an alert email template [prepared earlier](/use-cases/voucherpools#prepare-an-email-template).
2. In the **Subject** field, enter your message subject.
3. In the **Recipient** section, create a list of recipients of the alert email.
4. Confirm by clicking **Apply**.
5. Add the **End** node.
6. Click **Save & Run**.
The workflow configuration
## Check the use case set up on the Synerise Demo workspace
---
You can check the [workflow configuration](https://app.synerise.com/automations/automation-diagram/60a87da1-183c-4180-83c3-41b01dacdd5a) directly in Synerise Demo workspace.
If you’re our partner or client, you already have automatic access to the **Synerise Demo workspace (1590)**, where you can explore all the configured elements of this use case and copy them to your workspace.
If you’re not a partner or client yet, we encourage you to fill out the contact [form](https://demo.synerise.com/request) to schedule a meeting with our representatives. They’ll be happy to show you how our demo works and discuss how you can apply this use case in your business.
## Generated events
This use case generates approximately 10 events per workflow execution:
[`automation.clientStartPath`](/docs/assets/events/event-reference/automation#automationclientstartpath) (~1), [`automation.clientPathStep`](/docs/assets/events/event-reference/automation#automationclientpathstep) (~5), [`automation.clientEndPath`](/docs/assets/events/event-reference/automation#automationclientendpath) (~1), [`webhook.response`](/docs/assets/events/event-reference/integration#webhookresponse-and-custom-webhook-response-names) (~1), `custom.event` (~1), [`message.send`](/docs/assets/events/event-reference/email#messagesend) (~1).
## Read more
---
- [Automation Hub](/docs/automation)
- [API](/developers/api)
- [Catalogs](/docs/assets/catalogs/introduction-to-catalogs)
- [Voucher pools](/docs/assets/code-pools)
# Find customers for a new offline shop branch
When you open a new branch of your offline store, you may want to implement a campaign that will encourage your customers to visit a new location. To find out who would be the best target of the campaign, you can use the Predictions feature.
The business goal of this use case is to find a group of customers who will be the audience of a campaign released on the occasion of opening a new store in Waverly, the fourth shop branch in Lackawanna County.
The main action in this use case is comparison of a group of customers whose location is declared to be Waverly (target group) to the group of customers who made purchases in the offline branches of your shop - source group. After the prediction is complete, the customers from the target group will be recognized by the `snr.lookalike.score` event on their profiles and the `score_label` parameter of this event indicates the level of similarity to the source group.
Based on this event, you can create a group of customers with the highest score who will be the recipients of the campaign that is released for the shop branch opening. This way, you increase the chances of reaching those for whom the location of the shop branch is more convenient and encourage them to visit the shop.
## Prerequisites
---
- [Enable the Lookalikes prediction type](/docs/ai-hub/predictions/enabling-predictions#enabling-lookalikes)
- Implement transaction events using [SDK](/developers/web/transactions-sdk) or [API](https://hub.synerise.com/api-reference/data-management#operation/CreateATransaction).
## Process
---
In this use case, you will go through the following steps:
1. [Create source segmentation](/use-cases/discover-customers-for-new-shop-branch#create-source-segmentation).
2. [Create target segmentation](/use-cases/discover-customers-for-new-shop-branch#create-target-segmentation).
3. [Create a prediction](/use-cases/discover-customers-for-new-shop-branch#create-a-prediction).
## Create source segmentation
---
A source segmentation is a group of model customers to whom you compare the target group of customers in order to find similar customers in the target group.
1. Go to **Decision Hub > Segmentations > New segmentation**.
2. Enter a meaningful name of the segmentation.
3. Click **Choose filter**.
4. From the drop down list, select the transaction event.
Events may have different labels between workspaces, but you can always find them by their action name (in this step, it’s transaction.charge).
5. As the parameter, select `source` and set its value to `POS`.
6. Using the date picker in the lower-right corner, select the date **last 60 days**.
7. Save the segmentation.
Configuration of the source segmentation
## Create target segmentation
---
A target segmentation is a group of customers among which you want to find customers who are similar to those included in the source group.
1. Go to **Decision Hub > Segmentations > New segmentation**.
2. Enter a meaningful name of the segmentation.
3. Click **Choose filter**.
4. From the dropdown list, select the **city** attribute.
5. Set the attribute value to **Waverly**.
6. Save the segmentation.
Configuration of the target segmentation
## Create a prediction
---
In this part of the process, you create a prediction that uses the segmentations you created before.
1. Go to **AI Hub > (AI Predictions) Models > New prediction**.
2. In the **Select prediction type** window that appears, click **Lookalike**.
3. Click **Apply**.
4. In the **Audience** section, click **Define**.
5. In the **Source segmentation** subsection, click **Choose segmentation**.
6. From the dropdown list, select the [source segmentation](/use-cases/discover-customers-for-new-shop-branch#create-source-segmentation) you created before.
7. In the **Target segmentation** subsection, click **Choose segmentation**.
8. From the dropdown list, select the [target segmentation](/use-cases/discover-customers-for-new-shop-branch#create-target-segmentation) you created before.
9. Confirm by clicking **Apply**.
10. In the **Settings** section, click **Change**.
11. Enable the **Set up recurring prediction calculation** option.
12. Set the recalculation of the prediction every 7 days. The segmentation is recalculated before a prediction is recalculated - recalculation of the segmentation concerns recurring predictions which intervals are longer than several hours.
13. Select the **2-point scale**.
Configuration of the prediction
14. Confirm by clicking **Apply**.
15. Click **Save & Calculate**.
## What's next
---
Based on the `snr.lookalike.score` event, you can create a segmentation for the Waverly opening campaign. To define the size of the recipient group, you can use the `score_label` parameter of the `snr.lookalike.score` with the `score` value set to high or use `percentiles` in order to address your communication to a specific percentage of target segment with the highest prediction score. Later you can use this segment in the following campaigns:
- [email](/docs/campaign/e-mail)
- [SMS](/docs/campaign/SMS)
- [web push](/docs/campaign/Webpush)
- [mobile push](/docs/campaign/Mobile)
- [dynamic content](/docs/campaign/dynamiccontent)
- [screen views](/docs/campaign/screen-views)
Email, SMS, web push and mobile push can be sent manually or you can launch them by using [Automation Hub](/docs/automation).
## Check the use case set up on the Synerise Demo workspace
---
You can find the analyses created in this use case in our Synerise Demo workspace at the following links:
- [Segmentation of buyers in offline shops](https://app.synerise.com/analytics/segmentations/1700ded9-ea8f-48b0-928b-1666c4c6f2e9),
- [Segmentation of customers from Warsaw](https://app.synerise.com/analytics/segmentations/4f1d7cc0-c0ef-46fa-aa67-9d45363d6285),
- [Lookalike prediction](https://app.synerise.com/ai-v2/predictions/lookalike/xbpsvrwlcpcw).
If you’re our partner or client, you already have automatic access to the **Synerise Demo workspace (1590)**, where you can explore all the configured elements of this use case and copy them to your workspace.
If you’re not a partner or client yet, we encourage you to fill out the contact [form](https://demo.synerise.com/request) to schedule a meeting with our representatives. They’ll be happy to show you how our demo works and discuss how you can apply this use case in your business.
## Generated events
This use case generates 1 event per profile that completes the flow:
[`snr.lookalike.score`](/docs/assets/events/event-reference/predictions#snrlookalikescore) (~1).
## Read more
---
- [Lookalike predictions](/docs/ai-hub/predictions/lookalikes)
- [Predictions](/docs/ai-hub/predictions/predictions-introduction)
# Remove profiles from Custom Audience in Facebook
You can use Synerise to manage your Custom Audience in Facebook and update it by adding or removing users based on all the data collected in Synerise, like customer activity and attributes. Removing profiles from audiences can be useful when we want to remove a club member when they unsubscribe, or we have an audience which abandoned shopping cart, and we want to remove from it customers who have made a purchase.
In this use case, you will use the native Facebook integration in Automation Hub to remove users from Facebook Audience after they withheld newsletter consent.
## Prerequisites
---
- [Generate the system user access token in Facebook](https://developers.facebook.com/docs/audience-network/optimization/report-api/system-user/); as the `scope` value, select `ads_management`.
- Have a [Custom Audience in Facebook](https://developers.facebook.com/docs/marketing-api/reference/custom-audience/) from which you would want to remove users, who withheld newsletter consent. Save the ID of the Custom Audience.
## Create a workflow
---
1. Go to **Automation Hub > Workflows > New workflow**.
2. Enter the name of the workflow
### Define the Profile Event trigger node
At this stage, we will configure the conditions that launch the workflow. As a trigger, we will use the `newsletter.unsubscribe` event, so each resignation from subscription will start a workflow.
1. On the dashboard, click the **Add trigger** icon.
3. From the dropdown list, select **Profile Event**.
**Results**: The **Profile Event** node is added to the dashboard.
4. Click the node.
**Result**: A pop-up appears.
5. Click **Choose event** and from the dropdown list, select `newsletter.unsubscribe` event.
6. Confirm by clicking **Apply**.
Profile Event node configuration
### Define the Remove Profiles from Facebook Audience node
In this part of the process, you will configure the node which removes users from Facebook Audience.
1. As the second node of the workflow, add **Remove Profiles from Facebook Audience**.
2. Click the node.
3. Click **Select connection** and from the dropdown list, select the earlier established connection.
If you haven’t established a connection yet, see [Create a connection](/docs/automation/integration/facebook/send-custom-audience#create-a-connection).
4. In the **Graph API version** field, enter the currently used version of Facebook API.
5. From the **Identifier type** dropdown list, as the identifier, select **Email**.
6. In the **Identifier source**, enter the following Jinjava tag: `{{ client.email }}`
7. In the **Custom Audience ID** field, enter the ID of the Custom Audience.
8. Confirm by clicking **Apply**.
Remove profiles from Facebook Audience node configuration
9. Add the **End** node and save your worfklow.
Workflow configuration
**Result:** From now on, users who unsubscribe from the newsletter, will be automatically removed from the audience selected in the **Remove profiles from Facebook Audience** node.
## Check the use case set up on the Synerise Demo workspace
---
You can check the [workflow configuration](https://app.synerise.com/automations/automation-diagram/714ee926-ca4e-4113-a752-3d0f220def7e) directly in Synerise Demo workspace.
If you’re our partner or client, you already have automatic access to the **Synerise Demo workspace (1590)**, where you can explore all the configured elements of this use case and copy them to your workspace.
If you’re not a partner or client yet, we encourage you to fill out the contact [form](https://demo.synerise.com/request) to schedule a meeting with our representatives. They’ll be happy to show you how our demo works and discuss how you can apply this use case in your business.
## Generated events
This use case generates approximately 5 events per profile that completes the flow:
[`newsletter.unsubscribe`](/docs/assets/events/event-reference/email#newsletterunsubscribe) (~1), [`automation.clientStartPath`](/docs/assets/events/event-reference/automation#automationclientstartpath) (~1), [`automation.clientPathStep`](/docs/assets/events/event-reference/automation#automationclientpathstep) (~1), [`automation.clientEndPath`](/docs/assets/events/event-reference/automation#automationclientendpath) (~1), `facebook.removeFromCustomAudience` (~1).
## Read more
---
- [Automation Hub](/docs/automation)
- [Facebook Integration](/docs/automation/integration/facebook)
# Exclusion of product categories from the basic points scheme
Once you have the basics of a loyalty program in place, you may want to think about implementing unique scenarios that fit the specifications of your business. There are many scenarios you can implement, and one of them may include refining the way points are rewarded. You may want to exclude certain products or product groups from rewarding points for specific business reasons.
This use case describes the process of how you can create such an exclusion by making minor modifications to an already created points scheme described in [this use case](/use-cases/loyalty-programs-basics). The points scheme is based on rewarding points for each transaction based on a predefined rule in the expression, which adds 1 point for each PLN spent and additionally rounds down to full units.
As a part of this use case, we will want to exclude the following items from rewarding of loyalty points:
- cancelled products
- products from **category1**
- products from **category2**
This use case presents one of the ways to exclude product categories from accruing loyalty points. You can find an alternative solution [in this use case](/use-cases/product-category-exclusion-with-workflow). Your choice of one of the scenarios will depend on the implementation of your loyalty program. You can always customize any solution to meet your specific business needs.
## Prerequisites
---
Implement [loyalty programs basics](/use-cases/loyalty-programs-basics)
## Security configuration
---
Before you start working with this hub, if you are a Synerise customer or partner, consider reading [the section about denylisting events](/docs/settings/tool/api#denylist). This natively accessible configuration will allow you to manage the restrictions in points management that may help you prevent fraud.
## Modify an aggregate counting money spent on every product within transaction
---
In this step, you will complete the already created [aggregate](/use-cases/loyalty-programs-basics#create-an-aggregate-which-counts-number-of-productbuy-events-in-a-single-transaction) with the product categories you want to exclude from accruing loyalty points for them.
1. Click the **+ where** and as the parameter select the `cancel`.
2. From the **Choose operator** dropdown list, select **Is false (Boolean)**.
The `cancel` parameter used in this use case refers to products that were previously selected by the customer, but were canceled for some reason during the purchase process. You can use any other nomenclature for this type of action while implementing transaction events.
3. Click the **+ where** and as the parameter select the `category1`.
In this use case, we use the `category1` and `category2` parameters, which correspond to different levels of product categories - from once more general, to once more specific. You can use any other nomenclature for the indication of your categories.
4. From the **Choose operator** dropdown list, select **Not in Array**.
5. In the next field, enter the values of the categories you want to exclude from loyalty point accrual.
6. Repeat steps **3-5** for other categories that you want to exclude.
7. Click **Save**.
As a result, you have set up an exclusion mechanism that will exclude certain categories from rewarding loyalty points during each customer transaction.
Aggregate counting money spent on every product within transaction excluding specific categories
## Check the use case set up on the Synerise Demo workspace
---
You can check the configuration of the [described aggregate](https://app.synerise.com/analytics/aggregates/763410fc-0774-3848-b06a-d91333db2aa0) directly in Synerise Demo workspace:
If you’re our partner or client, you already have automatic access to the **Synerise Demo workspace (1590)**, where you can explore all the configured elements of this use case and copy them to your workspace.
If you’re not a partner or client yet, we encourage you to fill out the contact [form](https://demo.synerise.com/request) to schedule a meeting with our representatives. They’ll be happy to show you how our demo works and discuss how you can apply this use case in your business.
## Generated events
This use case does not generate any events.
## Read more
---
- [Aggregates](/docs/crm/aggregates)
Check our loyalty use cases [here](/use-cases/?ordering=DESC&sortBy=publishDate&filters=tags%3D%3D%22loyalty%22)
# Automated Import of Customer Complaints as Custom Events via SFTP
You can use Automation Hub to synchronize your customers' events thanks to the HTTPS and SFTP integrations that allow you to import data from your external sources to Synerise.
This use case describes how to prepare an automated workflow that launches every day and imports data about customers' complaints to Synerise as custom events. The automation connects to an external resource using the SFTP protocol and imports data from a CSV file. One of the challenges addressed in this use case is the data transformation that consists of adding and renaming columns in the CSV file.
## Prerequisites
---
- Host the .csv file with customer complaint data on an SFTP server.
- Prepare sample of data that will be used in data transformation.
To do this, you can take the real file and remove rows until about 10 are left.
## Process
---
1. [Create data transformation rules](/use-cases/synchronize-complaint-data-as-custom-events#create-data-transformation-rules) that will transform data from the .csv file.
2. [Prepare a workflow](/use-cases/synchronize-complaint-data-as-custom-events#prepare-a-workflow) that imports events from the SFTP server to Synerise.
## Create data transformation rules
---
In this part of the process, you define the rules of modifying data. Each of the following sub-steps describes the individual changes performed on the file.
The data transformation diagram which is the output of this part of the process is used later to [automate sending the data](/use-cases/synchronize-complaint-data-as-custom-events#prepare-a-workflow).
The sample file is used to configure the data transformation diagram and preview its results. With a [library of nodes](/docs/automation/data-transformation-and-imports/transformations-and-data-operators) you can modify the file by adding, renaming, and merging columns as well as editing the values in the rows, and so on.
In this example, we will use the **Add column** and **Rename column** nodes to transform a complaint file so it meets Synerise's import requirements.
1. Go to **Automation Hub > Data Transformation > Create transformation**.
2. Enter the name of the transformation.
3. Click **Add input**.
### Add file with sample data
This node allows you to add a data sample. In further steps, you define how the data must be modified. Later, when this transformation is used in the workflow, the system uses the rules created with the sample data as a pattern for modifying actual data.
4. On the pop-up, click **Add example**.
5. Upload the file with the sample data.
This is the sample used in this article:
```
reporter,complaint,date
test@test.com,the item is faulty,2022-03-09T10:22:06.305+01:00
```
The configuration of the Data input node
6. Click **Generate**.
### Add column
You can use the **Add column** node to create a new column to the file, with a defined value. In this example, we need to add following columns: **type**, **label**, **action**.
1. On the canvas, click the right mouse button.
2. From the dropdown list, select **Add column**.
3. Click the Add column node.
4. In the configuration of the node:
1. In the **Add column** field, enter the unique column name.
In our case: `type`.
2. Select the **Defined** option.
The rows in the new column will be filled with the value you define.
3. As the value, enter `custom`
Example of the configuration of the Add column node, type
4. Confirm by clicking **Apply**.
5. Before you save the settings, you can check the preview of the file after changes on the **Output data** tab.
5. Add two more **Add column** nodes by repeating steps 1-4 with the following changes:
- as the first column, add `label` and as the value to insert, enter `complaint`
- as the second column, add `action` and as the value to insert, enter `complaint.reported`
Example of the configuration of the Add column node, labelExample of the configuration of the Add column node, action
### Rename column
The column name is the key under which the data will be imported to Synerise and appear in the output file. In this example, we will use the **Rename column** node to rename the **reporter** column to **client.email**.
1. On the canvas, click the right mouse button.
2. From the dropdown list, select **Rename column**.
3. Click the Rename column node.
4. In the configuration of the node:
1. Click **Add rule**.
2. Select the **Include these** option.
This is the default option. All column names you select will be changed as you specify in the further configuration.
3. Click **Add column**.
4. From the dropdown list, select the columns you want to rename.
5. Under the **Edit values by** subheader, select the **Replacing** option.
This options finds values matching the conditions and replaces them with the value you specify.
6. In the right field, enter the name you want to replace the original name with. In our example, it is "client.email".
Example of the configuration of the Rename column node
6. To add more rules, click **Add rule** and repeat steps from a to f.
5. Before you save the settings, you can check the preview of the file after changes in the **Output data** tab.
6. Confirm by clicking **Apply**.
### Add the finishing node
This node ends the transformation and passes the modified data to the automation where the Data Transformation is used.
1. On the canvas, click the right mouse button.
2. From the dropdown list, select **Data output**.
3. In the upper right corner, click **Save and publish**.
**Result**:
The diagram of data transformation
After the data transformation is published, you can use it in the Data Transformation node while preparing a workflow that imports the files.
## Prepare a workflow
---
As the final part of the process, create a workflow which imports the custom events every day to Synerise.
1. Go to **Automation Hub > Workflows > New workflow**.
2. Enter the name of the workflow.
### Define the launch date
1. As the trigger node, add **Scheduled Run**.
2. In the configuration of the node:
1. Leave the **Run trigger** option at default (**all time**).
2. From the **Timezone** dropdown list, select the time zone consistent with the timezone selected for your workspace.
3. Define the frequency of the workflow (for example, everyday at 6.00 A.M.).
The workflow will automatically launch everyday at the specified time.
The configuration of the Scheduled Run node
4. Confirm by clicking **Apply**.
### Configure settings for SFTP protocol
Use **Get File** node to transfer the files from the workflow to your server using SFTP protocol.
1. Add the **Get File** node by clicking **THEN > SFTP**.
2. In the [**configuration of the node**](/docs/automation/integration/sftp-integrations/sftp-get-file) :
1. Enter the path to your server.
2. Select the port.
3. Enter the path to the directory.
4. Enter the name of the file where the data will be saved.
6. From the **File format** dropdown list, select the **CSV** format.
7. Verify and modify the delimiters if needed.
8. In the **Authentication** section, select the method of authentication.
The configuration of the SFTP node
3. Confirm by clicking **Apply**.
### Select the data transformation rules
7. Add a **Data Transformation** node.
8. In the configuration of the node, select the [data transformation you have created before](/use-cases/synchronize-complaint-data-as-custom-events#create-data-transformation-rules).
Example of the configuration of the Data Transformation node
9. Confirm by clicking **Apply**.
### Import events
1. Add the **Import Events** node. In the settings of the node, you can check the list of the required columns.
2. Confirm by clicking **Apply**.
### Add the finishing node
12. Add the **End** node.
13. In the upper right corner, click **Save & Run**.
**Result**:
The workflow configuration
You can monitor the flow of the workflow in the **Transformation logs** tab. It contains information about each execution of the workflow.
The logs for the workflow
In the customer's profile you can see the custom event added from the workflow.
The custom event in customer's profile
## Check the use case set up on the Synerise Demo workspace
---
You can check the [data transformation rules](https://app.synerise.com/automations/data-transformation/64abbea9-fcaf-48a8-a90a-c1f04ff81ade) directly in Synerise Demo workspace.
Also, you can check there the created [workflow](https://app.synerise.com/automations/automation-diagram/4f2777ae-7655-4e98-8609-5354bd4d962c).
If you’re our partner or client, you already have automatic access to the **Synerise Demo workspace (1590)**, where you can explore all the configured elements of this use case and copy them to your workspace.
If you’re not a partner or client yet, we encourage you to fill out the contact [form](https://demo.synerise.com/request) to schedule a meeting with our representatives. They’ll be happy to show you how our demo works and discuss how you can apply this use case in your business.
## Generated events
This use case generates approximately 6 events per workflow execution:
[`automation.clientStartPath`](/docs/assets/events/event-reference/automation#automationclientstartpath) (~1), [`automation.clientPathStep`](/docs/assets/events/event-reference/automation#automationclientpathstep) (~3), [`automation.clientEndPath`](/docs/assets/events/event-reference/automation#automationclientendpath) (~1), `complaint.reported` (~1).
## Read more
---
- [Data Transformation](/docs/automation/data-transformation-and-imports/introduction)
- [Events](/docs/assets/events/introduction-to-events)
# Adding linked pages to search engine
To make navigating the site for our customers easier, we can use the product search bar to find returns, policy, contact pages, and so on. With Synerise AI search, you have the possibility to add native hints of the pages in the product search space. You can use custom queries to create matches linked to predefined pages.
This use case describes the process of returning a specified by us phrase linked to return subpage, when a specific phrase like `returns` is searched. Implementation is based on using query rules and returning custom data.
## Prerequisites
---
- Enable [the Search Engine](/docs/ai-hub/ai-search/introduction-to-ai-search) for your workspace and create an [index](/docs/ai-hub/ai-search/create-index).
- [Implement AI search](https://hub.synerise.com/api-reference/ai-search) in any of your channels (mobile app, website, and so on).
## Add Rules
---
In this use case, when a customer types `returns` into a search engine, it will return linked pages containing this phrase as a relevant search result.
1. Go to **AI Hub > Indexes**.
2. Select an index from the list.
3. Click the **Rules** tab.
4. On the right side of the screen, click **Add rule**.
5. Name the rule.
6. To adjust the query conditions, in the **Conditions** section, click **Define**.
1. Choose the **Query** tab.
2. Next to **If query**, choose **Contains** from the dropdown list.
3. In the **Phrase** section, in the **Type word** field, enter `returns`.
4. You can add more phrases.
5. Click **Apply**.
Example of the query conditions
7. To define how the search engine reacts to the defined conditions, in the **Consequences** section, click **Define**.
1. Click **Add consequence** and choose **Return Custom Data** from the dropdown list.
2. Enter a custom JSON data, based on the scrypt below.
This is just an example for reference, you should create JSON according to your business needs.
3. Click **Apply**.
Consequences configuration
8. In the **Schedule** section, you can define when the query rule applies.
8. Click **Save & Publish**.
## What's next
---
In the code that is responsible for the implementation of this AI Search, you need to implement support for the JSON returned by the query rules in order to display the links.
## Check the use case set up on the Synerise Demo workspace
---
You can check the [query rules configuration](https://app.synerise.com/ai-v2/search/indices/755f0b11de79e2233d48f31ba05c71481730272262/query-rules/35598) directly in Synerise Demo workspace.
If you’re our partner or client, you already have automatic access to the **Synerise Demo workspace (1590)**, where you can explore all the configured elements of this use case and copy them to your workspace.
If you’re not a partner or client yet, we encourage you to fill out the contact [form](https://demo.synerise.com/request) to schedule a meeting with our representatives. They’ll be happy to show you how our demo works and discuss how you can apply this use case in your business.
## Generated events
This use case generates approximately 2 events per profile that completes the flow:
[`item.search`](/docs/assets/events/event-reference/search#itemsearch) (~1), [`item.search.click`](/docs/assets/events/event-reference/search#itemsearchclick) (~1).
## Read more
---
- [Configuring AI Search](/docs/ai-hub/ai-search/introduction-to-ai-search#configuring-ai-search).
- [Creating rules](/docs/ai-hub/ai-search/query-rules)
# Push notification with price drop alert
Capturing customer attention and encouraging them to complete a purchase has become crucial for business success. Personalized push notifications about price drops are one of the most effective ways to achieve this goal. Price is often the decisive factor influencing customer purchase decisions, especially for those who are more sensitive to pricing. They might delay or even abandon a purchase if the price offer does not meet their expectations. In this context, it is crucial to inform customers about price reductions, especially those who have shown interest in a product by adding it to their favorites or cart without completing the purchase. This can be very useful in boosting sales.
The following use case provides an example of a price drop alert campaign that you can implement in your business. The scenario described involves sending mobile push notifications to customers regarding products whose price has been reduced. These products were previously added to their favorites or cart but were not purchased.
## Prerequisites
---
- Implement a [custom event](https://hub.synerise.com/api-reference/data-management#operation/CustomEvent) of adding products to favorites. In this use case, this event is named `product.addToFavorites`.
- [Create an item catalog](/docs/ai-hub/recommendations-v2/item-feed-requirements) that contains all product information, including current price.
- [Create a mobile push template](/docs/campaign/Mobile) to be used in the price drop campaign.
## Process
---
1. [Create a product.priceDrop event](/use-cases/mobile-push-price-drop#create-a-productpricedrop-event)
2. [Create an aggregate that returns a list of SKUs of recently purchased products](/use-cases/mobile-push-price-drop#create-an-aggregate-that-collects-sku-of-recently-purchased-products)
3. [Create an aggregate that returns a list of SKUs of items added to favorites by a customer](/use-cases/mobile-push-price-drop#create-an-aggregate-that-returns-sku-of-discounted-products-added-to-favorites)
4. [Create an aggregate that returns the latest prices of products added to favorites](/use-cases/mobile-push-price-drop#create-an-aggregate-that-collects-the-latest-prices-of-products-added-by-users-to-their-favorites)
5. [Create an aggregate that collects the last sku's of products received by users with a discounted price](/use-cases/mobile-push-price-drop#create-an-aggregate-that-collects-the-last-skus-of-products-received-by-users-with-a-discounted-price)
6. [Create a mobile push template](/use-cases/mobile-push-price-drop#create-a-mobile-push-with-template)
7. [Create a workflow](/use-cases/mobile-push-price-drop#create-a-workflow)
## Create a product.priceDrop event
---
In this part of the process, create the `product.priceDrop` event, which will later be used in aggregates and a workflow.
1. Go to **Data Modeling Hub > Events > Add event**.
3. Define the name of the event. In our case, it's `product.priceDrop`
In the API and SDK, this parameter is usually called "action" or "action name".
4. Optionally, define a human-friendly display name that will be shown in **Data Modeling Hub** and **Decision Hub**.
5. Optionally, describe the event.
6. Enable the **Make this event available to anonymous profiles without JWT** toggle.
7. Confirm the settings by clicking **Apply**.
8. In the list of events, find the event you just created.
9. On the right side of the screen, click **Add property**.
10. In the **Source parameter** field, enter the name of the parameter - `sku`.
11. In the **Property name** field, enter a human-readable label for display in the Synerise platform.
12. Optionally, in the **Description** field, you can add an explanation about the purpose of this parameter.
13. To complete the process, click **Save**.
## Create an aggregate that collects sku of recently purchased products
---
This aggregate will be used in the next part of the process to exclude products that the customer has already bought.
1. Go to **Behavioral Data Hub > Live Aggregates > Create aggregate**.
2. As the aggregate type, select **Profile**.
2. Enter the name of the aggregate.
3. Click **Analyze profiles by** and select **Last multi** and in the **Size** field, enter `100`.
4. Select the **Consider only distinct occurrences of the event parameter** option.
5. From the **Choose event** dropdown list, select the **product.buy** event.
6. As the event parameter, select **sku**.
7. As the analyzed period, set **Last 30 days**.
8. Save the aggregate.
Configuration of the aggregate
## Create an aggregate that returns SKU of discounted products added to favorites
---
This aggregate will be used in the further part of the process. The result of this aggregate will be filtered to prevent sending notifications about discounts on the same favorite items.
1. Go to **Behavioral Data Hub > Live Aggregates > Create aggregate**.
2. As the aggregate type, select **Profile**.
2. Enter the name of the aggregate.
3. Click **Analyze profiles by** and select **Last multi** and in the **Size** field, enter `100`.
5. From the **Choose event** dropdown list, select the **product.addToFavorites** event.
6. As the event parameter, select **sku**.
7. Click **+ where** button.
8. From the **Choose parameter** dropdown list, select the **sku** parameter.
9. From the **Choose operator** dropdown list, select **Not in Array**.
10. From the **Choose value** dropdown list, select the aggregate you created in the [previous step](/use-cases/mobile-push-price-drop#create-an-aggregate-that-collects-sku-of-recently-purchased-products).
11. Click **+ where** button.
12. From the **Choose parameter** dropdown list, select the **sku** parameter.
13. From the **Choose operator** dropdown list, select Boolean **Is true**.
14. As the analyzed period, set **Last 30 days**.
15. Save the aggregate.
Configuration of the aggregate
## Create an aggregate that collects the latest prices of products added by users to their favorites
---
This aggregate will return the prices of products from the [previous aggregate](/use-cases/mobile-push-price-drop#create-an-aggregate-that-returns-sku-of-discounted-products-added-to-favorites).
It is important to make sure that the conditions defined in both aggregates are the same in order to get the desired results when combining these aggregates.
1. Go to **Behavioral Data Hub > Live Aggregates > Create aggregate**.
2. As the aggregate type, select **Profile**.
2. Enter the name of the aggregate.
3. Click **Analyze profiles by** and select **Last multi** and in the **Size** field, enter `100`.
5. From the **Choose event** dropdown list, select the **product.addToFavorites** event.
6. As the event parameter, select **price**.
7. Click **+ where** button.
8. From the **Choose parameter** dropdown list, select the **price** parameter.
9. From the **Choose operator** dropdown list, select Boolean **Is true**.
10. Click **+ where** button.
11. From the **Choose parameter** dropdown list, select the **sku** parameter.
12. From the **Choose operator** dropdown list, select **Not in Array**.
13. From the **Choose value** dropdown list, select the aggregate you created [earlier](/use-cases/mobile-push-price-drop#create-an-aggregate-that-collects-sku-of-recently-purchased-products).
14. As the analyzed period, set **Last 30 days**.
15. Save the aggregate.
Configuration of the aggregate
## Create an aggregate that collects the last sku's of products received by users with a discounted price
---
This aggregate later in the process will be used to exclude discounted products already sent to users when the next message is executed.
1. Go to **Behavioral Data Hub > Live Aggregates > Create aggregate**.
2. As the aggregate type, select **Profile**.
2. Enter the name of the aggregate.
3. Click **Analyze profiles by** and select **Last multi** and in the **Size** field, enter `100`.
5. From the **Choose event** dropdown list, select the **product.priceDrop** event.
6. As the event parameter, select **sku**.
14. As the analyzed period, set **Last 30 days**.
8. Save the aggregate.
Configuration of the aggregate
## Create a mobile push with template
---
In this part of the process, create a mobile push template that will be used later in a [workflow](/use-cases/mobile-push-price-drop#create-a-workflow). It should inform a mobile app user about price drop.
1. Go to **Experience Hub > Mobile Push > Templates**.
2. You can use the template from the folder or create your own one using the mobile push code editor. Click **New Template > Simple Push**.
3. Create your mobile push in the code editor.
4. You can use Jinja that lets you refer to event context from the Event Filter that will be configured in [the next part of the process](#configure-the-event-filter-node). This node will be waiting for occurrence of the `product.priceDrop`. This event will contain the object with the list of products' SKU that will be retrieved to the notification template. You can learn more about the logic of inserting dynamic values in such a way in [Reusing event context from preceding nodes](/developers/inserts/automation). The following code is an example of how to do it:
The product price you were interested in is dropped. New price: ${%set eventParams = event.params%}{%set sku = eventParams.sku|split(',')|last%}{%catalogitemv2.store-1(sku)%}{%set itemObject=catalog_result%}{{itemObject.price}}{%endcatalogitemv2%}
5. In the **URL box**, add the following code, which will redirect the customer to the page of the specific product after clicking the notification:
7. Personalize other settings in the template according to your business needs.
8. Save the template.
Example of mobile push notification
## Create a workflow
---
Create a workflow that will be launched for customers that have all necessary consents to receive mobile push notifications and who added any product to favorites. If there is a price drop of products they added to favorites, they will recevie a push notification about discounts on products they liked.
1. Go to **Automation Hub > Workflows > New workflow**.
2. Enter the name of the workflow.
### Configure the trigger
---
In this part of the process, define the conditions for the audience for whom you will run this campaign. In our case, these are customers who have added products to favorites and who have necessary consents in the mobile push channel.
1. As the trigger node, select the **Audience** node. In the configuration of the node:
1. Set the **Run trigger** option to **repeatable**.
2. Set the interval at which you want to run the automation.
3. Select the time zone.
4. Select the **New audience** tab.
5. Click **Define conditions**.
6. From the choose filter dropdown list select the **product.addToFavorite** event.
7. Define the time period for the **last 30 days**.
8. From the **Choose filter** dropdown list, select the `profile.receive_push_messages`. This attribute contains the marketing consent status for push notifications.
9. From the **Choose parameter** dropdown list, select the **Equal** operator and specify the condition as **true**.
10. Click **Choose filter** and from the dropdown list, select the `snrs_has_mobile_push_devices`. It includes information on whether the customer has an active FCM token or not. For more information, please visit this [Conditions for sending and displaying mobile notifications](/docs/campaign/Mobile/mobile_campaign#conditions-for-sending-and-displaying-mobile-notifications).
11. From the **Choose parameter** dropdown list, select the **Equal** operator and set the condition to **true**.
12. Confirm by clicking **Apply**.
Configuration of the Profile filter
### Configure the Generate event node
---
1. Add the **Generate event** node. In this step, check if the product added to favorites by the user has been discounted.
In the configuration of the node:
1. Enter the **Event name**. In our case, we are using `product.addToFavorite` event.
2. In the **Body** section, use the following Jinjava and modify it to your needs:
Jinjava inserted in **Generate event** body must have all empty spaces deleted.
{
  "sku": "{%set last_sku=[]%}{%set last_price=[]%}{%set last_objects_array=[]%}{%set final_sku=[]%}{%set list=[]%}{%aggregate 9d8f2b6d-c9d8-39f5-90f2-c354fd387c28%}{%-for sku in aggregate_result|reverse-%}{%do last_sku.append(sku)%}{%-endfor-%}{%endaggregate%}{%aggregate 28e5708e-b957-3b7d-ae3c-09eae2a3e29b%}{%-for price in aggregate_result|reverse-%}{%do last_price.append(price)%}{%-endfor-%}{%endaggregate%}{%aggregate 8ba45452-30e2-3107-9548-a2841040a5fe%}{%-for listSku in aggregate_result-%}{%do list.append(listSku)%}{%-endfor-%}{%endaggregate%}{%-for sku in last_sku-%}{%set index=loop.index0%} {%do last_objects_array.append({sku: sku, price: last_price[index], index: index})%}{%-endfor-%}{%set last_objects_array_uniq=last_objects_array|unique(attr='sku')%}{%-for last in last_objects_array_uniq-%}{%set key_name=last.sku%}{%catalogvar.store-1(key_name).price%}{%set catalog_item=catalog_result|float%}{%-if last.price|float > catalog_item|float-%}{%-if last.sku in list|join(',')-%}{%-else-%}{%do final_sku.append(last.sku)%}{%-endif-%}{%-endif-%}{%endcatalogvar%}{%-endfor-%}{%-for sku in final_sku-%}{{sku}}{%-if loop.index != final_sku|length-%},{%-endif-%}{%-endfor-%}{%-if final_sku|length < 1-%}{{kill}}{%-endif-%}"
}
Remember to base your code preparation on your aggregate IDs and the directories that contain them. The example code uses the IDs used in the earlier steps.
If you would like to make a change to the condition that must be met in order for the event to be generated, you can do so in this line:
{% if last.price|float > catalog_item|float %}
Currently, this condition checks if the price varies, regardless of how big the change in value will be.
The result of this node is an event, which contains the sku of the discounted products in the sku attribute, separated by commas. If the event is empty, it means that none of the products met the price drop condition.
An example of a generated event:
An example of a generated product.priceDrop event
### Configure the Event filter node
---
1. Add the **Event filter** node. In the configuration of the node:
1. Check event **for period of time**.
2. Define the time range to **1 minute**.
3. From the **Choose event** dropdown list, select the **product.priceDrop** event.
4. As the event parameter, select **sku**.
5. From the **Choose operator** dropdown list, select **Regular expression**.
6. As the value, enter `.+`
7. Confirm by clicking **Apply**.
2. For the **not matched** path, select the **End** node.
3. For the matched path, select the **Send mobile push** node.
### Configure the Send mobile push node
---
At this stage, a mobile push is sent to customers, which contains the products returned in the event from the previous step.
1. In the node configuration, select the **template type**(in our example simple push) and **push template** from the list.
2. Confirm by clicking Apply.
### Add final setting to your workflow
---
1. Add the **End** node.
2. Launch the workflow by clicking **Save&Run**.
Configuration of the workflow
## Check the use case set up on the Synerise Demo workspace
---
You can check the configuration of each step directly in the Synerise Demo workspace:
- [Aggregate that collects sku of recently purchased products](https://app.synerise.com/analytics/aggregates/cf726d37-39af-3a09-bc8b-36953f1a4411)
- [Aggregate that collects product sku's added by the users to their favorites](https://app.synerise.com/analytics/aggregates/9d8f2b6d-c9d8-39f5-90f2-c354fd387c28)
- [Aggregate that collects the latest prices of products added by users to their favorites](https://app.synerise.com/analytics/aggregates/28e5708e-b957-3b7d-ae3c-09eae2a3e29b)
- [Aggregate that counts sku's of products added to favorites by a user](https://app.synerise.com/analytics/aggregates/8ba45452-30e2-3107-9548-a2841040a5fe)
- [Workflow](https://app.synerise.com/automations/workflows/automation-diagram/3ca070b9-91c1-4883-85e8-81274a21502f)
If you’re our partner or client, you already have automatic access to the **Synerise Demo workspace (1590)**, where you can explore all the configured elements of this use case and copy them to your workspace.
If you’re not a partner or client yet, we encourage you to fill out the contact [form](https://demo.synerise.com/request) to schedule a meeting with our representatives. They’ll be happy to show you how our demo works and discuss how you can apply this use case in your business.
## Generated events
This use case generates approximately 9 events per profile that completes the flow:
[`automation.clientStartPath`](/docs/assets/events/event-reference/automation#automationclientstartpath) (~1), [`automation.clientPathStep`](/docs/assets/events/event-reference/automation#automationclientpathstep) (~3), [`automation.clientEndPath`](/docs/assets/events/event-reference/automation#automationclientendpath) (~1), `product.priceDrop` (~1), [`push.send`](/docs/assets/events/event-reference/mobile-push#pushsend) (~1), [`push.view`](/docs/assets/events/event-reference/mobile-push#pushview) (~1), [`push.click`](/docs/assets/events/event-reference/mobile-push#pushclick) (~1).
## Read more
---
- [Aggregates](/docs/crm/aggregates)
- [Automation Hub](/docs/automation)
- [Catalogs](/docs/assets/catalogs/introduction-to-catalogs)
- [Email campaigns](/docs/campaign/e-mail)
- [Product feed](/developers/product-feed)
- [Reusing event context from preceding nodes](/developers/inserts/automation)
- [Segmentation](/docs/analytics/segmentations)
# Visually Similar Product Recommendations with Brand Promotion
Visually similar product recommendations enhance the browsing journey by helping users discover items that match their preferences in color, style, or category. These suggestions are especially powerful on product pages, where shoppers are already engaged with a specific item. By surfacing lookalike alternatives, brands can reduce drop-off and create a smoother path to conversion.
In this use case, the product page features two dedicated recommendation slots. One displays products visually similar in color and category to the viewed item. The second highlights visually similar products from a specific promoted brand. This setup balances personalization with promotional goals, driving both user satisfaction and brand visibility.
## Prerequisites
---
- Prepare an item feed according to the requirements in [Item feed requirements](/docs/ai-hub/recommendations-v2/item-feed-requirements), include the brand attribute in the feed. Optionally, add product attributes that further describe item features — such as color, style, sleeve length. These attributes will allow for even more accurate matching and filtering of recommended products, based on a wider range of parameters.
- Import the [item feed to a catalog](/docs/ai-hub/recommendations-v2/item-feed-requirements) or if you use Google Merchant Feed, then you can pull the feed from the URL during AI Engine configuration.
- [Configure AI engine](/docs/settings/configuration/ai-engine-configuration/engine-configuration-for-recommendations) and enable the Visual Similarity model.
## Create visual recommendations
---
In this part of the process, you will configure a visually similar recommendations which will be added to the website.
1. Go to **AI Hub > (AI Recommendations) Models > Add recommendation**.
2. Enter the name of the recommendation (it is only visible on the list of recommendation).
3. In the **Type & Items feed** section, click **Define**.
4. From the **Items feed** dropdown list, select an item feed.
5. In the **Type** section, choose the **Visual similarity** recommendation type.
6. Confirm the settings by clicking **Apply**.
7. In the **Items** section, click **Define**.
2. Define the minimum and maximum number of items that will be recommended to the user in first from two slots.
3. Define [Static filters](/docs/ai-hub/recommendations-v2/creating-recommendation-campaign#static-filters). Click **Define filter** and choose **Visual builder**.
1. Click **Select value** and from the list of attributes choose `color`.
2. From the **Operator** dropdown list, select **Equals**.
6. Click on the icon and select **Context**.
7. As the value, choose `color`, to be sure that the color of recommended products will be the same as the color of the currently viewed item.
8. Click **and where** and from the list of attributes choose **availability** and set it to **is defined**, so the recommendations will show only available items.
9. Click **and where** and from the list of attributes choose `category`.
5. From the **Operator** dropdown list, select **Equals**.
6. Click on the icon and select **Context**.
7. As the value, choose `category`, and set up its value to **root catalog** to be sure that the category of recommended products will be the same as the category of the currently viewed product.
8. Select value how you want to select your category level - in our case **Whole category**.
9. Click **Apply**.
Static filters
**Result**: A recommendation will show items similar in color to the viewed one; if a product in a particular color is not available, no recommendations will be shown in the first slot.
4. Define [Elastic filters](/docs/ai-hub/recommendations-v2/creating-recommendation-campaign#elastic-filters). Click **Define filter** and choose **Visual builder**.
1. Click **Select value** and from the list of attributes choose one of the available additional parameters of the products created as the part of [prerequisites](#prerequisites).
5. From the **Operator** dropdown list, select **Equals**.
6. Click on the icon and select **Context**.
7. As the value, choose the same parameter, to be sure that the specific parameter of recommended products has the same parameter as the viewed item.
8. Add as many additional parameters as you want.
9. Confirm by clicking **Apply**.
Dynamic filters example
**Result**: In this way, the first recommendation slot will be enriched with additional corresponding attributes and will feature products that possess the same specific details. If no products with a significant number of matching attributes are identified, it will revert to presenting visually similar products in the matching color and category established in the static filters.
7. To add the next slot, click **+** symbol .
1. Define the minimum and maximum number of items that will be recommended to the user in the second from two slots.
3. Define [Static filters](/docs/ai-hub/recommendations-v2/creating-recommendation-campaign#static-filters). Click **Define filter** and choose **Visual builder**.
1. Click **Select value** and from the list of attributes choose `brand`.
5. From the **Operator** dropdown list, select **Equals**.
7. As the value, choose the name of the brand you want to present and promote in this set of recommendations, in our case it will be: `XXX`.
8. Click **and where** and from the list of attributes choose **availability** and set it to **is defined**, so the recommendations will show only available items.
9. Click **and where** and from the list of attributes choose `category`.
5. From the **Operator** dropdown list, select **Equals**.
6. Click on the icon and select **Context**.
7. As the value, choose `category` and as the value set up **root category**, to be sure that the color of recommended products will be from the same category as the currently viewed product.
8. Select how you want to select your category level - in our case **Whole category**.
9. Click **Apply**.
**Result**: A recommendation will show items from specified brand and the category of the currently viewed item. If there are no products available from the specific brand and category, no recommendations will be shown in the slot.
4. Define [Elastic filters](/docs/ai-hub/recommendations-v2/creating-recommendation-campaign#elastic-filters). Click **Define filter** and choose **Visual builder**.
1. Click **Select value** and from the list of attributes choose one of the available additional parameters of the products created as the part of [prerequisites](#prerequisites).
2. From the **Operator** dropdown list, select **Equals**.
6. Click on the icon and select **Context**.
7. As the value, choose the same parameter, to be sure that the the parameter value will be the same for the recommended items and the item currently viewed.
8. Add as many additional parameters as you want.
9. Click **Apply**.
4. Confirm by clicking **Apply**.
**Result**: In this way, the second recommendation slot will be enhanced with additional matching attributes and will display products that share the same detailed parameters. However, if no products with such a high number of matching attributes are found, it will default to showing visually similar products in the same brand and category, as defined in the static filters.
8. In the **Slots and items ordering** section, define how you want to arrange the order of slots and items in the recommendation frame.
8. Optionally, you can define the **Boosting** factors.
9. In the **Additional settings** section, choose **Exclude already bought products**. If your company sells replenishable products, you can set exclusion for specific number of days, for example, exclude products bought not later than 30 days ago.
9. In the right upper corner, click **Save**.
## What's next
---
You now have ready-to-use product recommendations split into two distinct sets. These can be easily implemented on your product page to enhance the browsing experience and increase conversions in your store.
You can also use them in other areas of your customer journey—such as email campaigns, mobile push notifications, or personalized homepage sections—to drive further engagement.
To learn more about it, check the [Distributing recommendations](/docs/ai-hub/recommendations-v2/distributing-recommendations) article.
## Check the use case set up on the Synerise Demo workspace
---
You can check the configuration of [AI Recommendations](https://app.synerise.com/ai-v2/recommendations/yQsFpTzamWvS) in Synerise Demo workspace.
If you’re our partner or client, you already have automatic access to the **Synerise Demo workspace (1590)**, where you can explore all the configured elements of this use case and copy them to your workspace.
If you’re not a partner or client yet, we encourage you to fill out the contact [form](https://demo.synerise.com/request) to schedule a meeting with our representatives. They’ll be happy to show you how our demo works and discuss how you can apply this use case in your business.
## Generated events
This use case generates approximately 4 events per profile that completes the flow:
[`recommendation.generated`](/docs/assets/events/event-reference/recommendations#recommendationgenerated) (~2), [`recommendation.view`](/docs/assets/events/event-reference/recommendations#recommendationview) (~1), [`recommendation.click`](/docs/assets/events/event-reference/recommendations#recommendationclick) (~1).
## Read more
---
- [Recommendations](/docs/ai-hub/recommendations-v2)
# Email with discounted product recommendations
The best way to improve your sales results are personalized recommendations. They are much more effective than simply offering bestsellers or popular products. Each of us has different tastes. Taking into account the user's previous visits to the website and previously viewed products is much easier if we use **AI algorithms.**
There are many examples where these recommendations can be applied, including emails informing customers about a discount in the online store. Showing personalized products can increase engagement, click rates and conversions.
## Example of use - Retail industry
**Challenge**
A customer from the footwear industry decided to supplement their standard newsletter informing customers about a sale with personalized recommendations, e.g. products selected by AI for each user individually based on their previous activities.
Email with discounted product recommendations
They completed the recommendations with the key filter for this communication - the **customer could only receive discounted products** in the message, so that it would be connected with the main message about the discount, which could shorten the customer's path to buying products covered by the promotion.
## Results
Results from this use case:
- OR 14,53%
- CTR 2,18%
- Conversion rate (transaction from AI Recommendation to clicks) 0,8%
## Prerequisites
---
- [Tracking code](/docs/settings/tool/tracking_codes) implemented on your website.
- [Product feed](/developers/product-feed) which:
- will have price and sale price attributes,
- or will have special attribute which labels the products on sale.
- [Email account](/docs/campaign/e-mail/configuring-email-account) configured.
- [Subscriber’s database](/docs/automation/actions/synerise-integrations/import-customers) implemented.
## Process
---
To prepare an email with discounted product recommendations, perform the following steps:
1. [Prepare an AI Recommendation](/use-cases/email-discount-personalized#prepare-an-ai-recommendation).
2. [Prepare an HTML email template](/use-cases/email-discount-personalized#prepare-an-html-email-template) and set up the email communication.
## Prepare an AI Recommendation
---
1. Go to **AI Hub > (AI Recommendations) Models > Add recommendation**.
2. Enter the **name** of the recommendation (it is only visible on the list of recommendation).
If you have a dedicated attribute in the feed that tags only available products, **go to additional attributes**, select it from the list and indicate its value.
Attributes
3. In the **Type & Items feed** section, click **Define**.
4. From the Catalog dropdown list, select a **trained product feed**.
5. Select the recommendation type. If the recommendations are greyed out, it means the AI engine is not trained yet.
6. Confirm the settings by clicking Apply.
## Prepare an HTML email template
---
Prepare and HTML email template in which, using Jinjava, you can add the previously prepared AI Recommendation.
1. Go to **Experience Hub > Email**.
2. Click Email template icon.
3. Create email templates in CSS and HTML by selecting the **Code editor**.
4. Click the **Insert** you want to add to the email. As a result, a field with the Jinjava code appears.
5. To copy the code to the clipboard, click the icon on the right side of the field.
Check the jinja code
6. Prepare an HTML email template
7. Add the title of the email.
8. In the **Schedule tab**, decide when your email is sent.
9. In the UTM & URL parameters section, add the parameters to track the email performance.
10. Send tests of your message to verify if the content of the email is displayed correctly.
Set up settings page
Test message can only be sent when it has a title. More information about creating emails you will find in this [article.](/docs/campaign/e-mail/creating-email-campaigns)
## Check the use case set up on the Synerise Demo workspace
---
Check the [AI campaign](https://app.synerise.com/ai-v2/recommendations/yYr1om9rS8H1) in Synerise Demo workspace. Email campaign settings you can find [here](https://app.synerise.com/campaigns/create/561efe4f-edbf-46ff-ab6b-188bf8270e29).
If you’re our partner or client, you already have automatic access to the **Synerise Demo workspace (1590)**, where you can explore all the configured elements of this use case and copy them to your workspace.
If you’re not a partner or client yet, we encourage you to fill out the contact [form](https://demo.synerise.com/request) to schedule a meeting with our representatives. They’ll be happy to show you how our demo works and discuss how you can apply this use case in your business.
## Generated events
This use case generates approximately 6 events per profile that completes the flow:
[`message.send`](/docs/assets/events/event-reference/email#messagesend) (~1), [`newsletter.open`](/docs/assets/events/event-reference/email#newsletteropen) (~1), [`newsletter.click`](/docs/assets/events/event-reference/email#newsletterclick) (~1), [`recommendation.generated`](/docs/assets/events/event-reference/recommendations#recommendationgenerated) (~1), [`recommendation.view`](/docs/assets/events/event-reference/recommendations#recommendationview) (~1), [`recommendation.click`](/docs/assets/events/event-reference/recommendations#recommendationclick) (~1).
## Read more
---
- [Creating emails](/docs/campaign/e-mail/creating-email-campaigns)
- [Jinjava inserts](/developers/inserts/insert-usage)
- [Personalized recommendations](/docs/ai-hub/recommendations-v2/recommendation-types#personalized)
- [Segmentation](/docs/analytics/segmentations/creating-segmentations)
# Award loyalty points for reaching the specific number of transactions
Loyalty programs can build customer loyalty at a very low cost and make your customers more willing to shop in your store. You can award your customers with points for various activities which can be exchanged for specific products from your offer.
You can use different types of mechanisms of awarding points, based on your business needs. For example, awarding points for making a specific number of transactions during the specific time period, helps you encourage customers to spend more money and increases the number of bought products. What is more, if we use this mechanism in the FMCG brand, awarding points for buying specific products regularly, can develop a new habit in customers' daily routine.
In this use case, we create a mechanism for awarding 1000 points for buying 10 coffees in the last 14 days. Then, we send a mobile push message with the information about awarded points. The workflow works only for the members of the loyalty program.
## Prerequisites
---
- Implement transaction events using [SDK](/developers/web/transactions-sdk) or [API](https://hub.synerise.com/api-reference/data-management#operation/CreateATransaction). Make sure that you implement `category` parameter in the transaction events.
- Integrate mechanism for awarding loyalty points.
For example, you can award loyalty points after transaction. In such case, create an [expression that counts how many loyalty points](/docs/crm/expressions/loyalty-point-count) are assigned to a customer for a transaction. Once you prepare the expression, please contact [Support Team](https://synerise.com/support) to configure materialization of loyalty points. After such configuration, every time loyalty points are assigned to a customer, the `points.loyalty` event will be generated in a customer’s profile with information about the number of loyalty points they received after a transaction (the `points` parameter). During implementation of `points.loyalty` event remember about adding parameter `description` which describe for which activity customer get points.
Learn more about events [here](/docs/assets/events/event-definitions).
- Collect the [custom event](/developers/mobile-sdk/event-tracking) which sends information to Synerise about joining a loyalty program (for example `account.status` with parameter `accountStatus` equal to `active`). Such an event with the appropriate status should be sent each time the membership status changes (when the customer resigns from the program or joins again).
In this case, when a customer joins the loyalty program, a custom event is generated on their card. However, these conditions and the scenario can be adapted to your business needs, for example, you can count the customers who joined the loyalty program using the registration event in the mobile application.
- Integrate Synerise [mobile SDK](/developers/) in your mobile application.
- Implement mobile pushes in your mobile application: [iOS](/developers/mobile-sdk/configuring-push-notifications/ios), [Android](/developers/mobile-sdk/configuring-push-notifications/android).
- [Create a mobile push template](/docs/campaign/Mobile/creating-mobile-push) with information about granted points, that will be used later in a [workflow](/use-cases/mechanism-of-stamps#create-a-workflow).
## Security configuration
---
Before you start working with this hub, if you are a Synerise customer or partner, consider reading [the section about denylisting events](/docs/settings/tool/api#denylist). This natively accessible configuration will allow you to manage the restrictions in points management that may help you prevent fraud.
## Process
---
In this use case, you will go through the following steps:
1. [Create an aggregate](/use-cases/mechanism-of-stamps#create-an-aggregate-checking-the-status-of-the-membership) which returns the current status of customer's membership.
2. [Create an aggregate](/use-cases/mechanism-of-stamps#create-an-aggregate-which-counts-the-bought-products-in-last-14-days) which counts bought products from category `coffee` in last 14 days.
3. [Create a workflow](/use-cases/mechanism-of-stamps#create-a-workflow) in which you award the specific number of points and send mobile push to customers who meet the conditions of the promotion.
## Create an aggregate checking the status of the membership
---
In this part of the process, you will create the aggregate that returns the current status of the customer's membership.
1. Go to **Behavioral Data Hub > Live Aggregates > Create aggregate**.
2. As the aggregate type, select **Profile**.
2. Enter the name of the aggregate.
3. Click **Analyze profiles by** and select **Last**.
4. From the **Choose event** dropdown list, select the **account.status** event.
5. As the event parameter, choose **accountStatus**.
6. Set the date range for this aggregate to **Lifetime**.
7. To save the aggregate, click **Save**.
Configuration of the aggregate
## Create an aggregate which counts the bought products in last 14 days
---
In this part of the process, you will create an aggregate which counts the bought products from the `coffee` category in last 14 days.
1. Go to **Behavioral Data Hub > Live Aggregates > Create aggregate**.
2. As the aggregate type, select **Profile**.
2. Enter the name of the aggregate.
3. Click **Analyze profiles by** and select **Count**.
4. From the **Choose event** dropdown, select the **product.buy** event.
5. As the event parameter, choose **category**.
6. As the operator, choose **Equal**.
6. As the value of the parameter, add `coffee`.
6. Set the period for the aggregate to **last 14 days**.
7. To save the aggregate, click **Save**.
Configuration of the aggregate
## Create a workflow
---
At this stage, you will create a workflow which is triggered by the transaction event. The workflow progresses to the filter which checks if:
- the customer has purchased at least 10 coffees in the last 14 days,
- the customer is a member of the loyalty program,
- the customer hasn't received points for purchasing 10 coffees yet
If the conditions are met, the system generates an event that awards loyalty points for the customer and sends the mobile push to that customer.
If the conditions are not met, the customer finishes the workflow.
1. Go to **Automation Hub > Workflows > New workflow**.
2. Enter the name of the workflow.
### Define the Profile Event trigger node
---
Configure the conditions that trigger the workflow. Use the `product.buy` event and the `coffee` category as the event parameter.
1. As the first node of the workflow, add **Profile Event**.
2. From the **Choose event** dropdown menu, choose the `product.buy` event.
3. As the parameter, choose **category**.
4. As the operator, choose **Equal**.
5. As the value of the parameter, add `coffee`.
6. Confirm by clicking **Apply**.
Configuration of the Profile Event node
### Define the Profile Filter node
---
As the next step, add the Profile Filter node which contains the conditions a customer must meet be awarded with loyalty points:
- the customer has purchased at least 10 coffees in the last 14 days,
- the customer is a member of the loyalty program,
- the customer hasn't received points for purchasing 10 coffees yet
1. Add the **Profile Filter** node.
2. Click **Choose filter** button.
2. Choose **Profiles > Aggregates** and select the [aggregate counting the number of coffees bought](/use-cases/mechanism-of-stamps#create-an-aggregate-which-counts-the-bought-products-in-last-14-days) created in the previous part of the process.
3. As the **Operator**, choose **More or equal to**.
4. As the value, enter `10`.
5. Click **Choose filter** button.
6. As the next condition, select the **Events** and select the `points.loyalty` event from the list.
7. Click **+ where** and select the **description** parameter.
8. As the operator, choose **Equal**.
5. As the value of the parameter, enter the name of the promotion. In our case we called it `Points for Coffee`.
6. Change the **Profiles matching funnel** expression to **Profiles not matching funnel** by clicking the **matching** word.
7. Set the time range to **last 14 days**.
7. Click **Choose filter** button.
8. As the last condition, choose **Profiles > Aggregates** and select the [aggregate which returns the current status of customer's membership](/use-cases/mechanism-of-stamps#create-an-aggregate-checking-the-status-of-the-membership) created in the previous part of the process.
9. As the operator, choose **Equal**.
5. As the value of the aggregate, enter `active`.
12. Click **Apply**.
The Profile Filter node configuration
### Define the Generate Event node
---
At this stage, the workflow will generate an event on the customer's profile with loyalty points awarded for the purchase of 10 coffees during last 14 days.
1. To the **matched** path, add **Generate Event**. In the configuration of the node:
2. In the **Event name** field, enter the name of the event that will be generated on the customer's profile. In this case, it is `points.loyalty`.
While naming your custom event, follow the pattern used for the default events in the application, such as `page.visit`, `product.buy`, and so on.
4. In the **Body** section, define the parameters of this event, and click **Apply**.
**Example content of **Body** section:**
{
     "description": "Points for Coffee",
     "points": 1000
   }
The action of this event and the description parameter must correspond to the condition in [the Profile Filter](/use-cases/mechanism-of-stamps#define-the-profile-filter-node) that checks if a customer received points for purchasing 10 coffees already.
The event body is an example. You can add more parameters or change the point calculation formula according to your business needs.
The Generate Event node configuration
### Define the Send Mobile Push node
---
Add **Send Mobile Push** node. This node will send the mobile push to customers who meet the conditions and gained 1000 points.
1. Select the type of the mobile push notification as **Simple Push**.
2. Select the push template, created as the part of prerequisites with the information about points gained.
3. Skip the **Additional parameters**.
3. Confirm the settings by clicking **Apply**.
The Send Mobile Push Event node configuration
### Set up final settings of the workflow
---
1. Add **End** nodes to:
- **Not matched** path from the **Profile Filter** node.
- After the **Send Mobile Push** node.
2. Set the capping for the workflow to one time for 14 days.
3. Optionally, add titles to each node so the workflow will be more understandable to your colleagues.
4. To save it as a draft, click **Save** or activate by clicking **Save & Run**.
The workflow configuration
## Check the use case set up on the Synerise Demo workspace
---
You can check directly in Synerise Demo account the configuration of the:
- [aggregate](https://app.synerise.com/analytics/aggregates/4538a92b-b5e7-338e-a7f0-a4c690b63272) which returns the current status of customer membership,
- [aggregate](https://app.synerise.com/analytics/aggregates/6202c38f-2ce0-38cd-9825-448fe2cb4eea) which counts bought products from category "coffee" in last 14 days,
- [workflow](https://app.synerise.com/automations/automation-diagram/dae488d5-0f2d-4cf1-b7a4-501f7c5a6380) in which you add the specific number of points and send mobile push to customers who meet the conditions of the promotion.
If you’re our partner or client, you already have automatic access to the **Synerise Demo workspace (1590)**, where you can explore all the configured elements of this use case and copy them to your workspace.
If you’re not a partner or client yet, we encourage you to fill out the contact [form](https://demo.synerise.com/request) to schedule a meeting with our representatives. They’ll be happy to show you how our demo works and discuss how you can apply this use case in your business.
## Generated events
This use case generates approximately 10 events per profile that completes the flow:
[`product.buy`](/docs/assets/events/event-reference/items#productbuy) (~1), [`automation.clientStartPath`](/docs/assets/events/event-reference/automation#automationclientstartpath) (~1), [`automation.clientPathStep`](/docs/assets/events/event-reference/automation#automationclientpathstep) (~3), [`automation.clientEndPath`](/docs/assets/events/event-reference/automation#automationclientendpath) (~1), [`points.loyalty`](/docs/assets/events/event-reference/loyalty#pointsloyalty) (~1), [`push.send`](/docs/assets/events/event-reference/mobile-push#pushsend) (~1), [`push.view`](/docs/assets/events/event-reference/mobile-push#pushview) (~1), [`push.click`](/docs/assets/events/event-reference/mobile-push#pushclick) (~1).
## Read more
---
- [Aggregates](/docs/crm/aggregates)
- [Automation Hub](/docs/automation)
- [Loyalty programs basics](/use-cases/loyalty-programs-basics)
- [Mobile campaigns](/docs/campaign/Mobile)
# Extra points for purchase from specific category during specific time
The pre-Christmas period is a very suitable moment for temporary actions to diversify basic loyalty programs, as it usually works well for your customers who have promised to themselves to buy a gift. You can launch a special time-limited promotion for a selected product category during the weekend right before Christmas for the purchase of which the customer can gain twice as many points.
In this use case, we will present an example of an action that doubles points for the purchase of all products from the `Christmas` category during the pre-Christmas weekend. Customers who make such a purchase will receive an email with information about doubling of points for the specific purchase and the current points balance.
## Prerequisites
---
- [Create an email account](/docs/campaign/e-mail/creating-email-campaigns).
- Implement transaction events using [SDK](/developers/web/transactions-sdk) or [API](https://hub.synerise.com/api-reference/data-management#operation/CreateATransaction).
- Implement basic [loyalty program](/use-cases/loyalty-programs-basics) based on which you granted customers with 1 point for every 1 PLN spent.
- Create an [email template](/docs/campaign/e-mail) with the information about current point balance.
To add the current point balance dynamically to your email template, use the [expression insert](/developers/inserts/insert-usage#expressions) and use the ID of the [expression created in the next step](/use-cases/loyalty-points-for-category#create-an-expression-with-points-balance). The example usage of the expression insert: Your current loyalty points balance is {% expression %}EXPRESSION ID{% endexpression %} points.
## Security configuration
---
Before you start working with this hub, if you are a Synerise customer or partner, consider reading [the section about denylisting events](/docs/settings/tool/api#denylist). This natively accessible configuration will allow you to manage the restrictions in points management that may help you prevent fraud.
## Process
---
1. [Create an aggregate](/use-cases/loyalty-points-for-category#create-an-aggregate) that returns the sum of loyalty points for an individual customer.
2. [Create an expression with points balance](/use-cases/loyalty-points-for-category#create-an-expression-with-points-balance).
3. [Create a workflow](/use-cases/loyalty-points-for-category#create-a-workflow) which doubles the points for every product from the `Christmas` category purchased during the specific weekend and sends the email with the final point status.
## Create an aggregate
---
Create an aggregate that returns the sum of loyalty points for an individual customer.
1. Go to **Behavioral Data Hub > Live Aggregates > Create aggregate**.
2. As the aggregate type, select **Profile**.
2. Enter a meaningful name of the aggregate.
3. Set the **Analyze profiles by** option to **Sum**.
4. Click the **Choose event** dropdown list.
5. From the dropdown list, select the event that is generated every time the customer is awarded with loyalty points, in this use case it's the `points.loyalty` event.
6. From the **+ where** dropdown list, select the `points` parameter.
7. Using the date picker in the lower-right corner, set the time range to **Lifetime**.
8. Save the aggregate.
The aggregate that sums points from the points.loyalty event
## Create an expression with points balance
---
In this part of the process, create an [expression](/docs/crm/expressions) which will be used to calculate points balance for the customer.
In this use case, the expression is built based on the aggregate that returns the sum of loyalty points gained.
The described expression configuration is just an example. You can define additional conditions such as burned points or points added additionally for completing some other extra activity. It all depends on your business requirements and how your loyalty program is implemented.
1. Go to **Behavioral Data Hub > Expressions > New expression**.
2. Enter a meaningful name of the expression.
3. Leave the expression type at default (**Attribute**).
4. Build the formula of the expression.
1. Click the **Select** node.
2. From the dropdown list, select **Profile**.
3. Click the **unnamed** node that appeared on the canvas.
4. Scroll down the page and click **Choose attribute**.
5. On the dropdown list, select the aggregate for `points.loyalty` that you created [earlier](/use-cases/in-app-point-balance-reminder#create-an-aggregate).
6. Save the expression.
The configuration of the expression
## Create a workflow
---
Create a workflow which:
- doubles the points for the purchase of every product from the `Christmas` category during the specific weekend,
- sends the email message with the current point balance
1. Go to **Automation Hub > Workflows > New workflow**.
2. Enter the name of the workflow.
### Define the Profile Event trigger node
At this stage, we will configure the conditions that launch the workflow. As a trigger, we will use the `product.buy` event.
1. As the first node of the workflow, add **Profile Event**. In the configuration of the node:
2. From **Choose event** dropdown menu, choose the `product.buy` event.
3. Click the **+ where** button and from the dropdown list, choose **category**.
4. From the **Choose operator** dropdown, select **Equal**.
5. In the text field, type the name of the category. In our case it will be `Christmas`.
6. Click the **+ where** button and from the dropdown list, choose **TIMESTAMP**.
7. From the **Choose operator** dropdown, choose **Custom (Date)**.
8. Click **Select date range**.
9. Set the time range in which your promotion is active. In this use case, it will be the weekend before Christmas.
6. Confirm by clicking **Apply**.
Profile Event trigger node
### Configure the Generate Event node
In this part of the process, you will create a node which generates a `points.loyalty` event which adds extra loyalty points. This event is created in addition to the regular `points.loyalty` event. In result, the customer receives points for a purchase from the `Christmas` category twice:
1. Points based on the [loyalty points schema](/use-cases/loyalty-programs-basics#prepare-the-points-schema) described as a part of prerequisites.
2. Extra points through this workflow.
The body of the additional event will contain the `points` parameter calculated by multiplying the value of the `$finalUnitPrice` and `$quantity` parameters from the `product.buy` event.
1. As the second node of the workflow, add **Generate Event**.
2. In the **Event name**, enter `points.loyalty`.
4. In the **Body** section, define the parameters of this event, and click **Apply**.
**Example content of **Body** section:**
The event body is an example. You can add more parameters or change the point calculation, perform any mathematical formula according to your business needs.
Generate Event node configuration
### Configure the Event Filter node
At this stage, we make sure the points have beed awarded to the customer before sending an email.
1. Add the **Event Filter** node.
2. Check **without limits**.
3. From the **Choose event** dropdown list, select the `points.loyalty` event (the same you generated in the [previous step](/use-cases/loyalty-points-for-category#configure-the-generate-event-node).
4. As the event parameter, select **promo** (the same parameter as in the body of the **Generate Event** node).
5. From the **Choose operator** dropdown list, select **Equal**.
6. As the value, enter `ChristmasPromo` which is the value of the `promo` parameter from the body of the **Generate Event** node. This way you make sure that a customer got extra points for the purchase.
7. Confirm by clicking **Apply**.
Event Filter node configuration
### Configure the Send Email node
---
1. Add a **Send Email** node to the **matched** path.
2. In the settings of the node:
1. Define the settings of the **Sender details** section.
2. In the **Content** section, enter the subject of the email and select choose the template of the email you have prepared as a part of the prerequisites.
3. Optionally define the settings in the **UTM & URL parameters** and **Additional parameters** sections.
2. Click **Apply**.
### Prepare the final settings
---
1. After **Send Email**, add the **End** node as well as to the **NOT MATCHED** path.
2. Optionally, define **capping**.
3. Optionally, add titles to each node so the workflow will be more understandable to your colleagues.
4. Activate the workflow by clicking **Save & Run**.
The workflow configuration
## Check the use case set up on the Synerise Demo workspace
---
You can check the configuration of the:
- [aggregate with the points balance](https://app.synerise.com/analytics/aggregates/174ba14c-b0d7-372d-acb2-8f1365af3083)
- [expression with the points balance](https://app.synerise.com/analytics/expressions/2d4c0862-31ac-43c7-a991-97a1e5455e8a)
- [workflow doubling the points](https://app.synerise.com/automations/automation-diagram/db6e214d-59ee-49e1-ac73-62341017f825)
directly in Synerise Demo workspace.
If you’re our partner or client, you already have automatic access to the **Synerise Demo workspace (1590)**, where you can explore all the configured elements of this use case and copy them to your workspace.
If you’re not a partner or client yet, we encourage you to fill out the contact [form](https://demo.synerise.com/request) to schedule a meeting with our representatives. They’ll be happy to show you how our demo works and discuss how you can apply this use case in your business.
## Generated events
This use case generates approximately 11 events per profile that completes the flow:
[`product.buy`](/docs/assets/events/event-reference/items#productbuy) (~1), [`points.loyalty`](/docs/assets/events/event-reference/loyalty#pointsloyalty) (~2), [`automation.clientStartPath`](/docs/assets/events/event-reference/automation#automationclientstartpath) (~1), [`automation.clientPathStep`](/docs/assets/events/event-reference/automation#automationclientpathstep) (~3), [`automation.clientEndPath`](/docs/assets/events/event-reference/automation#automationclientendpath) (~1), [`message.send`](/docs/assets/events/event-reference/email#messagesend) (~1), [`newsletter.open`](/docs/assets/events/event-reference/email#newsletteropen) (~1), [`newsletter.click`](/docs/assets/events/event-reference/email#newsletterclick) (~1).
## Read more
---
- [Automation Hub](/docs/automation)
- [Email campaigns](/docs/campaign/e-mail)
- [Expressions](/docs/crm/expressions)
- [Jinjava inserts](/developers/inserts)
- [Loyalty programs basics](/use-cases/loyalty-programs-basics)
# Send RFM score to Google Analytics
You can power your Google Analytics data with information collected in Synerise. You can do it by sending an event to Google Analytics with the data extracted from Synerise such as the customer attributes, customer activities, results of analyses, predictions, and so on.
In this particular use case, we use Automation Hub to send each visitor's result of an [RFM analysis](/use-cases/rfm-analysis) to Google Analytics. The workflow is triggered every week for visitors from the last 7 days and sends the RFM analysis results of each customer to Google Analytics as an `rfm.score` event. The event contains two parameters:
- `score` contains numeric information about the customer's score,
- `rfmSegmentName` contains the name of the RFM segment the customer belongs to.
## Prerequisites
---
- Get the measurement ID associated with a stream in your Google Analytics panel. Navigate to **Admin > Data Streams > {stream name} > Measurement ID**.
- Create an API secret in your Google Analytics panel. To create a new secret, navigate to **Admin > Data Streams > {stream name} > Measurement Protocol > Create**.
- Implement [Synerise JS SDK](/developers/web/installation-and-configuration) on your website.
- Implement transaction events using [SDK](/developers/web/transactions-sdk) or [API](https://hub.synerise.com/api-reference/data-management#operation/CreateATransaction).
- [Enable saving Google Analytics ID in profiles](/docs/automation/integration/google-analytics/send-events-to-ga#getting-the-customer-id-from-google-analytics).
- [Create an RFM analysis](/use-cases/rfm-analysis).
- [Establish a connection between Synerise and Google Analytics](/docs/automation/integration/google-analytics/send-events-to-ga#create-a-connection).
## Process
---
In this use case, you will go through the following steps:
1. [Create an expression that returns the name of the RFM segment a customer belongs to](/use-cases/google-analytics-integration#create-an-expression-that-returns-rfm-segment-name).
2. [Create a workflow that sends events to Google Analytics](#create-a-workflow).
## Create an expression that returns RFM segment name
---
In this part of the process, you will create an expression that retrieves a segment name from an [RFM segmentation to which a customer belongs](/use-cases/rfm-analysis#create-a-rfm-segmentation).
1. Go to **Behavioral Data Hub > Expressions > New expression**.
2. Enter a meaningful name of the expression.
3. Leave the **Expression for** at default (**Attribute**).
4. Click the **Select** node.
5. From the dropdown list, select **Profile**.
6. Click the **unnamed** node.
7. On the bottom of the page, click **Choose attribute**.
8. From the dropdown list, select **Segmentations**.
9. Find [the RFM segmentation](/use-cases/rfm-analysis#create-a-rfm-segmentation) and select it.
The configuration of the expression that returns RFM segment name
10. Save the expression.
## Create a workflow
---
Create a workflow that is triggered for the customers who visited your website during the last 7 days. The system will send an `rfm.score` event with the score a customer received in the RFM analysis and with the name of the segment they belong to. The RFM result will be saved in Google Analytics for each customer, using the customer's Google Analytics ID saved as a profile attribute in Synerise.
This workflow will be triggered once a week, for the group of customers who were active on the website during the last 7 days.
1. In Synerise, go to **Automation Hub > Workflows > New workflow**.
2. Enter the name of the workflow.
### Define the audience of the workflow
The workflow is triggered for customers who visited a website during the last 7 days. Define the conditions in the following way:
3. As the first node, add **Audience**. In the configuration of the node:
1. Set the **Run trigger** option to **repeatable**.
2. Set the interval to 1 week.
3. In the **Begin at** field, select the first launch of the trigger.
4. From the **Timezone** dropdown list, select the time zone consistent with the time zone selected for your workspace.
5. In the **Define audience** section, click the **New audience** tab.
6. From the **Choose filter** dropdown list, select **page.visit**.
7. In the right bottom corner, set the date to **Last 7 days**.
4. Confirm by clicking **Apply**.
### Configure the Google Analytics node
In this step, you will configure the settings of the Google Analytics integration in the **Send Event** node. This includes:
- Selecting the connection (for authorization purposes)
- Defining the customer identifier - you will use an insert that retrieves the value of the `cid` attribute that stores the Google Analytics ID
- Defining the event and event parameters to be sent to Google Analytics
You can find the detailed instructions for each action below.
If you want to learn more about **Send Event** node, click [here](/docs/automation/integration/google-analytics/send-events-to-ga).
4. On the **Audience** node, click **THEN**.
5. From the node list, select **Google Analytics > Send Event**.
6. In the configuration of the node:
1. Select the connection.
If you haven’t established a connection yet, see [Create a connection](/docs/automation/integration/google-analytics/send-events-to-ga#create-a-connection).
2. In the **Customer ID** field, enter `{{ customer['cid'] }}`
This way, you will retrieve the value of the `cid` attribute.
3. In the **Event name** field, enter `rfm.score`
4. In the **Event parameters** field, enter the parameters of the event in the form of the JSON object.
The object uses the `{% expression %}` insert to refer to the value of the RFM-related expressions.
For example:
- Replace `rfm-score-expression` with the ID of [the expression that calculates the RFM score](/use-cases/rfm-analysis#create-an-expression).
- Replace `rfm-segment-name-expression` with ID of the expression you created in [this part of the process](/use-cases/google-analytics-integration#create-an-expression-that-returns-rfm-segment-name).
7. Confirm by clicking **Apply**.
The configuration of the Send Event node
### Add the finishing node
8. On the **Send Event**, click **THEN**.
9. Add the **End** node.
Final configuration of the workflow
9. Activate the workflow by clicking **Save & Run**.
## Check the use case set up on the Synerise Demo workspace
---
You can check the configuration of:
- [The expression that retrieves the name of the RFM segment](https://app.synerise.com/analytics/expressions/6b15f344-94b1-49c3-85f3-e375bae7af7d)
- [The expression that calculates RFM](https://app.synerise.com/analytics/expressions/70716383-93cf-479c-99f0-15ad4c826472)
- [The workflow that sends events to Google Analytics with RFM results](https://app.synerise.com/automations/automation-diagram/d2b5a05c-aaae-431b-88b5-e1f285a39e09)
If you’re our partner or client, you already have automatic access to the **Synerise Demo workspace (1590)**, where you can explore all the configured elements of this use case and copy them to your workspace.
If you’re not a partner or client yet, we encourage you to fill out the contact [form](https://demo.synerise.com/request) to schedule a meeting with our representatives. They’ll be happy to show you how our demo works and discuss how you can apply this use case in your business.
## Generated events
This use case generates approximately 4 events per profile that completes the flow:
[`automation.clientStartPath`](/docs/assets/events/event-reference/automation#automationclientstartpath) (~1), [`automation.clientPathStep`](/docs/assets/events/event-reference/automation#automationclientpathstep) (~1), [`automation.clientEndPath`](/docs/assets/events/event-reference/automation#automationclientendpath) (~1), `googleAnalytics.sendEvent` (~1).
## Read more
---
- [Automation Hub](/docs/automation)
- [Dynamic content](/docs/campaign/dynamiccontent)
- [Integration](/docs/automation/integration)
- [Send Event node](/docs/automation/integration/google-analytics/send-events-to-ga)
# Rewarding customers in loyalty program for custom activities
When building a loyalty program, you usually want improve customer engagement and experience, increase revenue and sales, and increase customer lifetime value. To achieve these goals, you need tools that make the whole process simple to build and attractive to the customer, so they want to feel as a part of your company. Synerise has your back. We ensure you have the best experience building loyalty scenarios, including the most flexible way to calculate and charge loyalty points.
A flexible approach to collecting loyalty points allows them to be earned through interaction in the mobile app, website, and by interaction with external tools. If any machine, tool, or device can send us a custom event, we can assign points in the loyalty program without having to create advanced integrations.
As an example, we consider the bottle machines of one of our clients. The company created this solution for customers to encourage them to use green solutions that help protect the environment.
In this use case, we describe the process of adding points in the loyalty program for returning used bottles to the bottle machine. The bottle machine sends a custom event to Synerise, informing about the bottles' return, the number of bottles, and their description. Based on this information, Synerise assigns loyalty points for the activity to customers who have previously scanned their barcode from the app. All the collected parameters are used in the push notification sent to the customer when the bottles are returned to the bottle machine.
## Prerequisites
---
- Integrate Synerise [mobile SDK](/developers/) in your mobile application.
- Implement mobile pushes in your mobile application: [iOS](/developers/mobile-sdk/configuring-push-notifications/ios), [Android](/developers/mobile-sdk/configuring-push-notifications/android).
- Use [custom events](https://hub.synerise.com/api-reference/data-management#operation/CustomEvent) to save data to customers' profiles when they perform an activity.
In this particular use case:
- The bottle machine reads the barcodes on the bottles.
- A custom `client.returnBottles` event is sent from the machine to Synerise.
- The custom event's parameters include:
- the number of bottles (`productsCount`)
- the customer's identifier (`custom_identify`)
The event name and parameters are examples. You can define your own names and parameters depending on your business needs.
- Create a mobile push template that will be used later in a [workflow](/use-cases/adding-points-for-custom-event#create-a-workflow). It should inform customers who use mobile app about points added for returned bottles. To do it, use `{{event.params.points}}` in code of your message.
## Security configuration
---
Before you start working with this hub, if you are a Synerise customer or partner, consider reading [the section about denylisting events](/docs/settings/tool/api#denylist). This natively accessible configuration will allow you to manage the restrictions in points management that may help you prevent fraud.
## Create a workflow
---
This use case is based on a workflow triggered by the `client.returnBottles` event. The workflow generates an event with the number of points rewarded to the specific customer for this activity and sends them a push notification with this information.
1. Go to **Automation Hub > Workflows > New workflow**.
2. Enter the name of the workflow.
### Define the Profile Event trigger node
---
At this stage, you should configure the conditions that trigger the workflow. Use the `client.returnBottles` event as a trigger.
1. As the first node of the workflow, add **Profile Event**.
2. From the **Choose event** dropdown menu, choose the `client.returnBottles` event.
2. Confirm by clicking **Apply**.
Configuration of the Profile Event node
### Define the Generate Event node
---
At this stage, an event with information about the number of points added for returning bottles for specific customer will be generated.
1. As the second node of the workflow, add **Generate Event**.
2. In the **Event name**, enter the name of the event that will be generated on the customer's profile. In this case, it is `points.upcharge`. This event cause counting the points for customers.
While naming your custom event, follow the `context.action` pattern used for the default events in the application, such as `page.visit`, `product.buy`, and so on.
4. In the **Body** section, define the parameters of this event, and click **Apply**.
**Example content of **Body** section:**
{
     "description": "Points for returning bottles",
     "displayHeader": "Eco - second life of your bottle",
     "points": "{{event.params.productsCount|multiply(10)|int}}"
   }
In the jinjava code presented above, `points` is the number of points added to the profile. This number is counted based on the `productsCount` from the `client.returnBottles` event, which stores the number of returned bottles. In our use case, the number of points is the number of bottles multiplied by 10.
The event body is an example. You can add more parameters or change the point calculation formula according to your business needs.
### Define the Profile Filter node
---
As the next step, you should add the Profile Filter node, which checks if the customer agreed to receive notifications about the points status.
1. Add **Profile Filter** node.
2. In the settings of the node choose **Profiles > Attributes** and select the attribute that is assigned to customers who have agreed to receive push notifications. In our case it is `receive_push_messages`.
3. As the **Operator**, choose **Boolean - Is true**.
4. Click **Apply**.
The Profile Filter node configuration
### Configure the Send Mobile Push node
---
1. To the **Matched** path, add a **Send Mobile Push** node.
2. In the settings of the node, choose the **Template type** of the mobile push and add the template you have prepared in the prerequisites.
2. Click **Apply**.
### Prepare the final settings
---
1. To the **Not matched** path and after **Send Mobile Push**, add **End** nodes.
2. Optionally, define **capping**.
3. Optionally, add titles to each node so the workflow will be more understandable to your colleagues.
4. Activate the workflow by clicking **Save & Run**.
The workflow configuration
## Check the use case set up on the Synerise Demo workspace
---
You can also check the [workflow configuration](https://app.synerise.com/automations/automation-diagram/2e0ad164-e7c6-41a9-8e30-ae76bd44f0eb) directly in Synerise Demo workspace.
If you’re our partner or client, you already have automatic access to the **Synerise Demo workspace (1590)**, where you can explore all the configured elements of this use case and copy them to your workspace.
If you’re not a partner or client yet, we encourage you to fill out the contact [form](https://demo.synerise.com/request) to schedule a meeting with our representatives. They’ll be happy to show you how our demo works and discuss how you can apply this use case in your business.
## Generated events
This use case generates approximately 10 events per profile that completes the flow:
`client.returnBottles` (~1), [`automation.clientStartPath`](/docs/assets/events/event-reference/automation#automationclientstartpath) (~1), [`automation.clientPathStep`](/docs/assets/events/event-reference/automation#automationclientpathstep) (~3), [`automation.clientEndPath`](/docs/assets/events/event-reference/automation#automationclientendpath) (~1), `points.upcharge` (~1), [`push.send`](/docs/assets/events/event-reference/mobile-push#pushsend) (~1), [`push.view`](/docs/assets/events/event-reference/mobile-push#pushview) (~1), [`push.click`](/docs/assets/events/event-reference/mobile-push#pushclick) (~1).
## Read more
---
- [Automation Hub](/docs/automation)
- [API](/developers/api)
- [Integration](/docs/automation/integration)
- [Mobile campaigns](/docs/campaign/Mobile)
# Co-Brand Decisioning Layer segmentation based on average monthly transactions
In this use case, you will create a segmentation that groups customers based on their average number of transactions per month. This allows you to identify more and less active buyers and use that information in downstream actions, such as cross-workspace audience sharing, personalized recommendations, and dynamic content targeting.
**Context**
To make this scenario clear, we assume two separate workspaces:
- Workspace A – dedicated to Brand A
- Workspace B – dedicated to Brand B
Each workspace collects its own customer behavior data independently.
**Goal**
The main goal of this setup is to identify highly active customers (heavy buyers) in Workspace A (Brand A) and use this information in Workspace B (Brand B).
This allows you to deliver more relevant product recommendations and promotional communication to users who have already demonstrated strong purchasing intent in another brand ecosystem.
**Process**
In Workspace A (Brand A):
- Calculate the average number of transactions per user per month.
- Based on this metric, create a segment of highly active customers (heavy buyers).
- Share this audience segment with Workspace B (Brand B).
In Workspace B (Brand B):
- Target users from this imported segment when they visit Brand B.
- Use AI recommendations to present: products with a price higher than X, or
products aligned with premium or high-value categories.
As a result users identified as heavy buyers in Brand A receive more tailored, potentially higher-value offers in Brand B.
## Prerequisites
---
- Add a [tracking code](/developers/web/installation-and-configuration) to your website.
- Create a [workspace group](/docs/settings/workspace/multibrand-workspaces/create-workspace-group) connecting minimum 2 of your workspaces, giving you the possibility to synchronize profile information across them.
## Process
---
1. Create a [segmentation](/use-cases/multibrand-segmentation#create-a-segmentation-of-heavy-buyers) of heavy buyers.
2. Share the results from this segmentation [to the workspace group](/use-cases/multibrand-segmentation#prepare-the-multi-workspace-sync-of-segmentation).
3. Create [the final segmentation](#prepare-the-final-segmentation) on the second workspace based on the membership attribute synchronization.
3. Prepare the [AI recommendations](/use-cases/multibrand-segmentation#prepare-the-ai-recommendations) proposing products with the price higher than X and present them to users who are among heavy buyers on the first workspace while visiting the brand B.
4. Create a [dynamic content](/use-cases/multibrand-segmentation#create-a-dynamic-content)
## Create a segmentation of heavy buyers
---
In this part of the process, you will create a segmentation of heavy buyers based on the number of transactions generated by these customers in the previous period. Before you proceed to creating the segmentation, you will create an aggregate and metric which you will use in the conditions of the segmentation.
Depending on your business needs, you can create a segmentation of heavy buyers based on various criteria and choose a period that meets your requirements.
### Create an aggregate
Create an aggregate that sums up the number of transactions in the previous period.
1. Go to **Behavioral Data Hub > Aggregates > Create aggregate**.
2. As the aggregate type, select **Profile**.
2. Enter the name of the aggregate.
3. Click **Analyze profiles by** and select **Count** (this way the aggregate result will show the total number of transactions in the time range selected in the analysis).
4. From the **Choose event** dropdown list, select the **transaction.charge** event.
Events may have different labels between workspaces, but you can always find them by their action name (in this step, it’s **transaction.charge**).
5. Change the date range, by clicking the calendar icon. Create the following custom date range `last 365 days before 365 days`.
6. Confirm the changes with the **Apply** button.
7. Save the aggregate by clicking **Save**.
Example settings of the aggregate
### Create a metric
Create a metric that sets a cutoff value for the customer segmentation with the highest number of transactions.
1. Go to **Decision Hub > Metrics > New metric**.
2. Enter the name of the metric.
3. As a metric kind, select **Simple metric**.
4. As a metric type, select **Profile**.
5. As the aggregator, set **Quantile**.
Quantile is used to divide a sample of data into equal-sized subgroups.
6. In the input field which appears next to the aggregator, type `0.7` (to create a cutoff that defines the highest number of values).
7. Click **Choose event**.
8. From the dropdown list, select the [aggregate you created before](/use-cases/find-heavy-buyers#create-an-aggregate).
9. Define the same time range as in the aggregate you use in the metric.
10. Click **Save**.
The final configuration of the metric
### Create a segmentation
In this part of the process, you will create a segmentation of customers with the highest scoring (30% of customers who made the highest number of transactions).
1. Go to **Decision Hub > Segmentation > New segmentation**.
2. Enter the name of segmentation.
3. On the canvas, click **Add condition**.
4. From the dropdown list, select the [aggregate you created before](/use-cases/find-heavy-buyers#create-an-aggregate).
5. From the **Choose operator** dropdown list, select **More than**.
6. In the text field, enter the value returned from [the metric you created in the previous step](/use-cases/find-heavy-buyers#create-a-metric).
7. Click **Save**.
The final configuration of the metric
## Prepare the Multi Workspace Sync of Segmentation
1. Go to **Decision Hub > Segmentation**.
3. On the top bar on the segmentation list, click **Share as**.
4. On the pop-up, click **Multi Workspace Sync.**
5. From the Process frequency dropdown list, select how often membership attributes will be synchronized.
- Every hour - The process will start every hour. The first synchronization is performed immediately after activating the process.
- Every 6 hours - The process will start every 6 hours. The first synchronization is performed immediately after activating the process.
- Daily - The process will start once a day at a random time between 4 A.M. and 6 A.M.
6. Click **Go to sharing process.**
7. On the pop-up, select the [segmentations whose results will be shared](#create-a-segmentation-of-heavy-buyers) and synchronized to a workspace group. The results will be saved as membership attributes.
Only customers who belong to the selected segmentation and also exist in the target workspace will be assigned the membership attribute.
During the sharing process, you will be informed about the default name of the membership attribute that will be created in the target workspace. Please note that this name cannot be modified at this stage.
8. To start the process, click **Apply**.
9. Confirm by clicking **Yes, start**.
**Result:** The synchronization will occur according to the schedule. To get to know details about each synchronization time, time window and effects, see the ["Synchronization ferquency" section](/docs/settings/workspace/multibrand-workspaces/sharing-segmentation-results#synchronization-frequency).
## Prepare the final segmentation
---
On the target workspace, create a segmentation based on the synchronized membership attribute.
1. Go to **Decision Hub > Segmentations > New segmentation**.
2. Enter the name of the segmentation.
1. Click **Add condition**.
2. Select the [attribute created in the previous step](#prepare-the-multi-workspace-sync-of-segmentation). In our case it will look like this:
Membership attribute synchronization view
3. From the **Choose** dropdown list, select **is true** operator.
5. Click **Save**.
Segmentation view
## Prepare the AI recommendations
---
In this part of the process, you will configure AI Recommendation which excludes last seen and last bought products. AI Recommendation will be added to the product page.
1. Go to **AI Hub > (AI Recommendations) Models > Add recommendation**.
2. Enter the name of the recommendation (it is only visible on the list of recommendations).
3. In the **Type & Items Feed** section, click **Define**.
4. From the **Items Feed** dropdown list, select an item feed.
5. In the **Type** section, choose the **Personalized** recommendation type.
6. Confirm the settings by clicking **Apply**.
7. In the **Items** section, click **Define**.
1. Define the minimum and maximum number of items that will be recommended to the customer in each slot.
3. Define [Static filters](/docs/ai-hub/recommendations-v2/creating-recommendation-campaign#static-filters) and [Elastic filters](/docs/ai-hub/recommendations-v2/creating-recommendation-campaign#elastic-filters).
4. In our case, in the **Static filter** section, click **Define filter**.
5. Select **Visual Builder**.
6. Click **Select value**.
5. Choose **$price**.
6. As an operator, choose **More than**.
7. Add the value as `100`.
4. Confirm by clicking **Apply**.
Configuration of the elastic filter
8. Define the boosting rules by clicking **Define** in the **Boosting** section.
1. In **Attributes** section, click **Add rule**.
2. Click **Define rule**.
3. Choose **Visual builder**.
3. From the **Select value** dropdown list, choose **price**.
4. As **Operator**, choose **More than**.
5. As the value, enter the minimum price a product should cost to be included in the recommendations. This way, you exclude recommending products that are too cheap and encourage the purchase of more expensive ones.
6. Click **Apply**.
7. Click **Promote**.
8. In the **Impact** section, set the impact of this rule to **High**.
9. Optionally add the **Additional settings**.
9. In the right upper corner, click **Save**.
## Create a dynamic content
---
Create a dynamic content campaign that displays the results of AI recommendations (products more expensive than 100). Use the predefined template. This dynamic content will be displayed as a pop-up on your site for customers who [are assigned with a membership attribute](#prepare-the-multi-workspace-sync-of-segmentation).
1. Go to **Experience Hub > Dynamic Content > Create new**.
2. Enter the name of the content.
3. Choose the **Web layer** type.
### Define audience
---
1. To select the recipients of the dynamic content, on the **Audience** tab, click **Define**.
2. Select the target [segmentation](#prepare-the-final-segmentation) created based on the membership attribute synchronization in the previous step.
### Define content
1. In the **Content** section, click **Create Message**.
2. From the list of template folders, select a folder with the predefined **Web layer templates** or create your own one from scratch.
3. In the template configuration form, use the predefine AI recommendation selector and select the [AI recommendation](#prepare-the-ai-recommendations) created in the previous step to make sure that you present only products more expensive than 100$.
Web layer template
### Define schedule and display settings
1. In the **Schedule** section, click **Define** and set the time when the message will be active.
2. In the **Display Settings** section, click **Define**.
3. Specify circumstances for dynamic content to be displayed. Optionally, you can also define **Advanced options**.
4. Click **Apply**.
5. Optionally, you can define the UTM parameters and additional parameters for your dynamic content campaign.
6. Click **Activate**.
## Check the use case set up on the Synerise Demo workspace
---
You can also check the configuration directly in Synerise Demo workspace:
- [Segment of heavy buyers](https://app.synerise.com/analytics/segmentations/f22d73d7-5aba-48e7-b70f-54bbc1dba0a2)
- [Target segmentation](https://app.synerise.com/analytics-v2/segmentations/86d6e5e2-1f0b-4155-a5c3-42ef9024defd)
- [AI Recommendation](https://app.synerise.com/ai-v2/recommendations/dxhcfJpHDuWA)
- [Dynamic content](https://app.synerise.com/campaigns/dynamic-content/create/799fe2e3-e9ec-4ca8-a8cb-2b3e118b0ba6)
If you’re our partner or client, you already have automatic access to the **Synerise Demo workspace (1590)**, where you can explore all the configured elements of this use case and copy them to your workspace.
If you’re not a partner or client yet, we encourage you to fill out the contact [form](https://demo.synerise.com/request) to schedule a meeting with our representatives. They’ll be happy to show you how our demo works and discuss how you can apply this use case in your business.
## Generated events
This use case generates approximately 5 events per profile that completes the flow:
[`dynamicContent.show`](/docs/assets/events/event-reference/dynamic-content#dynamiccontentshow) (~1), [`dynamicContent.click`](/docs/assets/events/event-reference/dynamic-content#dynamiccontentclick) (~1), [`recommendation.generated`](/docs/assets/events/event-reference/recommendations#recommendationgenerated) (~1), [`recommendation.view`](/docs/assets/events/event-reference/recommendations#recommendationview) (~1), [`recommendation.click`](/docs/assets/events/event-reference/recommendations#recommendationclick) (~1).
## Read more
---
- [AI recommendation](/docs/ai-hub/recommendations-v2/creating-recommendation-campaign)
- [Dynamic content](/docs/campaign/dynamiccontent)
- [Multibrand workspaces](/docs/settings/workspace/multibrand-workspaces)
- [Segmentation](/docs/analytics/segmentations)
# Enriching the product page with data from the catalog
In Synerise, we can use dynamic content campaigns in many different ways: to display a recommendation, pop-up, or use it as a tag manager that embeds various scripts on the website. One of the ways that we can also use dynamic content is enriching information about the product on the product page, for example, adding information about the low stock of the product, or displaying a label that the product is new / discounted or soon will be unavailable. We can use any information about the product that we collect in a product catalog to later display it on the product page in any way.
In this use case, we will show you how to enrich your product pages with information collected in the product catalog about quantity in stock and the "Super Offer" label.
## Prerequisites
---
- Implement [Synerise tracking code](/developers/web/installation-and-configuration#creating-a-tracking-code) on your website.
- Implement [OG Tags](/developers/web/og-tags) on your website.
- Create [a product catalog](/use-cases/import-product-feed-to-catalog).
In your product catalog add the following columns as custom attributes:
- a column with information about quantity in stock for every product
- a column in which you include information if a specific product has the "Super Offer" label - adjust the name to your business needs.
Example of a product catalog with necessary information about stock availability and "supper offer" label
## Create a dynamic content campaign
---
In this part of the process, you will create the dynamic content campaign which will display stock data on your product pages and assign the "super offer" label to the specific products.
### Create a dynamic content message
---
1. Go to **Experience Hub > Dynamic Content > Create new**.
2. Enter the name of the campaign.
3. Choose the **Insert Object** type.
4. In the **Audience** section, select the **Everyone** tab.
4. In the **Content** section, select **Simple message**, and in the CSS selector field, enter where you want to insert the content.
5. Click **Create message** and choose **Code editor**.
6. In the HTML section add the following code, which allows you to extract an item from the catalog and then obtain the values of particular columns for the product on the website.
Where:
- `superOffer` is the column name from your catalog in which you can find the information if the specific product has the "Super Offer" label.
- `quantityInStock` is the column name from your catalog in which you can find the information how many products are in the stock currently.
- `metric_additional_params ["product:retailer_part_no"]` is the ID of the product on the website, extracted from [OG tags](/developers/inserts/dynamic-content#accessing-meta-properties).
- `catalog-name` is the name of the product catalog.
Both column names are exemplary and based on the specific product catalog.
Check the example campaign code used in this particular use case below.
{% set additionalParamSku = metric_additional_params[ "product:retailer_part_no" ] %}
 {% catalogitem.additional-info(additionalParamSku) %}
 {% set object = catalog_result %}
 <div class ="short-description">
 <h3>Quantity In Stock</h3>
 {{ object.get ("quantityInStock") }}
 </div>

 {% set ifOffer = object.get ("superOffer") %}
 {% if ifOffer == 'true' %}
 <div class="short-decription">
 <h3 style="color: red">Super Offer</h3>
  </div>
 {% endif %}
 {% endcatalogitem %}
This is an example implementation and this code should be adapted to your business needs, taking into account the appropriate label layout and stock info. You should add the appropriate CSS styles and HTML code as well as JS code if needed.
### Set up the schedule and display settings
---
6. In the **Schedule** section, set the display time to **Display immediately** and save your changes.
7. In the **Display settings** section, choose **On landing** and add additional delay if it is necessary.
8. In the **UTM & URL parameters** section, click **Skip step**.
9. Click **Activate** and start your dynamic content campaign.
**Result:** Quantity in stock section with the number of available products in stock is visible on every product page.
If a specific product has the Super Offer label, the label is also visible on a product page.
## Check the video
Watch the video with this use case to see how to prepare it step by step.
## Check the use case set up on the Synerise Demo workspace
---
You can check the [dynamic content campaign](https://app.synerise.com/campaigns/create/81379aba-331b-4898-8da0-6e22eb6f5738) configuration directly in Synerise Demo workspace.
If you’re our partner or client, you already have automatic access to the **Synerise Demo workspace (1590)**, where you can explore all the configured elements of this use case and copy them to your workspace.
If you’re not a partner or client yet, we encourage you to fill out the contact [form](https://demo.synerise.com/request) to schedule a meeting with our representatives. They’ll be happy to show you how our demo works and discuss how you can apply this use case in your business.
## Generated events
This use case generates 1 event per profile that completes the flow:
[`dynamicContent.show`](/docs/assets/events/event-reference/dynamic-content#dynamiccontentshow) (~1).
## Read more
---
- [Catalogs](/docs/assets/catalogs/introduction-to-catalogs)
- [Dynamic content](/docs/campaign/dynamiccontent)
- [Dynamic content inserts](/developers/inserts/dynamic-content)
- [Jinjava inserts](/developers/inserts)
# Loyalty card with barcode and current point balance in a mobile app
This use case describes a scenario where you can display a loyalty card inside your mobile app, including a unique barcode that the customer can scan and the current number of collected points.
The setup is based on a predefined in-app template that you can implement easily. All you need is an in-app campaign sent to all users, triggered by an event you choose (for example, tapping the My Card button in the app). You only have to specify the attribute that contains the customer ID—this value is used to generate the barcode—and provide the ID of the expression that calculates the user’s points.
## Prerequisites
---
- Create an [item catalog](/docs/assets/catalogs).
- Integrate Synerise [mobile SDK](/developers/mobile-sdk) in your mobile application.
- Implement the [transaction events](/developers/web/transactions-sdk) using [SDK](/developers/web/transactions-sdk) or [API](https://hub.synerise.com/api-reference/data-management#operation/CreateATransaction).
- Implement [basic loyalty program with points](/use-cases/loyalty-programs-basics).
- Create the [basic aggregate which counts the point balance](/use-cases/earn-burn#create-an-aggregate-counting-the-number-of-points).
## Implement a loyalty card template
---
This template displays the basic information needed to identify a loyalty member:
Example use cases:
- Showing the card at checkout
- Opening the card in the app menu
### Create an in-app message
---
In this part of the process, you create an in-app campaign triggered by your custom event.
The trigger should come from a dedicated event generated by your mobile application — for example, an action such as tapping the ‘My Card’ button. This ensures that the card is displayed only when the user intentionally requests it, instead of being triggered automatically.
We will use a predefined template, so there is no need to create a template from scratch.
1. Go to **Experience Hub > In-app messages> Create in-app**.
2. Enter the name of the in-app.
### Define the audience
---
As the first step, define the target group of customers for the in-app message.
1. In the **Audience** section, click **Define**.
4. Click **Everyone**.
8. To save the audience, click **Apply**.
### Define content
---
In this part of the process, you will create the content of the in-app message that will appear in the mobile application with the help of ready-made template.
1. In the **Content** section, click **Define**.
2. Click **Create message** and from the list of template folders, select **Predefined templates**.
3. Select the **Loyalty card** template.
**Result:** You are redirected to the code editor.
You can edit the template in two ways, by editing the code of the template [add snippets](/docs/campaign/in-app-messages/creating-inapp-templates/creating-inapp-template#adding-a-snippet-to-the-template-code), [add variables](/docs/campaign/in-app-messages/creating-inapp-templates/creating-inapp-template#adding-a-variable) and/or by filling out the form in the Config tab. In this use case, we will use the capabilities of the predefined Config tab.
In-app configuration
#### Edit form in the Config tab
---
The form in the **Config** tab is already filled in with default values. You can keep them or change them to fit your business needs.
1. To the **Expression ID** field, add the ID of the [expression with the point balance, created as the part of prerequisites](#prerequisites). Based on that you will see the current points balance for each user.
2. To the **Customer identifier** field, enter the name of the attribute that holds the customer’s unique code. We use this value to generate the loyalty card code. It needs to be an attribute that is unique for each customer — for example, an identifier that is aligned with your source systems and Synerise, so that both Synerise and your external systems can consistently recognize the same customer. The source of the value is up to you, as long as it stays unique per customer, because it becomes the basis for the barcode and its unique number.
The template uses the EAN_128 barcode format. If a different format is required for integration with the client’s systems, Synerise supports multiple barcode types listed in the [documentation](/developers/inserts/insert-usage#barcodes).
2. Edit the copy using Title, and all the fileds connected with the Headers of the loyalty card.
9. Define the colors and style for the following fields: Borders, Backgrounds,and Text colors.
10. After you make changes to the template, you can check the preview.
1. Click the **Preview** button on the upper left side.
2. Enter the ID of a customer.
3. Click **Apply**.
Considering that the in-app is very interactive, the preview in the platform may not be enough to test the in-app performance. That’s why we suggest checking the preview directly in the mobile app.
11. If the template is ready, in the upper right corner, click **Save this template > Save as**.
12. On the pop-up:
1. In the **Template name field**, enter the name of the template.
2. From the **Template folder** dropdown list, select the folder where the template will be saved.
3. Confirm by clicking **Apply**.
13. To continue the process of configuring the in-app campaign, click **Next**.
14. To save your content changes, click **Apply**.
### Select events that trigger the in-app message display
---
In this part of the process, you will define the event triggering the display of the in-app message. In our case it should be custom event generated by your app, after e.g. tapping the `my card` button.
1. In the **Trigger events** section, click **Define**.
2. Select **Add event** and from the dropdown list, choose your custom event.
4. As the logical operator, select **Exists**.
5. Click **Apply**.
### Schedule the message and configure display settings
---
As the final part of the process, you will set the display settings of the in-app message such as schedule, capping, priority of the message among other in-app messages.
1. In the **Schedule** section, click **Define** and set the time when the message will be active.
2. In the **Display Settings** section, click **Change**.
3. Define the **Delay display**, **Priority index** and enable the **Frequency limit** toggle to manage the frequency of in-app message display in the application.
You can additionally enable the **Capping limit** toggle to limit the amount of time the in-app message can be displayed to a user in general.
16. Click **Apply**.
17. Optionally, you can define the UTM parameters and additional parameters for your in-app campaign.
18. Click **Activate**.
## Check the use case set up on the Synerise Demo workspace
---
You can check the configuration of all described objects (aggregate and the in-app message) directly in the Synerise Demo workspace:
- [Aggregate](https://app.synerise.com/analytics/aggregates/174ba14c-b0d7-372d-acb2-8f1365af3083) which counts the number of points gained by customer.
- [Loyalty coupon in-app campaign](https://app.synerise.com/communications/in-app/44f75fec-f096-4891-913d-73546ebb8df4)
If you’re our partner or client, you already have automatic access to the **Synerise Demo workspace (1590)**, where you can explore all the configured elements of this use case and copy them to your workspace.
If you’re not a partner or client yet, we encourage you to fill out the contact [form](https://demo.synerise.com/request) to schedule a meeting with our representatives. They’ll be happy to show you how our demo works and discuss how you can apply this use case in your business.
## Generated events
This use case generates approximately 3 events per profile that completes the flow:
`custom trigger event` (~1), [`inApp.show`](/docs/assets/events/event-reference/inapp#inappshow) (~1), [`inApp.click`](/docs/assets/events/event-reference/inapp#inappclick) (~1).
## Read more
---
- [Expressions](/docs/crm/expressions)
- [In-app messages](/docs/campaign/in-app-messages)
- [Using in-app template builder](/docs/campaign/in-app-messages/creating-inapp-templates/creating-inapp-template)
- [Promotions](/docs/ai-hub/promotions)
# Reach customers with high propensity to buy
With Synerise you can identify customers with a high propensity to buy and create personalized messages tailored to their preferences and behavior, leveraging the power of customer data to increase engagement, build brand loyalty, and ultimately boost sales revenue. Deliver personalized content through email, SMS, and web push channels, ensuring customers receive messages in their preferred communication channel. Use the power of automation to execute a variety of business scenarios, including reminders for abandoned shopping carts or searches, delivery of promotions, and much more.
In this use case, you will create a workflow sending personalized web push, email or sms message to customers with high propensity to buy, depending on their communication consents.
## Prerequisites
---
- [Implement a tracking code](/docs/settings/tool/tracking_codes)
- [Enable the Propensity prediction type](/docs/ai-hub/predictions/enabling-predictions#enabling-propensity-and-best-fit-predictions).
- [Configure an email account](/docs/campaign/e-mail/configuring-email-account).
- [Integrate SMS gateway with Synerise](/docs/campaign/SMS/configuring-sms-gateway).
- [Configure web push notifications](/docs/campaign/Webpush/configuring-web-push).
- [Enable Time Optimizer](/docs/settings/configuration/time-optimizer#enabling-time-optimizer) in Synerise settings.
- [Create Web and Email modes](/docs/settings/configuration/time-optimizer#creating-modes) in Time Optimizer.
- Create templates for [email](/docs/campaign/e-mail/creating-email-templates), [SMS](/docs/campaign/SMS/creating-SMS-template) and [web push](/docs/campaign/Webpush/creating-webpush-templates) communication according to your business needs.
## Process
---
In this use case, you will go through the following steps:
1. [Create a segmentation](#create-a-segmentation) of customers with email/sms/web push agreement.
2. [Create a prediction](#create-a-prediction) to calculate propensity to buy for customers with email/sms/web push agreement.
3. [Create a workflow](#create-a-workflow) to send a web push, email or text message to customers with high propensity to buy, depending on their communication consents.
## Create a segmentation
---
In this part of the process, create a segmentation of customers with enabled marketing agreements in one of the following channels: email, web push and SMS.
1. Go to **Decision Hub > Segmentations > New segmentation**.
2. Enter the name of the segmentation.
3. From the From the **Add condition** dropdown list, select the `Web push agreement` attribute.
4. Click the **Choose** button, and from the list of operators, choose **Equal**, and then select **true**.
5. From the From the **Add condition** dropdown list, select the `Email agreement` attribute.
6. Click the **Choose** button, and from the list of operators, choose **Equal**, and then select **enabled**.
7. From the From the **Add condition** dropdown list, select the `SMS agreement` attribute.
8. Click the **Choose** button, and from the list of operators, choose **Equal**, and then select **true**.
9. Change **And** to **Or** between all conditions.
10. Save the segmentation.
Segmentation configuration
## Create a prediction
---
In this part of the process you will create a prediction to find customers who have communication consents with the highest propensity to buy items in stock.
1. Go to **(AI Predictions) Models > New prediction** and select **Propensity** as the prediction type.
2. Define the prediction name.
3. As an audience for the prediction, select [the segmentation created in the previous step](#create-a-segmentation).
### Define the item
---
1. In the **Item selection** section, click **Define**.
2. Click **Choose item feed**.
3. Select the catalog that contains the items you want to make the prediction for.
**Result**: The **Item filter** section appears.
4. Click **Define item filter**.
1. From the **Select attribute** dropdown list, select the `availability` attribute.
You can use the search field.
2. From the dropdown list that appears, select the **Equal** operator.
3. Click the **Parameter** button field that appeared and from the dropdown list, select parameter indicating the availability of a product, in our case it is **In stock**.
4. Click **Save**.
Item filter configuration
5. Click **Apply**.
### Additional settings and saving
---
1. In the **Settings** section, click **Define**.
2. Change the **Calculation frequency** to **Recurring calculation**.
3. Set the frequency of model recalculation to 30 days.
4. In the **How would you like to display results?** section, select **2-point scale** for analysis.
5. Click **Apply**.
6. Click **Save & Calculate**.
After the calculation, a `snr.propensity.score` event is saved in the profiles of each customer in the audience. The event data includes detailed results of the prediction.
## Create a workflow
---
In this workflow, we will send personalized communication to customers with a high propensity to purchase, reaching them through one of their preferred communication channels. In one workflow, we will reach all those customers at the best time, regardless of their preferred type of communication.
The workflow will be triggered by the high score of the `snr.propensity.score` event. In this scenario, we will use the **Profile Filter** node to filter customers by their preferred communication channel: web push or email. If a customer has consented to web push communication and has email communication disabled, with **matched path**, we will reach them via web push. Through **not matched path**, we will reach customers with email communication enabled, and with **Event Filter**, we will check if the customer made a purchase after receiving an email. If not, we will send them a text message.
1. Go to **Automation Hub > Workflows > New workflow**.
2. Enter the name of the workflow.
### Define the trigger node
---
1. As the first node, add the **Profile Event**. In the settings of the node, select the `snr.propensity.score` event.
2. Click **+where**.
3. Click **Apply**.
4. From the **Choose parameter** dropdown list, select **modelId**.
**modelId** parameter equals the ID of the prediction you want to use. The model ID can be copied from the menu in the Prediction list.
5. From the **Choose operator** dropdown list, select **Equal (String)** and enter the ID of the [prediction created in the previous step](#create-a-prediction) in the text field.
6. Click **+where**.
7. From the **Choose parameter** dropdown list, select **score_label**.
8. From the **Choose operator** dropdown list, select **Equal (String)** and enter `high` in the text field.
9. Click **Apply**.
Profile Event node configuration
### Define the Profile Filter node
---
1. Add the **Profile Filter** node. In the node settings:
1. Click **Choose filter** and select **Web push agreement** attribute form the dropdown list.
2. From the **Choose operator** drop-down, choose **Equal(String)**.
3. In the text field type `true`.
4. Click **Choose filter** and select **Email agreement** attribute form the dropdown list.
5. In the text field type `disabled`.
2. Click **Apply**.
Profile Filter node configuration
### Define the Optimize Time node to the Matched path
---
1. To the **Matched** path, add the **Optimize Time** node. In the node settings:
1. From the **AI optimization mode** dropdown list, choose **Web**.
2. In **Time period to analyze**, choose the best moment to activate the node that follows the Optimize Time node. In our case it will be **Custom time period**.
3. In the **Time period** field, enter `10`
2. Click **Apply**.
### Define the Send Web Push node
---
1. To the **Optimize Time** node, add the **Send Web Push** node. In the node settings:
1. In the **Content** section, from the **Webpush template** dropdown, select [the template you created as part of the prerequsites](#prerequisites).
2. In the **Schedule** section, set the **Webpush lifespan (TTL)** according to your business needs.
3. You can describe campaigns with [additional parameters](/docs/campaign/Webpush/creating-webpush-campaigns#adding-custom-parameters).
2. Click **Apply**.
### Define the Optimize Time node to the Not matched path
---
1. To the **Not matched** path, add the **Optimize Time** node. In the node settings:
1. From the **AI optimization mode** dropdown list, choose **Mail**.
2. In **Time period to analyze**, choose the best moment to activate the node that follows the Optimize Time node. In our case it will be **Custom time period**.
3. In the **Time period** field, enter `10`
2. Click **Apply**.
### Define the Send Email node
---
1. Add the **Send Email** node. In the node settings:
1. In the **Sender details** section, choose the email account from which the email will be sent.
2. In the **Content** section, type the **Subject** and from the **Template** dropdown, select [the template you created as part of the prerequsites](#prerequisites).
3. In the **UTM & URL parameters** section, you can define the UTM parameters added to the links included in the email.
4. In the **Additional parameters** section, you can optionally describe campaigns with [additional parameters](/docs/campaign/e-mail/creating-email-campaigns#adding-custom-parameters).
2. Click **Apply**.
### Define Event Filter node
---
1. Add the **Event Filter** node. In the node settings:
1. Check event **for period of time**.
2. Define the time range to **1 Day**.
3. In the **Define conditions**, from the **Choose event** dropdown list, select `transaction.charge` event.
2. Click **Apply**.
3. For the matched path, select the **End** node.
### Define the Send SMS node
---
1. To the **Not matched** path, add the **Send SMS** node. In the node settings:
1. In the **Content** section, choose the phone number from which the message will be sent.
2. From the **SMS template** dropdown, select [the template you created as part of the prerequsites](#prerequisites).
2. Click **Apply**.
3. Add the **Merge Paths** node, joining the **Send SMS** and **Send Web Push** nodes.
### Add the finishing node and set capping
---
1. Add the **End** node.
2. In the upper right corner, click **Set Capping** and define the limit of workflows a profile can start:
1. Set **Limit** to 1.
2. Set **Time** to 3 months.
2. In the upper right corner, click **Save & Run**.
Workflow configuration
## Check the use case set up on the Synerise Demo workspace
---
In the Synerise Demo workspace, you can check:
- [Segmentation](https://app.synerise.com/analytics-v2/segmentations/14b2c630-85f5-4c75-b53b-2c0264abb2d5)
- [Prediction](https://app.synerise.com/ai-v2/predictions/propensity/uxjakavwbbgt)
- [Workflow](https://app.synerise.com/automations/automation-diagram/48972f25-04ff-43c3-a06f-1e34c7089e06)
If you’re our partner or client, you already have automatic access to the **Synerise Demo workspace (1590)**, where you can explore all the configured elements of this use case and copy them to your workspace.
If you’re not a partner or client yet, we encourage you to fill out the contact [form](https://demo.synerise.com/request) to schedule a meeting with our representatives. They’ll be happy to show you how our demo works and discuss how you can apply this use case in your business.
## Generated events
This use case generates approximately 11 events per profile that completes the flow:
[`snr.propensity.score`](/docs/assets/events/event-reference/predictions#snrpropensityscore) (~1), [`automation.clientStartPath`](/docs/assets/events/event-reference/automation#automationclientstartpath) (~1), [`automation.clientPathStep`](/docs/assets/events/event-reference/automation#automationclientpathstep) (~4), [`automation.clientEndPath`](/docs/assets/events/event-reference/automation#automationclientendpath) (~1), [`snr.ate.prediction`](/docs/assets/events/event-reference/predictions#snrateprediction) (~1), [`webpush.send`](/docs/assets/events/event-reference/webpush#webpushsend) (~1), [`webpush.show`](/docs/assets/events/event-reference/webpush#webpushshow) (~1), [`webpush.click`](/docs/assets/events/event-reference/webpush#webpushclick) (~1).
## Read more
---
- [Automation Hub](/docs/automation)
- [Email campaigns](/docs/campaign/e-mail)
- [Predictions](/docs/ai-hub/predictions)
- [Product feed](/developers/product-feed)
- [Segmentation](/docs/analytics/segmentations)
- [Time optimizer](/docs/settings/configuration/time-optimizer)
- [SMS campaigns](/docs/campaign/SMS)
- [Web push](/docs/campaign/Webpush)
# Product-recipe matching for enhanced culinary experience
Today's customers are fans of convenience and are looking for quick and efficient solutions to meet their needs. When it comes to food, customers usually purchase products with a specific dish in mind or look for inspiration to create a delicious meal.
By matching products with recipes and vice versa, businesses can inspire customers to purchase the products needed for their next culinary adventure while also providing them with creative recipe ideas. This approach not only increases the average order value, but it also enhances the overall shopping and cooking experience. By seamlessly integrating shopping and recipe discovery, businesses can provide a more intuitive and satisfying experience for their customers, ultimately leading to increased loyalty and revenue growth.
This use case illustrates a scenario in which product and recipe information are linked to each other. As a result, we achieve a scenario where the product page displays recipes featuring the viewed product, and the recipe page displays the products required to prepare the described dish. This approach enhances the user experience on the site and promotes up-selling, ultimately leading to an increase in the average order value.
We have created an interactive web page that demonstrates the described solution in a practical manner. This page showcases the relationship between ingredients and recipes, with all the necessary ingredients conveniently listed on recipe pages and vice versa. You can easily navigate to each ingredient from the recipe page and explore other recipes that utilize the same ingredient. **Check out [the page](https://snrmarketing.blob.core.windows.net/pages/look-and-cook.html) now!**
## Prerequisites
---
- Implement Synerise web SDK.
- Implement [OG Tags](/developers/web/og-tags) on your website.
- [Import product feed into the Synerise catalog](/use-cases/import-product-feed-to-catalog)
In this use case, we use two separate product feeds:
- A standard product feed (A) - which additionally contains an itemId array with recipes that match the product. In our example, we use the **c:recipesHandle** parameter.
- An additional feed with recipes (B) - which contains an array of itemId of products from the previous feed needed to make the recipe. In the example, we use the **c:productsHandle** parameter.
Click to see a sample catalog with recipes
Example of a catalog with recipes
- [Configure AI Engine for AI Search](/docs/settings/configuration/ai-engine-configuration/engine-configuration-for-search)
## Prepare two search indexes
---
Create two separate search indexes for ingredients and recipe catalogs.
We will start by creating an index for the ingredients catalog.
1. Go to **AI Hub > Indexes**.
2. Click **Add index**.
**Result**: The index creation screen opens.
3. In the **Index name** field, type the meaningful name of the index.
1. From the **Choose catalog** dropdown list, select an [item catalog](/use-cases/ai-search-store-location#configure-ai-engine) to use as the source for the search results.
Remember that the value of an item attribute in the item catalog cannot be longer than 1000 characters. It applies both for creating a new index and updating it.
2. From the **Choose search engine language** dropdown, select the language of your search engine.
4. Click **Next step**.
Example of basic index settings
5. Define response and searchable attributes.
More detailed information about these attributes can be found [here](/docs/ai-hub/ai-search/define-attributes/?helpCenterAi=define#response-attributes).
6. Click **Next step**.
**Result**: The Filters & Facets screen opens.
7. Define filterable and facetable attributes. More information about these attributes can be found [here](/docs/ai-hub/ai-search/define-attributes/?helpCenterAi=define#filterable-attributes).
8. Click **Next step**.
**Result**: The Ranking screen opens.
9. Click **Complete**.
10. Wait until the index is ready. Refresh the page until you receive information in the upper right corner of the screen that the index is ready.
The time required to prepare the index depends on the size of the feed and can range from 5 minutes to 2 hours.
Your index is ready
11. Check the performance of the filters in the **Preview** tab.
12. In the search field, enter the name of the product.
**Result**: A list with the defined search results appears.
Preview of inngredient catalog
13. Create a recipe search index. Follow the same instructions as described for the product index.
## Implement a solution on your site
---
According to the [Synerise API Reference](https://hub.synerise.com/api-reference/ai-search#tag/Listing) documentation and the description of how to construct filters for [Filters queries](/developers/iql/filters), you can use Synerise Search to expand the page using two scenarios:
1. [when you are on the recipe page, show the required ingredients](/use-cases/recipe#display-the-required-ingredients-on-the-recipe-card),
2. [when you are on the ingredient page, show the related recipes](/use-cases/recipe#show-related-recepies-on-the-ingredient-page).
### Display the required ingredients on the recipe card
---
An example of cURL request:
Explanation of the respective elements of the request:
https://api.synerise.com/search/v2/indices/8f3a20c375803e5807244e6bbc803fea1688306195/list
token=FEE539C0-D206-A685-88F8-0E433FCDFD1D
clientUUID=bbe22634-0105-41f3-ad7f-b2766071a012
filters=itemId IN ["10001","10006"]
- **token**: the token parameter contains the authentication UUID (tracker key) that gives access to API,
- **clientUUID**: the parameter contains the identifier of the customer for which the request is sent,
- **filters**: is a parameter that specifies the criteria by which the elements should be retrieved. In this case, we are looking for items whose title matches one of the values in the array (10001, 10006). In other words, with **itemId** we retrieve the ingredients from which we can prepare the meals we are currently reviewing.
### Show related recepies on the ingredient page
---
An example of cURL request:
Explanation of the respective elements of the request:
https://api.synerise.com/search/v2/indices/0036645cd9413eccbd31877a8c967e991688311535/list
token=FEE539C0-D206-A685-88F8-0E433FCDFD1D
clientUUID=bbe22634-0105-41f3-ad7f-b2766071a012
filters=itemId IN ["30001","30002"]
- **token**: the token parameter contains the authentication UUID (tracker key) that gives access to the API,
- **clientUUID**: the parameter contains the identifier of the customer for which the request is sent,
- **filters**: is a parameter that specifies the criteria by which the elements should be retrieved. In this case, we are looking for items whose title matches one of the values in the array (30001, 30002). In other words, with **itemId** we retrieve recipes for meals we can prepare from the ingredient we are currently viewing.
## Check the use case set up on the Synerise Demo workspace
---
You can check all the analytics directly in the Synerise Demo workspace:
- [Ingredients catalog](https://app.synerise.com/assets/catalogs/17889)
- [Recipe catalog](https://app.synerise.com/assets/catalogs/17890)
- [Ingredients index](https://app.synerise.com/ai-v2/search/indices/8f3a20c375803e5807244e6bbc803fea1688306195/stats/global)
- [Recipe index](https://app.synerise.com/ai-v2/search/indices/0036645cd9413eccbd31877a8c967e991688311535/stats/global)
If you’re our partner or client, you already have automatic access to the **Synerise Demo workspace (1590)**, where you can explore all the configured elements of this use case and copy them to your workspace.
If you’re not a partner or client yet, we encourage you to fill out the contact [form](https://demo.synerise.com/request) to schedule a meeting with our representatives. They’ll be happy to show you how our demo works and discuss how you can apply this use case in your business.
## Generated events
This use case generates approximately 3 events per profile that completes the flow:
[`item.search`](/docs/assets/events/event-reference/search#itemsearch) (~2), [`item.search.click`](/docs/assets/events/event-reference/search#itemsearchclick) (~1).
## Read more
---
- [AI engine configuration](/docs/settings/configuration/ai-engine-configuration/engine-configuration-for-search#selecting-attributes-for-preview)
- [AI search](/docs/ai-hub/ai-search/introduction-to-ai-search)
- [Catalogs](/docs/assets/catalogs)
# Target the best customers for your campaign
If you want your campaigns to bring the best results, you should target customers who are genuinely interested in a given offer. This approach allows you to reach customer who will be more likely to convert and also helps you optimize the cost of carrying out these campaigns.
This use case describes the process of creating a favorite-brand email campaign targeting customers with the highest propensity to buy products from specific brands. One of the challenges addressed in this use case is the use of **percentile** to obtain TOP 30% of customers mostly interested in the specific brand.
Percentile is a score below which a specified percentage of customers from an analyzed group falls. For instance, the 50th percentile means that 50% of the customers have lower score than this one. Percentiles are especially useful whenever you direct communication only to a certain number of customers. Let’s assume that you want to make a propensity for a segment that is made up of 100 000 customers, and you want to send a message only to 10 000 of them. In this case, you can pick TOP 10% of customers with the highest score: in terms of percentiles this value is expressed as “over the 90th percentile”.
## Prerequisites
---
- Implement transaction events using [SDK](/developers/web/transactions-sdk) or [API](https://hub.synerise.com/api-reference/data-management#operation/CreateATransaction).
- [Import your item feed to AI engine](/docs/ai-hub/recommendations-v2/item-feed-requirements). The item feed must include information about item brand and that attribute must be added to [filterable attributes](/docs/ai-hub/ai-search/define-attributes#filterable-attributes).
- Prepare the propensity prediction following this [use case](/use-cases/propensity-brand). As an audience, [select the segmentation](/docs/analytics/segmentations/creating-segmentations) with your entire newsletter base.
The purpose of the propensity prediction is to find the customers who are most likely to make a purchase of the specific brand among all the customers in your newsletter database.
The result of the calculation is a `snr.propensity.score` event on the profiles of customers (from your newsletter database) for whom there is enough data to calculate scoring. The `percentile` parameter of the event will be used in the further parts of the process to create a group of customers with the highest score.
- [Create an email account](/docs/campaign/e-mail/configuring-email-account).
- [Create an email template](/docs/campaign/e-mail/creating-email-templates) with products of the brands for which the propensity prediction was created.
In the email template, we recommend to use personalized AI campaign to retreive products from the specific brand chosen by AI engine for the customer. Read more about [creating AI campaign](/docs/ai-hub/recommendations-v2/creating-recommendation-campaign), [applying filters](/docs/ai-hub/recommendations-v2/recommendation-filters) and [inserting it to email templates](/developers/inserts/recommendations-v2)
## Process
---
In this use case, you will go through the following steps:
1. [Create an aggregate](/use-cases/favorite-brand#create-an-aggreagate) to enable using the result of the latest propensity prediction as a customer parameter in a segmentation.
2. [Create a segmentation](/use-cases/favorite-brand#create-a-segmentation) based on that aggregate to set an audience for use in communication.
## Create an aggreagate
---
Based on the `snr.propensity.score` event, create an aggregate that returns the most recent value of the [percentile](/glossary/#percentiles) parameter for a customer.
In this step, you will need the ID of the prediction you created before. In the list of predictions, click the icon on the prediction and the ID will be available at the bottom of the context menu.
1. Go to **Behavioral Data Hub > Live Aggregates > Create aggregate**.
2. As the aggregate type, select **Profile**.
2. Enter a meaningful name of the aggregate.
2. Click **Analyze profiles by** and select **Last**.
3. Select the **snr.propensity.score** event.
4. As the event parameter, select **percentile**.
5. Click **+ where**.
6. From the **Choose parameter** dropdown list, select **modelId**.
7. As the logical operator, select **Equal**.
8. In the text field, enter the value of the modelId parameter.
9. As the date range, select **Last 30 days**.
10. Save the aggregate.
The final configuration of the aggregate
## Create a segmentation
---
Create a segmentation of customers based on the results of [the aggregate you created](/use-cases/favorite-brand#create-an-aggreagate) in the previous part of the process. This segmentation contains 30% of customers with the highest scoring (customers who are most interested in the selected brands).
The value of percentiles can be tailored to your business needs.
1. Go to **Decision Hub > Segmentations > New segmentation**.
2. Enter the name of the segmentation.
3. Click **Choose filter**.
4. From the dropdown list, select the [aggregate you created before](/use-cases/favorite-brand#create-an-aggreagate).
5. As the logical operator, select **More or equal**.
6. In the text field, enter `70`.
7. Save the segmentation.
The final configuration of the segmentation
## What's next
---
Go to **Experience Hub > Email** and create the Email communication with the template created before. As the audience of the communication, use [the segmentation you created](/use-cases/favorite-brand#create-a-segmentation).
## Check the use case set up on the Synerise Demo workspace
---
You can check the configuration of every element of this process directly in Synerise Demo workspace:
- [Propensity prediction](https://app.synerise.com/ai-v2/predictions/propensity/pngsuydybpkq)
- [Aggregate](https://app.synerise.com/analytics/aggregates/eee8bfa1-0f75-32a8-8ee5-8e3a36812112)
- [Segmentation](https://app.synerise.com/analytics/segmentations/adbfd118-8f98-4b6f-904b-e90f2f592231)
If you’re our partner or client, you already have automatic access to the **Synerise Demo workspace (1590)**, where you can explore all the configured elements of this use case and copy them to your workspace.
If you’re not a partner or client yet, we encourage you to fill out the contact [form](https://demo.synerise.com/request) to schedule a meeting with our representatives. They’ll be happy to show you how our demo works and discuss how you can apply this use case in your business.
## Generated events
This use case generates approximately 7 events per profile that completes the flow:
[`snr.propensity.score`](/docs/assets/events/event-reference/predictions#snrpropensityscore) (~1), [`message.send`](/docs/assets/events/event-reference/email#messagesend) (~1), [`newsletter.open`](/docs/assets/events/event-reference/email#newsletteropen) (~1), [`newsletter.click`](/docs/assets/events/event-reference/email#newsletterclick) (~1), [`recommendation.generated`](/docs/assets/events/event-reference/recommendations#recommendationgenerated) (~1), [`recommendation.view`](/docs/assets/events/event-reference/recommendations#recommendationview) (~1), [`recommendation.click`](/docs/assets/events/event-reference/recommendations#recommendationclick) (~1).
## Read more
---
- [Alternative way of preparing segmentation based on propensity](/use-cases/segmentation-propensity-based)
- [Email communication](/docs/campaign/e-mail/introduction-to-email-campaigns)
- [Prediction overview](/docs/ai-hub/predictions/predictions-introduction)
- [Propensity predictions](/docs/ai-hub/predictions/propensity)
- [Segmentation](/docs/analytics/segmentations)
# Extra loyalty points for fast in-store pickup
In-store pickup creates a valuable and strategic touchpoint that can drive additional sales and boost loyalty program engagement.
By rewarding customers who pick up their orders quickly with extra loyalty points redeemable for discounts or gifts, you unlock additional operational and business benefits:
- accelerating the pickup process, which frees up backroom space and improves store operations;
- reducing the number of unclaimed orders, which helps lower return-related costs;
- increasing participation in your loyalty program.
This use case presents a workflow that grants 40 loyalty points to customers who collect their order within 24 hours from the moment it becomes ready for pickup.
## Prerequisites
---
- Integrate mechanism for awarding loyalty points.
- Implement custom events:
- `orderPickup.ready` when the order is ready for pickup in-store
- `order.pickedUp` when the order is collected’
You can use the [API](https://hub.synerise.com/api-reference/data-management#operation/CustomEvent).
These events will be saved to the customers' profiles.
- Integrate Synerise [mobile SDK](/developers/) in your mobile application.
Find more in the [Loyalty programs basics](/use-cases/loyalty-programs-basics) use case.
## Security configuration
---
Before you start working with this hub, if you are a Synerise customer or partner, consider reading [the section about denylisting events](/docs/settings/tool/api#denylist). This natively accessible configuration will allow you to manage the restrictions in points management that may help you prevent fraud.
## Create a workflow
---
Create a workflow that grants 40 loyalty points for fast order pickup.
1. Go to **Automation Hub > Workflows > New workflow**.
2. Enter the name of the workflow.
### Define the Profile Event trigger node
At this stage, we will configure the conditions that launch the workflow. As a trigger, we will use the `orderPickup.ready` event.
1. As the first node of the workflow, add **Profile Event**. In the configuration of the node:
1. From **Choose event** dropdown menu, choose the `orderPickup.ready` event.
2. Confirm by clicking **Apply**.
Profile Event node configuration
### Configure the Delay node
1. Add the **Delay** node. In the node settings:
1. In the **Delay** field, type `1`.
2. From the dropdown list, choose **Day**.
2. Click **Apply**.
### Define the Profile Filter node
In this step, you will verify whether the customer has collected the order within 24 hours from the moment it becomes ready for pickup. If not, the workflow ends for a user.
1. Add the **Profile Filter** node.
2. From the **Choose filter** dropdown list, select the `order.pickedUp` event.
3. From the **Choose parameter** dropdown list, select the `orderID` parameter.
4. From the **Choose operator** dropdown list, choose **Equal (String)**.
5. One customer can have several orders to collect, so to make sure that the `orderID` parameter for `order.pickedUp` event matches the `orderID` parameter for `orderPickup.ready` event, use the following syntax in the field `{{ automationPathSteps['nodeName'].event.params.paramName }}`, where:
1. `nodeName` is the title of the node whose data you want to refer to (in this case the title introduced was 'Order is ready for the in-store pickup’)
2. `paramName` is the name of the parameter (in this case `orderID`)
The node title to be used as `nodeName`
6. Click **Apply**.
7. To the unmatched path from the **Profile Filter** node, add the **End** node.
Profile Filter node configuration
### Congifure the Generate Event node
1. Add the **Generate Event** node.
2. In the settings of the node:
1. In the **Event name** field, from the dropdown list, select the `points.loyalty` event.
2. In the **Body** section, use the following code and modify it to your needs:
{
               "points": "40",
               "source": "fast pickup"
               }
3. Click **Apply**.
Generate Event node configuration
### Add final setting to your workflow
1. Add the **End** node to both paths.
2. Launch the workflow by clicking **Save&Run**.
Configuration of the workflow
## Check the use case set up on the Synerise Demo workspace
---
In Synerise Demo workspace, you can check the configuration of the [workflow](https://app.synerise.com/automations/workflows/automation-diagram/a7e5ece3-6373-4a0d-8cd5-718ec0a3140c).
If you’re our partner or client, you already have automatic access to the **Synerise Demo workspace (1590)**, where you can explore all the configured elements of this use case and copy them to your workspace.
If you’re not a partner or client yet, we encourage you to fill out the contact [form](https://demo.synerise.com/request) to schedule a meeting with our representatives. They’ll be happy to show you how our demo works and discuss how you can apply this use case in your business.
## Generated events
This use case generates approximately 9 events per profile that completes the flow:
`orderPickup.ready` (~1), `order.pickedUp` (~1), [`automation.clientStartPath`](/docs/assets/events/event-reference/automation#automationclientstartpath) (~1), [`automation.clientPathStep`](/docs/assets/events/event-reference/automation#automationclientpathstep) (~4), [`automation.clientEndPath`](/docs/assets/events/event-reference/automation#automationclientendpath) (~1), [`points.loyalty`](/docs/assets/events/event-reference/loyalty#pointsloyalty) (~1).
## Read more
---
- [Automation Hub](/docs/automation)
- [Jinjava inserts](/developers/inserts)
# Countdown timer bar on webiste
Creating a sense of urgency is one of the most effective ways to increase customer engagement and drive conversions. A countdown timer bar, which is a dynamic banner displayed at the top of a webpage, helps brands highlight time-sensitive promotions. By showing exactly how much time is left until the end of a deal, businesses can encourage faster decision-making, reduce hesitation, and boost overall campaign performance. Whether used for seasonal discounts, exclusive member offers, or last-minute deals, a countdown timer bar is a simple yet powerful tool for maximizing promotional results.
In this specific use case, we intend to introduce a dynamic countdown timer bar that displays real-time remaining promotion time to all website visitors.
This use case provides you with an instruction how to use a ready-made dynamic content template that can be used 1:1 in a business scenario. The template is flexible – disabling the timer allows you to reuse it for alternative communication scenarios.
## Prerequisites
---
[Implement SDK to a website](/developers/web/installation-and-configuration)
## Create a dynamic content
---
Create a dynamic content campaign that will be displayed to all website visitors. We will use a predefined template for this communication, so there is no need to create a template from scratch.
1. Go to **Experience Hub > Dynamic Content > Create new**.
2. Enter the name of the content.
3. Choose the **Insert object** type.
### Define audience
---
1. To select the recipients of the dynamic content, on the **Audience** tab, click **Define**.
2. Select **Everyone**.
3. Click **Apply**.
### Define content
---
In the next step, you will create the content of the dynamic content with the help of a ready-made template.
1. In the **Content** section, click **Define**.
2. Click **Create message** and from the list of template folders, select **Insert object templates**.
3. Select the **Countdown timer bar** template.
**Result:** You are redirected to the code editor.
4. Edit the template according to your needs. In the **Config** tab, you'll find a comprehensive list with descriptions of the core components that make up your countdown bar. Remember to set the correct end date of your promotion. Optionally, you can enable a button that redirects users to your promotional landing page. You can also activate or deactivate the countdown freely, depending on the needs of your communication.
Config panel
5. After customising your countdown bar, save the template.
6. Set an appropriate CSS selector to define the placement of the countdown bar. The correct selector depends on your website’s structure, so make sure to reference an element that ensures the bar is displayed in the intended position.
7. Click **Apply**.
### Define schedule and display settings
---
As the final part of the process, you will define the display settings of the dynamic content such as schedule, triggers, and delay.
1. In the **Schedule** section, click **Define** and set the time when the campaign will be active. Make sure that the campaign’s display period aligns with the countdown end date. If the end date is exceeded while the campaign is still active, the dynamic content will not render on the website.
3. Click **Apply**.
2. In the **Display Settings** section, click **Define**. If you want the countdown bar to be displayed to all users continuously across the website upon landing, keep the default settings.
3. Click **Apply**.
4. Optionally, you can define the UTM parameters and additional parameters for your dynamic content campaign.
5. Click **Activate**.
## Check the use case set up on the Synerise Demo workspace
---
You can check the [dynamic content](https://app.synerise.com/campaigns/dynamic-content/create/3b199c2b-2724-45db-b05f-9b22ae4030a8) configuration directly in Synerise Demo workspace.
If you’re our partner or client, you already have automatic access to the **Synerise Demo workspace (1590)**, where you can explore all the configured elements of this use case and copy them to your workspace.
If you’re not a partner or client yet, we encourage you to fill out the contact [form](https://demo.synerise.com/request) to schedule a meeting with our representatives. They’ll be happy to show you how our demo works and discuss how you can apply this use case in your business.
## Generated events
This use case generates approximately 2 events per profile that completes the flow:
[`dynamicContent.show`](/docs/assets/events/event-reference/dynamic-content#dynamiccontentshow) (~1), [`dynamicContent.click`](/docs/assets/events/event-reference/dynamic-content#dynamiccontentclick) (~1).
## Read more
---
- [Dynamic content](/docs/campaign/dynamiccontent)
- [Introduction to dynamic content](/docs/campaign/dynamiccontent/introduction-to-dynamic-content)
- [Creating dynamic content](/docs/campaign/dynamiccontent/creating-dynamic-content)
- [CSS selector basics](/docs/campaign/dynamiccontent/creating-dynamic-content/css-selectors)
- [Testing dynamic content](/docs/campaign/dynamiccontent/testing-dynamic-content)
- [Dynamic content events](/docs/assets/events/event-reference/dynamic-content)
# AI Search based on FAQ
AI Search implemented on your website can be useful not only in searching for products and offers but also in your FAQ site. This way of using a search engine can help your customers find the answers they need in a more effective way and it also can improve your customer service. By having search on your FAQ website, you can provide your customers with the answers they need in a more timely manner. This can help reduce the number of customer service inquiries you receive, as well as the amount of time your customer service team spends on each inquiry.
This use case describes an implementation of a search engine whose source of data is a catalog with a CSV file that contains questions, answers, and categories. This way, when a user types a question, the search results display the categories which contain the answer to the question as well as questions.
The search engine is enriched with an auto-complete option which is based on the dynamic content campaign.
This use case contains ready to use code for the dynamic campaign that allows you to launch your own search engine with autocomplete option
## Prerequisites
---
- Implement [Synerise JS SDK](/developers/web) on your website - especially on the page on which you add the FAQ.
- Implement FAQ subpage on your website.
- Create a CSV file with questions with the following columns:
- `itemId` - column that contains unique identifiers
- `Category` - column that contains the name of the category of the question
- `linkToCategory` - column that contains the link to the question category
- `question` - column that contains a frequently asked question
- `linkToQuestion` - column that contains the link to the question
- `answer` - column that contains the answer to the question
Names of the columns are exemplary. You can use your own column names. However, itemId, category of the question and its link, and answers with the links are required.
## Process
---
In this use case, you will go through the following steps:
1. [Create a catalog](/use-cases/faq-search#create-a-catalog) and import there your CSV file with questions and answers.
2. [Configure AI engine](/use-cases/faq-search#configure-ai-engine) based on the catalog created in the previous step.
3. [Create an index](/use-cases/faq-search#create-an-index).
3. [Create dynamic content campaign](/use-cases/faq-search#create-dynamic-content-campaign) with the implementation of FAQ search.
## Create a catalog
---
In this part of the process, you create a catalog and import there your [CSV file](/use-cases/faq-search#prerequisites) prepared as a part of prerequisites.
1. Go to **Data Modeling Hub > Catalogs > New Catalog**.
2. Enter the name of the catalog and confirm it by clicking **Apply**.
Don't use diacritical letters and spaces.
3. Click the catalog on the list and click **import CSV**.
If you prepared a CSV file in Excel, open it in a text editor to check whether commas are used as separators. If not, replace them with commas.
4. Click **Upload file** button and select the file to be uploaded, then confirm with the **OK** button.
5. In the **Order key** field, type the name of the column whose values are treated as the key. In this case it will be `itemId`.
6. Complete the process by clicking **Import**.
## Configure AI Engine
---
In this part of the process, create and configure feed for AI engine based on the catalog created [earlier](/use-cases/faq-search#create-a-catalog).
1. Go to **Settings > AI engine configuration**.
2. Click **Add feed**.
**Result**: A pop-up appears.
3. Select the product feed you want to use. In this case select **Catalog**.
4. On the pop-up, as the type of catalog, select **Data catalog**.
5. From the dropdown list, select a catalog created in the [previous step](/use-cases/ai-search-store-location#create-a-catalog).
6. Confirm by clicking **Apply**.
7. On the list of feeds, click the feed created earlier.
8. In the **Applied search engines** tab, click **Show**.
9. Switch the **Search engines** toggle on.
10. Confirm by clicking **Apply**.
11. Click **Save**.
Launching Search Engine
## Create an index
---
In this step, you configure an index for AI search and its settings. Later, this index will be used during the implementation of the search - in the application or on the website.
1. Go to **AI Hub > Indexes**.
2. Click **Add index**.
**Result:** The index creation screen opens.
4. From the **Choose feed** dropdown list, select a catalog that contains an item feed based on which you would like to create an index.
5. From the **Choose search language** dropdown, select the language of your search engine.
7. Click **Next step**.
6. Choose **Search Method**.
9. **Add searchable attributes**.
Searchable attributes are used by the search engine to calculate the item’s relevance to the query phrase provided by the customer. Attributes can be assigned to three importance levels: high, medium and low. When a word from the phrase matches an attribute, the score amount is assigned depending on importance assigned to the attribute.
6. Optionally, to display unavailable items in the search results, enable the **Include out of stock items** option.
7. Click **Next step**.
New index configuration
8. Optionally, you can select item attributes which will be used as response, filterable, facetable, and sortable attributes.
9. In the Item ranking section, define the criteria for sorting items in search results.
14. Click **Finish**. Your index is configured, now you can use the **Preview** tab to test if the results meet your expectations.
The preview of the index
## Create dynamic content campaign
---
In this step, create a dynamic content campaign which will let you to display FAQ search with additional autocomplete option.
1. Go to **Experience Hub > Dynamic content > Create new**.
2. Enter the name of the dynamic content.
1. Choose **Insert Object** type.
2. As the audience, select **everyone**.
3. In the **Content** section, select **Simple message**, and specify the CSS selector where you want to insert your search.
4. In the **Content** tab, click **Create Message**.
5. In the code editor, insert the ready-to-use basic code prepared below.
6. Style the code according to your design preferences using HTML, CSS and JS sections.
The CSS and HTML code snippets shown below can be directly copied into your dynamic content campaign. In the JS code snippet, you need to replace: index, token, value from your index and values from response of your index. All places which require change are marked directly in the code.
var searchApp = (function () { var _filters = { category: [] }; var _clear = null; var _query = null; function init() { document.querySelector('#searchfaq').addEventListener('input', returnedFunction); document.querySelector('.search-form').addEventListener('submit', function (e) { e.preventDefault() }); document.querySelector('#searchfaq').addEventListener('blur', function () { setTimeout(function () { if (document.querySelector('#searchfaq') != document.activeElement) { document.querySelector('#results').style.display = 'none'; } }, 150) }); document.querySelector('#searchfaq').addEventListener('focus', function () { if (document.querySelector('.filterPill')) { document.querySelector('#results').style.display = 'block'; } else { } }); }; var returnedFunction = debounce(function () { _clear = true; _query = document.querySelector('#searchfaq').value; getQuery(_query); }, 300); function getQuery(query) { var xhttp = new XMLHttpRequest(); if (_clear) { _filters.category = []; } // change index and token for those in your profile var url = 'https://api.synerise.com/search/v2/indices/24248c7557155c3e783d00a522649d4c1667544086/autocomplete'; var params = '?query=' + query + '&includeFacets=unfiltered&facets=*&clientUUID=' + SyneriseTC.uuid + '&limit=4&token=FEE539C0-D206-A685-88F8-0E433FCDFD1D' + '&filters=' + getFilters().filters; xhttp.onreadystatechange = function () { if (this.readyState == 4 && this.status == 200) { var _response = JSON.parse(this.response); if (_response.data.length > 0) { document.querySelector('#searchfaq').style.border = '0px'; document.querySelector('#results').style.display = 'block'; if (_clear) { setFilters(_response); } setAuto(_response, query, _response.correlationId); document.querySelector('#results').style.display = 'block'; } else { document.querySelector('#searchfaq').style.border = '2px solid rgb(255 0 0 / 56%)'; } } }; xhttp.open('GET', (url + params), true); if (_query.trim() != "") { xhttp.send(); } else { document.querySelector('#search').style.border = '2px solid rgb(255 0 0 / 56%)'; } }; function getFilters() { var categoryFilter = _filters.category.join('OR'); var availabilityFilter = '(availability==true)'; var mergedFilters = availabilityFilter + (categoryFilter ? 'AND(' + categoryFilter + ')' : ''); return { filters: mergedFilters } }; function getQueryWithTimeout(option) { _clear = false; setTimeout(function () { getQuery(_query); }, 300) }; function arrayRemove(arr, value) { return arr.filter(function (elemen) { return elemen != value; }); }; function setsetCategories2Logic() { var _checkboxes = document.querySelectorAll('[type="checkbox"][name="category_lvl_1"]'); [].forEach.call(_checkboxes, function (checkbox) { checkbox.addEventListener('change', function (item) { document.querySelector('#searchfaq').focus(); var filter = 'category_lvl_1' + '=="' + item.target.value + '"'; if (item.target.checked) { _filters.category.push(filter); } else { _filters.category = arrayRemove(_filters.category, filter); } getQueryWithTimeout(); }) }); }; function setFilters(response) { // change response.extras.allFacets.Category for value from your index var _category = Object.keys(response.extras.allFacets.Category); document.querySelector('.result.filters .filterPills').innerHTML = ''; [].forEach.call(_category, function (category, index) { document.querySelector('.result.filters .filterPills').innerHTML = document.querySelector('.result.filters .filterPills').innerHTML + '<div class="filterPill"><input id="category_' + category + '" type="checkbox" name="category_lvl_1" hidden="" value="' + category + '"><label for="category_' + category + '">' + category + '</label></div>' }); setsetCategories2Logic(); }; function setAuto(response, query, correlationId) { var _products = response.data document.querySelector('.result.articles').innerHTML = ''; // change product.linkToQuestion, product.title and product.Category for values from response of your index [].forEach.call(_products, function (product, index) { document.querySelector('.result.articles').innerHTML = document.querySelector('.result.articles').innerHTML + '<li>' + '<a href="' + product.linkToQuestion + '?demoAi=' + _query + '" tabindex="1">' + '<p style="margin:0px;font-weight:bold">' + product.title + '</p>' + '<p style="margin:0px;font-size:10px;margin-top:5px">' + product.Category + '</p>' + '</a>' + '</li>' }); }; function debounce(func, wait, immediate) { var timeout; return function executedFunction() { var context = this; var args = arguments; var later = function () { timeout = null; if (!immediate) func.apply(context, args); }; var callNow = immediate && !timeout; clearTimeout(timeout); timeout = setTimeout(later, wait); if (callNow) func.apply(context, args); }; }; return { init: init }; })(); searchApp.init();
10. Click **Next**.
11. Confirm by clicking **Apply**.
12. In the **Schedule** section, select **Immediately** and in **Advanced options** choose **Display every hour every day**.
6. In **Display settings**, define the circumstances for displaying the content.
- In the **Triggers** section, choose **On landing**
- In **Page targeting**, choose **Others** and in the **Display on pages** section, click **Add rule**. Add the URL of your site with FAQ.
- In **Frequency** section, choose **Always**
- In the **Stop Display** section, choose **Never**
- In the **Devices** section, choose **Desktop** and **Mobile**
6. Confirm by clicking **Apply**.
7. In the **UTM & URL parameters** section, click **Skip step**.
8. Activate the dynamic content.
## Check the use case set up on the Synerise Demo workspace
---
You can check the [example catalog](https://app.synerise.com/assets/catalogs/14858) and [search index settings](https://app.synerise.com/ai-v2/search/indices/24248c7557155c3e783d00a522649d4c1667544086/settings) directly in Synerise Demo workspace.
We have prepared also ready-to-use codes of [dynamic content campaign with search based on FAQ](https://app.synerise.com/campaigns/dynamic-content/create/4ad6fecf-061f-44bb-9d73-652744d8fb75) which let you implement described basic AI Search on your website.
If you’re our partner or client, you already have automatic access to the **Synerise Demo workspace (1590)**, where you can explore all the configured elements of this use case and copy them to your workspace.
If you’re not a partner or client yet, we encourage you to fill out the contact [form](https://demo.synerise.com/request) to schedule a meeting with our representatives. They’ll be happy to show you how our demo works and discuss how you can apply this use case in your business.
## Generated events
This use case generates approximately 3 events per profile that completes the flow:
[`dynamicContent.show`](/docs/assets/events/event-reference/dynamic-content#dynamiccontentshow) (~1), [`suggestion.search`](/docs/assets/events/event-reference/search#suggestionsearch) (~1), [`suggestion.search.click`](/docs/assets/events/event-reference/search#suggestionsearchclick) (~1).
## Read more
---
- [AI Search](/docs/ai-hub/ai-search)
- [Catalogs](/docs/assets/catalogs/introduction-to-catalogs)
- [Dynamic content](/docs/campaign/dynamiccontent)
# Attribute-based mobile push campaign
You can customize mobile push messages to display appropriate content based on your customer's attributes. Personalize your outreach by tailoring messages to your audience's gender preferences and understand and cater to the unique needs and interests of both male and female consumers for more successful marketing and sales strategies.
This use case describes how to create a mobile push notification for customers based on their gender with the use of attribute stored in the customer's profile.
## Prerequisites
---
- Integrate Synerise [mobile SDK](/developers/mobile-sdk) in your mobile application.
- Implement mobile pushes in your mobile application: [iOS](/developers/mobile-sdk/configuring-push-notifications/ios), [Android](/developers/mobile-sdk/configuring-push-notifications/android).
- Store gender attribute on customer's profile
In our example, a customer can have the attribute `user_gender`, which stores one of values:
- woman
- man
## Create push notification
---
In this part of the process, you will create a [simple mobile push](/docs/campaign/Mobile/creating-mobile-push) notification that displays content based on the assigned gender attribute value.
1. Go to **Experience Hub > Mobile Push > Create new**
2. Enter the name of the push notification (it is only visible on the list of notifications).
3. As the mobile notification type, select **Simple push**.
4. Specify **Device type** according to you business needs:
1. Select one of the tabs: **All**, **Android** or **iOS**.
2. Click **Apply**.
5. Define your **Audience** according to you business needs.
### Define Content
---
1. In the **Content** section, click **Define**.
2. Click **Create message**.
3. Select the **Drag&drop builder**.
4. Prepare the message which your customer will get:
1. In the **Title** field, enter the text that will display in the header of the notification. You can use up to 160 characters.
2. In the **Message** field, enter the text that will display in the body of the notification. Use the below code, which will select the appropriate message depending on the user's attribute:
<!-- Content for users with woman attribute value -->
               {% if customer.user_gender == "woman" %}
               Check new woman collection
               <!-- Content for users with man attribute value -->
               {% elif customer.user_gender == "man" %}
               Check new man collection
               <!-- Content for users without such attribute -->
               {% else %}
               Check new collection
               {% endif %}
3. Optionally, you can define settings in OS tabs. Select the OS for which your notification is dedicated, if you create a template for both OS, fill out the settings in both tabs: **iOS** and **Android**.
4. In the **Action type** section, define what happens when the customer clicks the notification, choose **Deep linking** or **Open URL**. Use the same code as in the **Message** field:
<!-- Content for users with woman attribute value -->
               {% if customer.user_gender == "woman" %}
               Check new woman collection
               <!-- Content for users with man attribute value -->
               {% elif customer.user_gender == "man" %}
               Check new man collection
               <!-- Content for users without such attribute -->
               {% else %}
               Check new collection
               {% endif %}
5. If your template is ready, click **Next**.
Mbile push notification configuration
5. Click **Apply**.
### Schedule the notification and additional parameters
---
In this part of the process, you will define when the push notification will be sent.
1. In the **Schedule** section, click **Define**.
1. Choose **Display time** according to your business needs.
2. Additionally, you can enable **Silence Hours**.
2. Click **Apply**.
3. Optionally, in the **Additional parameters** section, you can [add up to 10 parameters which will be added to every event generated by this communication](/docs/campaign/Mobile/creating-mobile-push#define-additional-parameters).
4. Click **Send**.
## Check the use case set up on the Synerise Demo workspace
---
You can check the [mobile push configuration](https://app.synerise.com/campaigns/create/e6472fed-40d9-4073-8de2-3aab3c530a23) directly in Synerise Demo workspace.
If you’re our partner or client, you already have automatic access to the **Synerise Demo workspace (1590)**, where you can explore all the configured elements of this use case and copy them to your workspace.
If you’re not a partner or client yet, we encourage you to fill out the contact [form](https://demo.synerise.com/request) to schedule a meeting with our representatives. They’ll be happy to show you how our demo works and discuss how you can apply this use case in your business.
## Generated events
This use case generates approximately 3 events per profile that completes the flow:
[`push.send`](/docs/assets/events/event-reference/mobile-push#pushsend) (~1), [`push.view`](/docs/assets/events/event-reference/mobile-push#pushview) (~1), [`push.click`](/docs/assets/events/event-reference/mobile-push#pushclick) (~1).
## Read more
---
- [Jinjava onserts](/developers/inserts)
- [Mobile campaigns](/docs/campaign/Mobile)
# Personalized recommendations in a mobile app
Every customer wants to feel special and wants to be able to get their needs met without effort. That's why personalization is so useful, which makes the shopping process for each user simpler and more enjoyable. Using mobile applications, companies can create various types of recommendations, helping to personalize the product offer to each user.
In this use case, you will learn how to create a personalized recommendation frame in a mobile app. Based on the product browsing history, the recommendations will display items that match customer's preferences.
## Prerequisites
---
- [Implement Synerise SDK in your mobile application](/developers/mobile-sdk).
- Implement [product.view event in your mobile application](/developers/mobile-sdk/event-tracking#product-viewed) and [transactions](https://hub.synerise.com/api-reference/data-management#tag/Events).
- [Configure an item catalog for recommendations](/docs/settings/configuration/ai-engine-configuration/engine-configuration-for-recommendations). Enable personalized recommendations.
- [Import your product feed to AI engine](/docs/settings/configuration/ai-engine-configuration/engine-configuration-for-recommendations).
## Process
---
In this use case, you will go through the following steps:
1. [Preparing recommendations](/use-cases/personalized-recommendations-in-mobile-app#prepare-recommendations).
2. [Preparing a document with recommendations](/use-cases/personalized-recommendations-in-mobile-app#prepare-a-document-with-recommendations).
## Prepare recommendations
---
1. Go to **AI Hub > (AI Recommendations) Models > Add recommendation**.
2. In the top left corner, enter the name of your recommendation.
3. In the **Type & Items feed** section, click Define.
4. From the **Items feed** dropdown menu, choose the provided feed.
5. Choose the **Personalized** recommendation type.
Configuraion of the catalog and recommendation type section
6. Click **Apply**.
7. In the **Items** section, click **Define**.
1. Click **Add slot**.
2. Define the minimum and maximum number of items that will be recommended to the user in each slot.
In our example, one slot returns from 5 (minimum) to 10 (maximum) products.
3. In **Static filters**, set the following parameter:
- `availability` to `true` - it shows only available products.
Configuraion of the filters
4. Confirm by clicking **Apply**.
8. Optionally, you can define the settings in the **Boosting** and **Additional settings** sections.
Learn more about [boosting](/docs/ai-hub/recommendations-v2/creating-recommendation-campaign#define-the-boosting-factors) and [additional settings](/docs/ai-hub/recommendations-v2/creating-recommendation-campaign#additional-settings).
9. Save the recommendation by clicking the **Save** button in the upper right corner.
## Prepare a document with recommendations
---
1. Go to **Data Modeling Hub > Documents > Add document**.
2. Define name and description.
3. From the **Type** dropdown menu, choose the type of document.
4. Define **Content (JSON)** section.
**Example**:
Where `XXX` is the value that needs to be replaced with the ID of the recommendation created in [this step](/use-cases/personalized-recommendations-in-mobile-app#prepare-recommendations)
5. Save the document by clicking the **Apply** button in the bottom right corner.
## What’s next
---
Recommendations in the mobile app can be displayed in a number of ways, such as referring to the document by using the content widget in [iOS](/developers/mobile-sdk/displaying-recommendations/content-widget/ios) or [Android](/developers/mobile-sdk/displaying-recommendations/content-widget/android).
## Check the use case set up on the Synerise Demo workspace
---
You can check the configuration of use case in Synerise Demo workspace:
- [Recommendation configuration](https://app.synerise.com/ai-v2/recommendations/uq5juAkds44q)
- [Document](https://app.synerise.com/assets/documents/94081f9b-ee19-42c2-bf8a-4c25542e0854)
If you’re our partner or client, you already have automatic access to the **Synerise Demo workspace (1590)**, where you can explore all the configured elements of this use case and copy them to your workspace.
If you’re not a partner or client yet, we encourage you to fill out the contact [form](https://demo.synerise.com/request) to schedule a meeting with our representatives. They’ll be happy to show you how our demo works and discuss how you can apply this use case in your business.
## Generated events
This use case generates approximately 3 events per profile that completes the flow:
[`recommendation.generated`](/docs/assets/events/event-reference/recommendations#recommendationgenerated) (~1), [`recommendation.view`](/docs/assets/events/event-reference/recommendations#recommendationview) (~1), [`recommendation.click`](/docs/assets/events/event-reference/recommendations#recommendationclick) (~1).
## Read more
---
- [Building documents](/docs/assets/documents)
- [Recommendations](/docs/ai-hub/recommendations-v2)
# Email Recommendations Based on Customer's Recent Browsing History
Predefined HTML blocks for email templates can help businesses create professional and visually appealing emails without having to start from scratch. These blocks combine the advantages of two builders - drag & drop, thanks to which you can easily adjust the appearance of the email to your needs, customize with your brand colors, fonts, and images, and at the same time enrich emails with dynamic elements such as recommended products. The configuration of dynamic elements is easy as it only involves selecting appropriate object (such as analysis or recommendation) responsible for the the logic of choosing products. Ultimately, this can drive conversions, boost sales, and enhance customer loyalty.
This use case describes the process of creating a personalized recommendation of items which are similar to those seen recently by the customer. Later this recommendation is sent through an email to customers who did not make any transaction in the last 30 days. Showing products similar to those they recently viewed might encourage undecided customers to make a purchase.
This use case provides you with an instruction how to use a ready-made html block that can be used 1:1 in a business scenario.
## Prerequisites
---
- Implement a [tracking code](/developers/web/installation-and-configuration) into your website.
- [Configure AI engine](/docs/settings/configuration/ai-engine-configuration/engine-configuration-for-recommendations).
- [Configure an item catalog for recommendations](/docs/settings/configuration/ai-engine-configuration/engine-configuration-for-recommendations). Enable similar items recommendations.
- Implement the [transaction events](/developers/web/transactions-sdk) using [SDK](/developers/web/transactions-sdk) or [API](https://hub.synerise.com/api-reference/data-management#operation/CreateATransaction).
- Configure a [sender account](/docs/campaign/e-mail/configuring-email-account).
## Process
---
In this use case, you will go through the following steps:
1. [Create an aggregate](#create-an-aggregate) returning the ID of the last visited product, it will be used in the template configuration.
2. [Prepare an AI recommendation](#prepare-an-ai-recommendation), it will be used in the template configuration.
4. [Prepare an email template](#prepare-an-email-template) with the predefined HTML block.
3. [Create a workflow](#create-a-workflow).
## Create an aggregate
---
In this part of the process, create an aggregate that returns the ID of the last product a customer had visited. The recently viewed product itself will not display in the template, but will serve as a context for recommendations.
1. Go to **Behavioral Data Hub > Live Aggregates > Create aggregate**.
2. As the aggregate type, select **Profile**.
2. Enter the name of the aggregate.
3. Click **Analyze profiles by** and select **Last**.
4. From the **Choose event** dropdown list, select the **Visited page** event.
5. As the event parameter, select **product:retailer_part_no**.
6. Click the **+ where** button.
7. From the **Choose parameter** dropdown list, select the **product:retailer_part_no** parameter.
8. From the **Choose operator** dropdown list, select **Is true (Boolean)**.
9. Using the date picker in the lower-right corner, set the time range to **Last 7 days**. Confirm your choice with the **Apply** button.
7. Click **Save**.
Configuration of the aggregate returing the ID of the last seen product
## Prepare an AI recommendation
---
In this part of the process, you will configure a similar items recommendation which will be later used in the email template. You can use a different recommendation type according to your business needs.
1. Go to **AI Hub > (AI Recommendations) Models > Add recommendation**.
2. Enter the name of the recommendation (it is only visible on the list of recommendations).
3. In the **Type & Items feed** section, click **Define**.
4. From the **Items feed** dropdown list, select an item feed.
5. In the **Type** section, choose the **Similar items** recommendation type.
6. Confirm the settings by clicking **Apply**.
7. In the **Items** section, click **Define**.
1. Click **Add slot**.
2. Define the minimum and maximum number of items that will be recommended to the customer in each slot.
3. Optionally, define [Static filters](/docs/ai-hub/recommendations-v2/creating-recommendation-campaign#static-filters) and [Elastic filters](/docs/ai-hub/recommendations-v2/creating-recommendation-campaign#elastic-filters).
4. Confirm by clicking **Apply**.
8. Optionally, you can define the **Boosting** factors and settings in the **Additional settings** section.
9. In the right upper corner, click **Save**.
## Prepare an email template
---
In this part of the process, create an email template. You can use a predefined template or create your own template from scratch. In this case, we will use a predefined template. You will also use a specific HTML block which will let you configure the section with context recommendations in an easy way. In the configuration, we will use the [aggregate](#create-an-aggregate) and [recommendation](#prepare-an-ai-recommendation) created in the previous steps.
1. Go to **Experience Hub > Email**.
2. On the left pane, click **Templates** and from the list of template folders, select **Predefined simple templates**.
3. Select any template that mostly fits the campaign assumptions.
**Result:** You are redirected to the code editor.
4. Edit the template according to your needs.
### Add the HTML block
---
1. From the **Content** section, select **HTML block**. Drag and drop the block to the chosen place in your template.
2. Click the **Configure** button.
3. Choose the **Predefined blocks** folder where you will find the list of all predefined templates. In this case, choose the **Context recommendation 2**.
You can edit the template in two ways, by editing the code of the template in the **HTML** tab and/or by filling out the form in the **Config** tab. In this use case, we will use the capabilities of the predefined Config tab.
### Edit the form in the Config tab
---
The form in the **Config** tab is already filled with default values. You can keep them or change them to fit your business needs.
1. In the **Recommended products** section:
1. From the **Recommendation campaign ID** dropdown list, select the [recommendation you prepared in the previous step](#prepare-an-ai-recommendation). You can find it by typing its name or ID in the search box.
2. From the **Agregate ID with context product** dropdown list, select the [aggregate you created in the previous step](#create-an-aggregate). You can find it by typing its name or ID in the search box.
2. In the section below, you have the option to customize email width, number of products, title, price and sale price font color of the product, gap height (height between information about the product and CTA button), background and font color of the button as well as its border radius and text.
Html block configuration
3. After you make changes to the template, you can check the preview.
1. On the upper left side, click the **Preview Contexts** button.
2. Enter the ID of a customer.
3. Click **Apply**.
Html block preview
4. If the block is ready, click **Next** on the upper right side to proceed, or click the arrow next, and from the dropdown select **Save as**. If you want to save the block, on the pop-up:
1. In the **Template name** field, enter the name of the template.
2. From the **Template folder** dropdown list, select the folder where the template will be saved.
3. Confirm by clicking **Save**.
### Save the email template
---
1. If the template is ready, click the arrow next to **Use in communication** in the upper right corner, and from the dropdown select **Save as**.
2. On the pop-up:
1. In the **Template name field**, enter the name of the template.
2. From the **Template folder** dropdown list, select the folder where the template will be saved.
3. Confirm by clicking **Save**.
## Create a workflow
---
In this part of the process, you will create the workflow which sends emails with recommendations of products similar to those last seen by a customer. The workflow is triggered when the customer finishes their session on the site. The email will be sent maximum once a month to customers who didn’t make a purchase in the last 30 days.
1. Go to **Automation Hub > Workflows > New workflow**.
2. Enter the name of the workflow.
### Define the Profile Event trigger node
At this stage, we will configure the conditions that launch the workflow. As a trigger, we will use the `session.end` event.
1. As the first node of the workflow, add **Profile Event**. In the configuration of the node:
1. From the **Choose event** dropdown menu, choose the **session.end** event.
2. Confirm by clicking **Apply**.
### Define the delay
Add the Delay node to define the lag between the `session.end` event and sending an email with a product recommendation to a customer. In this example it is 1 hour.
1. Add the **Delay** node, in the configuration of the node:
1. In the **Delay** field, enter `1`.
2. From the **Unit** dropdown, choose **Hour**.
3. Confirm by clicking **Apply**.
### Define the Profile Filter node
As the next step, add the **Profile Filter** node, which checks if the customer made a transaction in the last 30 days. If the customer has not made a transaction, we will send them an email with recommendations, and if they have, then the workflow ends.
1. Add the **Profile Filter** node.
2. From the **Choose filter** dropdown list, select the **transaction.charge** event.
4. Using the date picker in the lower-right corner, set the time range to **Custom> Last 30 days**. Confirm your choice with the **Apply** button.
5. Click **Apply**.
### Configure the Send Email node
1. To the **Not matched** path, add the **Send Email** node. In the node settings:
1. In the **Sender details** section, choose the email account from which the email will be sent.
2. In the **Content** section, type the **Subject** and from the **Template** dropdown, select [the template you prepared in the previous step](#prepare-an-email-template).
3. In the **UTM & URL parameters** section, you can define the UTM parameters added to the links included in the email.
4. In the **Additional parameters** section, you can optionally assign [parameters](/docs/campaign/e-mail/creating-email-campaigns#adding-custom-parameters), which will be added to every event generated by this communication.
2. Click **Apply**.
### Add the finishing nodes and set capping
1. Add the **End** nodes after **Send Email** node and to the **Matched** path after the **Profile Filter** node.
2. In the upper right corner, click **Set Capping** and define the limit of workflows a profile can start:
1. Set **Limit** to 1.
2. Set **Time** to 30 days.
4. Confirm by clicking **Apply**.
5. In the upper right corner, click **Save & Run**.
Workflow configuration
## Check the use case set up on the Synerise Demo workspace
---
You can check the configuration of each step directly in our Synerise Demo workspace:
- [Aggregate](https://app.synerise.com/analytics/aggregates/1162c599-338f-32f7-ba20-b1bb64fcaed0)
- [AI Recommendation](https://app.synerise.com/ai-v2/recommendations/pcJ44bk6rXz2)
- [Template](https://app.synerise.com/campaigns/create/56bf912a-53fc-4785-afd9-fa127c44dd9a)
- [Workflow](https://app.synerise.com/automations/automation-diagram/2dd2c994-cc88-42b2-95d9-a1c82ff0ee3b)
If you’re our partner or client, you already have automatic access to the **Synerise Demo workspace (1590)**, where you can explore all the configured elements of this use case and copy them to your workspace.
If you’re not a partner or client yet, we encourage you to fill out the contact [form](https://demo.synerise.com/request) to schedule a meeting with our representatives. They’ll be happy to show you how our demo works and discuss how you can apply this use case in your business.
## Generated events
This use case generates approximately 10 events per profile that completes the flow:
[`session.end`](/docs/assets/events/event-reference/web-and-app#sessionend) (~1), [`automation.clientStartPath`](/docs/assets/events/event-reference/automation#automationclientstartpath) (~1), [`automation.clientPathStep`](/docs/assets/events/event-reference/automation#automationclientpathstep) (~3), [`automation.clientEndPath`](/docs/assets/events/event-reference/automation#automationclientendpath) (~1), [`recommendation.generated`](/docs/assets/events/event-reference/recommendations#recommendationgenerated) (~1), [`message.send`](/docs/assets/events/event-reference/email#messagesend) (~1), [`newsletter.open`](/docs/assets/events/event-reference/email#newsletteropen) (~1), [`newsletter.click`](/docs/assets/events/event-reference/email#newsletterclick) (~1).
## Read more
---
- [Aggregates](/docs/crm/aggregates)
- [Creating email templates](/docs/campaign/e-mail/creating-email-templates)
- [Html blocks](/docs/campaign/e-mail/creating-email-templates/creating-custom-html-block-basic-builder)
- [Recommendations](/docs/ai-hub/recommendations-v2)
# Personalized promotion in the mobile app with display time limitation
In today's digital age, offering personalized promotions within your mobile application is a smart strategy to elevate your customers' overall experience. By tailoring promotions to align with each user's unique preferences and needs, you can foster deeper engagement and lasting loyalty. In this use case, we will delve into the art of crafting a seamless personalized promotion experience.
This use case describes the scenario where AI Engine selects a personalized promotion for each app user. The campaign is based on the following assumptions:
- The promotion is chosen from the breakfast menu,
- It is visible on the app for three hours, specifically between 6 AM and 9 AM, and will be available for use for one hour once activated.
## Prerequisites
---
- Implement promotions in your mobile application using Synerise [mobile SDK](/developers/mobile-sdk/loyalty) or [API](https://hub.synerise.com/api-reference/loyalty-and-engagement#operation/profileLogin).
- [Import your product feed to catalog](/use-cases/import-product-feed-to-catalog).
- [Meet the documents requirements](/docs/assets/documents/introduction-to-documents#requirements).
- Apply [this method](https://hub.synerise.com/api-reference/loyalty-and-engagement#operation/getHandbillForClient_GET) to assign personalized promotions to a Profile.
- Create promotions and tag them to use later as a filter when creating a personalized promotion.
- Create a filter on the list of (regular) promotions to be reused while preparing the personalized promotion. In our case, we create a filter for breakfast promotions.
Click here to see how to build the filter
Go to AI Hub > Regular Promotions.
On the right side of the screen, click
Click Define.
On the pop-up, define the conditions by clicking Choose filters. The list contains all parameters from the product feed. Definition of promotion filter
To add a new condition, repeat the previous step.
Save the filter by clicking Save and Apply.
## Process
---
In this use case, you will go through the following steps:
1. [Create a personalized promotion](/use-cases/personalized-mobile-promotion-with-time-limit#create-a-personalized-promotion).
2. [Create a document](/use-cases/personalized-mobile-promotion-with-time-limit#create-a-document).
### Create a personalized promotion
---
In this part of the process, create a personalized promotions for breakfast promotions that will be active for customers for 1 hour after activation.
1. Go to **AI Hub > Personalized Promotions > New personalized promotion**.
2. Select the type of promotion - **Mobile app**.
3. In **A/B test settings**, add variants of the personalized promotion by clicking **Define**.
1. To add the first variant, click the plus button.
2. In **Advanced options**, leave the default option - **AI Engine** (the AI engine chooses the items to be included in the promotion).
3. Confirm by clicking **Apply**.
AB test settings
4. In the **Filter and limits** section, define:
- the filter you created in prerequisites,
- the number of items that match a filter,
- the order of the items in the promotion (from top to the bottom).
Filters and Limits configuration
5. In the **Activity** section, define the activity of the personalized promotion as **Relative** defining the activity time of promotion. In our case it's 1 hour.
You can find more detailed information on all Activity types [here](/docs/ai-hub/personalized-promotions/creating-ai-promotions#defining-promotion-schedule).
Personalized promotions activity
6. Optionally, define the AI Engine boosting settings. You can find the instruction on how to do that [here](/docs/ai-hub/personalized-promotions/creating-ai-promotions#ai-engine-boosting-settings).
7. After configuring all settings, publish the promotion.
### Create a document
---
Create a document with personalized promotion targeted to the whole database. The document will be used to display the promotion in the mobile app during the specific time frame. In our case, the promotion is scheduled for 1 month throughout the week, from 6 to 9 AM.
If you want to learn more about the various document settings, read the article ["Creating documents"](/docs/assets/documents/creating-documents).
1. Go to **Data Modeling Hub > Documents > Add document**.
2. Enter the name for your document.
2. In the **Audience** section, choose to whom the document will be displayed. Select **Everyone**.
3. In the **Configuration** section:
1. In the **Slug** field, enter the slug of the document, we recommend using the following name convention: `this-is-slug-name`.
2. In the **Priority** field, use a number to define the document priority. The order of documents is defined by the priority value (1 is the highest, 100 is the lowest).
3. Optionally, you can choose the group to which you add your document by using the **Group** option. In this case we focus on single promotion.
4. From the **Type** drop-down list, select a document type. Document type defines how the document is validated by your mobile application. To create a new type, from the drop-down list, click **Add type**.
Full explanation of the type is available [here](/docs/assets/documents/introduction-to-documents#terminology).
5. In the **Body** field, insert JSON which includes a reference to the promotion. Below you will find an example of the document body that contains the reference to the promotion created in Synerise. `uri` used in the body aims to get personalized promotions for the customer from the available list of promotions defined earlier in the personalized promotion:
7. Optionally, to check the preview of the document for the specific customer, use **Preview body**.
8. To save your changes, click **Apply**.
Document body configuration
1. In the **Schedule** section, define the time when the document will be active.
1. Schedule the activation of the document by selecting the **Scheduled** option.
2. Define the start and end date according to your business needs. In our case it starts from the Ocrober 2nd till the October 31.
3. Turn on the switch dedicated to setting time windows for the document to be active.
4. In this case, we select all days of the week.
5. Click **+ Add time**.
6. Define the time frame in which the document will be active. In our case, we select the time between 6 and 9 AM.
Document schedule configuration
2. To save your changes, click **Apply**.
3. To activate immediately or at a scheduled date, click the **Activate** button.
## Check the use case set up on the Synerise Demo workspace
---
You can check the configuration of the [personalized promotion](https://app.synerise.com/campaigns/handbills/a136d91c-21db-444a-9c0b-101b9a49cd40) and [Document](https://app.synerise.com/assets/documents/bc40ec0e-61d3-4813-a02d-3c541f674d39) directly in Synerise Demo workspace.
If you’re our partner or client, you already have automatic access to the **Synerise Demo workspace (1590)**, where you can explore all the configured elements of this use case and copy them to your workspace.
If you’re not a partner or client yet, we encourage you to fill out the contact [form](https://demo.synerise.com/request) to schedule a meeting with our representatives. They’ll be happy to show you how our demo works and discuss how you can apply this use case in your business.
## Generated events
This use case generates approximately 3 events per profile that completes the flow:
[`variant.assign`](/docs/assets/events/event-reference/search#variantassign) (~1), [`snr.bestfit.score`](/docs/assets/events/event-reference/predictions#snrbestfitscore) (~1), [`client.activatePromotion`](/docs/assets/events/event-reference/loyalty#clientactivatepromotion) (~1).
## Read more
---
- [Documents](/docs/assets/documents)
- [Promotions](/docs/ai-hub/promotions)
# Web push with survey
This scenario involves creating a web push notification with a simple survey shown to customers right after completing a purchase. The survey asks for a simple **YES** or **NO** response. Depending on the choice made and the cumulative responses for each option, customers will be navigated to a page that will feature a tailored message, crafted through Dynamic Content based on the survey outcomes. When customers click on a button on this page, it will record an event on their profile, which can be leveraged for analyzing performance and enhancing future customer targeting.
The detailed logic behind the web push created in this use case:
1. **Survey Question:** "Would you recommend our products/services to friends or family?"
2. **User Response Options:**
- YES
- NO
3. **Outcome based on User Response and Overall Survey Results:**
**NO Response:**
- Redirects a user to a webpage with dynamic content.
- Encourages users with negative experiences to contact customer service.
Aims to gather feedback for improving the customer experience.
**YES Response:**
- Redirects a user to a webpage with dynamic content.
- Displays either:
- Survey results if the percentage of YES responses is higher than x% (in our case it's 80%).
- A message thanking them for recommending the company's products/services to friends and family.
This setup ensures a tailored response based on the user's feedback and overall survey trends.
This is only an exemplary scenario. You can customize the logic and content according to your specific business needs and goals.
## Prerequisites
---
- [Configure web push notifications](/docs/campaign/Webpush/configuring-web-push)
- [Implement SDK to a website](/developers/web/installation-and-configuration)
- Implement transaction events using [SDK](/developers/web/transactions-sdk) or [API](https://hub.synerise.com/api-reference/data-management#operation/CreateATransaction).
## Process
---
1. [Create a web push template](/use-cases/web-push-survey#create-a-web-push-template).
2. [Create a workflow](/use-cases/web-push-survey#create-a-workflow) to send a webpush.
3. [Create metrics](/use-cases/web-push-survey#create-metrics) counting the number of responses of each available option (different buttons).
3. [Create Dynamic Content campaign](/use-cases/web-push-survey#create-dynamic-content-campaign).
## Create a web push template
---
1. Go to **Experience Hub > Web Push**.
2. Click Template icon.
3. In the upper right corner, click the **New template** button.
4. Enter the name of the web push template.
6. In the **Title** field, enter the headline of the notification. It's recommended to not exceed 50 characters, however, the displayed number of characters depends on the browser.
6. In the **Message** field, enter the main text of the notification.
**Recommended**: Up to 100 characters. If the message is too long, the rest of it is replaced with ellipsis (`...`).
7. In the **Destination URL** field, enter the address to which a customer is redirected after clicking the notification.
8. In the **Icon URL (optional)** field, you can enter the URL of the icon you uploaded previously to the **Files** section in the **Data Modeling Hub**.
1. To get the URL of the icon, go to **Data Modeling Hub > Files**.
2. Find the icon on the list.
3. Hover the mouse cursor over the icon on the list.
4. Click **Copy URL**.
5. Paste the URL in the **Icon** field.
9. In the **Image URL** field, enter the URL of the image you uploaded previously to the **Files** section in the **Data Modeling Hub**. [Image requirements](/docs/campaign/Webpush/creating-webpush-templates#image-requirements) are listed at the top of the article.
1. To get the URL of the image, go to **Data Modeling Hub > Files**.
2. Find the image on the list.
3. Hover the mouse cursor over the image on the list.
4. Click **Copy URL**.
5. Paste the URL in the **Image** field.
10. If you want the web push to remain visible until the recipient clicks or closes it, switch the **Require an action** toggle on.
The "requireInteraction" functionality used by this toggle is not supported by some browsers. For more details, go to [https://developer.mozilla.org/en-US/docs/Web/API/Notification/requireInteraction#browser_compatibility](https://developer.mozilla.org/en-US/docs/Web/API/Notification/requireInteraction#browser_compatibility).
11. To configure action buttons for your template, switch the **Action Buttons** toggle on.
1. In the **Button text** field, enter the text that will appear on the button.
2. In the **Button URL** field, enter the address to which a customer is redirected after clicking the button.
3. To add the second action button, click **Add button** and follow steps a-b.
12. For saving the template in a folder of your choice, click **Save as** button and select the desired folder.
In this scenario, we have two buttons labeled "YES" and "NO." Each button corresponds to a specific URL link:
- Clicking the "YES" button will redirect to: `https://demoshop.synerise.com/survey?answer=yes`
- Clicking the "NO" button will redirect to: `https://demoshop.synerise.com/survey?answer=no`
These links will be employed later in the Dynamic Content (DC) configuration when choosing where to display the DC.
### Preview the template
---
1. To check the preview of the template for a particular customer or a product, click the Preview context button on the upper left side.
2. Enter the ID of a customer.
3. Click **Apply**.
**Result:** You see the preview of the template for the particular customer.
4. To test the notification template in your browser, click **Show notification** on the upper right side.
**Result:** You get a browser request to receive notifications.
5. Agree to receive notifications.
**Result:** A web push notification is displayed.
## Create a workflow
---
The workflow will be triggered by the [`transaction.charge` event](/docs/assets/events/event-reference/items#transactioncharge). The delay is set to 10 minutes, after this time customer will receive a web push.
1. Go to **Automation Hub > Workflows > New workflow**.
2. Enter the name of the workflow.
### Define the trigger node
---
1. As the first node, add the **Profile Event**. In the settings of the node, select the **transaction.charge** event.
2. Click **Apply**.
### Configure the Delay node
---
1. Add the **Delay** node. In the node settings:
1. In the **Delay** field, type `10`.
2. From the **Unit** dropdown list, choose **Minute**.
2. Click **Apply**.
### Configure the Send Web Push node
---
1. Add the **Send Web Push** node. In the node settings:
1. In the **Content** section, from the **Webpush template** dropdown, select [the template you created in the previous step](/use-cases/web-push-survey#create-a-web-push-template).
2. In the **Schedule** section, set the **Webpush lifespan (TTL)** according to your business needs.
3. You can describe campaigns with [additional parameters](/docs/campaign/Webpush/creating-webpush-campaigns#adding-custom-parameters).
2. Click **Apply**.
### Add the finishing node
---
1. Add the **End** node to the **Send Web Push** node.
2. In the upper right corner, click **Save & Run**.
The workflow configuration
## Create metrics
---
In this step, create two metrics - one for each button - to count the number of responses for each button option. The results of these metrics will be used in the next part of the process to determine the logic for the content displayed in the Dynamic Content.
### Create a metric for the first button (YES)
1. Go to **Decision Hub > Metrics > New metric**.
2. Enter the name of the metric.
3. As a metric kind, select **Simple metric**.
4. As the type, set **Event**.
5. As the aggregator, set **Count**.
4. As the occurrence type, set **All**.
5. From the **Choose event** dropdown list, select `webpush.click`.
6. Click **+ Where** button.
**Result**: The **Choose parameter** button appears.
7. From the **Choose parameter** dropdown list, choose `actionButton`.
8. From the **Choose operator** dropdown list, select **Equal (String)**.
9. In the text field, type `1` (meaning the first button).
10. Click **+ Where** button.
**Result**: The **Choose parameter** button appears.
11. From the **Choose parameter** dropdown list, choose `diagramId`.
12. From the **Choose operator** dropdown list, select **Equal (String)**.
13. In the text field, type the ID of the diagram that you created earlier in the process.
Diagram ID is another word for Workflow ID. To find your Workflow ID, you need to navigate to **Automation Hub > Workflows**. Then find the workflow whose ID you need and click on the three dots located on the right side of it. After clicking the three dots, move to the section that displays the ID and click on it. This action will copy the ID for you.
14. Using the date picker in the lower-right corner, set the time range to **Lifetime**. Confirm your choice with the **Apply** button.
15. Click **Save**.
Configuration of the the first metric
### Create a metric for the second button (NO)
1. Go to **Decision Hub > Metrics > New metric**.
2. Enter the name of the metric.
3. As a metric kind, select **Simple metric**.
4. As the type, set **Event**.
5. As the aggregator, set **Count**.
4. As the occurrence type, set **All**.
5. From the **Choose event** dropdown list, select `webpush.click`.
6. Click **+ Where** button.
**Result**: The **Choose parameter** button appears.
7. From the **Choose parameter** dropdown list, choose `actionButton`.
8. From the **Choose operator** dropdown list, select **Equal (String)**.
9. In the text field, type `2` (meaning the second button).
10. Click **+ Where** button.
**Result**: The **Choose parameter** button appears.
11. From the **Choose parameter** dropdown list, choose `diagramId`.
12. From the **Choose operator** dropdown list, select **Equal (String)**.
13. In the text field, type the ID of the diagram that you created earlier in the process.
Diagram ID is another word for Workflow ID. To find your Workflow ID, you need to navigate to **Automation Hub > Workflows**. Then find the workflow whose ID you need and click on the three dots located on the right side of it. After clicking the three dots, move to the section that displays the ID and click on it. This action will copy the ID for you.
14. Using the date picker in the lower-right corner, set the time range to **Lifetime**. Confirm your choice with the **Apply** button.
15. Click **Save**.
Configuration of the the second metric
## Create dynamic content campaign
---
Set up a single dynamic content campaign to showcase relevant content based on the button chosen and the number of responses received for each option. Three different copies are utilized for distinct scenarios:
Scenario 1: **NO** response
Scenario 2: **YES** response with a rate of over 80% - in this scenario we will also display the exact percentage of customers that responded this way.
Scenario 3: **YES** response with a rate lower than 80%
In this case, we're using a predefined template and customizing it according to our communication requirements. The logic determining the dynamic content change for each scenario will be outlined in the Jinjava code within the dynamic content template.
1. Go to **Experience Hub > Dynamic content > Create new**.
2. Enter the name of the dynamic content.
3. Choose the **Web layer** type.
4. As the audience, select **Everyone**.
### Define content
5. In the **Content** section, click **Define**.
6. In the **Content** tab, click **Create Message**.
7. From the list of template folders, select a folder with the predefined **Web layer templates**.
8. Select the template that you can further tailor to your communication needs.
**Result**: You are redirected to the template builder.
9. Customize the template layout according to your needs.
10. Add a **HTML** block to display specific content to customers upon clicking a web push button. In this block, you will configure the content logic. Below is a sample Jinjava used to cover the three scenarios mentioned in the description of this part of the process.
Check Jinjava example
(function() { const urlYES = 'https://demoshop.synerise.com/survey?answer=yes'; const urlNO = 'https://demoshop.synerise.com/survey?answer=no'; let currentUrl = window.location.href; let title = document.querySelector('.survey_title') let paragraph = document.querySelector('.survey_paragraph') if(currentUrl.includes(urlYES)){ title.innerText = `Thank You for Your Recommendation! 🌟` paragraph.innerHTML = `
      {%- set metricYESValue = '{%- metrics -%} 3308b4d2-7624-42f8-9929-024b564c0ea4 {%- endmetrics -%}' -%}
      {%- set metricNOValue = '{%- metrics -%} b173efa8-b172-4073-aa4c-f87d6ef16185 {%- endmetrics -%}' -%}
      {%- if (metricYESValue|int / (metricYESValue|int + metricNOValue|int) * 100) >= 80 -%}
          Your trust means the world to us! Over {{(metricYESValue|int / (metricYESValue|int + metricNOValue|int) * 100)|int}}%
          of the respondents expressed their willingness to recommend our products to their friends and family.
          This overwhelming support speaks volumes about the satisfaction and trust our customers place in us.
          Thank you for choosing us and for being a part of our community!
      {%- else -%}
          Your trust means the world to us!
          We're thrilled to hear that you would recommend our products/services to your friends and family.
          It's our constant endeavor to provide you with the best quality and service,
          and your positive feedback reinforces our commitment to excellence.
      {%- endif -%}
      ` } else { title.innerText = `We Value Your Feedback! 🤝` paragraph.innerText = `We're sorry to hear that you wouldn't recommend our products/services.
      Your feedback is crucial to us in improving and providing you with a better experience.
      If you have a moment, we would love to hear more about your concerns.
      Please share your thoughts with us, and let's work together to make things right.
      Thank you for your honesty and for being a valued customer.
      ` } })()
7. After you make changes to the template, you can check the preview.
1. Click the **Preview Contexts** button on the upper left side.
2. Enter the ID of a customer and define the product context.
3. Click **Apply**.
4. If the template is ready, in the upper right corner click **Save this template > Save as**.
5. On the popup:
1. In the **Template name field**, enter the name of the template.
2. From the **Template folder** dropdown list, select the folder where the template will be saved.
3. Confirm by clicking **Apply**.
6. To continue the process of configuring the dynamic content campaign, click **Next**.
7. To save your content changes, click **Apply**.
### Define schedule and display settings
1. In the **Schedule** section, click **Define** and set the time when the message will be active.
2. In the **Display Settings** section, click **Define**.
3. Set the conditions for when the dynamic content should appear. Optionally, you can also define the Advanced options. In our case, we will define the frequency of dynamic content to be displayed to **Once per day** and only on specific pages we've chosen, linked to each button. You can also choose which type of device displays the dynamic content. Additionally, we'll use the **Stop display** feature to make sure the dynamic content is shown to a user just once.
4. Click **Apply**.
5. Optionally, you can define the UTM parameters for your dynamic content campaign.
6. Click **Activate**.
## Generated events
This use case generates approximately 12 events per profile that completes the flow:
[`transaction.charge`](/docs/assets/events/event-reference/items#transactioncharge) (~1), [`product.buy`](/docs/assets/events/event-reference/items#productbuy) (~2), [`automation.clientStartPath`](/docs/assets/events/event-reference/automation#automationclientstartpath) (~1), [`automation.clientPathStep`](/docs/assets/events/event-reference/automation#automationclientpathstep) (~2), [`automation.clientEndPath`](/docs/assets/events/event-reference/automation#automationclientendpath) (~1), [`webpush.send`](/docs/assets/events/event-reference/webpush#webpushsend) (~1), [`webpush.show`](/docs/assets/events/event-reference/webpush#webpushshow) (~1), [`webpush.click`](/docs/assets/events/event-reference/webpush#webpushclick) (~1), [`dynamicContent.show`](/docs/assets/events/event-reference/dynamic-content#dynamiccontentshow) (~1), [`dynamicContent.click`](/docs/assets/events/event-reference/dynamic-content#dynamiccontentclick) (~1).
## Check the use case set up on the Synerise Demo workspace
---
You can check the configuration of each step from this use case in our Synerise Demo workspace:
- [Web push template](https://app.synerise.com/campaigns/webpush/content-manager/template/126315)
- [Workflow](https://app.synerise.com/automations/automation-diagram/318e3be4-4fde-46a9-9605-84156b7fda7b)
- [Metric 1](https://app.synerise.com/analytics/metrics/3308b4d2-7624-42f8-9929-024b564c0ea4)
- [Metric 2](https://app.synerise.com/analytics/metrics/b173efa8-b172-4073-aa4c-f87d6ef16185)
- [Dynamic content campaign](https://app.synerise.com/campaigns/dynamic-content/create/dcd98d37-1133-495e-826b-a4f93c2e9c42)
If you’re our partner or client, you already have automatic access to the **Synerise Demo workspace (1590)**, where you can explore all the configured elements of this use case and copy them to your workspace.
If you’re not a partner or client yet, we encourage you to fill out the contact [form](https://demo.synerise.com/request) to schedule a meeting with our representatives. They’ll be happy to show you how our demo works and discuss how you can apply this use case in your business.
# Send segmentations from HubSpot to Synerise
This use case demonstrates the integration between Synerise and HubSpot. The integration allows you to send any data collected in HubSpot to Synerise. In this way, you can supplement the data you collect in Synerise with additional information you gather in HubSpot, unlocking the full potential of your data.
In this use case, we will focus on creating an integration that imports customer's data from HubSpot into Synerise.
## Prerequisites
---
- A HubSpot Pro account is required.
- Your workspace must have API key permission for creating profiles: `API_BATCH_CLIENT_CREATE`
## Process
---
1. [Create an incoming integration](/use-cases/hubspot-integration#create-an-incoming-integration-for-hubspot-customer-data) for HubSpot clients data.
2. [Create a workflow](/use-cases/hubspot-integration#create-a-workflow-for-handling-incoming-data-from-hubspot) for handling incoming data from HubSpot.
## Create an incoming integration for HubSpot customer data
---
In this part of the process, create incoming integrations in Synerise to which you will send customer's data from Hubspot.
1. Go to **Automation Hub > Incoming > New integration**.
2. On the pop-up, select **Without authentication**.
3. Enter the name of the webhook.
4. In the **Endpoint** section, click **Define**.
The URL field is already filled in with the endpoint to which the data from HubSpot will be sent.
5. Optionally, you can add an icon to this integration.
6. Confirm by clicking **Apply**.
Configuration of the Endpoint section
7. In the **Incoming data** section, click **Define**.
8. Click **Retrieve data**.
**There are two ways of retreving data:**
1. You can send direct cURL request.
Click to expand the instruction on sending cURL request
Right after you click the button, send a request to the endpoint in the Endpoint section with the sample of data that will be sent through HubSpot. The system waits for the incoming request for 1 minute and 30 seconds.
Replace the endpoint URL from the example below with the endpoint URL from step 4.
2. You can send Webhook from HubSpot to the endpoint you created [earlier in the process](/use-cases/hubspot-integration#create-an-incoming-integration-for-hubspot-customer-data).
Click to expand the instruction on sending webhook from Hubspot
Navigate to the Workflows in the HubSpot and create a new workflow that will send a webhook with the selected clients segments to Synerise. HubSpot workflow configuration
Define the workflow trigger, which in our case should be a segment of clients which data will be send to Synerise.
Configure the webhook:
Select POST method.
Enter the webhook URL (the endpoint you created earlier in the process).
Select the appropriate authentification type.
Choose the properties you want to include in the webhook request body.
Webhook configuration
Test your webhook to see the response and be able to select which fields to output for use later in your workflow.
Save your configuration and finish the workflow.
9. When the endpoint receives data from the request, verify the list of variables. If the variables include those which are in the payload, click **Define**. If not, to re-send the request, click **Start again**, and wait for the results.
Collected variables from the request
10. Click **Save & publish**.
## Create a workflow for handling incoming data from HubSpot
---
As the final part of the process, create a workflow which captures data sent to the incoming integration you created in the previous part of the process and creates customer's profiles with the attributes defined earlier in the process. The workflow starts with the business event trigger (for customer's data) that is launched every time the data from HubSpot is sent to Synerise. In response to that, customer's profiles are created.
1. Go to **Automation Hub > Workflows > New workflow**.
2. Enter the name of the workflow.
### Define the business event node
3. As the trigger, select **Business Event**. In the configuration of the node, select the [incoming integration for customer's data](/use-cases/hubspot-integration#create-an-incoming-integration-for-hubspot-customer-data) you created as the first part of the process.
4. Confirm by clicking **Apply**.
Business Event node configuration
### Define the Outgoing Integration node
In the **Outgoing Integration** node, create a webhook that will create a customer's profile with the selected attributes sent from HubSpot.
5. From the dropdown list, select the **Outgoing Integration** node.
6. Click the node. In the configuration of the node:
1. Select the **Custom webhook**.
2. Enter the name of the webhook.
2. Select the **POST** method.
3. Enter the endpoint URL: `https://api.synerise.com/v4/clients/batch `
4. Enter the following headers:
- set the `content-type` header to `application/json` (default),
- set the `api-version` header to `4.4`
5. Enter the request body. For the scenario described in this use case, the body is as follows:
This is just an example, you can create JSON according to your business needs. You can use any attribute that comes in the request from HubSpot. You can read more about it [here](/developers/inserts/automation#context).
6. In the **Authorization** section, select **By API key**.
6. From the dropdown list, select API key that has permissions to create customer's profile.
You can read more about API keys [here](/docs/settings/tool/api) and you can find more information about the endpoint and required API key permissions [here](https://hub.synerise.com/api-reference/profile-management#operation/CreateAClientInCrm).
6. Confirm by clicking **Apply**.
Final configuration of the Outgoing Integration node
### Add final setting to your workflow
---
1. Add the **End** node.
2. Launch the workflow by clicking **Save&Run**.
Final view of the workflow configuration
## Generated events
This use case generates approximately 5 events per profile that completes the flow:
[`automation.clientStartPath`](/docs/assets/events/event-reference/automation#automationclientstartpath) (~1), [`automation.clientPathStep`](/docs/assets/events/event-reference/automation#automationclientpathstep) (~1), [`automation.clientEndPath`](/docs/assets/events/event-reference/automation#automationclientendpath) (~1), [`webhook.response`](/docs/assets/events/event-reference/integration#webhookresponse-and-custom-webhook-response-names) (~1), [`client.add`](/docs/assets/events/event-reference/profiles#clientadd) (~1).
## Check the use case set up on the Synerise Demo workspace
---
You can check the configuration of all steps described in the use case directly in Synerise Demo workspace:
- [Incoming webhook configuration](https://app.synerise.com/automations/custom-blocks/integrations/incoming/edit/112ae31f-1a3e-4729-89ae-3b37eb7475f4)
- [Workflow configuration](https://app.synerise.com/automations/workflows/automation-diagram/122f399a-b9c2-4925-b643-32928c0f4f10)
If you’re our partner or client, you already have automatic access to the **Synerise Demo workspace (1590)**, where you can explore all the configured elements of this use case and copy them to your workspace.
If you’re not a partner or client yet, we encourage you to fill out the contact [form](https://demo.synerise.com/request) to schedule a meeting with our representatives. They’ll be happy to show you how our demo works and discuss how you can apply this use case in your business.
# Google Spreadsheet integration
The Synerise and Google Sheets integration allows easy data export from Synerise to Google Sheets. Using the "Upload Data to Spreadsheet" node, you can add data as rows or columns to the spreadsheet, including various data types (events and analytics). This integration opens up new possibilities for data analysis and informed decision-making.
This use case shows a workflow configuration that sends daily information from Synerise to Google Spreadsheets about the number of transactions made on the current day, enriched with information about the date of sending this data.
## Prerequisites
---
- Check the [requirements](/docs/automation/integration/google-sheets/upload-data-to-spreadsheets#prerequisites) you must meet to integrate Synerise with Google Spreadsheets.
- Implement transaction events using [SDK](/developers/web/transactions-sdk) or [API](https://hub.synerise.com/api-reference/data-management#operation/CreateATransaction).
## Process
---
1. [Create a metric](#create-a-metric) that counts the number of transactions.
2. [Create an expression](#create-an-expression) that returns the current date.
3. [Create a workflow](#create-a-workflow).
## Create a metric
---
In this part of the process, you will create a metric that counts the number of transactions completed on the current day and will be sent to Google Spreadsheet.
1. Go to **Decision Hub > Metrics > New metric**.
2. Enter the name of the metric.
3. As the metric type, select **Simple metric**.
4. As the type, leave **Event**.
5. As the aggregator, set **Count**.
6. As the occurrence type, set **All**.
7. From the **Choose event** dropdown list, select `transaction.charge`.
8. To select a specific time range, click the calendar icon. In our case, it will be **Today**. Confirm your choice with the **Apply** button.
9. Click **Save**.
Configuration of the metric returning the number of all transactions
## Create an expression
---
In this part of the process, create an expression that returns the current date.
1. Go to **Behavioral Data Hub > Expressions > New expression**.
2. Enter the name of the expression.
3. Set the **Expression for** option to **Attribute**.
4. Click **Select** and from the **Function** dropdown list, choose **Now**.
5. Save the expression.
Configuration of the expression returningthe current date
## Create a workflow
---
In this part of the process, create a workflow which adds a new row with the Synerise metric value to a Google Spreadsheet. The workflow starts at 6 A.M. daily and automatically updates the Spreadsheet.
1. Go to **Automation Hub > Workflows > New workflow**.
2. Enter the name of the workflow.
### Define the Scheduled Run trigger node
1. As the trigger node, add **Scheduled Run**.
2. In the configuration of the node:
1. Leave the **Run trigger** option at default (**all time**).
2. From the **Timezone** dropdown list, select the time zone consistent with the timezone selected for your workspace.
3. Define the frequency of the workflow. In this use case, it's every day at 6:00 A.M.
4. Confirm by clicking **Apply**.
The configuration of the Scheduled Run node
### Configure the Upload Data to Spreadsheet node
1. As the next node, add **Google Sheets > Upload Data to Spreadsheet**.
2. Click the node and then **Select connection**.
3. From the dropdown list, select the connection.
- If no connections are available or you want to create a new one, see [Create a connection](/docs/automation/integration/google-sheets/upload-data-to-spreadsheets#create-a-connection).
- If you selected an existing connection, proceed to defining the integration settings.
4. Fill out the **Configure integration** form.
1. In the **Spreadsheet ID** field, enter the ID of the Spreadsheet to which you want to upload data.
You can find the ID in the URL of the Spreadsheet, it is the last string of characters.
2. In the **Range** field, define the range of cells to which the data will be uploaded. The values will be appended to the first empty cell available within the indicated range.
The value in this field must be given in the A1 notation, for example `Sheet1!A4:A5`, then the data will be added in a column to A4 and A5 cells in the `Sheet1` Spreadsheet.
3. From the **Dimension** dropdown list, select **Columns**.
4. In the **Values** field, enter the data you want to upload to the Spreadsheet. In this case:
In the request body with the values, we use [inserts](/developers/inserts) and Jinjava to refer to the data gathered in Synerise. Make sure to add the id of the metrics and expressions you created earlier.
The configuration of the Upload Data to Spreadsheet node
5. Confirm by clicking **Apply**.
### Add the finishing node
1. Add the **End** node.
2. In the upper right corner, click **Save & Run**.
The configuration of the Workflow
The metric presented in this case is just an example. You can export any other analyses you need with the **Upload Data to Spreadsheet** node. All you have to do is replace the syntax with relevant jinjava inserts and add the corresponding analyses IDs.
## Check the use case set up on the Synerise Demo workspace
---
You can check all the configurations directly in Synerise Demo workspace:
- [Metric](https://app.synerise.com/analytics/metrics/be18d6fe-4b3a-45a3-9bd5-08a9a85652c3)
- [Expression](https://app.synerise.com/analytics/expressions/8aed3f3e-f89c-422b-9d23-6609c0ecdee8)
- [Workflow](https://app.synerise.com/automations/automation-diagram/c8171a3e-285c-43f9-9191-94fb16a744c2)
If you’re our partner or client, you already have automatic access to the **Synerise Demo workspace (1590)**, where you can explore all the configured elements of this use case and copy them to your workspace.
If you’re not a partner or client yet, we encourage you to fill out the contact [form](https://demo.synerise.com/request) to schedule a meeting with our representatives. They’ll be happy to show you how our demo works and discuss how you can apply this use case in your business.
## Generated events
This use case generates approximately 4 events per workflow execution:
[`automation.clientStartPath`](/docs/assets/events/event-reference/automation#automationclientstartpath) (~1), [`automation.clientPathStep`](/docs/assets/events/event-reference/automation#automationclientpathstep) (~1), [`automation.clientEndPath`](/docs/assets/events/event-reference/automation#automationclientendpath) (~1), [`googleSheets.uploadData`](/docs/assets/events/event-reference/integration#googlesheetsuploaddata) (~1).
## Read more
---
- [Automation Hub](/docs/automation)
- [Automation inserts](/developers/inserts/automation)
- [Uploading data to a spreadsheet](/docs/automation/integration/google-sheets/upload-data-to-spreadsheets)
# In-app carousel with personalized recommendations
In-app message carousel with personalized products recommendations is a feature that displays a curated list of personalized products within a mobile application. It combines the AI recommendations possibilities of predicting the preferences of individual users and present them with relevant options through an in-app message. By offering personalized product recommendations, businesses can increase engagement, upsell opportunities and drive sales by providing users with tailored and convenient access to their preferred products.
This use case describes the process of creating a set of personalized recommendations in the form of carousel for customers who added products to their cart and sending it through an in-app message.
This use case provides you with an instruction how to use a ready-made in-app template that can be used 1:1 in a business scenario.
## Prerequisites
---
- [Configure AI engine](/docs/settings/configuration/ai-engine-configuration/engine-configuration-for-recommendations).
- [Configure an item catalog for recommendations](/docs/settings/configuration/ai-engine-configuration/engine-configuration-for-recommendations). Enable personalized recommendations.
- Implement the [transaction events](/developers/web/transactions-sdk) using [SDK](/developers/web/transactions-sdk) or [API](https://hub.synerise.com/api-reference/data-management#operation/CreateATransaction).
- [Implement Synerise SDK in your mobile app](/developers/mobile-sdk).
## Process
---
In this use case, you will go through the following steps:
1. [Prepare AI recommendations](#prepare-ai-recommendations).
2. [Create an in-ap message](#create-an-in-app-message) with products recommendations using the predefined template.
## Prepare AI recommendations
---
In this part of the process, you will configure a personalized recommendation which will be later used in the in-app message.
1. Go to **AI Hub > (AI Recommendations) Models > Add recommendation**.
2. Enter the name of the recommendation (it is only visible on the list of recommendation).
3. In the **Type & Items feed** section, click **Define**.
4. From the **Items feed** dropdown list, select an item feed.
5. In the **Type** section, choose the **Personalized** recommendation type.
6. Confirm the settings by clicking **Apply**.
7. In the **Items** section, click **Define**.
1. Click **Add slot**.
2. Define the minimum and maximum number of items that will be recommended to the user in each slot.
3. Optionally, define [Static filters](/docs/ai-hub/recommendations-v2/creating-recommendation-campaign#static-filters) and [Elastic filters](/docs/ai-hub/recommendations-v2/creating-recommendation-campaign#elastic-filters).
4. Confirm by clicking **Apply**.
8. Optionally, you can define the **Boosting** factors and settings in the **Additional settings** section.
9. In the right upper corner, click **Save**.
## Create an in-app message
---
In this part of the process, you create an in-app campaign triggered by the `product.addToCart`. We will use a predefined template for the message with personalized products, so there is no need to create a template from scratch.
1. Go to **Experience Hub > In-app messages> Create in-app**.
2. Enter the name of the in-app.
### Define the audience
---
As the first step, define the target group of customers for the in-app message. In this case, the group will consist of the customers who had a `product.addToCart` event.
1. In the **Audience** section, click **Define**.
2. Click **Everyone**.
3. To save the audience, click **Apply**.
### Define content
---
In this part of the process, you will create the content of the in-app message that will appear in the mobile application with the help of ready-made template.
1. In the **Content** section, click **Define**.
2. Click **Create message** and from the list of template folders, select **Use Cases**.
3. Select the **In-app carousel with personalized recommendations** template.
**Result:** You are redirected to the code editor.
You can edit the template in two ways, by editing the code of the template ([add snippets](/docs/campaign/in-app-messages/creating-inapp-templates/creating-inapp-template#adding-a-snippet-to-the-template-code), [add variables](/docs/campaign/in-app-messages/creating-inapp-templates/creating-inapp-template#adding-a-variable) and/or by filling out the form in the Config tab. In this use case, we will use the capabilities of the predefined Config tab.
#### Edit form in the Config tab
---
The form in the **Config** tab is already filled in with default values. You can keep them or change them to fit your business needs.
The fields in Config are split into two types: ones for dynamic content (related to Jinja) and ones for in-app appearance. The dynamic content fields must match the values in the catalog and the names of the attributes returned by the recommendations. The appearance fields only affect how the information presents itself in the in-app.
1. From the **Recommendation campaign** dropdown list, select the [recommendations you created in the previous step](#prepare-ai-recommendations). You can find it by typing its name or ID in the search box.
2. In the **Header text** text box, type the header you want to display in the in-app message.
3. In the **Name of product attribute with image link** field, change the default `imageLink` value to the name of the product attribute returning image link from the recommendation campaign defined before. In our case, the name of the column with image link is `image`.
4. In the **Name of the product attribute with title** field, change the default `title` value to the product attribute returning product name from the recommendation campaign defined before. In our case, the name of the column with the product name is `name`.
5. In the **Name of the product attribute with price** field, change the default `price.value` value to the product attribute returning price from the recommendation campaign defined before. In our case, the name of the column with price is `price`.
5. In the **Name of the product attribute with link** field, change the default `link` value to the product attribute returning link from the recommendation campaign defined before. In our case, the name of the column with the attribute returning link is `link`.
6. Define the color for the following fields: **Wrapper background, Header background, Header text, Close icon background** and **Close icon**.
6. **Name of the product attribute with average rating** and **Name of the product attribute with number of reviews** leave empty, because in this case we do not have this kind of attributes in our catalog.
7. After you make changes to the template, you can check the preview.
1. Click the **Preview** button on the upper left side.
2. Enter the ID of a customer.
3. Click **Apply**.
Considering that the in-app is very interactive, the preview in the platform may not be enough to test the in-app performance. That’s why we suggest checking the campaign preview directly in the mobile app.
8. If the template is ready, in the upper right corner click **Save this template > Save as**.
9. On the pop-up:
1. In the **Template name field**, enter the name of the template.
2. From the **Template folder** dropdown list, select the folder where the template will be saved.
3. Confirm by clicking **Apply**.
10. To continue the process of configuring the in-app campaign, click **Next**.
11. To save your content changes, click **Apply**.
### Select events that trigger the in-app message display
---
In this part of the process, you will define the event triggering the display of the in-app message.
1. In the **Trigger events** section, click **Define**.
2. Select **Add event** and from the dropdown list, choose `product.addToCart` event.
3. Click the **+ where** button and select `source`.
4. As the logical operator, select **Equal**.
5. In the text field, type `mobile`.
5. Click **Apply**.
In-app trigger event configuration
### Schedule the message and configure display settings
---
As the final part of the process, you will set the display settings of the in-app message such as schedule, capping, priority of the message among other in-app messages.
1. In the **Schedule** section, click **Define** and set the time when the message will be active.
2. In the **Display Settings** section, click **Change**.
3. Define the **Delay display**, **Priority index** and enable the **Frequency limit** toggle to manage the frequency of in-app message display in the application.
You can additionaly enable the **Capping limit** toggle to limit the amount of time the in-app message can be displayed to a user in general.
16. Click **Apply**.
17. Optionally, you can define the UTM parameters and additional parameters for your in-app campaign.
18. Click **Activate**.
## Check the use case set up on the Synerise Demo workspace
---
You can check the [Recommendations](https://app.synerise.com/ai-v2/recommendations/JmWFgGhNWtTq) and [In-app message](https://app.synerise.com/communications/in-app/a1a9fc4d-900d-4b05-977a-b81e23e11a4e) configuration directly in Synerise Demo workspace.
If you’re our partner or client, you already have automatic access to the **Synerise Demo workspace (1590)**, where you can explore all the configured elements of this use case and copy them to your workspace.
If you’re not a partner or client yet, we encourage you to fill out the contact [form](https://demo.synerise.com/request) to schedule a meeting with our representatives. They’ll be happy to show you how our demo works and discuss how you can apply this use case in your business.
## Generated events
This use case generates approximately 6 events per profile that completes the flow:
[`product.addToCart`](/docs/assets/events/event-reference/items#productaddtocart) (~1), [`inApp.show`](/docs/assets/events/event-reference/inapp#inappshow) (~1), [`inApp.click`](/docs/assets/events/event-reference/inapp#inappclick) (~1), [`recommendation.generated`](/docs/assets/events/event-reference/recommendations#recommendationgenerated) (~1), [`recommendation.view`](/docs/assets/events/event-reference/recommendations#recommendationview) (~1), [`recommendation.click`](/docs/assets/events/event-reference/recommendations#recommendationclick) (~1).
## Read more
---
- [In-app messages](/docs/campaign/in-app-messages)
- [Snippets](/docs/assets/snippets)
- [Recommendations](/docs/ai-hub/recommendations-v2)
- [Using in-app template builder](/docs/campaign/in-app-messages/creating-inapp-templates/creating-inapp-template)
# In-app Stories with dynamic resize and brand showcase
Modern mobile UX encourages interactivity and continuity — allowing users to move smoothly between subtle notifications and immersive experiences without switching screens.
The resize feature in in-app messages makes it possible to run a single campaign with multiple visual states (for example, a small top or bottom bar expanding into a full-screen story).
In this use case, you’ll build a two-stage in-app campaign for a specific brand.
At first, users see a compact banner (“top” bar) with a teaser message such as “Discover Brand X”.
After tapping the banner, the in-app message resizes to a full-screen story view, presenting brand details and AI-based recommendations of its bestsellers.
This approach combines subtle awareness with deeper engagement — all in a single, unified campaign.
It will be displayed after logging in to the application for users who have not viewed any product from this new brand yet. Additionally, the campaign will be active only for one month.
## Prerequisites
---
- [Configure AI engine](/docs/settings/configuration/ai-engine-configuration/engine-configuration-for-recommendations) for recommendations; enable the personalized recommendation type.
- Implement the [transaction events](/developers/web/transactions-sdk) using [SDK](/developers/web/transactions-sdk) or [API](https://hub.synerise.com/api-reference/data-management#operation/CreateATransaction).
- [Implement Synerise SDK in your mobile app](/developers/mobile-sdk).
## Process
---
In this use case, you will go through the following steps:
1. [Prepare the segmentation](#prepare-the-segmentation) of users who have never seen any product from this new brand.
2. [Create an in-app campaign](#create-an-in-app-campaign) as a top bar which, after tapping, resizes to the stories format automatically.
## Prepare the segmentation
---
In this part of the process, you will create a group of customers who have never seen any product from a new brand.
1. Go to **Decision Hub > Segmentations > New segmentation**.
3. Enter the name of the segmentation.
4. Click **Add condition**.
4. From the dropdown list, select the `page.visit` event.
7. As the parameter, choose **URL**.
6. From the **Choose operator** dropdown, choose **Contain**, and then select the name of the brand, in our case `Arcyber`.
10. Change **Performed** to **Not performed**.
7. Using the date picker in the lower-right corner, set the time range to **Lifetime**. Confirm by clicking **Apply**.
8. Click **Add condition**.
10. From the list, choose the `screen.view` event,
7. As the parameter, choose **URL**.
6. From the **Choose operator** dropdown, choose **Contain**, and then select the name of the brand, in our case `Arcyber`.
10. Change **Performed** to **Not performed**.
7. Using the date picker in the lower-right corner, set the time range to **Lifetime**. Confirm by clicking **Apply**.
12. Connect these conditions by the **AND** operator.
6. Save the segmentation.
Segmentation configuration
You can use different settings of the segment based on the way you have implemented brands to your website - if their name is added to the URL address or if you have different category for products from specific brand, or in any other way.
## Create an in-app campaign
---
In this part of the process, you will create an in-app campaign. You will use a predefined template for the message with interactive in-app stories, so there is no need to create a template from scratch.
1. Go to **Experience Hub > In-app messages> Create in-app**.
2. Enter the name of the in-app.
### Define the audience
---
As the first step, define the target group of customers for the in-app message. In this case, you will use the segmentation created in the [previous step](#prepare-the-segmentation).
1. In the **Audience** section, click **Define**.
2. Click **Segmentations**.
3. Click **Select segmentation** and choose the segmentation created in the [previous step](#prepare-the-segmentation).
3. Save the settings in the **Audience** section by clicking **Apply**.
### Define content
---
In this part of the process, you will use a ready-made template to create the content of the in-app message that will be displayed in the mobile application.
1. In the **Content** section, click **Define**.
2. Click **Create message** and from the list of template folders, select **Predefined templates**.
3. Select the **Resize Stories** template.
**Result:** You are redirected to the code editor.
You can edit the template in two ways:
- by editing the code of the template, [adding inserts](/docs/campaign/in-app-messages/creating-inapp-templates/creating-inapp-template#adding-a-snippet-to-the-template-code), [adding variables](/docs/campaign/in-app-messages/creating-inapp-templates/creating-inapp-template#adding-a-variable)
- by filling out the form on the **Config** tab.
In this use case, we will use the capabilities of the predefined Config tab.
#### Edit form in the Config tab
---
The form in the **Config** tab is already filled in with default values. You can keep them or change them to fit your business needs.
In-app configuration
1. In the **Bar settings** section, set up the copy and style of the first banner. Choose the bar position (top or bottom bar).
1. To lock a specific slide that you want to preview and edit, to prevent it from switching automatically, enable the **Config Mode**.
2. In the **General Settings** section:
- In **Number of stories**, enter the number of slides in the stories (no more than 5).
- In **Stories order**, define the order of stories (for example, 2,3,5,1).
- In **Title** and **Subtitle**, define the title and subtitles of the stories respectively. If you don't want to display them, enter a dash (`-`).
- If you want to display the avatar, enable the **Display avatar image** option and in **Avatar image**, enter a link to the source of avatar image.
3. In the **Button** section:
- Customize the action button by defining the text on the button (**Text on the button**), the URL to which a user will be redirected (**Destination link**), colors of the button (**Button text color** and **Button color**).
4. Configure the settings for each story:
- Each story can be customized separately. You can customize the copy in a story, select the colors of text and background, provide the links to image or video included in the story, and define the display time.
5. After you complete editing the form, disable the **Config mode** option.
5. After you make changes to the template, you can check the preview.
1. Click the **Preview contexts** button on the upper left side.
2. Enter the ID of a customer.
3. Click **Apply**.
Considering that the in-app is very interactive, the preview in the platform may not be enough to test the in-app performance. That’s why we suggest checking the campaign preview directly in the mobile app.
6. If the template is ready, in the upper right corner click **Save this template > Save as**.
7. On the pop-up:
1. In the **Template name field**, enter the name of the template.
2. From the **Template folder** dropdown list, select the folder where the template will be saved.
3. Confirm by clicking **Apply**.
8. To continue the process of configuring the in-app campaign, click **Use in communication**.
9. To save your content changes, click **Apply**.
### Select events that trigger the in-app message display
---
In this part of the process, you will define the event triggering the display of the in-app message. In this case it will be visible after opening the application, but - as it was specified in the campaign settings - only for users who have not seen any product from the new brand yet.
1. In the **Trigger events** section, click **Define**.
2. Select **Add event** and from the dropdown list, choose `screen.view` event.
3. Click the **+ where** button and select `source`.
4. As the logical operator, select **Equal**.
5. As the value add `MOBILE`.
5. Click **Apply**.
In-app trigger event configuration
### Schedule the message and configure display settings
---
As the final part of the process, you will set the display settings of the in-app message such as schedule, capping, priority of the message among other in-app messages.
1. In the **Schedule** section, click **Define** and set the time when the message will be active. In this case - 1 month.
2. In the **Display Settings** section, click **Change**.
3. Define the **Delay display**, **Priority index** and enable the **Frequency limit** toggle to manage the frequency of in-app message display in the application.
16. Click **Apply**.
17. Optionally, you can define the UTM parameters and additional parameters for your in-app campaign.
18. Click **Activate**.
### Test the in-app campaign
---
Read the ["Testing" section](/docs/campaign/in-app-messages/create-inapp-message#testing) to discover how to test your in-app campaign.
## Check the use case set up on the Synerise Demo workspace
---
You can check the [segmentation](https://app.synerise.com/analytics-v2/segmentations/0c938198-6d2f-41b2-8211-9126b1a97725) and [in-app message campaign](https://app.synerise.com/communications/in-app/6dc6673a-4e87-4fa7-af03-44de61ee2b44) configuration directly in Synerise Demo workspace.
If you’re our partner or client, you already have automatic access to the **Synerise Demo workspace (1590)**, where you can explore all the configured elements of this use case and copy them to your workspace.
If you’re not a partner or client yet, we encourage you to fill out the contact [form](https://demo.synerise.com/request) to schedule a meeting with our representatives. They’ll be happy to show you how our demo works and discuss how you can apply this use case in your business.
## Generated events
This use case generates approximately 3 events per profile that completes the flow:
[`screen.view`](/docs/assets/events/event-reference/web-and-app#screenview) (~1), [`inApp.show`](/docs/assets/events/event-reference/inapp#inappshow) (~1), [`inApp.click`](/docs/assets/events/event-reference/inapp#inappclick) (~1).
## Read more
---
- [In-app messages](/docs/campaign/in-app-messages)
- [Using in-app template builder](/docs/campaign/in-app-messages/creating-inapp-templates/creating-inapp-template)
# Mandatory mobile app upgrade message
In-app notifications on mandatory application upgrade ensure that your customers are promptly notified and guided through the essential process of updating their mobile application. Enhance user experience, maintain the application's optimal performance, and provide your customers access to the latest features and security improvements. Streamline the upgrade process and keep your customers seamlessly connected with the most up-to-date version of your application through strategic in-app messages.
This use case describes the process of creating an in-app message with information about mandatory application upgrade for customers who have an old version of the application.
This use case provides you with an instruction how to use a ready-made in-app template that can be used 1:1 in a business scenario.
## Prerequisites
---
[Implement Synerise SDK in your mobile app](/developers/mobile-sdk).
## Create an in-ap message
---
Create an in-app campaign triggered by the [`client.applicationStarted` event](/docs/assets/events/event-reference/web-and-app#clientapplicationstarted) of the old version of the application. We will use a predefined template for the message with mandatory application upgrade information, so there is no need to create a template from scratch.
1. Go to **Experience Hub > In-app messages> Create in-app**.
2. Enter a meaningful name for the in-app campaign.
### Define the audience
---
As the first step, define the target group of customers for the in-app message.
3. In the **Audience** section:
1. Click **Define**.
2. Select the **Everyone** tab.
3. Click **Apply**.
### Define content
---
1. In the **Content** section, click **Define**.:
1. Click **Create message**.
2. Go to the **Predefined templates** folder and choose **Fullscreen** template.
You can edit the template in two ways, by editing the code of the template ([add inserts](/docs/campaign/in-app-messages/creating-inapp-templates/creating-inapp-template#adding-a-snippet-to-the-template-code), [add variables](/docs/campaign/in-app-messages/creating-inapp-templates/creating-inapp-template#adding-a-variable)) and/or by filling out the form in the **Config** tab. In this use case, we will use the capabilities of the predefined **Config** tab.
#### Edit form in the Config tab
---
The form in the **Config** tab is already filled in with default values. You can keep them or change them to fit your business needs.
1. In the **Background** section, use the color picker to select the color of the background or enable background image and enter the link to this image (add the image to **Data Modeling Hub > Files** and then you can find there the URL to this image).
2. In the **Image** section, enable the image in your banner campaign and add the link to this image (add the image to **Data Modeling Hub > Files** and then you can find there the URL to this image).
3. In the **Header** section, enable header and add the text, font size and color of the header you want to display in the in-app message.
4. In the **Description** section, enable description and add the text, font size and color of the description you want to display in the in-app message.
5. In the **CTA button** section, enable the CTA and add the text on the button, corner radius of the button, text color, button background color, and URL to which you want to redirect a mobile app user.
6. In the **Close button** section, disable this option. Thanks to this, the in app message cannot be closed, and the user must click the CTA button.
7. After you make changes to the template, you can check the preview.
1. Click the **Preview** button on the upper left side.
2. Enter the ID of a mobile app user.
3. Click **Apply**.
8. To continue the process of configuring the in-app campaign, click **Next**.
9. To save your content changes, click **Apply**.
### Select events that trigger the in-app message display
---
In this part of the process, you will define the event triggering the display of the in-app message.
1. In the **Trigger events** section, click **Define**.
2. Select **Add event** and from the dropdown list, choose `client.applicationStarted` event.
Event `client.applicationStarted` is retained (can be seen on the activity list in the customer profile), and it only generates when the application was closed, and then opened again.
3. Click the **+ where** button and select `version`.
4. As the logical operator, select **Not equal**.
5. In the text field, type the latest app version.
5. Click **Apply**.
In-app trigger event configuration
### Schedule the message and configure display settings
---
As the final part of the process, you will set the display settings of the in-app message such as schedule, capping, priority of the message among other in-app messages.
1. In the **Schedule** section, click **Define** and set the time when the message will be active.
2. In the **Display Settings** section, click **Change**.
3. Define the **Delay display**, **Priority index** according to your business needs.
4. Enable the **Capping limit** toggle to limit the amount of times the in-app message can be displayed to a user in general, set it to **1**.
5. Click **Apply**.
6. Optionally, you can define the **UTM parameters** and [**Additional parameters**](/docs/campaign/in-app-messages/create-inapp-message#adding-custom-parameters) for your in-app campaign.
7. Click **Activate**.
## Check the use case set up on the Synerise Demo workspace
---
You can check the [In-app message](https://app.synerise.com/communications/in-app/de9da8a0-8478-4d80-a15d-a35703958243) configuration directly in Synerise Demo workspace.
If you’re our partner or client, you already have automatic access to the **Synerise Demo workspace (1590)**, where you can explore all the configured elements of this use case and copy them to your workspace.
If you’re not a partner or client yet, we encourage you to fill out the contact [form](https://demo.synerise.com/request) to schedule a meeting with our representatives. They’ll be happy to show you how our demo works and discuss how you can apply this use case in your business.
## Generated events
This use case generates approximately 3 events per profile that completes the flow:
[`client.applicationStarted`](/docs/assets/events/event-reference/web-and-app#clientapplicationstarted) (~1), [`inApp.show`](/docs/assets/events/event-reference/inapp#inappshow) (~1), [`inApp.click`](/docs/assets/events/event-reference/inapp#inappclick) (~1).
## Read more
---
- [In-app messages](/docs/campaign/in-app-messages)
- [Using in-app template builder](/docs/campaign/in-app-messages/creating-inapp-templates/creating-inapp-template)
# In-app banner campaign
In the fast-paced world of mobile applications, effective communication with users is key to ensure engagement and satisfaction. Imagine a scenario in which you want to inform users through a mobile app about an exclusive 20% discount on the `electronics` category. To effectively deliver such promotional message, implement a two-step approach: launch an automation that sends push notifications and display visually appealing in-app messages within the mobile application.
The described use case is an omni-channel case - the user navigates through the website and receives both push notifications and in-app messages in the application.
The first step is to set up a workflow that sends a simple push notification to mobile app users who have visited items in the electronics category on the website. After a user clicks the push notification, the fullscreen banner is displayed in the application. The core of this use case revolves around the new, pre-defined in-app template that is ready-to-use. You can easily tailor the content of the banner, add dynamic inserts to personalize the message further.
## Prerequisites
---
- [Implement Synerise SDK in your mobile app](/developers/mobile-sdk).
- [Integrate JS SDK](/developers/web/installation-and-configuration).
- Implement mobile pushes in your mobile application: [iOS](/developers/mobile-sdk/configuring-push-notifications/ios), [Android](/developers/mobile-sdk/configuring-push-notifications/android).
- Implement customer identification [on the website](/developers/web/tracking-form-data) and [in your mobile application](/developers/mobile-sdk/user-identification-and-authorization).
## Process
---
In this use case, you will go through the following steps:
1. [Create mobile push](/use-cases/in-app-banner#create-mobile-push) with information about the promotion.
3. [Create an in-app banner campaign](/use-cases/in-app-banner#create-an-in-app-banner-campaign) based on the ready-to-use template.
2. [Create a workflow](/use-cases/in-app-banner#create-a-workflow) that sends a mobile push message to users who have visited items from the electronics category.
## Create mobile push
---
In this part of the process, you will create a mobile push template that contains information about the 20% discount for the electronics category and with the link that opens a mobile application.
1. Go to **Experience Hub > Mobile > Templates**.
2. Create your mobile push in the code editor. In the content of the push notification:
- Add a message
- Add the link to mobile application
After a user clicks the link, the mobile application opens and an in-app message, which will be configured in the further part of the process, will be displayed
For more information on creating a simple mobile push, refer to the [Simple push](/docs/campaign/Mobile/creating-mobile-push) documentation.
Mobile push campaign settings
## Create an in-app banner campaign
---
In this part of the process, you will create an in-app banner campaign triggered by the [`push.click`](/docs/assets/events/event-reference/mobile-push#pushclick) event. The campaign will be displayed after users clicked the link in the mobile push message sent to them.
1. Go to **Experience Hub > In-app messages > Create new**
2. Enter a meaningful name for the in-app campaign.
3. In the **Audience** section:
1. Click **Define**.
2. Select the **Everyone** tab.
3. Click **Apply**.
4. In the **Content** section:
1. Click **Create message**.
2. Go to **Predefined templates** folder and choose **Fullscreen** template.
You can edit the template in two ways, by editing the code of the template ([add inserts](/docs/campaign/in-app-messages/creating-inapp-templates/creating-inapp-template#adding-a-snippet-to-the-template-code), [add variables](/docs/campaign/in-app-messages/creating-inapp-templates/creating-inapp-template#adding-a-variable)) and/or by filling out the form in the **Config** tab. In this use case, we will use the capabilities of the predefined **Config** tab.
#### Edit form in the Config tab
---
The form in the **Config** tab is already filled in with default values. You can keep them or change them to fit your business needs.
The apperance fields in **Config** affect only the visual layer of the in-app message.
1. In the **Background** section, use the color picker to select the color of the background or enable background image and enter the link to this image (add the image to **Data Modeling Hub > Files** and then you can find there the URL to this image).
1. In the **Image** section, enable the image in your banner campaign and add the link to this image (add the image to **Data Modeling Hub > Files** and then you can find there the URL to this image).
1. In the **Header** section, enable header and add the text, font size and color of the header you want to display in the in-app message.
1. In the **Description** section, enable description and add the text, font size and color of the description you want to display in the in-app message.
12. In the **CTA button** section, enable the CTA and add the text, corner radius, color, background color and add the URL to which you want to redirect users afer clicking the button.
13. In the **Close button** section, enable this option and set up the close position.
14. In the **Automatically disappear** section, set up when the campaign banner will automatically disappear.
14. After you make changes to the template, you can check the preview.
1. Click the **Preview** button on the upper left side.
2. Enter the ID of a customer or a product.
3. Click **Apply**.
15. To continue the process of configuring the in-app campaign, click **Next**.
16. To save your content changes, click **Apply**.
In-app campaign settings
### Select events that trigger the in-app message display
---
In this part of the process, define the event that triggers the display of the in-app message. In our case, the trigger is the click in the mobile push campaign created in the [previous step](/use-cases/in-app-banner#create-a-workflow).
1. In the **Trigger events** section:
1. Click **Define**.
2. Select **Add event** and from the dropdown list, choose the `push.click` event.
2. Click the **+ where** button and as the parameter, choose `campaignTitle`. You can take its value from the name of the campaign visible on the list of all campaigns.
3. As the logical operator, select **Equal** and as the value add the campaign title of the mobile push campaign created in the previous step to analyze only clicks from this specific campaign.
4. Click **Apply**.
Trigger event settings
1. In the **Schedule** section:
1. Click **Define**.
2. Choose the **Run immediately** option.
3. Click **Apply**.
2. In the **Display settings** section:
1. Click **Change**.
2. Define the **Delay display** as **0** and **Priority index** as **1**.
The mobile application can display one in-app message at a time. If the conditions allow the triggering of several in-apps at a time, the priority is a decisive factor for displaying the message. The messages with lower priority aren’t queued for displaying after the first one is closed.
3. Enable the **Frequency limit** toggle to manage the frequency of in-app message display in the application.
In our case, we set it to once per day.
3. Click **Apply**.
1. Optionally, you can define **UTM parameters**. Otherwise, click **Skip step**.
2. Optionally, you can add the custom parameters in the **Additional parameters** section. Otherwise, click **Skip step**.
3. To start your campaign, click **Activate**.
## Create a workflow
---
In this step, prepare a workflow that sends the push message that opens a mobile application to customers who have visite the electronics category. The workflow has capping set once per day, so the workflow can be launch towards a user only once a day.
1. Go to **Automation Hub > Workflows > New workflow**.
2. Enter the name of the workflow.
### Define the Profile Event trigger node
---
At this stage, we will configure conditions that launch the workflow. As a trigger, we will use the `page.visit` event in the `electronics` category.
1. As the first node of the workflow, add **Profile Event**. In the configuration of the node:
1. From the **Choose event** dropdown menu, choose the `page.visit` event.
2. Click the **+ where** button, from the **Choose parameter** dropdown menu, choose **category**.
3. From the **Choose operator** dropdown, choose **String**, and then select **Equal (String)**.
4. In the next field, type `electronics` to analyze only visits to the items from the electronics category.
2. Confirm by clicking **Apply**.
Profile Event node configuration
### Configure the Send Mobile Push node
---
1. As the next node, add the **Send Mobile Push** node.
1. In the settings of the node, leave the template type at default (**Simple Push**).
2. From the **Template type** dropdown list, select the template you have prepared in the [previous step](/use-cases/in-app-banner#create-mobile-push).
6. Enable the **Action limit** toggle and set the limit to `1` per workflow.
3. If you want to add parameters to the [event generated by this message](/docs/assets/events/event-reference/mobile-push#pushsend), in the **Additional parameters**, click **Define**. If not, click **Skip step**.
You can read more about Additional parameters in the [Define additional parameters](/docs/campaign/Mobile/creating-mobile-push#define-additional-parameters) section.
2. Click **Apply**.
The send mobile push node configuration
### Prepare the final settings
---
1. After **Send Mobile Push**, add the **End** node.
3. Optionally, add titles to each node so the workflow will be more understandable to your colleagues.
9. To define capping, next to the workflow name, click **Set capping** and set it to `1 per 1 day`.
4. Activate the workflow by clicking **Save & Run**.
The workflow configuration
## Check the use case set up on the Synerise Demo workspace
---
You can check the configuration of the campaign components directly in Synerise Demo workspace:
- [automation](https://app.synerise.com/automations/automation-diagram/7024931e-ccd6-47ca-9588-a35a300c6809),
- [in-app campaign with the banner](https://app.synerise.com/communications/in-app/a3dbe6da-524a-429c-8e11-40d6cc33b3c5).
If you’re our partner or client, you already have automatic access to the **Synerise Demo workspace (1590)**, where you can explore all the configured elements of this use case and copy them to your workspace.
If you’re not a partner or client yet, we encourage you to fill out the contact [form](https://demo.synerise.com/request) to schedule a meeting with our representatives. They’ll be happy to show you how our demo works and discuss how you can apply this use case in your business.
## Generated events
This use case generates approximately 9 events per profile that completes the flow:
[`page.visit`](/docs/assets/events/event-reference/web-and-app#pagevisit) (~1), [`automation.clientStartPath`](/docs/assets/events/event-reference/automation#automationclientstartpath) (~1), [`automation.clientPathStep`](/docs/assets/events/event-reference/automation#automationclientpathstep) (~1), [`automation.clientEndPath`](/docs/assets/events/event-reference/automation#automationclientendpath) (~1), [`push.send`](/docs/assets/events/event-reference/mobile-push#pushsend) (~1), [`push.view`](/docs/assets/events/event-reference/mobile-push#pushview) (~1), [`push.click`](/docs/assets/events/event-reference/mobile-push#pushclick) (~1), [`inApp.show`](/docs/assets/events/event-reference/inapp#inappshow) (~1), [`inApp.click`](/docs/assets/events/event-reference/inapp#inappclick) (~1).
## Read more
---
- [In-app messages](/docs/campaign/in-app-messages)
- [Mobile campaigns](/docs/campaign/Mobile)
- [Recommendations](/docs/ai-hub/recommendations-v2)
- [Recommendations inserts](/developers/inserts/recommendations-v2)
# Show Customer’s Recent Searches Before Typing in AI Search
An AI-powered Search is a great tool that can help you to create greater customer satisfaction resulting in higher conversions. To ensure a seamless customer search experience, you must anticipate their expectations and needs.
One of the ways to do so is possible by displaying customers’ recent searches just before they start typing their queries. This way, you deliver personalized search results, which allow you to pursue the shopping path of customers and allow them to return in an easy way to the items which they were interested in earlier.
This use case describes the process of creating an AI search extension that will display customers’ recent searches before they start typing.
## Prerequisites
---
- [Implement AI search](https://hub.synerise.com/api-reference/ai-search) in any of your channels (mobile app, website, and so on).
## Create an aggregate
---
Create an aggregate based on `item.search` event which is collected on the customer's profile when they search for the certain phrase.
`item.search` is an event that our system generates automatically when a customer searches for a phrase, if our AI search is implemented somewhere in any of your channels. It contains `query` parameter which stores the phrase entered by the customer.
This aggregate returns last 5 searches for every customer from last 30 days.
1. Go to **Behavioral Data Hub > Live Aggregates > Create aggregate**.
2. As the aggregate type, select **Profile**.
2. Enter the name of the aggregate.
3. Click **Analyze profiles by** and select **Last Multi** and as a size set `5`.
4. Select the `item.search` event.
5. As the event parameter, select `query`.
6. Set the period from which the aggregate will analyze the event to **last 30 days**.
7. Save the aggregate.
Configuration of the aggregate
## What's next
---
Once the aggregate is configured, it needs to be implemented as an element of your search engine. You can use [dynamic content](/docs/campaign/dynamiccontent/creating-dynamic-content) to display phrase suggestions automatically when the customer clicks on the search input and [Jinjava code](/developers/inserts/insert-usage#aggregates) to insert aggregate result as the dynamic list of phrases the customer searched for recently, updated in realtime.
If you decide to use Dynamic Content, you need to implement [Synerise tracking code](/developers/web/installation-and-configuration#creating-a-tracking-code) on your website.
If you want to implement the recent searches list via API, you can use our dedicated [API method](https://hub.synerise.com/api-reference/ai-search#operation/GetRecentSearches) to retreive customer's recently searched phrases instead of [creating an aggregate](/use-cases/recent-customer-search#create-an-aggregate).
## Check the use case set up on the Synerise Demo workspace
---
Check the [aggregate](https://app.synerise.com/analytics/aggregates/1494a1c5-19b0-348d-8015-39745db35027) settings in Synerise Demo workspace.
If you’re our partner or client, you already have automatic access to the **Synerise Demo workspace (1590)**, where you can explore all the configured elements of this use case and copy them to your workspace.
If you’re not a partner or client yet, we encourage you to fill out the contact [form](https://demo.synerise.com/request) to schedule a meeting with our representatives. They’ll be happy to show you how our demo works and discuss how you can apply this use case in your business.
## Generated events
This use case generates approximately 2 events per profile that completes the flow:
[`dynamicContent.show`](/docs/assets/events/event-reference/dynamic-content#dynamiccontentshow) (~1), [`dynamicContent.click`](/docs/assets/events/event-reference/dynamic-content#dynamiccontentclick) (~1).
## Read more
---
- [AI Search](/docs/ai-hub/ai-search)
- [AI Search statistics](/docs/ai-hub/ai-search/ai-search-statistics)
# Predicting the likelihood of offline visit
We can predict the likelihood of offline visit for customers with their push notifications enabled. They may be a great target for promotions, so you may want to [send them push notifications with promotions at the best time](/use-cases/mobile-push-birthday-best-time). You can automate sending mobile push notifications to promote products and boost the value of in-store visits by sending promo coupons to customers who are predicted to visit our offline store.
This use case describes a workflow that sends a mobile push notification with a promotional code to customers who are predicted to visit an offline store. In this case, we consider transactions made in an offline store as a visit. However, depending on your business, you can take any other event that will be equal to a customer's presence in your offline store, for example scanning a mobile application at the entrance. The workflow is triggered by the `snr.prediction.score` event with the high score and sends a mobile push at the time they are most likely to visit in the next seven days.
## Prerequisites
---
- [Implement Synerise SDK in your mobile application](/developers/mobile-sdk).
- Implement mobile push notifications in your mobile application: [iOS](/developers/mobile-sdk/configuring-push-notifications/ios), [Android](/developers/mobile-sdk/configuring-push-notifications/android).
- Implement offline transaction events using [API](https://hub.synerise.com/api-reference/data-management#operation/CreateATransaction).
In this case, we consider an offline transaction as a visit to the store, but if necessary, you can implement a different event that will mean visiting the offline store, such as a [custom event for scanning the mobile application](https://hub.synerise.com/api-reference/data-management#operation/CustomEvent).
- [Enable time optimizer](/docs/settings/configuration/time-optimizer#enabling-time-optimizer).
- [Create a Mobile mode](/docs/settings/configuration/time-optimizer#creating-modes) for Time Optimizer that will calculate the customer's activity time in the mobile application.
- [Create a mobile push template](/docs/campaign/Mobile/creating-mobile-push) with a promo code.
For promo codes, you can use our [Voucher pools](/docs/assets/code-pools), which allows you to assign a unique coupon from a specified pool for each customer.
## Process
---
In this use case, you will go through the following steps:
1. [Create a segmentation](#create-a-segmentation) of customers who have made transaction in an offline store.
2. [Create an expression](#create-an-expression).
3. [Create a segmentation of customers for whom the prediction is made](#create-a-segmentation-of-customers-for-whom-the-prediction-is-made).
3. [Create a prediction](#create-a-prediction).
4. [Create a workflow](/use-cases/predicting-likelihood-of-offline-visit#create-a-workflow).
## Create a segmentation
---
In this step, we create a group of customers who have made transaction in an offline store. This segmentation will be used in an expression in the next step.
1. Go to **Decision Hub > Segmentations > New segmentation**.
3. Enter the name of the segmentation.
4. From the **Add condition** dropdown list, select the `transaction.charge` event.
5. Click the **+ where** button, from the **Choose parameter** dropdown menu, choose `$offline`.
6. From the **Choose operator** dropdown, choose **Boolean**, and then select **Is true**.
7. Using the date picker in the lower-right corner, set the time range to **Relative time range > Lifetime**. Confirm by clicking **Apply**.
6. Save the segmentation.
Segmentation configuration
## Create an expression
---
In this part of the process, create an expression that will serve as the target for the prediction model. The expression will return 1 if a customer belongs to the previously defined segmentation and 0 if they don’t.
7. Go to **Behavioral Data Hub > Expressions > New expression**.
8. Enter the name of the expression.
9. From the **Expressions for** dropdown list, select **Attribute**.
Predictions work only with attribute expressions.
10. In the formula creator, click the **Select** node and from the drop-down list select **Function > If**.
11. As the first argument, select the [segmentation you created earlier](#create-a-segmentation):
12. As the second argument, select **Constant** with a value of `1`.
12. As the third argument, select **Constant** with a value of `0`.
13. Save the expression.
Expression configuration
## Create a segmentation of customers for whom the prediction is made
---
In this step, we create a group of customers who have visited our online store in the last 7 or 14 days. This segmentation will be used as an audience for the prediction.
1. Go to **Decision Hub > Segmentations > New segmentation**.
3. Enter the name of the segmentation.
4. From the **Add condition** dropdown list, select the `Visited page` event.
5. Using the date picker in the lower-right corner, set the time range to **Relative time range > More > Last 7 days**. Confirm by clicking **Apply**.
6. Click **Add segment**.
7. From the **Add condition** dropdown list, select the `Visited page` event.
5. Using the date picker in the lower-right corner, set the time range to **Relative time range > Custom > Last 14 days**. Confirm by clicking **Apply**.
6. Save the segmentation.
Segmentation configuration
## Create a prediction
---
In this step, we will calculate the prediction, create a segmentation of customers who will be analyzed while making a prediction. The output of the prediction is a `snr.prediction.score` event that will appear on the customers’ profiles. The event contains a `score.label` parameter which determines the probability of a customer's visit to your store.
The workflow configuration will be based on this parameter. We will select customers who have the highest probability to visit our store.
1. Go to **AI Hub > (AI Predictions) Models > New prediction**.
2. Enter a name for the prediction.
3. In the **Prediction type** section, click **Define**.
4. Select **Classification** and click **Apply**.
### Select the audience
In this section you decide which group of the customers will be taken into account while making a prediction. For every individual in the segmentation, Synerise produces a single prediction.
Segmentations can be very complex and the possibilities of building the conditions are practically unlimited. In this example, a simple segmentation will include customers who have made a transaction in the last week or two weeks.
1. In the **Audience** section, click **Define**.
2. Click **Choose segmentation**.
3. Enter the name of the [segmentation you've created in the previous step](#create-a-segmentation-of-customers-for-whom-the-prediction-is-made).
./8. Click **Apply**.
### Select prediction target
1. In the **What would you like to predict?** section, click **Define**.
2. Click **Select expression** and select the [expression created earlier](#create-an-expression).
3. Click **Apply**.
### Select inputs
In this section, you set up input [features](/docs/glossary#feature) based on which the prediction model will be trained.
It is possible to select feature inputs manually, but we recommend using the automatic selection, as explained below. Our algorithms evaluate feature relevance in context of the prediction target and are, in most cases, more effective than manual selection.
1. In the **Model inputs** section, click **Define**.
2. Click **Add feature > Automatically**.
**Result:** The list is populated with input features.
3. Click **Apply**.
### Configure additional settings
The additional settings define how often re-calculations are made and the content of events produced by the prediction.
1. In the **Settings** section, click **Define**.
2. From the **How many days in advance do you want to make a prediction** list, select **30 days**.
3. For the purposes of this example, select **One-time calculation** checkbox.
4. In the **Prediction start** section, select **Immediately**.
4. In **How would you like to display results**, select **5-point scale**.
The algorithm detects the importance of a prediction.
6. In the **Define the value of the score name parameter** section, enter a user-friendly name for the prediction score.
The name is shown as the value of the `scoreName` parameter in the `snr.prediction.score` event.
7. Click **Apply**.
7. To finish and calculate the prediction, click **Save & Calculate**.
**Result:**
The prediction results are saved as `snr.prediction.score` events in customer profiles.
## Create a workflow
---
As the final part of the process, create a workflow that manages the push notifications. The `snr.prediction.score` event with the high score triggers the start of the workflow. The push notification will be sent to customers with the high prediction score to visit offline store on the day they are most likely to visit.
1. Go to **Automation Hub > Workflows > New workflow**.
2. Enter the name of the workflow.
### Define the Profile Event trigger node
1. As the first node of the workflow, add **Profile Event**. In the node settings:
1. Click **Choose filter** and from the dropdown list, select the `snr.prediction.score` event.
2. For the event parameter, click the **+ where** button and select `modelId`.
2. As the logical operator, select **Equal**.
3. Enter the ID of the [custom prediction](#create-a-prediction) created in the previous step.
4. Click the **+ and where** button and select `score_label`.
5. As the logical operator, select **Equal**.
6. Type `High`.
Profile Event node configuration
2. Confirm by clicking **Apply**.
### Configure the Optimize Time node
The time of sending the push message for each customer is adjusted to their `snr.prediction.score` value.
1. Add an **Optimize Time** node.
2. In the configuration of the node:
1. Select the Mobile mode you created as a part of the prerequisites.
2. Select **Next 7 days**.
4. Confirm by clicking **Apply**.
### Configure the Send Mobile Push node
1. Add a **Send Mobile Push** node.
2. In the configuration of the node:
1. In the **Template type**, select the mobile push type according to your business needs.
2. Select proper push template that you created earlier.
3. Confirm by clicking **Apply**.
3. Add the **End** node.
4. In the upper right corner, click **Save & Run**.
The final workflow configuration
## Check the use case set up on the Synerise demo workspace
---
You can check all configurations directly in Synerise Demo workspace:
- [Segmentation](https://app.synerise.com/analytics-v2/segmentations/68d98a1e-54dc-4b42-b5fb-34d223b4e398) of customers who have made transaction in an offline store.
- [Expression](https://app.synerise.com/analytics/expressions/ee6d687c-a4d8-4a23-abc3-04474ec6d522)
- [Segmentation](https://app.synerise.com/analytics-v2/segmentations/f90c0bd1-634c-4fff-9d9b-2612f97edc18) of customers for whom the prediction is made.
- [Prediction](https://app.synerise.com/ai-v2/predictions/generic-scoring/aeqciwzidvgt)
- [Workflow](https://app.synerise.com/automations/automation-diagram/29c8cac2-34ca-4e96-b0d7-439a3ade8be9)
If you’re our partner or client, you already have automatic access to the **Synerise Demo workspace (1590)**, where you can explore all the configured elements of this use case and copy them to your workspace.
If you’re not a partner or client yet, we encourage you to fill out the contact [form](https://demo.synerise.com/request) to schedule a meeting with our representatives. They’ll be happy to show you how our demo works and discuss how you can apply this use case in your business.
## Generated events
This use case generates approximately 9 events per profile that completes the flow:
[`snr.prediction.score`](/docs/assets/events/event-reference/predictions#snrpredictionscore) (~1), [`automation.clientStartPath`](/docs/assets/events/event-reference/automation#automationclientstartpath) (~1), [`automation.clientPathStep`](/docs/assets/events/event-reference/automation#automationclientpathstep) (~2), [`automation.clientEndPath`](/docs/assets/events/event-reference/automation#automationclientendpath) (~1), [`snr.ate.prediction`](/docs/assets/events/event-reference/predictions#snrateprediction) (~1), [`push.send`](/docs/assets/events/event-reference/mobile-push#pushsend) (~1), [`push.view`](/docs/assets/events/event-reference/mobile-push#pushview) (~1), [`push.click`](/docs/assets/events/event-reference/mobile-push#pushclick) (~1).
## Read more
---
- [Automation Hub](/docs/automation)
- [Expressions](/docs/crm/expressions)
- [Mobile push](/docs/campaign/Mobile/creating-mobile-push)
- [Predictions](/docs/ai-hub/predictions)
- [Time optimizer](/docs/settings/configuration/time-optimizer)
# Campaign with registration for offline events
In this case study, we explore the successful implementation of an offline-to-online event registration system, enhancing the overall experience for attendees.
Leveraging dynamic content, promotions, and coupons, this solution revolutionized the way people sign up, confirm reservations, and attend specific events.
The integration of real-time analytics allows for comprehensive monitoring of all events through an intuitive dashboard.
Using Dynamic Content, a special campaign appears, showcasing current events that users can conveniently sign up for by entering their email address and phone number.
Agreeing to the terms and conditions, attendees can swiftly submit their registration.
This seamless process ensures a hassle-free experience, driving higher engagement and participation.
Our solution helps organizers to effortlessly manage their events. The platform allows for real-time event creation, enabling organizers to add new events efficiently.
Additionally, event managers can easily set the maximum capacity for each event. When the number of registered participants exceeds the set limit, registration is automatically closed, and information about that will be displayed.
To facilitate easy event management, we utilized promotional features. Event details, including event type, description, graphics, and additional information, are defined within a promotion.
This information is automatically imported into the Dynamic Content campaign, using our API, streamlining the process. Moreover, seat management is facilitated through the use of coupon pools.
Each event is associated with a specific coupon pool, allowing organizers to allocate a fixed number of coupons. Upon registration confirmation, the coupon is assigned to attendee.
In this use case we will describe how to manage the whole event registration process, using the power of Dynamic Content, promotions, and coupons.
## Prerequisites
---
- [Implement a tracking code](/docs/settings/tool/tracking_codes).
- [Configure an email account](/docs/campaign/e-mail/configuring-email-account).
- [Create an email template](/docs/campaign/e-mail) with the registration confirmation.
## Process
---
In this use case, you will go through the following steps:
1. [Create a voucher pool](/use-cases/offline-events#create-a-voucher-pool) necessary for seat management.
2. [Create promotion](/use-cases/offline-events#create-a-promotion) with additional information.
3. [Create a dynamic content](/use-cases/offline-events#create-a-dynamic-content) which displays the promotion on the website .
5. [Create a workflow](/use-cases/offline-events#create-an-automation) which sends your customers an email with confirmation after registration for a specific event.
## Create a voucher pool
---
Seat management for an event is facilitated through the use of voucher pools. Each event is associated with a specific voucher pool, allowing organizers to allocate a fixed number of coupons. Upon registration confirmation, attendees receive a coupon.
In this use case, every pool is connected with one event and the number of coupon codes reflects the number of seats available for the event. You can add as many events as you want.
1. Go to **Settings > [Voucher pools](https://app.synerise.com/spa/modules/vouchers/pools/)** and click **Add pool**.
2. In the voucher pool configuration form:
1. In the **Pool name** field, enter the name of the event.
2. Select the dates for the **Emission start** and **Emission end** fields.
3. Complete the form by clicking **Apply**.
**Result**: The pool is created.
3. Open the voucher pool by clicking its name.
4. Add codes to the voucher pool by clicking **Add record** button.
- One code represents one seat for the event.
- Add a number of coupons equal to the expected number of seats for this event.
- As coupon codes, we recommend to use ordinal numbers.
In [this](/docs/assets/code-pools) article, you will find the rules and procedures needed to create and use voucher pool in Synerise.
Voucher pool with coupons
## Create a promotion
---
In this step, prepare a promotion which lets you display each event with additional information. Each event is treated as a single promotion. You can add as many events as you want. Promotions will be displayed in a dynamic content campaign.
1. Go to **AI Hub > Regular Promotions > Add promotion**.
2. Enter a name for the promotion.
3. Select the **For selected items** type of promotion.
4. In the **Audience** section, choose **Everyone**.
5. In the **Content** section:
1. Define the name, description, and image of the promotion.
2. Prepare a JSON code that includes basic information about the event. Check the example code below. This date is later used in the dynamic content campaign. You can add different data to the given event.
This data is later displayed in the dynamic content campaign. You can include different data than in the example, depending on your integration.
3. Confirm the settings by clicking **Apply**.
5. Fill out the **Type and limits** section according to your business needs.
6. In the **Schedule** section, define the promotion distribution period according to your business needs.
11. To run the promotion, click **Publish**.
12. To create the second promotion, repeat all the steps.
Promotion
## Create a dynamic content
---
Create a dynamic content campaign. This dynamic content will be displayed on your site with information about the promotion, link to the form, and information about the lack of seats if all of them are taken. This dynamic content also generates the `experience.subscribe` event, which is generated after signing up to an event and assigning the code from the voucher pool to the specific user.
1. Go to **Experience Hub > Dynamic content > Create new**.
2. Enter the name of the dynamic content.
1. Choose **Insert Object** type.
2. As the audience, select **everyone**.
3. In the **Content** section, select **Simple message**, and specify the CSS selector where you want to insert your campaign.
4. In the **Content** tab, click **Create Message**.
5. In the code editor, create a dynamic content campaign based on your preferences and your own CSS styles. Below you will find technical elements of the campaign which you should add to the code to make sure that the mechanism of assigning codes and checking the amount of them in the pool works correctly.
In the dynamic content campaign, you must use the API to fetch promotions for the website: request the list of promotions, receive JSON data, and based on it, render the dynamic content campaign with a specific promotion. To implement this, please refer to [our documentation](https://hub.synerise.com/api-reference/loyalty-and-engagement#tag/Promotions), where you will find a complete description of this method.
Below you will find the instruction for developers, which describes how to assign the code from the voucher pool created in the previous step to the specific user.
Click to see instruction for developers
To assign a voucher to a person who signs up through a form, you need to use this endpoint. The API call includes the user's UUID. If the user does not already have a voucher from a specific pool, it will be assigned to them. However, if the user already has a voucher assigned from that pool, the API will return the existing voucher without assigning a new one. If the pool is already filled (all vouchers are assigned), you receive a response with status 416, indicating that the pool is empty, expired, not found, or the user's profile is not found. At this point, you need to handle the error and display the information to the user.
Below you will find instructions for developers on how to - in case of lack of coupons in the pool - display information in the dynamic content that signing in to this event is currently not possible.
Click to see instruction for developers
To implement the dynamic content that informs when there are no coupons available in the pool, you can use the following endpoint. You pass the poolUuid to check, and in the response, you get information about the number of coupons available that can be assigned (`activeCount`) and the the number of coupons already assigned (`assignedCount`). Based on this information, you can inform users about seat availability.
Rememeber to also add to your campaign - code - that after signing in to an offline event, generates the event in our case the name of this event is: `experience.subscribe`. To do it check the [basic method for tracking events](/developers/web/methods-reference#basic-method-for-tracking-events). You will find there information how to add custom events.
8. Save the template.
5. In the **Schedule** section, select the date when the dynamic content is activated.
6. In **Display settings**, configure the settings based on your business needs.
6. Confirm by clicking **Apply**.
7. In the **UTM & URL parameters** section, click **Skip step**.
8. Activate the dynamic content.
## Create an automation
---
In this step, create a workflow which sends your customers an email with confirmation after registration for a specific event.
1. Go to **Automation Hub > Workflows > New workflow**.
2. Enter the name of the workflow.
### Define the Profile Event trigger node
At this stage, you will configure conditions that launch the workflow. As a trigger, we will use the `experience.subscribe` event, which is generated after registration.
1. As the first node of the workflow, add **Profile Event**. In the configuration of the node:
1. From the **Choose event** dropdown menu, choose `experience.subscribe` event.
2. Confirm by clicking **Apply**.
### Configure settings for email
At this stage, you will send an email with confirmation for users who fill out the form and register for a specific event.
1. As the next node, add **Send Email**. Configure it according to your business needs.
2. Configure the sender details section.
3. Configure the Content section.
1. In the **Subject** field, enter your message subject.
2. In the **Template** section, choose the template email template prepared earlier in the prerequisites.
3. You can define **UTM & URL parameters**.
4. Confirm by clicking **Apply**.
You can optionally enrich your email template with data related to the specific event - eg. event name, start date, place etc. To do so, use [Jinjava code](/developers/inserts/automation#event-parameters) inserts and correlate it with parameters from the `experience.subscribe` event. Read more about the [basic method for tracking events](/developers/web/methods-reference#basic-method-for-tracking-events). You will find there information ow to send custom events.
### Add the finishing node
1. Add the **End** node.
2. In the upper right corner, click **Save & Run**.
Workflow settings
## What’s next
---
In the basic version, this use case focuses on allowing users to sign up for an event. However, it can be extended with additional mechanisms to enhance user experience and functionality.
- One such extension is the **"Unsubscribe" mechanism**, which enables users to cancel their registration and reassign their spot to another participant.
- Another extension is the **"Waiting List" feature**, where users can automatically join a waiting list if the event's capacity is exceeded. When a spot becomes available, individuals from the waiting list will receive a reminder and have the opportunity to register for the event.
- To further improve user engagement, the system can implement **"Reminders" for participants**, notifying them a certain number of days before the event. This ensures participants don't miss the event and can make necessary preparations.
- Moreover, after the event concludes, the system can send out **"Surveys"** to gather feedback and assess participant satisfaction. These surveys can help organizers make improvements for future events based on the received evaluations.
In addition to the mentioned extensions, there are many other potential enhancements that can be incorporated into this use case to cater to specific requirements and deliver a more comprehensive and user-friendly event management solution.
### Dynamic Dashboard
---
Additionally, to measure the effectiveness of the campaigns and track the results, Synerise provided a comprehensive dashboard. It might be treated as an inspiration for a further analysis. This dashboard offered valuable analytics, including:
**First part** - dynamic, with the dynamic key based on the eventHash for a specific event.
- Report with the details of the event (name, start and end date, place)
- Report with a final guest list for a specific event
- Metric with the total number of users subsribed for an event
**Second part** - common for all events. You can adjust the date/time range for the whole dashboard.
- Report with all events - presented from most popular based on number of subscriptions
- Total (and unique) number of users registered
Those analytics are inspirational and can be used as a base for creating your very own dashboard to summarize the campaign results.
## Check the use case set up on the Synerise Demo workspace
---
You can check the configuration of every element of this process directly in Synerise [Demo worksp,ace](https://demo.synerise.com/request):
- [Voucher pool](https://app.synerise.com/assets/vouchers/pools/abb319ba-ff84-48bd-b93f-146fe3b59f22/coupons)
- [Promotion](https://app.synerise.com/campaigns/promotions/a777d94b-9388-48d6-aeed-0935f4a5f3ea)
- [Dynamic content campaign](https://app.synerise.com/campaigns/create/6d784bb3-9dd3-4ab5-bff7-e655c56cb00c)
- [Workflow](https://app.synerise.com/automations/automation-diagram/1083d90d-631e-47d0-9e63-173122877a27)
If you’re our partner or client, you already have automatic access to the **Synerise Demo workspace (1590)**, where you can explore all the configured elements of this use case and copy them to your workspace.
If you’re not a partner or client yet, we encourage you to fill out the contact [form](https://demo.synerise.com/request) to schedule a meeting with our representatives. They’ll be happy to show you how our demo works and discuss how you can apply this use case in your business.
## Generated events
This use case generates approximately 10 events per profile that completes the flow:
[`dynamicContent.show`](/docs/assets/events/event-reference/dynamic-content#dynamiccontentshow) (~1), [`dynamicContent.click`](/docs/assets/events/event-reference/dynamic-content#dynamiccontentclick) (~1), `experience.subscribe` (~1), [`voucherCode.assigned`](/docs/assets/events/event-reference/loyalty#vouchercodeassigned) (~1), [`automation.clientStartPath`](/docs/assets/events/event-reference/automation#automationclientstartpath) (~1), [`automation.clientPathStep`](/docs/assets/events/event-reference/automation#automationclientpathstep) (~1), [`automation.clientEndPath`](/docs/assets/events/event-reference/automation#automationclientendpath) (~1), [`message.send`](/docs/assets/events/event-reference/email#messagesend) (~1), [`newsletter.open`](/docs/assets/events/event-reference/email#newsletteropen) (~1), [`newsletter.click`](/docs/assets/events/event-reference/email#newsletterclick) (~1).
## Read more
---
- [Automation Hub](/docs/automation)
- [Automation Jinjava inserts](/developers/inserts/automation)
- [Dashboards](/docs/analytics/analytics-dashboard)
- [Dynamic content](/docs/campaign/dynamiccontent)
- [Email templates](/docs/campaign/e-mail/creating-email-templates)
- [Voucher pools](/docs/assets/code-pools)
# Email with Tailored Brand Recommendations Based on Customer Preferences
An email is a great way to present a tailored offer to your customers. You can prepare a recommendation of items which match the preferences of each customer and distribute this offer by using emails.
This use case describes how to create such a recommendation and contains instructions on preparing an email template that contains the recommendation.
## Prerequisites
---
- Implement a [tracking code](/developers/web/installation-and-configuration).
- Import a product feed to Synerise.
- Implement OG tags, required: `product:retailer_part_no` (which is the same as `` in the product feed).
- [Configure an item feed for recommendations](/docs/settings/configuration/ai-engine-configuration/engine-configuration-for-recommendations) - initiate the personalized model training.
## Process
---
In this use case, you will go through the following steps:
1. [Create AI recommendation](/use-cases/personalized-email-with-brands#create-ai-recommendation).
2. [Prepare an email template](/use-cases/personalized-email-with-brands#prepare-an-email-template).
## Create AI recommendation
---
In this part of the process, you create a recommendation that will display items of a different brand per slot. The selection of items will be adjusted to the preferences of an individual customer.
1. Go to **AI Hub > (AI Recommendations) Models > Add recommendation**.
2. Enter the name of the recommendation (it is only visible on the list of recommendations).
3. In the **Type & Items feed** section, click **Define**.
1. From the **Items feed** dropdown list, select a product feed for which the model training is completed.
You can learn more about the statuses of the model training [here](/docs/settings/configuration/ai-engine-configuration/model-status).
2. Select the **Personalized** recommendation type.
Configuraion of the catalog and recommendation type section
3. Confirm by clicking **Apply**.
7. In the **Items** section, click **Define**.
1. Click **Add slot**.
2. Click the slot you added. Optionally, you can rename it.
3. Define the minimum and the maximum number of products displayed in the slot according to your needs.
Learn more about the [recommendation settings](/docs/ai-hub/recommendations-v2/creating-recommendation-campaign#configure-item-slots).
4. In **Static filters**, set the following parameters:
- `availability` to `true` - it shows only available products,
- `brand` to a brand of your choice, for example, `brand equals Acme`.
Configuraion of the filters
5. Click **Add slot** and repeat steps b-d. In step d, select different brands.
Final configuraion of the items section
6. Confirm by clicking **Apply**.
6. Optionally, you can define the settings in the **Boosting** and **Additional settings** sections.
Learn more about [boosting](/docs/ai-hub/recommendations-v2/creating-recommendation-campaign#define-the-boosting-factors) and [additional settings](/docs/ai-hub/recommendations-v2/creating-recommendation-campaign#additional-settings)
7. Save the recommendation by clicking the **Save** button in the upper right corner.
## Prepare an email template
---
In this part of the process, you create an email template that contains a Jinjava code that contains the recommendation you created in the previous step. Before you start reating a template, obtain the ID of the recommendation you created in the previous part of the process (in the URL of the recommendation).
1. Go to **Experience Hub > Email**.
2. On the right side, click **Templates**.
3. Select the **Code editor**.
4. Enter the name of the template.
4. In the HTML section, paste the following Jinjava code.
{% recommendations3 campaignId=insert_recommendation_ID %}
       {% for slot_products in slots_products3 %}
           {% for item in slot_products.items %}
               {{ item.itemId }}
           {% endfor %}
       {% endfor %}
   {% endrecommendations3 %}
5. Replace `insert_recommendation_ID` with the ID of your recommendation. You can find the ID in the URL of the recommendation.
6. Adjust the content and design of your message using CSS.
8. Click **Save this template > Save as**.
9. Select the template folder in which the template will be saved.
10. Confirm by clicking **Apply**.
## What's next
---
You can use such template in an email campaign which you can send manually or you can prepare a workflow in **Automation Hub** and use it as a part of your business scenario.
## Generated events
This use case generates approximately 8 events per profile that completes the flow:
[`recommendation.generated`](/docs/assets/events/event-reference/recommendations#recommendationgenerated) (~3), [`message.send`](/docs/assets/events/event-reference/email#messagesend) (~1), [`newsletter.open`](/docs/assets/events/event-reference/email#newsletteropen) (~1), [`newsletter.click`](/docs/assets/events/event-reference/email#newsletterclick) (~1), [`recommendation.view`](/docs/assets/events/event-reference/recommendations#recommendationview) (~1), [`recommendation.click`](/docs/assets/events/event-reference/recommendations#recommendationclick) (~1).
## Read more
---
- [Email campaigns](/docs/campaign/e-mail)
- [Recommendations](/docs/ai-hub/recommendations-v2)
# Bestselling product recommendations
The psychological mechanism of social proof makes the choices of other people influence the decisions of an individual. It encourages customers to browse (and often buy) products that are popular. This use case describes implementation of bestselling products in the last 30 days.
## Prerequisites
---
- Implement a [tracking code](/developers/web/installation-and-configuration) into your website.
- [Track the transactions](/developers/web/transactions-sdk).
- Implement [OG tags](/developers/web/og-tags). Required tags:
- `product:retailer_part_no` which is the same as `` in the product feed,
- `og:category` which is the same as `` in the product feed.
- [Configure an item catalog for recommendations](/docs/settings/configuration/ai-engine-configuration/engine-configuration-for-recommendations). Select the **Top items** model to train the feed.
- Import at least a one week history of page.visit events or transactions. More instructions [here](/docs/automation/actions/synerise-integrations/import-events).
## Process
---
In this use case, you will go through the following steps:
1. [Preparing AI recommendations](/use-cases/recommendations-bestsellers#prepare-ai-recommendation).
2. [Create dynamic content campaign](/use-cases/recommendations-bestsellers#create-dynamic-content).
## Prepare AI recommendation
---
1. Go to **AI Hub > (AI Recommendations) Models > Add recommendation**.
2. Enter the name of the recommendation (it is only visible on the list of recommendations).
3. In the **Type & Items feed** section click **Define**.
4. From the **Items feed** dropdown list, select a product feed that has a trained model.
5. Select the **Top products** recommendation type.
Selected type and product feed of the recommendation
6. Confirm the recommendation type by clicking **Apply**.
6. In the **Items** section, click **Define**.
7. Click **Add slot**.
8. Click the **Unnamed slot** that was created.
8. Define the minimum and maximum number of products displayed in the frame according to your needs.
9. In the **Static filters**, select the **availability** parameter and set it to **true**, so the recommendations will show only available items.
9. Optionally, you can use filters to include specific items in the recommendation frame.
10. Confirm the configuration by clicking **Apply**.
10. In the **Slots and items ordering**, click **Define**.
1. Define how you want to arrange the order of slots and their items in the recommendation frame.
2. In the **Items sorting method within slots** section, select your desired item sorting method within slots. From the dropdown list, select **Sold items count in the last 30 days**.
11. Confirm the configuration by clicking **Apply**.
12. Optionally, define the boosting factors in the **Boosting** section, and settings in **Additional settings**.
12. Click **Save**.
## Create dynamic content
---
If you don’t want to use dynamic content, you can retrieve recommendations through API, [using this method](https://hub.synerise.com/api-reference/ai-recommendations#operation/GetRecommendationsByCampaignV2).
1. Go to **Experience Hub > Dynamic content > Create new**.
2. Enter the name of the dynamic content.
1. Choose **Insert Object** type.
2. As the audience, select **Everyone**.
3. In the **Content** section, select **Simple message**, and specify the CSS selector where you want to insert recommendations.
4. In the **Content** tab, click **Create Message**.
5. In the code editor, insert Jinjava with the AI recommendation and add your own CSS.
Click to see Jinjava
Replace `your_campaign_ID` with the ID of the AI recommendation. The ID of the AI campaign is contained in the URL of the recommendation.
<!-- Downloading the AI campaign --> {% recommendations3 campaignId=your_campaign_ID %} {% for p in recommended_products3 %} <li data-snr-ai-product-id="{{p.itemId}}"> <a class="snrs-AI--item-link" href="{{p.link}}" title="{{p.title}}"> <img src="{{ p.imageLink }}"class="products-slider__item-image snrAI-product-image snrAI-product-image-{{p.itemId}}" width="90" alt="{{p.title}}" id="snrAI-image-{{p.itemId}}"> <h3 class="snrs-AI-product--product-name"> <span class="snrs-AI-product--name-first">{{p.title}}</span> </h3> <span class="snrs-AI-product--series">{{p.attributes.series}}</span> </a> </li> {% endfor %} {% endrecommendations3 %}
8. Save the template.
5. In the **Schedule** section, select the date when the dynamic content is activated.
6. In **Display settings**, define the circumstances for displaying the content.
Instructions how to do it are available [here](/docs/campaign/dynamiccontent/creating-dynamic-content/creating-dynamic-content).
6. Confirm by clicking **Apply**.
7. In the **UTM & URL parameters** section, click **Skip step**.
8. Activate the dynamic content.
**Result**: The recommendation frames are displayed on the website.
## What's next
---
You can also [show recommendations in emails](/use-cases/email-with-top-products) by inserting Jinjava code with AI recommendations in an email template.
## Check the use case set up on the Synerise Demo workspace
---
You can check the [recommendations settings](https://app.synerise.com/ai-v2/recommendations/4KW2iNyhE5nY) and [dynamic content campaign](https://app.synerise.com/campaigns/create/37c5fadb-8628-47a4-ad8c-61a5e2b4a46b)in Synerise Demo workspace.
If you’re our partner or client, you already have automatic access to the **Synerise Demo workspace (1590)**, where you can explore all the configured elements of this use case and copy them to your workspace.
If you’re not a partner or client yet, we encourage you to fill out the contact [form](https://demo.synerise.com/request) to schedule a meeting with our representatives. They’ll be happy to show you how our demo works and discuss how you can apply this use case in your business.
## Generated events
This use case generates approximately 5 events per profile that completes the flow:
[`recommendation.generated`](/docs/assets/events/event-reference/recommendations#recommendationgenerated) (~1), [`recommendation.view`](/docs/assets/events/event-reference/recommendations#recommendationview) (~1), [`recommendation.click`](/docs/assets/events/event-reference/recommendations#recommendationclick) (~1), [`dynamicContent.show`](/docs/assets/events/event-reference/dynamic-content#dynamiccontentshow) (~1), [`dynamicContent.click`](/docs/assets/events/event-reference/dynamic-content#dynamiccontentclick) (~1).
## Read more
---
- [Recommendations](/docs/ai-hub/recommendations-v2/recommendation-statistics)
- [Top products](/docs/ai-hub/recommendations-v2/recommendation-types)
- [Using recommendations in dynamic content](/developers/inserts/recommendations-v2)
# Email with Personalized Product Recommendations Using a Predefined Template
Deliver a truly tailored shopping experience and revolutionize the way you engage with your customers with personalized AI recommendations. Suggest items based on each visitor's unique buying preferences and behavioral profile to drive engagement, boost sales and create meaningful connections with your audience.
This use case describes the process of creating a set of personalized recommendations and sending them in an email.
This use case provides you with an instruction how to use a ready-made email template that can be used 1:1 in a business scenario.
## Prerequisites
---
- Implement a [tracking code](/developers/web/installation-and-configuration) into your website.
- [Configure AI engine](/docs/settings/configuration/ai-engine-configuration/engine-configuration-for-recommendations).
- [Configure an item catalog for recommendations](/docs/settings/configuration/ai-engine-configuration/engine-configuration-for-recommendations). Enable personalized recommendations.
- Implement the [transaction events](/developers/web/transactions-sdk) using [SDK](/developers/web/transactions-sdk) or [API](https://hub.synerise.com/api-reference/data-management#operation/CreateATransaction).
- Configure a [sender account](/docs/campaign/e-mail/configuring-email-account).
## Process
---
In this use case, you will go through the following steps:
1. [Prepare an AI recommendation](#prepare-an-ai-recommendation).
4. [Prepare an email template](#prepare-an-email-template).
3. [Create a workflow](#create-a-workflow).
## Prepare an AI recommendation
---
In this part of the process, you will configure a personalized recommendation which will be later used in the email template. This recommendation type suggests items based on the customers's buying preferences and browsing history, ensuring they are not overwhelmed with choices. The system analyzes page visits, transactional data, and item feeds to generate personalized recommendations, for example items from categories previously browsed or purchased by the customer. The AI model is trained weekly to continuously improve the accuracy of these recommendations.
1. Go to **AI Hub > (AI Recommendations) Models > Add recommendation**.
2. Enter the name of the recommendation (it is only visible on the list of recommendation).
3. In the **Type & Items feed** section, click **Define**.
4. From the **Items feed** dropdown list, select an item feed.
5. In the **Type** section, choose the **Personalized** recommendation type.
6. Confirm the settings by clicking **Apply**.
7. In the **Items** section, click **Define**.
1. Click **Add slot**.
2. Define the minimum and maximum number of items that will be recommended to the customer in each slot.
3. Optionally, define [Static filters](/docs/ai-hub/recommendations-v2/creating-recommendation-campaign#static-filters) and [Elastic filters](/docs/ai-hub/recommendations-v2/creating-recommendation-campaign#elastic-filters).
4. Confirm by clicking **Apply**.
8. Optionally, you can define the **Boosting** factors and settings in the **Additional settings** section.
9. In the right upper corner, click **Save**.
## Prepare an email template
---
In this part of the process, you will create an email templpate. We will use a predefined template for the personalized recommendations, so there is no need to create a template from scratch.
1. Go to **Experience Hub > Email**.
2. On the left pane, click **Templates** and from the list of template folders, select **Predefined dynamic templates**.
3. Select the **Recommended products** template.
**Result:** You are redirected to the code editor.
You can edit the template in two ways, by editing the code of the template ([add inserts](/docs/campaign/in-app-messages/creating-inapp-templates/creating-inapp-template#adding-a-snippet-to-the-template-code), [add variables](/docs/campaign/in-app-messages/creating-inapp-templates/creating-inapp-template#adding-a-variable) and/or by filling out the form in the Config tab. In this use case, we will use the capabilities of the predefined Config tab.
### Edit form in the Config tab
---
The form in the **Config** tab is pre-filled with default values, which you can modify to suit your business needs.
1. In the **Logo** section, you have the option to customize the logo's height, link, title, and image source.
2. In the **Main image** section, you can specify the height, link, title, and the source of the main image.
4. In the **First recommendation header** section, you can type the header you want to display and define the background and font colors.
5. In the **First recommendation products** section:
1. Set the value in the **Number of product in row** field.
1. From the **Recommendation id** dropdown list select the [recommendation you prepared in the previous step](#prepare-an-ai-recommendation). You can find it by typing its name or ID in the search box.
2. Customize the **Product name font color**, **Font color**, **Button font color**, **Button background color**, **Button border radius** and **Button text** options.
6. Optionally, repeat steps 3-4 for **Second recommendation header** and **Second recommendation products** and configure **Category section**, **Contact section**, **Social media** and **Footer** or hide them by switching off the respective toggle.
To preview the template without switched off sections, use the **Preview Contexts** option.
7. After you make changes to the template, you can check the preview.
1. Click the **Preview Contexts** button on the upper left side.
2. Enter the ID of a customer.
3. Click **Apply**.
Edit form in the Config tab
8. If the template is ready, click the arrow next to **Use in communication** in the upper right corner, and from the dropdown select **Save as**.
9. On the pop-up:
1. In the **Template name field**, enter the name of the template.
2. From the **Template folder** dropdown list, select the folder where the template will be saved.
3. Confirm by clicking **Save**.
## Create a workflow
---
In this part of the process, you will create a workflow which sends emails with personalized recommendations to customers, triggered when they finish their session on the site. The email will be sent maximum once a month, to customers who made a purchase in the last 30 days.
1. Go to **Automation Hub > Workflows > New workflow**.
2. Enter the name of the workflow.
### Define the Profile Event trigger node
At this stage, we will configure the conditions that launch the workflow. As a trigger, we will use the `session.end` event.
1. As the first node of the workflow, add **Profile Event**. In the configuration of the node:
1. From the **Choose event** dropdown menu, choose the `session.end` event.
2. Confirm by clicking **Apply**.
### Define the delay
Add the Delay node to define the lag between the `session.end` event and sending an email with recommendations to specific segment of customers. In this example it is 1 hour.
1. Add the **Delay** node, in the configuration of the node:
1. In the **Delay** field, enter `1`.
2. From the **Unit** dropdown list, choose **Hour**.
3. Confirm by clicking **Apply**.
### Define the Profile Filter node
As the next step, add the **Profile Filter** node, which checks if the customer made a transaction in the last 30 days. If the customer made a transaction, we will send them an email with recommendations, and if they have not purchased, then the workflow ends.
1. Add the **Profile Filter** node.
2. From the **Choose filter** dropdown list, select the **transaction.charge** event.
4. Using the date picker in the lower-right corner, set the time range to **Custom> Last 30 days**. Confirm your choice with the **Apply** button.
5. Click **Apply**.
### Configure the Send Email node
1. To the **Matched** path, add the **Send Email** node. In the node settings:
1. In the **Sender details** section, choose the email account from which the email will be sent.
2. In the **Content** section, in the **Subject** field, enter the subject of the email and from the **Template** dropdown, select [the template you prepared in the previous step](#prepare-an-email-template).
3. In the **UTM & URL parameters** section, you can define the UTM parameters added to the links included in the email.
4. In the **Additional parameters** section, you can optionally assign [parameters](/docs/campaign/e-mail/creating-email-campaigns#adding-custom-parameters). which will be added to every event generated by this communication.
2. Click **Apply**.
### Add the finishing nodes and set capping
1. Add the **End** nodes after **Send Email** node and to the **Not matched** path after the **Profile Filter** node.
2. In the upper right corner, click **Set Capping** and define the limit of workflows a profile can start:
1. Set **Limit** to 1.
2. Set **Time** to 30 days.
4. Confirm by clicking **Apply**.
Workflow configuration
## Check the use case set up on the Synerise Demo workspace
---
You can check the configuration of each step directly in our Synerise Demo workspace:
- [AI Recommendation](https://app.synerise.com/ai-v2/recommendations/XbEsd3PfYnsW)
- [Workflow](https://app.synerise.com/automations/automation-diagram/b65c4194-230b-40bb-b6eb-a2f93ef59669)
- [Email template](https://app.synerise.com/automations/workflows/automation-diagram/b65c4194-230b-40bb-b6eb-a2f93ef59669/content-manager/template/104626)
If you’re our partner or client, you already have automatic access to the **Synerise Demo workspace (1590)**, where you can explore all the configured elements of this use case and copy them to your workspace.
If you’re not a partner or client yet, we encourage you to fill out the contact [form](https://demo.synerise.com/request) to schedule a meeting with our representatives. They’ll be happy to show you how our demo works and discuss how you can apply this use case in your business.
## Generated events
This use case generates approximately 10 events per profile that completes the flow:
[`session.end`](/docs/assets/events/event-reference/web-and-app#sessionend) (~1), [`automation.clientStartPath`](/docs/assets/events/event-reference/automation#automationclientstartpath) (~1), [`automation.clientPathStep`](/docs/assets/events/event-reference/automation#automationclientpathstep) (~3), [`automation.clientEndPath`](/docs/assets/events/event-reference/automation#automationclientendpath) (~1), [`recommendation.generated`](/docs/assets/events/event-reference/recommendations#recommendationgenerated) (~1), [`message.send`](/docs/assets/events/event-reference/email#messagesend) (~1), [`newsletter.open`](/docs/assets/events/event-reference/email#newsletteropen) (~1), [`newsletter.click`](/docs/assets/events/event-reference/email#newsletterclick) (~1).
## Read more
---
- [Recommendations](/docs/ai-hub/recommendations-v2)
- [Email template builder](/docs/campaign/e-mail/creating-email-templates/email-code-editor)
# Abandoned cart with a control group and A/B tests
Measuring the effectiveness of campaigns is crucial to evaluate their success and determine if they met their objectives. An important component of this measurement is the use of a control group, which allows for better analysis of campaign activities. By comparing the effects of campaigns targeted at the target group with those aimed at the control group (which doesn't receive any special campaigns), it becomes easier to assess the campaign's impact.
A/B testing is a valuable technique that complements the control group approach and helps optimize campaign results. It involves testing different versions of a campaign to determine which one resonates best with the target audience.
This use case presents a detailed scenario of an abandoned shopping cart. The scenario consists of two workflows, each with its own logic explained in the corresponding steps of the process.
Here is a high-level overview of the process:
- The process starts with adding a product to the shopping cart.
- The process includes control and target groups.
- Depending on which group customers are assigned to, they follow different workflow paths.
- Customers in the target group receive email communication about the abandoned shopping cart, while customers in the control group don't receive any additional communication. Instead, we generate an event for the control group as a simulation for sending an email. This event is later used to analyze the effectiveness of communication targeted at the target audience.
- A/B test are used to find the most effective approach that resonates with customers from the target group.
- To ensure consistent email messaging, each customer is assigned an **email_group** attribute before receiving the first email. This attribute identifies the type of email the user should receive.
- After sending the respective email or simulating it (for the control group), the automation checks if customers in both groups made a purchase within 25 hours of abandoning their cart.
- If a transaction occurs, an event is generated with the main information about the transaction. Otherwise, a follow-up email is sent to customers.
The detailed logic of each workflow along with the required analytics will be presented in the corresponding process steps.
## Prerequisites
---
- [Implement a tracking code](/docs/settings/tool/tracking_codes) into your website.
- Implement the [transaction events](/developers/web/transactions-sdk) using [SDK](/developers/web/transactions-sdk) or [API](https://hub.synerise.com/api-reference/data-management#operation/CreateATransaction).
- [Implement the `cart.status` event](/developers/web/cart), which stores the current status of the basket in the form of an event on the customer's card. This event must to be sent to Synerise after every change in the cart status.
- Collect [product.addToCart events](/docs/assets/events/event-definitions).
- [Create a control group dispatcher](/use-cases/control-group-dispatcher).
See a short explanation of how the dispatcher works
The dispatcher is essentially a piece of software that intelligently manages content distribution. It uses the DC template, which is like sets of rules, to determine which content to display to different users.
Behind the scenes, this dispatcher employs JavaScript. JavaScript code within the template dynamically updates the webpage based on predefined user allocations. This means that when someone visits the webpage, the dispatcher instantly decides which version of content they should see, whether it's 'A' or 'B,' according to the rules set in the DC template.
Moreover, it attaches a special 'data-test-snrs' attribute to each user's experience. This attribute acts as a marker, helping us later identify which version of content each user was exposed to. This kind of tracking is valuable for understanding how different messages perform and for tailoring future interactions based on users' previous experiences.
- Create email templates that will be use in the abandoned cart communication.
- [Create an email account](/docs/campaign/e-mail/configuring-email-account) which you will use to send emails.
## Process
---
In this use case, you will go through the following steps:
1. [Create an aggregate](/use-cases/abandoned-cart-scenario#create-an-aggregate-that-returns-the-number-of-products-in-a-cart) that returns the last total quantity of items the shopping cart for each customer.
2. [Create the first workflow](/use-cases/abandoned-cart-scenario#create-the-first-workflow) which outlines the logic of an abandoned cart scenario involving the sending of emails to a target group and a control group.
3. [Create an aggregate](/use-cases/abandoned-cart-scenario#create-an-aggregate-that-returns-the-timestamp-of-the-first-message-sent-from-an-abandoned-cart-campaign) that returns the timestamp of the first message sent from an abandoned cart campaign.
4. [Create an aggregate](/use-cases/abandoned-cart-scenario#create-an-aggregate-that-returns-the-order-id-of-the-first-transaction-that-took-place-after-the-first-email-from-abandoned-cart-campaign-was-sent) that returns the order ID of the first transaction that took place after the first email from abandoned cart campaign was sent.
5. [Create a second workflow](/use-cases/abandoned-cart-scenario#create-the-second-workflow) designed to identify transactions within the abandoned cart scenario.
## Create an aggregate that returns the number of products in a cart
---
This aggregate will be used in the first workflow to check if a customer has any products in the shopping cart.
1. Go to **Behavioral Data Hub > Live Aggregates > Create aggregate**.
2. As the aggregate type, select **Profile**.
2. Enter the name of the aggregate.
3. Click **Analyze profiles by** and select **Last**.
5. From the **Choose event** dropdown list, select the `cart.status` event.
6. As the event parameter, select **totalQuantity**.
7. Set the period from which the aggregate will analyze the results to **Lifetime**.
12. Save the aggregate.
Configuration of the aggregate
## Create the first workflow
---
This workflow outlines the logic of an abandoned cart scenario involving the sending of emails to a target group and a control group. The paths for both groups are very similar, with the only difference being that in the control group, an email isn't sent. Instead, sending the email is simulated by generating a special event.
To understand the more detailed logic behind the first workflow, let's break it down into several parts:
1. **Trigger:** The workflow is initiated when a customer adds a product to the cart.
2. **Path Division:** In this step, we divide the path for customers assigned to the target group from those in the control group. We use a filter to determine the group assignment, resulting in two paths: one for the **control group** and one for the **target group**. Both paths further divide into two more paths based on whether the customer is entering the workflow for the first time.
3. **Target Group Path:** This path applies to customers assigned to the target group and is divided into two sub-paths: one for customers entering the workflow for the first time and another for subsequent entries.
1. **First-time entry:** For customers entering the workflow for the first time, an A/B test is conducted to assign them to either group A or group B. At this stage, each customer in the target group receives an **email_group** attribute to determine the type of emails they will receive.
After assigning the email group, we check for three conditions:
- The customer has products in their basket,
- The customer has not completed a transaction in the past 60 minutes,
- The customer has given consent for email communication.
If all conditions are met, customers will receive an email specific to their email group. If not, the process ends. After sending the email, a **campaign.event** event is generated, triggering the second workflow.
2. **Reentry:** For customers who reenter the workflow, we first check which email group they were previously assigned to in order to provide them with a consistent email communication targeted to their group. After that, we check the same conditions mentioned in the first-entry path, and if all conditions are met, customers will receive an email with the abandoned cart communication.
4. **Control Group Path:** This path applies to customers assigned to the control group and is divided into two sub-paths: one for customers entering the workflow for the first time and another for subsequent entries.
1. **First-time entry:** Customers entering the workflow for the first time receive the **email_group** attribute with a value that will identify their assignment to the control group.
After assigning the email group, we check for three conditions:
- The customer has products in their basket,
- The customer has not completed a transaction in the past 60 minutes,
- The customer has given consent for email communication.
If all conditions are met, we generate an event for the control group as a simulation for sending an email. If not, the process ends. After generating an event with the email send simulation, we generate a **campaign.event** event, which will be used as a trigger for the second workflow.
2. **Reentry:** For customers who reenter the workflow, we repeat all the steps described in the first-time entry, excluding the attribute assignment step (considering that customers are already assigned with the attribute when they enter the workflow for the first time).
In further steps, we will describe each part of this process in detail.
The final view of the workflow
### Define the workflow trigger
---
At this stage, you should configure the conditions that trigger the workflow. In our case, the worflow is initiated when a customer adds a product to the cart and we use the `product.addToCart` event as a trigger.
1. As the first node of the workflow, add **Profile Event**.
2. From the **Choose event** dropdown menu, choose the `product.addToCart` event.
3. Confirm by clicking **Apply**.
### Create a path division
---
In this part of the process, we will divide the path for customers assigned to the control group from the customers assigned to the target group. To do so, we use the **Profile Filter** node to check whether a customer was assigned to the **control group**.
After checking the profile filter, the process splits into two paths: for customers who meet the filter condition (are assigned to the **control group**), and for customers who do not meet these conditions, which means that they are assigned to the **target group**.
1. Add the **Profile Filter** node. In the node settings:
1. Click **Choose filter** and select the **test-snrs** attribute form the drop-down list.
2. From the **Choose operator** drop-down, choose **Equal(String)**.
3. In the text field type `B`.
2. Click **Apply**.
Profile Filter node configuration
The next step will cover the part of the process for the target group.
### Target group path
This part of the process covers the path of the **target group**. In the following screenshot, we have highlighted this section. This path is further divided into two sub-paths: one for customers entering the workflow for the first time and another for customers re-entering the workflow.
The division between these sub-paths is checking if customers have been assigned to any email group. Customers entering the workflow for the first time don't have the email group attribute assigned yet, so they follow the **not matched** path of the filter (and the assignment of the attribute occurs in their path). Customers re-entering the workflow have already been assigned to an email group, so they follow the **matched** path of the filter.
Target group path
### Check if customers are assigned to an email group
---
This filter is used to check whether the **email_group** attribute has been assigned to a customer profile.
1. Add the **Profile Filter** node to the **Not matched** path from the profile filter defined in ["Define the workflow trigger"](/use-cases/abandoned-cart-scenario#create-a-path-division). In the node settings:
1. Click **Choose filter** and select the **email_group** attribute form the drop-down list.
2. From the **Choose operator** drop-down, choose **Is true (Boolean)**.
2. Click **Apply**.
Profile Filter node configuration
At this point, the path is divided into two sub-paths:
1. For customers who are not yet assigned to an email group:
- These are customers who enter the workflow for the first time.
- They will follow the **not matched** path.
2. For customers who are already assigned to an email group:
- These are customers who re-enter the workflow.
- They will follow the **matched** path.
### Customers from the target group who are entering the workflow for the first time
---
This part of the process covers the path for customers entering the workflow for the first time. It's shown in the screenshot below.
AB test path
The first step of this path is creating an A/B test to check which type of communication gets better reaction from the customers.
#### Define the A/B test
---
In this step, we set up an A/B test for the **not matched** path from the filter that checked the email group assignment. Customers will be assigned to **Group A** or **Group B**.
When configuring the node, keep the allocation equal or change the proportion according to your business needs.
The view of the ABx Test node configuration
#### Assign an email_group attribute to customers profiles
---
Depending on which group a customer is assigned to, we will add an **email_group** attribute with a value of **A** or **B** to their profile.
The **ABx Test** node is divided into two paths: for **Group A** and **Group B**. For customers assigned to **Group A**, we will add an attribute with the value **A**, and for customers assigned to **Group B**, we will add an attribute with the value **B**.
1. For the path for **Group A** and **Group B** add the **Update Profile** node.
2. In the **Click to select** drop-down list, select the **email_group** attribute. If it doesn't exist, click **Add** and create it.
3. From the drop-down list on the right, select the **Change** option.
4. As the value:
1. In the path for **Group A**, enter `A`
2. In the path for **Group B**, enter `B`
The view of the Update Profile node for group A
#### Define the Delay node for customers from each group
---
This node creates an hour's delay before moving to the next condition of the workflow.
1. Add the **Delay** node. In the node settings:
1. In the **Delay** field, type `1`.
2. From the dropdown list, choose **Hour**.
2. Click **Apply**.
Configuration of the Delay node
#### Check if the customer meets all the requirements before sending an email message
---
Before sending an email message, we will check if the customer meets all requirements:
- The customer has products in the basket,
- The customer has not completed a transaction in the past 60 minutes,
- The customer has given consent for email communication.
1. Add the **Profile Filter** node to both **Delay** nodes. In the node settings:
1. Click **Choose filter** and select the [aggregate](/use-cases/abandoned-cart-scenario#create-an-aggregate-that-returns-the-number-of-products-in-a-cart) you created earlier in the process.
2. From the **Choose operator** dropdown, choose **More than (Number)** and type `0` in the empty field.
3. From the **Choose filter** dropdown list select **transaction.charge** event.
4. Change the funnel type from **profiles matching** to **profiles not matching**.
5. To select a specific time range, click the calendar icon. In our case, it will be **Last 60 minutes**.
6. From the **Choose filter** dropdown list, select the **newsletter_agreement** attribute.
7. From the **Choose operator** dropdown, choose **Equal (String)** and type `enabled` in the empty field.
2. Click **Apply**.
Profile Filter node configuration
If a customer does not meet these conditions, the workflow ends for them at this stage. Otherwise, the email message is sent.
#### Send an email message to a customer
---
In this step, select email templates (prepared earlier in the prerequisites) that will be sent to customers.
1. To the **Matched** path, add the **Send Email** node and open its settings.
2. In the **Sender details** section, choose the email account from which the email is sent.
3. In the **Content** section, select the template that you prepared as a part of the prerequisites.
4. **Optional**: In the **UTM & URL parameters** section, define the UTM parameters added to the links included in the email.
5. **Optional**: In the **Additional parameters** section, describe campaigns with [additional parameters](/docs/campaign/e-mail/creating-email-campaigns#adding-custom-parameters).
6. Click **Apply**.
#### Generate an event that will trigger the second workflow
---
In this part of the process, we will generate a custom event that will act as a trigger for the second workflow. This event's action is **campaign.event** and it includes the following details:
- Campaign name,
- Test group to which the customer was assigned,
- Event type.
1. Add the **Generate Event** node to previous **Send Email** nodes.
2. In the **Event name** field, enter the name of the event that will be generated on the customer's profile. In this case, it is `campaign.event`.
4. In the **Body** section, define the parameters of this event:
1. Include a `campaign` parameter with the campaign name.
2. Include a `trigger` parameter with the value set to `trigger`
3. Include the `group` parameter:
1. For group A, set it to `A`
2. For group B, set it to `B`
**Example content of **Body** section for Group A:**
{{< highlight json >}}
{
"campaign": "abandoned cart - mail",
"group": "A",
"type": "trigger"
}
{{< /highlight >}}
{{% note %}}
The event body is an example. You can use a different campaign name and add more properties, if needed.
{{% /note %}}
Configuration of the Generate Event node for Group A
Add the **End** node to complete the path associated with the A/B test (with the path dedicated to the customers entering the workflow for the first time).
In the next steps, we will address the second part of the path related to the target group - the path intended for customers who have reentered the workflow.
### Customers from the target group that reenter the workflow
---
In this part of the process, we will go through the path designed for customers re-entering the workflow. The described part of the workflow is shown in the screenshot below.
Path for the customers from the target group who re-enter the workflow
At the start of this path, we check the assigned email group of the customer to determine the type of email to be sent. This ensures that we send an email specifically tailored to the email group the customer was assigned to upon their initial entry into the workflow.
To do this, we will first check if the customer is assigned to the **A** email group.
#### Check if the customer is assigned to the A email group
---
This step checks if the returning customer was assigned to email group **A**.
1. Add the **Profile Filter** node to the **Matched** path from the [filter](/use-cases/abandoned-cart-scenario#create-a-path-division) that checks the customer assignment to any email group. In the node settings:
1. Click **Choose filter** and select the **email_group** attribute from the dropdown list.
2. From the **Choose operator** drop-down, select **Equal (String)**.
3. In the empty field, type `A`
2. Click **Apply**.
Profile Filter node configuration
If the customer has not been assigned to email group **A**, we then check whether they are assigned to email group **B**.
#### Check if the customer is assigned to the B email group
---
The configuration of this node is the same as described in the previous step, except that this time we are checking the assignment to group B.
1. At the **not matched** path of the node that checks assignment to group A, add a **Profile Filter** node. In the node settings:
1. Click **Choose filter** and select the **email_group** attribute from the dropdown list.
2. From the **Choose operator** drop-down, choose **Equal (String)**.
3. In the empty field, type `B`
2. Click **Apply**.
After creating both filters to check the assignment for email group A and B, there are two paths. One is for customers assigned to group A, and the other is for those assigned to group B. The steps following both paths will be the same, with the only difference being the mailing they will receive, as it is specific to their assigned email group. Additionally, the value of the group parameter in the trigger event generated at the end of the workflow will store the group to which the customer is assigned.
For customers who have not been assigned to any group, the workflow ends after the filter checks the profiles for assignment to group B.
#### Define the Delay node for customers from each group
---
This node creates an hour's delay before moving to the next condition of the workflow.
1. Add the **Delay** node to both **Profile Filter** nodes. In the node settings:
1. In the **Delay** field, type `1`.
2. From the dropdown list, choose **Hour**.
2. Click **Apply**.
Configuration of the Delay node
#### Check if customers meet all the requirements before sending an email message
---
Before sending the email, we will check if the customer meets all the conditions, which are the same conditions described [earlier in the process](/use-cases/abandoned-cart-scenario#check-if-the-customer-meets-all-the-requirements-before-sending-an-email-message). To simplify the configuration of the Profile Filters with these conditions, you can duplicate a previously created node and add it to both **Delay** nodes.
For customers who do not meet the defined conditions, the workflow comes to an end. However, for those who do meet all conditions, the next step in the process is to send them an email.
#### Send an email message to a customer
---
In this part of the process, we will send an email to customers in both email groups. You need to create two **Send Email** nodes and use the dedicated template for each email group that you have already prepared in the prerequisites.
The configuration of these nodes remain the same as described in [this part of the process](/use-cases/abandoned-cart-scenario#send-an-email-message-to-a-customer). To simplify the configuration of these nodes, you can duplicate a previously created node and add it to both paths.
#### Generate an event that will trigger the second workflow
---
In this part of the process, we will generate a custom event that will act as a trigger for the second workflow. The configuration of this event remain the same as described in [this part of the process](/use-cases/abandoned-cart-scenario#generate-an-event-that-will-trigger-the-second-workflow). To simplify the configuration of these node, you can duplicate a previously created node and add it to both paths.
Add the **End** node to end the path associated with customers from the target group who reenter the workflow.
That wraps up the workflow section related to customers from the target group. Next, we'll delve into the second part of the workflow, which focuses on the control group path.
### Control group path
---
In this part of the process, we will focus on the path from the workflow that is dedicated to the **control group**. In the following screenshot, we have highlighted this section. This path is also further divided into two sub-paths: one for customers entering the workflow for the first time and another for customers reentering the workflow.
The division between these sub-paths is determined by a filter that checks if customers have been assigned the email group **D**. Customers entering the workflow for the first time do not have the email group attribute assigned yet, so they follow the **not matched** path of the filter (and the assignment of the attribute occurs in their path). On the other hand, customers reentering the workflow have already been assigned an email group, so they follow the **matched** path of the filter.
Control group path
### Check if customers are assigned to email group D
---
This filter checks if the **email_group** attribute with the value `D` is assigned to a customer profile.
1. Add the **Profile Filter** node to the **Matched** path from the profile filter defined in [this part](/use-cases/abandoned-cart-scenario#create-a-path-division) of the process. In the node settings:
1. Click **Choose filter** and select the **email_group** attribute form the dropdown list.
2. From the **Choose operator** drop-down, choose **Equal (String)**.
3. In the empty field, type `D`
2. Click **Apply**.
Profile Filter node configuration
At this point, the path is divided into two sub-paths:
1. For customers who are not yet assigned to the email group **D**:
- These are customers who enter the workflow for the first time.
- They will be redirected to the **not matched** path.
2. For customers who are already assigned to the email group **D**:
- These are customers that reenter the workflow.
- They will be redirected to the **matched** path.
### Customers from the control group who are entering the workflow for the first time
---
In this part of the process, we will go through the path designed for customers entering the workflow for the first time. The described part of the workflow is shown in the screenshot below.
Path for the customers from the control group that enter the workflow for the first time
#### Assign an email_group attribute to customers profiles
---
In this step we will assign customers from the control group who enter the workflow for the first time to email group **D**.
1. For the **Not Matched** path for the filter that checks the assignment to email group **D**, add the **Update Profile** node.
2. In the **Click to select** dropdown list, add the **email_group** attribute.
3. From the dropdown list on the right, select the **Change** option.
4. In the empty field, type `D`
Profile Filter node configuration
#### Define the Delay node
----
This node creates an hour's delay before moving to the next condition of the workflow.
1. Add the **Delay** node to both **Profile Filter** nodes. In the node settings:
1. In the **Delay** field, type `1`.
2. From the dropdown list, choose **Hour**.
2. Click **Apply**.
#### Check if customers meet all the requirements before sending an email message
---
Before sending the email, we will check if the customer meets all the conditions, which are the same conditions as described [earlier in the process](/use-cases/abandoned-cart-scenario#check-if-the-customer-meets-all-the-requirements-before-sending-an-email-message). To simplify the configuration of the Profile Filters with these conditions, you can duplicate a previously created node and add it to both **Delay** nodes.
For customers who do not meet the conditions, the workflow comes to an end. However, for those who meet all conditions, the next step in the process is to generate an event as a simulation for sending an email.
#### Generate an event to simulate sending an email
---
In this part of the process, we generate a **campaign.event** event with parameters that indicate that this is a simulation of an email dispatch. This event is created for the purpose of further analysis of the effectiveness of the overall implemented actions.
1. Add **Generate Event** to previous **Send Email** nodes.
2. In the **Event name** field, enter the name of the event that will be generated on the customer's profile. In this case, it is `campaign.event`.
4. In the **Body** section, define the parameters of this event, and click **Apply**.
**Example content of **Body** section for Group D:**
{
     "campaign": "abandoned cart - mail",
     "group": "D - Control group",
     "type": "simulation of sending an e-mail"
   }
#### Make sure that the event has been generated
---
This filter serves as a security measure to ensure that the **campaign.event** event was generated in the previous step.
1. Add the **Event Filter** node. In the configuration of the node:
1. Set **Check** to **for period of time**.
2. Define the time range to **10 minute**.
3. From the **Choose event** dropdown list, select the **campaign.event** event.
4. As the event parameter, select **type**.
5. From the **Choose operator** dropdown list, select **Equal (String)**.
6. As the value, enter `simulation of sending an e-mail`. The provided value must be the same as the one defined in the event body.
2. Confirm by clicking **Apply**.
Event Filter node configuration
#### Generate an event that will trigger the second workflow
---
In this part of the process, we will generate the **campaign.event** event, which will act as a trigger for the second workflow. The structure of the event body is similar to the previously created events for target group customers, with the only difference in the value of the **group** parameter, which is always specific to the featured group.
1. Add the **Generate Event** node to previous **Send Email** nodes.
2. In the **Event name** field, enter the name of the event that will be generated on the customer's profile. In this case, it is `campaign.event`.
4. In the **Body** section, define the parameters of this event:
1. Include a `campaign` parameter with the campaign name.
2. Include a `trigger` parameter with the value set to `trigger`
3. Include the `group` parameter with the value set to `D - Control group`
**Example content of **Body** section for Group D:**
Add the **End** node to complete the path related to the customers from the control group that enter the workflow for the first time.
In the next steps, we will address the second part of the path related to the control group - the path intended for customers who have reentered the workflow.
### Customers from the control group who re-enter the workflow
---
In this part of the process, we will go through the path designed for customers reentering the workflow. The described part of the workflow is shown in the screenshot below.
Path for the customers from the control group that reenter the workflow
Customers following this path have already been assigned an email group. Their process begins with a 1 hour delay. After the Delay node, the remaining steps for these customers are identical to those described for [customers from the control group who enter the workflow for the first time](/use-cases/abandoned-cart-scenario#customers-from-the-control-group-who-are-entering-the-workflow-for-the-first-time). Therefore, you need to repeat all those steps in the same order:
- [Check if customers meet all the requirements before sending an email message](/use-cases/abandoned-cart-scenario#check-if-customers-meet-all-the-requirements-before-sending-an-email-message-1)
- [Generate an event to simulate sending an email](/use-cases/abandoned-cart-scenario#generate-an-event-to-simulate-sending-an-email)
- [Make sure that the event has been generated](/use-cases/abandoned-cart-scenario#make-sure-that-the-event-has-been-generated)
- [Generate an event that will trigger the second workflow](/use-cases/abandoned-cart-scenario#generate-an-event-that-will-trigger-the-second-workflow-2)
Once this path is completed, add an **End** node to conclude the path associated with the customers from the control group that reenter the workflow.
That wraps up the creation of the first workflow.
## Create an aggregate that returns the timestamp of the first message sent from an abandoned cart campaign
---
This aggregate returns the timestamp of the first message sent from an abandoned cart campaign described in the first workflow.
1. Go to **Behavioral Data Hub > Live Aggregates > Create aggregate**.
2. As the aggregate type, select **Profile**.
2. Enter the name of the aggregate.
3. Click **Analyze profiles by** and select **First**.
5. From the **Choose event** dropdown list, select the `message.send` event.
6. As the event parameter, select **TIMESTAMP**.
7. Click the **+ where** button and from the dropdown list, choose **campaignName**.
8. From the **Choose operator** dropdown, select **Contain (String)**.
9. In the text field, type the name of the abandoned cart campaign you used in the first workflow. In our case it's `Abandoned cart`.
10. Set the period from which the aggregate will analyze the results to **Last 1455 minutes** (this is 24 hours with a spare of 15 minutes).
11. Save the aggregate.
Configuration of the aggregate
## Create an aggregate that returns the order ID of the first transaction that took place after the first email from abandoned cart campaign was sent
---
The ID of this aggregate will be used as an insert in the event generated in the second workflow.
1. Go to **Behavioral Data Hub > Live Aggregates > Create aggregate**.
2. As the aggregate type, select **Profile**.
2. Enter the name of the aggregate.
3. Click **Analyze profiles by** and select **First**.
5. From the **Choose event** dropdown list, select the `transaction.charge` event.
6. As the event parameter, select **$orderId**.
7. Click the **+ where** button and from the dropdown list, choose **TIMESTAMP**.
8. From the **Choose operator** dropdown, select **More than (Date)**.
9. Click (Choose value icon).
10. From the **Choose value** dropdown list, select the aggregate you created in the [previous step](/use-cases/abandoned-cart-scenario#create-an-aggregate-that-returns-the-timestamp-of-the-first-message-sent-from-an-abandoned-cart-campaign) of the process.
11. Set the period from which the aggregate will analyze the results to **Last 1455 minutes**.
12. Save the aggregate.
Configuration of the aggregate
## Create the second workflow
---
The purpose of the second workflow is to identify the transactions that occurred in the abandoned cart scenario. This helps us in future analyses to measure the quantity and value of transactions that occurred after the customer received the abandoned cart message. By doing this, we can assess the effectiveness of the performed actions.
Let's dive into the detailed logic of the second workflow:
- At the end of each email group's path (A, B, and D) in the first workflow, we generated a **campaign.event** event. This event serves as a trigger for the second workflow. Therefore, the second workflow now consists of three triggers, each dedicated to customers from a specific email group. By utilizing the parameters of each event, we create separate audiences for customers belonging to each email group.
- The subsequent steps in the workflow are very similar for all three email groups. We will describe the process simultaneously, highlighting any differences that occur in certain steps.
- After defining the triggers and creating audiences for each email group, we check (using the Profile Filter) if a customer has made a transaction within the last 25 hours. At this point, the path for customers from each email group splits into two: those who made a transaction and those who didn't.
- **Customers who made a transaction:** For customers who completed a transaction, we generate a **campaign.event** event. This event has a similar structure to the previously generated events, but has a different `type` value. It also includes additional information about the order ID from the transaction the customer made during the abandoned cart process. This order ID allows us to identify the value of transactions made during the abandoned cart process, enabling the creation of useful metrics for campaign analysis.
- **Customers who didn't make a transaction:** For customers in email groups A and B (target groups) who didn't make a transaction but have consented to email communication, we send a follow-up email. For customers in email group D (control group), we generate a simulated event indicating that an email was sent.
- Finally, we merge all the created paths to conclude the process.
The final view of the workflow
### Define the workflow triggers
---
At this part of the process, configure three triggers of the workflow. Those triggers will be activated each hour for customers from each email group for whom a **campaign.event** event trigger was generated in the first workflow.
1. Start the workflow with the **Audience** node.
2. In the configuration of the node, set the **Run trigger** option to **repeatable**.
3. Set the interval to 1 hour.
4. Choose the day and time when the process starts.
5. Select the time zone.
6. In **Define audience**, choose **New Audience** and click **Define conditions**.
1. As the first condition, from **Choose filter** dropdown menu, choose the `campaign.event` event.
2. From the **Choose parameter** dropdown list, select **type**.
3. From the **Choose operator** dropdown list, select **Equal (String)**.
4. In the right field, enter the value of the **type** parameter that was generated in the event. In our case, we type `trigger`.
5. From the **Choose parameter** dropdown list, select **campaign**.
6. From the **Choose operator** dropdown list, select **Equal (String)**.
7. In the right field, enter the value of the **campaign** parameter that was generated in the event. In our case, we type `abandoned cart - mail`.
8. From the **Choose parameter** dropdown list, select **group**.
9. From the **Choose operator** dropdown list, select **Equal (String)**.
10. In the right field, enter the names of the groups for each email group you are creating the trigger for:
1. For group A, enter `A`
2. For group B, enter `B`
3. For group D, enter `D - control group`
11. Define the time range from which you want to analyze this event. In our case, it's **Last 60 minutes before 24 hours**.
Configuration of the Audience node for group A
### Check whether customers from each group have made a transaction in the last 25 hours
---
1. Add the **Profile Filter** node to the trigger from each group.
2. From the **Choose filter** dropdown list, select the **transaction.charge** event.
3. Set the period from which you want to analyze this event. In our case, we use **Last 1500 minutes**.
4. Apply all changes.
After this **Profile Filter** path for customers from each email group splits into two: those who made a transaction and those who didn't.
### Path for customers that made a transaction
---
When a customer completes a transaction after abandoning their cart, we generate a **campaign.event** event. This event contains information about the customer's **order ID** from the transaction. The order ID helps us identify the value of transactions made during the abandoned cart process, which is important for creating useful metrics for campaign analysis.
The customers from different groups are differentiated by the value of the **group** parameter in the **campaign.event** event.
1. To the **Matched** path from the [profile filter](/use-cases/abandoned-cart-scenario#check-whether-customers-from-each-group-have-made-a-transaction-in-the-last-25-hours) for all email groups add the **Generate event** node.
2. In the **Event name** field, enter the name of the event that will be generated in the customer's profile. In this case, it's `campaign.event`.
4. In the **Body** section, define the parameters of this event and click **Apply**.
In the `orderID` section, place an [aggregate ID that returns the order ID of the first transaction](/use-cases/abandoned-cart-scenario#create-an-aggregate-that-returns-the-order-id-of-the-first-transaction-that-took-place-after-the-first-email-from-abandoned-cart-campaign-was-sent) created earlier in the process. AYou should also change the group value for the corresponding groups.
**Example content of "Body" section for Group A:**
5. Confirm by clicking **Apply**.
Configuration of the Generate Event node for group A
This node will be then connected with the **Merge Paths** node that combines seperate path into one.
### Path for customers who have not completed the transaction
---
Customers belonging to email groups A and B (target groups) who have not completed a transaction but have given consent for email communication receive a follow-up email. On the other hand, for customers in email group D (control group), we generate a simulated event to indicate that an email was sent.
#### Check whether customers have given consent for email communication
---
1. To the **Not Matched** path from the [Profile Filter node which checks if the customer made a transaction](/use-cases/abandoned-cart-scenario#check-whether-customers-from-each-group-have-made-a-transaction-in-the-last-25-hours), for all email groups add the **Profile Filter** node.
1. Click **Choose filter** and select **newsletter_agreement** attribute form the dropdown list.
2. From the **Choose operator** drop-down, choose **Equal(String)**.
3. In the text field, type `enabled`.
2. Click **Apply**.
For customers who have not provided consent, the workflow comes to an end. However, for customers from email groups A and B (target group) who meet the conditions of this filter, we proceed to the next step and send them a follow-up email. For customers from email group D (control group), we generate a simulated event to indicate that an email was sent.
#### Send a follow-up email for customers from email group A and B
---
1. To the **Matched** path from the [profile filter](/use-cases/abandoned-cart-scenario#check-whether-customers-have-given-consent-for-email-communication), add the **Send Email** node and open its settings.
2. In the **Sender details** section, choose the email account from which the email is sent.
3. In the **Content** section, select the template that you prepared as part of the prerequisites.
4. **Optional**: In the **UTM & URL parameters** section, define the UTM parameters added to the links included in the email.
5. **Optional**: In the **Additional parameters** section, describe campaigns with [additional parameters](/docs/campaign/e-mail/creating-email-campaigns#adding-custom-parameters).
6. Click **Apply**.
This node will be then connected with the **Merge Paths** node that combines seperate path into one.
#### Generate an event to simulate sending a follow-up email
---
1. Add the **Generate Event** node to the **Matched** path from the [profile filter](/use-cases/abandoned-cart-scenario#check-whether-customers-have-given-consent-for-email-communication) checking email communication consent.
2. In the **Event name** field, enter the name of the event that will be generated on the customer's profile. In this case, it is `campaign.event`.
4. In the **Body** section, define the parameters of this event, and click **Apply**.
**Example content of "Body" section for Group D:**
{
     "campaign": "abandoned cart - mail",
     "group": "D - Control group",
     "type": "simulation of sending an e-mail follow up"
   }
Configuration of the simulation event for group D
Merge all the final nodes from each email group path into a single path using the **Merge Paths** node and add an **End** node to complete the process.
## What's next
---
Once both workflows are launched, you will obtain valuable information that can be utilized to measure the campaign's performance. This data can be collected and analyzed through a dashboard, which will present the achieved results in a breakdown for each group (control and target). Through the dashboard, you can assess the overall performance of your campaign, evaluate the results of the AB test conducted for the target group, and determine the number and value of transactions that occurred during the abandoned cart process.
## Generated events
This use case generates approximately 26 events per profile that completes the flow:
[`product.addToCart`](/docs/assets/events/event-reference/items#productaddtocart) (~1), [`automation.clientStartPath`](/docs/assets/events/event-reference/automation#automationclientstartpath) (~2), [`automation.clientPathStep`](/docs/assets/events/event-reference/automation#automationclientpathstep) (~11), [`automation.abTestVariantAssigned`](/docs/assets/events/event-reference/automation#automationabtestvariantassigned) (~1), [`profile.updated`](/docs/assets/events/event-reference/profiles#profileupdated) (~1), [`message.send`](/docs/assets/events/event-reference/email#messagesend) (~1), [`newsletter.open`](/docs/assets/events/event-reference/email#newsletteropen) (~1), [`newsletter.click`](/docs/assets/events/event-reference/email#newsletterclick) (~1), `campaign.event` (~2), [`automation.clientEndPath`](/docs/assets/events/event-reference/automation#automationclientendpath) (~2), [`transaction.charge`](/docs/assets/events/event-reference/items#transactioncharge) (~1), [`product.buy`](/docs/assets/events/event-reference/items#productbuy) (~2).
## Check the use case set up on the Synerise Demo workspace
---
You can check the configuration of each step from this use case in our Synerise Demo workspace:
- [Aggregate](https://app.synerise.com/analytics/aggregates/0d351702-fb43-356e-a90a-c405fa0a388c) that returns the sku of products in the shopping cart for each customer
- [First workflow](https://app.synerise.com/automations/automation-diagram/1fcb7219-dbb3-4fc3-b51e-37ae8b738c20)
- [An aggregate](https://app.synerise.com/analytics/aggregates/d49c2395-e7af-3cbe-83eb-5e69f4377c75) that returns the timestamp of the first message sent from an abandoned cart campaign
- [An aggregate](https://app.synerise.com/analytics/aggregates/4c1a5eff-edae-33e9-89c2-191bb460ef46) that returns the order ID of the first transaction that took place after the first email from abandoned cart campaign was sent
- [Second workflow](https://app.synerise.com/automations/automation-diagram/862cf91e-5e99-4fc4-86b1-cfe76a235e83)
If you’re our partner or client, you already have automatic access to the **Synerise Demo workspace (1590)**, where you can explore all the configured elements of this use case and copy them to your workspace.
If you’re not a partner or client yet, we encourage you to fill out the contact [form](https://demo.synerise.com/request) to schedule a meeting with our representatives. They’ll be happy to show you how our demo works and discuss how you can apply this use case in your business.
# Spin the Wheel pop-up powered by a Brickworks schema
Adding interactive elements to your website is an effective way to capture attention and encourage users to engage with your brand. A gamified “Spin the Wheel” experience introduces an element of chance and reward, making promotional campaigns more engaging and memorable.
In this use case, you will create a Spin the Wheel promotional pop-up triggered by a bottom bar on the website. Instead of displaying the pop-up automatically, the interaction is initiated by the user, which makes the experience less intrusive and more intentional.
What makes this scenario different is the use of [Brickworks](/docs/assets/brickworks) to manage reward configuration. Each wheel segment is defined as a structured record containing properties such as label, color, probability, and assigned voucher pool. This approach separates presentation from data, making it easier to update rewards, adjust probabilities, and scale the campaign without modifying the main dynamic content.
As a result, you can deliver a flexible and maintainable gamified experience in which users spin the wheel to receive a discount code that can be redeemed during checkout.
Before implementing this use case in a production environment, please review local regulations related to promotional lotteries and games of chance. We recommend consulting your legal or compliance team to confirm all requirements. Any additional formalities, such as preparing terms and conditions or submitting the promotion to the relevant tax or regulatory authorities, remain the responsibility of the implementing company.
## Prerequisites
---
- Implement a [tracking code](/developers/web/installation-and-configuration) on your website.
- [Create an API Key](/docs/settings/tool/api#adding-api-keys) with basic authentication and permissions connected with the vouchers such as `VOUCHERS_ITEM_LIST_BY_POOL_READ` (used in the External Source configuration for the Brickworks schema).
- Create separate [code pools](/docs/assets/code-pools#creating-a-code-pool) for each prize on the wheel.
## Process
---
In this use case, you will go through the following steps:
- [Create a HTTPS connection](#create-a-https-connection). The external source uses this connection to get data from the the voucher API.
- [Create an external source](#create-an-external-source) that will be used by Brickworks schema to get up-to-date informations about vouchers.
- [Create a main dynamic content](#create-a-main-dynamic-content) that customer will interact with.
- For each reward [create a dedicated dynamic content](#create-a-dynamic-content-for-each-prize).
- [Create a Brickworks schema](#create-a-brickworks-schema) that defines the data structure for wheel rewards.
- [Create records](#create-records) that store individual reward definitions (text, colors, probabilities, voucher pools) and bind schema fields to actual data.
- [Adjust the snippet](#adjust-the-snippet-template) that pulls Brickworks records at render time and exposes them to the main dynamic content, where they are used by JavaScript to render the wheel and apply reward logic.
## Create a HTTPS connection
---
In this part of the process, you will create HTTPS connection with Synerise.
1. Go to **Settings > Connections > New connection**.
2. Choose **HTTPS**.
3. Choose **Login & Password**.
4. Complete the fields:
- **Connection name**
- **Login**
- **Password**
5. Click **Apply**.
Configuration of the HTTPS connection
## Create an external source
---
In this part of the process, you will create an external source that connects to API and lets you get up-to-date information about number of active and assigned vouchers per voucher pool.
Responses are cached for 60 seconds. This is a platform-level TTL you **can not** change.
1. Go to **Data Modeling Hub > External Sources > New external source**.
2. Select the method of authorization as **Login & Password**.
3. Select a connection you created in [HTTPS connection step](#create-a-https-connection).
4. From the **Method** dropdown list, select **POST**.
5. In **URL**, provide the endpoint adress: `https://api.synerise.com/v4/vouchers/item/count/{{record.voucherpoolid}}`
6. In **TTL** field enter `60`.
7. In the **Headers** section, by clicking **Add header** three times define such request headers:
- In the key field, enter **Accept** and provide the `application/json` as the value
- In the next key field, enter **Api-version** and provide the `4.4` as the value
- In the last key field, enter **content-type** and provide the `application/json` as the value
Configuration of the external source
## Create a main dynamic content
---
Create a dynamic content that will be displayed to all website visitors. You can use a [ready-made template](https://app.synerise.com/campaigns/dynamic-content/content-manager/template/281906) available on the Synerise Demo workspace.
1. Go to **Experience Hub > Dynamic Content > Create new**.
2. Enter the name of the content.
3. Choose the **Insert object** type.
### Define audience
1. To select the recipients of the dynamic content, on the **Audience tab**, click **Define**.
2. Select **Everyone**.
3. Click **Apply**.
### Define content
In the next step, you will create the dynamic content with the help of a ready-made template.
1. In the **Content** section, click **Define**.
2. Click **Create message** and from the list of template folders, select **Spin the Wheel**.
3. Select the **[UC] Spin&win** template.
**Result**: You are redirected to the code editor.
4. Edit the template according to your needs.
DC template
5. After customizing your dynamic content, click **Save**.
6. Set an appropriate **CSS selector** to define the placement of the banner that releases the pop-up. The correct selector depends on your website’s structure, so make sure to reference an element that ensures the bar is displayed in the intended position.
7. Click **Apply**.
### Define schedule and display settings
As the final part of the section, you will define the display settings of the dynamic content such as schedule, triggers, and delay.
1. In the **Schedule** section, click **Define** and set the time when the dynamic content will be active.
2. Click **Apply**.
3. In the **Display Settings** section, click **Define**. If you want the banner to be displayed to all users continuously across the website upon landing, keep the default settings.
4. Click **Apply**.
5. Optionally, you can define the UTM parameters and additional parameters for your dynamic content.
6. Click **Activate**.
## Create a dynamic content for each prize
---
In this part of the process, you will create dynamic content templates that will be assigned to different [voucher pools](/docs/assets/code-pools). They will be later needed in Brickworks schema. This time you will use [Jinjava insert](/developers/inserts/insert-usage#code-pools).
1. Go to **Experience Hub > Dynamic Content > Create new**.
2. Enter the name of the content.
3. Choose the **Insert object** type.
### Define audience
1. To select the recipients of the dynamic content, on the **Audience tab**, click **Define**.
2. Select **Everyone**.
3. Click **Apply**.
### Define content
In the next step, you will create the dynamic content with the [Jinjava tag for vouchers](/developers/inserts/insert-usage#code-pools).
1. In the **Content** section, click **Define**.
2. Click **Create message** and then **New template**.
3. Select the **Code editor** type.
**Result**: You are redirected to the code editor.
4. Enter this code in the **HTML** tab replacing `pool-uuid` with those from your voucher pools:
```jinjava
{% vouchervar id=pool-uuid %}
{{ voucher_result }}
{% endvouchervar %}
```
Code editor with jinjava insert
5. After customizing your dynamic content, save the changes by clicking on **Use in communication** button.
6. Set **CSS selector** to `#synSpinPromoCode` and its **location** to `Inner`. Those settings define the placement of the prize that can be claimed through modal showed after spin. The correct selector depends on your main dynamic content template’s structure, so make sure to reference an element that ensures the result is displayed in the intended position.
7. Click **Apply**.
### Define schedule and display settings
As the final part of the section, you will define the display settings of the dynamic content such as schedule, triggers, and delay.
Make sure that all dynamic content templates have the same schedule options as it is required for use case to work correctly.
1. In the **Schedule** section, click **Define** and set the time when the campaign will be active.
2. Click **Apply**.
3. In the **Display Settings** section, click **Define**. If you want the banner to be displayed to all users continuously across the website upon landing, keep the default settings.
4. Click **Apply**.
5. Optionally, you can define the UTM parameters and additional parameters for your dynamic content.
6. Click **Activate**.
Repeat [this step](#create-a-dynamic-content-for-each-prize) for each voucher pool that should be included in the wheel.
## Create a Brickworks schema
---
In this step of the process, you will create a [Brickworks](/docs/assets/brickworks) simple schema that defines the structure of the spin&win. The schema specifies the field names, types, and configuration options.
1. Go to **Data Modeling Hub > Schemas > New Schema**.
2. Choose **Simple Schema**.
3. Enter the **Display name**, for example `spin&win`.
4. In **API name** field enter `spinWin`.
5. Optionally, add a **description**.
### Add id field
1. Click **Add new field** and choose the **String** field type.
2. In the **Field basics** section, complete the fields:
- **Display name**: `id`
- **API name**: `id`
3. In the **Validation** section, enable the **Required field** checkbox.
4. In the **Advanced** section, enable the **Unique values only** checkbox.
5. Click **Apply**.
Configuration of the id field in the Brickworks schema
### Add displayColor field
1. Click **Add new field** and choose the **String** field type.
2. In the **Field basics** section, complete the fields:
- **Display name**: `displayColor`
- **API name**: `displaycolor`
3. In the **Validation** section, enable the **Required field** checkbox.
4. Click **Apply**.
Configuration of the displayColor field in the Brickworks schema
### Add displayText field
1. Click **Add new field** and choose the **String** field type.
2. In the **Field basics** section, complete the fields:
- **Display name**: `displayText`
- **API name**: `displaytext`
3. In the **Validation** section, enable the **Required field** checkbox.
4. Click **Apply**.
Configuration of the displayText field in the Brickworks schema
### Add probability field
1. Click **Add new field** and choose the **Number** field type.
2. Select **Integer**.
3. In the **Field basics** section, complete the fields:
- **Display name**: `probability`
- **API name**: `probability`
4. In the **Validation** section, enable the **Required field** checkbox.
5. Click **Apply**.
Configuration of the probability field in the Brickworks schema
### Add winChance field
1. Click **Add new field** and choose the **Number** field type.
2. Select **Integer**.
3. In the **Field basics** section, complete the fields:
- **Display name**: `winChance`
- **API name**: `winchance`
4. In the **Validation** section, enable the **Required field** checkbox.
5. Click **Apply**.
Configuration of the winChance field in the Brickworks schema
### Add resultText field
1. Click **Add new field** and choose the **String** field type.
2. In the **Field basics** section, complete the fields:
- **Display name**: `resultText`
- **API name**: `resulttext`
3. In the **Validation** section, enable the **Required field** checkbox.
4. Click **Apply**.
Configuration of the resultText field in the Brickworks schema
### Add voucherCampId field
1. Click **Add new field** and choose the **String** field type.
2. In the **Field basics** section, complete the fields:
- **Display name**: `voucherCampId`
- **API name**: `vouchercampid`
3. In the **Advanced** section, enable the **Unique values only** checkbox.
4. Click **Apply**.
Configuration of the voucherCampId field in the Brickworks schema
### Add voucherPoolId field
1. Click **Add new field** and choose the **String** field type.
2. In the **Field basics** section, complete the fields:
- **Display name**: `voucherPoolId`
- **API name**: `voucherpoolid`
3. In the **Advanced** section, enable the **Unique values only** checkbox.
4. Click **Apply**.
Configuration of the voucherPoolId field in the Brickworks schema
### Add voucherData field
1. Click **Add new field** and choose the **External Data** field type.
2. In the **Field basics** section, complete the fields:
- **Display name**: `voucherData`
- **API name**: `voucherdata`
3. In the **Configuration** section, select an [external source](#create-an-external-source) you made at the beginning of the process.
4. Click **Apply**.
Configuration of the voucherData field in the Brickworks schema
### Overview of the complete schema
After adding all fields, the schema should contain the following fields:
Overview of all fields in the spin&win Brickworks schema
### Set up the Audience & Settings
1. Click the **Audience & Settings** tab.
2. In the **Audience** section, click **Define**.
3. Choose **Everyone**.
4. Click **Apply**.
Configuration of the Audience tab in the spin&win Brickworks schema
5. In the upper-right corner, click **Save**.
## Create records
---
In this part of the process you will define the prizes that will be displayed on the wheel.
1. Go to **Data Modeling Hub > Records**.
2. Click **Select schema** and choose Brickworks schema you created in [previous step](#create-a-brickworks-schema).
3. Click **New record**.
4. Add a name for the record, for example `reward1`.
5. Add a **slug** for the record. Slug is a unique, URL-friendly version of the name containing only lowercase letters, numbers, and hyphens. For example: `reward-1`.
6. Fill in the field values by assigning the appropriate data to each field:
- **id** → provide unique reward identifier, for exaple `reward1`.
- **displayColor** → provide hex color of the segment, for example: `#47002c`.
- **displayText** → provide text that will be displayed on the wheel segment, for example: `5% OFF`.
- **probability** → provide relative weight for segment selection, for example: `35`.
Total probability weight of all prizes **must** sum up to 100. More details on how the algorithm works are provided in the [snippet](#adjust-the-snippet-template).
- **winChance** → provide percentage chance of acually winning once the wheel land on that segment (in scale from 0 to 100), for example: `98`.
- **resultText** → provide text shown in the result modal, for example: `You won 5% off your next purchase!`.
- **voucherCampId** → provide **dynamic content ID** that assigns the voucher.
- **voucherPoolId** → provide **voucher pool's ID** inside dynamic content pointed by voucherCampId.
7. Click **Publish** to publish your record.
After publishing the record, note the **schema ID** and **record ID** from the [URL](/docs/assets/brickworks/core-concepts#record-identifiers). You will need these IDs in the [snippet template](#adjust-the-snippet-template) to reference the Brickworks data via the `{% brickworksgeneratevar %}` tag, which is later used in the main dynamic content (in its JavaScript layer) to load reward data at render time.
Repeat [this step](#create-records) for each prize that should be included in the wheel.
## Adjust the snippet template
---
To conclude this process, adjust the snippet template to your needs. This snippet pulls reward data from Brickworks at render time and is used directly in the main dynamic content, where it acts as a single source of truth for reward configuration, probability rules, and real‑time voucher availability, keeping the campaign logic centralized and easy to maintain.
1. Go to **Data Modeling Hub > Snippets**.
2. Select the **spin&win-config & analytics** snippet.
3. Go to the **Code** tab.
4. Add one block per reward, swapping `SCHEMA_ID` and `RECORD_ID` for each [Brickworkd schema record](#create-records) from its URL:
```jinjava
{% brickworksgeneratevar schemaId=SCHEMA_ID recordId=RECORD_ID %}
{% do entries.append(
"{id: \"" ~ brickworks_result.id ~ "\", displayText: \"" ~ brickworks_result.displaytext ~ "\", remaining: " ~ (brickworks_result.voucherdata.data.activeCount - brickworks_result.voucherdata.data.assignedCount) ~ ", displayColor: \"" ~ brickworks_result.displaycolor ~ "\", winChance: " ~ brickworks_result.winchance ~ ", probability: " ~ brickworks_result.probability ~ ", voucherPoolId: \"" ~ brickworks_result.vouchercampid ~ "\",timestamp: \"" ~ brickworks_result.voucherdata.data.countAt ~ "\", resultText: \"" ~ brickworks_result.resulttext ~ "\"}"
) %}
{% endbrickworksgeneratevar %}
```
5. Click **Save**.
## Check the use case set up on the Synerise Demo workspace
---
You can check the configuration of each step directly in Synerise Demo workspace:
- [External Source](https://app.synerise.com/assets/brickworks/external-sources/29e9a4cc-ae0a-4ad5-923b-7f4dc4d9f4ed)
- [Dynamic Content- main template](https://app.synerise.com/campaigns/dynamic-content/content-manager/template/281906)
- [Dynamic Content - templates assigned to vouchers](https://app.synerise.com/campaigns/dynamic-content/content-manager/template-directories/27c4b548-8f8b-497c-984e-fdb164b5d380)
- [Brickworks schema - fields definition](https://app.synerise.com/assets/brickworks/schemas/cf9c1db3-bcf8-468a-9718-453a6b6c8873)
- [Brickworks schema - records](https://app.synerise.com/assets/brickworks/schemas/cf9c1db3-bcf8-468a-9718-453a6b6c8873/records)
- [Snippet](https://app.synerise.com/assets/snippets/ea31c15a-2be6-4a85-a66c-3b69ef3fc410)
If you’re our partner or client, you already have automatic access to the **Synerise Demo workspace (1590)**, where you can explore all the configured elements of this use case and copy them to your workspace.
If you’re not a partner or client yet, we encourage you to fill out the contact [form](https://www.synerise.com/demo-request) to schedule a meeting with our representatives. They’ll be happy to show you how our demo works and discuss how you can apply this use case in your business.
## Generated events
This use case generates approximately 5 events per profile that completes the flow:
[`dynamicContent.show`](/docs/assets/events/event-reference/dynamic-content#dynamiccontentshow) (~2), [`dynamicContent.click`](/docs/assets/events/event-reference/dynamic-content#dynamiccontentclick) (~1), [`brickworks.generated`](/docs/assets/events/event-reference/brickworks#brickworksgenerated) (~1), [`voucherCode.assigned`](/docs/assets/events/event-reference/loyalty#vouchercodeassigned) (~1).
## Read more
---
- [External Source](/docs/assets/brickworks/creating-external-source)
- [Dynamic Content](/docs/campaign/dynamiccontent)
- [Jinjava Interts](/developers/inserts)
- [Brickworks](/docs/assets/brickworks)
- [Snippets](/docs/assets/snippets)
# Recommendations for new and returning app users
Mobile apps are a powerful marketing channel for many businesses. They help companies to conveniently connect with customers, keep them engaged and build the best possible online experience for them. It is another great channel for offering personalized offers to customers that make them feel closer to the brand.
To build the most enjoyable customer experience possible, it's a great idea to differentiate designed campaigns among customers who meet specific criteria. For example, differentiation based on the customer's level of activity in the app.
This use case refers to a scenario where customers are divided into different segmentations - completely new to the app and those returning. The segmentation the customer belongs to will determine the type of recommendation they receive at the end.
## Prerequisites
---
- [Implement Synerise SDK in your mobile application](/developers/mobile-sdk).
- Implement `product.view` event in your [mobile application](/developers/mobile-sdk/event-tracking#product-viewed)
- [Create two different recommendation campaigns](/docs/ai-hub/recommendations-v2) that will be directed to new and returning customers. Ex. top products for new customers, personalized products for returning customers. You can add additional [filters](/docs/ai-hub/recommendations-v2/recommendation-filters) if needed.
- [Create two documents](/docs/assets/documents/introduction-to-documents) with the recommendation campaigns created before.
Exemplary content of a document
Where "campaignId" is the ID of your recommendation.
## Process
---
1. [Prepare segmentations](/use-cases/recommendations-for-new-and-returning-users#prepare-segmentations) for new and returning users.
2. [Create screen views](/use-cases/recommendations-for-new-and-returning-users#create-screen-views) with dedicated documents with AI campaigns created before.
## Prepare segmentations
---
In this part of the process, create segmentations for new and returning users. This use case considers a returning user as a user who viewed at least two products in the mobile application. Users who do not match this condition are considered new. This logic is exemplary and may vary depending on your business needs.
### Segmentation for returning users
1. Go to **Decision Hub > Segmentations > New segmentation**.
2. Give the segmentation a meaningful name, for example `Returning users`.
3. Click **Choose filter** and select the **product.view** event.
4. Click **Add funnel step** and select the **product.view** event once again.
5. As the date range, select **Lifetime**.
6. Click **Apply**.
An example of segmentation of returning users
### Segmentation for new users
1. Go to **Decision Hub > Segmentations > New segmentation**.
2. Give the segmentation a meaningful name, for example `New users`.
3. Click **Choose filter** and select the segment you created in the [previous step](/use-cases/recommendations-for-new-and-returning-users#segmentation-for-returning-users).
4. From the **Choose operator** dropdown list, select **Is false (Boolean)**.
5. Click **Apply**.
An example of segmentation of new users
## Create screen views
---
In this part of the process, create screen views for the segmentations defined in the previous steps. Thanks to this, while fetching the screen views, the mobile application automatically receives content dedicated for a certain user.
### Create a screen view for returning users
Create a screen view for returning users using the documents with recommendations targeted to those users.
1. Go to **Experience Hub > Screen views > Create screen view**.
2. Enter the name of the screen view.
3. Optionally, to let other users know about the purpose of this screen view, write a short description.
4. To define the recipients of your screen view, in the **Audience** section click the **Define** button and choose the [returning users segmentation](/use-cases/recommendations-for-new-and-returning-users#segmentation-for-returning-users).
5. Confirm your choice by clicking the **Apply** button.
6. To create the content of your screen view, in the **Content** section click the **Define** button.
7. Prepare and paste the JSON code with the collection of dashboards you want to include in the screen view. The code needs to define the way of presenting the dashboards (for example, as a vertical list).
8. Below the code text field, select the document with the recommendation for returning users by clicking the **Add document** button.
9. To define the schedule of the screen view, in the **Schedule** section click the **Define** button.
10. From the Timezone dropdown list, select a timezone for the schedule.
11. Select the start date by performing one of the following actions:
- To launch the screen view immediately, select the **Immediately** option.
- To select the start date:
1. Select the **Scheduled** option.
2. Click the **Select time** field.
3. Pick a date and select time.
4. Confirm by clicking **Apply**.
Screen views schedule overrides the schedule of individual documents.
12. **Optional**: In the **Type of period** section, define the times of day, days of the week, or days of the month when the screen view is active.
13. To complete the process, click the **Publish** button.
The configuration of the screen view for returning users
### Create a screen view for new users
Create a screen view for new users using the recommendation documents targeted to those users.
1. Go to **Experience Hub > Screen views > Create screen view**.
2. Enter the name of the screen view.
3. Follow the same steps mentioned in the [previous step](/use-cases/recommendations-for-new-and-returning-users#create-a-screen-view-for-returning-users) using the [segmentation of new users](/use-cases/recommendations-for-new-and-returning-users#segmentation-for-new-users) and relevant document dedicated to those users.
## What's next
---
For a campaign to be visible in a mobile app, it must fetch screen views and display defined campaigns using the appropriate SDK Method for [iOS](/developers/mobile-sdk/method-reference/ios/content#generate-screen-view) and [Android](/developers/mobile-sdk/method-reference/android/content#generate-screen-view), [React Native](/developers/mobile-sdk/method-reference/react-native/content#generate-screen-view), [Flutter](/developers/mobile-sdk/method-reference/flutter/content#generate-screen-view).
## Check the use case set up on the Synerise Demo workspace
---
You can also check the configuration for [returning users](https://app.synerise.com/analytics-v2/segmentations/2ebfc8cb-a030-41f7-af7b-b19cc165b532) and [new users](https://app.synerise.com/analytics-v2/segmentations/605f7434-8544-4a1d-a0c0-6ba4c49aff3e) directly in the Synerise Demo workspace.
If you’re our partner or client, you already have automatic access to the **Synerise Demo workspace (1590)**, where you can explore all the configured elements of this use case and copy them to your workspace.
If you’re not a partner or client yet, we encourage you to fill out the contact [form](https://demo.synerise.com/request) to schedule a meeting with our representatives. They’ll be happy to show you how our demo works and discuss how you can apply this use case in your business.
## Generated events
This use case generates approximately 3 events per profile that completes the flow:
[`recommendation.generated`](/docs/assets/events/event-reference/recommendations#recommendationgenerated) (~1), [`recommendation.view`](/docs/assets/events/event-reference/recommendations#recommendationview) (~1), [`recommendation.click`](/docs/assets/events/event-reference/recommendations#recommendationclick) (~1).
## Read more
---
- [Documents](/docs/assets/documents/introduction-to-documents)
- [Recommendations](/docs/ai-hub/recommendations-v2)
- [Screen views](/docs/campaign/screen-views/introduction-to-screen-views)
- [Segmentations](/docs/analytics/segmentations/introduction-to-segmentations)
# Evaluate results of churn prediction
You can create a dashboard to monitor churn predictions.
The scenario in this example is a continuation of [Predict churn](/use-cases/churn-prediction), but with some tweaks it can be used for other predictions.
Reducing churn
## Prerequisites
---
- The prediction from [Predict churn](/use-cases/churn-prediction) is ready.
- You are familiar with [expressions](/docs/crm/expressions), [metrics](/docs/analytics/metrics), and [dashboards](/docs/analytics/analytics-dashboard).
## Process
---
In this use case, you will go through the following steps:
1. [Create metric](/use-cases/predictions-dashboard#create-metric) to calculate the conversion of customers who were at different risks of churn.
2. [Create dashboard](/use-cases/predictions-dashboard#create-dashboard).
## Create metric
---
In this stage, you create two metrics to calculate the conversion of customers who were at different risks of churn.
1. Create new metric.
2. As the metric type, select **Formula metric**.
3. As the first node, add a `product.buy` event:
1. Set the **aggregator** to **Count**.
2. Set **Occurrence type** to **All**.
3. Add a contact filter with the following event conditions:
- Action: `snr.prediction.score`
- `modelId` equal to the model ID of your prediction.
The model ID can be copied from the menu in the Prediction list.
- `score_label` equal to `Low`
Contact filter for product.buy event
4. As the second node, add a `snr.prediction.score` event:
1. Set the **aggregator** to **Count**.
2. Set **Occurrence type** to **All**.
3. Set the following conditions:
- `modelId` equal to the model ID of your prediction.
- `score_label` equal to `Low`
3. Set the mathematical operator between the nodes to division.
4. Encase the nodes in brackets.
5. Multiply the result by 100.
Completed metric formula
6. Save the metric.
**Result:** This metric shows the percentage of customers who were at low risk of churn and made a purchase.
7. Repeat steps 1-8 to create a second metric, but replace the value of `score_label` with `High`.
This will create a metric showing the percentage of customers who were at high risk of churn and made a purchase.
## Create dashboard
---
In this stage, you create a dashboard that counts customers at risk of churn and shows the results of the metrics created in the previous stage. You can use this information to assess the effectiveness of churn prediction.
1. Go to **Decision Hub > Dashboards > Add dashboard**.
2. Add a segment to the dashboard:
1. In the menu above the canvas, click .
2. Click the widget that appears.
3. In the panel on right, from the **Segmentation** drop-down list, select **Create new**.
**Result:** The segmentation editor opens.
4. Add the segment with customers whose probability of churn is high:
1. Click **Choose filter** and select the `snr.prediction.score` event.
2. Add the following condition: `modelId` equals the ID of the model of the prediction you want to analyze.
The model ID can be copied from the menu in the Prediction list.
3. Add the following condition: `score_label` parameter equals `high`.
4. Enter a meaningful name for the segment.
1. Add a new segment by clicking the plus icon next to the current segment.
2. Repeat step **d** for the new segment, but change the condition to `score_label` parameter equals `low`.
3. Click **Save & Exit**.
**Result:** You are returned to the dashboard creator.
1. Add the metrics to the dashboard:
1. Click .
2. Click the widget that appears.
3. From the **Metric** drop-down list, select one of the metrics that you created previously.
4. On the **Style** tab, change **Data format** to **%**.
5. Repeat steps **3a-3d** to add the other metric.
2. Click **Save dashboard**.
**Result:** The dashboard becomes available for viewing and sharing. You can change the date range when viewing the results.
## Check the use case set up on the Synerise Demo workspace
---
You can check the [dashboard](https://app.synerise.com/analytics/dashboards/027184a7-d282-43c4-8acd-8fb192fb5e58) configuration directly in Synerise Demo workspace.
If you’re our partner or client, you already have automatic access to the **Synerise Demo workspace (1590)**, where you can explore all the configured elements of this use case and copy them to your workspace.
If you’re not a partner or client yet, we encourage you to fill out the contact [form](https://demo.synerise.com/request) to schedule a meeting with our representatives. They’ll be happy to show you how our demo works and discuss how you can apply this use case in your business.
## Generated events
This use case does not generate any events.
## Read more
---
- [Dashboards](/docs/analytics/analytics-dashboard)
- [Metrics](/docs/analytics/metrics)
- [Predictions](/docs/ai-hub/predictions)
# Secret sale
---
Personalized offers are more effective than intrusive advertising. When you offer something that is tailored to your target group, it is more likely to be successful. In fact, there are many ways that companies can use **personalized offers to increase their sales**. One of the most popular ways is through personalized discount for a given segment of users who might be interested in such a product. You should use appropriate group of recipients and personalize discount based on their behavior, products they visited etc.
This method is often used to reach out to potential customers and get them interested in **specific offer**.
## Example of use - Retail industry (jewelry)
**Challenge**
For one of our customers we prepared a special temporary campaign that worked for the needs of the internal marketing strategy.
For a given segment of users, the client offered a reduction in the prices of products from 5 collections if the product chosen by the user had the right weight of stones. In this case it was one carat. We segregated the appropriate group of recipients who might be interested in such a product (they visited products from these collections). Then, we displayed a message to them **when they clicked on the dropdown menu with the weight of the stone**. The message was visible only to logged-in users. Also, in order to check how the campaign worked, we collected information on the size of the stones that were added on the product card and what was finally placed in the basket.
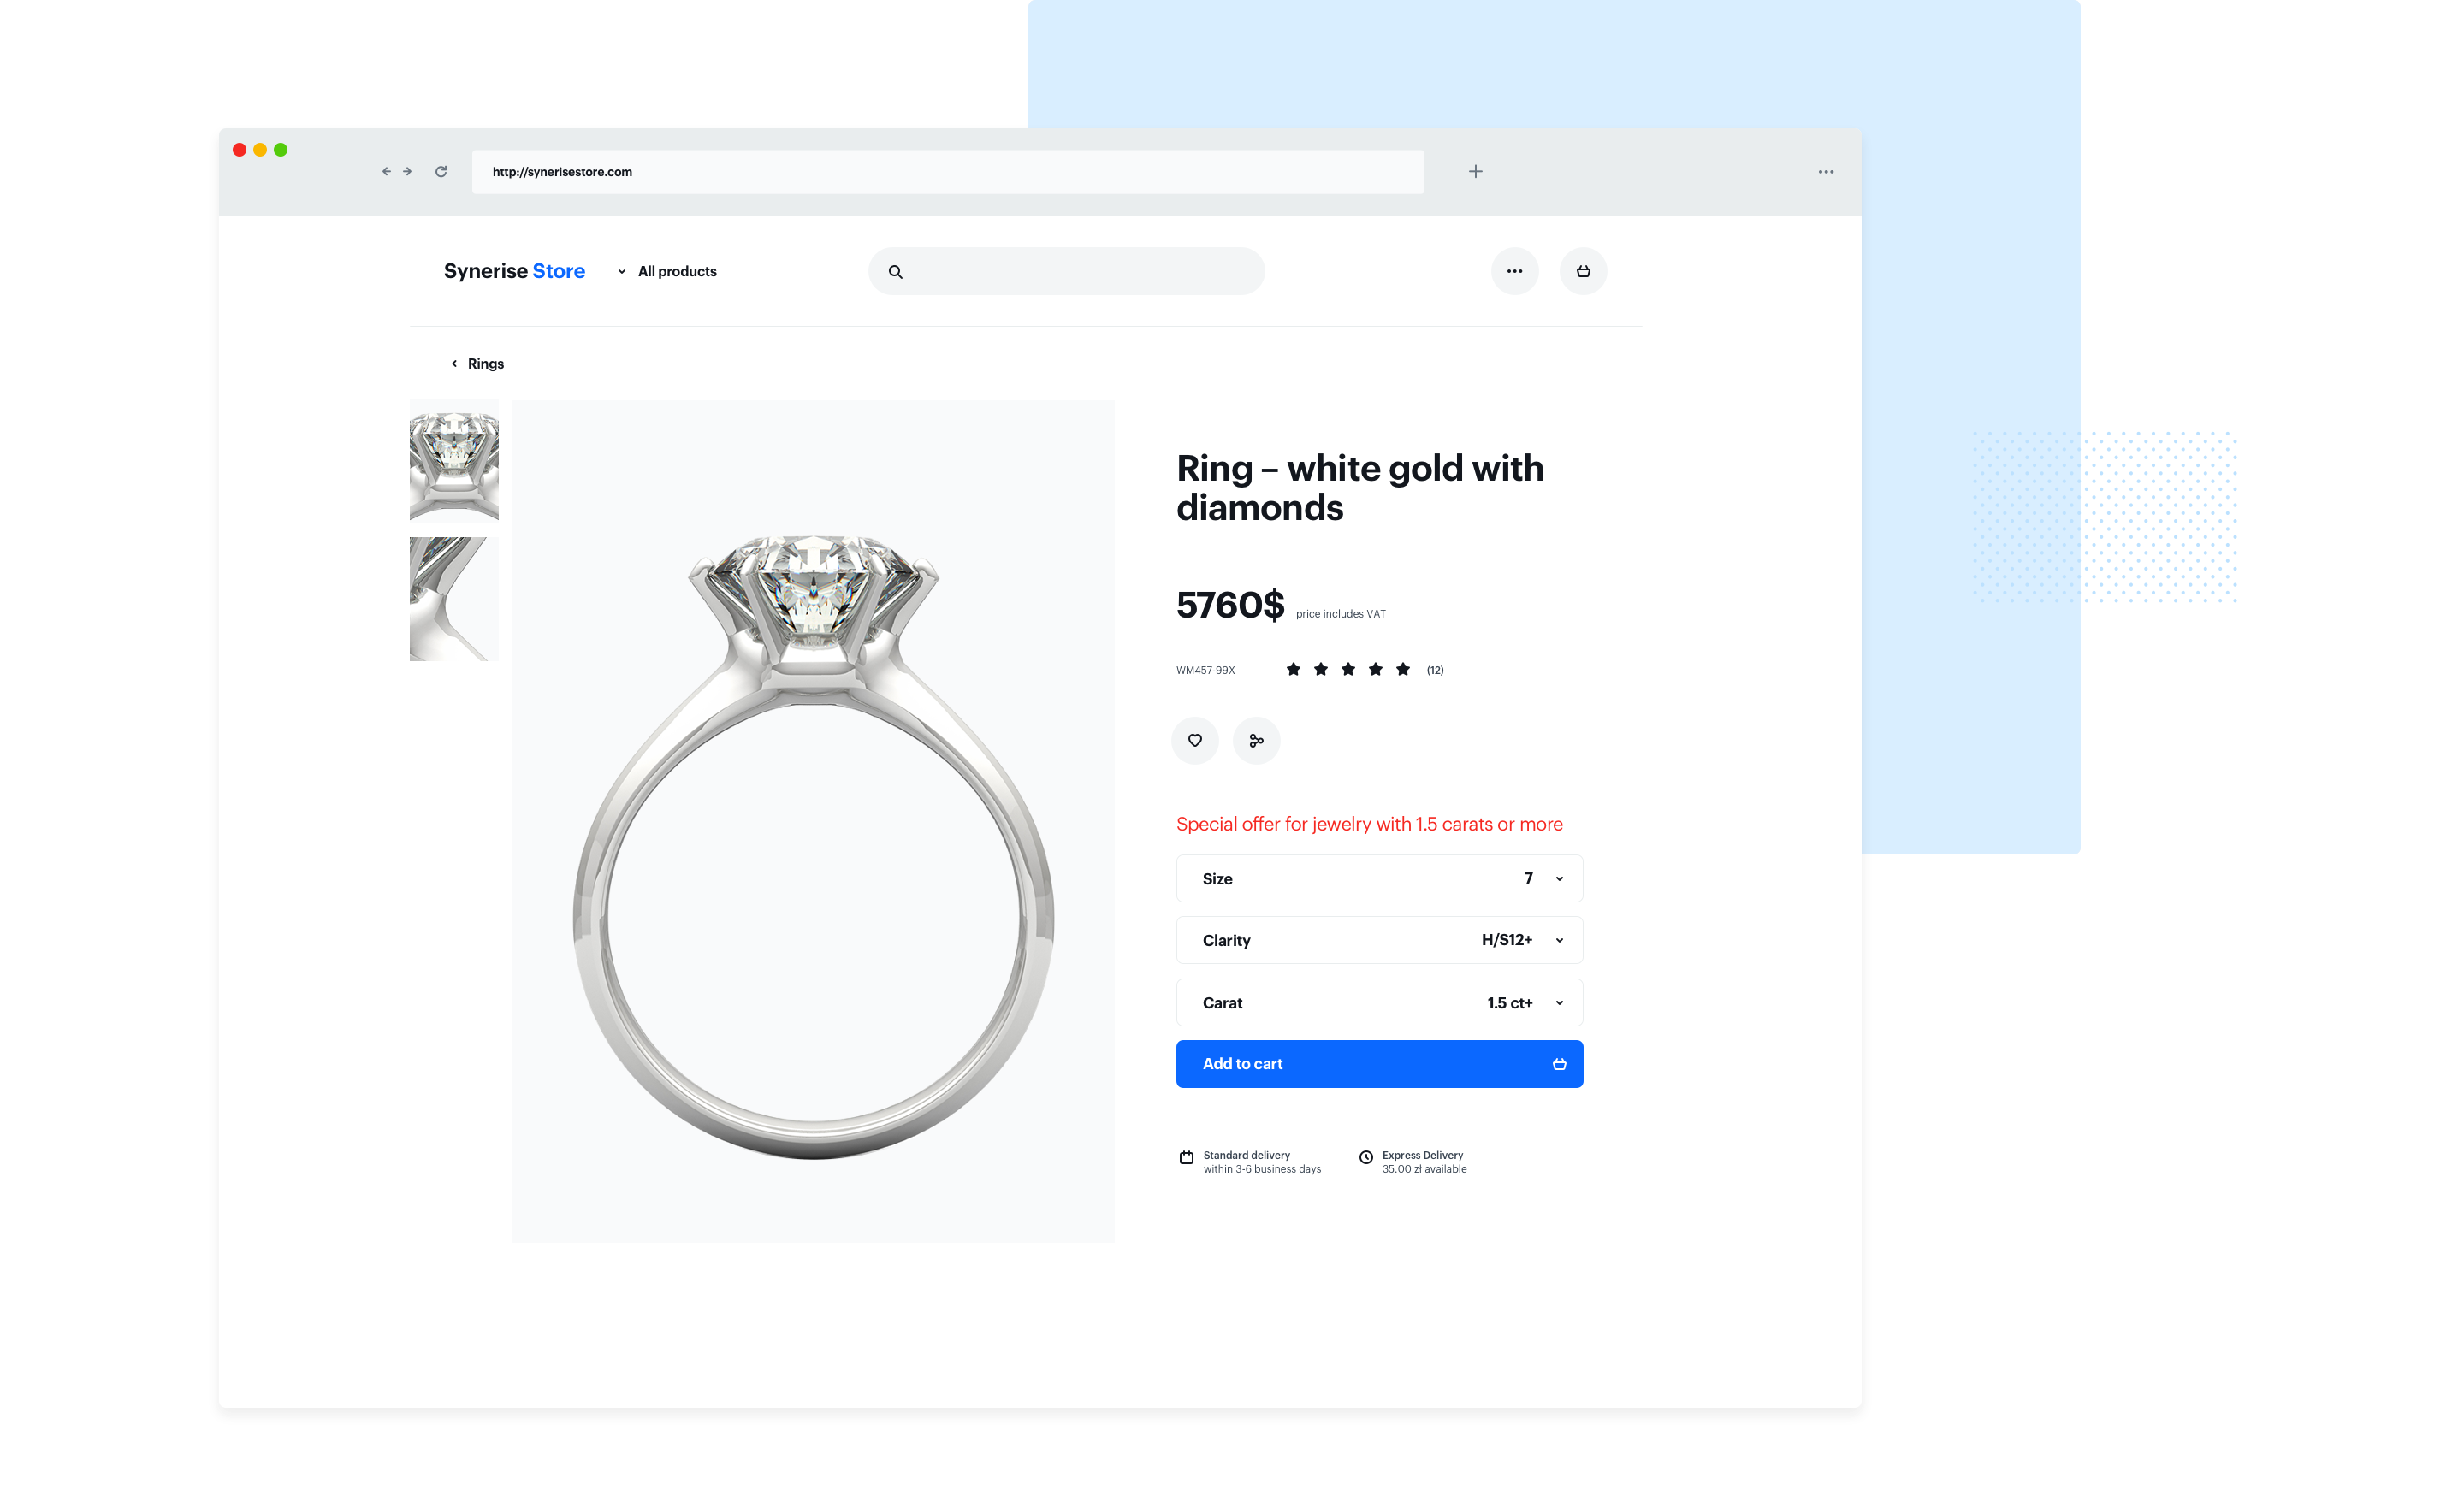
## Requirements
---
- Tracker key
- Sending data about the carats based on custom events
## How to do it
---
1. Create dynamic content that contains code that will display messages.
(function()
   {if (document.querySelector('.account-link')){ // collecting information about whether the user is logged in
   document.querySelectorAll(".current")[1].addEventListener("click", function () { // condition that the campaign should be displayed after clicking the dropdown with a mass of stone
   document.querySelector('.sale').style.display='block'; // event that is sent when the campaign is displayed
   SR.event.trackCustomEvent('sale', {
   action: "rings_show"
   }, 'Secret sale');
   });
   }
   }());
2. Apply appropriate settings that will allow messages to be displayed on selected collections.
3. Attach custom events to measure campaign results.
4. Create analytics that will allow you to check campaign performance.
## Generated events
This use case generates approximately 3 events per profile that completes the flow:
[`dynamicContent.show`](/docs/assets/events/event-reference/dynamic-content#dynamiccontentshow) (~1), `sale` (~1), [`dynamicContent.click`](/docs/assets/events/event-reference/dynamic-content#dynamiccontentclick) (~1).
## Read more
---
- Read more about [custom events](/developers/web/event-tracking#declarative-tracking-custom-events)
- Read more about [dynamic content campaigns](/docs/campaign/dynamiccontent)
# Optimize sending sales campaigns by predicting the best time
While designing a sales campaign communication scenario, it's good to send messages at the time when the customer is most likely to react to them . To achieve this, you can make use of the [time optimizer](/docs/settings/configuration/time-optimizer) feature.
This use case describes sending a sales campaign through Automation Hub. The workflow starts with sending an email with a promotional code to all customers. The sending time of the email is adjusted to the customers' activity related to the email channel.
If a customer makes a purchase within 3 days after sending the email, they end the workflow. In the case when a customer didn't make the purchase, the system checks if they visited the website. If so, the system sends an email with recommendations of items from the last visit that have the same attributes as the items on sale.
The optimization of the sending date of the second email covers activity of your customers in all channels.
## Prerequisites
---
- [Implement a tracking code](/developers/web/installation-and-configuration).
- [Implement transaction events](/developers/web/transactions-sdk).
- [Create a sender account](/docs/campaign/e-mail/configuring-email-account).
- Enable [time optimizer](/docs/settings/configuration/time-optimizer).
- Create email templates:
1. Email with a discount code
2. Email with recommendations of items from the last visit that match attributes with items on sale
You can find instructions on preparing [email templates here](/docs/campaign/e-mail/creating-email-templates).
## Process
---
In this use case, you will go through the following steps:
1. [Create time optimizer modes](/use-cases/increase-effectiveness-of-sales-campaigns#create-modes).
2. [Crete a workflow](/use-cases/increase-effectiveness-of-sales-campaigns#create-a-workflow).
## Create modes
---
As the first part of the process, create two time optimizer modes. They will be used in the workflow in further part of the process.
- **Email mode** - which analyzes only the interactions in the email channel
- **Custom mode** - which analyzes the interactions from all channels you use to communicate with your customers
### Email mode
1. Go to **AI Engine Configuration**.
2. Select **Time optimizer** tab.
3. Click **Define**.
4. Click **Add a new mode**.
5. On the pop-up, select **Templates** tab.
6. Select **Email**.
7. Click **Apply**.
### Custom mode
1. Go to **AI Engine Configuration**.
2. Select **Time optimizer** tab.
3. Click **Define**.
4. Click **Add a new mode**.
5. Select **Custom**.
6. In the **Mode name** field, enter the name of the mode.
7. From the **Predicted event** dropdown list, select **page.visit**.
8. From the **Input events** dropdown list, select 6 events related with communication channels you use (for example, `newsletter.open` and `newsletter.click` (email), `screen.view` and `screen.click` (mobile), `webpush.show` and `webpush.click` (web), `sms.click` (SMS) and so on).
9. Confirm by clicking **Apply**.
## Create a workflow
---
As the second part of the process, create a workflow that manages email communication during your sales campaign.
1. Go to **Automation Hub > Workflows > New workflow**.
2. Enter the name of the workflow.
### Select audience
Select the customers for whom you want to run this workflow.
1. As the first node, select **Audience**.
2. In the configuration of the node:
1. Leave the **Run trigger** option, at default (one time).
2. As the audience, select **New audience**
3. Click **Define conditions**
4. Click **Choose filter** and from the list select the `email.agreement`. Choose operator `Boolean` and the value set as `true`.
5. Click **Apply**.
3. Confirm the settings of the audience by clicking **Apply**.
### Add time optimizer
The time of sending the message for each customer is adjusted to their activity in the email channel.
1. Add an **Optimize Time** node.
2. In the configuration of the node:
1. Select the [Email mode](/use-cases/increase-effectiveness-of-sales-campaigns#email-mode) you created in previous part of the process.
2. Select **Custom time period**.
3. Set the period 48 hours.
4. Confirm by clicking **Apply**.
### Send email with discount code
1. Add **Send Email**.
2. In the configuration of the node:
1. In the **Sender details** section, select the account from which you will send emails to your customers.
2. In the **Content** section:
1. Enter the subject of the email which will be visible in the inbox.
2. Select the email template with a discount code.
3. Optionally, in the **URL & UTM paramters** section, define the parameters. If you don't want to do it, click **Skip this step**.
3. Confirm by clicking **Apply**.
### Wait for transaction event
The workflow waits for 72 hours (3 days) since the sending of the message, after this time the system verifies whether a customer made a purchase. If a customer made a purchase, the workflow ends.
1. Add **Event Filter**.
2. In the configuration of the node:
1. Set the **Check** option to **for period of time**.
2. Select 72 hours.
3. From the **Choose event** dropdown list, select **transaction.charge**.
3. Confirm by clicking **Apply**.
4. To the *matched* path, add the **End** node.
5. To the *not matched* path, add the **Profile Filter** node.
### Check if customer visited website
If a customer didn't make a purchase, the system checks whether they visited a website in the last 3 days. If not, the customer ends a workflow.
1. In the configuration of the **Profile Filter** node:
1. From the **Choose filter** dropdown list, select **page.visit**.
2. As the date range, select **Last 3 days**.
2. Confirm by clicking **Apply**.
3. To the *matched* path, add the **Optimize Time** node.
4. To the *not matched* path, add the **End** node.
### Add time optimizer
If a customer visited the website during last 3 days, an email will be sent to them. Before it happens, the system adjust the time of the sending by analyzing the activity of the customers in all channels you used to communicate with them before.
2. In the configuration of the **Optimize Time** node (after the **Profile Filter** node):
1. Select the [Custom mode](/use-cases/increase-effectiveness-of-sales-campaigns#custom-mode) you created in previous part of the process.
2. Select **Custom time period**.
3. Set the period to 48 hours.
4. Confirm by clicking **Apply**.
### Send email with recommendations
An email with the recommendation of items visited during last visit is sent to a customer at the best time.
1. Add **Send Email**.
2. In the configuration of the node:
1. In the **Sender details** section, select the account from which you will send emails to your customers.
2. In the **Content** section:
1. Enter the subject of the email which will be visible in the inbox.
2. Select the email template with recommendations of items from the last visit that match attributes with items on sale.
3. Optionally, in the **URL & UTM paramters** section, define the parameters. If you don't want to do it, click **Skip this step**.
3. Confirm by clicking **Apply**.
4. After the **Send Email** node, add an **End** node.
5. To run the workflow, click **Save & Run**.
**Result**:
The final configuration of the workflow
## Check the use case set up on the Synerise Demo workspace
---
You can check described [workflow](https://app.synerise.com/automations/workflows/automation-diagram/523bae5d-d9da-4826-a8a6-75c7bc3f31ba) directly in Synerise Demo workspace.
If you’re our partner or client, you already have automatic access to the **Synerise Demo workspace (1590)**, where you can explore all the configured elements of this use case and copy them to your workspace.
If you’re not a partner or client yet, we encourage you to fill out the contact [form](https://demo.synerise.com/request) to schedule a meeting with our representatives. They’ll be happy to show you how our demo works and discuss how you can apply this use case in your business.
## Generated events
This use case generates approximately 12 events per profile that completes the flow:
[`automation.clientStartPath`](/docs/assets/events/event-reference/automation#automationclientstartpath) (~1), [`automation.clientPathStep`](/docs/assets/events/event-reference/automation#automationclientpathstep) (~3), [`automation.clientEndPath`](/docs/assets/events/event-reference/automation#automationclientendpath) (~1), [`snr.ate.prediction`](/docs/assets/events/event-reference/predictions#snrateprediction) (~1), [`message.send`](/docs/assets/events/event-reference/email#messagesend) (~1), [`newsletter.open`](/docs/assets/events/event-reference/email#newsletteropen) (~1), [`newsletter.click`](/docs/assets/events/event-reference/email#newsletterclick) (~1), [`transaction.charge`](/docs/assets/events/event-reference/items#transactioncharge) (~1), [`product.buy`](/docs/assets/events/event-reference/items#productbuy) (~2).
## Read more
---
- [Automation Hub](/docs/automation)
- [Time optimizer](/docs/settings/configuration/time-optimizer)
# Optimize the sending time of a promotional code campaign
A properly designed and executed mobile push campaign can help attract users' attention and increase the conversion rate. Sending a push notification at the optimal time, when the customer is active in the app, increases the chances that the customer will read the communication, use the promo code, and finalize the purchase.
This use case describes the process of sending a mobile push with a promo code at the best time in the next seven days to customers who have added a product to their cart and have not completed the purchase process.
## Prerequisites
---
- [Implement Synerise SDK in your mobile application](/developers/mobile-sdk).
- Implement mobile push notifications in your mobile application: [iOS](/developers/mobile-sdk/configuring-push-notifications/ios), [Android](/developers/mobile-sdk/configuring-push-notifications/android).
- Implement transaction events using [API](https://hub.synerise.com/api-reference/data-management#tag/Events).
- [Implement **Add to cart** event in your mobile application](/developers/mobile-sdk/event-tracking#product-added-to-cart).
- [Enable time optimizer](/docs/settings/configuration/time-optimizer#enabling-time-optimizer).
- [Create a Mobile mode](/docs/settings/configuration/time-optimizer#creating-modes) for Time Optimizer that will calculate the time when the customer is most active in the mobile application based on the events such as `screen.view` and `screen.interaction`.
- [Create a mobile push template](/docs/campaign/Mobile/creating-mobile-push) with a promo code.
For promo codes, you can use our [Voucher pools](/docs/assets/code-pools), which allows you to assign a unique coupon from a specified pool for each customer.
## Create a workflow
---
Create a workflow that sends a mobile push notification to customers on the day they are most likely to visit the site and who have previously added products to their shopping cart but have not completed the purchase process.
1. Go to **Automation Hub > Workflows > New workflow**.
2. Enter the name of the workflow.
3. As the first node of the workflow, add **Profile Event**. In the node settings:
1. In the **Choose event** field, select the `product.addToCart` event.
2. Confirm by clicking **Apply**.
4. Add an **Optimize Time** node. In the configuration of the node:
1. Select the **Mobile mode**.
2. Set the time period to analyze to **Next 7 days**.
3. Confirm by clicking **Apply**.
5. Add the **Profile Filter** node. In the configuration of the node:
1. In the **Choose filter** field, select the `transaction.charge` event.
2. Set the time period to the **last 7 days**.
3. Confirm by clicking **Apply**.
6. To the **Matched** path, add the **End** node.
7. To the **Not matched** path, add the **Send Mobile Push** node. In the node settings:
1. In the **Template type**, select the mobile push type according to your business needs.
2. Select proper **Push template** that you created earlier.
3. Confirm by clicking **Apply**.
8. Add the **End** node.
The final workflow configuration
## Check the use case set up on the Synerise Demo workspace
---
You can check the [workflow configuration](https://app.synerise.com/automations/automation-diagram/da91ac01-907d-4053-9382-bf2c5d33d39b) directly in Synerise Demo workspace.
If you’re our partner or client, you already have automatic access to the **Synerise Demo workspace (1590)**, where you can explore all the configured elements of this use case and copy them to your workspace.
If you’re not a partner or client yet, we encourage you to fill out the contact [form](https://demo.synerise.com/request) to schedule a meeting with our representatives. They’ll be happy to show you how our demo works and discuss how you can apply this use case in your business.
## Generated events
This use case generates approximately 10 events per profile that completes the flow:
[`product.addToCart`](/docs/assets/events/event-reference/items#productaddtocart) (~1), [`snr.ate.prediction`](/docs/assets/events/event-reference/predictions#snrateprediction) (~1), [`automation.clientStartPath`](/docs/assets/events/event-reference/automation#automationclientstartpath) (~1), [`automation.clientPathStep`](/docs/assets/events/event-reference/automation#automationclientpathstep) (~3), [`automation.clientEndPath`](/docs/assets/events/event-reference/automation#automationclientendpath) (~1), [`push.send`](/docs/assets/events/event-reference/mobile-push#pushsend) (~1), [`push.view`](/docs/assets/events/event-reference/mobile-push#pushview) (~1), [`push.click`](/docs/assets/events/event-reference/mobile-push#pushclick) (~1).
## Read more
---
- [Configuring mobile notifications](/docs/campaign/Mobile/mobile_campaign)
- [Mobile push](/docs/campaign/Mobile/creating-mobile-push)
- [Time optimizer](/docs/settings/configuration/time-optimizer)
- [Workflow](/docs/automation/creating-automation)
# Email with products similar to the last added to the cart
Nowadays, it is important to try not to lose customers even if they don’t make a transaction. One effective solution is to offer them products similar to the ones they have previously viewed. AI algorithms that select similar products based on established characteristics, e.g. brand, model, visual similarity, are useful here. A communication based on these assumptions can help reduce customer churn and increase the total revenue.
## Example of use - Electronics Industry
**Challenge**
Our customer from the home and electronics industry prepared an email called "abandoned products".
If the user added a product to the cart, but did not complete the transaction, he would receive an email presenting the product added to the cart along with similar products that were selected and personalized thanks to AI algorithms.
Example email with products similar to the items last added to the cart
## Results
- OR 14,53%
- CTR 32.9%
- CTOR 99,7%
- CONVERSION 0.7%
## Prerequisites
---
- [Tracking code](/docs/settings/tool/tracking_codes) implemented on your website.
- Implementing [product feed](/developers/product-feed).
- Implementing [product catalog](/docs/assets/catalogs).
- [Transaction events](/developers/web/transactions-sdk).
- [Add to cart event](/docs/assets/events/event-definitions).
- [Email account](/docs/campaign/e-mail/configuring-email-account) configured.
- [Subscriber’s database](/docs/automation/actions/synerise-integrations/import-customers) implemented to Synerise.
## Process
---
In this use case, you will go through the following steps:
1. [Prepare an aggregate](/use-cases/products-similar-to-the-last-added-to-the-cart#prepare-an-aggregate).
2. [Prepare AI recommendations](/use-cases/products-similar-to-the-last-added-to-the-cart#prepare-ai-recommendations).
3. [Prepare the email template](/use-cases/products-similar-to-the-last-added-to-the-cart#prepare-the-email-template).
4. [Configure automation](/use-cases/products-similar-to-the-last-added-to-the-cart#create-a-workflow)
## Prepare an aggregate
---
1. Go to **Behavioral Data Hub > Live Aggregates > Create aggregate**.
2. As the aggregate type, select **Profile**.
2. Click **Analyze profiles by** and select **Last**.
3. Select **productAddToCart** event, and specify the **$sku** parameter.
The aggregate with last product added to the cart
Similar recommendations which you want to add to the email template have to have context of the product, hence using aggregate which take the product SKU from the add to cart event, you will indicate to what product you want to get similar recommendations. On the other hand, thanks to this you will indicate the product you want to get similar recommendations to.
## Prepare AI recommendations
---
1. Go to **AI Hub > (AI Recommendations) Models > Add recommendation**.
2. Enter the name of the recommendation (it is only visible on the list of recommendation).
3. In the **Type & Items feed** section and click **Define**.
4. From the Catalog dropdown list, select a trained product feed.
5. Select the recommendation type, in our example it will be similar product.
Similar AI recommendation
To add AI recommendations in the email template, first you have to prepare an **AI recommendation**. Choose similar recommendation types and define the number of products you want to show in the email template. You can add additional filters if needed.
## Prepare the email template
---
1. Go to **Experience Hub > Email > Templates**.
1. To create a new template, click **Create new**.
2. To create a template out of an existing template, click **From template**.
2. Select the template.
3. Select the wizard:
1. **Drag&drop** builder - Create email templates with ready-made components.
2. **Code editor** - Create email templates in CSS and HTML.
4. To add the dynamic part to the email template (last added product to the cart and AI recommendations), you will have to use jinjava and add your own CSS. Let’s look at how to prepare the appropriate jijnava code.
Check the jinja code
<!-- Opening the tag that retrieves the value from the aggregate prepared in point 1--> {% aggregate a5f787bc3-db2d-3791-bef5-bd027102ca3e %} <!-- Assign an aggregate value to skuValue --> {% set skuValue = aggregate_result[0] %} <!-- Referencing with the help of variable to the snrs-product-ogTag directory built by default from OG tags. The variable names depend on the name of the OG tags on your page --> <div class="wrapper-card"> <h2 style="text-align:center">Product Card</h2> <div class="card"> <img src="{% catalog.Snrs-produktu-ogTag(skuValue).og:image %}" alt="Product image" style="width:100%"> <h1>{% catalog.Snrs-produktu-ogTag(skuValue).product:brand %}</h1> <p class="price">$ {% catalog.Snrs-produktu-ogTag(skuValue).product:price:amount %}</p> <p>{% catalog.Snrs-produktu-ogTag(skuValue).og:title %}</p> <p><button>Add to Cart</button></p> </div> </div> <!-- Adding the skuValue variable to the array for which we will retrieve similar products --> {% set itemContext = [] %} {% do itemContext.append(skuValue) %} <!-- Downloading the similar campaign for the product in the table --> {% recommendations2 campaignId=a7wO36CRGJm6P products=itemContext %} <!-- Iterating loop through the received products --> {% for item in recommended_products2 %} <!-- Listing the attributes assigned to the product in the feed --> <div class="wrapper-card" style="width:25%;float:left"> <h2 style="text-align:center">Product Card</h2> <div class="card"> <img src="{{ item.imageLink }}" alt="Product image" style="width:100%"> <h1>{{ item.brand }}</h1> <p class="price">$ {{ item.priceValue }}</p> <p>{{ item.title }}</p> <p><button>Add to Cart</button></p> </div> </div> {% endfor %} {% endrecommendations2 %} <!-- Closing of the tag that gets the value from the aggregate prepared in point 1 --> {% endaggregate %}
You will find more about email templates in [this](/docs/campaign/e-mail/creating-email-templates) article.
## Create a workflow
---
To start sending emails to customers you will have to prepare a workflow, which in basic configuration may look like the one below.
1. Go to **Automation Hub > Workflows > New workflow**..
2. On the dashboard, click the plus button to add the first node.
3. Start the workflow by choosing a trigger. For every user who will add a product to the cart – choose the **Profile Event** trigger node and select **productAddToCart** event from the list.
Profile Event
4. Confirm the settings by clicking **Apply**.
5. Set up time period users will get the message by using the **Delay** node, here this is 1 day (24 hours).
Delay node
6. Use the **Profile Filter** node, exclude users who have made a transaction in last 24h.
7. Select **trasaction.charge** event, mark “not matching”, and select appropriate date range.
Please note that we use 1440 minutes instead of 1 day – use smaller granulation, as in this case 1 day would take the time from current hour till the midnight, so such an analysis will not take into consideration all necessary users.
Profile Filter node
8. Set the **Send Email** node by selecting the appropriate email account, choosing the template that you prepared in previous step and adding the email subject.
Send Email node
9. Add the **End** nodes where the workflow should finish for users.
10. Specify capping (here 1 for 1 day).
11. Optionally add titles to each node so the workflow will be more understandable for your colleagues.
12. Name the automation and **Save** it or **Save & Run**.
Configuring the automation
## Check the use case set up on the Synerise Demo workspace
---
Check the [aggregate](https://app.synerise.com/analytics/aggregates/b53ad06b-0232-36b1-8c83-8b9417fd6321) settings directly in Synerise Demo workspace.
You can also find there [recommendation](https://app.synerise.com/ai-v2/recommendations/klBzjVB4QZUS) and [workflow](https://app.synerise.com/automations/automation-diagram/c97ee31b-1f3f-4e3b-b1c6-8099dcd5f6c9) settings.
If you’re our partner or client, you already have automatic access to the **Synerise Demo workspace (1590)**, where you can explore all the configured elements of this use case and copy them to your workspace.
If you’re not a partner or client yet, we encourage you to fill out the contact [form](https://demo.synerise.com/request) to schedule a meeting with our representatives. They’ll be happy to show you how our demo works and discuss how you can apply this use case in your business.
---
## Generated events
This use case generates approximately 12 events per profile that completes the flow:
[`product.addToCart`](/docs/assets/events/event-reference/items#productaddtocart) (~1), [`automation.clientStartPath`](/docs/assets/events/event-reference/automation#automationclientstartpath) (~1), [`automation.clientPathStep`](/docs/assets/events/event-reference/automation#automationclientpathstep) (~3), [`automation.clientEndPath`](/docs/assets/events/event-reference/automation#automationclientendpath) (~1), [`message.send`](/docs/assets/events/event-reference/email#messagesend) (~1), [`newsletter.open`](/docs/assets/events/event-reference/email#newsletteropen) (~1), [`newsletter.click`](/docs/assets/events/event-reference/email#newsletterclick) (~1), [`recommendation.generated`](/docs/assets/events/event-reference/recommendations#recommendationgenerated) (~1), [`recommendation.view`](/docs/assets/events/event-reference/recommendations#recommendationview) (~1), [`recommendation.click`](/docs/assets/events/event-reference/recommendations#recommendationclick) (~1).
## Read more
- [Automation Hub](/docs/automation)
- [Creating aggregates](/docs/crm/aggregates/creating-profile-aggregates)
- [Email templates](/docs/campaign/e-mail/creating-email-templates)
- [Jinjava inserts](/developers/inserts/insert-usage)
- [Segmentation](/docs/analytics/segmentations/creating-segmentations)
- [Similar AI recommendations](/docs/ai-hub/recommendations-v2/recommendation-types#similar-items)
# Boost or Demote Recommended Products by Profit Margin
Recommendations suggest items based on a customer's behavioral history - purchases, page visits, interactions with previous recommendations, etc.
However, it may be beneficial for your business to override the recommendations by increasing the frequency (promoting) of suggesting items with a higher profit margin and decreasing the frequency (demoting) of suggesting items with a lower margin.
This can be done by using **recommendation boosting**. Boosting rules are built using the same editor as the filters, but unlike filtering, boosting does not entirely exclude items that do not meet the conditions - it only tells the AI model to assign a different weight to the profit margin parameter when calculating the final recommendation score of an item.
## Prerequisites
---
- **Recommended**: Become familiar with [creating recommendations](/docs/ai-hub/recommendations-v2/creating-recommendation-campaign).
This article does not explain every step of creating a recommendation in detail.
- The item feed includes a parameter that denotes the profit margin.
In this example, the parameter is called `margin` and its values are `high` and `low`.
## Creating the recommendation
---
### Choose source, type, and add slots
1. Go to **AI Hub > (AI Recommendations) Models > Add recommendation**.
2. In the **Type & Items feed** section:
1. Select an item catalog.
2. Select a recommendation type.
Boosting can be used with all recommendation types.
3. Click **Apply**.
3. In the **Items** section, configure at least one slot and click **Apply**.
### Build the boosting rules
In this part of the process, you add two co-existing rules:
- Promote items with the `margin` attribute equal to `high`
- Demote items with the `margin` attribute equal to `low`
1. In the **Boosting** section, click **Define**.
2. Click **Add rule**.
3. Click **Define rule** and select **Visual Builder**.
**Result** The Visual Builder window opens.
4. From the **Select attribute** drop-down list, select the margin attribute.
You can use the search field.
5. From the **Operator** drop-down list, select **Equals**.
6. From the **Select value** drop-down list, select **high**.
Boosting filter that matches high-margin items
7. Click **Apply**.
8. In the **Promote/Demote** selector, select **Promote** (default value).
9. Use the slider to adjust how much you want the rule to affect the results.
10. Add the rule for demoting low-margin items by repeating steps 2-9 with the following changes:
1. Change the value of **margin** to **low**.
2. Change the **Promote/Demote** selector to **Demote**.
11. Save the **Boosting** section settings by clicking **Apply**.
After applying the settings, you can use the **Preview** tab (available in the upper left part of the recommendation creator screen) to see how your rule changed the recommendation result. If necessary, you can return to the settings and adjust the boosting strength to meet your expectations.
Two rules applied at once: one for promotion, the other for demotion
### Additional settings and saving
1. Configure the **Additional settings** section and click **Apply**.
2. Save the recommendation.
## What's next
---
You can use the ID of the recommendation and [inject it with a snippet](/docs/assets/snippets) in other types of communication, such as:
- [dynamic content](/docs/campaign/dynamiccontent) - this way you can show the recommendations on your website.
- [email](/docs/campaign/e-mail) - this way you can send out recommended items through emails.
- mobile application - you can use [documents](/docs/assets/documents) to build your own mobile app and show the recommended items.
- [mobile push](/docs/campaign/Mobile) - you can send recommendations through notifications in your mobile application.
- [web push](/docs/campaign/Webpush) - this way you can send notifications to your customers through a web browser.
- [SMS](/docs/campaign/SMS) - this way you can reach your customers with recommendations on their mobile.
## Generated events
This use case generates approximately 3 events per profile that completes the flow:
[`recommendation.generated`](/docs/assets/events/event-reference/recommendations#recommendationgenerated) (~1), [`recommendation.view`](/docs/assets/events/event-reference/recommendations#recommendationview) (~1), [`recommendation.click`](/docs/assets/events/event-reference/recommendations#recommendationclick) (~1).
## Read more
---
- [Recommendations](/docs/ai-hub/recommendations-v2)
# Predict propensity to buy items with an attribute
You can use the Predictions feature to calculate the probability of customers buying items with a particular attribute value, such as color or size. The results can be used for better targeting of your marketing efforts.
In this use case example, an additional condition is added - the items must be available at the time of calculation.
Propensity to buy items with the color attribute set to "red". Only available items are included in the calculation.
## Prerequisites
---
- [Enable the Propensity model](/docs/ai-hub/predictions/enabling-predictions#enabling-propensity-and-best-fit-predictions).
- The item feed must contain the attribute you want to use for the prediction and that attribute must be added to [filterable attributes](/docs/ai-hub/ai-search/define-attributes#filterable-attributes).
## Creating the prediction
---
1. Go to **(AI Predictions) Models > New prediction** and select **Propensity** as the prediction type.
2. Select an audience for the prediction.
For more information, see the [Predictions quick start article](/docs/ai-hub/predictions/propensity#select-customers-to-be-analyzed).
### Define the item attribute
In this section, you define the items for which you want to calculate the prediction. This is done by creating an item filter that matches only the items with an attribute of your choosing.
1. In the **Item feed** section, click **Define**.
2. Click **Choose item feed**.
3. Select the catalog that contains the items you want to make the prediction for.
**Result**: the **Item filter** section appears.
4. Click **Define item filter**.
5. From the **Select attribute** drop-down list, select an attribute.
You can use the search field.
Custom attributes have an `attribute` prefix in the selector.
6. From the drop-down list that appears, select the **Equal** operator.
7. From the list of available values that appears, select a value.
You can use the search field.
You can only choose attribute values which already exist in the item feed.
8. Click **Add condition**.
9. From the **Select attribute** drop-down list, select the **availability** attribute.
10. From the drop-down list that appears, select the **Equal** operator.
11. From the list of available values, select `true`.
The filter matches items with an attribute value (attributes.exampleAttribute = "example value") and the items must be available
12. Click **Save**.
13. Save the item feed configuration by clicking **Apply**.
### Additional settings and saving
Configure the [additional settings](/docs/ai-hub/predictions/propensity#additional-settings) (or leave them at default) and click **Save & Calculate**.
## What's next
---
After the calculation is completed, a `snr.propensity.score` event is saved in the profiles of each customer in the audience. The event data includes detailed results of the prediction.
Based on the `snr.propensity.score` event, you can create segmentations of customers with different propensity and use those segmentations as campaign targets:
- [email](/docs/campaign/e-mail)
- [SMS](/docs/campaign/SMS)
- [web push](/docs/campaign/Webpush)
- [mobile push](/docs/campaign/Mobile)
- [dynamic content](/docs/campaign/dynamiccontent)
- [screen views](/docs/campaign/screen-views)
Email, SMS, web push and mobile push can be sent manually or you can launch them by using [Automation Hub](/docs/automation).
## Check the use case set up on the Synerise Demo workspace
---
You can check the configuration of the [Propensity prediction](https://app.synerise.com/ai-v2/predictions/propensity/rgsoxyozowvg) directly in Synerise Demo workspace.
If you’re our partner or client, you already have automatic access to the **Synerise Demo workspace (1590)**, where you can explore all the configured elements of this use case and copy them to your workspace.
If you’re not a partner or client yet, we encourage you to fill out the contact [form](https://demo.synerise.com/request) to schedule a meeting with our representatives. They’ll be happy to show you how our demo works and discuss how you can apply this use case in your business.
## Generated events
This use case generates 1 event per profile that completes the flow:
[`snr.propensity.score`](/docs/assets/events/event-reference/predictions#snrpropensityscore) (~1).
## Read more
---
- [Predictions](/docs/ai-hub/predictions)
# Automated Birthday Email Sent Before Customer’s Birthday
Birthday discounts and offers are a perfect chance to surprise your customers. One of the ideas for a birthday campaign may be sending a happy birthday message two weeks prior to a customer's birthday. This way, not only do you remind them about the celebration day, but can also provide a birthday discount and offer a range of personalized products a customer can treat themselves to for their upcoming birthday. However you choose to wish your customers a happy birthday, it’s a great opportunity to show them how much they mean to your business.
In this use case, you will create a dynamic attribute which will be assigned to the customers whose birthday is in 14 days. In the further part of the process, you will use this attribute to group those customers and prepare a workflow which sends an email to them.
You can also check our other use cases for the [birthday campaigns](/use-cases/?query=birthday&ordering=DESC&sortBy=publishDate).
## Prerequisites
---
- Implement a [tracking code](/developers/web/installation-and-configuration) into your website.
- Customers' profiles must be supplied with the birthdate (ISO timestamp format).
- Configure an [email account](/docs/campaign/e-mail/configuring-email-account).
- Optionally, you can create a [voucher pool](/docs/assets/code-pools).
## Process
---
In this use case, you will go through the following steps:
1. [Create expressions](/use-cases/is-it-customers-birthday#create-expressions).
2. [Create an email template](/use-cases/is-it-customers-birthday#create-an-email-template).
3. [Create a workflow](/use-cases/is-it-customers-birthday#create-a-workflow).
## Create expressions
---
In the first part of the process, you create four expressions. The first three expressions will be components of the last expression, which returns information whether a customer's birthday is in 14 days.
### Return the day of birthday
Create an expression which returns only the day of the birthday as a number.
1. Go to **Behavioral Data Hub > Expressions > New expression**.
2. As the name of the expression, enter `Month day of birthday`.
3. Leave the **Expressions for** option at default (**Attribute**).
4. In the formula of the expression:
1. Click **Select**.
2. From the dropdown list, select **Function > Day of month**.
3. Click the **Select** button in the brackets.
4. From the dropdown list, select **Profile**.
5. Click the **unnamed** node.
6. At the bottom of the page, click **Choose attribute**.
7. From the dropdown list, select the attribute which indicates birthday formatted as an ISO timestamp ().
5. Click **Save**.
The configuration of the expression that returns the day of birthday
### Return the month of birthday
Create an expression which returns only the month of the birthday as a number (for example, `8` stands for August).
1. Go to **Behavioral Data Hub > Expressions > New expression**.
2. As the name of the expression, enter `Month of birthday`.
3. Leave the **Expressions for** option at default (**Attribute**).
4. In the formula of the expression:
1. Click **Select**.
2. From the dropdown list, select **Function > Month**.
3. Click the **Select** button in the brackets.
4. From the dropdown list, select **Profile**.
5. Click the **unnamed** node.
6. At the bottom of the page, click **Choose attribute**.
7. From the dropdown list, select the attribute which indicates birthday formatted as an ISO timestamp ().
5. Click **Save**.
The configuration of the expression that returns the month of birthday
### Return the date 14 days ahead
Create an expression that returns the date 14 days ahead (including the current day).
In the formula of the expression, you add the product of multiplying 86400000 by 14 to the current date. 86400000 is 24 hours in milliseconds and 14 stands for the 14 days.
The expression returns the timestamp of the date in 14 days in ISO 8601. For example, if the current date is `March 23, 2022, 15:00`, the expression will return `2022-04-05T15:00:00.000Z`
1. Go to **Behavioral Data Hub > Expressions > New expression**.
2. As the name of the expression, enter `Date 14 days ahead`.
3. Leave the **Expressions for** option at default (**Attribute**).
4. On the dashboard, build the following formula of the expression:
The configuration of the expression that returns the date 14 days ahead
5. Click **Save**.
### Identify customers whose birthday is in 14 days
Create an expression that informs if a customer's birthday is in 14 days. In the formula of the expression, you compare the day of the month and the month of birthday with the date 14 days ahead from now. If they are the same, the expression returns `true`, if not, `false`.
1. Go to **Behavioral Data Hub > Expressions > New expression**.
2. Enter the name of the expression.
3. Leave the **Expressions for** option at default (**Attributes**).
3. Optionally, you can enable the **Show in profile card** toggle, so the result of the expression is visible in the profile of a customer.
4. On the dashboard, build the following expression formula using the expressions you created in the previous steps:
The configuration of the expression that returns information whether customer has birthday in 14 days
5. Click **Save**.
## Create an email template
---
In this part of the process, create an email template with a birthday discount code for the customers who will celebrate their birthday in 14 days.
1. Go to **Experience Hub > Email**.
2. On the left pane, click **Templates**.
3. Select the wizard:
- **Drag&drop builder** - use ready-made components to build an email template.
- **Code editor** - use HTML, CSS and JS to build an email template from scratch.
4. Build a template.
[Insert a voucher](/developers/inserts/insert-usage#code-pools) in an email template. You can use other [inserts](/developers/inserts) as well.
5. Save the template.
## Create a workflow
---
In this part of the process, create a workflow that will be targeted at customers who have birthday in 14 days from today. The workflow will be launched automatically every day.
1. Go to **Automation > Workflow > New workflow**.
2. Enter the name of the workflow.
3. Set capping to 1 email in 12 months.
This configuration means that the capping remains in effect for a customer for 360 days since the day of the workflow launch for this customer (12 months multiplied by 30 days, in context of capping, a month always equals 30 days).
4. As the first node, add **Audience**.
1. In the configuration of the **Audience** node:
1. As the **Run trigger** option, select **repeatable**.
2. Set the interval to 1 day.
3. In the **Begin at** field, select the date.
It can't be the past date.
4. From the **Timezone** dropdown list, select the time zone consistent with the time zone of your workspace.
5. In the **Define audience** section, click **New audience**.
6. Click **Choose filter**.
7. Select the **Clients** tab.
8. Select the previously created [expression which checks if a customer's birthday is in 14 days](/use-cases/is-it-customers-birthday#identify-customers-whose-birthday-is-in-14-days).
9. Click the icon.
10. Select **Is true**.
Filter settings in the Define audience section
11. Confirm by clicking **Apply**.
2. As the second node, add **Profile Filter**.
3. In the configuration of the **Profile Filer** node:
1. Select `newsletter_agreement`.
2. As the logical operator, select **Equal**.
3. In the text field, enter `enabled`.
Filter settings in the Profile Filter node
4. Confirm by clicking **Apply**.
4. At the `matched` path of the profile filter node, add a **Send Email** node.
5. In the configuration of the **Send Email** node:
1. In the **Sender details** section:
1. Select the account from which the email will be sent.
2. Confirm by clicking **Apply**.
2. In the **Content** section:
1. Enter the email subject which will be visible in the customer's inbox.
2. Select the [email template you created earlier](/use-cases/is-it-customers-birthday#create-an-email-template).
3. Confirm by clicking **Apply**.
3. In the **URL & UTM parameters** section:
- If you don't want to add the parameters, click **Skip this step**.
- If you want to add the parameters, click **Define** and define the parameters.
6. Add the **End** nodes to the `not matched` path of **Profile Filter** node and after the **Send Email** node.
7. Click **Save & Run**.
The final configuration of a workflow that sends an email 14 days before birthday
## Check the use case set up on the Synerise Demo workspace
---
You can check described expressions below:
- [expression that returns the month day of birthday](https://app.synerise.com/analytics/expressions/c0a29824-dbe2-44be-a5b2-c025cbb14086)
- [expression which returns the month of birthday](https://app.synerise.com/analytics/expressions/f7978831-9989-485e-9325-e9e898b63d0c)
- [expression that returns the date in 14 days ahead](https://app.synerise.com/analytics/expressions/64c5df67-5c51-420f-8e7c-dd7ae4e49f58)
- [expression which presents customers whose birthday is in 14 days](https://app.synerise.com/analytics/expressions/826d75b1-5365-4d1a-9638-ed49e5f0c4d8).
Check also the created [workflow](https://app.synerise.com/automations/automation-diagram/a17b8b52-0bde-4327-8e4c-b7b4bfd0abe8) that will be targeted at customers who have birthday in 14 days from today.
If you’re our partner or client, you already have automatic access to the **Synerise Demo workspace (1590)**, where you can explore all the configured elements of this use case and copy them to your workspace.
If you’re not a partner or client yet, we encourage you to fill out the contact [form](https://demo.synerise.com/request) to schedule a meeting with our representatives. They’ll be happy to show you how our demo works and discuss how you can apply this use case in your business.
## Generated events
This use case generates approximately 8 events per profile that completes the flow:
[`automation.clientStartPath`](/docs/assets/events/event-reference/automation#automationclientstartpath) (~1), [`automation.clientPathStep`](/docs/assets/events/event-reference/automation#automationclientpathstep) (~2), [`automation.clientEndPath`](/docs/assets/events/event-reference/automation#automationclientendpath) (~1), [`message.send`](/docs/assets/events/event-reference/email#messagesend) (~1), [`newsletter.open`](/docs/assets/events/event-reference/email#newsletteropen) (~1), [`newsletter.click`](/docs/assets/events/event-reference/email#newsletterclick) (~1), [`voucherCode.assigned`](/docs/assets/events/event-reference/loyalty#vouchercodeassigned) (~1).
## Read more
---
- [Automation Hub](/docs/automation)
- [Configuring an email account](/docs/campaign/e-mail/configuring-email-account)
- [Creating email templates](/docs/campaign/e-mail/creating-email-templates)
- [Functions in expressions](/docs/crm/expressions/functions-in-expressions)
- [Insert usage](/developers/inserts)
# Email with last visited brand
A good way to personalize communication is to offer customers products from a brand they recently viewed. This is an especially good solution for companies offering multiple brands.
You can build this kind personalization in a very easy way and make it possible to send an email campaign with personalized offers from specific brands to people who have viewed this brand recently.
## Example of use - Retail Industry
**Challenge**
One of our clients wanted to send to their customers personalized emails based on the last brand that the client viewed.
This company is an example of a multi-brand company in which you can select products based on brands. In the URL information of every product, they always have information about its brand.
**Solution**
Based on that we created an automation which lets us monitor the last-viewed product and the category it belongs to. Thanks to this, we were able to send personalized emails with brand-related AI recommendations. Every customer got a different email recommendation based on their previous behavior.
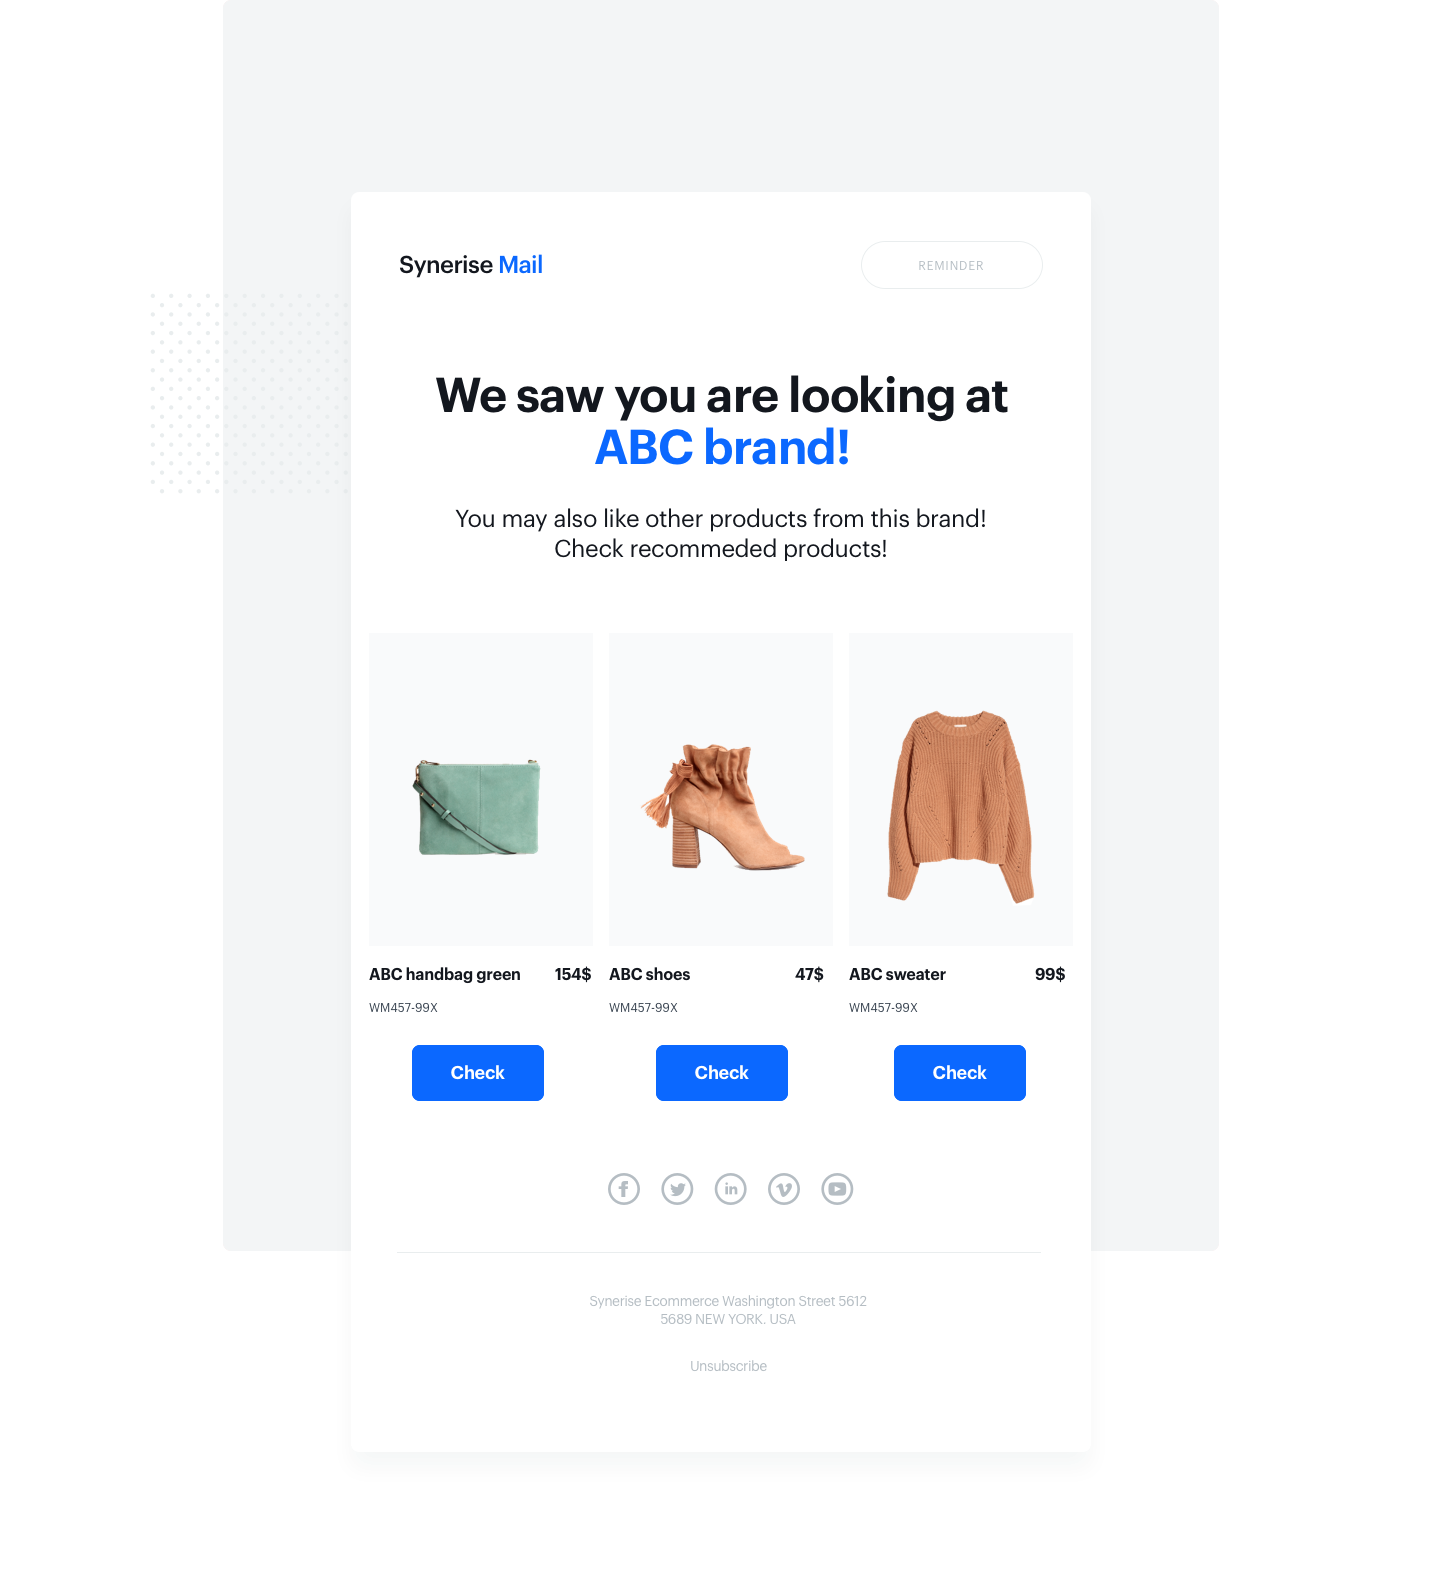
## Prerequisites
---
**General**
- [Tracking code](/developers/web/installation-and-configuration#creating-a-tracking-code) on your website.
- [Email account](/docs/campaign/e-mail/configuring-email-account) configured.
- [Product feed](/use-cases/import-product-feed-to-catalog) implemented.
## First concept - manual preparation without jinjava**
---
### Create an aggregate
1. Go to **Behavioral Data Hub > Live Aggregates > Create aggregate**.
2. As the aggregate type, select **Profile**.
2. Enter the name of the aggregate.
3. Optionally, to let other users know about the objective of the analysis, write a short description.
4. Click **Analyze profiles by** and select **Last**.
5. Choose event `page.visit`, as a operator choose **URL** and add a regular expression which indicates that the URL has to contain one of the following brands.
6. Save your aggregate.
### Prepare an AI recommendations
1. Go to **AI Hub > (AI Recommendations) Models > Add recommendation**.
2. Enter the name of the recommendation (it is only visible on the list of recommendations).
3. In the **Type & Items feed** section and click **Define**.
4. From the **Items feed** dropdown list, select a product feed that has a trained model.
5. Select the recommendation type (you can choose the type of campaign on your own, based on your business needs).
6. Click **Save**.
7. Prepare the AI recommendations separately for every brand.
### Create email campaign
1. Go to **Experience Hub > Email campaign > Create new**.
2. Create email campaigns for every brand separately, adding the AI recommendation campaign prepared for each brand.
3. Save your campaigns.
### Prepare the automation
1. In Synerise, go to **Automation Hub > Workflows > New workflow**.
2. As the trigger node, select **Profile Event**. In the node configuration choose the event `page.visit` which tells us if the client visits a specific website with a specific url, use regular expression – this indicates that the customer visited the products from one of the following brands.
3. Add optional **Delay**.
4. Add **Profile Filter** which checks every agreement which customers have (cookie agreements, email agreements and so on).
5. **Split Path** to profile filters, which checks what the last aggregate of the customer was. Every filter indicates a different brand and sends a different campaign. For example, if the last brand a customer visited was ABC, he will get an email with products from this specific brand. We separated every segment in this place in the automation, which lets us check to which brand the customer is matched and send him personalized mailings.
6. Add node with **Email** as a result of workflow. In the node configuration choose your personalized email campaigns.
7. Add **End** node.
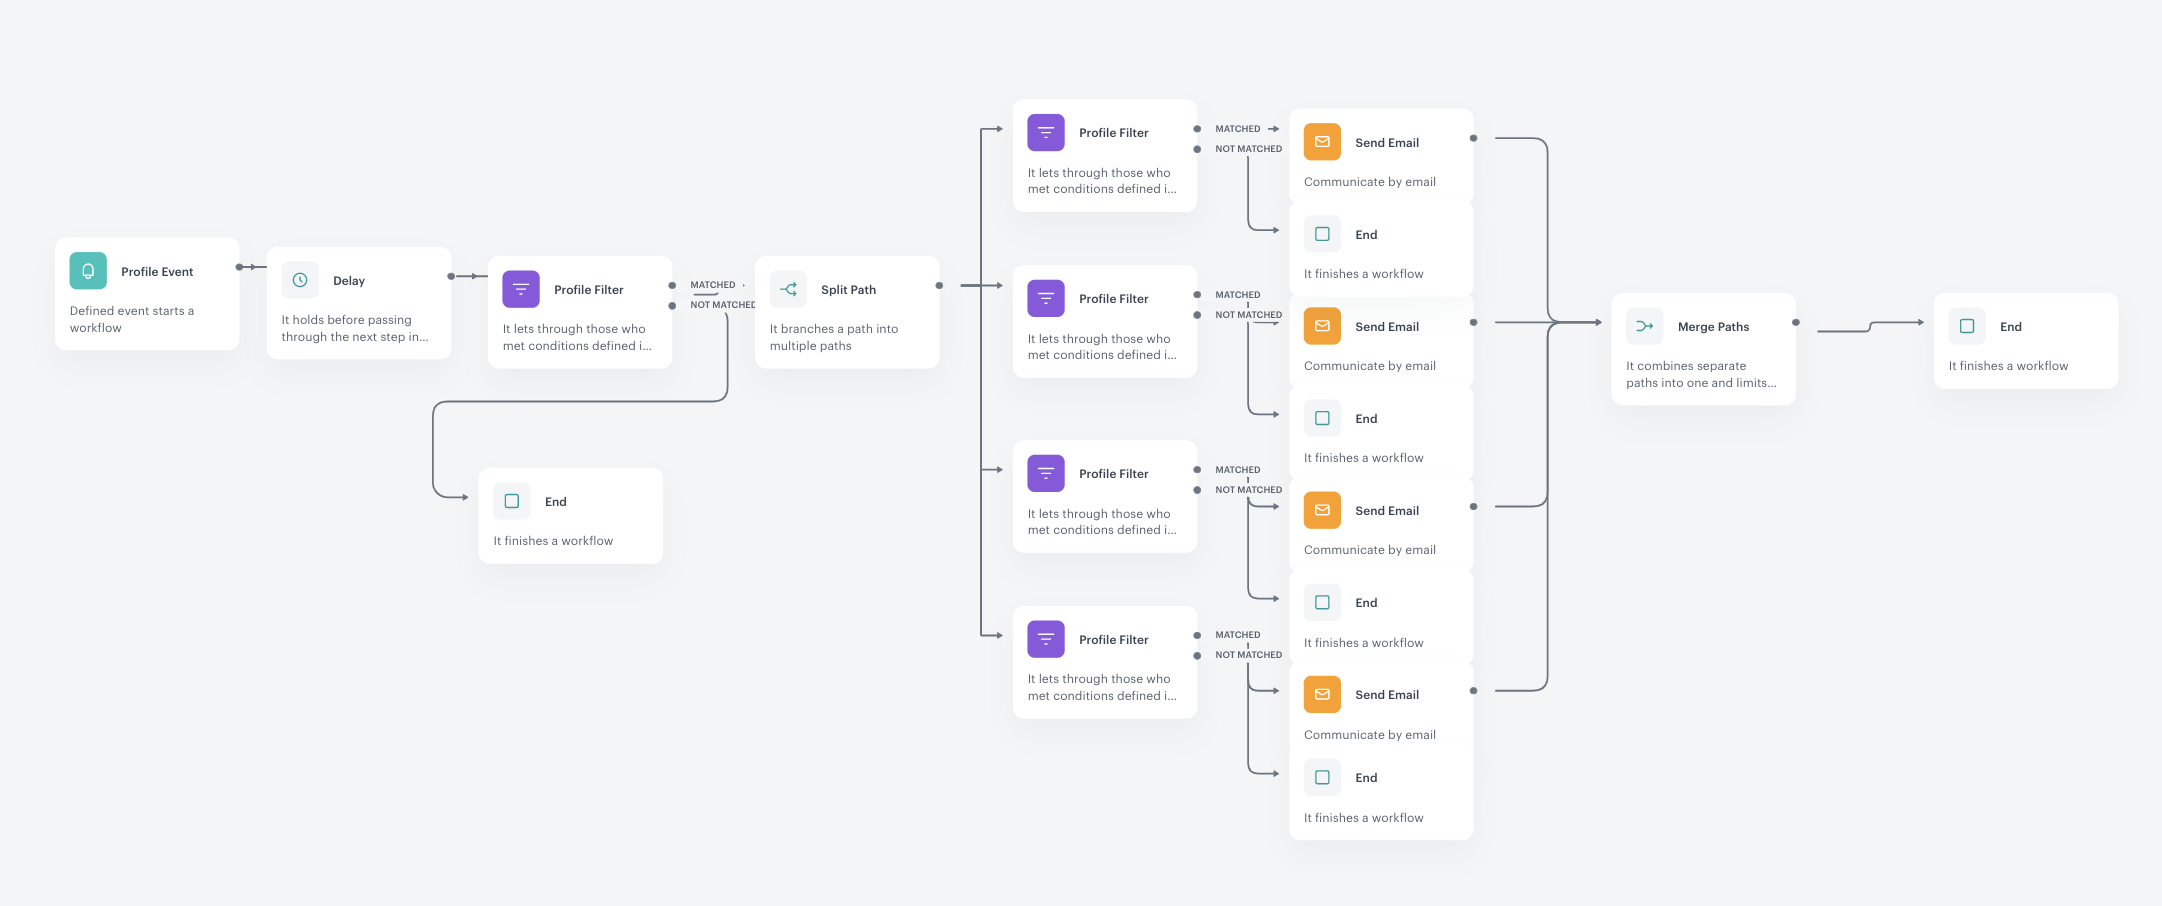
## Second concept - preparation with jinjava
---
We helped our client to prepare this process in a smarter way. We changed the part with all profile filters to single profile filters and only one event.
1. Create the aggregate the same as in the first concept.
2. Create the AI campaigns for each brand separately.
3. Create ONE email template with the special jinjava code. Based on the jinjava code we can create a smarter process for the whole campaign. We took the aggregate described above and checked the code to see the last brand the customer visited (what phrase customer had in the url). So if, for example, our customer viewed brand ABC, we added the code the title: ABC, an image and a link to the product. And the same applied to all other brands. So we prepared all such information in one place, in one code. So if in the aggregate we had the ABC brand – in the email template the ABC brand was added to a specific product along with a link to it. Also, we add a lot of IF’s in our jinjava code. This indicates that IF ABC brand was the last one the customer visited, then the ID of the AI campaign for the ABC brand will be used in that case. **Using this method, we can change the content of the mailing dynamically** depending on what we have in the aggregate. Information about the specific brand will go to the output in the form of dynamic code, which we have to paste in the email campaign in a specific place. Thanks to this it will change dynamically based on the results from the aggregate for a specific customer. Remember to add the AI campaign to the content of your email campaign based on the campaigns created earlier.
4. Create an automation with additional jinjava code.
1. In Synerise, go to **Automation Hub > Workflows > New workflow**.
2. As the trigger node, select **Profile Event**. In the node configuration choose the event `page.visit` which tells us if the client visits a specific website with a specific url, use regular expression – this indicates that the customer visited the products from one of the following brands.
3. Add optional **Delay**.
4. Add **Profile Filter** which checks every agreement which customers have (cookie agreements, email agreements and so on).
5. **Split Path** to profile filters, which checks what the last aggregate of the customer was. Every filter indicates a different brand and sends a different campaign. For example, if the last brand a customer visited was ABC, he will get an email with products from this specific brand. We separated every segment in this place in the automation, which lets us check to which brand the customer is matched and send him personalized mailings.
6. Add node **Send Email** as a result of workflow. Add the jinjava code to the email template instead of adding it in the form of many brand filters, which makes the whole automation very large and more complicated.
7. Add **End** node.
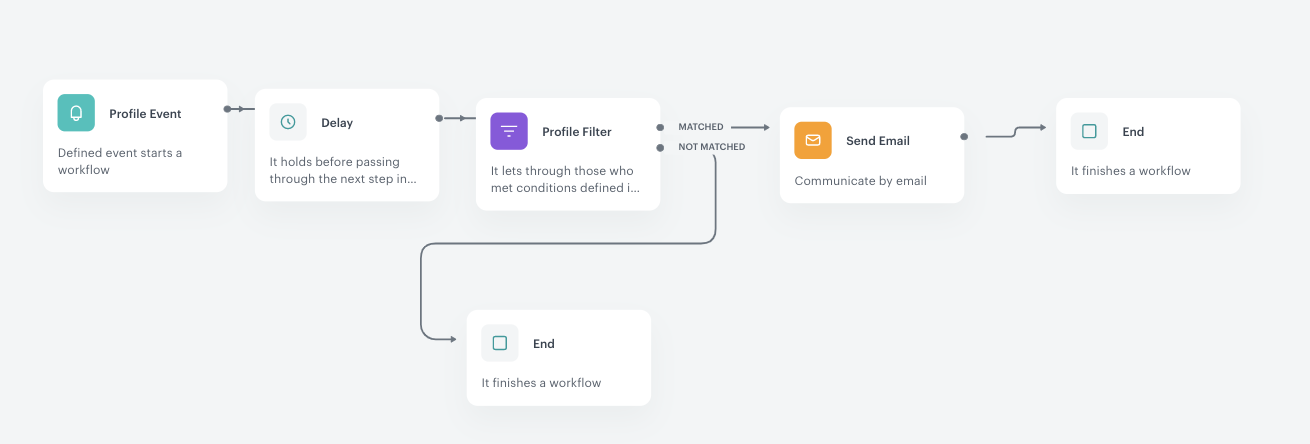
If you do not want to use jinjava you can use the first version of the automation. It is not forbidden but take into consideration that in this case you have to remember to add the appropriate email template and email name in the automation without any mistakes.
It is easier to create a second version with jinjava to avoid mistakes and make it faster and easier to build and to manage.
## Generated events
This use case generates approximately 13 events per profile that completes the flow:
[`page.visit`](/docs/assets/events/event-reference/web-and-app#pagevisit) (~1), [`automation.clientStartPath`](/docs/assets/events/event-reference/automation#automationclientstartpath) (~1), [`automation.clientPathStep`](/docs/assets/events/event-reference/automation#automationclientpathstep) (~4), [`automation.clientEndPath`](/docs/assets/events/event-reference/automation#automationclientendpath) (~1), [`message.send`](/docs/assets/events/event-reference/email#messagesend) (~1), [`newsletter.open`](/docs/assets/events/event-reference/email#newsletteropen) (~1), [`newsletter.click`](/docs/assets/events/event-reference/email#newsletterclick) (~1), [`recommendation.generated`](/docs/assets/events/event-reference/recommendations#recommendationgenerated) (~1), [`recommendation.view`](/docs/assets/events/event-reference/recommendations#recommendationview) (~1), [`recommendation.click`](/docs/assets/events/event-reference/recommendations#recommendationclick) (~1).
## Read more
---
- [Aggregates](/docs/crm/aggregates/introduction-to-aggregates)
- [AI campaigns](/docs/ai-hub/recommendations-v2)
- [Automation Hub](/docs/automation)
# Personalized promotion for digital signage
Digital signage is revolutionizing the way businesses engage with customers in physical retail spaces. These dynamic displays offer a versatile platform to convey information, enhance the shopping experience, and drive sales. It allows to create a shopping environment where every customer is greeted with tailored offers perfectly aligned with their preferences and past shopping behaviors.
In this use case we are reffering to the Interactive digital signage. This technology relates to a dynamic and engaging communication tool that combines digital displays with interactive technology to deliver information, advertisements, or content to an audience. Unlike traditional static displays, interactive digital signage allows users to actively engage with the content through touchscreens, gestures, or other interactive elements, fostering a more immersive and personalized experience.
This use case describes the following scenario:
- A customer enters a stationary store and interacts with the digital signage by scanning the mobile app or identifying themselves in some other way (for example, by logging into their loyalty profile),
- The digital signage sends an API request to Synerise to get a list of personalized promotions available and customized for the customer,
- At this point, the Synerise AI engine swings into action and selects the most appropriate promotions for the customer based on their profile,
- After the AI engine selects the list of promotions, they are displayed on the digital signage for the customer.
## Prerequisites
---
- POS must be integrated with Synerise promotion engine.
- [Import your product feed to catalog](/use-cases/import-product-feed-to-catalog).
- Create promotions and tag them to use later as a filter when creating a personalized promotion.
- Create a filter on the list of (regular) promotions to be reused while preparing the personalized promotion. In our case, we create a filter for special digital signage promotions.
Click here to see how to build the filter
Go to AI Hub > Regular Promotions.
On the right side of the screen, click
Click Define.
On the pop-up, define the conditions by clicking Choose filters. The list contains all parameters from the product feed. Definition of promotion filter
To add a new condition, repeat the previous step.
Save the filter by clicking Save and Apply.
- Apply the ["Generate personalized promotions for Profile and get Profile promotions"](https://hub.synerise.com/api-reference/loyalty-and-engagement#operation/getAssignHandbillForClient_GET) method for digital signage to retrieve a list of promotions assigned to a Profile.
## Process
---
1. [Create a personalized promotion](/use-cases/personalized-digital-signage-promotion#create-a-personalized-promotion).
2. [Generate personalized promotion for Profile and get Profile promotions in digital signage](/use-cases/personalized-digital-signage-promotion#generate-personalized-promotion-for-profile-and-get-profile-promotions).
## Create a personalized promotion
---
In this part of the process, create a personalized promotion for digital signage promotions that will be active for customers in September 2023.
1. Go to **AI Hub > Personalized Promotions > New personalized promotion**.
2. As the type of promotion, select **Check-in**.
3. In **A/B test settings**, add variants of the personalized promotion by clicking **Define**.
1. To add the first variant, click the plus button.
2. In **Advanced options**, leave the default option - **AI Engine** (the AI engine chooses the items to be included in the promotion).
3. Confirm by clicking **Apply**.
AB test settings
4. In the **Filter and limits** section, define:
- the promotion type (in our case we use **Handbill**),
- the filter you created as a part of prerequisites,
- number of promotional products to be extracted for the customer from the promotions tagged with the filter from prerequisites.
Filters and Limits configuration
5. In the **Activity** section, define the activity of the promotion as **Absolute**.
You can find more detailed information on all Activity types in ["Defining promotion schedule"](/docs/ai-hub/personalized-promotions/creating-ai-promotions#defining-promotion-schedule).
Personalized promotions activity
6. Optionally, define the AI Engine boosting settings. You can find the instruction on how to do that in ["AI boosting settings"](/docs/ai-hub/personalized-promotions/creating-ai-promotions#ai-engine-boosting-settings).
7. After configuring all settings, publish personalized promotions.
## Generate personalized promotion for Profile and get Profile promotions
---
In this part of the process, use the [Generate personalized promotions for Profile and get Profile promotions](https://hub.synerise.com/api-reference/loyalty-and-engagement#operation/getAssignHandbillForClient_GET) method to assign personalized promotion to a profile and retrieve a list of promotions assigned to the profile.
As a result, Digital Signage will display a set of personalized promitions to the customer.
## Check the use case set up on the Synerise Demo workspace
---
You can check the configuration of the [personalized promotion](https://app.synerise.com/campaigns/handbills/5a106661-0c6e-4cee-a496-43a758d93e22) directly in Synerise Demo workspace.
If you’re our partner or client, you already have automatic access to the **Synerise Demo workspace (1590)**, where you can explore all the configured elements of this use case and copy them to your workspace.
If you’re not a partner or client yet, we encourage you to fill out the contact [form](https://demo.synerise.com/request) to schedule a meeting with our representatives. They’ll be happy to show you how our demo works and discuss how you can apply this use case in your business.
## Generated events
This use case generates 1 event per profile that completes the flow:
[`client.activatePromotion`](/docs/assets/events/event-reference/loyalty#clientactivatepromotion) (~1).
## Read more
---
- [API references for personalized promotions](https://hub.synerise.com/api-reference/loyalty-and-engagement#tag/Handbills)
- [Promotions](/docs/ai-hub/promotions)
# Landing page collecting customers preferences
With landing pages you can enrich information about customers' preferences you already have (for example their favorite categories, products and so on). Then, based on their answers you can personalize products and offers that you send to them later. Thanks to this solution you can get to know them better and be able to match the content of your messages to their preferences.
## Example of use - Retail industry
Our client wanted to be prepared for Black Friday and be sure that their customers receive only offers that interest them. For this purpose, they prepared a landing page which made it possible for their customers to choose their favorite product categories:
- **Technology**: Smartphones, TVs, Gaming software, PC monitors, Desktops, Printers, Portable speakers, Peripherals, Laptops, Gaming consoles, Tablets, Smartphone accessories, E-scooters, Wearable gadgets, Cameras
- **Entertainment**: Toys, Books, Comics, Movies, Music
- **Marketplace**: Infant, Home, Fitness, Personal care, Fashion, Clothing
Each customer received special Black Friday offers connected with those categories via email or web push. Before it could happen, the customers had to first select the categories available in a form on the landing page, provide an email address and submit the form. Later, these customers could be grouped into a segmentation to which the messages could be sent. This way, the landing page became a great place to get new leads.
A form about customers' preferences on a landing page
## Prerequisites
---
To be able to implement this use case, you must:
- [Implement a tracking code](/docs/settings/tool/tracking_codes)
- [Track forms](/developers/web/tracking-form-data)
- [Configure newsletter sign-up process](/docs/settings/configuration/newsletter-sign-up)
- [Create a sender account](/docs/campaign/e-mail/configuring-email-account)
In case you want to send web push notifications:
- [Configure web push notifications](/docs/campaign/Webpush/configuring-web-push)
- [Implement an agreement form](/docs/campaign/Webpush/two-step-agreement-form)
## Process
---
Create a landing page with customer preference perform the steps in the following order:
1. [Track landing page data](/use-cases/landing-page-customer-preference#track-landing-page-data).
2. [Prepare an automation](/use-cases/landing-page-customer-preference#prepare-an-automation).
3. [Prepare segment of customers](/use-cases/landing-page-customer-preference#prepare-segments-of-customers).
4. [Run your landing page](/use-cases/landing-page-customer-preference#run-your-landing-page).
## Track landing page data
---
To collect information gathered through a form implemented on a landing page (instead of a landing page, you can also use pop-ups) and save it on a customer's profile in, [track this form](/developers/web/tracking-form-data). In this use case, a customer can select up to 26 categories. Below, you can find an example code for 3 categories.
Check the Jinjava code
<form action="" method="post" data-synerise="BF_Preferences"> <input type="email" placeholder="E-mail" data-synerise="email" > <label> <input type="checkbox" data-synerise="BF_email_agreement" data-synerise-value="1"> I consent to the processing of my email address by xxxx in order to send me a newsletter with xxxx offers. </label> <label> <input type="checkbox" data-synerise="tvs" data-synerise-value="interested"> tvs </label> <label> <input type="checkbox" data-synerise="music" data-synerise-value="interested"> music </label> <label> <input type="checkbox" data-synerise="clothes" data-synerise-value="interested"> clothes </label> <input type="submit" value="Save" /> </form>
With this code you will collect 4 types of information
- Customer’s email.
- Custom attribute with agreement for email communication **BF_email_agreement = 1**.
- Tag **BF_preferences**.
- Attributes collected when a customer selects a checkbox on the form, for example **music = interested**.
If your form is not in the source code, but you’re adding it dynamically (using Java Script or Dynamic Content) you have to call the method which will catch the form `SyneriseTC.initFormCatch()`[Documentation](/developers/web/tracking-form-data)
## Prepare an automation
---
If you want to add newsletter agreement to users who submit this preferences form, you have to prepare an automation which will enable the newsletter consent on the customer card.
Enabling newsletter agreement on a customer's profile
This example contains the instruction on enabling an agreement for receiving emails in a customer's profile. However, you can also create such automation for other types of agreements: [web push](/docs/campaign/Webpush) and [SMS](/docs/campaign/SMS).
### Detect enabling the agreement
Create a workflow for every customer who selected the newsletter agreement checkbox on the form.
1. Go to **Automation Hub > workflow > New workflow**.
2. Click the plus button and select **Profile Data Changed** trigger.
3. Double-click the node.
4. From the **Choose value** dropdown list, select a newsletter agreement related attribute (in our example it’s **BF_email_agreement**).
5. From the **Choose operator** dropdown list, select **Equal**.
6. In the text field, enter the value of the attribute (in our example, it's `1`.)
The configuration of the Profile Change Data node
### Update agreement on a customer's profile
1. As action choose **Update Profile node**,
2. Set that **newsletter_agreement** attrribute has to change for enabled.
The configuration of the Update Profile node
### Prepare the final settings
1. Add the **End** node where the workflow finishes for customers.
2. Optionally, add titles to each node so the workflow will be more understandable to your colleagues.
3. Name the workflow.
4. To save it as a draft, click **Save** it or activate by clicking **Save & Run**.
## Prepare segments of customers
---
Based on the collected attributes, you can prepare segments of users, interested in a category or more categories.
1. Go to **Decision Hub > Segmentation > New segmentation**.
2. From the **Choose filter** dropdown list, select **Clients** tab.
3. In the **Clients** tab, select **Attributes**.
4. Select the attribute which is an equivalent of a category on the form.
5. In the **Choose operator** dropdown list, click the icon.
6. Select **Is true**.
A segmentation of customers who are interested in the TV category
## Run your landing page
---
At the end of creating landing page with customer preferences, set up your landing page. Plan your communication - decide when you want to reach your customers, prepare the content of the message and select the communication type. For example, you can send [email](/docs/campaign/e-mail/creating-email-campaigns) or [web push](/docs/campaign/Webpush) communication. Remember to choose appropriate segment of customers.
List of landing page
## Check the use case set up on the Synerise Demo workspace
---
You can check the configuration of use case in Synerise Demo workspace:
- [Workflow configuration](https://app.synerise.com/automations/workflows/automation-diagram/08e5f60e-6fbc-4d5e-8296-352b329fdd0f)
- [Segmentation](https://app.synerise.com/analytics-v2/segmentations/fe3a1af4-a64c-4085-b336-02e88a55c725)
If you’re our partner or client, you already have automatic access to the **Synerise Demo workspace (1590)**, where you can explore all the configured elements of this use case and copy them to your workspace.
If you’re not a partner or client yet, we encourage you to fill out the contact [form](https://demo.synerise.com/request) to schedule a meeting with our representatives. They’ll be happy to show you how our demo works and discuss how you can apply this use case in your business.
## Generated events
This use case generates approximately 9 events per profile that completes the flow:
[`landingpage.visit`](/docs/assets/events/event-reference/landing-page#landingpagevisit) (~1), [`form.submit`](/docs/assets/events/event-reference/web-and-app#formsubmit) (~1), [`automation.clientStartPath`](/docs/assets/events/event-reference/automation#automationclientstartpath) (~1), [`automation.clientPathStep`](/docs/assets/events/event-reference/automation#automationclientpathstep) (~1), [`automation.clientEndPath`](/docs/assets/events/event-reference/automation#automationclientendpath) (~1), [`profile.updated`](/docs/assets/events/event-reference/profiles#profileupdated) (~1), [`message.send`](/docs/assets/events/event-reference/email#messagesend) (~1), [`newsletter.open`](/docs/assets/events/event-reference/email#newsletteropen) (~1), [`newsletter.click`](/docs/assets/events/event-reference/email#newsletterclick) (~1).
## Read more
---
- [Email communication](/docs/campaign/e-mail/creating-email-campaigns)
- [Forms data](/developers/web/tracking-form-data)
- [Segmentation](/docs/analytics/segmentations/introduction-to-segmentations)
- [Web push](/docs/campaign/Webpush)
# Location based promotion for the entire basket
Marketers create promotions based on various criteria, such as promotions targeting a specific group of products, brands or even store locations. The choice of the promotion type depends largely on its objectives and desired results.
This use case describes how to create a promotion for customers who make purchases in stores in a specific location - in Krakow. Such customers will receive a 15 PLN discount for purchases over 100 PLN. The promotion will work only for loyalty program members (customers logged into the mobile app).
## Prerequisites
---
- Implement promotions in your [mobile application](/developers/mobile-sdk/loyalty), [API](https://hub.synerise.com/api-reference/loyalty-and-engagement#operation/profileLogin).
- [Import your product feed to catalog](/use-cases/import-product-feed-to-catalog).
- Add list of stores to a catalog. Such a catalog must contain a unique store ID and any other store attributes by which you will filter stores, such as city, zip code, and so on. More information about catalogs can be found [here](/docs/assets/catalogs).
## Security configuration
---
Before you start working with this hub, if you are a Synerise customer or partner, consider reading [the section about denylisting events](/docs/settings/tool/api#denylist). This natively accessible configuration will allow you to manage the restrictions in points management that may help you prevent fraud.
## Process
---
1. [Prepare a segmentation](/use-cases/location-based-promotion#prepare-a-segmentation) of customers who are members of the loyalty program.
2. [Create a promotion](/use-cases/location-based-promotion#create-a-promotion) based on location.
## Prepare a segmentation
---
In this part of the process, create a segmentation of customers who are members of the company's loyalty program.
1. Go to **Decision Hub > Segmentations > New segmentation**.
2. Enter the name of segmentation.
3. From the **Choose filter** dropdown list, select the **loyaltyCard** attribute.
4. As the logical operator select Boolean **Is true**.
5. Confirm by clicking **Save**.
The conditions used in the segmentation will vary depending on your loyalty program integration (for example, the name of the attribute may be different). You must define the segmentation accordingly.
An example of a segmentation of customers who participate in a loyalty program
## Create a promotion
---
1. Go to **AI Hub > Regular Promotions > Add promotion**.
2. Enter a name for the promotion.
2. Select the **For entire cart** option.
3. In the **Audience** section, select the segmentation created in [this step](/use-cases/location-based-promotion#prepare-a-segmentation).
4. In the **Content** section:
1. Define the name, description, and image of the promotion.
2. In the **Price** field, enter `0`.
3. Confirm the settings by clicking **Apply**.
Example of promotion content
5. In the **Type and limits** section:
1. As the **Type**, choose **Members only**.
2. Select the **Single** tab.
3. In the **Limit per profile** section, enter `1`.
4. In the **Minimum value** and **Maximum value** fields, define the price caps that activate discount for the entire cart.
5. From the **Discount type** dropdown list, choose **Amount**.
6. From the **Discount mode** dropdown list, choose **Static**.
7. In the **Value** field, enter `15`.
Example of Type and limits settings
6. In the **Schedule** section, define the promotion distribution period according to your business needs.
7. In the **Stores** section, specify stores where the promotion is available (in this case, stores located in Krakow were selected).
This is possible only if the list of stores is imported into a [catalog](/docs/assets/catalogs).
8. In the **Items** section, specify the catalog item to be discounted:
1. In the **Source catalog** field, select an item catalog to select the promotional items from.
2. Select **Entire catalog** using the **Select items** option, as in this use case promotion works on all items.
11. To apply configuration and run the promotion, click **Publish**.
## Check the use case set up on the Synerise Demo workspace
---
You can also check the configuration of the [segmentation](https://app.synerise.com/analytics/segmentations/1f34841c-8dd8-49f6-acd9-aab7ce928e23) and [promotion settings](https://app.synerise.com/campaigns/promotions/18b845c0-b220-44ca-8d12-3321753f8fd0) directly in Synerise Demo workspace.
If you’re our partner or client, you already have automatic access to the **Synerise Demo workspace (1590)**, where you can explore all the configured elements of this use case and copy them to your workspace.
If you’re not a partner or client yet, we encourage you to fill out the contact [form](https://demo.synerise.com/request) to schedule a meeting with our representatives. They’ll be happy to show you how our demo works and discuss how you can apply this use case in your business.
## Generated events
This use case generates approximately 4 events per profile that completes the flow:
[`client.activatePromotion`](/docs/assets/events/event-reference/loyalty#clientactivatepromotion) (~1), [`transaction.charge`](/docs/assets/events/event-reference/items#transactioncharge) (~1), [`product.buy`](/docs/assets/events/event-reference/items#productbuy) (~2).
## Read more
---
- [Promotions](/docs/ai-hub/promotions)
- [Segmentations](/docs/analytics/segmentations)
# Loyalty programs basics
There are a lot of ways to encourage existing customers to continue being returning customers, but one of the best and most effective ways to do this is via creating a customer loyalty program. Its most important advantages are increasing Customer Lifetime Value, boosting loyalty, and avoiding churn.
Examples of activities that can be taken into account in the loyalty program are:
- Product page view,
- Product category page view,
- Adding a product to the basket,
- Product purchase,
- Purchase above a certain price,
- Purchase a product from a specific category,
- Newsletter subscription,
- After-sales survey submission,
- Events from ticketing system (customer care),
- Events connected with the external partnerships.
Without any coding, based on Synerise possibilities we can manage to develop rules for calculating points for such activities.
In this use case, we will present a **basic schema for building loyalty program**, which is the necessary first step you have to make in the beginning if you wish to calculate points for purchased products.
We will describe the basic rules, based on which:
- we granted customers with 1 point for every 1 PLN spent,
- we count the points separately for every product in one transaction,
- we multiply the number of points by number of products bought, if the customer has bought more than one item of specific product,
- we round down the number of points (for example, for spending 80,60 PLN, the customer gets 80 points),
- we count the point balance for every customer.
Those rules are the fundamental elements which might be treated as the basic loyalty program as a whole. We use basic conditions, awarding 1 point for every 1 PLN spent, but you can adjust those settings to your business needs. It is worth mentioning that, based on these elements, you can add more rules, exclusions, and requirements, to make your program more complex. For example, you can multiply the number of points awarded for specific products or product categories or opt out of awarding points for them at all. In this use case, we focus on the mechanism of earning points, but Synerise also provides functionalities for [spending points](/loyalty/lesson-4/type-of-promotion).
## Security configuration
---
Before you start working with this hub, if you are a Synerise customer or partner, consider reading [the section about denylisting events](/docs/settings/tool/api#denylist). This natively accessible configuration will allow you to manage the restrictions in points management that may help you prevent fraud.
## Prerequisites
---
Implement transaction events using [SDK](/developers/web/transactions-sdk) or [API](https://hub.synerise.com/api-reference/data-management#operation/CreateATransaction).
Additionally, you can also collect a [custom event](/developers/mobile-sdk/event-tracking) which sends information to Synerise about joining a loyalty program (for example `account.status` with parameter `accountStatus` equal to `active`). Such an event with the appropriate status should be sent each time the membership status changes (when the customer joins, resigns, or re-joins).
## Process
---
The process of creating the basic loyalty program described in this use case is divided into two main stages:
1. **Prepare the points schema** -
this part of the process consists of the following:
1. [Create an aggregate](/use-cases/loyalty-programs-basics#create-an-aggregate-which-counts-number-of-productbuy-events-in-a-single-transaction) which counts number of product.buy events in a single transaction
2. [Create an expression](/use-cases/loyalty-programs-basics#create-an-expression) which contains the aggregate from step 1.
3. [Create an expression](/use-cases/loyalty-programs-basics#create-an-expression-that-counts-money-spent-for-a-single-productbuy-event) that counts amount of money spent on the products for a single product.buy event
4. [Create an aggregate](/use-cases/loyalty-programs-basics#create-an-aggregate-counting-money-spent-on-the-products-within-a-single-transaction) which counts the amount of money spent on the products within a single transaction.
5. [Create an expression](/use-cases/loyalty-programs-basics#create-an-expression-which-adds-points-for-money-spent) which calculates how many points a transaction is worth and rounds them down.
6. Contact Synerise support to implement the `points.loyalty` event which saves the result of the point calculation as an event in a customer's profile. A parameter in the event is then used for creating an aggregate.
2. **Count the points balance** -
this part of the process consists of the following procedures:
1. [Create an aggregate](/use-cases/loyalty-programs-basics#create-an-aggregate-counting-the-number-of-points) which counts the number of points gained by customer.
2. [Create an expression](/use-cases/loyalty-programs-basics#create-an-expression-which-returns-the-number-of-points-gained-by-customer) which returns the value of the aggregate with the number of points.
## Prepare the points schema
In this part of the process, you will create the basic schema of counting points in a loyalty program, in which you grant customer with 1 point for every 1 PLN spent. This includes rounding points down when the amount includes hundredths. For example, for 80,60 PLN the customer gets 80 points.
### Create an aggregate which counts number of product.buy events in a single transaction
---
In this part, you create an aggregate which counts number of product events in every processed transaction. It is used for checking integrity of the process.
1. Go to **Behavioral Data Hub > Live Aggregates > Create aggregate**.
2. As the aggregate type, select **Profile**.
2. Enter the name of the aggregate
4. Set **Analyze profiles by** to **Count**.
4. In the formula of the aggregate:
1. Click **Select**.
2. From the **Select property** dropdown list, pick **Event** attribute.
3. Click **Choose event** and enter `product.buy`.
3. From the **Choose parameter** dropdown list, select `$orderId`.
5. From the **Choose operator** dropdown list, pick **Equal (String)**.
6. Click the icon next to the Equal operator twice to get
7. In the first box, add `orderId` and in the second add any value (in our case it might be `1`).
8. Define the period from which the aggregate will return products from the event as Lifetime.
9. Click **Save**.
Aggregate which counts number of product.buy events in a single transaction
### Create an expression
---
In this step, you create an expression which contains the aggregate from the previous part of the process. It will be used for workspace configuration by Synerise CSI team.
1. Go to **Behavioral Data Hub > Expression > New expression**.
2. Enter the name of the expression.
3. As a type of expression, select **Attribute**.
4. Click the **Select** button and select **Profile**.
7. To configure the settings, click **Unnamed**.
8. Click the **Choose attribute** button and select the aggregate created in the previous step.
9. Click **Publish**.
Expression settings
### Create an expression that counts money spent for a single productbuy event
---
In this part, you create an expression which counts amount of money spent on all products within a single transaction. This is also a place where you can exclude products from points calculation.
1. Go to **Behavioral Data Hub > Expressions > New expression**.
2. Enter the name of the expression.
3. Set the **Expression for** option to **Event**.
4. From the **Choose event** dropdown list, select **product.buy** event.
3. Click the **Select** button and select **Event attribute**.
4. Choose parameter **$quantity** from the list.
5. Click the **+** button and select **Event attribute**.
4. Choose parameter **$finalUnitPrice** from the list.
9. Change the mathematical operator between these two parameters to multiplication.
10. Click **Save**.
Expression counting money spent on every product within transaction
### Create an aggregate counting money spent on the products within a single transaction
---
In this part, you create an aggregate which counts amount of money spent on all products within a single transaction. This is also a place where you can exclude products from points calculation.
1. Go to **Behavioral Data Hub > Live Aggregates > Create aggregate**.
2. As the aggregate type, select **Profile**.
2. Enter the name of the aggregate.
3. Click **Analyze profiles by** and select **Sum**.
4. From the **Choose event** dropdown list, select the `product.buy` event.
5. As the event parameter, choose the [expression](/use-cases/loyalty-programs-basics#create-an-expression-that-counts-money-spent-for-a-single-productbuy-event) created in the previous step.
6. Click the **+ where** and as the parameter select the `$orderId`.
ID of the transaction is necessary for Synerise Team to be able to charge points after every transaction separately.
7. As the operator select **Equal**.
8. Click the icon next to the **Equal** operator two times, to find dynamic key icon.
9. In the first box add `orderId` and in the second add any value (in our case it might be `1`).
10. Define the period from which the aggregate will return products from the event as **Lifetime**.
11. Click **Save**.
Aggregate counting money spent on every product within transaction
### Create an expression which adds points for money spent
---
In this part, you create an expression which adds 1 point for every 1 PLN spent and additionally rounds down to full units (for example, for spending 80,60 PLN, the customer gets 80 points). This expression is also used by Synerise CSI team for workspace loyalty configuration.
1. Go to **Behavioral Data Hub > Expressions > New expression**.
2. Enter the name of the expression.
2. As a type of expression, select **Attribute**.
3. Click the **Select** button and select **Function**.
4. From the dropdown list, select **Floor**.
This function rounds down the results of expressions (for example 4.99 will be rounded down to 4).
5. Click the **Select** button.
6. From the dropdown list, select **Profile**.
6. Click **Unnamed** to display the settings.
7. Click the **Choose attribute** button and select the [aggregate created in the previous step](/use-cases/loyalty-programs-basics#create-an-aggregate-counting-money-spent-on-the-products-within-a-single-transaction).
7. Click **+** button and select **Constant**.
8. As the value of the **Constant**, add `1`
This way, you define that for every 1 PLN spent, the customer will get 1 point.
9. Change the mathematical operator between these two parameters to multiplication.
10. Click **Save**.
Expression which adds 1 point for every 1 PLN spent and additionally use the round down mechanism
### Contact Synerise to enable loyalty points
---
Once you prepare all the above analytics, contact the Synerise [Support Team](https://synerise.com/support) to configure the materialization of loyalty points. You need to send links or IDs of both created expressions and let our Support Team launch your loyalty program. After such configuration, every time loyalty points are assigned to a customer, the `points.loyalty` event will be generated in a customer’s profile with information about the number of loyalty points they received after a transaction (the `points` parameter).
## Count the points balance
---
In this part of the process, you will create analytics which counts the points balance for each customer. It is important to have that information in one place so it can be used in further communication with customers.
### Create an aggregate counting the number of points
---
In this step, you create an aggregate which counts the number of points in a loyalty program.
1. Go to **Behavioral Data Hub > Live Aggregates > Create aggregate**.
2. As the aggregate type, select **Profile**.
2. Enter the name of the aggregate.
3. Click **Analyze profiles by** and select **Sum**.
4. From the **Choose event** dropdown list, select the **points.loyalty** event.
5. As the event parameter, select **points**.
6. Define the date filter as **Lifetime**.
7. Click **Save**.
Aggregate counting the number of points
### Create an expression which returns the number of points gained by customer
---
In this part, you create an expression which counts the number of points for a specific customer.
The expression in this is a simple example whose only purpose is to show the result of an aggregate. Unlike an aggregate, for the purpose of a loyalty program you can make it more advanced by adding mathematical operations, conditions, and exclusions based on your business needs. For example, you can add points collected from other campaigns, take into account [expired and spent points](https://www.synerise.com/blog/loyalty-points-balance-management-with-synerise) and [transfer of the points](/use-cases/loyalty-points-transfer-with-push) between customers. Remember that regardless of how many elements you have implemented in your loyalty program and how extensive it should be, you can include all the necessary elements directly in this expression.
1. Go to **Behavioral Data Hub > Expressions > New expression**.
2. Enter the name of the expression.
2. As a type of expression, select **Attribute**.
3. Click the **Select** button and select **Profile**.
4. Click **Unnamed** to display the settings.
7. Click the **Choose attribute** button and select the [aggregate created earlier](/use-cases/loyalty-programs-basics#create-an-aggregate-counting-the-number-of-points).
10. Click **Save**.
Expression which counts the points balance for every customer
## What's next
---
You can use the created [expression](/use-cases/loyalty-programs-basics#create-an-expression-which-returns-the-number-of-points-gained-by-customer) with the points balance as an [insert](/developers/inserts) and use it on the website, display it in personalized dynamic content campaigns, send it in a push message, SMS, or email campaign with the information about current points balance.
Also, you can use it as a part of the dedicated promotions for users with a specific number of points and take into account the number of points gained by a customer in the conditions of promotions displayed, for example, in your mobile application.
The expression is also available as a profile attribute, so you can use it in analytics, for example to create a segmentation of customers depending on their collected points, and then use that segmentation as a workflow audience.
In this article, we described the fundamental requirements for a basic loyalty program, but we encourage you to develop it and make it more personalized and adjusted to your business needs. Here are a few examples to help you in adding more complex elements and options to your loyalty program:
- Learn how to manage the [expired and burned points](https://www.synerise.com/blog/loyalty-points-balance-management-with-synerise).
- Learn how to [add points for custom events](/use-cases/adding-points-for-custom-event).
- Learn how to [transfer the points between customers](/use-cases/loyalty-points-transfer-with-push).
- Learn how to create [promotion for joining loyalty program](/use-cases/discount-promotion-for-first-transaction).
## Check the use case set up on the Synerise Demo workspace
---
You can check the configuration of all described analytics directly in Synerise Demo workspace:
1. Preparation of points schema:
- [Aggregate](https://app.synerise.com/analytics/aggregates/3999696a-0bc2-38a6-90b8-1edfb501f4ef) which counts number of product.buy events in a single transaction.
- [Expression](https://app.synerise.com/analytics/expressions/e68f934c-143d-4bbc-92b4-fa342bf5526e) which contains the aggregate from step 1.
- [Expression](https://app.synerise.com/analytics/expressions/8e1ea568-2a13-44fd-8e76-967a8356dbdf) that counts amount of money spent on the products for a single product.buy event.
- [Aggregate](https://app.synerise.com/analytics/aggregates/6c316763-b3ef-3427-90ed-e1934b6207fd) which counts the amount of money spent on the products within a single transaction.
- [Expression](https://app.synerise.com/analytics/expressions/5b4644ae-c1c9-4bb8-90a5-6a19b7aa60f5) which calculate how many points a transaction is worth and rounds them down.
2. Counting the point balance:
- [Aggregate](https://app.synerise.com/analytics/aggregates/90878ebe-d993-37d1-b1b6-06cc1d7a2015) which counts the total number of points gained by a customer.
- [Expression](https://app.synerise.com/analytics/expressions/702c634e-b142-4dfb-8d10-dd7873eaf5d6) which return the value of the aggregate with the number of points.
If you’re our partner or client, you already have automatic access to the **Synerise Demo workspace (1590)**, where you can explore all the configured elements of this use case and copy them to your workspace.
If you’re not a partner or client yet, we encourage you to fill out the contact [form](https://demo.synerise.com/request) to schedule a meeting with our representatives. They’ll be happy to show you how our demo works and discuss how you can apply this use case in your business.
## Generated events
This use case generates approximately 4 events per profile that completes the flow:
[`transaction.charge`](/docs/assets/events/event-reference/items#transactioncharge) (~1), [`product.buy`](/docs/assets/events/event-reference/items#productbuy) (~2), [`points.loyalty`](/docs/assets/events/event-reference/loyalty#pointsloyalty) (~1).
## Read more
---
- [Aggregates](/docs/crm/aggregates)
- [Expressions](/docs/crm/expressions)
Check our loyalty use cases:
- [Award loyalty points for reaching a specific number of transactions](/use-cases/mechanism-of-stamps)
- [Promotion for the first transaction after joining the loyalty program](/use-cases/discount-promotion-for-first-transaction)
- [Promotion triggered by basket value](/use-cases/promotion-triggered-by-basket-value)
- [Rewarding customers in loyalty program for custom activities](/use-cases/adding-points-for-custom-event)
- [Send mobile push notifications with birthday promotion](/use-cases/mobile-push-birthday-promotion)
- [Transfer loyalty points between customers](/use-cases/loyalty-points-transfer-with-push)
# Average number of transactions per month
In this scenario, you will create sample segmentation that allows you to divide your clients into segments based on their average number of transactions per month. You may use that information further for targeted communication with promotions for a specific group.
## Prerequisites
---
- Add a [tracking code](/developers/web/installation-and-configuration) to your website.
- Become familiar with [aggregates](/docs/crm/aggregates) and [expressions](/docs/crm/expressions).
## Process
---
1. Create [aggregates](/use-cases/segmentation-average-transactions#create-aggregates).
2. Create [expression](/use-cases/segmentation-average-transactions#create-expressions).
3. Create [segmentation](/use-cases/segmentation-average-transactions#create-segmentation).
## Create aggregates
---
In the first part of the process, create two aggregates which will be used later for creating expressions:
- An [aggregate that counts a total number of transactions](/use-cases/segmentation-average-transactions#total-number-of-transactions-for-a-customer) a customer made
- An [aggregate that returns the timestamp of the first transaction](/use-cases/segmentation-average-transactions#timestamp-of-the-first-customers-transaction) a customer made
### Total number of transactions for a customer
1. Go to **Behavioral Data Hub > Live Aggregates > Create aggregate**.
2. As the aggregate type, select **Profile**.
2. Enter the name of the aggregate, for example `Total number of transactions`.
3. Set **Analyze profiles by** to **Count**.
4. From the **Choose event** dropdown list, select **transaction.charge**
5. In the date picker, select **Lifetime**.
6. Save the aggregate.
The formula of the aggregate
### Timestamp of the first customer's transaction
1. Go to **Behavioral Data Hub > Live Aggregates > Create aggregate**.
2. As the aggregate type, select **Profile**.
2. Enter the name of the aggregate, for example `Timestamp of first transaction`.
3. Set **Analyze profiles by** to **First**.
4. From the **Choose event** dropdown list, select **transaction.charge**.
5. As the event parameter, select **TIMESTAMP**.
6. In the date picker, select **Lifetime**.
7. Save the aggregate.
The formula of the aggregate
## Create expressions
---
In the next part of the process, create 4 expressions. The fourth one uses the results of the first three to calculate the average number of transactions, and is later used as an attribute for creating a segmentation.
The list of expressions:
- An [expression that returns the timestamp of the current date](/use-cases/segmentation-average-transactions#timestamp-of-the-current-day)
- An [expression that returns the timestamp of the first customer's transaction](/use-cases/segmentation-average-transactions#timestamp-of-the-first-customers-transaction) expressed in milliseconds
- An [expression that returns the number of months that passed since the first transaction](/use-cases/segmentation-average-transactions#number-of-months-since-the-first-transaction)
- An [expression that returns the average number of transactions per month](/use-cases/segmentation-average-transactions#average-number-of-transactions-per-month)
### Timestamp of the current day
1. Go to **Behavioral Data Hub > Expressions > New expression**.
2. Enter the name of the expression, for example `Timestamp - today`.
3. As the expression type, select **Attribute**.
4. Create the following formula of the expression:
5. Save the expression.
The formula of the expression
### Timestamp of the customer's first transaction in milliseconds
1. Go to **Behavioral Data Hub > Expressions > New expression**.
2. Enter the name of the expression, for example `Timestamp of the first transaction - milliseconds`.
3. As the expression type, select **Attribute**.
4. Create the following formula of the expression:
5. Save the expression
The formula of the expression
### Number of months since the first transaction
1. Go to **Behavioral Data Hub > Expressions > New expression**.
2. Enter the name of the expression, for example `Months since the first transaction`.
3. As the expression type, select **Attribute**.
4. Create the following formula of the expression.
5. Save the expression.
The formula of the expression
### Average number of transactions per month
1. Go to **Behavioral Data Hub > Expressions > New expression**.
2. Enter the name of the expression, for example `Average number of transactions per month`.
3. As the expression type, select **Attribute**.
4. Create the following formula of the expression:
5. Save the expression.
The formula of the expression
## Create segmentation
---
In the final part of the process, create a segmentation that organizes customers into three groups:
- More than 2 transactions per month - It gathers the customers who make more than 2 transactions per month on average
- 2 transactions per month - It gathers the customers who make 2 transactions per month on average
- Less than 2 transactions per month - It gathers the customers who make less than 2 transactions per month on average
1. Go to **Decision Hub > Segmentations > New segmentation**.
2. Rename **Segment A** to `More than 2`.
3. Click **Add segment**.
4. Rename **Segment B** to `2`.
5. Click **Add segment**.
6. Rename **Segment C** to `Less than 2`.
7. Configure the conditions of each segment:
More than 2
The conditions of the segmentation
5. Save the segmentation.
Below the settings of the segmentation, you can preview how your customer base splits according to the defined conditions.
6. Click **Show preview**.
You receive the number of customers in each segment and the percentage of each segment in relation to the whole population in the segmentation.
Additionally:
- You can change the chart type - pie chart and column chart
- You can also export the information to CSV/XLSX (data) or JPEG/PNG/PDF (chart)
The preview of the segmentation
## Check the use case set up on the Synerise Demo workspace
---
You can also check the configuration directly in Synerise Demo workspace:
- [segmentation](https://app.synerise.com/analytics-v2/segmentations/24c48af2-81a0-452c-a2a6-459dc376fb5a)
- [aggregate that counts a total number of transactions](https://app.synerise.com/analytics/aggregates/81890447-8c0a-3565-8742-f7f8ff270e03)
- [aggregate that returns the timestamp of the first transaction](https://app.synerise.com/analytics/aggregates/378f75ac-c7a3-3658-bf56-174facc48587)
- [expression that returns the timestamp of the current date](https://app.synerise.com/analytics/expressions/4be2dabc-0051-4dd5-97ee-bb65a372fac5)
- [expression that returns the timestamp of the first customer's transaction](https://app.synerise.com/analytics/expressions/7562b3bc-2dab-4714-9251-c65d6be01a6d)
- [expression that returns the number of months that passed since the first transaction](https://app.synerise.com/analytics/expressions/430e6de0-04ab-4974-9cac-4d734ef9099d)
- [expression that returns the average number of transactions per month](https://app.synerise.com/analytics/expressions/0fb2c6ff-ffe0-4907-aa35-ae2e31812e97)
If you’re our partner or client, you already have automatic access to the **Synerise Demo workspace (1590)**, where you can explore all the configured elements of this use case and copy them to your workspace.
If you’re not a partner or client yet, we encourage you to fill out the contact [form](https://demo.synerise.com/request) to schedule a meeting with our representatives. They’ll be happy to show you how our demo works and discuss how you can apply this use case in your business.
## Generated events
This use case does not generate any events.
## Read more
---
- [Segmentation](/docs/analytics/segmentations)
# Exclude product categories from rewarding loyalty points
The ability to take a flexible approach to loyalty program management is undoubtedly an advantage, which allows you to both better meet the needs of your customers and execute a range of customized campaigns that enable the execution of individual business scenarios. Synerise offers a number of features to help you achieve your specific goals.
Based on the basic loyalty program settings described in detail in this [use case](/use-cases/loyalty-programs-basics), a number of additional scenarios can be created to meet your current business needs. An example of such a scenario might be the need to exclude certain product categories from loyalty point accrual for a particular campaign.
This use case describes the process of creating a workflow that helps exclude certain product categories from loyalty point accrual. This workflow describes a scenario in which we will give loyalty points for every category except Beverages and cancelled products. Such a workflow can be created for a specific campaign that takes place within a certain timeframe.
This use case presents one of the ways to exclude product categories from accruing loyalty points. You can find an alternative solution in [this use case](/use-cases/product-category-exclusion-in-points-scheme). Your choice of one of the scenarios will depend on the implementation of your loyalty program. You can always customize any solution to meet your specific business needs.
## Prerequisites
---
Implement transaction events using [SDK](/developers/web/transactions-sdk) or [API](https://hub.synerise.com/api-reference/data-management#operation/CreateATransaction).
## Security configuration
---
Before you start working with this hub, if you are a Synerise customer or partner, consider reading [the section about denylisting events](/docs/settings/tool/api#denylist). This natively accessible configuration will allow you to manage the restrictions in points management that may help you prevent fraud.
## Create a workflow that excludes specific product categories from rewarding loyalty points
---
Create a workflow that excludes certain product categories from accruing loyalty points during the customer purchase process.
1. Go to **Automation Hub > Workflows > New workflow**.
2. Enter the name of the workflow.
### Define the Profile Event trigger node
---
The workflow will be triggered by a purchase. In the settings of the trigger, define the product categories that you want to exclude from rewarding loyalty points.
1. As a trigger, choose **Profile Event**.
2. Choose the `product.buy` event.
3. Click **+ where** and as the parameter, select `category`.
4. From the **Choose operator** dropdown list, select **Not equal (String)**.
5. Enter the names of the categories you want to exclude from loyalty point accrual.
6. Click **+ where** and as the parameter, select `cancel`.
7. From the **Choose operator** dropdown list, select **Is false (Boolean)**.
The `cancel` parameter used in this use case refers to products that were previously selected by the customer, but were canceled for some reason during the purchase process. You can use any other nomenclature for this type of action while implementing transaction events.
8. Click **Apply**.
Configuration of the Profile Event node
### Define the Generate Event node
---
At this stage, an event will be generated with information about the number of points accrued.
1. As the second node of the workflow, add **Generate Event**.
2. In the **Event name** field, enter the name of the event that will be generated on the customer's profile. In this case, it is `points.loyalty`. This event cause counting the points for customers.
4. In the **Body** section, define the parameters of this event, and click **Apply**.
**Example content of **Body** section:**
In the Jinjava code presented above, we multiply the quantity (`$quantity`) of bought products by 50.
The event body is an example. You can add more parameters or change the point calculation formula according to your business needs.
Configuration of the Generate Event node
### Prepare the final settings
---
1. Add the **End** node.
2. Launch the workflow by clicking **Save&Run**.
Final configuration of the workflow
## Check the use case set up on the Synerise Demo workspace
---
You can check the configuration of the [workflow in the Synerise Demo workspace](https://app.synerise.com/automations/automation-diagram/b2dc5475-ba2c-4fae-b525-7f5a321db91f).
If you’re our partner or client, you already have automatic access to the **Synerise Demo workspace (1590)**, where you can explore all the configured elements of this use case and copy them to your workspace.
If you’re not a partner or client yet, we encourage you to fill out the contact [form](https://demo.synerise.com/request) to schedule a meeting with our representatives. They’ll be happy to show you how our demo works and discuss how you can apply this use case in your business.
## Generated events
This use case generates approximately 11 events per profile that completes the flow:
[`transaction.charge`](/docs/assets/events/event-reference/items#transactioncharge) (~1), [`product.buy`](/docs/assets/events/event-reference/items#productbuy) (~2), [`automation.clientStartPath`](/docs/assets/events/event-reference/automation#automationclientstartpath) (~2), [`automation.clientPathStep`](/docs/assets/events/event-reference/automation#automationclientpathstep) (~2), [`automation.clientEndPath`](/docs/assets/events/event-reference/automation#automationclientendpath) (~2), [`points.loyalty`](/docs/assets/events/event-reference/loyalty#pointsloyalty) (~2).
## Read more
---
- [Automation Hub](/docs/automation)
Check our loyalty use cases [here](/use-cases/?ordering=DESC&sortBy=publishDate&filters=tags%3D%3D%22loyalty%22)
# Personalized recommendations for 404 error page
There are many reasons why users may end up on a 404 error page, including situations when the user mistyped the URL. It is very important to have an optimized 404 page, as it significantly affects the user experience. By providing personalized recommendations or any alternative content on the error page, you can prevent users from feeling lost or frustrated and keep them engaged by encouraging them to continue browsing your site. A well-designed and informative 404 page can help improve user satisfaction, reduce bounce rates, and ultimately drive conversions.
This use case describes the creation of personalized recommendations on a 404 page that will display items most relevant to the user's interests based on their activity on the site.
## Prerequisites
---
- Implement a [tracking code](/developers/web/installation-and-configuration) into your website.
- The [item feed](/docs/ai-hub/recommendations-v2/item-feed-requirements) must be provided.
- [Configure an item catalog for recommendations](/docs/settings/configuration/ai-engine-configuration/engine-configuration-for-recommendations). Enable the personalized recommendations.
## Process
---
In this use case, you will go through the following steps:
1. [Create AI recommendations](/use-cases/personalized-reco-on-error-page#prepare-ai-recommendations) with personalized products.
2. [Create a dynamic content campaign](/use-cases/personalized-reco-on-error-page#create-dynamic-content).
## Prepare AI recommendations
---
In this step, create an AI recommendation campaign that will be used to display products on page 404.
1. Go to **AI Hub > (AI Recommendations) Models > Add recommendation**.
2. Enter the name of the recommendation (it is only visible on the list of recommendations).
3. In the **Type & Items feed** section, click **Define**.
4. From the **Items feed** dropdown list, select a product feed.
5. Select the **Personalized** recommendation type.
6. Confirm the recommendation type by clicking **Apply**.
6. In the **Items** section, click **Define**.
7. Click **Add slot**.
8. Click **Unnamed slot** that was created.
8. Define the minimum and maximum number of products displayed in the frame according to your needs.
9. Optionally, you can use filters to include specific items in the recommendation frame.
Learn about the difference among [elastic, static filters](/docs/ai-hub/recommendations-v2/creating-recommendation-campaign#select-conditions-of-displaying-items), and [distinct filters](/docs/ai-hub/recommendations-v2/creating-recommendation-campaign#distinct-filter).
10. Confirm the configuration by clicking **Apply**.
11. Optionally, you can use boosting option to promote or demote any items attributes in the recommendation frame.
12. Optionally, you can also define the settings in the **Additional settings** tab according to your needs.
13. Click **Save**.
## Create dynamic content
---
Use dynamic content to insert recommendations in the specific place on your 404 page. The most efficient way to do so is to use a unique CSS selector which is added only to the 404 page. In our case, we use the `body.cms-no-route` selector.
If you don’t want to use dynamic content, you can retrieve recommendations through API, [using this method](https://hub.synerise.com/api-reference/ai-recommendations#operation/GetRecommendationsByCampaignV2).
To prepare dynamic content:
1. Go to **Experience Hub > Dynamic content > Create new**.
2. Enter the name of the dynamic content.
1. Choose the **Insert Object** type.
2. In the **Audience** section, select **Everyone**.
3. In the **Content** section specify the CSS selector where you want to insert recommendations.
4. In the **Content** tab, click **Create Message**.
5. In the code editor, insert Jinjava with the AI recommendation and add your own CSS.
Click to see Jinjava
Replace `your_campaign_ID` with the ID of the AI recommendation. The ID of the AI campaign is contained in the URL of the recommendation.
<!-- Downloading the AI campaign --> {% recommendations3 campaignId=your_campaign_ID %} {% for p in recommended_products3 %} <li data-snr-ai-product-id="{{p.itemId}}"> <a class="snrs-AI--item-link" href="{{p.link}}" title="{{p.title}}"> <img src="{{ p.imageLink }}"class="products-slider__item-image snrAI-product-image snrAI-product-image-{{p.itemId}}" width="90" alt="{{p.title}}" id="snrAI-image-{{p.itemId}}"> <h3 class="snrs-AI-product--product-name"> <span class="snrs-AI-product--name-first">{{p.title}}</span> </h3> <span class="snrs-AI-product--series">{{p.attributes.series}}</span> </a> </li> {% endfor %} {% endrecommendations3 %}
6. Save the template.
7. In the **Schedule** section, select the date when the dynamic content is activated.
8. In **Display settings**, define the circumstances for displaying the content.
Instructions how to do it are available [here](/docs/campaign/dynamiccontent/creating-dynamic-content/creating-dynamic-content).
9. Confirm by clicking **Apply**.
10. In the **UTM & URL parameters** section, click **Skip step**.
11. Activate the dynamic content.
**Result**: The recommendation frames are displayed on the website.
## Check the use case set up on the Synerise Demo workspace
---
You can check the [recommendations settings](https://app.synerise.com/ai-v2/recommendations/y9BygrOc69U0) and [dynamic content campaign](https://app.synerise.com/campaigns/preview/b2229cd9-5021-4629-9e66-60a99bd284ae) in Synerise Demo workspace.
If you’re our partner or client, you already have automatic access to the **Synerise Demo workspace (1590)**, where you can explore all the configured elements of this use case and copy them to your workspace.
If you’re not a partner or client yet, we encourage you to fill out the contact [form](https://demo.synerise.com/request) to schedule a meeting with our representatives. They’ll be happy to show you how our demo works and discuss how you can apply this use case in your business.
## Generated events
This use case generates approximately 5 events per profile that completes the flow:
[`dynamicContent.show`](/docs/assets/events/event-reference/dynamic-content#dynamiccontentshow) (~1), [`dynamicContent.click`](/docs/assets/events/event-reference/dynamic-content#dynamiccontentclick) (~1), [`recommendation.generated`](/docs/assets/events/event-reference/recommendations#recommendationgenerated) (~1), [`recommendation.view`](/docs/assets/events/event-reference/recommendations#recommendationview) (~1), [`recommendation.click`](/docs/assets/events/event-reference/recommendations#recommendationclick) (~1).
## Read more
---
- [Dynamic content](/docs/campaign/dynamiccontent)
- [Recommendations](/docs/ai-hub/recommendations-v2/recommendation-statistics)
- [Using recommendations in dynamic content](/developers/inserts/recommendations-v2)
# Price drop alert with split workflow and product intent prioritization
This use case presents a different approach to price drop campaigns by separating the logic into two independent automations. Instead of processing all conditions and communication in a single workflow, the first automation is responsible for detecting price drops and generating enriched events, while the second handles communication based on these events.
This approach improves performance, simplifies logic, and gives more control over campaign execution.
Additionally, the campaign introduces product prioritization. Products are selected based on user intent in the following order:
1. Adding product to cart
2. Adding product to favorites
3. Visiting the product in the mobile app
4. Visiting the product on the website
As a result, users receive communication about the most relevant discounted products and the copy of the email is prepared based on the type of activity of the customer (adding to cart, adding to favorites, and so on).
The key advantages of this approach include:
- **Separation of concerns**: The event generation workflow handles all data collection and price comparison logic, while the communication workflow only handles routing and sending.
- **Snippet-based logic**: All product validation, price comparison, and exclusion logic is contained in a reusable snippet referenced in the Generate Event node.
- **Built-in exclusion mechanism**: Products that have already been communicated to a customer are excluded from subsequent sends, ensuring the campaign spreads across multiple days and intent categories.
While this use case focuses on the **email** communication channel, the event generation workflow is designed to also serve as a foundation for other channels. The generated `results.priceDrop` event contains both email and push data, so you can build a companion mobile push workflow using the same event without modifying the detection logic. See the [What's next](#whats-next) section for details.
## Prerequisites
---
- Implement a [tracking code](/docs/settings/tool/tracking_codes) on your website.
- [Create an item catalog](/docs/ai-hub/recommendations-v2/item-feed-requirements) containing information on the actual price of products (including the `effectivePrice` and `availability` attributes). It is recommended to use a feed-based catalog, as it contains the most up-to-date product data including current prices and availability.
- [Create an email template](/docs/campaign/e-mail/creating-email-templates) to be used in the price drop campaign. You can use a single template across all priority paths and dynamically change its content based on the interaction type. Alternatively, you can create separate templates for each journey (cart, favorites, visited) for more granular control and analytics.
- Ensure user marketing consent attribute (email - e.g. `newsletter_agreement`) is available.
- Integrate [transaction events](/developers/web/transactions-sdk).
- [Create and set up your email account](/docs/campaign/e-mail/configuring-email-account).
- Implement a [custom event](https://hub.synerise.com/api-reference/data-management#operation/CustomEvent) `results.priceDrop` and register it in **Data Modeling Hub > Events** before use. The event must include the following parameters:
- `eventdata` — containing product SKUs, counts, and exclusion data generated by the snippet.
- `newsletterAgreement` — email marketing consent status.
Optionally, you can add extra parameters (such as loyalty program membership) to support further personalization in your email templates.
## Process
---
In this use case, you will go through the following steps:
1. [Create aggregates](#create-aggregates) required for product collection and exclusion logic.
2. [Create the snippet with price drop detection logic](#create-the-snippet-with-price-drop-detection-logic).
3. [Create the workflow for detecting price drops and generating events](#create-the-workflow-for-detecting-price-drops).
4. [Create the workflow for sending email communications based on product intent](#create-the-workflow-for-sending-email-communications).
## Create aggregates
---
Several aggregates are needed to support the event generation logic. These aggregates collect product SKUs and prices from different interaction types, handle exclusions of already-purchased products, and feed into the snippet that runs inside the Generate Event node.
The aggregates are organized into the following groups:
- [Shared aggregates](#shared-aggregates) — purchase history, removal history, and global exclusion data.
- [Favorites aggregates](#favorites-aggregates) — products added to favorites.
- [Cart aggregates](#cart-aggregates) — products added to cart.
- [Mobile app viewed aggregates](#mobile-app-viewed-aggregates) — products viewed in the mobile app.
- [Desktop website viewed aggregates](#desktop-website-viewed-aggregates) — products visited on the website.
All aggregates in this use case use a default period of **30 days**. This value can be adjusted to match your business needs and the event retention configured in your workspace. Longer periods capture more product interactions but may include outdated price data; shorter periods keep the data fresh but may miss older interactions.
### Shared aggregates
#### Aggregate collecting recently purchased product SKUs
---
This aggregate collects SKUs of products the customer has purchased recently. It is used as a "Not in array" filter in other aggregates to exclude products the customer has already bought — there is no need to notify them about a price drop on something they already own.
1. Go to **Behavioral Data Hub > Live Aggregates > Create aggregate**.
2. As the aggregate type, select **Profile**.
3. Enter the name of the aggregate, for example `Last 30 days purchased product SKUs`.
4. Click **Analyze profiles by** and select **Last Multi** and size: **30**.
5. From the **Choose event** dropdown list, select the **Bought product** event.
6. As the event parameter, select **$sku**.
7. Click the **+ where** button:
- From the **Choose parameter** dropdown list, select the **$sku** parameter.
- From the **Choose operator** dropdown list, select **Is not empty**.
8. Define the period to the last **30 days**.
9. Save the aggregate.
Configuration of the aggregate collecting recently purchased product SKUs
#### Aggregate collecting previous price drop event data (global exclusion)
---
This aggregate analyzes `eventdata` from previous `results.priceDrop` events. The snippet parses the `excluded` field from this data to prevent sending the same products again in subsequent campaign runs.
The key behavior here is that a product is only added to the exclusion list when it has been **actually communicated** to the customer. The fact that a `results.priceDrop` event was generated on a given day does not automatically mean the customer received a message — if no products had a price drop, the event will be empty and no exclusion occurs. This ensures that users are not blocked from future campaigns unnecessarily.
The aggregate uses a period setting (default: 30 days) which lets you control how long a product remains excluded after being communicated. After this period expires, the product becomes eligible again.
1. Go to **Behavioral Data Hub > Live Aggregates > Create aggregate**.
2. As the aggregate type, select **Profile**.
3. Enter the name of the aggregate, for example `Last price drop event data`.
4. Click **Analyze profiles by** and select **Last Multi** and size: **100 000**.
5. From the **Choose event** dropdown list, select the **results.priceDrop** event.
6. As the event parameter, select **eventdata**.
7. Click the **+ where** button:
- From the **Choose parameter** dropdown list, select the **eventdata** parameter.
- From the **Choose operator** dropdown list, select **Is not empty**.
8. Define the period to the last **30 days**.
9. Save the aggregate.
Configuration of the aggregate collecting previous price drop event data
#### Aggregate collecting products removed from cart
---
This aggregate collects SKUs of all products the customer has removed from their cart. It is used as an exclusion filter in the cart SKU aggregate to ensure that products intentionally removed from the cart are not included in the price drop communication.
1. Go to **Behavioral Data Hub > Live Aggregates > Create aggregate**.
2. As the aggregate type, select **Profile**.
3. Enter the name of the aggregate, for example `Remove from cart all`.
4. Click **Analyze profiles by** and select **Last Multi** and size: **100**.
5. From the **Choose event** dropdown list, select the `product.removeFromCart` event.
6. As the event parameter, select **$sku**.
7. Define the period to the last **30 days**.
8. Save the aggregate.
Configuration of the aggregate collecting products removed from cart
### Favorites aggregates
#### Aggregate collecting favorite product SKUs
---
This aggregate collects SKUs of products added to favorites that have not been purchased recently.
1. Go to **Behavioral Data Hub > Live Aggregates > Create aggregate**.
2. As the aggregate type, select **Profile**.
3. Enter the name of the aggregate, for example `Favorite products with lower price - SKUs`.
4. Click **Analyze profiles by** and select **Last Multi** and size: **1000**.
5. From the **Choose event** dropdown list, select the **product.addToFavorite** event.
6. As the event parameter, select **$sku**.
7. Click the **+ where** button and add the following conditions:
- `$sku` **Is not empty** — ensures the SKU parameter exists.
- `finalUnitPrice` **Is not empty** — ensures the price parameter exists.
- `$sku` **Not in array** → select the aggregate **Last 30 days purchased product SKUs**. This excludes products that the customer has already bought.
8. Define the period to the last **30 days**.
9. Save the aggregate.
Configuration of the aggregate collecting favorite product SKUs
#### Aggregate collecting favorite product prices
---
This aggregate collects the prices (`finalUnitPrice`) recorded at the time when products were added to favorites. These prices are later compared with current catalog prices in the snippet to detect price drops.
1. Go to **Behavioral Data Hub > Live Aggregates > Create aggregate**.
2. As the aggregate type, select **Profile**.
3. Enter the name of the aggregate, for example `Favorite products with lower price - prices`.
4. Click **Analyze profiles by** and select **Last Multi** and size: **1000**.
5. From the **Choose event** dropdown list, select the **product.addToFavorite** event.
6. As the event parameter, select **finalUnitPrice**.
7. Click the **+ where** button and add the same conditions as in the SKU aggregate:
- `$sku` **Is not empty**.
- `finalUnitPrice` **Is not empty**.
- `$sku` **Not in array** → select the aggregate **Last 30 days purchased product SKUs**.
8. Define the period to the last **30 days**.
9. Save the aggregate.
Configuration of the aggregate collecting favorite product prices
It is critical that the conditions defined in the SKU and price aggregates for each interaction type are identical. The snippet pairs SKUs with prices by array index, so any mismatch in filtering conditions would cause incorrect price comparisons.
### Cart aggregates
#### Aggregate collecting cart product SKUs
---
This aggregate collects SKUs of products added to cart that have not been removed from cart or recently purchased.
1. Go to **Behavioral Data Hub > Live Aggregates > Create aggregate**.
2. As the aggregate type, select **Profile**.
3. Enter the name of the aggregate, for example `Cart products with lower price - SKUs`.
4. Click **Analyze profiles by** and select **Last Multi** and size: **1000**.
5. From the **Choose event** dropdown list, select the **product.addToCart** event.
6. As the event parameter, select **$sku**.
7. Click the **+ where** button and add the following conditions:
- `$sku` **Is not empty** — ensures the SKU value exists.
8. Define the period to the last **30 days**.
9. Save the aggregate.
Configuration of the aggregate collecting cart product SKUs
#### Aggregate collecting cart product prices
---
This aggregate collects the prices recorded at the time when products were added to cart.
1. Go to **Behavioral Data Hub > Live Aggregates > Create aggregate**.
2. As the aggregate type, select **Profile**.
3. Enter the name of the aggregate, for example `Cart products with lower price - prices`.
4. Click **Analyze profiles by** and select **Last Multi** and size: **1000**.
5. From the **Choose event** dropdown list, select the **product.addToCart** event.
6. As the event parameter, select **$finalUnitPrice**.
7. Click the **+ where** button and add the following conditions:
- `$finalUnitPrice` **Is not empty** — ensures the price value exists.
8. Define the period to the last **30 days**.
9. Save the aggregate.
Configuration of the aggregate collecting cart product prices
### Mobile app viewed aggregates
The mobile app viewed aggregates use the **product.view** event and the `sku` parameter, while the desktop website viewed aggregates use the `page.visit` event and `product:retailer_part_no`. This difference reflects how product views are tracked on each platform. Make sure to use the correct event and parameter names for your implementation.
#### Aggregate collecting mobile app viewed product SKUs
---
This aggregate collects SKUs of products viewed in the mobile app that have not been recently purchased.
1. Go to **Behavioral Data Hub > Live Aggregates > Create aggregate**.
2. As the aggregate type, select **Profile**.
3. Enter the name of the aggregate, for example `Mobile app viewed products - SKUs`.
4. Click **Analyze profiles by** and select **Last Multi** and size: **1000**.
5. From the **Choose event** dropdown list, select the **product.view** event.
6. As the event parameter, select **sku**.
7. Click the **+ where** button and add the following conditions:
- `sku` **Is not empty** — ensures the SKU parameter exists.
- `sku` **Not in array** → select the aggregate **Last 30 days purchased product SKUs**. This excludes products the customer has already bought.
8. Define the period to the last **30 days**.
9. Save the aggregate.
Configuration of the aggregate collecting mobile app viewed product SKUs
#### Aggregate collecting mobile app viewed product prices
---
This aggregate collects the prices (`finalUnitPrice`) recorded at the time when products were viewed in the mobile app.
1. Go to **Behavioral Data Hub > Live Aggregates > Create aggregate**.
2. As the aggregate type, select **Profile**.
3. Enter the name of the aggregate, for example `Mobile app viewed products - prices`.
4. Click **Analyze profiles by** and select **Last Multi** and size: **1000**.
5. From the **Choose event** dropdown list, select the **product.view** event.
6. As the event parameter, select **finalUnitPrice**.
7. Click the **+ where** button and add the following conditions:
- `sku` **Is not empty**.
- `sku` **Not in array** → select the aggregate **Last 30 days purchased product SKUs**.
8. Define the period to the last **30 days**.
9. Save the aggregate.
Configuration of the aggregate collecting mobile app viewed product prices
### Desktop website viewed aggregates
#### Aggregate collecting desktop website viewed product SKUs
---
This aggregate collects `product:retailer_part_no` values of products visited on the website that have not been recently purchased.
1. Go to **Behavioral Data Hub > Live Aggregates > Create aggregate**.
2. As the aggregate type, select **Profile**.
3. Enter the name of the aggregate, for example `Desktop website viewed products - SKUs`.
4. Click **Analyze profiles by** and select **Last Multi** and size: **1000**.
5. From the **Choose event** dropdown list, select the `page.visit` event.
6. As the event parameter, select **product:retailer_part_no**.
7. Click the **+ where** button and add the following conditions:
- `product:retailer_part_no` **Is not empty** — ensures the product ID exists.
- `product:retailer_part_no` **Not in array** → select the aggregate **Last 30 days purchased product SKUs**. This excludes products the customer has already bought.
- `product:price:amount` **Is not empty** — ensures the price parameter exists.
8. Define the period to the last **30 days**.
9. Save the aggregate.
Configuration of the aggregate collecting desktop website viewed product SKUs
#### Aggregate collecting desktop website viewed product prices
---
This aggregate collects the prices (`product:price:amount`) recorded at the time when products were visited on the website.
1. Go to **Behavioral Data Hub > Live Aggregates > Create aggregate**.
2. As the aggregate type, select **Profile**.
3. Enter the name of the aggregate, for example `Desktop website viewed products - prices`.
4. Click **Analyze profiles by** and select **Last Multi** and size: **1000**.
5. From the **Choose event** dropdown list, select the `page.visit` event.
6. As the event parameter, select **product:price:amount**.
7. Click the **+ where** button and add the following conditions:
- `product:retailer_part_no` **Is not empty**.
- `product:retailer_part_no` **Not in array** → select the aggregate **Last 30 days purchased product SKUs**.
- `product:price:amount` **Is not empty**.
8. Define the period to the last **30 days**.
9. Save the aggregate.
Configuration of the aggregate collecting desktop website viewed product prices
## Create the snippet with price drop detection logic
---
The snippet is the core of this use case. It is stored in **Data Modeling Hub > Snippets** and referenced by its hash in the Generate Event node.
-
### Create the snippet
1. Go to **Data Modeling Hub > Snippets > Add snippet**.
2. Enter the name of the snippet, for example `Price drop detection logic`.
3. Paste the following Jinjava code:
{%- set final_objects_for_alert=[] -%}
{%- set added_objects=[] -%}
{%- set last_add_fav_skus=[] -%}
{%- set last_add_fav_prices=[] -%}
{%- aggregate 1227553d-114a-3c19-b618-6c3afc9d7a32 -%}
{%- for items in aggregate_result -%}
{%- do last_add_fav_skus.append(items) -%}
{%- endfor -%}
{%- endaggregate -%}
{%- aggregate 1227553d-114a-3c19-b618-6c3afc9d7a32 -%}
{%- for price in aggregate_result -%}
{%- do last_add_fav_prices.append(price) -%}
{%- endfor -%}
{%- endaggregate -%}
{%- for added in last_add_fav_skus -%}
{%- do added_objects.append({'sku': added, 'price': last_add_fav_prices[loop.index0]}) -%}
{%- endfor -%}
{%- set final_price_alert_fav_skus=[] -%}
{%- for item in added_objects -%}
{%- catalogitemv2.(item.sku) allowEmpty=True -%}
{%- set object = catalog_result -%}
{%- if object.availability == 'true' -%}
{%- set _catalog_price = catalog_result.get('effectivePrice') -%}
{%- set catalog_price = _catalog_price | float -%}
{%- set item_price = item.price|float -%}
{%- set is_discounted = item_price > catalog_price -%}
{%- if is_discounted -%}
{%- do final_price_alert_fav_skus.append(item) -%}
{%- endif -%}
{%- endif -%}
{%- endcatalogitemv2 -%}
{%- endfor -%}
{%- set added_objects=[] -%}
{%- set last_add_fav_skus=[] -%}
{%- set last_add_fav_prices=[] -%}
{%- aggregate 34f469d8-f83d-32e5-b0e1-10f73b0a0179 -%}
{%- for items in aggregate_result -%}
{%- do last_add_fav_skus.append(items) -%}
{%- endfor -%}
{%- endaggregate -%}
{%- aggregate 4148b6aa-4488-39d1-81b8-a29ed5b23424 -%}
{%- for price in aggregate_result -%}
{%- do last_add_fav_prices.append(price) -%}
{%- endfor -%}
{%- endaggregate -%}
{%- for added in last_add_fav_skus -%}
{%- do added_objects.append({'sku': added, 'price': last_add_fav_prices[loop.index0]}) -%}
{%- endfor -%}
{%- set final_price_alert_cart_skus=[] -%}
{%- for item in added_objects -%}
{%- catalogitemv2.(item.sku) allowEmpty=True -%}
{%- set object = catalog_result -%}
{%- if object.availability == 'true' -%}
    {%- set _catalog_price = catalog_result.get('effectivePrice') -%}
    {%- set catalog_price = _catalog_price | float -%}
    {%- set item_price = item.price|float -%}
    {%- set is_discounted = item_price > catalog_price -%}
    {%- if is_discounted -%}
    {%- do final_price_alert_cart_skus.append(item) -%}
    {%- endif -%}
{%- endif -%}
{%- endcatalogitemv2 -%}
{%- endfor -%}
{%- set added_objects=[] -%}
{%- set last_add_fav_skus=[] -%}
{%- set last_add_fav_prices=[] -%}
{%- aggregate 51d1daac-8483-351f-ae01-ea0b5455fba0 -%}
{%- for items in aggregate_result -%}
{%- do last_add_fav_skus.append(items) -%}
{%- endfor -%}
{%- endaggregate -%}
{%- aggregate 51d1daac-8483-351f-ae01-ea0b5455fba0 -%}
{%- for price in aggregate_result -%}
{%- do last_add_fav_prices.append(price) -%}
{%- endfor -%}
{%- endaggregate -%}
{%- for added in last_add_fav_skus -%}
{%- do added_objects.append({'sku': added, 'price': last_add_fav_prices[loop.index0]}) -%}
{%- endfor -%}
{%- set final_price_alert_desktop_skus=[] -%}
{%- for item in added_objects -%}
{%- catalogitemv2.(item.sku) allowEmpty=True -%}
{%- set object = catalog_result -%}
{%- if object.availability == 'true' -%}
    {%- set _catalog_price = catalog_result.get('effectivePrice') -%}
    {%- set catalog_price = _catalog_price | float -%}
    {%- set item_price = item.price|float -%}
    {%- set is_discounted = item_price > catalog_price -%}
    {%- if is_discounted -%}
    {%- do final_price_alert_desktop_skus.append(item) -%}
    {%- endif -%}
{%- endif -%}
{%- endcatalogitemv2 -%}
{%- endfor -%}
{%- set added_objects=[] -%}
{%- set last_add_fav_skus=[] -%}
{%- set last_add_fav_prices=[] -%}
{%- aggregate adb929ff-f56c-37d6-b5d8-61d88449d2e1 -%}
{%- for items in aggregate_result -%}
{%- do last_add_fav_skus.append(items) -%}
{%- endfor -%}
{%- endaggregate -%}
{%- aggregate adb929ff-f56c-37d6-b5d8-61d88449d2e1 -%}
{%- for price in aggregate_result -%}
{%- do last_add_fav_prices.append(price) -%}
{%- endfor -%}
{%- endaggregate -%}
{%- for added in last_add_fav_skus -%}
{%- do added_objects.append({'sku': added, 'price': last_add_fav_prices[loop.index0]}) -%}
{%- endfor -%}
{%- set final_price_alert_mobile_skus=[] -%}
{%- for item in added_objects -%}
{%- catalogitemv2.(item.sku) allowEmpty=True -%}
{%- set object = catalog_result -%}
{%- if object.availability == 'true' -%}
    {%- set _catalog_price = catalog_result.get('effectivePrice') -%}
    {%- set catalog_price = _catalog_price | float -%}
    {%- set item_price = item.price|float -%}
    {%- set is_discounted = item_price > catalog_price -%}
    {%- if is_discounted -%}
    {%- do final_price_alert_mobile_skus.append(item) -%}
    {%- endif -%}
{%- endif -%}
{%- endcatalogitemv2 -%}
{%- endfor -%}
{%- set seen = [] -%}
{%- set excluded = [] -%}
{%- aggregate b5fc6392-65f1-32d3-9ed1-a41f209ea4c5 -%}
{%- for result in aggregate_result -%}
{%- set raw = result|string -%}
{%- set split1 = raw|split('excluded=[') -%}
{%- if split1|length > 1 -%}
    {%- set inside = split1[1]|split(']') -%}
    {%- for item in inside[0]|split(', ') -%}
    {%- set trimmed = item|trim -%}
    {%- if trimmed != '' and (trimmed in excluded == false) -%}
        {%- do excluded.append(trimmed) -%}
    {%- endif -%}
    {%- endfor -%}
{%- endif -%}
{%- endfor -%}
{%- endaggregate -%}
{%- set filtered_cart = [] -%}
{%- for item in final_price_alert_cart_skus -%}
{%- if item.sku != '' and (item.sku in excluded == false) and (item.sku in seen == false) -%}
{%- do filtered_cart.append(item.sku) -%}
{%- do seen.append(item.sku) -%}
{%- endif -%}
{%- endfor -%}
{%- set filtered_fav = [] -%}
{%- for item in final_price_alert_fav_skus -%}
{%- if item.sku != '' and (item.sku in excluded == false) and (item.sku in seen == false) -%}
{%- do filtered_fav.append(item.sku) -%}
{%- do seen.append(item.sku) -%}
{%- endif -%}
{%- endfor -%}
{%- set filtered_viewMobile = [] -%}
{%- for item in final_price_alert_mobile_skus -%}
{%- if item.sku != '' and (item.sku in excluded == false) and (item.sku in seen == false) -%}
{%- do filtered_viewMobile.append(item.sku) -%}
{%- do seen.append(item.sku) -%}
{%- endif -%}
{%- endfor -%}
{%- set filtered_viewWeb = [] -%}
{%- for item in final_price_alert_desktop_skus -%}
{%- if item.sku != '' and (item.sku in excluded == false) and (item.sku in seen == false) -%}
{%- do filtered_viewWeb.append(item.sku) -%}
{%- do seen.append(item.sku) -%}
{%- endif -%}
{%- endfor -%}
{%- set new_excluded = [] -%}
{%- if filtered_cart|length > 0 -%}
{%- set new_excluded = filtered_cart -%}
{%- elif filtered_fav|length > 0 -%}
{%- set new_excluded = filtered_fav -%}
{%- elif filtered_viewMobile|length > 0 -%}
{%- set new_excluded = filtered_viewMobile -%}
{%- elif filtered_viewWeb|length > 0 -%}
{%- set new_excluded = filtered_viewWeb -%}
{%- endif -%}
{%- set finalObj = {'emailCartSku': filtered_cart,'emailCartCount': filtered_cart|length,'emailFavSku': filtered_fav,'emailFavCount': filtered_fav|length,'emailViewMobileSku': filtered_viewMobile,'emailViewMobileCount': filtered_viewMobile|length,'emailViewWebSku': filtered_viewWeb,'emailViewWebCount': filtered_viewWeb|length,'excluded': new_excluded} -%}{{ finalObj }}
Before using this snippet, you must:
- Go to config and replace boxes in the config with the actual aggregates you created in the previous steps.
- Replace `YOUR_CATALOG_NAME` with the name of your item catalog (for example, `AI Feed - default`).
Configuratione
4. Save the snippet for use in the Generate Event node.
### How the snippet works
The snippet processes each interaction type in sequence using a repeating pattern. For each type, it:
- **Loads two parallel arrays** from aggregates — SKUs and prices — for products the user interacted with.
- **Builds product objects** combining SKU and price.
- **Looks up each product in the catalog** using `catalogitemv2`. It checks two things:
- Is the product still available (`availability == 'true'`)?
- Is the current catalog price (`effectivePrice`) lower than the price recorded at the time of user interaction?
Only products passing both checks qualify as price-dropped.
After processing all four interaction types, the snippet enters the **global filtering and exclusion phase**:
- **Loads previous exclusions** from the most recent `results.priceDrop` event's `eventdata` parameter. It parses the `excluded=[...]` field to get a list of SKUs that were already communicated.
- **Filters each category** by removing:
- Products from the previous exclusion list.
- Products already present in a higher-priority category (via the `seen` list), so the same SKU never appears in two categories.
- **Determines the new exclusion list**: Only products from the highest-priority non-empty category are added to `excluded`. This ensures the next campaign run skips these products and moves to the next priority level.
The snippet also generates single-SKU fields per category (e.g. `pushCartSku`, `pushFavSku`) which are not used in this email workflow but can be consumed by a [companion push workflow](#whats-next).
- **Prepares push variants**: For each category, takes only the last (most recent) product for push notifications (max 1 per category). These are included in the event data for use in a potential [mobile push workflow](#whats-next).
## Create the workflow for detecting price drops
---
This workflow is responsible for selecting the target audience, running the snippet that detects price drops across all interaction types, and generating an enriched event that contains all the necessary data for the communication workflow.
By using a snippet in the Generate Event node, this approach offloads logic from aggregates and email templates, resulting in better optimization and simpler template design.
1. Go to **Automation Hub > Workflows > New workflow**.
2. Enter the name of the workflow.
### Define the Audience trigger node
---
The audience conditions described below are an example configuration. You should adjust the specific events, time ranges, and consent conditions to match your business requirements and campaign frequency.
1. Start the workflow with the **Audience** node. In the configuration of the node:
1. Set the **Repeat runs** option to **repeatable** and configure the desired interval (for example, once a day or once a week).
2. Select the time zone.
3. In the **Audience** section, choose **New audience**.
4. Click **Define conditions**.
5. Add the following conditions connected by the **OR** operator:
- From the **Choose filter** dropdown list, select the `page.visit` event.
- From the **Choose filter** dropdown list, select the `product.addToFavorite` event.
- From the **Choose filter** dropdown list, select the `product.addToCart` event.
- From the **Choose filter** dropdown list, select the `product.view` event.
6. Add an **AND** condition to ensure the user has not already received a price drop email recently:
- From the **Choose filter** dropdown list, select the `message.send` event.
- Change **Performed** to **Not performed**.
- Click the **+ where** button, select the **diagramId** parameter, set **Equal** to the diagram ID of the [email communication workflow](#create-the-workflow-for-sending-email-communications).
- Set the time range according to your desired sending frequency (for example, **last 7 days**).
7. Add an **AND** condition to ensure the user has marketing consent:
- From the **Choose filter** dropdown list, select the **newsletter_agreement** attribute.
- Set the operator to **Equal** and the value to `enabled`.
8. Confirm by clicking **Apply**.
The exclusion condition based on `message.send` with a specific `diagramId` ensures that only users who have **actually received** a price drop email are excluded from the next run. This is more precise than excluding based on the `results.priceDrop` event, because the event is generated for all qualifying users — even those for whom no products had a price drop. Using event-based exclusion would unnecessarily block those users from entering the campaign on subsequent days.
### Configure the Generate Event node
---
This node generates a `results.priceDrop` event on each customer's profile. The event contains all the data needed by the communication workflow, including discounted product SKUs grouped by interaction type, product counts for each category, and the user's email consent status.
1. Add the **Generate Event** node. In the configuration of the node:
1. In the **Event name** field, enter `results.priceDrop`.
2. In the **Body** section, enter the following structure:
Where:
- `eventdata` — references the [snippet](#create-the-snippet-with-price-drop-detection-logic) created in the previous step. Replace `SNIPPET_HASH` with the actual snippet hash.
- `newsletterAgreement` — captures the user's email consent status at the time of event generation.
Optionally, you can add extra parameters to support further personalization in your email templates, such as loyalty program membership or customer tier.
The `eventdata` parameter will be populated by the snippet. Below is an example of the generated output (the actual number of SKUs depends on each user's activity and which products have had a price drop):
`emailCartSku=[SKU1,SKU2], emailCartCount=2, emailFavSku=[SKU3], emailFavCount=1, emailViewMobileSku=[SKU4], emailViewMobileCount=1, emailViewWebSku=[SKU5,SKU6,SKU7], emailViewWebCount=3, pushCartSku=[SKU1], pushCartCount=1, pushFavSku=[SKU3], pushFavCount=1, pushViewMobileSku=[SKU4], pushViewMobileCount=1, pushViewWebSku=[SKU5], pushViewWebCount=1, excluded=[SKU1,SKU2]`
In this example, `emailCartSku` is the highest-priority non-empty category (the "winning" category), so the `excluded` list contains only the cart SKUs (`SKU1,SKU2`). Products from other categories (favorites, mobile viewed, web viewed) are not excluded yet and will be eligible for communication on subsequent days.
The key fields in `eventdata` are:
- `emailCartSku` / `emailCartCount` — SKUs and count of discounted cart products.
- `emailFavSku` / `emailFavCount` — SKUs and count of discounted favorite products.
- `emailViewMobileSku` / `emailViewMobileCount` — SKUs and count of discounted products viewed in the mobile app.
- `emailViewWebSku` / `emailViewWebCount` — SKUs and count of discounted products viewed on the website.
- `excluded` — list of product SKUs from the winning priority category, to be excluded from future sends.
3. Confirm by clicking **Apply**.
Configuration of the Generate Event node
### Add the finishing node
---
1. Add the **End** node with **Finish other paths** enabled.
2. In the upper right corner, click **Save & Run**.
The workflow for generating price drop events
## Create the workflow for sending email communications
---
This workflow listens for the `results.priceDrop` event generated by the first workflow and routes customers into different email communication paths based on product intent priority. It uses four parallel Profile Event trigger paths, each checking the `eventdata` parameter for the relevant product count:
- **Priority 1: Cart** — Send Email. Triggers when the number of cart products with a price drop is greater than 0.
- **Priority 2: Favorites** — Send Email. Triggers when cart count equals 0, but favorites count is greater than 0.
- **Priority 3: Last seen in mobile app** — Send Email. Triggers when cart and favorites counts equal 0, but mobile app viewed count is greater than 0.
- **Priority 4: Last seen on website** — Send Email. Triggers when cart, favorites, and mobile app counts all equal 0, but website viewed count is greater than 0.
The prioritization ensures that on a given day, a user enters only one path — the highest-priority one with available products. On subsequent days, the exclusion mechanism removes already-communicated products, causing the user to fall through to the next priority level.
**Example over multiple days:**
- **Day 1**: User has 4 cart products with a price drop **and** 4 favorite products with a price drop → enters the Cart path (highest priority), receives email with cart products. These products are added to the exclusion list. The communication about favorite products is skipped due to priority and waits for the next opportunity.
- **Day 2**: Cart products already excluded → system checks favorites. User has 4 favorite products, but 3 overlap with already-excluded cart products → receives email with 1 remaining favorite product.
- **Day 3**: Cart and favorites exhausted → system checks mobile app viewed products → email sent with viewed products if any have a price drop.
Using the same email template across all four paths with dynamic content is a recommended approach. You can pass additional parameters (such as the scenario name) to the template, which allows you to differentiate copy in the template itself and also track in analytics which scenario performs best. An additional benefit of using a single dynamic template is that when you need to make changes, you update it in one place instead of maintaining four separate templates.
### Working with event data in email templates
---
All four email paths in this workflow use the `eventdata` parameter from the `results.priceDrop` event to dynamically populate product content. In each Send Email node, you can access the relevant SKU list from the event context using [event parameter reuse](/developers/inserts/automation).
Since `eventdata` is a structured string, you need to parse it in the template to extract the SKU list for the appropriate interaction type. For example, for the cart path you would extract the `emailCartSku` field, for the favorites path the `emailFavSku` field, and so on. Once you have the SKU list, you can iterate over it, look up each product in the catalog, and display the product name, image, current price, and link.
1. Go to **Automation Hub > Workflows > New workflow**.
2. Enter the name of the workflow.
### Configure the Profile Event trigger for cart path (Priority 1)
---
1. As the first trigger path, add a **Profile Event** node and name it `prio 1: CART`. In the configuration of the node:
1. Enable **Action limit** and set it to **1 time per Workflow**.
2. From the **Choose event** dropdown menu, choose the `results.priceDrop` event.
3. Click the **+ where** button and add the following conditions:
- `newsletterAgreement` **Equal** `enabled`
- `eventdata` **Contain** `emailCartCount=`
- `eventdata` **Not contain** `emailCartCount=0`
4. Confirm by clicking **Apply**.
Configuration of the Profile Event node for cart path
The combination of **Contain** `emailCartCount=` and **Not contain** `emailCartCount=0` effectively checks that the cart product count exists and is greater than zero. This pattern is used consistently across all paths.
The `newsletterAgreement` **Equal** `enabled` condition acts as a safety check to ensure that only users with valid email consent enter the path, even if the audience node has already filtered for consent. This prevents edge cases where consent might have changed between audience evaluation and event generation.
### Add Send Email for cart path
---
1. Add the **Send Email** node.
1. Select the email template prepared for the price drop campaign.
2. Confirm by clicking **Apply**.
### Configure the Profile Event trigger for favorites path (Priority 2)
---
1. Add a second **Profile Event** node and name it `prio 2: FAV`. In the configuration of the node:
1. Enable **Action limit** and set it to **1 time per Workflow**.
2. From the **Choose event** dropdown menu, choose the `results.priceDrop` event.
3. Click the **+ where** button and add the following conditions:
- `newsletterAgreement` **Equal** `enabled`
- `eventdata` **Contain** `emailCartCount=0` — ensures the cart path was not applicable (cart is empty).
- `eventdata` **Contain** `emailFavCount=`
- `eventdata` **Not contain** `emailFavCount=0`
4. Confirm by clicking **Apply**.
Configuration of the Profile Event node for favorites path
### Add Send Email for favorites path
---
1. Add the **Send Email** node.
1. Select the email template prepared for the price drop campaign.
2. Confirm by clicking **Apply**.
### Configure the Profile Event trigger for mobile app viewed path (Priority 3)
---
1. Add a third **Profile Event** node and name it `prio 3: LAST SEEN (APP)`. In the configuration of the node:
1. Enable **Action limit** and set it to **1 time per Workflow**.
2. From the **Choose event** dropdown menu, choose the `results.priceDrop` event.
3. Click the **+ where** button and add the following conditions:
- `newsletterAgreement` **Equal** `enabled`
- `eventdata` **Contain** `emailCartCount=0` — cart is empty.
- `eventdata` **Contain** `emailFavCount=0` — favorites are empty.
- `eventdata` **Contain** `emailViewMobileCount=`
- `eventdata` **Not contain** `emailViewMobileCount=0`
4. Confirm by clicking **Apply**.
Configuration of the Profile Event node for mobile app viewed path
### Add Send Email for mobile app viewed path
---
1. Add the **Send Email** node.
1. Select the email template prepared for the price drop campaign.
2. Confirm by clicking **Apply**.
### Configure the Profile Event trigger for website viewed path (Priority 4)
---
1. Add a fourth **Profile Event** node and name it `prio 4: LAST SEEN (WEB)`. In the configuration of the node:
1. Enable **Action limit** and set it to **1 time per Workflow**.
2. From the **Choose event** dropdown menu, choose the `results.priceDrop` event.
3. Click the **+ where** button and add the following conditions:
- `newsletterAgreement` **Equal** `enabled`
- `eventdata` **Contain** `emailCartCount=0` — cart is empty.
- `eventdata` **Contain** `emailFavCount=0` — favorites are empty.
- `eventdata` **Contain** `emailViewMobileCount=0` — mobile app viewed is empty.
- `eventdata` **Contain** `emailViewWebCount=`
- `eventdata` **Not contain** `emailViewWebCount=0`
4. Confirm by clicking **Apply**.
### Add Send Email for website viewed path
---
1. Add the **Send Email** node.
1. Select the email template prepared for the price drop campaign.
2. Confirm by clicking **Apply**.
### Add the Merge Paths and finishing node
---
1. Connect all four paths to a **Merge Paths** node. This node combines separate paths into one and limits further processing, ensuring a customer only receives one email per workflow execution.
2. Add the **End** node.
3. In the upper right corner, click **Save & Run**.
The workflow for sending price drop email communications
## What's next
---
A companion workflow for **mobile push notifications** can be built using the same `results.priceDrop` event. The key differences from the email workflow described above are:
- **Event generation**: Add a `newsletterPush` parameter to the Generate Event body: `"newsletterPush": "{{ customer.receive_push_messages }}|{{ customer.snrs_has_mobile_push_devices }}"`. This captures push consent and device token status in the event so the push workflow can check them without querying the customer profile.
- **Communication channel**: Replace Send Email nodes with **Send Mobile Push** nodes in all paths.
- **Consent condition**: In each Profile Event trigger, change the consent check from `newsletterAgreement` **Equal** `enabled` to `newsletterPush` **Equal** `true|true`. The value `true|true` verifies two things: the first `true` confirms the user has granted push marketing consent (`receive_push_messages`), and the second `true` confirms they have an active mobile push device token (`snrs_has_mobile_push_devices`). Both conditions must be met for a push notification to be delivered.
- **Product data**: The `results.priceDrop` event already contains push-specific SKUs in dedicated parameters (`pushCartSku`, `pushFavSku`, `pushViewMobileSku`, `pushViewWebSku`) — each limited to a single product — so you can reference them directly in your push notification template via [event parameter reuse](/developers/inserts/automation), just like in the email template.
This means you only need to add one parameter to the event generation workflow — the snippet and all aggregates remain unchanged.
## Check the use case set up on the Synerise Demo workspace
---
You can check the configuration of each step directly in the Synerise Demo workspace:
**Workflows:**
- [Workflow for generating price drop events](https://app.synerise.com/automations/workflows/automation-diagram/b93d0800-b768-4849-83f2-88ba2e19cb24)
- [Workflow for sending email communications](https://app.synerise.com/automations/workflows/automation-diagram/5226c9ad-cab7-4afd-9c26-6e61ed542b09)
**Expressions:**
- [Add to cart sku/$sku](https://app.synerise.com/analytics/expressions/0ffb560f-d1ce-4713-9e7e-0392ec0f32d6)
- [Add to cart finalUnitPrice/$finalUnitPrice](https://app.synerise.com/analytics/expressions/f47ea9c9-a96e-4644-b787-5e80c1480d33)
- [Remove from cart sku/$SKU](https://app.synerise.com/analytics/expressions/4a2244aa-33e5-49b6-a87b-b38c7fdb0e9b)
**Shared aggregates:**
- [Last 30 days purchased product SKUs](https://app.synerise.com/analytics-v2/aggregates/eba019a7-65cf-32b4-bc68-0b48d4cb55f7)
- [Last price drop event data](https://app.synerise.com/analytics-v2/aggregates/b194da93-c703-3fd4-9802-da3be827478b)
- [Remove from cart all](https://app.synerise.com/analytics-v2/aggregates/eba019a7-65cf-32b4-bc68-0b48d4cb55f7)
**Favorites aggregates:**
- [Favorite products with lower price - SKUs](https://app.synerise.com/analytics-v2/aggregates/1227553d-114a-3c19-b618-6c3afc9d7a32)
- [Favorite products with lower price - prices](https://app.synerise.com/analytics-v2/aggregates/34f469d8-f83d-32e5-b0e1-10f73b0a0179)
**Cart aggregates:**
- [Cart products with lower price - SKUs](https://app.synerise.com/analytics-v2/aggregates/4148b6aa-4488-39d1-81b8-a29ed5b23424)
- [Cart products with lower price - prices](https://app.synerise.com/analytics-v2/aggregates/150153c4-141e-3f09-967e-debdb84c20fc)
**Mobile app viewed aggregates:**
- [Mobile app viewed products - SKUs](https://app.synerise.com/analytics-v2/aggregates/2a4204cf-daeb-32e5-9115-25bcb0d00648)
- [Mobile app viewed products - prices](https://app.synerise.com/analytics-v2/aggregates/b5fc6392-65f1-32d3-9ed1-a41f209ea4c5)
**Desktop website viewed aggregates:**
- [Desktop website viewed products - SKUs](https://app.synerise.com/analytics-v2/aggregates/51d1daac-8483-351f-ae01-ea0b5455fba0)
- [Desktop website viewed products - prices](https://app.synerise.com/analytics-v2/aggregates/adb929ff-f56c-37d6-b5d8-61d88449d2e1)
If you’re our partner or client, you already have automatic access to the **Synerise Demo workspace (1590)**, where you can explore all the configured elements of this use case and copy them to your workspace.
If you’re not a partner or client yet, we encourage you to fill out the contact [form](https://demo.synerise.com/request) to schedule a meeting with our representatives. They’ll be happy to show you how our demo works and discuss how you can apply this use case in your business.
## Generated events
This use case generates approximately 13 events per profile that completes the flow:
[`automation.clientStartPath`](/docs/assets/events/event-reference/automation#automationclientstartpath) (~2), [`automation.clientPathStep`](/docs/assets/events/event-reference/automation#automationclientpathstep) (~5), [`automation.clientEndPath`](/docs/assets/events/event-reference/automation#automationclientendpath) (~2), `results.priceDrop` (~1), [`message.send`](/docs/assets/events/event-reference/email#messagesend) (~1), [`newsletter.open`](/docs/assets/events/event-reference/email#newsletteropen) (~1), [`newsletter.click`](/docs/assets/events/event-reference/email#newsletterclick) (~1).
## Read more
---
- [Aggregates](/docs/crm/aggregates)
- [Automation Hub](/docs/automation)
- [Catalogs](/docs/assets/catalogs/introduction-to-catalogs)
- [Email campaigns](/docs/campaign/e-mail)
- [Expressions](/docs/crm/expressions)
- [Mobile push campaigns](/docs/campaign/Mobile)
- [Reusing event context from preceding nodes](/developers/inserts/automation)
- [Creating workflows](/docs/automation/creating-automation)
- [Jinjava inserts](/developers/inserts/insert-usage)
- [Snippets](/docs/assets/snippets)
# Automated Rotation of Dynamic Content Banners with Controlled Display Frequency
Dynamic content campaigns are a powerful tool for delivering personalized and engaging experiences on websites. By enabling the rotation of promotional content, businesses can capture users’ attention with diverse messages. Automating this process allows for efficient management of campaigns, ensuring that each message reaches its audience without manual intervention or redundant displays.
In this use case we will describe an example campaign consisting of four dynamic content campaigns that rotate dynamically within an upper-page banner. The campaigns will be created based on the predefined dynamic content templates.
The rotation is powered by the on-demand trigger in Synerise, which allows campaigns to be triggered programmatically rather than displayed automatically. A fifth campaign, implemented with custom code, manages the rotation logic and ensures seamless control over the display of these banners.
The objective is to:
- eliminate the need for manual replacement of campaigns,
- allow for easy future updates,
- ensure a smooth and sequential display of promotional content.
This approach ensures efficiency in managing dynamic content while providing flexibility for the client to make modifications independently.
## Prerequisites
---
[Implement a tracking code](/docs/settings/tool/tracking_codes).
## Process
---
In this use case, you will go through the following steps:
1. [Create dynamic content campaigns](/use-cases/rotating-dc#create-dynamic-content-campaigns) with on demand trigger.
2. [Prepare dynamic content campaign steering the rotation](/use-cases/rotating-dc#prepare-dynamic-content-campaign-steering-the-rotation).
## Create dynamic content campaigns
---
In this part of the process, create a few different dynamic campaigns, which will be displayed on the upper-page bar.
1. Go to **Experience Hub > Dynamic content > Create new**.
2. Enter the name of the dynamic content.
3. Choose the **Insert Object** type.
4. In the **Audience** section, click **Define**. You can choose **Everyone** or choose specific groups based on your business needs.
5. Confirm the settings by clicking **Apply**.
### Define content
5. In the **Content** section, click **Define**.
6. Click **Create Message**.
7. From the list of template folders, select **Insert Object templates** and choose the template based on your needs - in our example it will be **Message with buttons**.
**Result**: You are redirected to the list of predefined templates.
Insert objects template with buttons
You can edit the template in two ways, by editing the code of the template ([add inserts](/docs/campaign/dynamiccontent/creating-dynamic-content-templates/dynamic-content-template-builder#adding-a-snippet-to-the-template-code), [add variables](/docs/campaign/dynamiccontent/creating-dynamic-content-templates/dynamic-content-template-builder#adding-a-variable)) and/or by [filling out the form in the Config tab](/use-cases/dynamic-content-item-context-recommendation#edit-the-form-in-the-config-tab). In this use case, we will use the capabilities of the predefined Config tab.
- Remember that you can also create your new template from scratch, or choose any other from exisitng templates.
6. To continue the process of configuring the dynamic content campaign, click **Next**.
7. To save your content changes, click **Apply**.
### Define schedule and display settings
1. In the **Schedule** section, click **Define** and set the time when the message will be active.
2. In the **Display Settings** section, click **Define**.
3. Choose the **On Demand** trigger. The campaign launched with this trigger will only be displayed when the dedicated SDK method is called on the website. With these settings, the campaigns remain active but are not rendered on the page.
On demand trigger
3. You can define the advanced options such as frequency, URLs where the content will be displayed or when to stop it. In our case, we will define the frequency of dynamic content to be displayed to **Always**. The final frequency will be set up in the main campaign. You can also define the type of device you want to show your dynamic content.
4. Click **Apply**.
5. Optionally, you can define the UTM parameters and additional parameters for your dynamic content campaign.
6. Click **Activate**.
DC settings
Create more dynamic content campaigns like the one above, ensuring that the placement settings and appropriate dimensions are maintained, as all campaigns will be displayed interchangeably in the same location.
## Prepare dynamic content campaign steering the rotation
---
In this part of the process, you will create a main campaign that will automatically manage the previously created campaigns. The instructions contain JavaScript which identifies which dynamic content campaign to display and which ones to omit. The last displayed campaign is stored in localStorage to ensure the proper order of rotation.
1. Go to **Experience Hub > Dynamic content > Create new**.
2. Enter the name of the dynamic content.
3. Choose the **Insert Object** type.
4. In the **Audience** section, click **Define**. You can choose **Everyone** or choose specific groups based on your business needs.
5. Confirm the settings by clicking **Apply**.
### Define content
5. In the **Content** section, click **Define**.
6. In the **Content** tab, click **Create Message**.
7. Click **New template** and choose **Code editor**
8. In **JS** tab add the following code:
(function () {
       function findLaunchSend() {
           const value = localStorage.getItem(`dcCampaignId`);
           const dcFirst = 'ffdb6568-e699-49fb-a3a7-5ce94ab1f04f';
           const dcSecond = 'c8c19320-82c7-4fc8-b1af-0feb561dcea5';
           const dcThird = '1cb31d0a-95ee-42fc-bc5e-95737e223992';
           const dcFourth = '41f3d86a-eb8c-4c97-b769-b72b05b0e1af';
           if (value === null || value === dcFourth) {
               SR.dynamicContent.get(dcFirst);
               localStorage.setItem('dcCampaignId', dcFirst);
           } else if (value === dcFirst) {
               SR.dynamicContent.get(dcSecond);
               localStorage.setItem('dcCampaignId', dcSecond);
           } else if (value === dcSecond) {
               SR.dynamicContent.get(dcThird);
               localStorage.setItem('dcCampaignId', dcThird);
           } else if (value === dcThird) {
               SR.dynamicContent.get(dcFourth);
               localStorage.setItem('dcCampaignId', dcFourth);
           } else {
               console.log("Invalid data in localStorage");
           }
       }
       findLaunchSend();
    })();
The script tracks the last displayed campaign using localStorage and ensures the next campaign is displayed in sequence.
If no campaign has been displayed yet or the last one in the sequence was shown, it starts again from the first campaign.
Here’s what you need to know and how to adapt it to your needs:
- Change the campaign IDs:
The script references four DC campaigns by their unique IDs (e.g., dcFirst, dcSecond, etc.).
To find these IDs, navigate to the Synerise campaign editor, open each DC campaign, and copy the ID visible in the URL (a string of letters and numbers in the address bar).
- Arrange the IDs in the desired rotation order.
5. After adding all changes, click **Use in communication**.
6. Click **Apply**.
### Define schedule and display settings
1. In the **Schedule** section, click **Define** and set the time when the message will be active.
2. In the **Display Settings** section, click **Define**.
3. Choose the **On Landing** trigger.
3. You can define the advanced options such as frequency, URLs where the content will be displayed or when to stop it. In our case, we will define the frequency of dynamic content to be displayed to **Maximum 3 in 1 Hours**.
4. Click **Apply**.
5. Optionally, you can define the UTM parameters and additional parameters for your dynamic content campaign.
6. Click **Activate**.
## Check the use case set up on the Synerise Demo workspace
---
You can check the configuration of each step from this use case in our Synerise Demo workspace:
- [First DC campaign](https://app.synerise.com/campaigns/dynamic-content/create/ffdb6568-e699-49fb-a3a7-5ce94ab1f04f)
- [Second DC campaign](https://app.synerise.com/campaigns/dynamic-content/create/c8c19320-82c7-4fc8-b1af-0feb561dcea5)
- [Third DC campaign](https://app.synerise.com/campaigns/dynamic-content/create/1cb31d0a-95ee-42fc-bc5e-95737e223992)
- [Fourth DC campaign](https://app.synerise.com/campaigns/dynamic-content/create/41f3d86a-eb8c-4c97-b769-b72b05b0e1af)
- [Main DC which let you manage all campaigns](https://app.synerise.com/campaigns/dynamic-content/create/bba1cdae-04f4-40da-a289-acf6a6cdde61)
If you’re our partner or client, you already have automatic access to the **Synerise Demo workspace (1590)**, where you can explore all the configured elements of this use case and copy them to your workspace.
If you’re not a partner or client yet, we encourage you to fill out the contact [form](https://demo.synerise.com/request) to schedule a meeting with our representatives. They’ll be happy to show you how our demo works and discuss how you can apply this use case in your business.
## Generated events
This use case generates approximately 3 events per profile that completes the flow:
[`dynamicContent.show`](/docs/assets/events/event-reference/dynamic-content#dynamiccontentshow) (~2), [`dynamicContent.click`](/docs/assets/events/event-reference/dynamic-content#dynamiccontentclick) (~1).
## Read more
---
- [Dynamic content](/docs/campaign/dynamiccontent)
- [Dynamic content template builder](/docs/campaign/dynamiccontent/creating-dynamic-content-templates/dynamic-content-template-builder)
# Visual search
Visual search can really enhance shopping experience. By just taking a photo or uploading one of the items your customers are interested in, they will can search for visually similar products. Implementing visual search can connect online and offline shopping and the path from search to conversion may get shorter. Customers will be more willing to make a purchase when finding items is easier. Combining this with functionalities such as query rules, ranking may bring your business some serious benefits, and take the search experience to another level.
This use case describes the process of creating an index for a visual search engine and further step you should take to implement it on your website, including ideas on how you can upgrade it for an even better search experience.
## Prerequisites
---
- [Prepare an item feed](/developers/product-feed).
- [Enable AI Search for the selected feed](/docs/settings/configuration/ai-engine-configuration/engine-configuration-for-search#enabling-ai-search-for-the-feed)
After the configuration, contact [Synerise Support](https://hgintelligence.atlassian.net/servicedesk/customer/portal/1?snrs_cl=c4396770-2f57-11ed-91d5-d354b5b26860&snrs_medium=email&snrs_test=true&snrs_cp=a3e34858-a036-42b8-b794-31c1415855a8&snrs_he=-1381345904&snrs_n=4&snrs_action=newsletter.click&snrs_category=client._DEVICE_.browser.mail&snrs_var=6853245&snrs_redir=1) and ask to enable visual search for your workspace.
## Create an index
---
We will configure an index for AI search and the settings for how it will work - this is the place for adding proper rules, ranking settings, returned attributes, and so on. Later, this index will be used during the implementation of the search - in the application or on the website.
1. Go to **AI Hub > Indexes**.
2. Click **Add index**.
**Result:** The index creation screen opens.
4. From the **Choose feed** dropdown list, select a catalog that contains an item feed based on which you would like to create an index.
5. From the **Choose search language** dropdown, select the language of your search engine.
7. Click **Next step**.
6. Choose **Search Method**.
9. **Add searchable attributes**.
Searchable attributes are used by the search engine to calculate the item’s relevance to the query phrase provided by the customer. Attributes can be assigned to three importance levels: high, medium and low. When a word from the phrase matches an attribute, the score amount is assigned depending on importance assigned to the attribute.
6. Optionally, to display unavailable items in the search results, enable the **Include out of stock items** option.
7. Click **Next step**.
New index configuration
8. Optionally, you can select item attributes which will be used as response, filterable, facetable, and sortable attributes.
9. In the Item ranking section, define the criteria for sorting items in search results.
14. Click **Finish**.
**Result:** Your index is configured, now you can use the **Preview** tab to test the if the results meet your expectations.
The Preview section
## What's next
---
Once you set up AI search, you can use it in various channels. For example, you can incorporate it into a website with [dynamic content](/docs/campaign/dynamiccontent/creating-dynamic-content). Alternatively, you can implement it as a feature in a mobile app or use it in an in-app message. In order to get the visual search results, you need to [use the dedicated API method](https://hub.synerise.com/api-reference/ai-search#tag/Visual-Search).
In our demo workspace, we have prepared [a ready-made implementation of visual search](https://app.synerise.com/campaigns/preview/120e4d68-8d2d-45cb-90b4-c26be451616d), from which you can take inspiration when it comes to implementing it in your own shop. Check out an example visual search in our [demo shop](https://demoshop.synerise.com/).
## Check the use case set up on the Synerise Demo workspace
---
You can check the [index configuration](https://app.synerise.com/ai-v2/search/indices/f2fc5cbb9955469b1c94368ee66de93c1663658739/stats/global) directly in Synerise Demo workspace.
If you’re our partner or client, you already have automatic access to the **Synerise Demo workspace (1590)**, where you can explore all the configured elements of this use case and copy them to your workspace.
If you’re not a partner or client yet, we encourage you to fill out the contact [form](https://demo.synerise.com/request) to schedule a meeting with our representatives. They’ll be happy to show you how our demo works and discuss how you can apply this use case in your business.
## Generated events
This use case generates approximately 2 events per profile that completes the flow:
[`item.search`](/docs/assets/events/event-reference/search#itemsearch) (~1), [`item.search.click`](/docs/assets/events/event-reference/search#itemsearchclick) (~1).
## Read more
---
- [AI Search](/docs/ai-hub/ai-search)
- [Dynamic content](/docs/campaign/dynamiccontent)
# Automated Email Workflow for Gathering Customer Feedback and Improving Ratings
Online shopping gives customers huge opportunities to compare offers between different e-commerce sites and to search for the best price. Many online services, like price comparison websites, offer access to reviews and average ratings of a given store. Low rates can discourage potential customers from buying in a particular store.
Generally, it is often dissatisfied customers who make the effort to express their opinion, while people who have successfully completed the purchasing process are not motivated to share their positive experiences. In this way, a store's opinion can be easily damaged, so it is so important to maintain its good rating.
A good idea is to **encourage your loyal and satisfied customers to leave their opinion and reviews** to collect more feedback and improve your ratings. To do this, you need to use some kind of reward, such as a discount or any other special offer which will be added to the customer’s account if they leave their feedback.
This use case describes an automated process in which, after the transaction and receiving the order, the customer gets an email encouraging them to leave reviews on the website. As a gift, the customer receives a discount on future purchases, and additionally participates in the contest in which they can win a voucher for a higher amount.
An additional incentive you encourage your customers with is to make the reward only available for a specific amount of time, for example one month.
## Prerequisites
---
- Implement a [tracking code](/developers/web/installation-and-configuration#creating-a-tracking-code).
- Send [transactional events](/developers/web/transactions-sdk).
- Configure an [email account](/docs/campaign/e-mail/configuring-email-account).
## Process
---
1. [Send custom event](/use-cases/ratings-on-external-sites#send-custom-event) with information about the order status.
2. [Prepare an email template](/use-cases/ratings-on-external-sites#prepare-an-email-template).
3. [Create a workflow](/use-cases/ratings-on-external-sites#create-a-workflow).
## Send custom event
---
To run a workflow which allows you to send an email after customers receive their orders, you must send information to Synerise that the order was delivered. Using the API, [send a custom event](https://hub.synerise.com/api-reference/data-management#operation/ClientVisitedScreen) with information about the order status.
The example event:
If you don’t want to create custom events, you can send the `transaction.charge` event with the updated `orderStatus` parameter using [this API method](https://hub.synerise.com/api-reference/data-management#operation/BatchAddOrUpdateTransactions). You must include `eventSalt` parameter in such case.
Example of custom event
## Prepare an email template
---
In this part of the process, create an email template that will be sent to the customers who received their orders.
1. Go to **Experience Hub > Email**.
2. On the left side of the screen, click **Templates**.
3. Select the wizard in which you will create your message.
- **Drag&drop builder** - It lets you create templates with ready-made components.
- **Code editor** - It lets you create templates in CSS and HTML.
4. Prepare the template according to your business needs.
5. Click **Save this template > Save as**.
6. Enter the name of the template and select the folder in which the template will be saved.
You can prepare the second version of the email template. This will let you perform A/B test of emails and find out which provides better conversion.
## Create a workflow
---
In this part of the procedure, create a workflow triggered by the event that signifies the delivery of the order to the customer. 3 days after the occurrence of the event, send the email to the customers who received their orders. Optionally, you can send two versions of the email.
1. Go to **Automation Hub > Workflows > New workflow**.
2. Enter the name of the workflow.
3. As the first node, add **Profile Event**.
4. In the configuration of the node:
1. As the name of the node, enter `OrderDelivered`.
2. Select the event that is generated when the order is delivered to a customer. In this use case, it is `order.delivered`.
5. Confirm by clicking **Apply**.
5. As the second node, add **Delay**. In the configuration of the node, set the delay to 3 days.
6. As the third node, add **Send Email** node. In the configuration of the node:
1. In the **Sender details** section, select the email account from which the email will be sent.
2. In the **Content** section, select the email template.
In the email subject, you can insert information about order ID, which is retrieved from the **Profile Event** trigger. Insert the `{{ automationPathSteps['OrderDelivered'].event.params.orderId }}` snippet, which will display as the order ID . Note that `OrderDelivered` is the name of the **Profile Event** trigger added manually.
3. In the **UTM & URL parameters** section, add the parameters to your email.
4. Confirm by clicking **Apply**.
If you want to perform A/B test instead of sending a single email, click here
Instead of performing step 6 and its substeps, add the ABx Test node. In the configuration of the node, define the allocation of groups. Optionally, you can add more groups.
On the ABx Test node, click the plus icon.
From the dropdown list, select the Send Email node. Result: Group A path appears.
On the ABx Test node, click the plus icon.
From the dropdown list, select the Send Email node. Group B path appears.
In the configuration of the Send Email nodes:
In the Sender details section, select the email account from which the email will be sent.
In the Content section, select the email template.
In the email subject, you can insert information about order ID, which is retrieved from the Profile Event trigger. Insert the `{{ automationPathSteps['OrderDelivered'].event.params.orderId }}` snippet, which will display as the order ID . Note that `OrderDelivered` is the name of the Profile Event trigger added manually.
In the UTM & URL parameters section, add the parameters to your email.
Confirm by clicking Apply.
The configuration of the workflow with A/B testing
7. Add the **End** node.
8. Click **Save & Run**.
The configuration of the workflow
## Check the use case set up on the Synerise Demo workspace
---
Check the [workflow](https://app.synerise.com/automations/workflows/automation-diagram/2854a513-4b2b-42a9-951a-6eec92c96bd9) settings in Synerise Demo workspace.
If you’re our partner or client, you already have automatic access to the **Synerise Demo workspace (1590)**, where you can explore all the configured elements of this use case and copy them to your workspace.
If you’re not a partner or client yet, we encourage you to fill out the contact [form](https://demo.synerise.com/request) to schedule a meeting with our representatives. They’ll be happy to show you how our demo works and discuss how you can apply this use case in your business.
## Generated events
This use case generates approximately 8 events per profile that completes the flow:
`order.delivered` (~1), [`automation.clientStartPath`](/docs/assets/events/event-reference/automation#automationclientstartpath) (~1), [`automation.clientPathStep`](/docs/assets/events/event-reference/automation#automationclientpathstep) (~2), [`automation.clientEndPath`](/docs/assets/events/event-reference/automation#automationclientendpath) (~1), [`message.send`](/docs/assets/events/event-reference/email#messagesend) (~1), [`newsletter.open`](/docs/assets/events/event-reference/email#newsletteropen) (~1), [`newsletter.click`](/docs/assets/events/event-reference/email#newsletterclick) (~1).
## Read more
---
- [ABx Test node](/docs/automation/conditions/abx-split-node)
- [Automation Hub](/docs/automation)
- [Automation Jinjava inserts](/developers/inserts/automation)
- [Creating email templates](/docs/campaign/e-mail/creating-email-templates)
- [Send Email node](/docs/automation/actions/send-email)
# Exit pop-up with a survey
Anonymous online surveys can give you the honest and accurate feedback you need, straight from your customers. Customer surveys can have an enormous impact on your organization and let you change your communication, offer and personalize your website.
You can target your exit pop up based on different capabilities, for example:
- time on page (you can display it only if your visitor has spent specific amount of time on your website),
- URL (you can display it only to a visitor who has visited specific pages),
- device (mobile/desktop),
- location (language).
Using those options, you can precisely describe who will see your survey. It allows you to personalize the content by combining targeting options and be sure that you will have answers only from visitors who can be your target.
## Examples of use - Book industry
**Challenge**
A client from the book industry implemented a survey on the website that was displayed to the visitors in the moment of leaving the website. The exit pop up includes a survey with multiple choice. The purpose of the survey is to get information about why the customer wants to leave the website to improve the customer journey.
Exit pop up with a survey
Remember to properly analyze your results. Customer surveys can have a huge impact on your organization and let you change your communication, offer and personalize you website.
## Prerequisites
---
To implement this use case, perform the following steps in the given order:
- [Implement a tracking code](/docs/settings/tool/tracking_codes).
- [Create tracking forms](/developers/web/tracking-form-data).
- [Create dynamic content](/docs/campaign/dynamiccontent).
## Process
---
To display an exit pop up with a survey on your website, perform the steps in the following order:
1. [Prepare dynamic content](/use-cases/exit-popup-with-survey#prepare-dynamic-content).
2. [Set up a dynamic content](/use-cases/exit-popup-with-survey#set-up-a-dynamic-content).
3. [Analyze results](/use-cases/exit-popup-with-survey#analyze-results).
## Prepare dynamic content
---
In our example we will use two variants of Dynamic content:
- **Variant A** is useful if you want to let a visitor to the website choose only **1 answer**.
- **Variant B** is usefull if you want to let a visitor to the website choose only **several answers**.
1. Go to **Dynamic content** > **Templates** > **New template**.
2. Create one of separate templates for Variant A or Variant B that contain **script** with your survey which will send data to Synerise.
- **Variant A** - In this variant of the survey, only **1 answer** can be selected, which will be stored in the parameter answer. In this case, we use the attribute: **answer --> Prices**.
Check the Jinjava code
<form action="" method="post" data-synerise="exit.survey "> <p>Why do you leave?</p> <div> <input type="radio" data-synerise="answer" id="stock" value="stock" name="answer"> <label for="stock">I didn’t find what I was looking for </label> </div> <div> <input type="radio" data-synerise="answer" id="prices" value="prices" name="answer"> <label for="prices">It was too expensive </label> </div> <div> <input type="radio" id="ux" data-synerise="answer" value="ux" name="answer"> <label for="ux">The website is not user friendly </label> </div> <input type="submit" value="Save"> </form>
- **Variant B** - In this variant of the survey, a user can choose **several answers**, and you want to store each answer in a separate attribute. In this case, we can use the following attributes: stock, prices and UX.
Check the Jinjava code
<form action="" method="post" data-synerise="exit.survey "> <p>Why do you leave?</p> <div> <input type="radio" data-synerise="stock" id="stock" value="yes" name="stock"> <label for="stock">I didn’t find what I was looking for </label> </div> <div> <input type="radio" data-synerise="prices" id="prices" value="yes" name="prices"> <label for="prices">It was too expensive </label> </div> <div> <input type="radio" id="ux" data-synerise="ux" value="yes" name="ux"> <label for="ux">The website is not user friendly </label> </div> <input type="submit" value="Save"> </form>
If you want to postpone the event on the customer's card after the pop up is displayed, use the **dynamicContent.show** event.
## Set up a dynamic content
---
Create a dynamic content communication and use the previously prepared templates.
1. Choose **Web Layer** type.
2. Select your **Audience** depending on your needs. You can target your communication to everyone or select segment of users. In our example we target dynamic content to users, who didn’t make transaction in last 30 days.
1. In the **Audience** section, choose **New audience** tab.
2. Click **Define conditions**.
3. From the dropdown list, select **Transaction** event.
4. As the time range, select last 30 days.
Contacts filter
3. In the **Content** section, click **Create message > From template** and find the folders in which you prepared template.
4. **Schedule** when the communication has to be active.
5. In the **Display settings** section define:- Trigger: On exit.
- Page targeting: **All pages** (in our example, you can include or exclude any subpage).
- Frequency: **1 time in 30 days** (in our example, you can define a different capping).
- Stop display: **Never**
- Devices: **Desktop**
Settings of the dynamic content
6. Skip **UTM** section
7. In the upper right corner, click **Activate**.
## Analyze results
---
Check how to analyze results of your surveys.
Below, you can see 2 variants of results, separate for Variant A and Variant B of surveys.
### Analyze the Variant A results
In **Variant A**, the visitors to the website can choose only **1 answer**, which will be stored in the **answer** parameter.
1. Go to **Decision Hub > Metrics > New metric**.
2. Select the **simple metric** type.
3. Leave the following settings to default:
- Type: Events
- Aggregator: Count
- Occurence type: All
4. From the dropdown list, select event which refers to filling out the survey. In this use case, it is **exit.survey**.
5. Select the **Lifetime** period and save metrics.
A simple metric for the exit pop up with survey
6. Go to **Decision Hub > Reports > New report**.
7. From the **Choose metric** dropdown list, select the metric you prepared in the previous step. In this case, it's **exit popup survey**.
8. In the **Range** section, select **Top 3** (or more, it depends on how many answers your survey contains).
9. In the **Dimension** section, from the dropdown list, select the event that refers to submitting a survey and the attribute that contains the answer.
10. In the time range settings, select **Lifetime**.
Settings of the report on the survey on the exit pop up?
11. To see the results, click **Preview**. The report shows the most frequently chosen answer.
### Analyze the Variant B results
In **Variant B**, the visitors to the website can choose several answers and each answer is stored in a separate attribute.
1. Go to **Decision Hub > Segmentation > New segmentation**.
2. From the **Choose filter** dropdown list, select an event that refers to submitting the survey. In this case it's **exit.survey**.
3. Click the **+ where** button to select the event parameter that contains an answer. In this case, it's **prices**.
4. From the **Choose operator** dropdown list, select **Equals**. In the text field, type **yes** (applies only to this use case, it can be different for you).
5. In the time range settings, select **Lifetime**.
6. Duplicate this subsegment as many times to match the number of answers in the survey. In each duplicated subsegment, change the answer parameter.
7. Switch the **Multi-match** toggle on because a visitor could have chosen several answers.
egmentation of customers who filled out the survey on the exit pop up?
8. To see the results, click **Preview**. To save the analysis, click **Save**.
## Check the use case set up on the Synerise Demo workspace
---
You can check the configuration of use case in Synerise Demo workspace:
- **Ver. 1**:
- [Metric](https://app.synerise.com/analytics/metrics/3a39e002-22a8-46b7-bbce-b69cb87aa058)
- [Report](https://app.synerise.com/analytics/reports/101b66cb-0e89-4adc-ab48-a1180990249f)
- **Ver. 2**:
- [Segmentation](https://app.synerise.com/analytics-v2/segmentations/3582d609-f51e-4dc3-81aa-e03e8eb36e6c)
- [Dynamic content campaign](https://app.synerise.com/campaigns/create/75fa7763-4943-4af8-8e70-9b649484f3dc)
If you’re our partner or client, you already have automatic access to the **Synerise Demo workspace (1590)**, where you can explore all the configured elements of this use case and copy them to your workspace.
If you’re not a partner or client yet, we encourage you to fill out the contact [form](https://demo.synerise.com/request) to schedule a meeting with our representatives. They’ll be happy to show you how our demo works and discuss how you can apply this use case in your business.
## Generated events
This use case generates approximately 3 events per profile that completes the flow:
[`dynamicContent.show`](/docs/assets/events/event-reference/dynamic-content#dynamiccontentshow) (~1), [`dynamicContent.click`](/docs/assets/events/event-reference/dynamic-content#dynamiccontentclick) (~1), `exit.survey` (~1).
## Read more
---
- [Dynamic content](/docs/campaign/dynamiccontent)
- [Track forms](/developers/web/tracking-form-data)
- [Tracking code](/docs/settings/tool/tracking_codes)
# Customers' data import from SFTP server
If you gather your customers' data in several sources, you can use Automation Hub to synchronize it with the customers' profiles in Synerise. It’s possible thanks to the HTTP and SFTP integrations that allow you to send data to Synerise from external sources and the other way round.
This use case describes how to prepare an automated workflow that launches every day and donwloads an updated list of customers with their agreement for email communication from an external resource to Synerise. The automation connects to an external resource using the SFTP protocol and imports data from a CSV file. One of the challenges addressed in this use case is renaming a column in the CSV file while importing the data.
## Prerequisites
---
- Host the .csv file with customers' marketing agreements data on an SFTP server.
- Prepare a sample of data that will be used in data transformation.
To do this, you can take the real file and remove rows until about 10 are left.
## Process
---
1. [Create data transformation rules](/use-cases/import-customers-data-from-sftp#create-data-transformation-rules) that will transform data from the .csv file.
2. [Prepare a workflow](/use-cases/import-customers-data-from-sftp#prepare-a-workflow) that imports data about customers' marketing agreements from the SFTP server to Synerise.
## Create data transformation rules
---
In this part of the process, you define the rules of modifying data.
The data transformation diagram which is the output of this part of the process is used later to [automate sending the data](/use-cases/import-customers-data-from-sftp#prepare-a-workflow).
The sample file is used to configure the data transformation diagram and preview its results. With a [library of nodes](/docs/automation/data-transformation-and-imports/transformations-and-data-operators), you can modify the file by adding, renaming, and merging columns, as well as editing the values in the rows, and so on.
In this example, we will use the **Rename column** node to transform a customers' marketing agreements file so it meets Synerise's requirements.
1. Go to **Automation Hub > Data Transformation > Create transformation**.
2. Enter the name of the transformation.
3. Click **Add input**.
### Add file with sample data
This node allows you to add a data sample. In further steps, you define how the data must be modified. Later, when this transformation is used in the workflow, the system uses the rules created with the sample data as a pattern for modifying actual data.
4. On the pop-up, click **Add example**.
5. Upload the file with the sample data.
Below is the sample used in this article. It consists of two columns, where the first contains a customer's email address, and the second contains the marketing consent: `0` means disabled, `1` means enabled.
```
email;newsletter agreement
john.doe@synerise.com;1
```
6. Click **Generate**.
The configuration of the Data input node
**Result:** The **Data input** view is filled with data from the sample.
Data input of the sample file
### Rename column
The column name is the key under which the data will be imported to Synerise and appear in the output file. In this example, we will use the **Rename column** node to rename the **newsletter agreement** column to **agreements.email**.
1. On the canvas, click the right mouse button.
2. From the dropdown list, select **Rename column**.
3. Click the Rename column node.
4. In the configuration of the node:
1. Click **Add rule**.
2. Select the **Include these** option.
This is the default option. All column names you select will be changed as you specify in the further configuration.
3. Click **Add column**.
4. From the dropdown list, select the columns you want to rename.
5. Under the **Edit values by** subheader, select the **Replacing** option.
This option finds values matching the conditions and replaces them with the value you specify.
Example of the configuration of the Rename column node
5. Before you save the settings, you can check the preview of the file after changes in the **Output data** tab.
6. Confirm by clicking **Apply**.
### Add the finishing node
This node ends the transformation and passes the modified data to the automation where the Data Transformation is used.
1. On the canvas, click the right mouse button.
2. From the dropdown list, select **Data output**.
3. In the upper right corner, click **Save and publish**.
**Result**:
The diagram of data transformation
After the data transformation is published, you can use it in the Data Transformation node while preparing a workflow that imports the files.
## Prepare a workflow
---
As the second part of the process, create a workflow which imports the custom events every day to Synerise.
1. Go to **Automation Hub > Workflows > New workflow**.
2. Enter the name of the workflow.
### Define the launch date
1. As the trigger node, add **Scheduled Run**.
2. In the configuration of the node:
1. Leave the **Run trigger** option at default (**all time**).
2. From the **Timezone** dropdown list, select the time zone consistent with the timezone selected for your workspace.
3. Define the frequency of the workflow (for example, everyday at 6.00 A.M.).
The workflow will automatically launch everyday at the specified time.
The configuration of the Scheduled Run node
4. Confirm by clicking **Apply**.
### Configure settings for SFTP protocol
Use the **Get File** node to transfer the files from the workflow to your server using SFTP protocol.
1. Add the **Get File** node by clicking **THEN > SFTP**.
2. In the [**configuration of the node**](/docs/automation/integration/sftp-integrations/sftp-get-file) :
1. Enter the path to your server.
2. Select the port.
3. Enter the path to the directory.
4. Enter the name of the file where the data will be saved.
6. From the **File format** dropdown list, select the **CSV** format.
7. Verify and modify the delimiters if needed.
8. In the **Authentication** section, select the method of authentication.
The configuration of the SFTP node
3. Confirm by clicking **Apply**.
### Select the data transformation rules
7. Add a **Data Transformation** node.
8. In the configuration of the node, select the [data transformation you have created before](/use-cases/import-customers-data-from-sftp#create-data-transformation-rules).
Example of the configuration of the Data Transformation node
9. Confirm by clicking **Apply**.
### Import customers
1. Add the **Import Profiles** node. In the settings of the node, you can check the list of the optional columns.
2. Confirm by clicking **Apply**.
### Add the finishing node
12. Add the **End** node.
13. In the upper right corner, click **Save & Run**.
**Result**:
The workflow configuration
You can monitor the flow of the workflow in the **Transformation logs** tab. It contains information about each execution of the workflow.
The logs for the workflow
## Check the use case set up on the Synerise Demo workspace
---
You can check the [data transformation rules](https://app.synerise.com/automations/data-transformation/29bfc71a-e94a-4a25-aab0-a6cc363cea1b) directly in Synerise Demo workspace.
Also, you can check there the created [workflow](https://app.synerise.com/automations/automation-diagram/ae1a378c-f72c-42ba-a6fa-c037ff184742).
If you’re our partner or client, you already have automatic access to the **Synerise Demo workspace (1590)**, where you can explore all the configured elements of this use case and copy them to your workspace.
If you’re not a partner or client yet, we encourage you to fill out the contact [form](https://demo.synerise.com/request) to schedule a meeting with our representatives. They’ll be happy to show you how our demo works and discuss how you can apply this use case in your business.
## Generated events
This use case generates approximately 6 events per workflow execution:
[`automation.clientStartPath`](/docs/assets/events/event-reference/automation#automationclientstartpath) (~1), [`automation.clientPathStep`](/docs/assets/events/event-reference/automation#automationclientpathstep) (~3), [`automation.clientEndPath`](/docs/assets/events/event-reference/automation#automationclientendpath) (~1), [`profile.updated`](/docs/assets/events/event-reference/profiles#profileupdated) (~1).
## Read more
---
- [Data Transformation](/docs/automation/data-transformation-and-imports/introduction)
- [Behavioral Data Hub](/docs/crm)
# High-Value Product Recommendations for VIP Customers
Loyalty programs are designed to guide customers through specific marketing scenarios in accordance with the loyalty point thresholds they reached. You can make recommendations the essence of these scenarios. This use case focuses on a recommendation that presents 4 items above $500 for the customers in the VIP segment.
Very often, VIP customers have additional discounts such as vouchers for a specified amount, the consumption of which from the seller's perspective should not excessively diminish the profit margin from the customer's purchases. Using the information about the VIP segment to which the customer belongs, we can recommend items from the highest price range or those whose margin allows the customer to "safely" use the discount.
## Prerequisites
---
- Enable the [personalized recommendation model](/docs/settings/configuration/ai-engine-configuration/engine-configuration-for-recommendations).
- Assign a VIP tag to your customers.
Assign the tag to the customers who meet your requirements for premium customers.
## Create a recommendation
---
1. Go to **AI Hub > (AI Recommendations) Models > Add recommendation**.
2. Enter a meaningful name of the recommendation.
3. In the **Type & Items feed** section, click **Define**.
1. From the **Items feed** dropdown list, select the catalog that contains items for the recommendation.
2. As the type, select **Personalized**.
3. Click **Apply**.
4. In the **Items** section, click **Define**.
5. Click **Add slot**. You can name the slot for later reference.
5. In the **Number of items** subsection, set the minimum and maximum number of items to `4`.
Setting the minimum and maximum number of items to the same number ensures that exactly this many items will appear in the slot.
6. Click **Static filter** and choose **IQL Query**.
Learn about the difference among [elastic, static filters](/docs/ai-hub/recommendations-v2/creating-recommendation-campaign#select-conditions-of-displaying-items), and [distinct filters](/docs/ai-hub/recommendations-v2/creating-recommendation-campaign#distinct-filter).
7. Click **Select** and from the dropdown list, select **Function**.
**Result**: The **ADD** function appears.
8. Click **ADD** and from the dropdown list, select the **IF** function.
**Result**: If function syntax
8. Click the first **Select** node.
1. From the dropdown list, select click **Client Tags**.
2. Next to the **client.tag** node, click the icon.
3. From the dropdown list, select **String**.
4. Click the **value** node.
**Result**: appears below.
3. Click **Manual value** and choose **Tag**.
4. Click **Select value** and choose the tag that specifies if a customer is a VIP customer. In this example, it is `VIP`.
6. Between the **client.tag** node and the **VIP** node, change the plus sign to **HAS**.
9. Click the next **Select** node in the **IF** function.
1. From the dropdown menu, choose **Attribute**.
2. Click tne **null** node.
**Result**: appears below.
3. Click **Select value** and choose the attribute that describes the items' price.
4. Next to the price attribute, click the icon and choose **Number**.
5. Click the **0** node.
**Result**: appears below.
6. Enter the bottom price limit for items. In our example, it is `500`.
7. Between the price attribute and the 500 nodes, click on the icon.
8. Choose (greater than or equal).
10. Click the last **Select** in the **IF** function.
11. From the dropdown menu, choose **Take all**.
**Result**: The final configuration of the IQL query
11. Click **Apply**.
12. In the **Items** section, click **Apply**.
13. In **Boosting**, you can enable [boosting](/docs/ai-hub/recommendations-v2/creating-recommendation-campaign#define-the-boosting-factors).
14. In **Additional settings**, optionally, you can exclude already bought products and set a metric to sort by.
15. Save the recommendation by clicking **Save**.
## What's next
---
You can display the recommendation to customers in a number of ways, for example by using the [recommendation insert](/developers/inserts/recommendations-v2) in [dynamic content](/docs/campaign/dynamiccontent/creating-dynamic-content).
## Check the use case set up on the Synerise Demo workspace
---
Check the [recommendations settings](https://app.synerise.com/ai-v2/recommendations/Ut9xo2SHlBis) in Synerise Demo workspace.
If you’re our partner or client, you already have automatic access to the **Synerise Demo workspace (1590)**, where you can explore all the configured elements of this use case and copy them to your workspace.
If you’re not a partner or client yet, we encourage you to fill out the contact [form](https://demo.synerise.com/request) to schedule a meeting with our representatives. They’ll be happy to show you how our demo works and discuss how you can apply this use case in your business.
## Generated events
This use case generates approximately 3 events per profile that completes the flow:
[`recommendation.generated`](/docs/assets/events/event-reference/recommendations#recommendationgenerated) (~1), [`recommendation.view`](/docs/assets/events/event-reference/recommendations#recommendationview) (~1), [`recommendation.click`](/docs/assets/events/event-reference/recommendations#recommendationclick) (~1).
## Read more
---
- [Building elements in IQL builder](/docs/ai-hub/recommendations-v2/recommendation-filters#elements-of-the-formula)
- [Creating recommendations](/docs/ai-hub/recommendations-v2/creating-recommendation-campaign)
- [Filters in recommendations](/docs/ai-hub/recommendations-v2/recommendation-filters)
- [Requirements for item feed](/docs/ai-hub/recommendations-v2/item-feed-requirements)
- [Tags](/docs/assets/tags)
# Email with abandoned cart and recommendations
Save abandoned carts with the help of dynamic email recommendations powered by AI. When a customer doesn't complete a purchase, send an email with the product left behind in the cart, complete with suggested accessories chosen by AI.
In this way you can not only encourage customers to finish the purchase but also to buy more products that are connected to his choice (for example accessories). It can help you to increase the number of products bought by your customers.
## Example of use - Retail industry
**Challenge**
A client from the retail industry decided to create AB tests of the abandoned carts. One group received a standard email containing products recently added to the basket, the second group received an email in which, in addition to abandoned products, was also products recommended for a specific customer.
**Results**
- 25% CTOR for email with recommendations (A),
- 18,8% CTOR for email without recommendations (B).
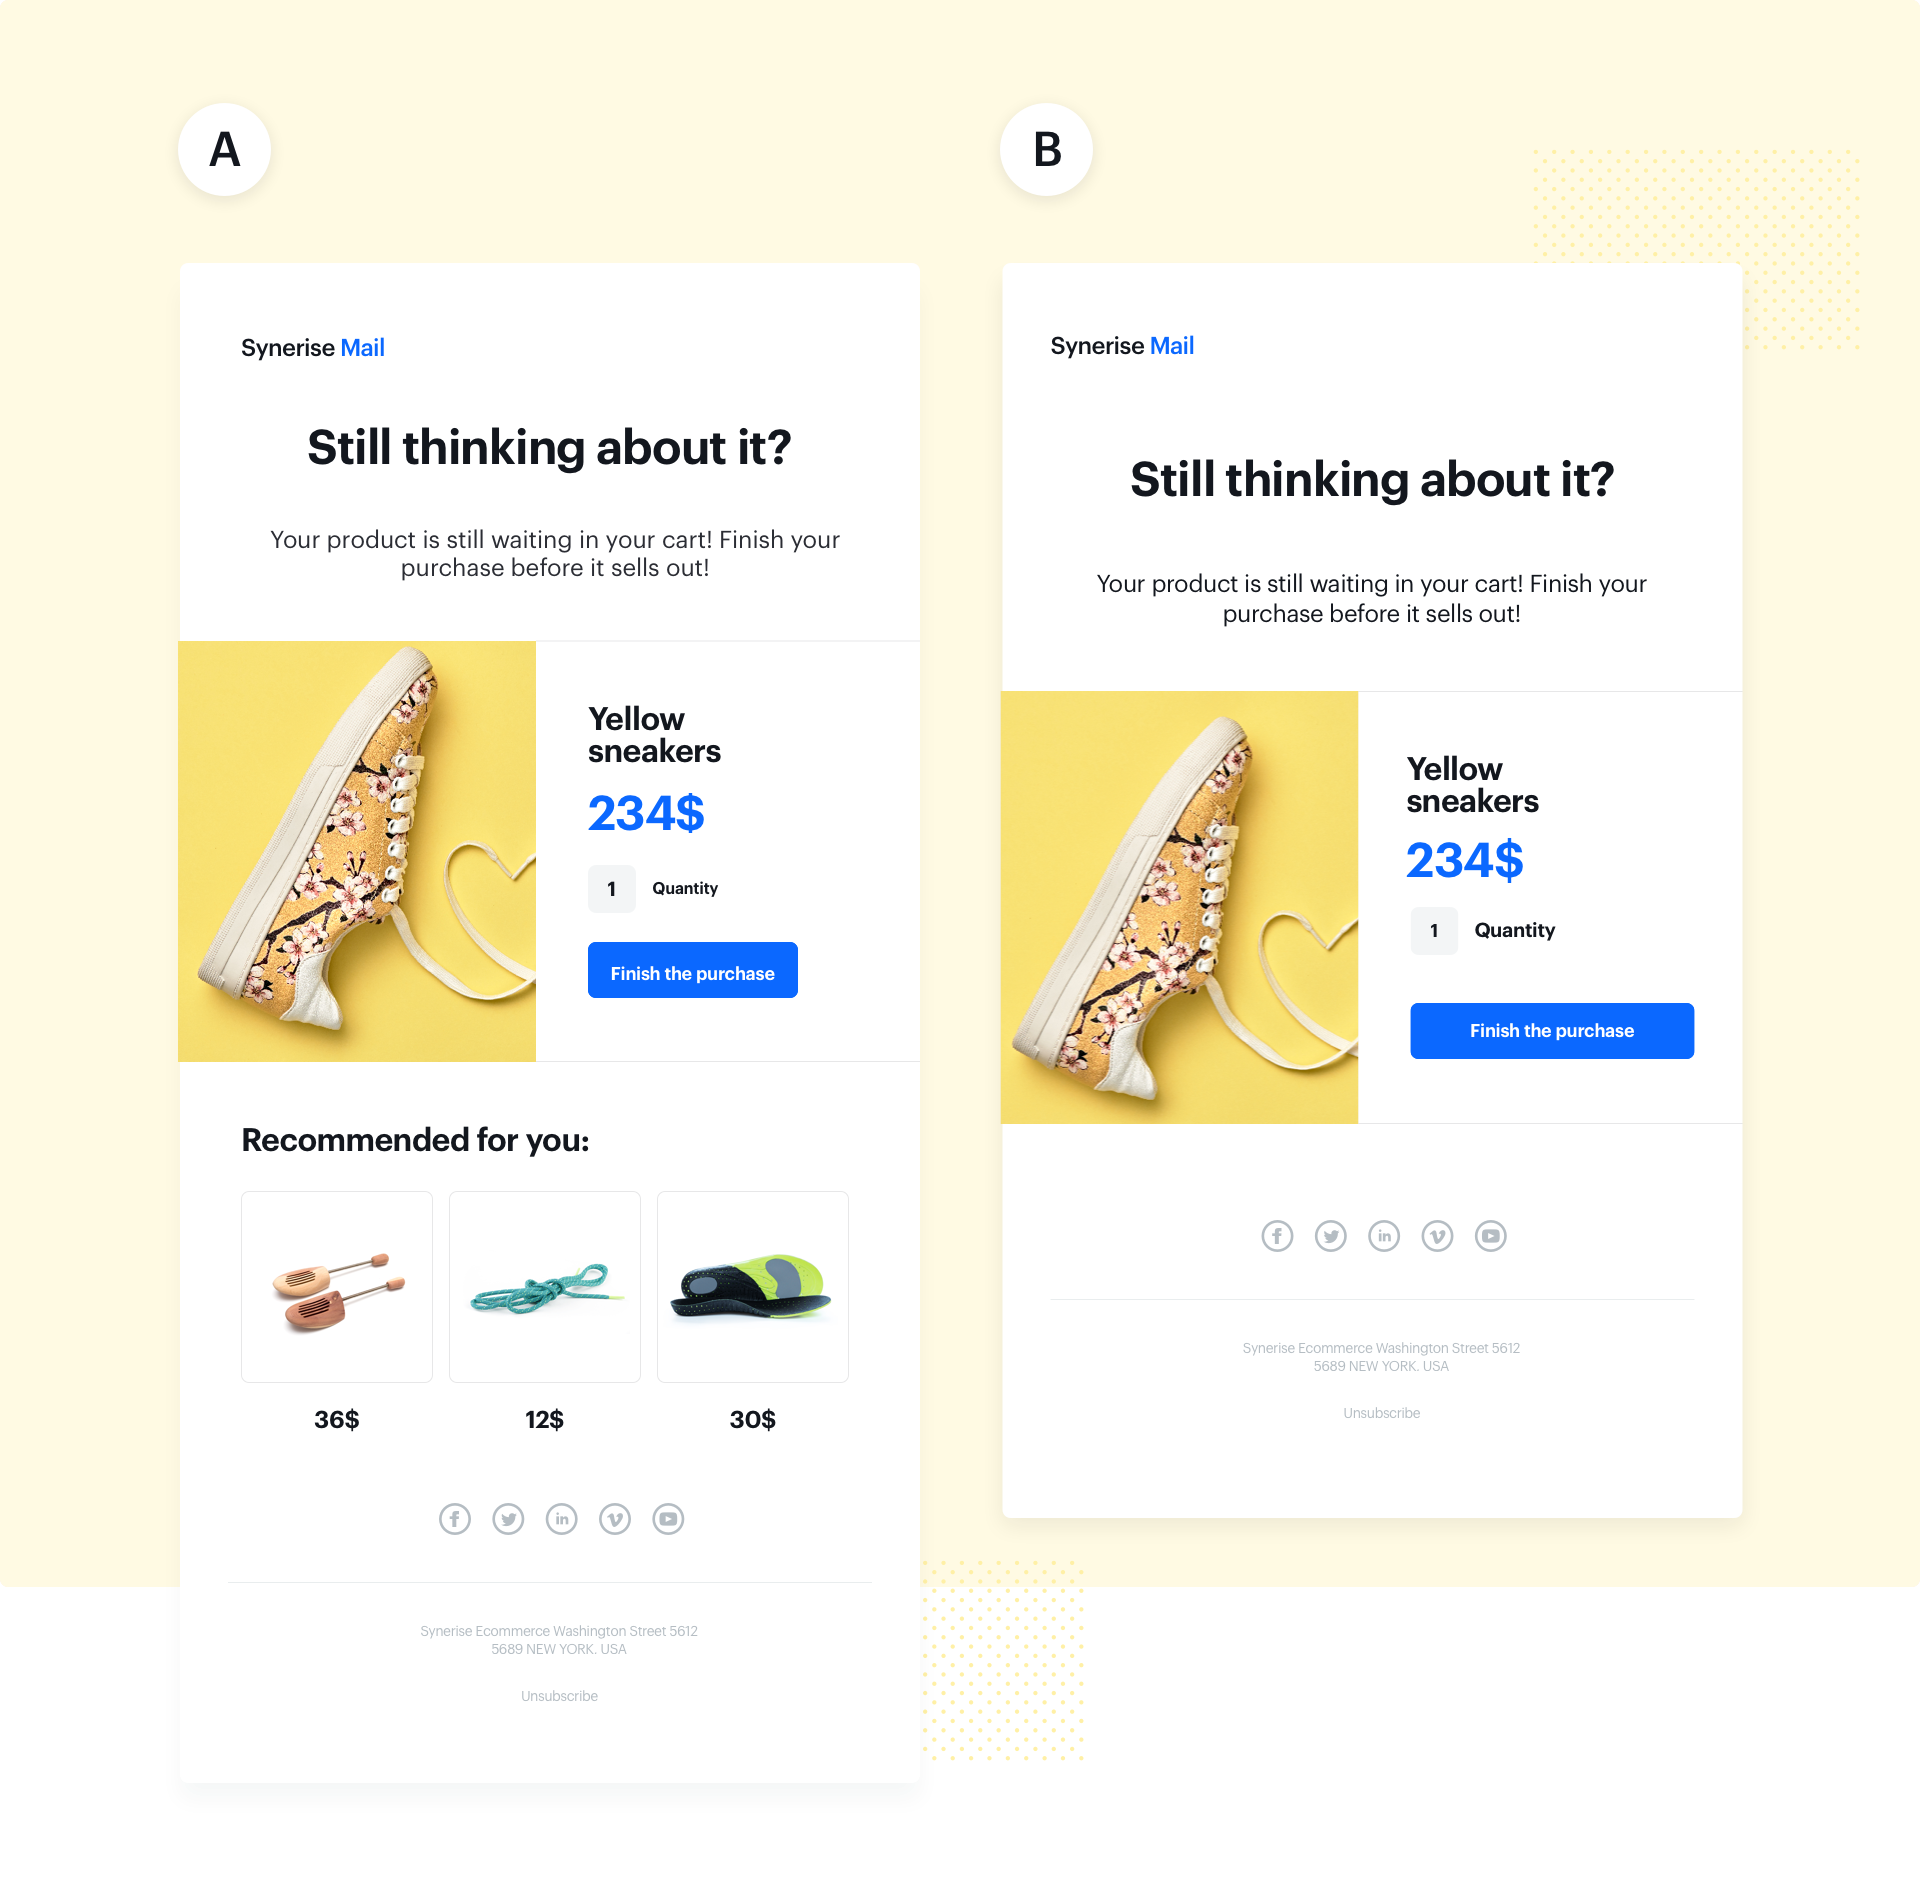
## How to do it
---
1. First of all prepare the right aggregate. Read more about creating [recommendations](/docs/ai-hub/recommendations-v2)).
Then, implement it in your email campaign.
- If you send to Synerise event "cart status", prepare the **Last** type of aggregate and select event cart.status and then the products parameter. In this way you will get products that the customer had previously in the basket.
- If you do not send such an event, you can use event "add to cart". In this case, select the **Last Multi** type of aggregate by selecting the unique events option and indicate how many events you are interested in, for example 10. Then select the event add_to_cart and the parameter by which you will aggregate - in this case SKU.
To view the details of the indicated product in the email, refer to the catalog from the OG tags.
More details you can find [here.](/developers/inserts/insert-usage)
2. Using Inserts, add personalized recommendations to your email campaign.
3. Send your email campaign with abandoned carts and dynamic recommendations to your database.
Learn how to create an [email campaign.](/docs/campaign/dynamiccontent)
## Generated events
This use case generates approximately 5 events per profile that completes the flow:
[`product.addToCart`](/docs/assets/events/event-reference/items#productaddtocart) (~1), [`message.send`](/docs/assets/events/event-reference/email#messagesend) (~1), [`newsletter.open`](/docs/assets/events/event-reference/email#newsletteropen) (~1), [`newsletter.click`](/docs/assets/events/event-reference/email#newsletterclick) (~1), [`recommendation.generated`](/docs/assets/events/event-reference/recommendations#recommendationgenerated) (~1).
# Renewable quest
There are several ways to make a loyalty program an engaging experience for users. One way is to include personalized and frequently updated content, along with special promotions and attractive rewards. Another method can include gamification, which we will explore more deeply in this use case.
In Synerise, you can create gamification scenarios based on various user actions collected within the profile history like transactions, consents, form submissions, watching videos, rating products, and more. However, scenarios based on transaction events are the most popular. These scenarios involve completing quests that lead to rewards such as promotions, free products, extra loyalty points, or access to premium content.
Cover photo for renewable quest use case
In this use case, we will guide you through the process of building a renewable quest. This quest allows customers to earn 1000 loyalty points by purchasing 10 products from a specific category within a set timeframe.
## Prerequisites
---
- Implement transaction events using [SDK](/developers/web/transactions-sdk) or [API](https://hub.synerise.com/api-reference/data-management#operation/CreateATransaction). Make sure that you implement **category** parameter in the transaction events and **quantity** of products.
- Integrate mechanism for awarding loyalty points. Find more in the [Loyalty programs basics](/use-cases/loyalty-programs-basics) use case.
## Security configuration
---
Before you start working with this hub, if you are a Synerise customer or partner, consider reading [the section about denylisting events](/docs/settings/tool/api#denylist). This natively accessible configuration will allow you to manage the restrictions in points management that may help you prevent fraud.
## Process
---
In this use case, you will go through the following steps:
1. [Create a quest.renewableComplete event](/use-cases/renewable-quest#create-a-questrenewablecomplete-event)
2. [Create the aggregate that returns the timestamp of the last finished quest](/use-cases/renewable-quest#create-an-aggregate-that-returns-the-timestamp-of-the-last-finished-quest)
3. [Create the aggregate with the number of product purchased](/use-cases/renewable-quest#create-an-aggregate-that-returns-the-number-of-products-purchased-from-the-defined-product-category)
4. [Create an expression with the number of products required to complete the quest](/use-cases/renewable-quest#create-an-expression-with-the-number-of-products-required-to-complete-the-quest)
5. [Create an expression that returns the number of products purchased](/use-cases/renewable-quest#create-an-expression-that-returns-the-number-of-products-purchased)
6. [Create an expression checking the conditions for completing the quest](/use-cases/renewable-quest#create-an-expression-that-determines-the-number-of-products-required-to-complete-the-quest)
7. [Create a workflow](/use-cases/renewable-quest#create-a-workflow) which adds points to the customer's account
8. [Create a document](/use-cases/renewable-quest#create-a-document) with all necessary data conected with this loyalty scenario
## Create a quest.renewableComplete event
---
In this part of the process, create a **quest.renewableComplete** event, which will be later generated in the workflow when the customer completes the quest. In addition, this event must contain a parameter that contains the name of the completed quest to facilitate identification of the quest. In our case, we use the `gameName` parameter.
1. Go to **Data Modeling Hub > Events > Add event**.
2. In the **Name** field, enter `quest.renewableComplete`.
In the API and SDK, the name parameter is usually called `action` or `action name`.
3. Optionally, define a human-friendly display name that will be shown in **Data Modeling Hub** and **Decision Hub**.
4. Optionally, in the **Description** field, enter the description of the event.
5. Enable the **Make this event available to anonymous profiles without JWT** toggle.
6. Click **Apply**.
8. In the list of events, find the event you just created.
9. On the right side of the screen, click **Add property**.
10. In the **Source parameter** field, enter `gameName`.
11. In the **Property name** field, enter a human-readable label for display in the Synerise platform.
12. Optionally, in the **Description** field, you can add an explanation about the purpose of this parameter.
13. In **Property type** and **Link** fields, leave the default `string` and `-`.
13. To complete the process, click **Save**.
## Create an aggregate that returns the timestamp of the last finished quest
---
In this step, we create an aggregate that provides the timestamp of the most recently completed quest. The timeframe for the quest begins on the day it starts and continues until the expected completion time.
1. Go to **Behavioral Data Hub > Live Aggregates > Create aggregate**.
2. As the aggregate type, select **Profile**.
2. Enter the name of the aggregate as `[UC] Timestamp of last finished quest`.
3. Click **Analyze profiles by** and select **Last**.
4. From the **Choose event** dropdown, select the `questRenewableComplete` event, that you created in the [previous](/use-cases/renewable-quest#create-a-questrenewablecomplete-event) step.
5. As the event parameter, choose **TIMESTAMP**.
6. From the **Choose parameter** dropdown list, select the **gameName** parameter.
7. From the **Choose operator** dropdown list, select **Equal**.
8. Enter the name of the quest. In our case, it’s `Towel's quest`.
7. Set the period for the aggregate to **Custom** and specify the desired data range. In this scenario, we will select the following time range `02.06.2023 - 30.05.2024`.
8. To save the aggregate, click **Save**.
Configuration of the aggregate
## Create an aggregate that returns the number of products purchased from the defined product category
---
In this part of the process, create an aggregate that will calculate the number of products that were purchased from the `Paper_towels` category after the last quest was completed.
1. Go to **Behavioral Data Hub > Live Aggregates > Create aggregate**.
2. As the aggregate type, select **Profile**.
2. Enter the name of the aggregate as `[UC]Number of products purchased after last finished quest`.
3. Click **Analyze profiles by** and select **Sum**.
4. From the **Choose event** dropdown, select the **product.buy** event.
5. As the event parameter, choose **$quantity**.
5. Click the **+ where** button and from the **Choose parameter** dropdown menu, choose **category** parameter.
6. From the **Choose operator** dropdown menu, select **Equal**.
7. Type the name of the product category - `Paper_towels`.
8. Click the **+ where** button and from the **Choose parameter** dropdown menu, choose **TIMESTAMP** parameter.
9. From the **Choose operator** dropdown menu, select **More than** number operator.
10. Click the (Choose value icon).
11. From the **Choose value** dropdown list, select the aggregate you created [earlier in the process](/use-cases/renewable-quest#create-an-aggregate-that-returns-the-timestamp-of-the-last-finished-quest).
12. Set the period for the aggregate to **Lifetime**.
13. Save the aggregate.
Configuration of the aggregate
## Create an expression with the number of products required to complete the quest
---
In this step, create an expression that determines the number of products needed to complete the quest. Based on the assumptions of this use case, the assumed requirement for purchase is 10 units.
1. Go to **Behavioral Data Hub > Expressions > New expression**.
2. Enter the name of the expression as `[UC]Target amount`.
3. Leave the **Expression** option at default **(Attribute)**.
4. Click the **Select** button.
5. Choose **# Constant**.
6. Open the settings of Constant value by clicking `0`.
7. In the field below, type `10`
8. Click **Save**.
Final configuration of the expression
## Create an expression that returns the number of products purchased
---
In this part of the process, create an expression that returns the number of products purchased from the `Paper_towels` category. This expression uses the [aggregate](/use-cases/renewable-quest#create-an-aggregate-that-returns-the-number-of-products-purchased-from-the-defined-product-category) and [expression](/use-cases/renewable-quest#create-an-expression-with-the-number-of-products-required-to-complete-the-quest) created in the previous steps.
Explanation of the expression logic
The logic in the expression compares the number of products purchased after the last finished quest to the target amount, which is 10 units needed to complete the quest. There are two possible scenarios:
If the number of products purchased from the "Paper_towels" category is equal to or greater than the target (10), the expression will return 10, indicating that the quest has been successfully completed.
If the number of products purchased from the "Paper_towels" category is less than the target, the expression will return the actual number of products purchased.
If the number of products purchased in a single transaction exceeds the target of 10, the surplus is not carried over to the next quest.
1. Go to **Behavioral Data Hub > Expression > New expression**.
2. Enter the name of the expression as `[UC]Products purchased`
3. Leave the **Expression** option at default (**Attribute**).
4. Build the following formula of the expression:
Final configuration of the expression
5. Save the expression.
## Create an expression that determines the number of products required to complete the quest
---
In this step, create an expression that checks if the number of products bought is equal to or greater than the target amount, indicating whether the customer has met all the conditions to finish the quest.
Explanation of the expression logic
The expression will produce one of two results based on certain conditions:
If the number of products purchased from the "Paper_towels" category is 10 or greater, the expression will return true.
If the number of products purchased from the "Paper_towels" category is less than 10, the expression will return false.
1. Go to **Behavioral Data Hub > Expression > New expression**.
2. Enter the name of the expression as `[UC]Comparing amount of products bought`
3. Leave the **Expression** option at default (**Attribute**).
5. Build the following formula of the expression:
Final configurationj of the expression
6. Save the expression.
## Create a workflow
---
In this part of the process, create a workflow to determine if the customer has successfully completed the quest. The condition that needs to be met is the purchase of 10 products from the "Paper_towels" category. If the condition is met, two events will be generated for the customer:
- An event `quest.renewableComplete` will be generated to inform about the quest completion.
- An event `points.upcharge` will be generated to assign 1000 loyalty points to the customer.
1. Go to **Automation Hub > Workflows > New workflow**.
2. Enter the name of the workflow as `[UC]Renewable Quest`.
### Define the Profile Event node
---
The workflow will be triggered by the `product.buy` when customers will purchase any product from the `Paper_towels` category.
1. As the first node of the workflow, add **Profile Event**.
1. From the **Choose event** dropdown menu, choose the `product.buy` event,
2. As the parameter, choose **category**,
3. As the operator, choose **Equal**,
4. As the value of the parameter, add `Paper_towels`,
2. Confirm by clicking **Apply**.
The configuration of the Profile Event node
### Define the delay
---
We need to set up a short delay of 10 seconds to ensure that events have been calculated before proceeding to the next condition in the workflow.
1. Add the **Deley** node,
1. Enter the name of the delay as `10s`,
2. Set the **Delay** number as `10`,
3. In **Unit** section choose **Second**,
2. Confirm by clicking **Apply**.
The Delay node configuration
### Define the Profile Filter node
---
In this part of the process, we will check if the customer has completed the quest. We will use the previously created expression that determines whether the customer has met all the conditions to finish the quest. If the quest has been completed, the next step in the workflow will generate the `quest.renewableComplete` event. Otherwise, the process ends.
1. Add the **Profile Filter** node. In the node settings:
1. Click **Choose event** and select **expression** created [earlier in the process](/use-cases/renewable-quest#create-an-expression-that-determines-the-number-of-products-required-to-complete-the-quest),
2. From the **operator** drop-down, choose **Is true (Boolean)**,
2. Confirm by clicking **Apply**.
The Profile Filter node configuration
### Define the Generate Event node
---
In this part of the process the `quest.renewableComplete` event is generated, which informs us about the completion of the quest.
1. To the **matched** path, add the **Generate Event** node.
2. In the configuration of the node:
1. Enter the **Event name**. In our case, we are using `quest.renewableComplete` event.
2. In the **Body** section, use the following Jinjava and modify it to your needs:
{
                   "gameName": "Towel's quest"
               }
2. Confirm by clicking **Apply**.
Configuration of the Generate Event node with a quest.renewableComplete event
### Define the secound Generate Event node
---
In this part of the process, a `points.upcharge` event will be generated, assigning 1000 loyalty points to customers who have finished the quest.
1. Add the **Generate Event** node.
2. In the configuration of the node:
1. Enter the **Event name**. In our case, we are using `points.upcharge` event.
2. In the **Body** section, use the following Jinjava and modify it to your needs:
{
                   "gameName": "Towel's quest",
                   "points": 1000
               }
2. Confirm by clicking **Apply**.
Configuration of the points.upcharge event
### Add the finishing node and set capping
1. Add the **End** node.
2. In the upper right corner, click **Set Capping** and define the limit of workflows a profile can start in a specific time range.
3. In the upper right corner, click **Save & Run**.
Configuration of the workflow
## Create a document
---
In the final step of this process, you will create a document that will display in a selected channel (for example, a mobile application) the results of the expressions you created before, showing your customers how far are they in their quest.
1. Go to **Data Modeling Hub > Documents > Add document**.
2. Enter the name for your document.
To create a document, you have to set up three steps of settings: audience, configuration, and schedule.
### Set up Audience
---
In the audience section, determine who will be the recipient of the document.
2. Click **Define**,
3. Select **Everyone**,
4. Save by clicking **Apply**.
Audience configuration in Document settings
### Set up the Configuration section
---
In the configuration section, determine the content of the document.
1. In the **Slug** field, enter the slug of the document, we recommend using the following name convention: this-is-slug-name. In our example enter the name of the event as `towels`.
2. In the **Priority** field, use a number to define the document priority. The order of documents is defined by the priority value (1 is the highest, 100 is the lowest). In our example it will be `1`.
3. From the **Type** dropdown list, select a document type. Document type defines how the document is validated by your mobile application. To create a new type, from the dropdown list, click Add type. In our example it will be `StampCampaign`.
4. In the **Body** field, add the content of the promotion in the JSON format. Body content will depend on the scenario of loyalty program. In our case, we display the results of the expressions created in previous parts of the process, a description, image, and some more information about the conditions of completing quest.
In the `current_status` and `target` parameters, we are referring to the expressions created earlier in the process. The `current_status` expression returns the actual number of products bought by the client, while the `target` expression determines the number of products needed to complete the quest.
5. Save by clicking **Apply**.
Document settings configuration
### Set up Schedule
In the schedule section, set the document activation date.
1. Define the period as **Run Imediately**
2. Save by clicking **Apply**.
The configuration of document schedule
To activate immediately or at a scheduled date, click the **Activate** button.
The graphic shows document settings
## What’s next
---
For a screen view to be visible in a mobile application, you must fetch it using the appropriate SDK method for:
- [Android](/developers/mobile-sdk/method-reference/android/content),
- [iOS](/developers/mobile-sdk/method-reference/ios/content),
- [React Native](/developers/mobile-sdk/method-reference/react-native/content).
## Check the use case set up on the Synerise Demo workspace
---
You can check the configuration of every element of this process directly in Synerise [Demo workspace](https://demo.synerise.com/request):
- [Aggregates with timestamp of last finished quest](https://app.synerise.com/analytics-v2/aggregates/f5c5f07e-0d37-3f9c-ac3a-7bb50ab0d8a9)
- [Aggregates with number of products purchased after last finished quest](https://app.synerise.com/analytics/aggregates/8255900e-01e7-3ecd-9b31-21700ca7a8cf)
- [Expressions with the number of products required to complete the quest](https://app.synerise.com/analytics/expressions/930673cb-28d2-4a81-9100-7306bdfcce86)
- [Expressions that returns the number of products purchased](https://app.synerise.com/analytics/expressions/1c92f585-3342-4fbd-af05-93f53ebe5882)
- [Expressions checking the conditions for completing the quest](https://app.synerise.com/analytics/expressions/4ad6113a-3f18-44f0-8a50-cf40cc57e895)
- [Documents](https://app.synerise.com/assets/documents/33da9fe3-c317-46e5-93fb-cae73c2f889a)
- [Workflow](https://app.synerise.com/automations/automation-diagram/6e9a80ef-065b-4bd6-a13a-2601e40b4111)
If you’re our partner or client, you already have automatic access to the **Synerise Demo workspace (1590)**, where you can explore all the configured elements of this use case and copy them to your workspace.
If you’re not a partner or client yet, we encourage you to fill out the contact [form](https://demo.synerise.com/request) to schedule a meeting with our representatives. They’ll be happy to show you how our demo works and discuss how you can apply this use case in your business.
## Generated events
This use case generates approximately 9 events per profile that completes the flow:
[`product.buy`](/docs/assets/events/event-reference/items#productbuy) (~1), [`automation.clientStartPath`](/docs/assets/events/event-reference/automation#automationclientstartpath) (~1), [`automation.clientPathStep`](/docs/assets/events/event-reference/automation#automationclientpathstep) (~4), [`automation.clientEndPath`](/docs/assets/events/event-reference/automation#automationclientendpath) (~1), `quest.renewableComplete` (~1), `points.upcharge` (~1).
## Read more
---
- [Automation Hub](/docs/automation)
- [Aggregates](/docs/crm/aggregates)
- [Expressions](/docs/crm/expressions)
- [Documents](/docs/assets/documents/introduction-to-documents)
# Send a list of profiles from Synerise to Google Ads
With Synerise, you can effortlessly send any custom segmentation to Google Ads, ensuring that your ad campaigns are precisely targeted to the right audience.
Using Synerise's powerful integrations, you can unlock many benefits when using custom segments in Google Ads. Tailoring your offerings to specific customer segments allows you to deliver highly personalized ads that resonate with customers' individual preferences, increasing their engagement and conversion rates. With more precise targeting, you can minimize wasted advertising expenses and optimize your advertising budget, resulting in savings and better ROI.
Synerise segments allow you to gain deeper insights into your customer base, identify and target ads to high-value customer groups, and create customized marketing campaigns that increase customer loyalty and repeat purchases.
This use case describes the scenario of sending a list of profiles with a high propensity to buy to Google Ads. This is just an exemplary segment. You can send any other customer segment that meets your specific business needs.
## Prerequisites
---
- Make sure to meet prerequisites from the ["Update Customer List" node](/docs/automation/integration/google-ads/google-ads-send-profiles-to-list#prerequisites) configuration.
- Create a propensity to buy prediction based on this [use case](/use-cases/propensity-brand). The results of this prediction will be used later in the process to create a segmentation of customers with the highest propensity to buy the product(s).
## Process
---
1. [Create a segmentation](/use-cases/send-customer-segmentation-to-google-ads#create-a-segmentation) based on the `snr.propensity.score` event.
2. [Create Data Transformation rules](/use-cases/send-customer-segmentation-to-google-ads#create-data-transformation-rules) to adjust the file with customers to [Google Ads requirements](/docs/automation/integration/google-ads/google-ads-send-profiles-to-list#prerequisites-1).
2. [Create a workflow](/use-cases/send-customer-segmentation-to-google-ads#create-a-workflow) that sends a list of profiles from Synerise to Google Ads.
## Create a segmentation
---
Based on the `snr.propensity.score` event, create a segmentation of customers with high propensity to purchase selected item(s).
1. Go to **Decision Hub > Segmentations > New segmentation**.
2. Enter the name of the segmentation.
3. Click **Add condition**.
4. Select the `snr.propensity.score` event.
5. Click **+ where**.
6. As the event parameter, select `modelId`.
7. As the logical operator, select **Equal**.
8. In the text field, enter the value of the `modelId` parameter.
9. Click **+ and where**.
10. As the event parameter, select `score_label`.
11. As the logical operator, select **Equal**.
12. In the text field, enter `high`.
13. Set the date range according to your business needs.
14. Click **Save**.
Segmentation configuration
## Create Data Transformation rules
---
At this part of the process, create Data Transformation Rules that adjust the file with exported segmentation to [the Google Ads requirements](/docs/automation/integration/google-ads/google-ads-send-profiles-to-list#prerequisites-1), before it is sent to Google Ads.
Later [in the process of creating a workflow](/use-cases/send-customer-segmentation-to-google-ads#create-a-workflow) you will define customer attributes whose values will be exported to Google Ads. As a result, a file with the chosen attributes as columns names will be exported to the Google Ads list. However, the column names in the file need to follow [the specific requirements](/docs/automation/integration/google-ads/google-ads-send-profiles-to-list#prerequisites-1) so in case your attributes names are not compliant with them, you need to use Data Transformation rules to adjust it.
If you are sure that the data format of your exported file meets Google Ads requirements, you can skip this step.
In our case, to use **Email address matching** in Google Ads, we will choose the `email` attribute so we will change the `email` column name to `Email`. Additionally, we will remove the `id` column which is exported automatically but it is not accepted by Google Ads.
1. Go to **Automation Hub > Data Transformation > Create transformation**.
2. Enter the name of the transformation.
### Add file with sample data data
This operation allows you to add a data sample. In further steps, you define how the data must be modified. Later, when this transformation is used in the workflow, the system uses the rules created with the sample data as a pattern for modifying actual data. You can use the exact file from the example below.
Click here to see an example data sample used in this use case
email,id test@gmail.com,1234
1. Click the **Add input** node on the canvas.
2. On the pop-up, click **Upload a new file or drag one here**.
3. Upload the `.CSV` file.
4. You can preview the file, then click **Apply**.
### Rename column
In this part of the process, we will use the **Rename column** node to rename the **email** column to **Email**.
1. On the canvas, click the right mouse button.
2. From the dropdown list, select **Rename column**.
3. Click the **Rename column** node.
4. In the configuration of the node:
1. Click **Add rule**.
2. Select the **Include these** option.
This is the default option. All column names you select will be changed as you specify in the further configuration.
3. Click **Add column**.
4. From the dropdown list, select the columns you want to rename.
5. Under the **Edit values by** subheader, select the **Replacing** option.
This options finds values matching the conditions and replaces them with the value you specify.
6. In the right field, enter the name you want to replace the original name with. In our example, it is `Email`.
Example of the configuration of the Rename column node
5. Before you save the settings, you can check the preview of the file after changes in the **Output data** tab.
6. Confirm by clicking **Apply**.
### Remove column
In this part of the process, we will remove the **id** column.
1. On the canvas, click the right mouse button.
2. From the dropdown list, select **Remove columns**.
3. Click the **Remove columns** node.
4. In the configuration of the node:
1. Enter the name of the column to be removed. In our case, it is `id`.
Example of the configuration of the Rename column node
5. Before you save the settings, you can check the preview of the file after changes in the **Output data** tab.
6. Confirm by clicking **Apply**.
### Add the finishing node
This node ends the transformation and allows you to view a preview of all the changes made to the file.
1. On the canvas, click the right mouse button.
2. From the dropdown list, select **Data output**.
3. In the upper right corner, click **Save and publish**.
**Result**:
The diagram of data transformation
After the data transformation is published, you can use it in the Data Transformation node while preparing a workflow that imports the files.
## Create a workflow
---
As the final part of the process, create a workflow that sends customers with the high propensity to buy item(s) to Google Ads, every day at 6:00 A.M.
1. Go to **Automation Hub > Workflows > New workflow**.
2. Enter the name of the workflow.
### Define the Scheduled Run trigger node
1. As the trigger node, add **Scheduled Run**.
2. In the configuration of the node:
1. Leave the **Run trigger** option at default (**all time**).
2. From the **Timezone** dropdown list, select the time zone consistent with the timezone selected for your workspace.
3. Define the frequency of the workflow. In this use case, it's every day at 6:00 A.M.
4. Confirm by clicking **Apply**.
### Select customers to export
In this part of the process, select a [segmentation of customers with the high propensity to buy](/use-cases/send-customer-segmentation-to-google-ads#create-a-segmentation) that you created earlier in the process. Then select the desired attributes, whose values will be exported to Google Ads in further steps. In our case, it is `email`. As a result, the system gathers all customers data in a file which will be transformed in the next steps according to the data transformation rules you created in [the previous part of the process](/use-cases/send-customer-segmentation-to-google-ads#create-data-transformation-rules).
1. Add the **Get Profiles** node.
2. In the configuration of the node:
1. Select the segmentation you [created in the previous step](/use-cases/send-customer-segmentation-to-google-ads#create-a-segmentation) to extract customers’ data.
2. In the **Attributes** section, select `email`.
3. Confirm by clicking **Apply**.
The configuration of the Get Profiles node
### Transform the data before sending it to Google Ads
During this part of the process, define the Data Transformation node with [the transformation rules defined previously](/use-cases/send-customer-segmentation-to-google-ads#create-data-transformation-rules).
7. Add a **Data Transformation** node.
8. In the configuration of the node, select the [data transformation you have created before](/use-cases/send-customer-segmentation-to-google-ads#create-data-transformation-rules).
9. Confirm by clicking **Apply**.
### Configure the Update Customer List node
---
1. Click **Google Ads > Update Customer List**.
2. Click **Select connection**.
3. From the **Select connection** dropdown list, select an existing connection which allows you to authorize in Google Ads.
If you haven’t established a connection yet:
1. At the bottom of the **Select connection** dropdown list, click **Add connection**.
2. On the pop-up, click **Sign in with Google**.
3. Select a Google Ads Account that meets the requirements to access [Customer Match](https://support.google.com/adspolicy/answer/6299717).
4. Follow the instructions on the interface.
5. After the successful authentication, click **Next**.
6. In the Connection name field, enter the name of the connection.
7. It’s used to find the connection on the list.
8. Click **Apply**.
**Result:** A connection is created and selected.
1. In the **Google Ads Manager Account ID** field, provide the manager account identifier.
2. In the **Google Ads customer ID (optional)** field, provide the ID of your Google Ads account. If it's left empty, Google Ads Manager Account ID will be applied. Learn how to find a [Google Ads customer ID (optional)](https://support.google.com/google-ads/answer/1704344).
3. In the **Customer list ID** field, enter the identifier of the customer list to which would like to add profiles.
4. In the **Select action** dropdown list, select one of available options:
1. **Add customers to the existing list** - adds new records to the existing records in the list
2. **Overwrite the existing list** - existing records will be overwritten by new ones, you will lose previous data.
5. In the **Ad user data consent** indicate whether the customer has given consent for their data to be used in advertising processes.
6. In the **Ad personalization consent** signifies whether the customer agrees to personalized advertising based on their preferences or behavior.
5. Confirm by clicking **Apply**.
Update Customer List node configuration
### Add the End node
1. On the **Update Customer List** node, click **then**.
2. From the dropdown list, select **End**.
3. In the upper right corner, click **Save & Run**.
Workflow configuration
## Check the use case set up on the Synerise Demo workspace
---
You can check the configuration of every element of this process directly in Synerise Demo workspace:
- [Propensity prediction](https://app.synerise.com/ai-v2/predictions/propensity/pngsuydybpkq)
- [Segmentation](https://app.synerise.com/analytics-v2/segmentations/8a3dd54a-10de-402e-8987-2630acdbb03a)
- [Data Transformation diagram](https://app.synerise.com/automations/data-transformation/24483d53-6638-4714-9e10-bcc41be1719c)
- [Workflow configuration](https://app.synerise.com/automations/automation-diagram/fc1e1d96-312e-4bba-8d0a-5ee6bfe03e4c)
If you’re our partner or client, you already have automatic access to the **Synerise Demo workspace (1590)**, where you can explore all the configured elements of this use case and copy them to your workspace.
If you’re not a partner or client yet, we encourage you to fill out the contact [form](https://demo.synerise.com/request) to schedule a meeting with our representatives. They’ll be happy to show you how our demo works and discuss how you can apply this use case in your business.
## Generated events
This use case generates approximately 6 events per workflow execution:
[`automation.clientStartPath`](/docs/assets/events/event-reference/automation#automationclientstartpath) (~1), [`automation.clientPathStep`](/docs/assets/events/event-reference/automation#automationclientpathstep) (~3), [`automation.clientEndPath`](/docs/assets/events/event-reference/automation#automationclientendpath) (~1), `googleAds.updateCustomerList` (~1).
## Read more
---
- [Predictions](/docs/ai-hub/predictions)
- [Segmentation](/docs/analytics/segmentations)
- [Data Transformation](/docs/automation/data-transformation-and-imports)
- [Update Customer List node](/docs/automation/integration/google-ads/google-ads-send-profiles-to-list)
# Weekly alert about top products added to favorites
Adding products to a favorites list is a great way for customers to keep track of items they're interested in. It's also a valuable marketing tool for businesses, as it can help promote items that are popular among customers.
There are a few ways you can use favorites lists to your advantage. First, you can send alerts to your marketing team with the list of items most often added to favorites. This is a great way to keep the team updated and help them make decisions about future promotions, price changes, or increasing the number of those products in stock. You can also use favorites lists to promote products. For example, you can create a list of the most popular items added to favorites and use this to promote special offers or discounts. This is a great way to boost sales and encourage customers to take advantage of your products. Finally, you can use favorites lists to improve your customer service. By keeping track of items added to favorites, you can quickly identify any trends or issues. This can help you resolve problems more quickly and improve your overall customer service.
An alert can be sent via any channel, for example as an email, SMS or to an external tool such as Microsoft Teams or Slack. Additionally, the number of product or the frequency of sending the alert is fully configurable. You may also include products added to the basket, frequency of product visits/products added to cart, and so on.
This particular use case shows how to send an alert with 20 products most often added to favorites last week.
This alert is sent once a week in the form of an email.
## Prerequisites
---
- Implement a [custom event](https://hub.synerise.com/api-reference/data-management#operation/CustomEvent) of adding products to favorites. Implement custom events in your [mobile application](/developers/mobile-sdk/event-tracking#product-added-to-cart) or [website](/developers/web/event-tracking#declarative-tracking-custom-events),
In this use case, this event is named `product.addToFavorites`.
- Create a [segmentation](/docs/analytics/segmentations) of users who will be the recipients of this email alert. This segmentation will be used later in the [workflow](#create-a-workflow).
- Create a workspace [API Key](/docs/settings/tool/api) and assign the `ANALYTICS_BACKEND_REPORT_READ` permission which allows to [retrieve a summary of all reports in the workspace](https://hub.synerise.com/api-reference/analytics-suite#operation/previewAllGroupingsCSVPOST_v4).
## Process
---
In this use case, you will go through the following steps:
1. [Create a metric](/use-cases/report-add-to-favorites#create-a-metric) which counts the number of products added to favorites during last 7 days.
2. [Create a report](/use-cases/report-add-to-favorites#create-a-report) based on the metric created earlier.
3. [Create an email template](/use-cases/report-add-to-favorites#create-an-email-template) with the Jinjava insert which injects the report results from the last 7 days.
4. [Create a workflow](/use-cases/report-add-to-favorites#create-a-workflow) which sends the email alert every 7 days with the latest report results.
## Create a metric
---
In this part of the process, create a metric that calculates the number of all products added to favorites in the last 7 days.
1. Go to **Decision Hub > Metrics > New metric**.
2. Enter the name of the metric.
3. As a metric kind, select **Simple metric**.
4. As the metric type, select **Event**.
3. As the aggregator, set **Count**.
4. As the occurrence type, set **All**.
5. From the **Choose event** dropdown list, select `product.addToFavorites`.
6. To select a specific time range, click the calendar icon. In our case it will be **last 7 days**. Confirm your choice with the **Apply** button.
7. Click **Save**.
Metric settings
## Create a report
---
In this part of the process, create a report to clearly show the list of 20 products which were added most frequently to favorites in last 7 days.
1. Go to **Decision Hub > Report > New report**.
2. Enter the name of the report.
3. Select the metric you created in [the previous part of the process](/use-cases/report-add-to-favorites#create-a-metric).
4. From the **Range** dropdown list, select the number of top (the most frequently added to favorites) products to be shown in the preview of the report. In this case it will be **TOP 20** products.
5. In the **Dimension** section, from the dropdown list select **Events > Parameters**. To be able to show products name in the report, choose **name**.
6. Click **Add dimension**.
7. From the list, choose **sku**.
In this particular use case, we use two dimensions: name and SKU. This way, we will receive the SKU and name of the products in the report. You can use any number of dimensions based on your business needs.
6. In the date range, select the time that will be analyzed. In this case it will be **7 days**.
Select the same date range as you selected for the metric and the segmentation (if you used there date range).
7. Save the report.
8. Click preview to see the results.
Report settings
### Download the code of the report
To be able to use this report in the automation process, download the code using the developer console and save it in your notepad.
1. Go to **Decision Hub > Reports** and find the [report](/use-cases/report-add-to-favorites#create-a-report) created in the previous step.
2. Open the developer console in your browser: Click in the upper-right-hand corner (3 dots) of the browser window and select **More Tools > Developer Tools**.
3. Open the **Network** tab.
4. Open the preview of the report results.
5. In the console, in the filter box, paste `preview`.
6. Click on the event which appeared on the list, choose the tab **Payload** and copy the code.
7. Copy this code to the notepad. You will use it [in the next step](/use-cases/report-add-to-favorites#create-a-workflow).
Developer tool settings
## Create an email template
---
In this part of the process, create an email template with a Jinjava code which inserts the current results from the report created in the [previous part of the process](/use-cases/report-add-to-favorites#create-a-report).
1. Go to **Experience Hub > Email**.
2. On the left pane, click **Templates**.
3. Select the wizard:
- **Drag&drop builder** - use ready-made components to build an email template.
- **Code editor** - use HTML, CSS and JS to build an email template from scratch.
4. Build a template.
5. Add the Jinjava code presented below. This code includes a context of the node from the [workflow](/developers/inserts/automation#context) you will create in the next part of the process. Thanks to this context, the latest results of the report will be injected to the email template.
Check the Jinjava code
{% set raportParams = automationPathSteps['waitReport'].event.params %} {% set final = [] %} {% for item in raportParams["body.data[0].values[0]"] %} {% do final.append({ "name":item.name[0], "sku": item.value, }) %} {% endfor %} {% for item in final %} {{final.name}} - {{final.sku}} <p> {%endfor%}
6. Save the template.
## Create a workflow
---
In this part of the process, you will create the workflow which sends an email every 7 days with the current report results.
1. Go to **Automation Hub > Workflows > New workflow**.
2. Enter the name of the workflow.
### Add the Audience node
In this step you will create the audience who will get the report you have created.
1. Click **Add trigger**.
2. From the dropdown list, select **Audience**.
3. Click the node.
4. Set the **Run trigger** to repeatable.
5. Define the frequency of launching the workflow (the **Interval** field) and when your workflow will be launched for the first time (the **Begin at** field).
4. In the **Define audience**, select the segmentation you created as a part of [prerequisites](/use-cases/report-add-to-favorites#prerequisites).
5. Click **Apply**.
Audience node settings
### Add the Outgoing Integration node
This webhook will be used to calculate the results of the report created in the [previous step](/use-cases/report-add-to-favorites#create-a-report). We use the method from [API documentation.](https://hub.synerise.com/api-reference/analytics-suite#operation/previewAllGroupingsCSVPOST_v4)
1. Select the **Custom webhook** tab.
2. In the **Webhook name** field, enter `report.preview`.
3. Select the **POST** method.
4. Enter the endpoint.
4. Leave the **content-type** at default (`application / json`).
5. In the request body, paste the payload of [the report you received in this part of the process](/use-cases/report-add-to-favorites#create-a-report).
Check the examplary JSON body of the report
7. Select the method of authorization as **by API key**.
8. From the dropdown list, select the API key you created as a [part of prerequisites](#prerequisites).
7. Click **Apply**.
Webhook settings
### Define the Event Filter node
---
This node will let you get the report results from the last 7 days. Based on that, you will be able to add it to the email.
1. As the next node, add **Event Filter**. In the configuration of the node:
1. As the name of the node, enter `waitReport`. It is important to add it, as the Jinjava code in the email template contains a reference to the name of this node (`{% set raportParams = automationPathSteps['waitReport'].event.params %}`).
2. Set the **Check** option to **for period of time**.
2. Set the time range. In our case, it is **10 minutes**.
3. In the **Define conditions** section, from the **Choose event** dropdown menu, choose `webhook.response` event.
4. From **Choose parameter** dropdown menu, choose **name**.
5. From the **Choose operator** dropdown, choose **String**, and then select **Equal**.
6. In the next field, type the `report.preview`.
7. Click the + where button and from **Choose parameter** dropdown menu, choose **status**.
5. From the **Choose operator** dropdown, choose **Number**, and then select **Equal**.
6. In the next field, type the `200`.
4. Confirm by clicking **Apply**.
Event Filter node settings
### Configure the Send Email node
---
In this part of the process, the workflow sends an email which contains the report with 20 products most frequently added to favorites during last 7 days.
1. For the **Matched** path, add the **Send Email** node.
2. In the settings of the node:
1. Define the settings of the **Sender details** section.
2. In the **Content** section, enter the subject of the email and select the template you [prepared in the previous part of the process](/use-cases/report-add-to-favorites#create-an-email-template).
3. Optionally, define the settings in the [UTM & URL parameters](/docs/campaign/e-mail/creating-email-campaigns#define-utm-and-url-parameters) and [Additional parameters](/docs/campaign/e-mail/creating-email-campaigns#adding-custom-parameters) sections.
2. Click **Apply**.
### Prepare the final settings
---
1. After **Send Email**, add the **End** node as well as to the **Not matched** path.
2. Optionally, define capping.
3. Optionally, add titles to each node so the workflow will be more understandable to your colleagues.
4. Activate the workflow by clicking **Save & Run**.
Workflow settings
## What's next
---
Information from this report might be used in the following campaigns:
- Special promotions for products most frequently added to favorites
- Price regulations
## Check the use case set up on the Synerise Demo workspace
---
You can check the [metric](https://app.synerise.com/analytics/metrics/b665b739-55f8-4e5b-bc50-fa759142f8ef), [report](https://app.synerise.com/analytics/reports/58ef5a60-6632-4742-b89b-53aa051e087b) and [workflow configuration](https://app.synerise.com/automations/automation-diagram/54f79939-473f-4324-9aef-0feb76d82f9b) directly in Synerise Demo workspace.
If you’re our partner or client, you already have automatic access to the **Synerise Demo workspace (1590)**, where you can explore all the configured elements of this use case and copy them to your workspace.
If you’re not a partner or client yet, we encourage you to fill out the contact [form](https://demo.synerise.com/request) to schedule a meeting with our representatives. They’ll be happy to show you how our demo works and discuss how you can apply this use case in your business.
## Generated events
This use case generates approximately 9 events per workflow execution:
[`automation.clientStartPath`](/docs/assets/events/event-reference/automation#automationclientstartpath) (~1), [`automation.clientPathStep`](/docs/assets/events/event-reference/automation#automationclientpathstep) (~3), [`automation.clientEndPath`](/docs/assets/events/event-reference/automation#automationclientendpath) (~1), [`webhook.response`](/docs/assets/events/event-reference/integration#webhookresponse-and-custom-webhook-response-names) (~1), [`message.send`](/docs/assets/events/event-reference/email#messagesend) (~1), [`newsletter.open`](/docs/assets/events/event-reference/email#newsletteropen) (~1), [`newsletter.click`](/docs/assets/events/event-reference/email#newsletterclick) (~1).
## Read more
---
- [Automation Hub](/docs/automation)
- [Email campaigns](/docs/campaign/e-mail)
- [Metrics](/docs/analytics/metrics)
- [Reports](/docs/analytics/reports)
# Export customer's predicted LTV and loyalty status to Google Cloud Storage
Make use of the built-in Google Cloud Storage integration in Automation Hub and export prediction results of lifetime value (LTV) and customer's loyalty status to your external resources for further analysis.
This use case combines three Synerise hubs:
- Decision Hub - to create analyses required for the prediction configuration, including an expression to calculate the total transaction value over the last 90 days, a segmentation based on website visits in the past 30 days to use it for a prediction, segmentation of customers who participate in a loyalty program, and later on an aggregate that retrieves the prediction result.
- Predictions (from AI Hub) - to create a prediction that forecasts the transaction value in the next 90 days for the customers who visited your website in the last 30 days, and assess the probability of this transaction value.
- Automation Hub - to create a workflow in which you will re-select the segmentation with visits in the last 30 days, select the aggregate with prediction results and the segmentation of customers who are in the loyalty program to export to your Google Cloud Storage.
## Prerequisites
---
- [Enable the Custom prediction model](/docs/ai-hub/predictions/enabling-predictions#enabling-regression-and-classification-predictions).
- Make sure you meet all [prerequisites](/docs/automation/integration/google-cloud-storage/send-file-to-gcp#prerequisites) to integrate Synerise with Google Cloud Storage.
- Create a segmentation of customers who are members of the company's loyalty program.
The conditions used in the segmentation will vary depending on your loyalty program logic (for example, you may use custom attributes related to loyalty program).
## Process
---
In this use case, you will go through the following steps:
1. [Create prediction target](/use-cases/send-ltv-to-gcs#create-prediction-target) based on an aggregate and expression.
2. [Create the segmentation](/use-cases/send-ltv-to-gcs#create-a-segmentation) for whom the prediction will be made (users who have visited the website in the past 30 days).
3. [Create the prediction](/use-cases/send-ltv-to-gcs#create-the-prediction) to predict the transaction value in the next 90 days and determine its likelihood.
4. [Create an aggregate](/use-cases/send-ltv-to-gcs#create-an-aggregate) that retrieves the prediction results.
3. [Create a workflow](/use-cases/send-ltv-to-gcs#create-a-workflow) that will send results of the prediction and loyalty program status of selected customers.
## Create prediction target
---
In the first part of the process, create an expression that calculates the total value of purchases. This expression will also serve as data input to forecast the total purchase value for the next 90 days.
In order to create such expression, you have to start with creating aggregate whose results will be retrieved in the expression. This is because only expressions can be used as prediction goals in the prediction configuration.
1. Go to **Behavioral Data Hub > Live Aggregates > Create aggregate**.
2. As the aggregate type, select **Profile**.
2. Enter the name of the aggregate.
3. Set the **Analyze profiles by** option to **Sum**.
4. Click **Choose event**.
5. From the dropdown list, select **transaction.charge**.
Events may have different labels among workspaces, but you can always find them by their action name (in this step, it's **transaction.charge**).
6. As the parameter of the event, select **$totalAmount**.
5. Using the date picker in the lower-right corner, set the time range to **Relative time range > Custom > last 90 days**.
6. Save the aggregate.
The formula of the aggregate
After saving the aggregate, proceed to creating an expression.
1. Go to **Behavioral Data Hub > Expressions > New expression**.
2. Enter the name of the expression.
3. Set the **Expression** to **Attribute**. Predictions work only with attribute expressions.
4. On the canvas, click **Select**.
5. From the dropdown list, select **Profile**.
6. Click the **unnamed** input that appeared on the canvas.
7. From the **Choose attribute** dropdown list, select the aggregate you have created before.
8. Click **Save**.
The formula of the expression
## Create a segmentation
---
In this part of the process, create a group of customers for whom the prediction will be made.
The conditions of the segmentation can be very complex. It usually makes sense to analyze customers with some activities observed, so in this use case, the segmentation contains customers who have at least one page visit during the last 30 days.
1. Go to **Decision Hub > Segmentation > New segmentation**.
2. Enter the name of the segmentation.
3. Create a segmentation of customers who visited your website in the last 30 days.
You can find the instructions on creating segmentations in the ["Creating segmentations"](/docs/analytics/segmentations/creating-segmentations) article.
4. Click **Save**.
Segmentation
## Create the prediction
---
In this part of the process, create a prediction for a selected group of customers. The prediction result will be available on the profile cards of these customers as a [`snr.prediction.score` event](/docs/ai-hub/predictions/custom#understanding-prediction-events). This event will contain the forecast result of the expression created in ["Create prediction target"](#create-prediction-target) and probability of receiving such result expressed in 5-point scale.
1. Go to **(AI Predictions) Models > New prediction**.
2. On the pop-up, select **Create from scratch**, and then select **Regression**.
### Select the audience
In this section, select the group of customers you created in [this part](#create-a-segmentation) of the process.
1. In the **Audience** section, click **Define**.
2. Click **Choose segmentation**.
3. Select the group of customers you created in [Create a segmentation](#create-a-segmentation) part of the process.
4. Click **Apply**.
### Select the target
1. In the **What would you like to predict?** section, click **Define**.
2. Click **Select expression**.
3. From the dropdown list, select the expression you created in the [Create prediction target](#create-prediction-target) part of the process.
### Select events
[Events](/docs/assets/events/introduction-to-events) are customer activities on the website (visits to a website, adding a product to a shopping cart, and so on) and also your activities towards customers (such as sending messages to them). Select the events that the system will use as input to make a prediction. By default, the list already contains the events recommended for the prediction you are creating. The contents of the list is defined while enabling [Custom predictions](/docs/ai-hub/predictions/enabling-predictions#enabling-regression-and-classification-predictions).
1. Leave the **Auto-select events** option toggle on.
### Schedule recalculation and result settings
In this section, define the frequency of recalculating the prediction and settings of the event that is generated for customers for whom the prediction is made.
1. In the **Prediction time window** section, from the **How many days in advance do you want to make a prediction?** dropdown list, select **90 days** as the number of days in advance.
The time must correspond to the time range selected earlier in the prediction target.
2. In the **Calculation frequency** section, leave the settings at default (**One-time calculation**). As a result, the prediction is run only one time.
3. In the **Prediction start** section, leave the settings at default (**Immediately**). As a result, the prediction is calculated immediately after saving.
4. In the **How would you like to display results?** section, leave the settings at default (**5-point scale**).
5. In the **Define the value of the score name parameter** section, in the **Name** field, enter the user friendly name of predictions scores. The score name parameter is shown in the `snr.prediction.score` event. In our case it is `Lifetime value`.
6. Click **Apply**.
7. Complete the prediction by clicking **Save&Calculate**.
**Result**: The calculation begins. After it completes, an event named [`snr.prediction.score`](/docs/ai-hub/predictions/custom#understanding-prediction-events) is saved to the customer profiles selected in the segmentation. The event will be available in the platform, for instance in Decision Hub, Behavioral Data Hub, and Automation Hub.
The prediction
## Create an aggregate
---
In this part of the process, create an aggregate that returns the prediction score.
1. Go to **Behavioral Data Hub > Live Aggregates > Create aggregate**.
2. As the aggregate type, select **Profile**.
2. Enter the name of the aggregate.
3. Click **Analyze profiles by** and select **Last**.
5. From the **Choose event** dropdown list, select the `snr.prediction.score` event.
6. As the event parameter, select **score_label**.
7. Click **+where** and choose **modelId**.
To find the model ID, simply navigate to the prediction in the Synerise application. The ID is the part of the URL that comes after /prediction/, for example: **deoojrhqdkpp** in the URL `https://app.synerise.com/ai-v2/predictions/deoojrhqdkpp`. Copy this ID and use it in your code where needed.
8. As the operator choose **equal** and as the value add the ID of the prediction creadted [before](#create-the-prediction).
7. Set the period from which the aggregate will analyze the results to **Lifetime**.
12. **Save** the aggregate.
The aggregate
## Create a workflow
---
As the final part of the process, create a workflow which sends the customers' data to Google Cloud Storage.
1. Go to **Automation Hub > Workflows > New workflow**.
2. Enter the name of the workflow.
### Define the launch date
3. As the trigger node, add **Scheduled Run**.
4. In the configuration of the node:
1. Leave the **Run trigger** option at default (**one time**).
2. Choose option **Immediately**.
4. Confirm by clicking **Apply**.
The configuration of the Scheduled Run node
### Select customers to export
5. Add a **Get Profiles** node.
6. In the configuration of the node:
1. Select the segmentation you [created in the first part of the process](#create-a-segmentation).
2. In the **Attributes** section, select **name** **lastname** and **email**. You can also add more attributes based on your business needs.
The configuration of the Get Profiles node
7. In the **Aggregate Values** section, select the [aggregate which retrieves the prediction result](#create-an-aggregate).
8. In the **Belonging to segmentation** section, add the segmentation of loyalty members created as the part of the [prerequisites](#prerequisites).
3. Confirm by clicking **Apply**.
The configuration of the Get Profiles node
### Configure Send File node
1. Add **Google Cloud Storage > Send File** node.
2. Click **Select connection**.
3. From the dropdown list, select the connection.
- If no connections are available or you want to create a new one, see [Create a connection](/docs/automation/integration/google-cloud-storage/send-file-to-gcp#create-a-connection).
- If you selected an existing connection, proceed with the integration settings.
1. In the **Project ID** field, enter the unique identifier of your project in Google Cloud.
You can learn how to find the project ID [here](https://support.google.com/googleapi/answer/7014113).
2. In the **Bucket** field, enter the name of an existing bucket (container) to which you will send a file with data.
3. In the **Path to directory** field, enter the path to which the file will be saved in the bucket.
4. In the **File name** field, enter the name of the file you want to send to the storage. If the file already exists, the contents of the file will be overwritten.
5. From the **File format** dropdown list, select the format in which the file will be saved in the storage.
6. Confirm by clicking **Apply**.
The configuration of the Send File node
In this case, we use the Google Cloud Storage export node. However, Synerise offers various built-in integrations for data exports, including Amazon, Facebook, and others. Additionally, by using Outgoing Integration, you can send data as a request to any external tool, providing flexibility and extensive possibilities for data distribution.
### Add the finishing node
12. Add the **End** node.
13. In the upper right corner, click **Save & Run**.
The workflow configuration
## Check the use case set up on the Synerise Demo workspace
---
You can check the configuration of each item created in this use case on our Synerise Demo workspace:
- [Aggregate - prediction target](https://app.synerise.com/analytics/aggregates/84991085-f72c-3684-a1eb-57fc643830a8)
- [Expression](https://app.synerise.com/analytics/expressions/ee582e83-0667-4580-b509-1ad1cd4aaad0)
- [Segmentation](https://app.synerise.com/analytics-v2/segmentations/11295db2-80c2-464e-b9be-61fa8e78b98b)
- [Prediction](https://app.synerise.com/ai-v2/predictions/ylhrexxshcak)
- [Aggregate](https://app.synerise.com/analytics-v2/aggregates/fe0e4e86-a1bc-392e-9ff9-1ecb48b508dc) which retrieves the prediction results
- [Workflow](https://app.synerise.com/automations/workflows/automation-diagram/d4259a0a-5488-4b4a-92d9-ba65ee376c4e)
If you’re our partner or client, you already have automatic access to the **Synerise Demo workspace (1590)**, where you can explore all the configured elements of this use case and copy them to your workspace.
If you’re not a partner or client yet, we encourage you to fill out the contact [form](https://demo.synerise.com/request) to schedule a meeting with our representatives. They’ll be happy to show you how our demo works and discuss how you can apply this use case in your business.
## Generated events
This use case generates approximately 6 events per workflow execution:
[`snr.prediction.score`](/docs/assets/events/event-reference/predictions#snrpredictionscore) (~1), [`automation.clientStartPath`](/docs/assets/events/event-reference/automation#automationclientstartpath) (~1), [`automation.clientPathStep`](/docs/assets/events/event-reference/automation#automationclientpathstep) (~2), [`automation.clientEndPath`](/docs/assets/events/event-reference/automation#automationclientendpath) (~1), `googleCloudStorage.sendFile` (~1).
## Read more
---
- [Send File](/docs/automation/integration/google-cloud-storage/send-file-to-gcp)
- [Segmentations](/docs/analytics/segmentations)
- [Workflows](/docs/automation)
- [Prediction - Quick Start](/docs/ai-hub/predictions/custom)
# Tracking in-store loyalty program registrations via QR codes for a store competition
Running competitions between physical stores is a proven way to motivate staff and increase loyalty program sign-ups. By assigning each store a unique QR code that links to the registration page, you can track exactly which store drove each new membership.
This use case describes how to set up end-to-end tracking and reporting of in-store loyalty program registrations in Synerise. Each physical store distributes a unique QR code containing a registration URL with a store identifier (for example, `https://www.example.com/create-account?store_ABC`). When a customer scans the code and completes the full registration process — e.g. submitting the form, confirming the account, and opting in to the newsletter — the registration is attributed to that store.
Synerise collects the relevant events, builds a segmentation of fully qualified registrations, and generates a monthly report broken down by store. This use case covers the full process up to the point where the report is ready — how you choose to distribute the results (for example, via email, SharePoint, or another external tool) depends on your specific business needs.
Based on the report, the business can reward the stores with the highest number of complete registrations in a given period.
All event names, attributes, and business rules described in this use case are specific to this implementation and serve as an example. For other projects, different naming conventions, conditions, or constraints may apply — for example, which store identifier is used, which marketing agreements are required, or what the time window between registration and confirmation should be.
## Prerequisites
---
- Implement a [tracking code](/docs/settings/tool/tracking_codes) on your website.
- Have an integrated registration form on the website so that when a customer completes the form, a `form.submit` event is generated on their profile. This event must contain at least the following parameters:
- `uri` — the full URL of the registration page (including the store identifier in the query string),
- `formType` — the type of form, for example with the value `registration`.
- Have a mechanism for tracking account confirmation. In this example, the `profile.updated` event is generated with the `activation` parameter set to `true` when a customer confirms their account.
- Have a mechanism for tracking newsletter agreement activation. In this example, the `marketingAgreement.turnOn` event is generated when a customer enables the newsletter agreement.
- Have a custom profile attribute (in this example, `subscriptionDate`) that stores the date when the customer opted in to the newsletter, in date format (`yyyy-mm-dd`). This attribute is not available by default — it must be implemented separately, for example by sending it from an external system or by creating a workflow that reacts to the `marketingAgreement.turnOn` event and saves the current date to this attribute on the customer's profile.
- Generate unique registration URLs per store with a consistent identifier pattern in the query string (for example, `?store_ABC`, `?store_XYZ`).
- Create [API keys](/docs/settings/tool/api#adding-api-keys) with appropriate permissions for report retrieval.
## Process
---
In this use case, you will go through the following steps:
1. [Create an event aggregate that returns the last registration form URI](#create-an-event-aggregate-for-registration-uri).
2. [Create a profile aggregate for account confirmation with store origin](#create-a-profile-aggregate-for-account-confirmation).
3. [Create a segmentation of fully qualified registrations](#create-a-segmentation-of-qualified-registrations).
4. [Create a report with monthly registration counts per store](#create-a-report-with-registration-counts-per-store).
## Create an event aggregate for registration URI
---
This aggregate returns the last URI from the `form.submit` event where the form type is `registration`. It will be used later in the profile aggregate and segmentation to check whether the registration originated from a store link.
1. Go to **Behavioral Data Hub > Live Aggregates > Create aggregate**.
2. As the aggregate type, select **Event**.
3. Enter a name for the aggregate, for example `Last URI from registration form submit`.
4. Set **Analyze events by** to **Last**.
5. From the **Choose event** dropdown list, select the `form.submit` event.
6. As the event parameter, select **uri**.
7. Click the **+ where** button.
8. From the **Choose parameter** dropdown list, select the **formType** parameter.
9. From the **Choose operator** dropdown, choose **Equal**.
10. In the next field, enter `registration`.
11. Set the time range to **Lifetime**.
12. Save the aggregate.
Configuration of the event aggregate returning the last registration form URI
## Create a profile aggregate for account confirmation
---
This aggregate returns the last timestamp of the `profile.updated` event where the account was confirmed (`activation` = `true`) and where the registration originated from a store link (the event aggregate from the previous step contains the store identifier). It will be used in the segmentation to verify the chronological order of events.
1. Go to **Behavioral Data Hub > Live Aggregates > Create aggregate**.
2. As the aggregate type, select **Profile**.
3. Enter a name for the aggregate, for example `Account confirmation timestamp after in-store registration`.
4. Set **Analyze profiles by** to **Last**.
5. From the **Choose event** dropdown list, select the `profile.updated` event.
6. As the event parameter, select **TIMESTAMP**.
7. Click the **+ where** button.
8. From the **Choose parameter** dropdown list, select the **activation** parameter.
9. From the **Choose operator** dropdown, choose **Equal**.
10. In the next field, enter `true`.
11. Click the **+ where** button.
12. From the **Choose parameter** dropdown list, select the event aggregate created in the [previous step](#create-an-event-aggregate-for-registration-uri).
13. From the **Choose operator** dropdown, choose **Contain**.
14. In the next field, enter the store identifier prefix, for example `store_`.
15. Set the time range to **Last month** (or adjust according to the reporting period).
16. Save the aggregate.
Configuration of the profile aggregate for account confirmation with store origin
## Create a segmentation of qualified registrations
---
In this part of the process, create a segmentation that identifies customers who completed a full loyalty program registration through a store link. A customer qualifies if they performed all of the following actions within 7 days, in any order:
- Submitted the registration form (`form.submit`) from a URL containing the store identifier.
- Confirmed their account (`profile.updated` with `activation` = `true`).
- Enabled the newsletter agreement (`marketingAgreement.turnOn`).
The segmentation consists of two segments connected by an **OR** operator. The reason for splitting the segmentation into two segments is that there are two distinct groups of customers who qualify:
- **Segment A** — customers who registered through the store QR code, confirmed their account, **and** opted in to the newsletter — all within 7 days. These are entirely new customers who completed the full process during the competition period.
- **Segment B** — customers who registered through the store QR code and confirmed their account within 7 days, but **already had the newsletter agreement from before** (for example, they subscribed via the website footer months ago). These customers did not need to opt in again — they only needed to register and confirm.
To track when the newsletter agreement was originally given, this implementation uses a custom profile attribute (in this example, `subscriptionDate`) that stores the date of the newsletter opt-in in date format (`yyyy-mm-dd`). It must be set up beforehand (see [Prerequisites](#prerequisites)).
1. Go to **Decision Hub > Segmentations > New segmentation**.
2. Enter the name of the segmentation, for example `Fully qualified in-store loyalty registrations`.
### Configure Segment A
---
Segment A captures customers who completed all three actions (form submission, account confirmation, newsletter opt-in) within 7 days. Because the events can happen in different orders (for example, newsletter agreement before or after account confirmation), you define two condition groups connected by **OR** to cover both orderings.
**First condition group:**
3. Click **Add condition**.
4. From the dropdown list, select the `form.submit` event.
5. Click the **+ where** button and select the **uri** parameter.
6. From the **Choose operator** dropdown, choose **Contain** and enter the registration page URL, for example `www.example.com/create-account`.
7. Click the **+ where** button and select the **uri** parameter again.
8. From the **Choose operator** dropdown, choose **Contain** and enter the store identifier prefix, for example `store_`.
9. Below the first condition, in the **and then...** section, click **Add condition**.
10. From the dropdown list, select the `profile.updated` event.
11. Click the **+ where** button and select the **activation** parameter.
12. From the **Choose operator** dropdown, choose **Equal** and enter `true`.
13. Click the **+ where** button and select the event aggregate created [earlier](#create-an-event-aggregate-for-registration-uri).
14. From the **Choose operator** dropdown, choose **Contain** and enter the store identifier prefix, for example `store_`.
15. Click the **+ where** button and select the **TIMESTAMP** parameter.
16. From the **Choose operator** dropdown, choose **Custom** and set the date range to the reporting period (for example, `1 Feb 2026, 00:00` to `28 Feb 2026, 23:59`).
The custom date range on the TIMESTAMP parameter should be adjusted each month to match the reporting period, or the segmentation should be configured to use a dynamic time range.
17. In the **and then...** section, click **Add condition**.
18. From the dropdown list, select the `marketingAgreement.turnOn` event.
19. Click the **+ where** button and select the **TIMESTAMP** parameter.
20. From the **Choose operator** dropdown, choose **Custom** and set the same date range as above.
21. Set the completion window to **Completed within 7 Days**.
22. Set the time range to **Lifetime**.
Configuration of the first condition group in Segment A
**Second condition group:**
23. Click **Add condition**.
23. Click **Or** to add an alternative condition group.
24. Configure the same three events (`form.submit`, `marketingAgreement.turnOn`, `profile.updated`) but in a different order to account for customers who enabled the newsletter agreement before confirming their account.
25. Apply the same filters, time ranges, and the 7-day completion window.
Configuration of the second condition group in Segment A
### Configure Segment B
---
Segment B captures customers who registered through the store QR code and confirmed their account within 7 days, but already had the newsletter agreement from before the registration. This segment consists of two parts connected by an **AND** operator.
**Part 1 — Performed action:**
This part verifies that the customer submitted the registration form from a store link and confirmed their account within 7 days during the reporting period. Unlike Segment A, there is no `marketingAgreement.turnOn` event here — the newsletter opt-in happened earlier.
26. Click **Add segment** to create Segment B.
27. Click **Add condition**.
28. From the dropdown list, select the `form.submit` event.
29. Click the **+ where** button and select the **uri** parameter.
30. From the **Choose operator** dropdown, choose **Contain** and enter the registration page URL, for example `www.example.com/create-account`.
31. Click the **+ where** button and select the **uri** parameter again.
32. From the **Choose operator** dropdown, choose **Contain** and enter the store identifier prefix, for example `store_`.
33. Below the first condition, in the **and then...** section, click **Add condition**.
34. From the dropdown list, select the `profile.updated` event.
35. Click the **+ where** button and select the **activation** parameter.
36. From the **Choose operator** dropdown, choose **Equal** and enter `true`.
37. Click the **+ where** button and select the event aggregate created [earlier](#create-an-event-aggregate-for-registration-uri).
38. From the **Choose operator** dropdown, choose **Contain** and enter the store identifier prefix, for example `store_`.
39. Click the **+ where** button and select the **TIMESTAMP** parameter.
40. From the **Choose operator** dropdown, choose **Custom** and set the date range to the reporting period (for example, `1 Mar 2026, 00:00` to `31 Mar 2026, 23:59`).
41. Set the completion window to **Completed within 7 Days**.
42. Set the time range to **Lifetime**.
**Part 2 — Has property (chronological check):**
This part verifies that the customer's newsletter opt-in date (`subscriptionDate` attribute) is earlier than the account confirmation timestamp. This means the customer had already subscribed to the newsletter before completing the in-store registration.
43. Below the performed action block, click **Add condition** and select **Has property**.
44. Select the `subscriptionDate` attribute (a custom attribute storing the date when the customer opted in to the newsletter).
45. From the **Choose operator** dropdown, choose **Less than**.
46. As the value, select the profile aggregate for account confirmation created in [the earlier step](#create-a-profile-aggregate-for-account-confirmation).
Configuration of Segment B with registration from store and pre-existing newsletter agreement
### Finalize the segmentation
---
1. Connect Segment A and Segment B using the **OR** operator (visible in the top-right corner of the conditions panel). A customer qualifies if they match **either** Segment A (all three actions within 7 days) **or** Segment B (registration + confirmation within 7 days, with a pre-existing newsletter agreement).
2. Save the segmentation.
## Create a report with registration counts per store
---
In this part of the process, create a report that returns the number of qualified registrations broken down by store and month. Before creating the report itself, you need to prepare several supporting analyses. The full list of elements to create in this section is:
1. **Metric** — counts profiles matching the segmentation of qualified registrations.
2. **Aggregate: Newsletter agreement timestamp after in-store registration** — returns the last `marketingAgreement.turnOn` timestamp for store-originated registrations.
3. **Aggregate: Account confirmation timestamp after in-store registration** — returns the last `profile.updated` timestamp for confirmed accounts from store-originated registrations.
4. **Expression: `TIMESTAMP`** — returns the earlier available timestamp (newsletter agreement or account confirmation) using `IfNull`.
5. **Aggregate: `Last_store`** — returns the last store identifier from `form.submit`, filtered by store origin and timestamp.
6. **Expression: `Data`** — extracts the registration date (year-month) from the timestamp for grouping by month.
7. **Expression: `Data_Store`** — combines the registration date with the store identifier into a single dimension.
8. **Report** — uses the metric and the three dimensions above.
### Create a metric for counting qualified registrations
---
This metric counts all profiles that belong to the segmentation created in the [previous step](#create-a-segmentation-of-qualified-registrations). It will be used as the base metric for the report.
1. Go to **Decision Hub > Metrics > New metric**.
2. Enter the name of the metric, for example `Count of in-store loyalty registrations`.
3. As the metric kind, select **Simple metric**.
4. As **Type**, select **Profile**.
5. As **Aggregator**, select **Count**.
6. Click the filter icon to add a profile filter.
8. From the **Choose filter** dropdown, select the segmentation created in the [previous step](#create-a-segmentation-of-qualified-registrations).
9. From the **Choose operator** dropdown, choose **Is true (Boolean)**.
10. Confirm by clicking **Apply**.
11. Save the metric.
Configuration of the metric counting profiles from the qualified registrations segmentation
### Create an aggregate for newsletter agreement timestamp after in-store registration
---
This aggregate returns the last timestamp of the `marketingAgreement.turnOn` event for customers whose registration originated from a store link. It will be used in the expressions that serve as report dimensions.
1. Go to **Behavioral Data Hub > Live Aggregates > Create aggregate**.
2. As the aggregate type, select **Profile**.
3. Enter a name for the aggregate, for example `Newsletter agreement timestamp after in-store registration`.
4. Set **Analyze profiles by** to **Last**.
5. From the **Choose event** dropdown list, select the `marketingAgreement.turnOn` event.
6. As the event parameter, select **TIMESTAMP**.
7. Click the **+ where** button.
8. From the **Choose parameter** dropdown list, select the event aggregate created in the [first step](#create-an-event-aggregate-for-registration-uri) (last URI from registration form submit).
9. From the **Choose operator** dropdown, choose **Contain (String)**.
10. In the next field, enter the store identifier prefix, for example `store_`.
11. Set the time range to **Last 1 months before 1 months** (this ensures the aggregate covers the previous month's data for reporting purposes).
12. Save the aggregate.
Configuration of the aggregate for newsletter agreement timestamp after in-store registration
### Create an aggregate for account confirmation timestamp after in-store registration
---
This aggregate returns the last timestamp of the `profile.updated` event where the account was confirmed and the registration originated from a store link. It will be used as the fallback value in the `TIMESTAMP` expression — for customers who already had the newsletter agreement before the registration and therefore did not trigger the `marketingAgreement.turnOn` event during the process.
This aggregate uses the same event and conditions as the [profile aggregate for account confirmation](#create-a-profile-aggregate-for-account-confirmation) created earlier in the process, but its time range is set to **Last 1 months** to align with the monthly reporting cycle. You can reuse the same aggregate if the time range matches, or create a separate one for reporting purposes.
1. Go to **Behavioral Data Hub > Live Aggregates > Create aggregate**.
2. As the aggregate type, select **Profile**.
3. Enter a name for the aggregate, for example `Account confirmation timestamp after in-store registration`.
4. Set **Analyze profiles by** to **Last**.
5. From the **Choose event** dropdown list, select the `profile.updated` event.
6. As the event parameter, select **TIMESTAMP**.
7. Click the **+ where** button.
8. From the **Choose parameter** dropdown list, select the **activation** parameter.
9. From the **Choose operator** dropdown, choose **Equal**.
10. In the next field, enter `true`.
11. Click the **+ where** button.
12. From the **Choose parameter** dropdown list, select the event aggregate created in the [first step](#create-an-event-aggregate-for-registration-uri) (last URI from registration form submit).
13. From the **Choose operator** dropdown, choose **Contain**.
14. In the next field, enter the store identifier prefix, for example `store_`.
15. Set the time range to **Last 1 months**.
16. Save the aggregate.
Configuration of the aggregate for account confirmation timestamp after in-store registration
### Create the TIMESTAMP expression
---
This expression returns the earliest available timestamp from the registration process — either the newsletter agreement timestamp or the account confirmation timestamp. It uses the `IfNull` function: if the newsletter agreement timestamp is available, it is returned; otherwise, the account confirmation timestamp is used as a fallback. This expression will be referenced in the `Last_store` aggregate (to ensure the form submission occurred before the confirmation) and serves as a building block for other report dimensions.
1. Go to **Behavioral Data Hub > Expressions > New expression**.
2. Enter the name of the expression: `TIMESTAMP`.
3. Set **Expressions for** to **Attribute**.
4. Build the formula using the following structure:
- **IfNull** - newsletter agreement timestamp aggregate, account confirmation timestamp aggregate
- The first argument is the aggregate for the newsletter agreement timestamp after in-store registration (created in the [previous step](#create-an-aggregate-for-newsletter-agreement-timestamp-after-in-store-registration)).
- The second argument (fallback) is the profile aggregate for account confirmation created [earlier](#create-a-profile-aggregate-for-account-confirmation).
5. Save the expression.
Configuration of the TIMESTAMP expression
### Create the Last_store aggregate
---
This aggregate returns the last store identifier extracted from the `form.submit` event. It filters for registrations that came from a store link and whose timestamp is earlier than the registration confirmation timestamp (using the `TIMESTAMP` expression). It will be used directly as a report dimension and also within the `Data_Store` expression.
1. Go to **Behavioral Data Hub > Live Aggregates > Create aggregate**.
2. As the aggregate type, select **Profile**.
3. Enter a name for the aggregate: `Last_store`.
4. Set **Analyze profiles by** to **Last**.
5. From the **Choose event** dropdown list, select the `form.submit` event.
6. As the event parameter, select the parameter that contains the store identifier extracted from the URI (for example, `fd:lastStore_`).
7. Click the **+ where** button and select the **uri** parameter.
8. From the **Choose operator** dropdown, choose **Contain (String)** and enter the registration page URL, for example `www.example.com/create-account`.
9. Click the **+ where** button and select the **uri** parameter again.
10. From the **Choose operator** dropdown, choose **Contain (String)** and enter the store identifier prefix, for example `store_`.
11. Click the **+ where** button and select the **TIMESTAMP** parameter.
12. From the **Choose operator** dropdown, choose **Less than (Date)**.
13. As the value, select the `TIMESTAMP` expression created in the [previous step](#create-the-timestamp-expression).
14. Set the time range to **Lifetime**.
15. Save the aggregate.
Configuration of the Last_store aggregate
### Create the Data expression
---
This expression returns the registration date (used as a report dimension to group results by month). It uses the `Regexp` and `IfNull` functions to extract the date from one of two aggregates: the newsletter agreement timestamp or the account confirmation timestamp — whichever is available first.
1. Go to **Behavioral Data Hub > Expressions > New expression**.
2. Enter the name of the expression: `Data`.
3. Set **Expressions for** to **Attribute**.
4. Build the formula using the following structure:
- **Regexp** ( **IfNull** ( `[newsletter agreement timestamp aggregate]` , `[account confirmation timestamp aggregate]` ) , `......` )
- The first argument of `IfNull` is the aggregate for the newsletter agreement timestamp after in-store registration (created in the step above).
- The second argument (fallback) is the profile aggregate for account confirmation created [earlier](#create-a-profile-aggregate-for-account-confirmation).
- The `Regexp` pattern (`......`) extracts the date portion (for example, year-month) from the timestamp.
5. Save the expression.
Configuration of the Data expression
### Create the Data_Store expression
---
This expression combines the registration date with the store identifier into a single dimension. It uses the `Concat` function to join the date (extracted via `Regexp` and `IfNull`, same logic as in `Data`) with a separator (`_`) and the `Last_store` aggregate.
1. Go to **Behavioral Data Hub > Expressions > New expression**.
2. Enter the name of the expression: `Data_Store`.
3. Set **Expressions for** to **Attribute**.
4. Build the formula using the following structure:
- **Concat** ( **Regexp** ( **IfNull** ( `[newsletter agreement timestamp aggregate]` , `[account confirmation timestamp aggregate]` ) , `......` ) , **Concat** ( `_` , `Last_store` ) )
- The inner `Regexp(IfNull(...))` portion is the same logic as in the `Data` expression — it extracts the date from the first available timestamp.
- The outer `Concat` appends an underscore and the store identifier from the `Last_store` aggregate.
5. Save the expression.
Configuration of the Data_Store expression
### Configure the report
---
Now that all the required analyses are ready, create the report.
1. Go to **Decision Hub > Reports > New report**.
2. Enter the name of the report, for example `Monthly in-store loyalty registrations by store`.
3. Click **Choose metric** and from the dropdown list, select the metric created [above](#create-a-metric-for-counting-qualified-registrations).
4. From the **Range** dropdown list, select **Top 1000**.
5. In the **Dimension** section, add the following dimensions:
- `Data_Store` — the expression combining date and store identifier.
- `Data` — the expression returning the registration date.
- `Last_store` — the aggregate returning the store identifier.
6. Set the **Format** to `19 000,7` for all dimensions.
7. Enable the **Show null values** toggle.
8. Set the time range to **Lifetime**.
9. Save the report.
Configuration of the report with metric and three dimensions
**Result:** The report returns a table with the month of registration, the store name, and the number of customers who completed a full registration from that store.
To ensure the report always returns data for the previous month without manual adjustments, set all aggregates used in the segmentation and report dimensions to a relative time range such as **Last month** or **Last 1 months before 1 months**. This way, the segmentation and report will automatically shift to the correct period each month, and the only element that may still require a manual update is the custom TIMESTAMP range inside the segmentation conditions (if used).
## What's next
---
Once the report is configured and saved, you can distribute the results in a way that best fits your business needs. Some common options include:
- **Email** — use a workflow with the [Send Email](/docs/campaign/e-mail) node to deliver the report results directly to the relevant stakeholders on a scheduled basis.
- **External systems (e.g. Microsoft SharePoint, Google Sheets)** — use a workflow with [Outgoing Integration](/docs/automation/integration/outgoing-webhook) nodes to authenticate with the external API, generate the report via the Synerise API, transform the data using Jinjava, and upload it to the target location.
- **Dashboards** — add the report to an [analytical dashboard](/docs/analytics/analytics-dashboard) for convenient, real-time access within Synerise.
- **CSV export** — [export the report to a CSV file](/docs/analytics/reports/exporting-reports-to-file) manually or automate the process via a workflow.
In each case, you can automate the delivery by creating a workflow triggered on a schedule (for example, on the first day of each month) that generates the report and sends or uploads the data to the desired destination.
## Check the use case set up on the Synerise Demo workspace
---
You can check the configuration of each step directly in the Synerise Demo workspace:
- [Event aggregate – Last URI from registration form submit](https://app.synerise.com/analytics-v2/aggregates/e72afcda-7fd2-34e1-8799-3103e084ca6b)
- [Profile aggregate – Account confirmation timestamp after in-store registration](https://app.synerise.com/analytics-v2/aggregates/650cc8a7-705f-3ee8-bb63-ca38d4b57ef1)
- [Aggregate – Newsletter agreement timestamp after in-store registration](https://app.synerise.com/analytics-v2/aggregates/e30e3df1-4fd3-3bdd-8a56-6f30255839c3)
- [Expression – TIMESTAMP](https://app.synerise.com/analytics/expressions/e669fe4a-a3f2-48b9-ba2f-1af01055a2b8)
- [Aggregate – Last_store](https://app.synerise.com/analytics-v2/aggregates/a69e3775-b29f-3554-8b3b-bff1af9ba3f8)
- [Expression – Data](https://app.synerise.com/analytics/expressions/689ceb85-4396-419e-8dfa-07601d90fe41)
- [Expression – Data_Store](https://app.synerise.com/analytics/expressions/85c84329-06db-41c4-8009-a6f95d80ef0f)
- [Metric – Count of in-store loyalty registrations](https://app.synerise.com/analytics/metrics/b155b6a7-9635-4068-9cb9-1252e51a9e15)
- [Segmentation – Fully qualified in-store loyalty registrations](https://app.synerise.com/analytics-v2/segmentations/f461624f-4a3f-49a8-b1d3-9ce6ac2439cc)
- [Report – Monthly in-store loyalty registrations by store](https://app.synerise.com/analytics/reports/73e49afa-29dd-4f3a-b02b-307abe871e7f)
If you’re our partner or client, you already have automatic access to the **Synerise Demo workspace (1590)**, where you can explore all the configured elements of this use case and copy them to your workspace.
If you’re not a partner or client yet, we encourage you to fill out the contact [form](https://demo.synerise.com/request) to schedule a meeting with our representatives. They’ll be happy to show you how our demo works and discuss how you can apply this use case in your business.
## Generated events
This use case does not generate any events.
## Read more
---
- [Aggregates](/docs/crm/aggregates/creating-profile-aggregates)
- [Segmentations](/docs/analytics/segmentations/creating-segmentations)
- [Reports](/docs/analytics/reports/creating-reports)
- [Exporting reports to a file](/docs/analytics/reports/exporting-reports-to-file)
- [Metrics](/docs/analytics/metrics/creating-simple-metrics)
- [Expressions](/docs/crm/expressions/creating-expressions)
- [Dashboards](/docs/analytics/analytics-dashboard)
- [Outgoing Integration](/docs/automation/integration/outgoing-webhook)
- [Creating workflows](/docs/automation/creating-automation)
# Export Customer Segmentation Data to Azure Blob Storage
Synerise allows you to collect data from any touchpoint with a customer. With advanced Synerise Analytics, you can create precise customer segments that you can use not only in Synerise, but also pass them to external tools. Using Synerise's seamless integration with Azure Blob Storage, you can transfer any data collected in Synerise and use it in other Microsoft tools.
In this use case, we will export a database of customers at risk of churn to Azure Blob Storage. To create a segmentation of customers at risk of churn, we will use the RFM analysis results from [this use case](/use-cases/rfm-analysis). This is just an example. You can export any other data types according to your needs, such as transactions, event data, metrics results, aggregates, expressions, reports, and much more.
## Prerequisites
---
- You must have an account on Azure AD.
- Create an RFM analysis thanks to which you will be able to define the segmentation of customers at risk of churn. You'll find a detailed process for creating the RFM analysis in [this use case](/use-cases/rfm-analysis).
The churn risk segmentation shown in this use case is just an example. You can create any other segmentation using your own rules according to your specific assumptions and business needs.
## Process
---
In this use case, you will go through the following steps:
- [Create a segmentation of customers](/use-cases/send-profiles-to-azure-blob-storage#create-a-segmentation-of-customers-at-risk-of-churn) at risk of churn.
- Create a workflow that sends selected customer profiles to Azure Blob Storage.
## Create a segmentation of customers at risk of churn
---
In this part of the process, create a segmentation of customers at risk of churn based on the RFM segmentation you created earlier.
1. Go to **Decision Hub > Segmentations > New segmentation**.
2. Enter the name of the segment.
3. Choose **Add condition** and find the RFM segmentation you created earlier.
4. Select the **Equal** operator and in the right field enter the name of the sub-segment that defines the customers at risk of churn. In this use case, it's `Churn risk`
5. Save the segment.
Segmentation settings
## Prepare a workflow
---
As the final part of the process, create a workflow which sends the customers' data to Azure Blob Storage every day.
1. Go to **Automation Hub > Workflows > New workflow**.
2. Enter the name of the workflow.
### Define the launch date
3. As the trigger node, add **Scheduled Run**.
4. In the configuration of the node:
1. Leave the **Run trigger** option at default (**all time**).
2. From the **Timezone** dropdown list, select the time zone consistent with the timezone selected for your workspace.
3. Define the frequency of the workflow (for example, every day at 6.00 A.M.).
The workflow will automatically launch at the scheduled time.
4. Confirm by clicking **Apply**.
The configuration of the Scheduled Run node
### Select customers to export
5. Add a **Get Profiles** node.
6. In the configuration of the node:
1. Select the segmentation you [created in the first part of the process](/use-cases/send-profiles-to-azure-blob-storage#create-a-segmentation-of-customers-at-risk-of-churn).
2. In the **Attributes** section, select the profile attributes which you want to export.
In the example, `email` and `newsletter_agreement` are selected.
3. Confirm by clicking **Apply**.
The configuration of the Get Profiles node
### Configure Send file to Azure Blob Storage node
1. Click **Azure Blob Storage > Send File**.
2. Click **Select connection**.
3. From the dropdown list, select the connection.
- If no connections are available or you want to create a new one, see [Create a connection](/docs/automation/integration/azure-blob-storage/send-file-azure-blob-storage#create-a-connection).
- If you selected an existing connection, proceed with the integration settings.
1. In the **Container** field, enter the name of an existing container in your storage.
If this field is already filled out, it means that the URL used in the [connection](/docs/automation/integration/azure-blob-storage/send-file-azure-blob-storage#create-a-connection) settings contains the name of the container.
2. In the **Blob name** field, enter the name of the blob (file) you want to send to the storage.
If this field is already filled out, it means that the URL used in the [connection](/docs/automation/integration/azure-blob-storage/send-file-azure-blob-storage#create-a-connection) settings contains the name of the blob. In such case, the contents of the blob will be overwritten.
5. From the **File format** dropdown list, select the format in which the file will be sent to the storage.
6. Confirm by clicking **Apply**.
The configuration of the Send File node
### Add the finishing node
12. Add the **End** node.
13. In the upper right corner, click **Save & Run**.
The workflow configuration
## Check the use case set up on the Synerise Demo workspace
---
You can check the configuration of each item created in this use case on our Synerise Demo workspace:
- [Segmentation](https://app.synerise.com/analytics-v2/segmentations/d0dc46f2-ac98-4264-a5ed-4627d85117ae)
- [Workflow](https://app.synerise.com/automations/automation-diagram/997d7492-37ea-4fcc-922b-57bf850f79ae)
If you’re our partner or client, you already have automatic access to the **Synerise Demo workspace (1590)**, where you can explore all the configured elements of this use case and copy them to your workspace.
If you’re not a partner or client yet, we encourage you to fill out the contact [form](https://demo.synerise.com/request) to schedule a meeting with our representatives. They’ll be happy to show you how our demo works and discuss how you can apply this use case in your business.
## Generated events
This use case generates approximately 4 events per workflow execution:
[`automation.clientStartPath`](/docs/assets/events/event-reference/automation#automationclientstartpath) (~1), [`automation.clientPathStep`](/docs/assets/events/event-reference/automation#automationclientpathstep) (~2), [`automation.clientEndPath`](/docs/assets/events/event-reference/automation#automationclientendpath) (~1).
## Read more
---
- [RFM analysis](/use-cases/rfm-analysis)
- [Send File](/docs/automation/integration/azure-blob-storage/send-file-azure-blob-storage)
- [Segmentations](/docs/analytics/segmentations)
- [Workflows](/docs/automation)
# Carousel with recently viewed products
---
Contextualized recommendations tailored to customer interests help to influence purchasing decisions. To create a recommendation, it is worth using recently viewed products, which will provide a good context for them.
In this way you can display not only last seen products to remind customers about them, but also show similar products to make sure that even if they will not buy last seen products they can be interested in similar categories.
## Example of use – Home appliances industry
One of our clients decided to personalize the offer on their home page by placing a carousel with recently viewed products on it. To make the offer more attractive for each of the products in the carousel, they additionally recommended a dozen or so similar products using AI algorithms.
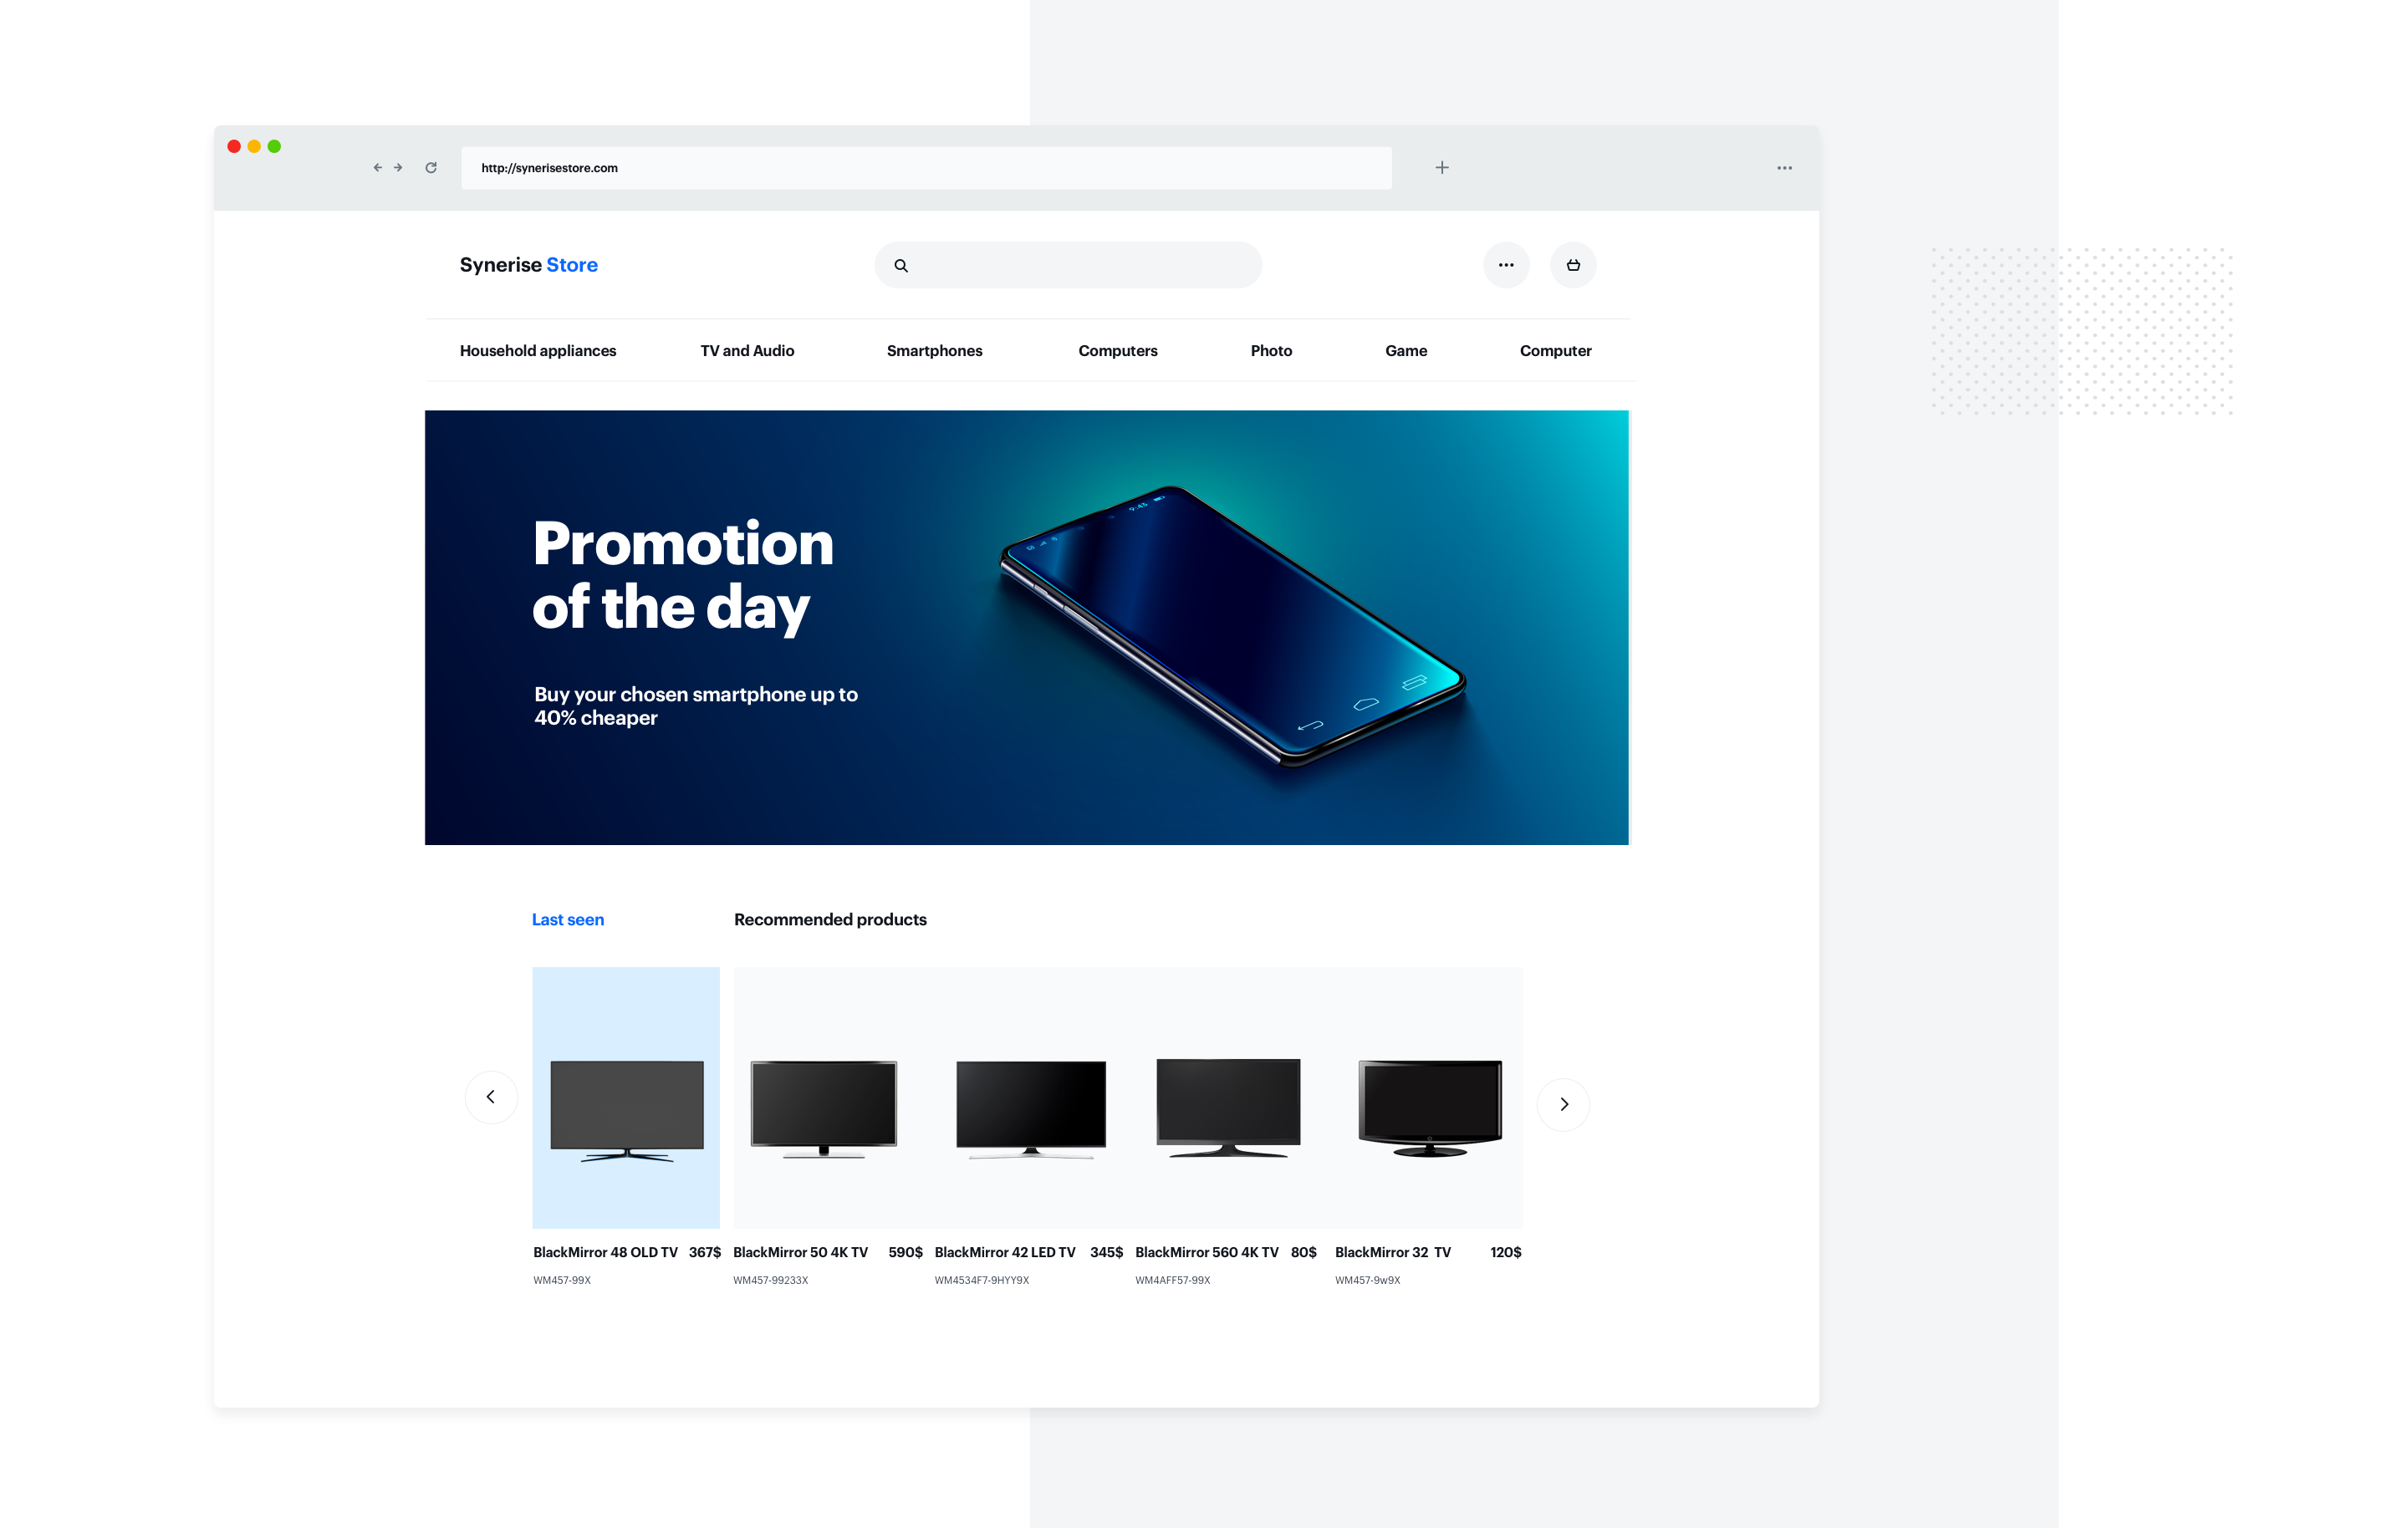
**Results**
- CTR **11.5%**
- AB tests (division 50/50), where in group A general personalized recommendations were displayed, and in group B recently viewed with similar recommended products.
**Group B showed an 11% better conversion than group A**
## Requirements
---
- Synerise Tracker
- Imported correct product feed
- OG tags implemented (required: product: retailer_part_no consistent with the product ID in the feed)
- Trained Similar Recommendations Model
## How to do it
1. Prepare the aggregate with recently viewed products.
2. Prepare an AI campaign with a similar model. The campaign should return from 4 to about 20 products. You can use any filters you want.
3. Prepare dynamic content for the carousel, where you add the aggregate and based on it you will call a similar campaign to each of the products from the aggregate and save the result into separate tables. Then, place all products in the carousel, remembering that when the user scrolls through recently viewed products, the right side should immediately display products recommended from a similar campaign named for the currently displayed last seen product.
Using Jinjava, call the IDs of products recently viewed from the aggregate and create a carousel on the left side of the screen.
{% set productsSKU = [] %}
{% aggregate aggregate_hash %}
{% for p in aggregate_result %}
{% do productsSKU.append(p) %}
// HERE CAROUSEL ON THE LEFT SIDE
{% endfor %}
{% endaggregate %}
Iterate over the board with recently viewed products, trigger a similar campaign for each of them and create a carousel on the right.
{% for productSKU in productsSKU %}
{% set exampleProd = [] %}
{% set exampleProdUpdt = exampleProd.append(productSKU) %}
{% recommendations2 campaignId=campaign_hash products=exampleProd %}
{% for p in recommended_products2 %}
// HERE CAROUSEL ON THE RIGHT SIDE
{% endfor %} {% endrecommendations2 %} {% endfor %}
## Generated events
This use case generates approximately 7 events per profile that completes the flow:
[`dynamicContent.show`](/docs/assets/events/event-reference/dynamic-content#dynamiccontentshow) (~1), [`dynamicContent.click`](/docs/assets/events/event-reference/dynamic-content#dynamiccontentclick) (~1), [`recommendation.generated`](/docs/assets/events/event-reference/recommendations#recommendationgenerated) (~3), [`recommendation.view`](/docs/assets/events/event-reference/recommendations#recommendationview) (~1), [`recommendation.click`](/docs/assets/events/event-reference/recommendations#recommendationclick) (~1).
## Read more
---
- Read more about [Aggregates](/docs/crm/aggregates)
- Read more about [Jinjava inserts](/developers/inserts/insert-usage) (aggregates and recommendations)
- Read more about [Loops in Jinjava](/developers/inserts/tag)
- Read more about [Product feed preparation](/developers/product-feed)
# Spin the Wheel promotion pop-up
Who doesn’t love winning, especially when the reward is guaranteed? This use case adds a playful moment of suspense to the shopping journey using a “Spin the Wheel” pop-up. It also helps you protect the perceived value of your discounts by requiring user interaction before any reward is revealed. As a result, we increase customer engagement, extend on-site interactions and make promotional experiences more memorable.
The experience starts with a bottom bar displayed on the website. Once the visitor clicks it, the spin to win pop-up appears and invites them to play. This approach ensures the campaign is user-initiated rather than interrupting the browsing session with an automatic pop-up.
Users spin the wheel to receive a discount code that can be used at checkout, allowing you to run a fully gamified experience without relying on a mobile app.
This use case is provided with a predefined template, so you can launch the campaign quickly. The layout and interaction logic are already prepared, and you only need to adjust the content, styling and provide valid discount codes.
Before implementing this use case in a production environment, please review local regulations related to promotional lotteries and games of chance. We recommend consulting your legal or compliance team to confirm all requirements. Any additional formalities, such as preparing terms and conditions or submitting the promotion to the relevant tax or regulatory authorities, remain the responsibility of the implementing company.
## Prerequisites
---
[Implement SDK to a website](/developers/web/installation-and-configuration)
## Create a dynamic content
---
Create a dynamic content campaign that will be displayed to all website visitors. We will use a predefined template for this communication, so there is no need to create a template from scratch.
1. Go to **Experience Hub > Dynamic Content > Create new**.
2. Enter the name of the content.
3. Choose the **Insert object** type.
### Define audience
---
1. To select the recipients of the dynamic content, on the **Audience** tab, click **Define**.
2. Select **Everyone**.
3. Click **Apply**.
### Define content
---
In the next step, you will create the dynamic content with the help of a ready-made template.
1. In the **Content** section, click **Define**.
2. Click **Create message** and from the list of template folders, select **Insert object templates**.
3. Select the **Spin the Wheel** template.
**Result:** You are redirected to the code editor.
4. Edit the template according to your needs. In the **Config** tab, you'll find a comprehensive list with descriptions of the core components that make up your dynamic content.
Config panel
5. After customizing your dynamic content, save the template.
6. Set an appropriate CSS selector to define the placement of the banner that releases the pop-up. The correct selector depends on your website’s structure, so make sure to reference an element that ensures the bar is displayed in the intended position.
7. Click **Apply**.
### Define schedule and display settings
---
As the final part of the process, you will define the display settings of the dynamic content such as schedule, triggers, and delay.
1. In the **Schedule** section, click **Define** and set the time when the campaign will be active.
3. Click **Apply**.
2. In the **Display Settings** section, click **Define**. If you want the banner to be displayed to all users continuously across the website upon landing, keep the default settings.
3. Click **Apply**.
4. Optionally, you can define the UTM parameters and additional parameters for your dynamic content campaign.
5. Click **Activate**.
## Check the use case set up on the Synerise Demo workspace
---
You can check the [dynamic content](https://app.synerise.com/campaigns/dynamic-content/preview/f732c41d-b02a-4530-bb86-0287485a0202) configuration directly in Synerise Demo workspace.
If you’re our partner or client, you already have automatic access to the **Synerise Demo workspace (1590)**, where you can explore all the configured elements of this use case and copy them to your workspace.
If you’re not a partner or client yet, we encourage you to fill out the contact [form](https://demo.synerise.com/request) to schedule a meeting with our representatives. They’ll be happy to show you how our demo works and discuss how you can apply this use case in your business.
## Generated events
This use case generates approximately 2 events per profile that completes the flow:
[`dynamicContent.show`](/docs/assets/events/event-reference/dynamic-content#dynamiccontentshow) (~1), [`dynamicContent.click`](/docs/assets/events/event-reference/dynamic-content#dynamiccontentclick) (~1).
## Read more
---
- [Dynamic content](/docs/campaign/dynamiccontent)
- [Introduction to dynamic content](/docs/campaign/dynamiccontent/introduction-to-dynamic-content)
- [Creating dynamic content](/docs/campaign/dynamiccontent/creating-dynamic-content)
- [CSS selector basics](/docs/campaign/dynamiccontent/creating-dynamic-content/css-selectors)
- [Testing dynamic content](/docs/campaign/dynamiccontent/testing-dynamic-content)
- [Dynamic content events](/docs/assets/events/event-reference/dynamic-content)
# Back in stock push notification campaign
Product unavailability can stem from various factors like sudden trends or seasonal demands, leading to customer frustration when they're unable to purchase desired items promptly.
Effectively managing these out-of-stock situations is important. Offering customers the option to subscribe to product availability notifications is a proactive strategy. By enabling customers to receive mobile push alerts when items are restocked, you can mitigate revenue loss.
This use case presents a mobile push notification campaign for back-in-stock updates. By sending timely notifications to interested customers, it enhances their shopping experience and fosters brand loyalty. The example involves notifying customers who previously expressed interest in specific products and signed up for notifications when those products are back in stock.
## Prerequisites
---
- Send an event when a customer signs up for a product availability notification. Such an event must contain the ID of the product that the customer signed up for in order to be notified when the product is back in stock. This event will appear on the profile of the customer who signed up for such notification. You can send this event using the [API](https://hub.synerise.com/api-reference/data-management#operation/CustomEvent) or [JS SDK](/developers/web/tracking-form-data/tracking-form-data-sdk#calling-the-sdk-directly).
In this use case, we will use the [`form.submit` event](/docs/assets/events/event-reference/web-and-app#formsubmit).
You can use the [dynamic content](/docs/campaign/dynamiccontent) to display a sign-up form for product availability notifications on the card of unavailable product and send an event to Synerise when the form is filled out using the [JS SDK](/developers/web/tracking-form-data/tracking-form-data-sdk#calling-the-sdk-directly) method.
- [Create item catalog](/use-cases/import-product-feed-to-catalog) containing information about product availability.
- Integrate Synerise [mobile SDK](/developers/mobile-sdk) in your mobile application.
- Implement mobile pushes in your mobile application: [iOS](/developers/mobile-sdk/configuring-push-notifications/ios) and/or [Android](/developers/mobile-sdk/configuring-push-notifications/android).
- Implement all additional information about the transactions based on the documentation for our [transactional API](https://hub.synerise.com/api-reference/data-management#operation/CreateATransaction).
## Proces
---
1. [Create a product.backInStock event](/use-cases/back-in-stock-mobile-push#create-a-productbackinstock-event)
2. [Create an aggregate that returns products for which the customer has signed up for notifications ](/use-cases/back-in-stock-mobile-push#create-an-aggregate-with-products-for-which-the-customer-has-signed-up-for-notifications)
3. [Create an aggregate that returns SKUs of products about which the customer got information that are back in stock](/use-cases/back-in-stock-mobile-push#create-an-aggregate-collecting-skus-of-products-already-received-by-the-customer-that-are-back-in-stock)
4. [Create a mobile push template](/use-cases/back-in-stock-mobile-push#create-a-mobile-push-template) with the back in stock campaign.
4. [Create a workflow](/use-cases/back-in-stock-mobile-push#create-a-workflow)
## Create a product.backInStock event
---
In this part of the process, add the definition of the **product.backInStock** event, which will later be generated in the workflow that checks whether the product is back in stock. In addition, this event must include the **sku** parameter, which contains the SKUs of all restocked products the customer signed up for.
1. Go to **Data Modeling Hub > Events > Add event**.
3. In the **Name** field, enter `product.backInStock`.
In the API and SDK, the name parameter is usually called `action` or `action name`.
4. Optionally, define a human-friendly display name that will be shown in the **Data Modeling Hub** and **Decision Hub**.
5. Optionally, in the **Description** field, enter the description of the event.
6. Enable the **Make this event available to anonymous profiles without JWT** toggle.
7. Click **Apply**.
8. In the list of events, find the event you just created.
9. On the right side of the screen, click **Add property**.
10. In the **Source parameter** field, enter `sku`.
11. In the **Property name** field, enter a human-readable label for display in the Synerise platform.
12. Optionally, in the **Description** field, you can add an explanation about the purpose of this parameter.
13. To complete the process, click **Save**.
## Create an aggregate with products for which the customer has signed up for notifications
---
The aggregate created will later be used in workflow to check which products have returned to stock.
The event action name and the parameter name used in this use case are only demonstrative and may be different depending on the event implementation.
1. Go to **Behavioral Data Hub > Live Aggregates > Create aggregate**.
2. As the aggregate type, select **Profile**.
2. Enter the name of the aggregate.
3. Click **Analyze profiles by** and select **Last multi** and in the **Size** field, enter `100`.
5. From the **Choose event** dropdown list, select the **form.submit** event.
6. As the event parameter, select **sku**.
7. Click **+ where** button.
8. From the **Choose parameter** dropdown list, select the **formType** parameter.
9. From the **Choose operator** dropdown list, select **Equal**.
10. Enter the name of the form. In our case it's `back_in_stock_alert`.
11. Set the period from which the aggregate will analyze the results to the last **30 days**.
12. Save the aggregate.
Configuration of the aggregate
## Create an aggregate collecting SKUs of products already received by the customer that are back in stock
---
This aggregate will be used later in the process to exclude products already sent to customers when sending the next notification.
1. Go to **Behavioral Data Hub > Live Aggregates > Create aggregate**.
2. As the aggregate type, select **Profile**.
2. Enter the name of the aggregate.
3. Click **Analyze profiles by** and select **Last multi** and in the **Size** field, enter `100`.
5. From the **Choose event** dropdown list, select the **product.backInStock** event.
6. As the event parameter, select **sku**.
7. Set the period from which the aggregate will analyze results to the last **30 days**.
8. Save the aggregate.
Configuration of the aggregate
## Create a mobile push template
---
Prepare a mobile push with information about restocking products.
1. Go to **Experience Hub > Mobile Push > Templates**.
2. You can use the ready-to-use template and edit it in the mobile ush visual builder. Click **New Template > Simple Push**.
2. Create your mobile push in the visual editor.
3. You can use Jinja to retrieve from the template a list of products that have been restored to the assortment from the **Event Filter** block, which has not yet been defined because it will be done in subsequent steps.
You can learn more how to reuse event parameters [here](/developers/inserts/automation).
The following code is an example of how to do it:
Great news, the product:
     {%set eventParams = event.params%}
     {%set sku = eventParams.sku|split(',')|last%}
     {%catalogitemv2.items-demo(sku)%}
     {%set itemObject=catalog_result%}
     {{itemObject.title}}
     {%endcatalogitemv2%}
     you were waiting for is back in stock!
4. In the **URL** box, add the following code, which will redirect the customer to the page of the specific product after clicking the notification:
5. Personalize other settings in the templates like style for your business needs.
6. **Save** the changes.
Example of mobile push notification
## Create a workflow
---
Create a workflow that will check daily whether the products that customers have signed up for notifications have returned to stock. If so, the prepared workflow will send a push notification to the customer with the relevant information.
1. Go to **Automation Hub > Workflows > New workflow**.
2. Enter the name of the workflow.
### Configure the trigger
---
In this part of the process, select the segmentation for which you will run this campaign. In our case, these are those customers who have signed up for product availability notifications in the last 30 days and agreed to receive messages through the mobile application.
1. Start the workflow with the **Audience** node. In the configuration of the node:
1. Set the **Run trigger** option to **repeatable**.
2. Set the interval at which you want to run the workflow.
3. Select the time zone.
4. Select the **New audience** tab.
5. Click **Define conditions**.
6. From the **Choose filter** dropdown list, select the **form.submit** event.
7. Click **+ where** button.
8. From the **Choose parameter** dropdown list, select the **formType** parameter.
9. From the **Choose operator** dropdown list, select **Equal**.
10. Enter the name of the form. In our case it's `back_in_stock_alert`.
11. Define the time period for the **last 30 days**.
12. From the **Choose filter** drop-down list, select the `profile.receive_push_messages`. This attribute containing the marketing consent status for push notifications.
13. From the **Choose parameter** drop-down list, select the **Equal** operator and specify the condition as **true**.
14. Click **Choose filter** and from the drop-down list, select the `snrs_has_mobile_push_devices`. It includes information on whether the customer has an active FCM token or not. For more information, please visit [this material](/docs/campaign/Mobile/mobile_campaign#conditions-for-sending-and-displaying-mobile-notifications).
13. From the **Choose parameter** drop-down list, select the **Equal** operator and specify the condition as **true**.
14. Confirm by clicking **Apply**.
Configuration of the Audience node
### Configure the Generate event node
---
Before sending the push notification to the customer, an event must be generated on the customer's profile, which will be defined in this step. The event must contain the SKUs of restocked products (these are the products that will be sent to the customer in the notification).
The system will verify the restocking based on the availability parameter in the item catalog which was created as part of the prerequisites.
Additionally, the [products for which notifications have already been sent to the customer previously](/use-cases/back-in-stock#create-an-aggregate-collecting-skus-of-products-already-received-by-the-customer-that-are-back-in-stock) are excluded.
1. Add the **Generate event** node.
In the configuration of the node:
1. Enter the **Event name**. In our case, we are using `product.backInStock` event.
2. In the **Body** section, use the following Jinjava and modify it to your needs:
Jinjava inserted in **Generate event** body must have all empty spaces deleted.
{
   "sku": "{% set signedProducts=[] %}{% set receivedProducts=[] %}{% set finalSku=[] %}{% aggregate b4173b56-cf83-3ce8-90c8-f35f36a91368 %}{% for sku in aggregate_result|reverse %}{% do signedProducts.append(sku) %}{% endfor %}{% endaggregate %}{% aggregate e55cae5e-2d48-3e29-a2a2-5122913e4e96 %}{% for sku in aggregate_result|reverse %}{% do receivedProducts.append(sku) %}{% endfor %}{% endaggregate %}{% for sku in signedProducts %}{% catalogvar.items-demo(sku).availability %}{% if catalog_result=='in stock' %}{% if sku in receivedProducts|join(',') %}{% else %}{% do finalSku.append(sku) %}{% endif%}{% endif %}{% endcatalogvar %}{% endfor %}{% set counter=0 %}{% for sku in finalSku %}{% set counter=counter + 1 %}{{sku}}{% if counter < finalSku|length%},{% endif %}{%endfor%}"
   }
As a result, a `product.backInStock` event is generated. The `sku` parameter contains the SKUS of products that are back in stock. The list of the products will be sent in the notification, separated by commas. If the event is empty, it means that none of the products have met the back in stock conditions.
An example of a generated event:
An example of a generated product.backInStock event
### Configure the Event filter node
---
The workflow waits for the event generation from the previous step and sends the push notification based on it.
1. Add the **Event filter** node. In the configuration of the node:
1. Check event **for period of time**.
2. Define the time range to **1 minute**.
3. From the **Choose event** dropdown list, select the **product.backInStock** event.
4. As the event parameter, select **sku**.
5. From the **Choose operator** dropdown list, select **Regular expression**.
6. As the value, enter `.+`
The `.+` value means any number of characters. We add this value to exclude from the communication customers for whom an empty SKU parameter was generated in the previous event. It happens when none of the products the customer signed up for were returned to stock.
7. Confirm by clicking **Apply**.
2. For the **not matched** path, select the **End** node.
3. For the matched path, select the **Send Mobile Push** node.
### Configure the Send mobile push node
---
At this stage, a mobile push is sent to customers, which contains the products returned in the event from the previous step.
1. In the node configuration, select the template you previously prepared for the back in stock campaign.
2. Confirm by clicking **Apply**.
### Add final setting to your workflow
---
1. Add the **End** node.
2. Launch the workflow by clicking **Save&Run**.
Configuration of the workflow
## Check the use case set up on the Synerise Demo workspace
---
You can check the configuration of each step directly in the Synerise Demo workspace:
- [Aggregate that returns products for which the customer has signed up for notifications ](https://app.synerise.com/analytics/aggregates/b4173b56-cf83-3ce8-90c8-f35f36a91368)
- [Aggregate that returns SKUs of products about which customer has received information that they are back in stock](https://app.synerise.com/analytics/aggregates/e55cae5e-2d48-3e29-a2a2-5122913e4e96)
- [Mobile push template](https://app.synerise.com/campaigns/mobile-push/content-manager/template/130038)
- [Workflow](https://app.synerise.com/automations/automation-diagram/223e895e-1327-41cc-8f3a-8fd193f1ab52)
If you’re our partner or client, you already have automatic access to the **Synerise Demo workspace (1590)**, where you can explore all the configured elements of this use case and copy them to your workspace.
If you’re not a partner or client yet, we encourage you to fill out the contact [form](https://demo.synerise.com/request) to schedule a meeting with our representatives. They’ll be happy to show you how our demo works and discuss how you can apply this use case in your business.
## Generated events
This use case generates approximately 10 events per profile that completes the flow:
[`form.submit`](/docs/assets/events/event-reference/web-and-app#formsubmit) (~1), [`automation.clientStartPath`](/docs/assets/events/event-reference/automation#automationclientstartpath) (~1), [`automation.clientPathStep`](/docs/assets/events/event-reference/automation#automationclientpathstep) (~3), [`automation.clientEndPath`](/docs/assets/events/event-reference/automation#automationclientendpath) (~1), `product.backInStock` (~1), [`push.send`](/docs/assets/events/event-reference/mobile-push#pushsend) (~1), [`push.view`](/docs/assets/events/event-reference/mobile-push#pushview) (~1), [`push.click`](/docs/assets/events/event-reference/mobile-push#pushclick) (~1).
## Read more
---
- [Aggregates](/docs/crm/aggregates)
- [Automation Hub](/docs/automation)
- [Catalogs](/docs/assets/catalogs/introduction-to-catalogs)
- [Email campaigns](/docs/campaign/e-mail)
- [Product feed](/developers/product-feed)
- [Reusing event context from preceding nodes](/developers/inserts/automation)
- [Segmentation](/docs/analytics/segmentations)
# Buy one, get one free
Buy one, get one free (BOGO) is a popular discount technique that you may want to consider to include in your marketing campaign. Not only it is a great way to attract new customers in a persuasive but subtle manner, but also an opportunity to boost your sales.
This use case describes how to create a buy one, get one (BOGO) promotion in which customers who purchased `XYZ` brand chips will receive a `XYZ` brand soda for free. The promotion will only work for loyalty program members (customers who logged into the mobile app).
## Prerequisites
---
- Implement promotions in your [mobile application](/developers/mobile-sdk/loyalty) and [API](https://hub.synerise.com/api-reference/loyalty-and-engagement#operation/profileLogin).
- [Import your product feed to catalog](/use-cases/import-product-feed-to-catalog).
- If you want to limit the promotion to only some of your stores, add the list of stores to a catalog. Such a catalog must contain a unique store ID and any other store attributes by which you will filter stores, such as city, zip code, and so on. More information about catalogs can be found [here](/docs/assets/catalogs).
## Security configuration
---
Before you start working with this hub, if you are a Synerise customer or partner, consider reading [the section about denylisting events](/docs/settings/tool/api#denylist). This natively accessible configuration will allow you to manage the restrictions in points management that may help you prevent fraud.
## Process
---
1. [Prepare segmentation](/use-cases/buy-one-get-one#prepare-a-segmentation) of customers who are members of the loyalty program.
2. [Create a promotion](/use-cases/buy-one-get-one#create-a-promotion).
## Prepare a segmentation
---
In this part of the process, create a segmentation of customers who are members of the company's loyalty program.
1. Go to **Decision Hub > Segmentations > New segmentation**.
2. Enter the name of segmentation.
3. From the **Choose filter** dropdown list, select the **loyaltyCard** attribute.
4. As the logical operator, select a boolean value: **Is true**.
The conditions used in the segment will vary depending on your loyalty program integration (for example, the name of the attribute may be different). You must define the segmentation accordingly.
5. Click **Save**.
An example of a customer segment that participates in a loyalty program
## Create a promotion
---
1. Go to **AI Hub > Regular Promotions > Add promotion**.
2. Select the **For selected items** option.
3. In the **Audience** section, select the segmentation created in [this step](/use-cases/buy-one-get-one#prepare-a-segmentation).
4. In the **Content** section:
1. Define the name, description, and image of the promotion.
2. In the **Price** field enter `0`.
3. Confirm the settings by clicking **Apply**.
Example of promotion content
5. In the **Type and limits** section:
1. In the **Type** dropdown list, choose **Members only**.
2. In the **Discount type** dropdown list, choose **Exact price**.
3. Leave the **Discount mode** field value at default (**Static**).
4. In the **Limit per profile** section, enter `1`.
5. In the **Value** section, define the discount as `0`.
6. Enable the **Buy one, get one promotion** toggle.
7. Define the number of required and discounted items.
8. Enable the **Turn on required items** toggle.
Example of Type and limits settings
6. In the **Schedule** section, define the promotion distribution period according to your business needs.
7. *Optionally*: In the **Stores** section, specify stores where the promotion is available.
This is possible only if the list of stores is imported into a [catalog](/docs/assets/catalogs).
8. In the **Items** section, specify the catalog item to be discounted:
1. From the **Source catalog** dropdown list, select an item catalog from which the items will be selected.
2. Select the **Select items** tab.
3. Click the **Select items** button.
4. On the list, select the item a customer will get for free (in this use case, it's `XYZ brand` soda).
9. In the **Required Items** section, choose the items a customer must buy to unlock "buy one, get one" discount:
1. From the **Source catalog** dropdown list, select an item catalog from which the items will be selected.
2. Select the **Select items** tab.
3. Click the **Select items** button.
4. On the list, select the item a customer will get for tree (in this use case, it's `XYZ brand` chips).
11. To apply configuration and run the promotion, click **Publish**.
## Check the use case set up on the Synerise Demo workspace
---
You can also check the [segmentation configuration](https://app.synerise.com/analytics/segmentations/1f34841c-8dd8-49f6-acd9-aab7ce928e23) and [promotion configuration](https://app.synerise.com/campaigns/promotions/36644435-cc09-43ba-abb0-4abe0beb0ad4) directly in Synerise Demo workspace.
If you’re our partner or client, you already have automatic access to the **Synerise Demo workspace (1590)**, where you can explore all the configured elements of this use case and copy them to your workspace.
If you’re not a partner or client yet, we encourage you to fill out the contact [form](https://demo.synerise.com/request) to schedule a meeting with our representatives. They’ll be happy to show you how our demo works and discuss how you can apply this use case in your business.
## Generated events
This use case generates approximately 4 events per profile that completes the flow:
[`client.activatePromotion`](/docs/assets/events/event-reference/loyalty#clientactivatepromotion) (~1), [`transaction.charge`](/docs/assets/events/event-reference/items#transactioncharge) (~1), [`product.buy`](/docs/assets/events/event-reference/items#productbuy) (~2).
## Read more
---
- [Promotions](/docs/ai-hub/promotions)
- [Segmentations](/docs/analytics/segmentations)
# Calculate duration of the last session on website
You can calculate the duration of the last session of a customer on a website by creating aggregates and expressions.
## Prerequisites
---
- Implement [tracking code](/developers/web/installation-and-configuration#creating-a-tracking-code) on your website.
## Process
---
In this use case, you will go through the following steps:
1. [Create an aggregate](/use-cases/calculate-time-spent-on-website#create-aggregates) that return the timestamps of the session start and session end events.
2. [Create an expression](/use-cases/calculate-time-spent-on-website#create-an-expression) that deducts the time of session start from the session end.
## Create aggregates
---
As the first part of the process, create aggregates that return the timestamps of the session start and session end events.
### Session start time
In this part of the process, create an aggregate that collects session start times.
1. Go to **Behavioral Data Hub > Live Aggregates > Create aggregate**.
2. As the aggregate type, select **Profile**.
2. Enter the name of the aggregate.
3. Set **Aggregate** to **Last**.
4. From the **Choose event** dropdown list, select **session.start**.
5. Click **+ where**.
6. On the modal, select **Specials**.
7. From the dropdown list, select **TIMESTAMP**.
8. In the date range, select **Lifetime**.
9. Save the aggregate.
The configuration of the start session aggregate
### Session end time
In this part of the process, create an aggregate that collects session end times with a condition that the end time is later than the start time.
1. Go to **Behavioral Data Hub > Live Aggregates > Create aggregate**.
2. As the aggregate type, select **Profile**.
2. Enter the name of the aggregate.
3. Set the **Aggregate** to **Last**.
4. From the **Choose event** dropdown list, select **session.end**.
5. Click **+ where**.
6. On the modal, select **Specials**.
7. From the dropdown list, select **TIMESTAMP**.
8. Click **+ where**.
9. On the modal, select **Specials**.
10. From the dropdown list, select **TIMESTAMP**.
11. As the logical operator, select **Date**, and then select **More than**.
12. Click the icon next to the logic operator and keep clicking until you get .
13. Click **Choose values**.
14. Use the search box to find the **Session start** aggregate you created in the previous part of the process.
8. In the date range, select **Lifetime**.
9. Save the aggregate.
The configuration of the end session aggregate
## Create an expression
---
In this part of the process, create an expression that deducts the time of session start from the session end.
1. Go to **Behavioral Data Hub > Expression > New expression**.
2. Enter the name of the expression.
3. Leave the **Expression** option at default (**Attribute**).
4. Build the following formula of the expression:
Formula of the expression Formula explanation
The results of the aggregates used in the expression are converted to numbers. The time of session start is deducted from the session end and the result is divided by 1000 to show the session length in seconds.
5. Save the expression.
## What's next
---
You can preview the results of the expression for individual customers in two ways:
- **Customer's profile**
In a profile of a customer, if you enabled the **Show in Profiles** option in the expression.
Expression on a profile of a customer
- **Analytical dashboard**
By creating an analytical dashboard and adding this expression to the dashboard.
Expression used in the dashboard
## Check the use case set up on the Synerise Demo workspace
---
Check the [session start aggregate](https://app.synerise.com/analytics/aggregates/7e15f3ba-49e7-37ac-bd63-b7702e18e301) and [session end aggregate](https://app.synerise.com/analytics/aggregates/af9bb0f4-96fb-3fa1-a4fc-4fa82f533052) configuration in Synerise Demo workspace.
You can check also the configuration of the [expression](https://app.synerise.com/analytics/expressions/5f0a9b76-000c-4368-858d-253ea23a08d8).
If you’re our partner or client, you already have automatic access to the **Synerise Demo workspace (1590)**, where you can explore all the configured elements of this use case and copy them to your workspace.
If you’re not a partner or client yet, we encourage you to fill out the contact [form](https://demo.synerise.com/request) to schedule a meeting with our representatives. They’ll be happy to show you how our demo works and discuss how you can apply this use case in your business.
## Generated events
This use case does not generate any events.
## Read more
---
- [Aggregates](/docs/crm/aggregates)
- [Expressions](/docs/crm/expressions)
# Import customers to Synerise by file upload
Importing your customer database to Synerise is a great way to get started with your email marketing efforts, as it will allow you to immediately start building relationships with your customers.
In this use case, we will focus on how to use Automation Hub to easily import a ready-to-use data base from a CSV file without any transformation.
## Prerequisites
---
- Create a CSV file with your customer database. You can add a few basic columns: `firstName,lastName,email`. Prepare your file based on [this document](/docs/automation/actions/synerise-integrations/import-customers). You can also find the general requirements for the `.CSV` file format [here](/docs/assets/catalogs/creating-catalogs#requirements).
**Example CSV file might look like this:**
```csv
firstName,lastName,email,
Dwight,Addams,dwight.addams@test.com,
Martin,Smith,martin.smith@test.com,
Kurt,Doe,kurt.doe@test.com,
John,Smith,john.smith@website.com,
```
If you decide to import without a transformation diagram (without data transformation), it is very important to name the columns in the file appropriately, because they will later be connected with client's attributes. The column names should correspond with the API fields [described here](https://hub.synerise.com/api-reference/profile-management#operation/BatchAddOrUpdateClients). Any additional column outside this list in the API documentation will be treated as a custom client attribute.
If you are importing a newsletter database, apart from the email attribute, we suggest that you should also add columns with a marketing agreement called `agreements.email` with a value `1` or `0`.
## Prepare a workflow
---
The scenario for this use case involves a one-time import of `.csv` file with a customer database directly to Synerise.
1. Go to **Automation Hub > Workflows > New workflow**.
2. Enter the name of the workflow.
### Define the launch date
3. As the trigger node, add **Scheduled Run**.
4. In the configuration of the node:
1. Change the **Run trigger** option to **one time**.
2. Select **Immediately**.
3. Confirm by clicking **Apply**.
The configuration of the Scheduled Run node
### Select file to import
1. Add a **Local File** node.
2. In the configuration of the node:
1. Upload the file.
2. Confirm by clicking **Apply**.
Local File transfer
### Add Import Profiles node
1. Choose **Synerise** node.
1. On the **Local File** node, click **THEN**.
2. From the list that opens, select **Synerise > Import Profiles**.
### Add the finishing node
1. Add the **End** node.
2. In the upper right corner, click **Save & Run**.
Imported profile
You can monitor the flow of the workflow in the **Transformation logs** tab. It contains information about each execution of the workflow.
The logs for the workflow
**Result:** New imported profiles can be visible in **Behavioral Data Hub > Profiles**.
## Check the use case set up on the Synerise Demo workspace
---
You can check the [workflow configuration](https://app.synerise.com/automations/automation-diagram/9c4e1942-6751-45b7-b783-ee1389f59ab2) directly in Synerise Demo workspace.
If you’re our partner or client, you already have automatic access to the **Synerise Demo workspace (1590)**, where you can explore all the configured elements of this use case and copy them to your workspace.
If you’re not a partner or client yet, we encourage you to fill out the contact [form](https://demo.synerise.com/request) to schedule a meeting with our representatives. They’ll be happy to show you how our demo works and discuss how you can apply this use case in your business.
## Generated events
This use case generates approximately 5 events per workflow execution:
[`automation.clientStartPath`](/docs/assets/events/event-reference/automation#automationclientstartpath) (~1), [`automation.clientPathStep`](/docs/assets/events/event-reference/automation#automationclientpathstep) (~2), [`automation.clientEndPath`](/docs/assets/events/event-reference/automation#automationclientendpath) (~1), [`client.add`](/docs/assets/events/event-reference/profiles#clientadd) (~1).
## Read more
---
- [Automation Hub](/docs/automation)
- [Behavioral Data Hub](/docs/crm)
# A/B tests in emails
**A/B tests** in emails are used in the assessment of possible changes in the communication. The test allows you to easily and quickly evaluate which version is more targeted at the customer and has a higher impact on conversions. This allows you to easily **optimize communication with various customer segments**, especially since different groups may react in different ways to the same content.
In an A/B test you set up two or more variations of one email and send each to a specific percentage of your total recipients. Half of the test group is sent Version A, and the other half gets Version B. It doesn't have to be exactly 50-50, however. In Synerise **you can set up the customer allocation on your own**. The result, measured by opens and clicks, determines the best version.
Send test versions of the email to any number of selected users in order to evaluate the sales hypothesis. Using email A/B testing, you’ll also discover what actually works on your prospects and how to address them!
Example email A/B test
## Example of use - Retail industry
A client prepared an automation that allowed them to test the sending of 2 email templates to a part of their database. After a specified time (in this case after 24 hours), the other group not included in the test received the version with the higher CTR. The aim of the communication was to check how users reacted to the mailing, and to use this knowledge for other users not participating in the test (by sending them the template to which the test participants responded better).
## Prerequisites
---
To implement this use case, perform the following steps in the given order:
- [Create an email account](/docs/campaign/e-mail/configuring-email-account).
- [Prepare email templates](/docs/campaign/e-mail/creating-email-templates).
- [Import profile database](/docs/automation/actions/synerise-integrations/import-customers).
## Process
---
1. [Create the email templates](/use-cases/ab-test-mailing#create-the-email-templates).
2. [Prepare a metric](/use-cases/ab-test-mailing#prepare-a-metric)
3. [Create new workflow](/use-cases/ab-test-mailing#create-new-workflow).
## Create the email templates
---
Create the email templates you want to test in **Experience Hub -> Email** > , and save them using the **Save as a template** option.
## Prepare a metric
---
The next node we have to set up is the **Metric Filter** node. Add it to the third path for the group C. The value of the CTR indicator determines the winning version of the template. The formula of the metric must subtract the CTR of the template sent to group A from the CTR of the template sent to group B. If the result of the metric is greater than 0, it means that template A had higher CTR and wins. If the metric result is below 0, it means the CTR of the version B is higher.
1. Go to **Decision Hub > Metrics > New metric**.
2. Select the **Formula metric**.
The formula of the metric
3. Enter the unique names you will use for the **Send Email** nodes in the workflow you will create in further steps (for example SendTemplate).
4. **For the first bracket**, use the name of the node with template A, **for the second bracket** use the name of the node with template B.
- For the **newsletter.click** event, select **campaignTitle** parameter.
- For the **message.send** event, select **CampaignName** parameter.
The first bracket counting the CTR of template A The further part of the first bracket counting the CTR of template A
5. Click the second bracket, using the name of the **Send Email** node appropriate for group B and save the prepared metric and return to the automation.
## Create new workflow
---
1. Go to **Automation Hub > Workflow** and click the **New workflow** button.
2. Add your **Audience** - you can choose a segment of people with consent for email communication or you can select the **New audience** option and define your conditions for this specific automation (for example, if in addition to the fact that users have email consents enabled, they should have additional attributes/tags and so on).
3. **Add ABx Test node** to divide your audience into test groups.
By default, we have the group A and B with an equal 50/50 division - you can add another group here, and de-select the **Equal allocation** option if you want an unequal division. In our example, 3 groups are created.
- **Group A**: 20% of the database
- **Group B**: 20% of the database
- **Group C**: the remaining 60% of the database
Screenshot presenting ABx Test node
4. From the **ABx Test** node, you have to add three different paths - for group A, group B and C.
1. The first path for **group A** must be connected to the **Send Email** node.
1. Double-click the **Send Email** node.
2. The **Sender details** are filled in by default, if you want to send your message from different email account, click **Change**.
3. In the **Content** section, enter the subject of the email (it will display in the inbox) and select the template.
4. Enter the name of the node (for example `SendTemplate A`).
This is required step and the name must be unique.
5. Optionally, you can fill in the UTM parameters.
6. After the **Send Email** node, add the **End** node.
Screenshot presenting Send Email node
2. In the second path for **group B**:
1. Double-click the **Send Email** node.
2. The **Sender details** are filled in by default, if you want to send your message from different email account, click **Change**.
3. In the **Content** section, enter the subject of the email (it will display in the inbox) and select the template.
4. Enter the name of the node (for example `SendTemplate B`).
This is required step and the name must be unique.
5. Optionally, you can fill in the UTM parameters.
6. After the **Send Email** node, add the **End** node.
3. In our case, **group C** is the largest group (60%) to which the winning template will be sent.
1. First, add the **Delay** node.
2. Make sure that the users have time to react to the emails sent to groups A and B in the test and that the appropriate amount of data is collected for the metric, so the winner can be determined.
3. The time unit depends on the customer, in our case it was **24 hours**.
Delay node
5. In the **Metric Filter** node, we can already define the metric prepared by us (we select it from the dropdown list) and it is necessary to add the condition that it should meet.We established that for the created metric, if it is greater than 0, template A won, if less than 0, then template B.
What if the CTR is equal and we get 0? To avoid surprises, we agreed with the customer that if CTRs are identical, then template A is sent. In the node, we set the metric to be equal to or greater than 0.
Metric Filter node
6. From the node prepared you can make two paths - if our metric meets the condition that we assumed or does not meet it.
1. Choosing a **matched path**, add the **Send Email** node and insert our template from **Metric Filter** node.
2. Add the **End** node.
The metric counts the difference between CTR A and CTR B, if it matches the result greater than or equal to 0, it means that our template A had a higher CTR and won.
7. Similarly, if our metric does not meet the condition assumed in the node, it means that the CTR of version B had to be greater, so we add the **Send Email** node with template B, and then add the **End** node.
8. Add **End** nodes where the workflow should finish for users.
9. Define **capping** (here 1 for 1 day).
10. Optionally, **add titles** for the rest of the nodes so the workflow will be more understandable to your colleagues.
11. **Name** the workflow.
12. To save it as a draft, click **Save it** or activate by clicking **Save & Run**.
The final automation
## Check the use case set up on the Synerise Demo workspace
---
Check the prepared [metric](https://app.synerise.com/analytics/metrics/d034567c-3616-4fb2-82b0-8fa4f89fb6d0) and [workflow](https://app.synerise.com/automations/automation-diagram/c5bb660f-5eeb-4dc4-b577-ae1a926a1d54) directly in the Synerise Demo workspace.
If you’re our partner or client, you already have automatic access to the **Synerise Demo workspace (1590)**, where you can explore all the configured elements of this use case and copy them to your workspace.
If you’re not a partner or client yet, we encourage you to fill out the contact [form](https://demo.synerise.com/request) to schedule a meeting with our representatives. They’ll be happy to show you how our demo works and discuss how you can apply this use case in your business.
## Generated events
This use case generates approximately 8 events per profile that completes the flow:
[`automation.clientStartPath`](/docs/assets/events/event-reference/automation#automationclientstartpath) (~1), [`automation.abTestVariantAssigned`](/docs/assets/events/event-reference/automation#automationabtestvariantassigned) (~1), [`automation.clientPathStep`](/docs/assets/events/event-reference/automation#automationclientpathstep) (~2), [`automation.clientEndPath`](/docs/assets/events/event-reference/automation#automationclientendpath) (~1), [`message.send`](/docs/assets/events/event-reference/email#messagesend) (~1), [`newsletter.open`](/docs/assets/events/event-reference/email#newsletteropen) (~1), [`newsletter.click`](/docs/assets/events/event-reference/email#newsletterclick) (~1).
## Read more
---
- [ABx Test node](/docs/automation/conditions/abx-split-node)
- [Automation Hub](/docs/automation)
- [Audience node](/docs/automation/triggers/audience-node)
- [Metrics](/docs/analytics/metrics)
- [Metric Filter node](/docs/automation/conditions/metric-filter-node)
# Saving and recovering product configuration
Businesses offering made-to-order personalized products have very specific customer journeys. Instead of selling ready-made items from stock, they allow shoppers to configure products step by step, choosing dimensions, colors, finishes or other attributes tailored to their individual needs. This model is especially common in industries such as home & decor, automotive, jewelery or custom apparel.
While product configurators unlock powerful personalization, they also introduce a challenge. Configuring a custom product often requires time, consideration or even consultation, especially since personalized items are usually non-returnable and come with higher price points. As a result, many customers pause the process or abandon the configuration before completing the purchase.
In this use case, you’ll create a complete scenario for saving and recovering abandoned configurations. By allowing users to send a configuration link to their email via a simple form, you can trigger a follow-up communication flow that reminds them about their unfinished product. If the purchase is not completed, the scenario can end with an incentive such as a voucher to encourage conversion.
Additionally, by collecting configuration attributes, you can use Synerise’s AI to recommend similar products from the same category with comparable features, helping customers make a final decision and increasing the chances of recovery.
## Prerequisites
---
- [Implement SDK to a website](/developers/web/installation-and-configuration).
- [Configure an email account](/docs/campaign/e-mail/configuring-email-account).
- [Configure AI engine](/docs/settings/configuration/ai-engine-configuration/engine-configuration-for-recommendations).
- [Configure an item catalog for recommendations](/docs/settings/configuration/ai-engine-configuration/engine-configuration-for-recommendations). Enable similar items recommendations.
- Implement a custom event for saving configuration details, which will be available in the customer profile.
In this example, the event is called `configuration.saved`.
Implement custom events in your [mobile application](/developers/mobile-sdk/event-tracking#product-added-to-favorites) or [website](/developers/web/event-tracking#declarative-tracking-custom-events).
- Optionally, you can create a [voucher pool](/docs/assets/code-pools).
## Process
---
In this use case, you will go through the following steps:
1. [Create a dynamic content template](/use-cases/saving-configuration#create-a-dynamic-content-template) which displays the saving configuration form on the website.
2. [Create an aggregate](/use-cases/saving-configuration#create-an-aggregate) returning configuration details.
3. [Create an AI recommendation](/use-cases/saving-configuration#create-an-ai-recommendation) returning similar items.
4. [Create an email template](/use-cases/saving-configuration#create-an-email-template) with the link to saved configuration details and similar product recommendations.
5. [Create a workflow](/use-cases/saving-configuration#create-a-workflow) which sends your customers an email with saved configuration details after submitting the form.
## Create a dynamic content template
---
Create a dynamic content template that displays a button on your website leading to a form. The form should include a direct link to the saved configuration and additional fields for the customer’s name and email address. After providing consent, the user receives a link to their configuration via email. This dynamic content will generate the `configuration.saved` event on the customer's profile which stores the selected configuration attributes, such as color, size, and other chosen options, as parameters. You can use a [ready-made template](https://app.synerise.com/campaigns/dynamic-content/content-manager/template/247451) available on the Synerise Demo workspace.
1. Go to **Experience Hub > Dynamic content > Create new**.
2. Enter the name of the dynamic content.
3. Choose **Insert Object** type.
4. As the audience, select **everyone**.
5. In the **Content** section, select **Simple message**, and specify the CSS selector where you want to insert your campaign.
6. In the **Content** tab, click **Create Message**.
7. In the code editor, create a dynamic content based on your preferences and your own CSS styles. The JavaScript should track the configuration options selected at each step and save them as parameters within the `configuration.saved` event.
8. Save the template.
9. In the **Schedule** section, select the date when the dynamic content is activated.
10. In **Display settings**, configure the settings based on your business needs.
11. Confirm by clicking **Apply**.
12. Optionally, you can define the UTM parameters in the **UTM & URL parameters** section. Otherwise, click **Skip step**.
13. Activate the dynamic content.
Configuration of the dynamic content template
## Create an aggregate
---
Create an aggregate which returns the product data from the saved configuration and which will be later used in the email template.
1. Go to **Behavioral Data Hub > Live Aggregates > Create aggregate**.
2. As the aggregate type, select **Profile**.
3. Enter the name of the aggregate.
4. Click **Analyze profiles by** and select **Last**.
5. From the **Choose event** dropdown list, select the `configuration.saved` event.
6. As the event parameter, select `configuration_data`.
7. Define the period which the aggregate will analyze. Confirm your choice with the **Apply** button.
8. Click **Save**.
Configuration of the aggregate returing the product data from the saved configuration
## Create an AI recommendation
---
In this part of the process, you will configure a similar items recommendation which will be later used in the email template.
1. Go to **AI Hub > (AI Recommendations) Models > Add recommendation**.
2. Enter the name of the recommendation (it is only visible on the list of recommendations).
3. In the **Type & Items feed** section, click **Define**.
4. From the **Items feed** dropdown list, select an item feed.
5. In the **Type** section, choose the **Similar items** recommendation type.
6. Confirm the settings by clicking **Apply**.
7. In the **Items** section, click **Define**.
1. Click **Add slot**.
2. Define the minimum and maximum number of items that will be recommended to the customer in each slot.
3. Optionally, define [Static filters](/docs/ai-hub/recommendations-v2/creating-recommendation-campaign#static-filters) and [Elastic filters](/docs/ai-hub/recommendations-v2/creating-recommendation-campaign#elastic-filters).
4. Confirm by clicking **Apply**.
8. Optionally, you can define the **Boosting** factors and settings in the **Additional settings** section.
9. In the right upper corner, click **Save**.
## Create an email template
---
You can use a [ready-made template with an HTML block](https://app.synerise.com/campaigns/email/content-manager/template/249686) (available on the Synerise Demo workspace). Copy it and edit according to your needs. In the configuration, we will use the [aggregate](#create-an-aggregate) and [AI recommendation](#create-an-ai-recommendation) created in the previous steps.
1. Go to **Experience Hub > Email**.
2. On the left pane, click **Templates** and from the list of template folders, select **USE CASE**.
4. Select **[UC] Saving product configuration** template.
**Result**: You are redirected to the code editor.
4. Edit the template according to your needs. Use the [aggregate](#create-an-aggregate) and [recommendation](#create-an-ai-recommendation) created in the previous steps.
To add all product configuration data using a single aggregate, use [Jinjava's dedicated “split” filter](/developers/inserts/filter#split) to separate such information
5. After you make changes to the template, you can check the preview.
1. Click the **Preview contexts** button on the upper left side.
2. Enter the ID of a customer.
3. Click **Apply**.
Configuration of the email template
6. If the template is ready, click the arrow next to **Use in communication** in the upper right corner, and from the dropdown select **Save as**.
7. On the pop-up:
1. In the **Template name field**, enter the name of the template.
2. From the **Template folder** dropdown list, select the folder where the template will be saved.
3. Confirm by clicking **Save**.
8. Repeat all the steps to create an additional message which will serve as a reminder of an abandoned configuration. Optionally, you can create a [voucher pool](/docs/assets/code-pools) and assign a discount as an incentive to complete the order.
## Create a workflow
---
In this step, create a workflow which sends customers an email with their saved configuration details.
1. Go to **Automation Hub > Workflows > New workflow**.
2. Enter the name of the workflow.
### Define the Profile Event trigger node
At this stage, you will configure conditions that launch the workflow. As a trigger, we will use the `configuration.saved` event, which is generated after submitting the form.
1. As the first node of the workflow, add **Profile Event**. In the configuration of the node:
1. From the **Choose event** dropdown menu, choose `configuration.saved` event.
2. Confirm by clicking **Apply**.
### Define the first Delay node
---
This node creates a 10 seconds delay before moving to the next condition of the workflow. It helps you minimize the risk that possible server errors or delays will influence your workflow.
1. Add the **Delay** node. In the node settings:
1. In the **Delay** field, type `10`.
2. From the dropdown list, choose **Second**.
2. Click **Apply**.
### Configure the first Send Email node
At this stage, you will send an email with confirmation for users who fill out the form requesting sending configuration link to their email address.
1. As the next node, add **Send Email**. Configure it according to your business needs.
2. Configure the Sender details section.
3. Configure the Content section.
1. In the **Subject** field, enter your message subject.
2. In the **Template** section, choose the template [email template](#create-an-email-template) prepared in the previous step.
3. You can define **UTM & URL parameters**.
4. Confirm by clicking **Apply**.
### Define the second Delay node
---
This node creates delay before checking whether the transaction has been made prior to sending a reminder. In our case, we assumed it will be 24 hours.
1. Add the **Delay** node. In the node settings:
1. In the **Delay** field, type `24`.
2. From the dropdown list, choose **Hours**.
2. Click **Apply**.
### Define the Profile Filter node
As the next step, add the **Profile Filter** node, which checks if the customer made a transaction in the last 24 hours. If the customer has not made a purchase, we will send them a reminder email, optionally with a discount coupon, and if they have, then the workflow ends.
1. Add the **Profile Filter** node.
2. Select **New Audience**, click **Define conditions**, change **Find all profiles matching this condition** to **Find all profiles not matching this condition** and from the **Add condition** dropdown list, select the `transaction.charge` event.
3. As the date range, select **Last 24 hours**. Confirm your choice with the **Apply** button.
4. To the *matched* path, add the **Send Email** node.
5. To the *not matched* path, add the **End** node.
6. Click **Apply**.
### Configure the second Send Email node
At this stage, you will send an email with reminder for users who filled out the form requesting sending configuration link to their email address and didn't make any purchase within last 24 hours.
1. As the next node, add **Send Email**. Configure it according to your business needs.
2. Configure the Sender details section.
3. Configure the Content section.
1. In the **Subject** field, enter your message subject.
2. In the **Template** section, choose the template [email template](#create-an-email-template) prepared in the previous step.
3. You can define **UTM & URL parameters**.
4. Confirm by clicking **Apply**.
### Add the finishing node
1. Add the **End** node.
2. In the upper right corner, click **Save & Run**.
Automation settings
## Check the use case set up on the Synerise Demo workspace
---
You can check all the analytics and templates directly in the Synerise Demo workspace:
- [dynamic content](https://app.synerise.com/campaigns/dynamic-content/content-manager/template/247451) displaying the saving configuration form on the website
- [aggregate](https://app.synerise.com/analytics-v2/aggregates/c0855ca3-458b-32fb-83e9-ab066d4ea131) returning configuration details
- [AI recommendation](https://app.synerise.com/ai-v2/recommendations/FV5PIcmhmN0p) returning similar items
- [email template](https://app.synerise.com/campaigns/email/content-manager/template/249686) containing the link to saved configuration details and, optionally, similar product recommendations
- [workflow](https://app.synerise.com/automations/workflows/automation-diagram/85b7824c-616d-4bb9-8097-6ad8b35a2b34) sending an email with saved configuration details after submitting the form
If you’re our partner or client, you already have automatic access to the **Synerise Demo workspace (1590)**, where you can explore all the configured elements of this use case and copy them to your workspace.
If you’re not a partner or client yet, we encourage you to fill out the contact [form](https://demo.synerise.com/request) to schedule a meeting with our representatives. They’ll be happy to show you how our demo works and discuss how you can apply this use case in your business.
## Generated events
This use case generates approximately 19 events per profile that completes the flow:
[`dynamicContent.show`](/docs/assets/events/event-reference/dynamic-content#dynamiccontentshow) (~1), [`dynamicContent.click`](/docs/assets/events/event-reference/dynamic-content#dynamiccontentclick) (~1), `configuration.saved` (~1), [`automation.clientStartPath`](/docs/assets/events/event-reference/automation#automationclientstartpath) (~1), [`automation.clientPathStep`](/docs/assets/events/event-reference/automation#automationclientpathstep) (~6), [`automation.clientEndPath`](/docs/assets/events/event-reference/automation#automationclientendpath) (~1), [`message.send`](/docs/assets/events/event-reference/email#messagesend) (~2), [`newsletter.open`](/docs/assets/events/event-reference/email#newsletteropen) (~2), [`newsletter.click`](/docs/assets/events/event-reference/email#newsletterclick) (~2), [`recommendation.generated`](/docs/assets/events/event-reference/recommendations#recommendationgenerated) (~2).
## Read more
---
- [Aggregates](/docs/crm/aggregates)
- [Dynamic content](/docs/campaign/dynamiccontent)
- [Dynamic content template builder](/docs/campaign/dynamiccontent/creating-dynamic-content-templates/dynamic-content-template-builder)
- [Email templates](/docs/campaign/e-mail/creating-email-templates)
- [Recommendations](/docs/ai-hub/recommendations-v2)
- [Voucher pools](/docs/assets/code-pools)
# Mobile push with abandoned cart notification
The effectiveness of abandoned cart scenarios in mobile push notifications lies in their ability to significantly boost conversion rates by reminding customers about items they have shown interest in but have not yet purchased. This strategy leverages the power of timely, personalized communication to encourage users to complete their transactions, often incorporating incentives like discounts or free shipping to further entice the customer back to their cart.
In this use case, we will outline the steps to create an abandoned cart scenario specifically for mobile push notifications. The scenario begins when a customer adds items to their shopping cart but exits the app without completing the purchase. After a predetermined period of inactivity, the system triggers a push notification that is sent to the customer's mobile device.
Example mobile push with an abandoned cart items
## Prerequisites
---
- Add [product Feed](/developers/product-feed).
- Create [product catalog](/docs/assets/catalogs).
- Integrate Synerise [mobile SDK](/developers/mobile-sdk) in your mobile application.
- Implement mobile pushes in your mobile application: [iOS](/developers/mobile-sdk/configuring-push-notifications/ios), [Android](/developers/mobile-sdk/configuring-push-notifications/android).
- Implement the [transaction events](/developers/web/transactions-sdk) using [SDK](/developers/web/transactions-sdk) or [API](https://hub.synerise.com/api-reference/data-management#operation/CreateATransaction).
- [Implement the `cart.status` event](/developers/web/cart), which stores the current status of the basket in the form of an event on the customer's card. The event has to be sent to Synerise after every change in the cart status.
- Collect [product.addToCart event](/docs/assets/events/event-definitions).
## Process
---
In this use case, you will go through the following steps:
1. [Create an aggregate](/use-cases/abandoned-cart-mobile-push#create-an-aggregate).
2. [Create mobile push notification](/use-cases/abandoned-cart-mobile-push#create-mobile-push-template).
4. [Create a workflow](/use-cases/abandoned-cart-mobile-push#create-a-workflow).
## Create an aggregate
---
In this step, create an aggregate that returns the list of products in a cart. The result of the aggregate will be used to display products in your mobile push notification.
1. Go to **Behavioral Data Hub > Live Aggregates > Create aggregate**.
2. As the aggregate type, select **Profile**.
2. Enter the name of the aggregate.
3. Click **Analyze profiles by** and select **Last**.
5. From the **Choose event** dropdown list, select the [`cart.status`](/docs/assets/events/event-reference/items#cartstatus) event.
6. As the event parameter, select **products**.
7. Set the period from which the aggregate will analyze the results to **Lifetime**.
12. Save the aggregate.
Configuration of the aggregate
## Create mobile push template
---
1. Go to **Experience Hub > Mobile Push > Templates**.
2. You can use the template from the folder or create your own one using the mobile push code editor.
To use the template, click **New Template**.
3. Choose what type of message you want to create. In our case it's **Simple Push**.
4. Choose how you want to create mobile push message. In this use case we will use **Visual Builder**.
5. Create your mobile push message according to your business needs.
For more information on creating a mobile push, visit our [User Guide](/docs/campaign/Mobile/creating-mobile-push-templates).
Below you can find exemplary jinjava codes for the fields Message, URL and Image.
- In the **Message section**, we add the product title
- In the **URL section** given link to the product page.
- In the **Image section** added URL to the image, which is in the catalog.
**Message section**
You left {%aggregate 17d214c4-5644-33b1-b0c6-9fab96b26b3e %}
   {% set id = aggregate_result[0].sku %}
   {%catalogitemv2.store-1(id) %}
   {%set itemObject=catalog_result%}
   {{itemObject.name}}
   {%endcatalogitemv2%}
   {%endaggregate%} in your basket!
**URL section**
{%aggregate 17d214c4-5644-33b1-b0c6-9fab96b26b3e%}{% set id = aggregate_result[0].sku %}{%catalogitemv2.store-1(id) %}{%set itemObject=catalog_result%}{{itemObject.productUrl}}{%endcatalogitemv2%}{%endaggregate%}
**Image section**
{%aggregate 17d214c4-5644-33b1-b0c6-9fab96b26b3e%}{% set id = aggregate_result[0].sku %}{%catalogitemv2.store-1(id) %}{%set itemObject=catalog_result%}{{itemObject.image}}{%endcatalogitemv2%}{%endaggregate%}
**Usage:**
1. Replace aggregate ID with the ID you’d like to use.
2. In `{% set id = aggregate_result[0].sku %}` replace `sku` with the name of the catalog’s attribute that holds sku.
3. In `{%catalogitemv2.store-1(id) %}` replace `store-1` with the name of your item catalog.
4. In `{{itemObject.link}}`, `{{itemObject.name}}`, `{{itemObject.imageLink}}` make sure to put a correct name of an attribute which holds product’s **link**, **name** or **imageLink**.
To properly display icons on iOS, you need to pay attention to whether the **Mutable-Content** option is enabled.
Disabling this option will result in the icon not displaying on mobile push.
Mobile push template configuration
## Create a workflow
---
The workflow will be triggered by the [`product.AddToCart`](/docs/assets/events/event-reference/items#productaddtocart) event. The delay is defined up to 1 day. If a customer does not make a transaction within one day, we will send a push notification with a reminder to buy products left in the cart.
1. Go to **Automation Hub > Workflows > New workflow**.
2. Enter the name of the workflow.
### Define the trigger node
---
1. As the first node, add the **Profile Event**. In the settings of the node, select the **productAddToCart** event.
2. Click **Apply**.
Configuration of the Profile Event node
### Configure the Delay node
---
1. Add the **Delay** node. In the node settings:
1. In the **Delay** field, type `1`.
2. From the dropdown list, choose **Day**.
2. Click **Apply**.
Configuration of the Delay node
### Define the Profile Filter node
---
As the next node, choose **Profile Filter** to check if a customer have made a transaction in the last 24 hours.
1. Add the **Profile Filter** node. In the node settings:
1. From the **Choose filter** dropdown, select the [`transaction.charge`](/docs/assets/events/event-reference/items#transactioncharge) event.
2. Change **matching** to **not matching**.
3. Set the date range to the last 1440 minutes.
Use 1440 minutes instead of 1 day – use smaller granulation, as in this case 1 day would take the time from current hour till the midnight, so such an analysis would not take into consideration all customers who meet the filter conditions.
2. Click **Apply**.
### Define the Send Mobile Push node
---
1. Add the **Send Mobile Push** node to the **Matched** path.
2. In the settings of the node, choose the type of the mobile push and the template you have prepared [in the previous steps](/use-cases/abandoned-cart-mobile-push#create-mobile-push-template).
Configuration of the Send Mobile Push node
## Add the finishing node
---
1. Add the **End** node to the **Send Mobile Push** node and **Not Matched** path from the **Profile Filter** node.
2. In the upper right corner, click **Save & Run**.
Final view of the workflow
## Check the use case set up on the Synerise Demo workspace
---
You can check the configuration of each step from this use case in our Synerise Demo workspace:
- [Aggregate](https://app.synerise.com/analytics/aggregates/17d214c4-5644-33b1-b0c6-9fab96b26b3e)
- [Mobile push template](https://app.synerise.com/campaigns/mobile-push/content-manager/template/129344)
- [Workflow](https://app.synerise.com/automations/automation-diagram/691feacc-8158-4986-abd1-2b12aabee328)
If you’re our partner or client, you already have automatic access to the **Synerise Demo workspace (1590)**, where you can explore all the configured elements of this use case and copy them to your workspace.
If you’re not a partner or client yet, we encourage you to fill out the contact [form](https://demo.synerise.com/request) to schedule a meeting with our representatives. They’ll be happy to show you how our demo works and discuss how you can apply this use case in your business.
## Generated events
This use case generates approximately 9 events per profile that completes the flow:
[`product.addToCart`](/docs/assets/events/event-reference/items#productaddtocart) (~1), [`automation.clientStartPath`](/docs/assets/events/event-reference/automation#automationclientstartpath) (~1), [`automation.clientPathStep`](/docs/assets/events/event-reference/automation#automationclientpathstep) (~3), [`automation.clientEndPath`](/docs/assets/events/event-reference/automation#automationclientendpath) (~1), [`push.send`](/docs/assets/events/event-reference/mobile-push#pushsend) (~1), [`push.view`](/docs/assets/events/event-reference/mobile-push#pushview) (~1), [`push.click`](/docs/assets/events/event-reference/mobile-push#pushclick) (~1).
## Read more
---
- [Automation Hub](/docs/automation)
- [Creating aggregates](/docs/crm/aggregates/creating-profile-aggregates)
- [Jinjava inserts](/developers/inserts/insert-usage)
- [Mobile notifications](/docs/campaign/Mobile/mobile_campaign)
# Boost customers' favorite brand in similar recommendations
Similar product recommendations are one of the popular ways of showing customers products that align with their preferences. In addition, this type of recommendation helps the customer make a purchase decision more quickly by choosing among products that are similar to those they have seen before, thus showing interest in those products.
Additional reinforcement of these recommendations with customers' favorite brands makes them even more aligned with their preferences and intrinsic expectations. In this case, such reinforcement is accomplished by using an aggregator that returns the brands of products that have been viewed most frequently by customers.
The personalization enhancement factor takes recommendations to a whole new level, where in addition to a similar product recommendation model and boosting filters, the personalization model influences the scoring of items according to each customer's preferences. The combination of all these features allows you to get the best value for customers by presenting them with the most relevant products.
## Prerequisites
---
- [Create items catalog](/docs/ai-hub/recommendations-v2/item-feed-requirements). The item catalog must include an attribute which will be used to denote (in this use case, it's the brand attribute).
- [Configure an item catalog for recommendations](/docs/settings/configuration/ai-engine-configuration/engine-configuration-for-recommendations). Enable similar recommendations.
- Implement transaction events using [SDK](/developers/web/transactions-sdk) or [API](https://hub.synerise.com/api-reference/data-management#operation/CreateATransaction).
## Process
---
1. [Create an aggregate](/use-cases/boost-favorite-brand#create-an-aggregate).
2. [Create recommendation](/use-cases/boost-favorite-brand#create-a-recommendation).
## Create an aggregate
---
In this part of the process, create an aggregate that returns the customer's most frequently purchased product brands.
1. Go to **Behavioral Data Hub > Live Aggregates > Create aggregate**.
2. As the aggregate type, select **Profile**.
2. Enter the name of the aggregate.
3. Click **Analyze profiles by** and select **Top**.
4. From the **Choose event** dropdown list, select the **product.buy** event.
5. As the event parameter, select **brand**.
6. Define the period from which the aggregate will return products from the event.
7. Save the aggregate.
Configuration of the aggregate
## Create a recommendation
---
1. Go to **AI Hub > (AI Recommendations) Models > Add recommendation**.
2. In the top left corner, enter the name of your recommendation.
3. In the **Type & Items feed** section, click **Define**.
4. From the **Items feed** dropdown menu, choose the provided feed.
5. Choose the **Similar items** recommendation type.
Configuraion of the catalog and recommendation type section
6. Click **Apply**.
7. In the **Items** section, click **Define**.
1. Click **Add slot**.
2. Define the minimum and maximum number of items that will be recommended to the user in each slot.
3. Confirm by clicking **Apply**.
8. In the **Boosting** section:
1. Click **Define**.
2. Click **Add rule**.
3. Click **Define rule** and select **Visual Builder**.
**Result**: The Visual Builder window opens.
4. From the **Select attribute** dropdown list, select the **brand** attribute.
You can use the search field.
5. From the **Operator** dropdown list, select **Equals**.
6. Click the value type icon () and choose **Aggregate**.
7. From the **Choose aggregate** dropdown list, select an aggregate created in [the previous step](/use-cases/boost-favorite-brand#create-an-aggregate).
8. Click **Apply**.
Boosting items with the most popular customer brands
9. In the **Promote/Demote** selector, select **Promote** (default value).
10. Use the slider to adjust how much you want the rule to affect the results.
11. Enable the **Personalization** toggle.
12. From the Impact scrollbar, select how much you want the personalization model to influence the arrangement of items in the recommendation.
13. Confirm the settings by clicking **Apply**.
Example of boosting configuration
14. Save the **Boosting** section settings by clicking **Apply**.
15. Optionally, you can define the settings in the **Additional settings** section.
16. Save the recommendation.
## What's next
---
You can display the recommendation to customers in several ways, for example by using the [recommendation insert](/developers/inserts/recommendations-v2) in [dynamic content](/docs/campaign/dynamiccontent/creating-dynamic-content) or in a mobile app ([Android](/developers/mobile-sdk/displaying-recommendations/content-widget/android) and [iOS](/developers/mobile-sdk/displaying-recommendations/content-widget/ios)).
If you decide to implement recommendations through dynamic content then you need to implement [Synerise JS SDK](/developers/web/installation-and-configuration) and [OG tags](/developers/web/og-tags) into your website. Alternatively, you can also implement campaigns through [API](https://hub.synerise.com/api-reference/ai-recommendations#operation/GetRecommendationsByCampaignV2).
## Check the use case set up on the Synerise Demo workspace
---
You can also check the [aggregate](https://app.synerise.com/analytics/aggregates/04a8575c-9c62-37bb-a4ee-c99238e38ba5) and [AI recommendation](https://app.synerise.com/ai-v2/recommendations/DSdqtmHxXDXS) configuration directly in Synerise Demo workspace.
If you’re our partner or client, you already have automatic access to the **Synerise Demo workspace (1590)**, where you can explore all the configured elements of this use case and copy them to your workspace.
If you’re not a partner or client yet, we encourage you to fill out the contact [form](https://demo.synerise.com/request) to schedule a meeting with our representatives. They’ll be happy to show you how our demo works and discuss how you can apply this use case in your business.
## Generated events
This use case generates approximately 3 events per profile that completes the flow:
[`recommendation.generated`](/docs/assets/events/event-reference/recommendations#recommendationgenerated) (~1), [`recommendation.view`](/docs/assets/events/event-reference/recommendations#recommendationview) (~1), [`recommendation.click`](/docs/assets/events/event-reference/recommendations#recommendationclick) (~1).
## Read more
---
- [Creating aggregates](/docs/crm/aggregates/creating-profile-aggregates)
- [Creating recommendations](/docs/ai-hub/recommendations-v2/creating-recommendation-campaign)
- [Filters in recommendations](/docs/ai-hub/recommendations-v2/recommendation-filters)
- [Requirements for item feed](/docs/ai-hub/recommendations-v2/item-feed-requirements)
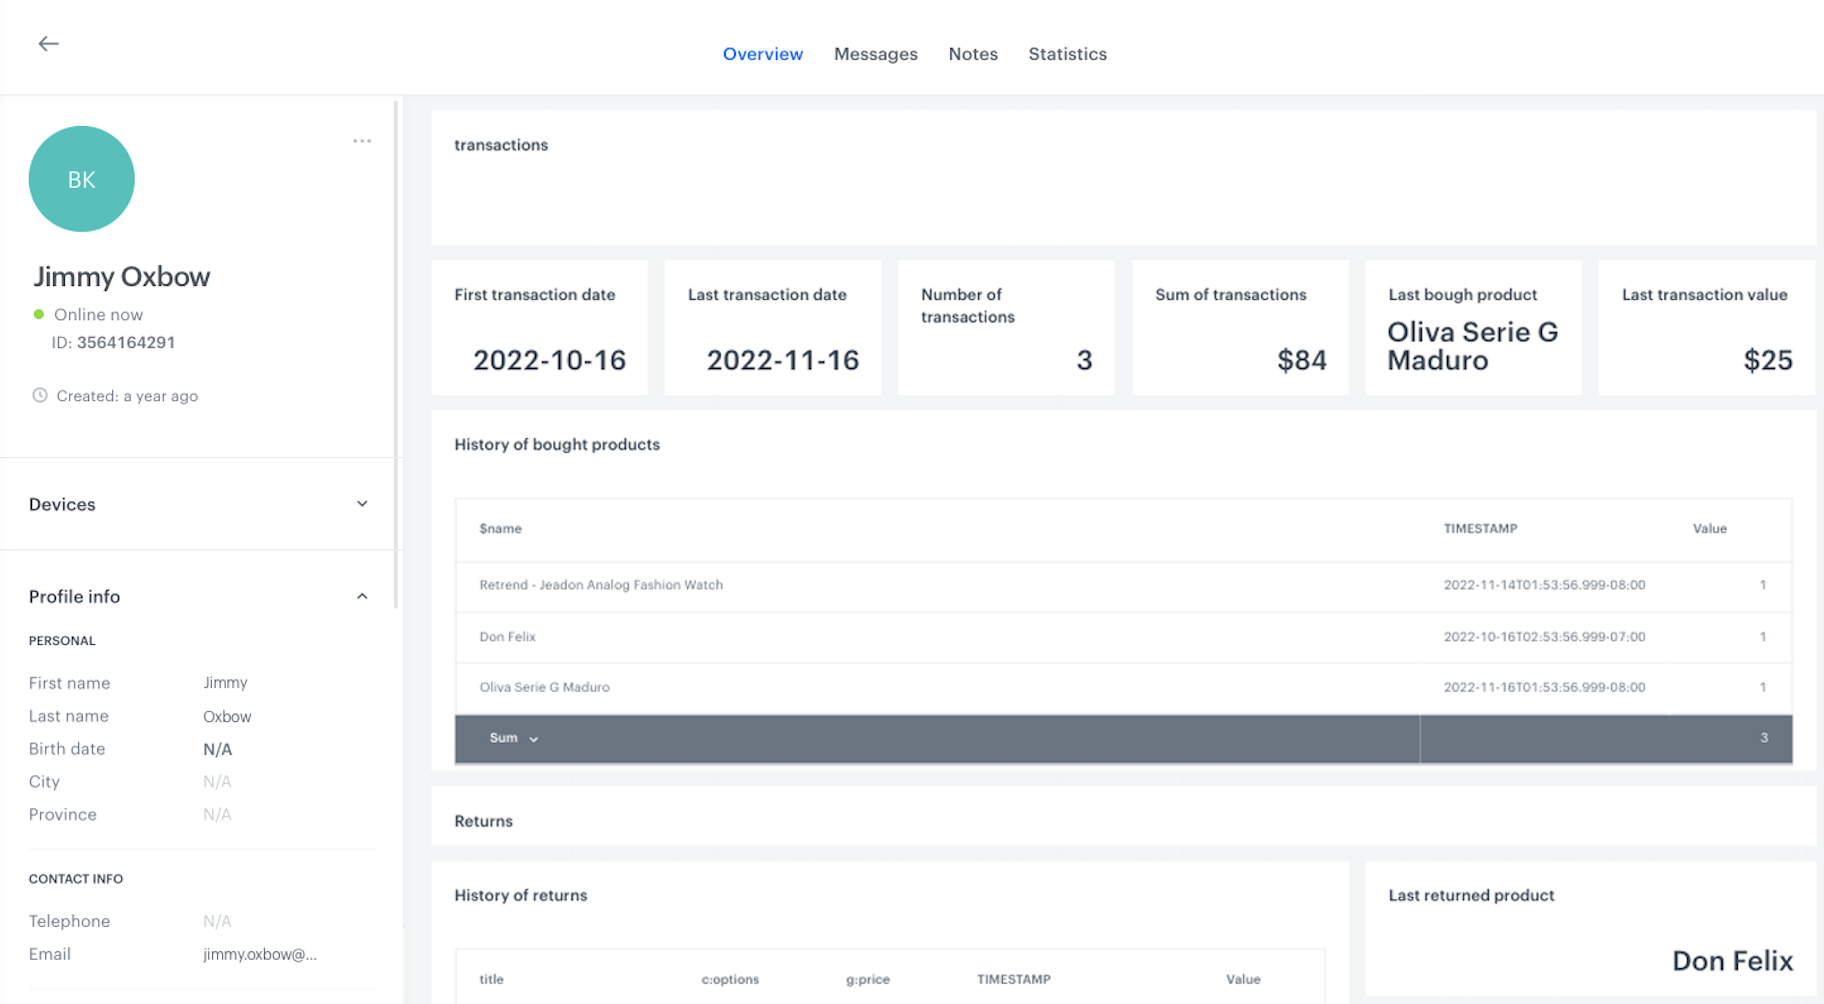
 **Behavioral Data Hub > Expressions > New expression**.
2. Enter the name of the expression.
3. Set the **Expression for** option to **Event**.
4. From the **Choose event** dropdown list, select `transaction.charge` event.
5. In the **Formula definition** section, click **Select**.
6. From the list that opens, select **Function > Regexp**.
7. In the brackets, click the **Select** button and from the list, select **Event attribute**.
1. Click the **Unnamed** node that appeared.
9. At the bottom of the page, click **Choose parameter**.
10. In the list of attributes, find and select **TIMESTAMP**.
8. Click the next **Select** button in the brackets and from the list, select **Constant**.
1. Click the **0** node that appeared.
2. At the bottom of the page, type `....-..-..` for date format.
9. Save the expression.
10. Create a second expression and repeat all steps for `page.visit` event.
**Behavioral Data Hub > Expressions > New expression**.
2. Enter the name of the expression.
3. Set the **Expression for** option to **Event**.
4. From the **Choose event** dropdown list, select `transaction.charge` event.
5. In the **Formula definition** section, click **Select**.
6. From the list that opens, select **Function > Regexp**.
7. In the brackets, click the **Select** button and from the list, select **Event attribute**.
1. Click the **Unnamed** node that appeared.
9. At the bottom of the page, click **Choose parameter**.
10. In the list of attributes, find and select **TIMESTAMP**.
8. Click the next **Select** button in the brackets and from the list, select **Constant**.
1. Click the **0** node that appeared.
2. At the bottom of the page, type `....-..-..` for date format.
9. Save the expression.
10. Create a second expression and repeat all steps for `page.visit` event.
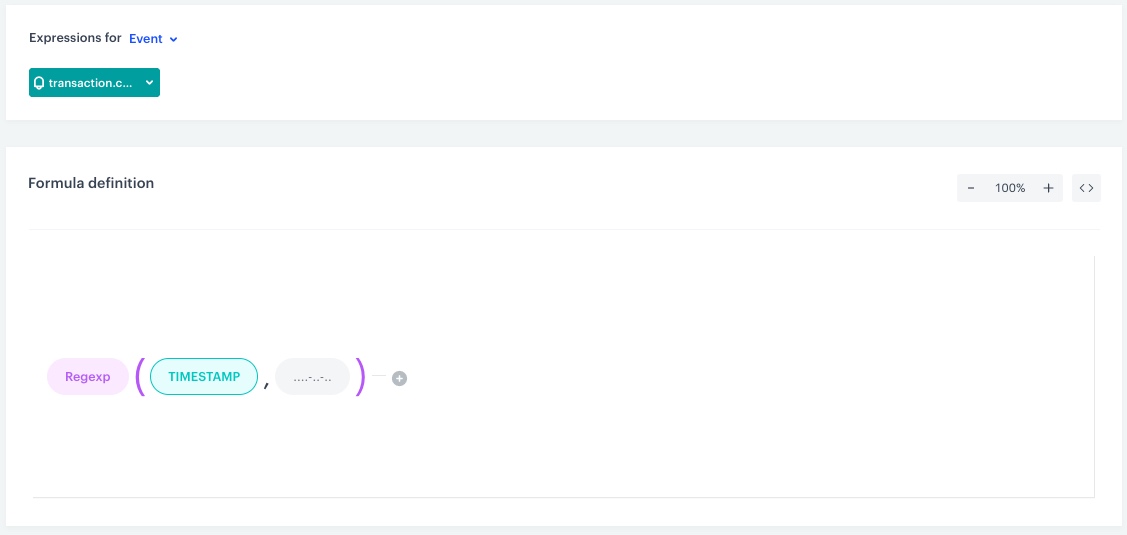









 **Decision Hub > Metrics > New metric**.
2. Enter the name of the metric.
3. As a metric kind, select **Simple metric**.
4. As the type, set **Event**.
5. As the aggregator, set **Sum**.
4. As the occurrence type, set **All**.
5. From the **Choose event** dropdown list, select `product.buy`.
6. Click
**Decision Hub > Metrics > New metric**.
2. Enter the name of the metric.
3. As a metric kind, select **Simple metric**.
4. As the type, set **Event**.
5. As the aggregator, set **Sum**.
4. As the occurrence type, set **All**.
5. From the **Choose event** dropdown list, select `product.buy`.
6. Click  button.
**Result**: The **Choose parameter** button appears.
7. From the **Choose parameter** dropdown list, choose `$quantity`.
8. To select a specific time range, click the calendar icon. In our case it will be **Lifetime**. Confirm your choice with the **Apply** button.
9. Click **Save**.
button.
**Result**: The **Choose parameter** button appears.
7. From the **Choose parameter** dropdown list, choose `$quantity`.
8. To select a specific time range, click the calendar icon. In our case it will be **Lifetime**. Confirm your choice with the **Apply** button.
9. Click **Save**.
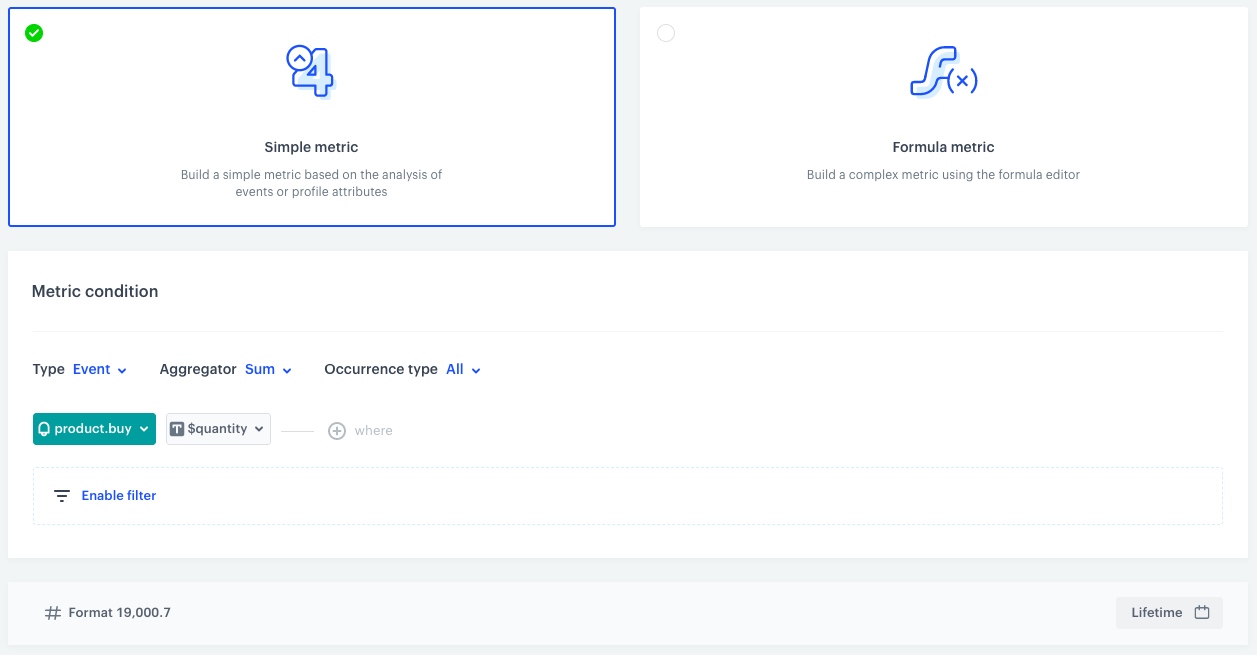
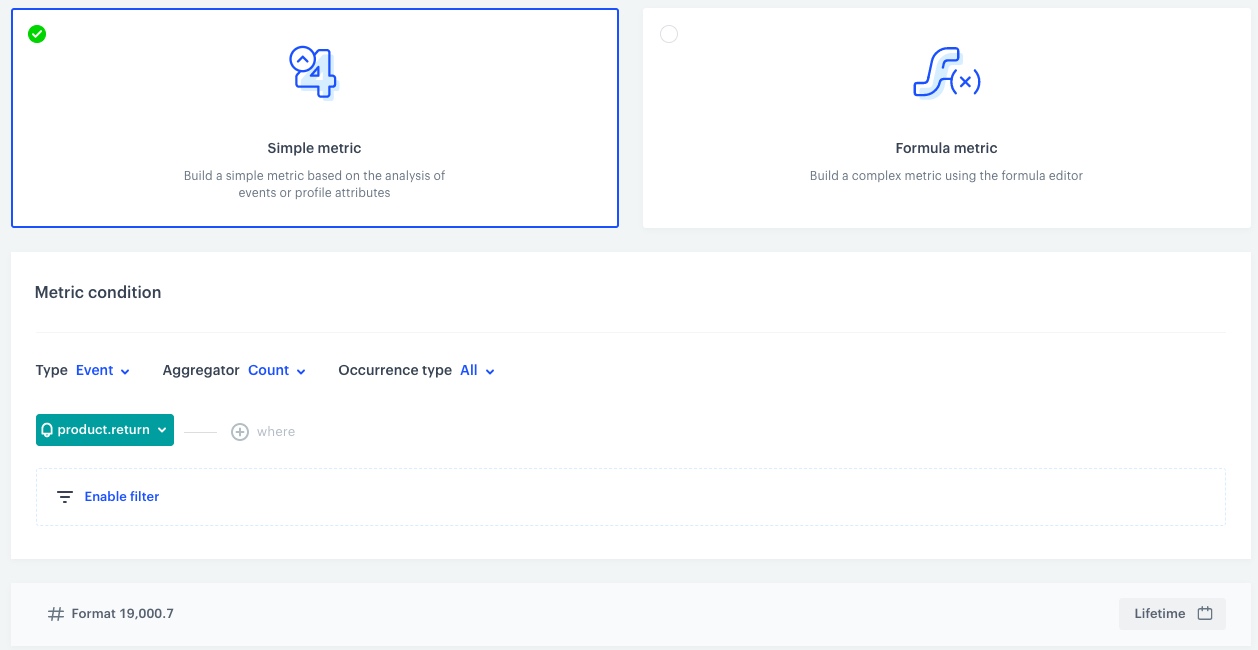
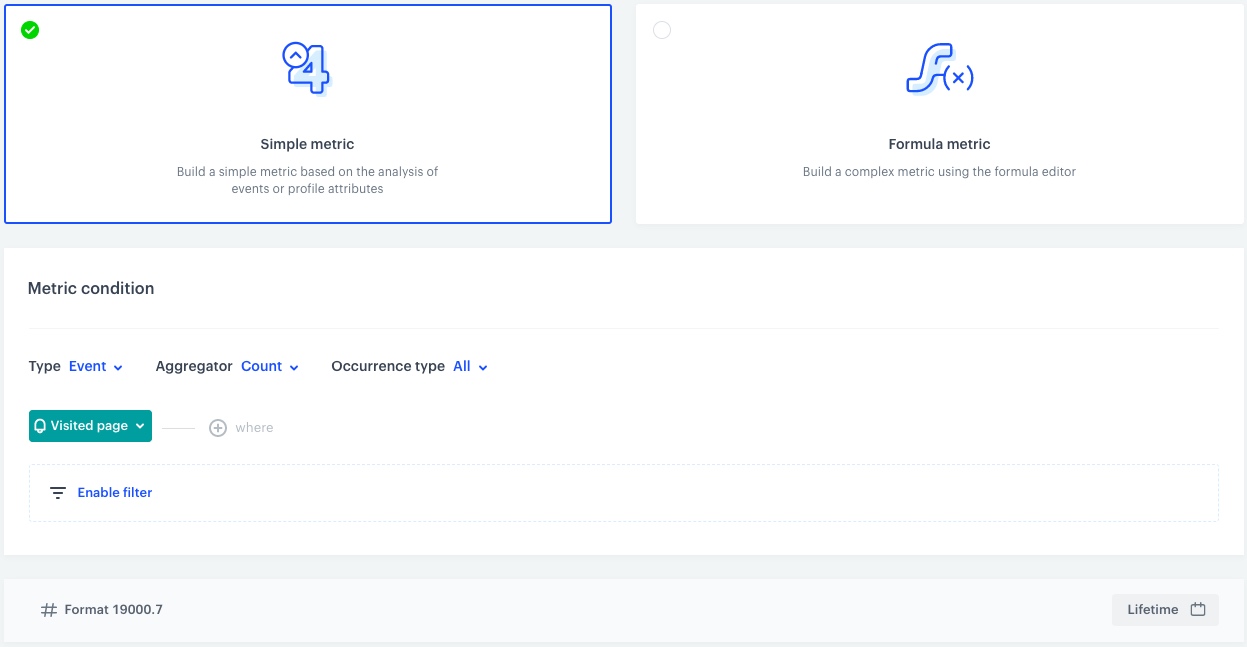
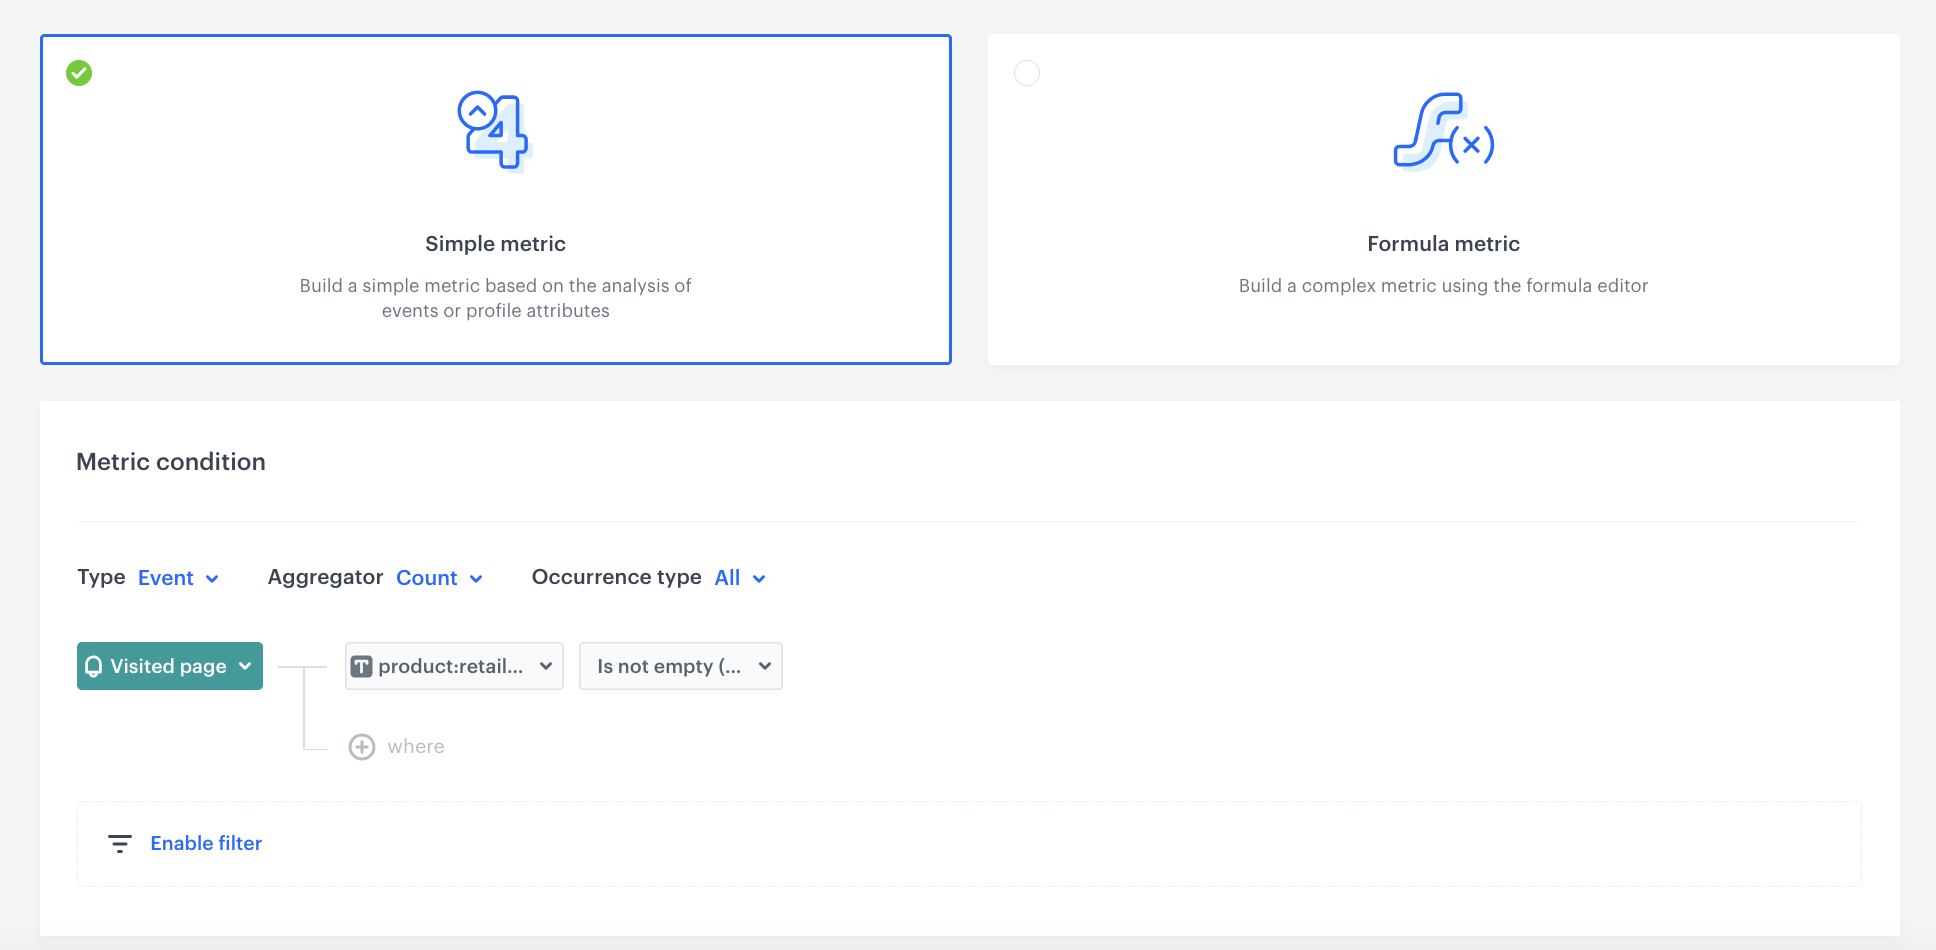
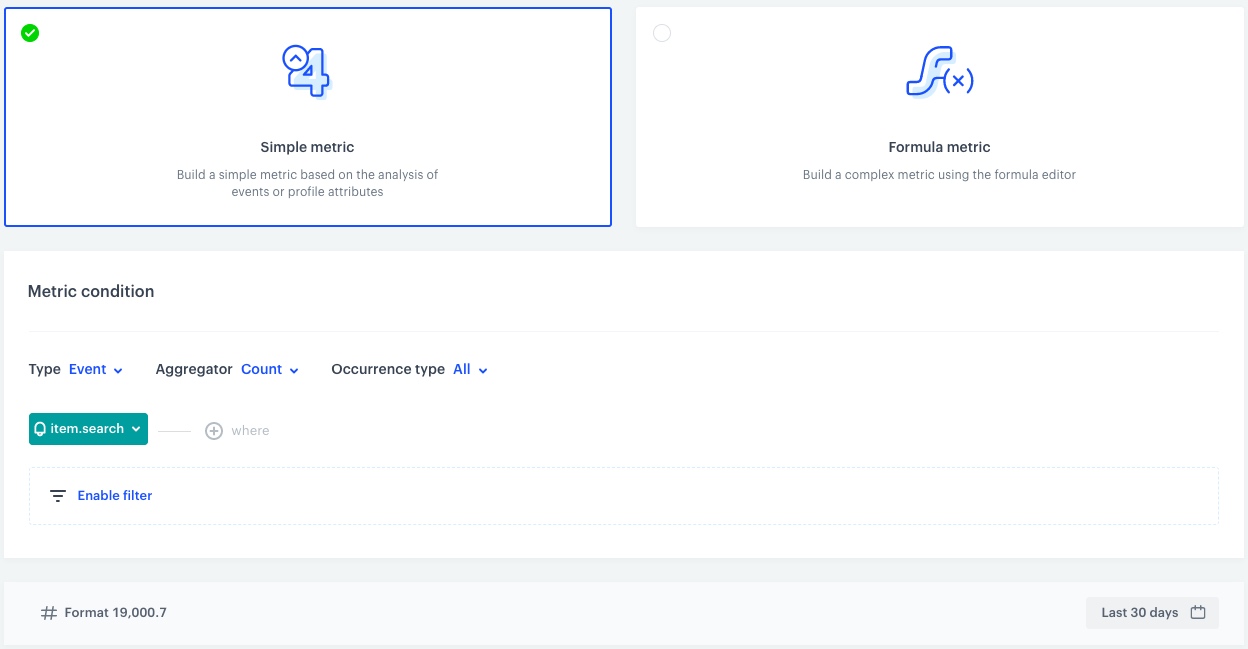
 .
3. In the first field, write `clientId` and in the second field enter `.`
4. Click **Apply**.
.
3. In the first field, write `clientId` and in the second field enter `.`
4. Click **Apply**.
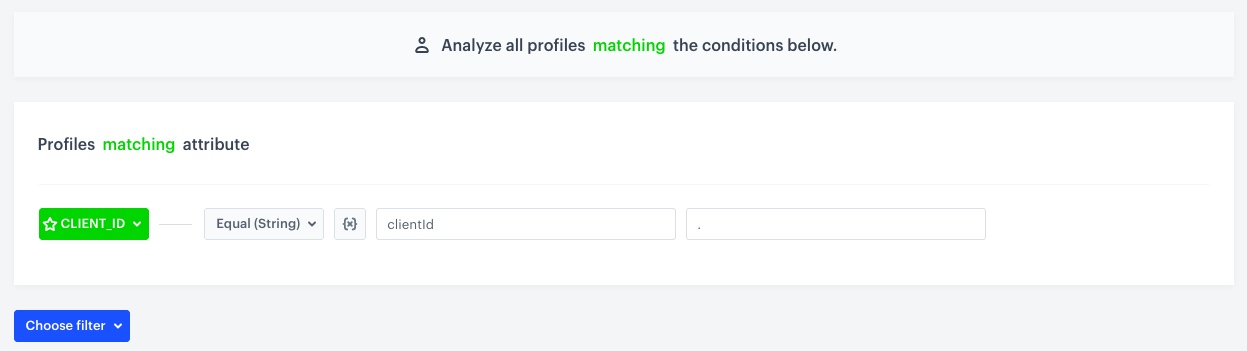
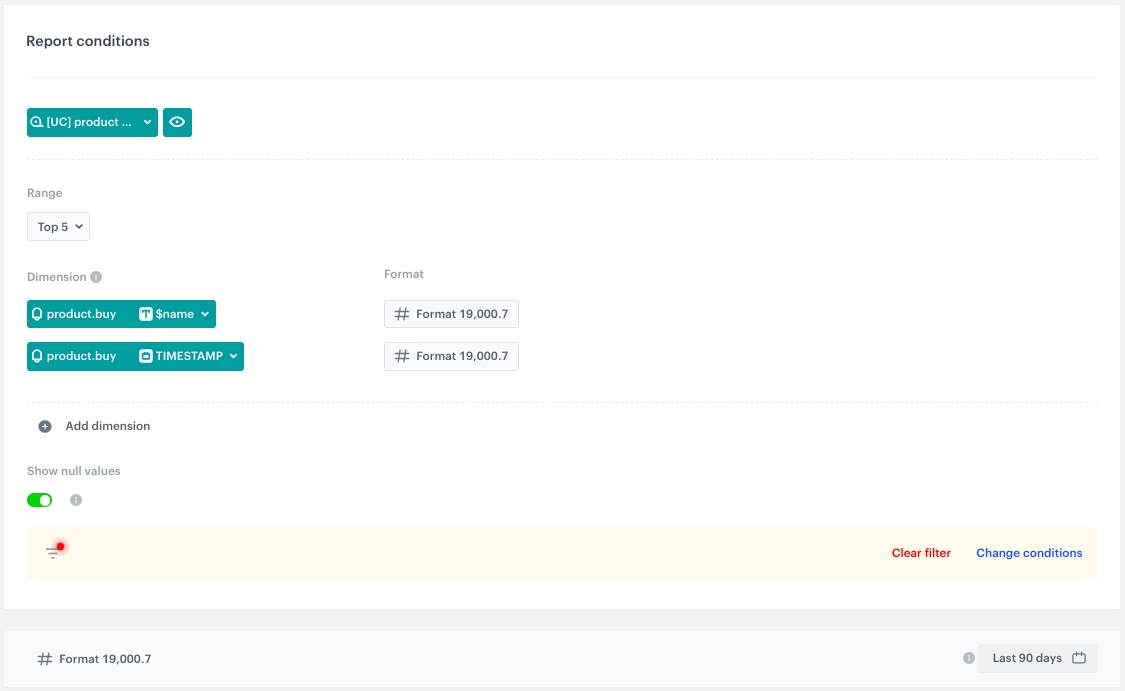
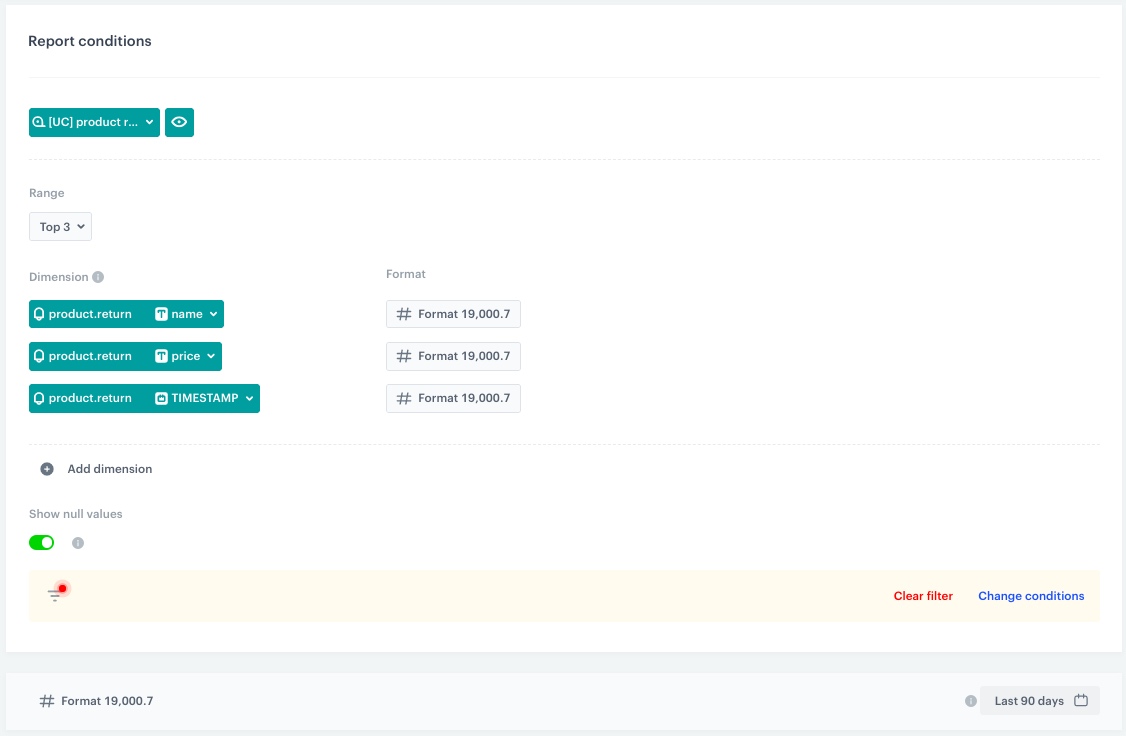
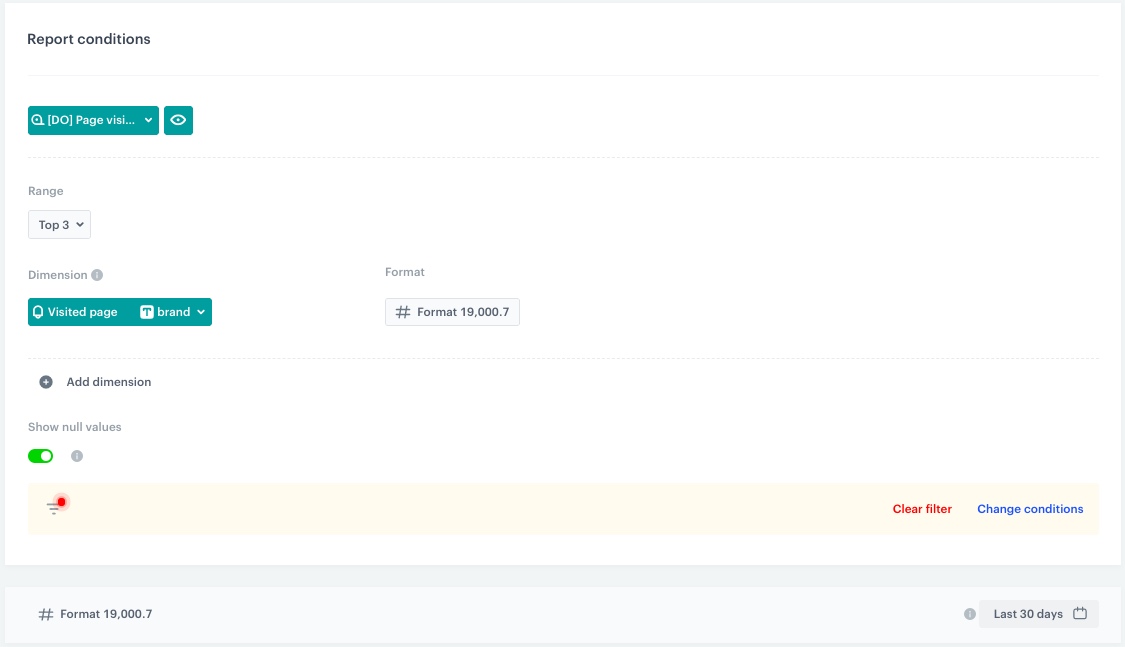
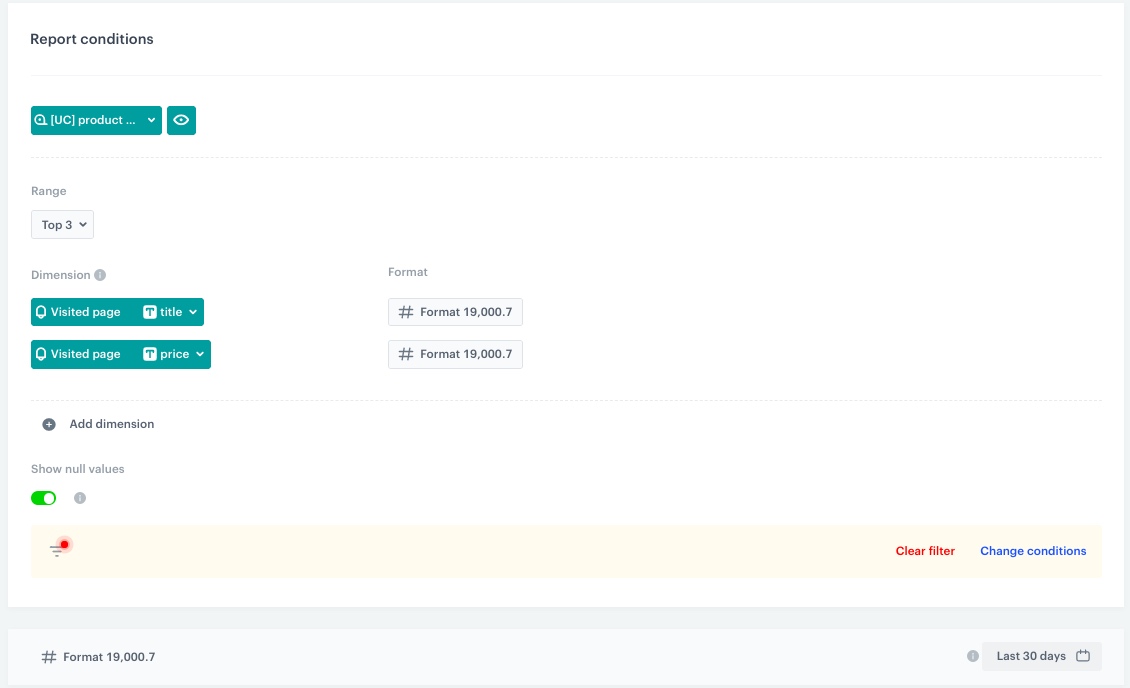
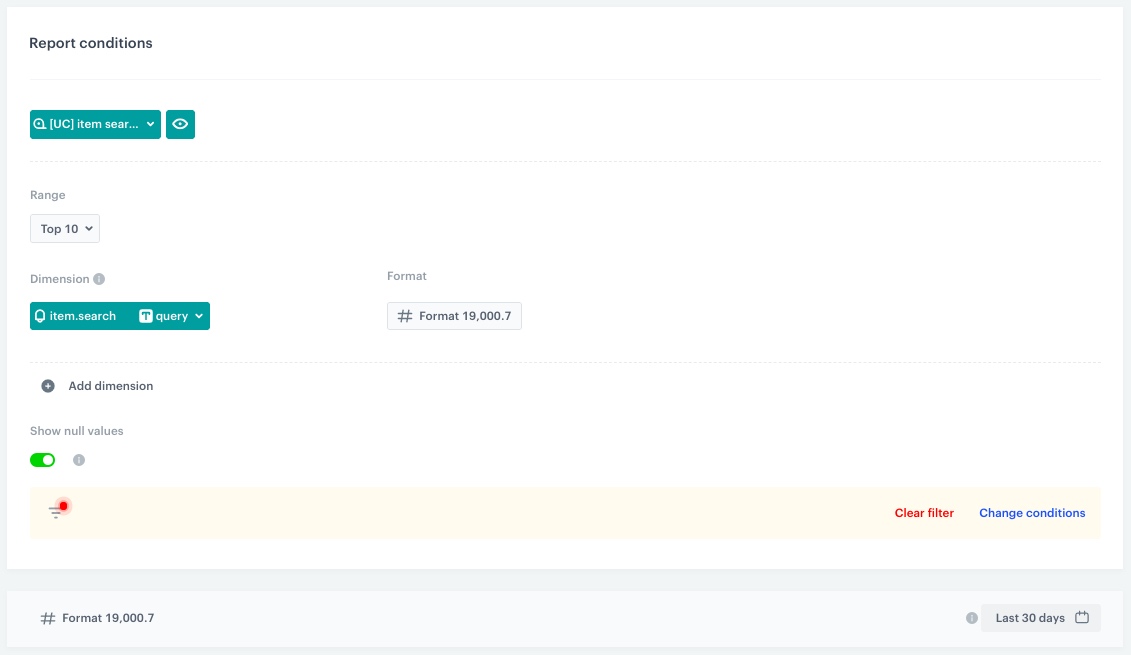
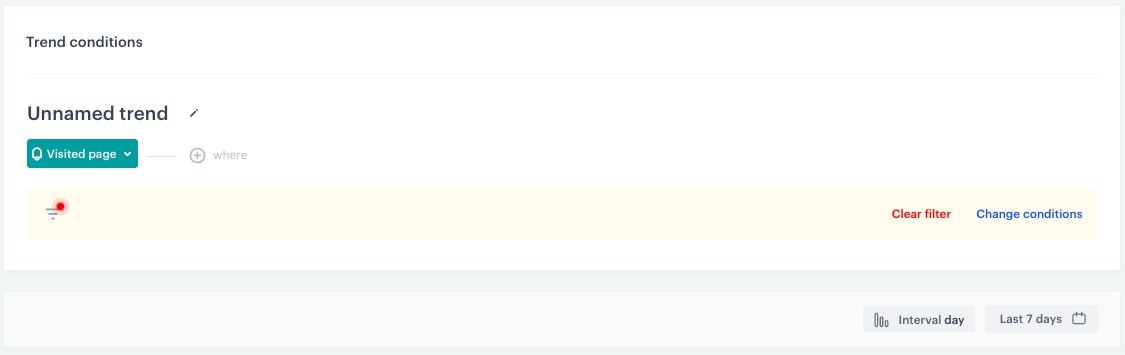
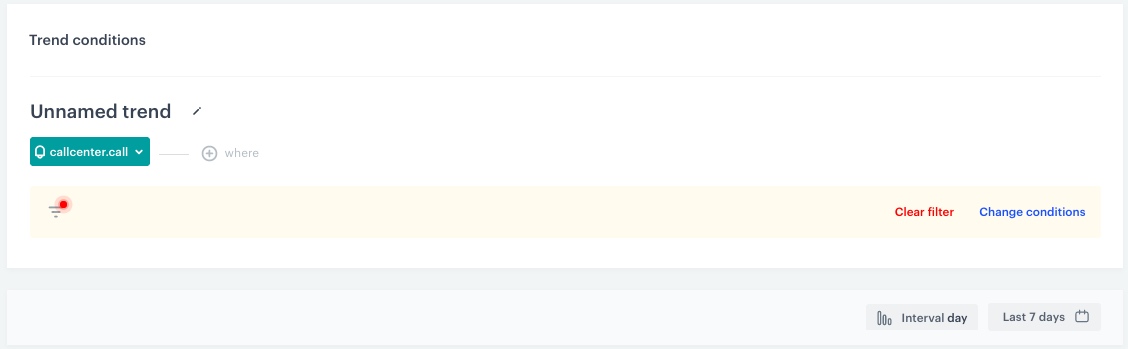
 panel. The icons are (left to right): HTML code, text field, image, [segmentation](/docs/analytics/segmentations/creating-segmentations), [trend](/docs/analytics/trends/creating-trends), [funnel](/docs/analytics/funnels/creating-funnels), [metric](/docs/analytics/metrics/creating-simple-metrics), [histogram](/docs/analytics/histograms/creating-histograms), [aggregate](/docs/crm/aggregates/creating-profile-aggregates), [expression](/docs/crm/expressions), and a [report](/docs/analytics/reports/creating-reports).
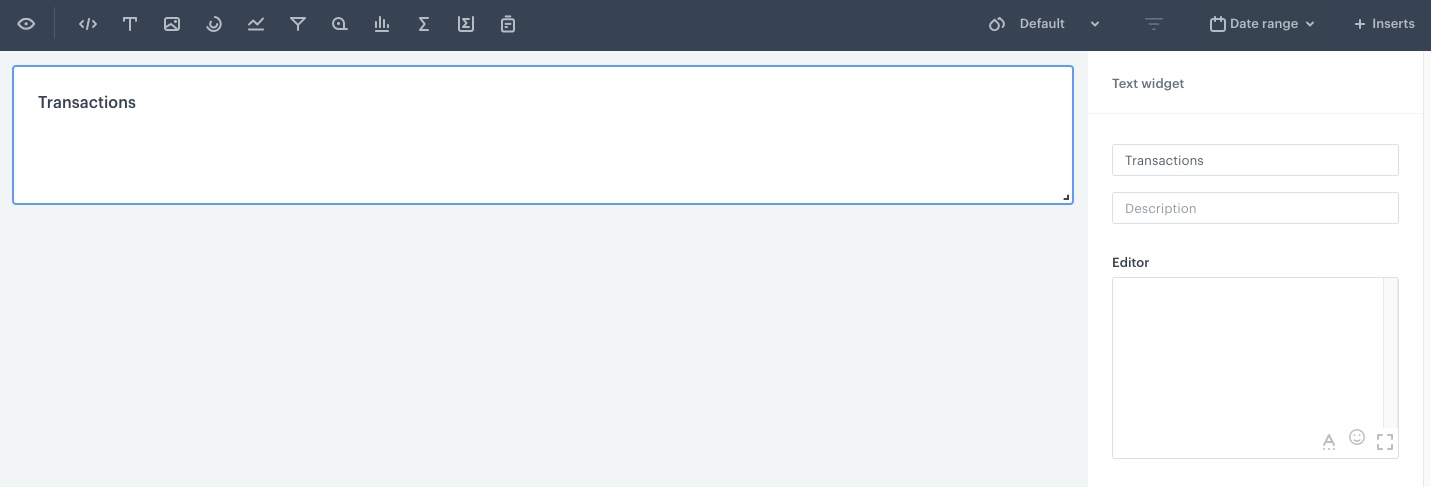
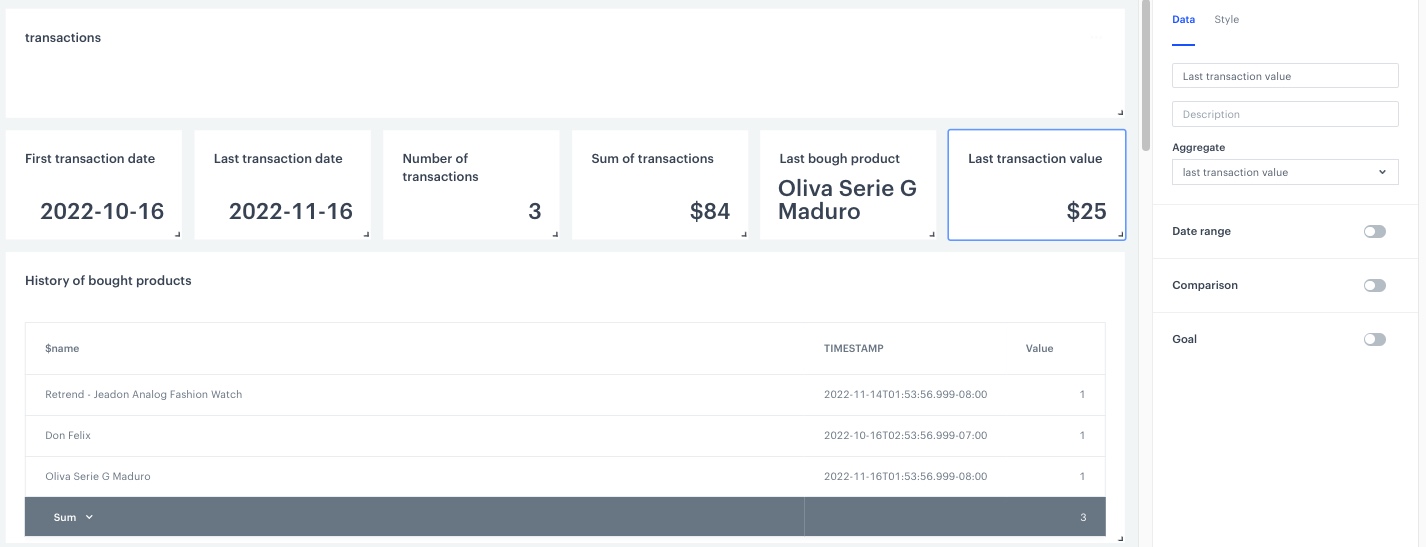
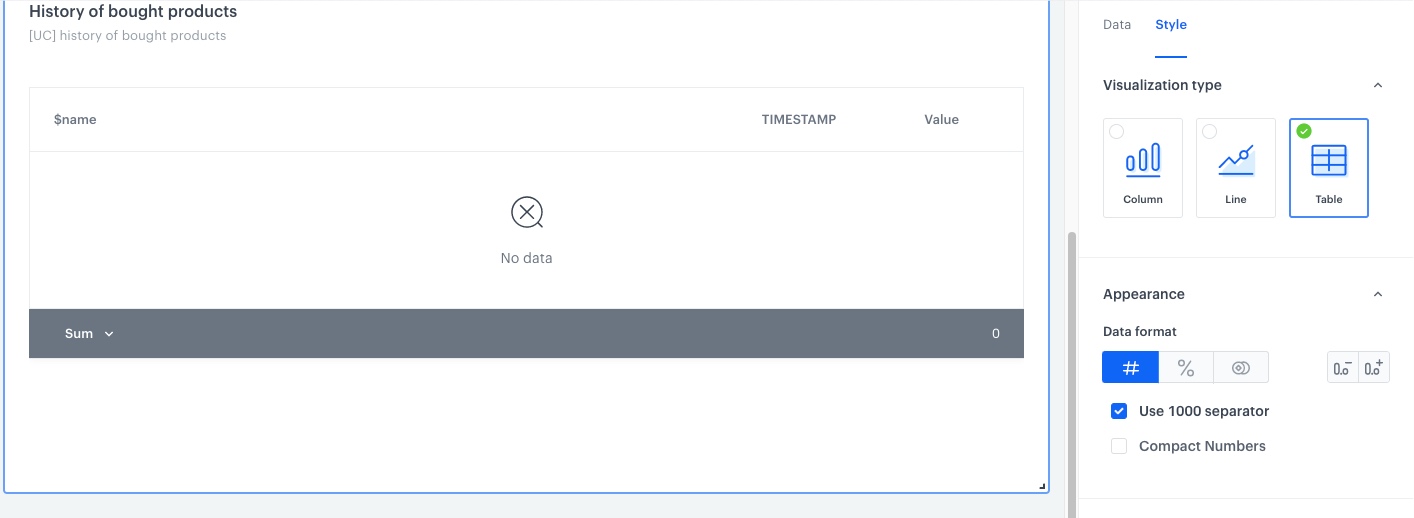
 icon.
**Result**: A dropdown list appears.
5. Select **Manage dashboards**.
**Result**: A pop up appears.
6. On the top of the pop-up, click **Add dashboard**.
**Result**: A dropdown list appears.
7. From the dropdown list, select a dashboard.
8. To confirm your choice, click **Add**.
**Result**: The dashboard appears on the bottom of the list.
9. To manage the order of the dashboards added to the customer's profile, drag and drop them in the preferred order.
10. To save the changes, click **Apply**.
## Check the use case set up on the Synerise Demo workspace
---
You can check all configurations directly in Synerise Demo workspace:
- Expressions
- [Transaction date](https://app.synerise.com/analytics/expressions/0d844720-6bb7-4776-a661-52cc81577b06)
- [Page visit date](https://app.synerise.com/analytics/expressions/d31828b7-ef9c-4c7d-8316-3769eb8612c2)
- Aggregates
- [First transaction date](https://app.synerise.com/analytics/aggregates/7380e558-3d44-30b7-ac26-b1e233e9b16e)
- [Last transaction date](https://app.synerise.com/analytics/aggregates/d6baacd7-684e-31f6-b3c4-76376090c061)
- [Last bought product name](https://app.synerise.com/analytics/aggregates/ccbd08cc-1cd0-3b44-bc39-eb2dcd0998e5)
- [Last transaction value](https://app.synerise.com/analytics/aggregates/8a459dea-e2e7-3c99-8e9b-1b7e12f850e0)
- [Number of transactions](https://app.synerise.com/analytics/aggregates/24011aa2-632d-319f-9047-8f13712105c8)
- [Sum of all transactions](https://app.synerise.com/analytics/aggregates/55cf86a5-acd9-3540-8293-13737a495300)
- [Last returned product name](https://app.synerise.com/analytics/aggregates/d36783fa-382d-3141-8537-9c70ff53ba97)
- [Last returned product price](https://app.synerise.com/analytics/aggregates/2aee5c1f-2cbc-3961-9d07-cc15ef8550e1)
- [First page visit date](https://app.synerise.com/analytics/aggregates/b75f9b8f-01b8-3733-80cf-b31a35c46da7)
- [Last page visit date](https://app.synerise.com/analytics/aggregates/3ff1c746-488c-3f4f-b0ef-2ca09f0b593a)
- [Call center calls duration](https://app.synerise.com/analytics/aggregates/36bf88a6-e646-36cd-957e-a87c5f32a11e)
- Metrics
- [Bought products](https://app.synerise.com/analytics/metrics/077074e8-db7c-4e46-bd2e-24e292bee839)
- [Returned products](https://app.synerise.com/analytics/metrics/5772cbe8-5cef-4659-b049-383747f4a355)
- [Product page visits](https://app.synerise.com/analytics/metrics/ec561bb7-8227-4f56-9d9c-6979437fed51)
- [Page visits](https://app.synerise.com/analytics/metrics/4afbcbc7-ab8f-4bc9-8b73-2547b2dfeee2)
- [Number of searched items](https://app.synerise.com/analytics/metrics/e40f03f4-58d3-4156-9a41-776b3b2c2b24)
- Reports
- [History of bought products](https://app.synerise.com/analytics/reports/08639f32-0d6c-4b4b-a78e-4eec7a8d00cb)
- [History of returned products](https://app.synerise.com/analytics/reports/9e92b281-ef93-4cfb-9fd0-916334ef8df9)
- [Top visited brands](https://app.synerise.com/analytics/reports/2de0ad6c-3fb4-434f-8de9-1bf6b6528504)
- [Top searched queries](https://app.synerise.com/analytics/reports/1c09d8b2-fdfe-465a-b030-78f3593860e9)
- Trends
- [Page visits](https://app.synerise.com/analytics/trends/1bfa16b9-9518-4c1a-af12-9c4671048800)
- [Call center calls](https://app.synerise.com/analytics/trends/d813b0ae-aa02-4cb1-929b-de75fdbb46ac)
- [Dashboard](https://app.synerise.com/analytics/dashboards/33651c9f-666e-4a48-aa6d-7dc1cfd0d9f8?clientId=0)
If you’re our partner or client, you already have automatic access to the **Synerise Demo workspace (1590)**, where you can explore all the configured elements of this use case and copy them to your workspace.
If you’re not a partner or client yet, we encourage you to fill out the contact [form](https://demo.synerise.com/request) to schedule a meeting with our representatives. They’ll be happy to show you how our demo works and discuss how you can apply this use case in your business.
## Generated events
This use case does not generate any events.
## Read more
---
- [Aggregates](/docs/crm/aggregates)
- [Dashboards](/docs/analytics/analytics-dashboard)
- [Expressions](/docs/crm/expressions)
- [Metrics](/docs/analytics/metrics)
- [Behavioral Data Hub](/docs/crm)
- [Reports](/docs/analytics/reports)
- [Trends](/docs/analytics/trends)
# Sending reminder about recently visited category at the very best time
A properly personalized campaign can encourage the customer to make a purchase - but it is even more effective if it is sent at the very best time. For this purpose, it is worth using the time optimizer, a solution that allows you to send campaigns at the time best suited to the activity of a specific customer. Thanks to this option, you can be sure that the campaign will reach them during the time of their activity and will not go unnoticed. Using time optimizer, you increase the chances that the customer will read the communication, use the discount, and finalize the purchase.
In this use case, we will present sending a reminder to a customer with the information about promotion for a specific product category which they visited 7 days before and did not make a purchase. The email will be sent based on the time optimizer to reach each customer at the time when they open emails most often. We consider the time range between 8-22, during the specific day.
## Prerequisites
---
- Configure an [email account](/docs/campaign/e-mail/configuring-email-account).
- [Enable time optimizer](/docs/settings/configuration/time-optimizer#enabling-time-optimizer) in Synerise settings.
- [Create an Email mode](/docs/settings/configuration/time-optimizer#creating-modes) for time optimizer that will analyze the customer’s activity time in the email channel.
- Create an [email template](/docs/campaign/e-mail/creating-email-templates) with information about promotions for specific product category.
icon.
**Result**: A dropdown list appears.
5. Select **Manage dashboards**.
**Result**: A pop up appears.
6. On the top of the pop-up, click **Add dashboard**.
**Result**: A dropdown list appears.
7. From the dropdown list, select a dashboard.
8. To confirm your choice, click **Add**.
**Result**: The dashboard appears on the bottom of the list.
9. To manage the order of the dashboards added to the customer's profile, drag and drop them in the preferred order.
10. To save the changes, click **Apply**.
## Check the use case set up on the Synerise Demo workspace
---
You can check all configurations directly in Synerise Demo workspace:
- Expressions
- [Transaction date](https://app.synerise.com/analytics/expressions/0d844720-6bb7-4776-a661-52cc81577b06)
- [Page visit date](https://app.synerise.com/analytics/expressions/d31828b7-ef9c-4c7d-8316-3769eb8612c2)
- Aggregates
- [First transaction date](https://app.synerise.com/analytics/aggregates/7380e558-3d44-30b7-ac26-b1e233e9b16e)
- [Last transaction date](https://app.synerise.com/analytics/aggregates/d6baacd7-684e-31f6-b3c4-76376090c061)
- [Last bought product name](https://app.synerise.com/analytics/aggregates/ccbd08cc-1cd0-3b44-bc39-eb2dcd0998e5)
- [Last transaction value](https://app.synerise.com/analytics/aggregates/8a459dea-e2e7-3c99-8e9b-1b7e12f850e0)
- [Number of transactions](https://app.synerise.com/analytics/aggregates/24011aa2-632d-319f-9047-8f13712105c8)
- [Sum of all transactions](https://app.synerise.com/analytics/aggregates/55cf86a5-acd9-3540-8293-13737a495300)
- [Last returned product name](https://app.synerise.com/analytics/aggregates/d36783fa-382d-3141-8537-9c70ff53ba97)
- [Last returned product price](https://app.synerise.com/analytics/aggregates/2aee5c1f-2cbc-3961-9d07-cc15ef8550e1)
- [First page visit date](https://app.synerise.com/analytics/aggregates/b75f9b8f-01b8-3733-80cf-b31a35c46da7)
- [Last page visit date](https://app.synerise.com/analytics/aggregates/3ff1c746-488c-3f4f-b0ef-2ca09f0b593a)
- [Call center calls duration](https://app.synerise.com/analytics/aggregates/36bf88a6-e646-36cd-957e-a87c5f32a11e)
- Metrics
- [Bought products](https://app.synerise.com/analytics/metrics/077074e8-db7c-4e46-bd2e-24e292bee839)
- [Returned products](https://app.synerise.com/analytics/metrics/5772cbe8-5cef-4659-b049-383747f4a355)
- [Product page visits](https://app.synerise.com/analytics/metrics/ec561bb7-8227-4f56-9d9c-6979437fed51)
- [Page visits](https://app.synerise.com/analytics/metrics/4afbcbc7-ab8f-4bc9-8b73-2547b2dfeee2)
- [Number of searched items](https://app.synerise.com/analytics/metrics/e40f03f4-58d3-4156-9a41-776b3b2c2b24)
- Reports
- [History of bought products](https://app.synerise.com/analytics/reports/08639f32-0d6c-4b4b-a78e-4eec7a8d00cb)
- [History of returned products](https://app.synerise.com/analytics/reports/9e92b281-ef93-4cfb-9fd0-916334ef8df9)
- [Top visited brands](https://app.synerise.com/analytics/reports/2de0ad6c-3fb4-434f-8de9-1bf6b6528504)
- [Top searched queries](https://app.synerise.com/analytics/reports/1c09d8b2-fdfe-465a-b030-78f3593860e9)
- Trends
- [Page visits](https://app.synerise.com/analytics/trends/1bfa16b9-9518-4c1a-af12-9c4671048800)
- [Call center calls](https://app.synerise.com/analytics/trends/d813b0ae-aa02-4cb1-929b-de75fdbb46ac)
- [Dashboard](https://app.synerise.com/analytics/dashboards/33651c9f-666e-4a48-aa6d-7dc1cfd0d9f8?clientId=0)
If you’re our partner or client, you already have automatic access to the **Synerise Demo workspace (1590)**, where you can explore all the configured elements of this use case and copy them to your workspace.
If you’re not a partner or client yet, we encourage you to fill out the contact [form](https://demo.synerise.com/request) to schedule a meeting with our representatives. They’ll be happy to show you how our demo works and discuss how you can apply this use case in your business.
## Generated events
This use case does not generate any events.
## Read more
---
- [Aggregates](/docs/crm/aggregates)
- [Dashboards](/docs/analytics/analytics-dashboard)
- [Expressions](/docs/crm/expressions)
- [Metrics](/docs/analytics/metrics)
- [Behavioral Data Hub](/docs/crm)
- [Reports](/docs/analytics/reports)
- [Trends](/docs/analytics/trends)
# Sending reminder about recently visited category at the very best time
A properly personalized campaign can encourage the customer to make a purchase - but it is even more effective if it is sent at the very best time. For this purpose, it is worth using the time optimizer, a solution that allows you to send campaigns at the time best suited to the activity of a specific customer. Thanks to this option, you can be sure that the campaign will reach them during the time of their activity and will not go unnoticed. Using time optimizer, you increase the chances that the customer will read the communication, use the discount, and finalize the purchase.
In this use case, we will present sending a reminder to a customer with the information about promotion for a specific product category which they visited 7 days before and did not make a purchase. The email will be sent based on the time optimizer to reach each customer at the time when they open emails most often. We consider the time range between 8-22, during the specific day.
## Prerequisites
---
- Configure an [email account](/docs/campaign/e-mail/configuring-email-account).
- [Enable time optimizer](/docs/settings/configuration/time-optimizer#enabling-time-optimizer) in Synerise settings.
- [Create an Email mode](/docs/settings/configuration/time-optimizer#creating-modes) for time optimizer that will analyze the customer’s activity time in the email channel.
- Create an [email template](/docs/campaign/e-mail/creating-email-templates) with information about promotions for specific product category.
 **Automation Hub > Workflows > New workflow**.
2. Enter the name of the workflow.
### Define the Audience node
---
Choose the **Audience** node as the trigger. In this step, you will select the group of customers who have visited the `decorations` category exactly 7 days before but did not make a purchase since then.
1. Start the workflow with the **Audience** node.
2. In the configuration of the node, set the **Run trigger** option to **repeatable**.
3. Set the interval to 1 per day.
4. Choose the day and time when the process starts. Choose 8 A.M. to provide plenty of time for the time optimizer to choose the best time for a particular customer.
5. Select the time zone.
6. In **Define audience**, choose **New Audience** and click **Define conditions**.
1. As the first condition, from **Choose filter** dropdown menu, choose `page.visit` event.
2. Click the **+ where** button, choose **product:category**, and then select **Equal**. As the value, enter the name of the category. In our case it is `decorations`.
3. Set the time range to **Last 1 day before 7 days**.
4. As the second condition, from **Choose filter** dropdown menu, choose the `product.buy` event.
5. Click the **+ where** button, choose **category**, and then select **Equal**. As the value, enter the category `decorations`.
6. Set the time range to **Last 8 days** to exclude the customers who have not made a purchase since the last visit in a specific category.
7. Change the **Profiles matching funnel** option to **Profiles not matching funnel** by clicking the **matching** word.
8. Click **Apply**.
**Automation Hub > Workflows > New workflow**.
2. Enter the name of the workflow.
### Define the Audience node
---
Choose the **Audience** node as the trigger. In this step, you will select the group of customers who have visited the `decorations` category exactly 7 days before but did not make a purchase since then.
1. Start the workflow with the **Audience** node.
2. In the configuration of the node, set the **Run trigger** option to **repeatable**.
3. Set the interval to 1 per day.
4. Choose the day and time when the process starts. Choose 8 A.M. to provide plenty of time for the time optimizer to choose the best time for a particular customer.
5. Select the time zone.
6. In **Define audience**, choose **New Audience** and click **Define conditions**.
1. As the first condition, from **Choose filter** dropdown menu, choose `page.visit` event.
2. Click the **+ where** button, choose **product:category**, and then select **Equal**. As the value, enter the name of the category. In our case it is `decorations`.
3. Set the time range to **Last 1 day before 7 days**.
4. As the second condition, from **Choose filter** dropdown menu, choose the `product.buy` event.
5. Click the **+ where** button, choose **category**, and then select **Equal**. As the value, enter the category `decorations`.
6. Set the time range to **Last 8 days** to exclude the customers who have not made a purchase since the last visit in a specific category.
7. Change the **Profiles matching funnel** option to **Profiles not matching funnel** by clicking the **matching** word.
8. Click **Apply**.
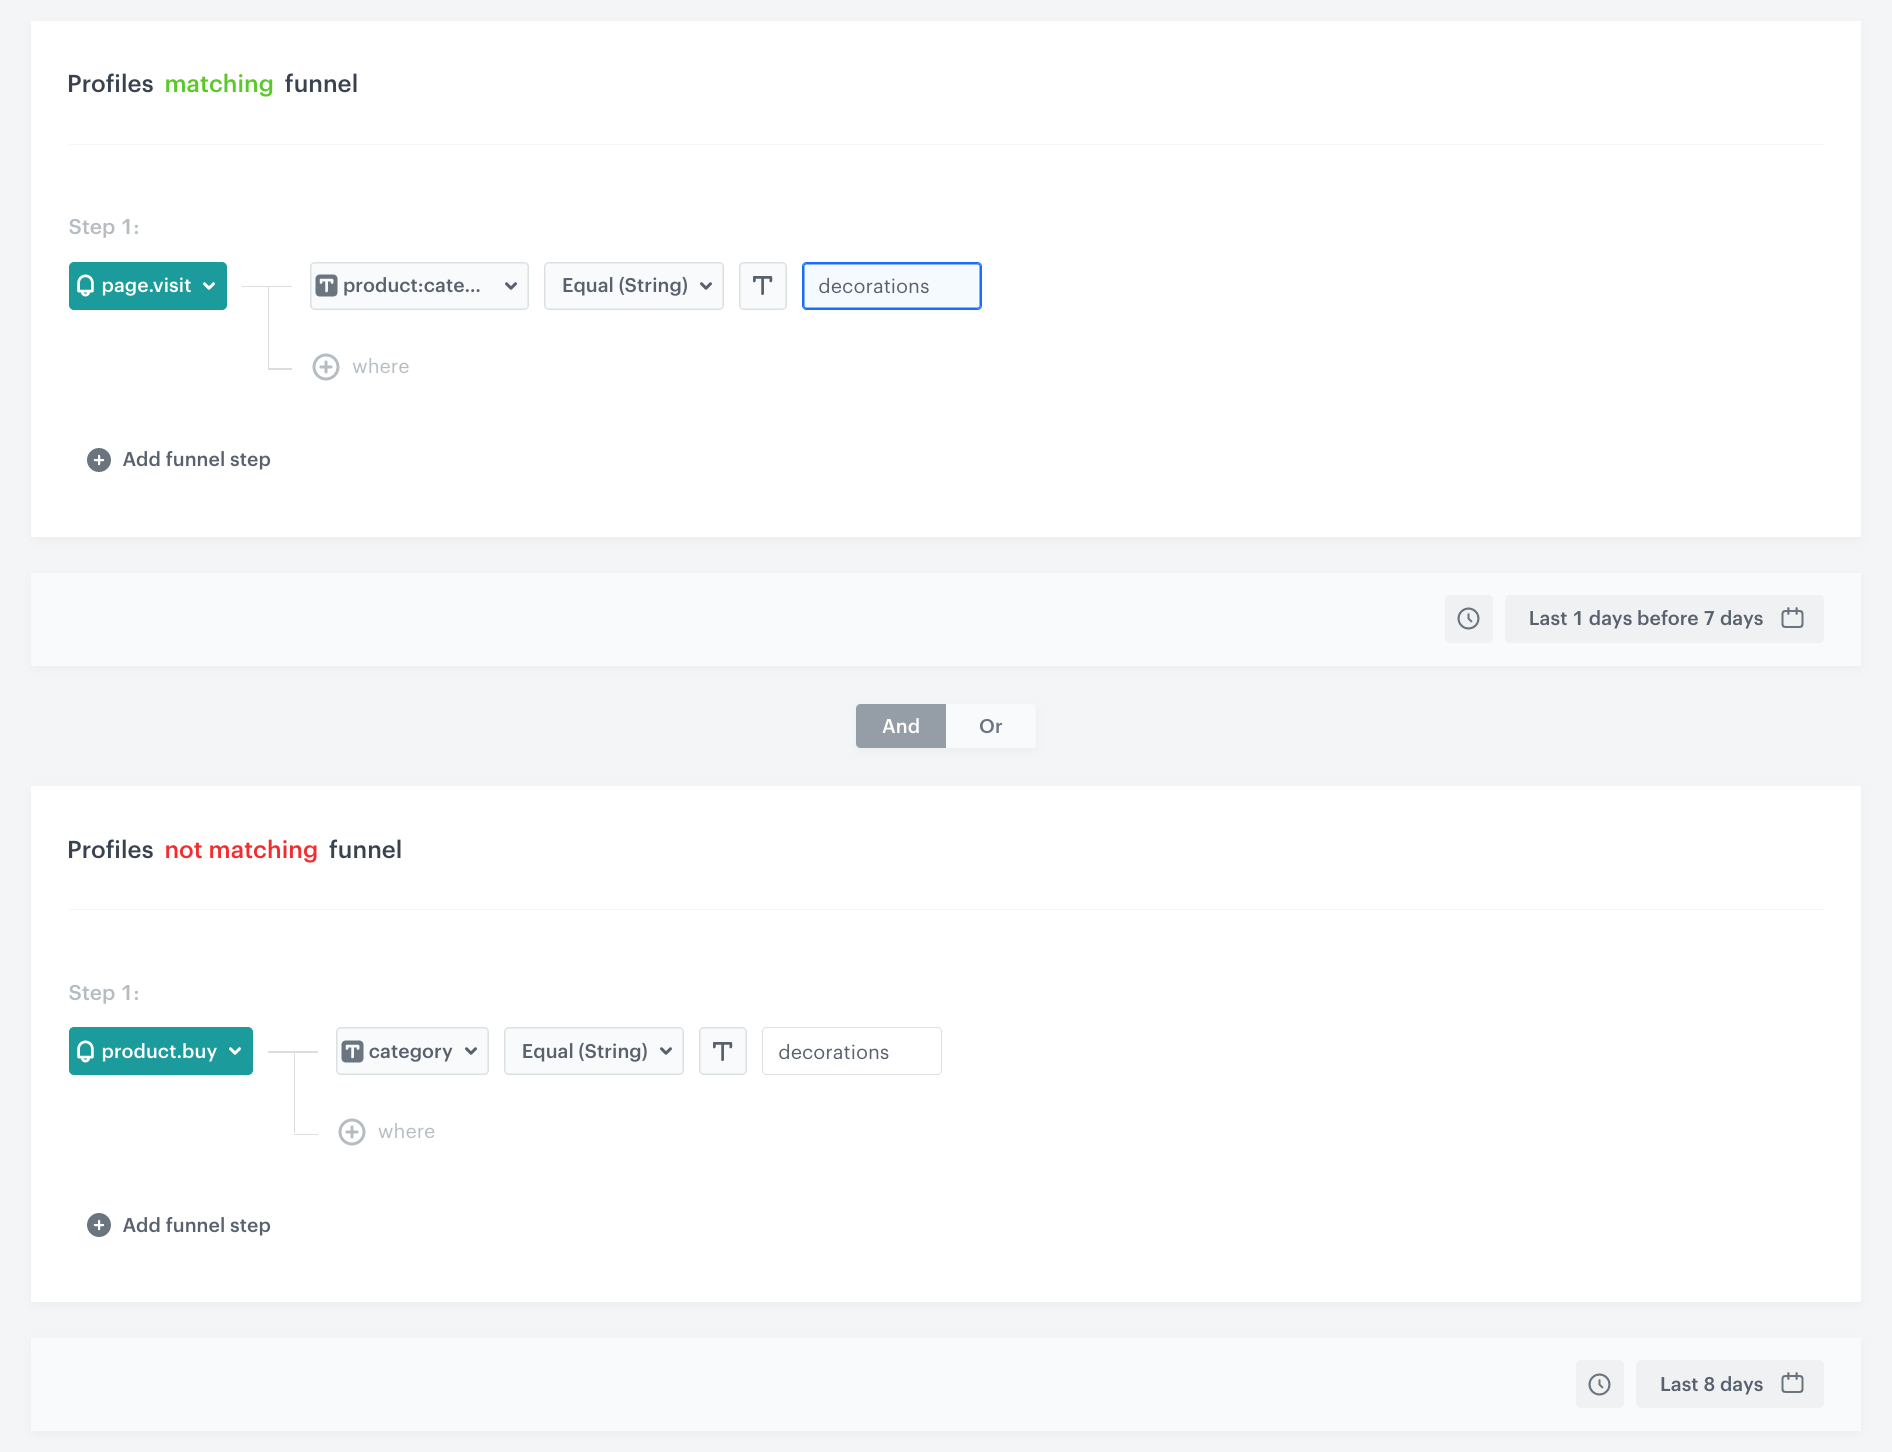
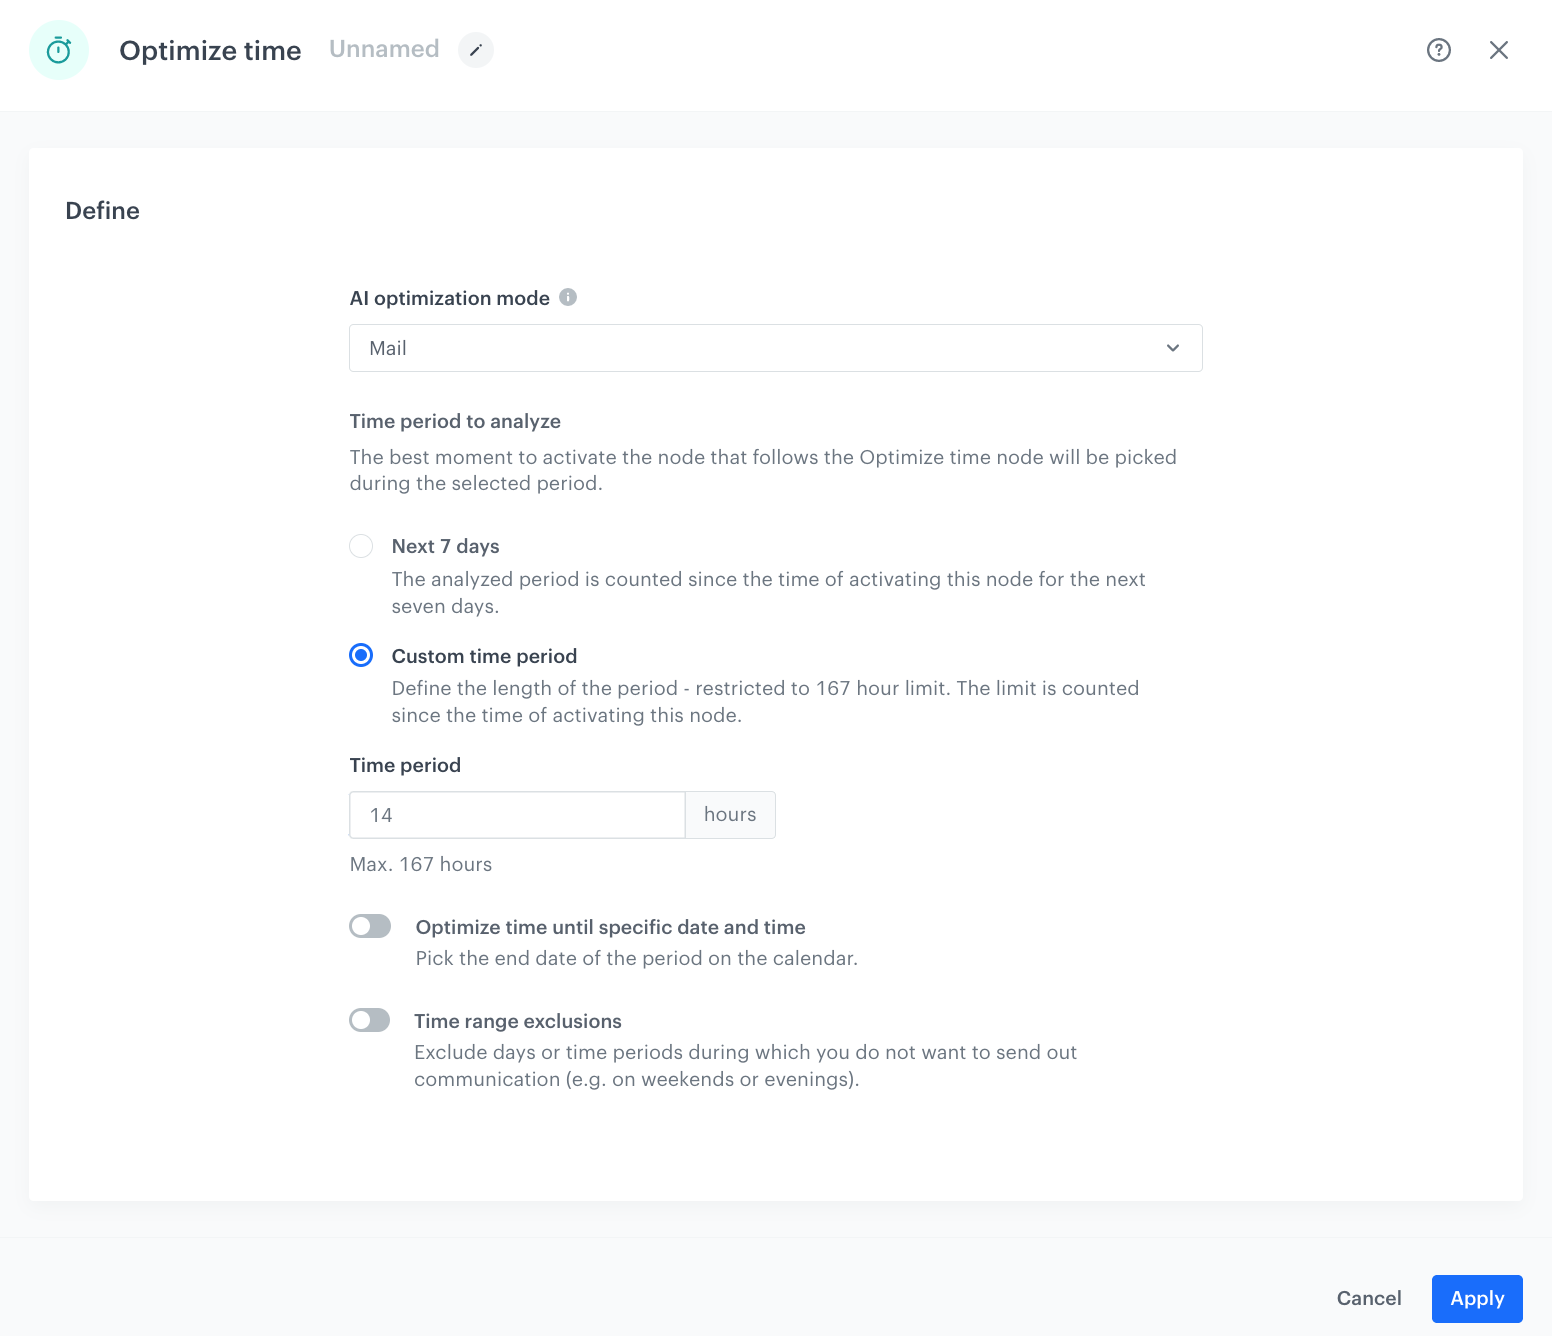
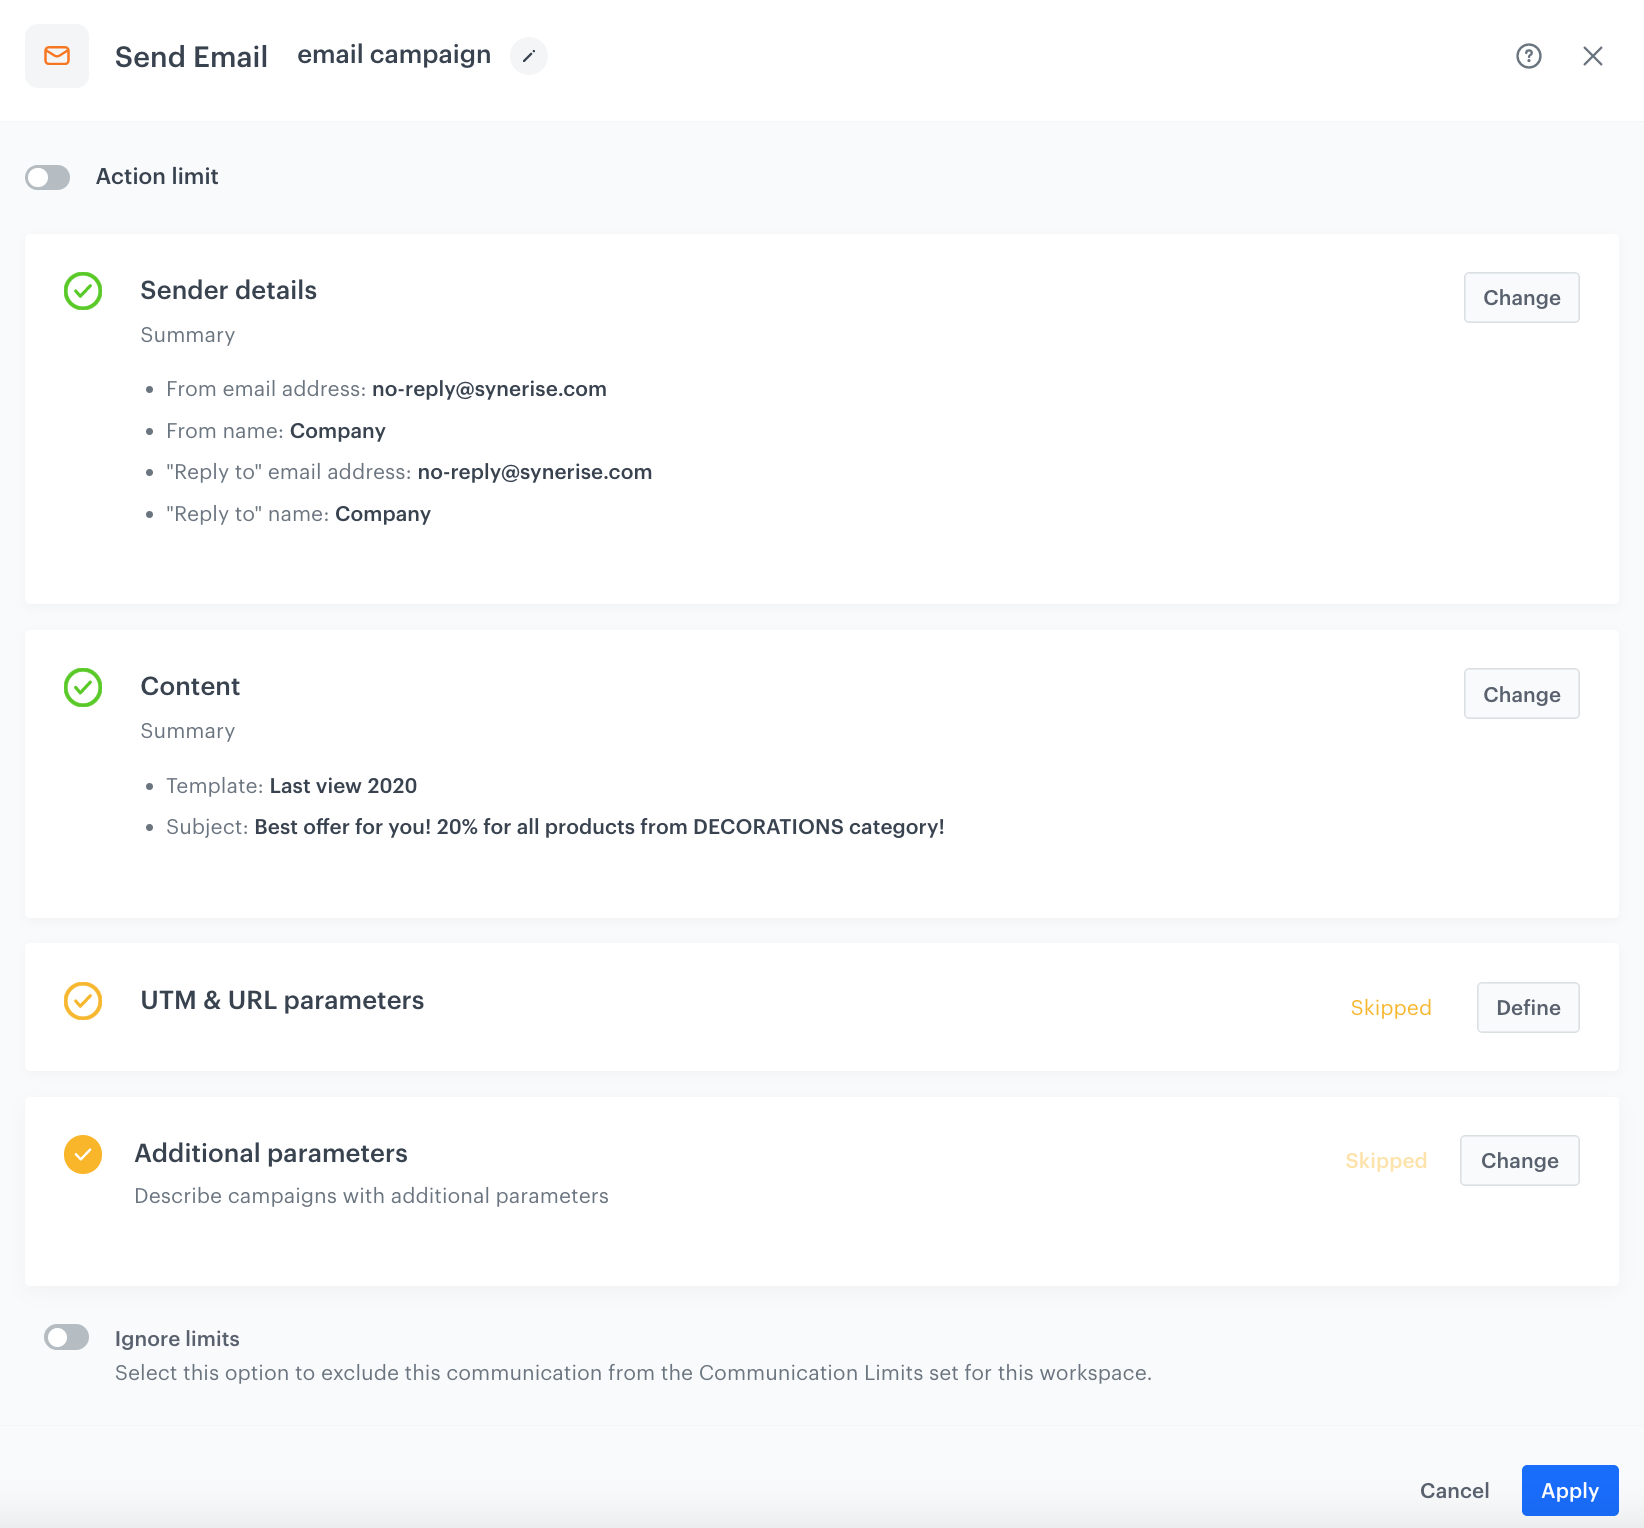
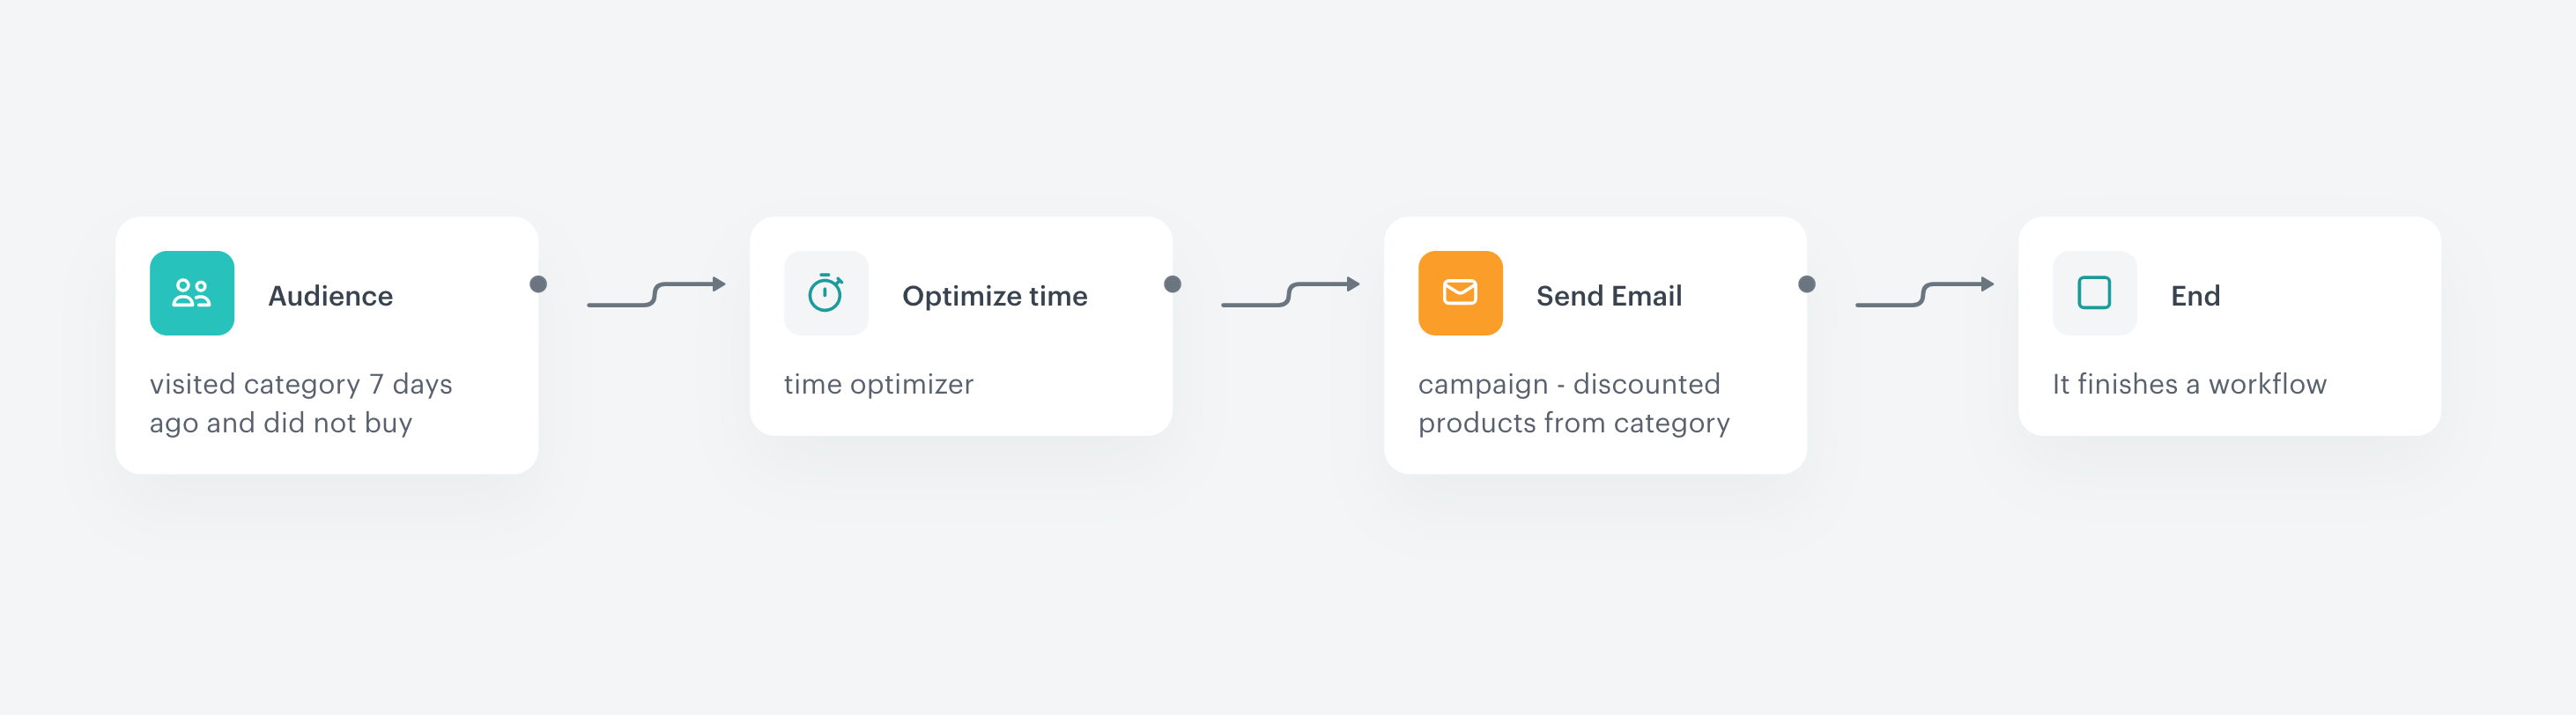
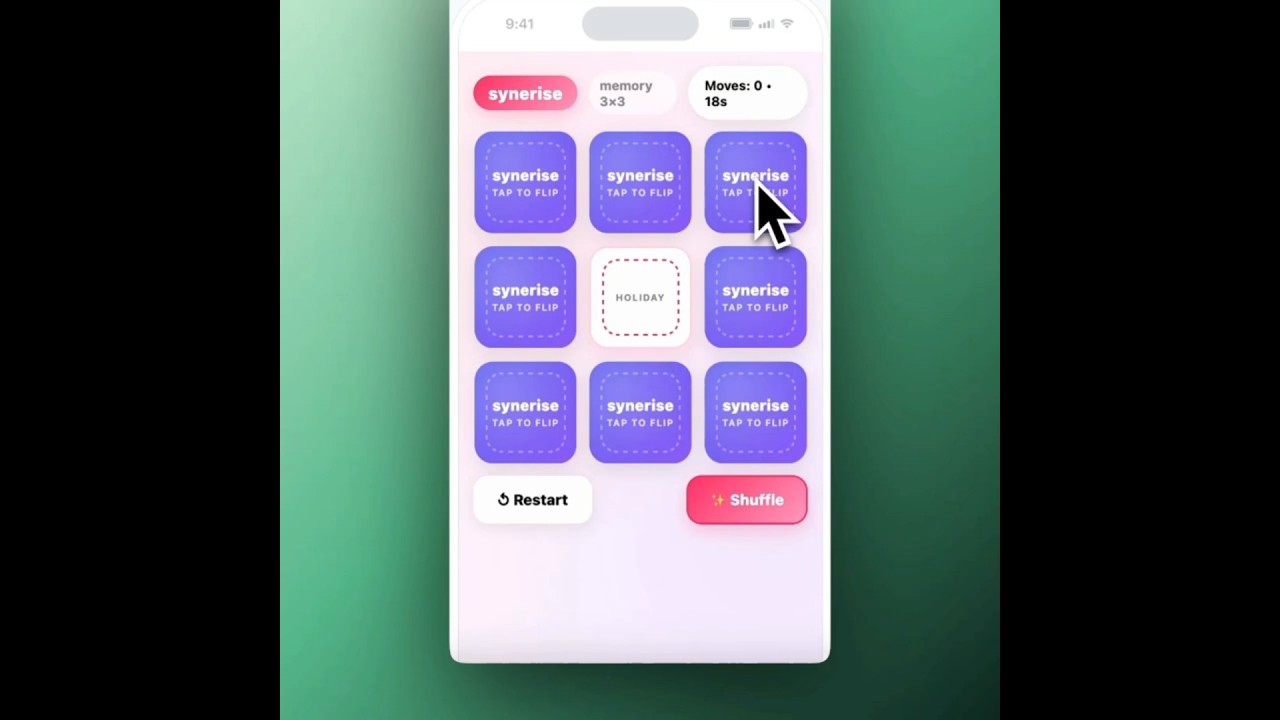
 **AI Hub > (AI Recommendations) Models > Add recommendation**.
2. Enter the name of the recommendation (it is only visible on the list of recommendations).
3. In the **Type & Items feed** section, click **Define**.
4. From the **Items feed** dropdown list, select a product feed.
6. Choose the **Top items** recommendation type.
8. Click **Apply**.
9. In the **Items** section, click **Define**.
10. Click **Add slot**.
11. Define the minimum and maximum number of products that will be recommended to the user.
In our example, it is from 3 (minimum) to 3 (maximum).
12. Optionally, add a **Static filter**.
**AI Hub > (AI Recommendations) Models > Add recommendation**.
2. Enter the name of the recommendation (it is only visible on the list of recommendations).
3. In the **Type & Items feed** section, click **Define**.
4. From the **Items feed** dropdown list, select a product feed.
6. Choose the **Top items** recommendation type.
8. Click **Apply**.
9. In the **Items** section, click **Define**.
10. Click **Add slot**.
11. Define the minimum and maximum number of products that will be recommended to the user.
In our example, it is from 3 (minimum) to 3 (maximum).
12. Optionally, add a **Static filter**.
 **Experience Hub > In-app messages > Create new**
2. Enter a meaningful name for the in-app campaign.
### Define the audience
---
1. In the **Audience** section, click **Define**.
2. Select the **Everyone** tab.
3. Click **Apply**.
### Define content
---
1. In the **Content** section, click **Define**.
2. Click **Create message** and from the list of template folders, select **Predefined templates**.
3. Select **Memo game**.
**Result:** You are redirected to the code editor.
**Experience Hub > In-app messages > Create new**
2. Enter a meaningful name for the in-app campaign.
### Define the audience
---
1. In the **Audience** section, click **Define**.
2. Select the **Everyone** tab.
3. Click **Apply**.
### Define content
---
1. In the **Content** section, click **Define**.
2. Click **Create message** and from the list of template folders, select **Predefined templates**.
3. Select **Memo game**.
**Result:** You are redirected to the code editor.
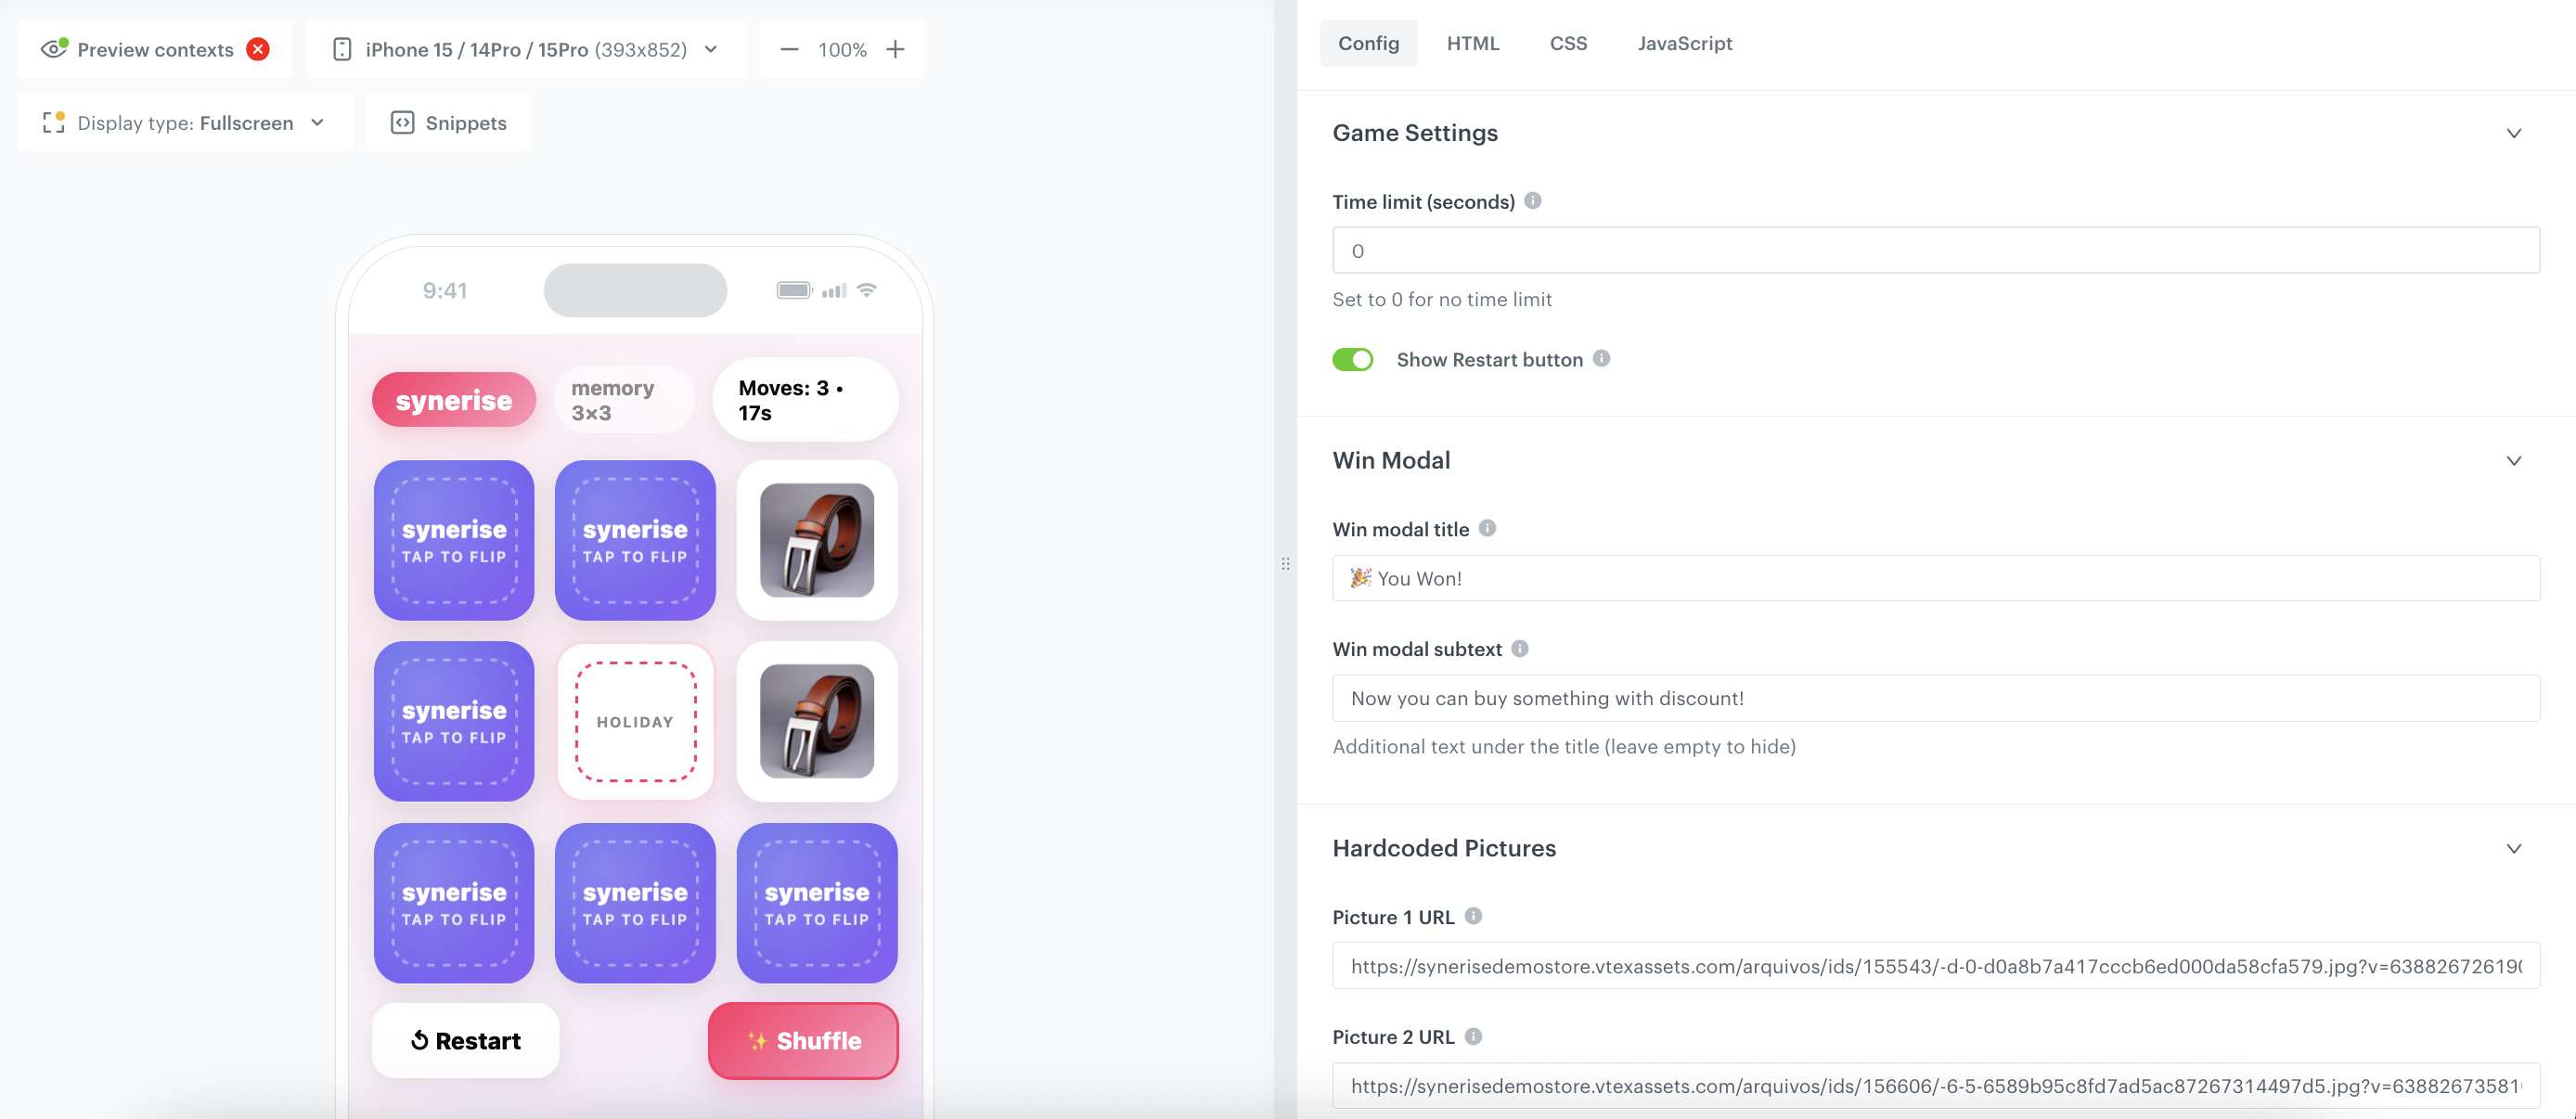
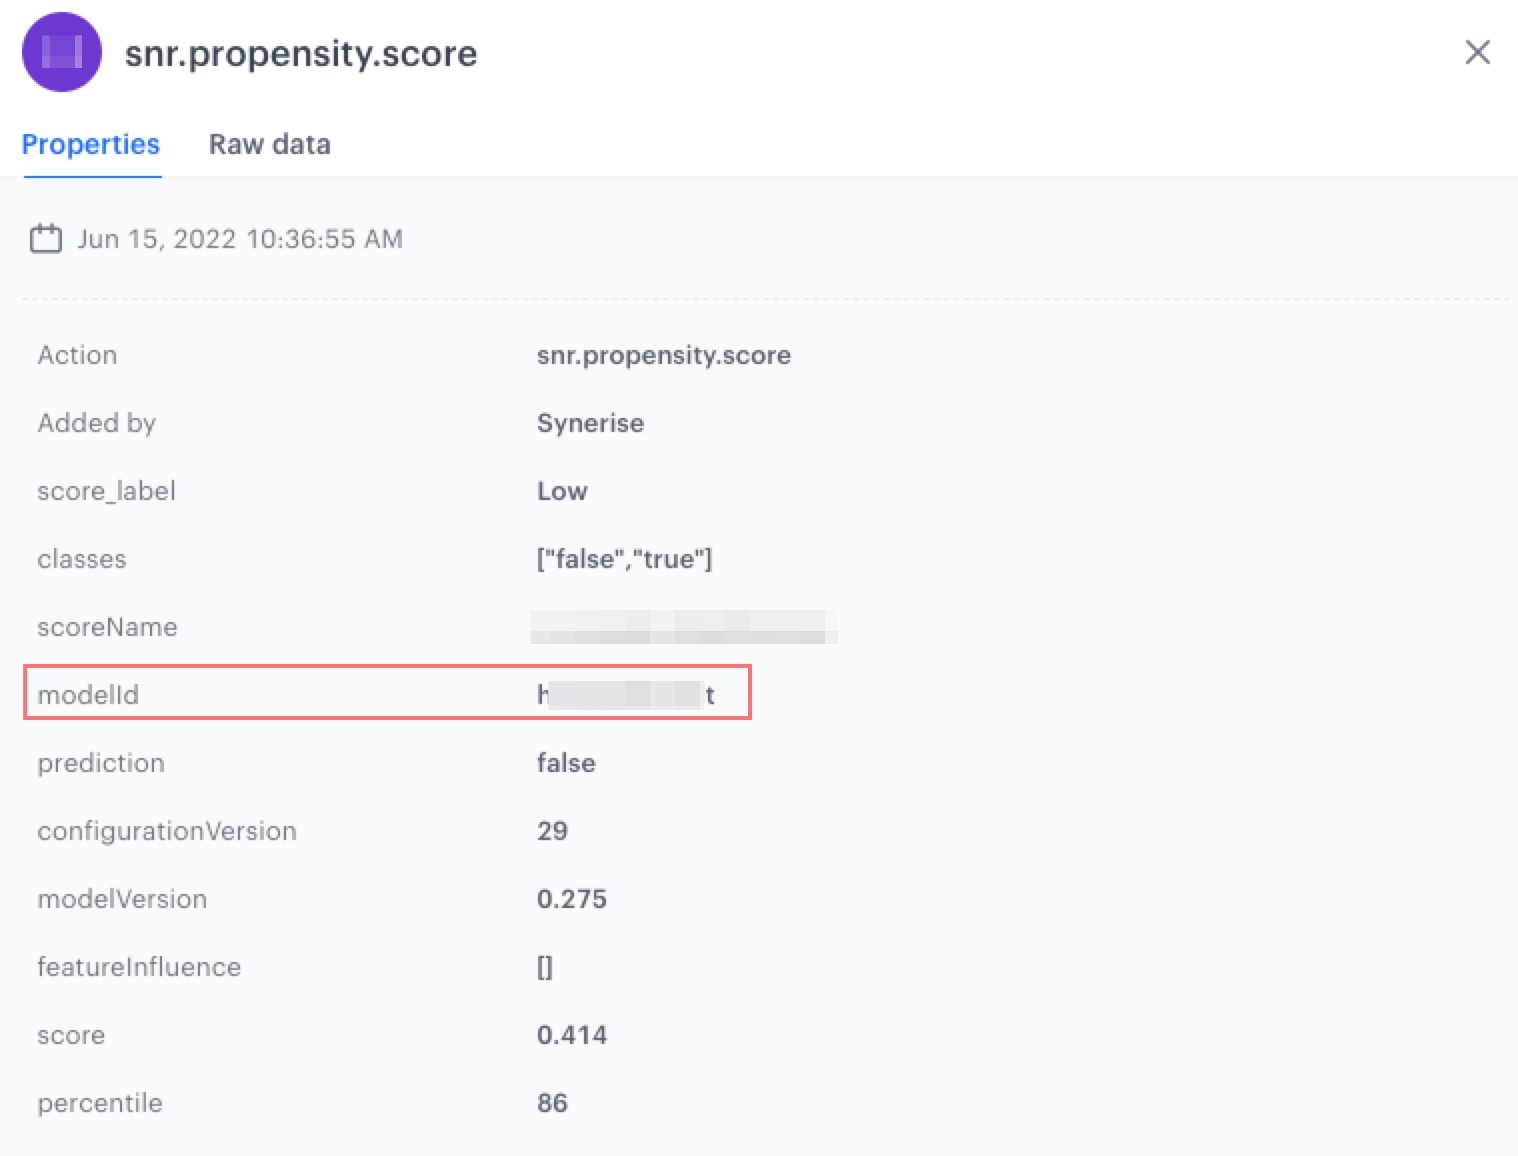

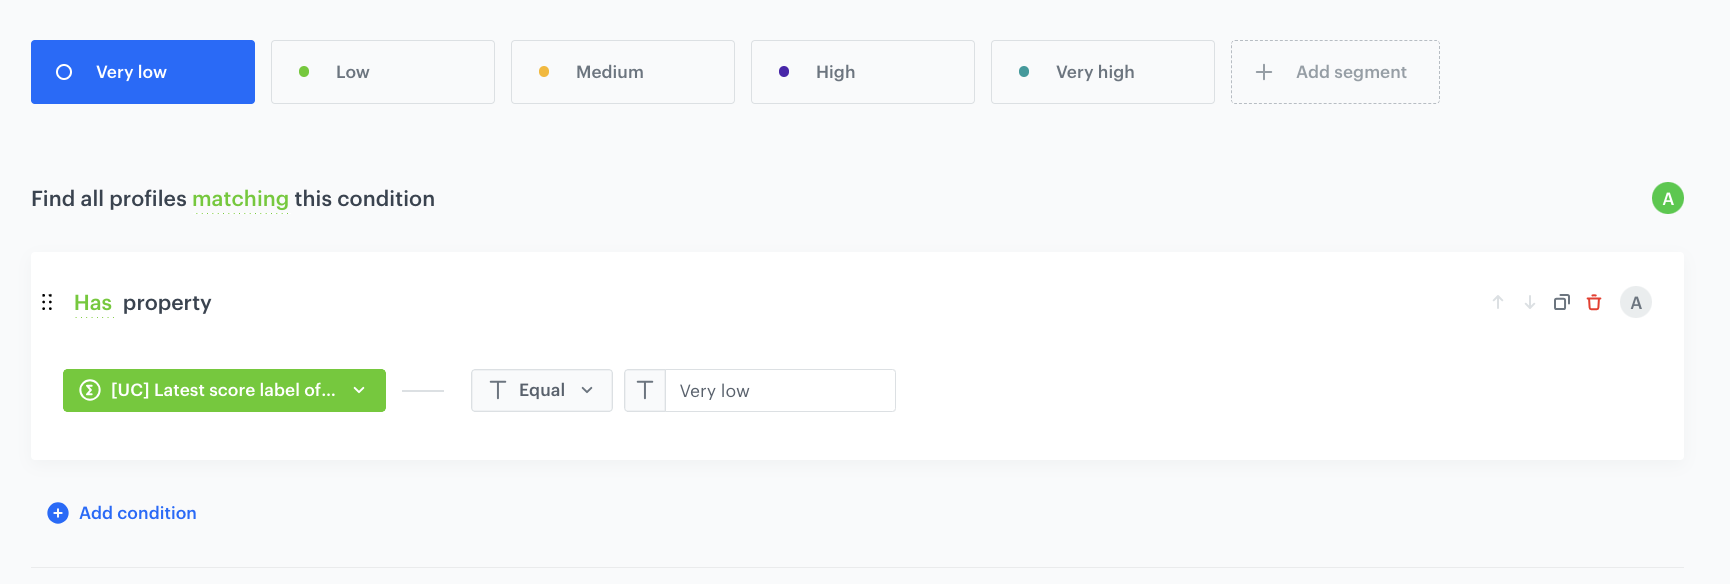
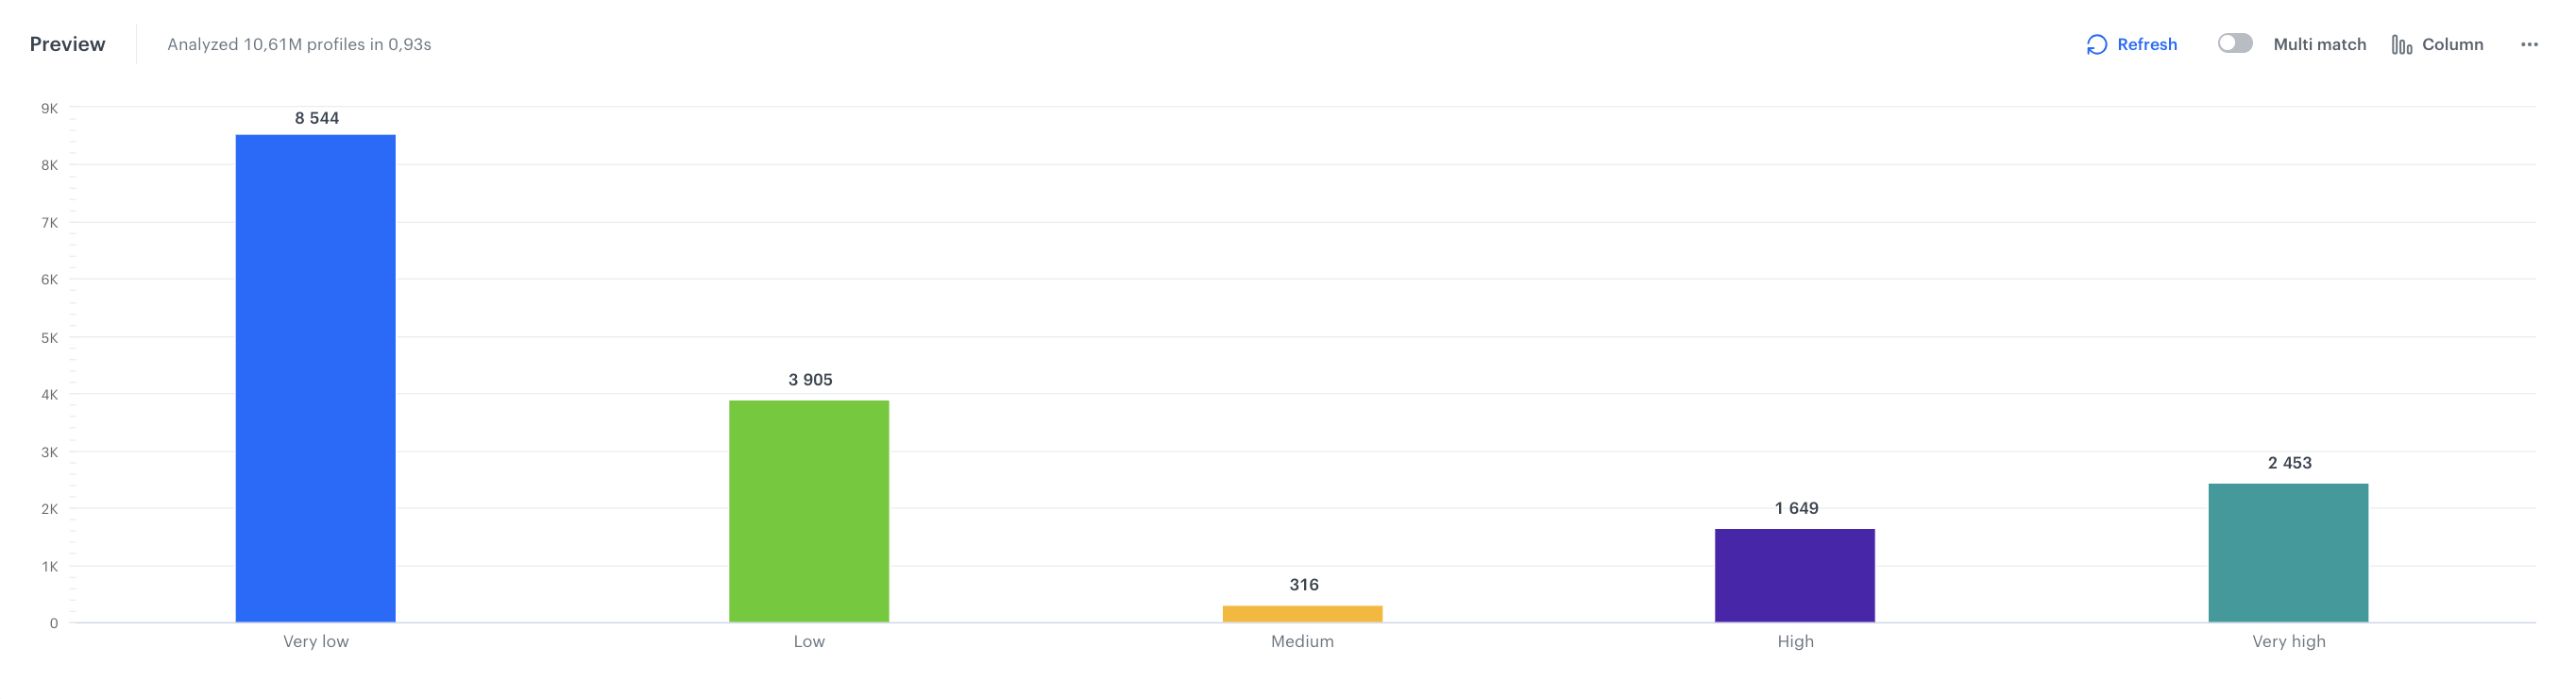
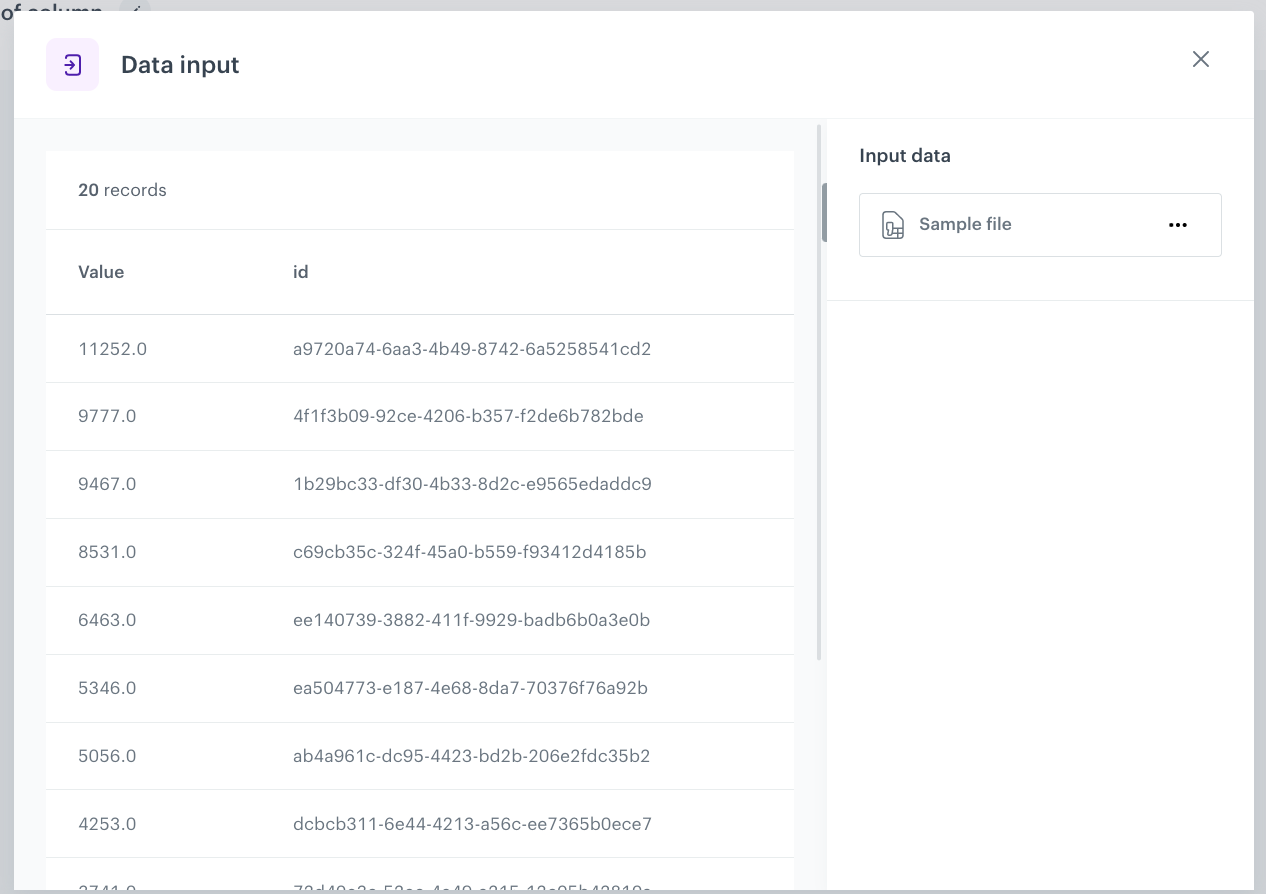
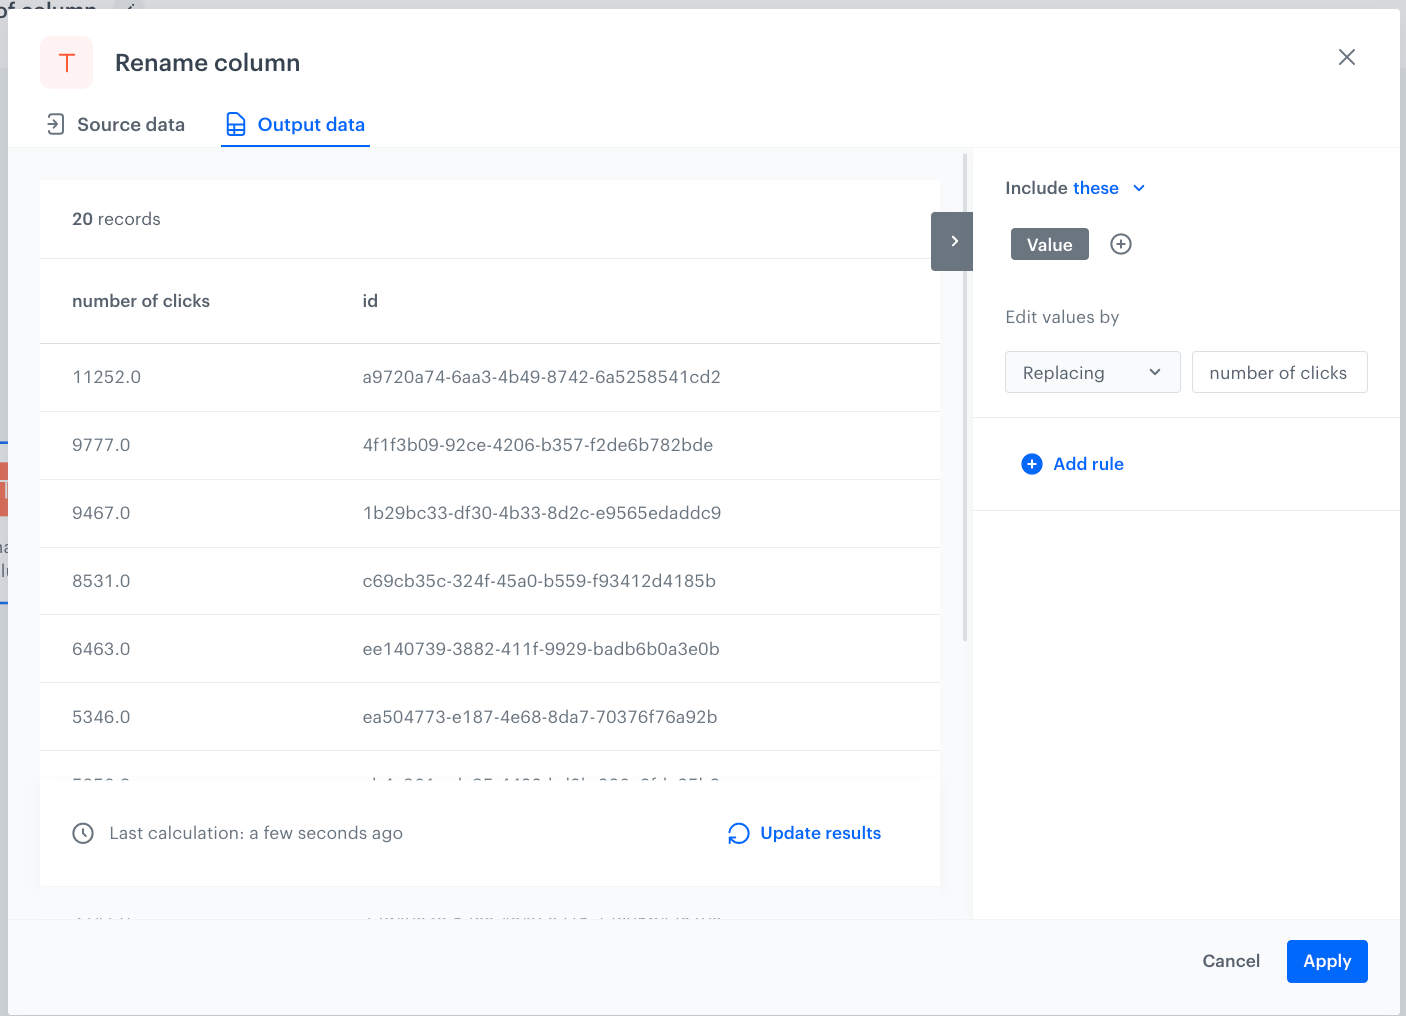

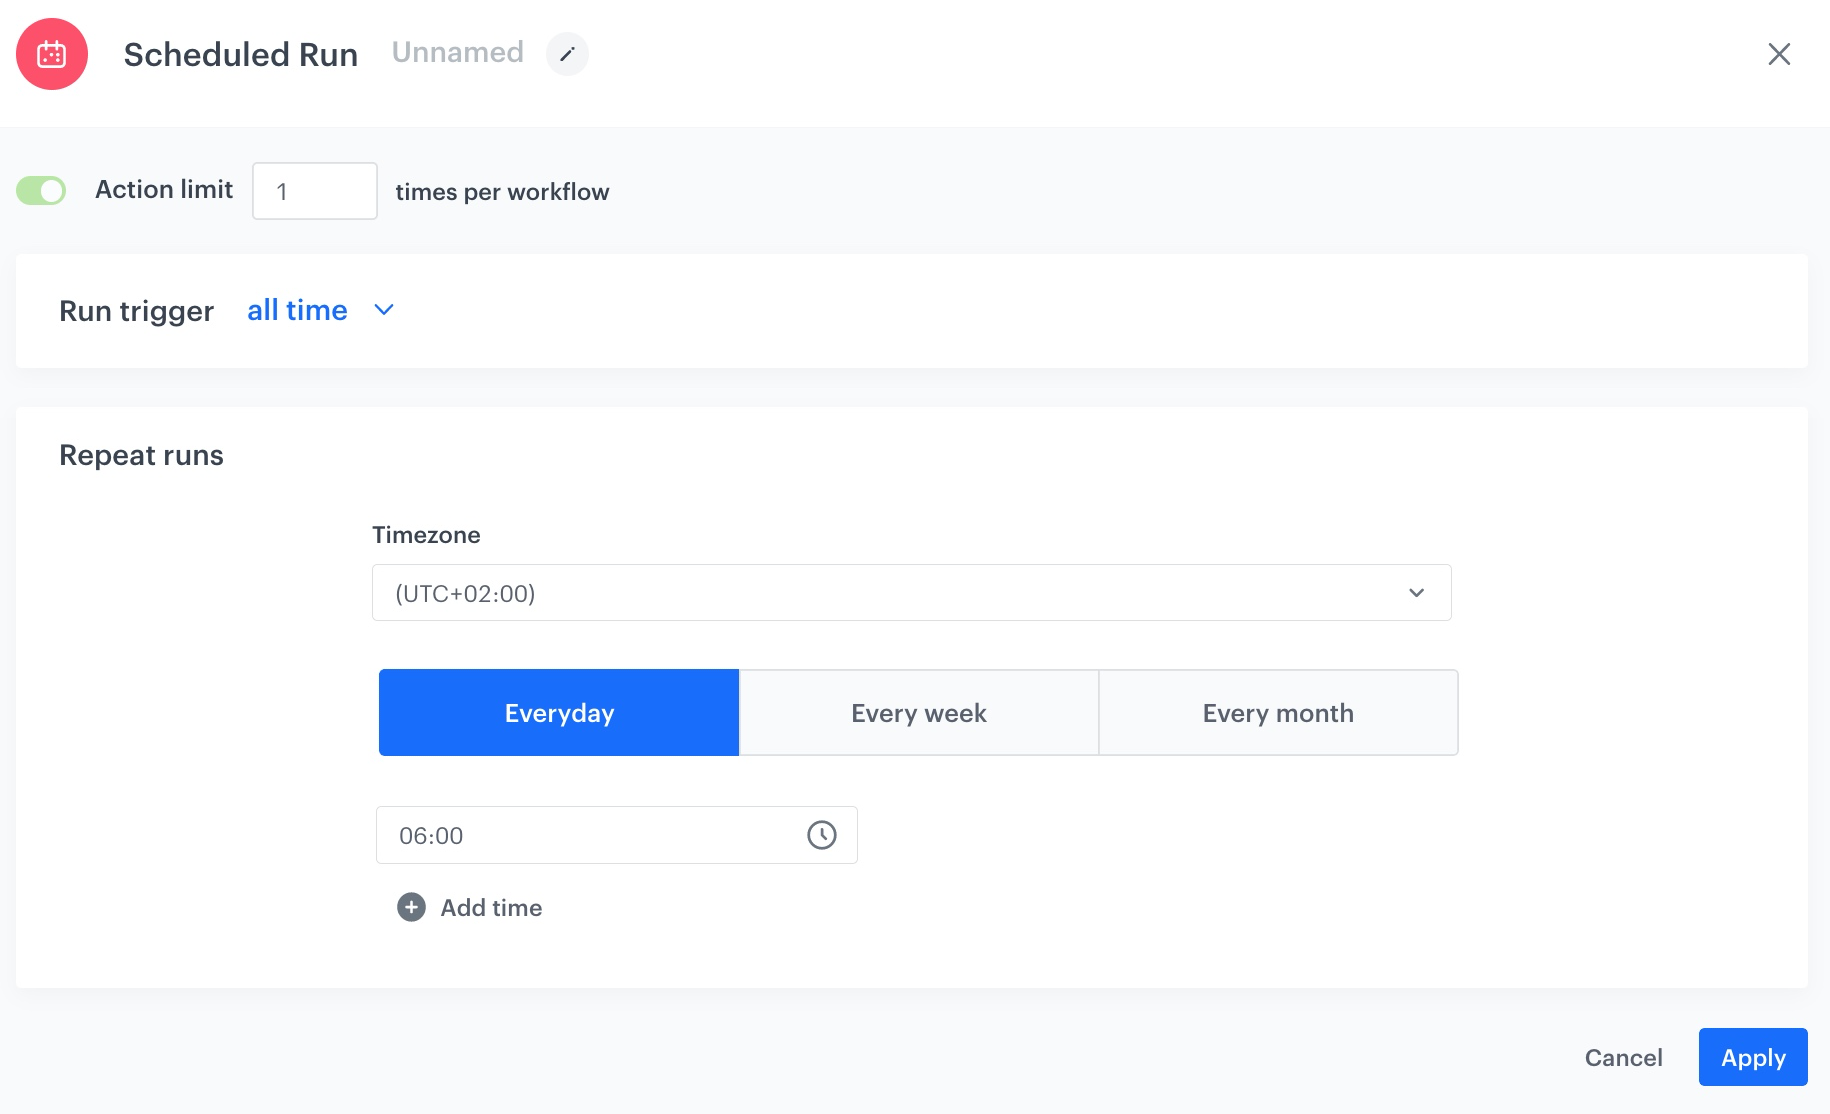
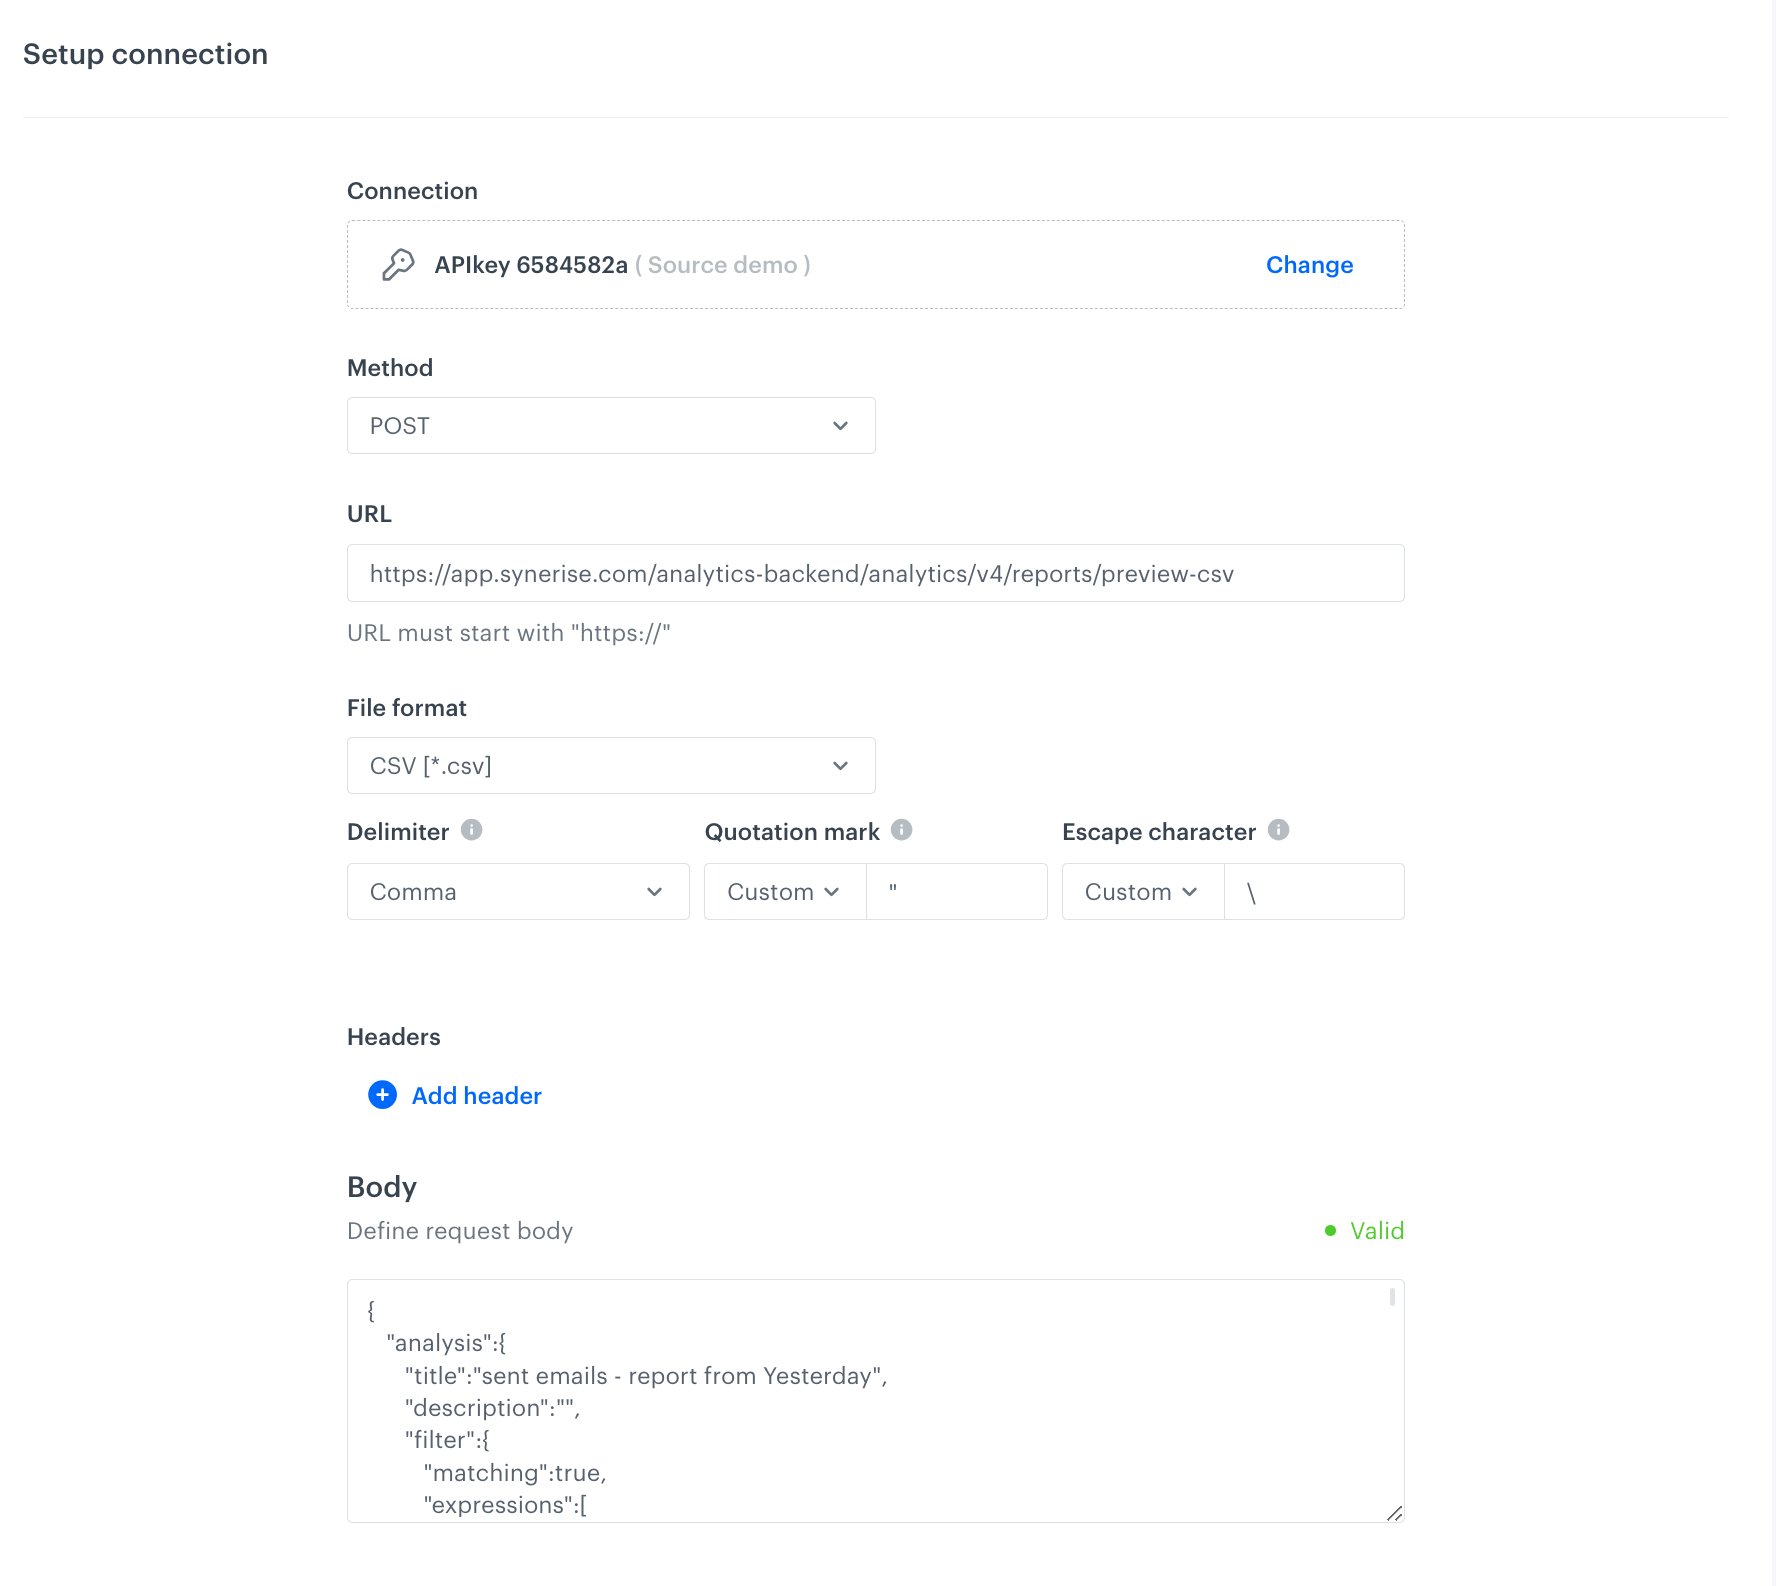
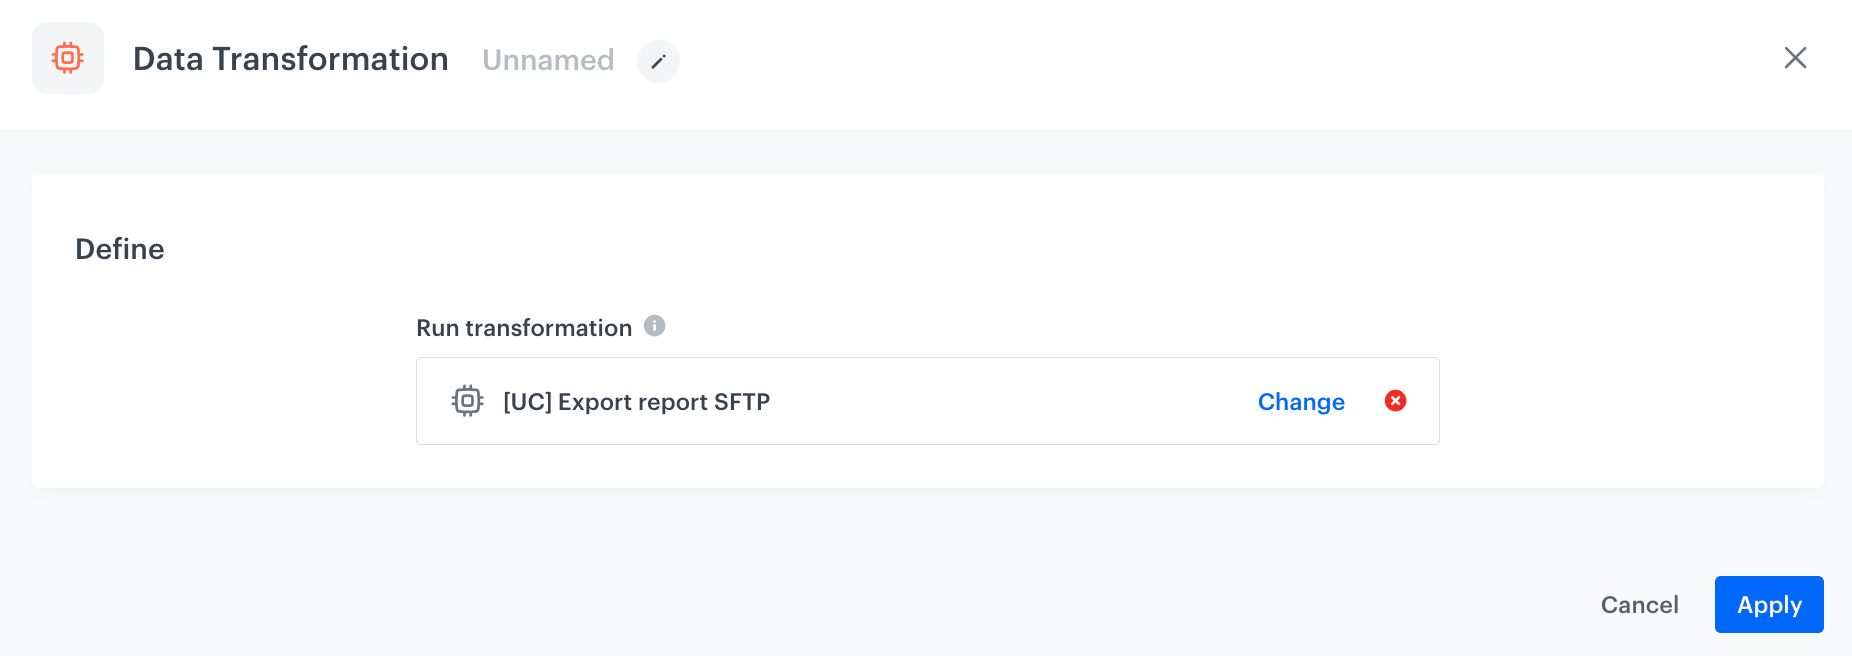

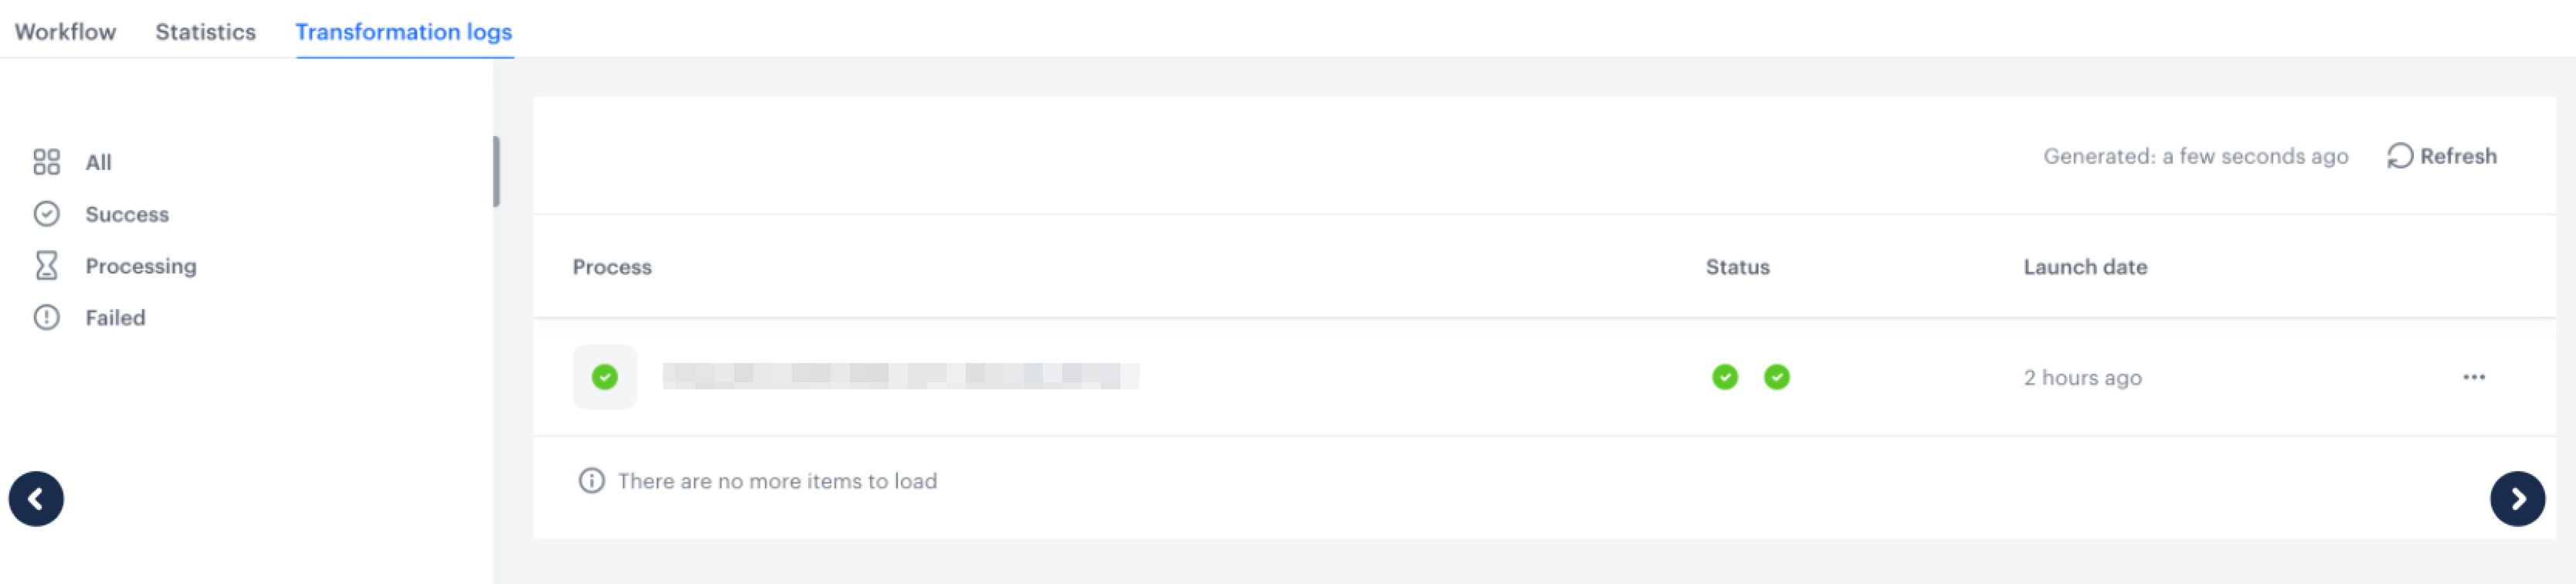
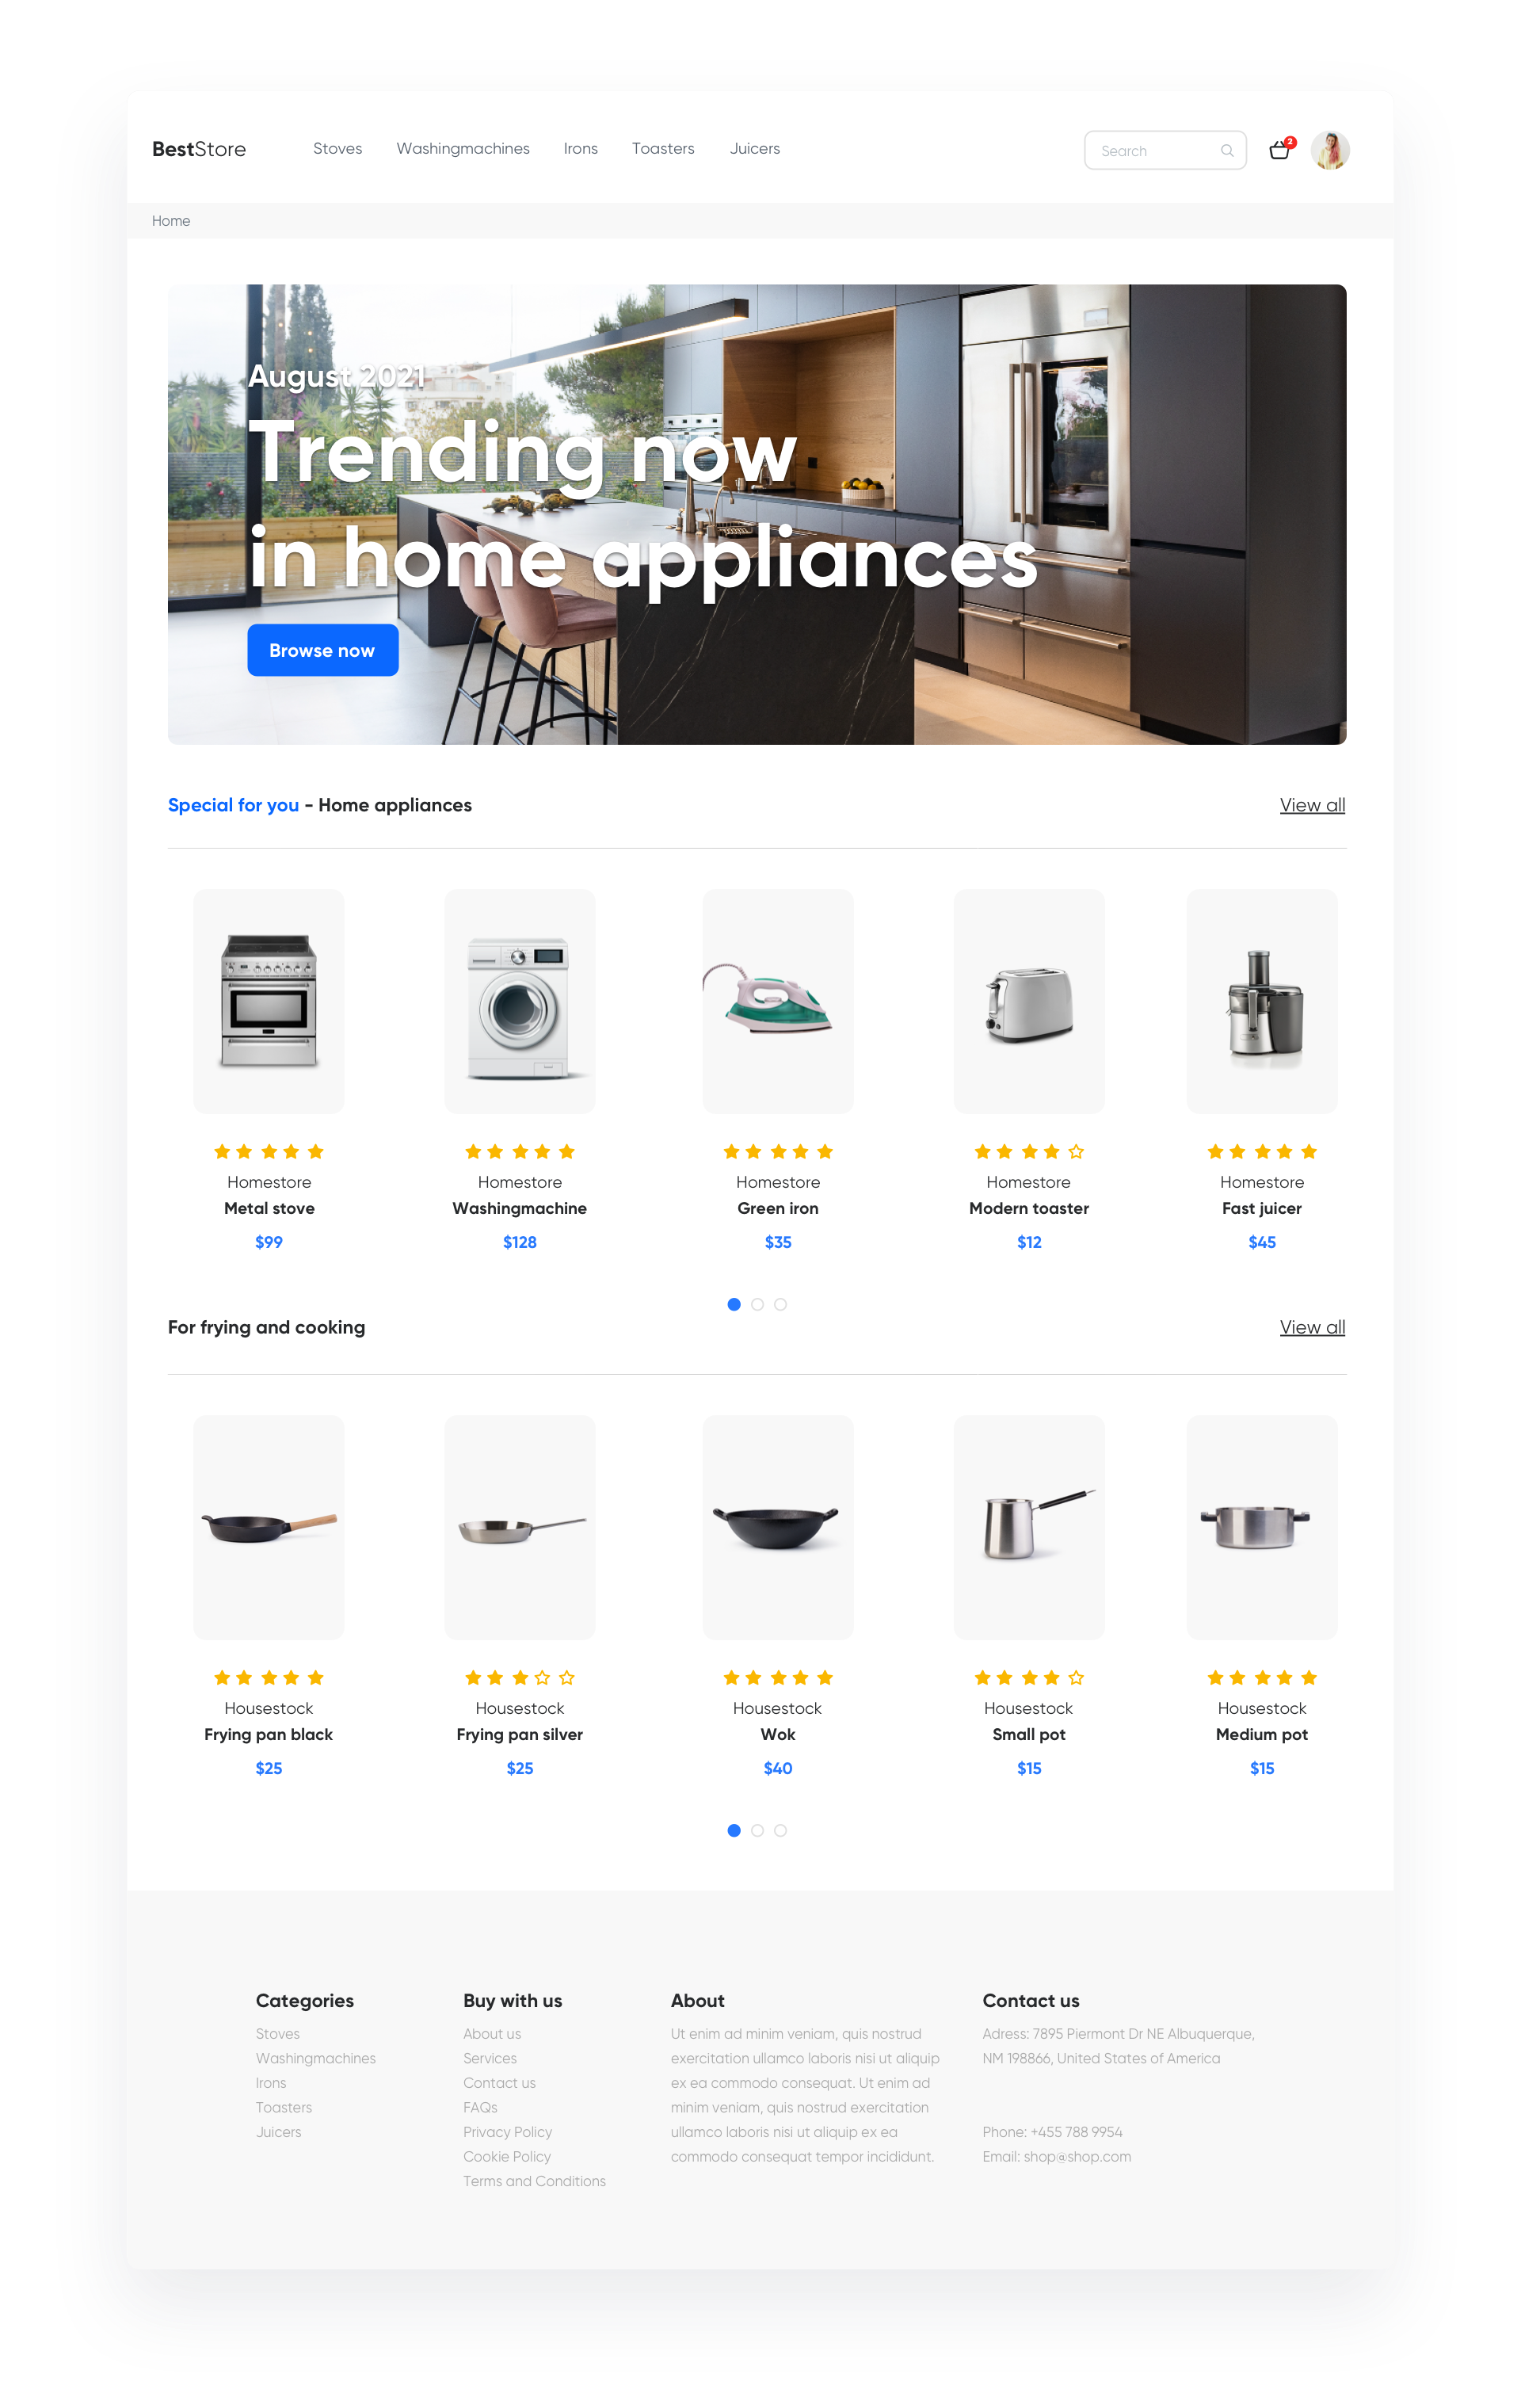
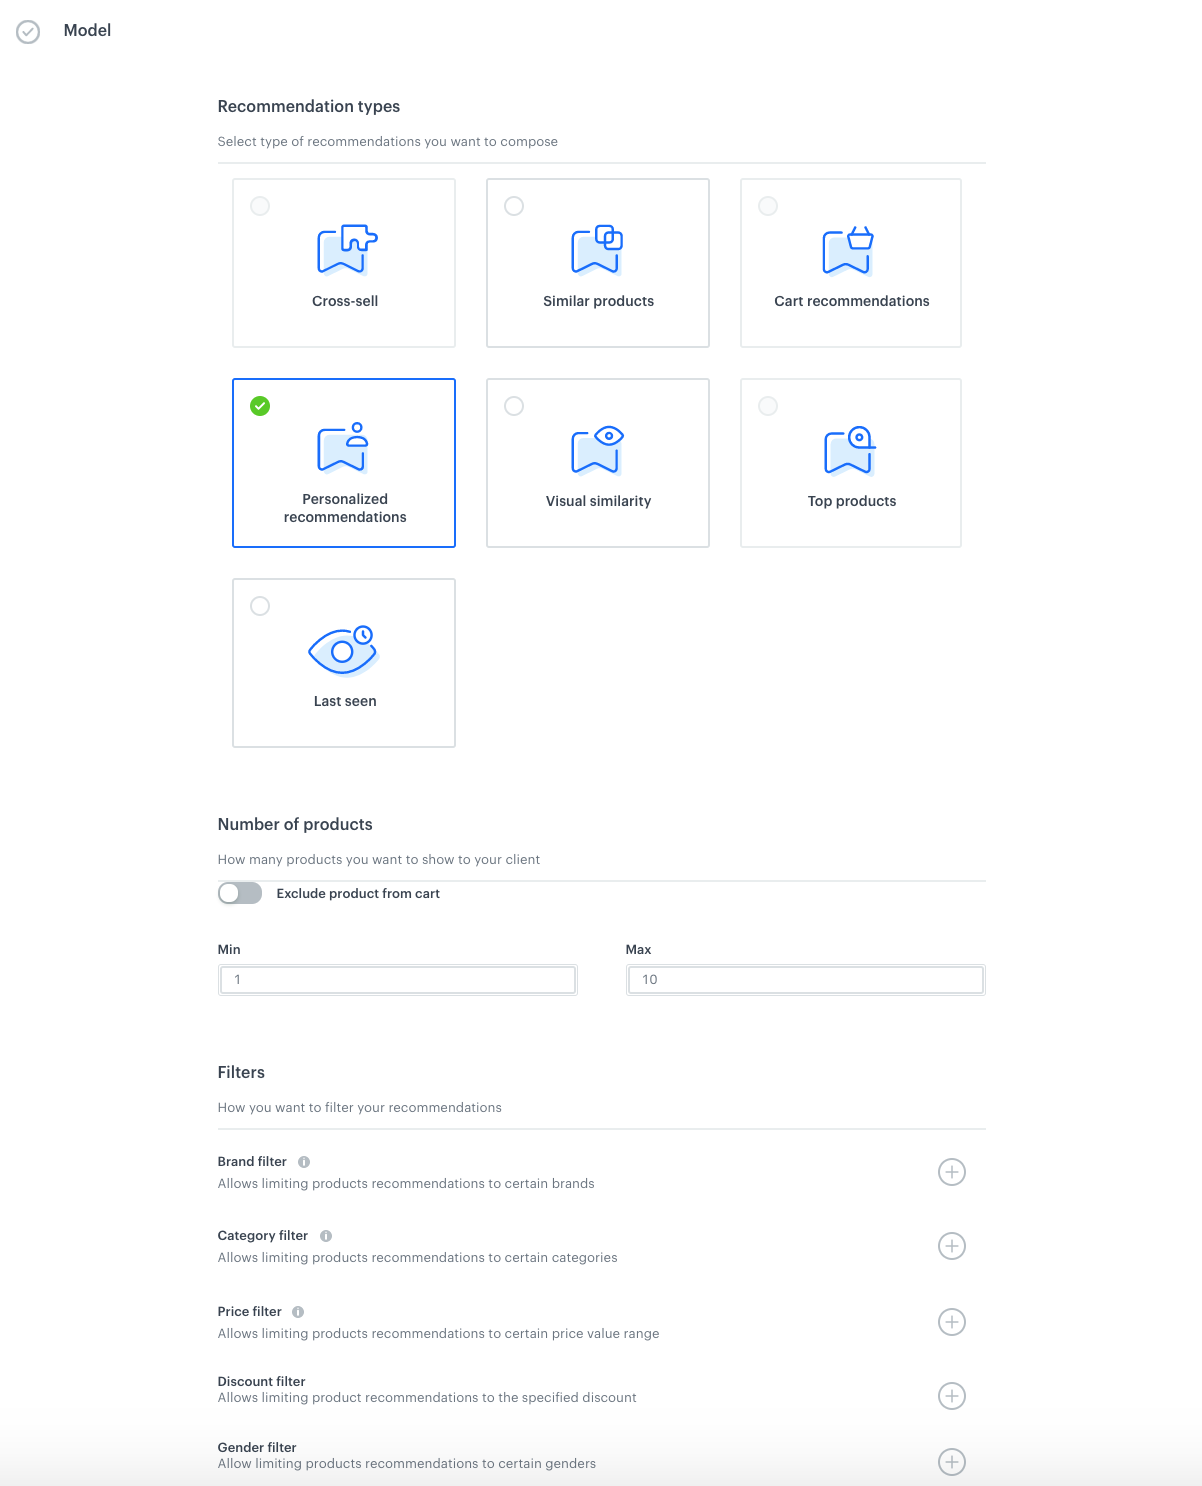
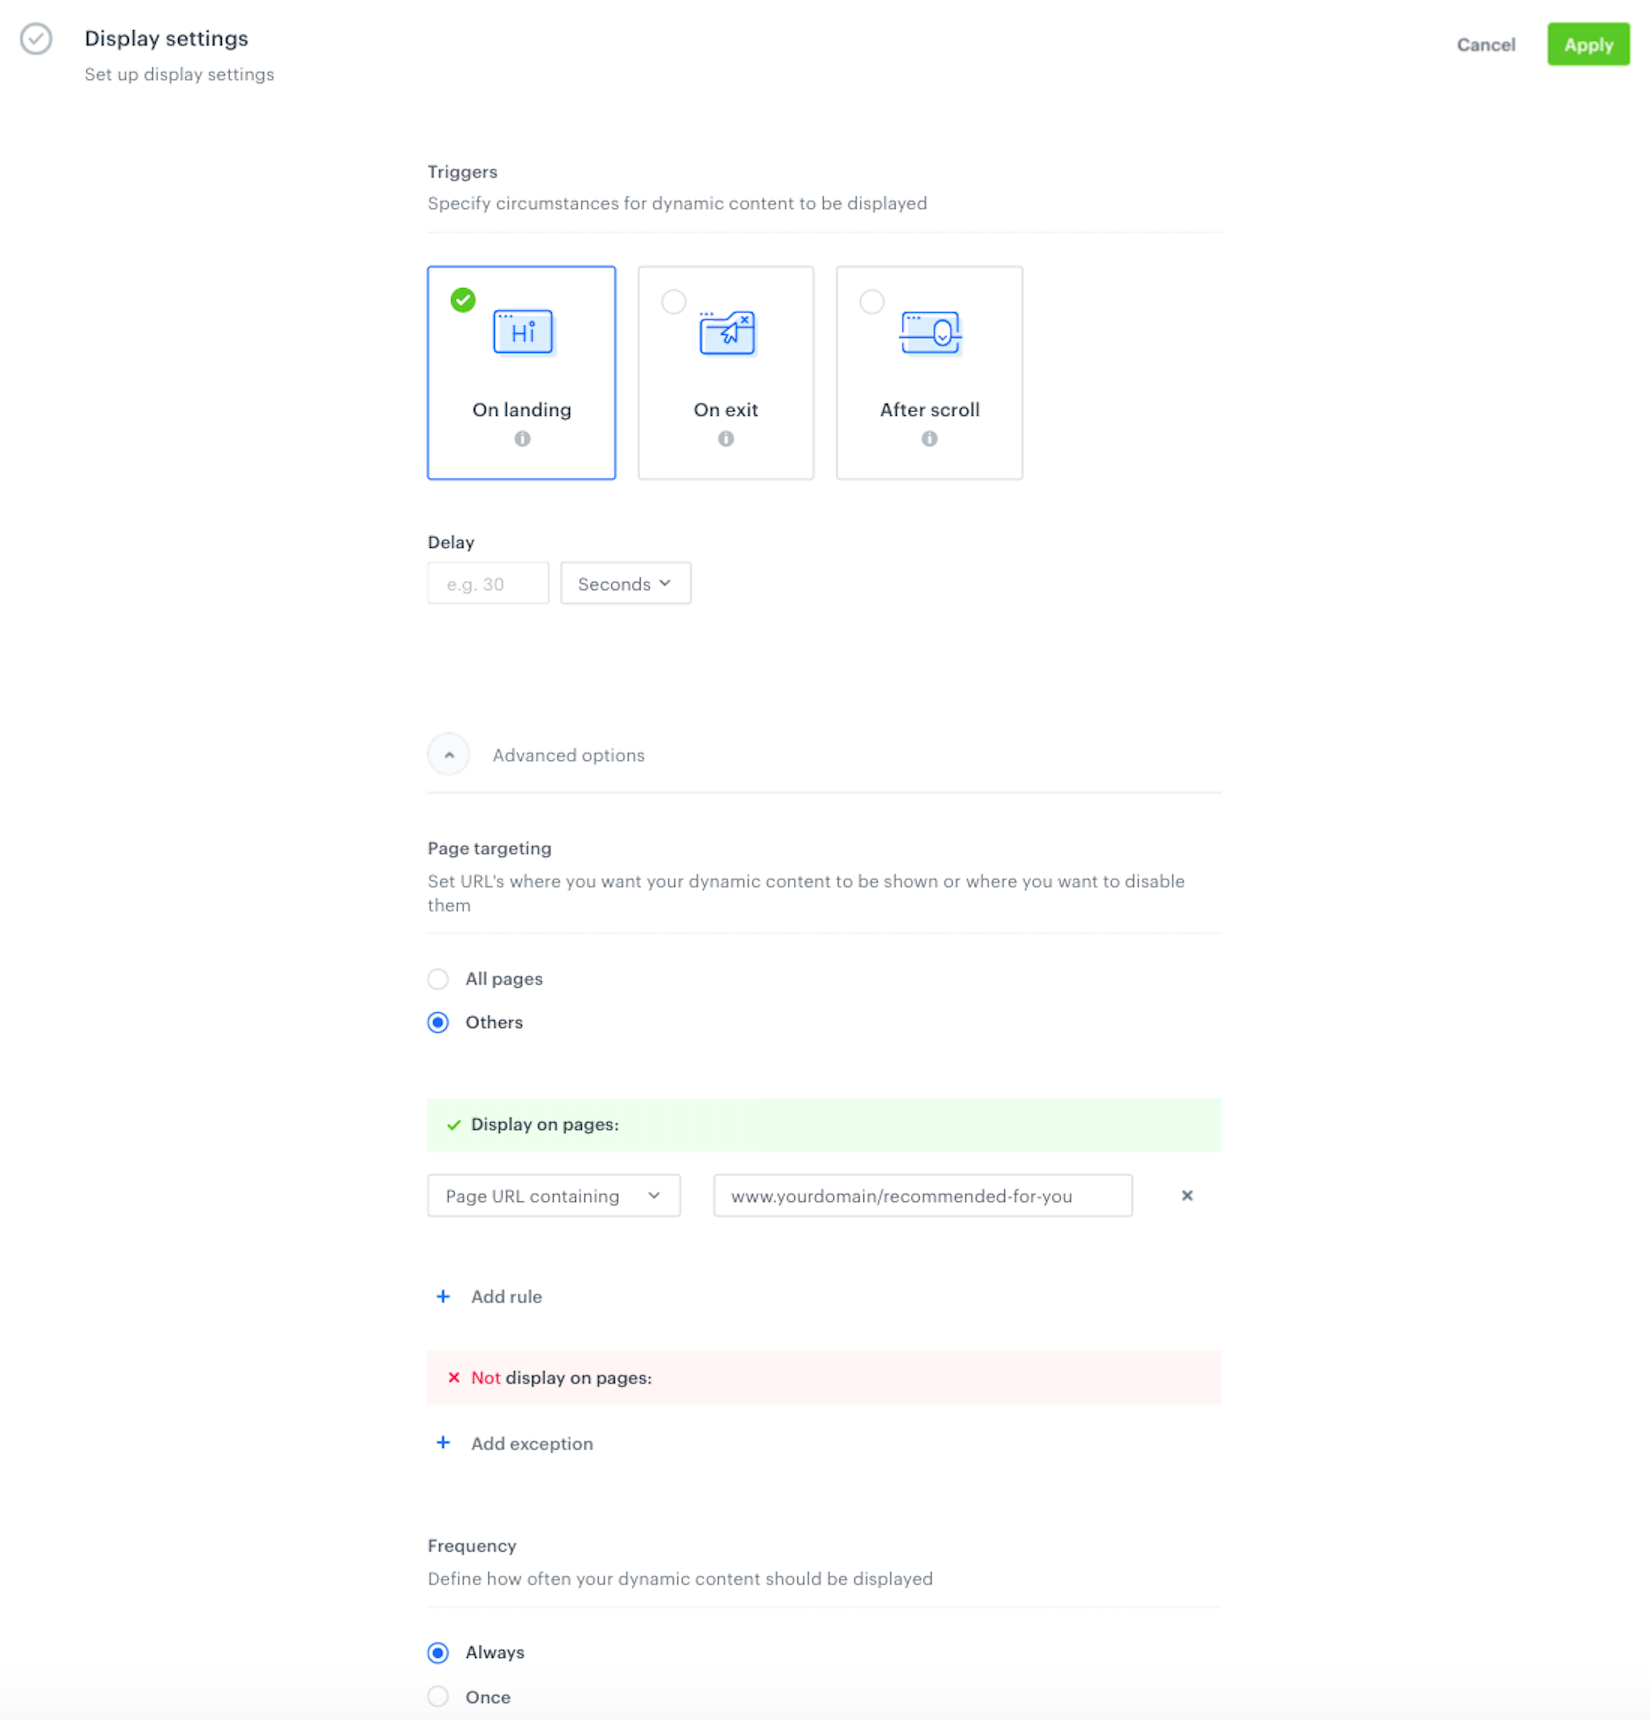
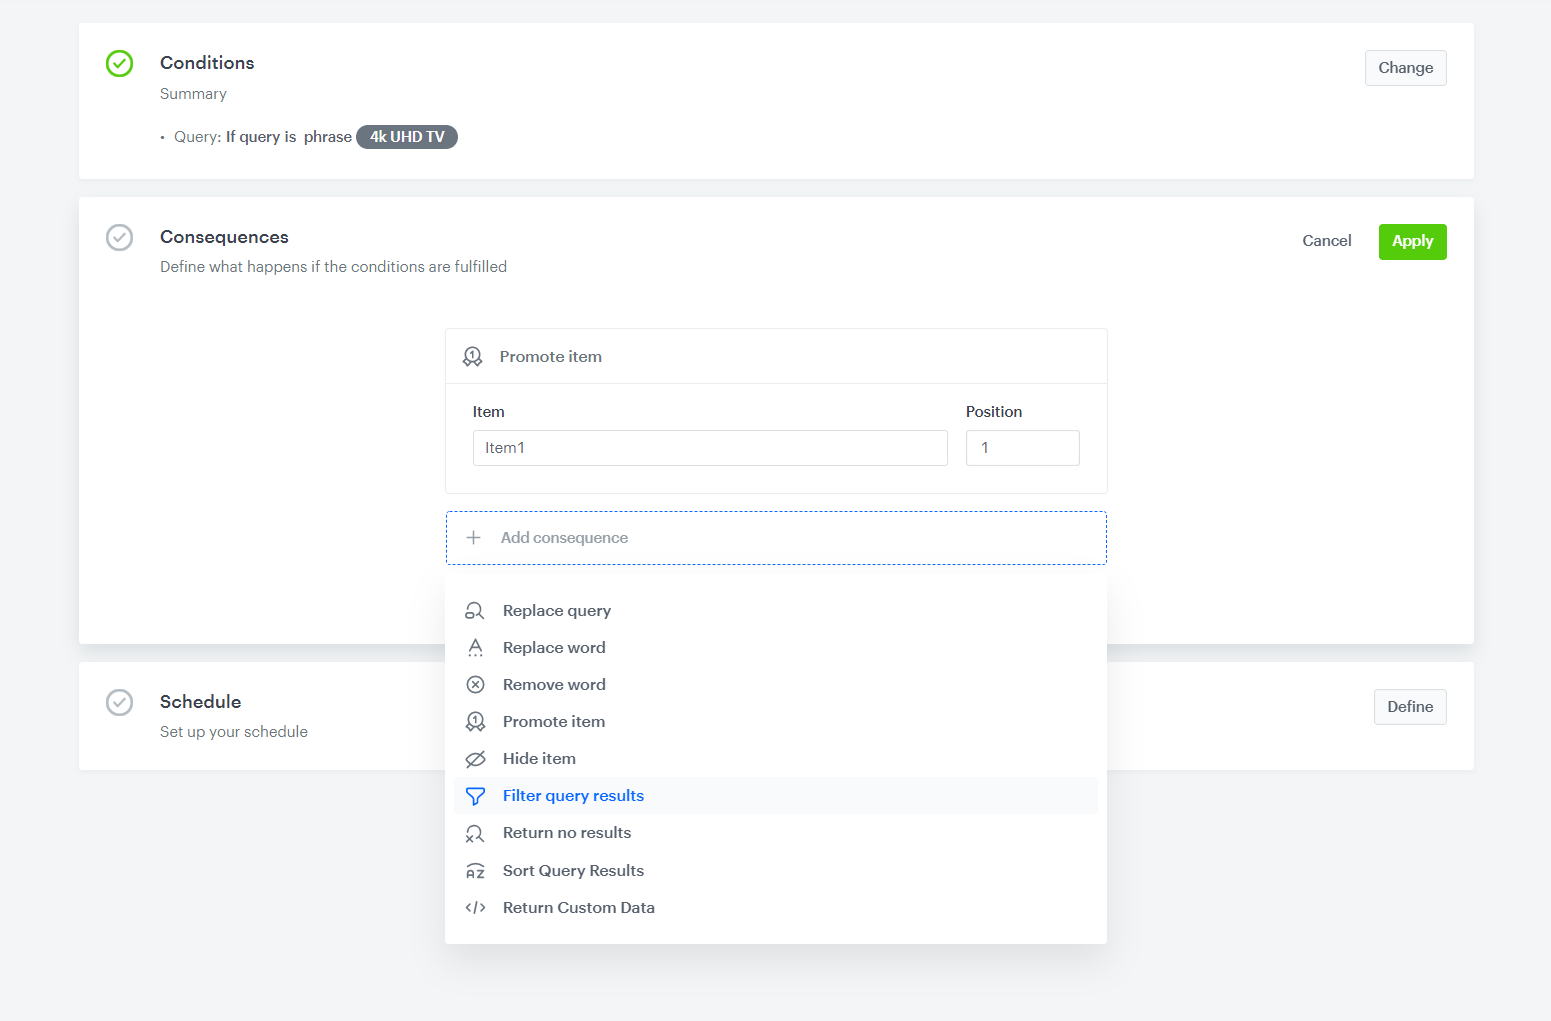
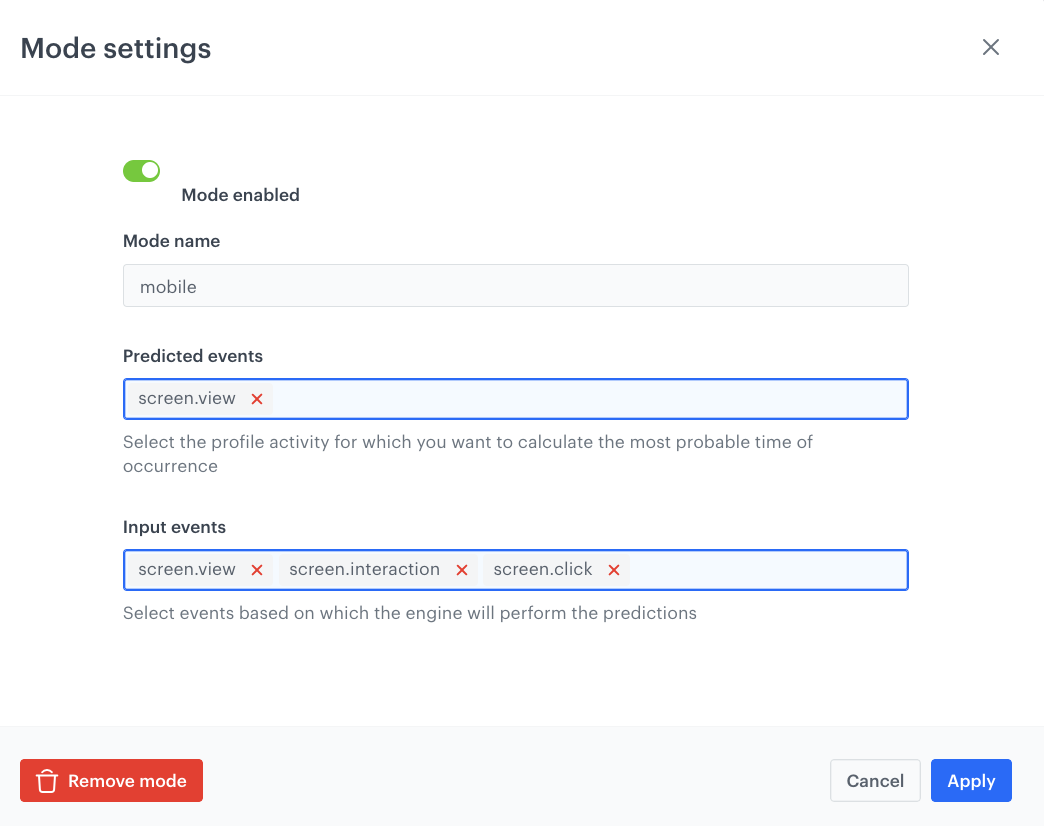

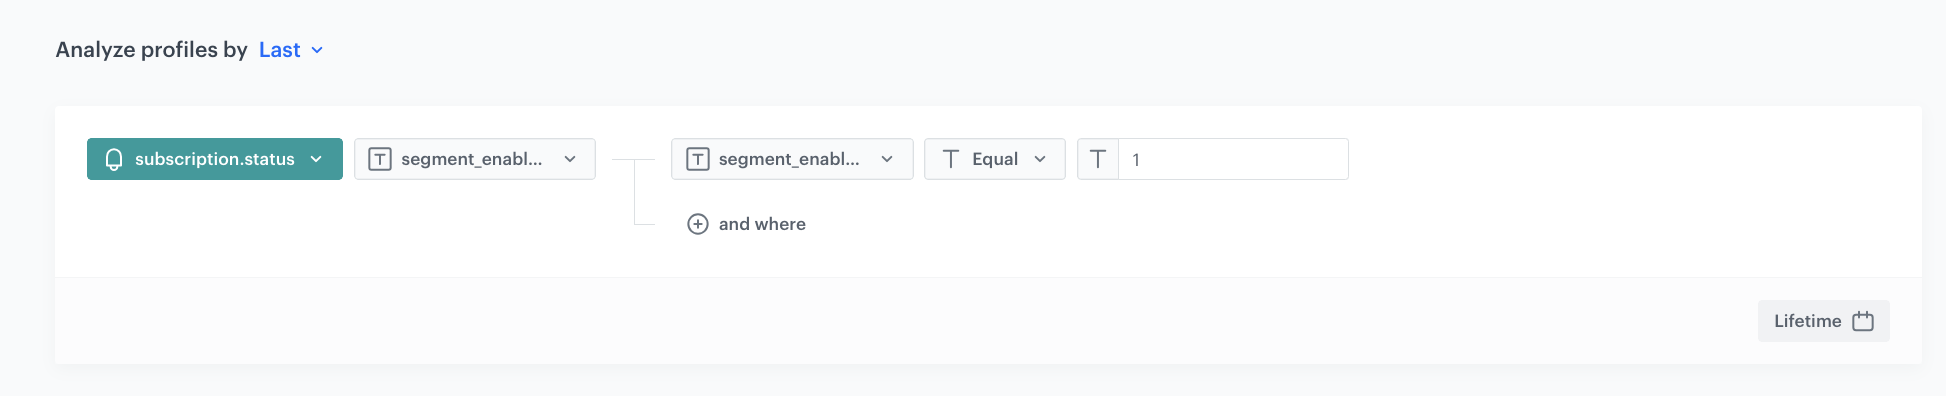
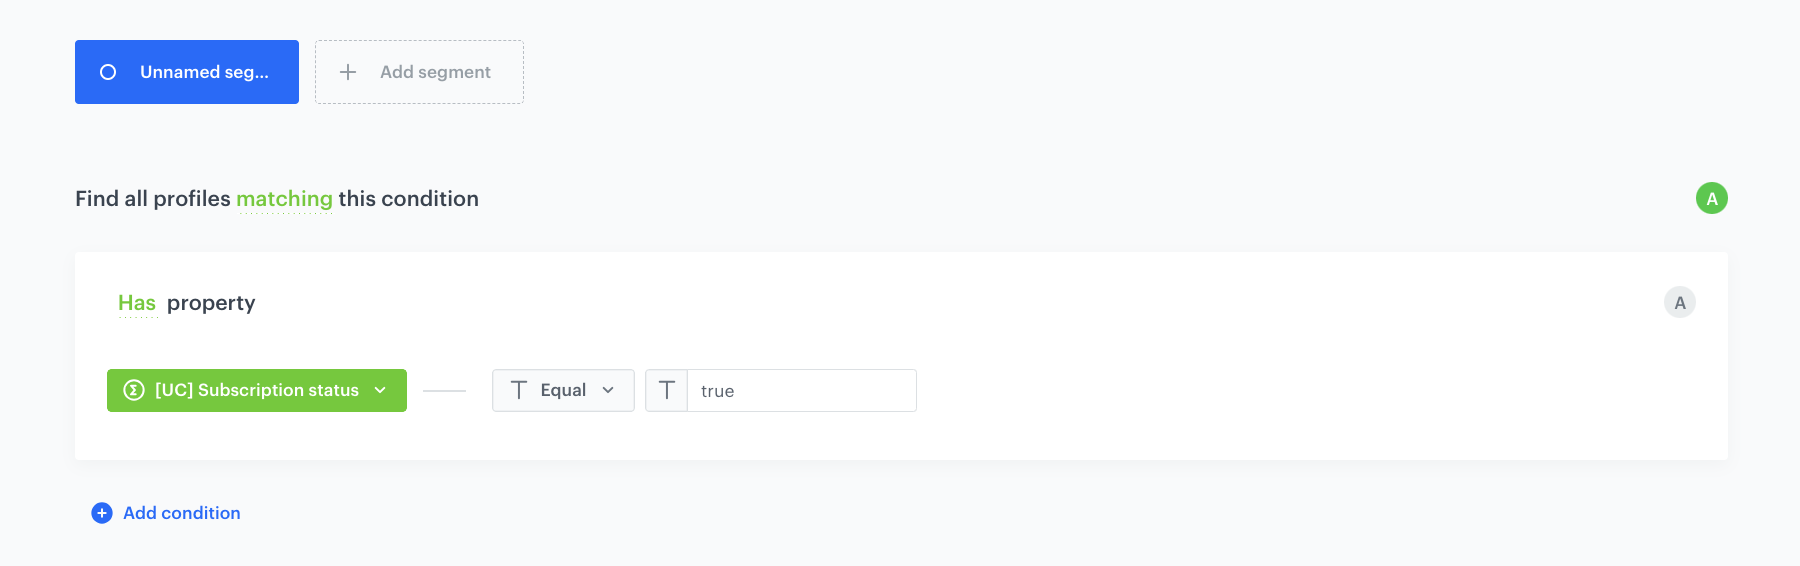
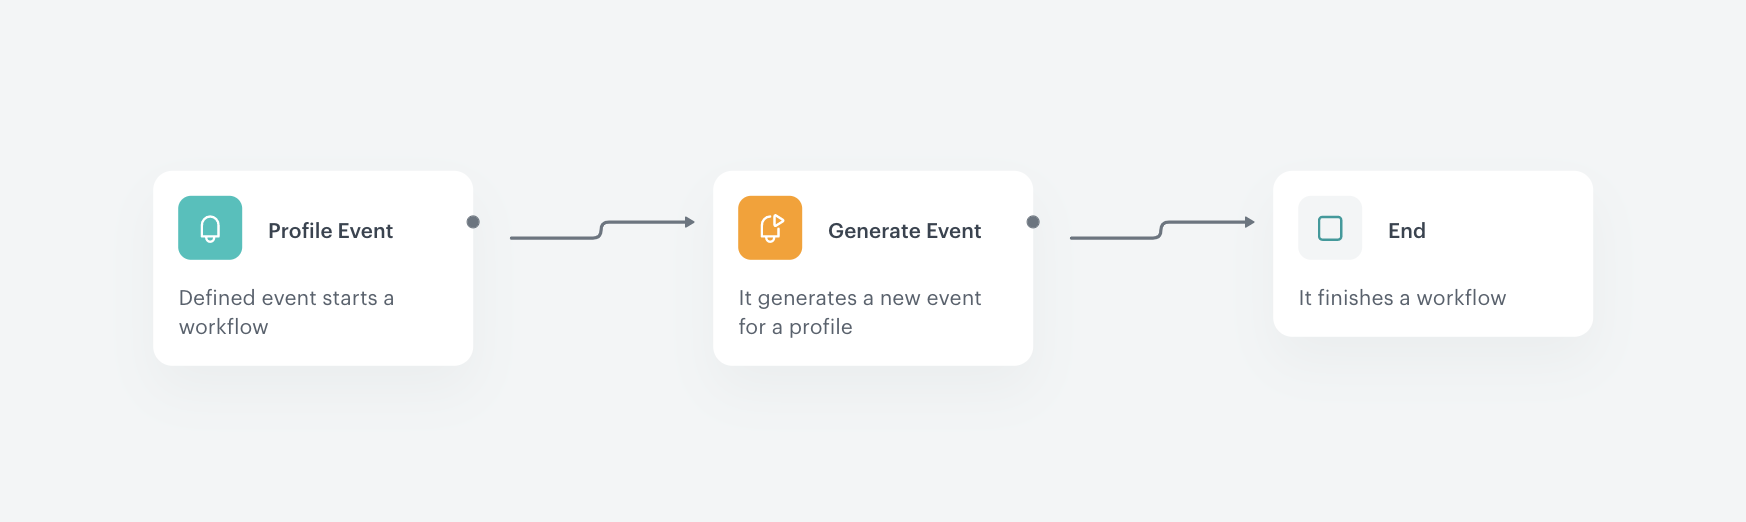
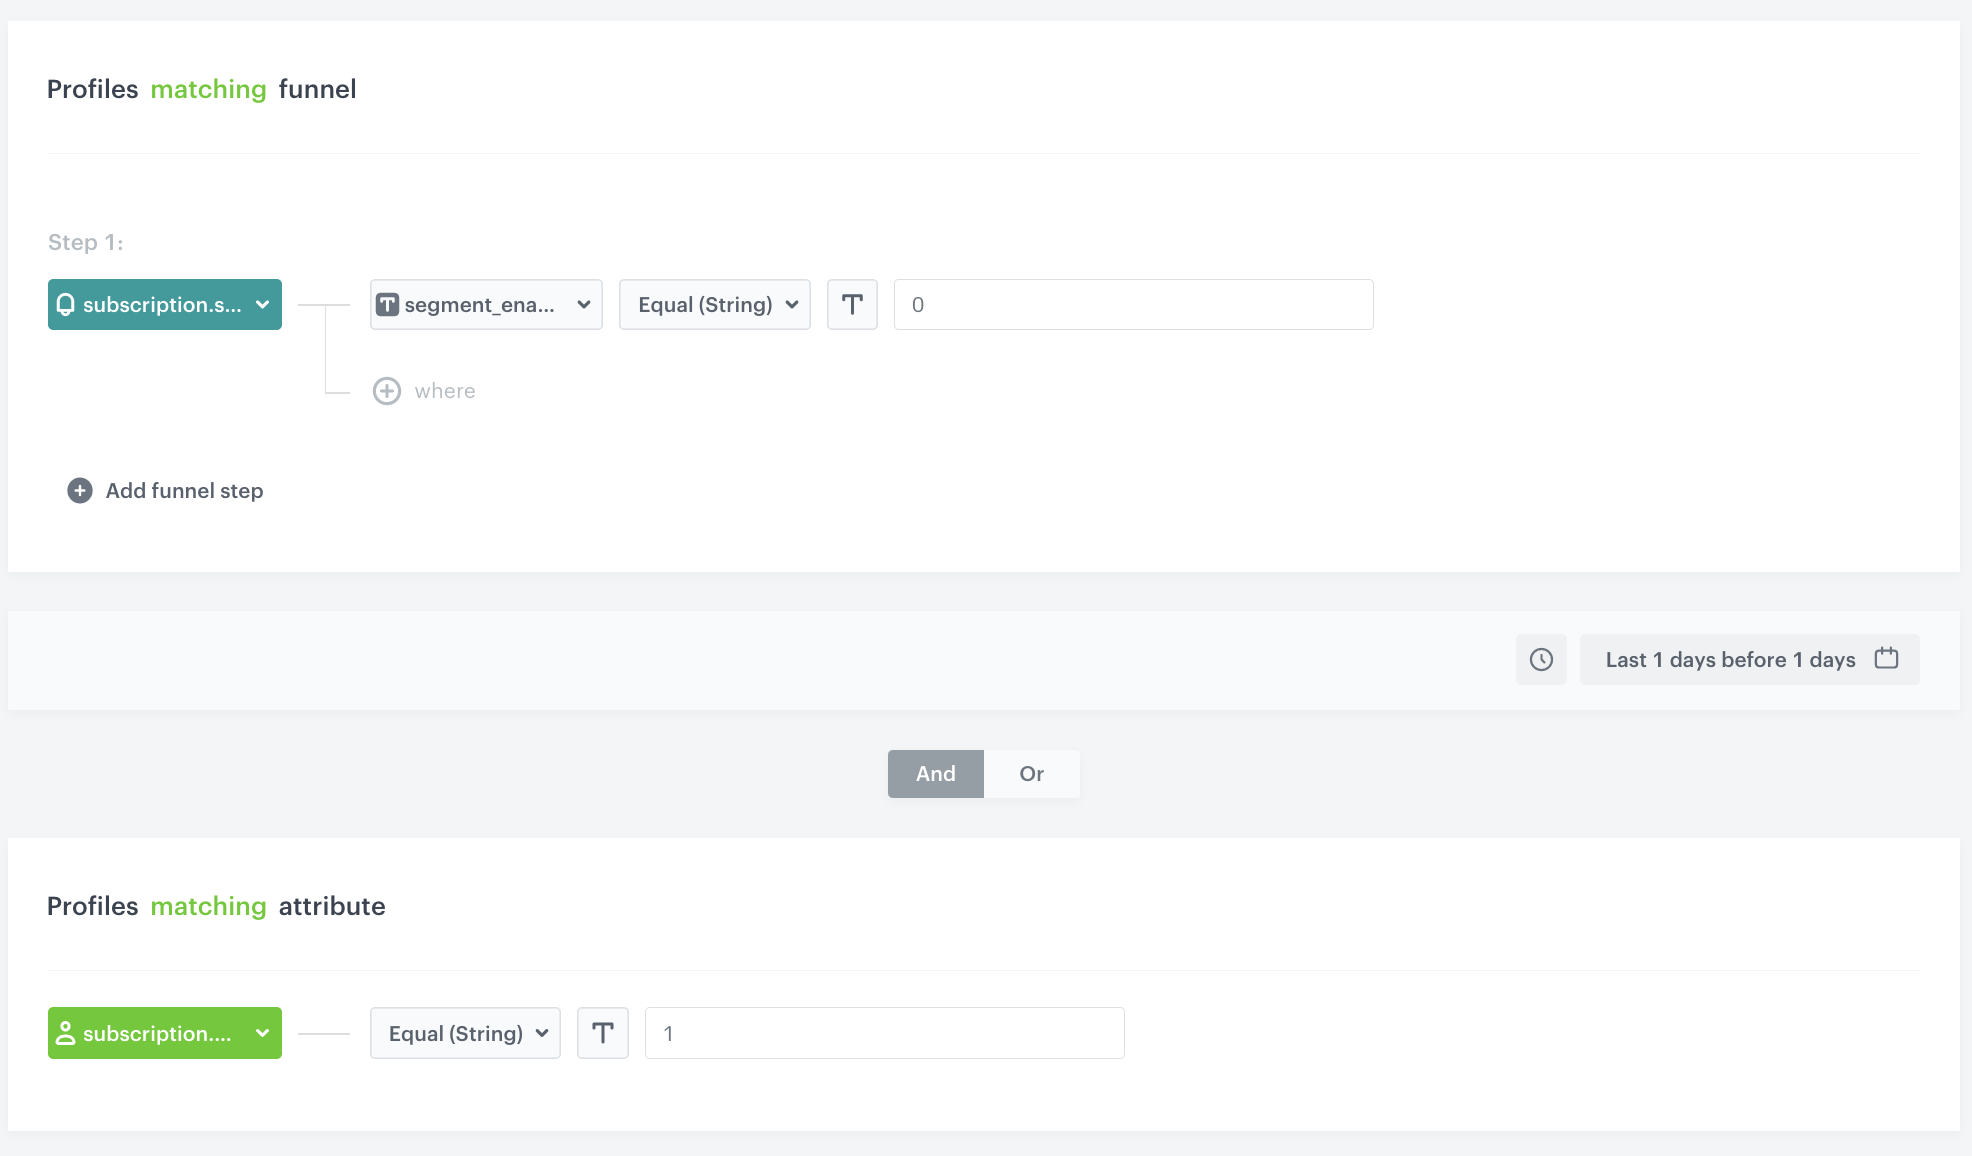
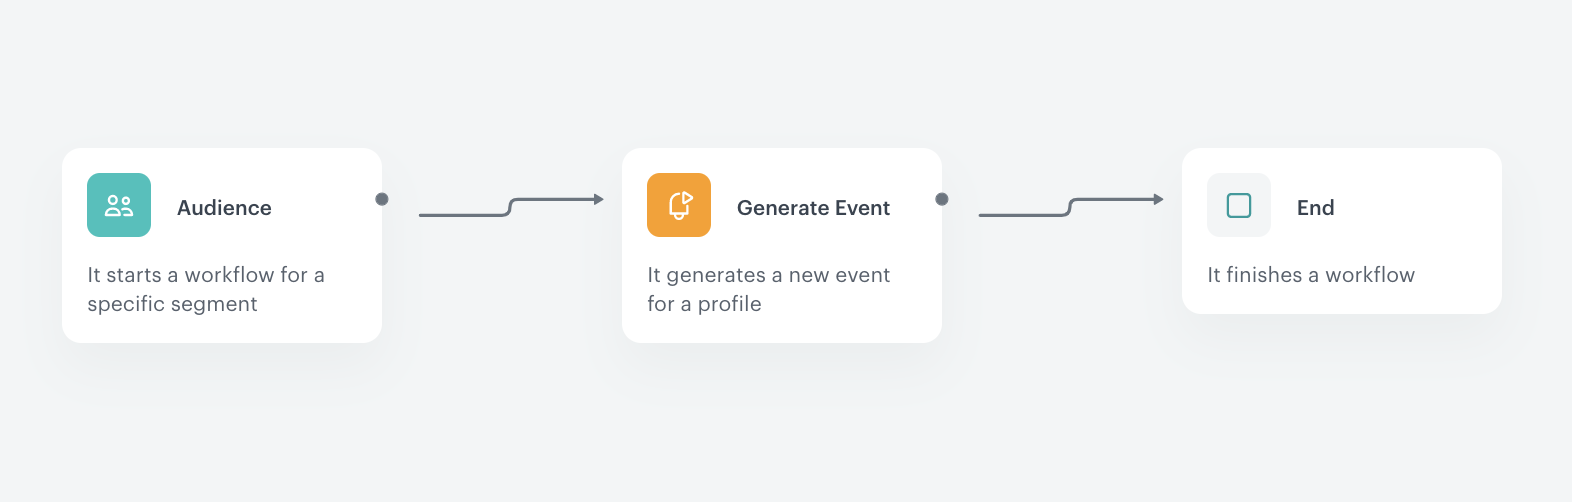
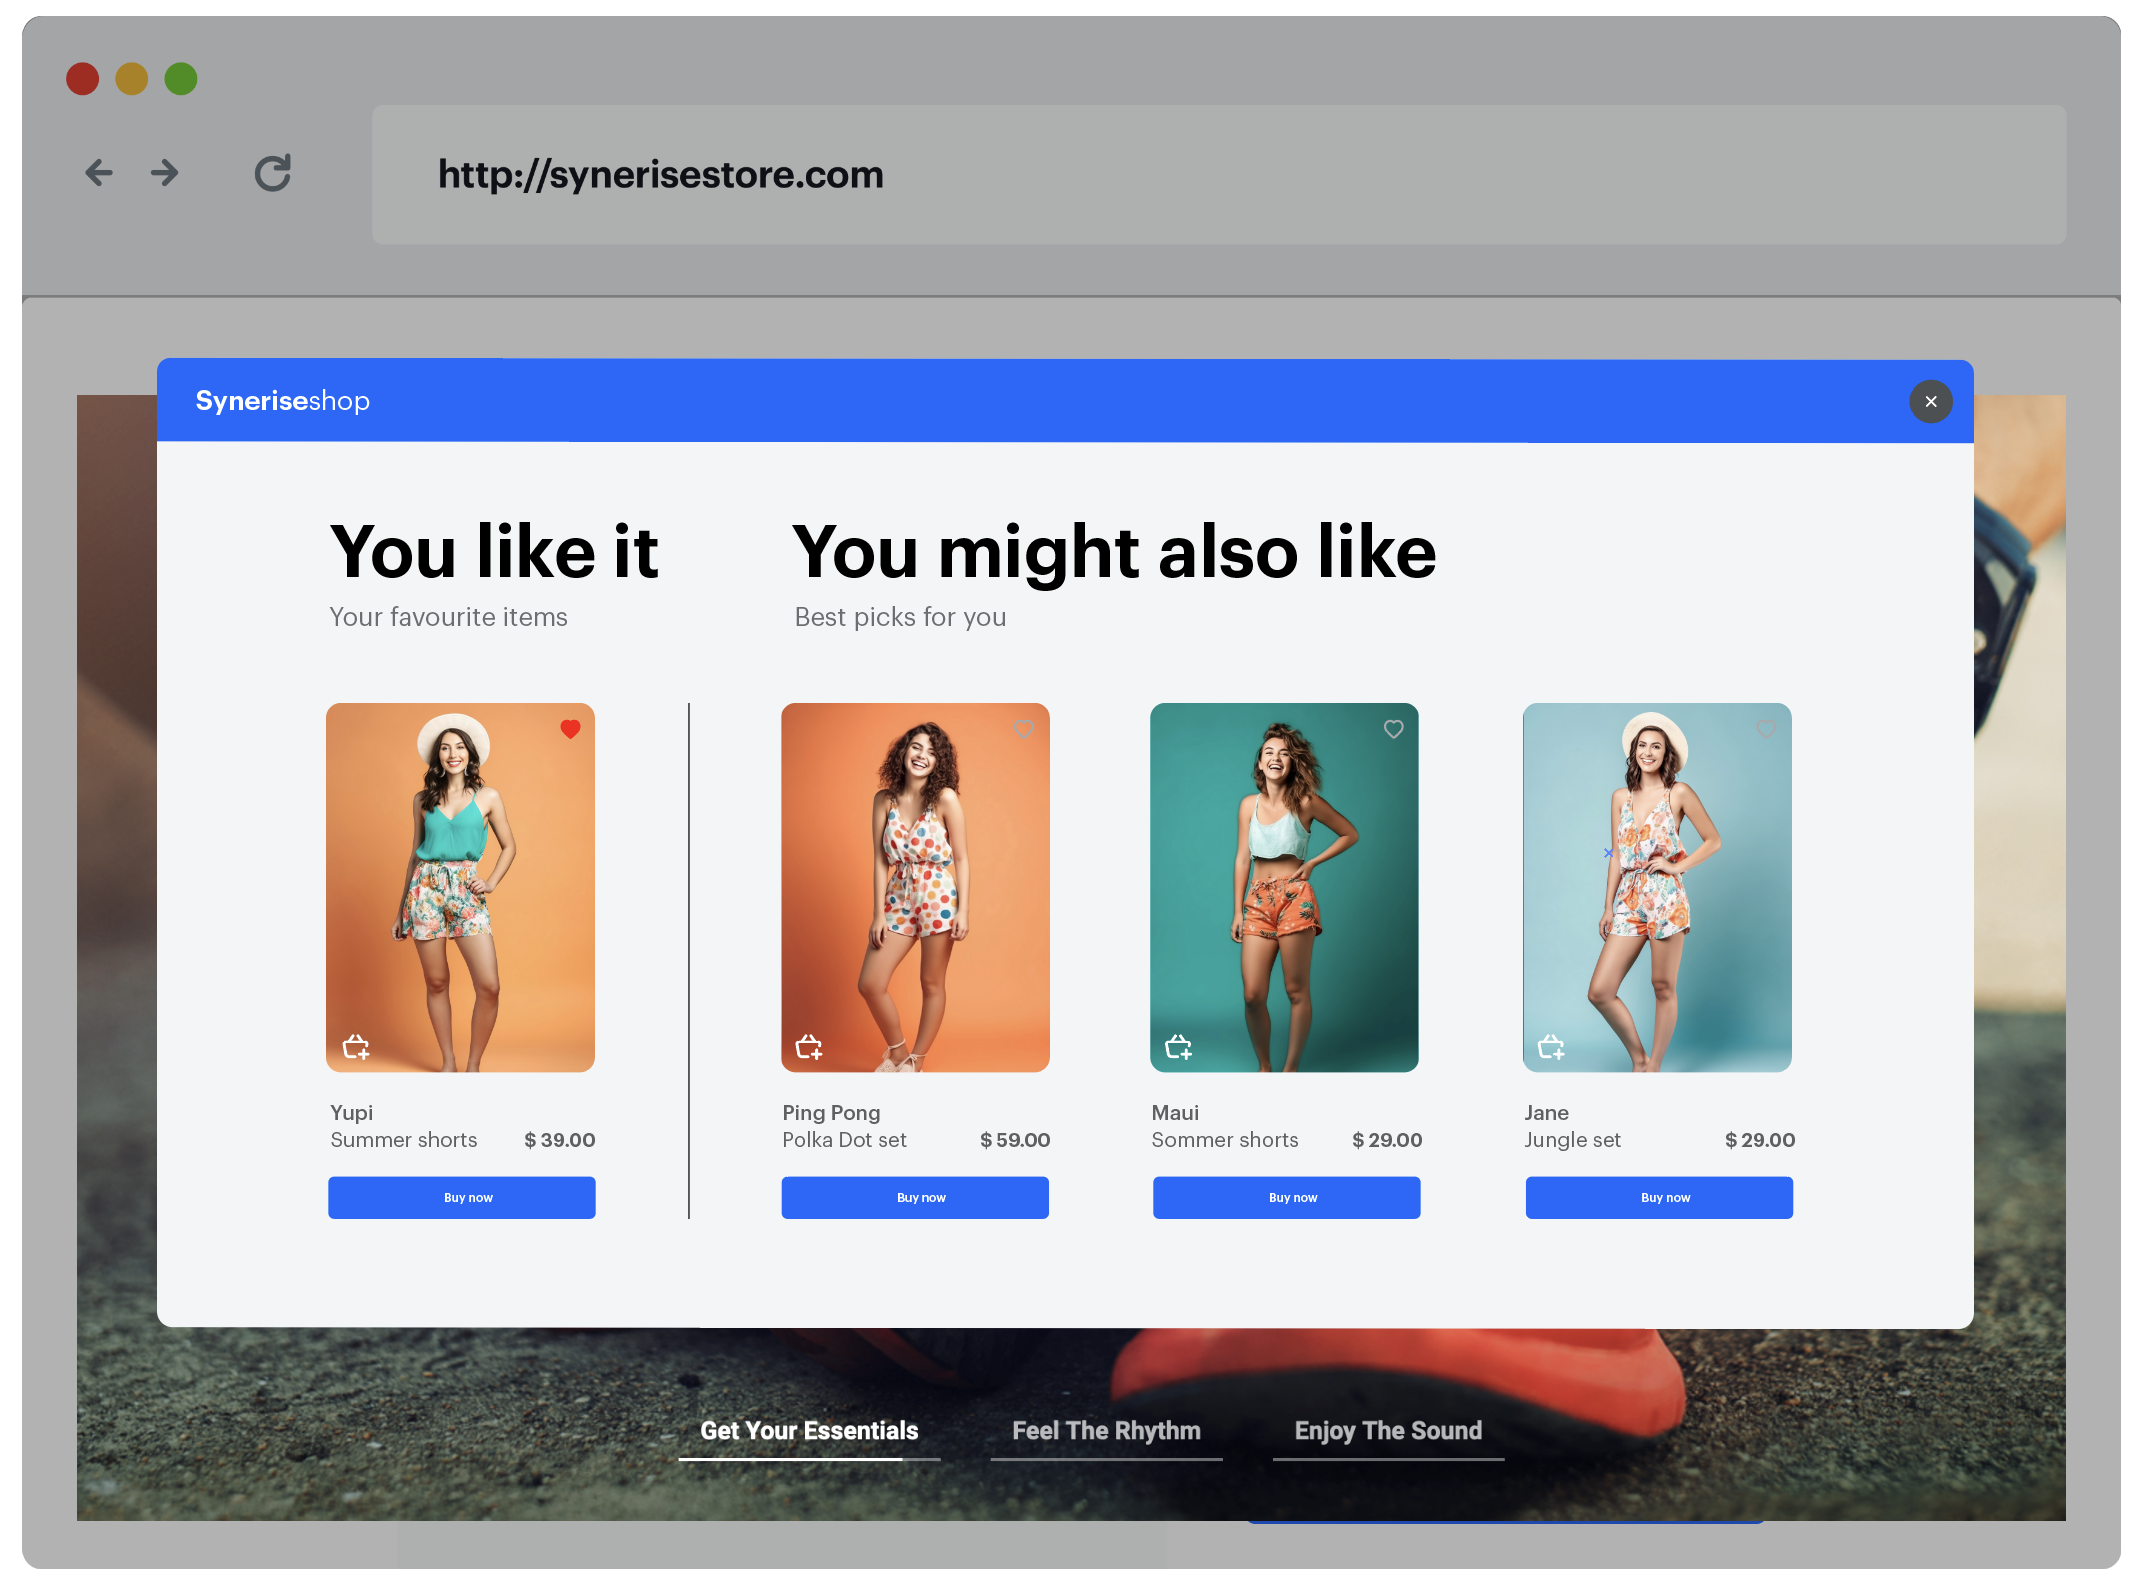

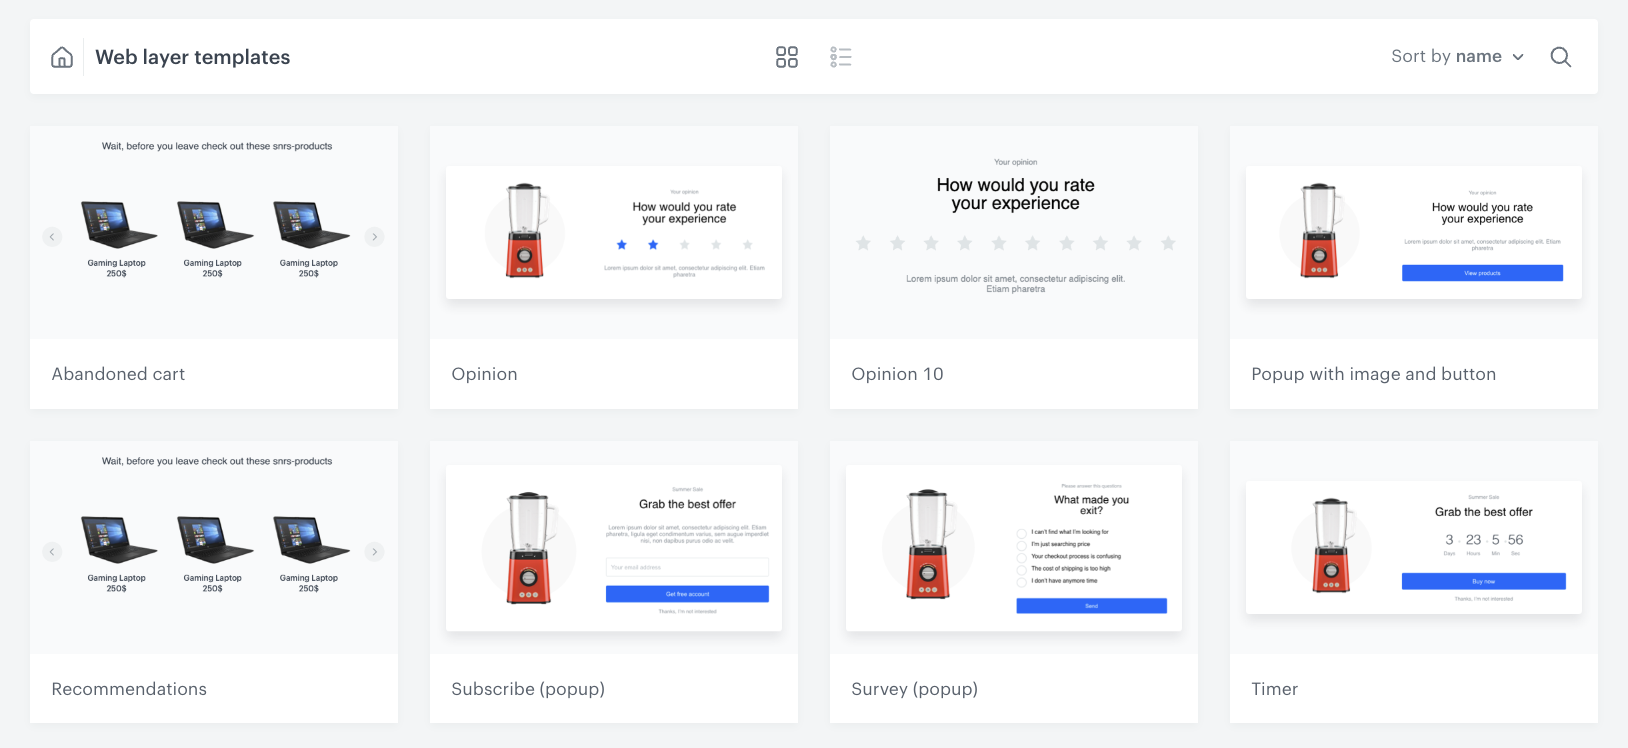
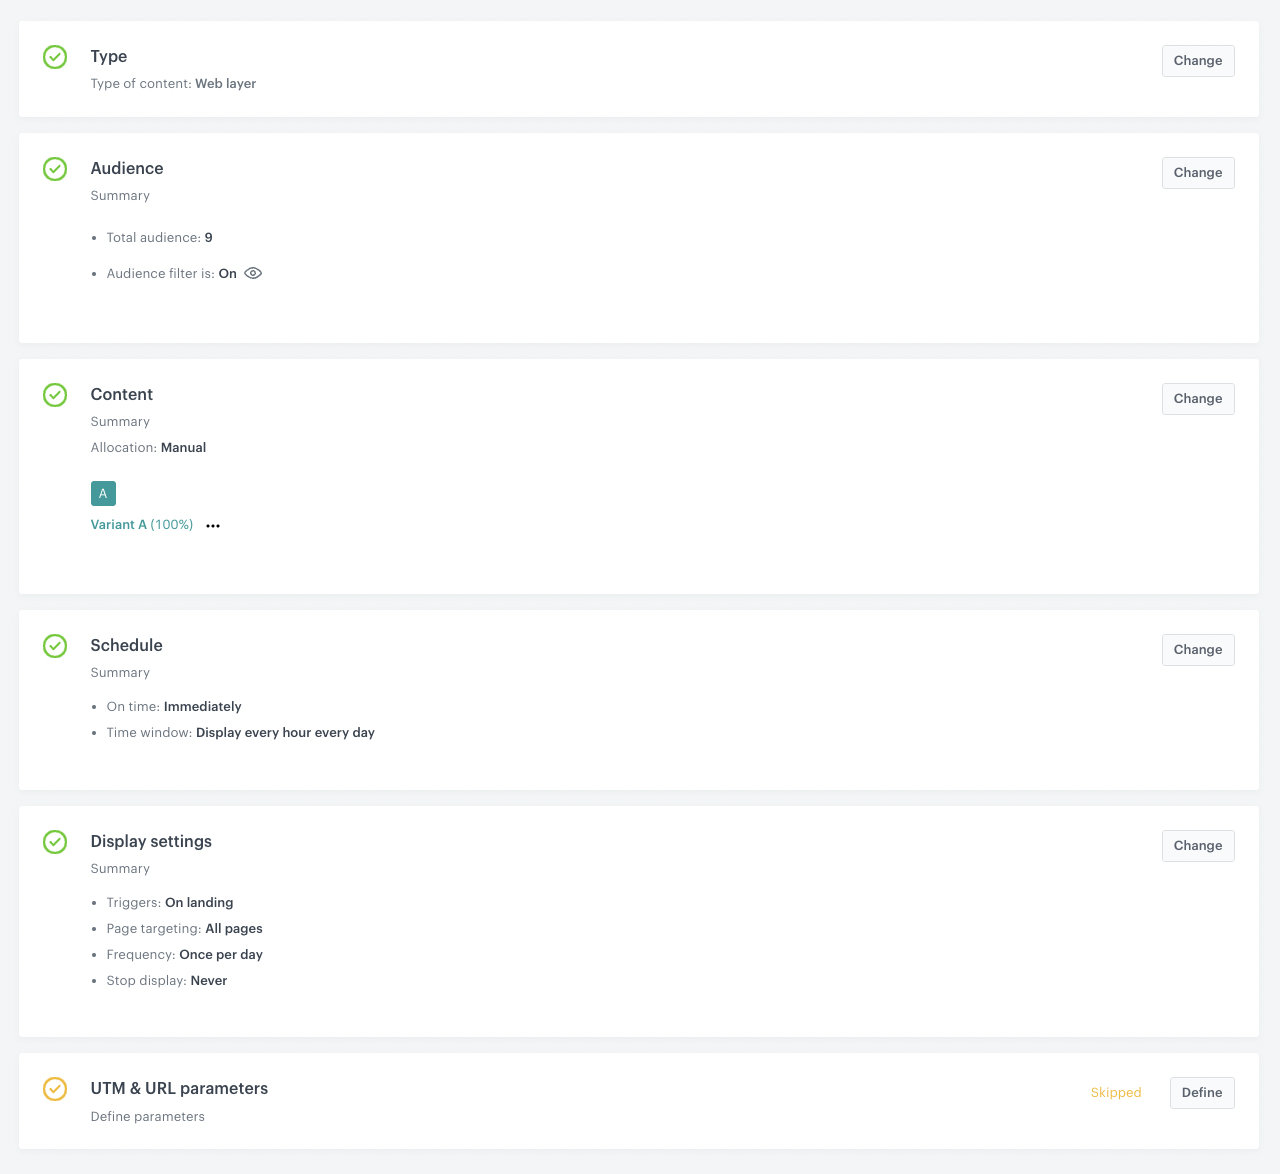
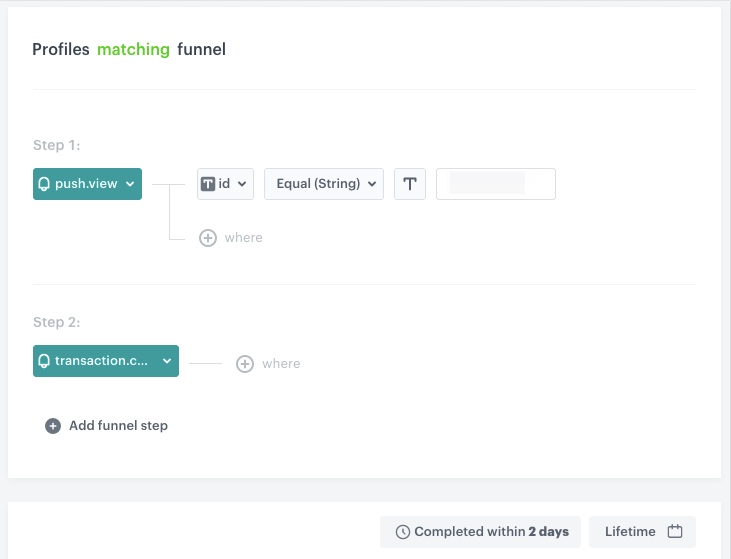
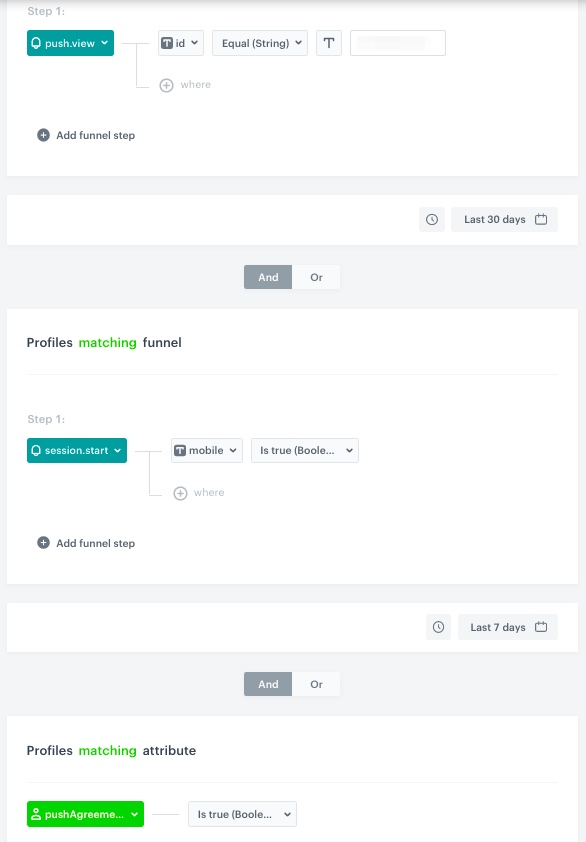
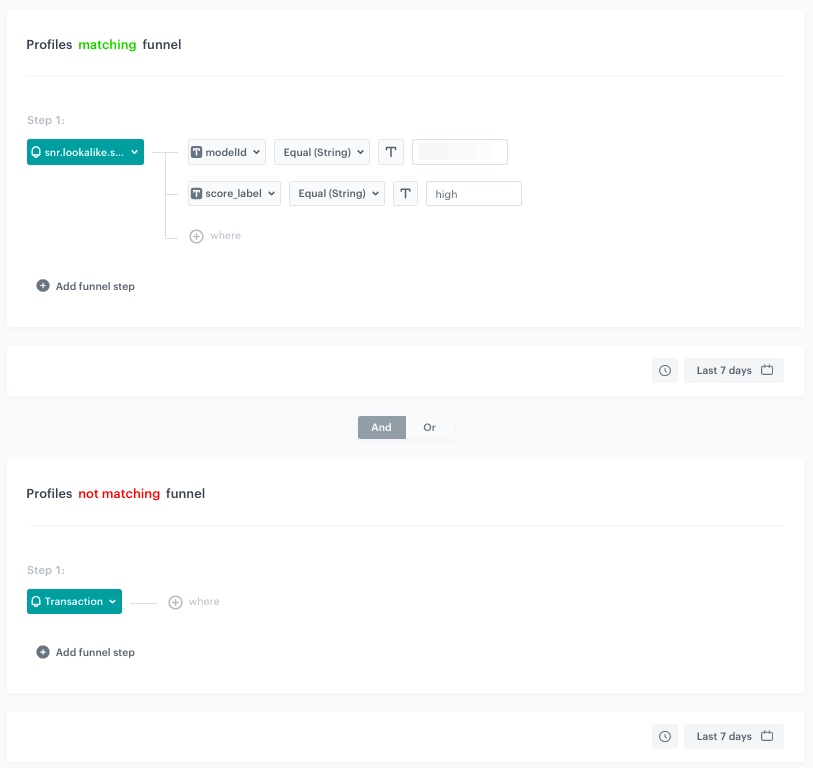
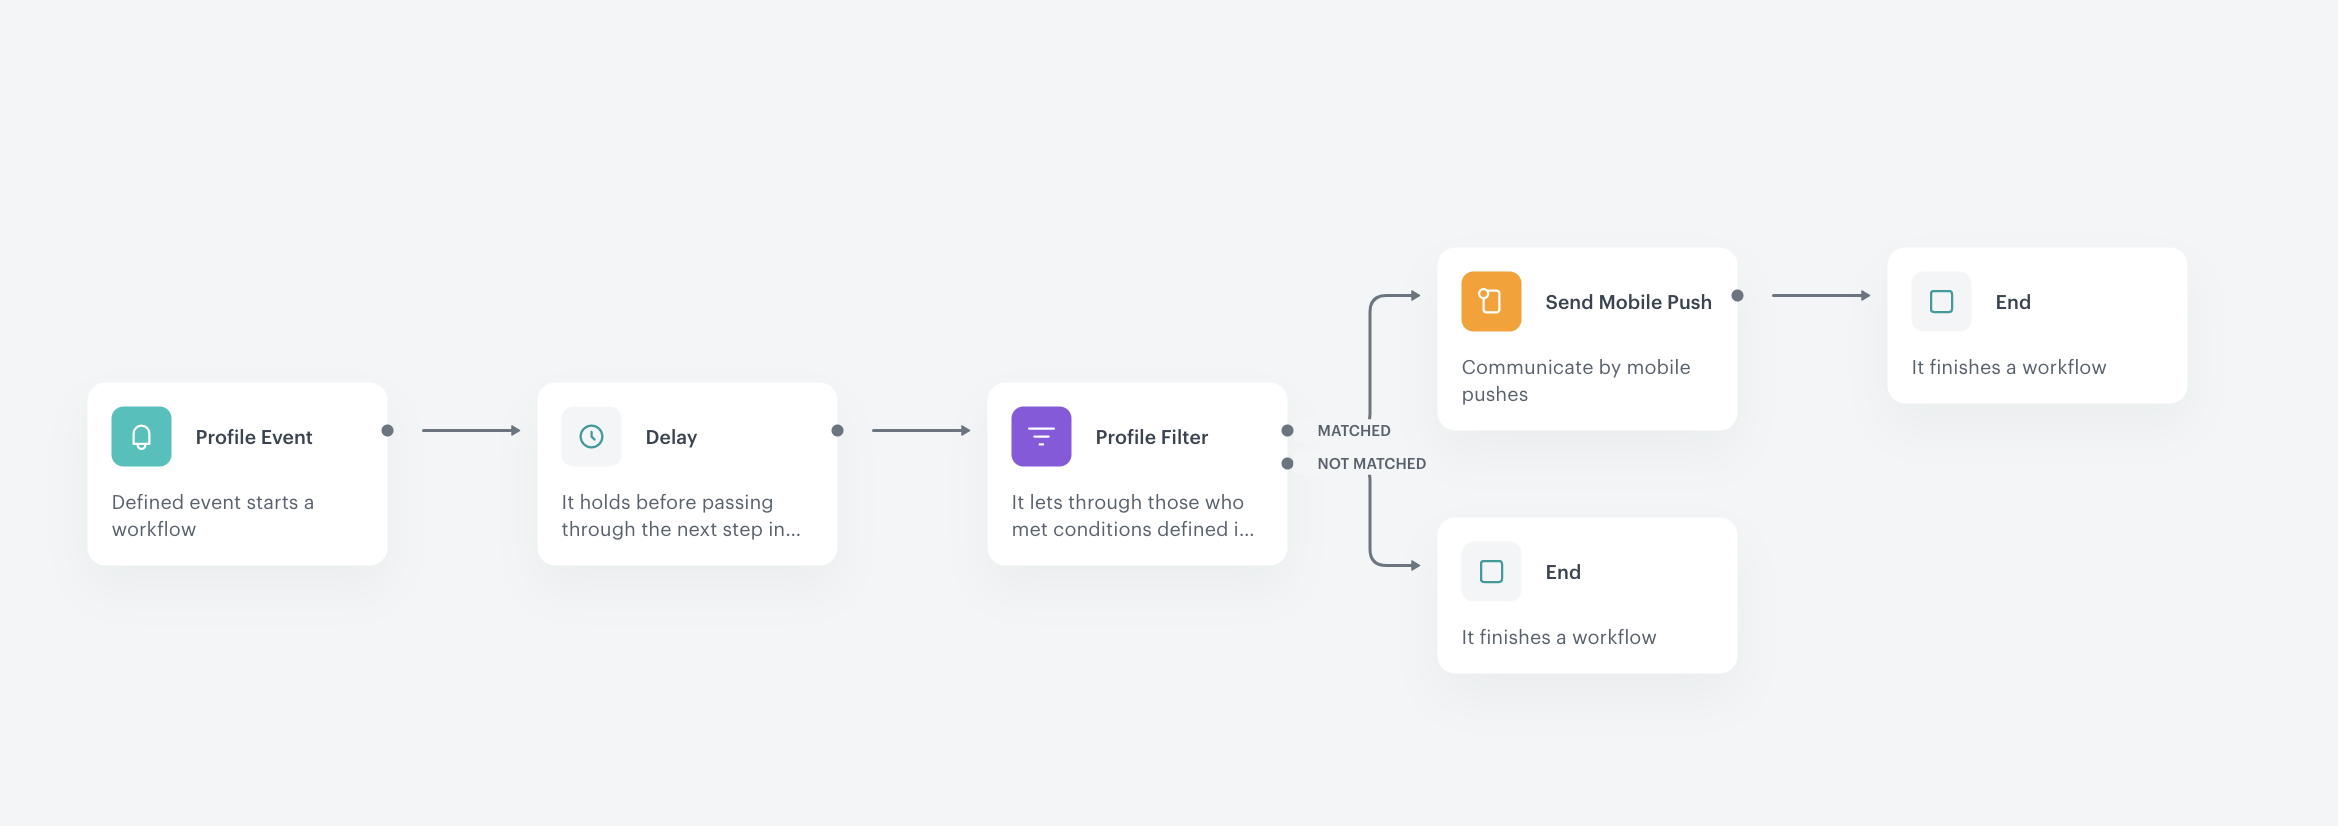
 ## Prerequisites
---
- Implement [Synerise tracking code](/developers/web/installation-and-configuration) on your website.
- Implement [OG Tags](/developers/web/og-tags) on your website.
- [Prepare a product feed](/docs/ai-hub/recommendations-v2/item-feed-requirements) with attributes to be used in item comparison recommendations.
- [Configure an item catalog for recommendations](/docs/settings/configuration/ai-engine-configuration/engine-configuration-for-recommendations). Enable the item comparison recommendations.
- Meet the minimum data requirements of interactions and events.
At least 10,000 item page visits for **Item comparison recommendations**.
## Create a recommendation
---
1. Go to
## Prerequisites
---
- Implement [Synerise tracking code](/developers/web/installation-and-configuration) on your website.
- Implement [OG Tags](/developers/web/og-tags) on your website.
- [Prepare a product feed](/docs/ai-hub/recommendations-v2/item-feed-requirements) with attributes to be used in item comparison recommendations.
- [Configure an item catalog for recommendations](/docs/settings/configuration/ai-engine-configuration/engine-configuration-for-recommendations). Enable the item comparison recommendations.
- Meet the minimum data requirements of interactions and events.
At least 10,000 item page visits for **Item comparison recommendations**.
## Create a recommendation
---
1. Go to 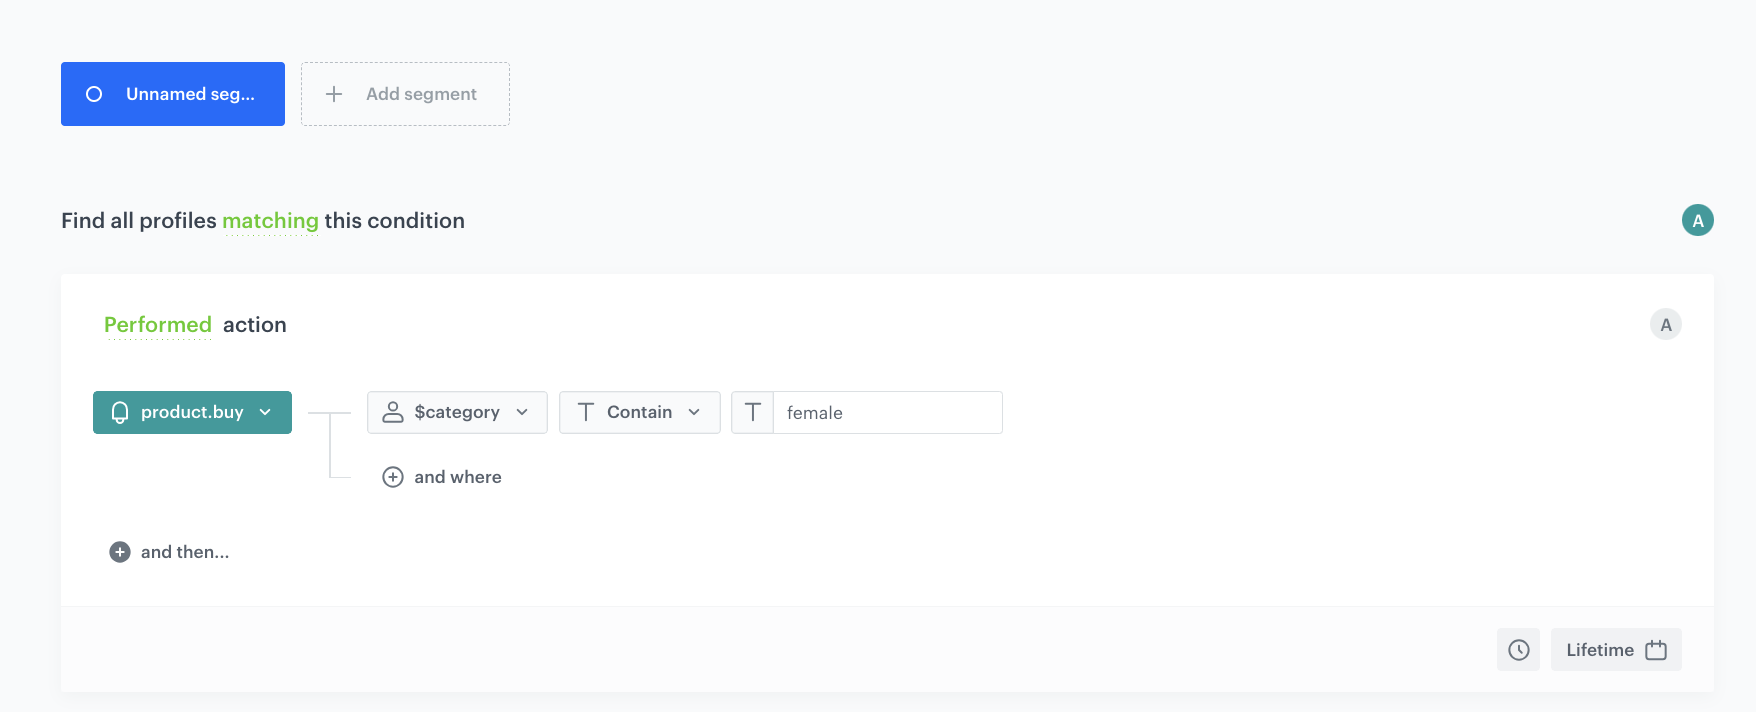
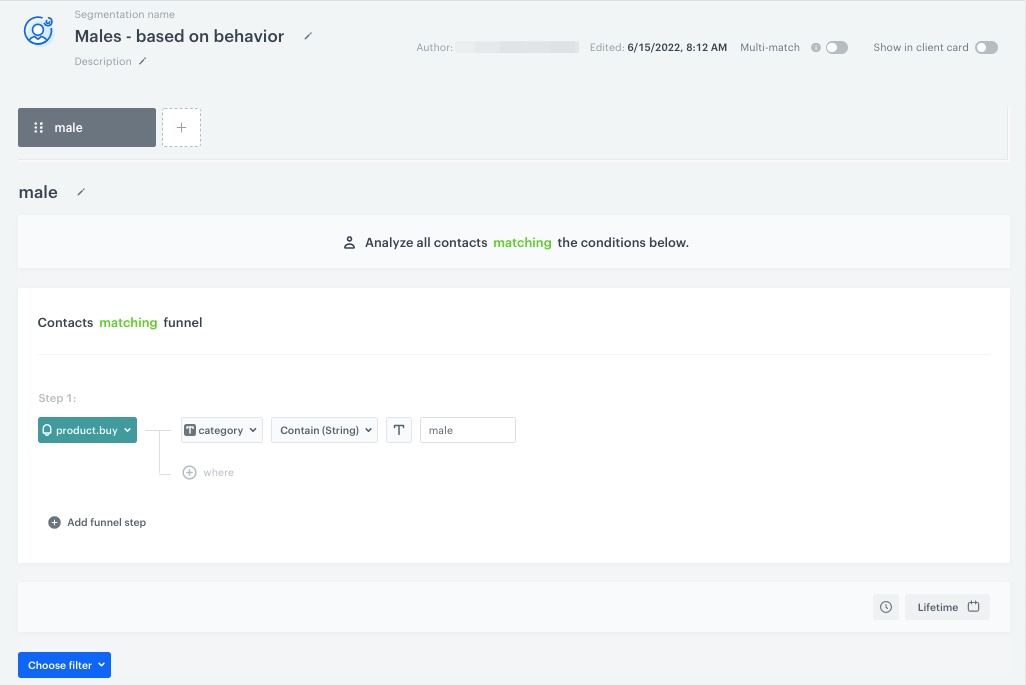
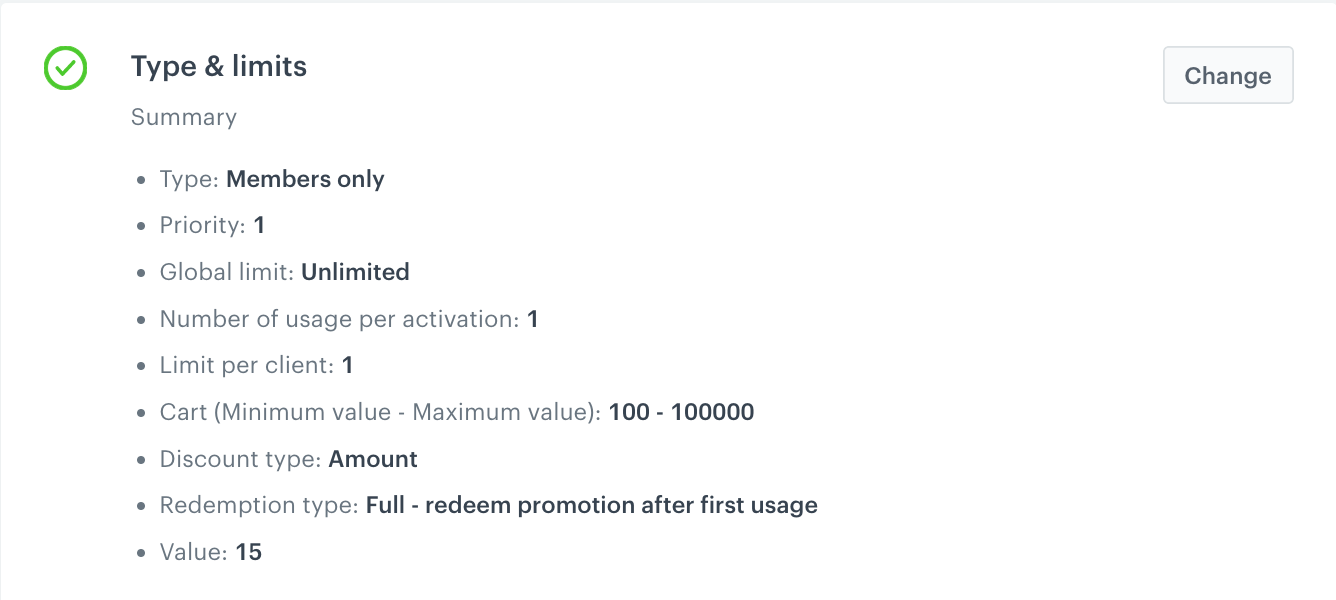
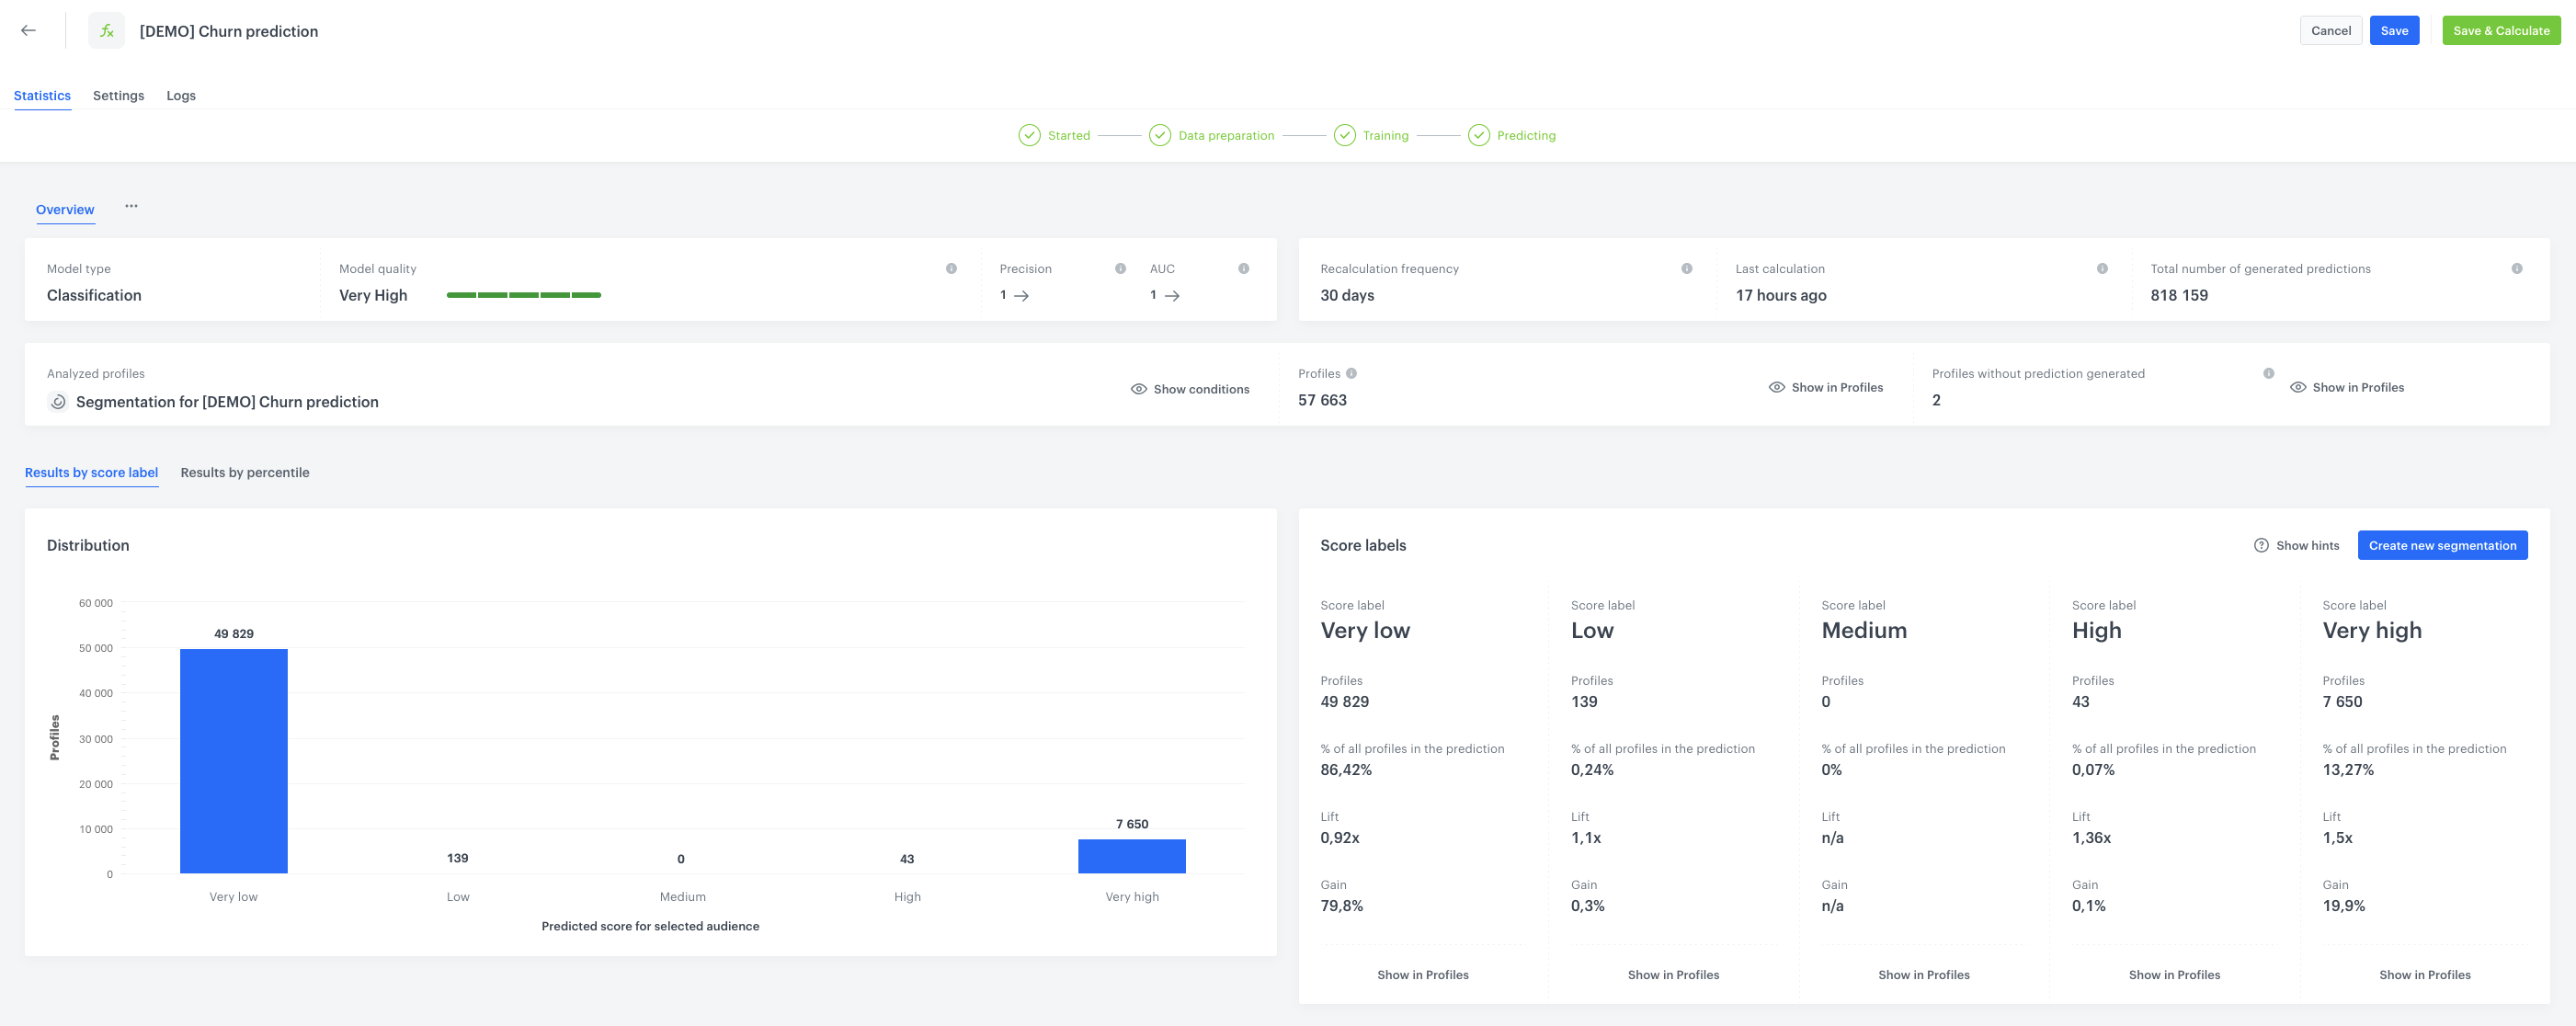
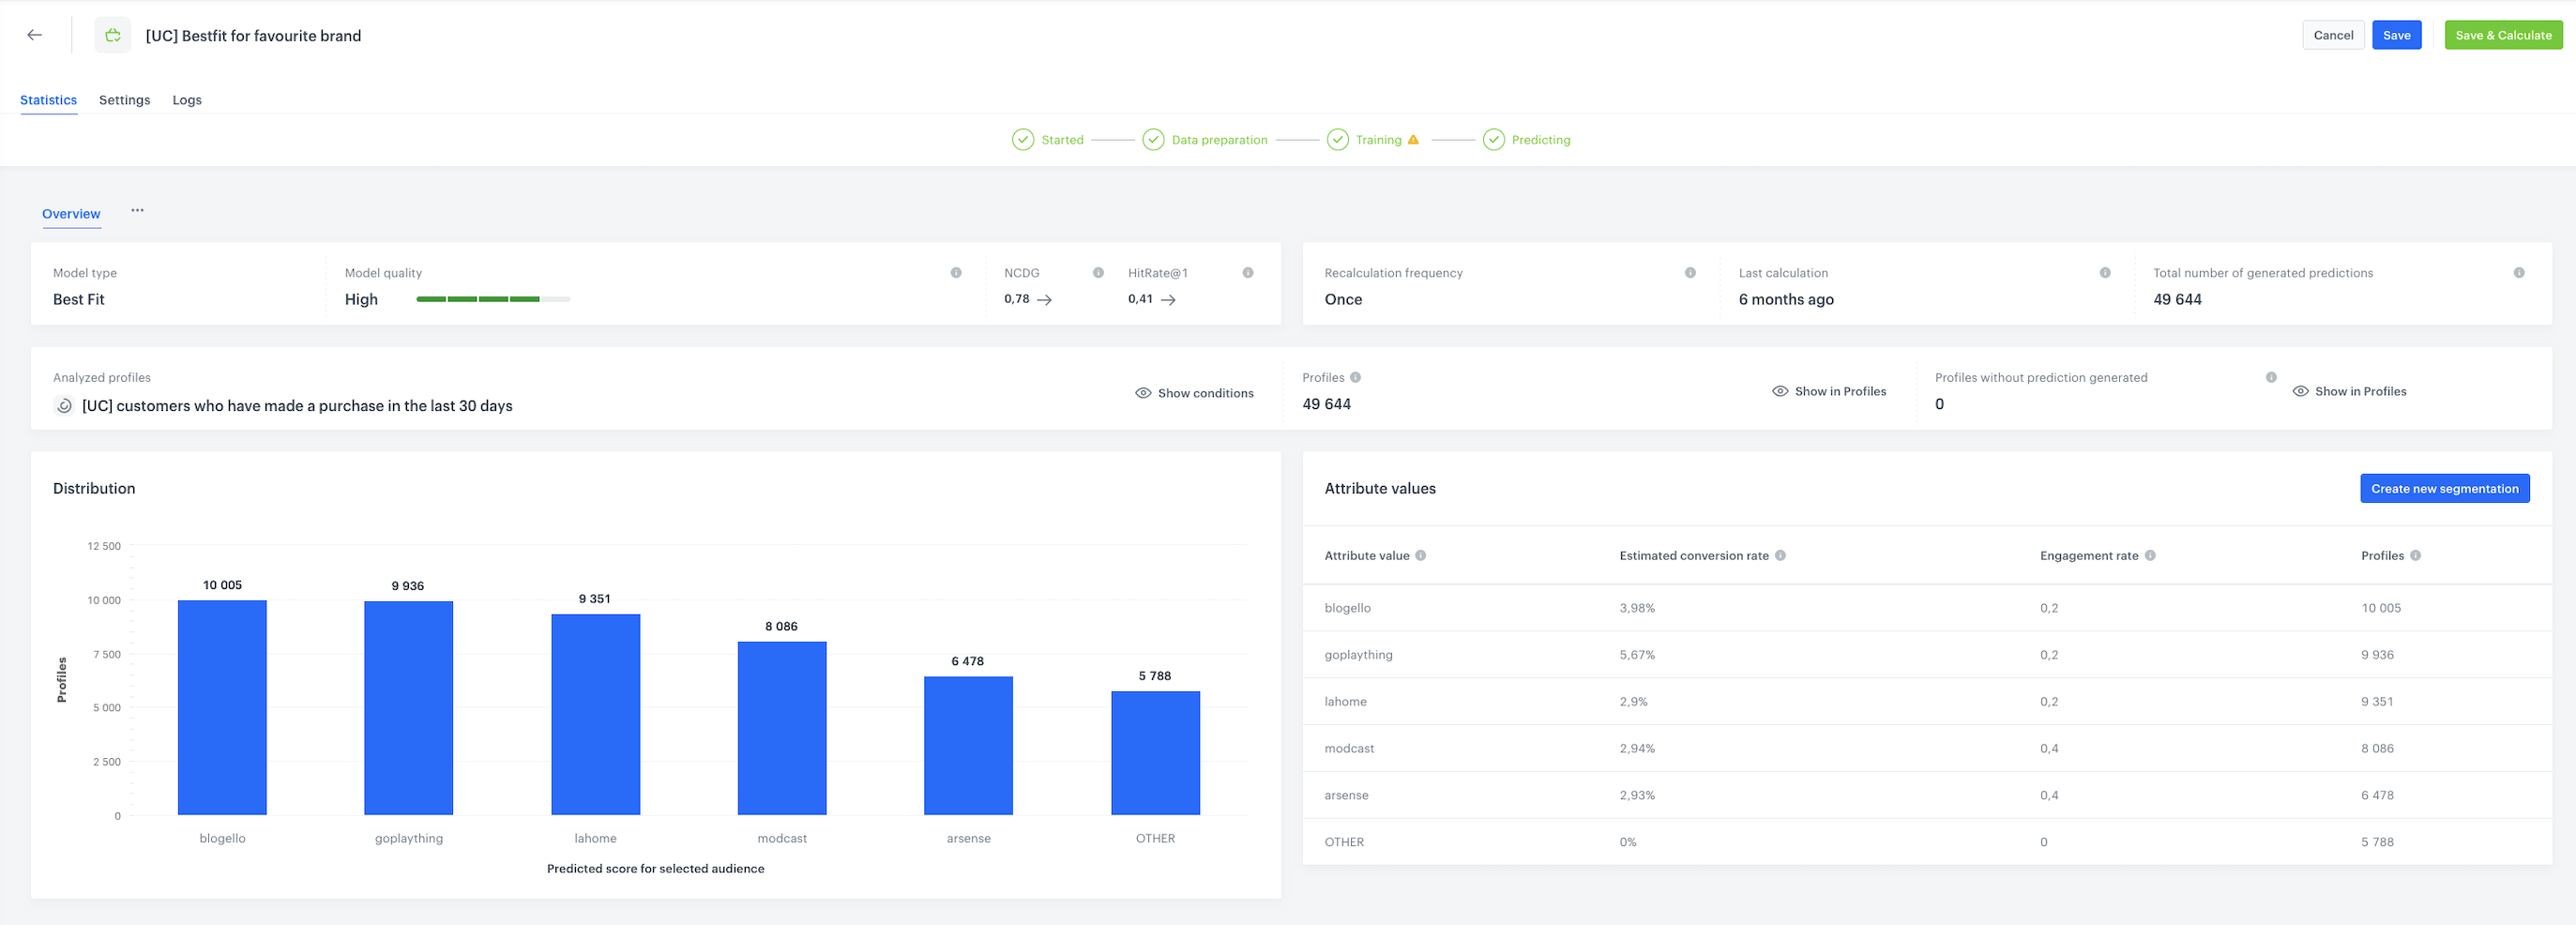
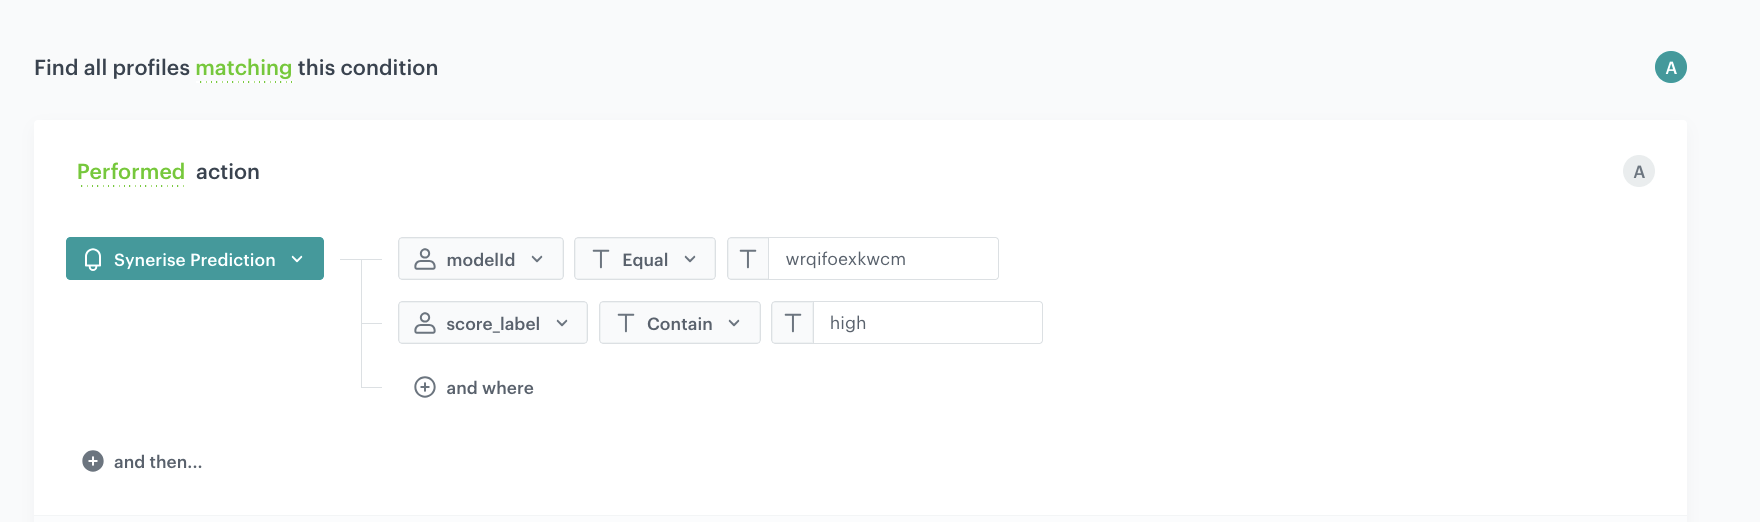
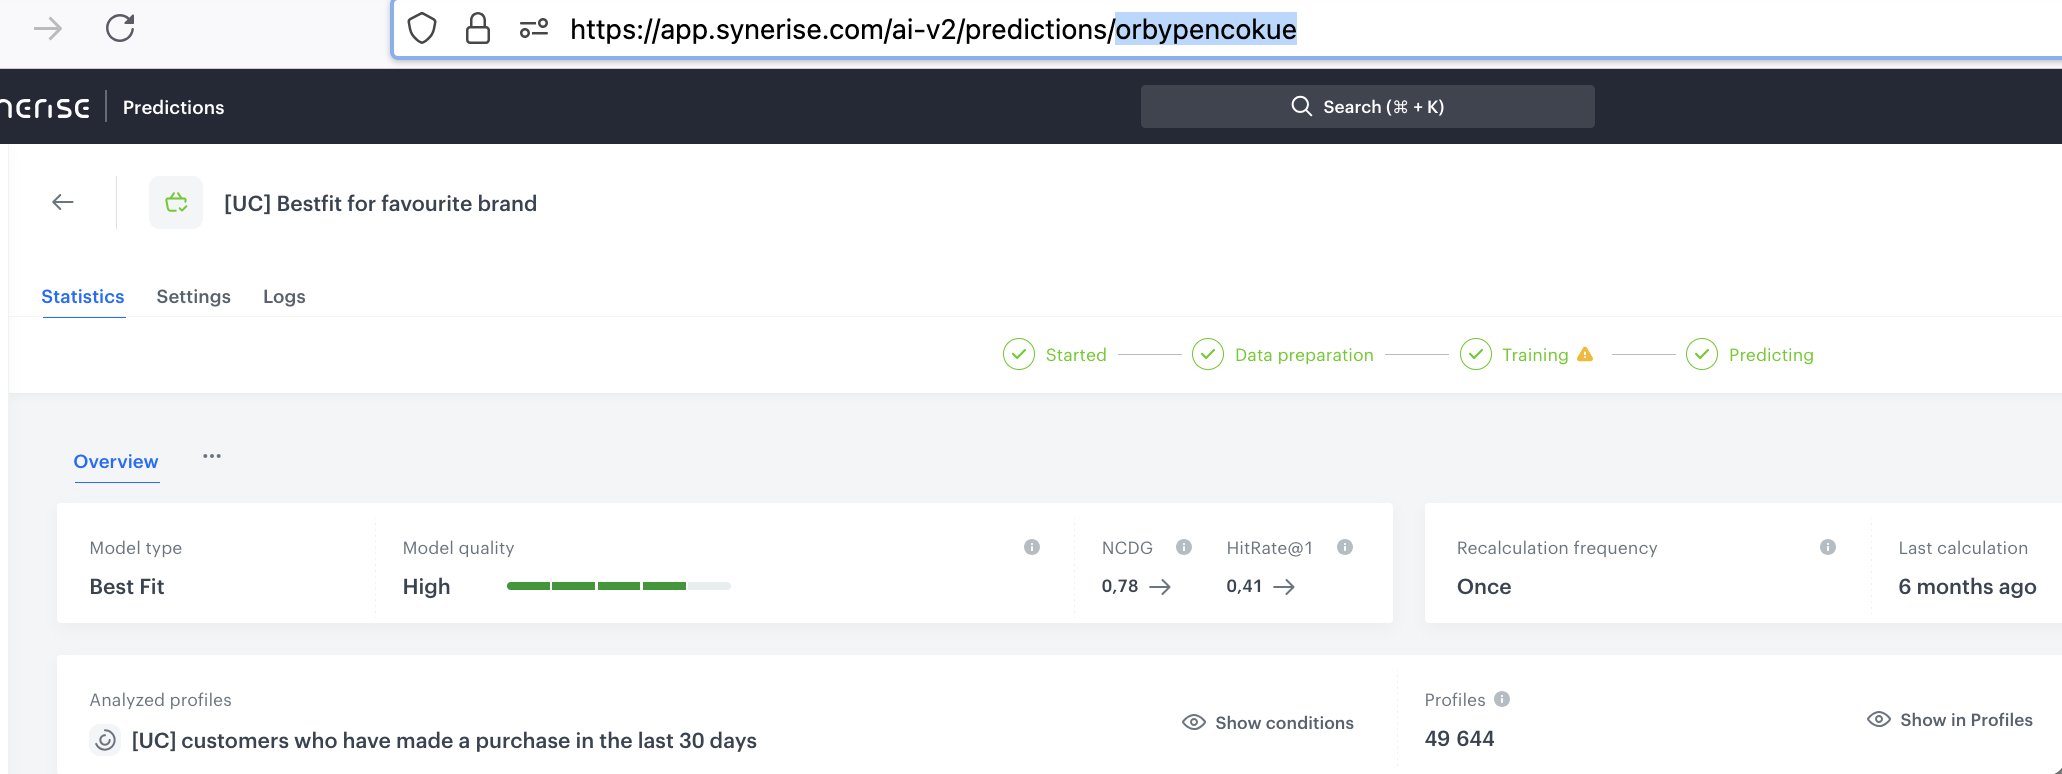
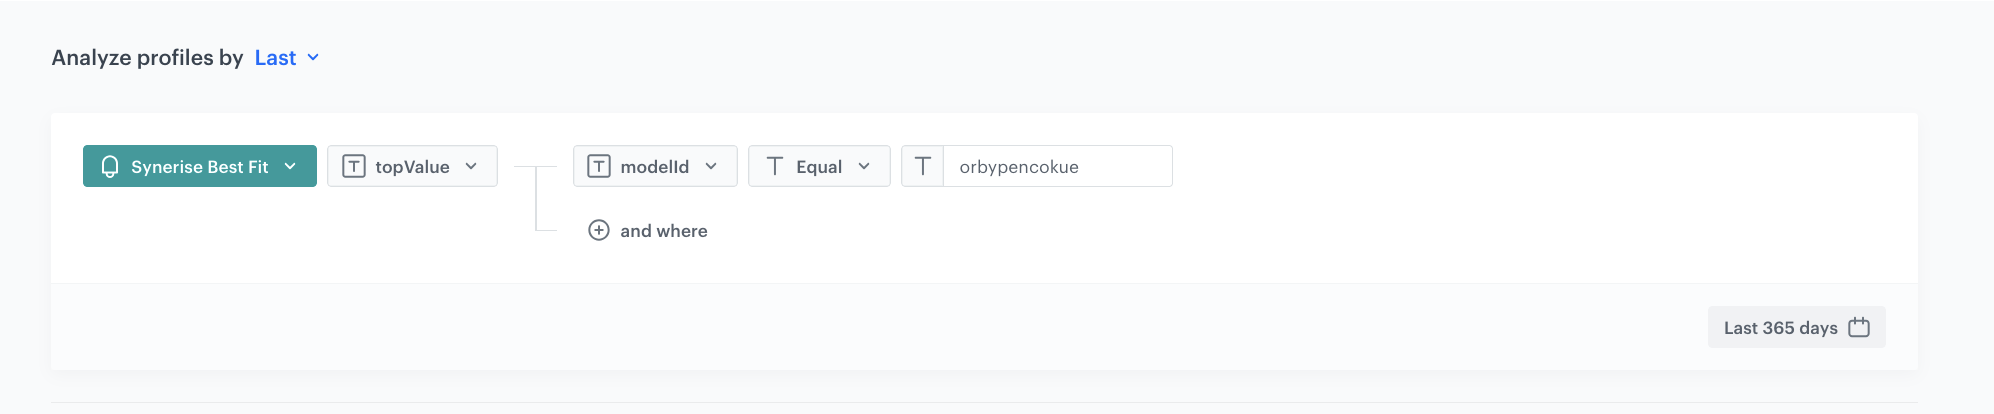
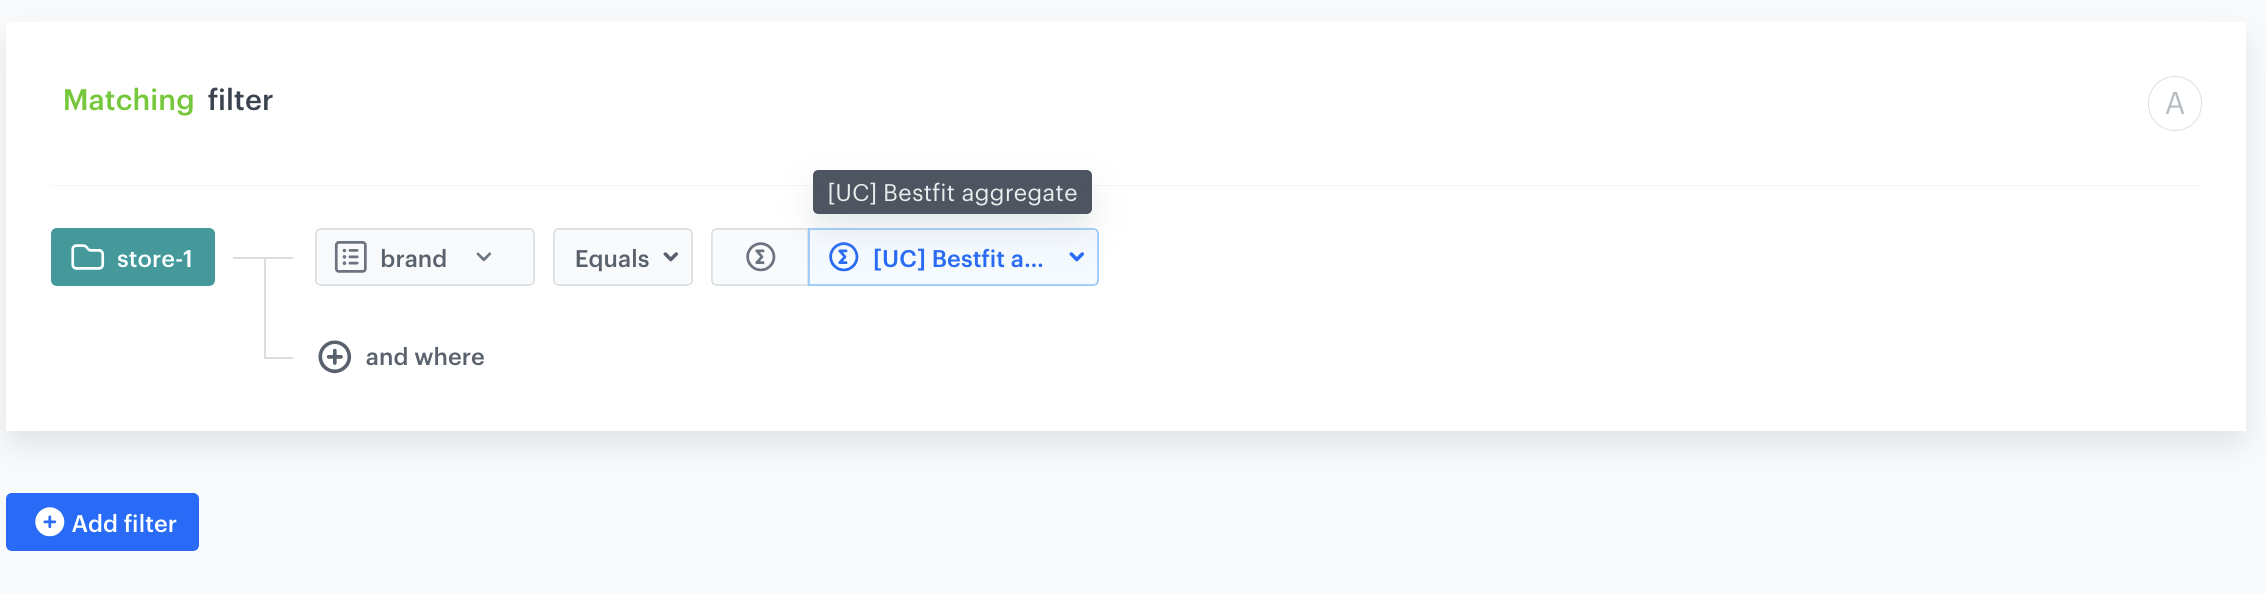
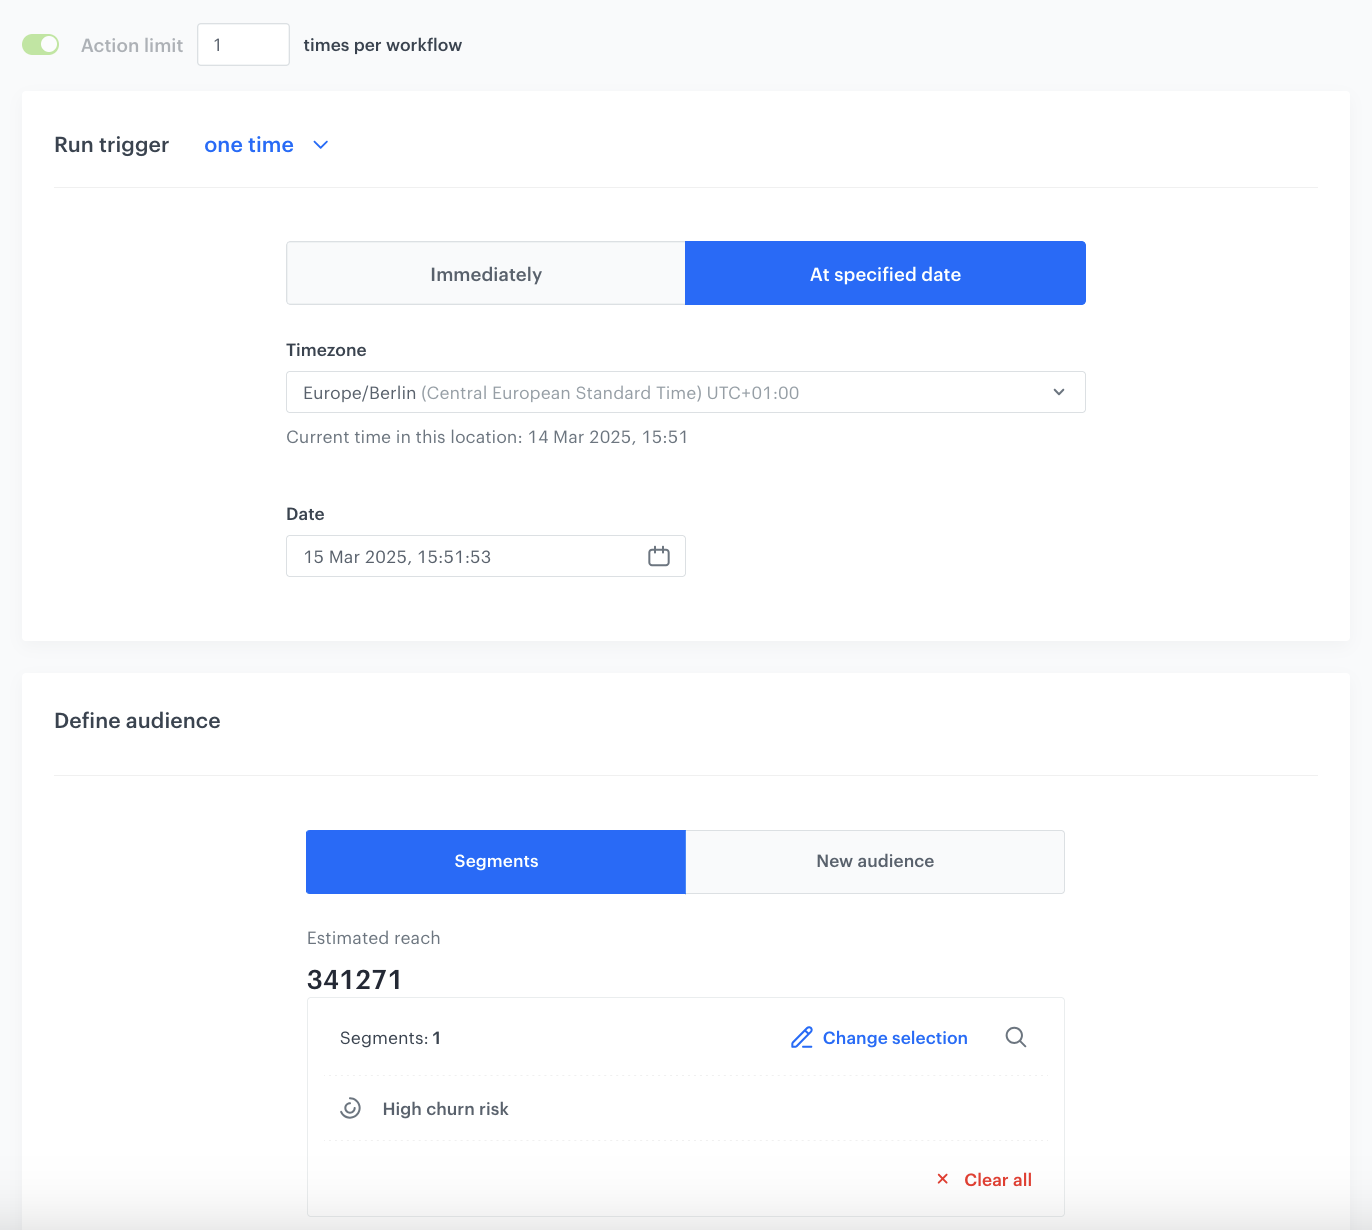
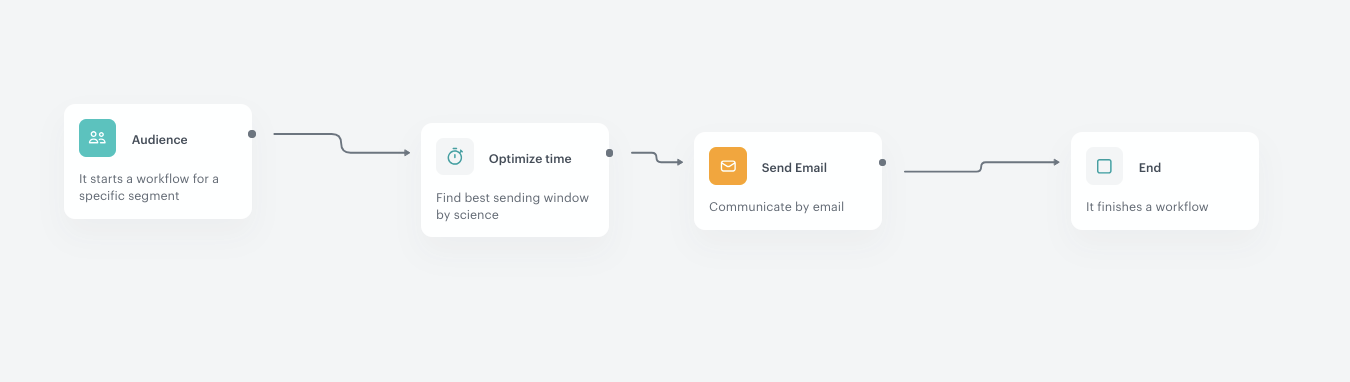
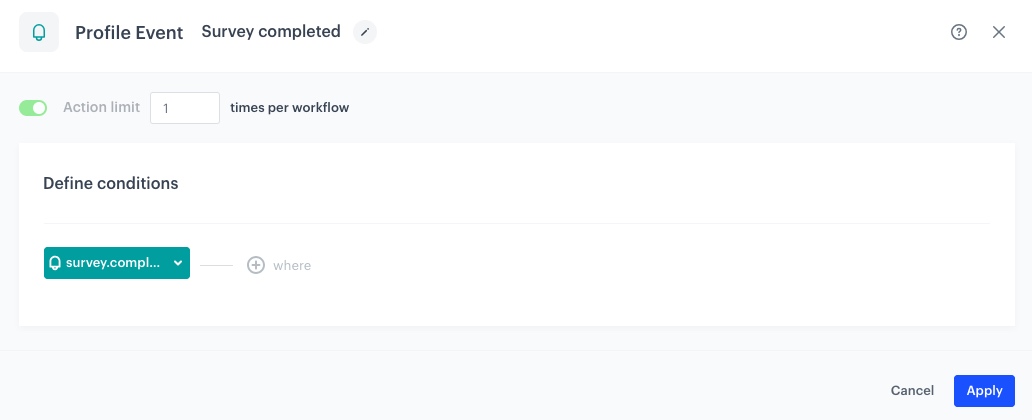
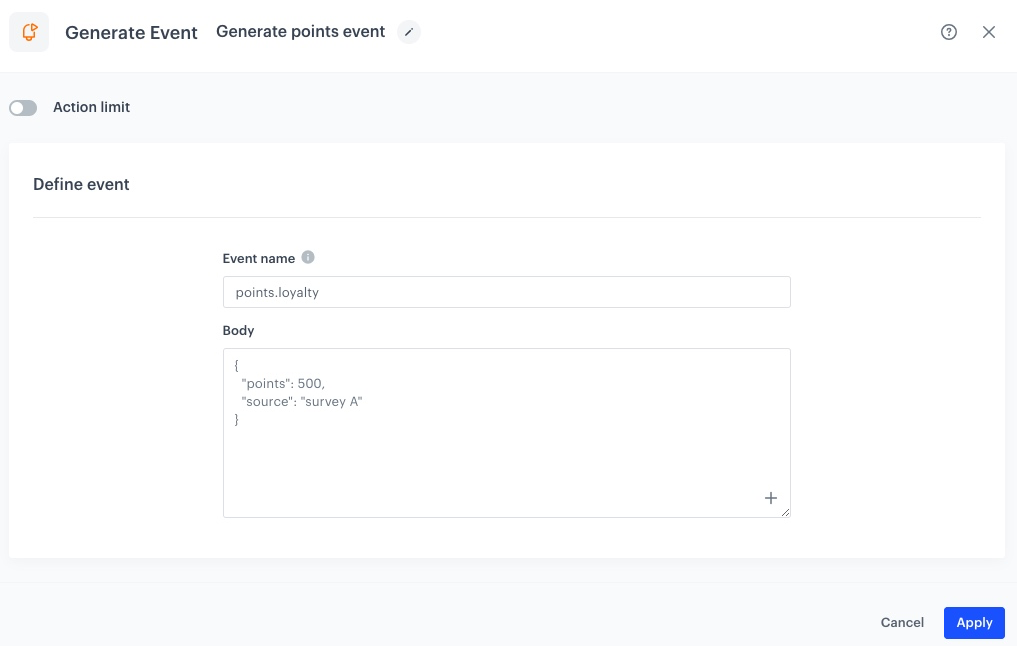

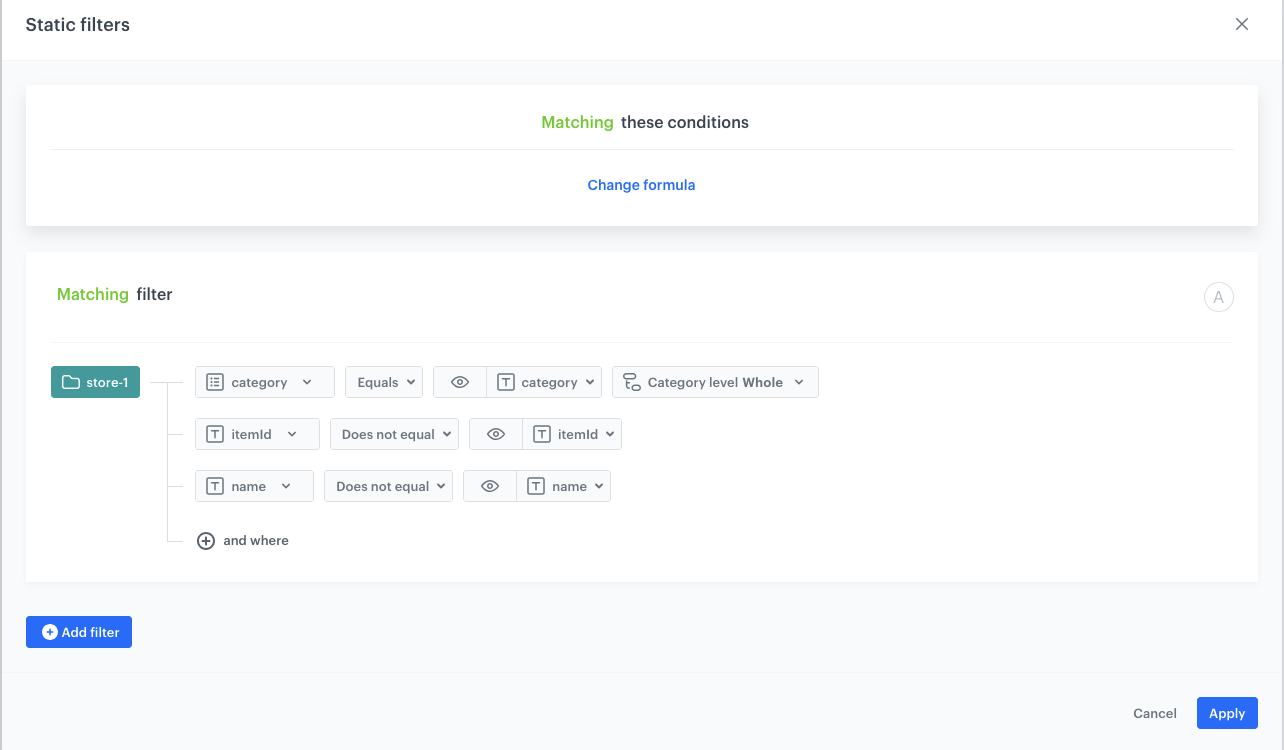
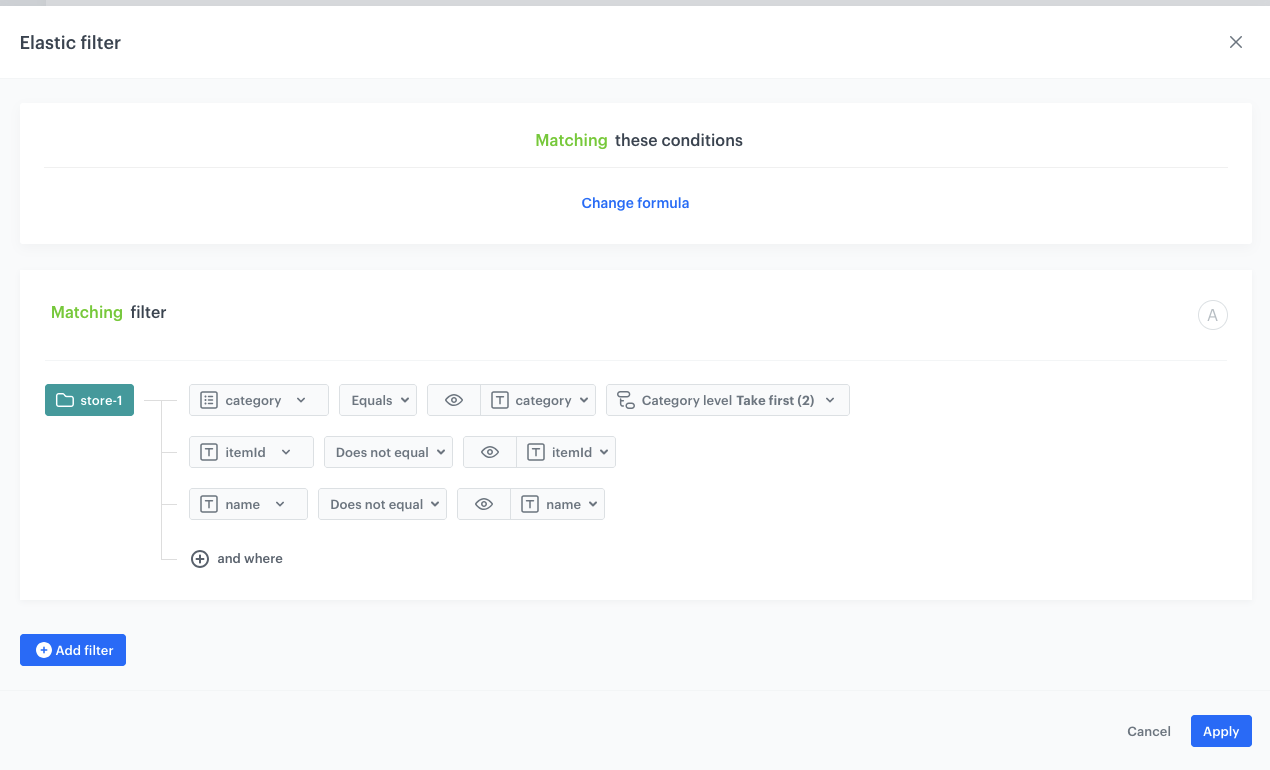
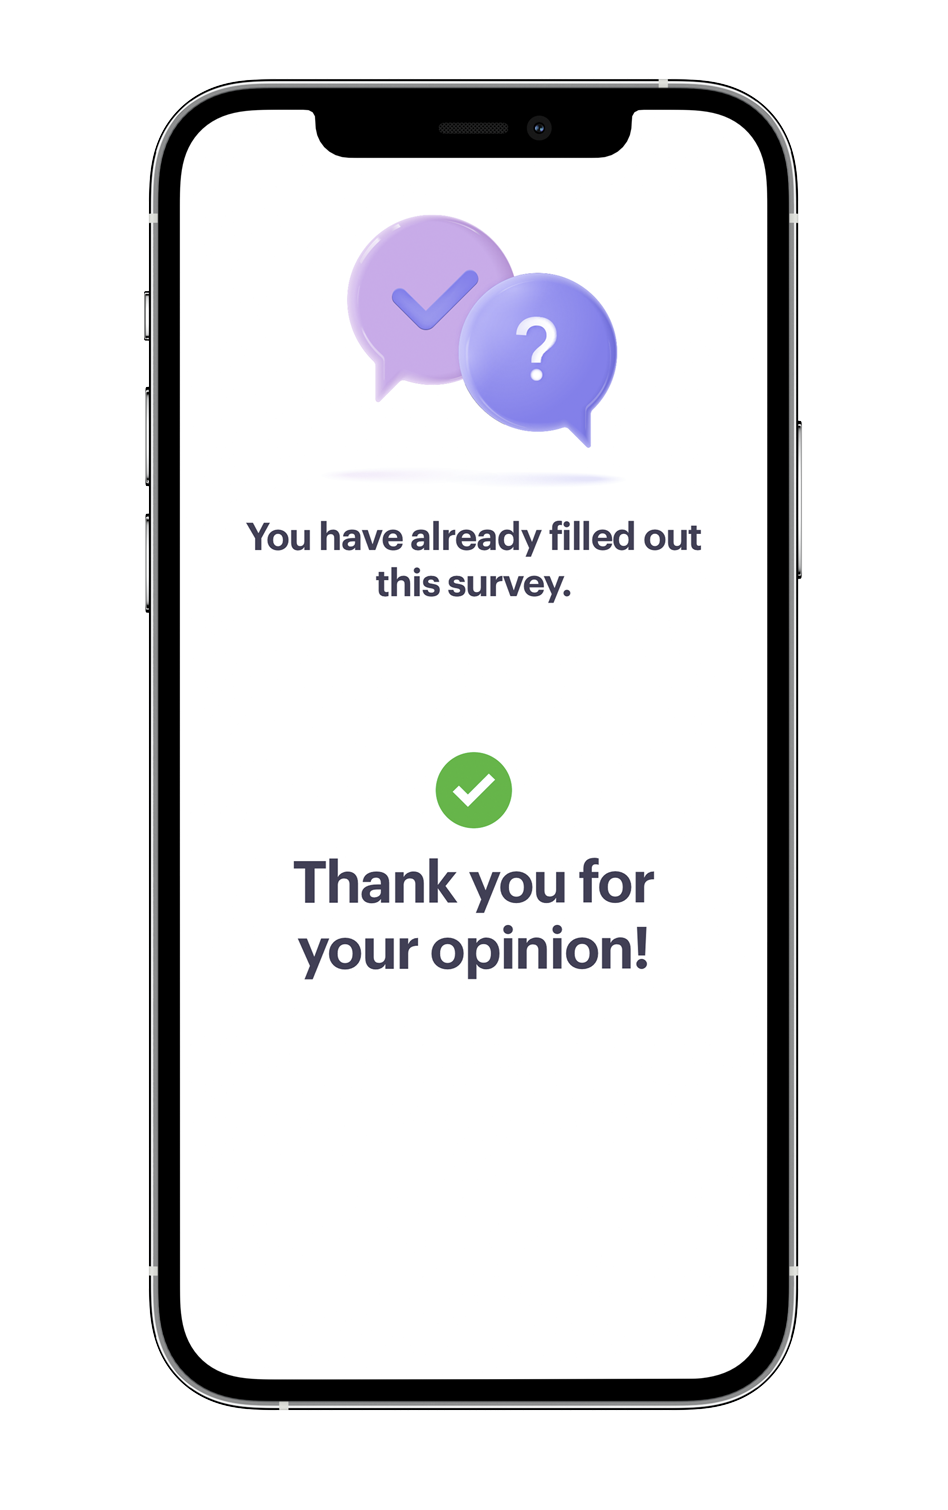
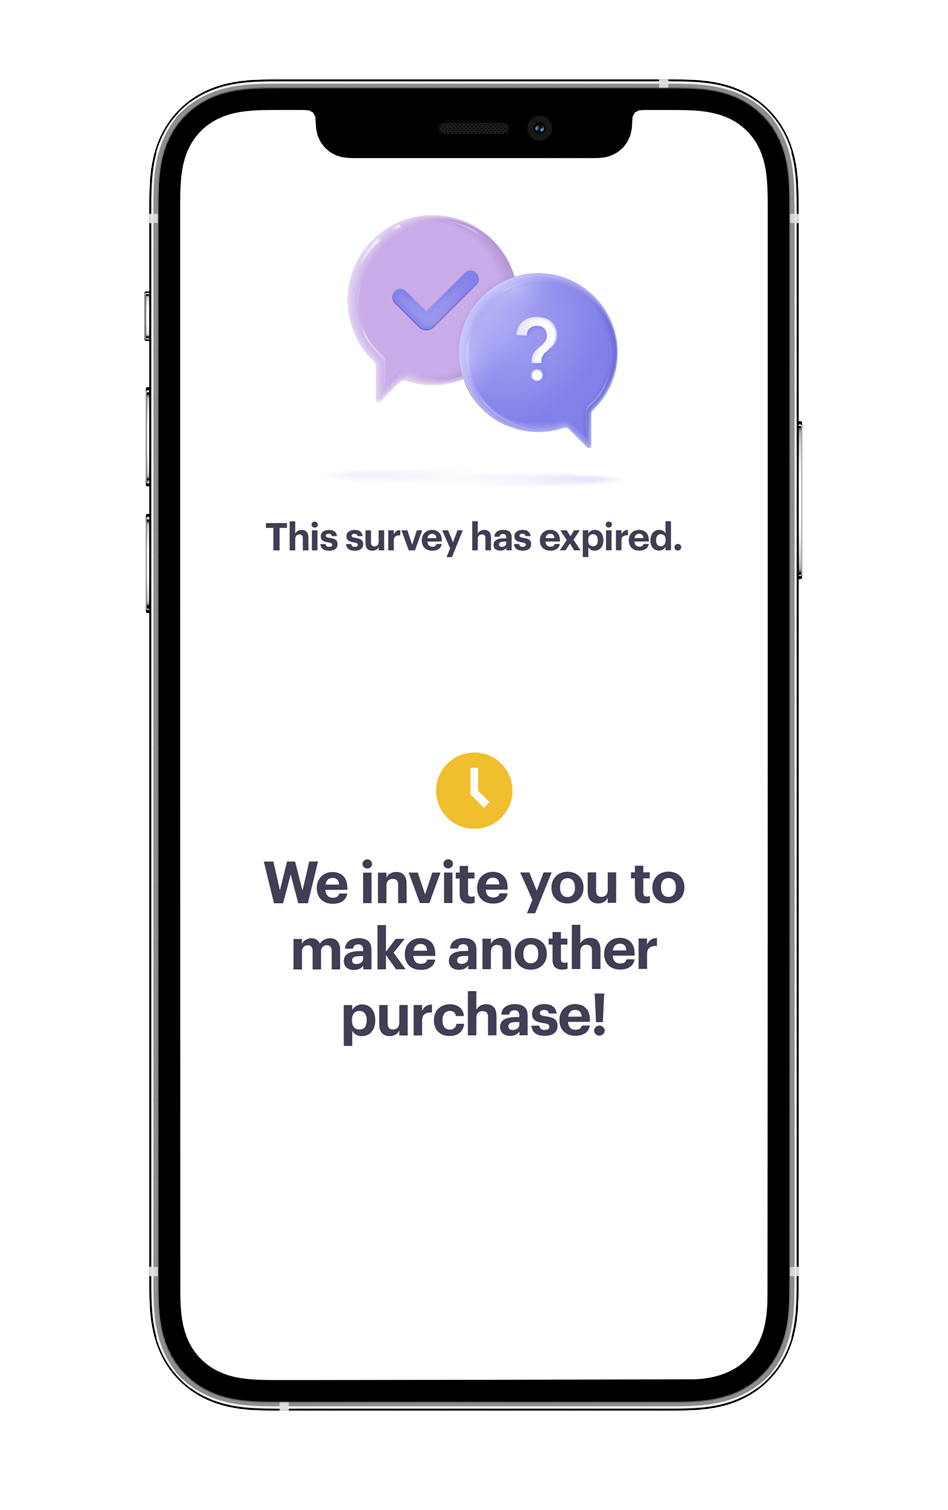
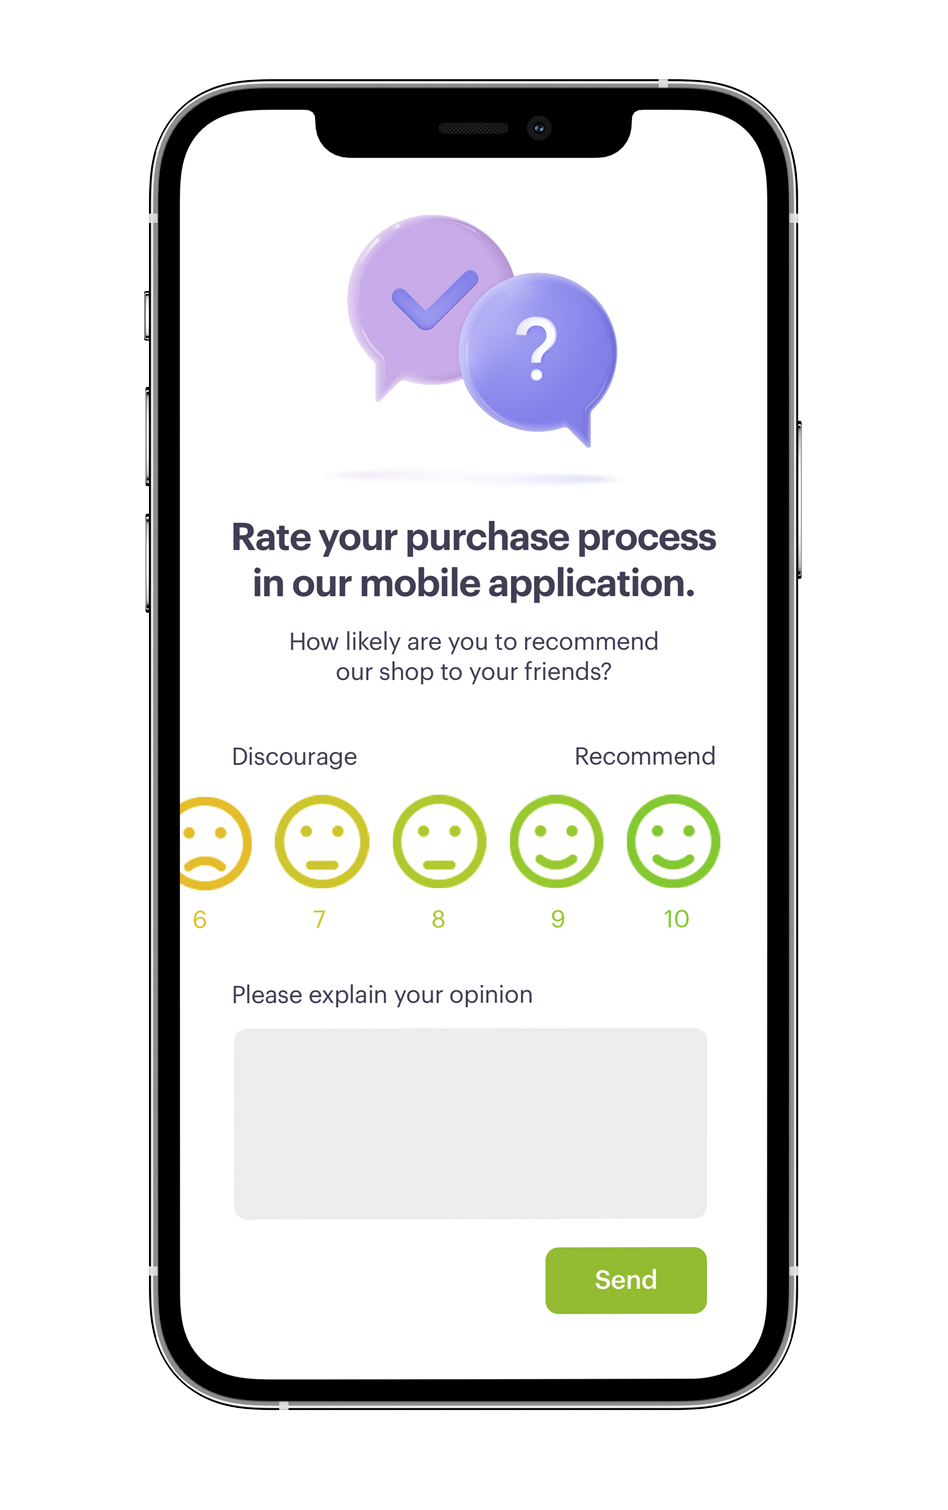

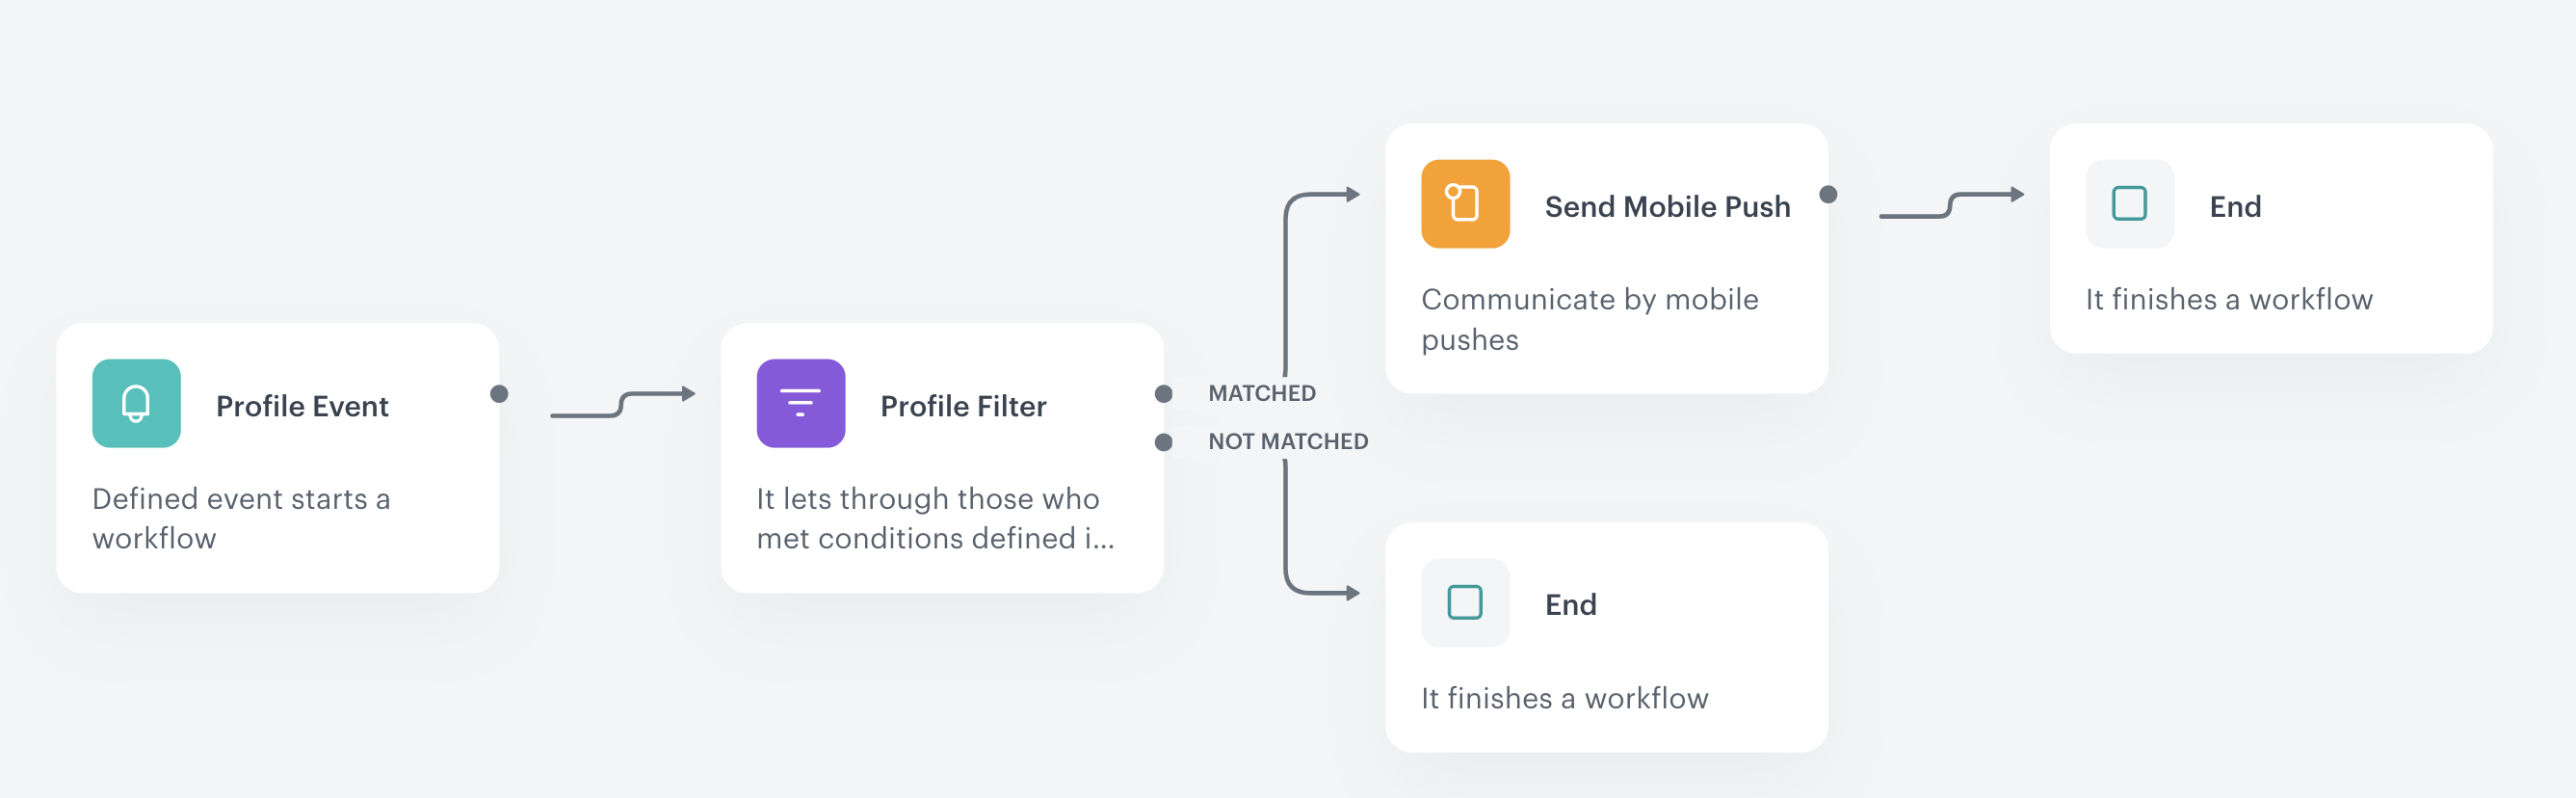
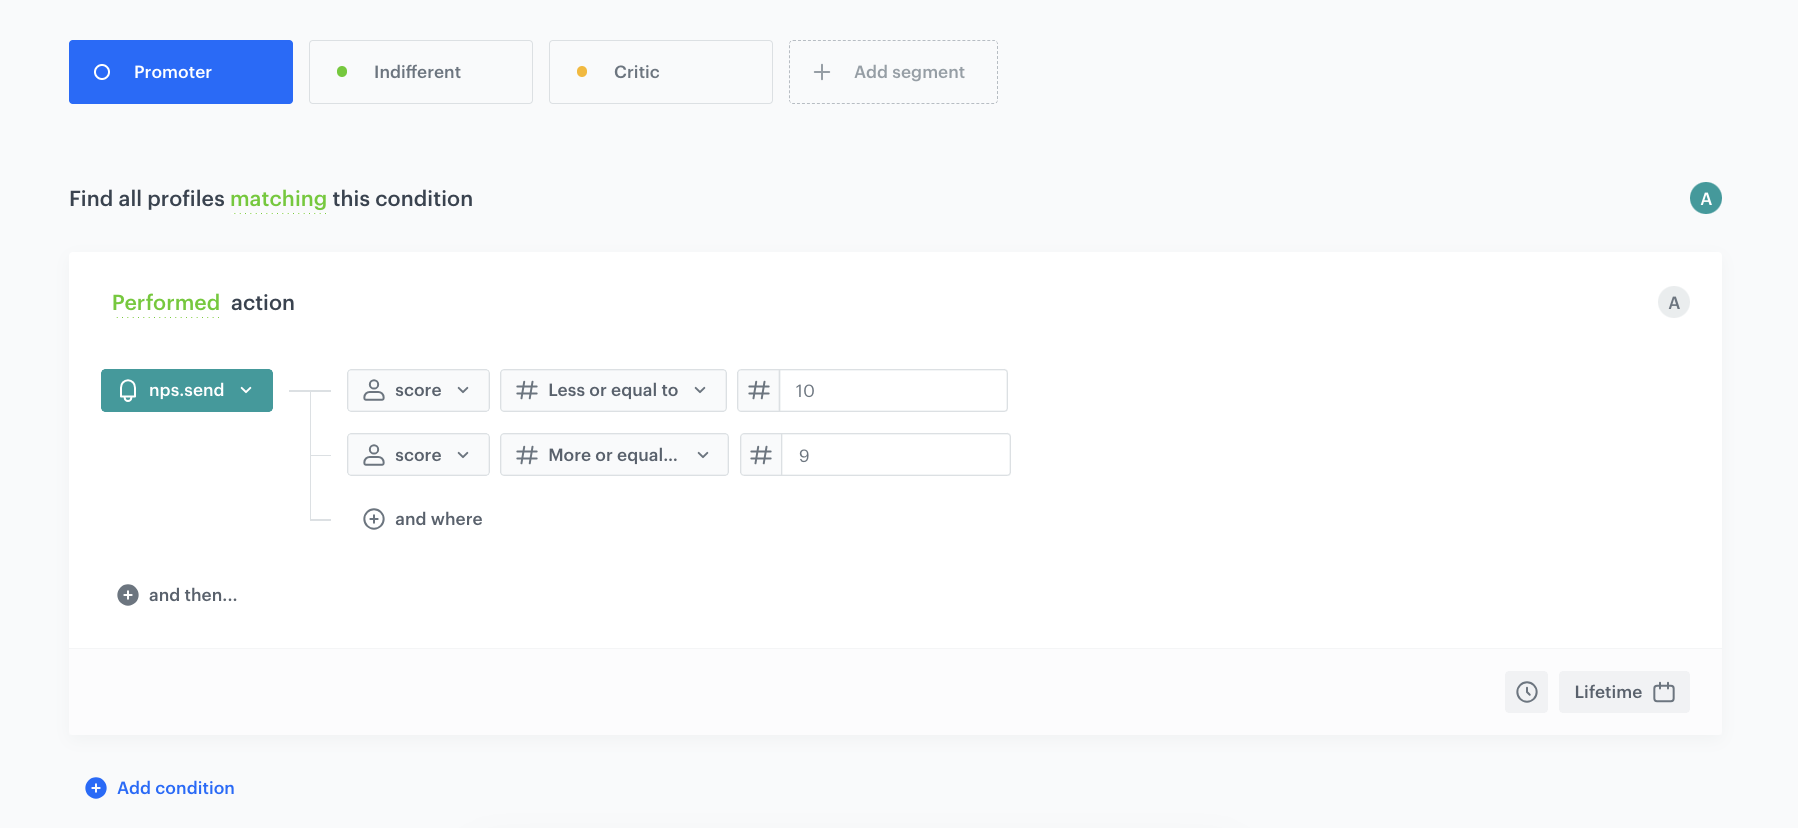
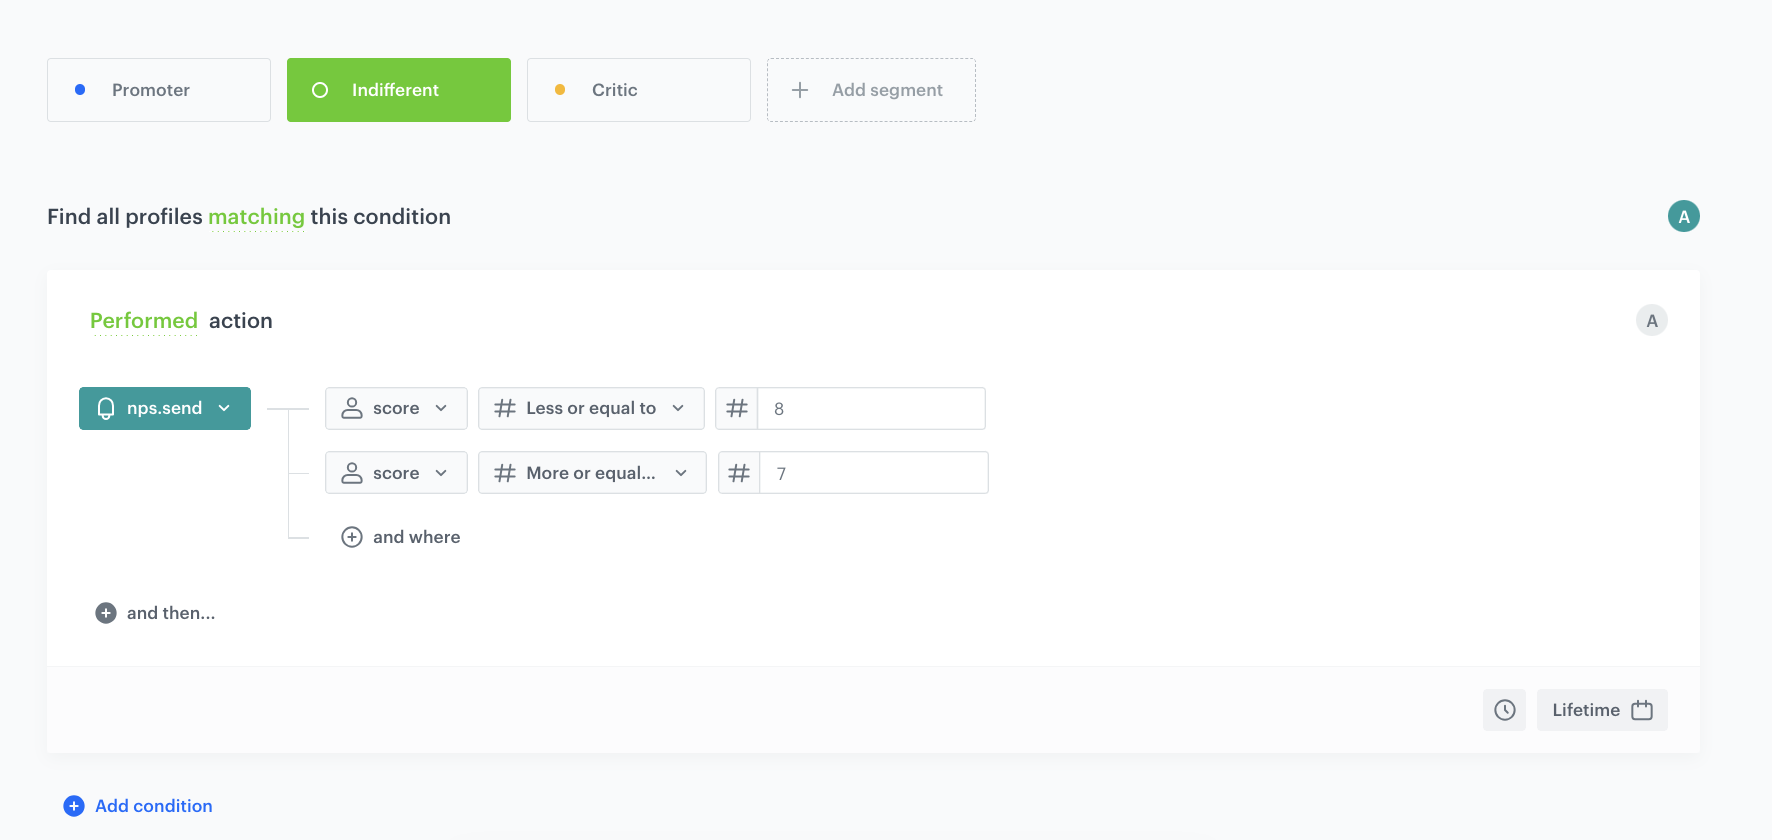
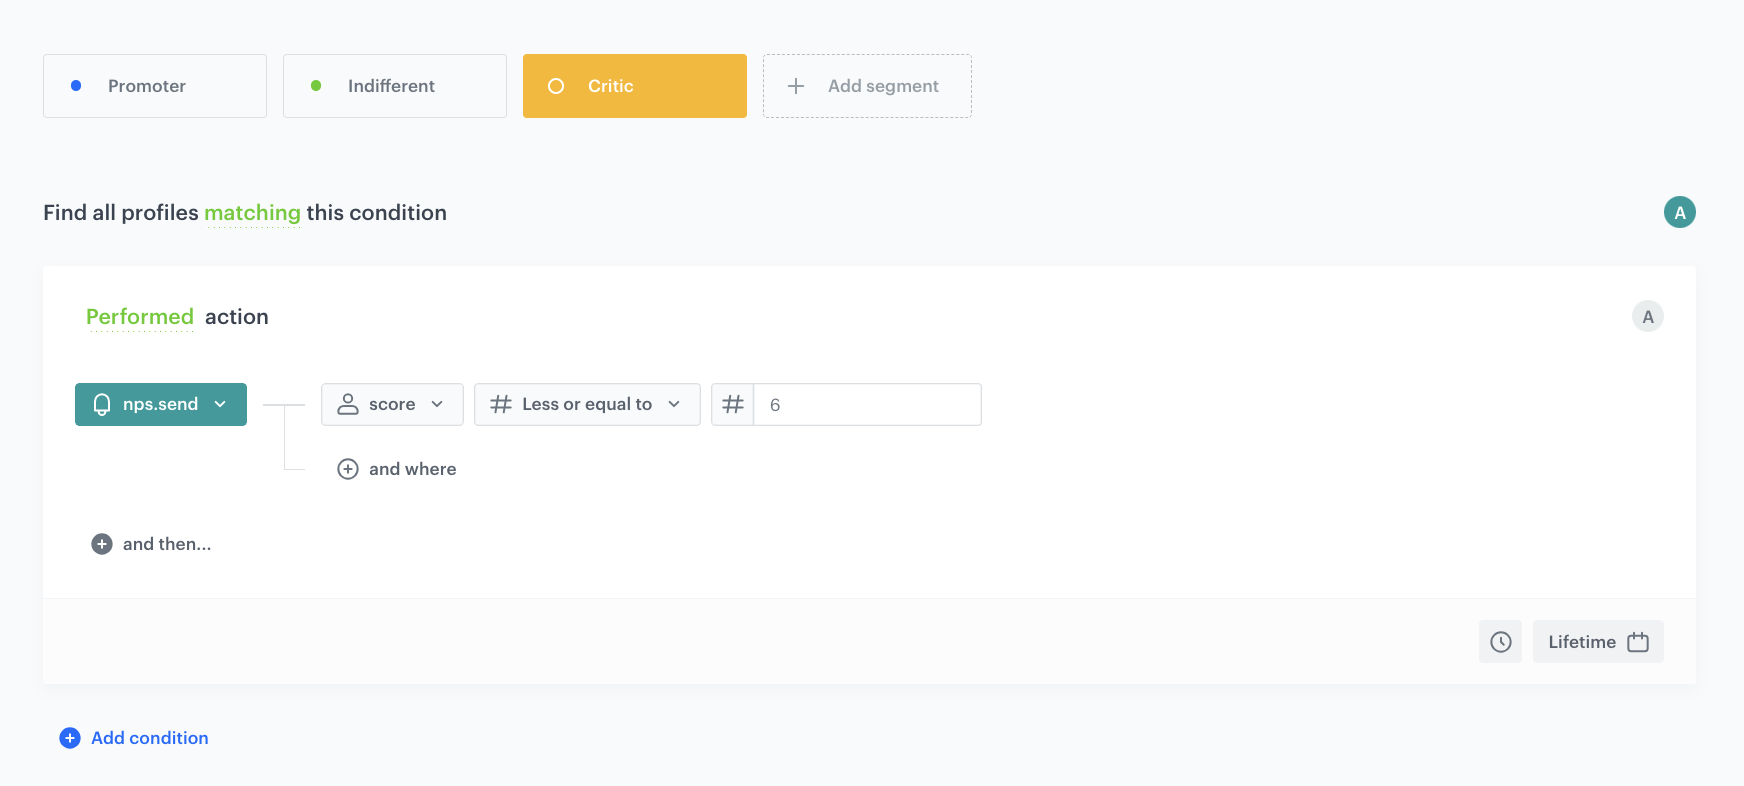
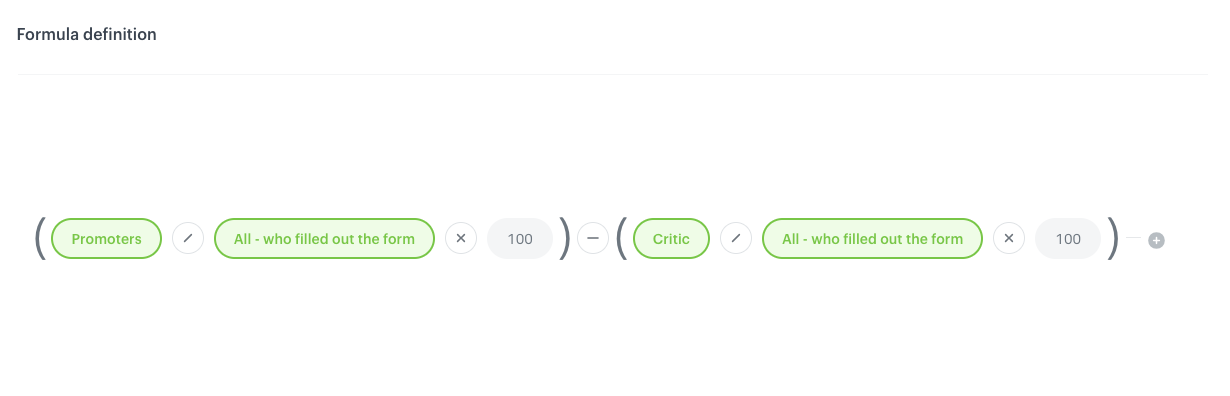
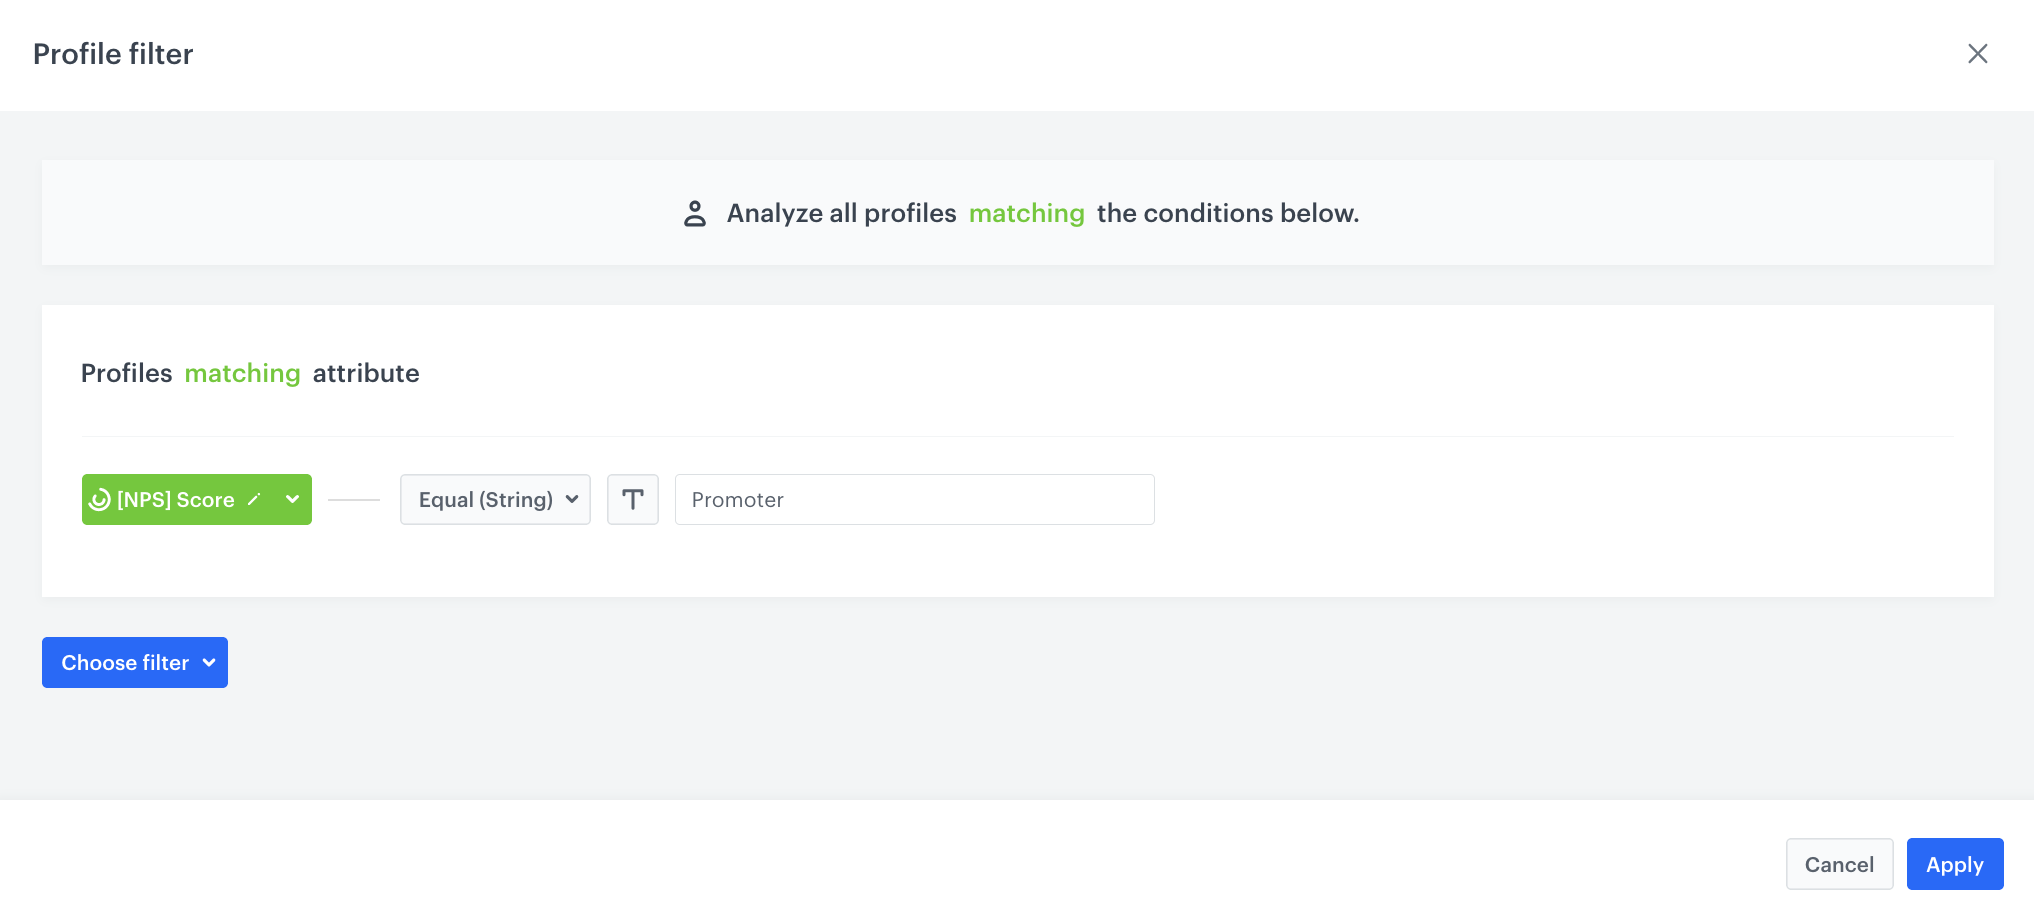
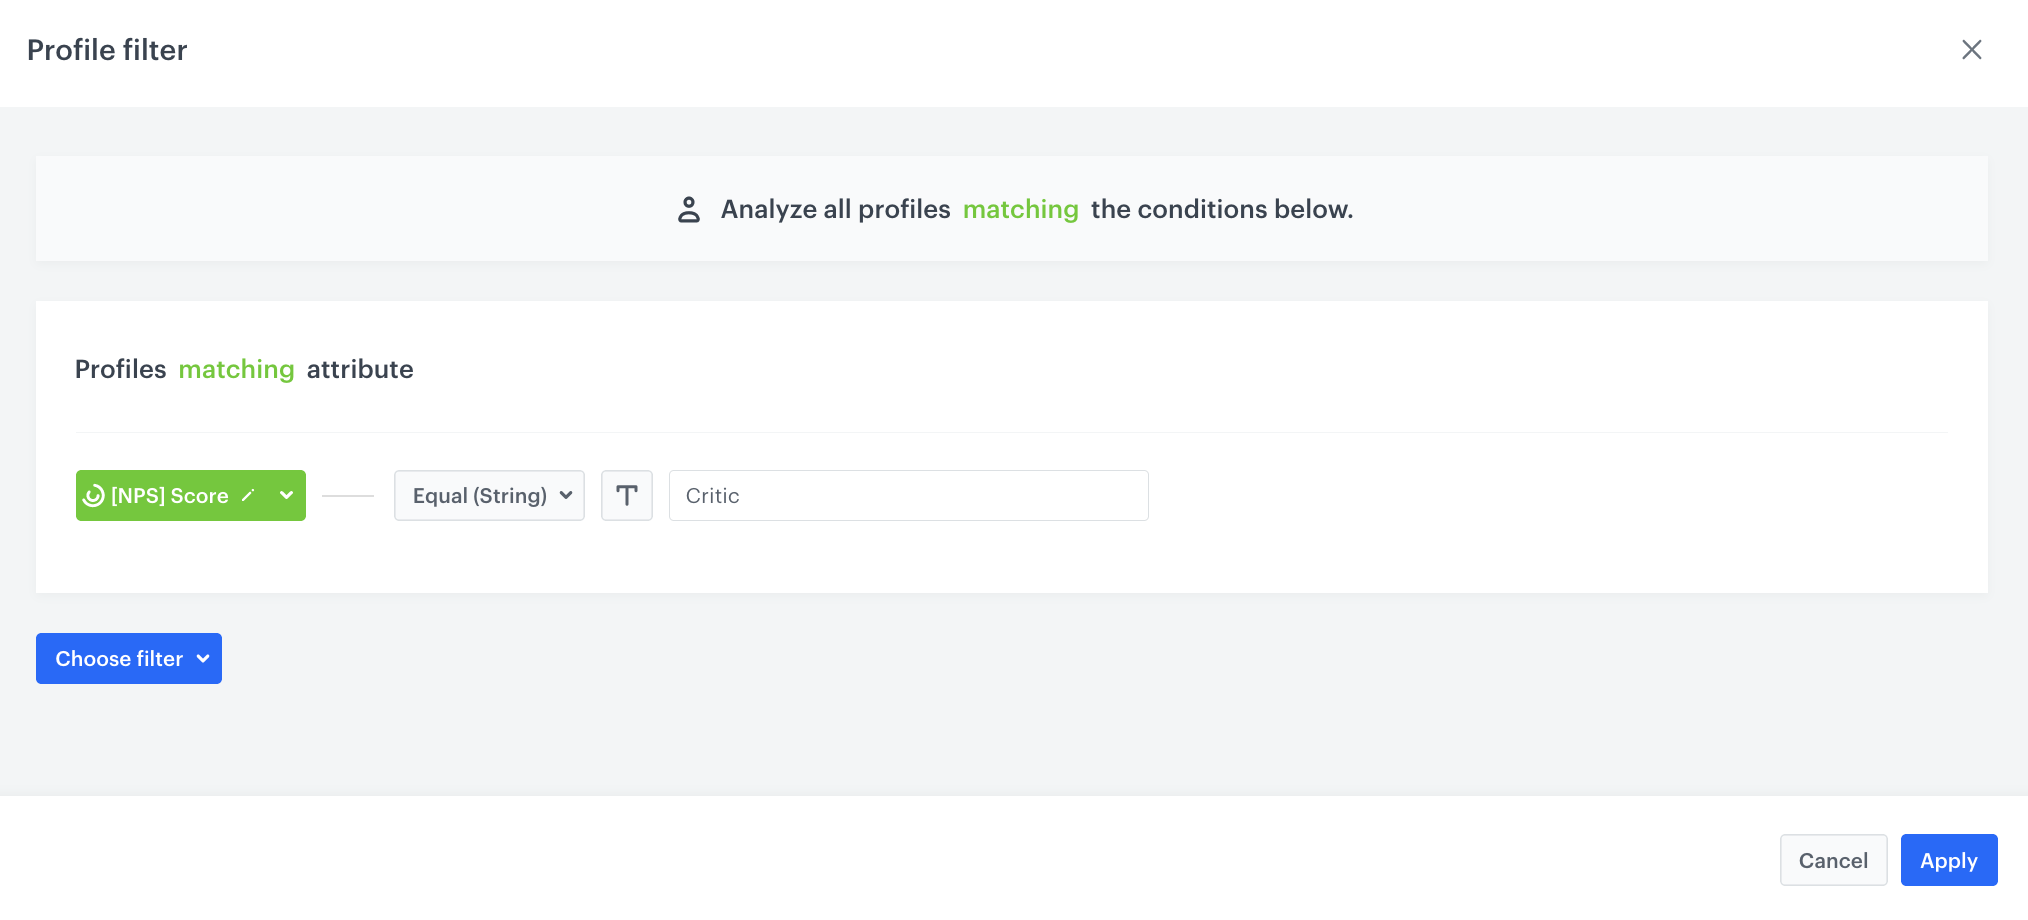
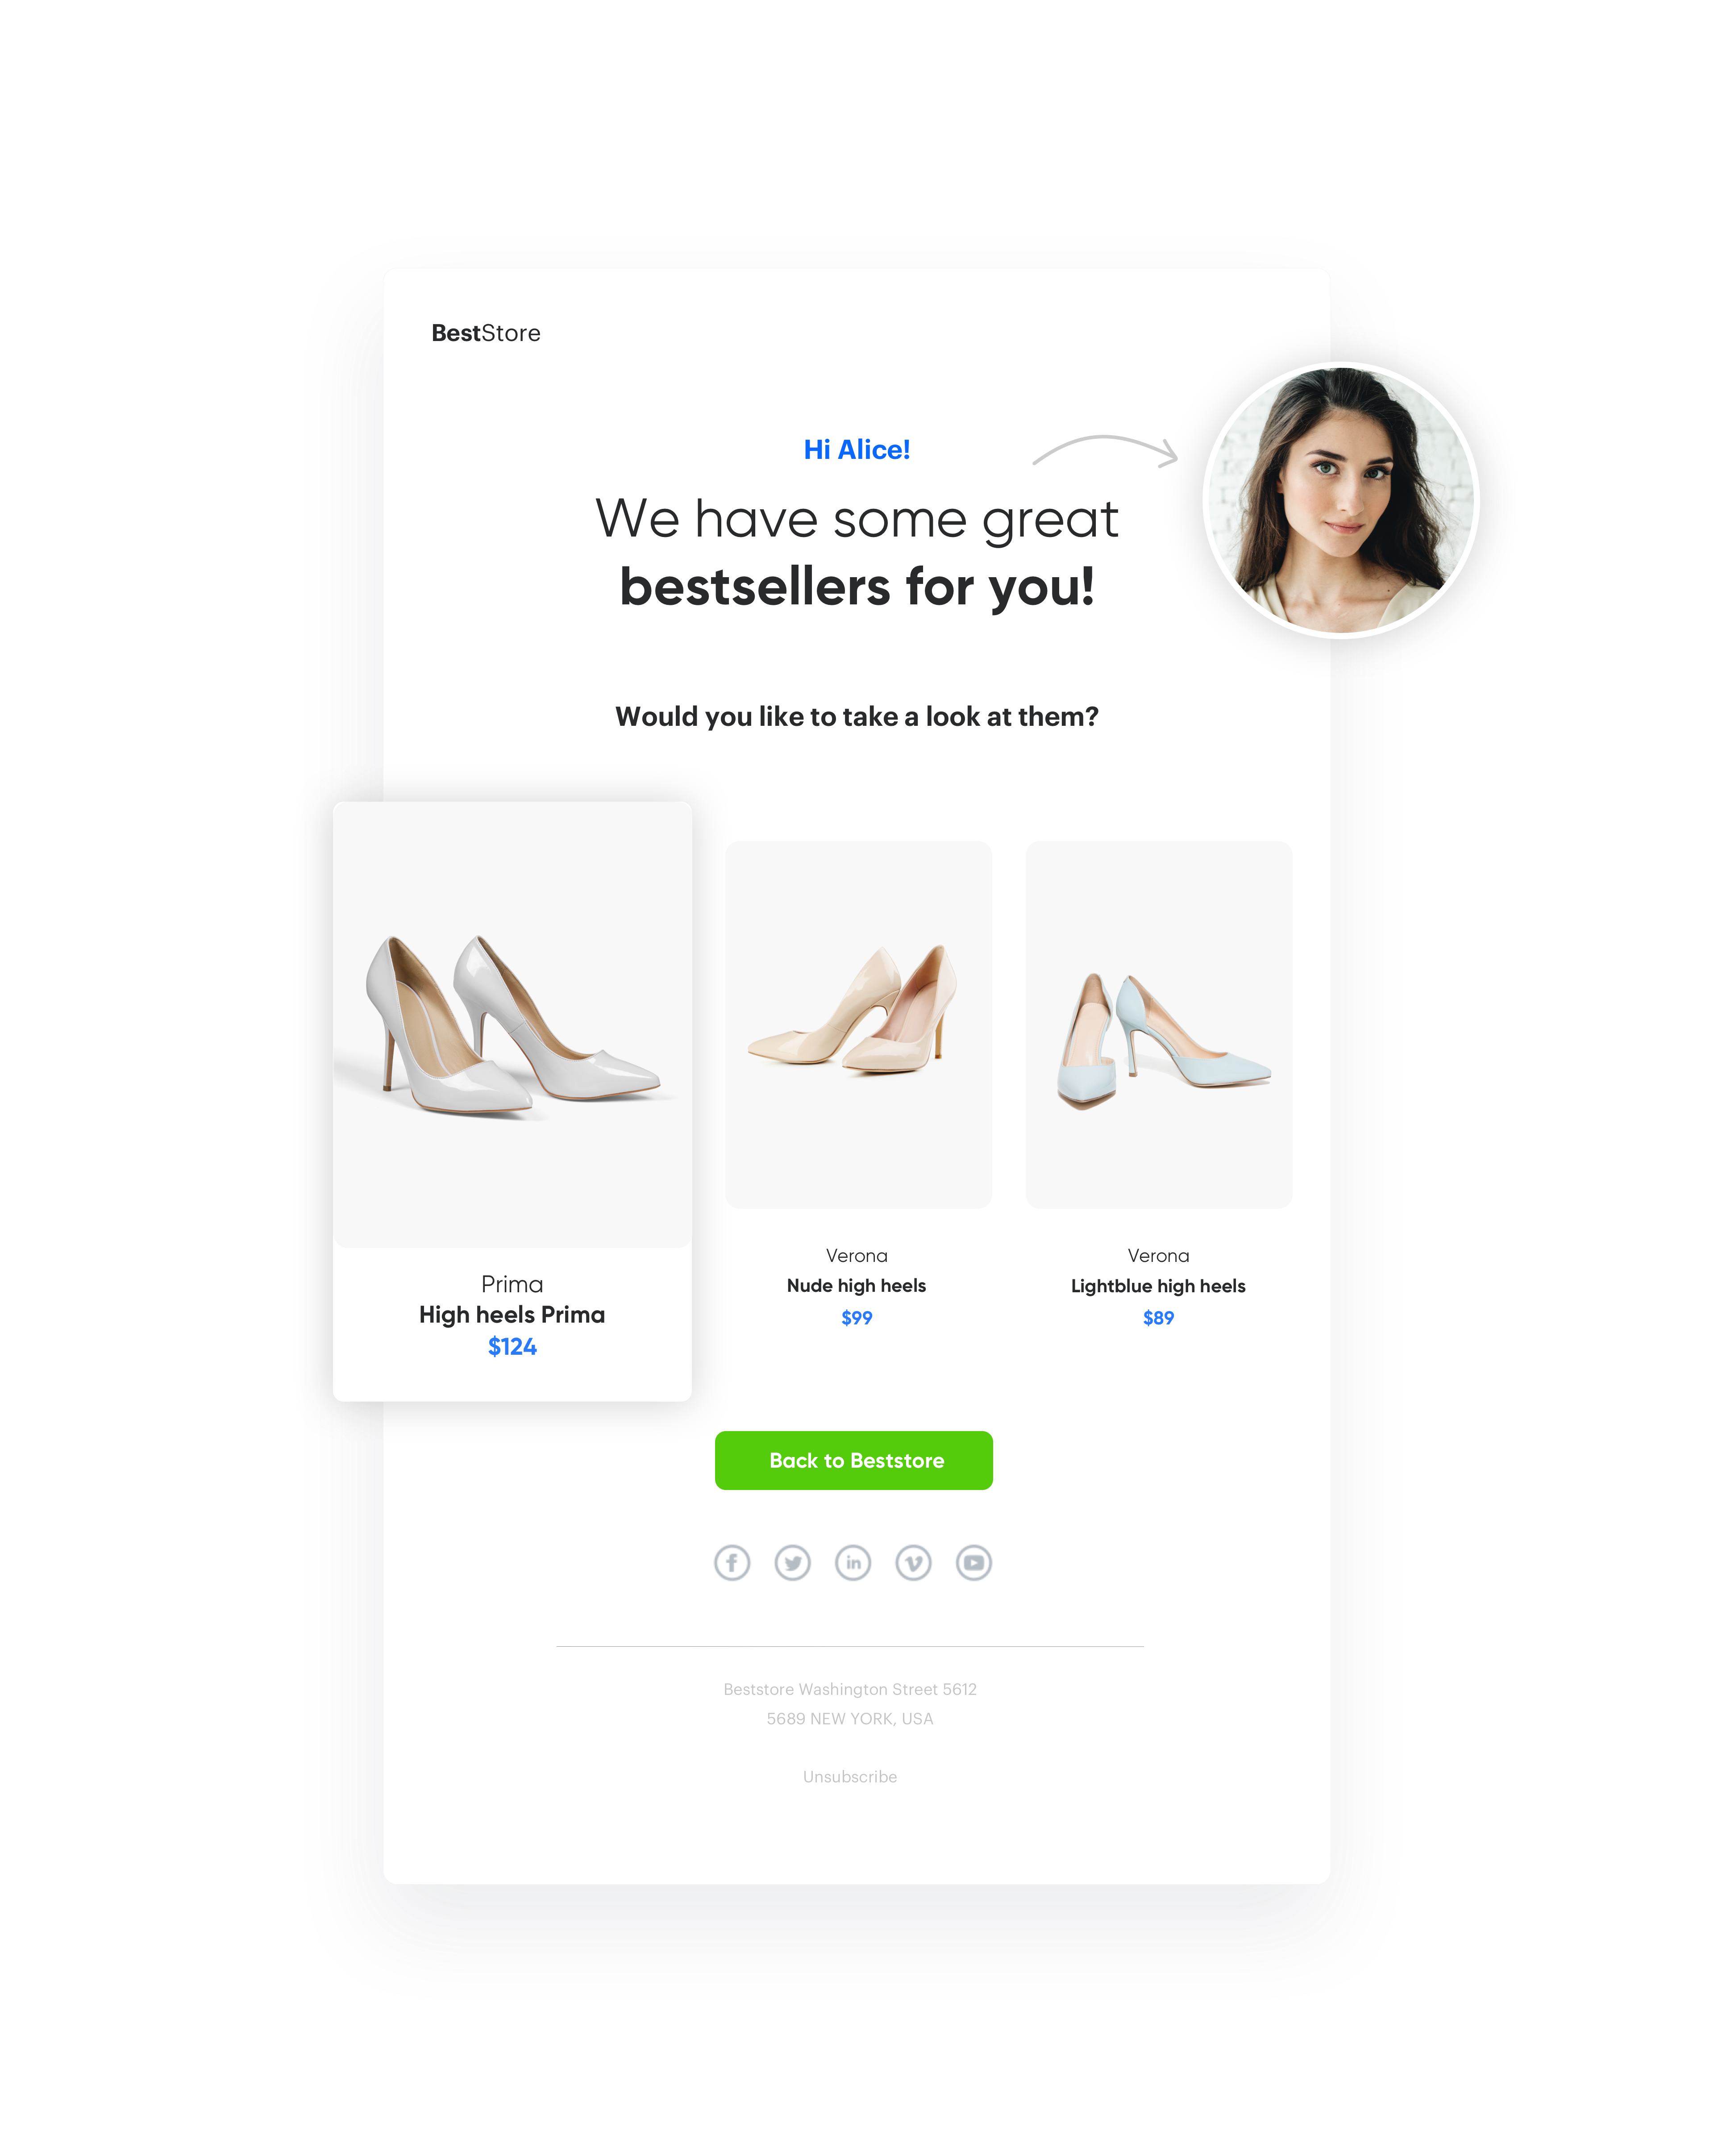
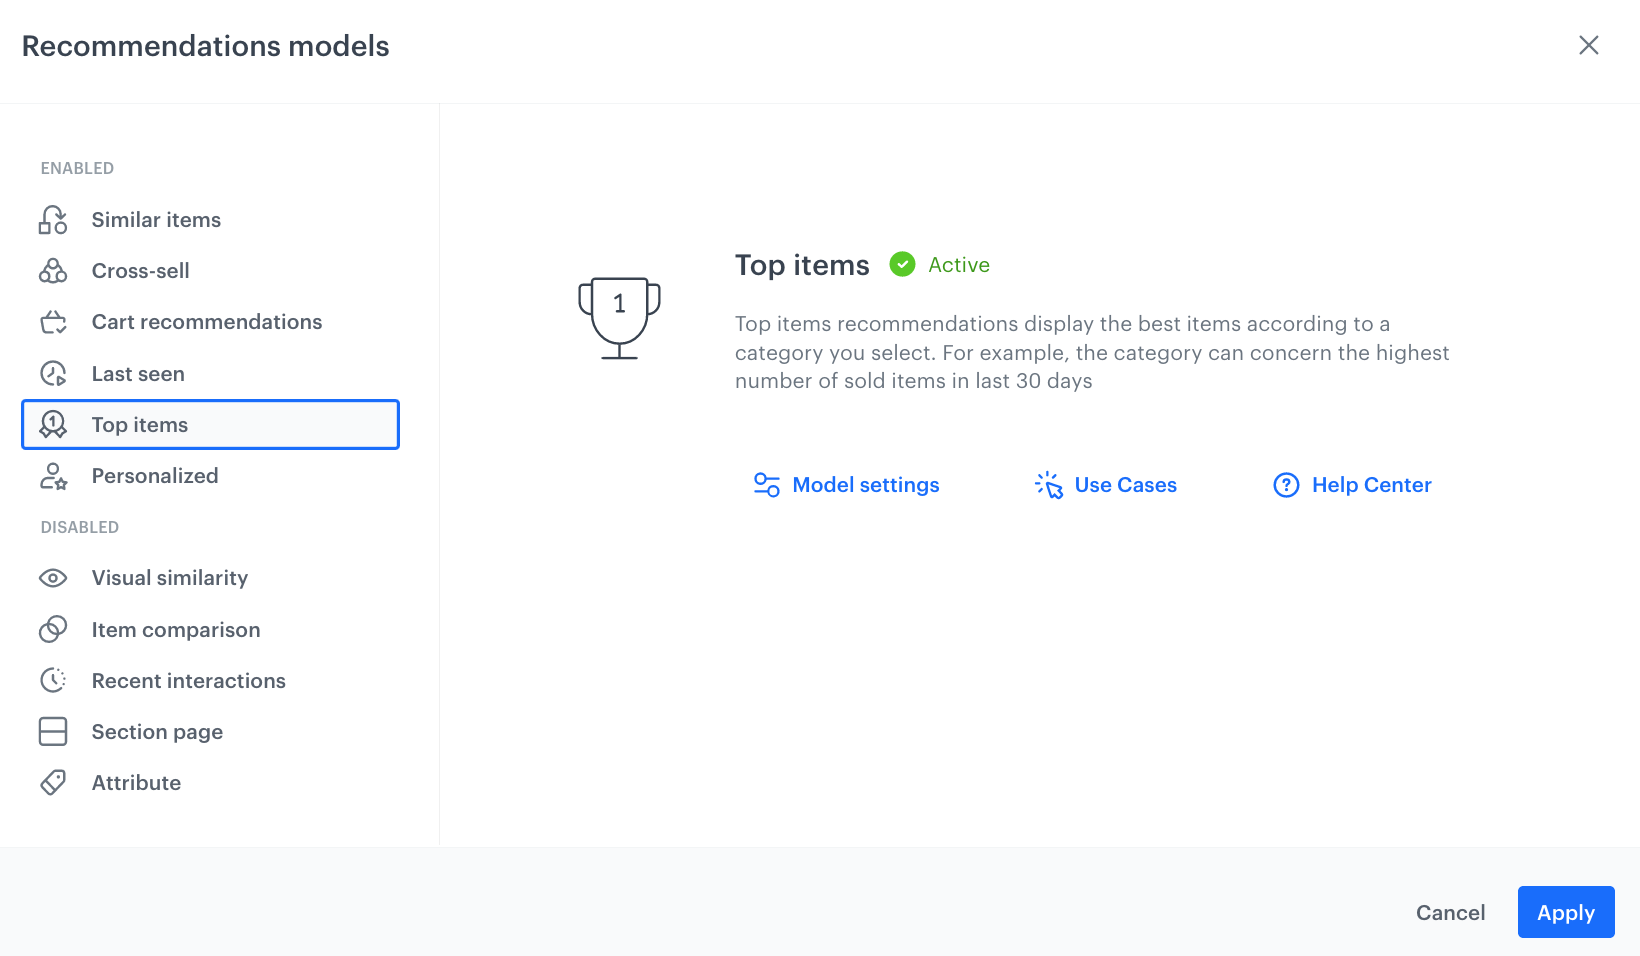
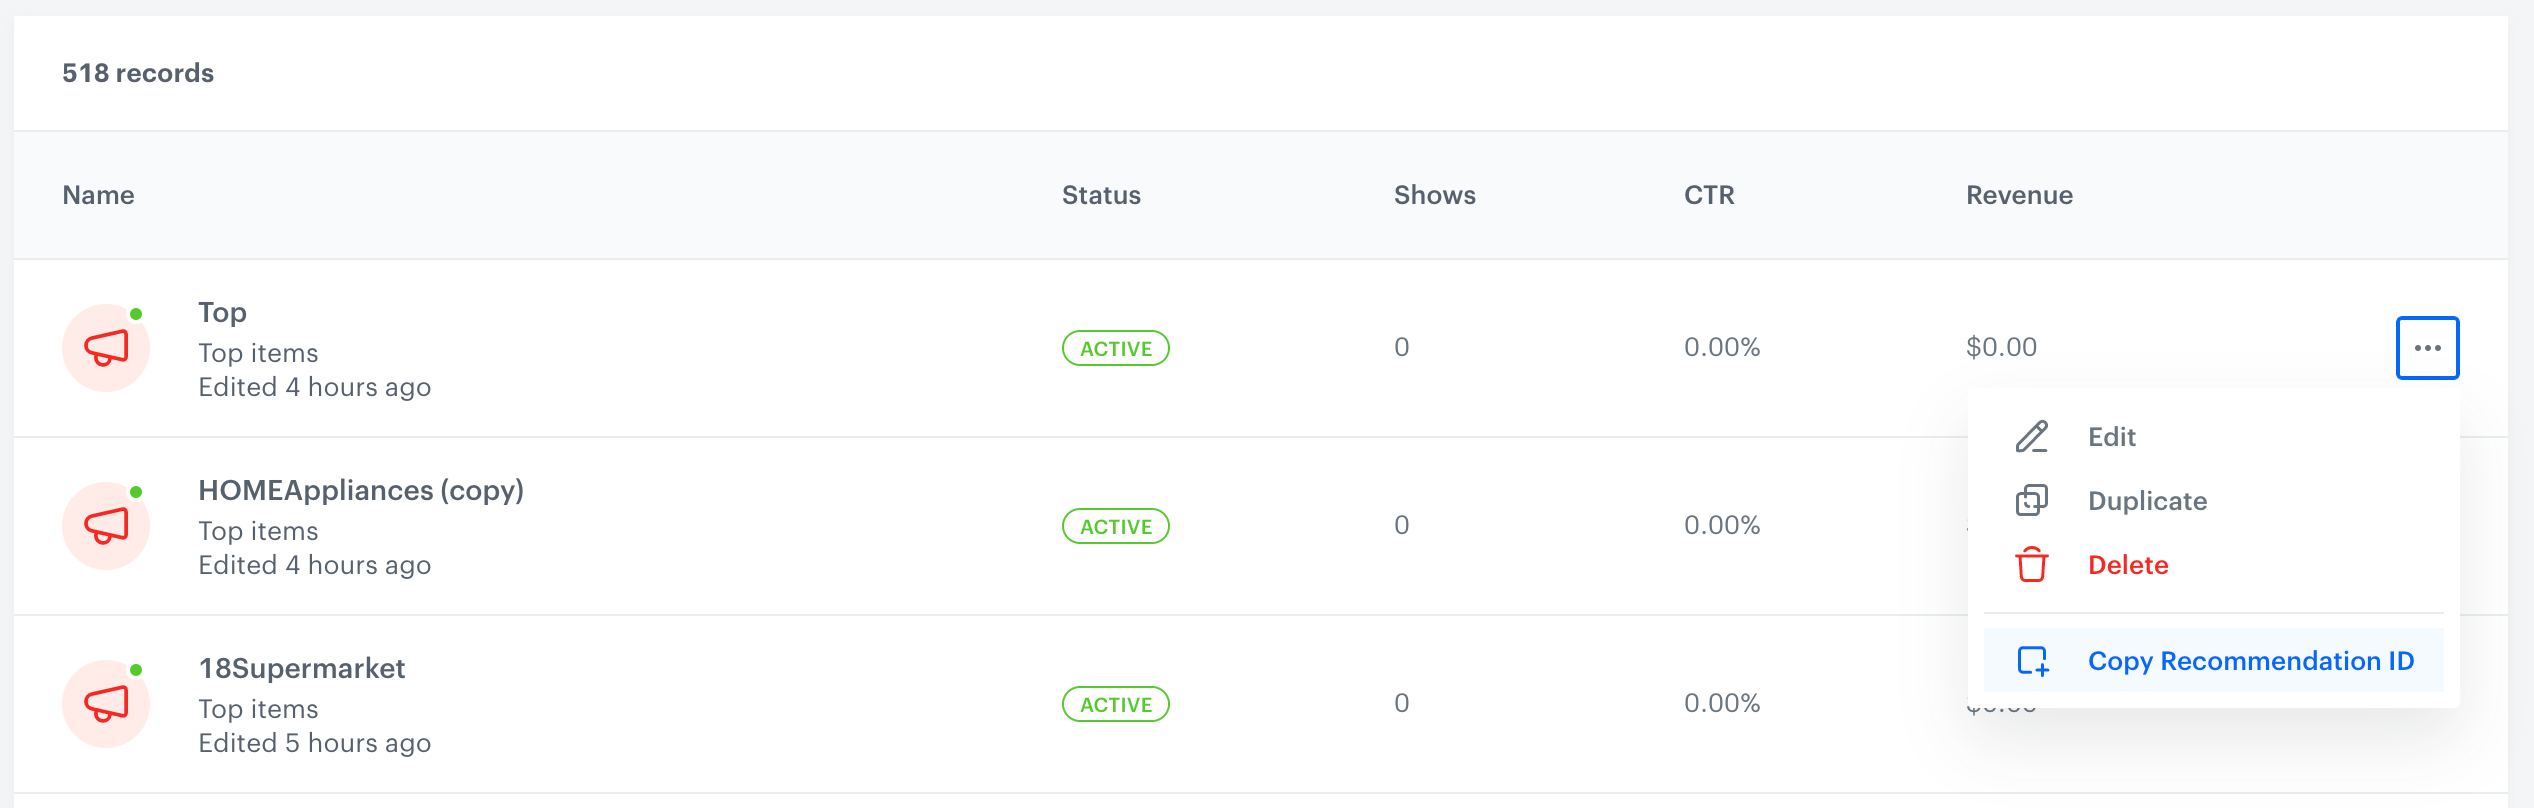
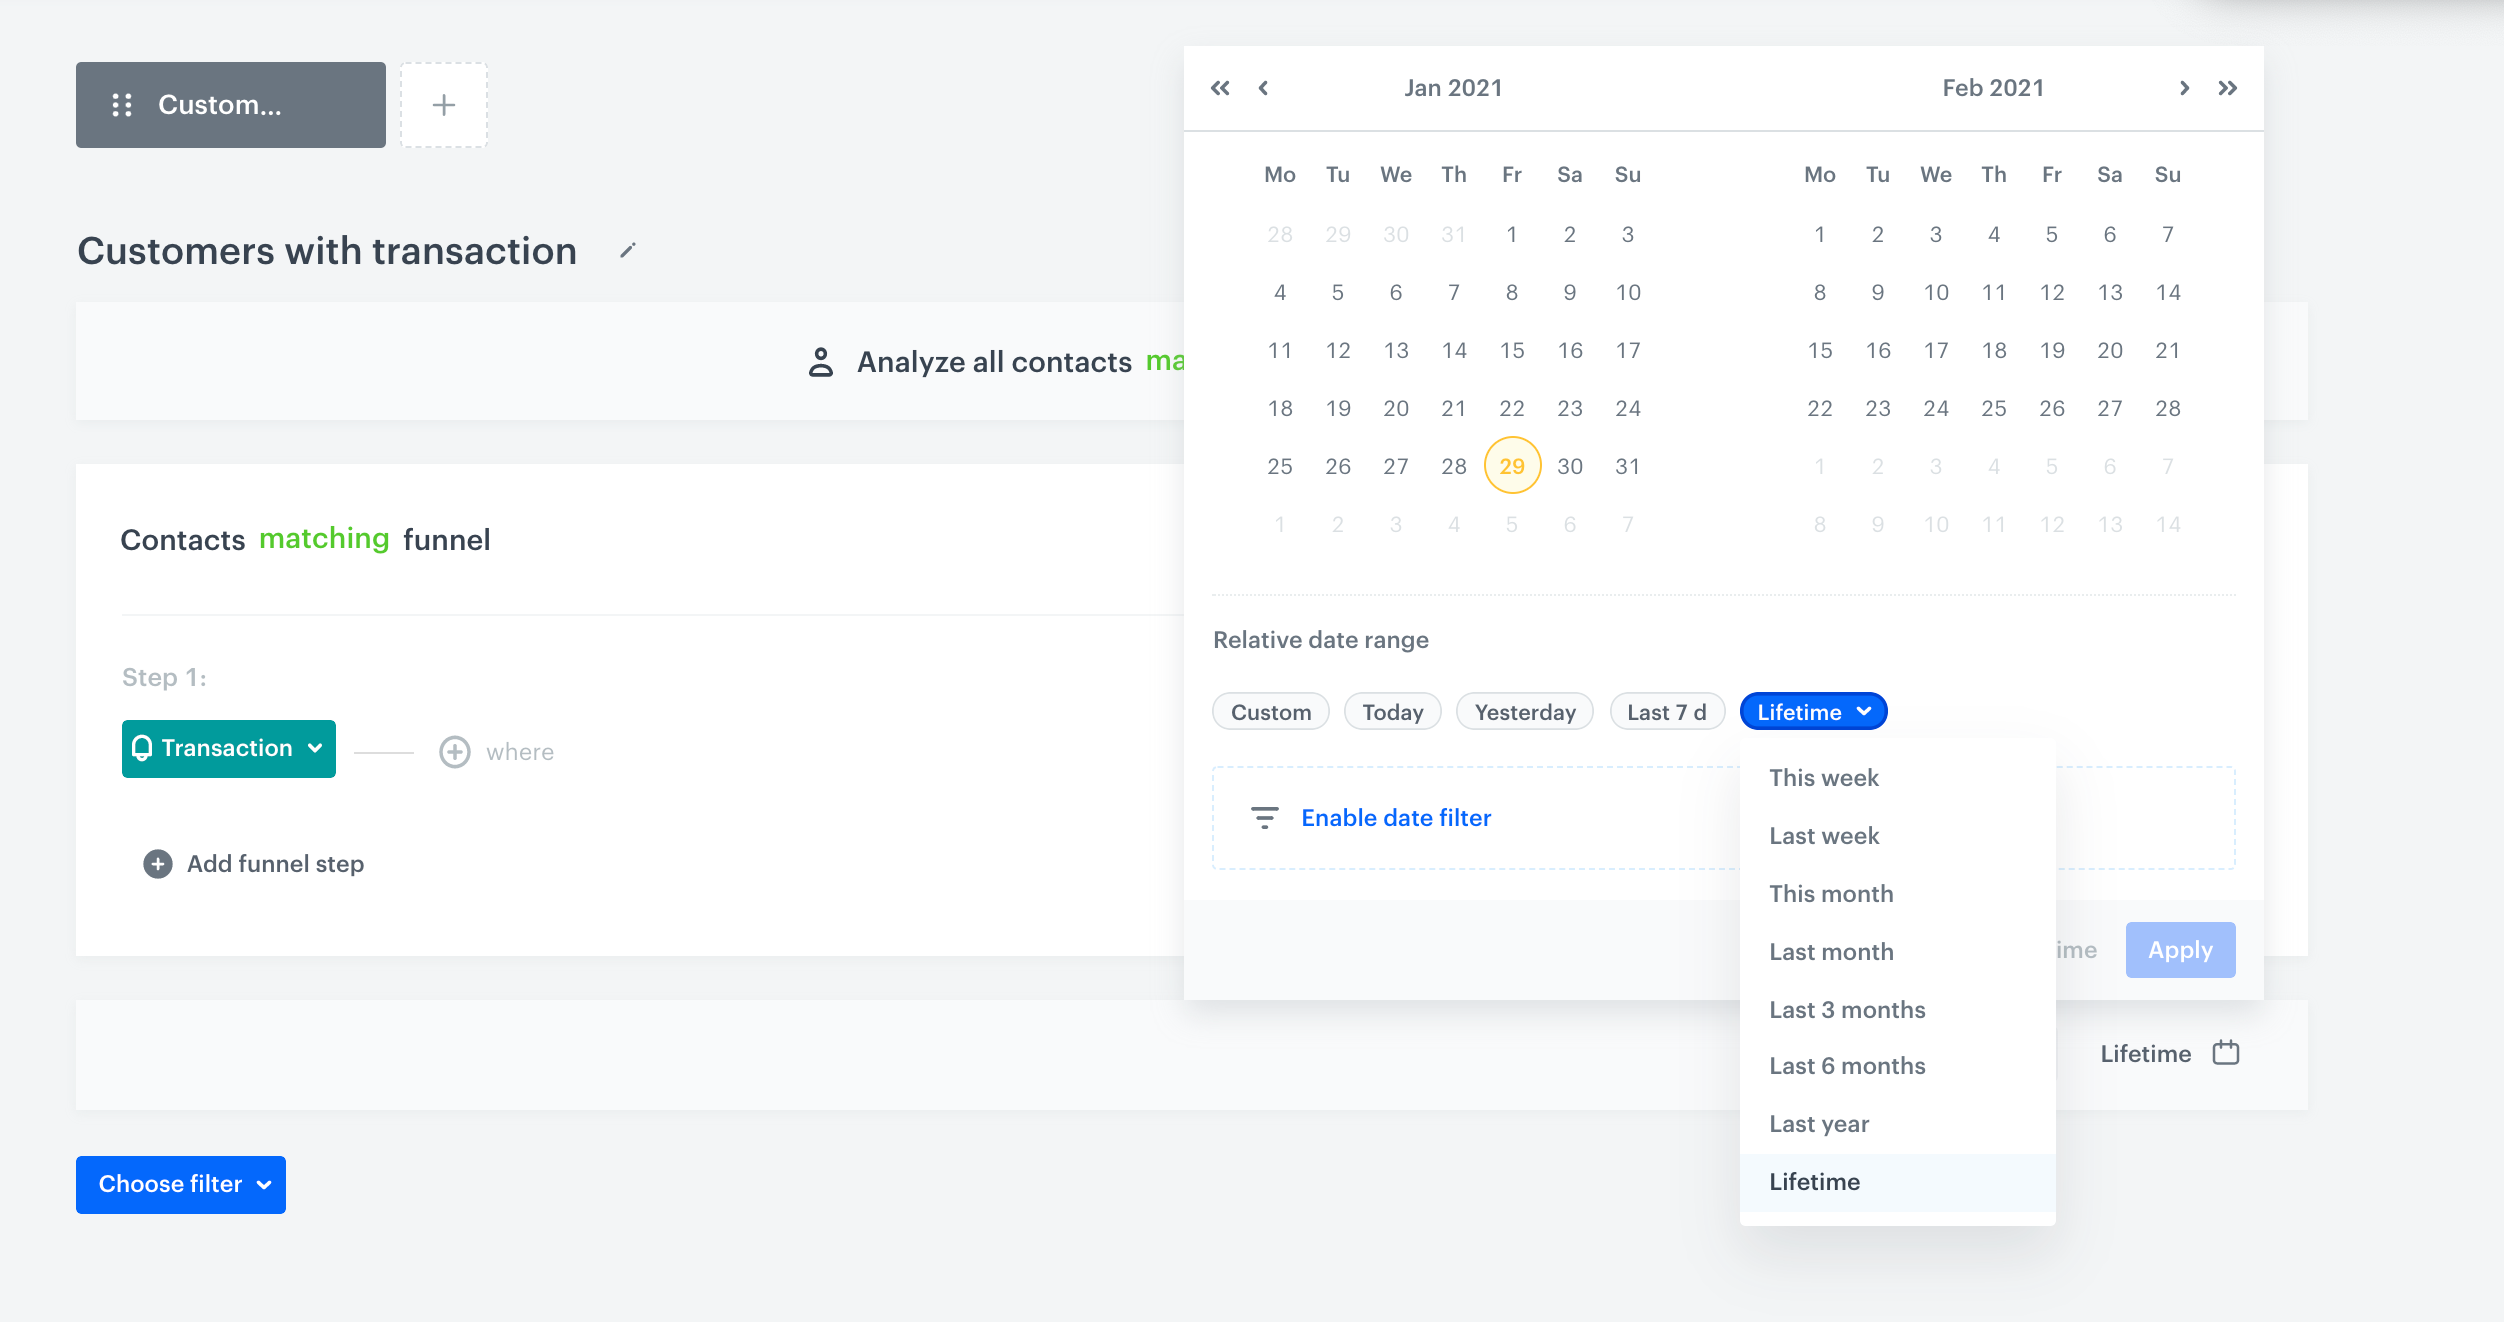
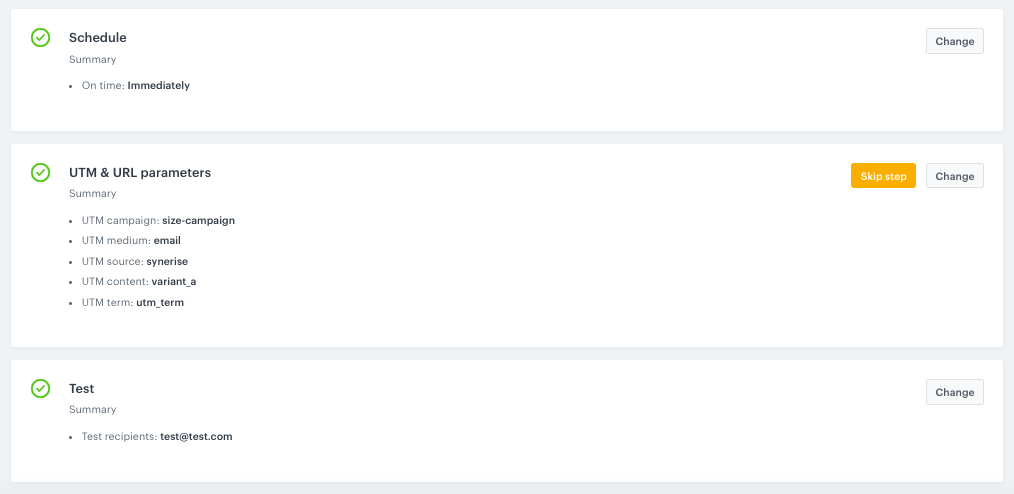
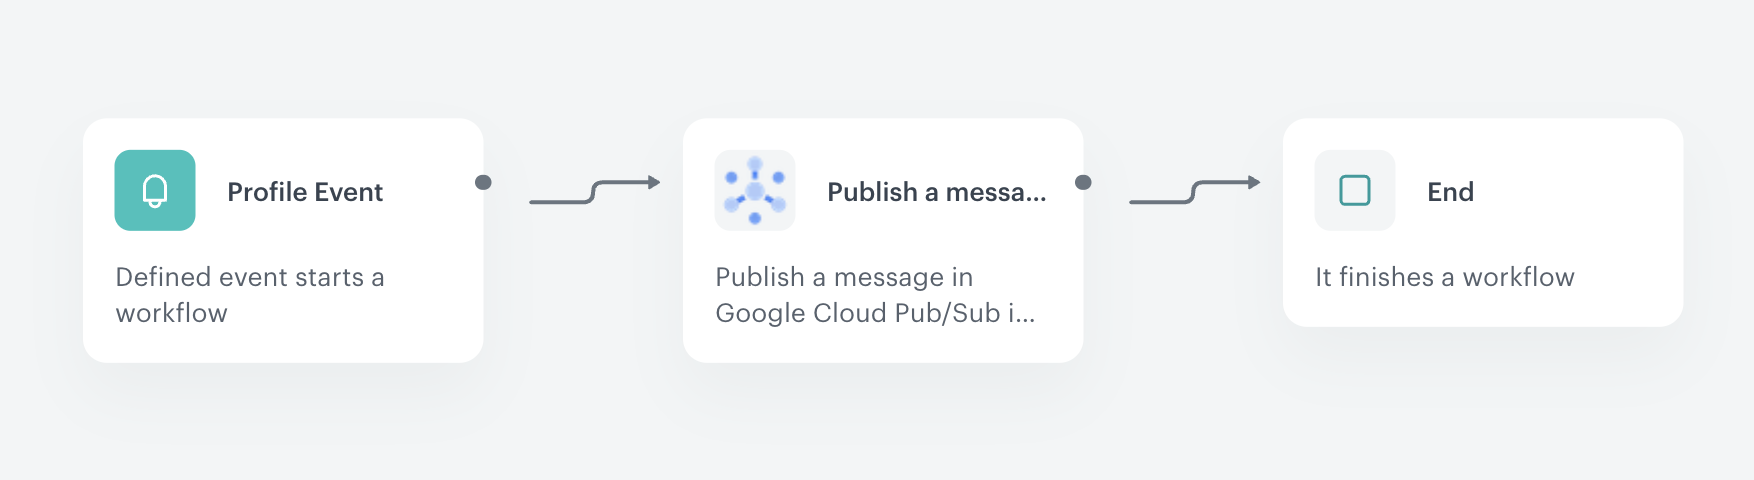
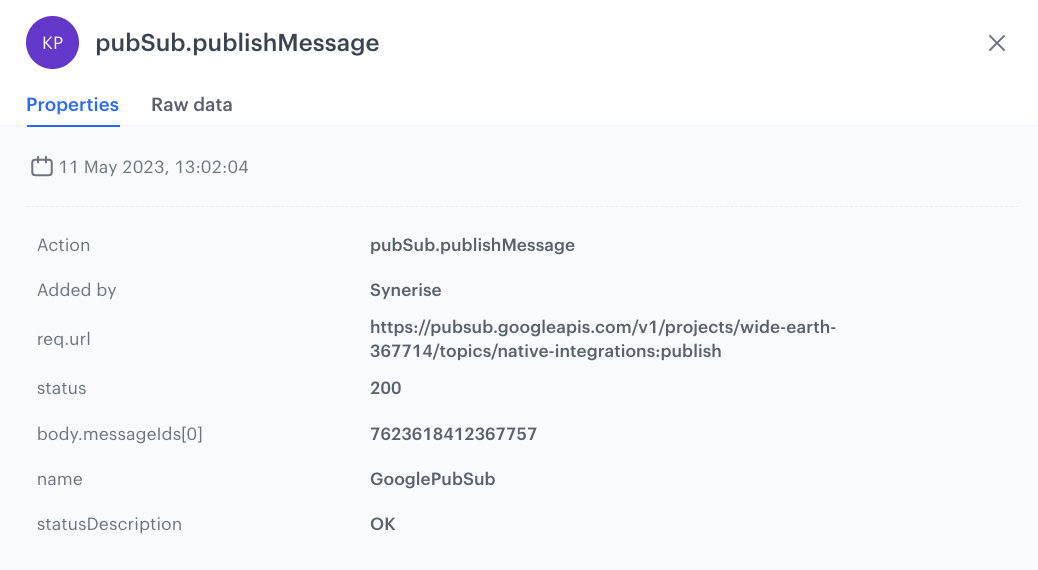
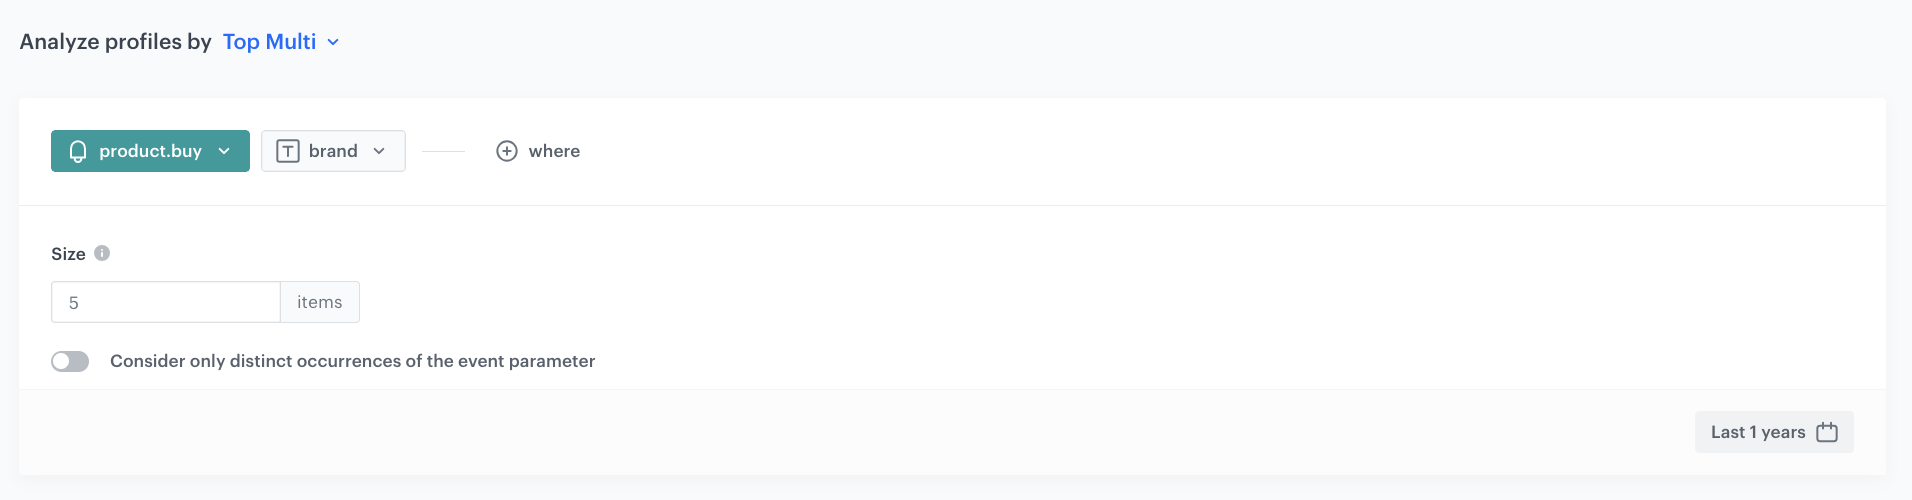
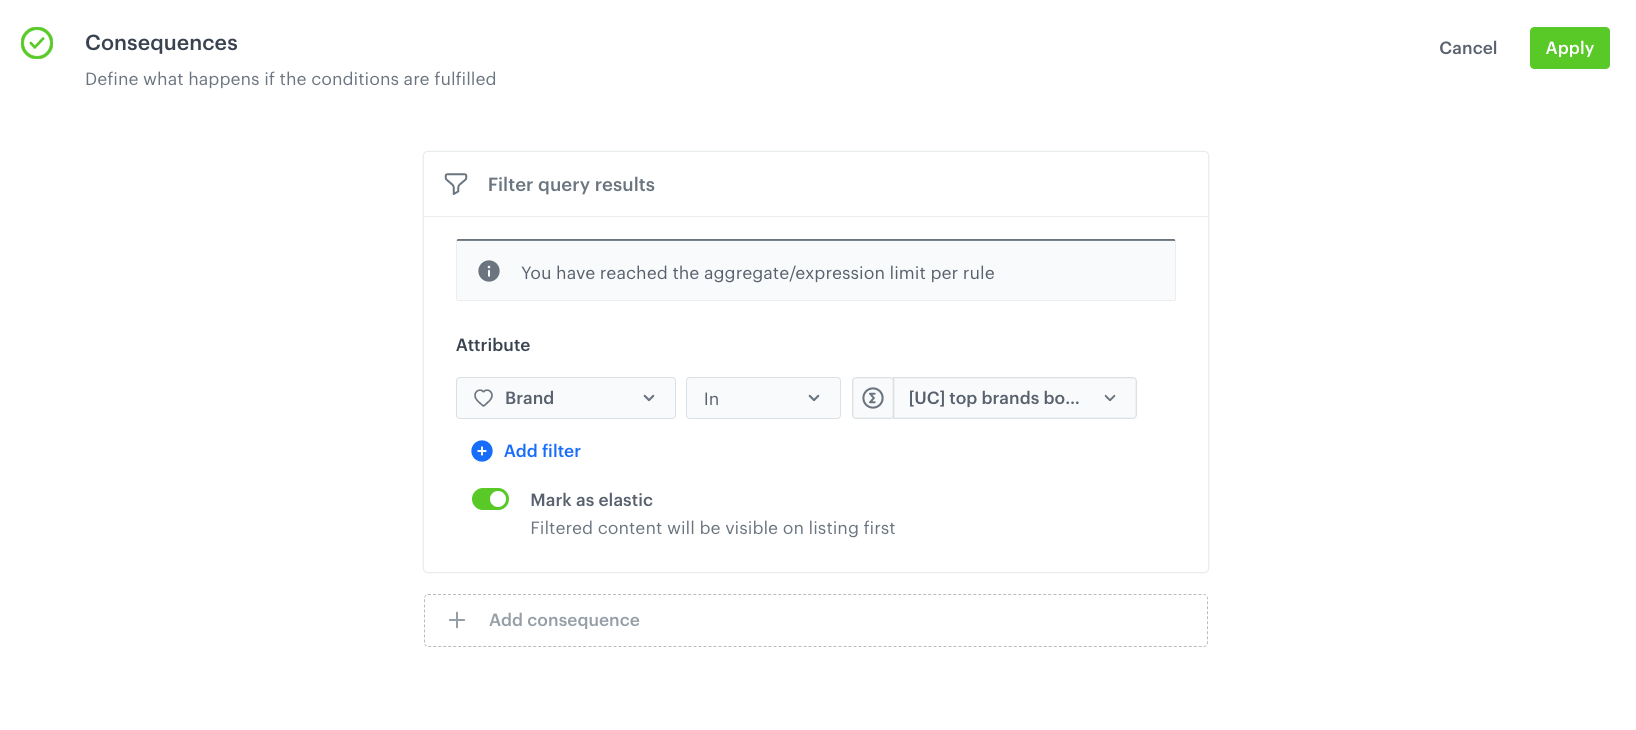
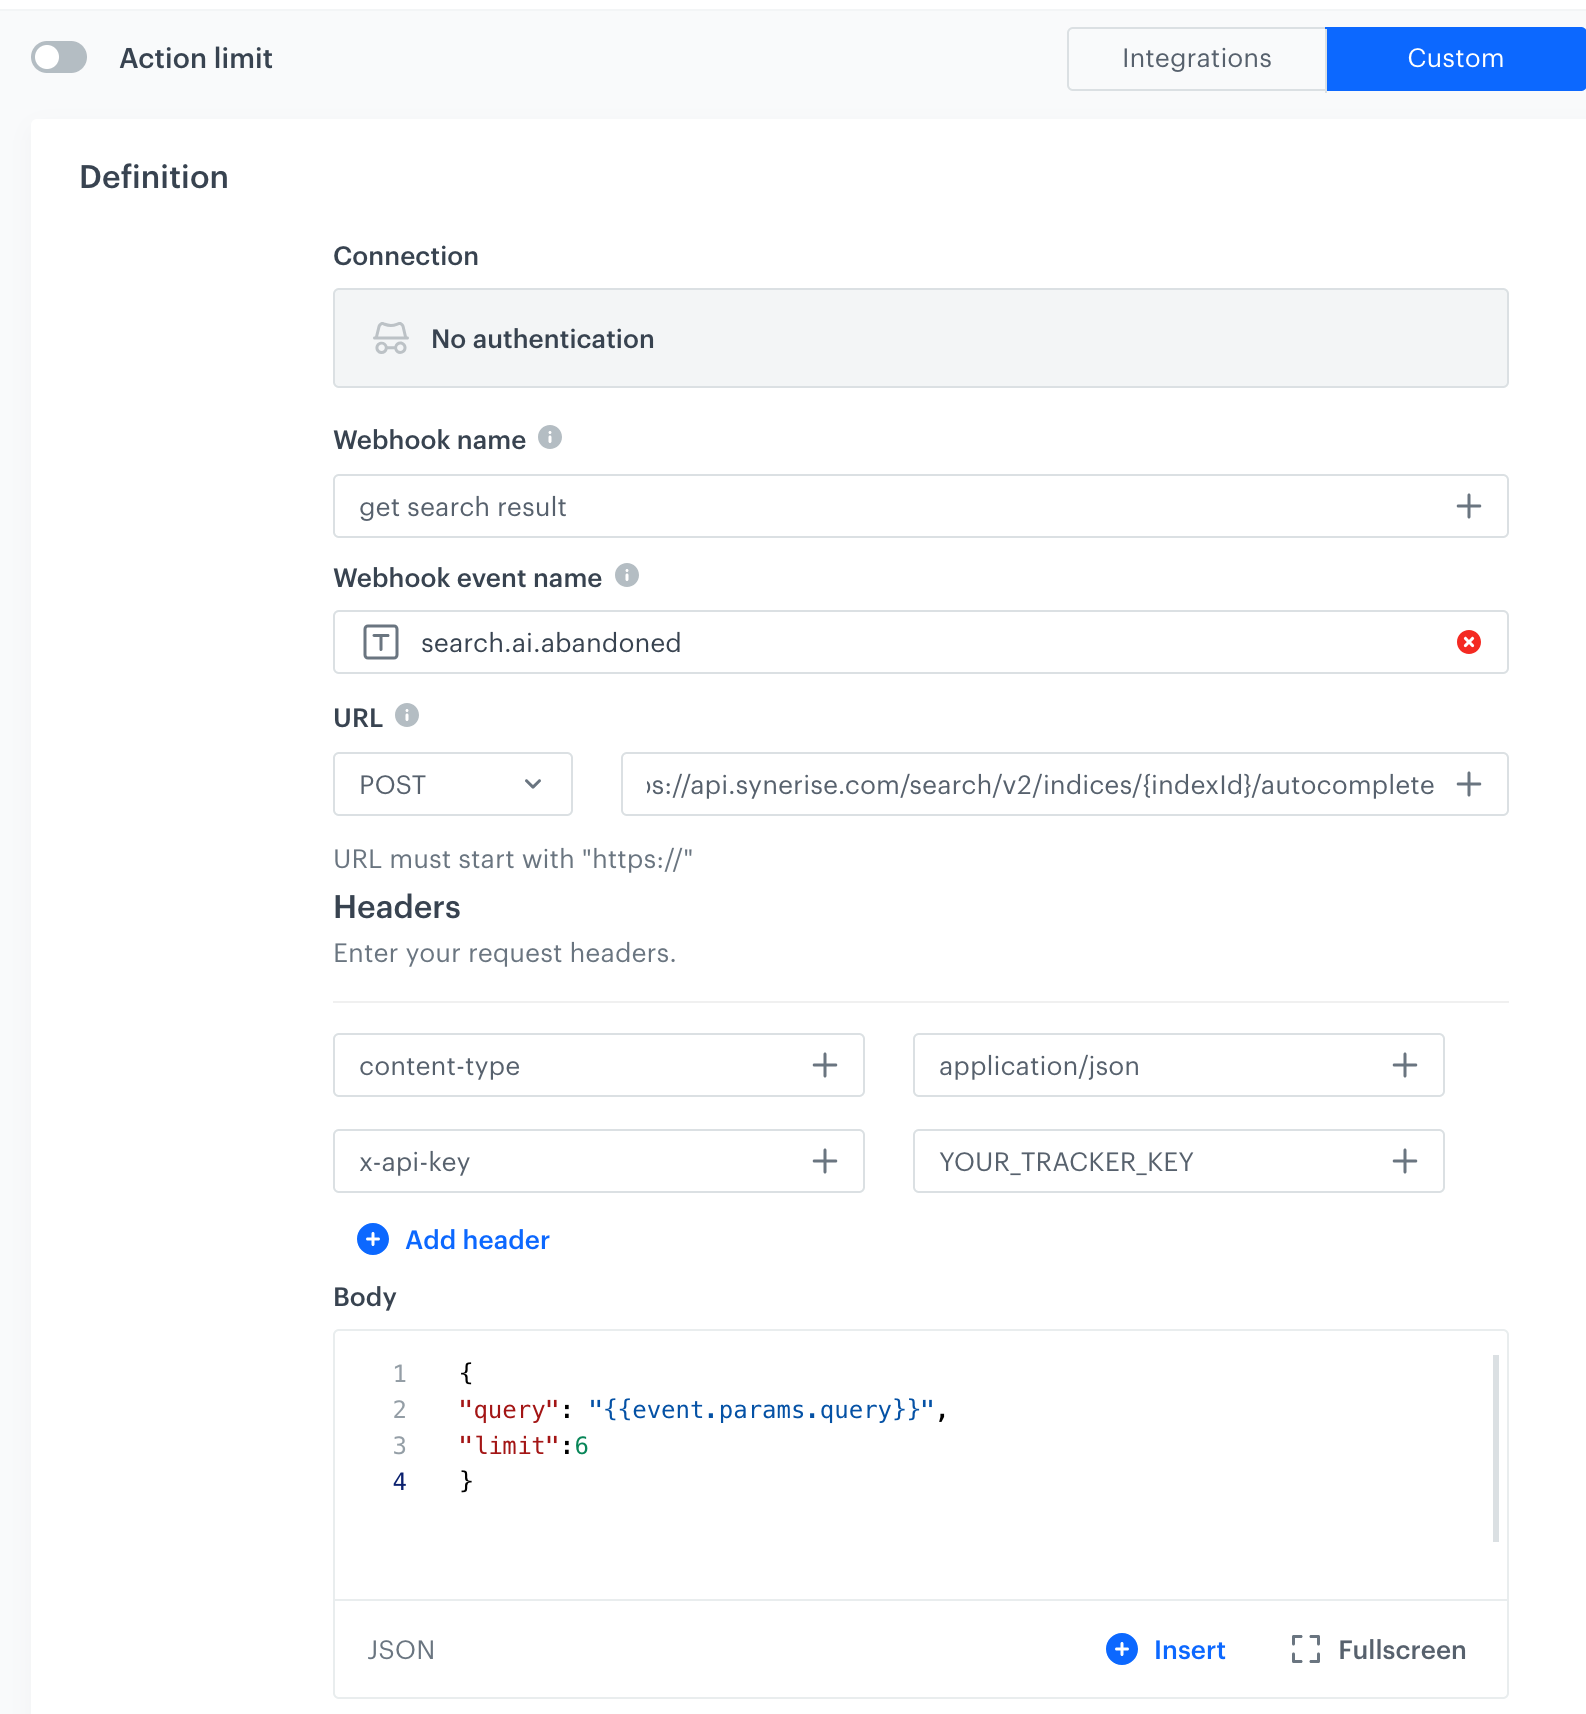
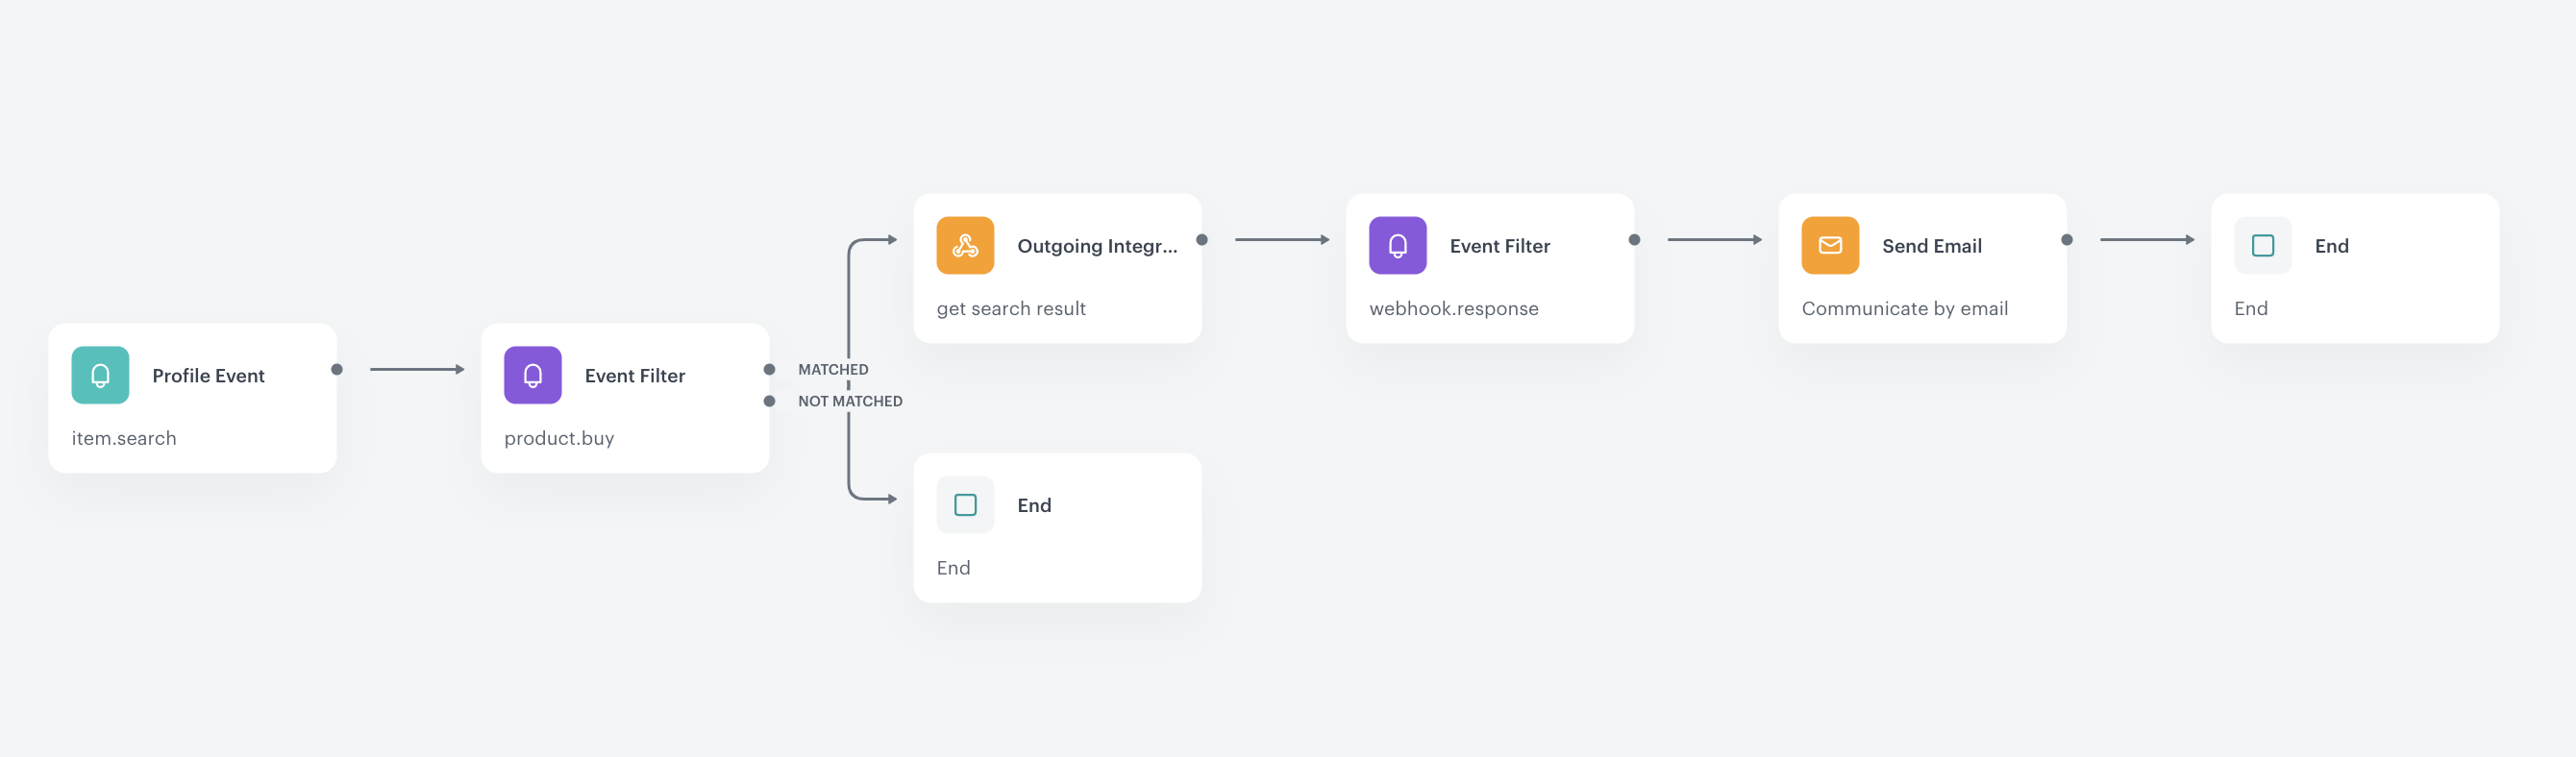
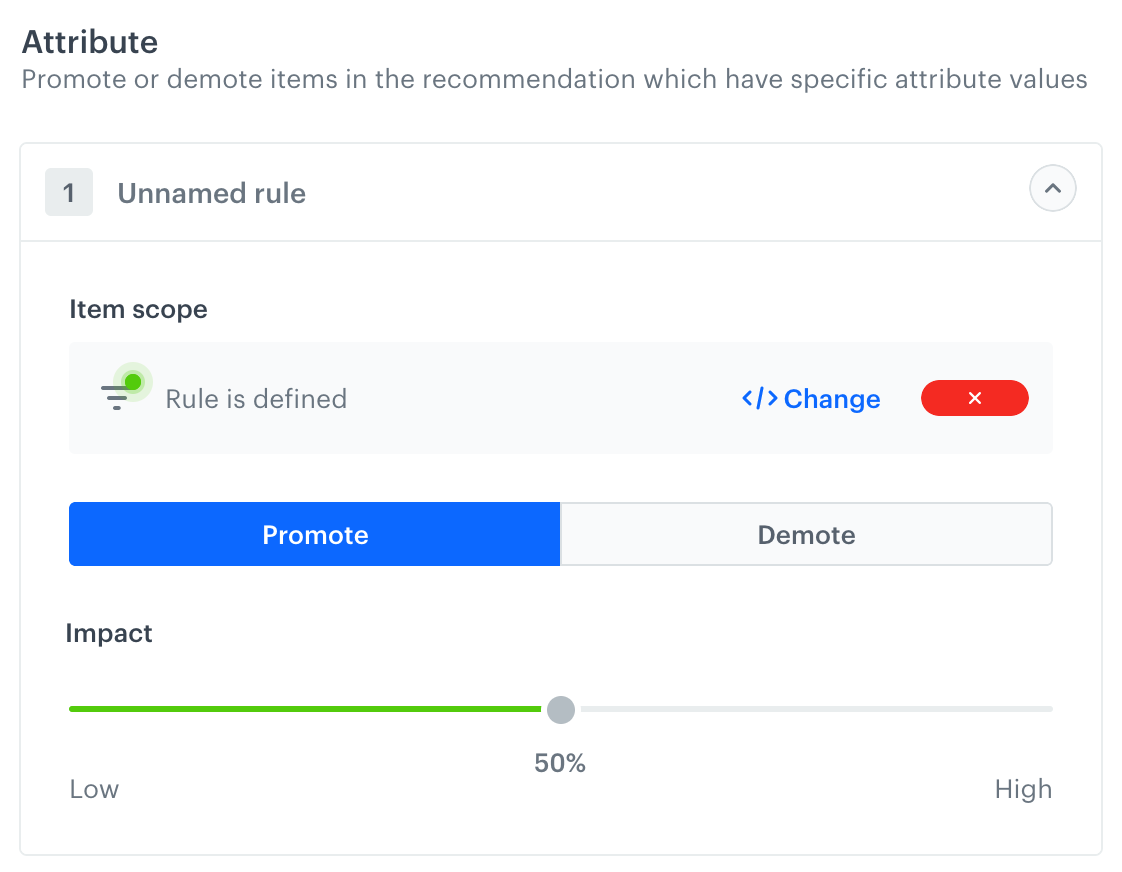
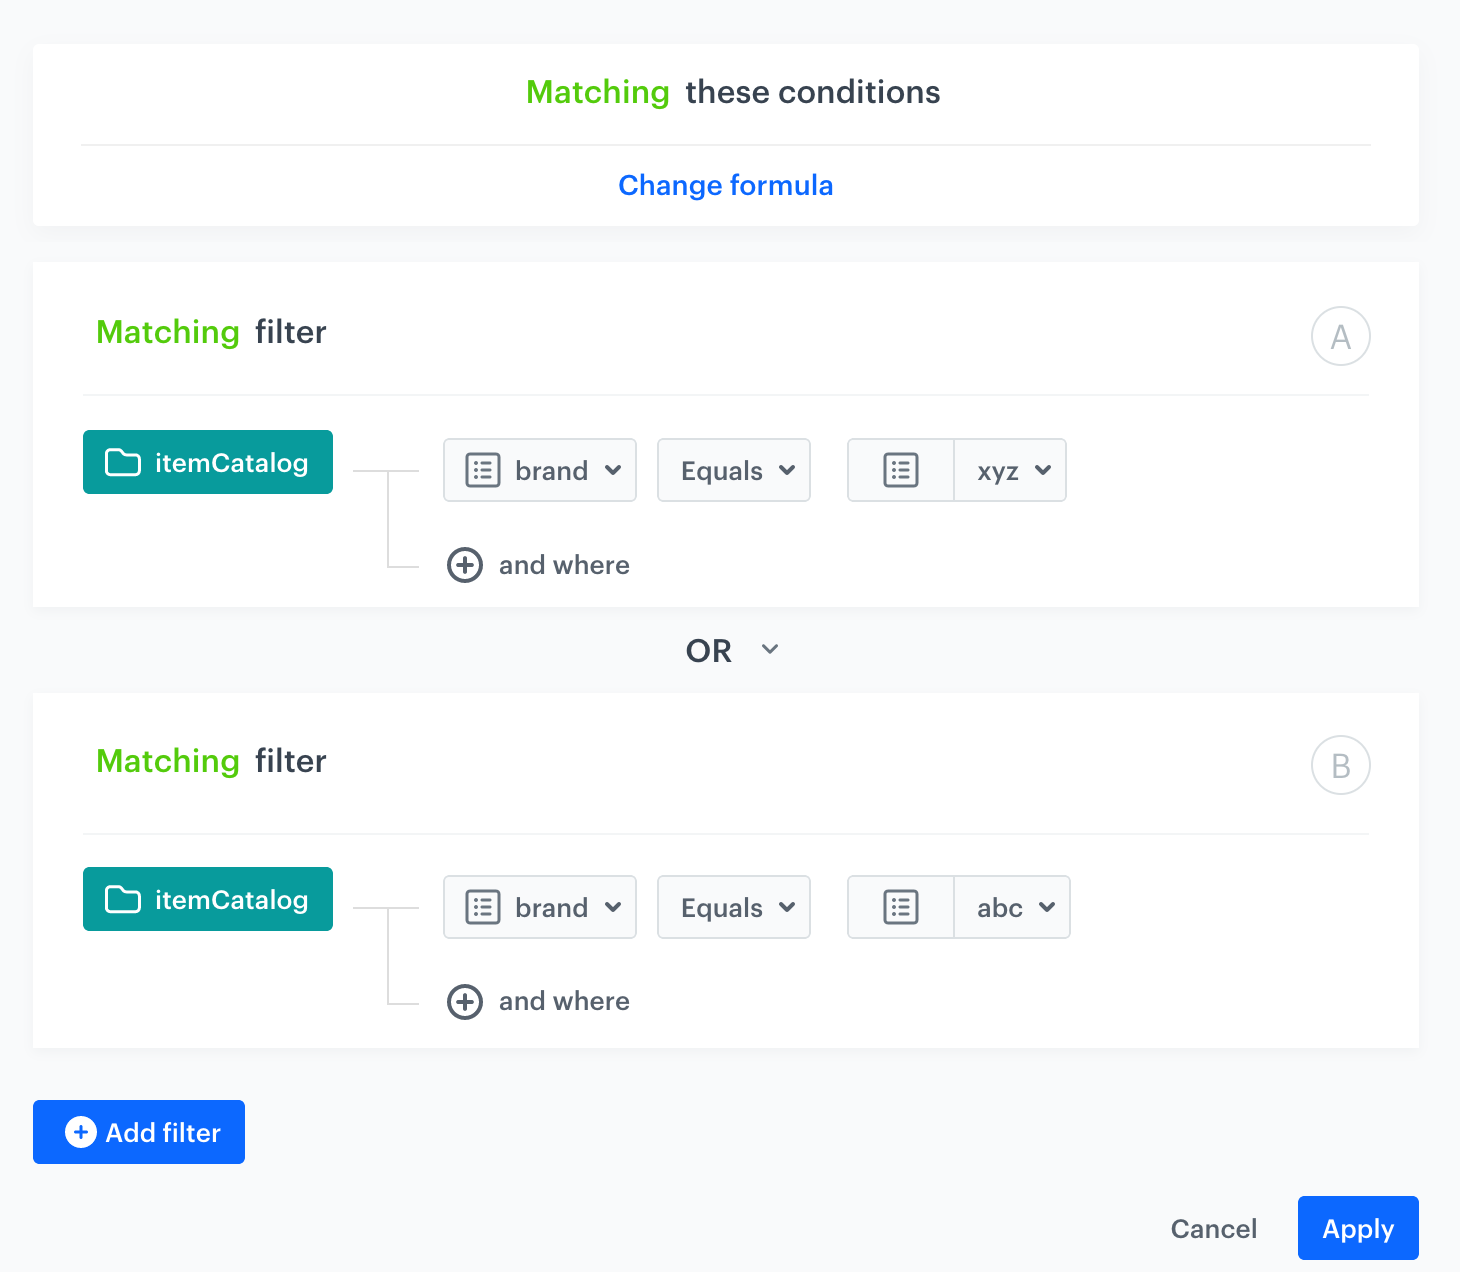
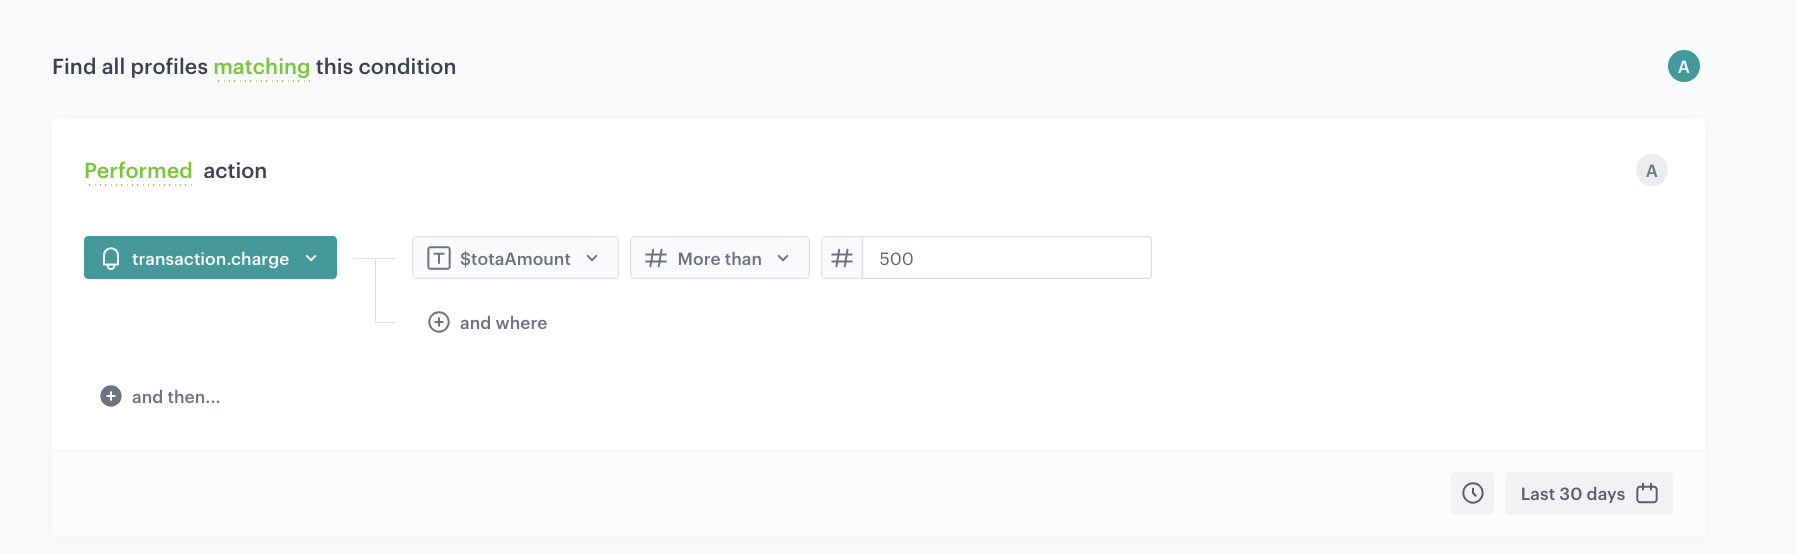
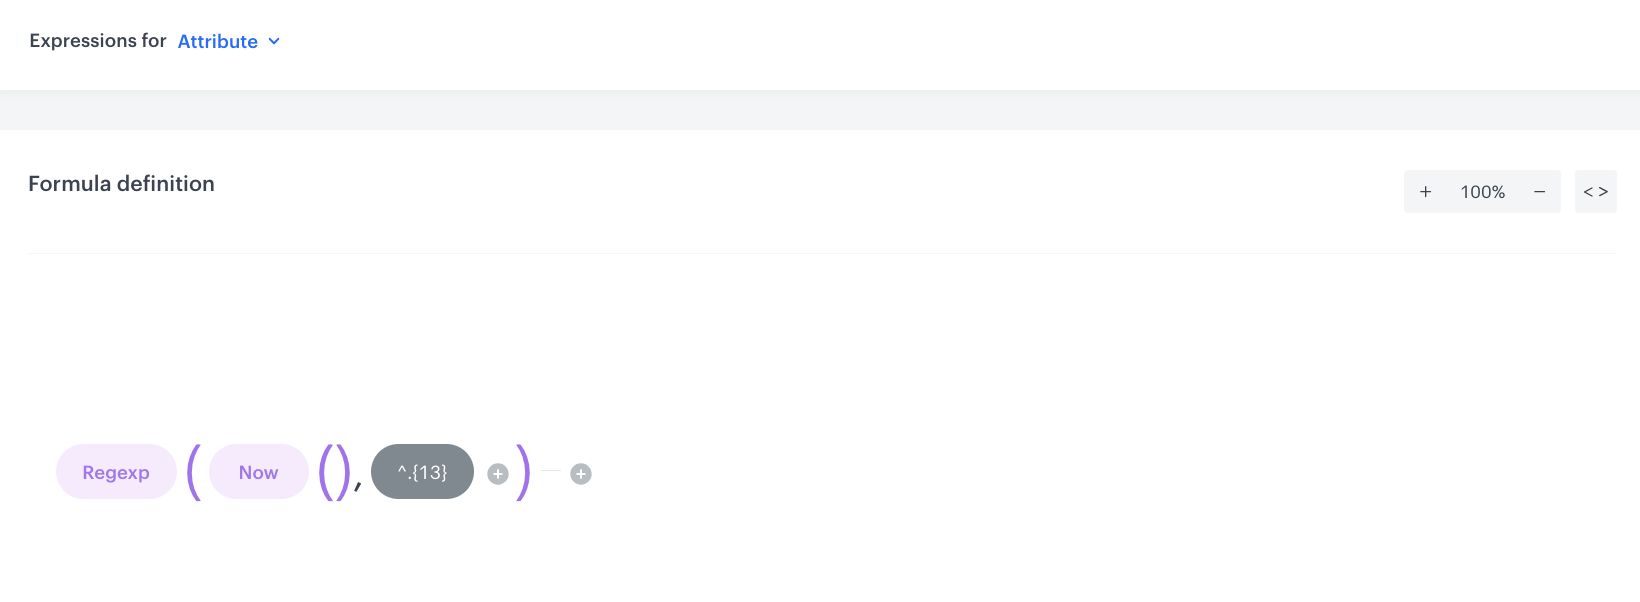
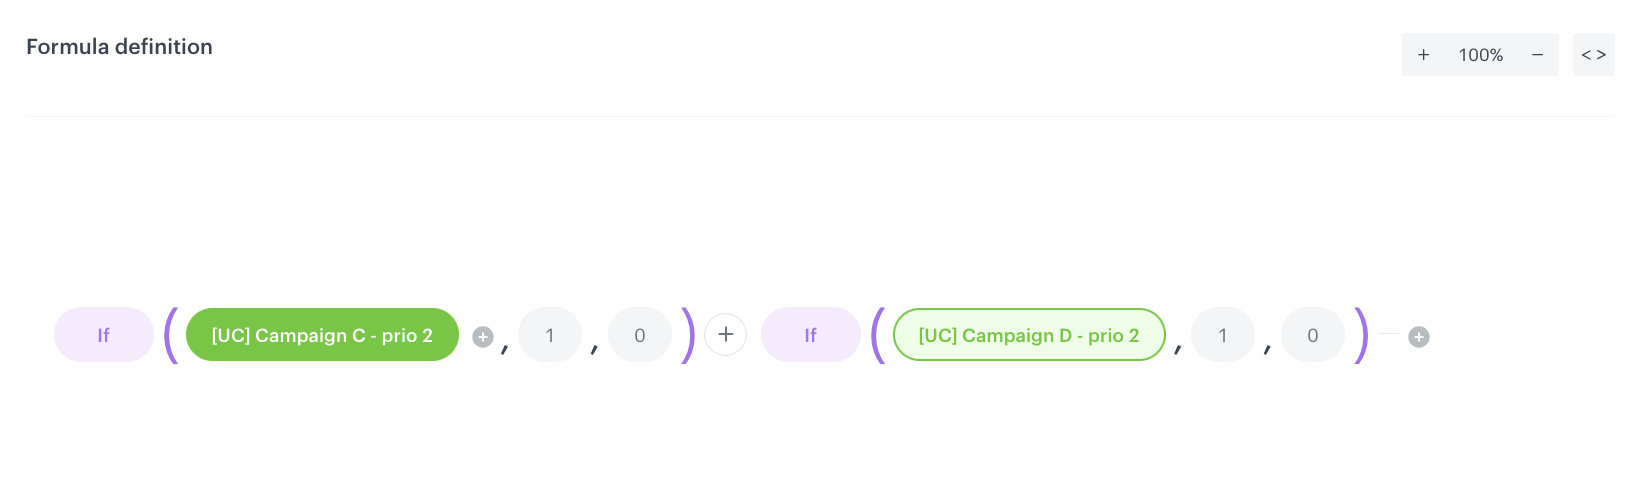
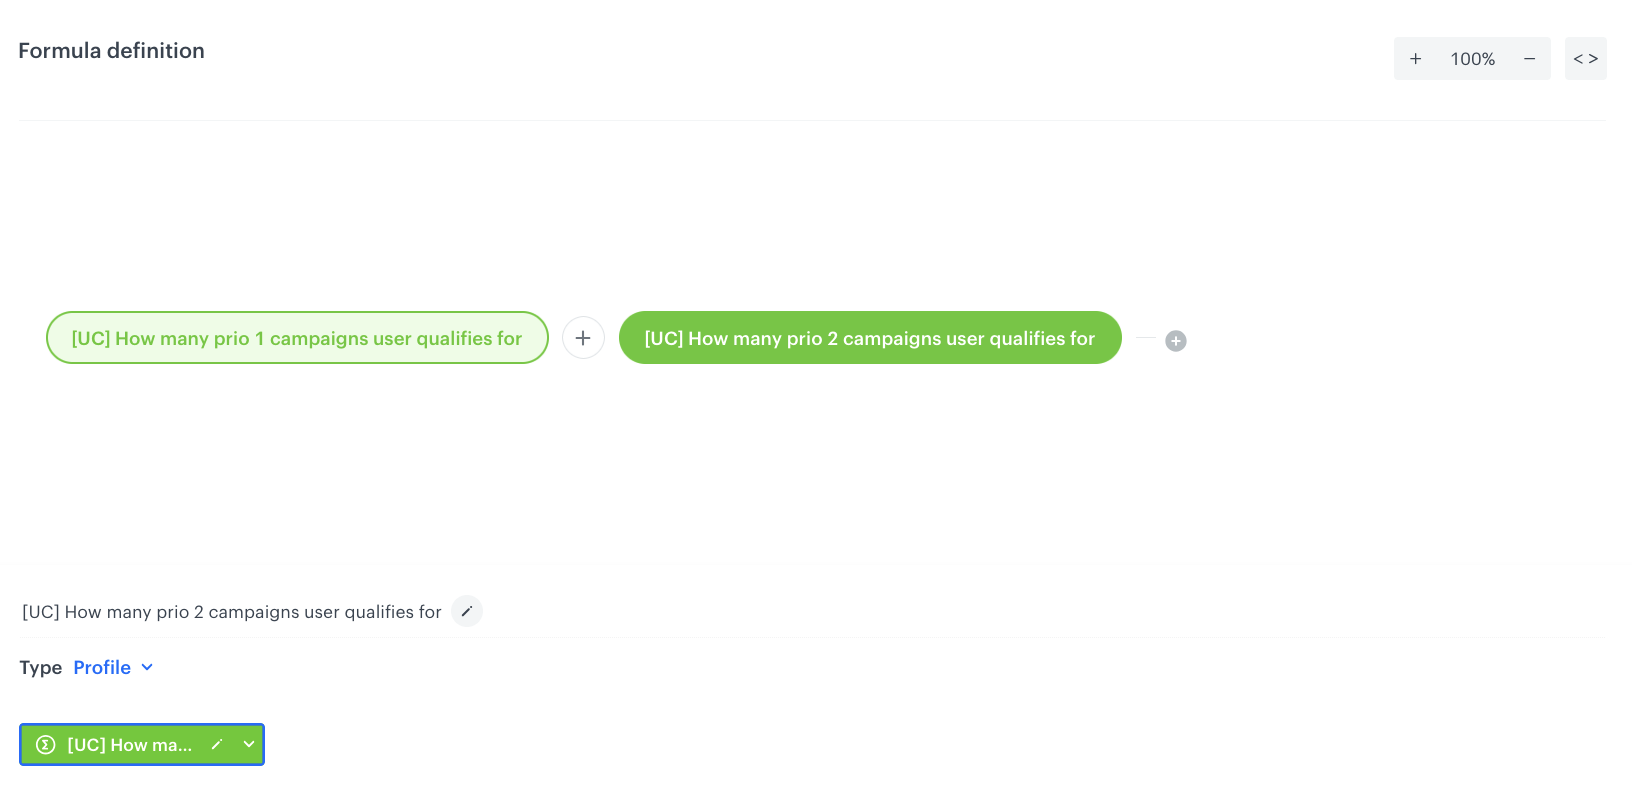
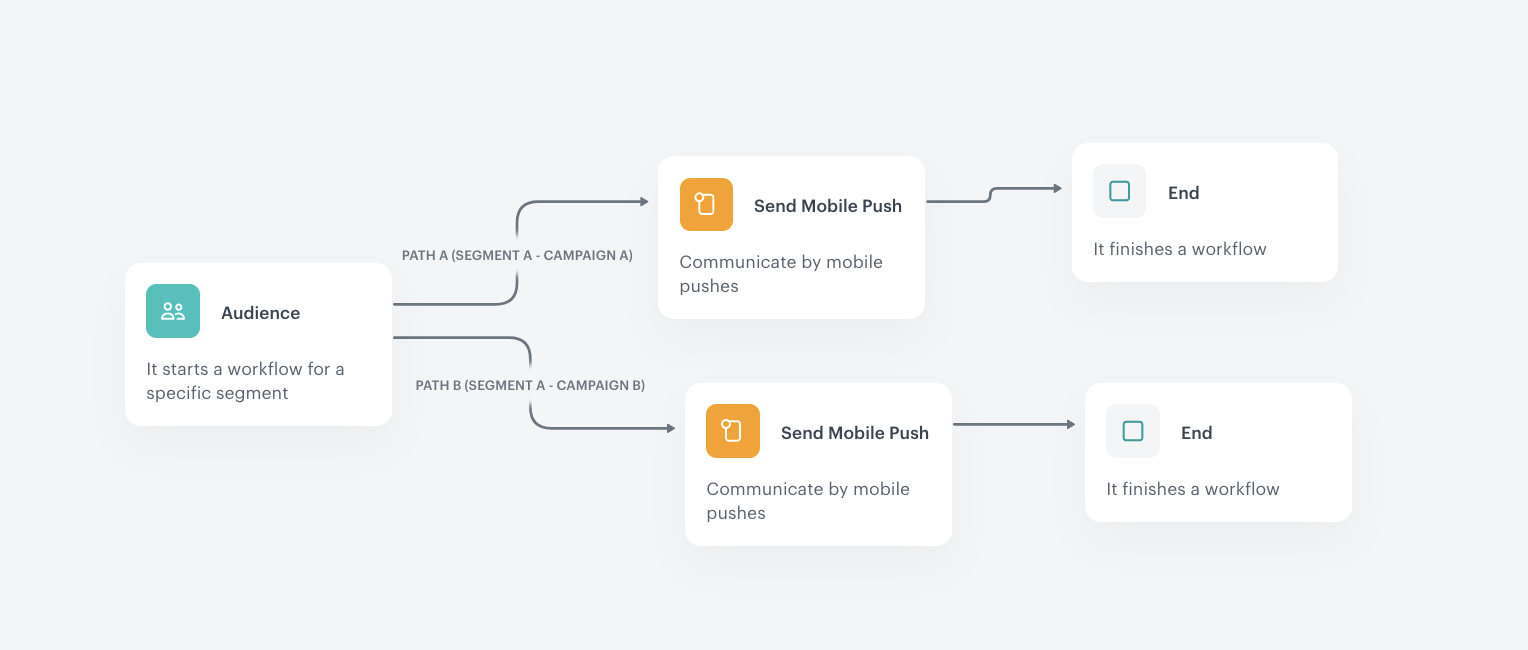
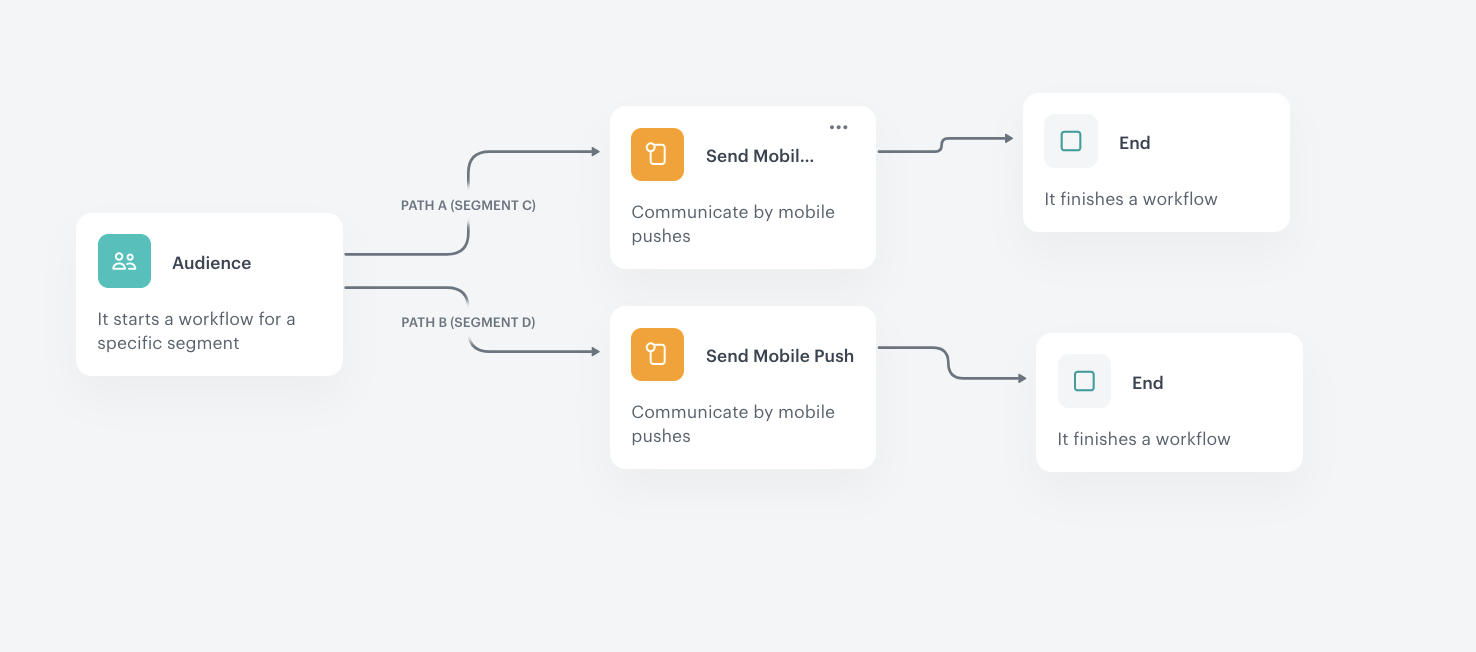
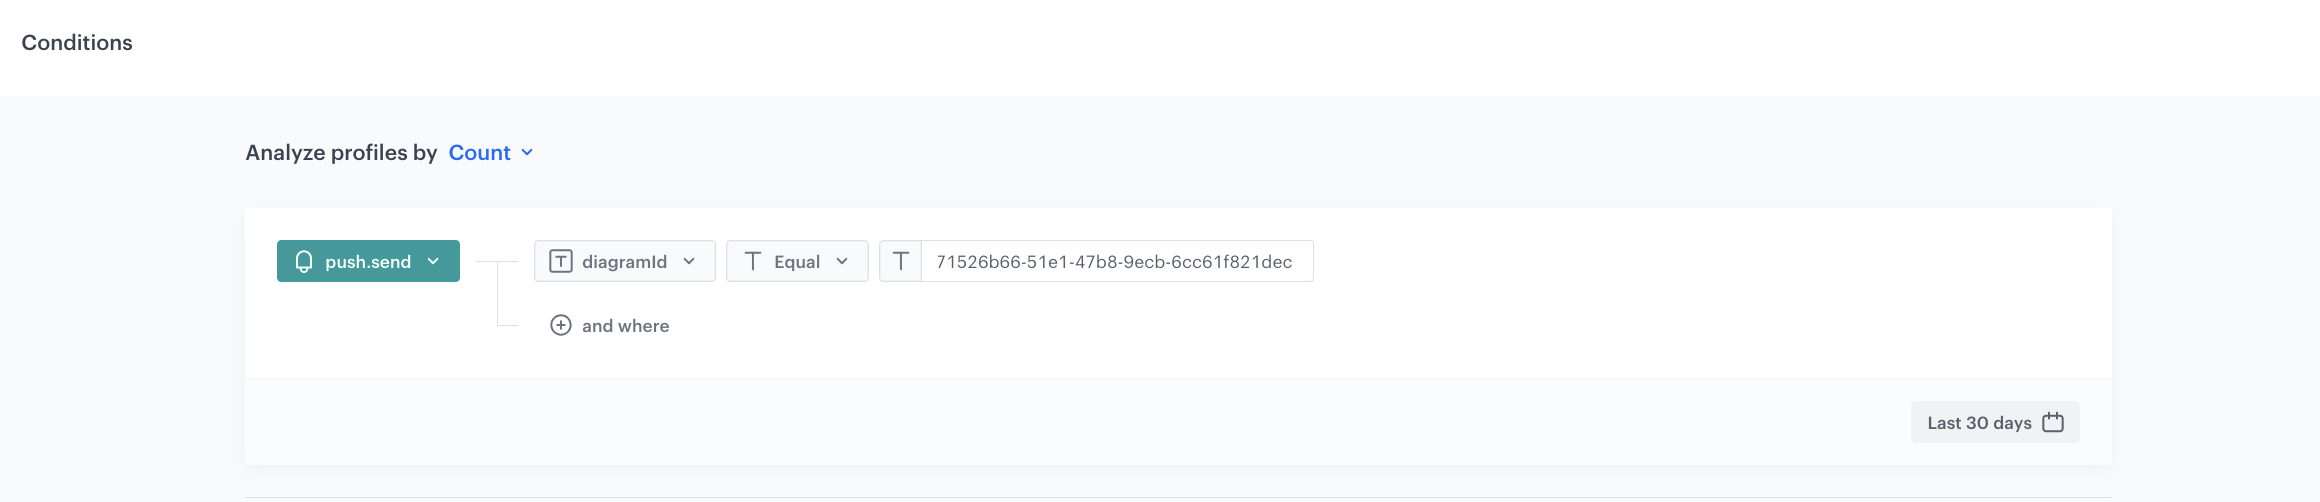
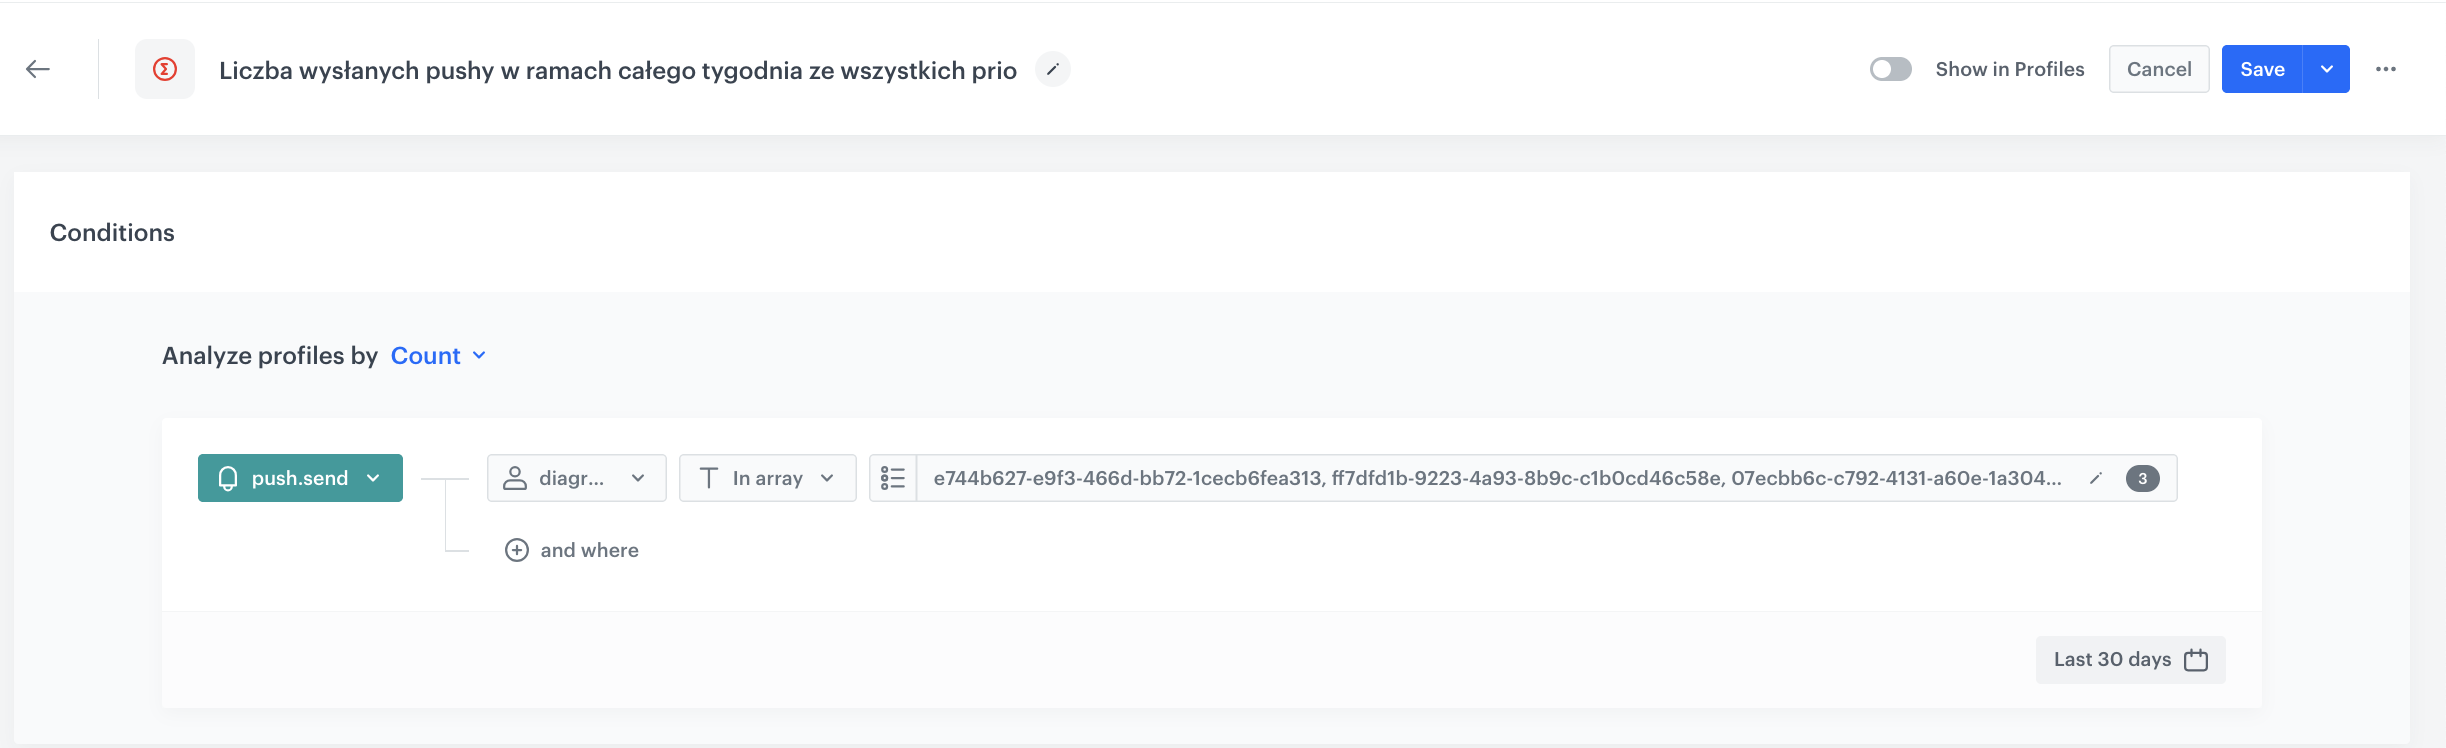
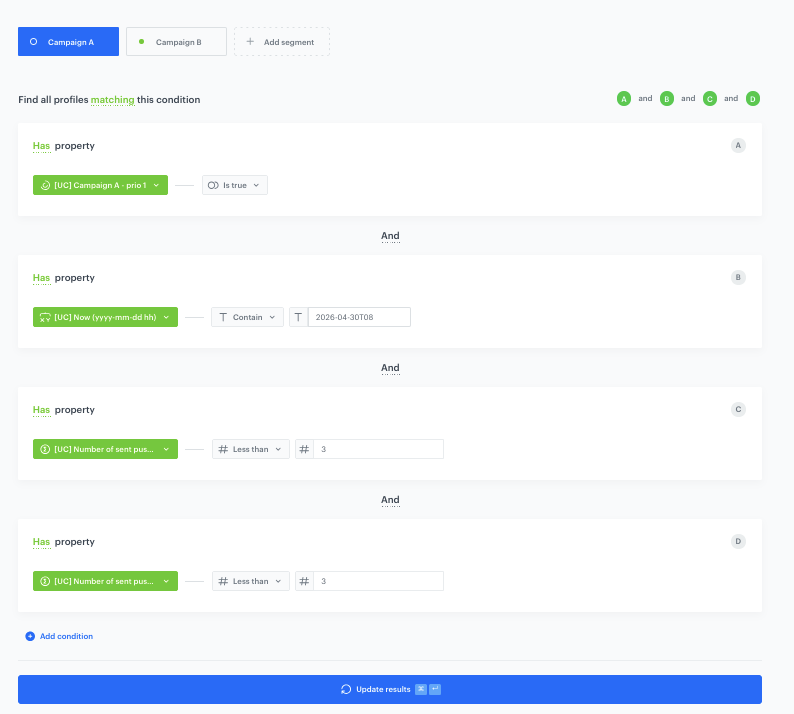
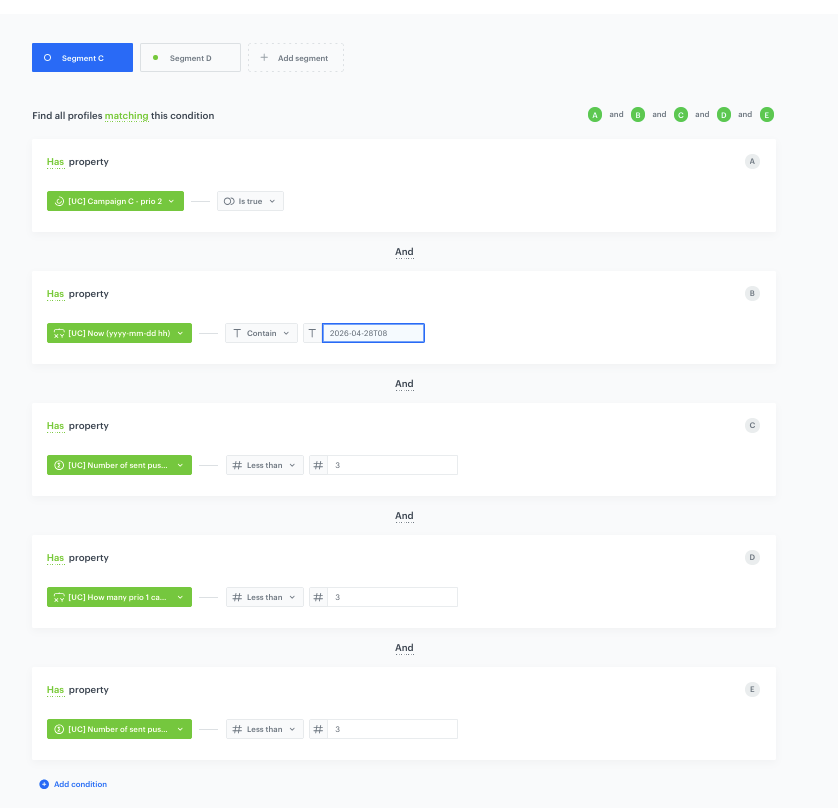
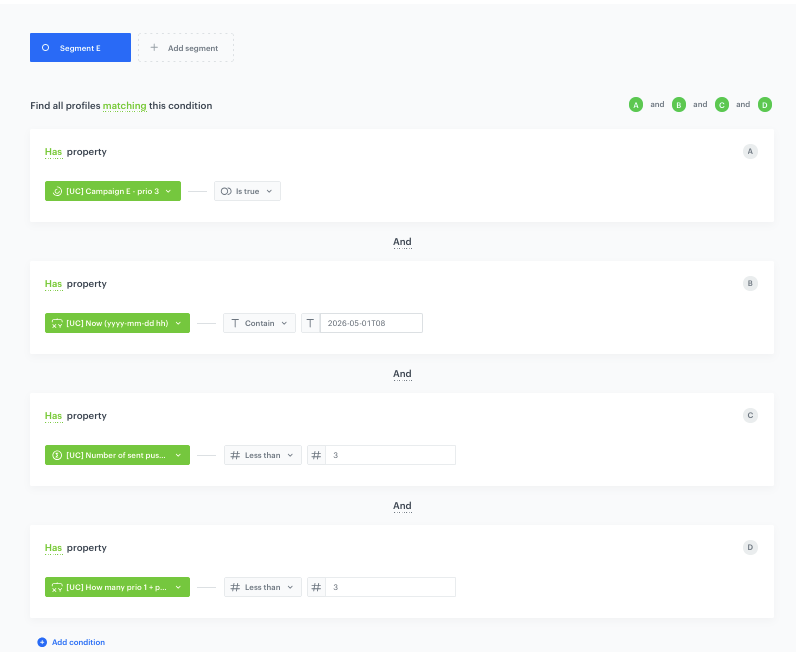
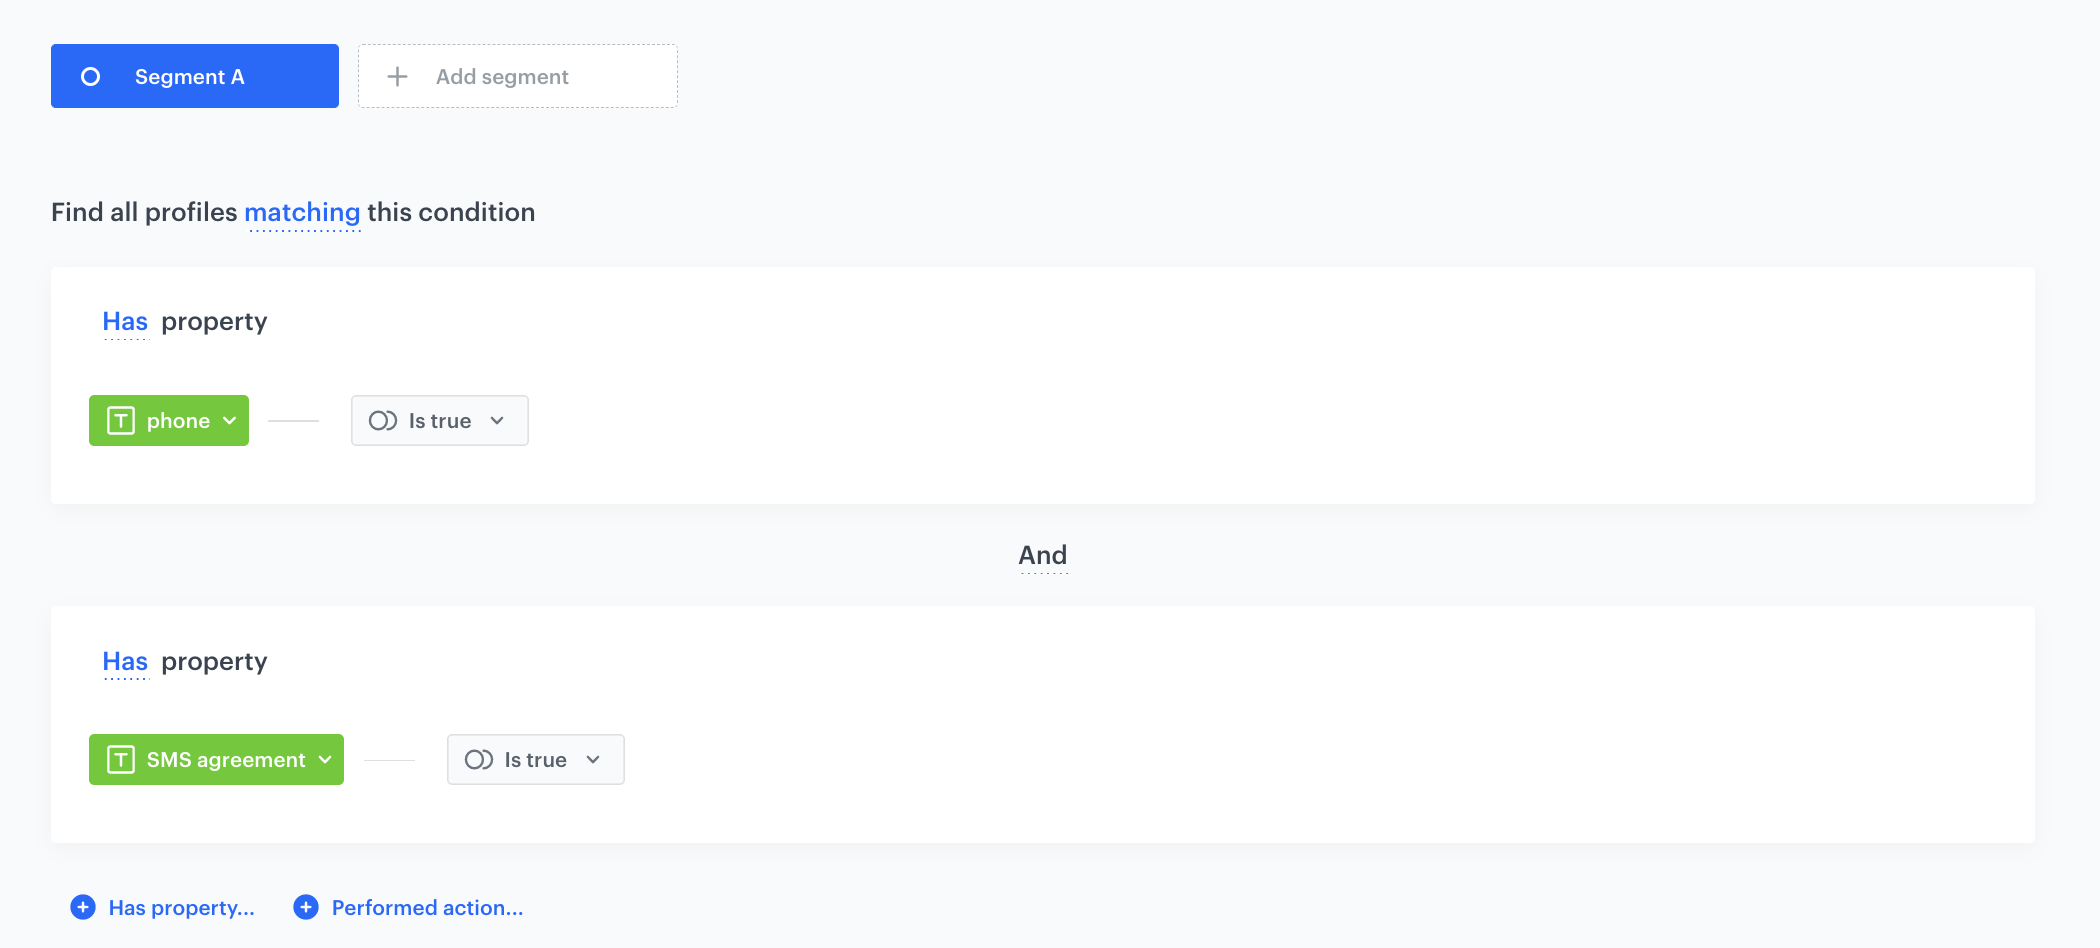
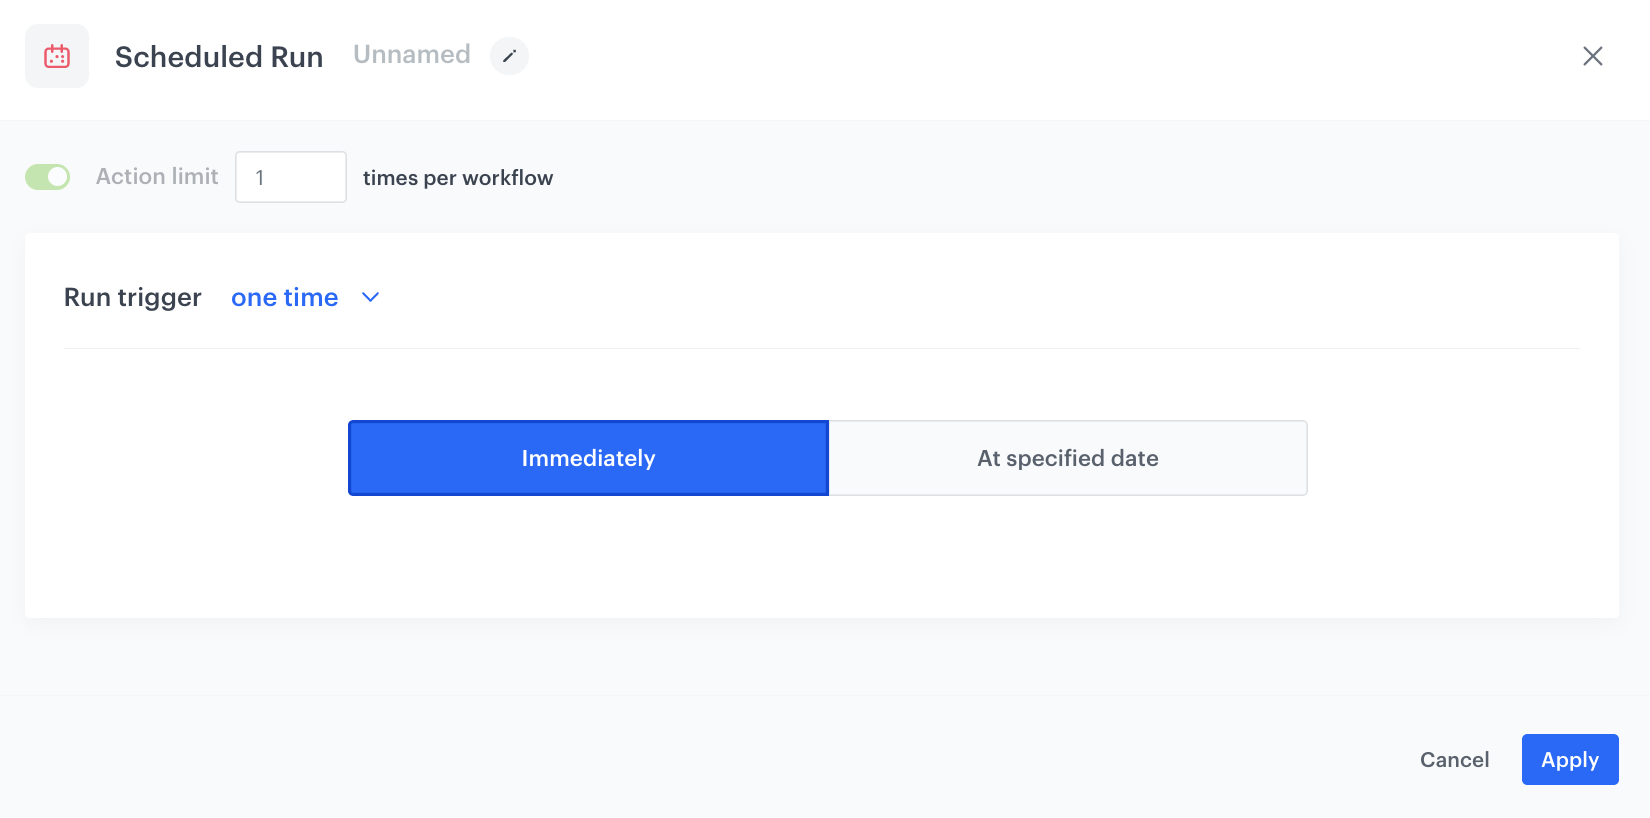
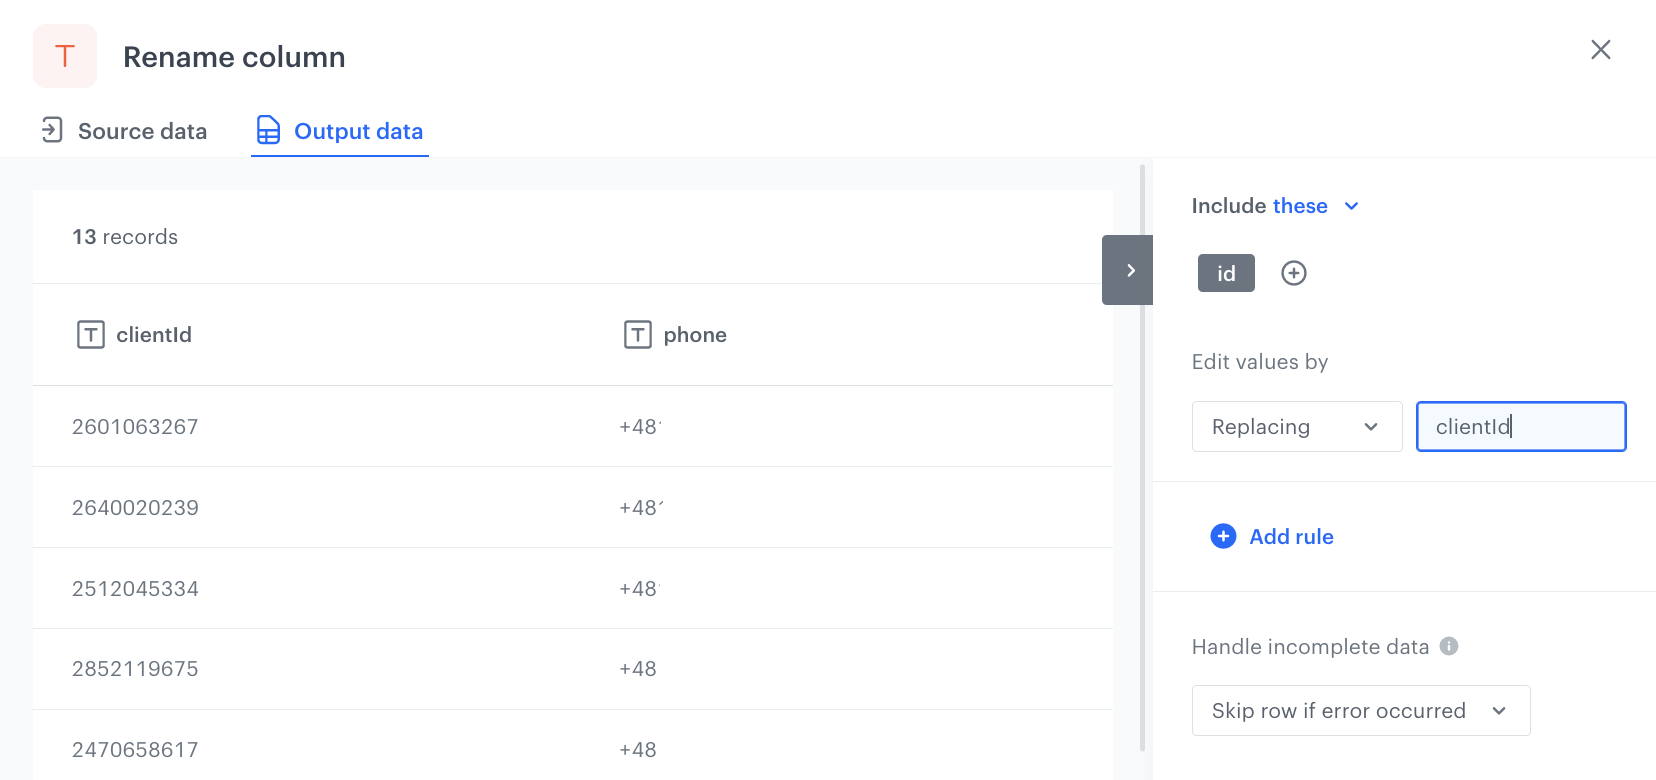

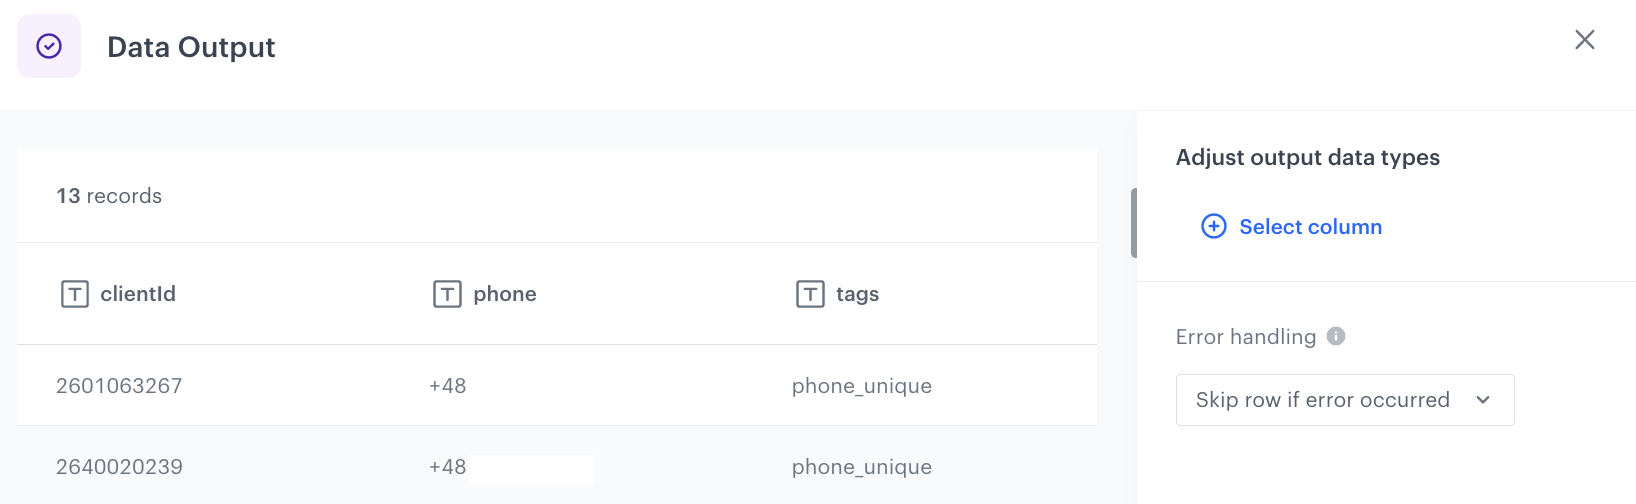
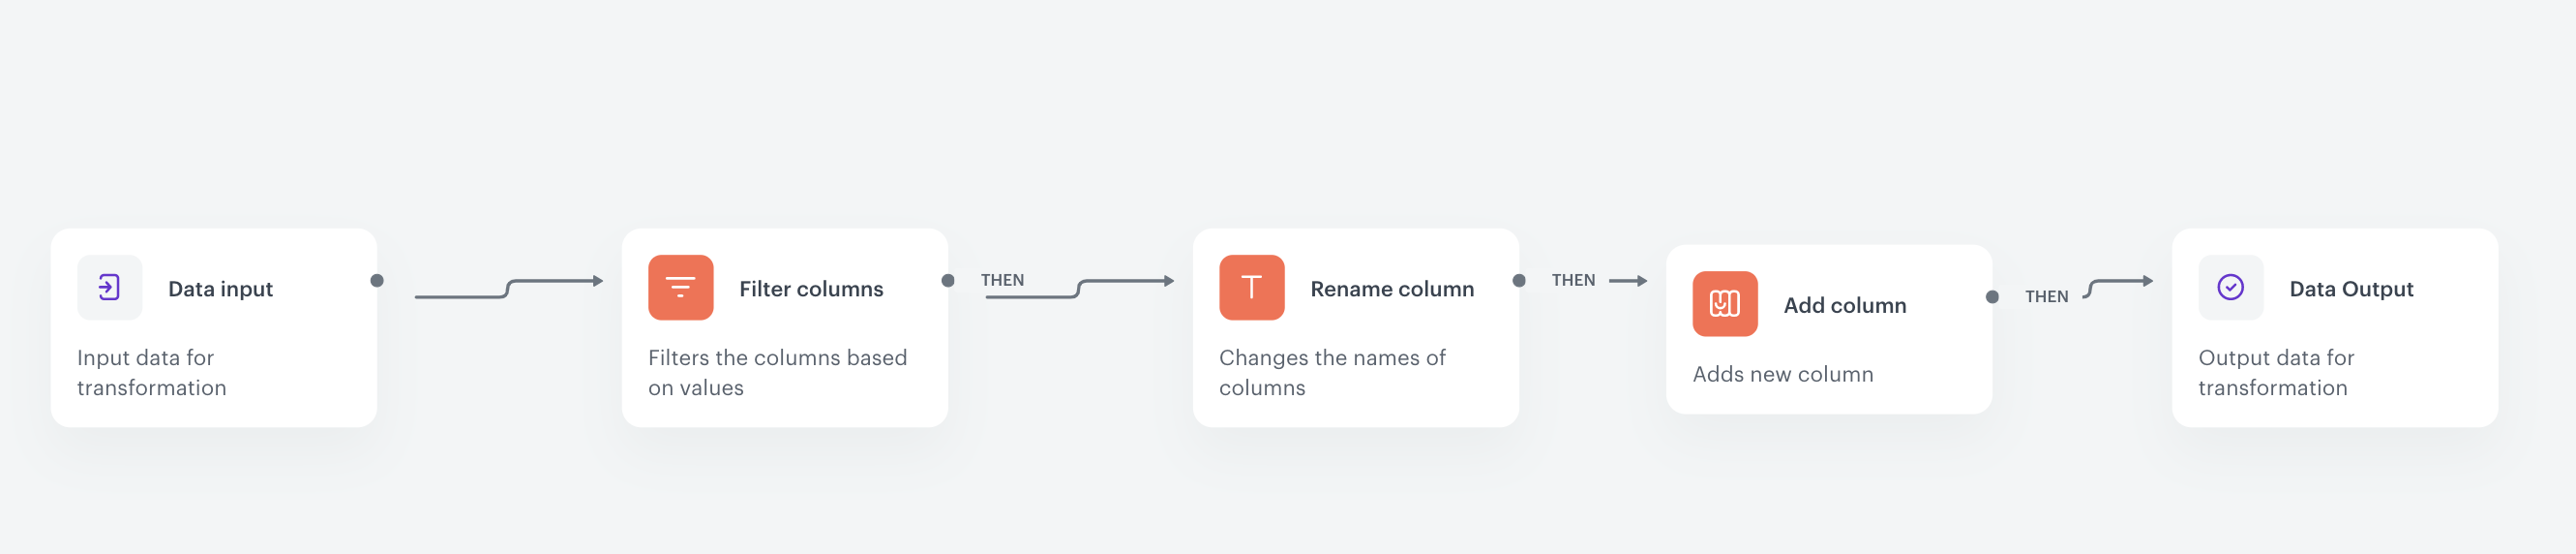
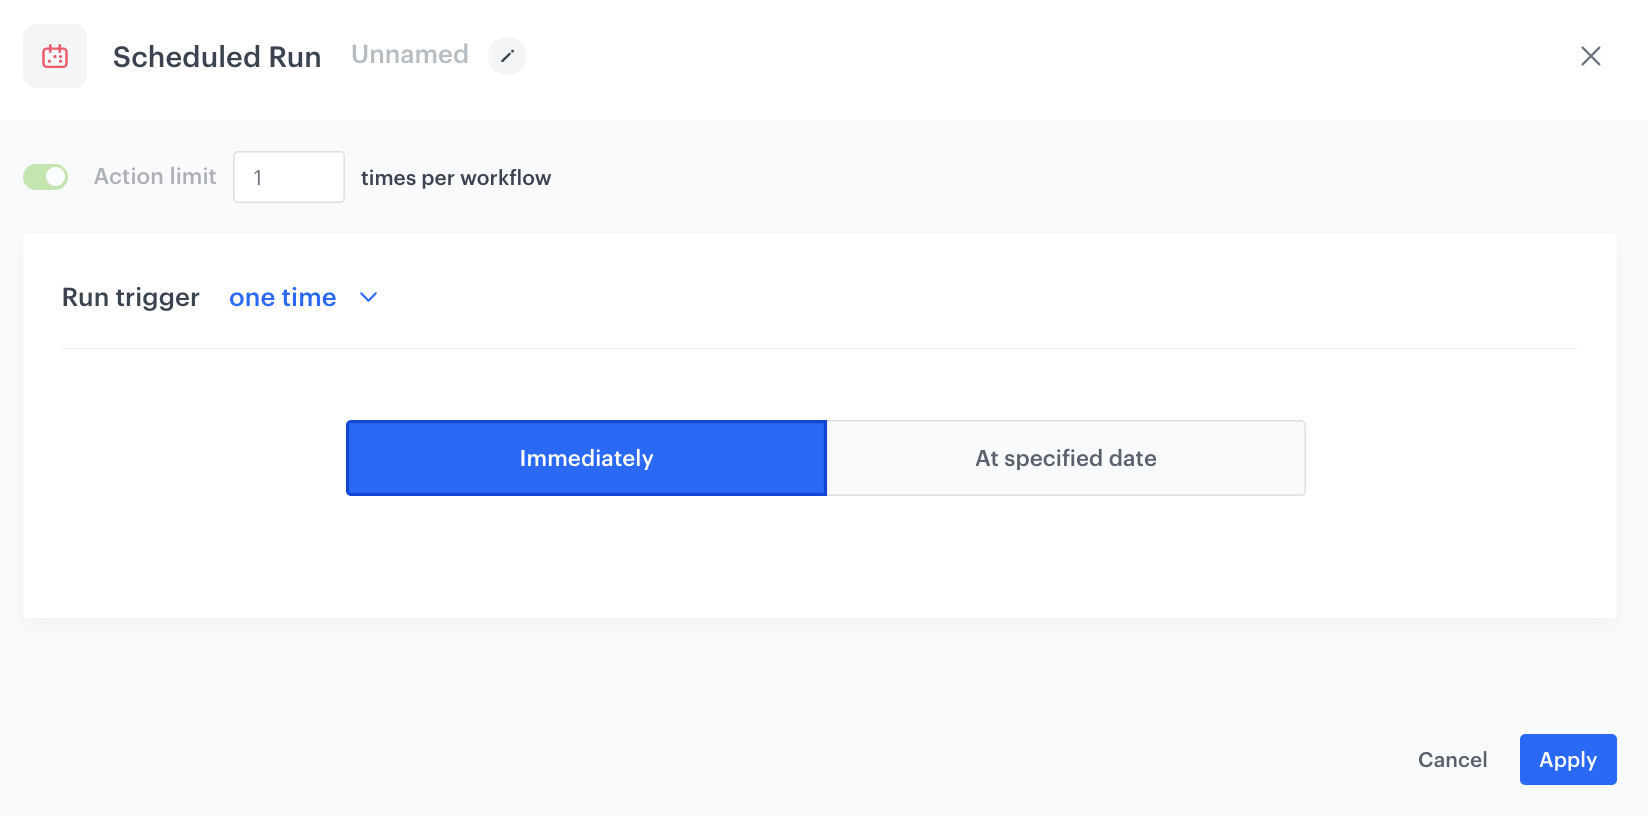

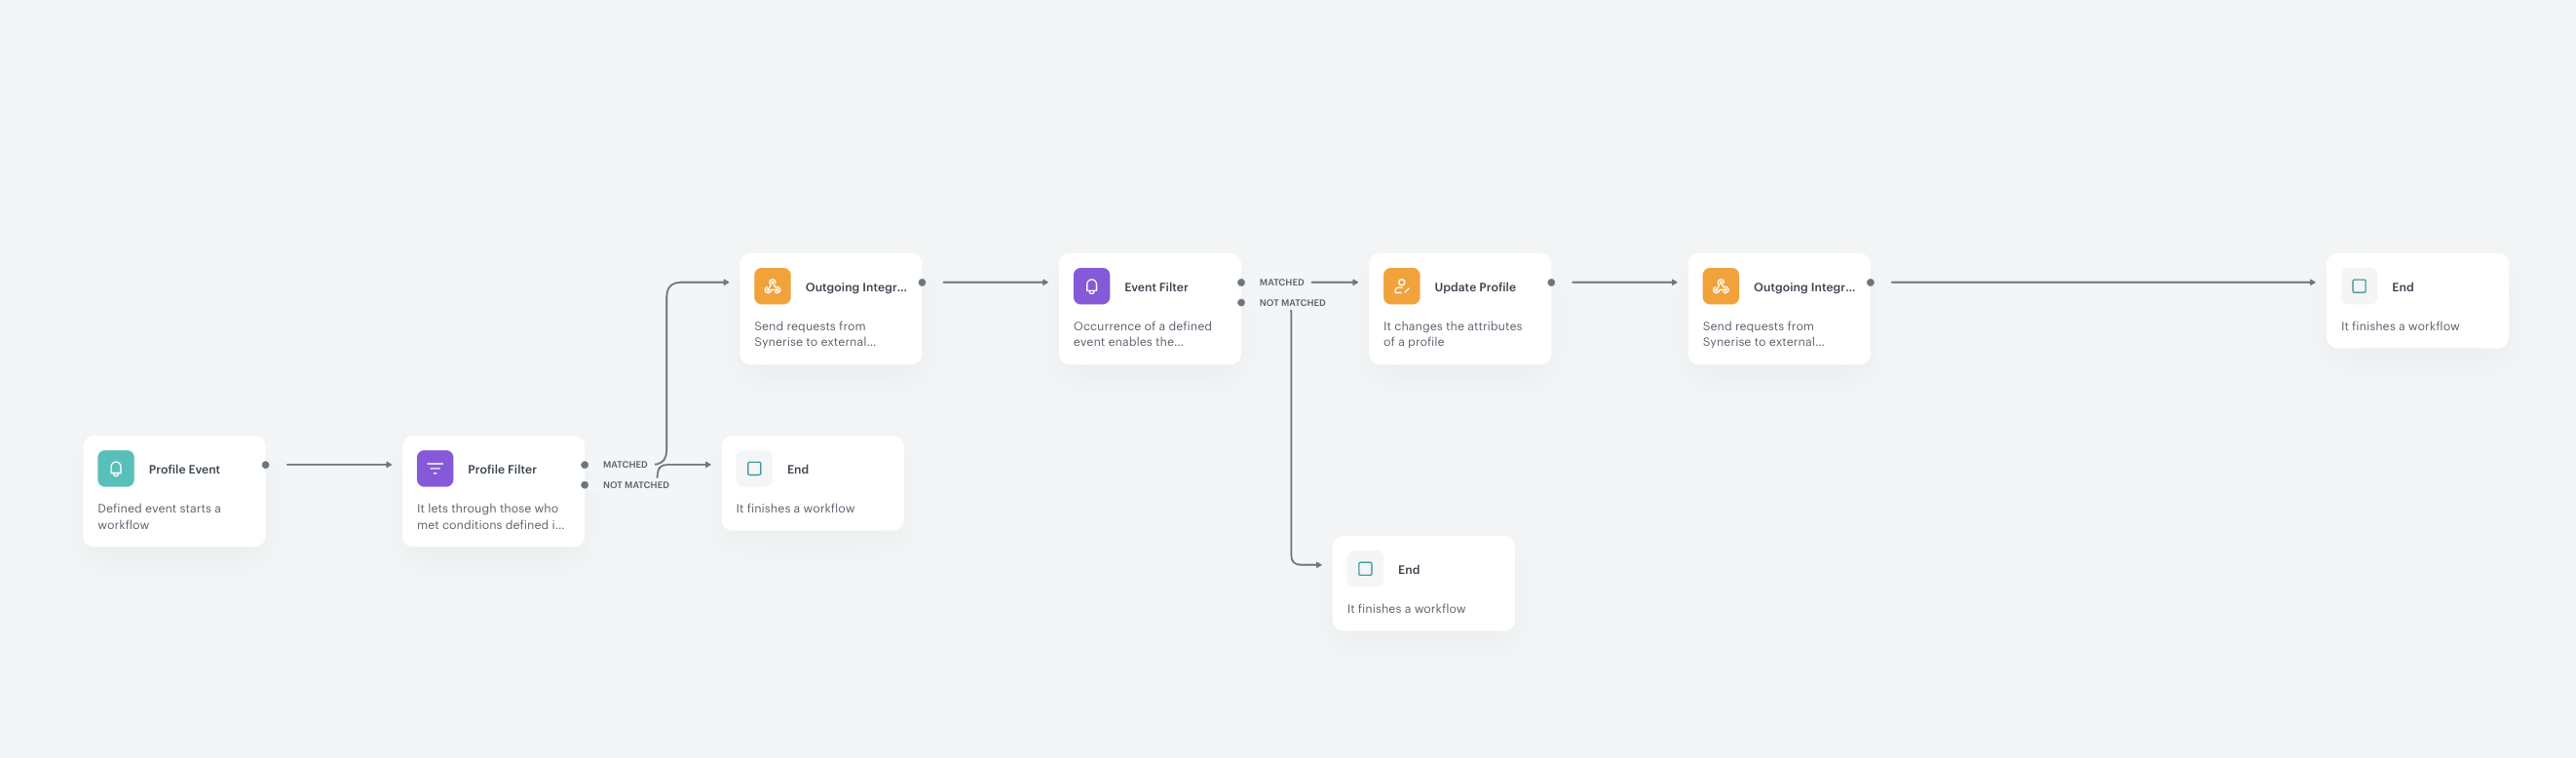
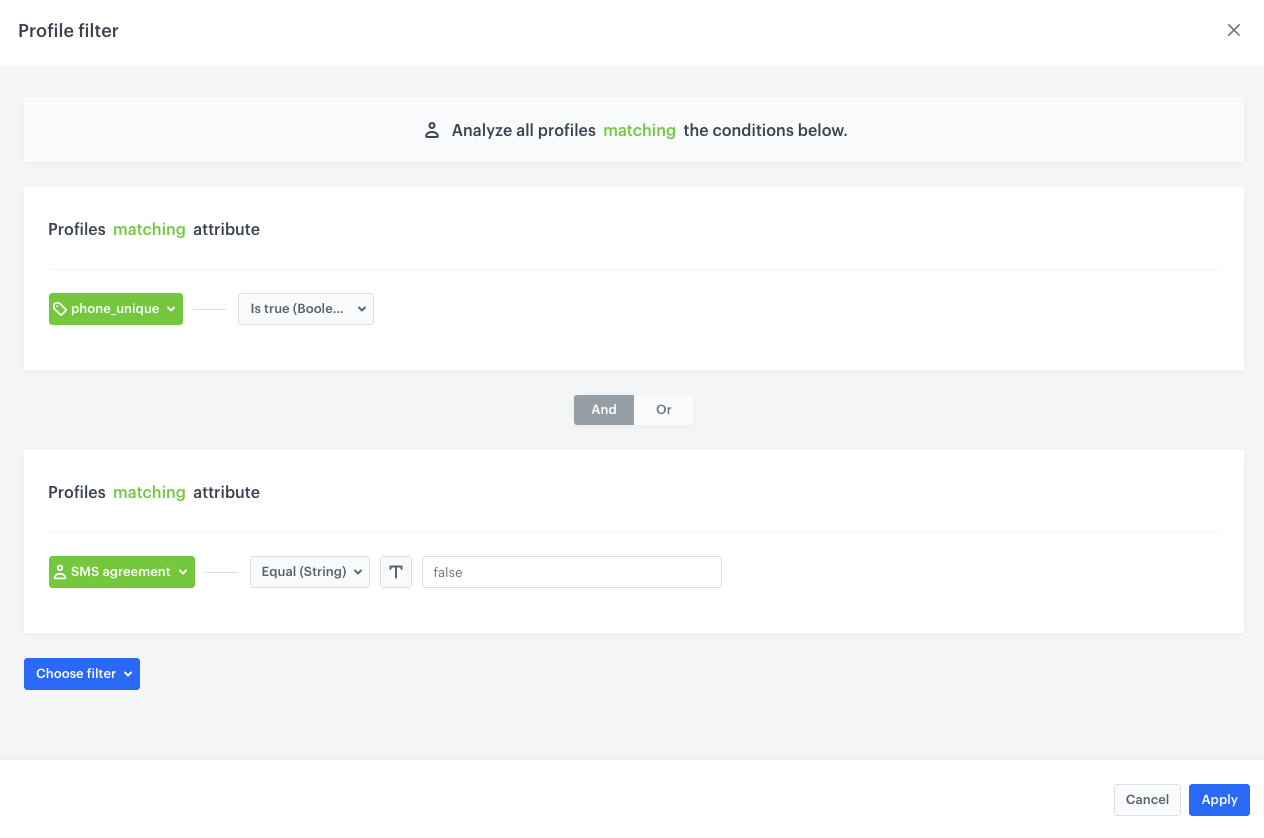
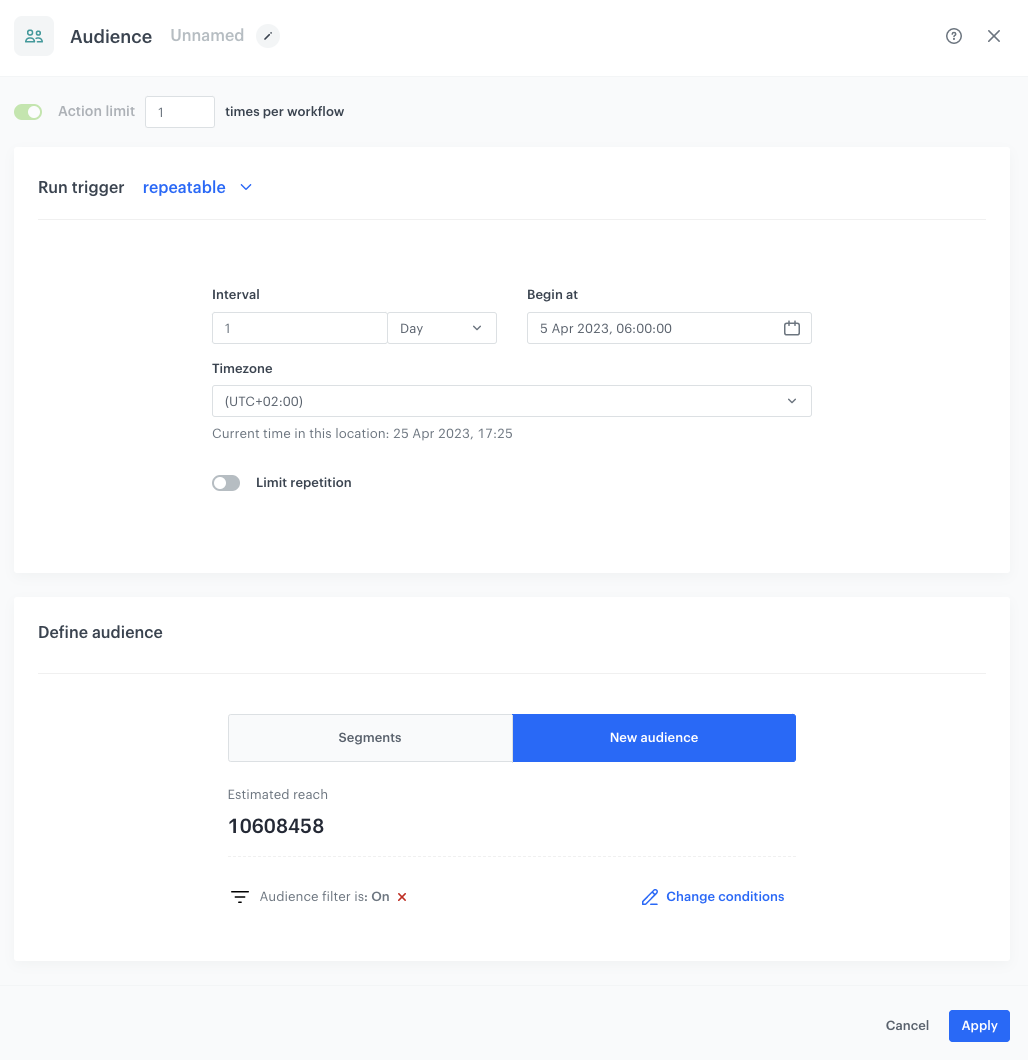
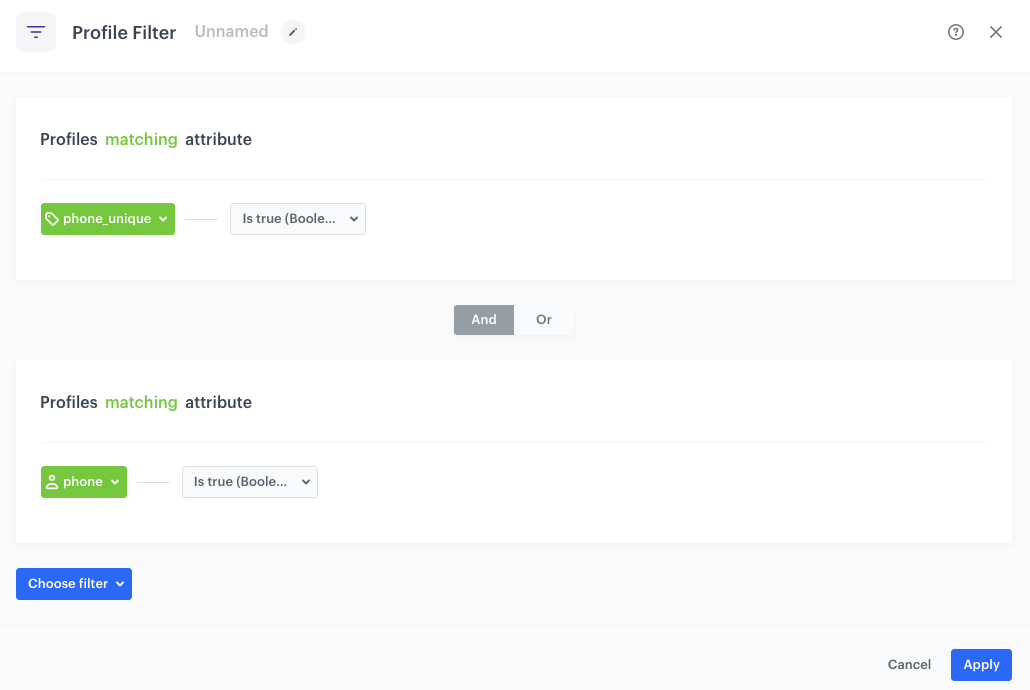
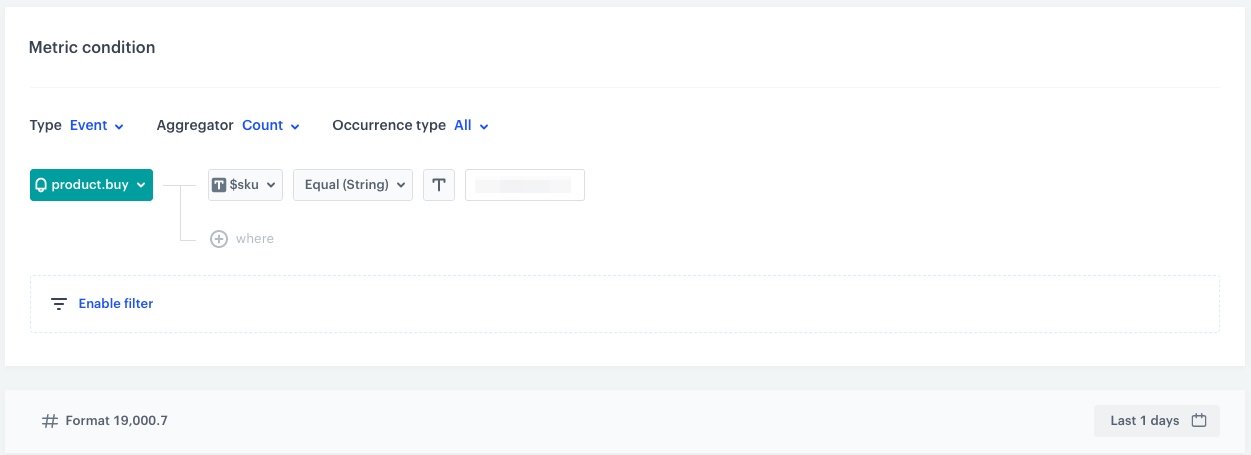
 **Data Modeling Hub > Catalogs > New Catalog**.
3. Enter the name of the catalog.
4. Click **Apply** to confirm. The catalog will appear on the list.
5. Click on the created catalog.
5. In the upper right corner, click **Import**.
**Result:** A pop-up appears.
6. As the import method, select **Import a local file**.
7. Click **Next**.
7. Upload the CSV file you prepare by using the **+ Upload file or drop one here** field.
8. Optionally, you can customize the file metacharacters by clicking the arrow down icon.
1. From the **Delimiter** dropdown, select the character that marks the end of a column.
2. From the **Quotation** mark dropdown list, select the characters that contain the text or data type.
4. From the **Escape character** dropdown lists, select the character which changes the default interpretation of a character or a string followed by the escape character.
9. To proceed to the next step, click the **Next** button.
10. Select the name of the column which is treated as the primary key.
In our example, it’s `key`.
11. Click **Next**.
12. Click **Run import**.
**Data Modeling Hub > Catalogs > New Catalog**.
3. Enter the name of the catalog.
4. Click **Apply** to confirm. The catalog will appear on the list.
5. Click on the created catalog.
5. In the upper right corner, click **Import**.
**Result:** A pop-up appears.
6. As the import method, select **Import a local file**.
7. Click **Next**.
7. Upload the CSV file you prepare by using the **+ Upload file or drop one here** field.
8. Optionally, you can customize the file metacharacters by clicking the arrow down icon.
1. From the **Delimiter** dropdown, select the character that marks the end of a column.
2. From the **Quotation** mark dropdown list, select the characters that contain the text or data type.
4. From the **Escape character** dropdown lists, select the character which changes the default interpretation of a character or a string followed by the escape character.
9. To proceed to the next step, click the **Next** button.
10. Select the name of the column which is treated as the primary key.
In our example, it’s `key`.
11. Click **Next**.
12. Click **Run import**.
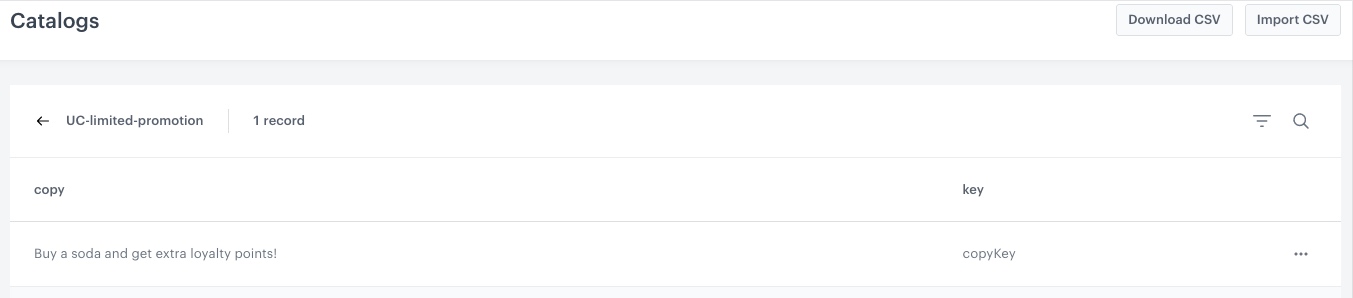
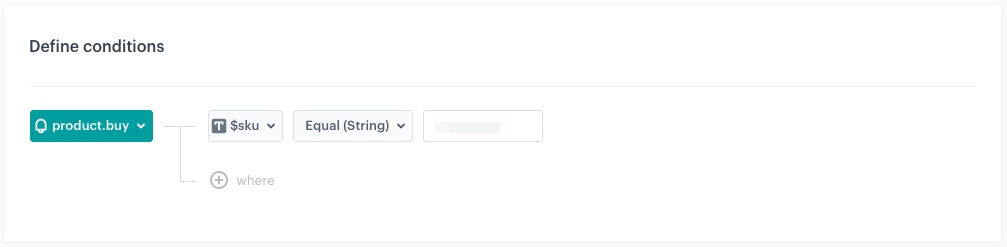
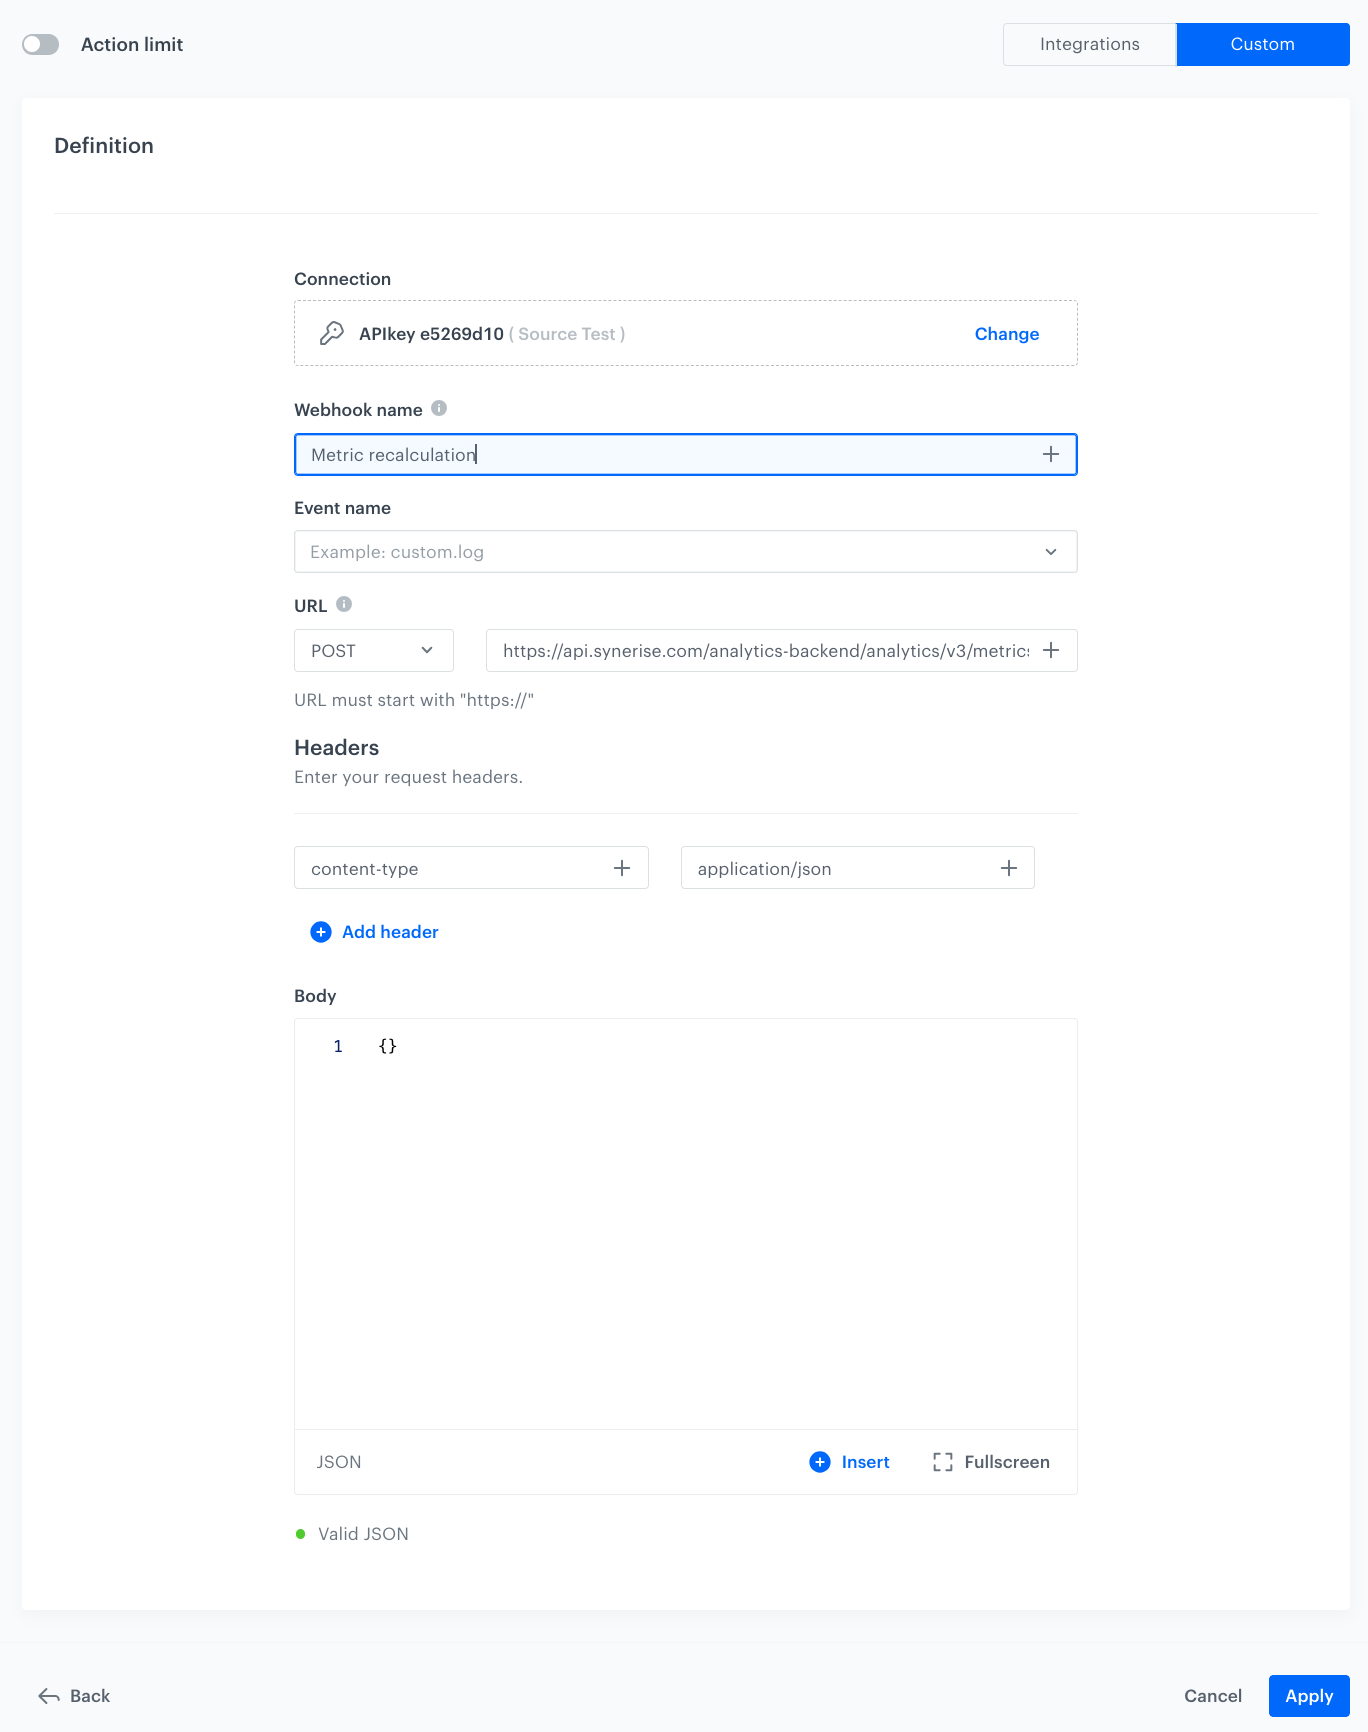
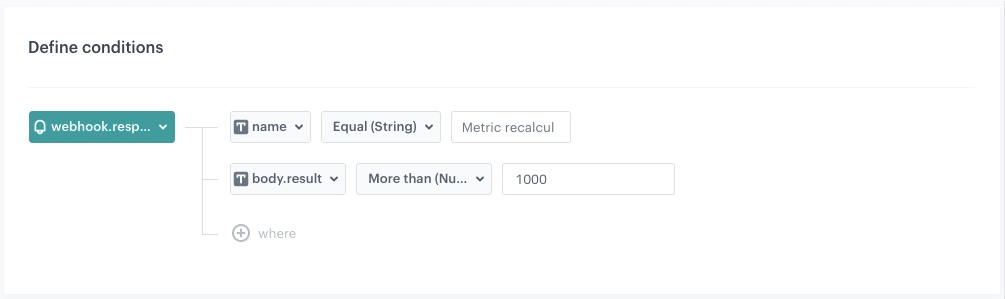
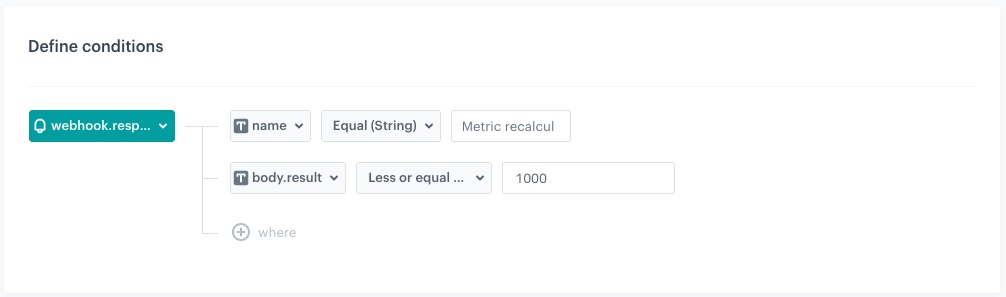
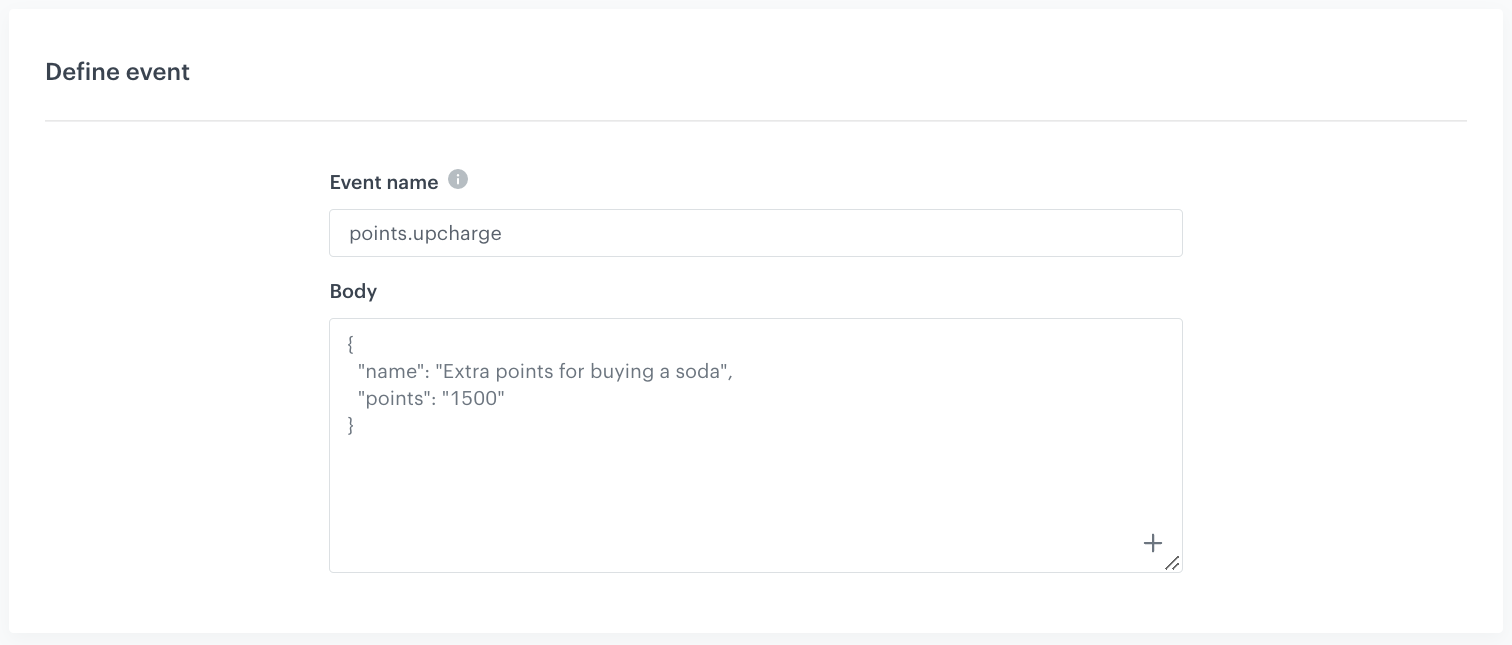
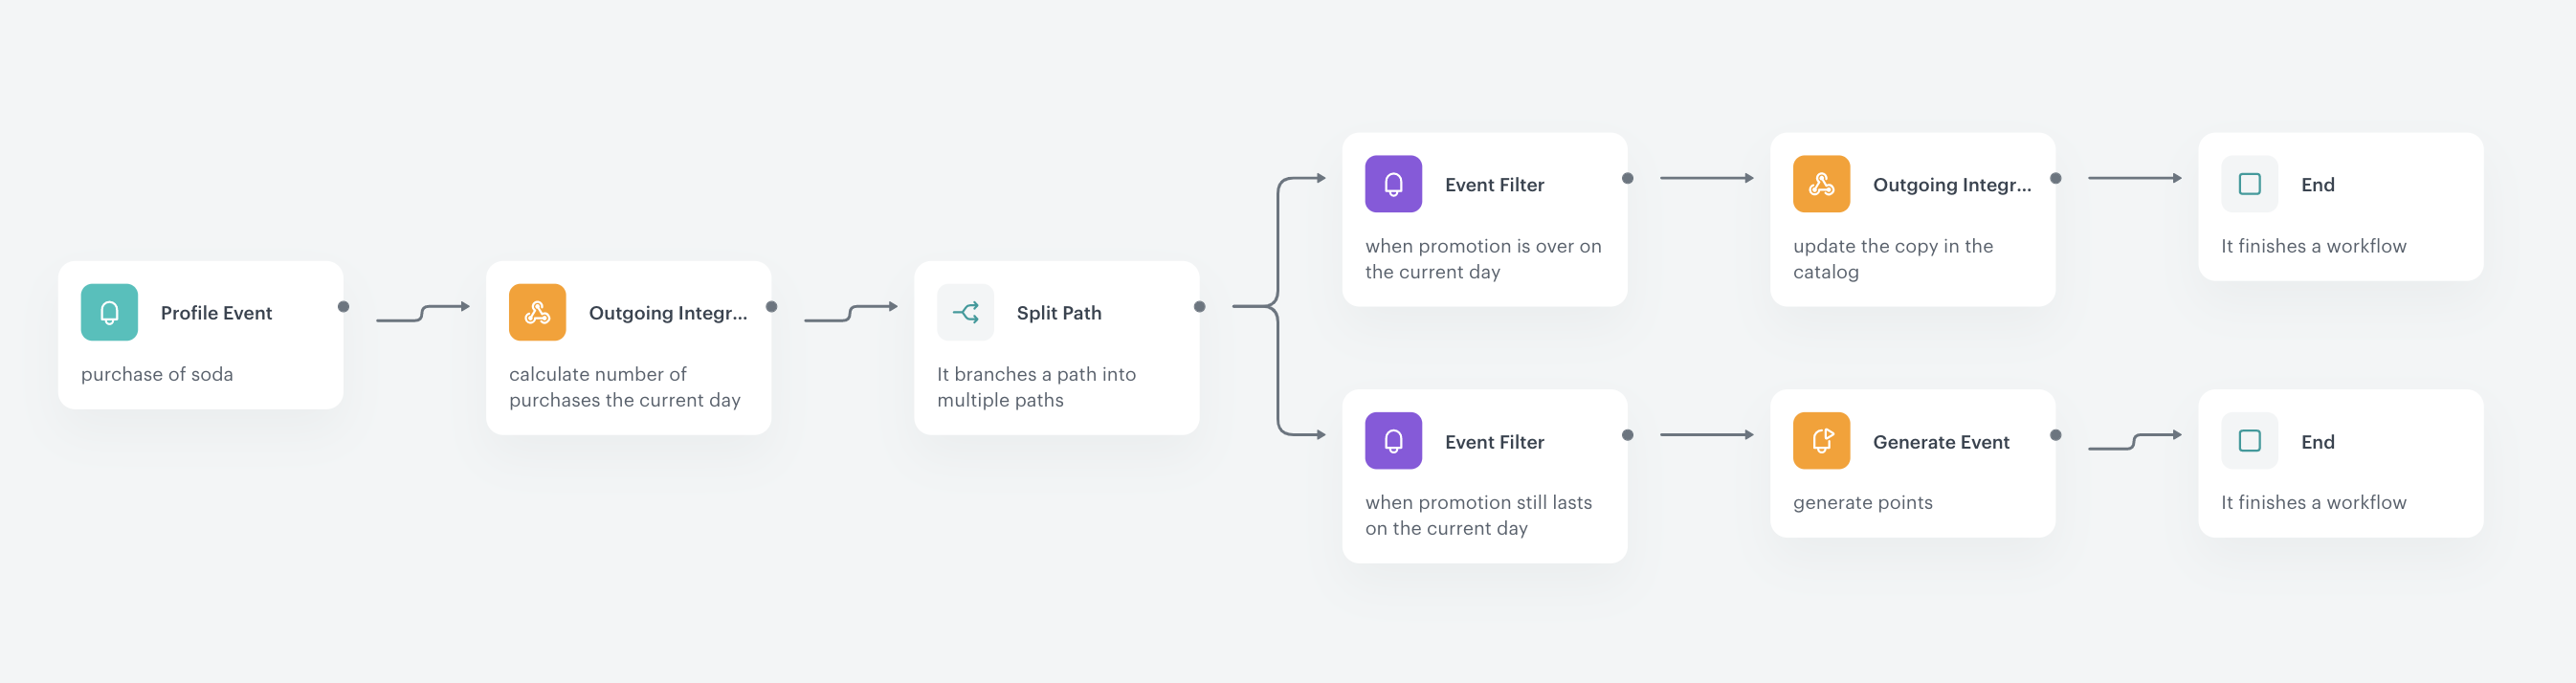
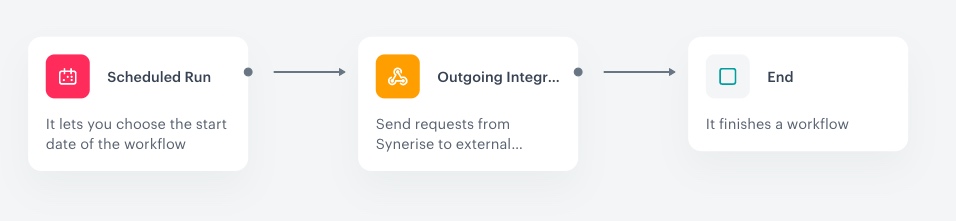
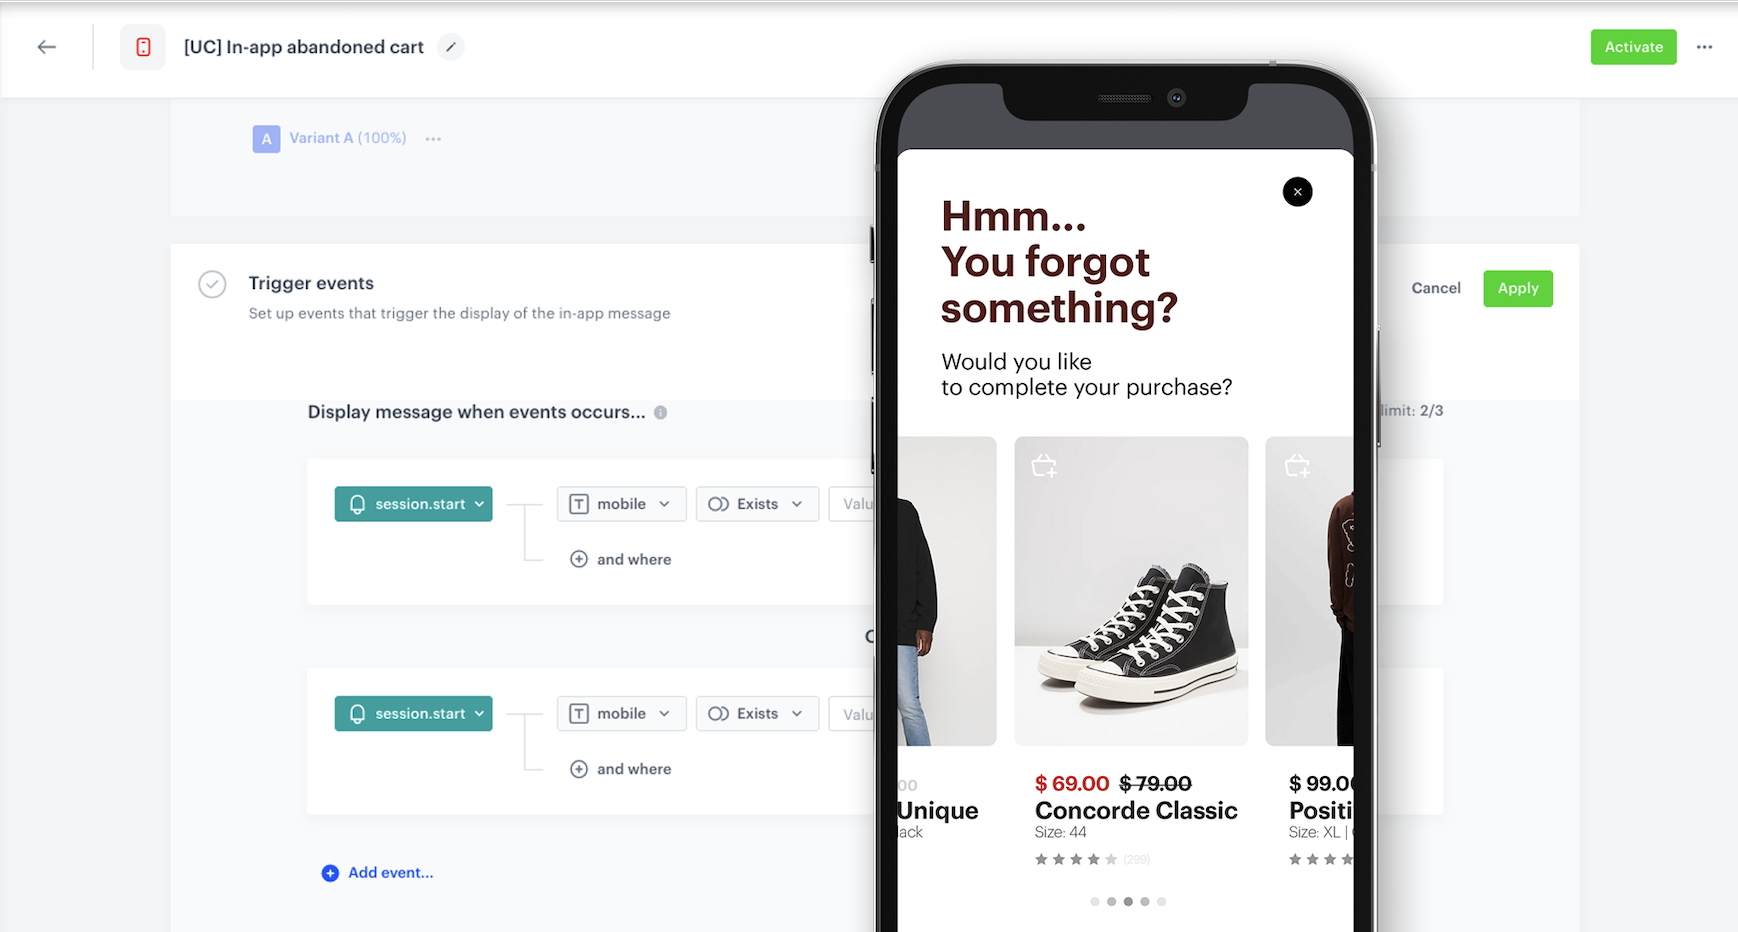

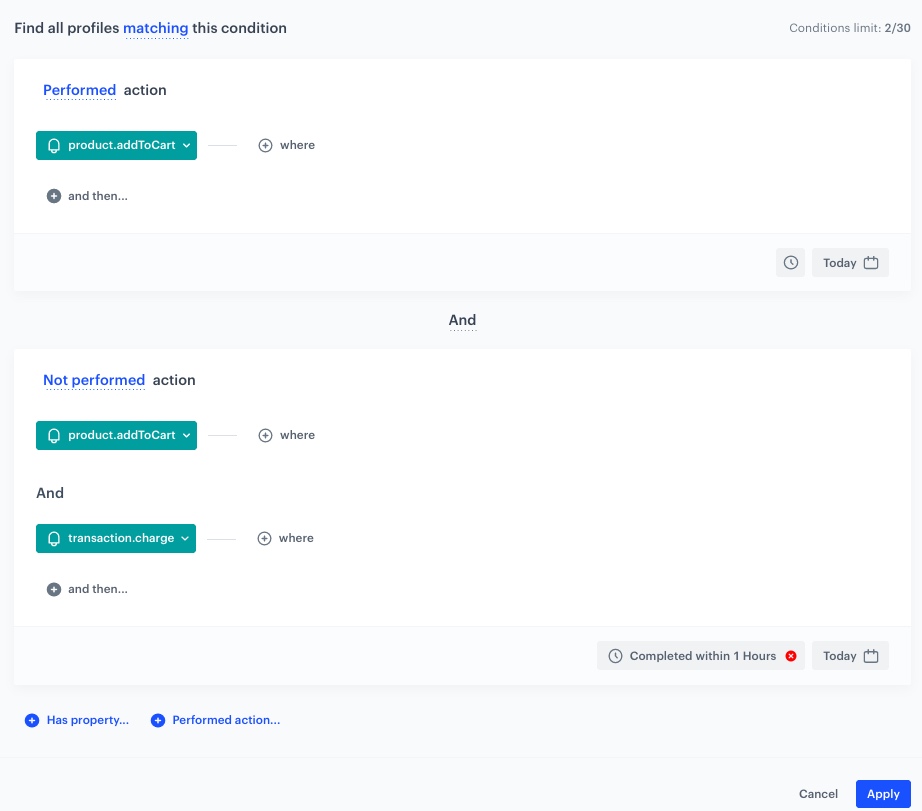
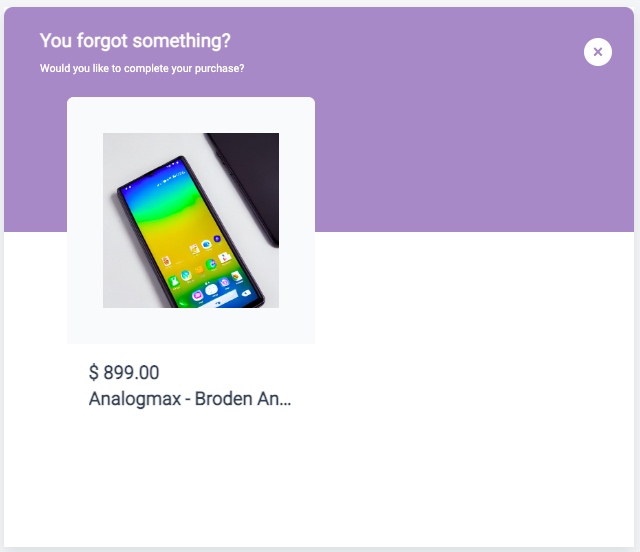
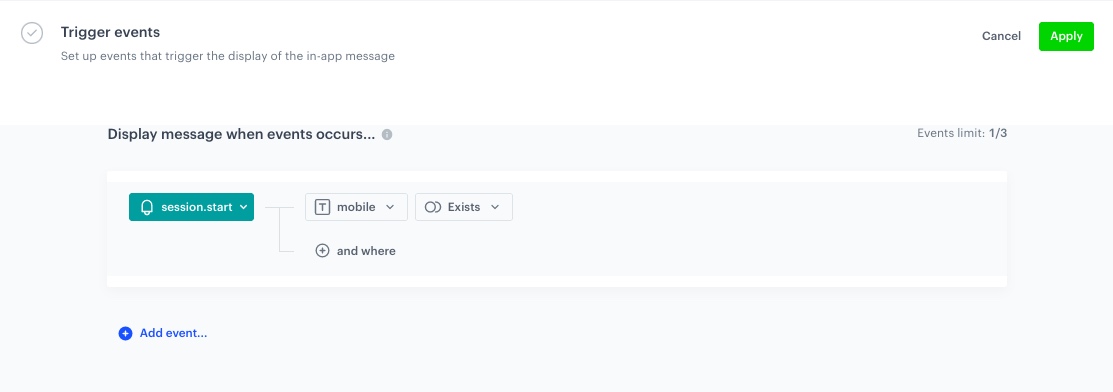
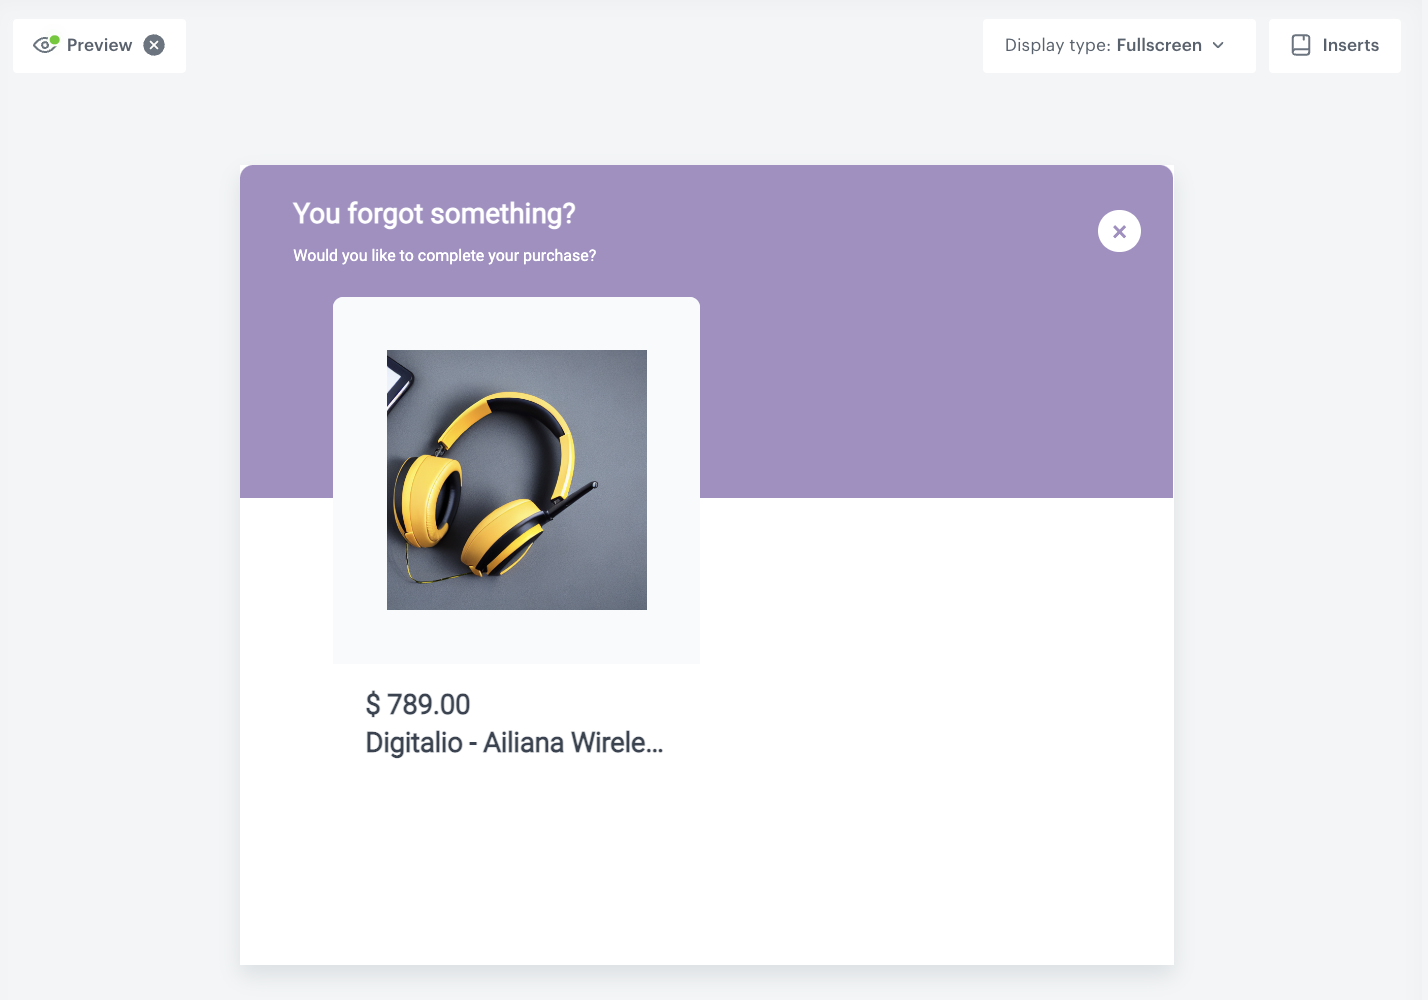
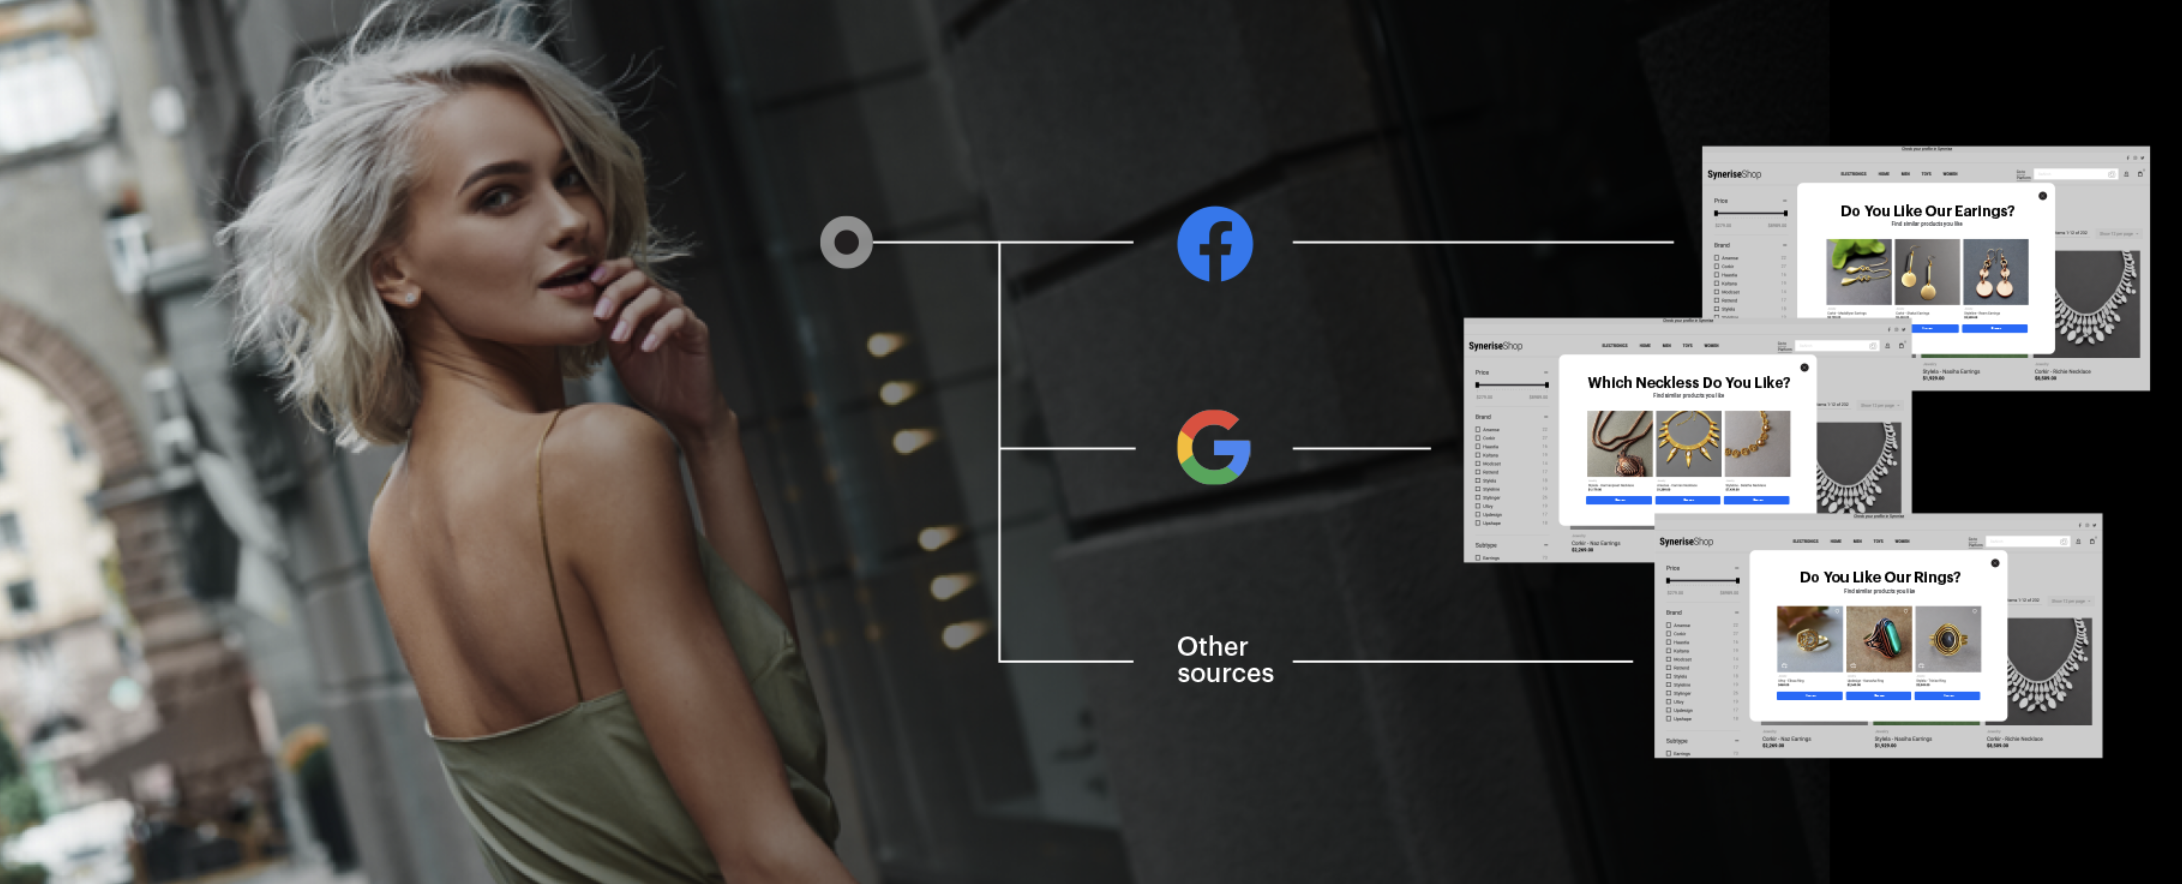
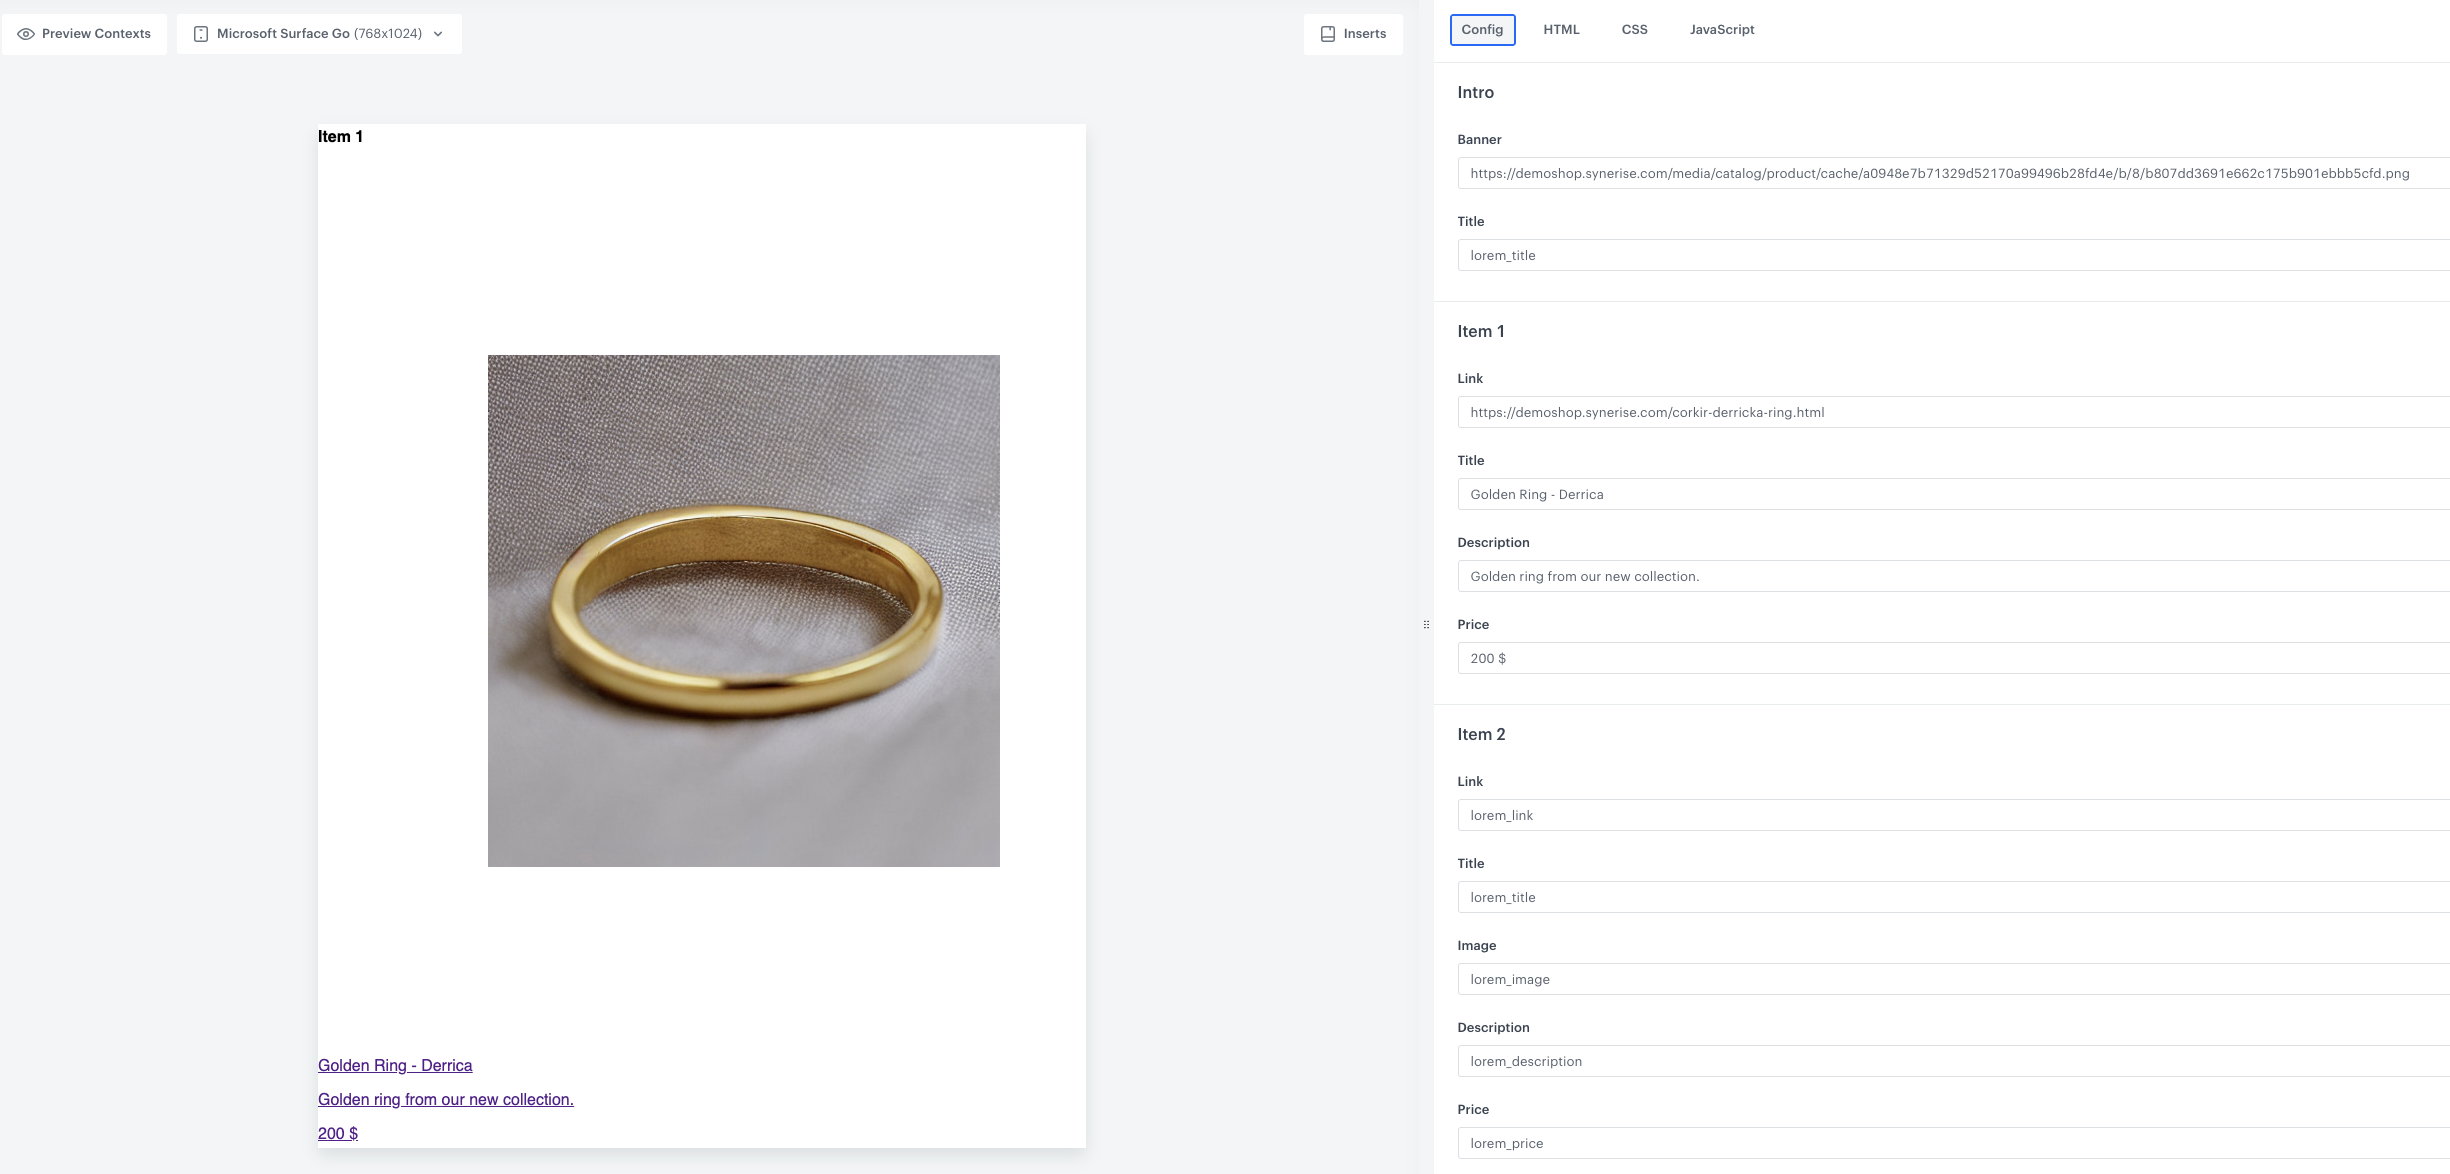
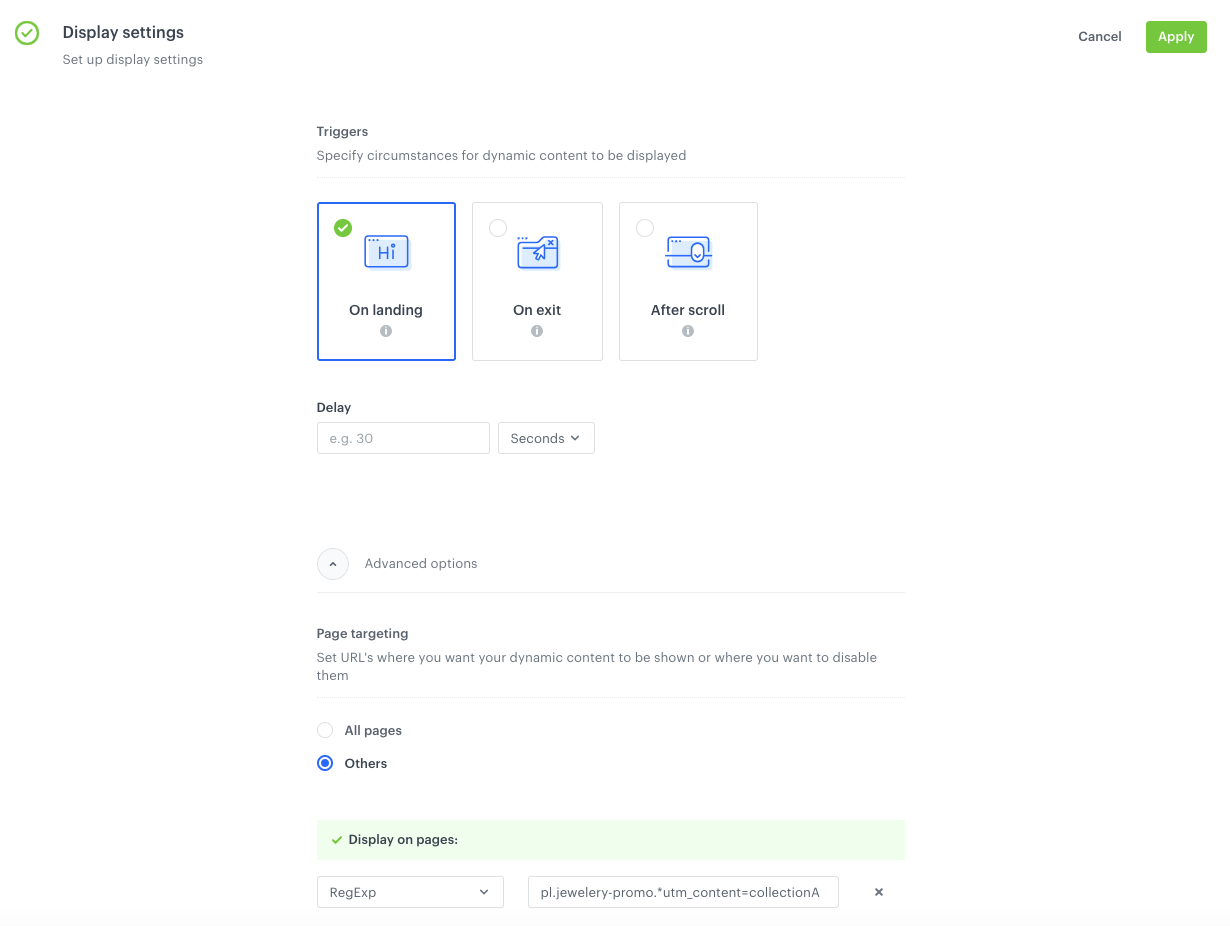
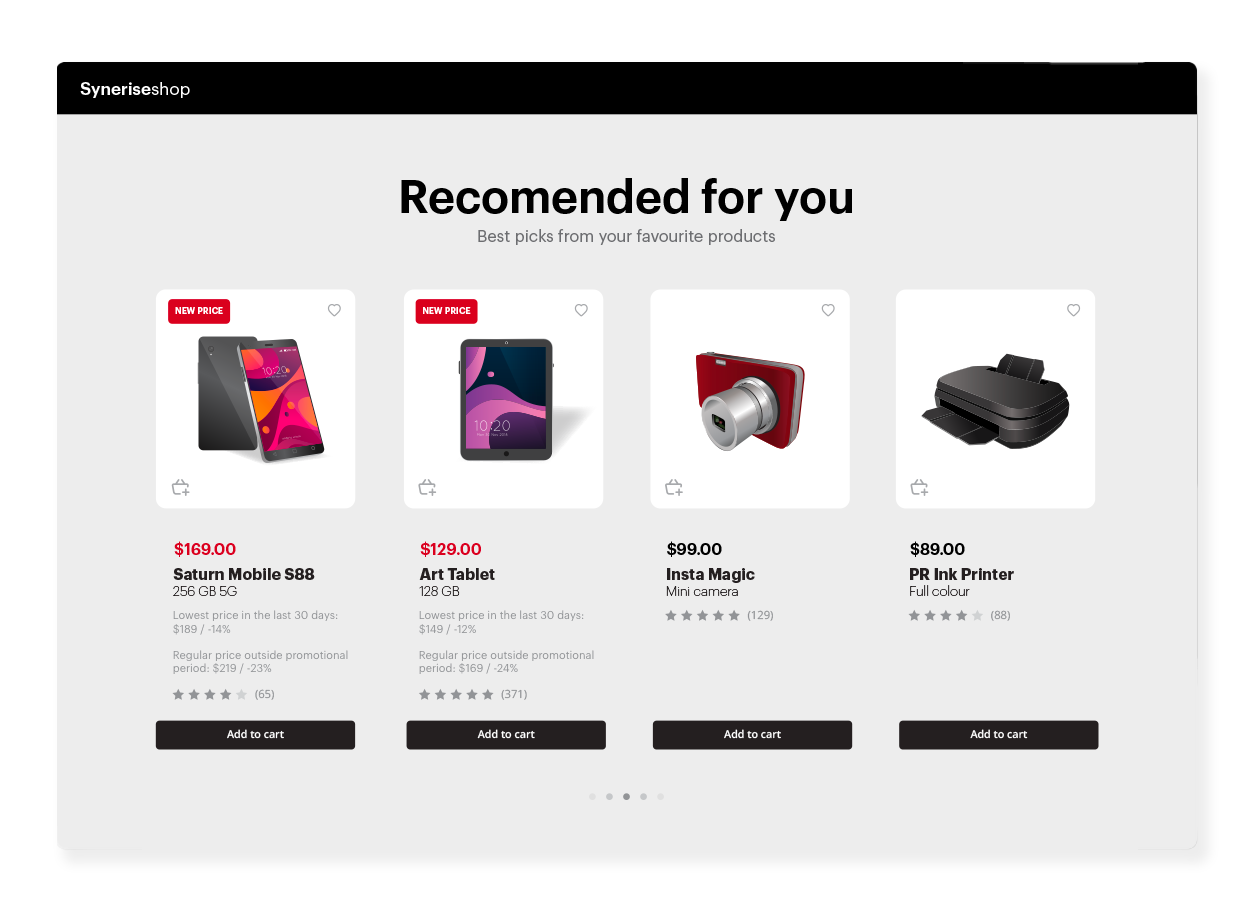
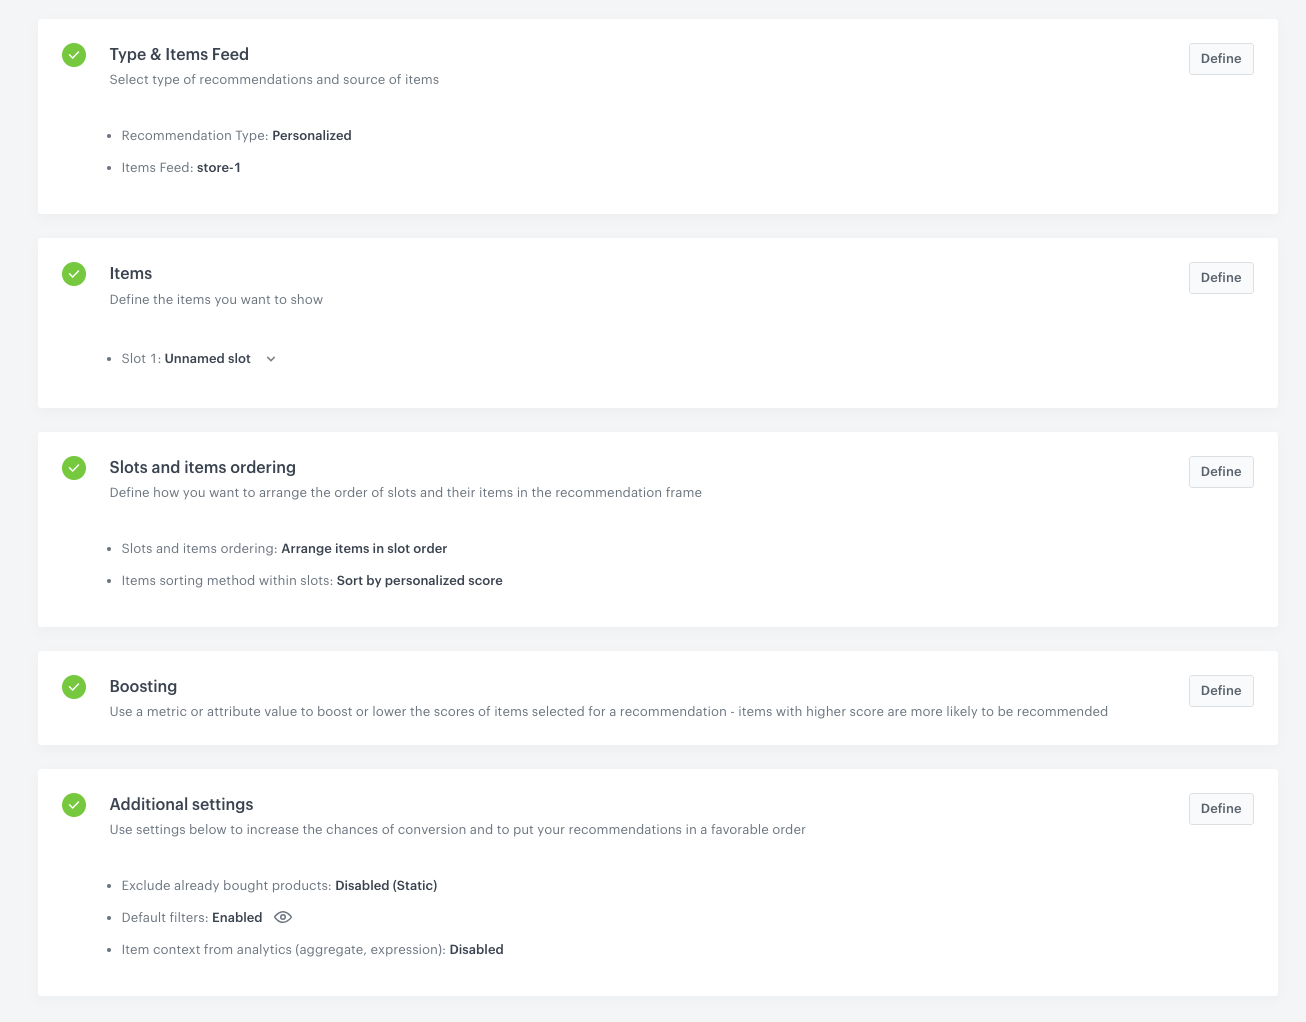
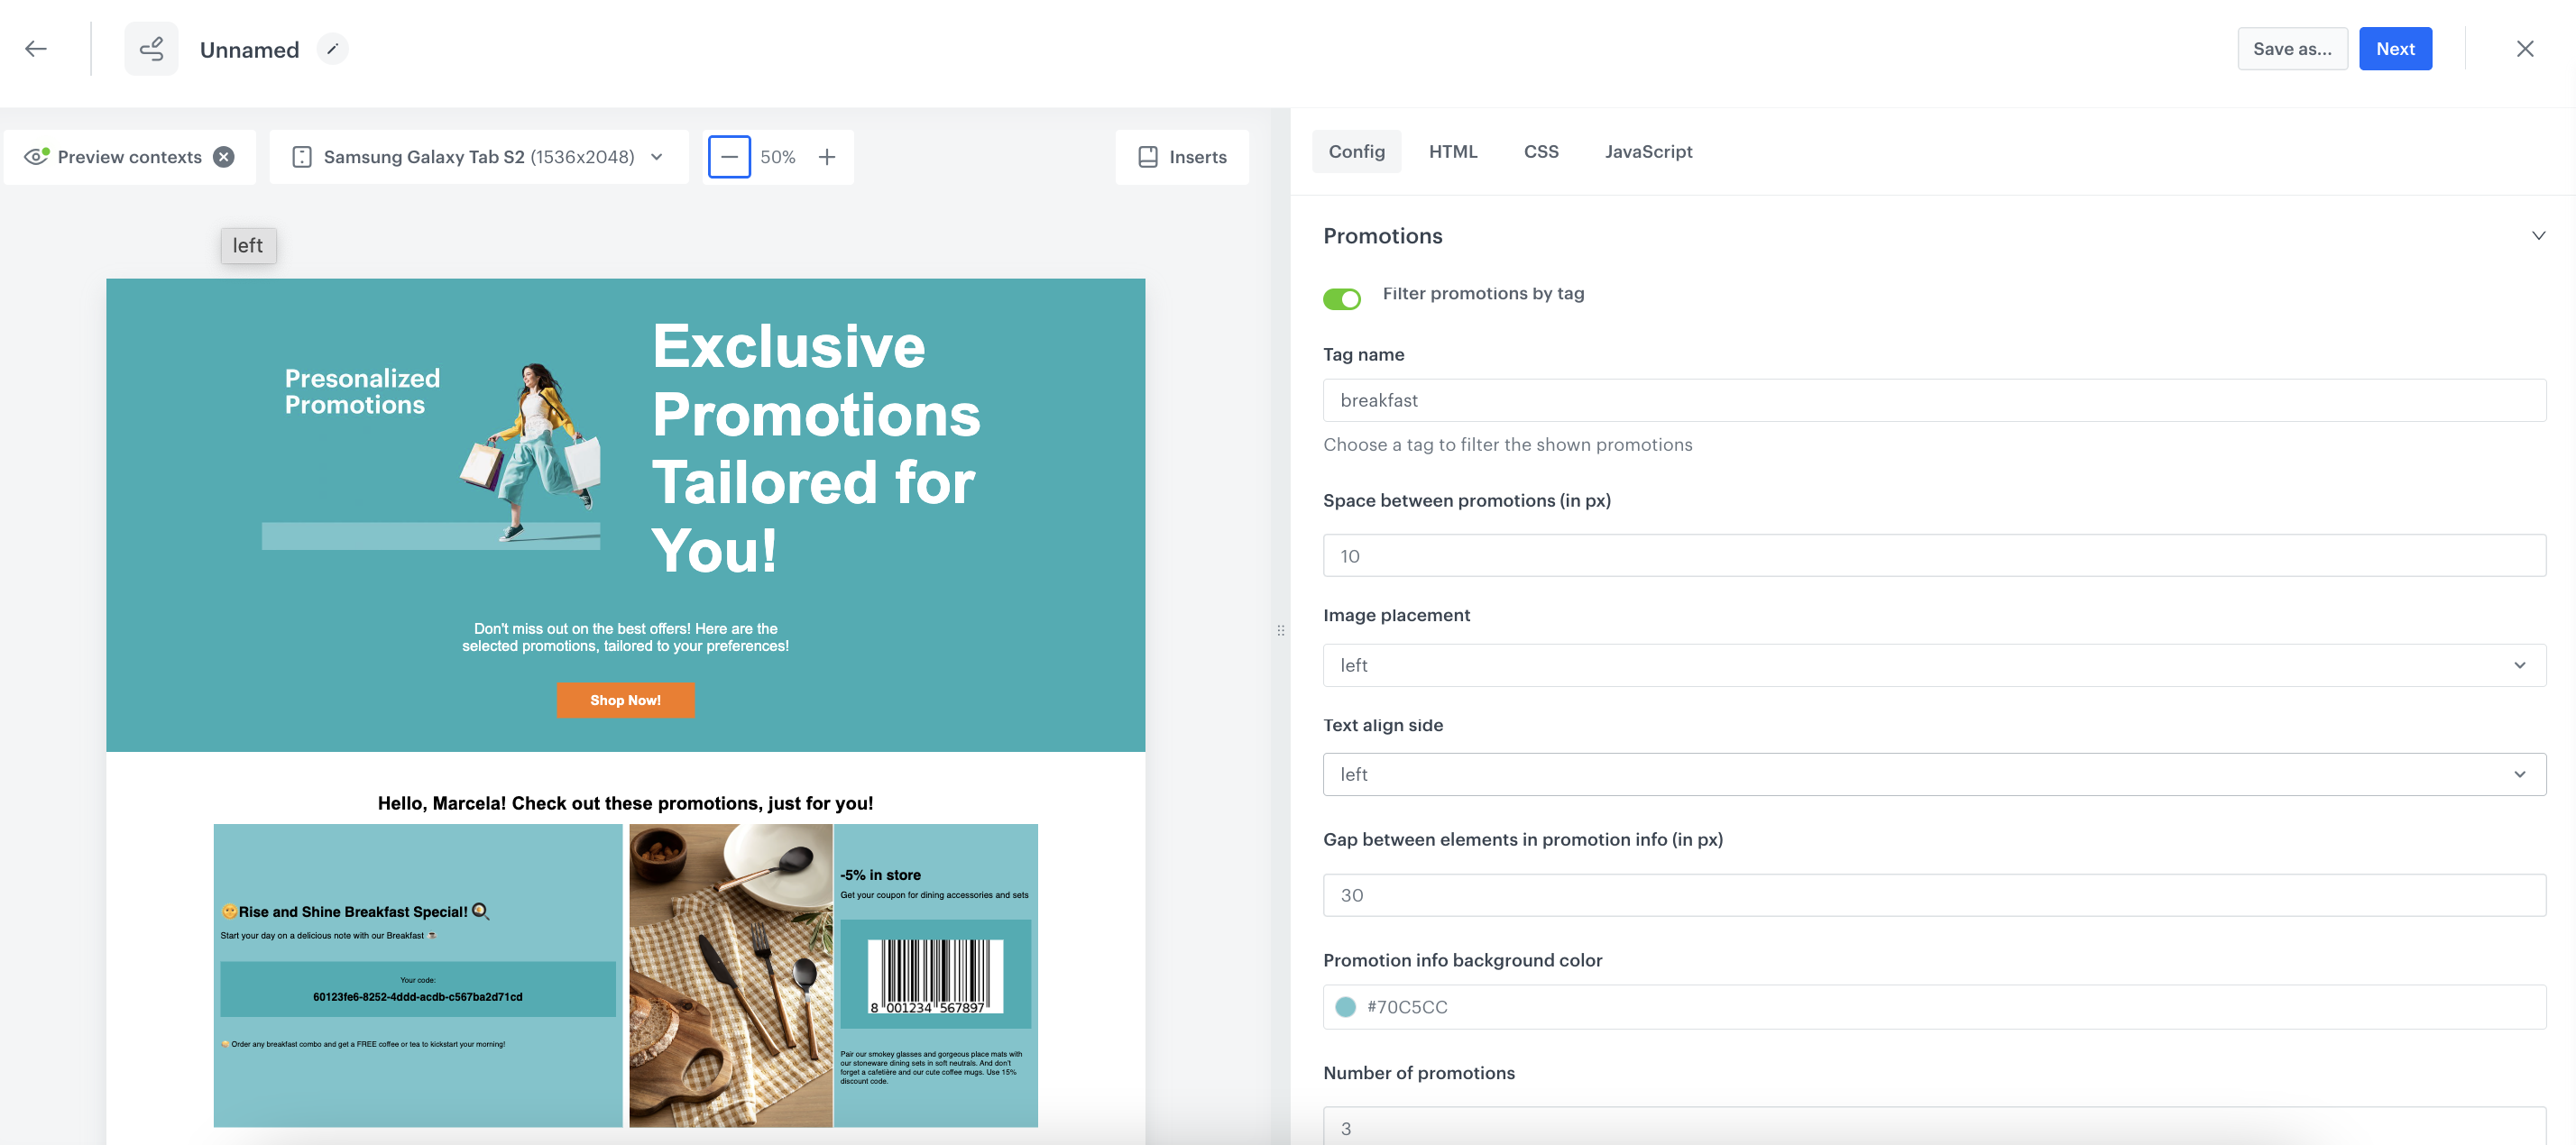



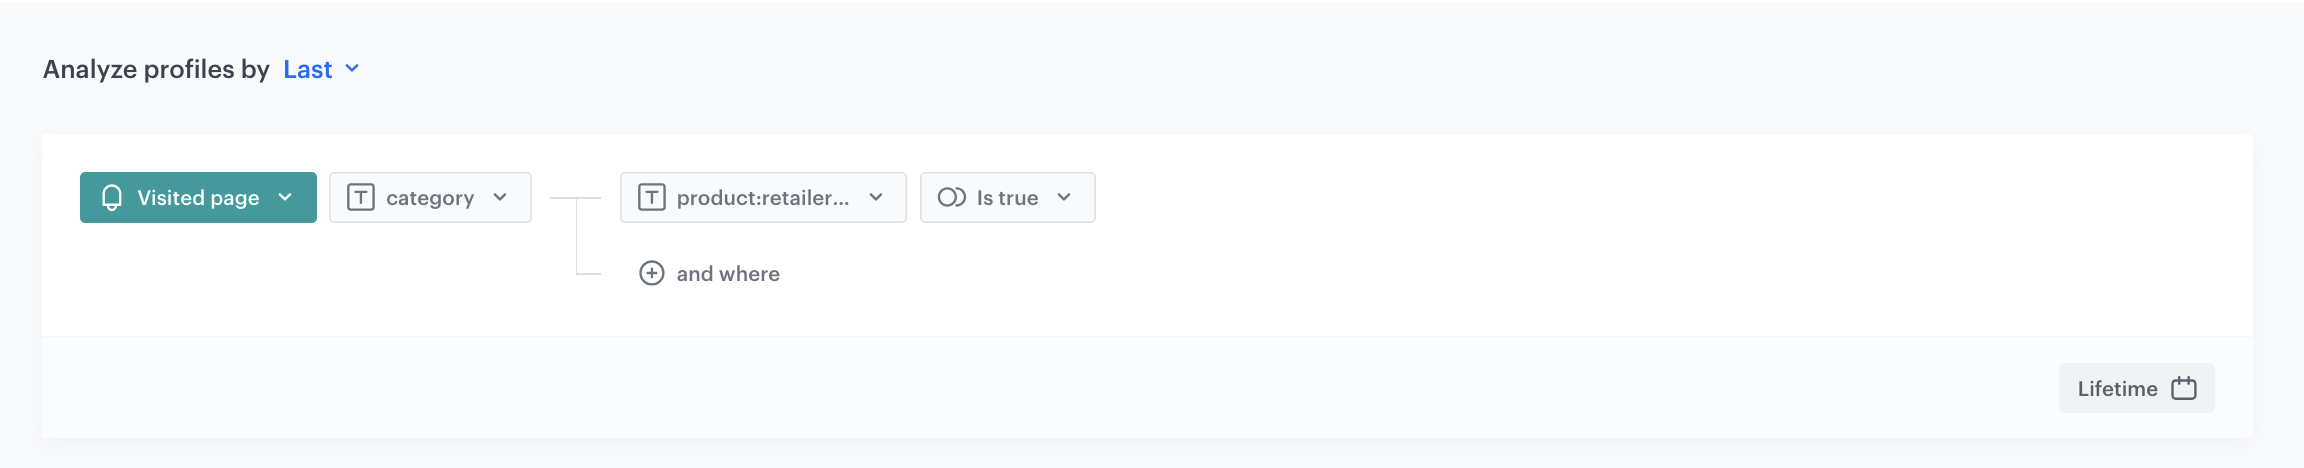
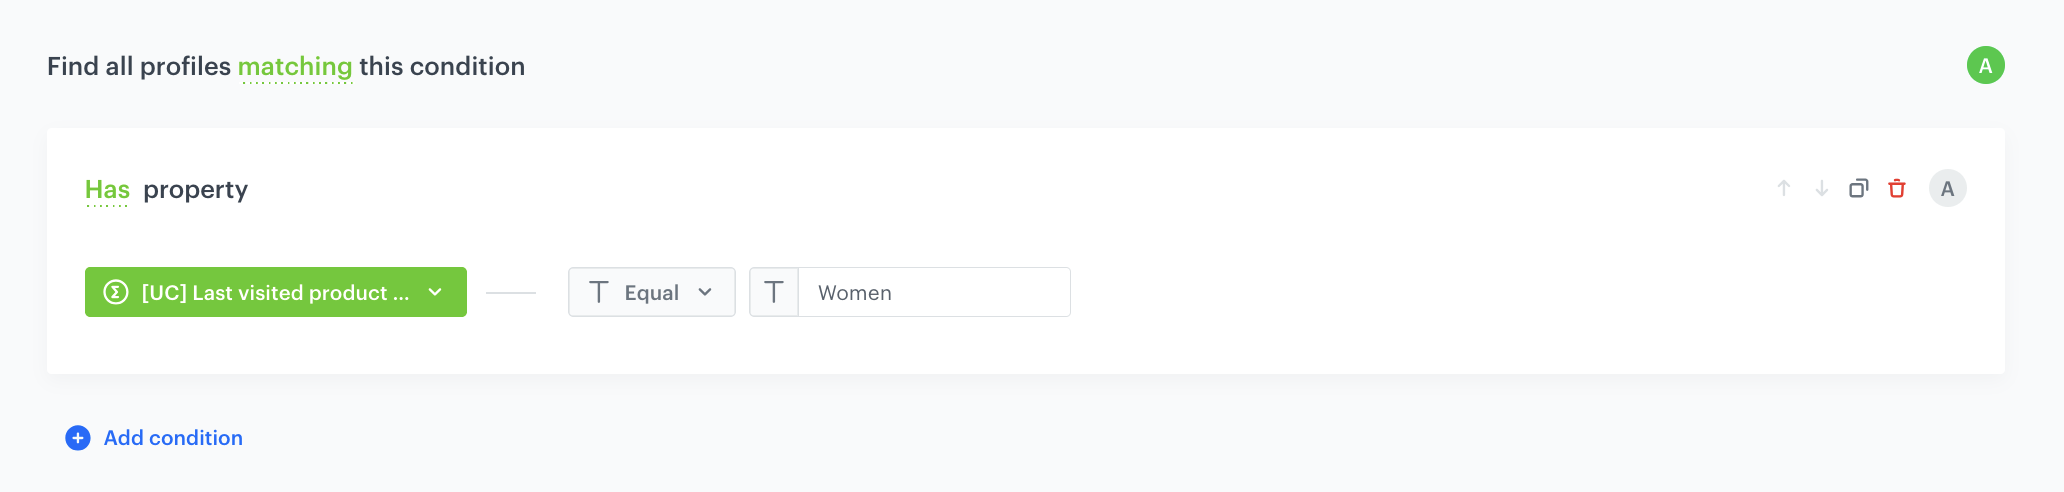
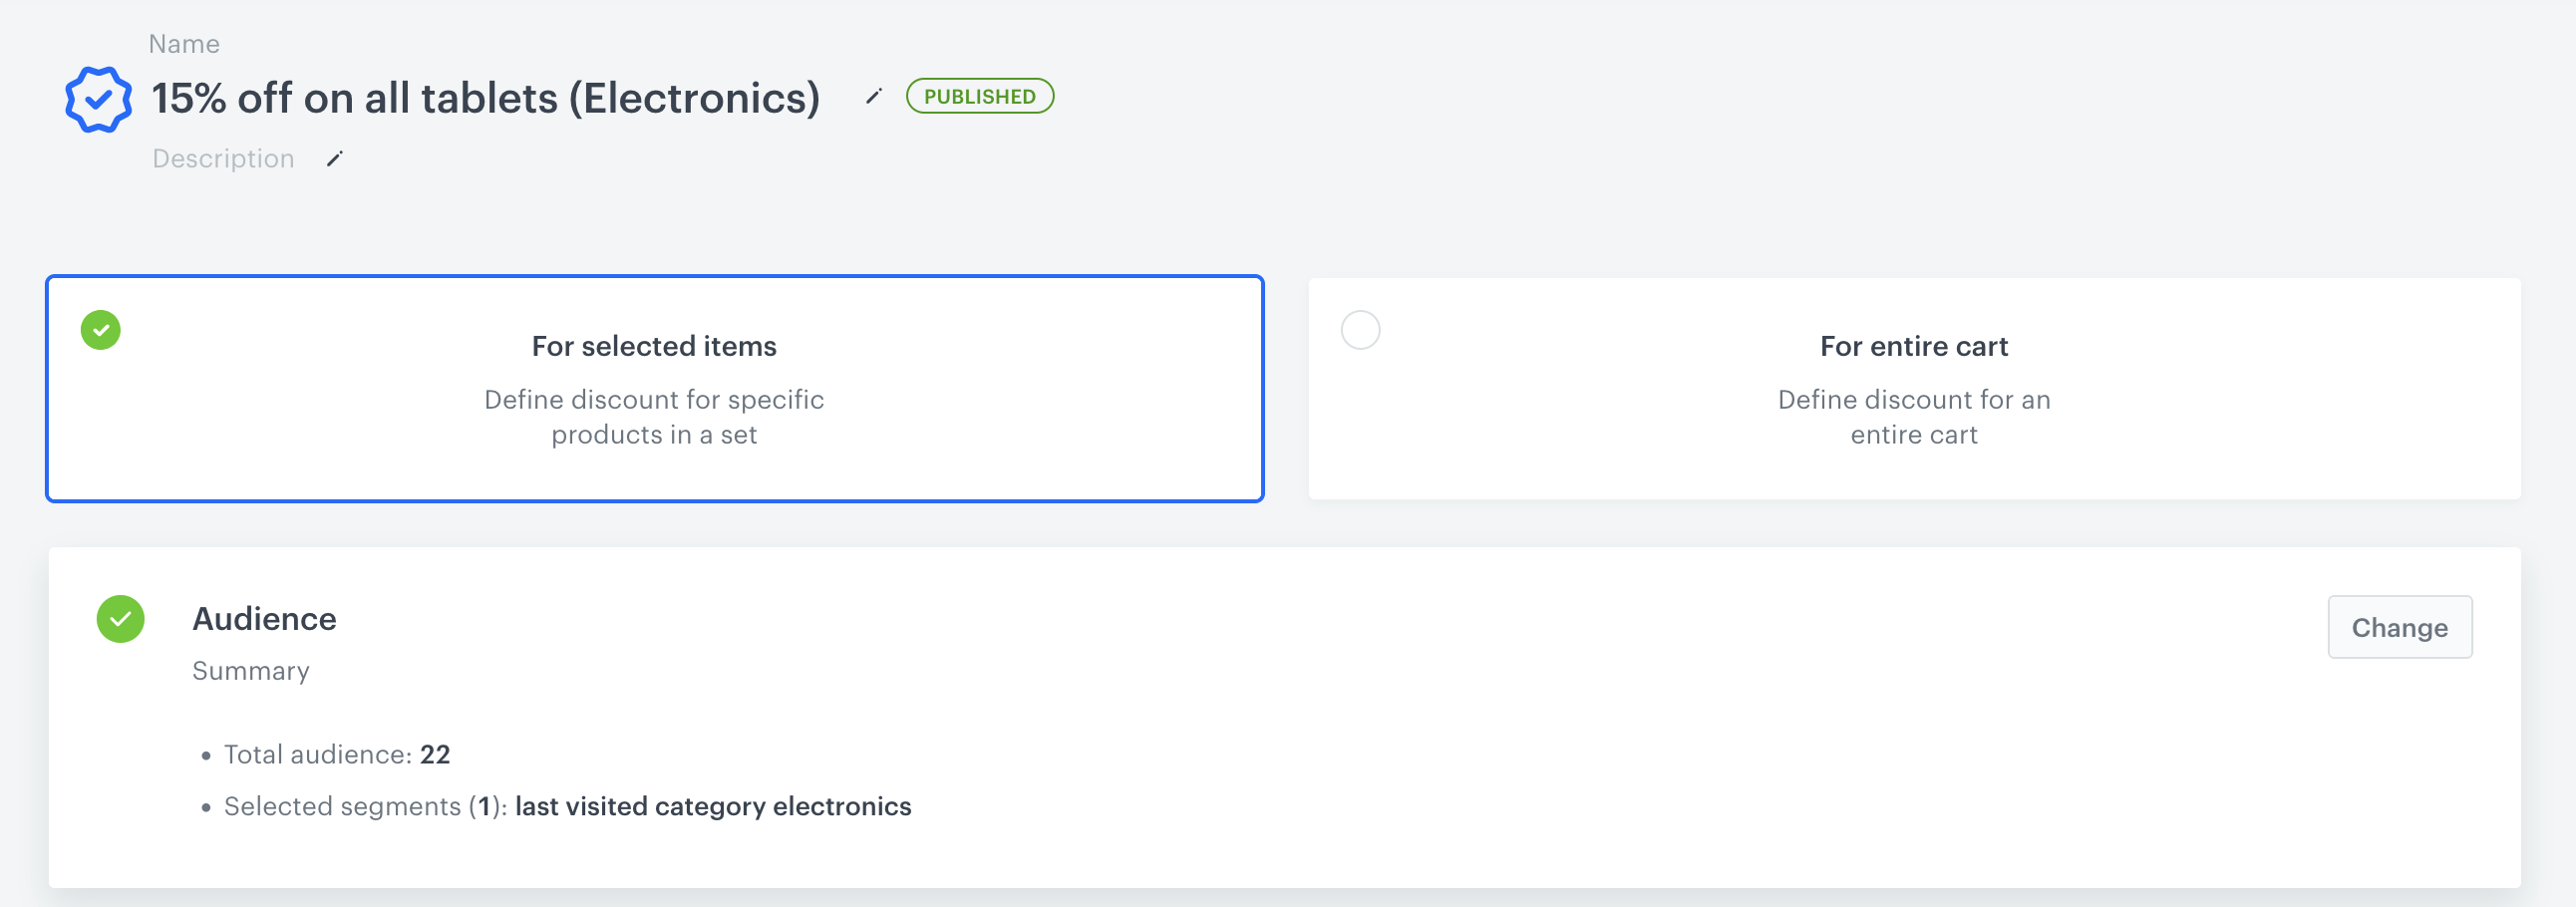
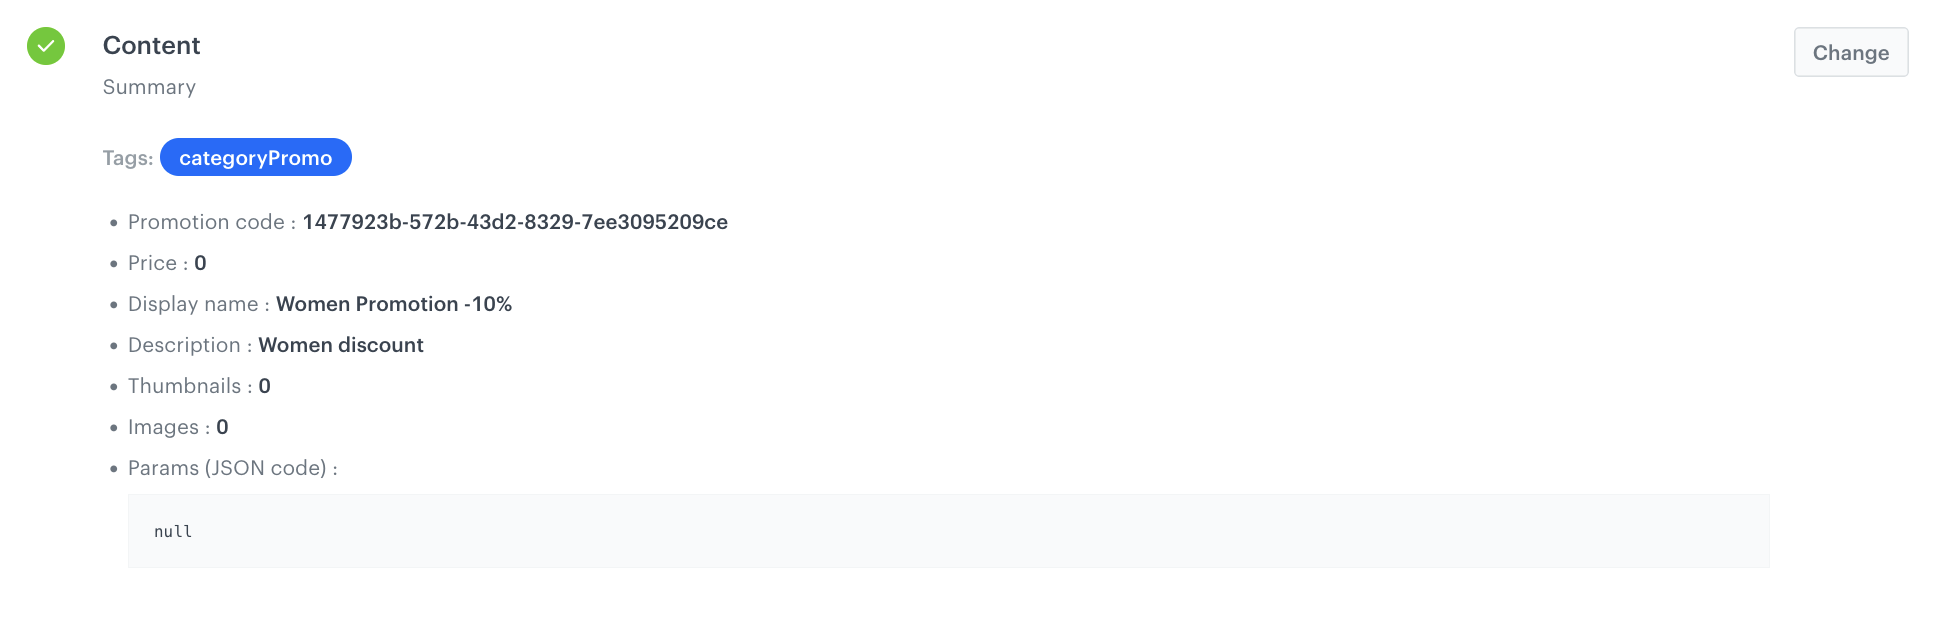
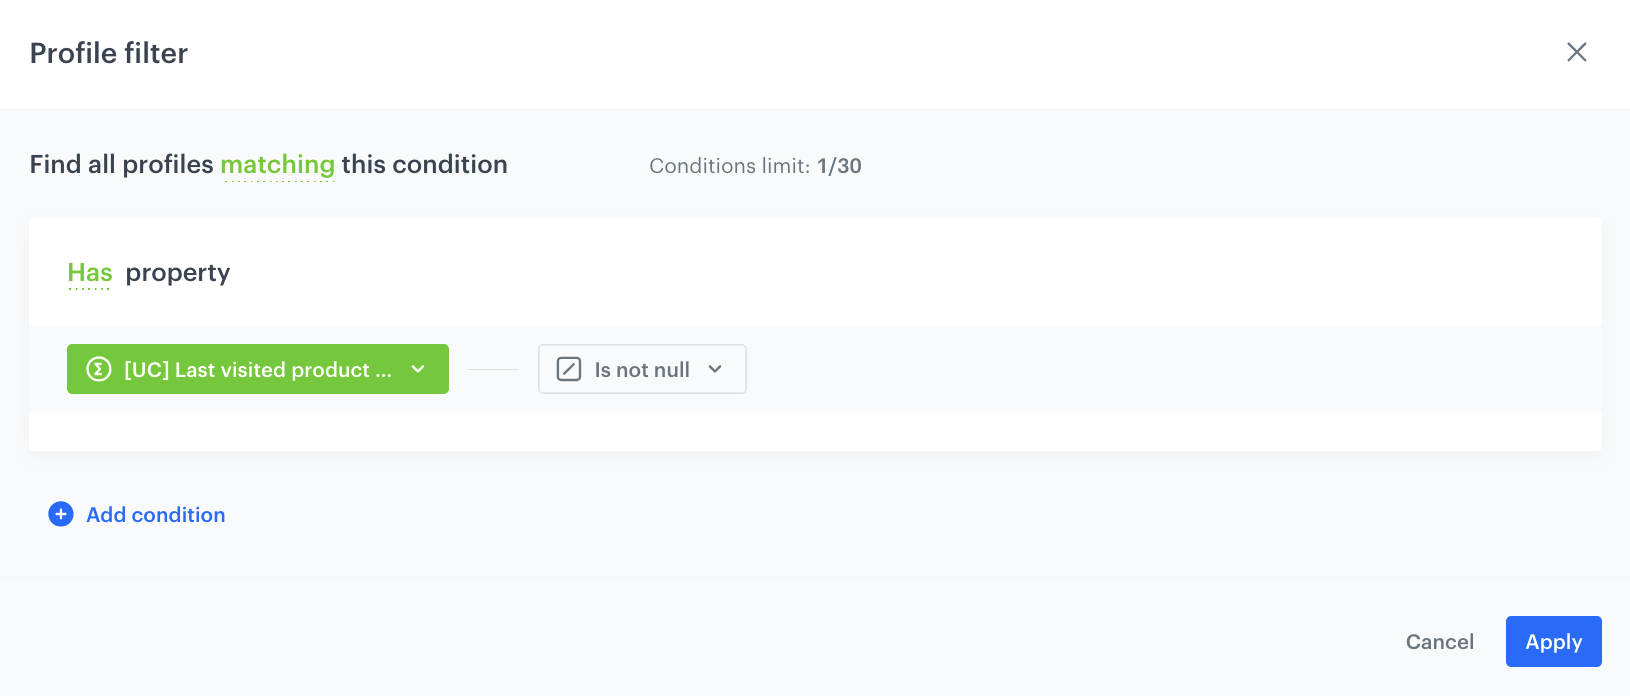
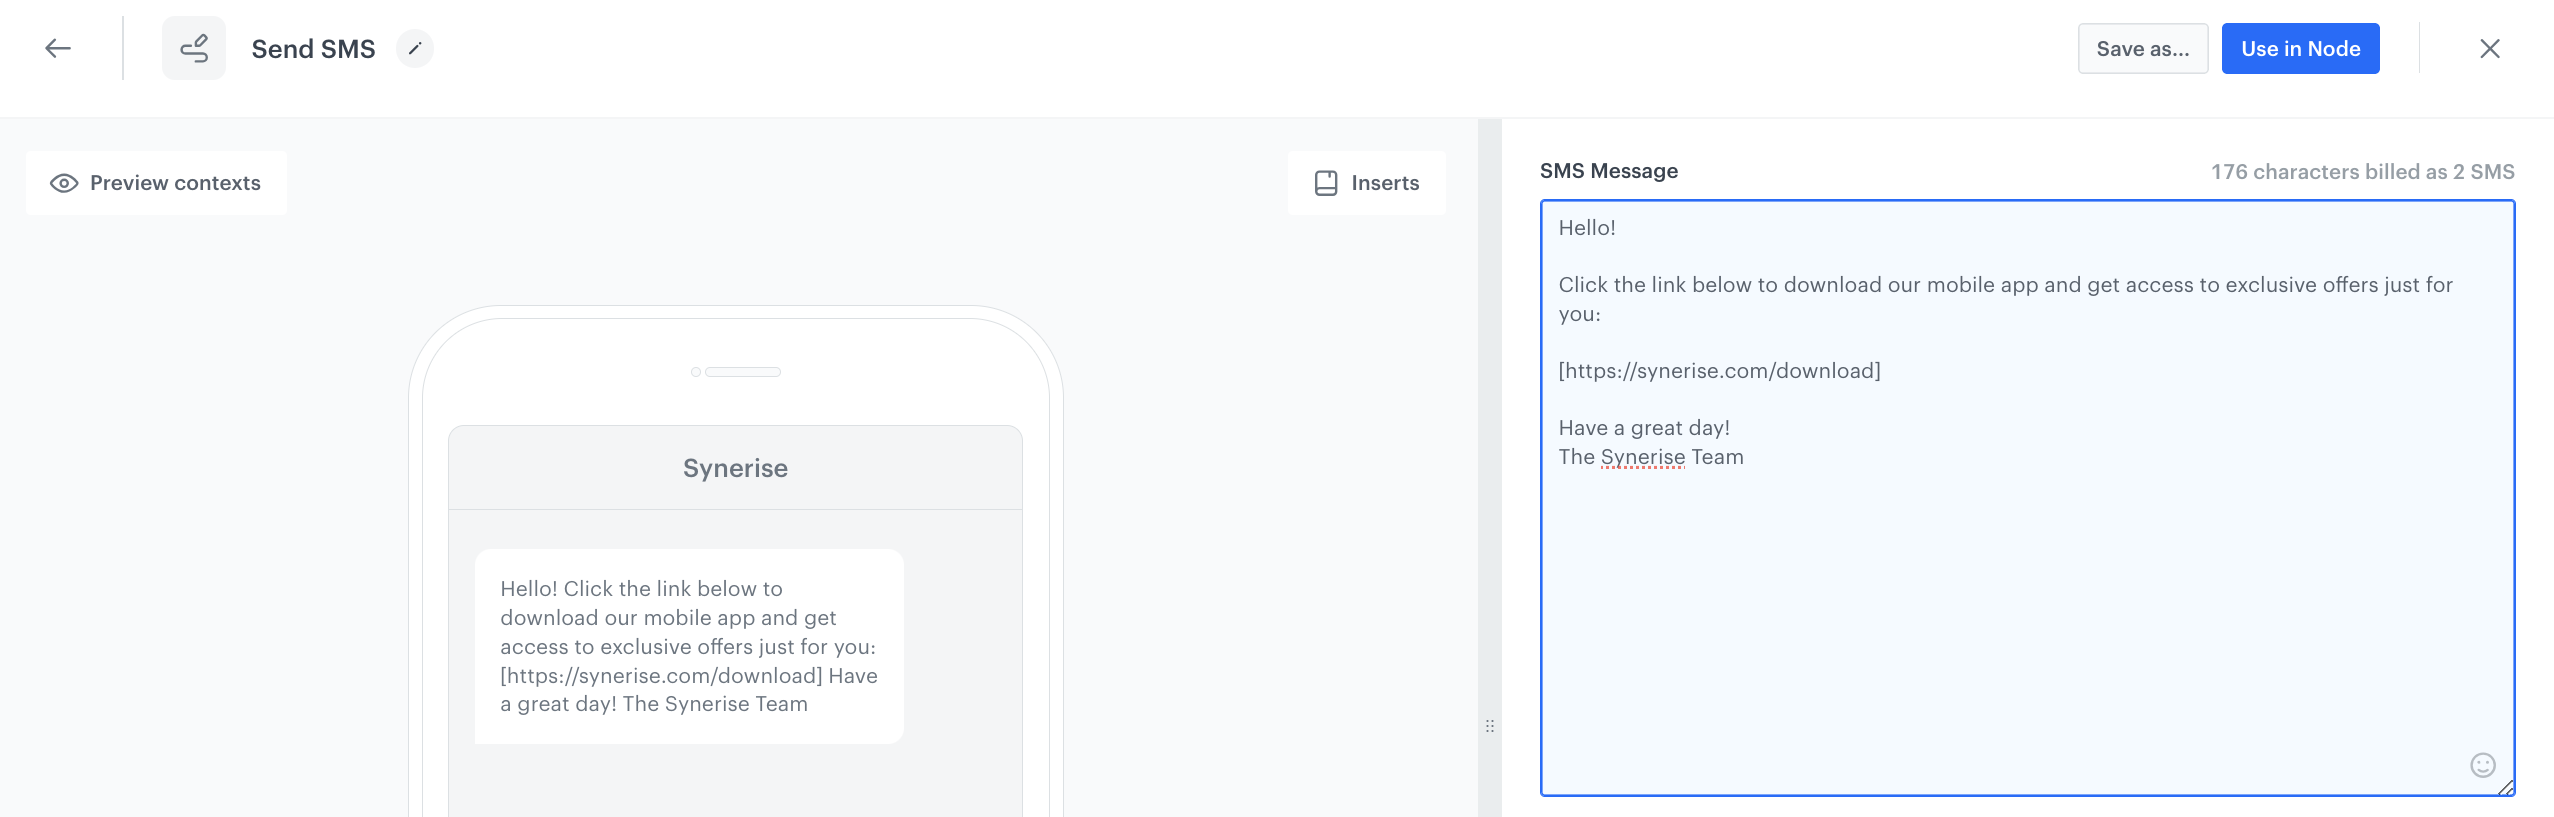
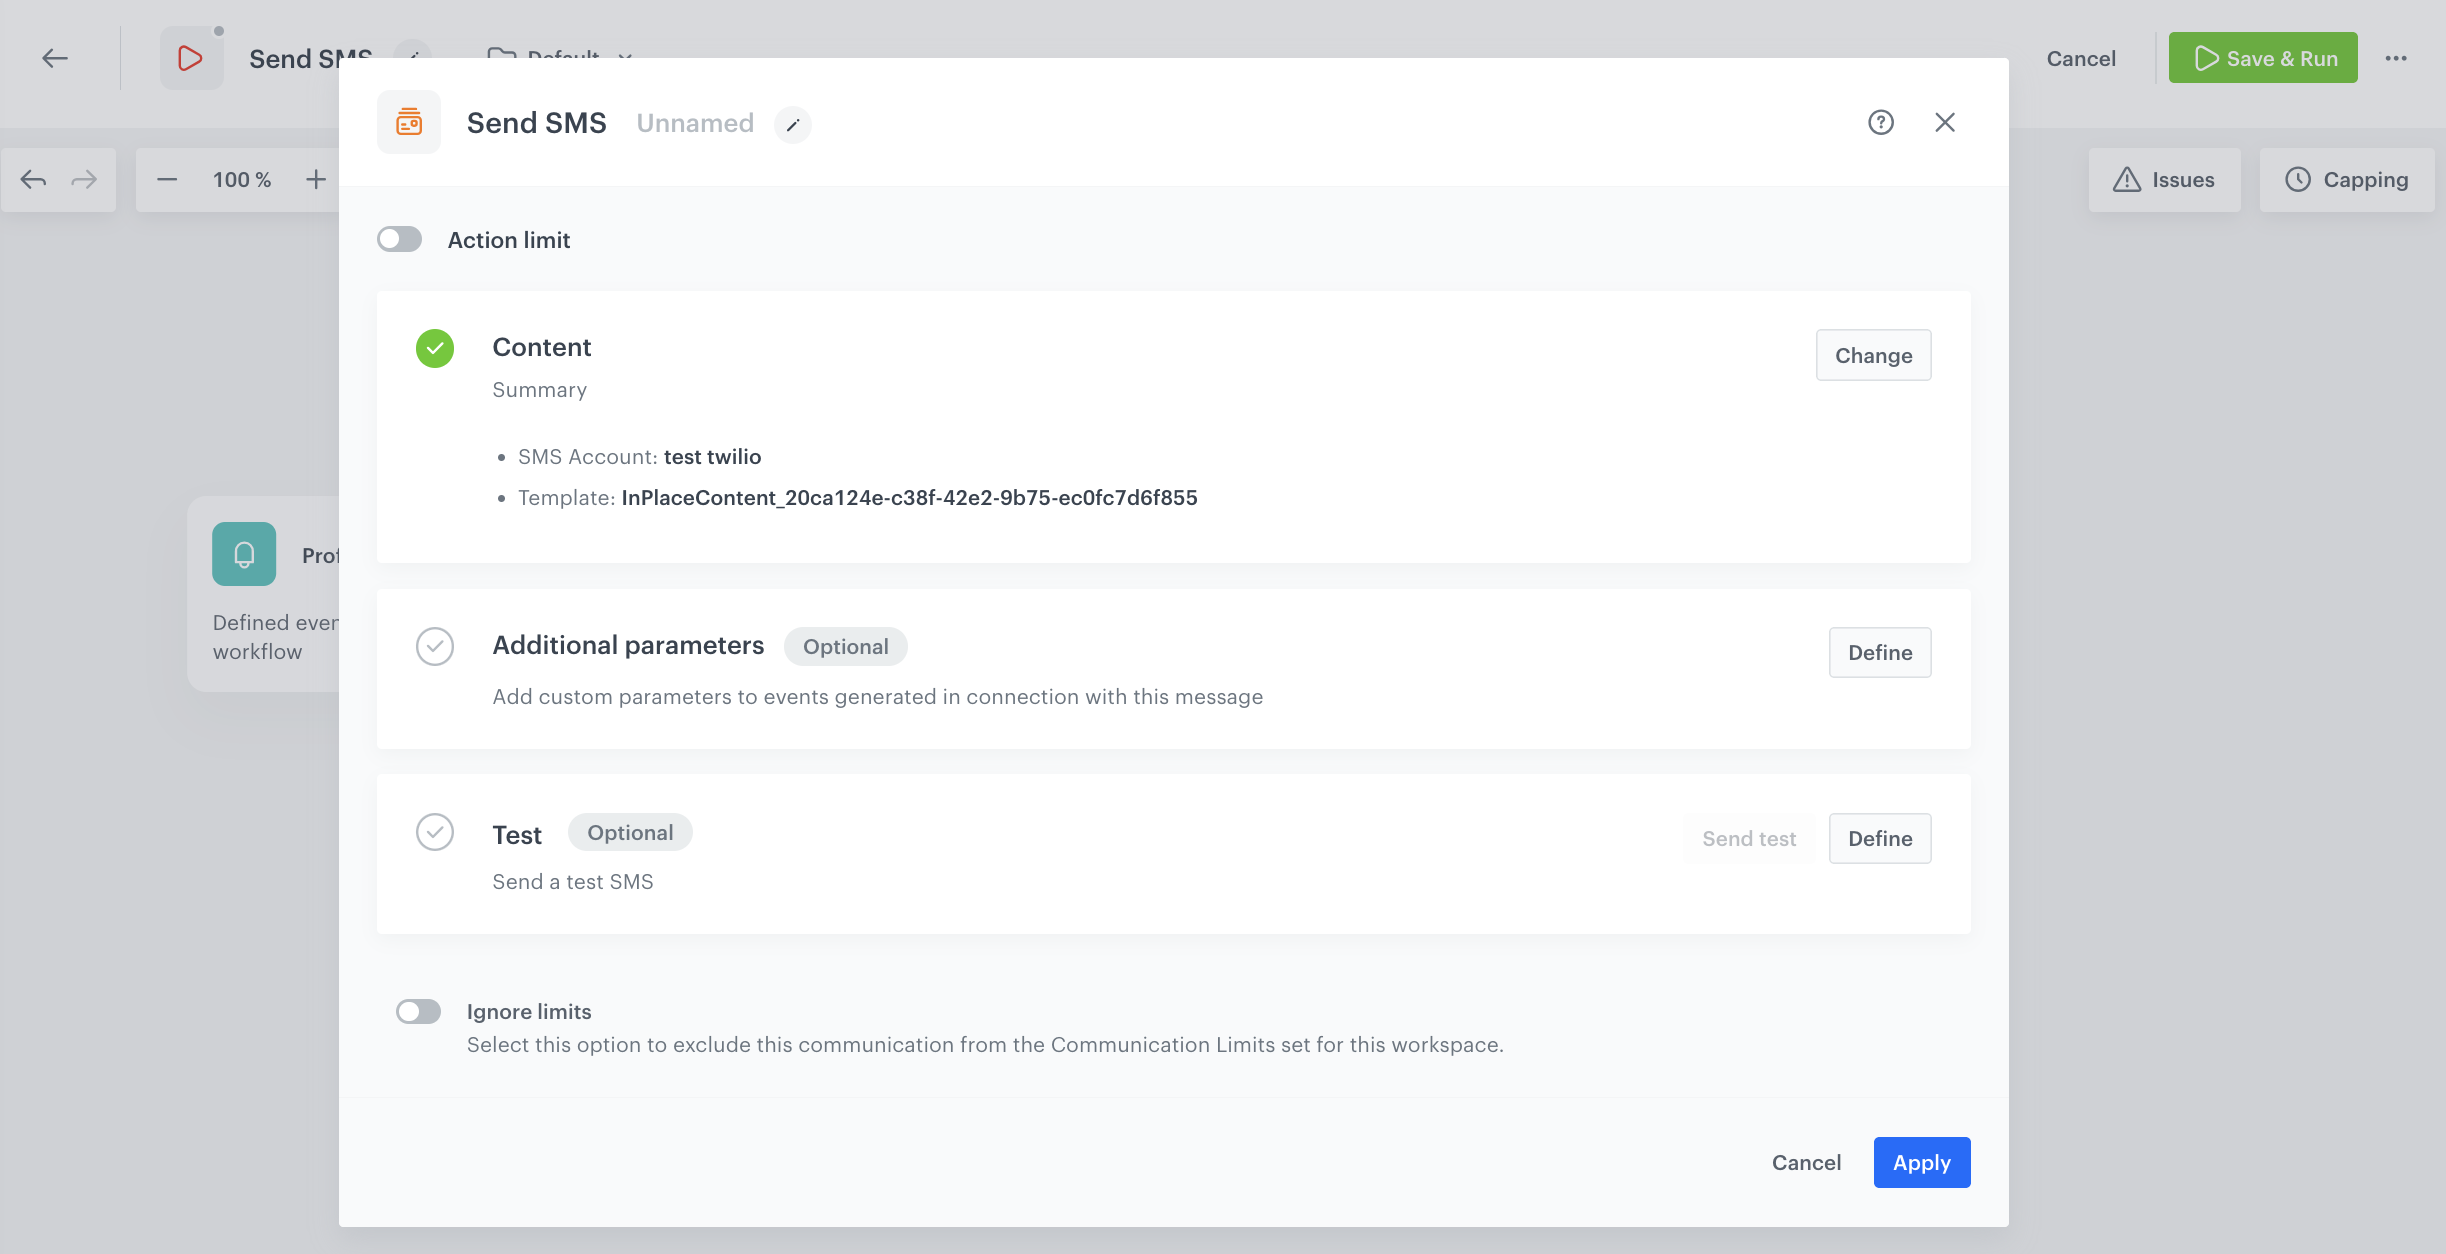
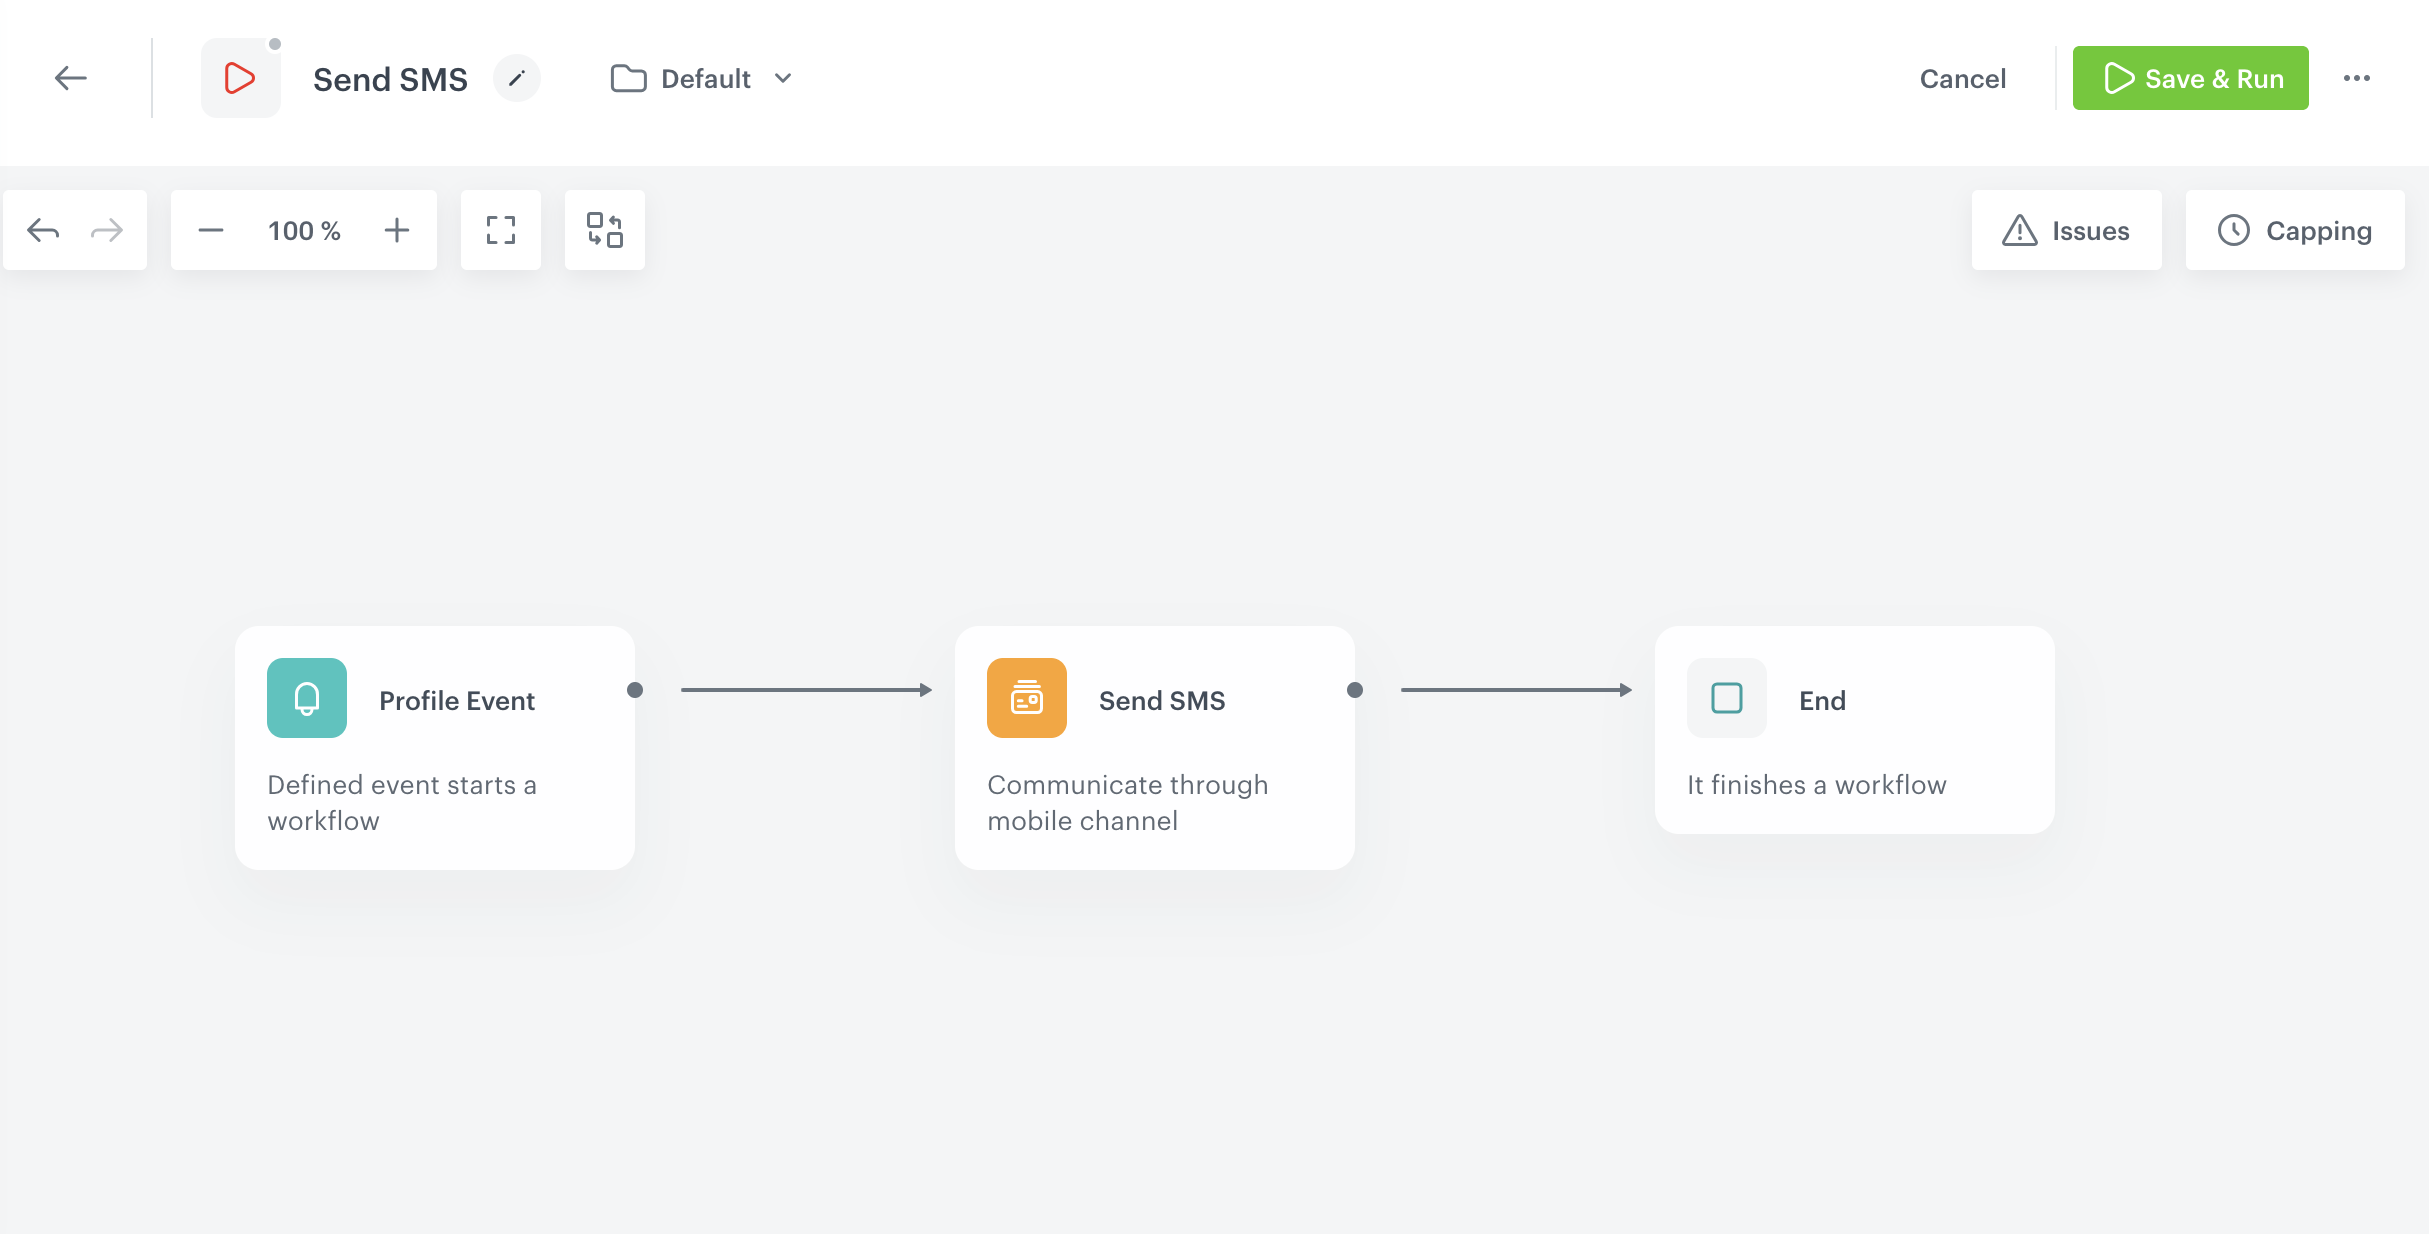
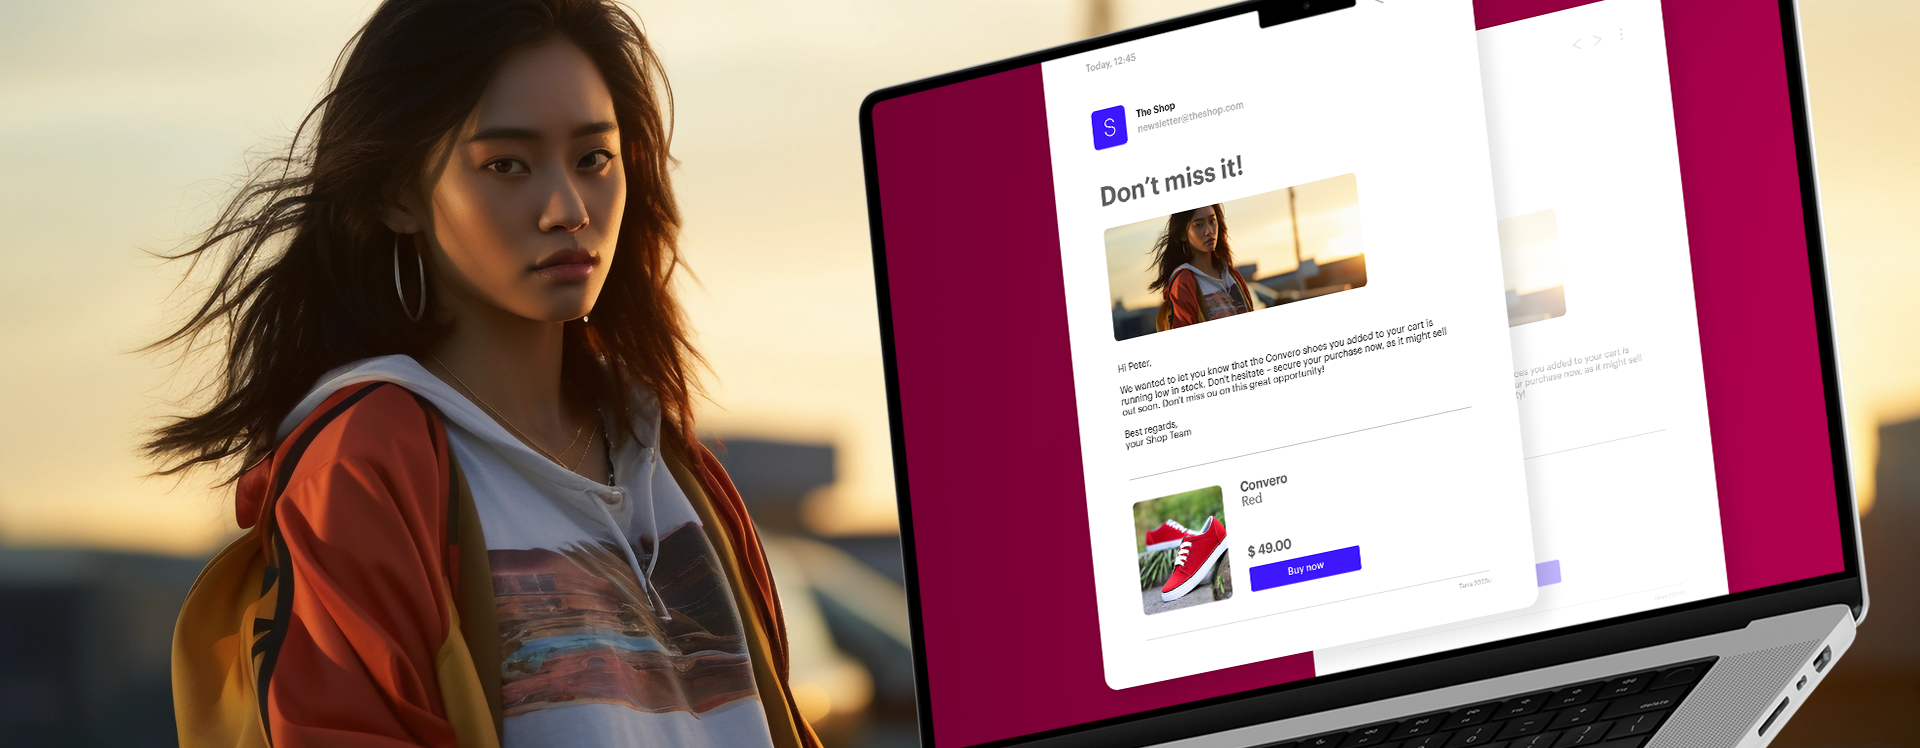
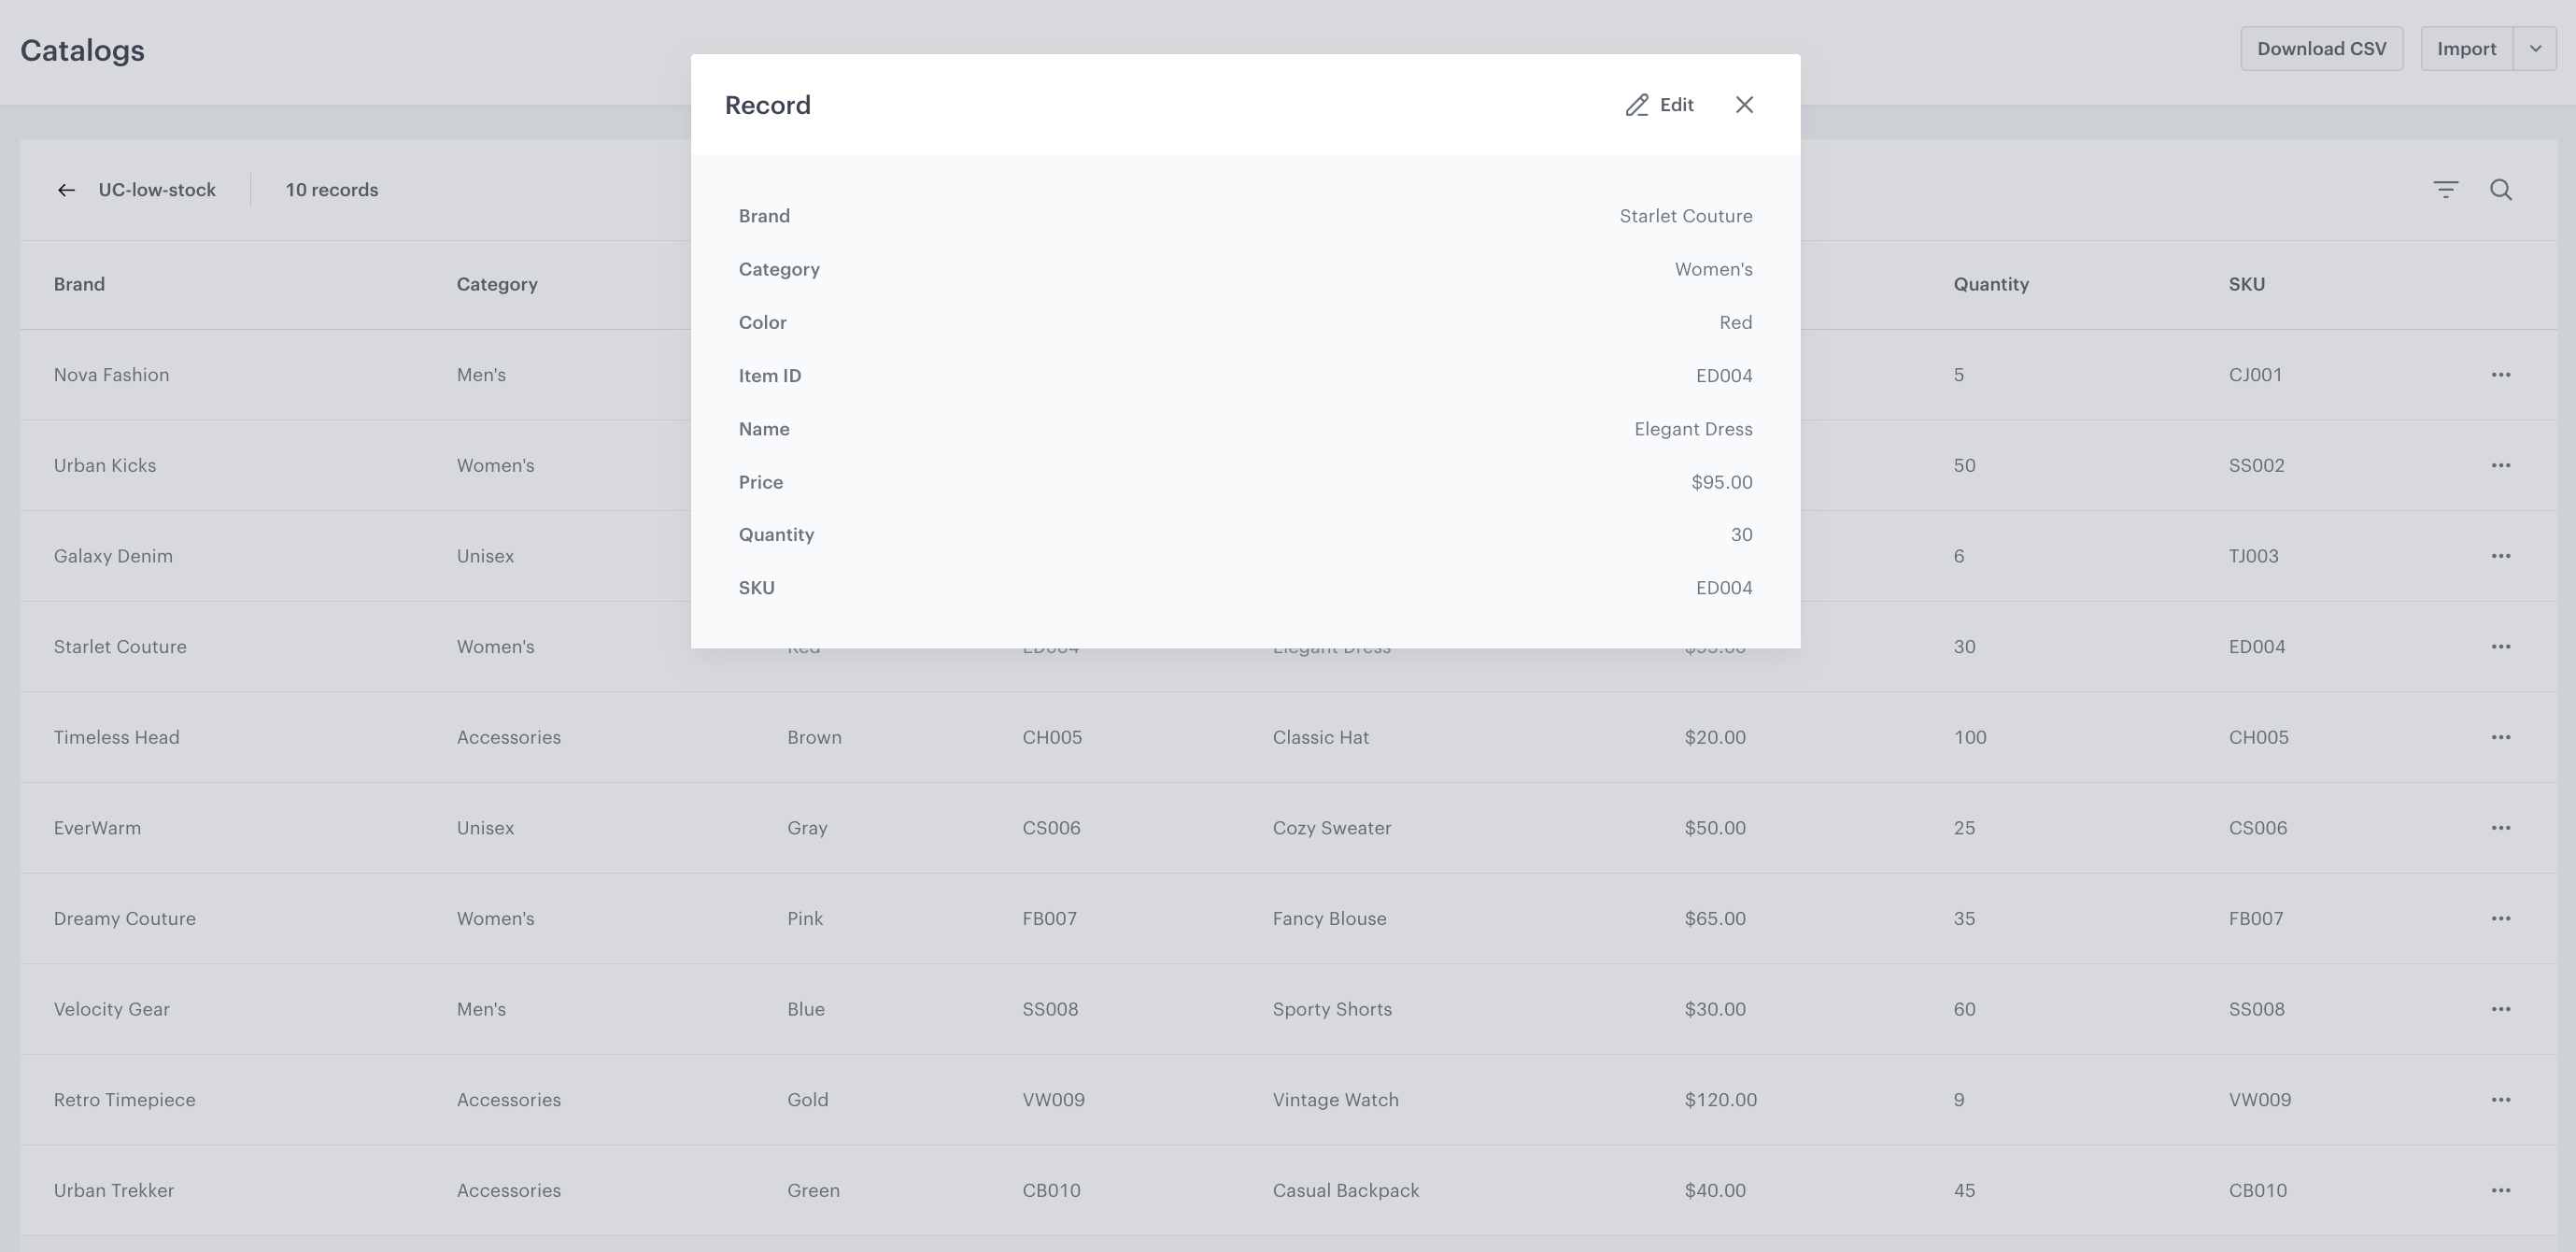


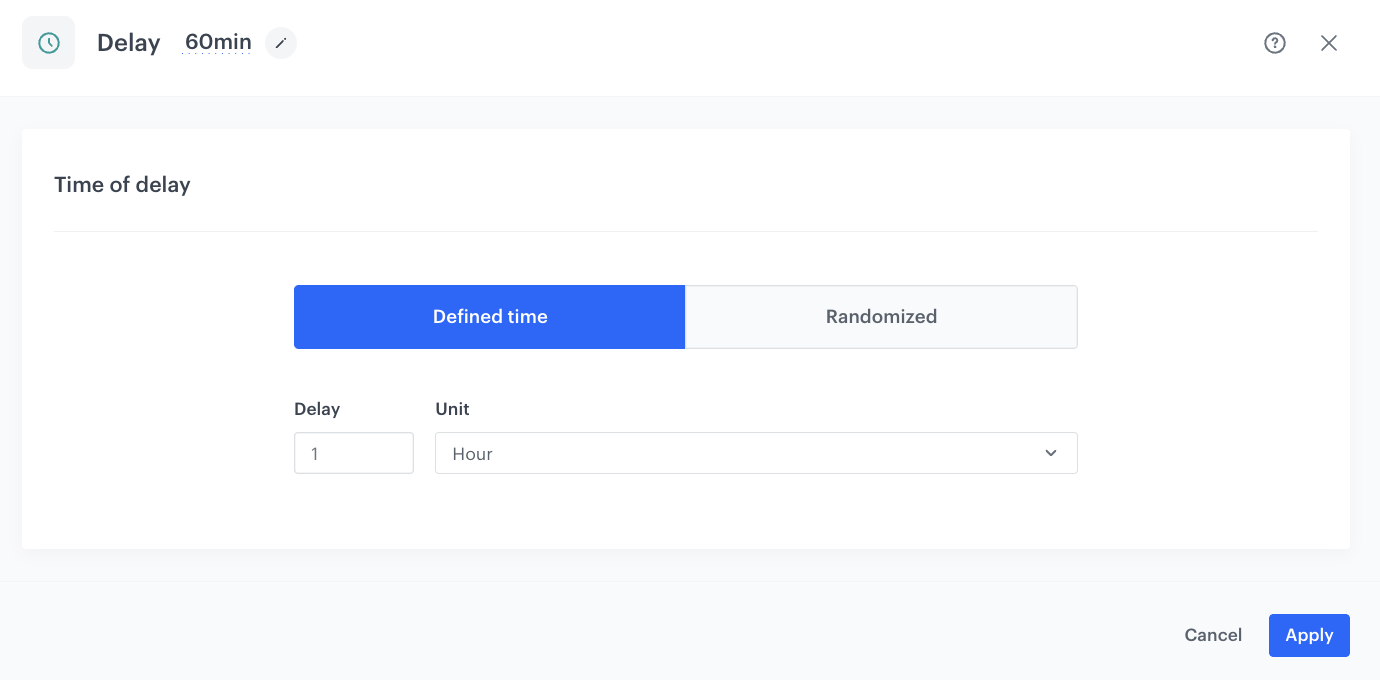
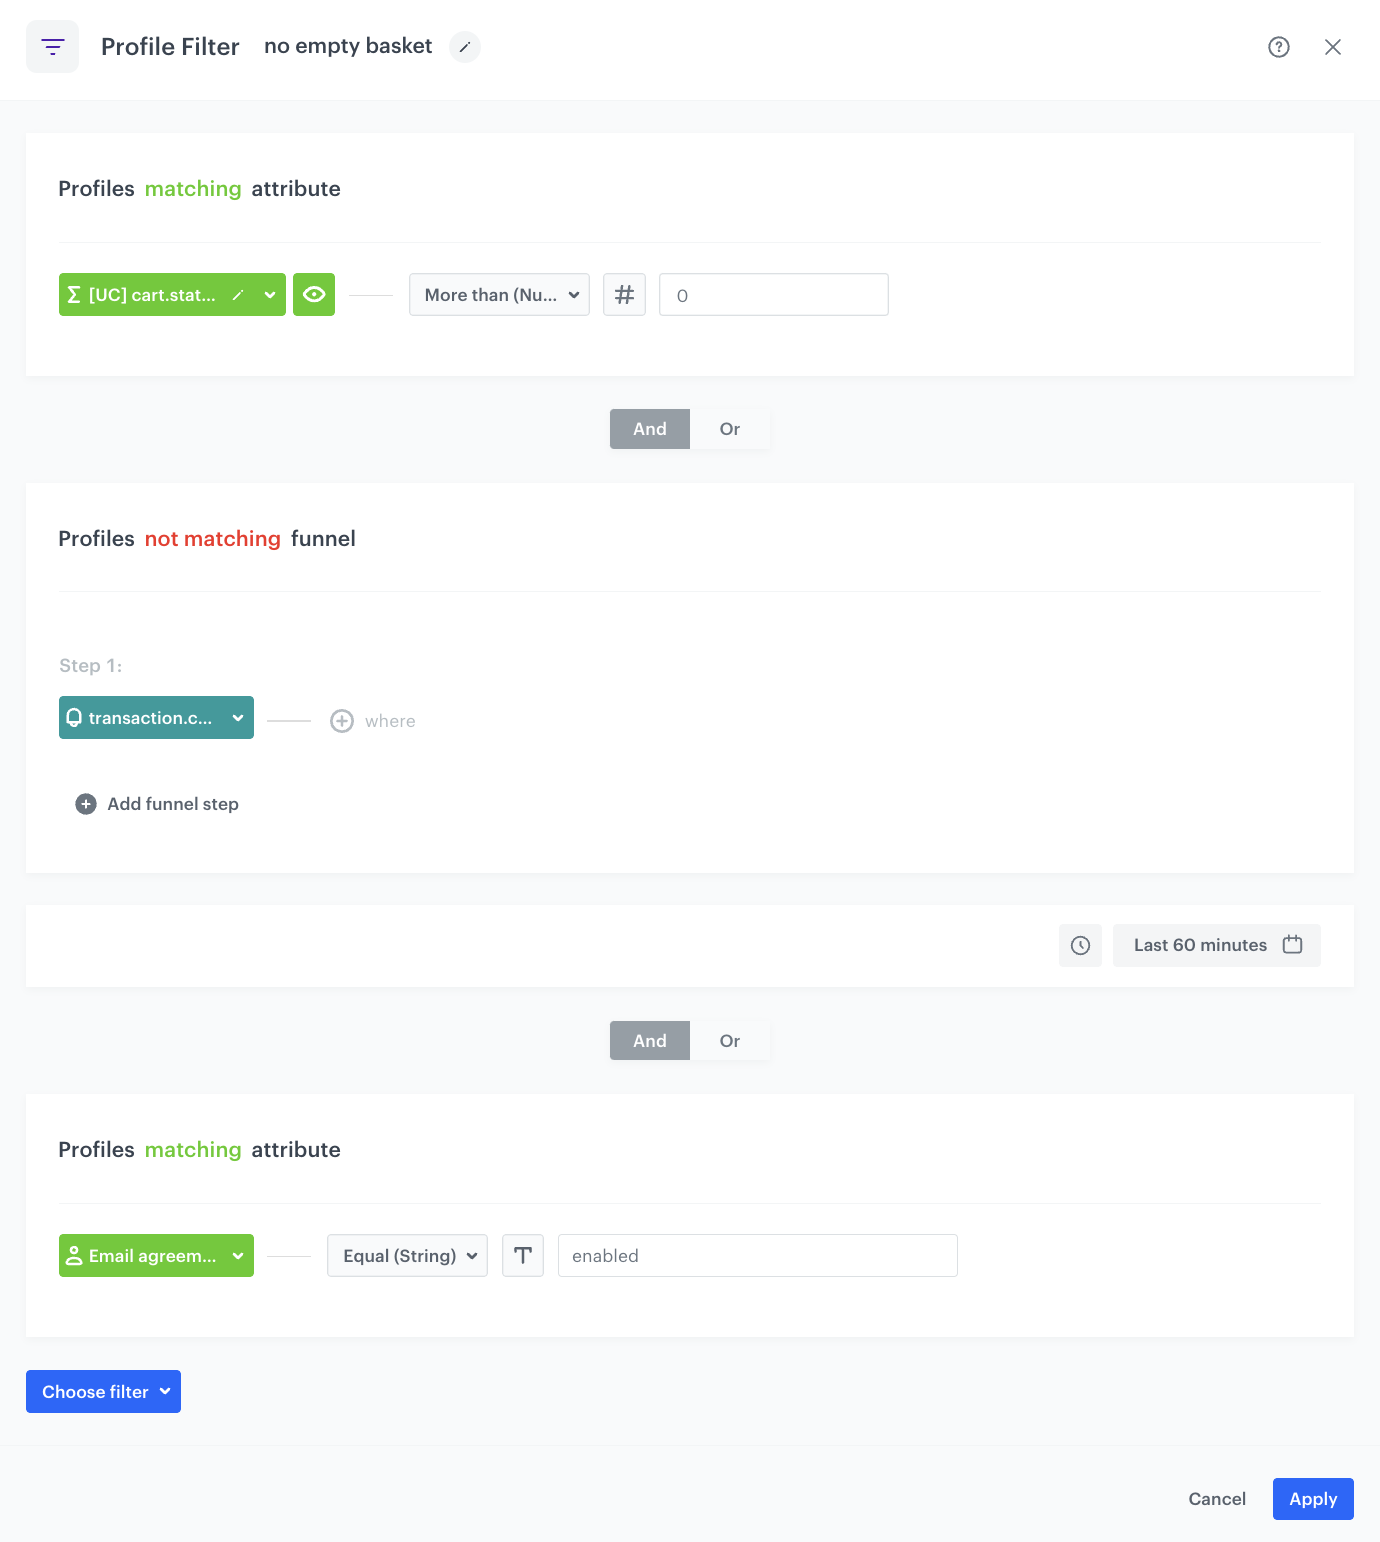
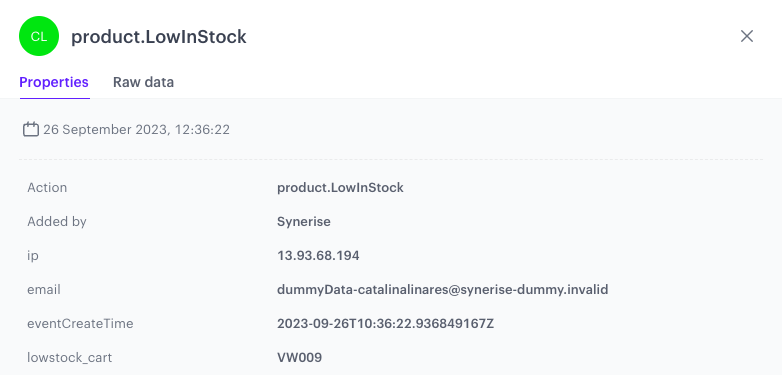
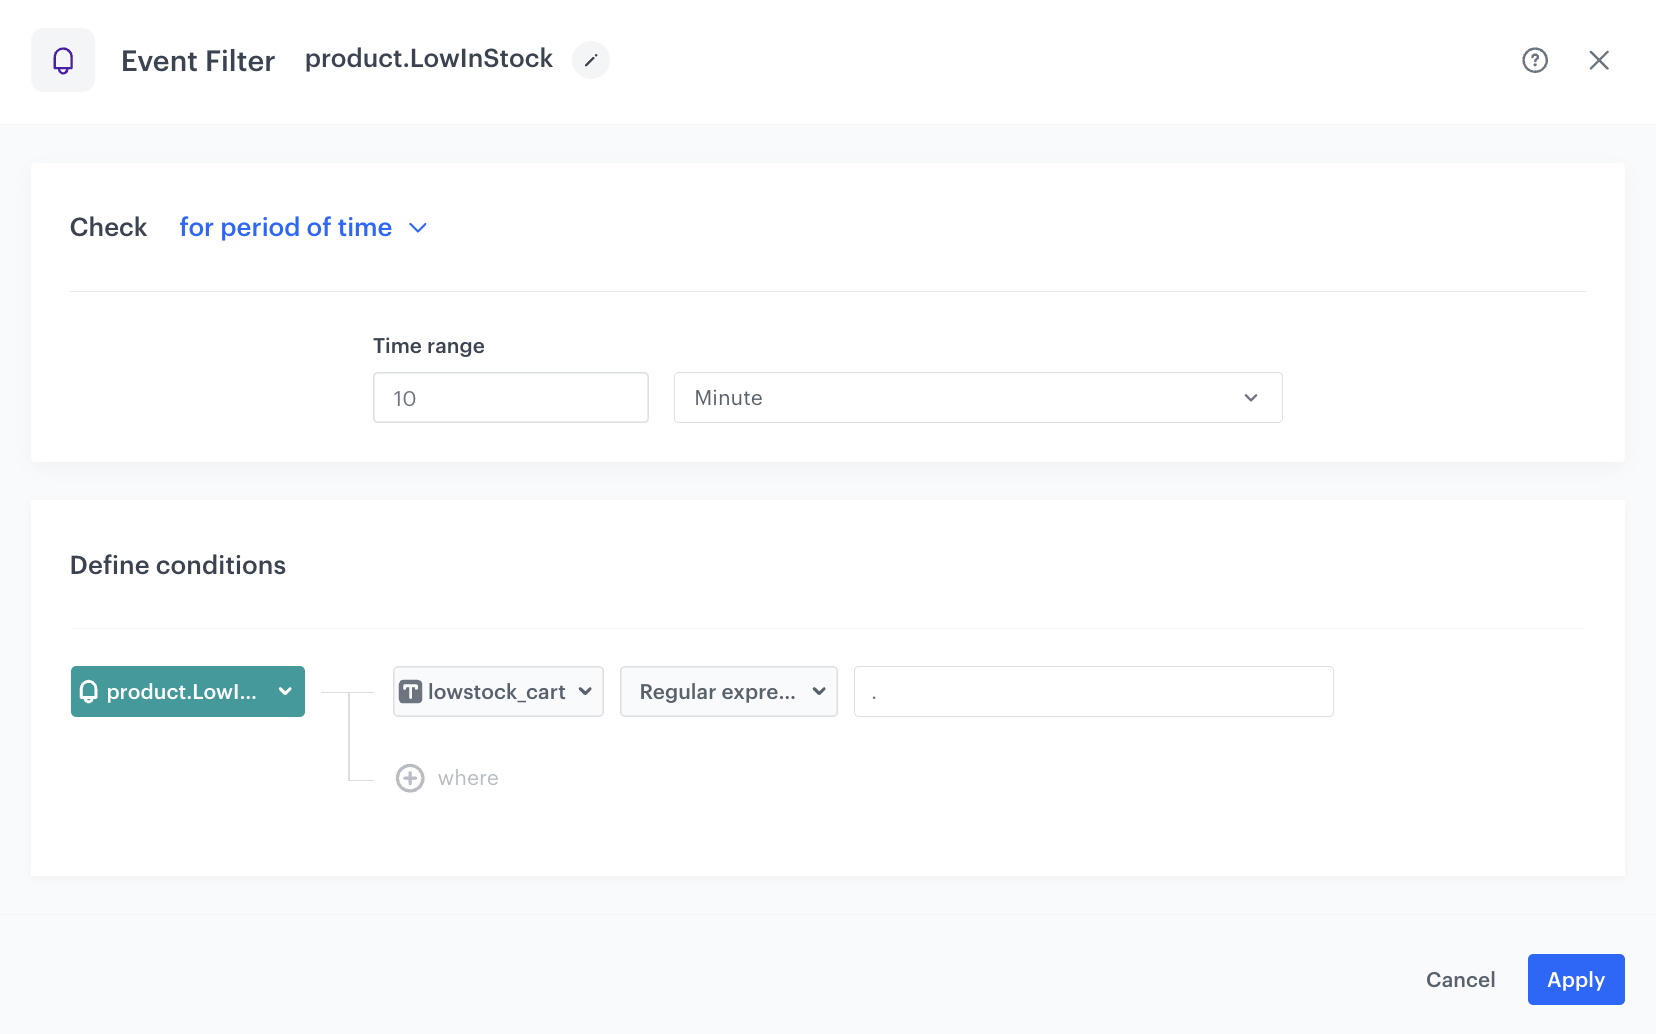
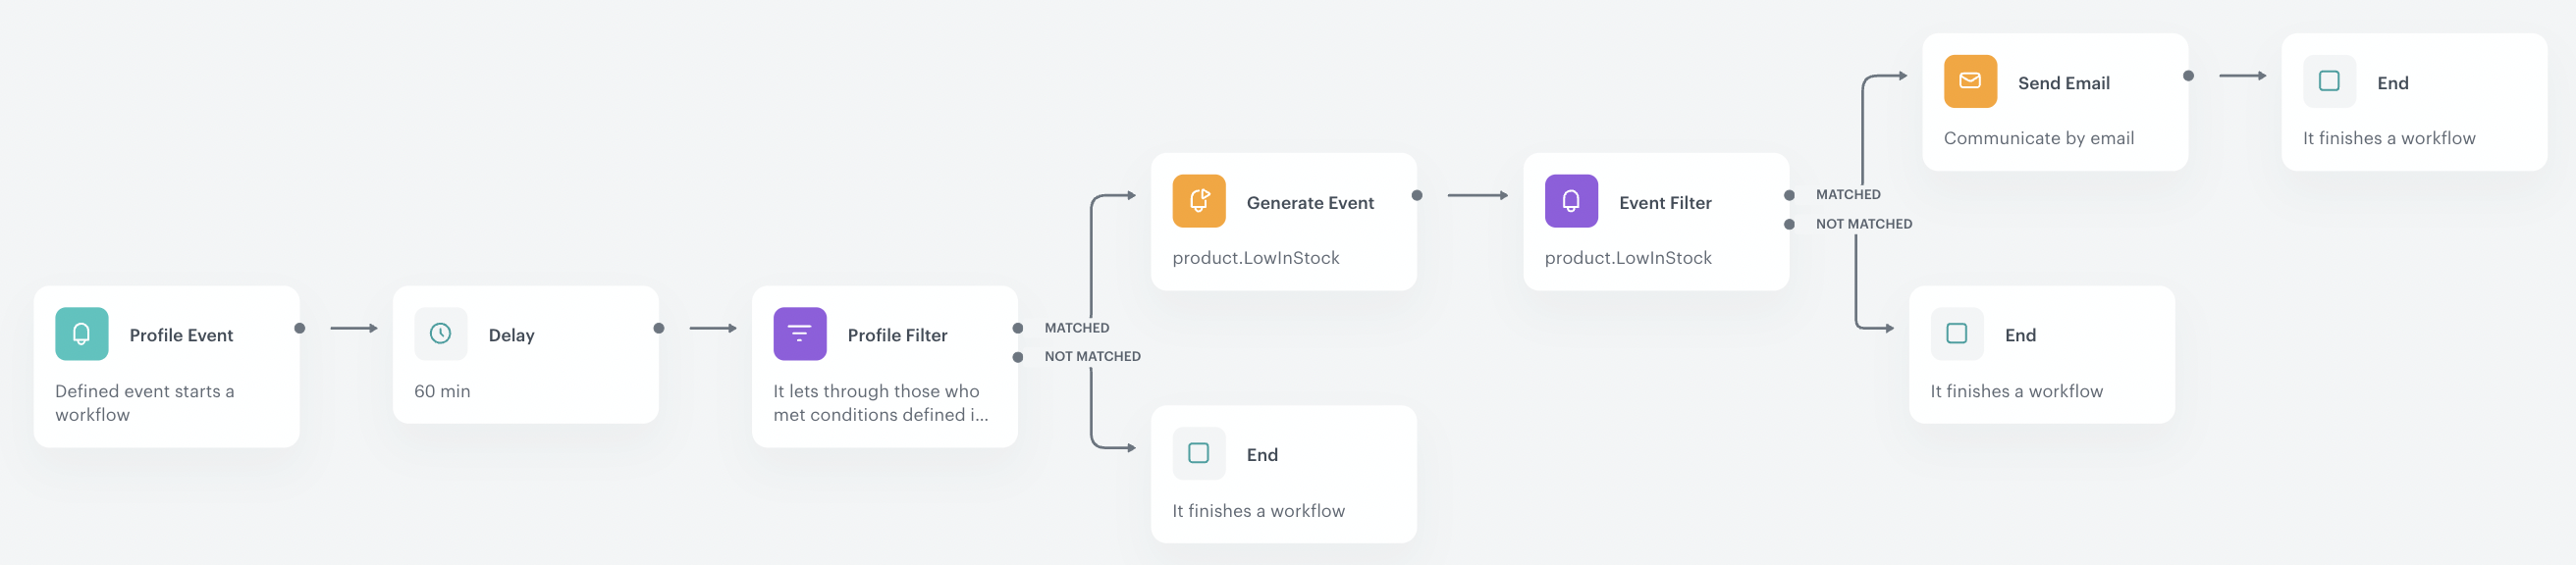
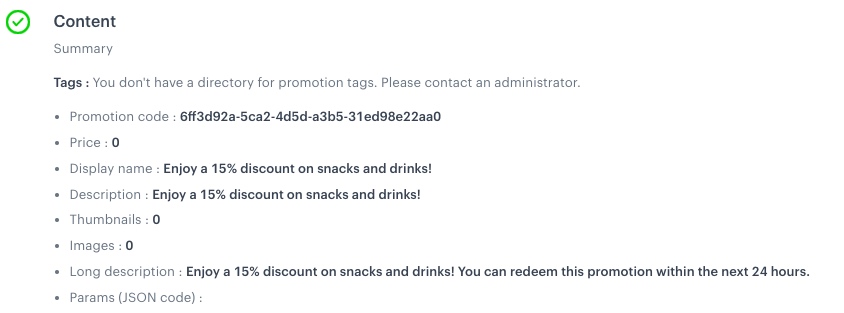
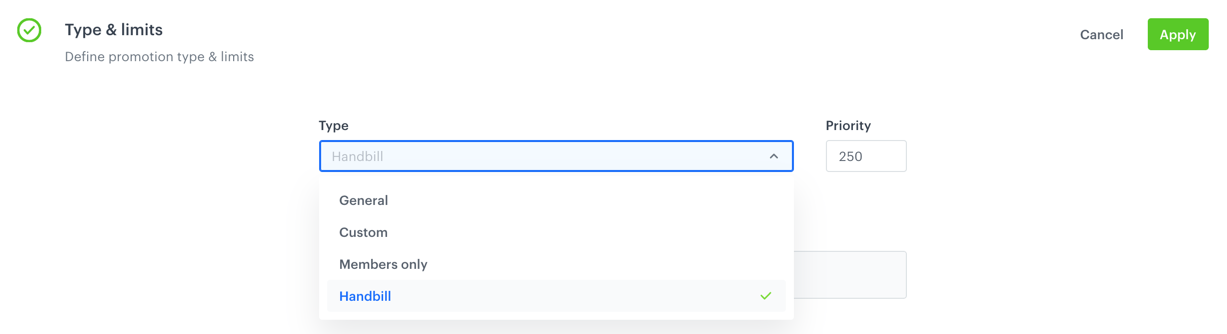
 **> Define.**
2. Click **Choose filters**.
3. Use the tag you assigned to [personalized promotion](#create-personalized-promotions) for categories you selected. This filter will be used while creating a personalized promotion.
**> Define.**
2. Click **Choose filters**.
3. Use the tag you assigned to [personalized promotion](#create-personalized-promotions) for categories you selected. This filter will be used while creating a personalized promotion.
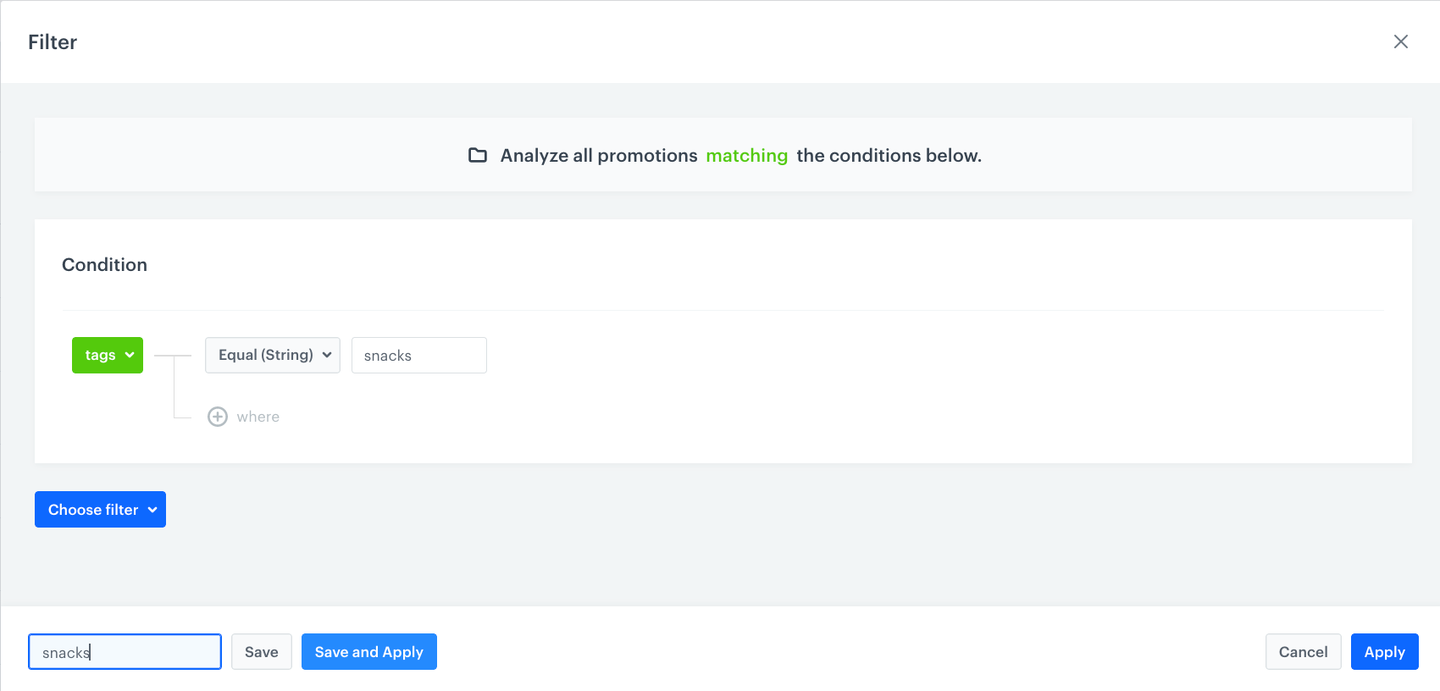
 .
4. Click **Advanced options**.
5. Select **AI Engine**.
6. Confirm by clicking **Apply**.
7. In the **Filters and limits** section, define two slots and to each slot assign the filter created before. Also, define the number of promotions in each slot that will be allocated for the customer.
1. In the **Promotions in set**, enter a number of personalized promotion to be used as candidates to display in a slot.
2. Click **Define filter**.
3. Select the filter you created in this [step](/use-cases/personalized-promotions-on-checkout#define-groups-of-promotions).
4. To add more slots, click **Ad another** and repeat steps i-iii.
5. Confirm by clicking **Apply**.
8. Define **Exclude items** section accordingly to your business needs.
9. In the **Activity** section:
1. Leave the **Lasting** option at default (**Relative**).
2. Set the activity time according to your business needs. In our case it is 24 hours.
3. Confirm by clicking **Apply**.
10. Configure the **Engine settings** section according to your needs.
.
4. Click **Advanced options**.
5. Select **AI Engine**.
6. Confirm by clicking **Apply**.
7. In the **Filters and limits** section, define two slots and to each slot assign the filter created before. Also, define the number of promotions in each slot that will be allocated for the customer.
1. In the **Promotions in set**, enter a number of personalized promotion to be used as candidates to display in a slot.
2. Click **Define filter**.
3. Select the filter you created in this [step](/use-cases/personalized-promotions-on-checkout#define-groups-of-promotions).
4. To add more slots, click **Ad another** and repeat steps i-iii.
5. Confirm by clicking **Apply**.
8. Define **Exclude items** section accordingly to your business needs.
9. In the **Activity** section:
1. Leave the **Lasting** option at default (**Relative**).
2. Set the activity time according to your business needs. In our case it is 24 hours.
3. Confirm by clicking **Apply**.
10. Configure the **Engine settings** section according to your needs.
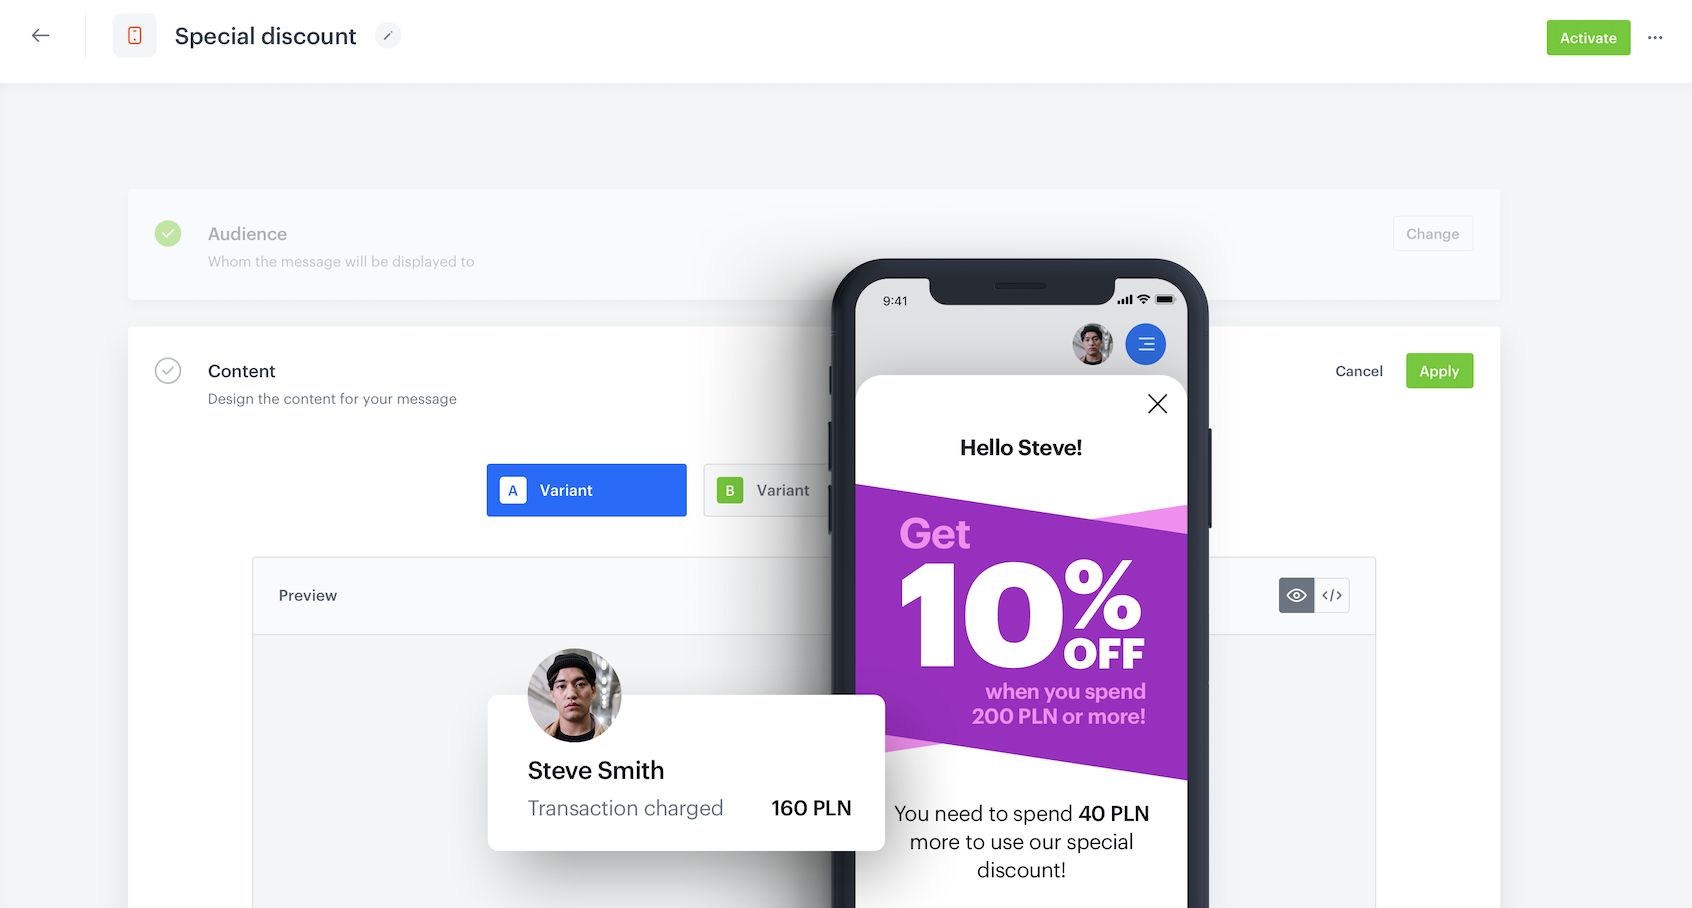

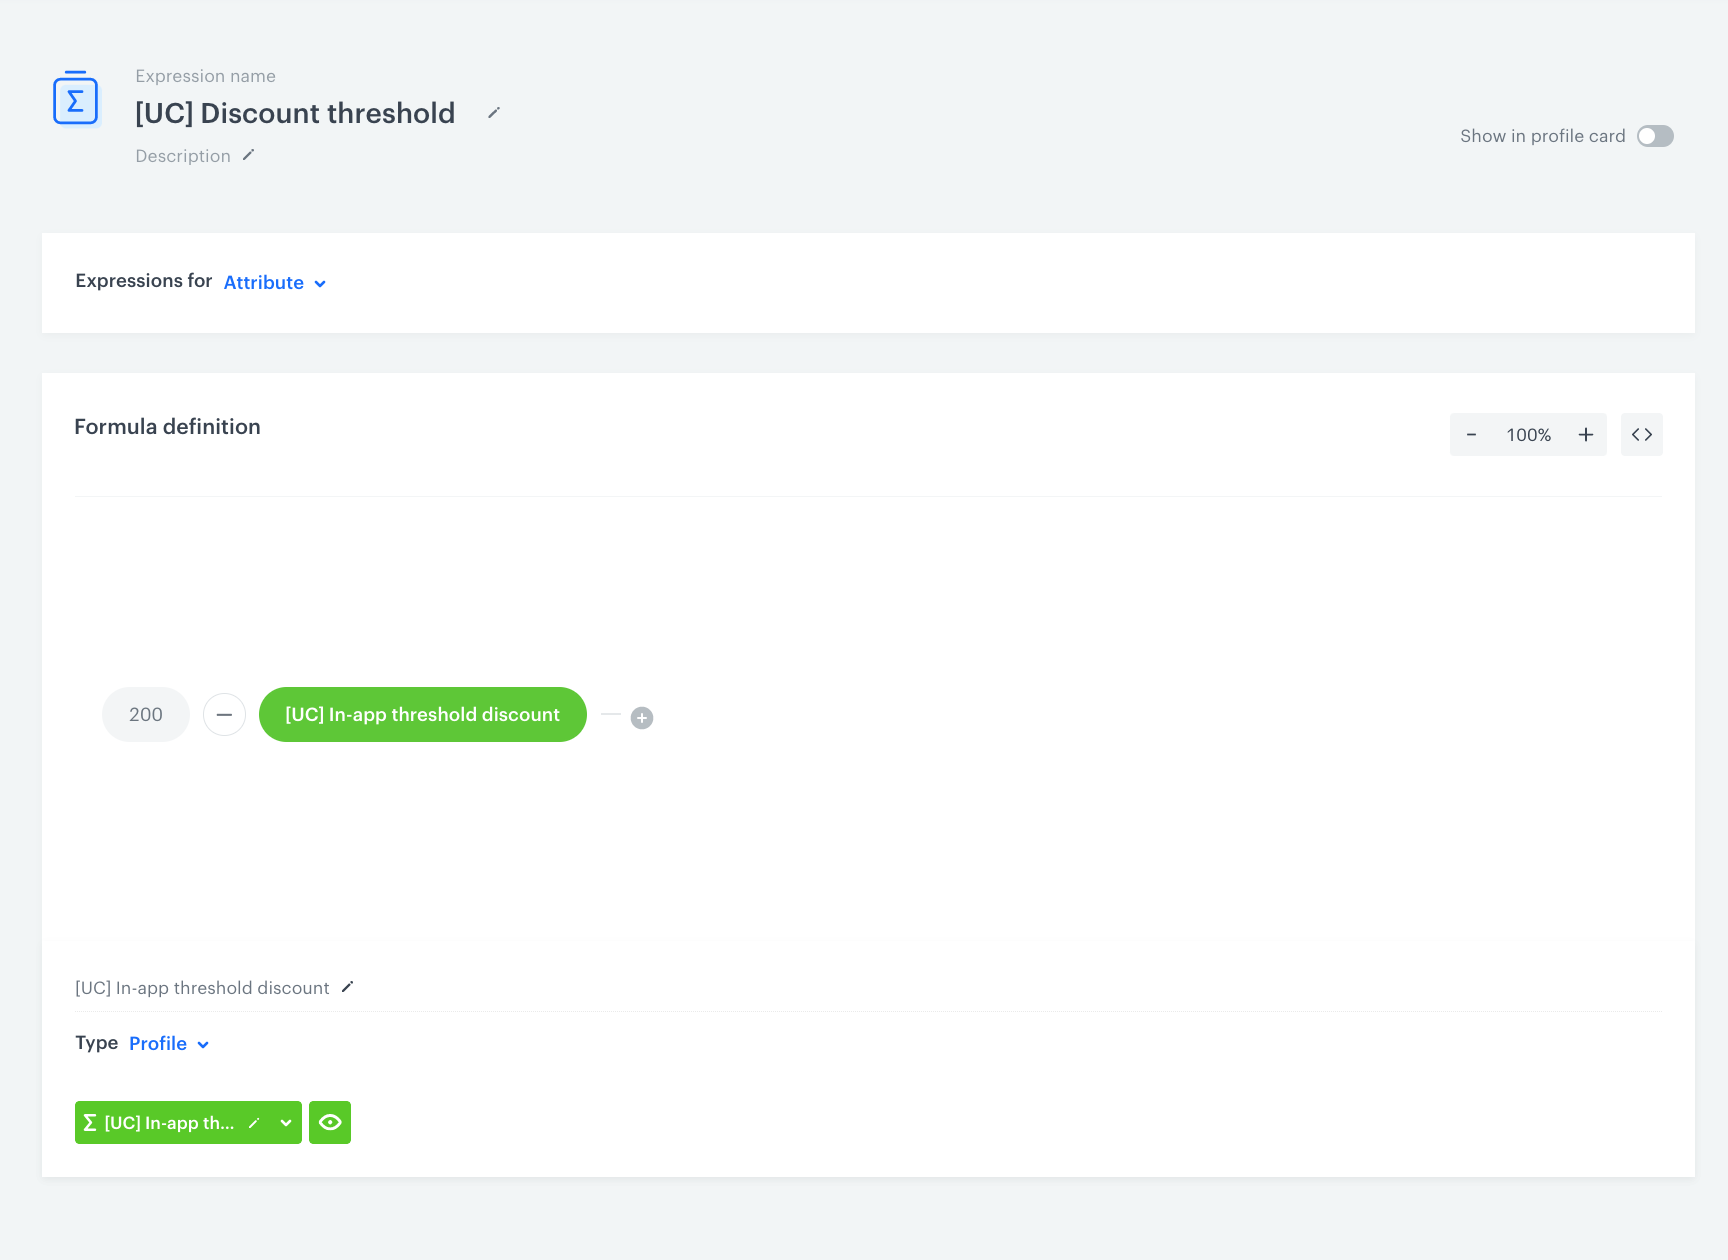
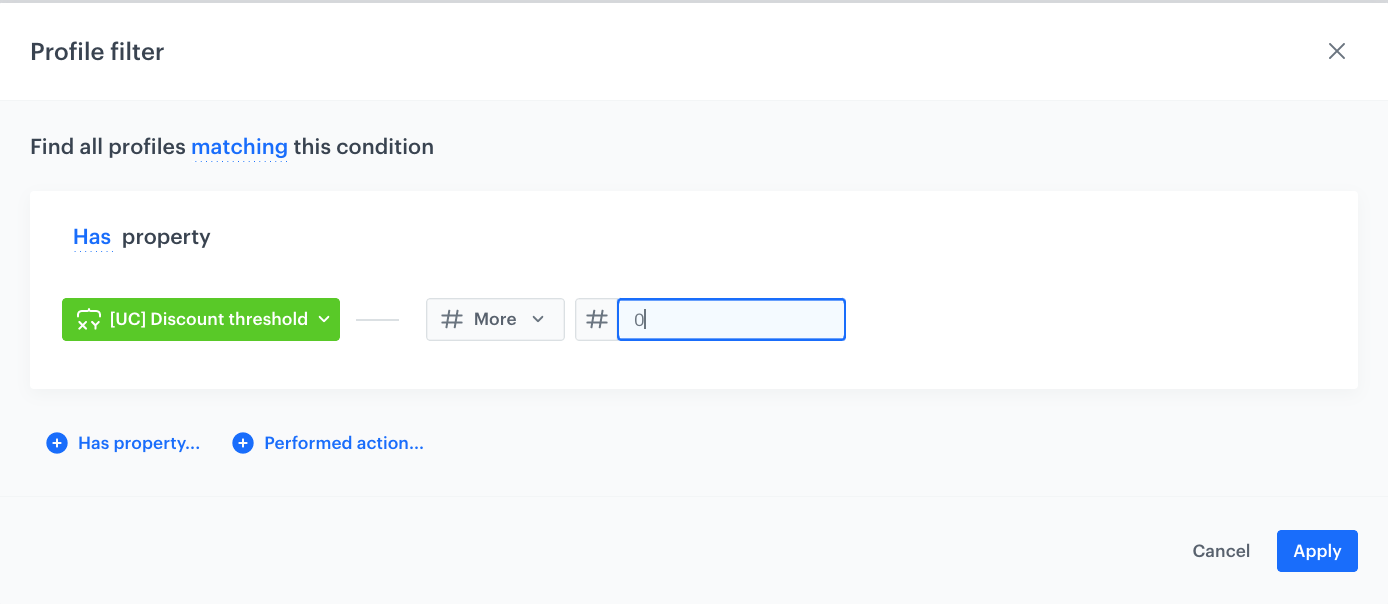
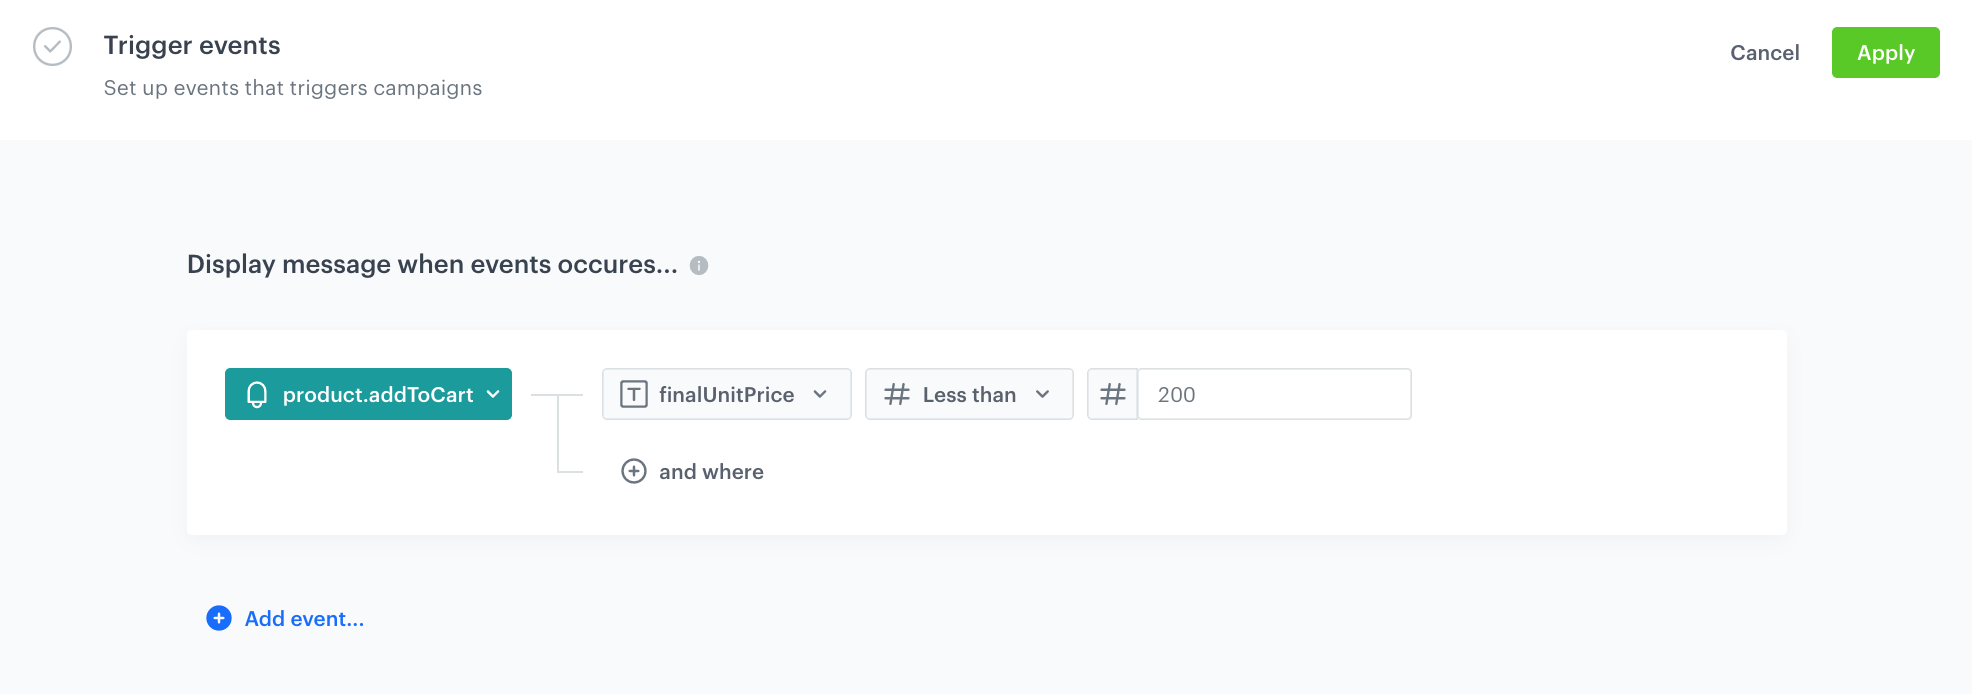
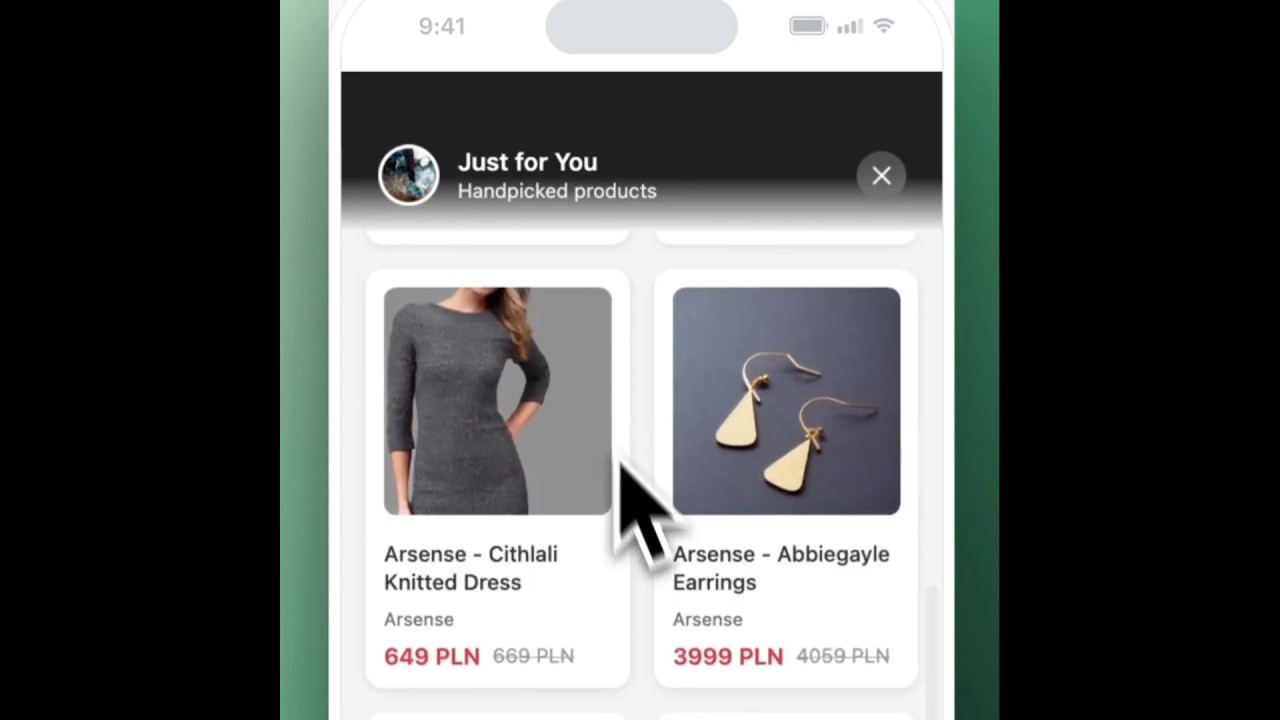
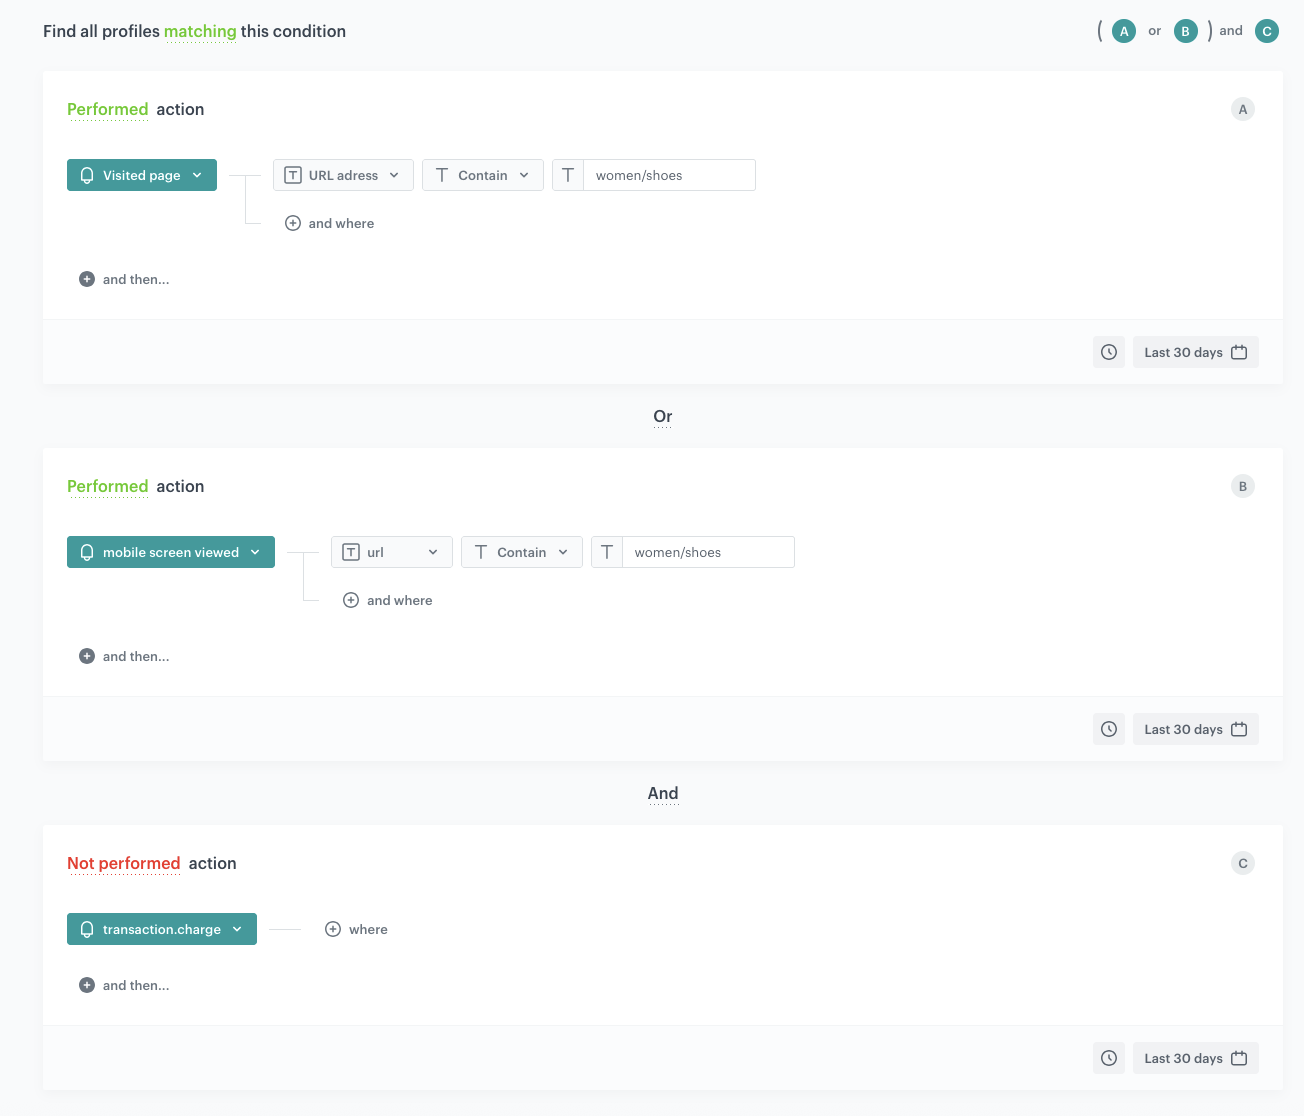
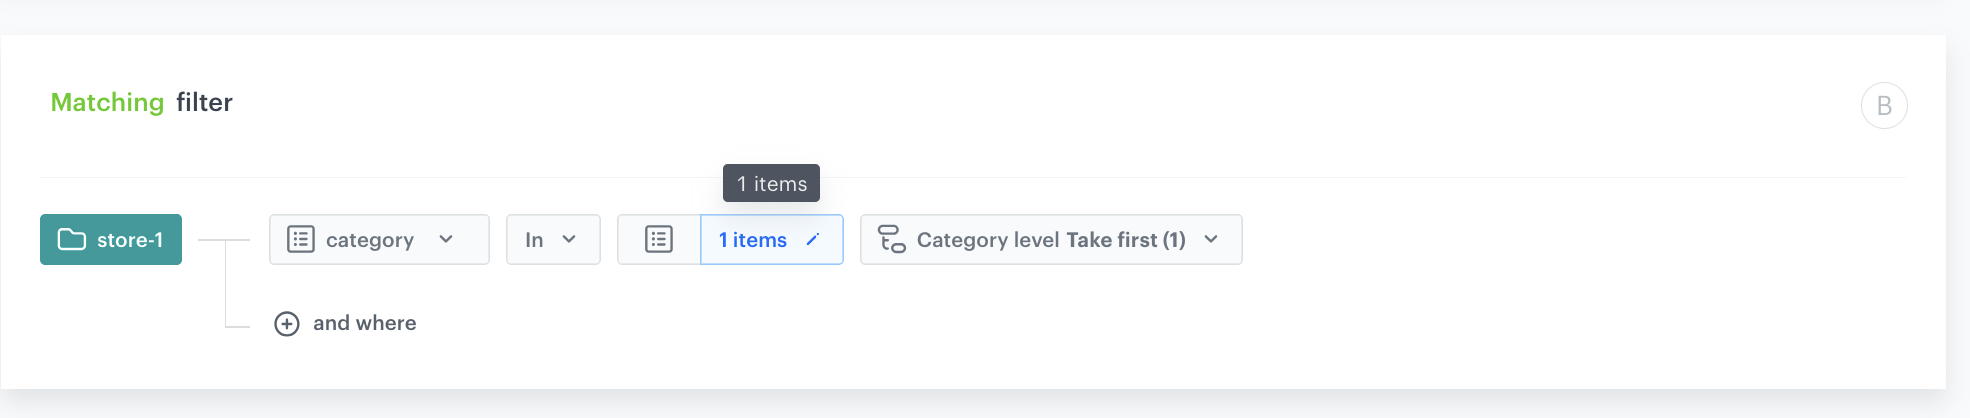
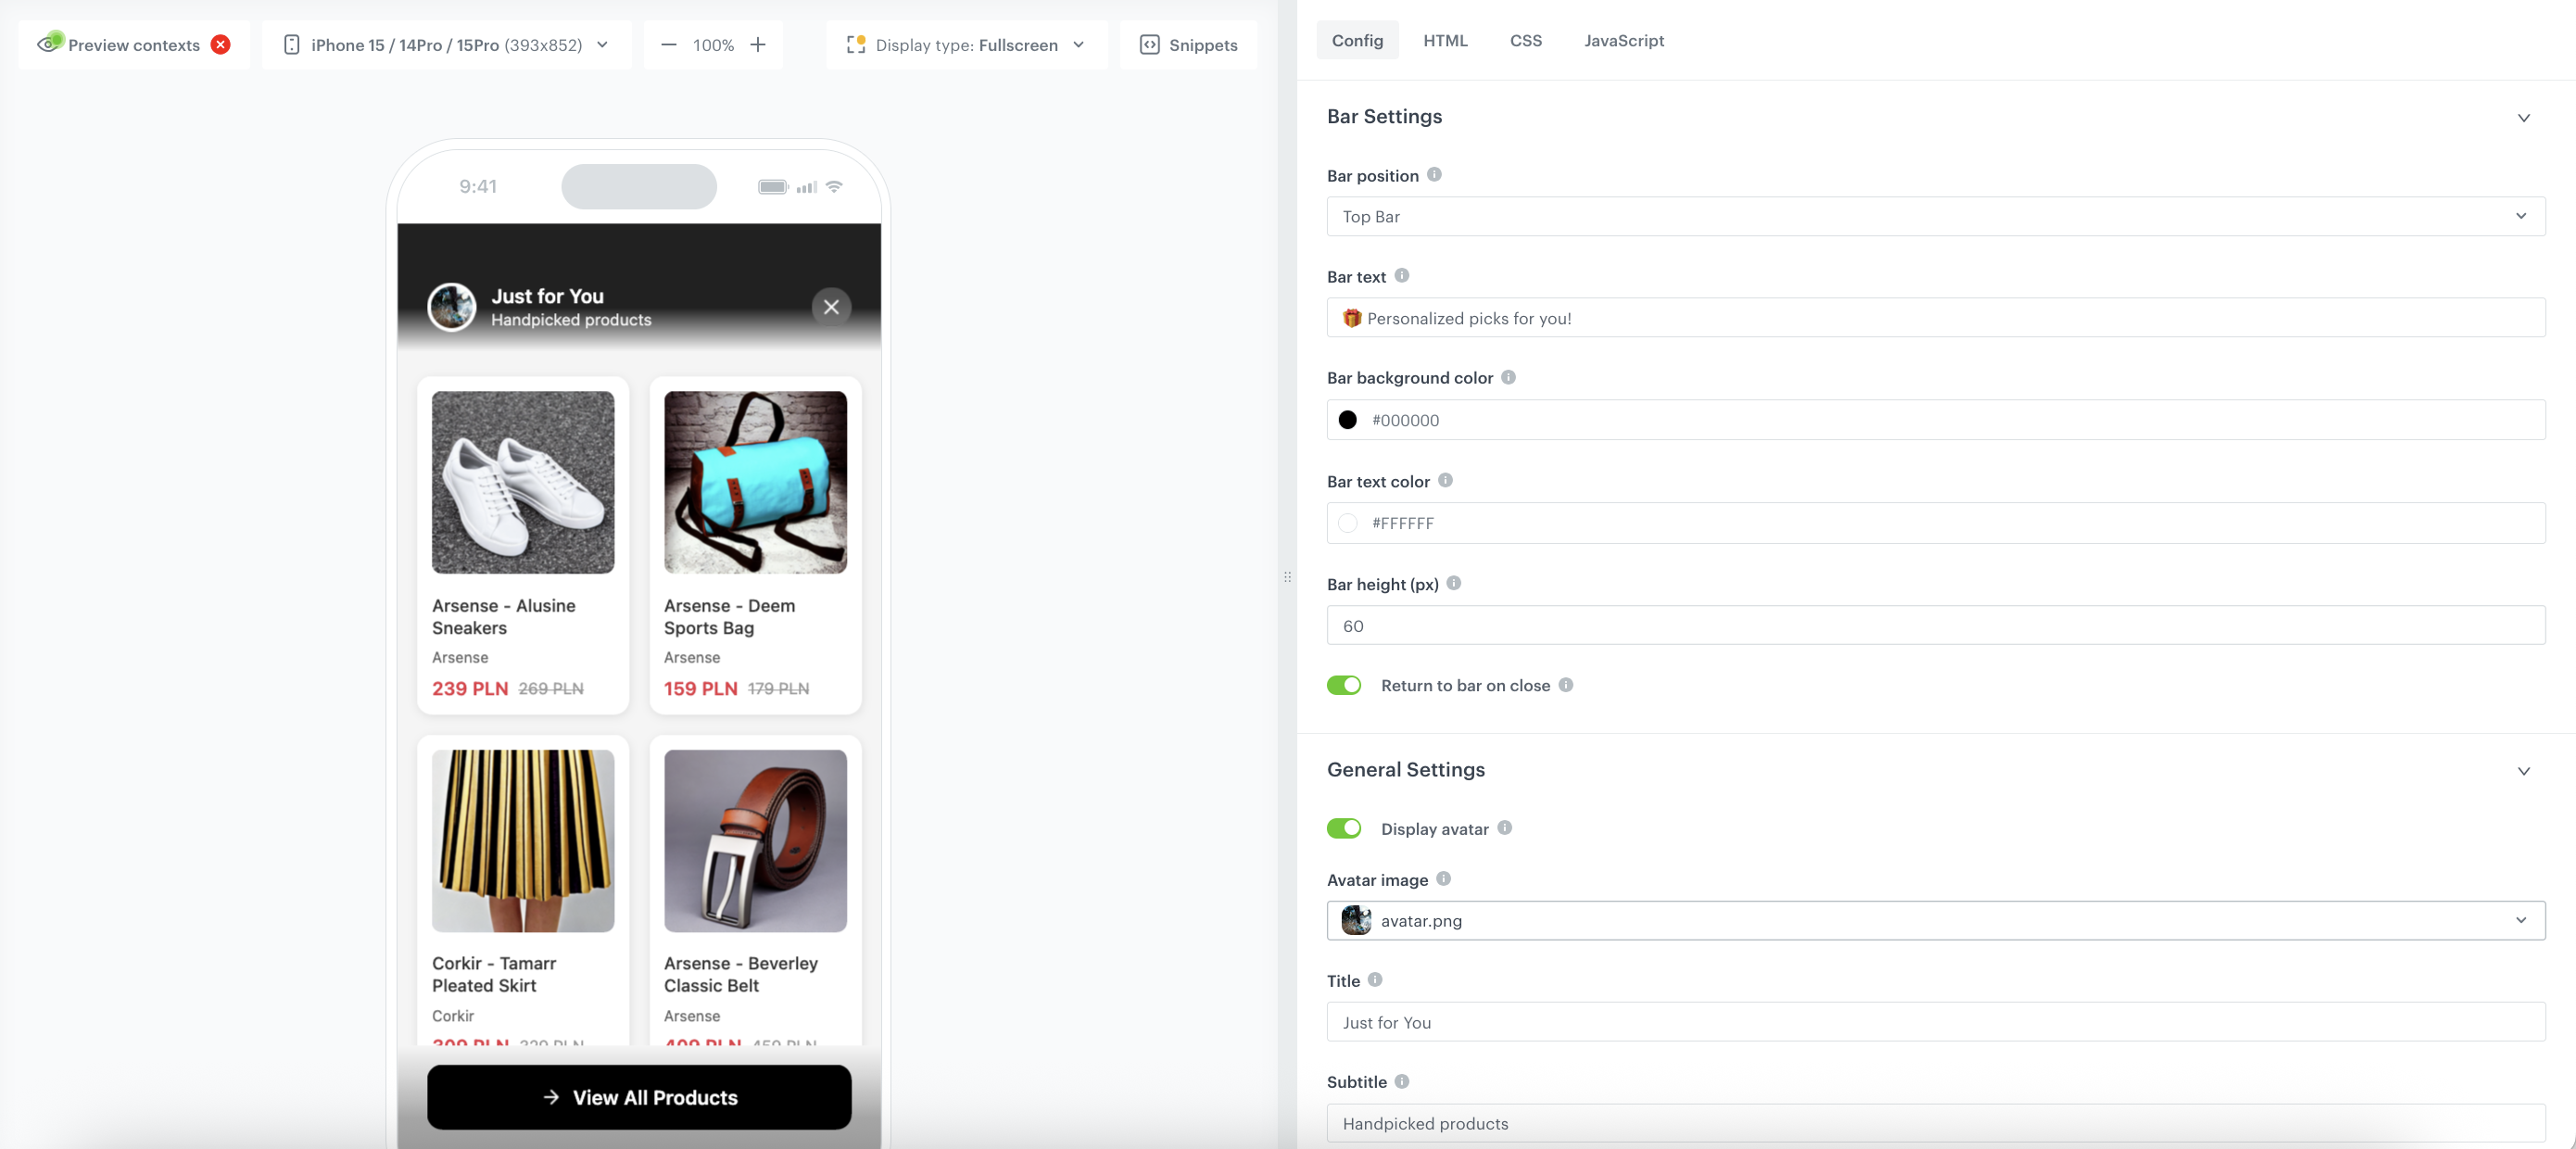
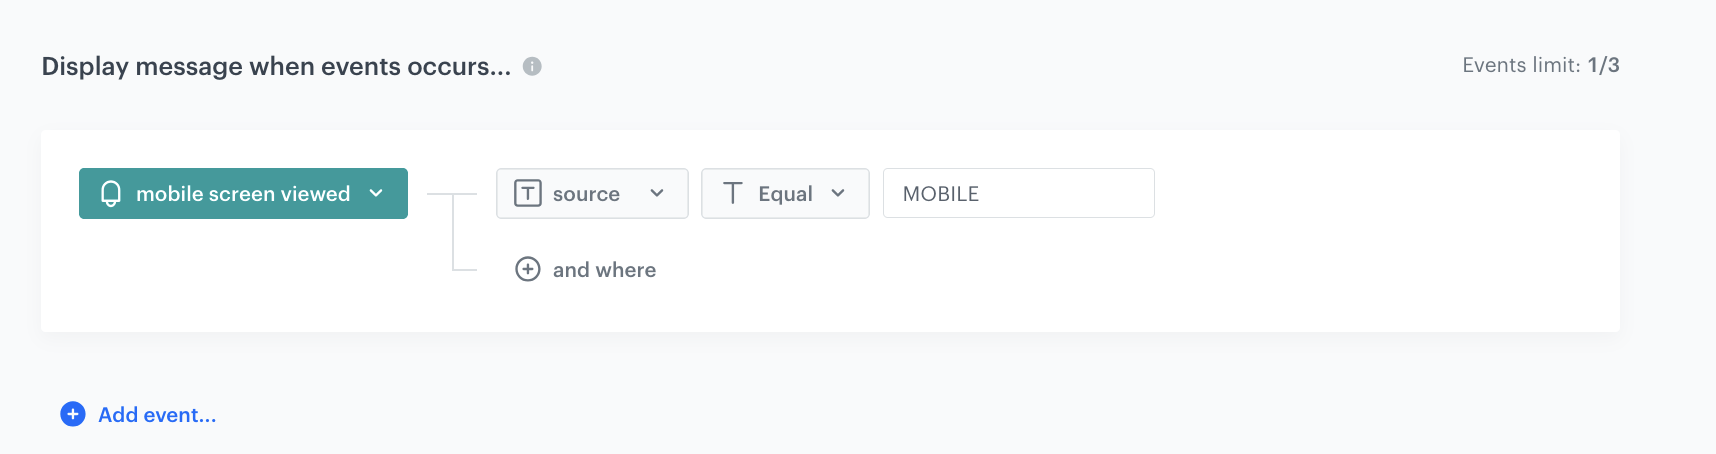

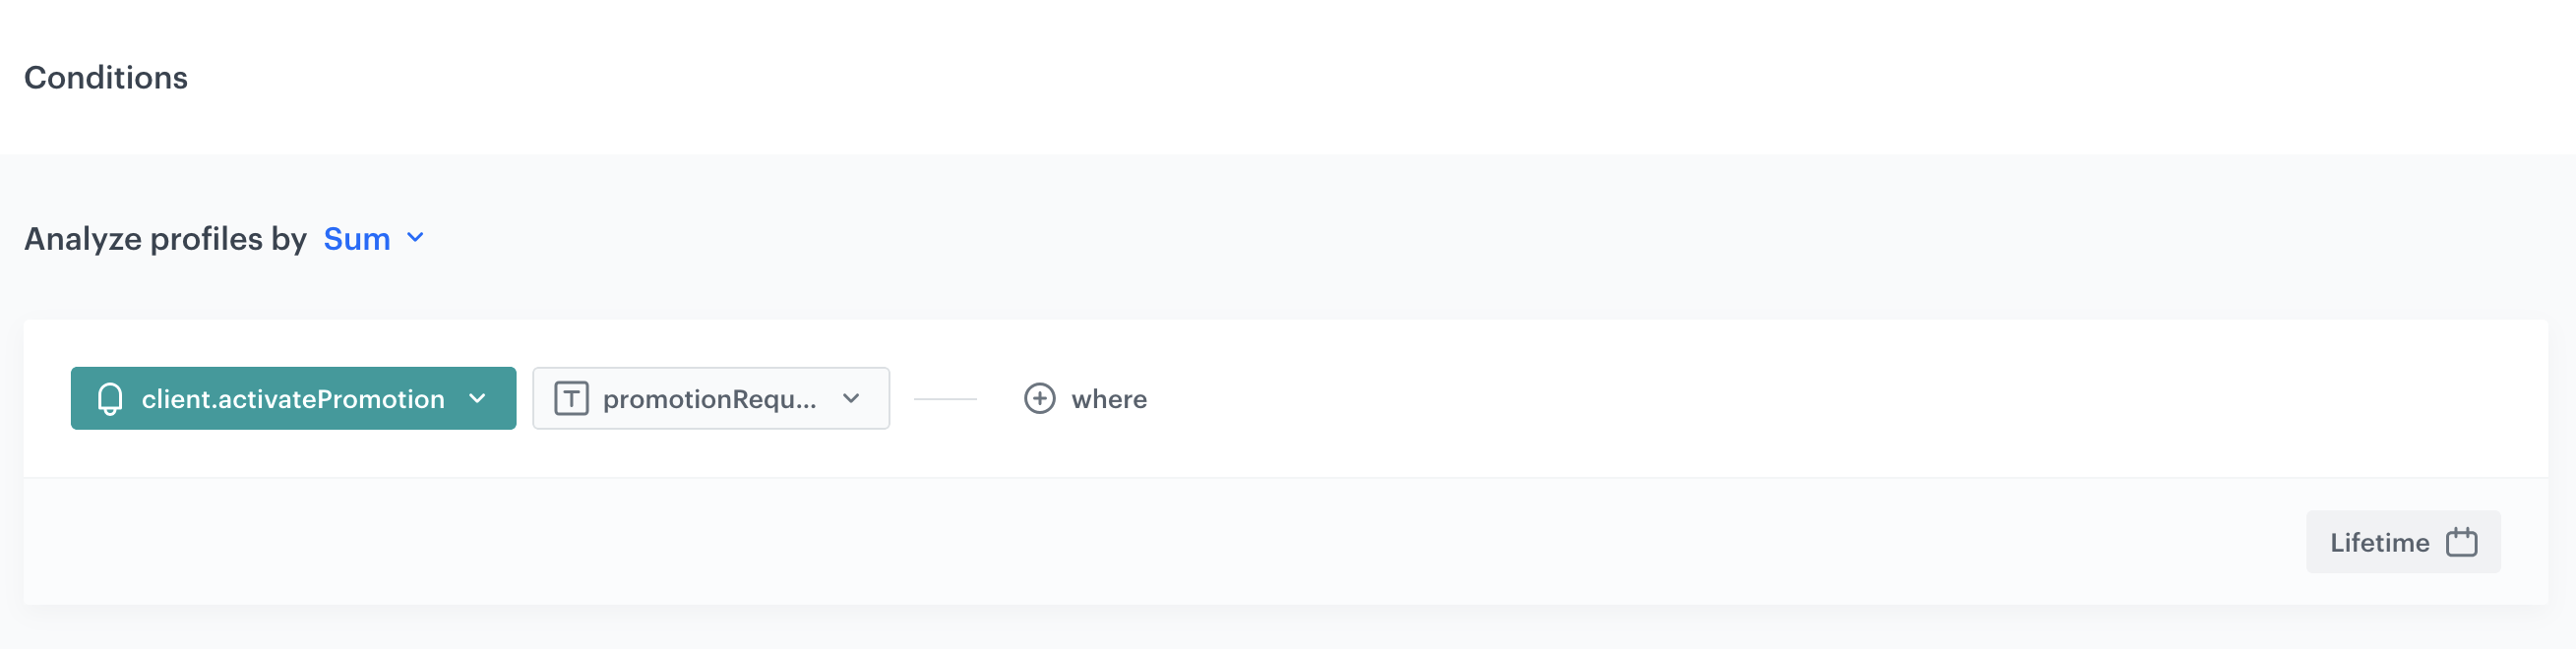
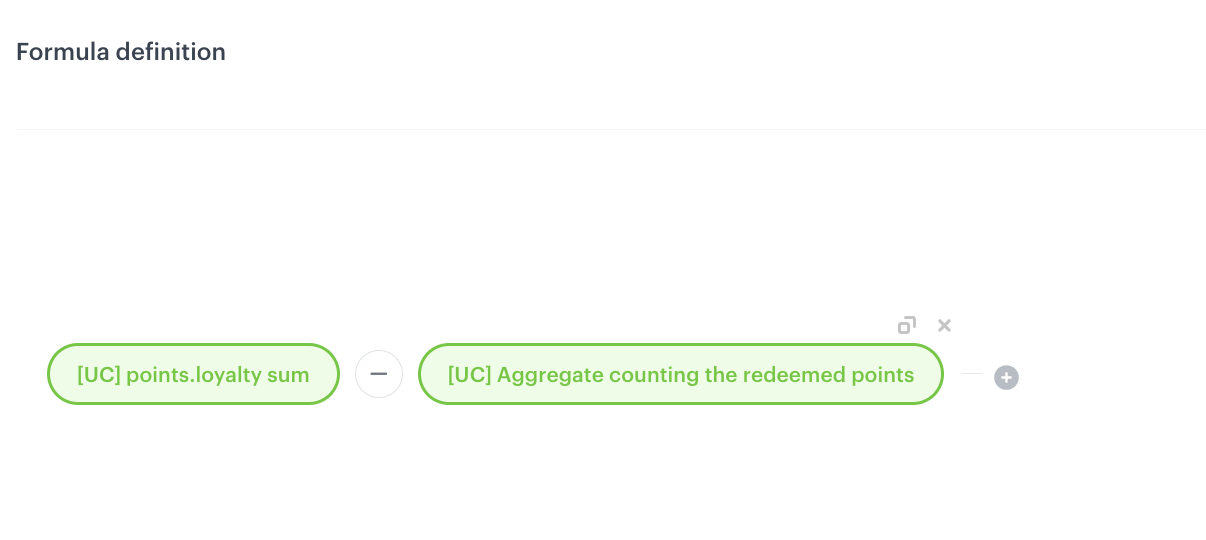
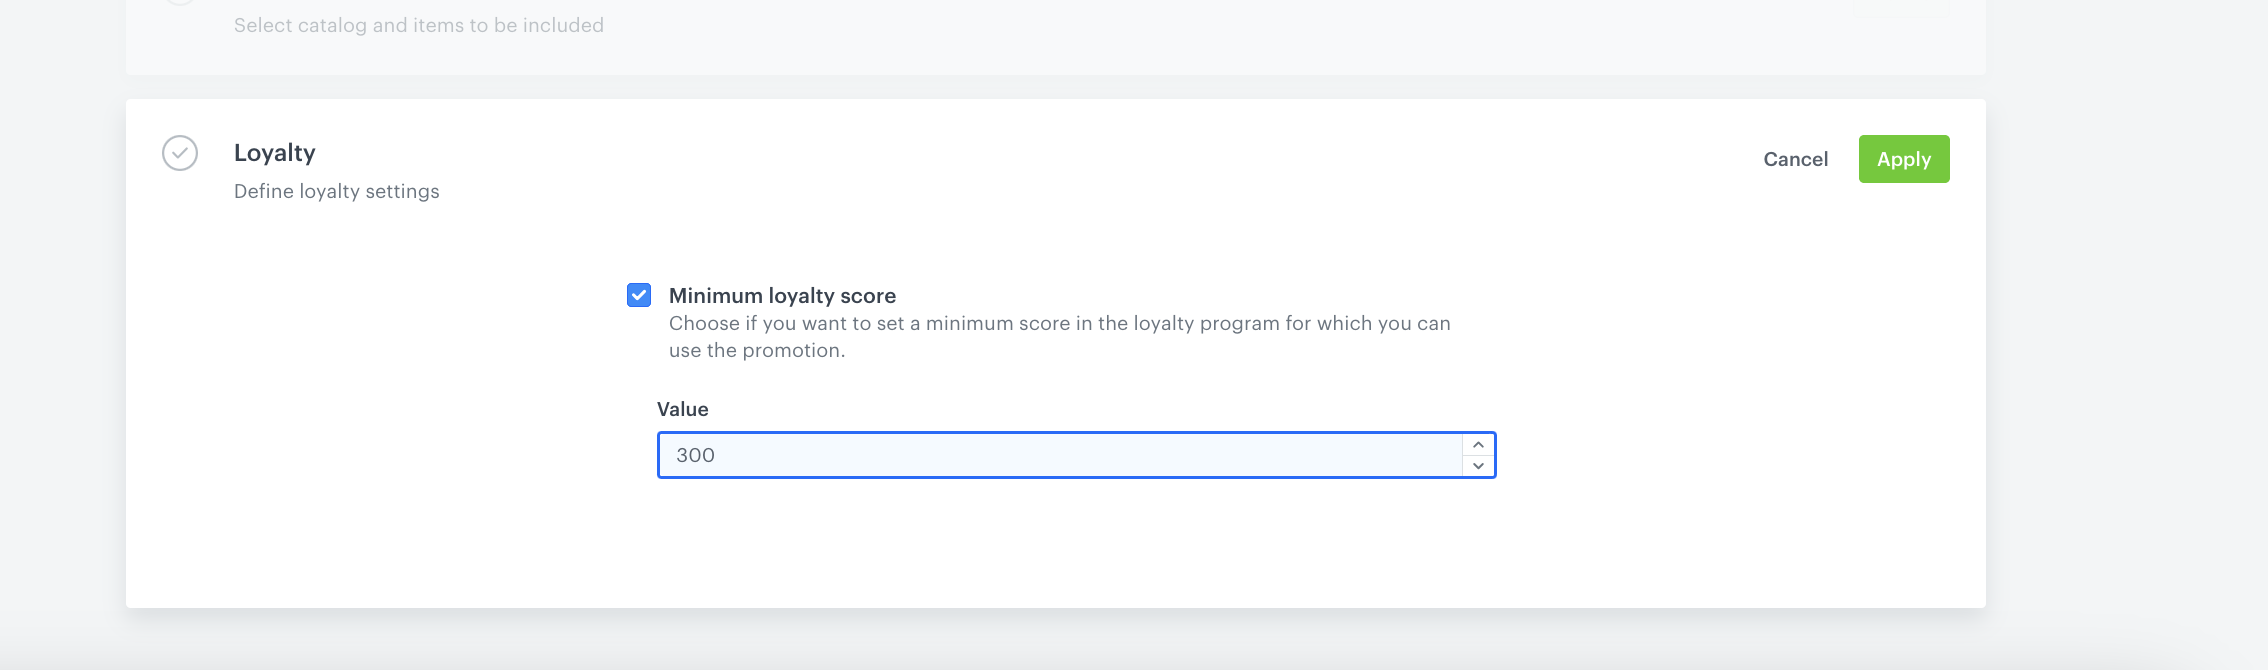
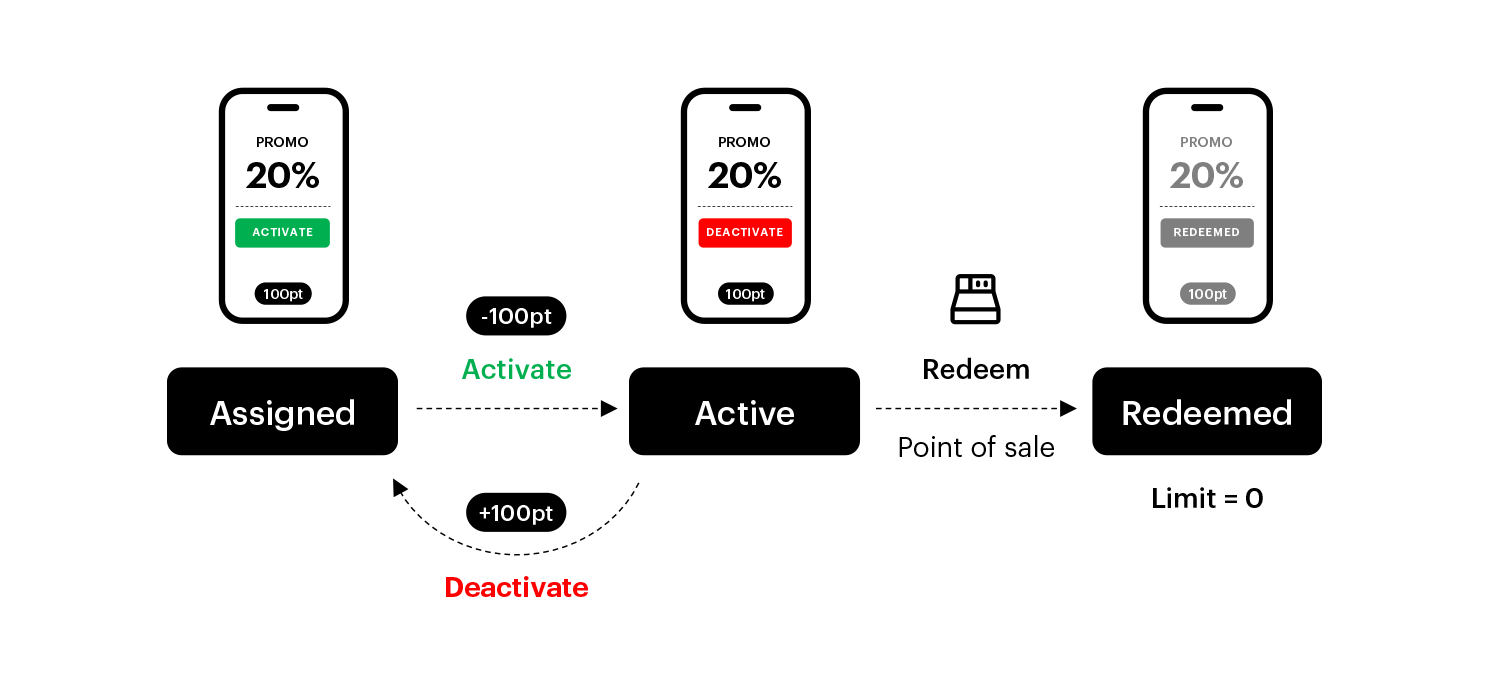
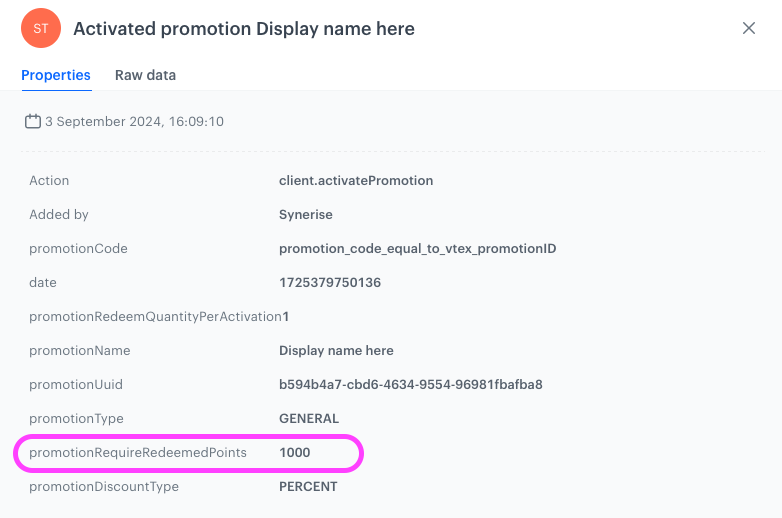

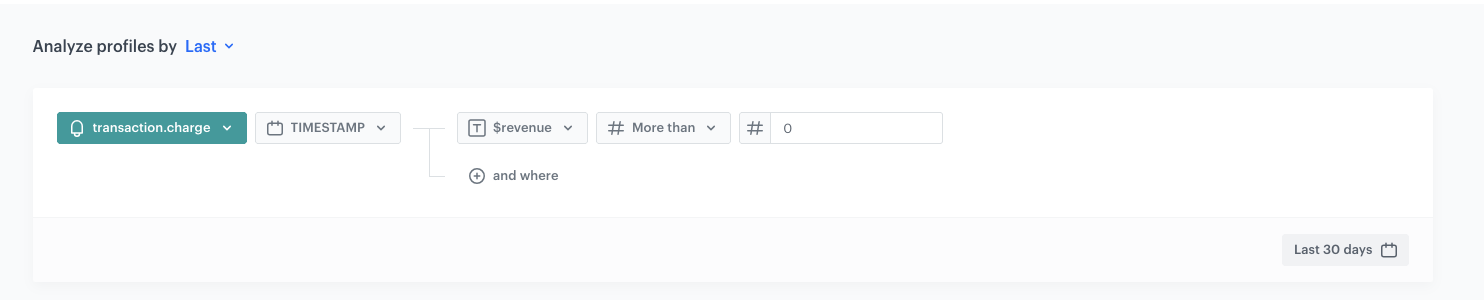
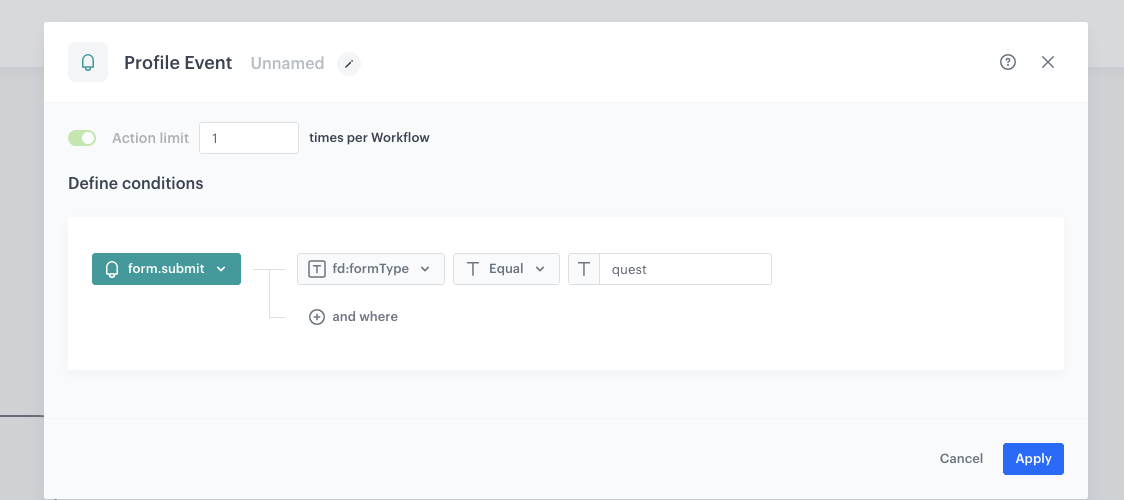
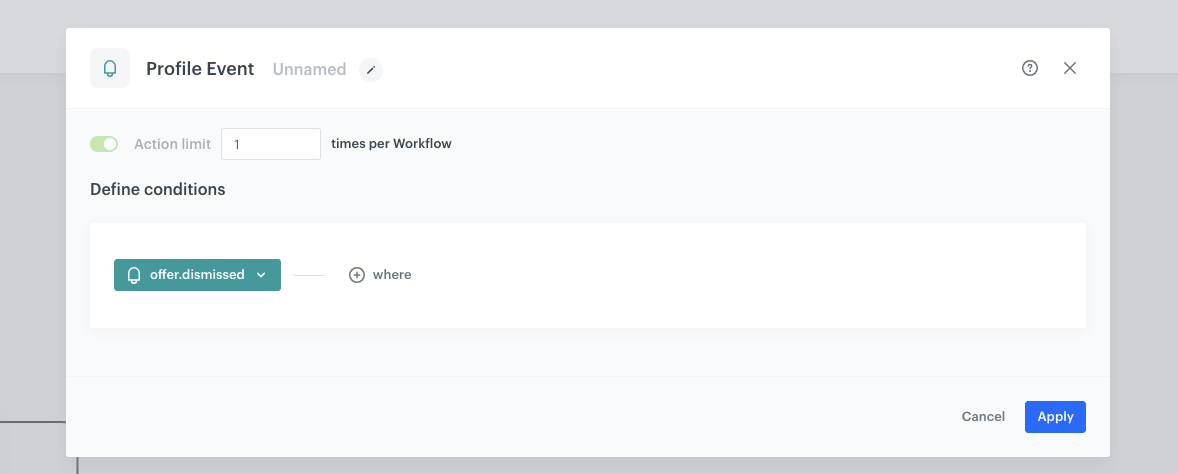
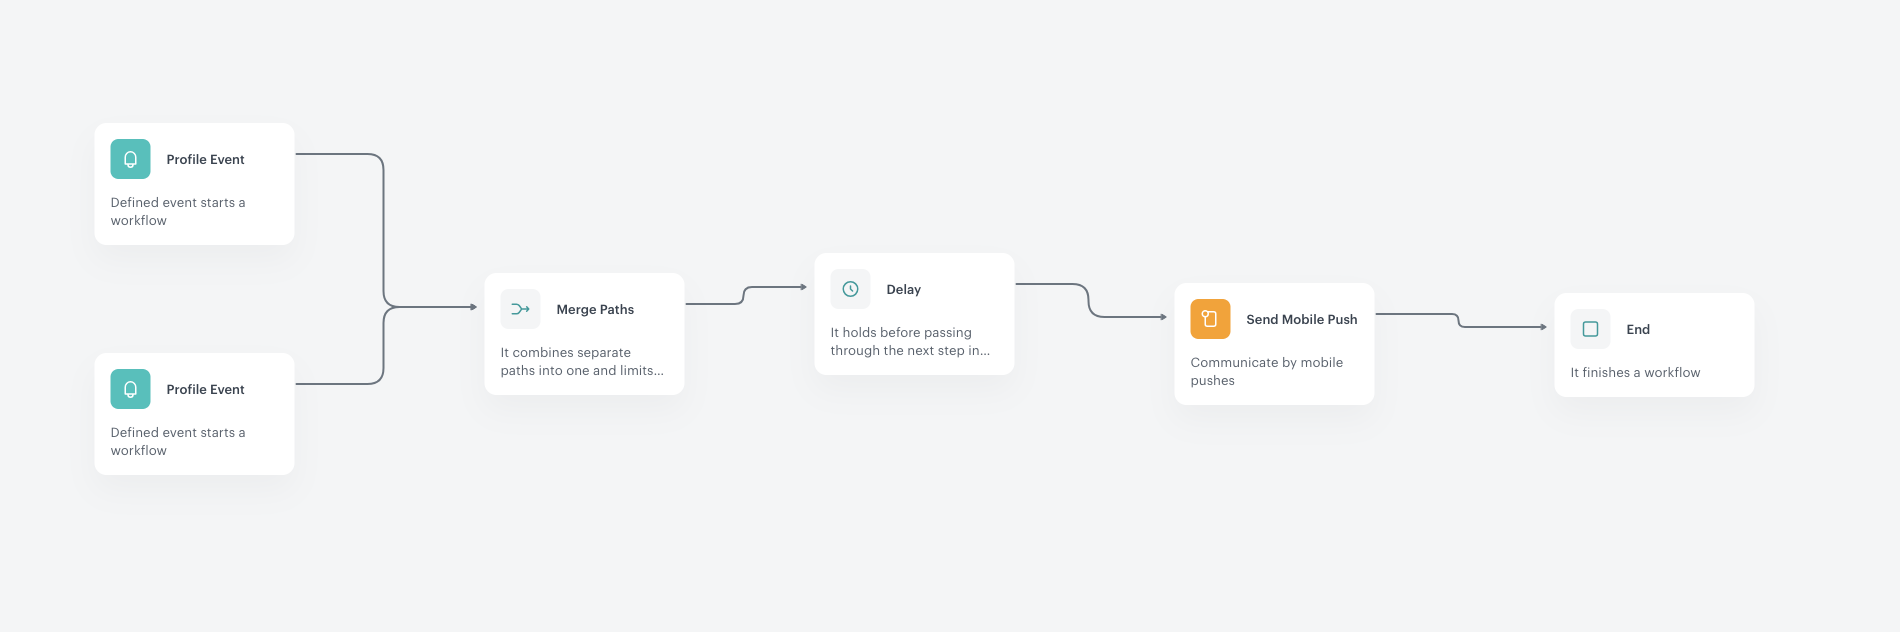
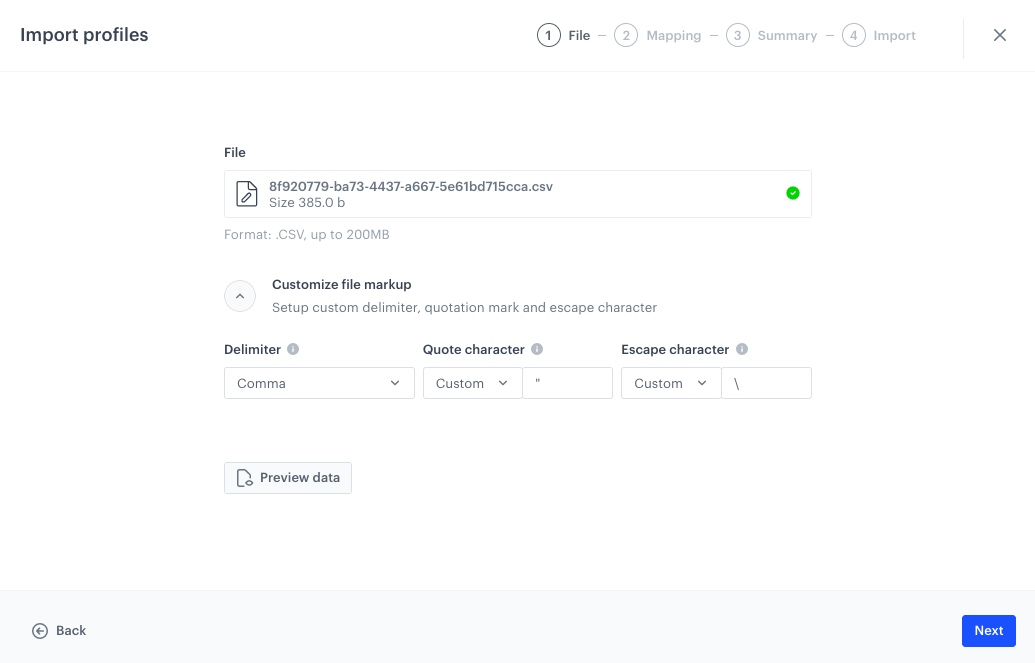

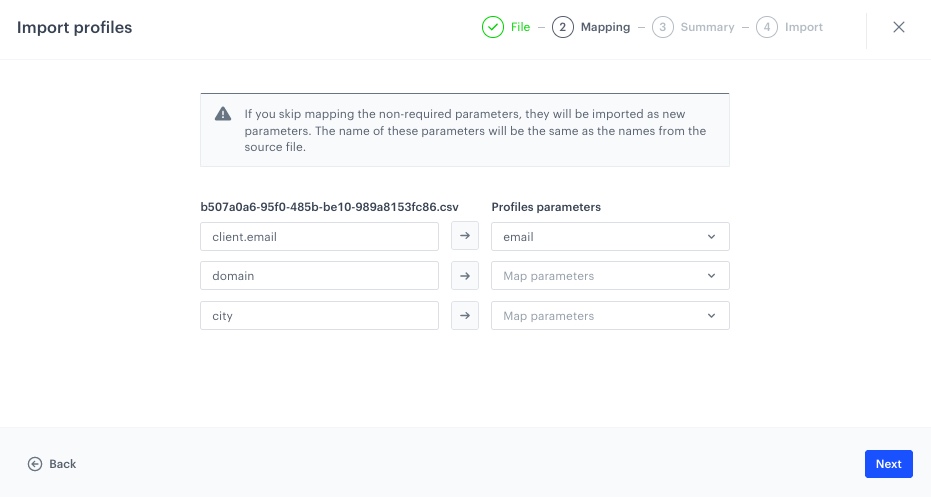

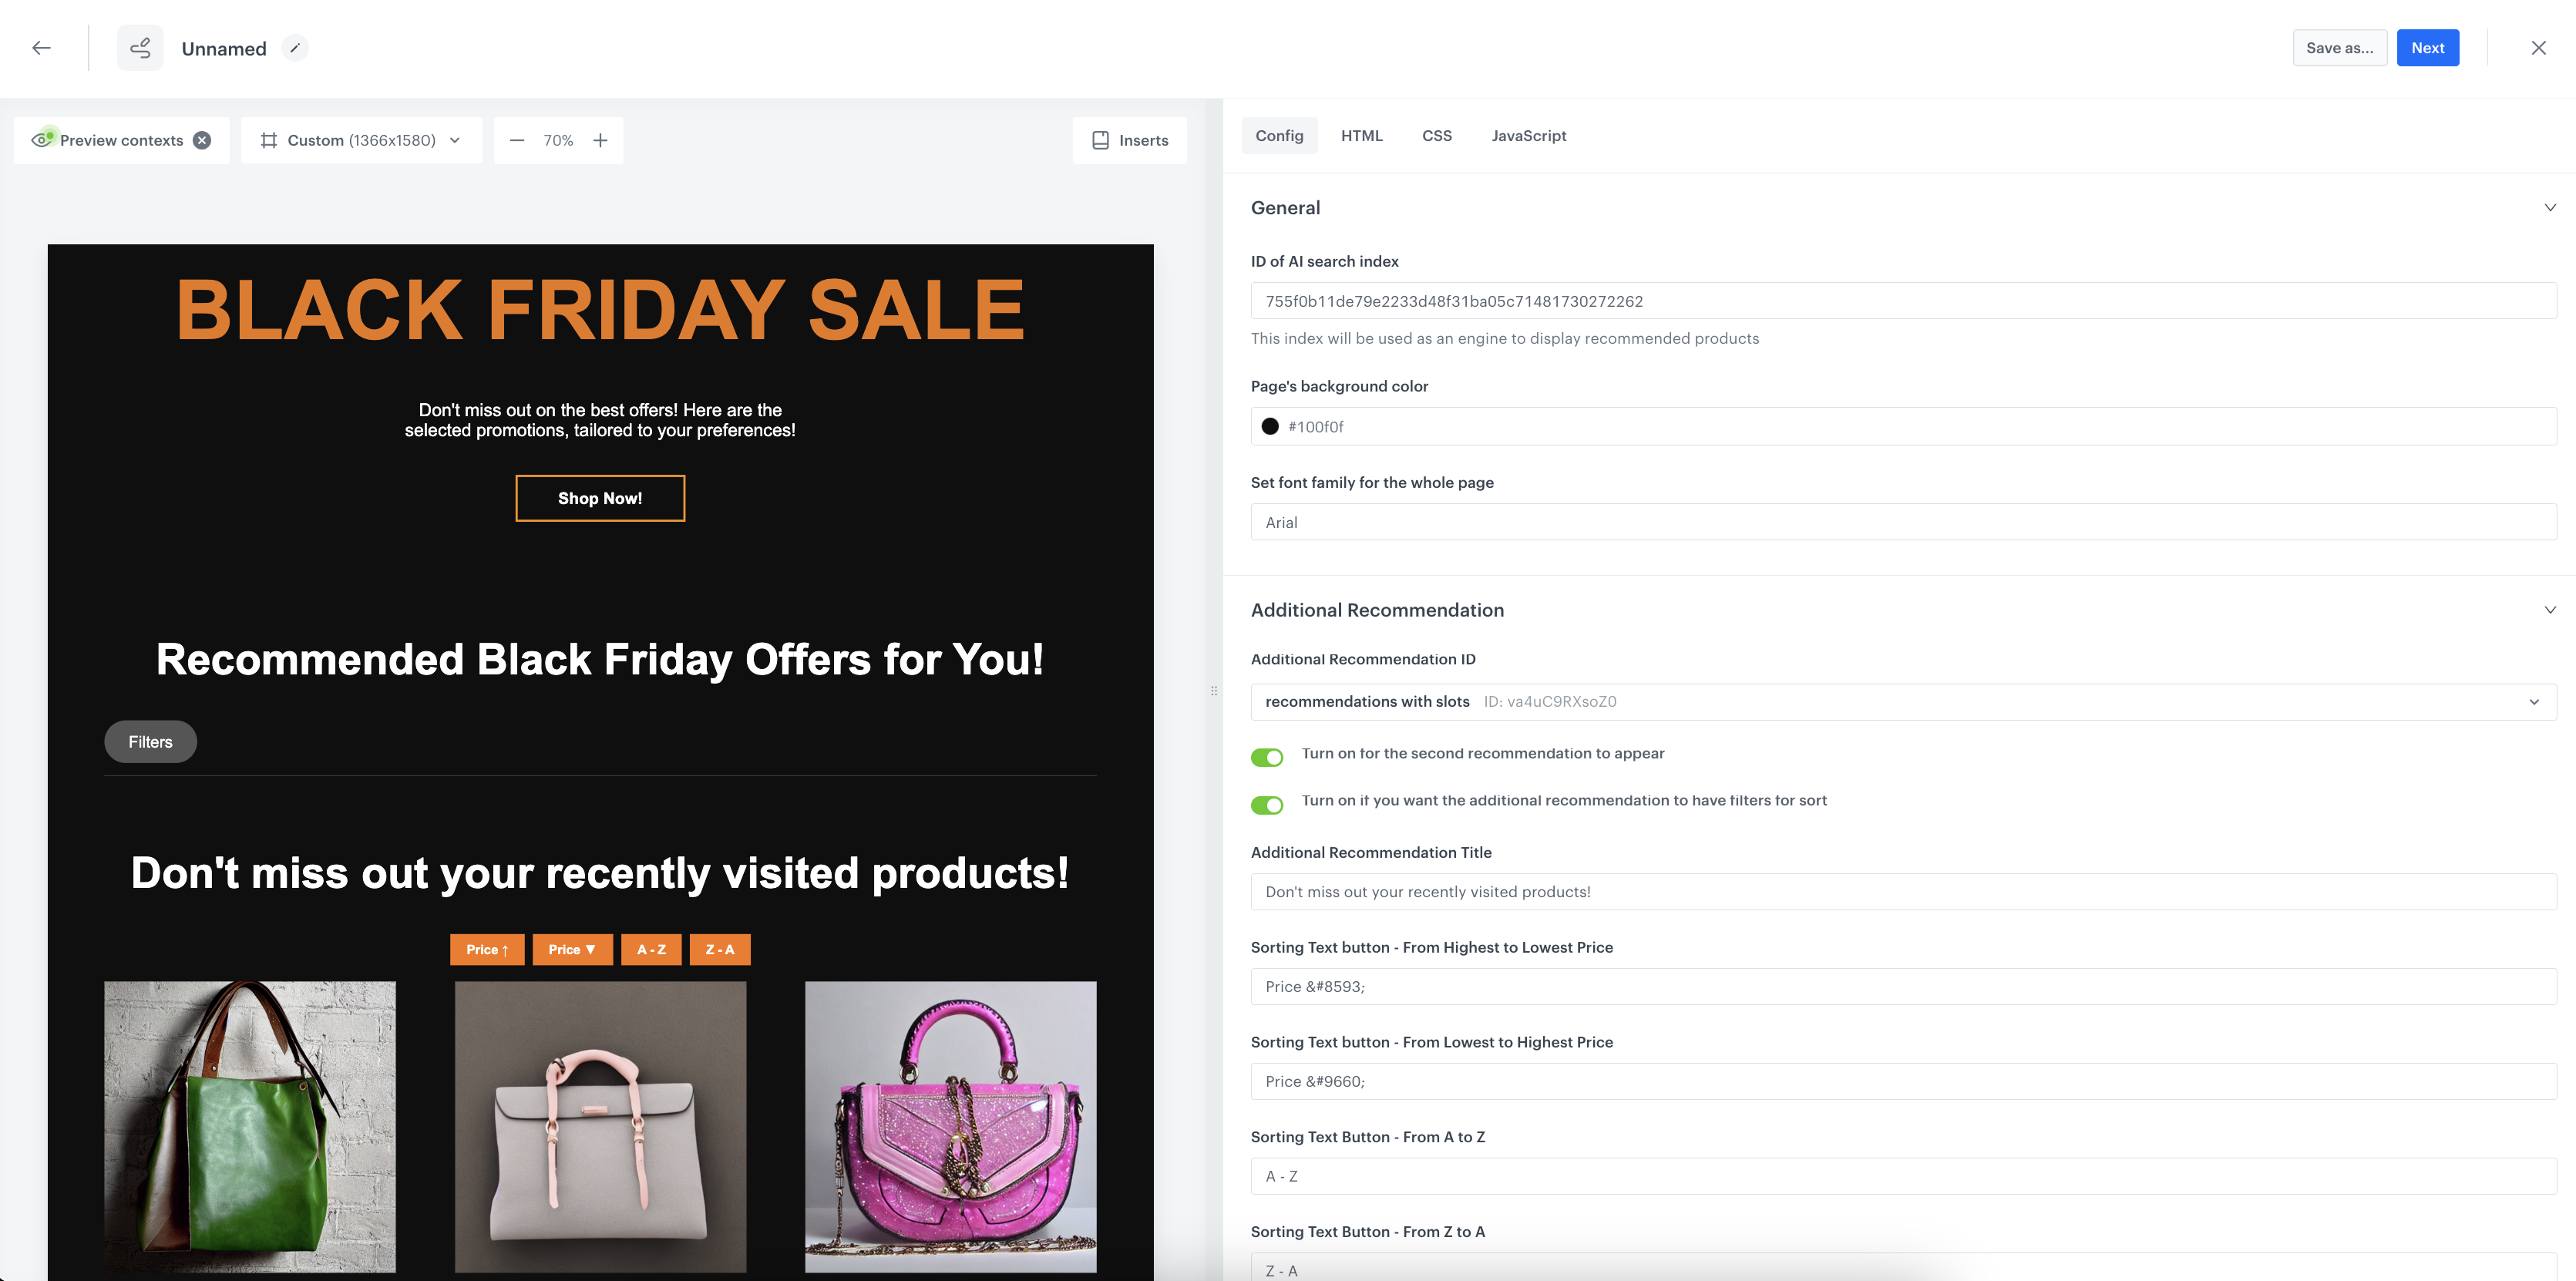
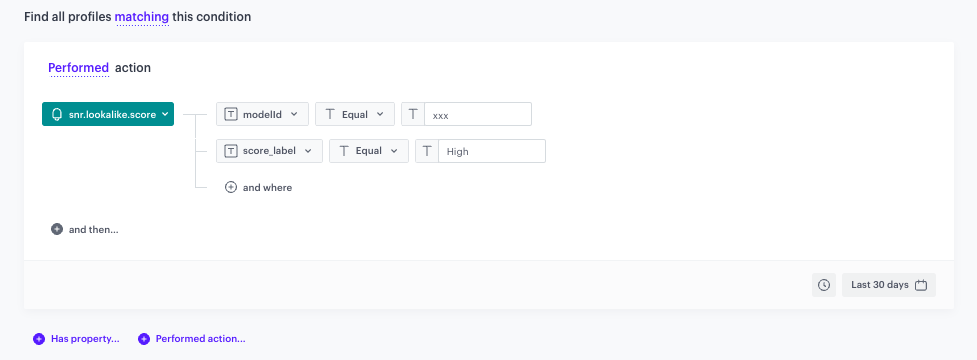
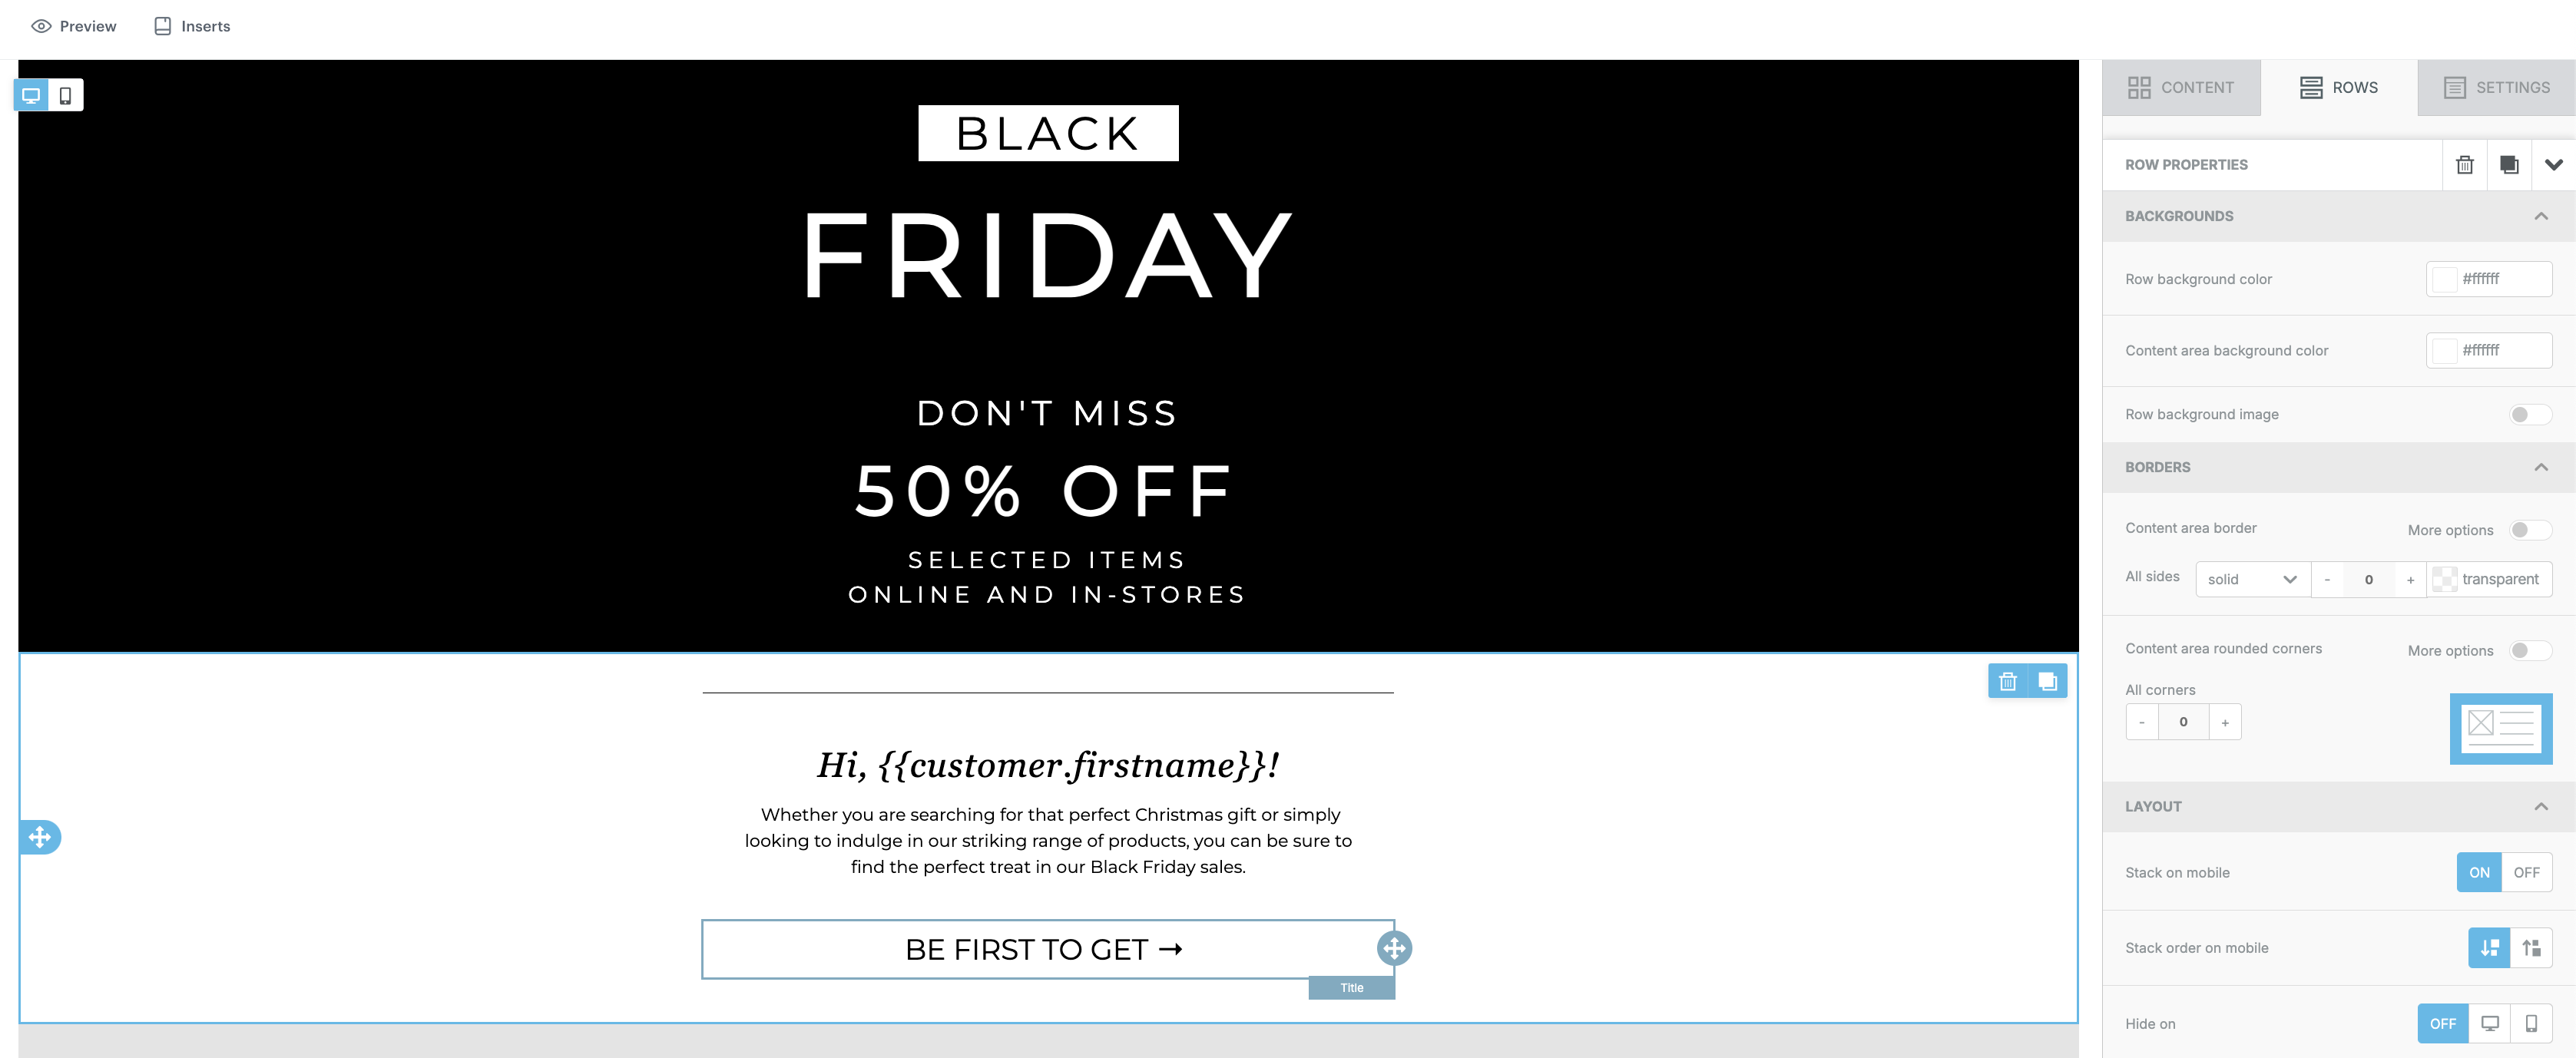
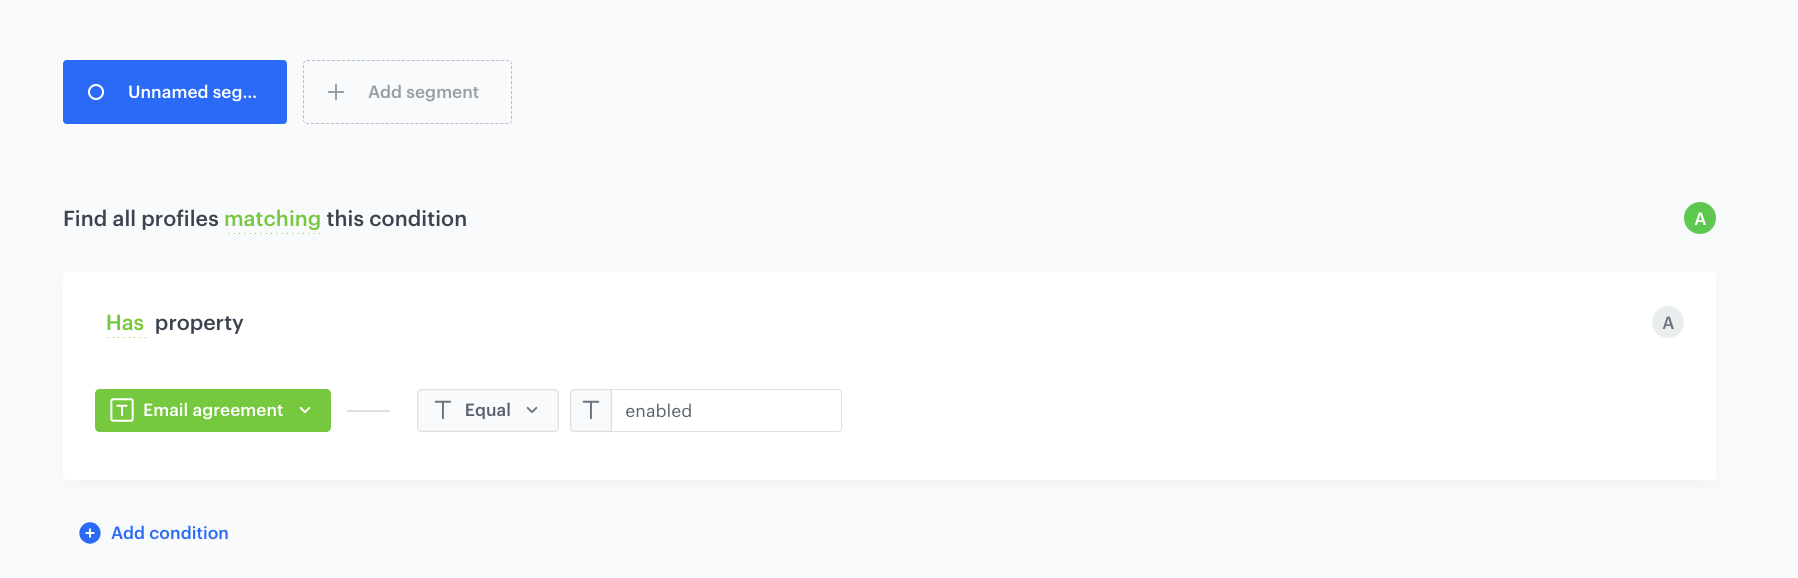
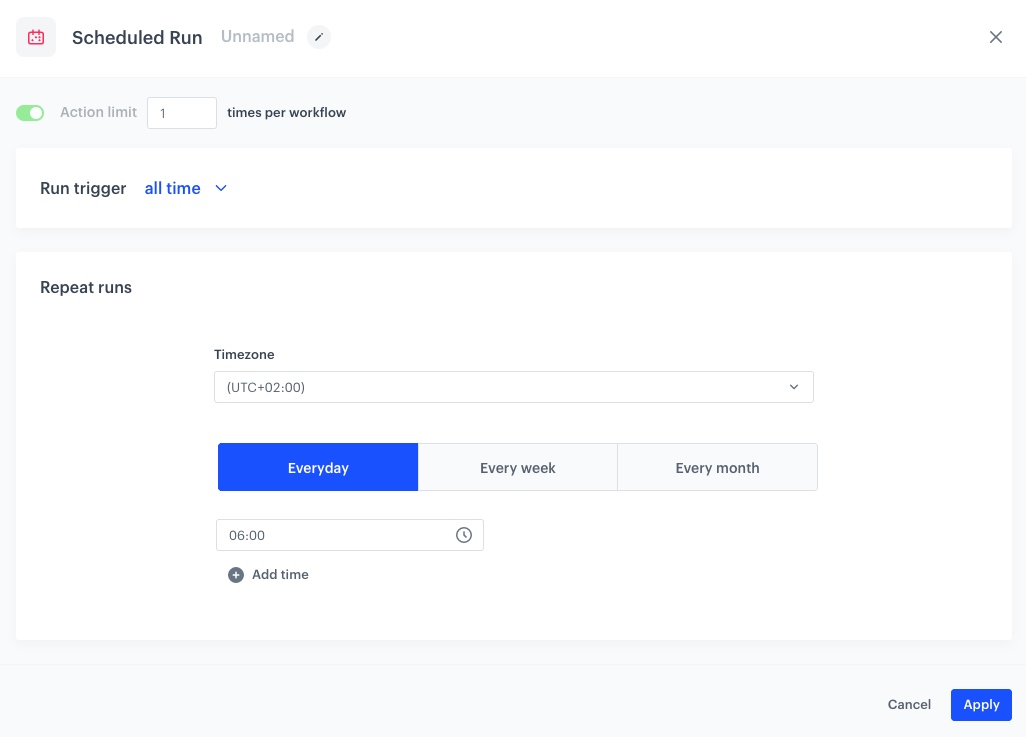
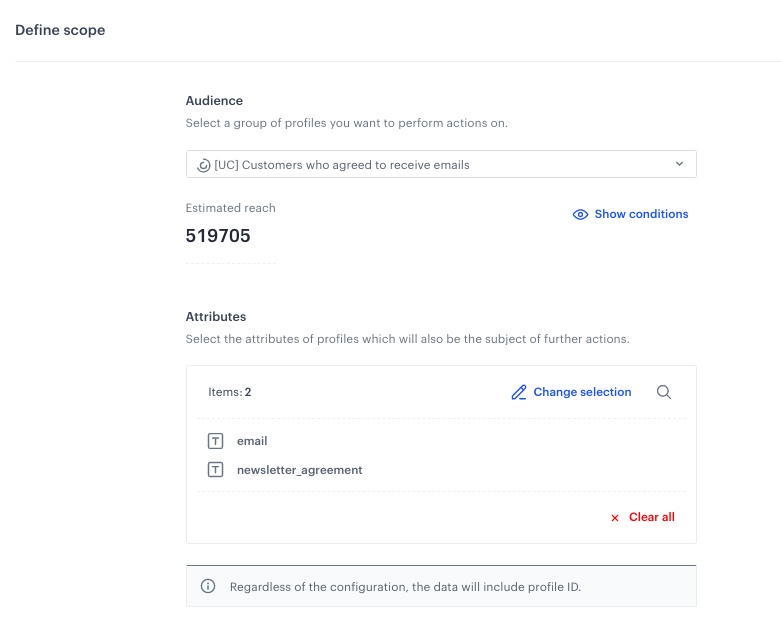
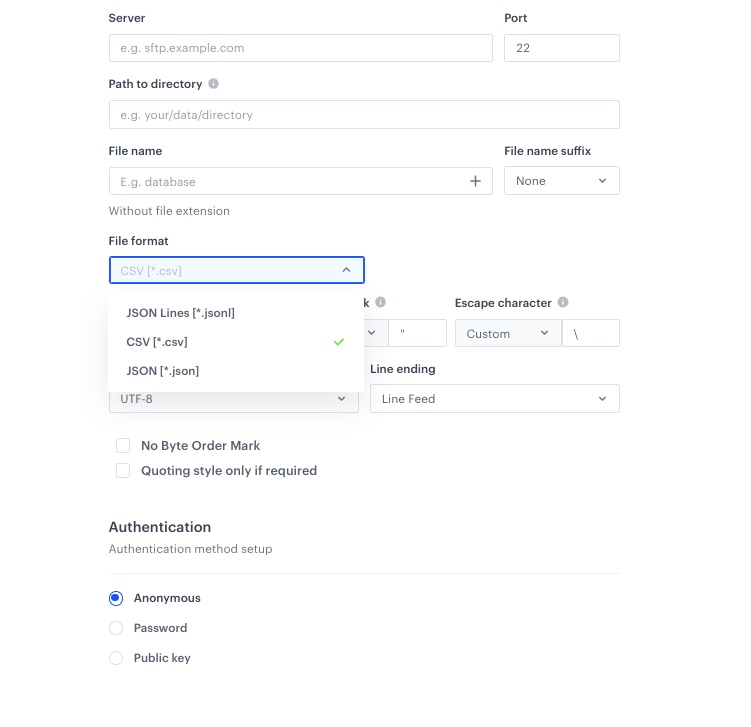


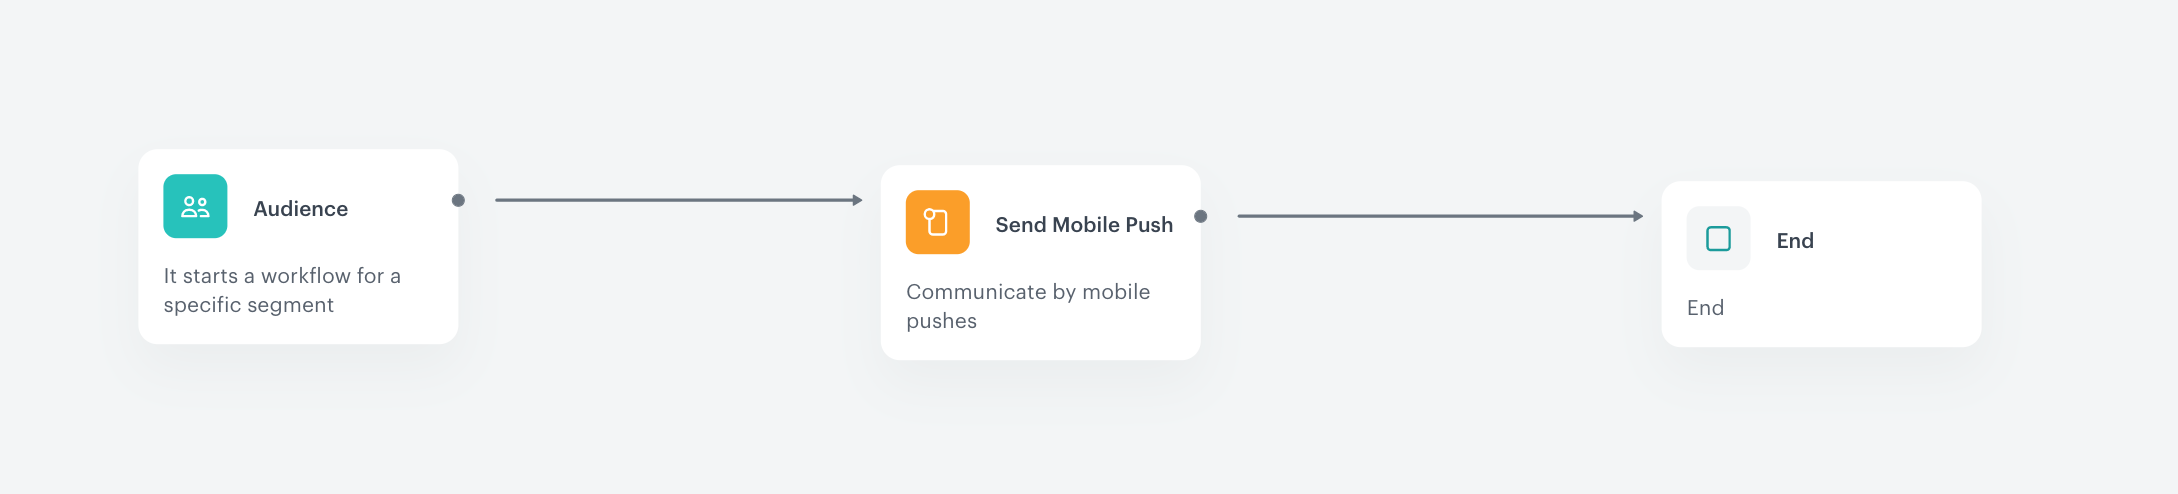
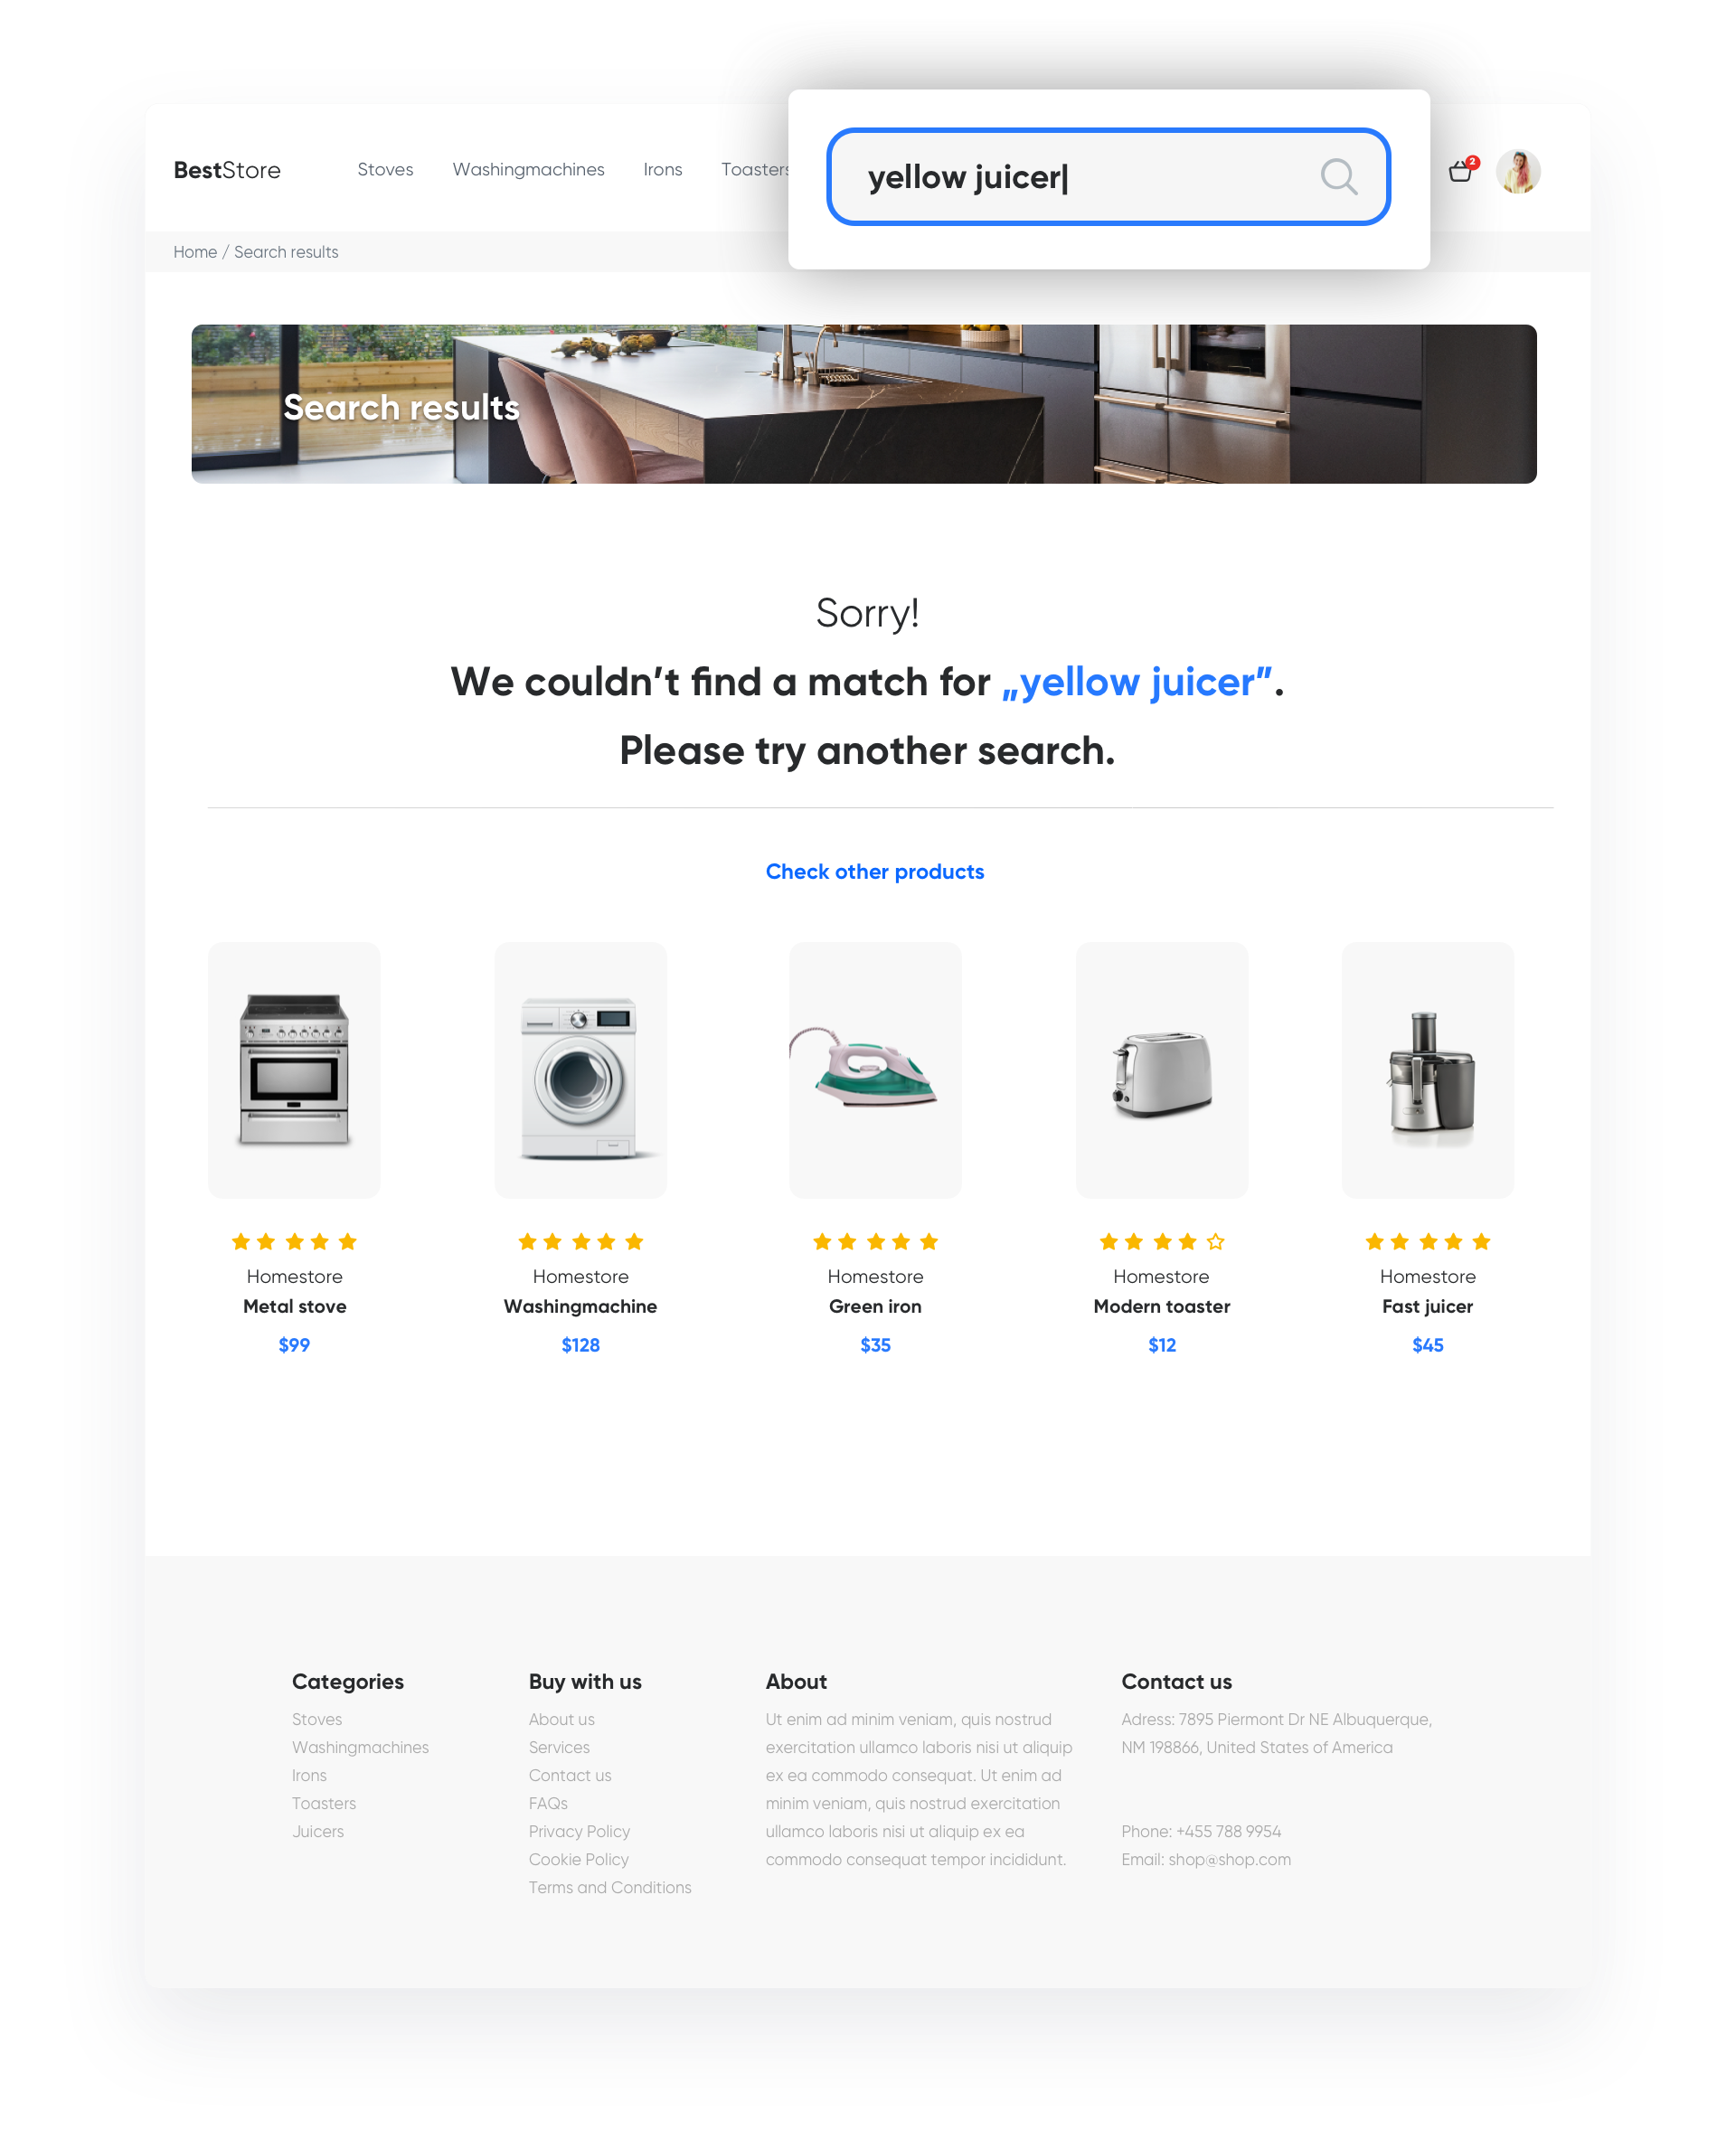
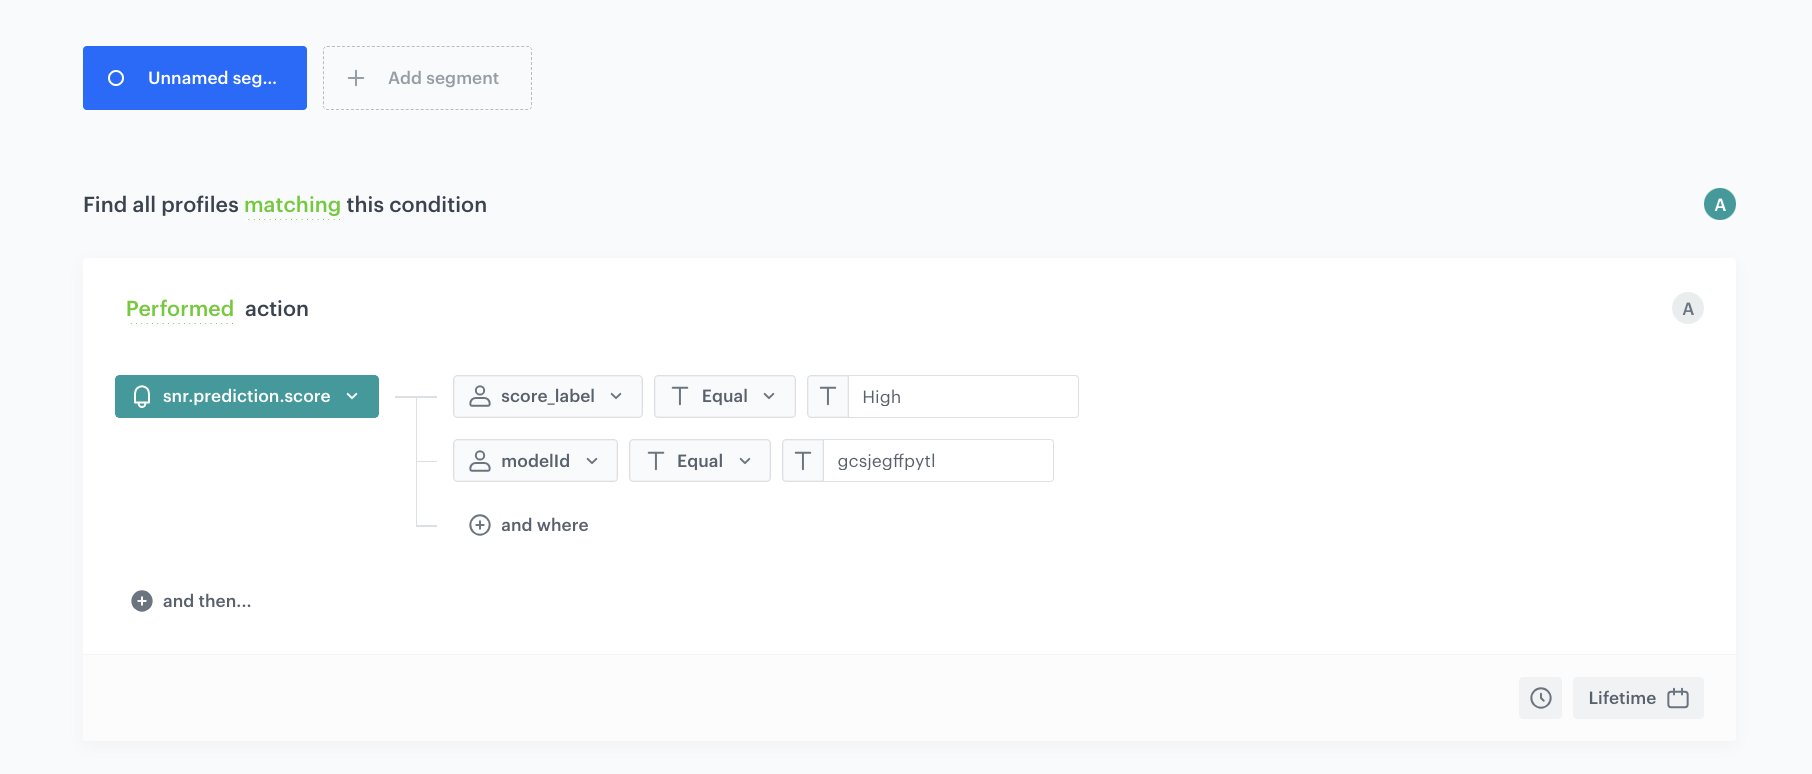
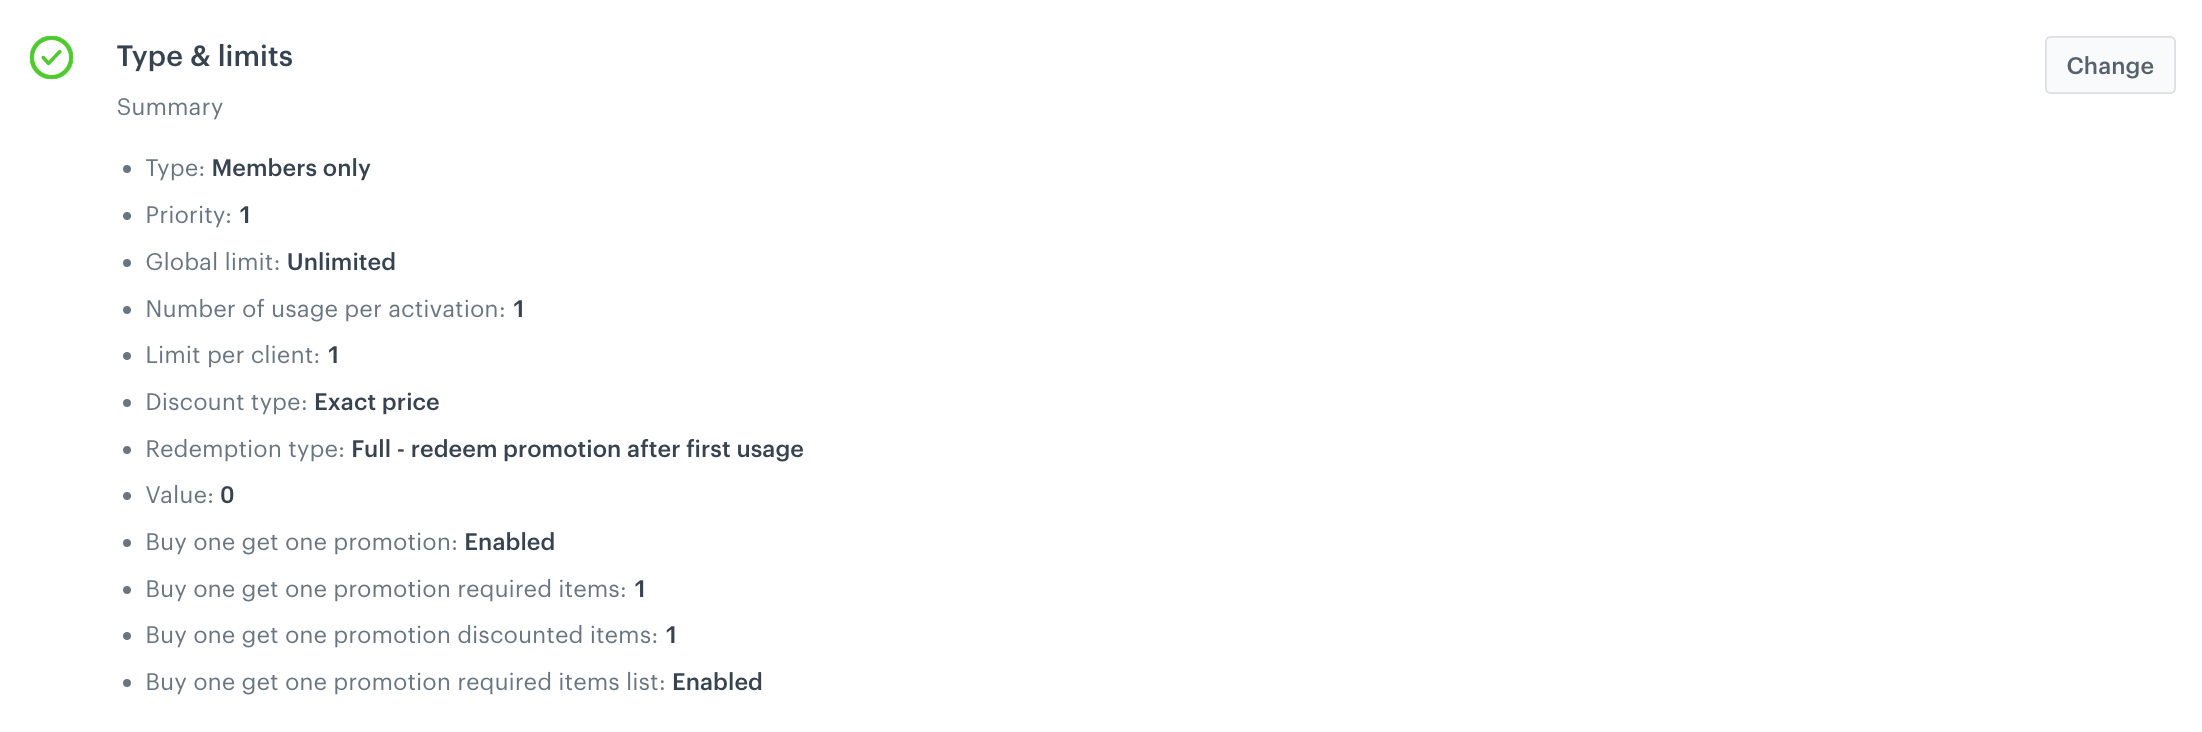
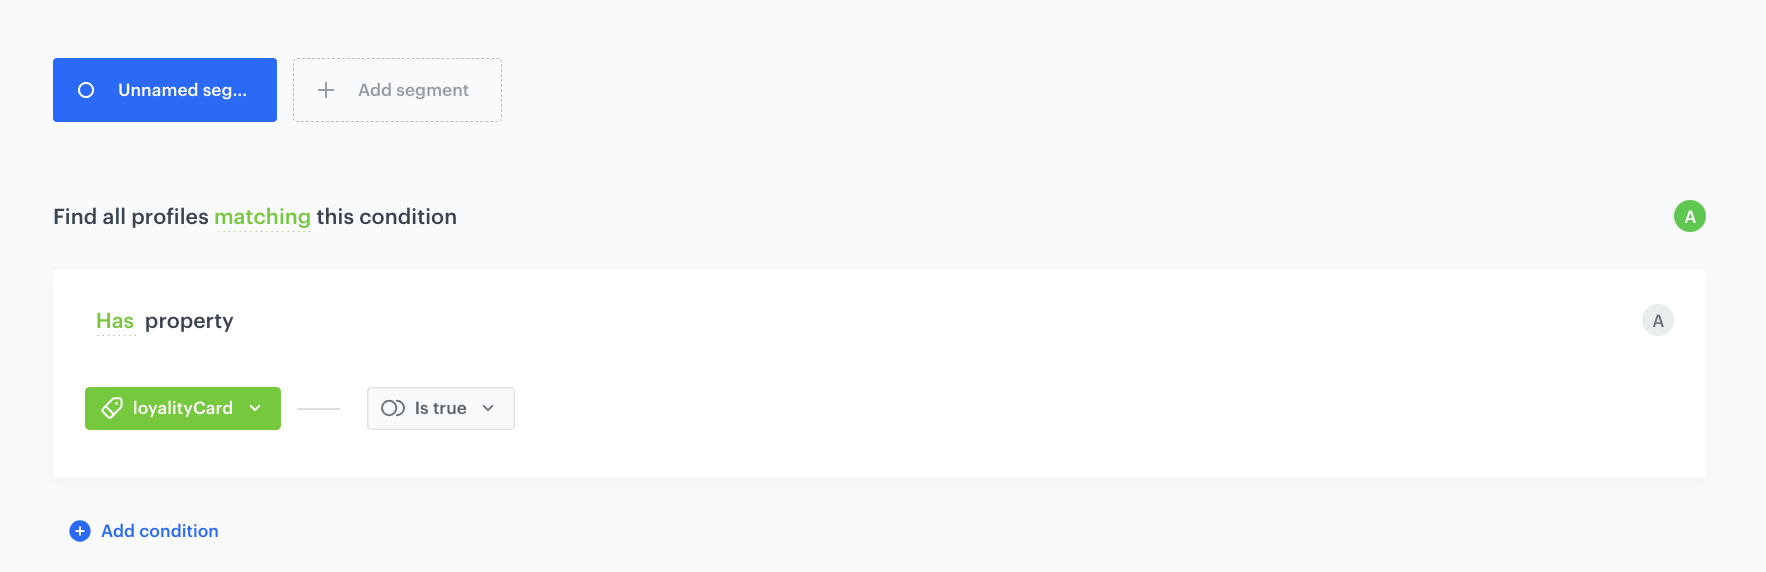
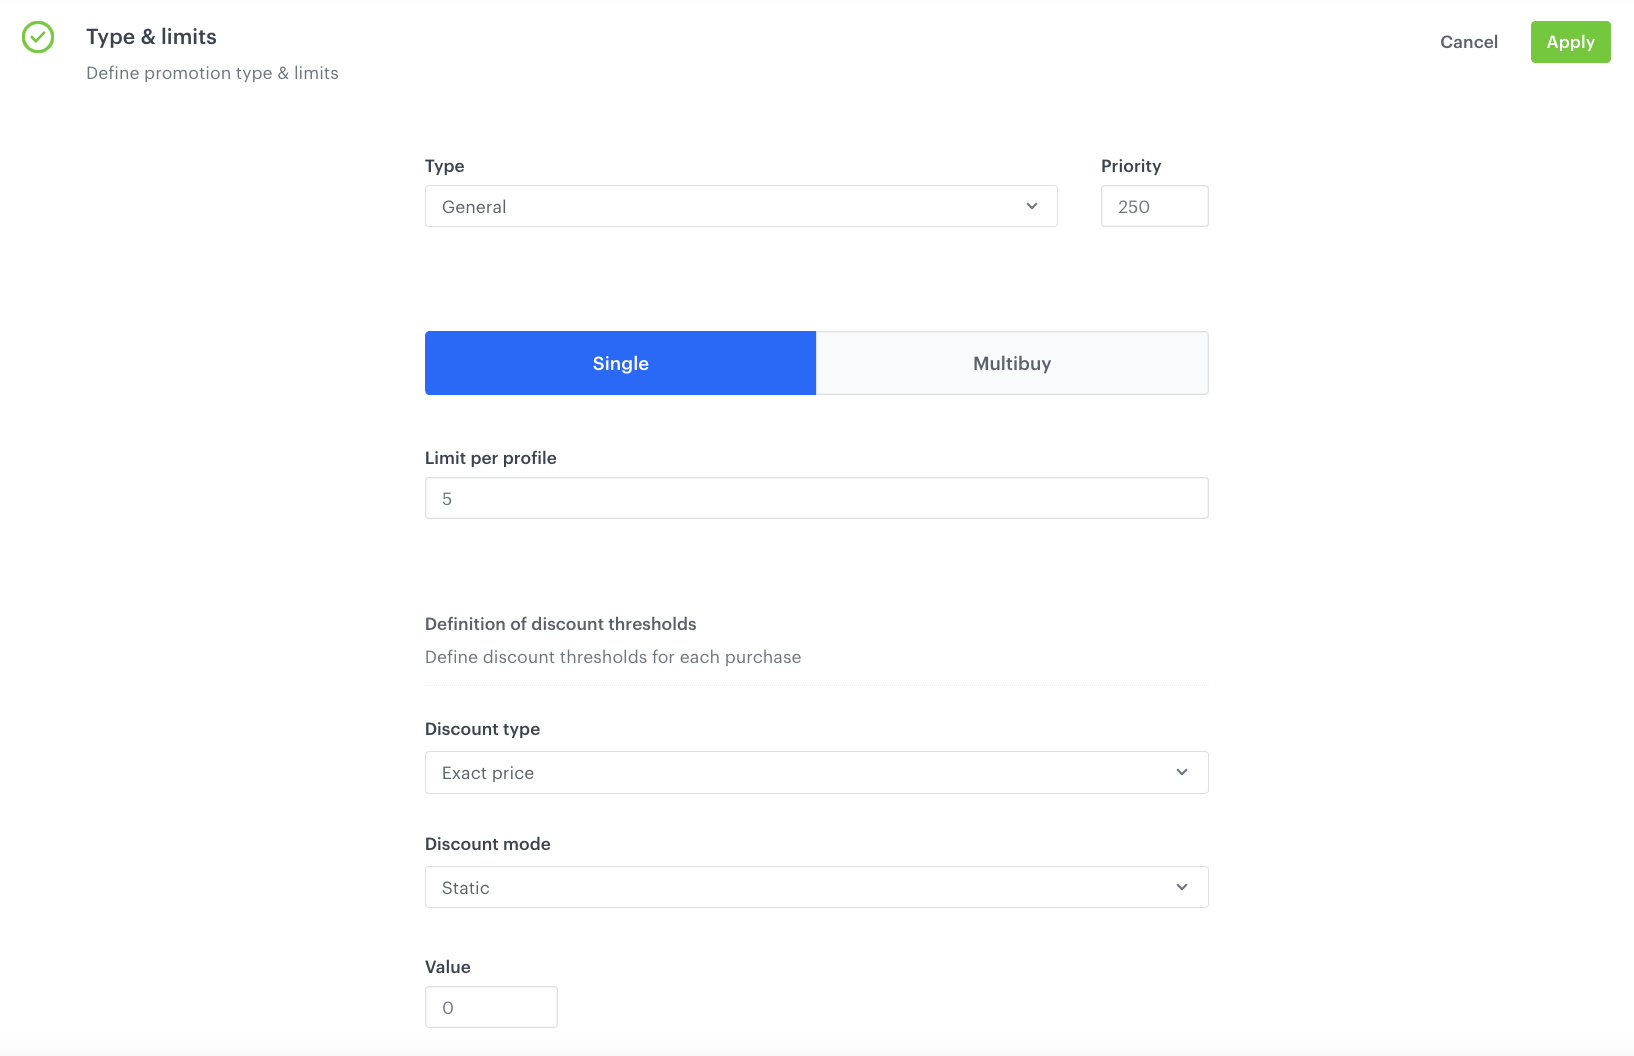
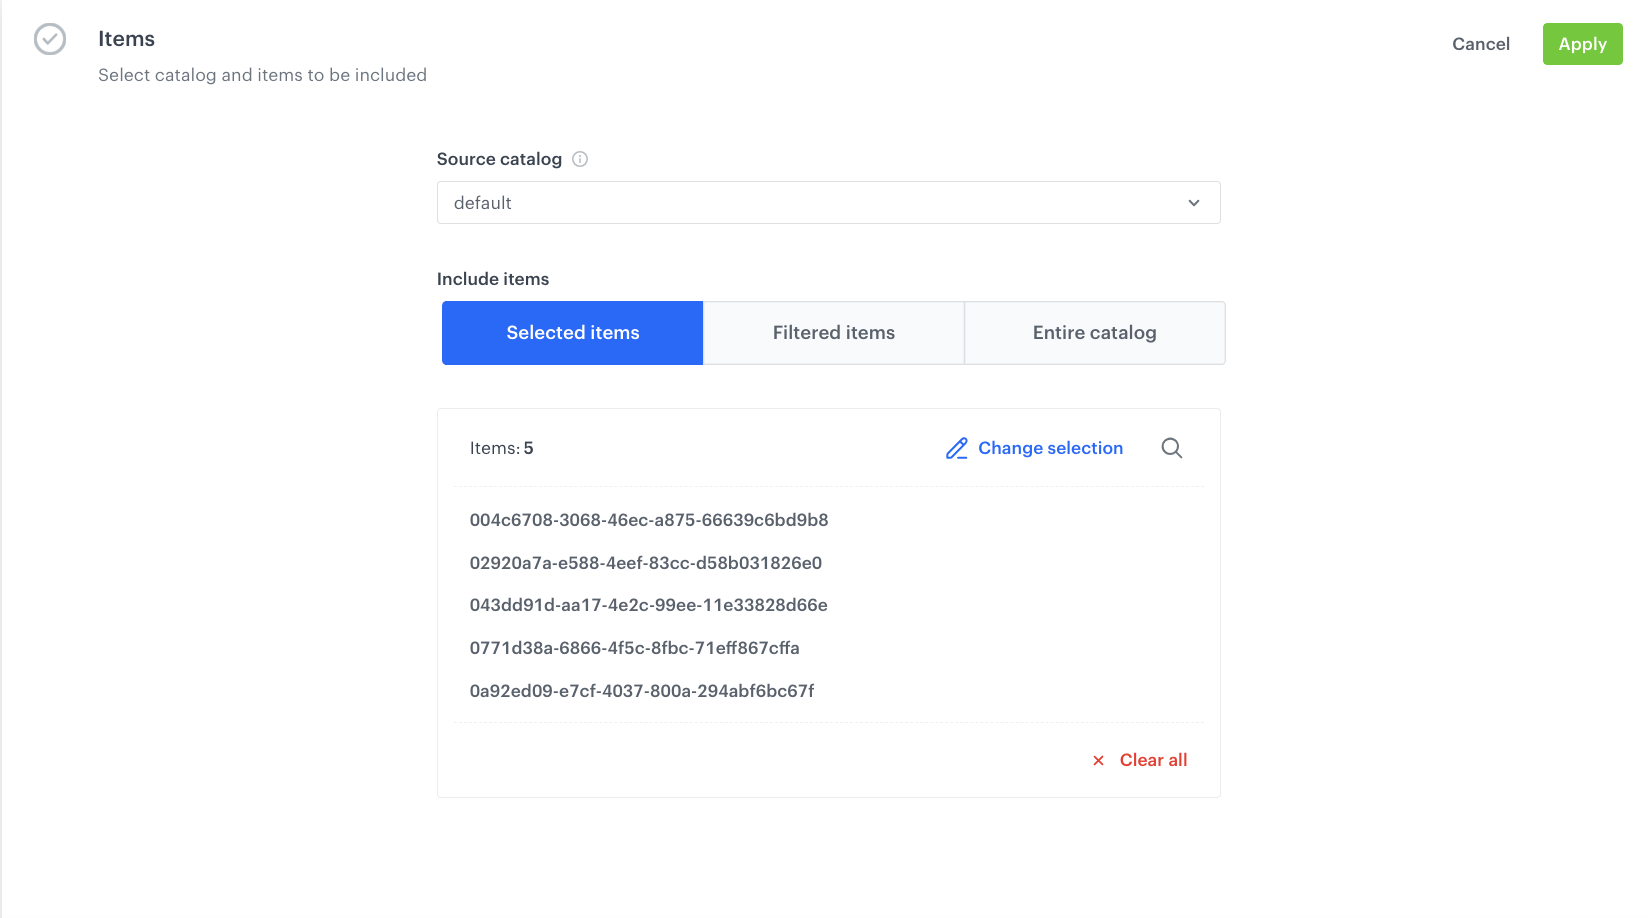
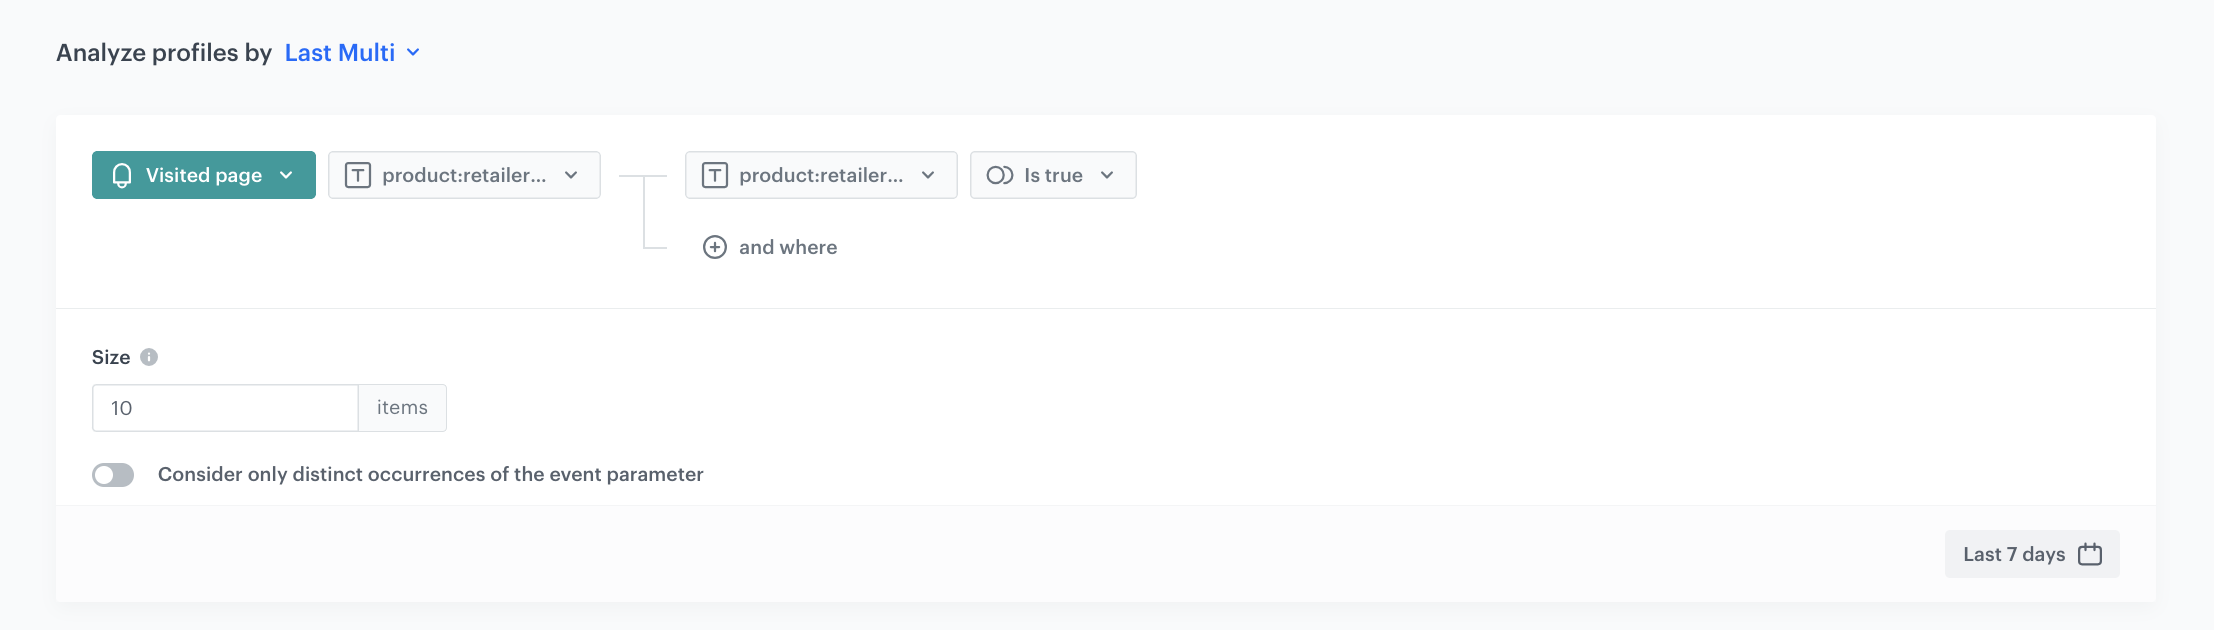
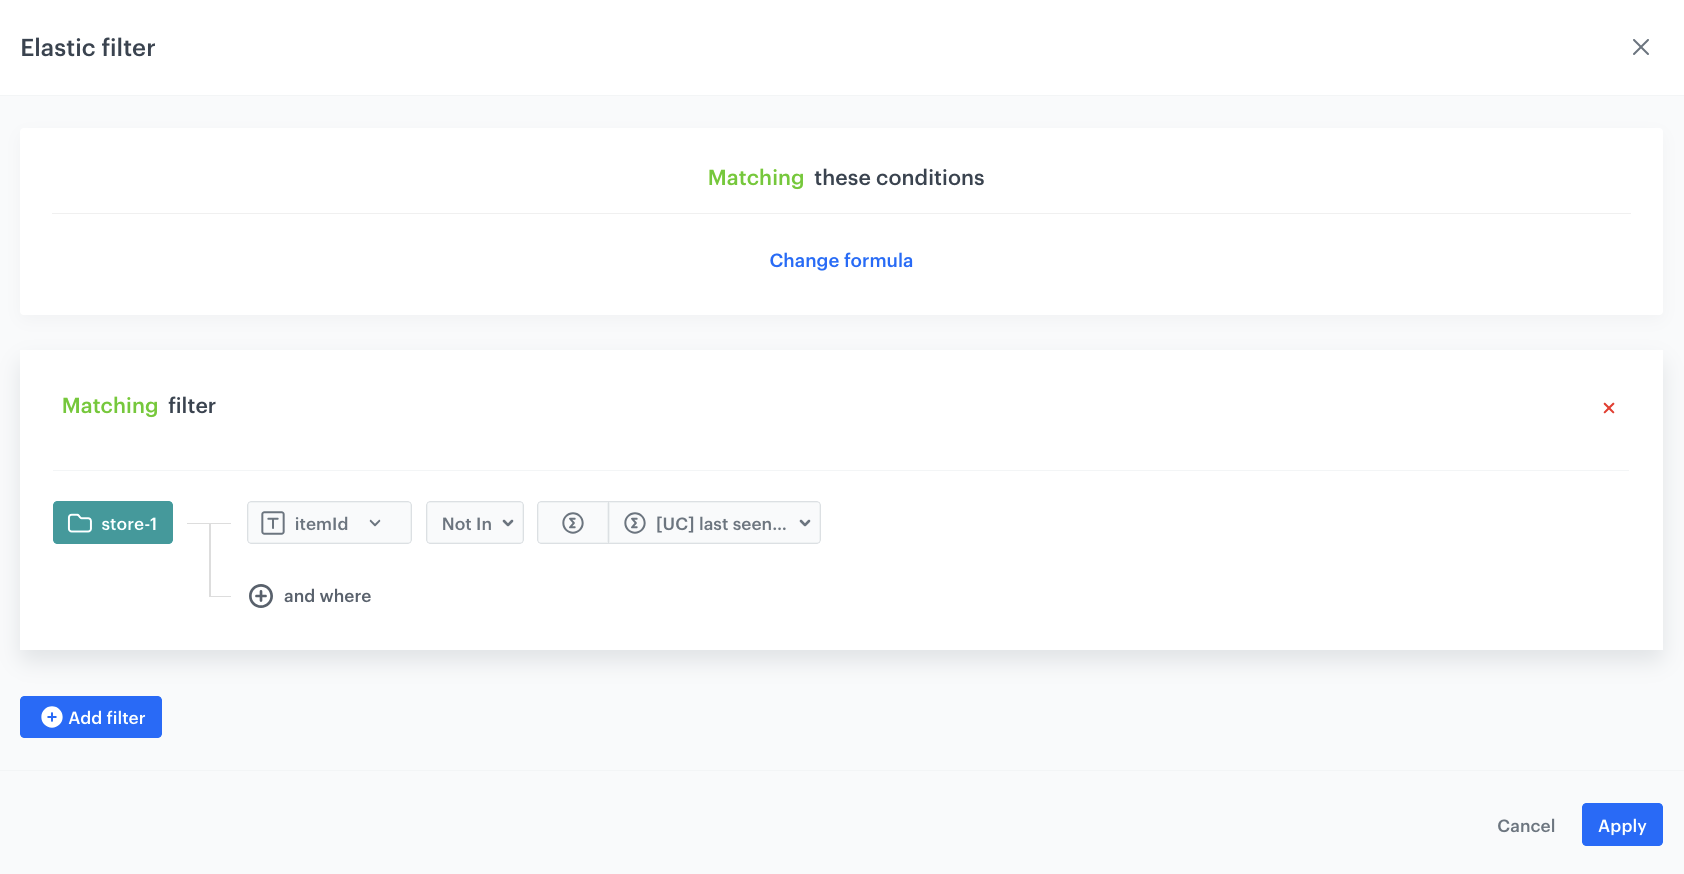
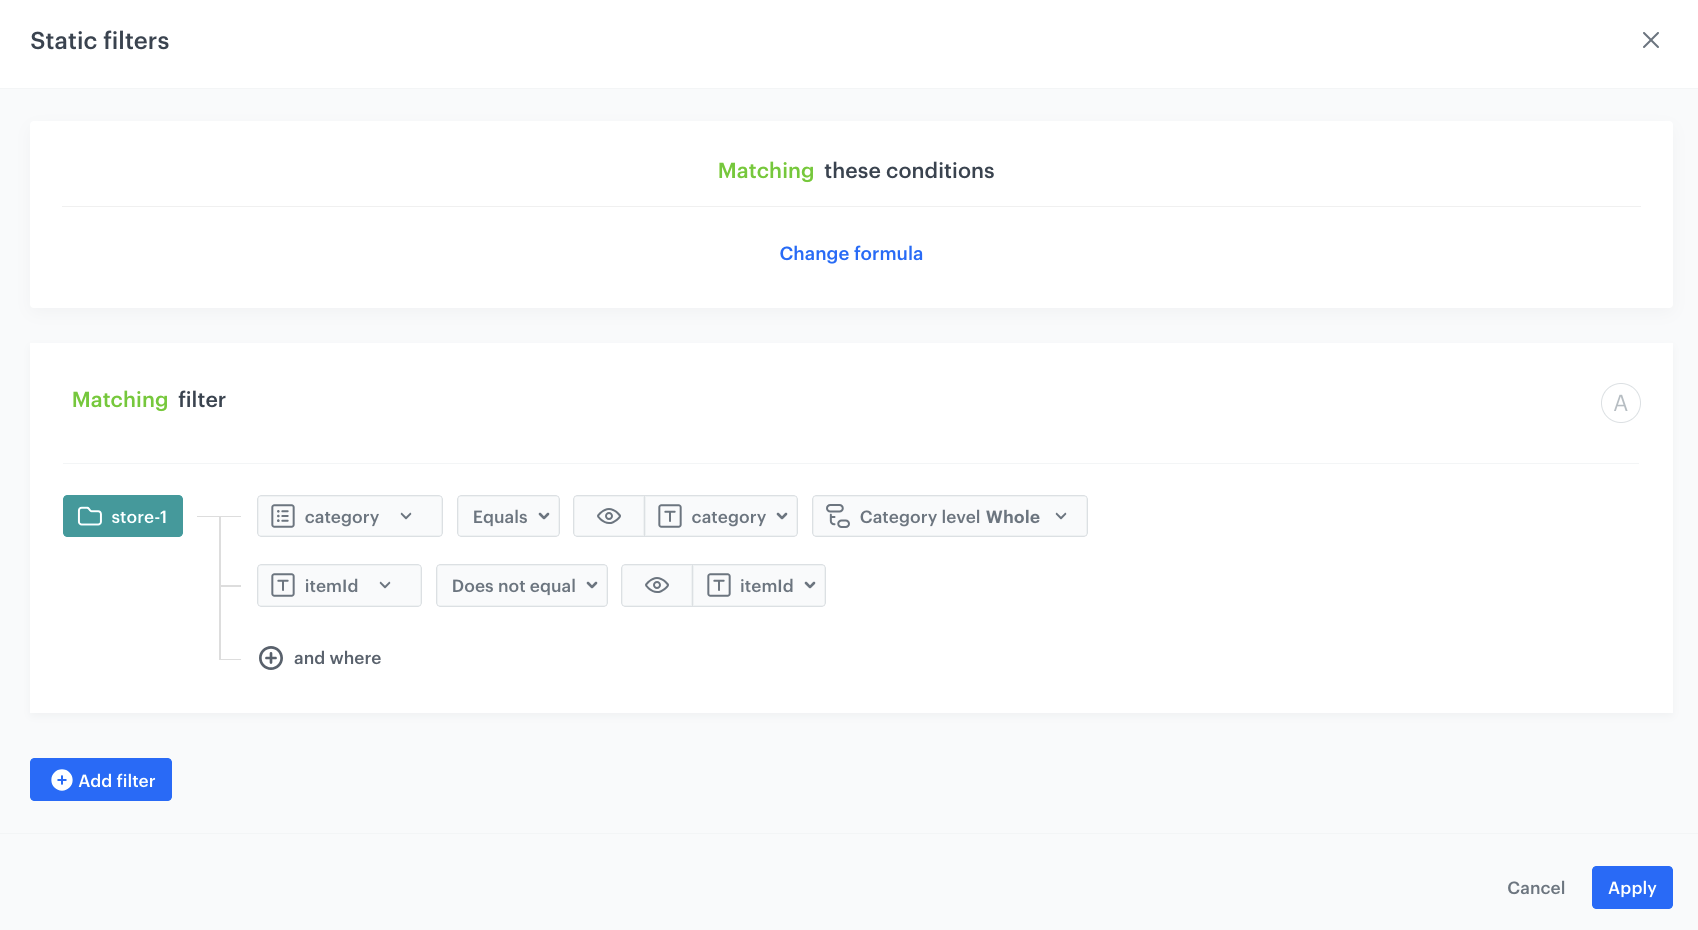
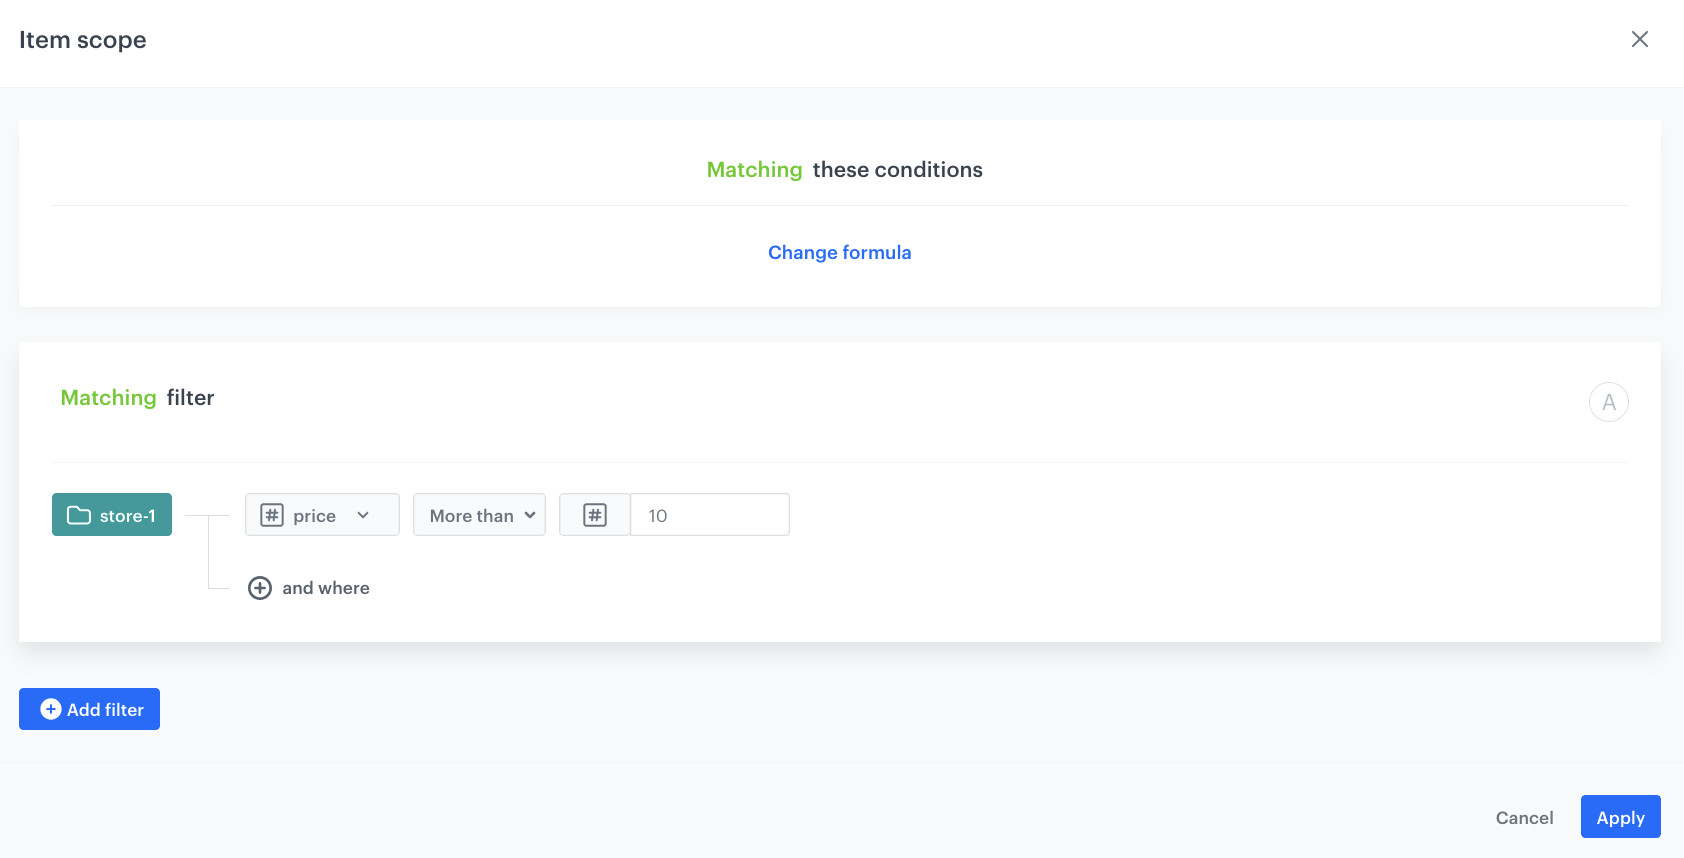

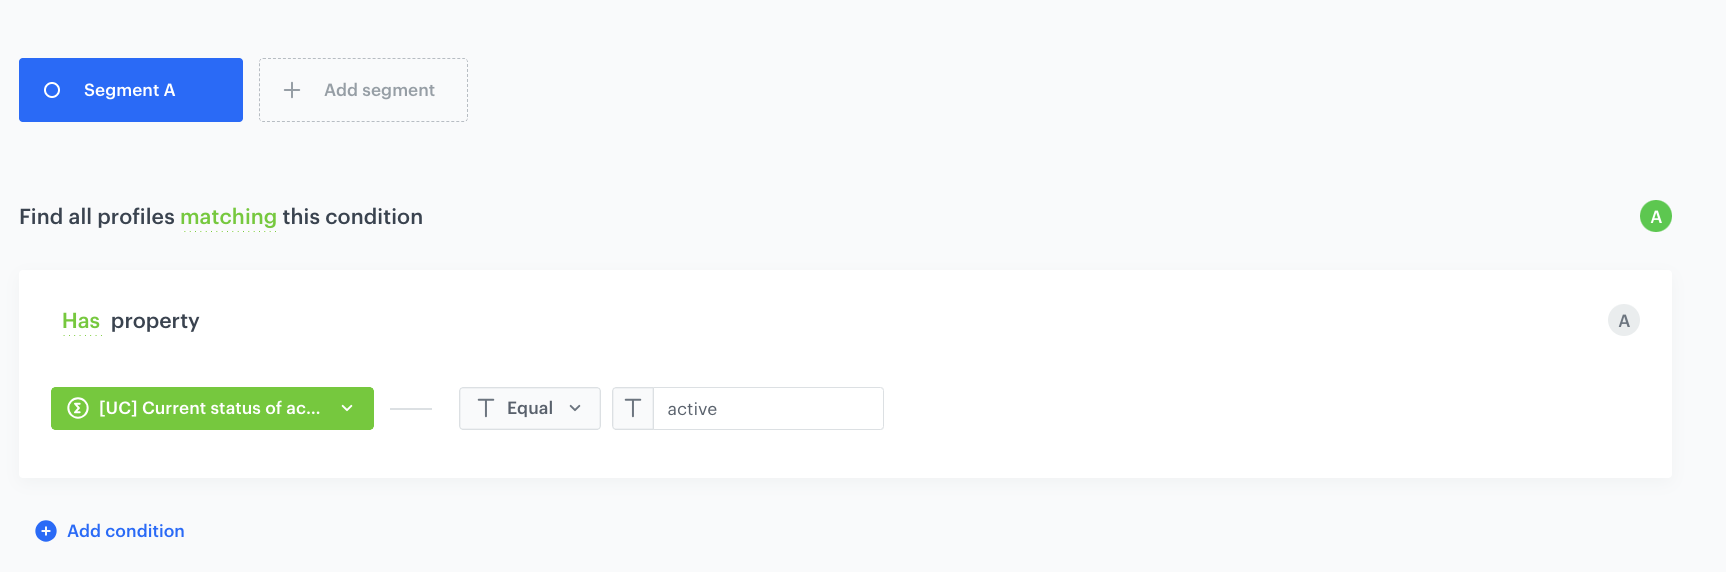
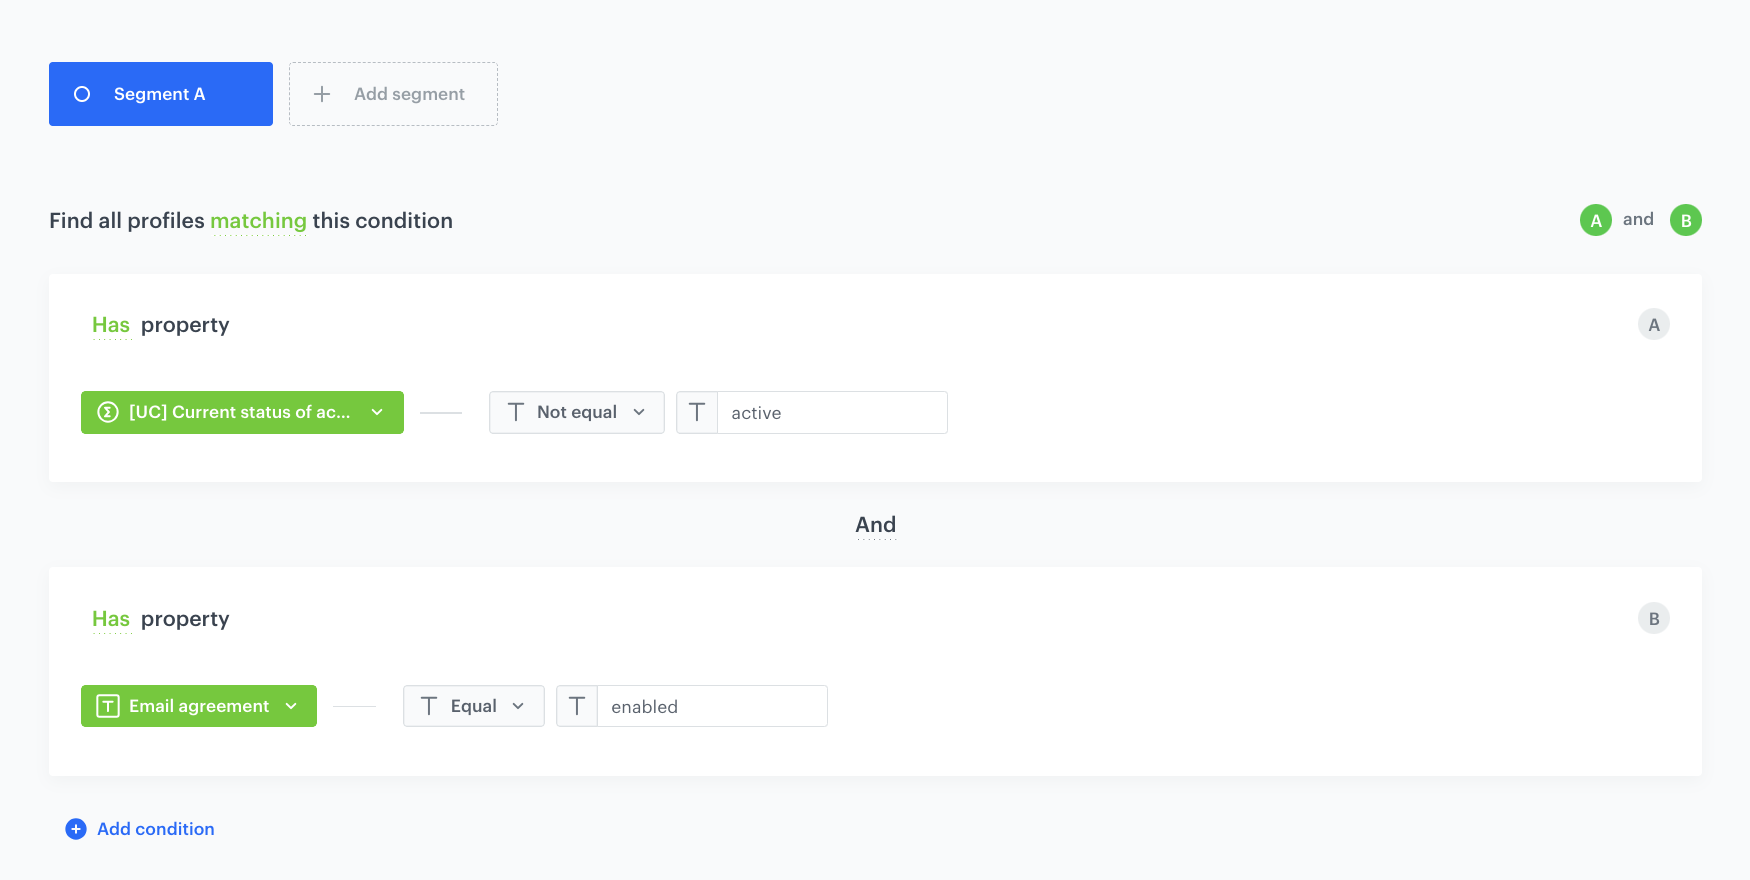

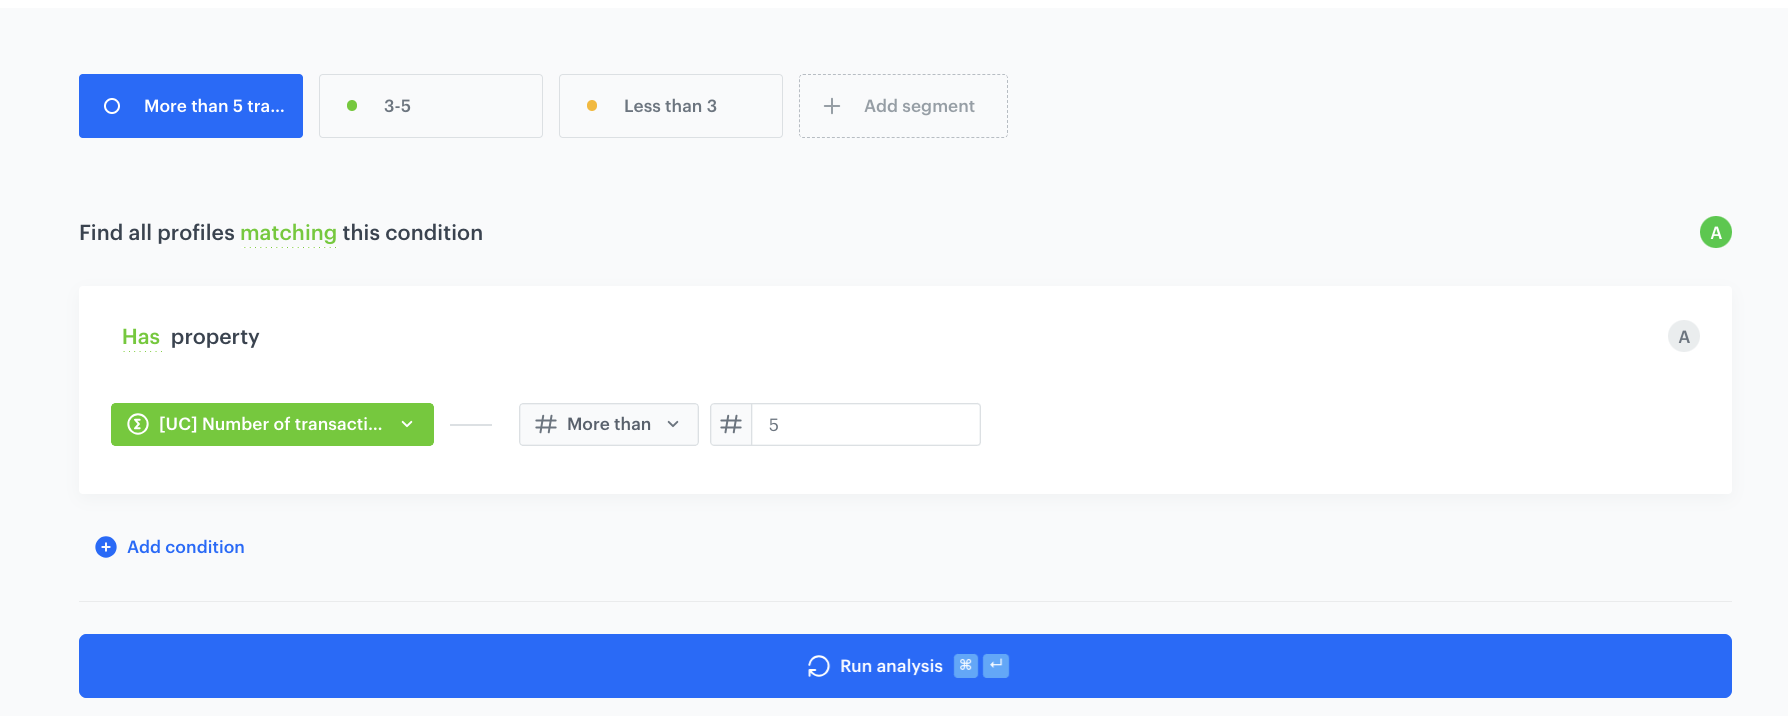
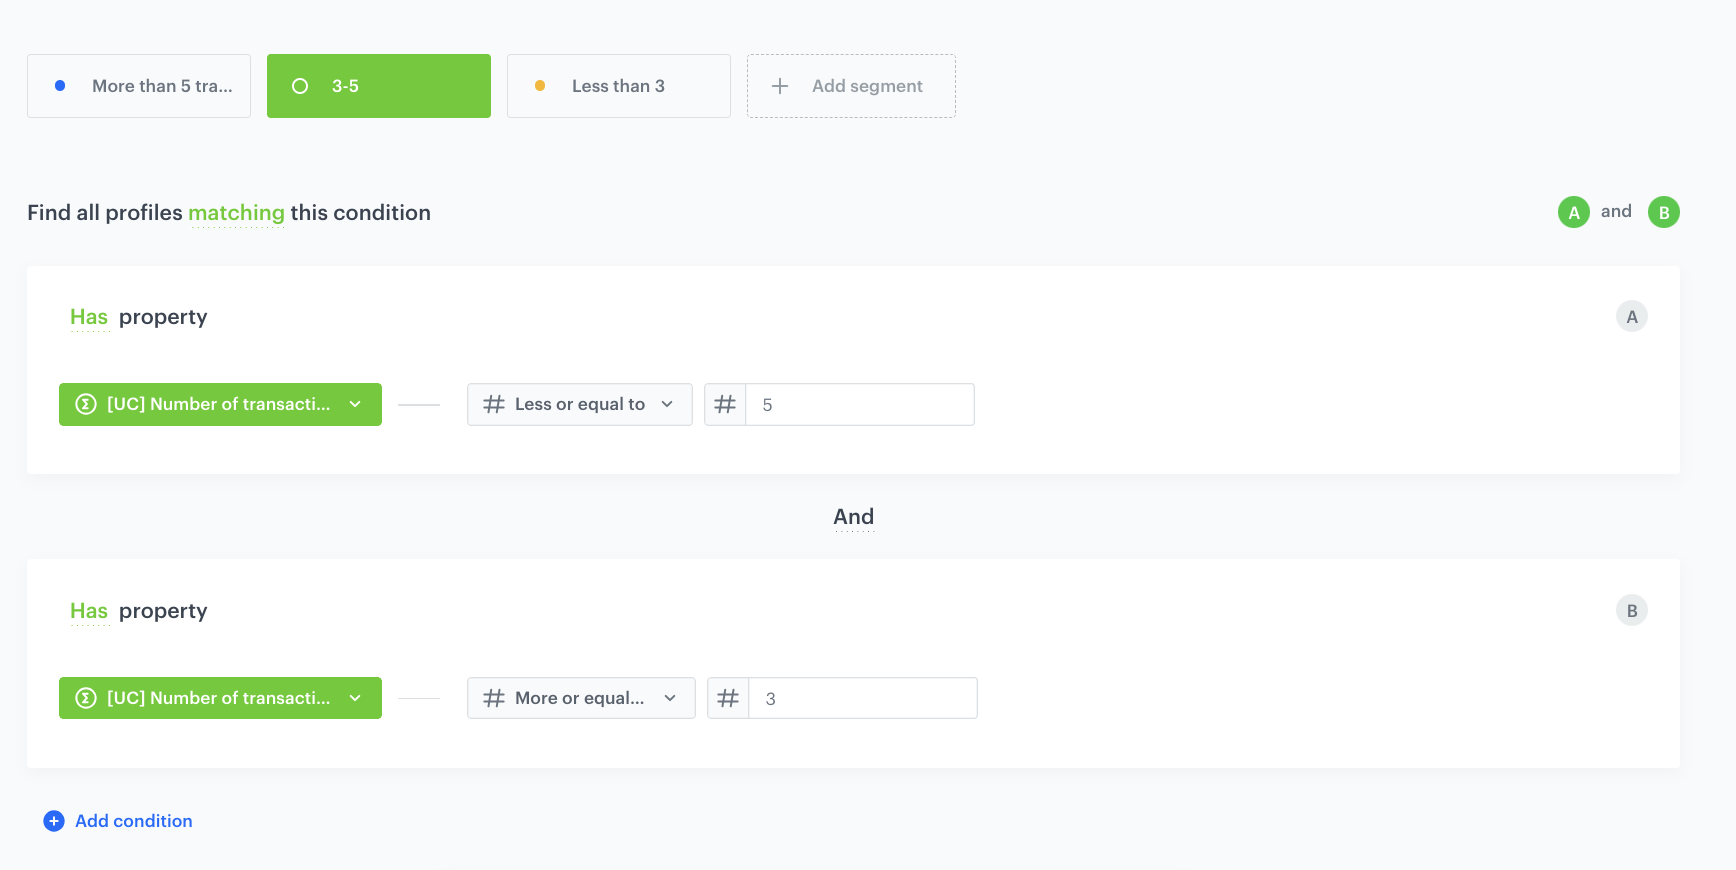
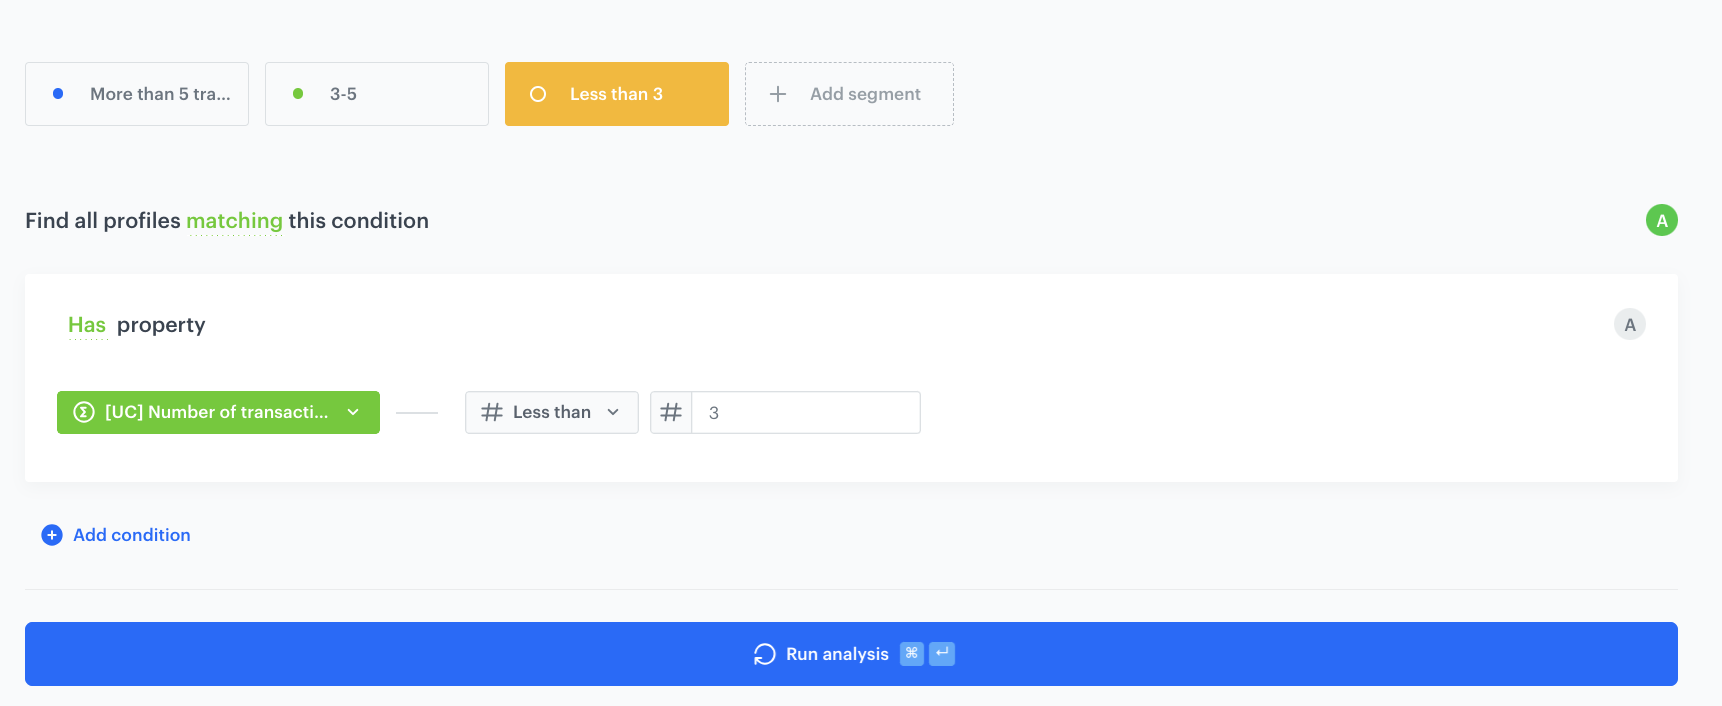
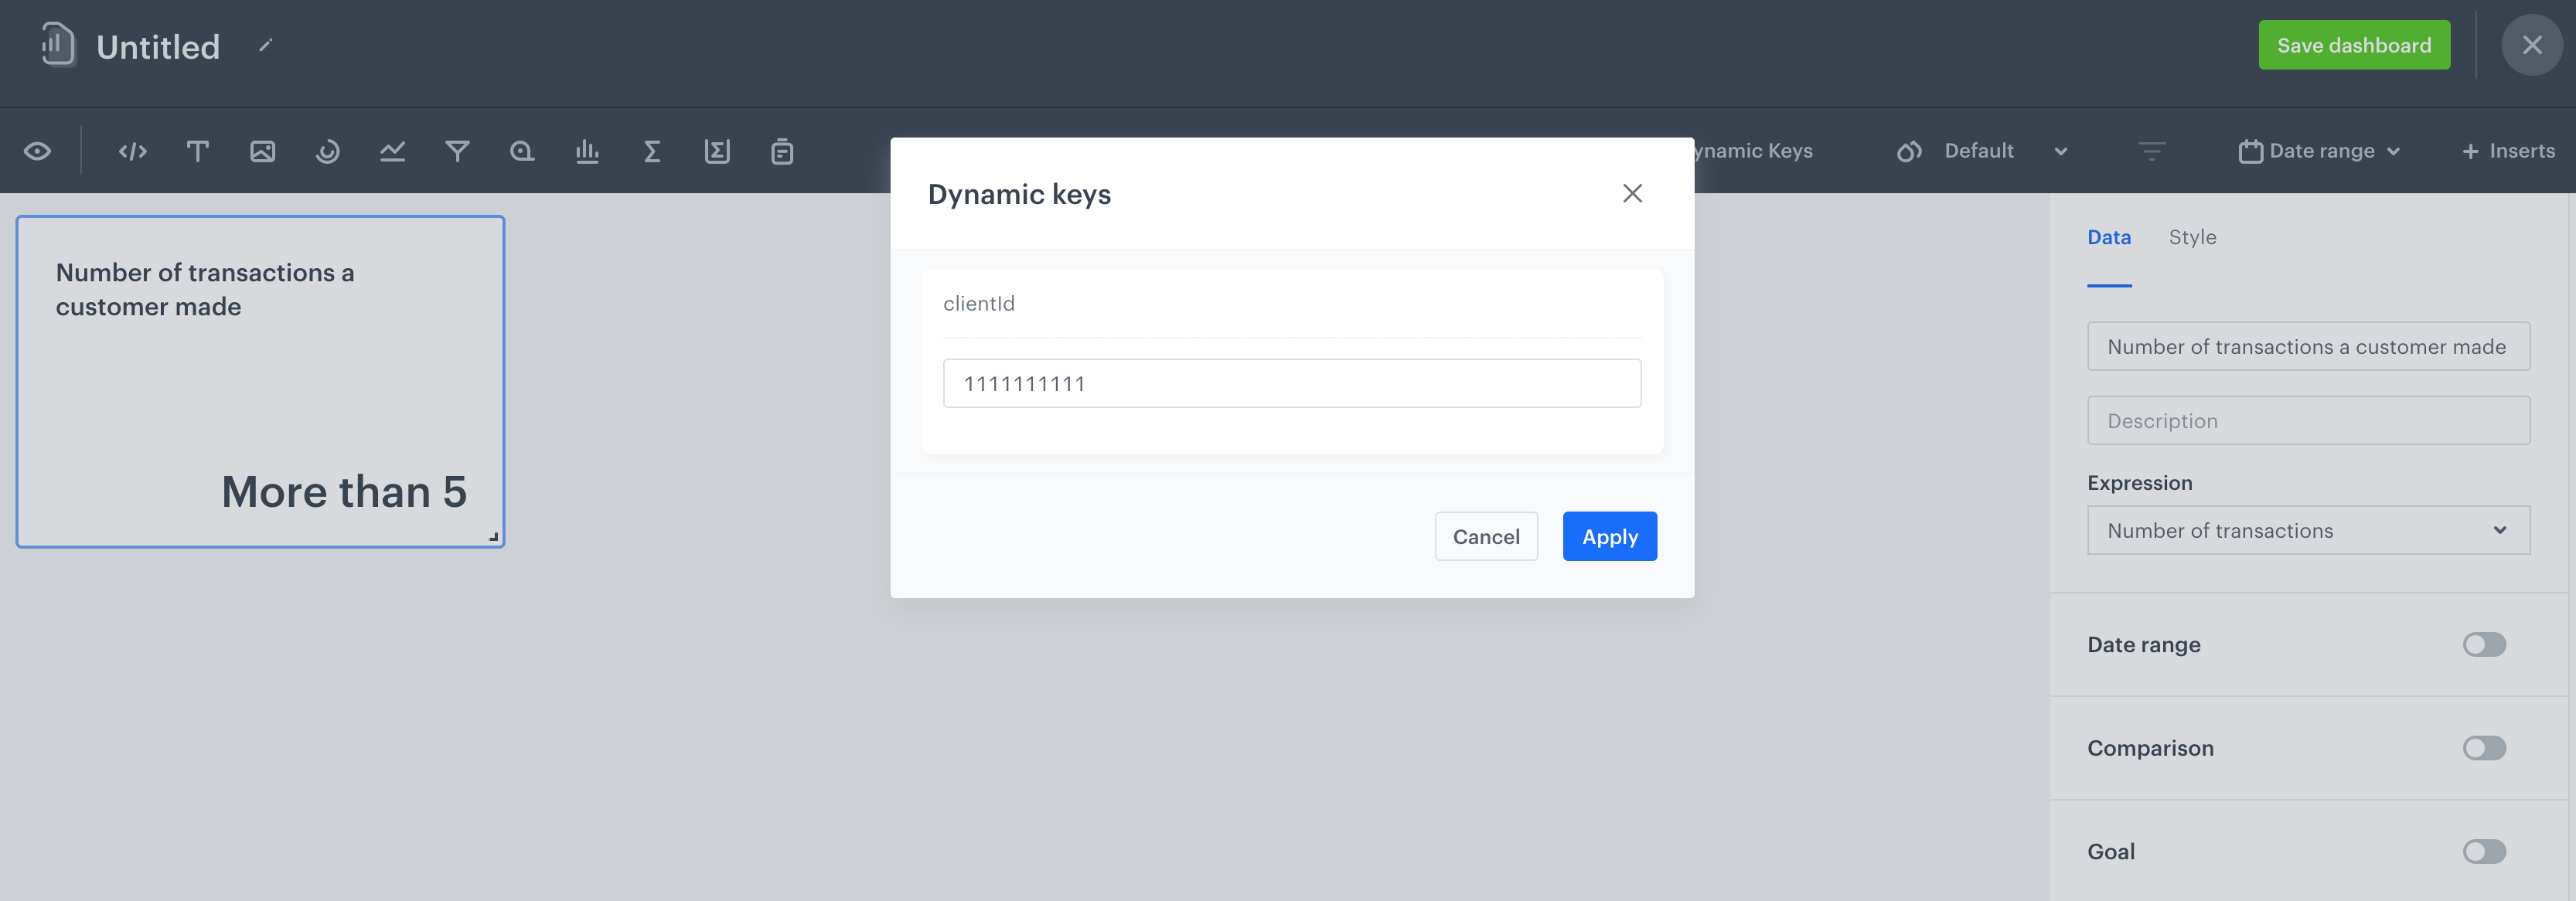
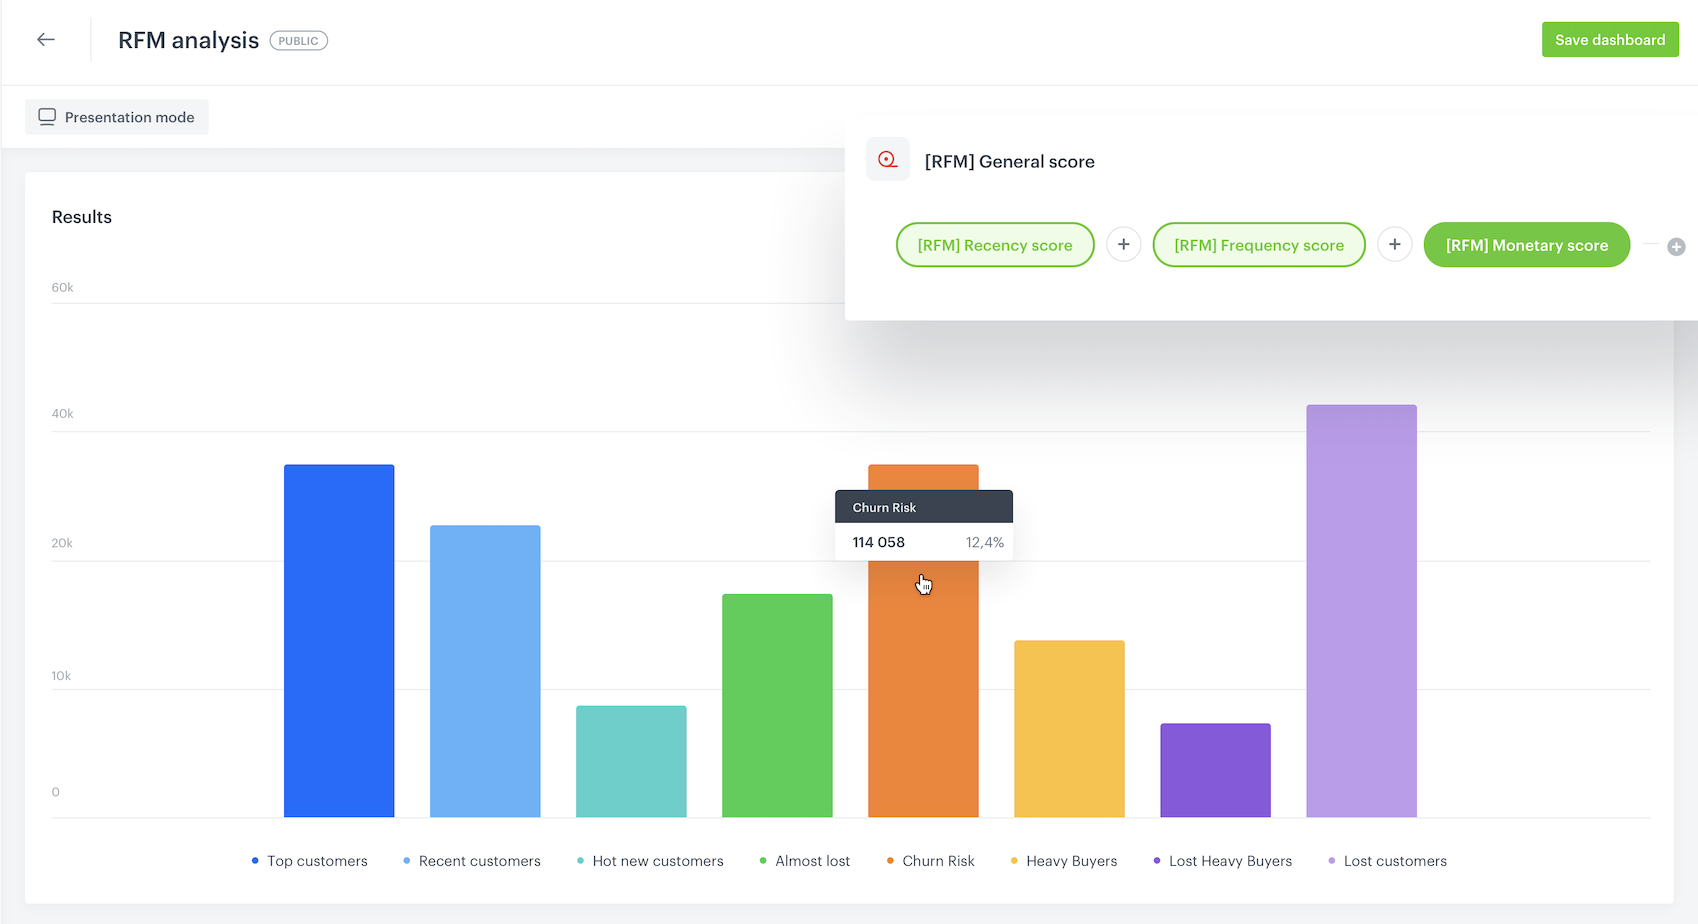




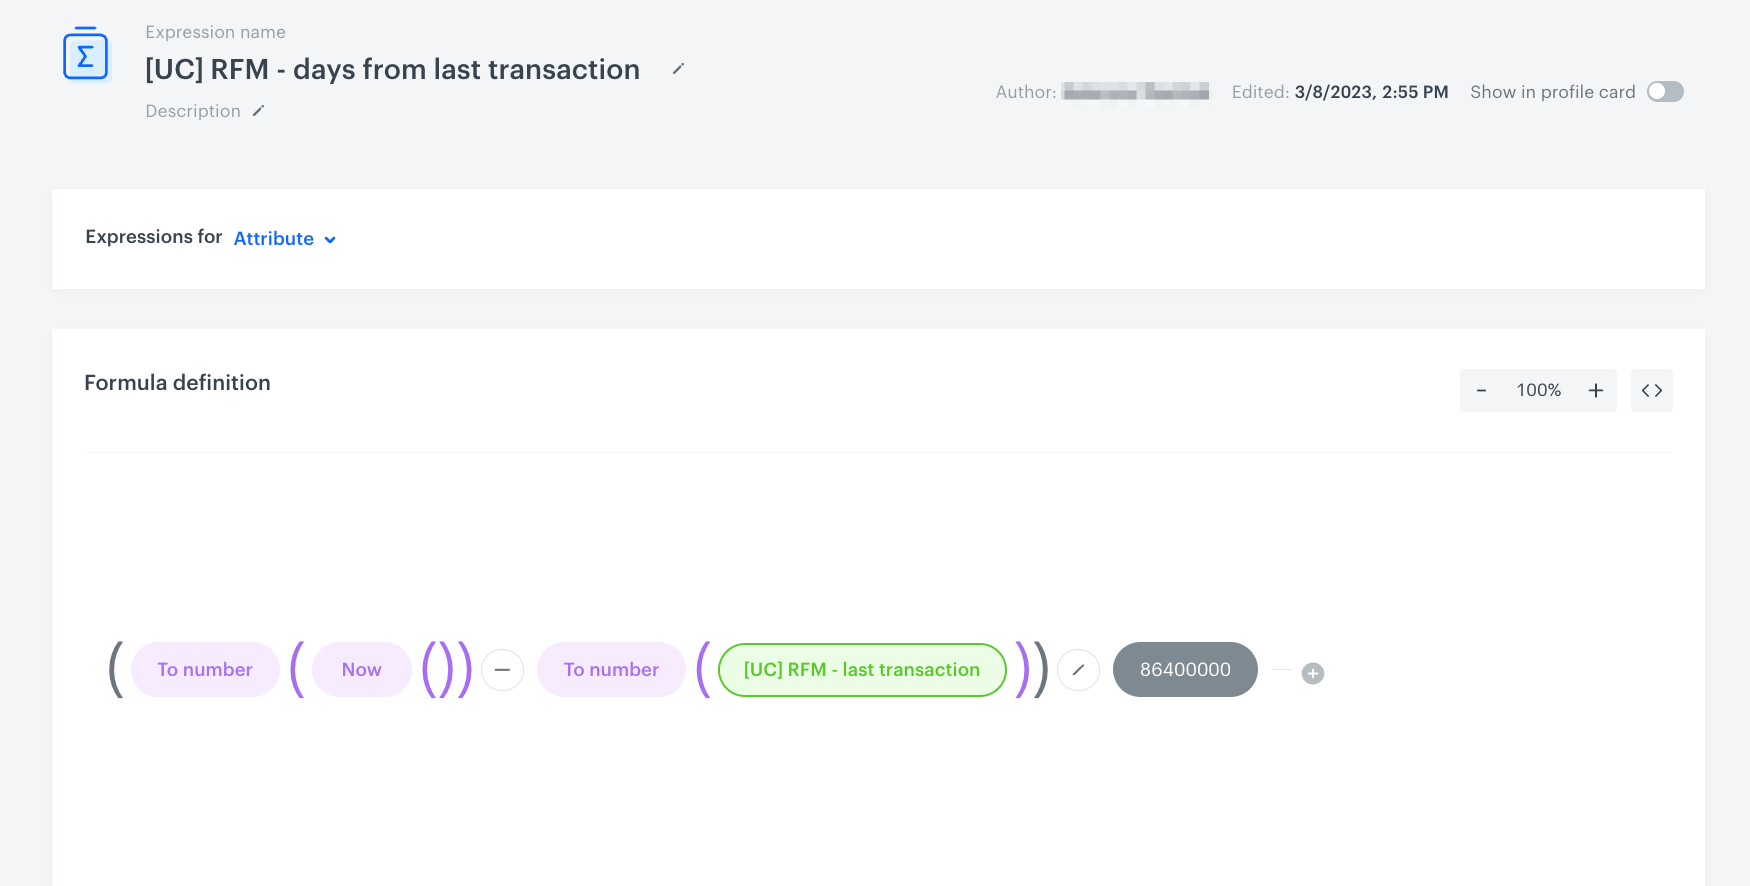
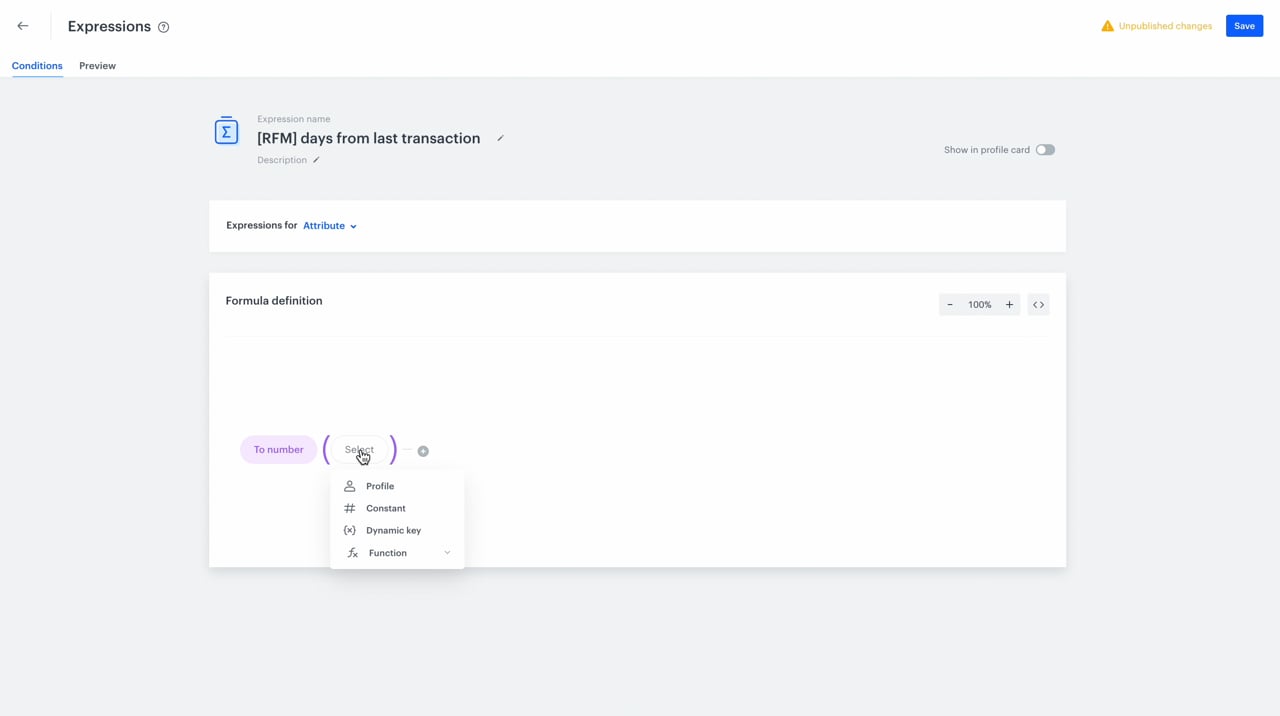
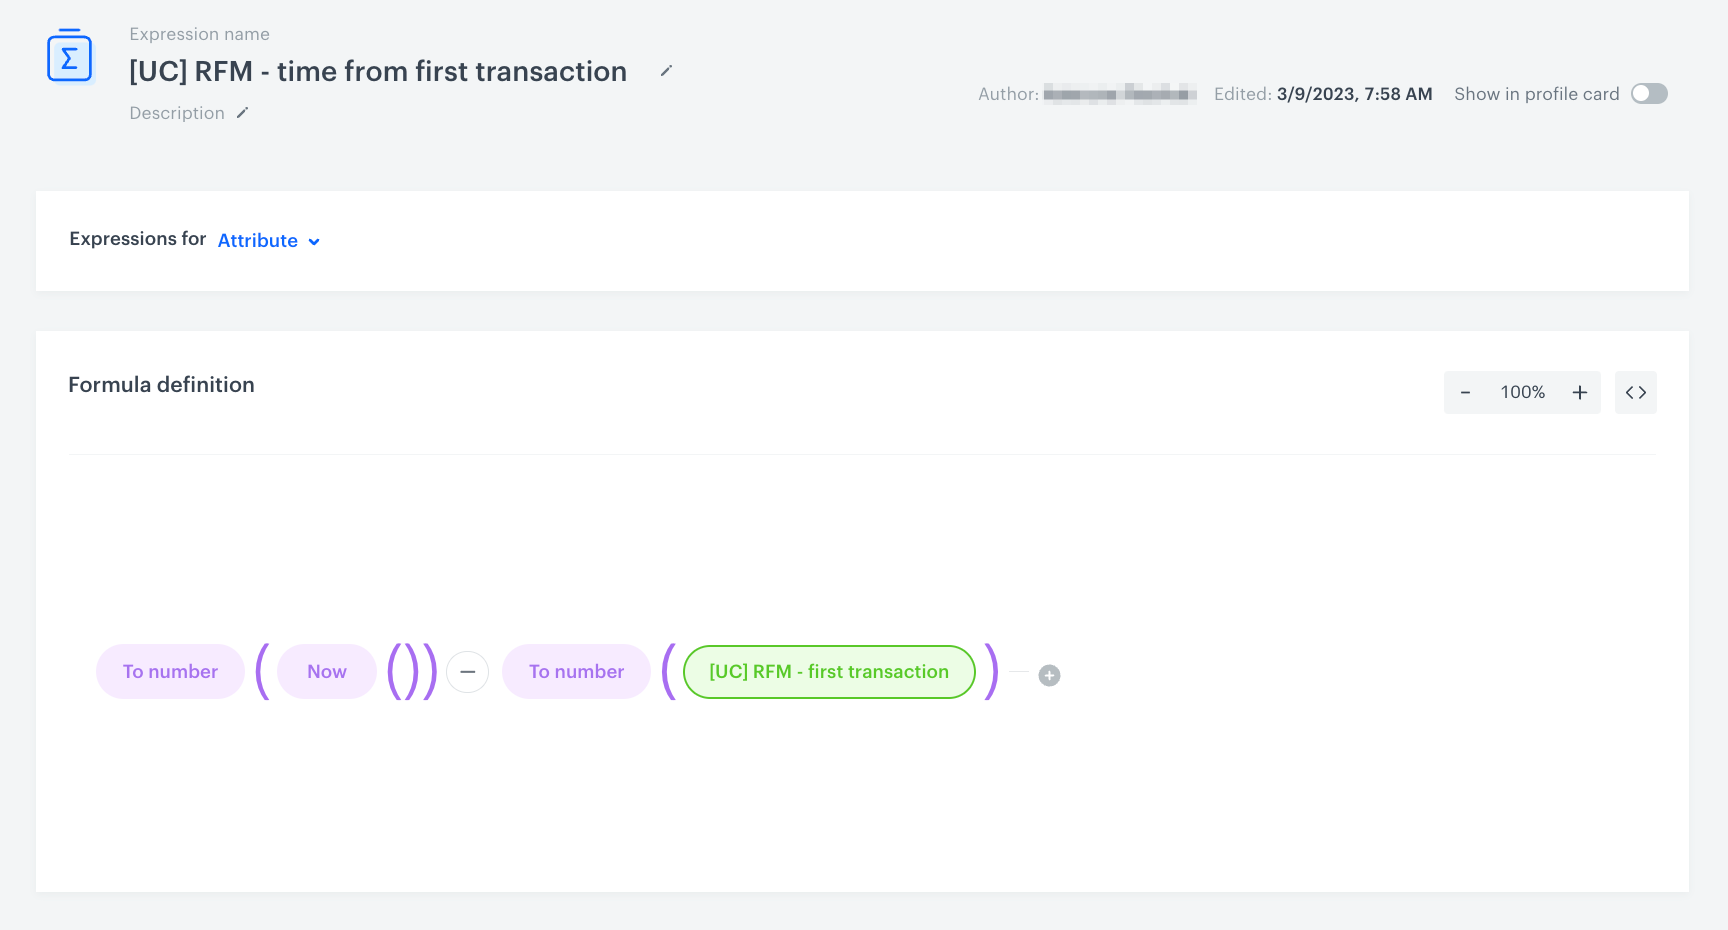
 icon.
7. For the following segments, add the conditions listed below:
- For the 400 segment: more than the value of the `0.20` quantile **AND** less than `0.40` quantile
- For the 300 segment: more than the value of the `0.40` quantile **AND** less than `0.60` quantile
- For the 200 segment: more than the value of the `0.60` quantile **AND** less than `0.80` quantile
- For the 100 segment: less than the value of the `0.80` quantile **AND** segment of loyal customers **AND** add the **transaction.charge** event with the **Lifetime** time range.
icon.
7. For the following segments, add the conditions listed below:
- For the 400 segment: more than the value of the `0.20` quantile **AND** less than `0.40` quantile
- For the 300 segment: more than the value of the `0.40` quantile **AND** less than `0.60` quantile
- For the 200 segment: more than the value of the `0.60` quantile **AND** less than `0.80` quantile
- For the 100 segment: less than the value of the `0.80` quantile **AND** segment of loyal customers **AND** add the **transaction.charge** event with the **Lifetime** time range.
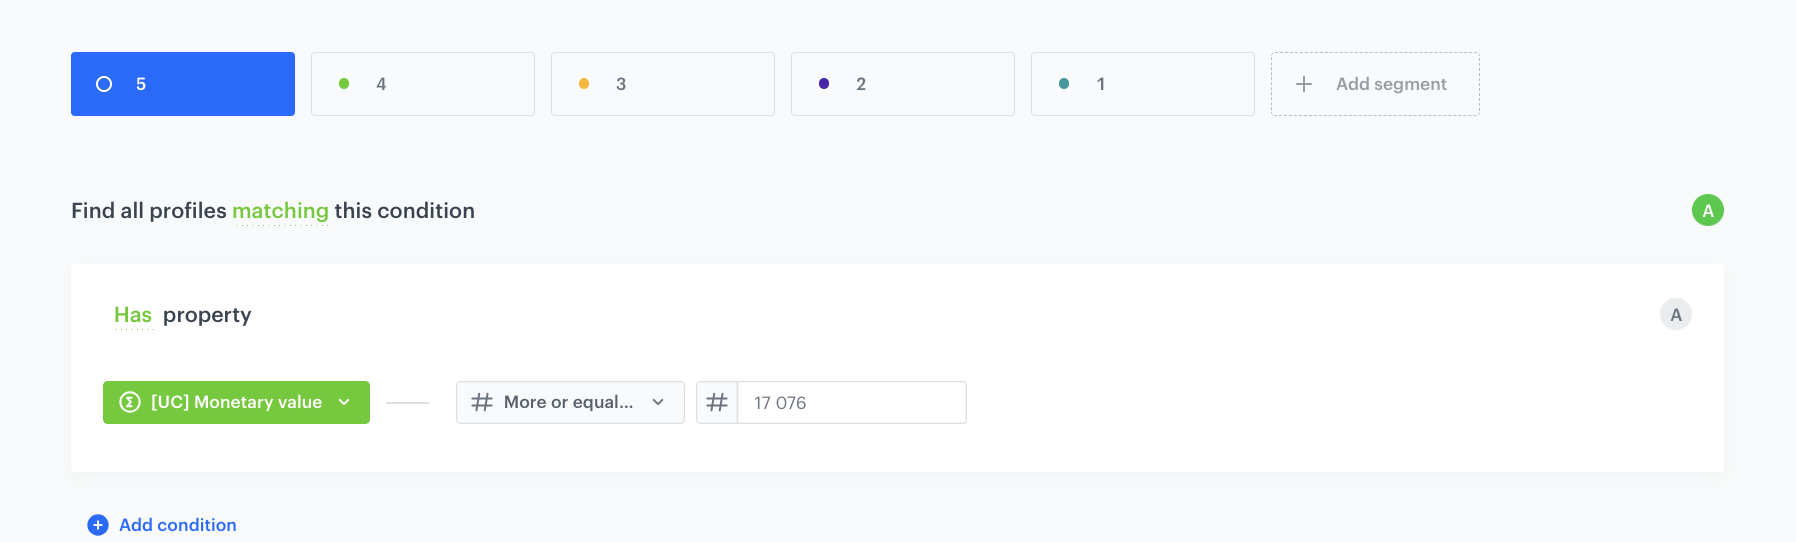
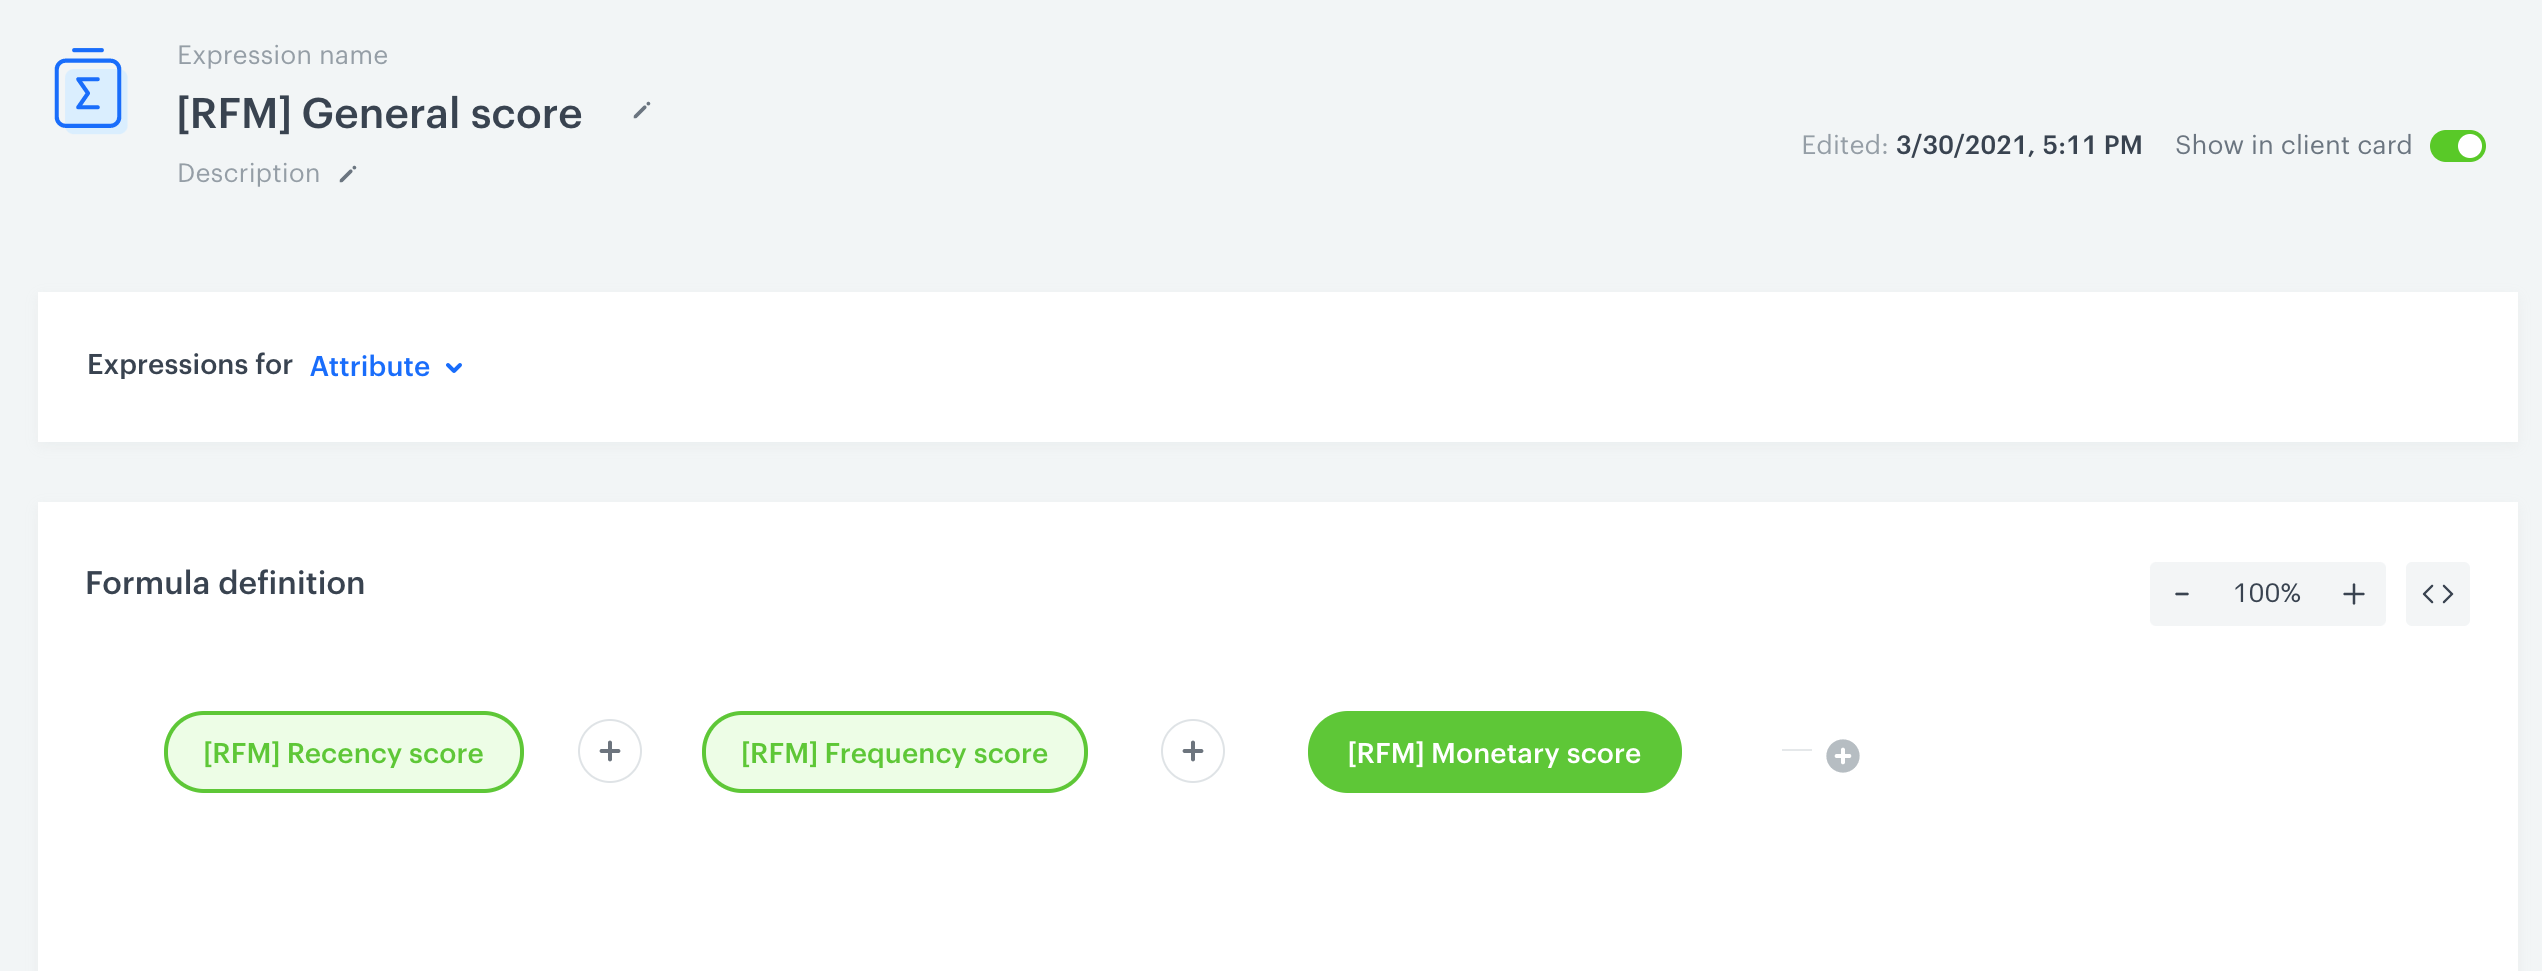
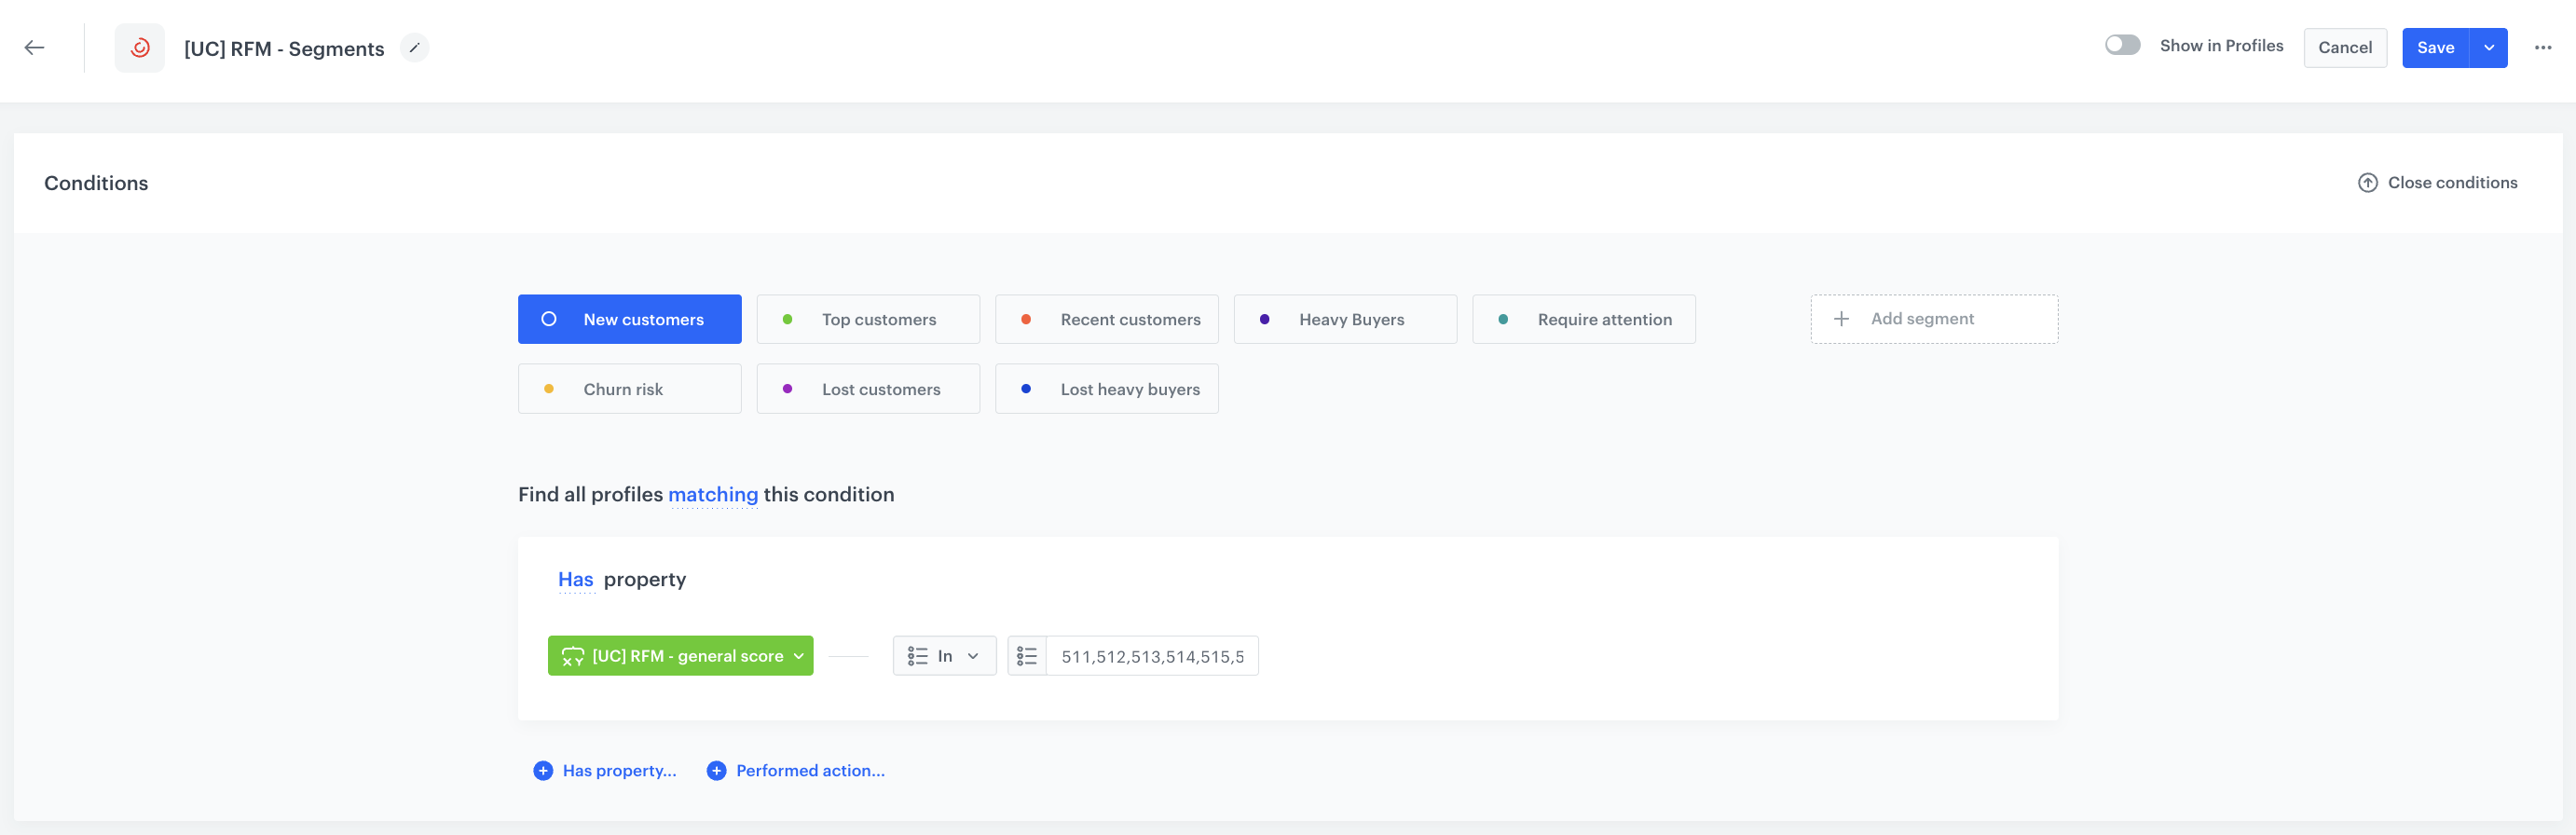
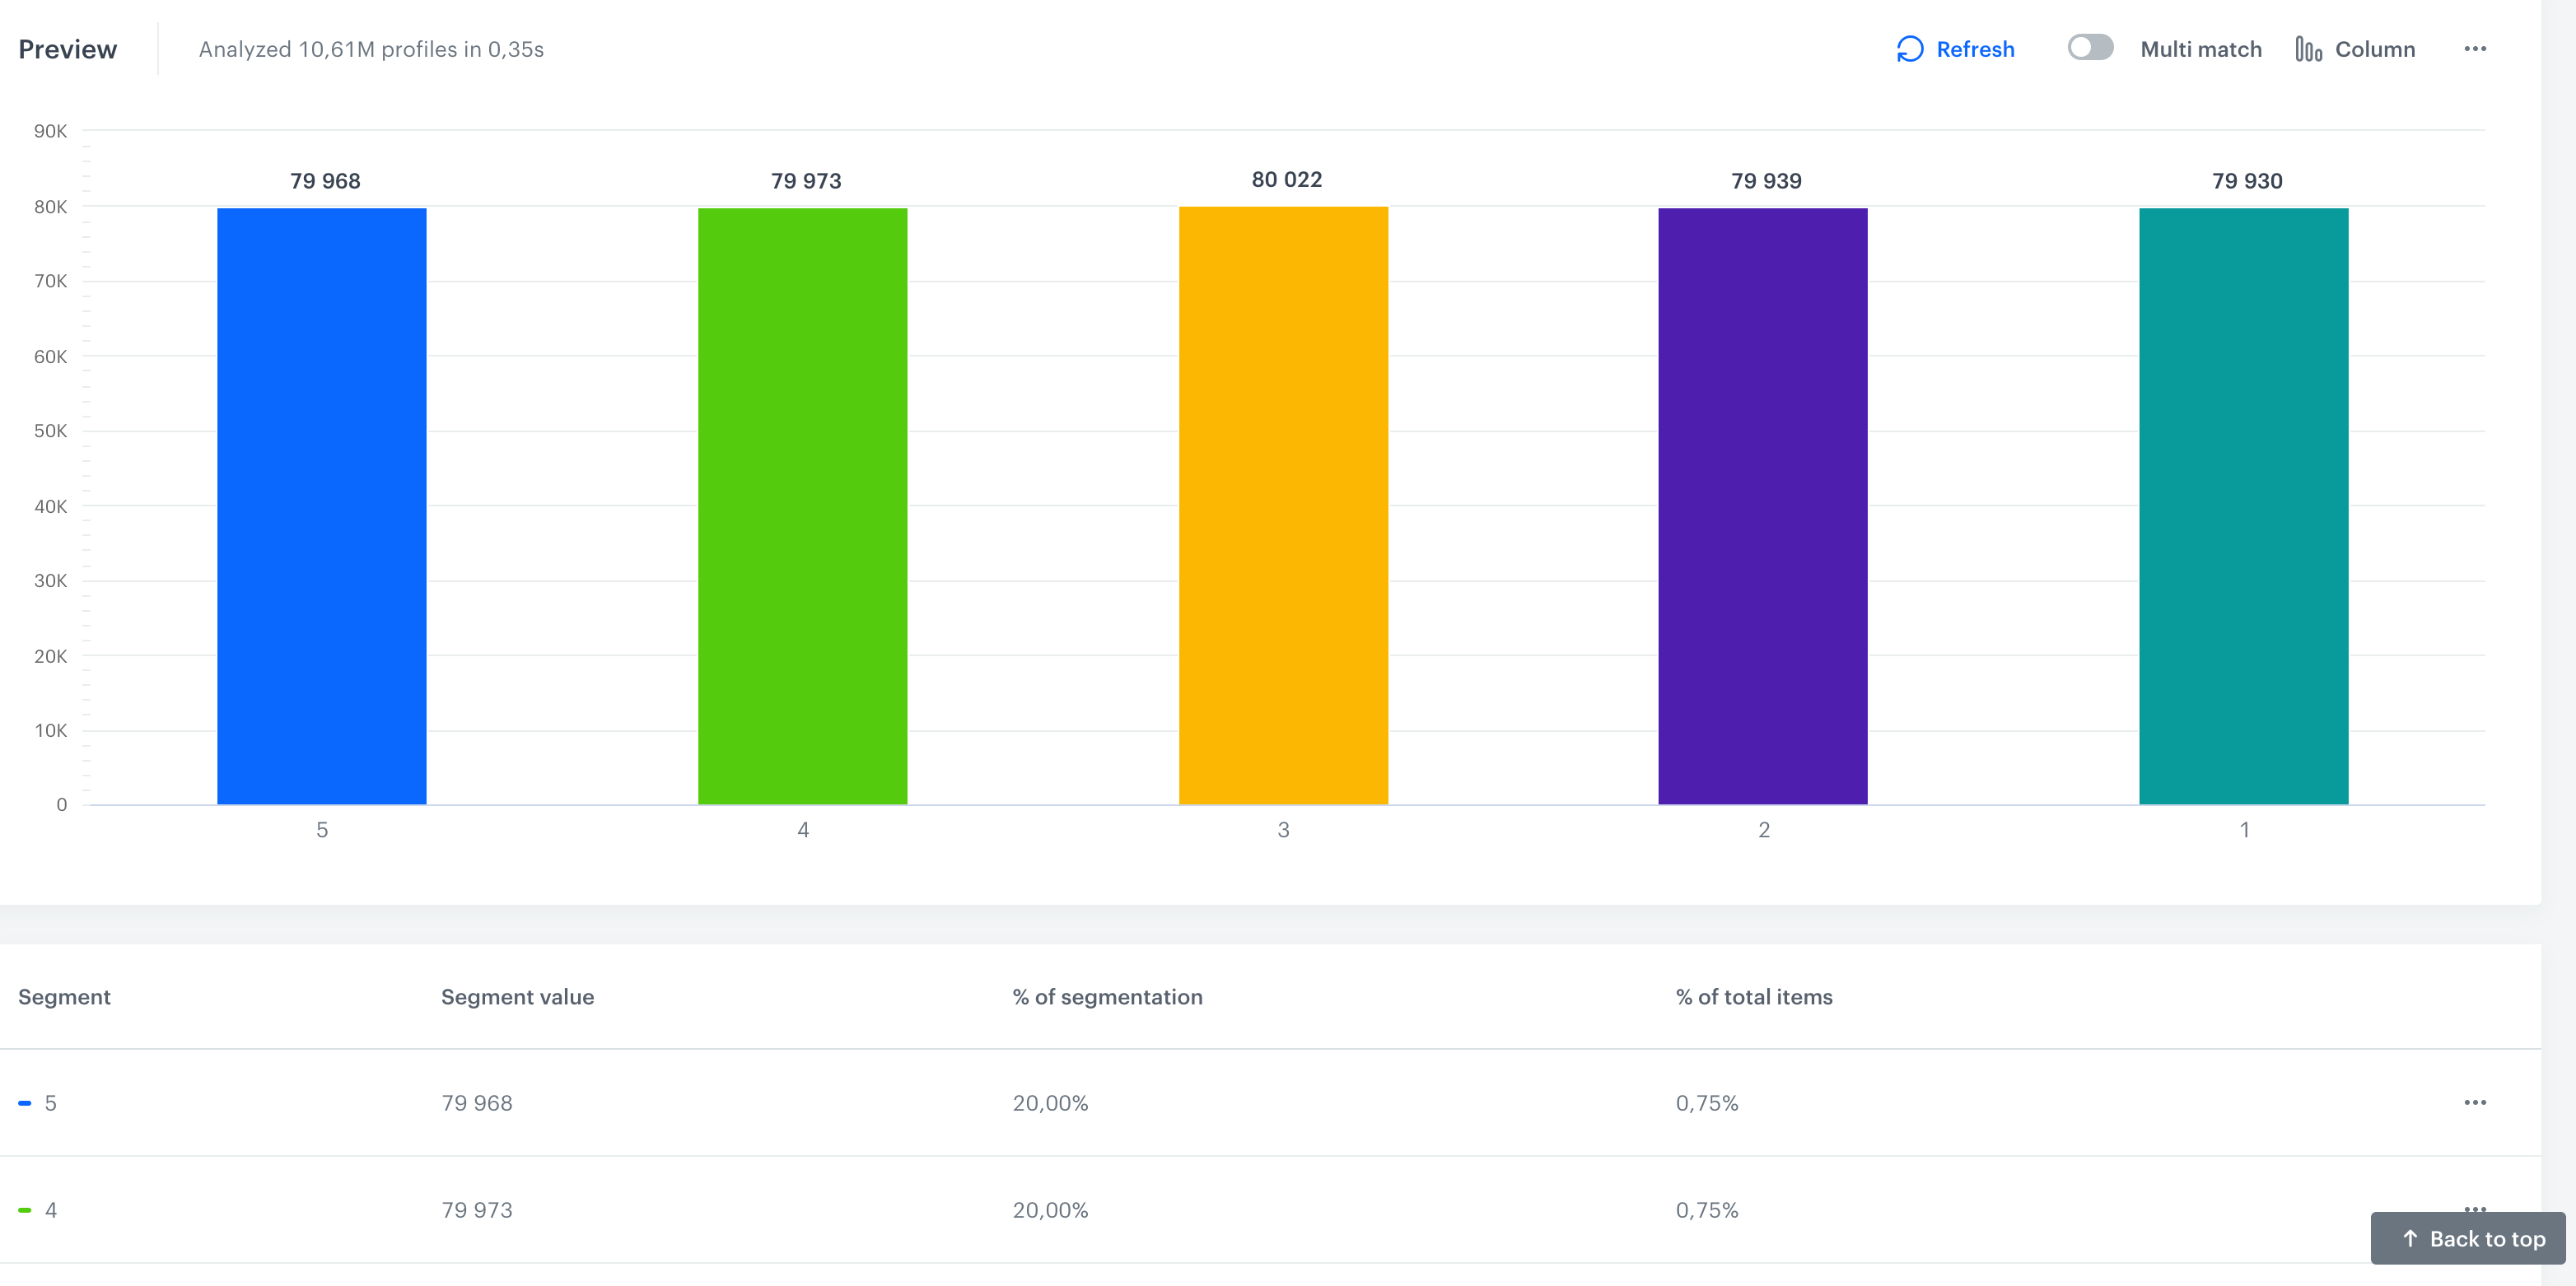
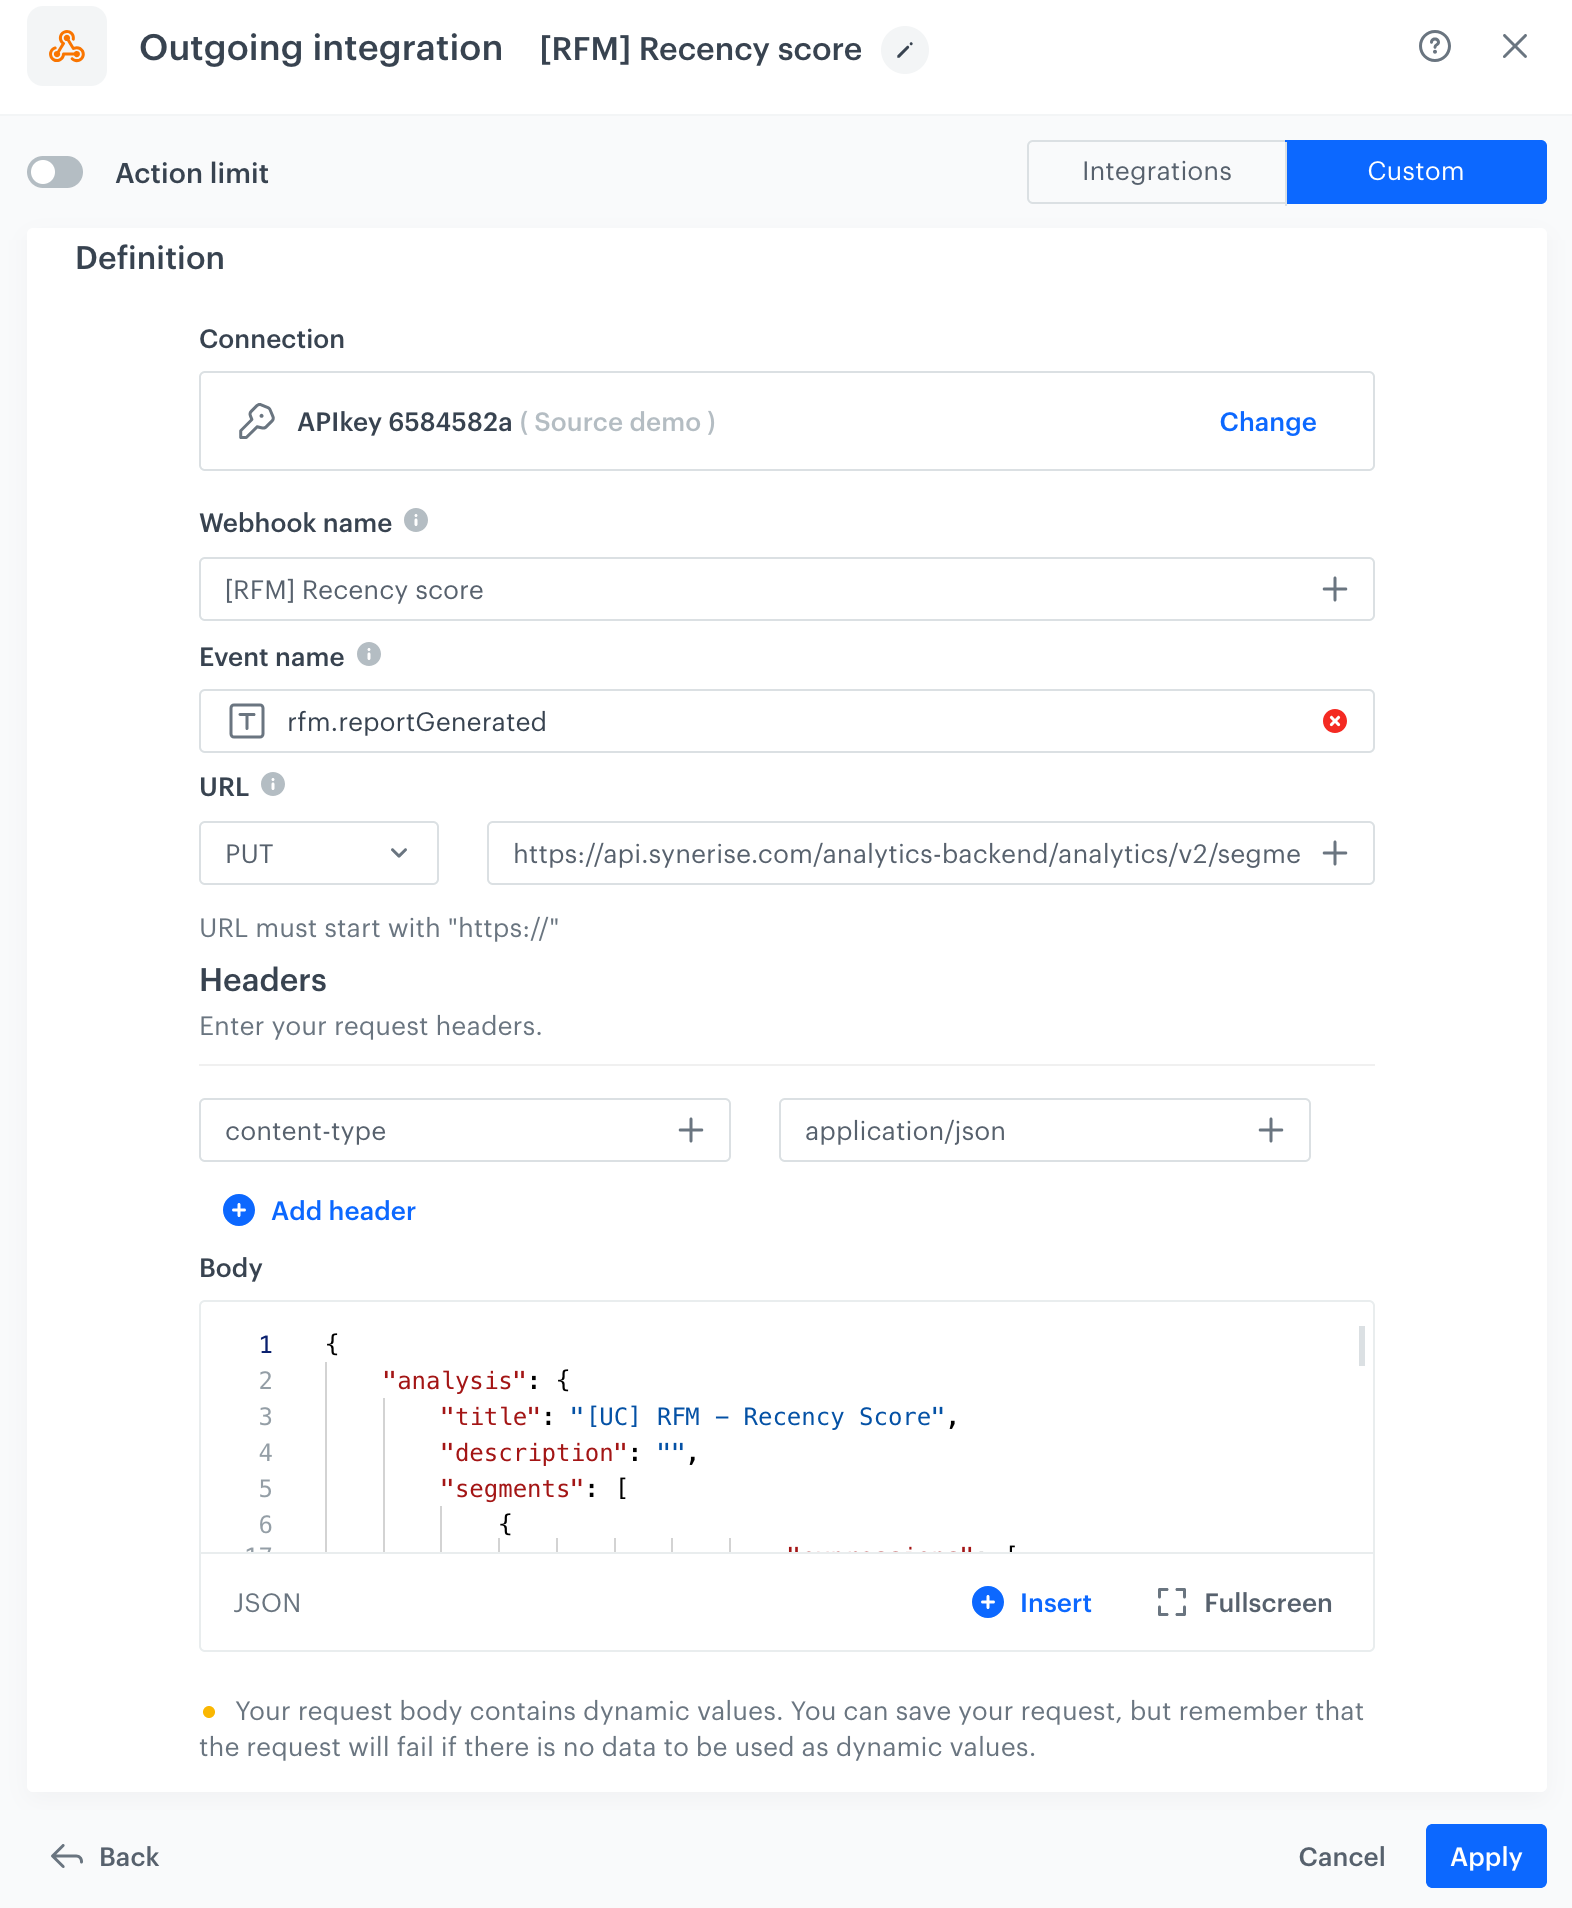
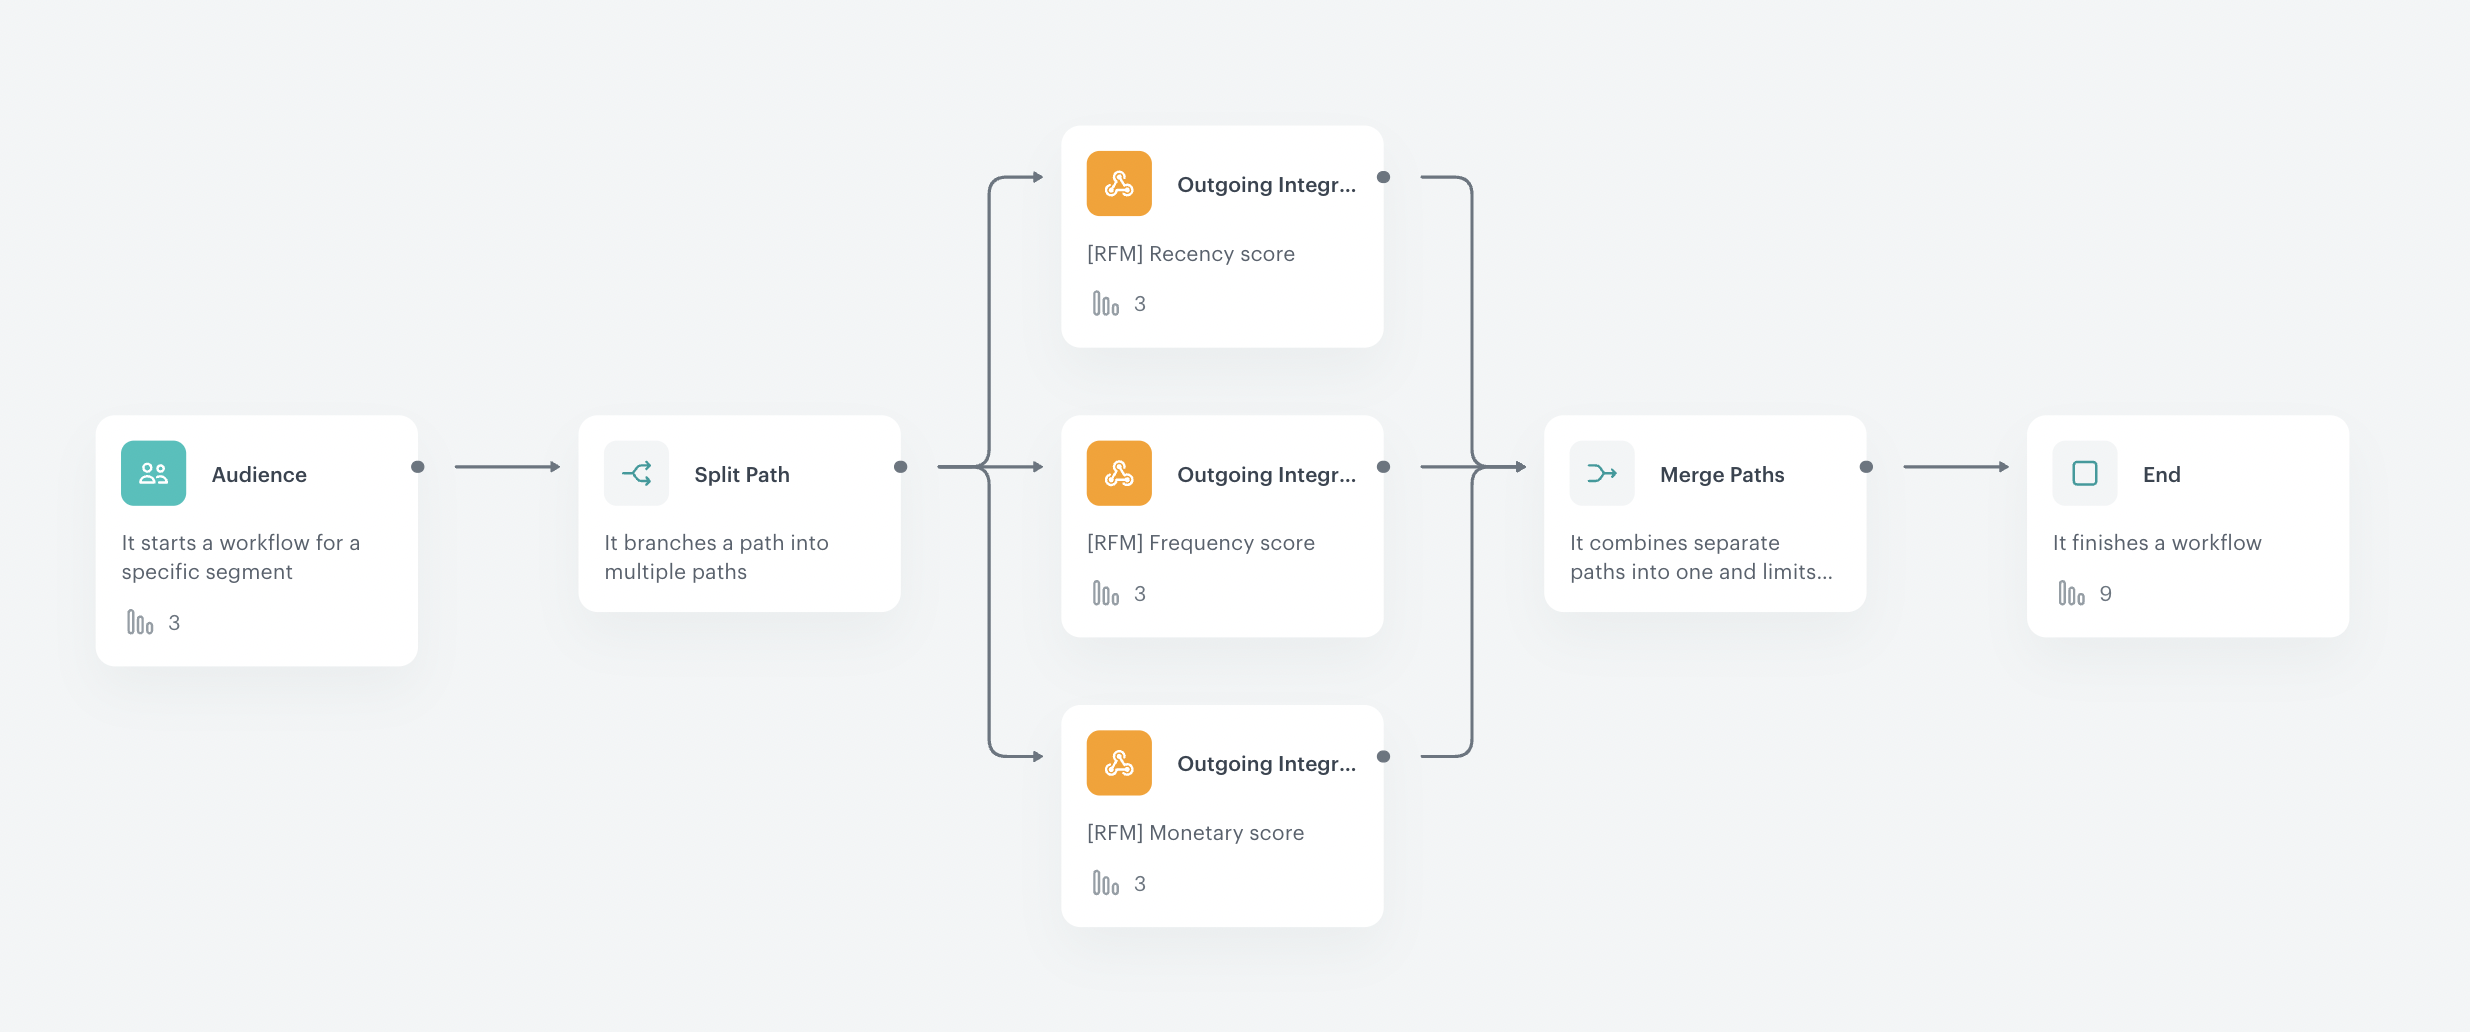
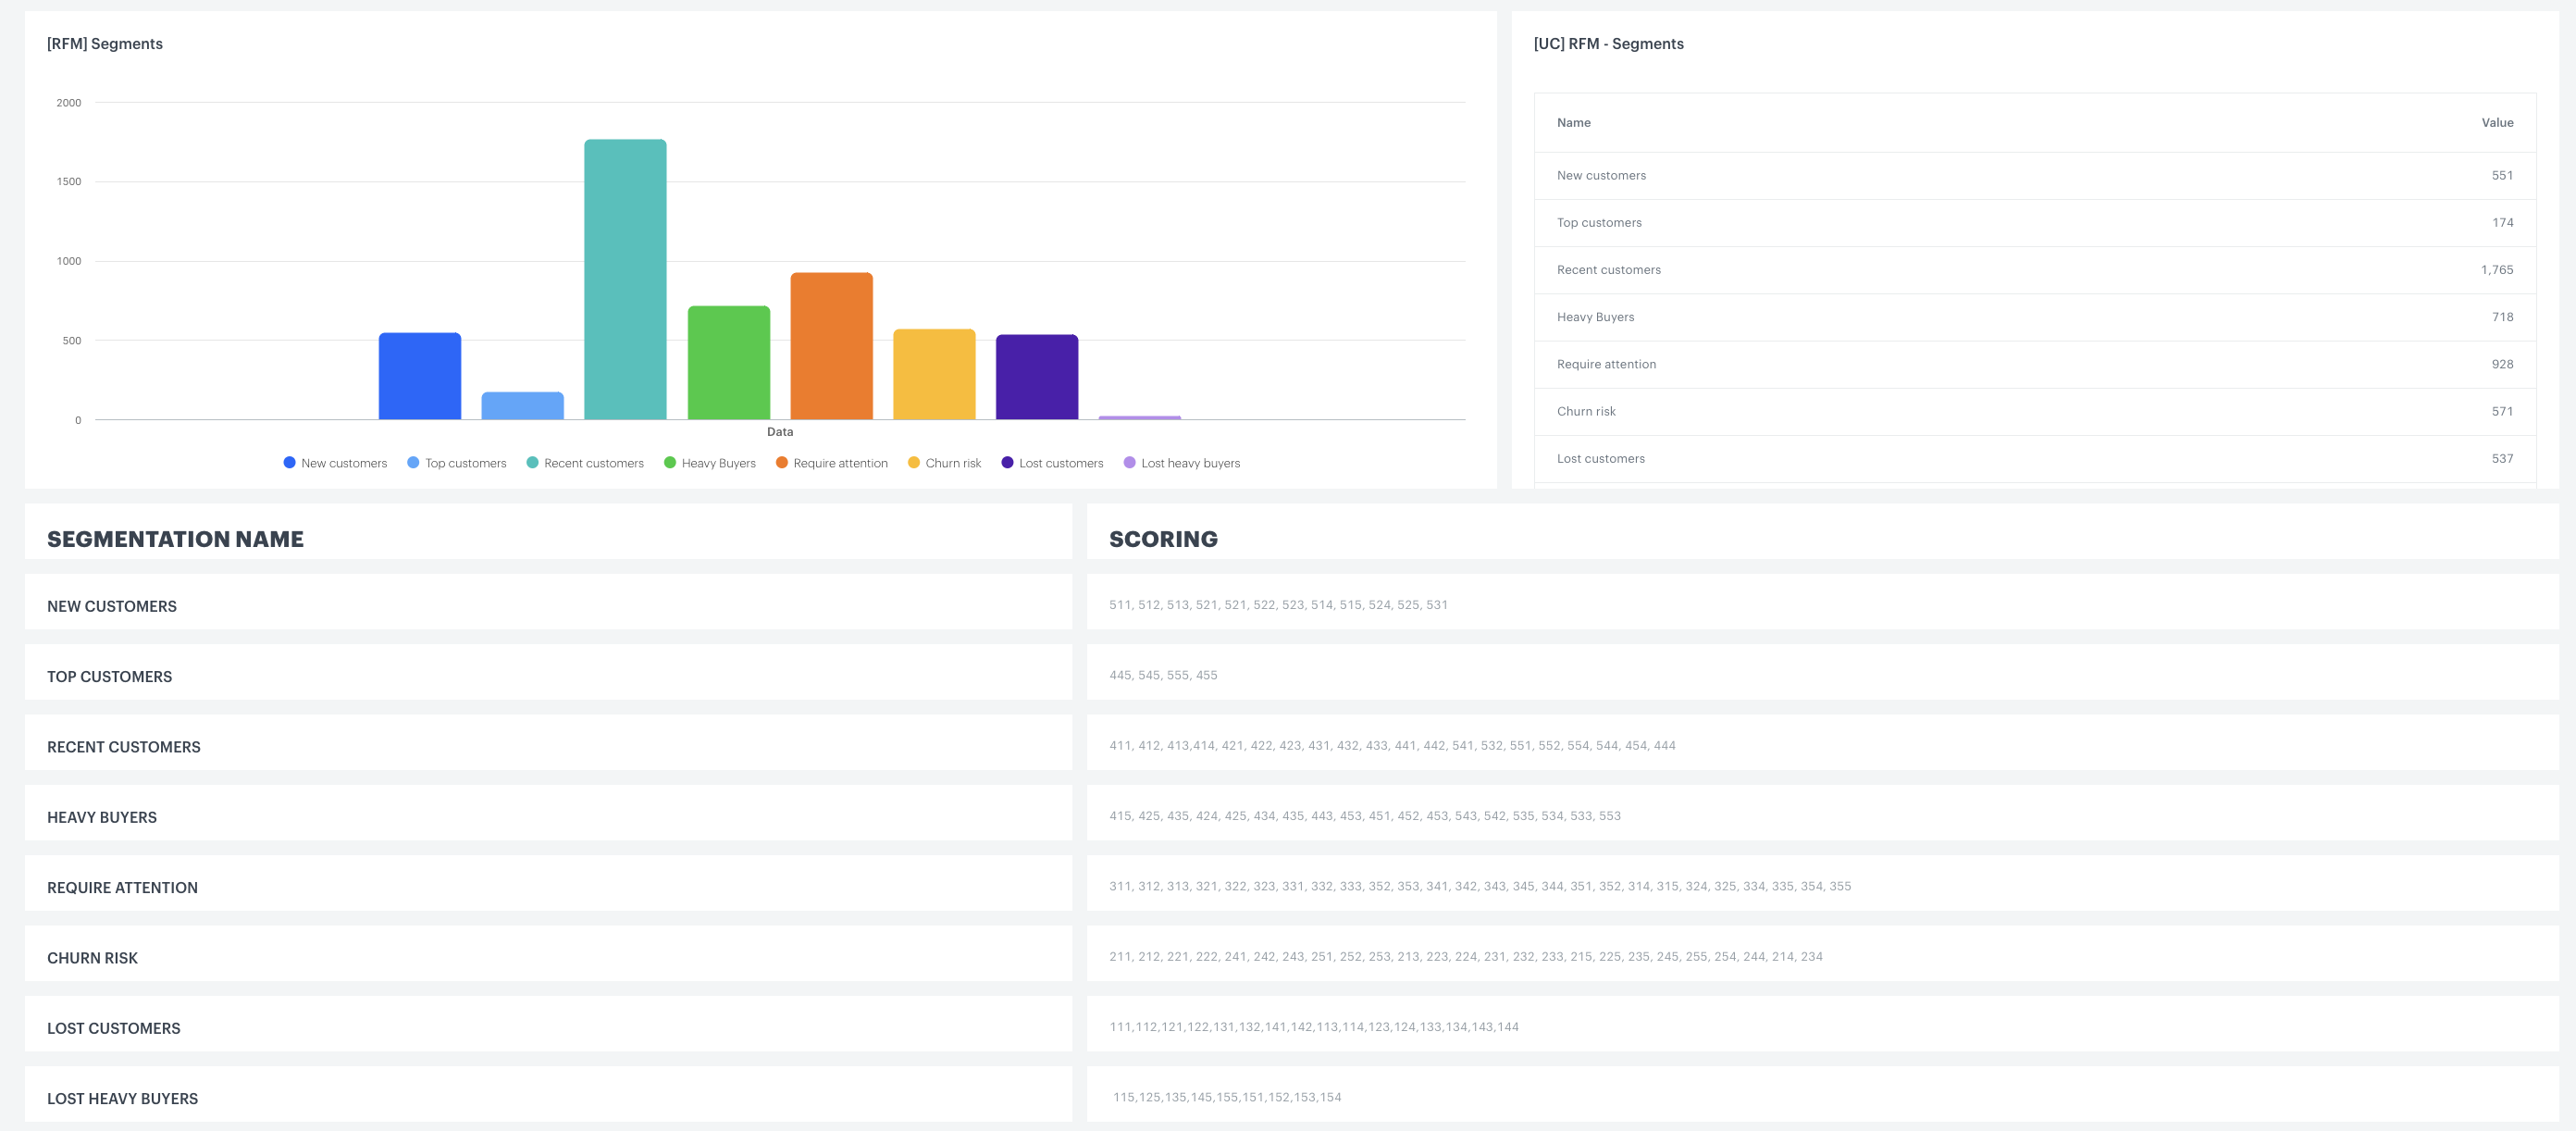
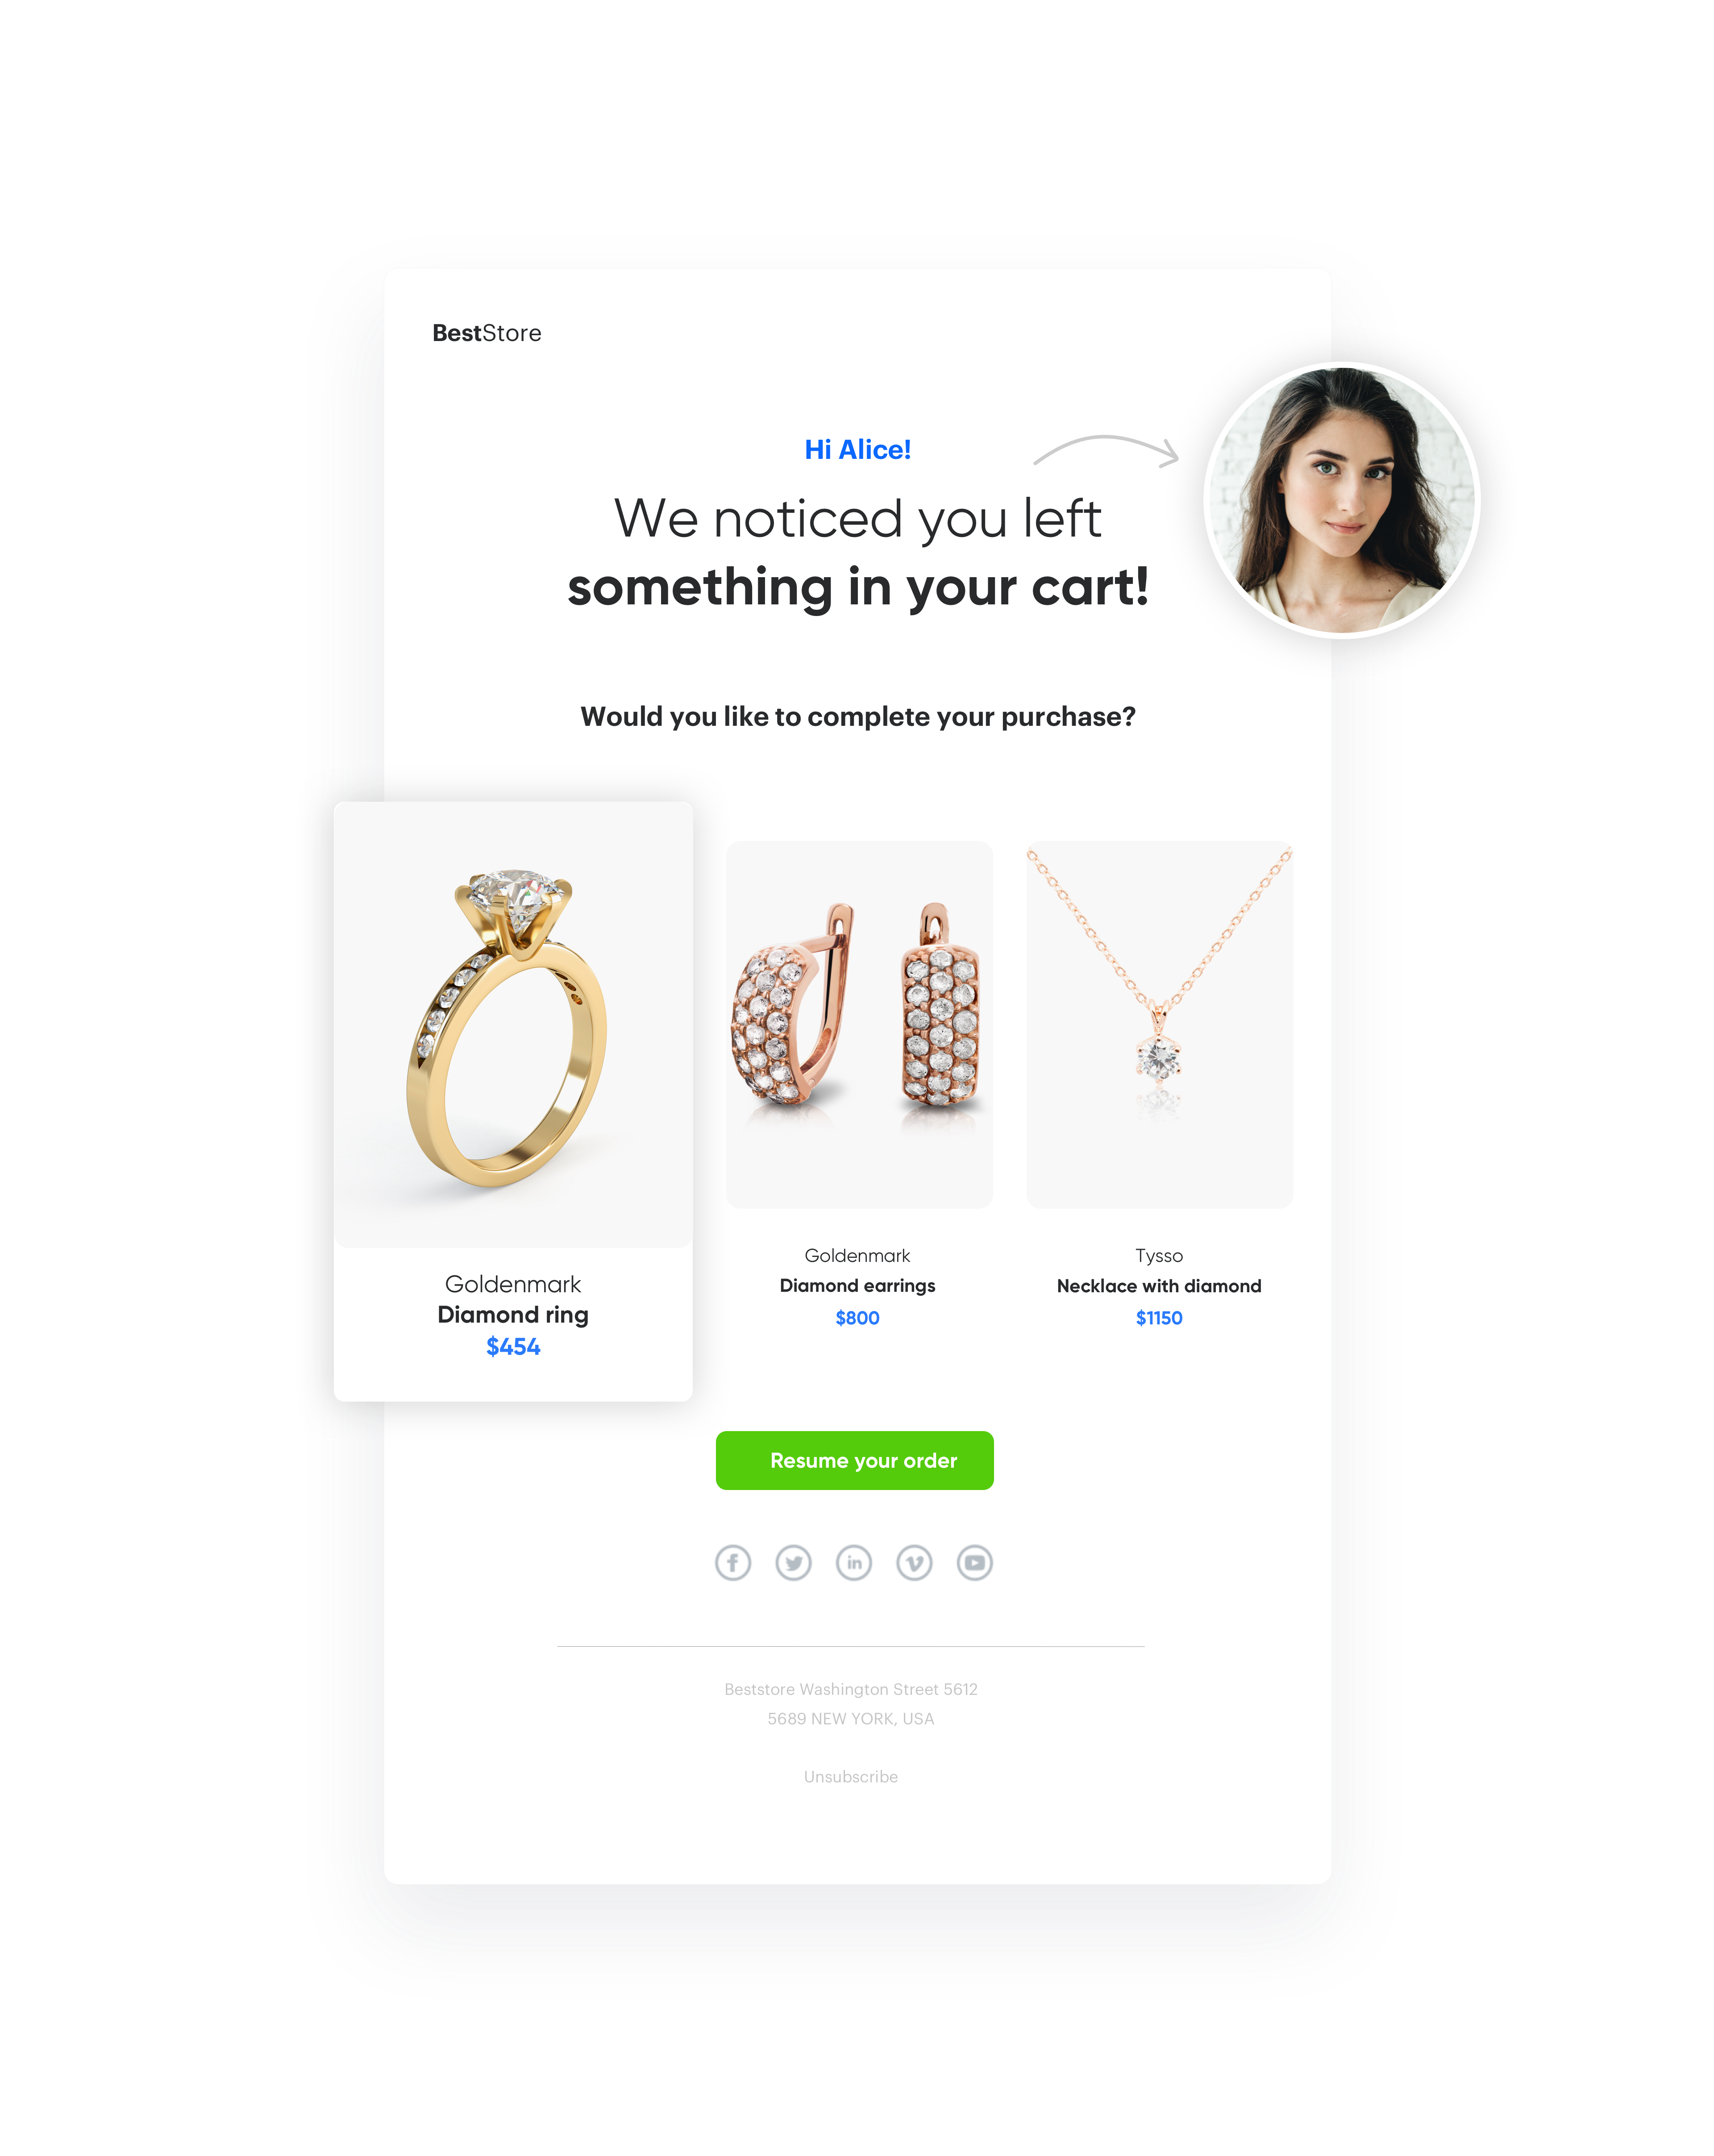

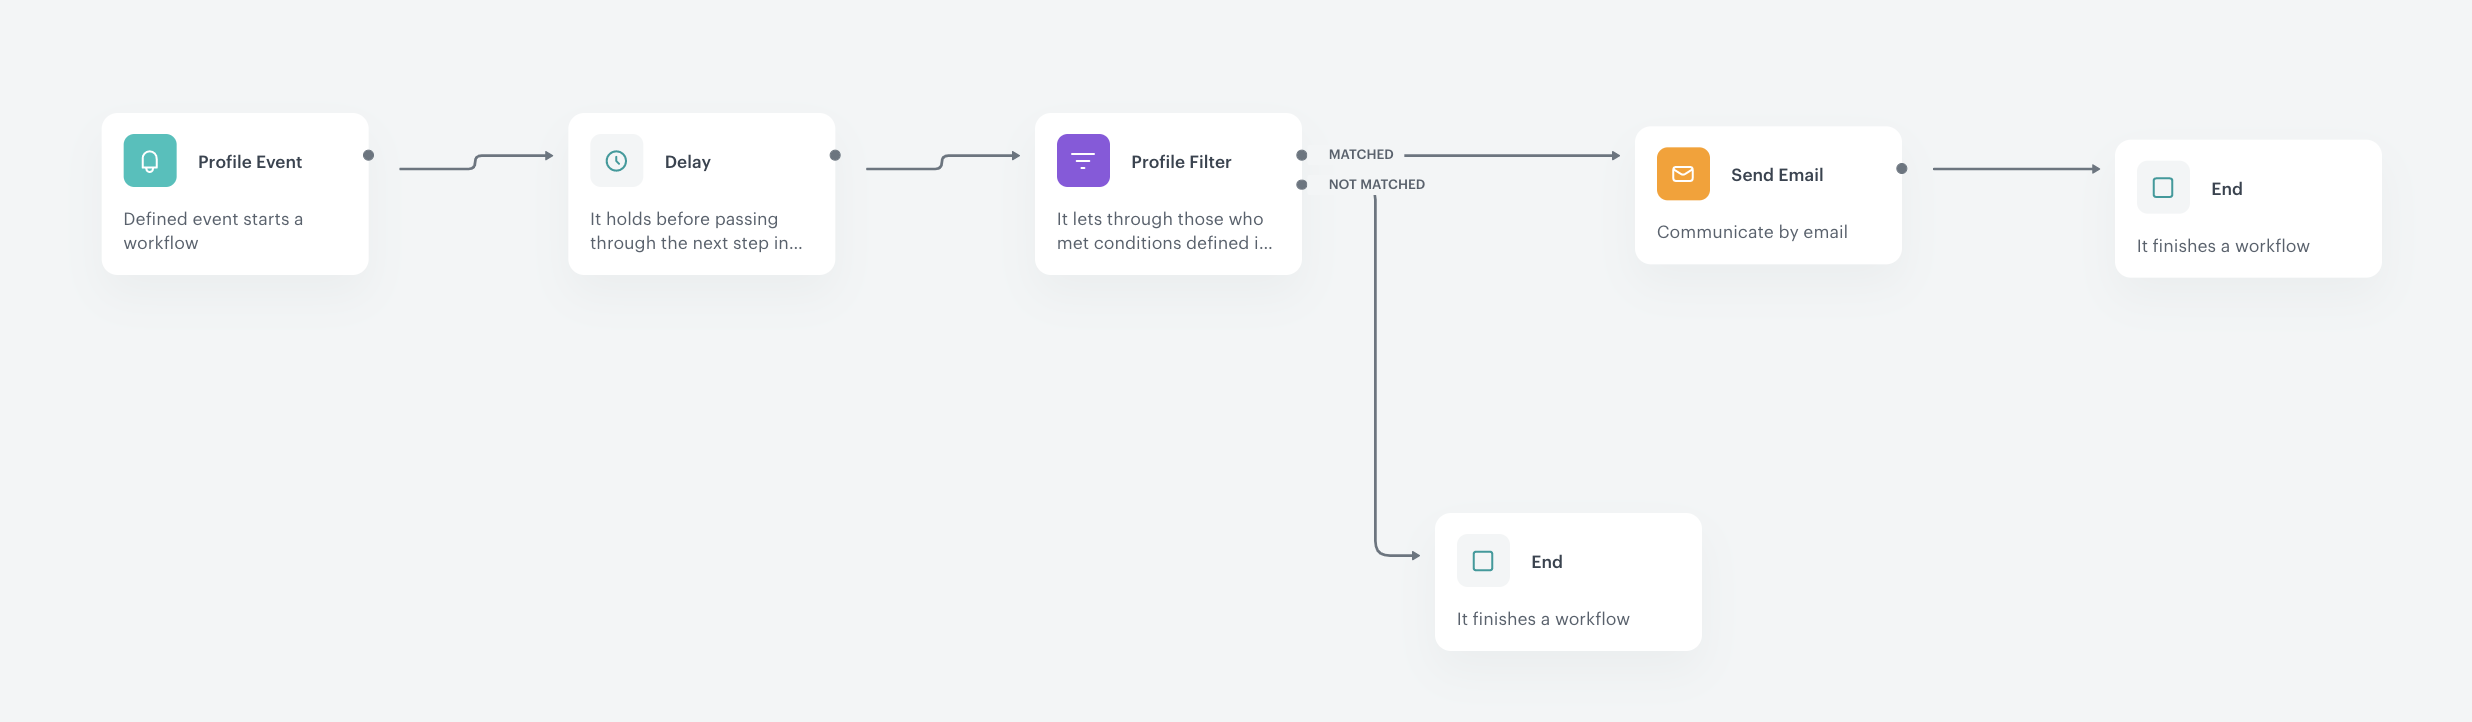
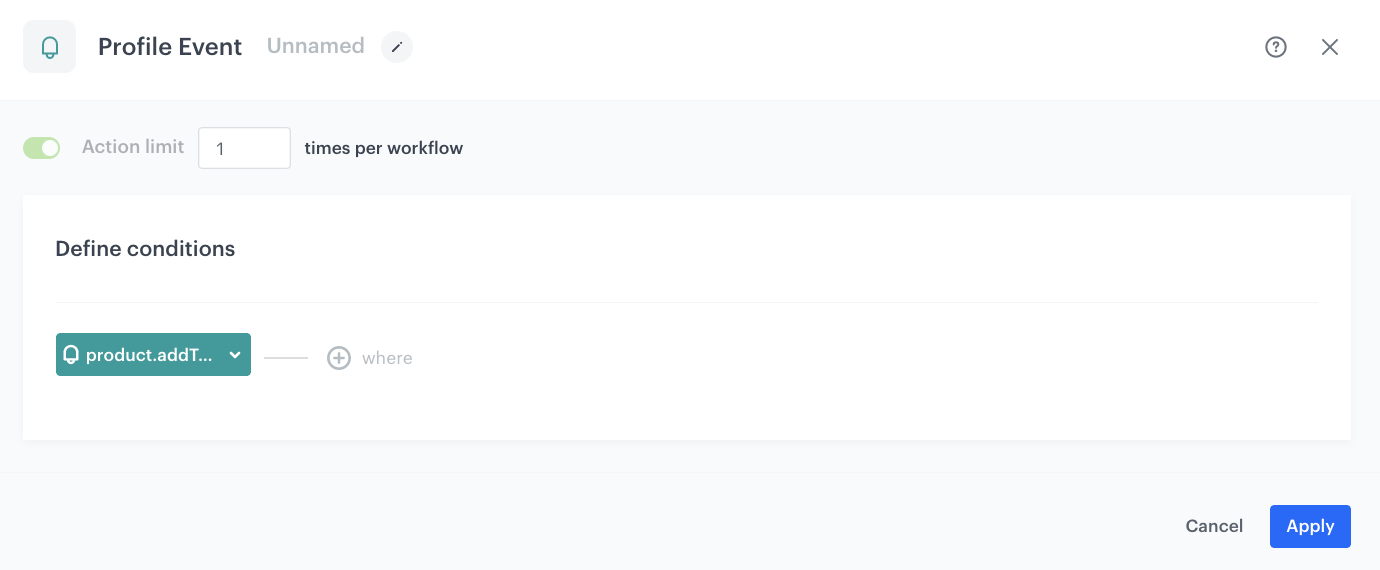
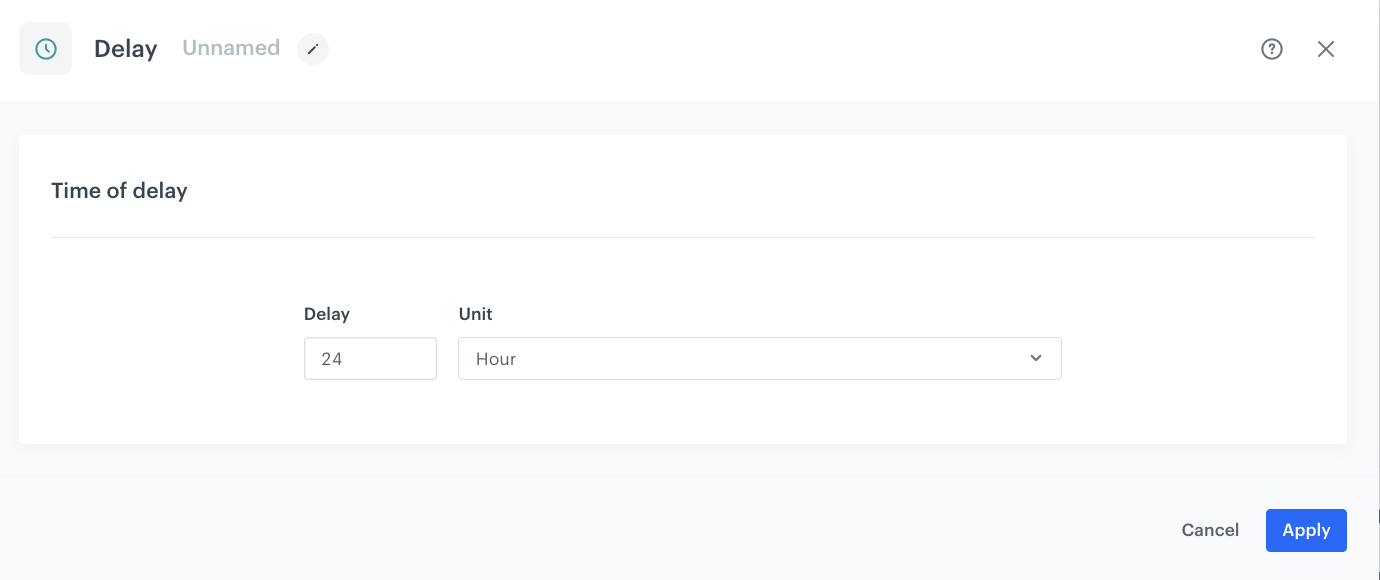
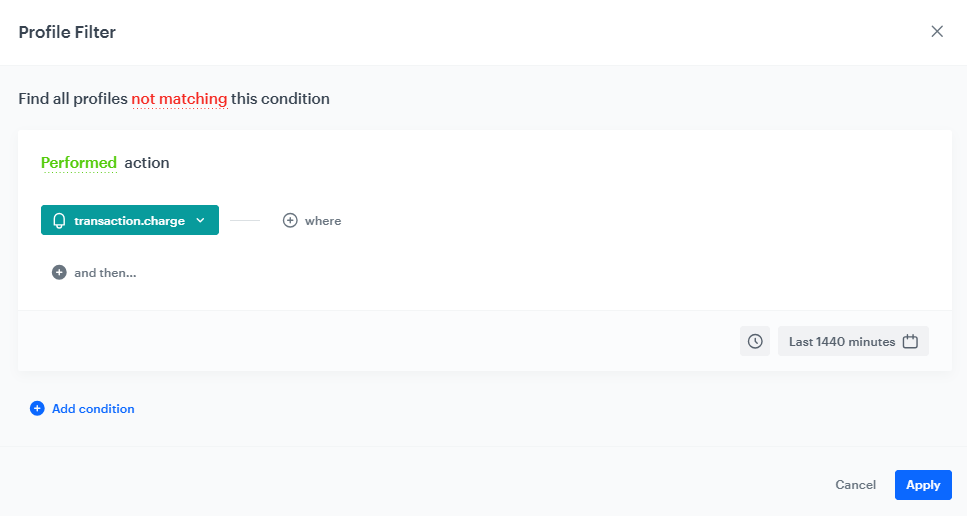
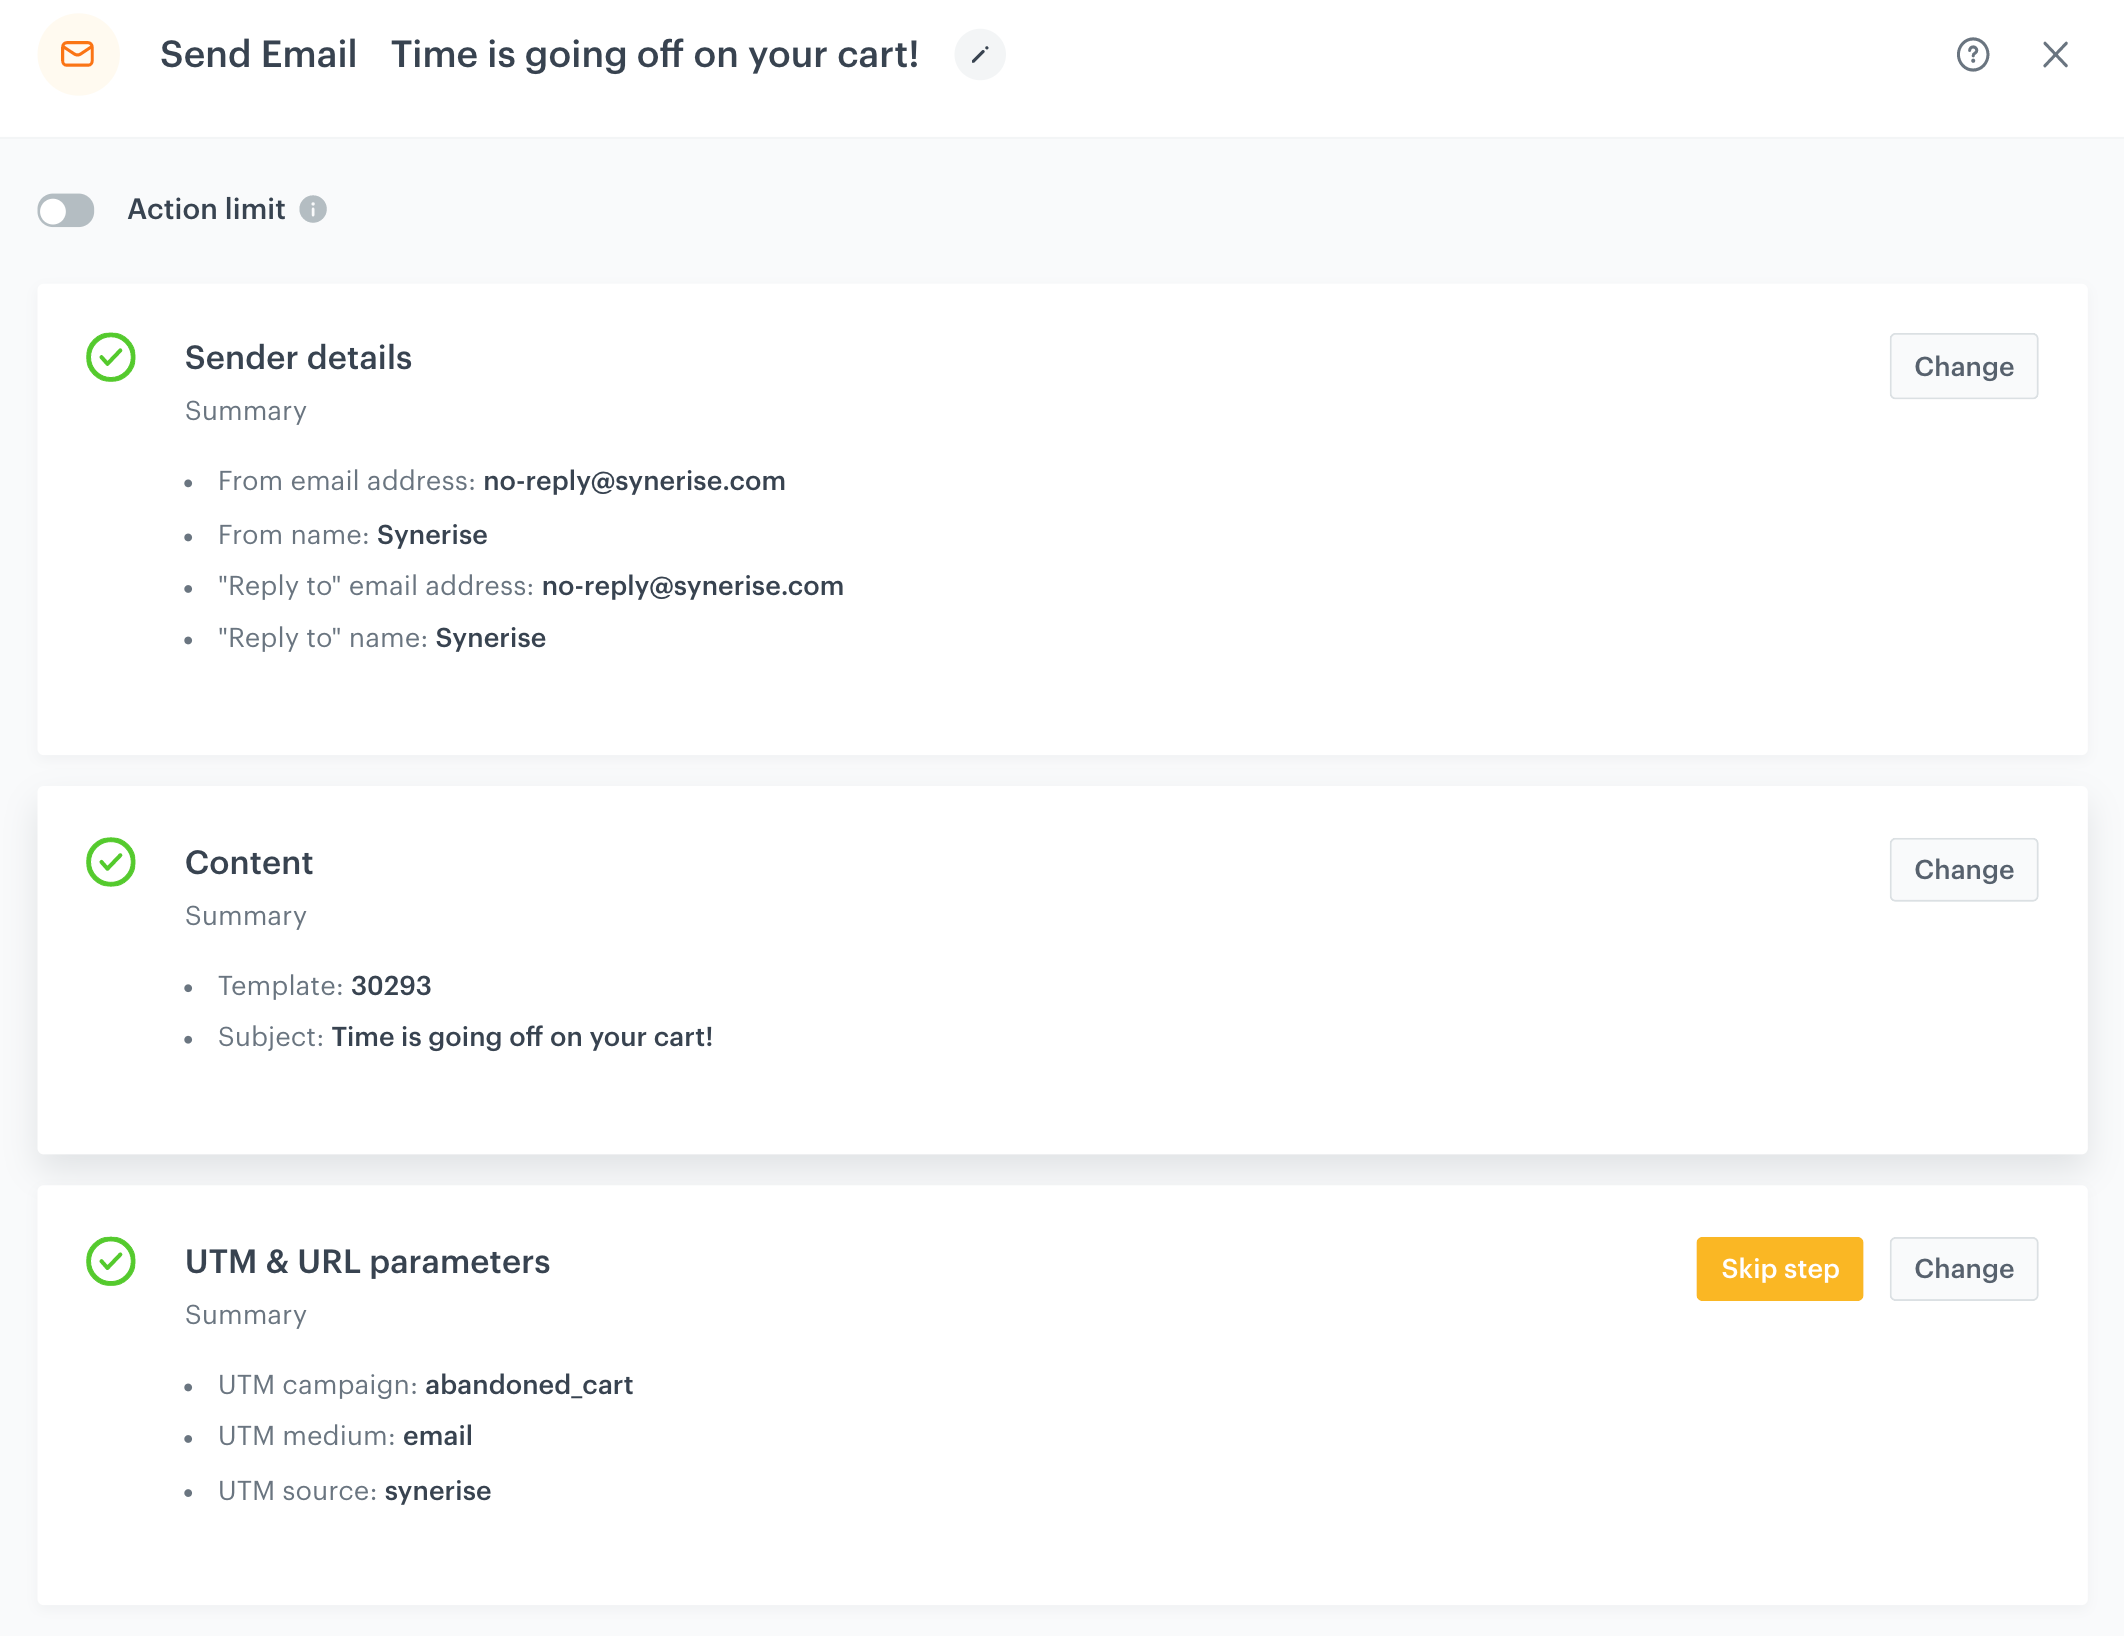
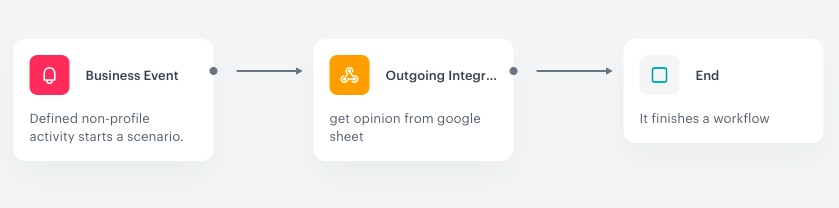
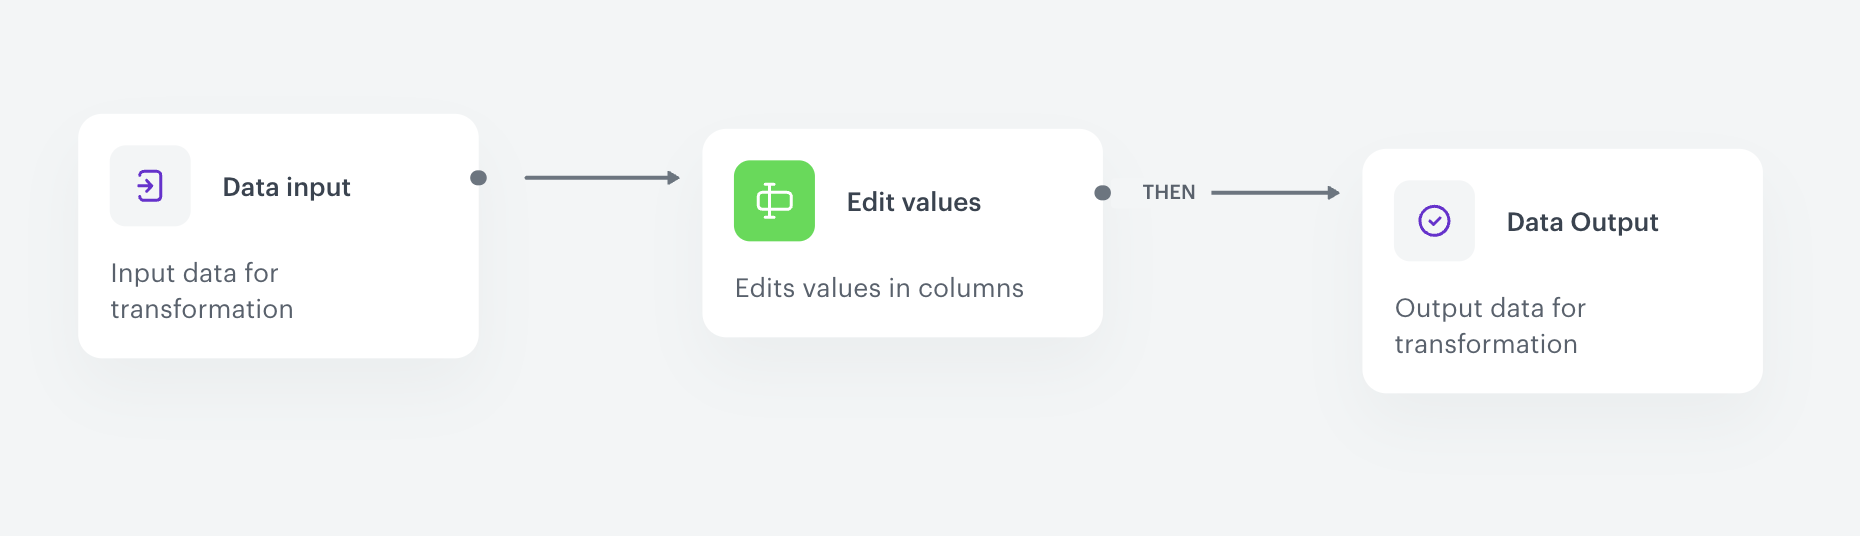
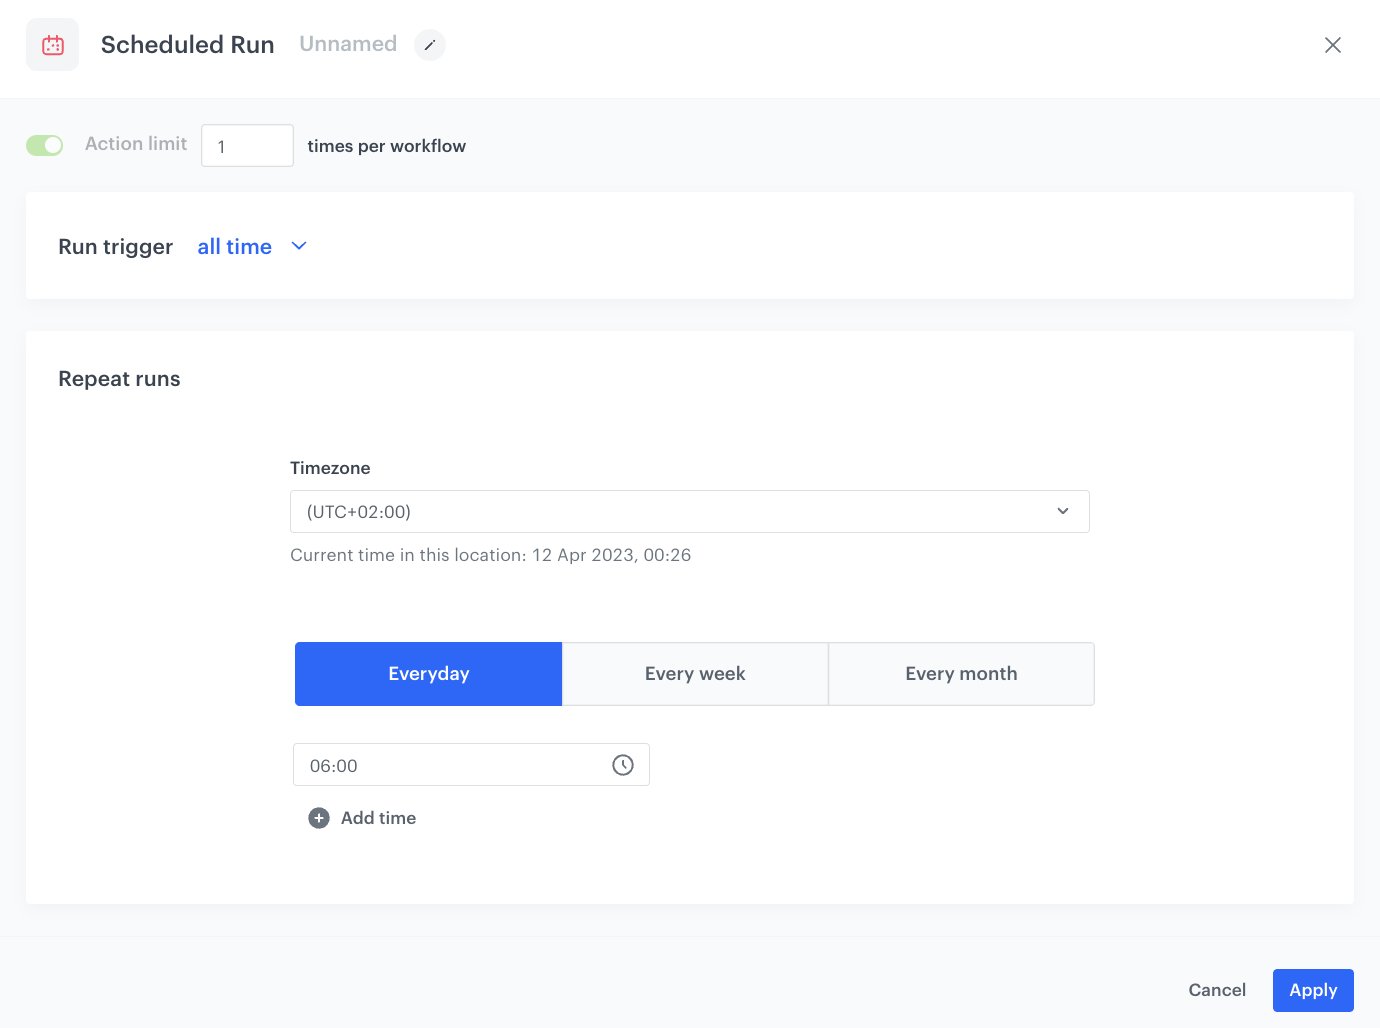
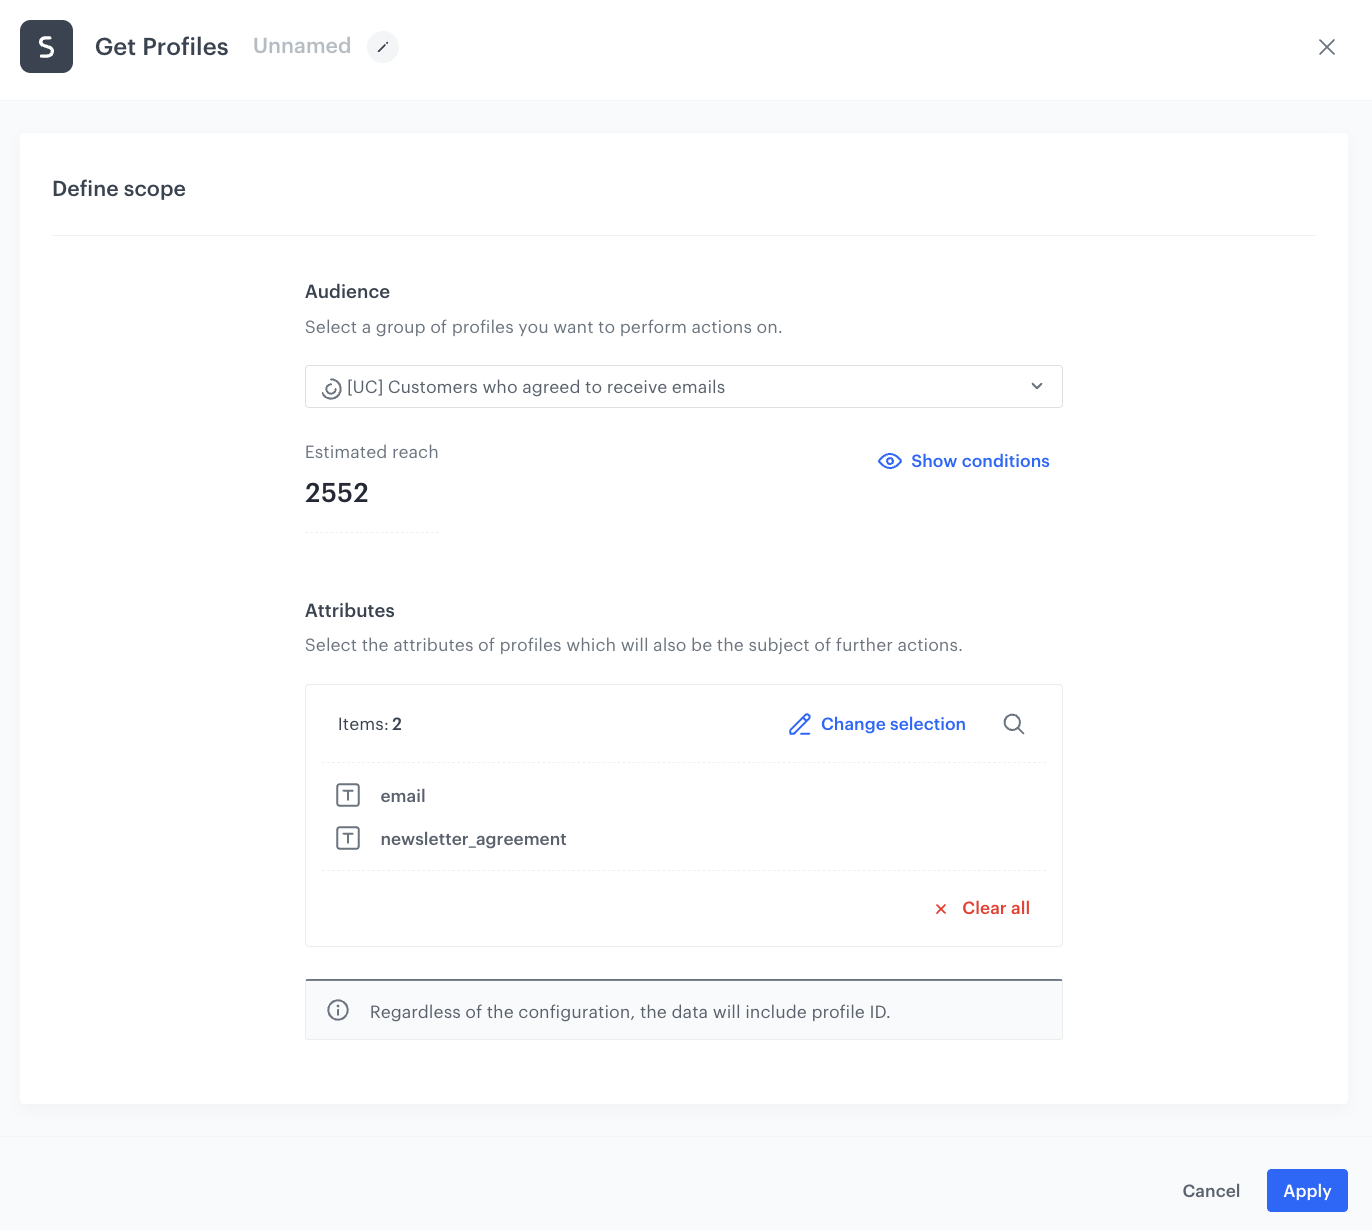
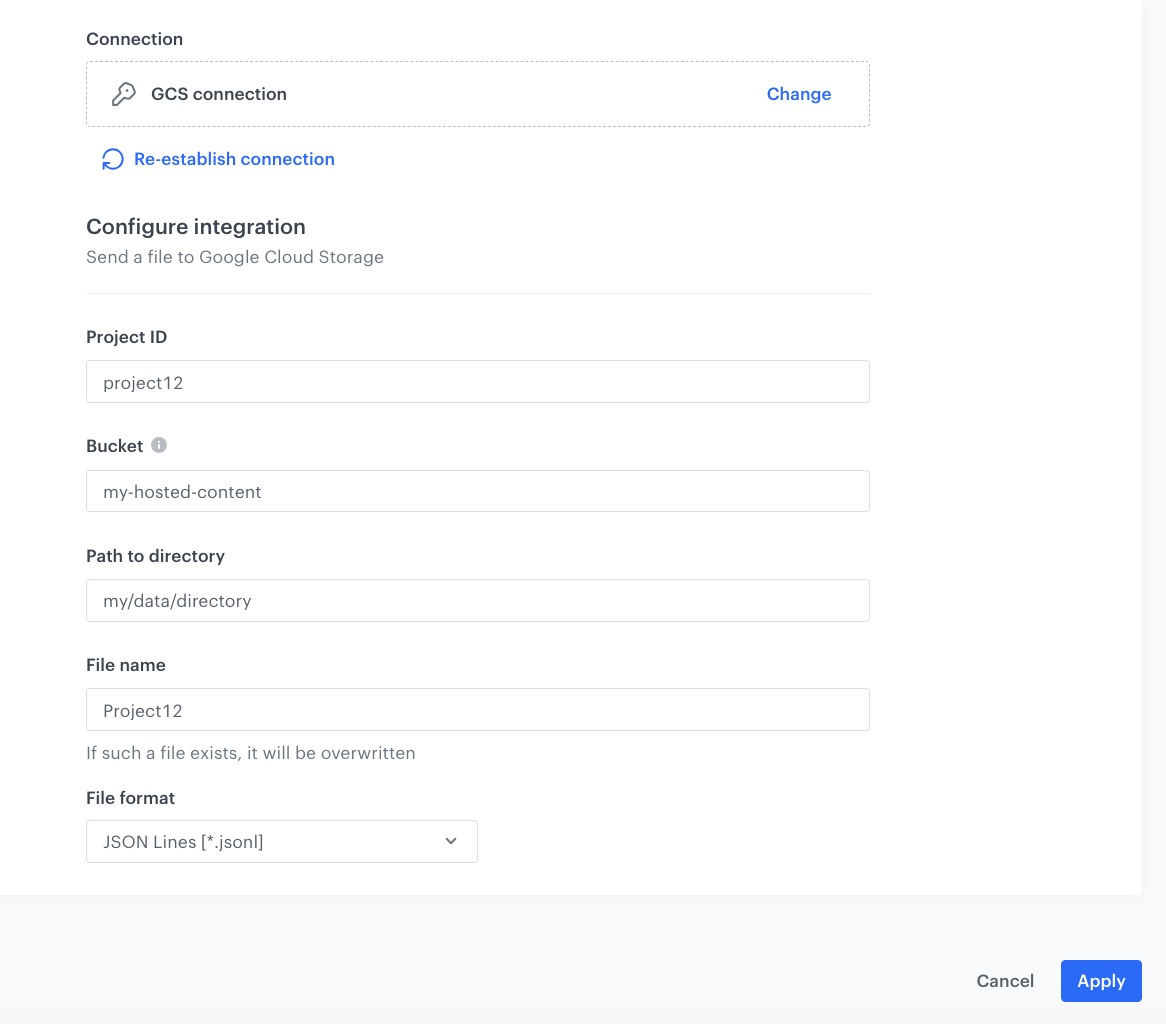
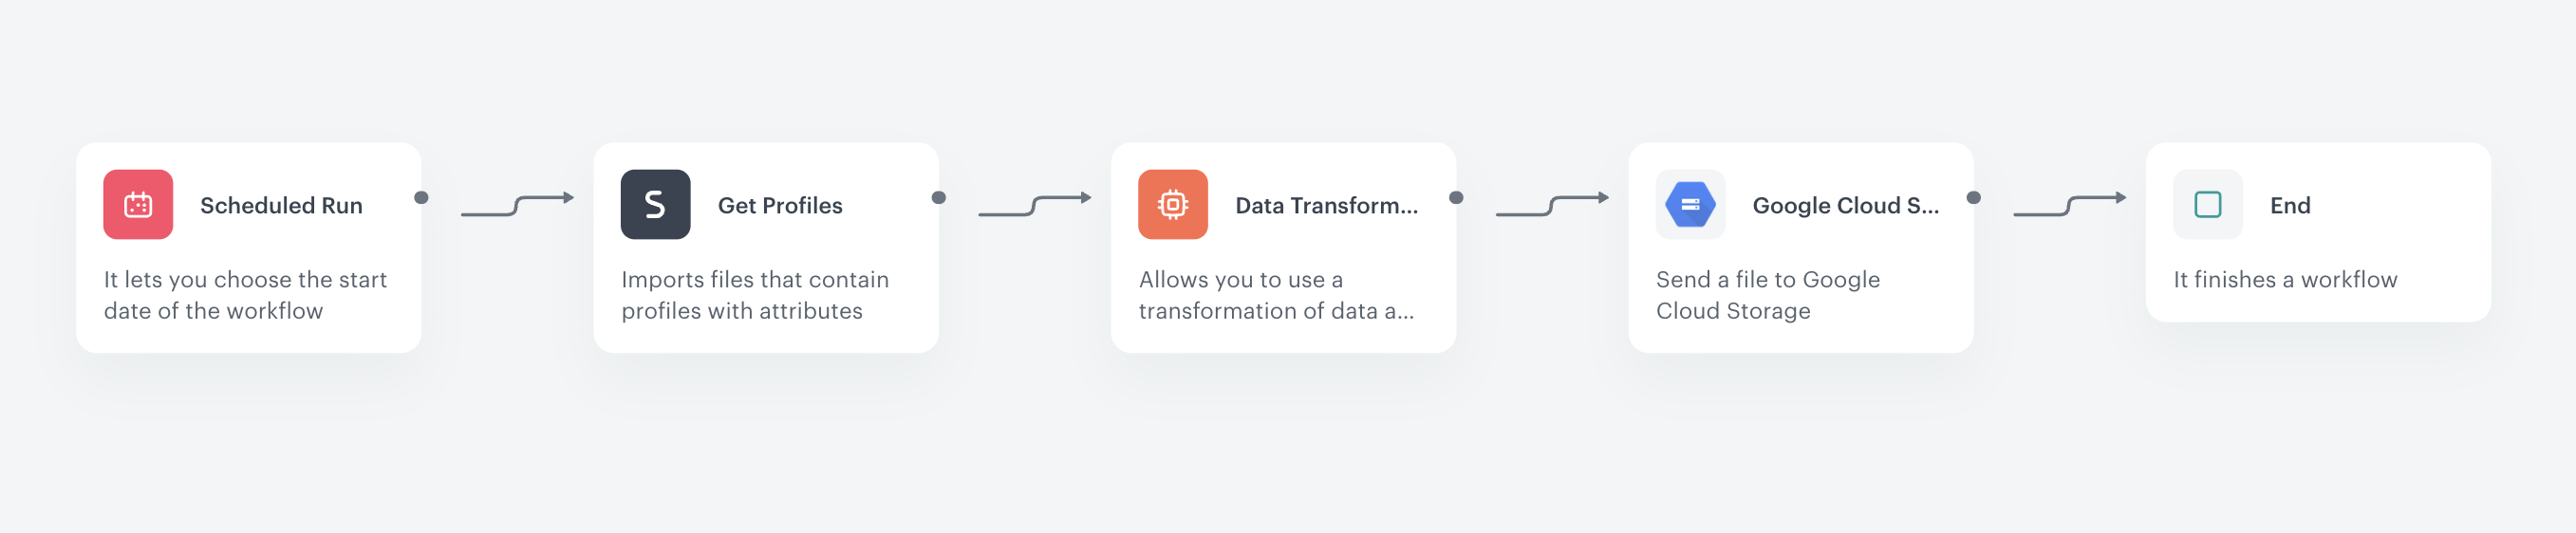
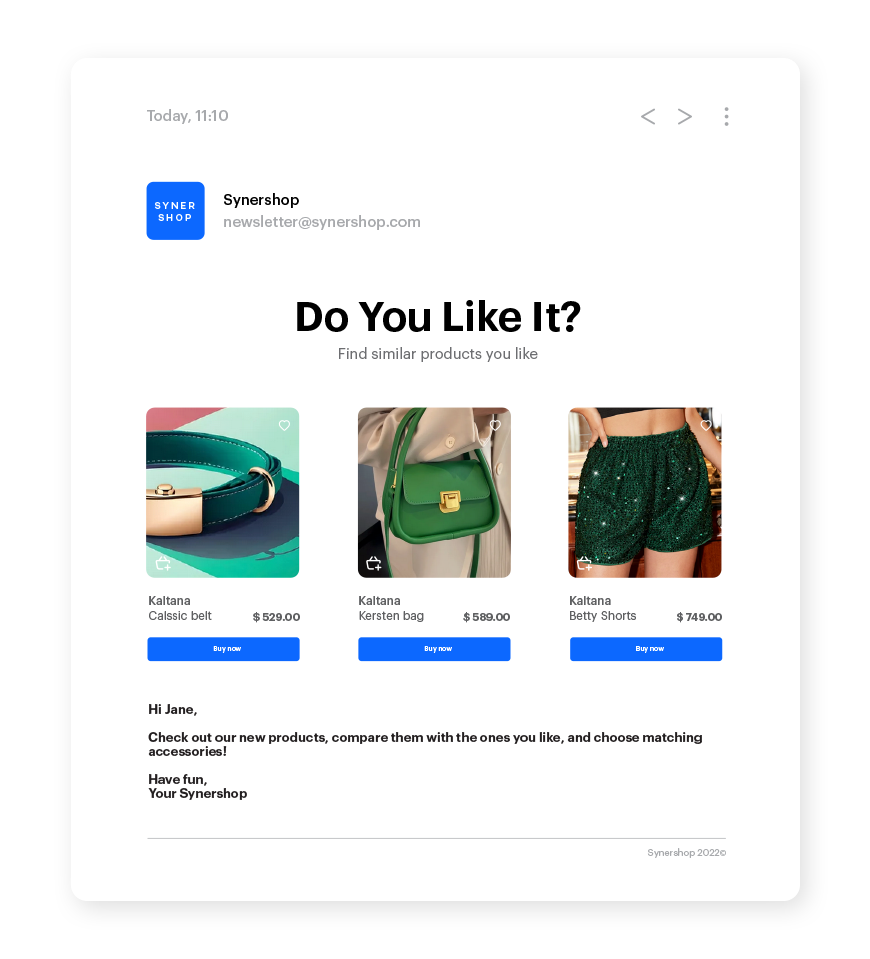
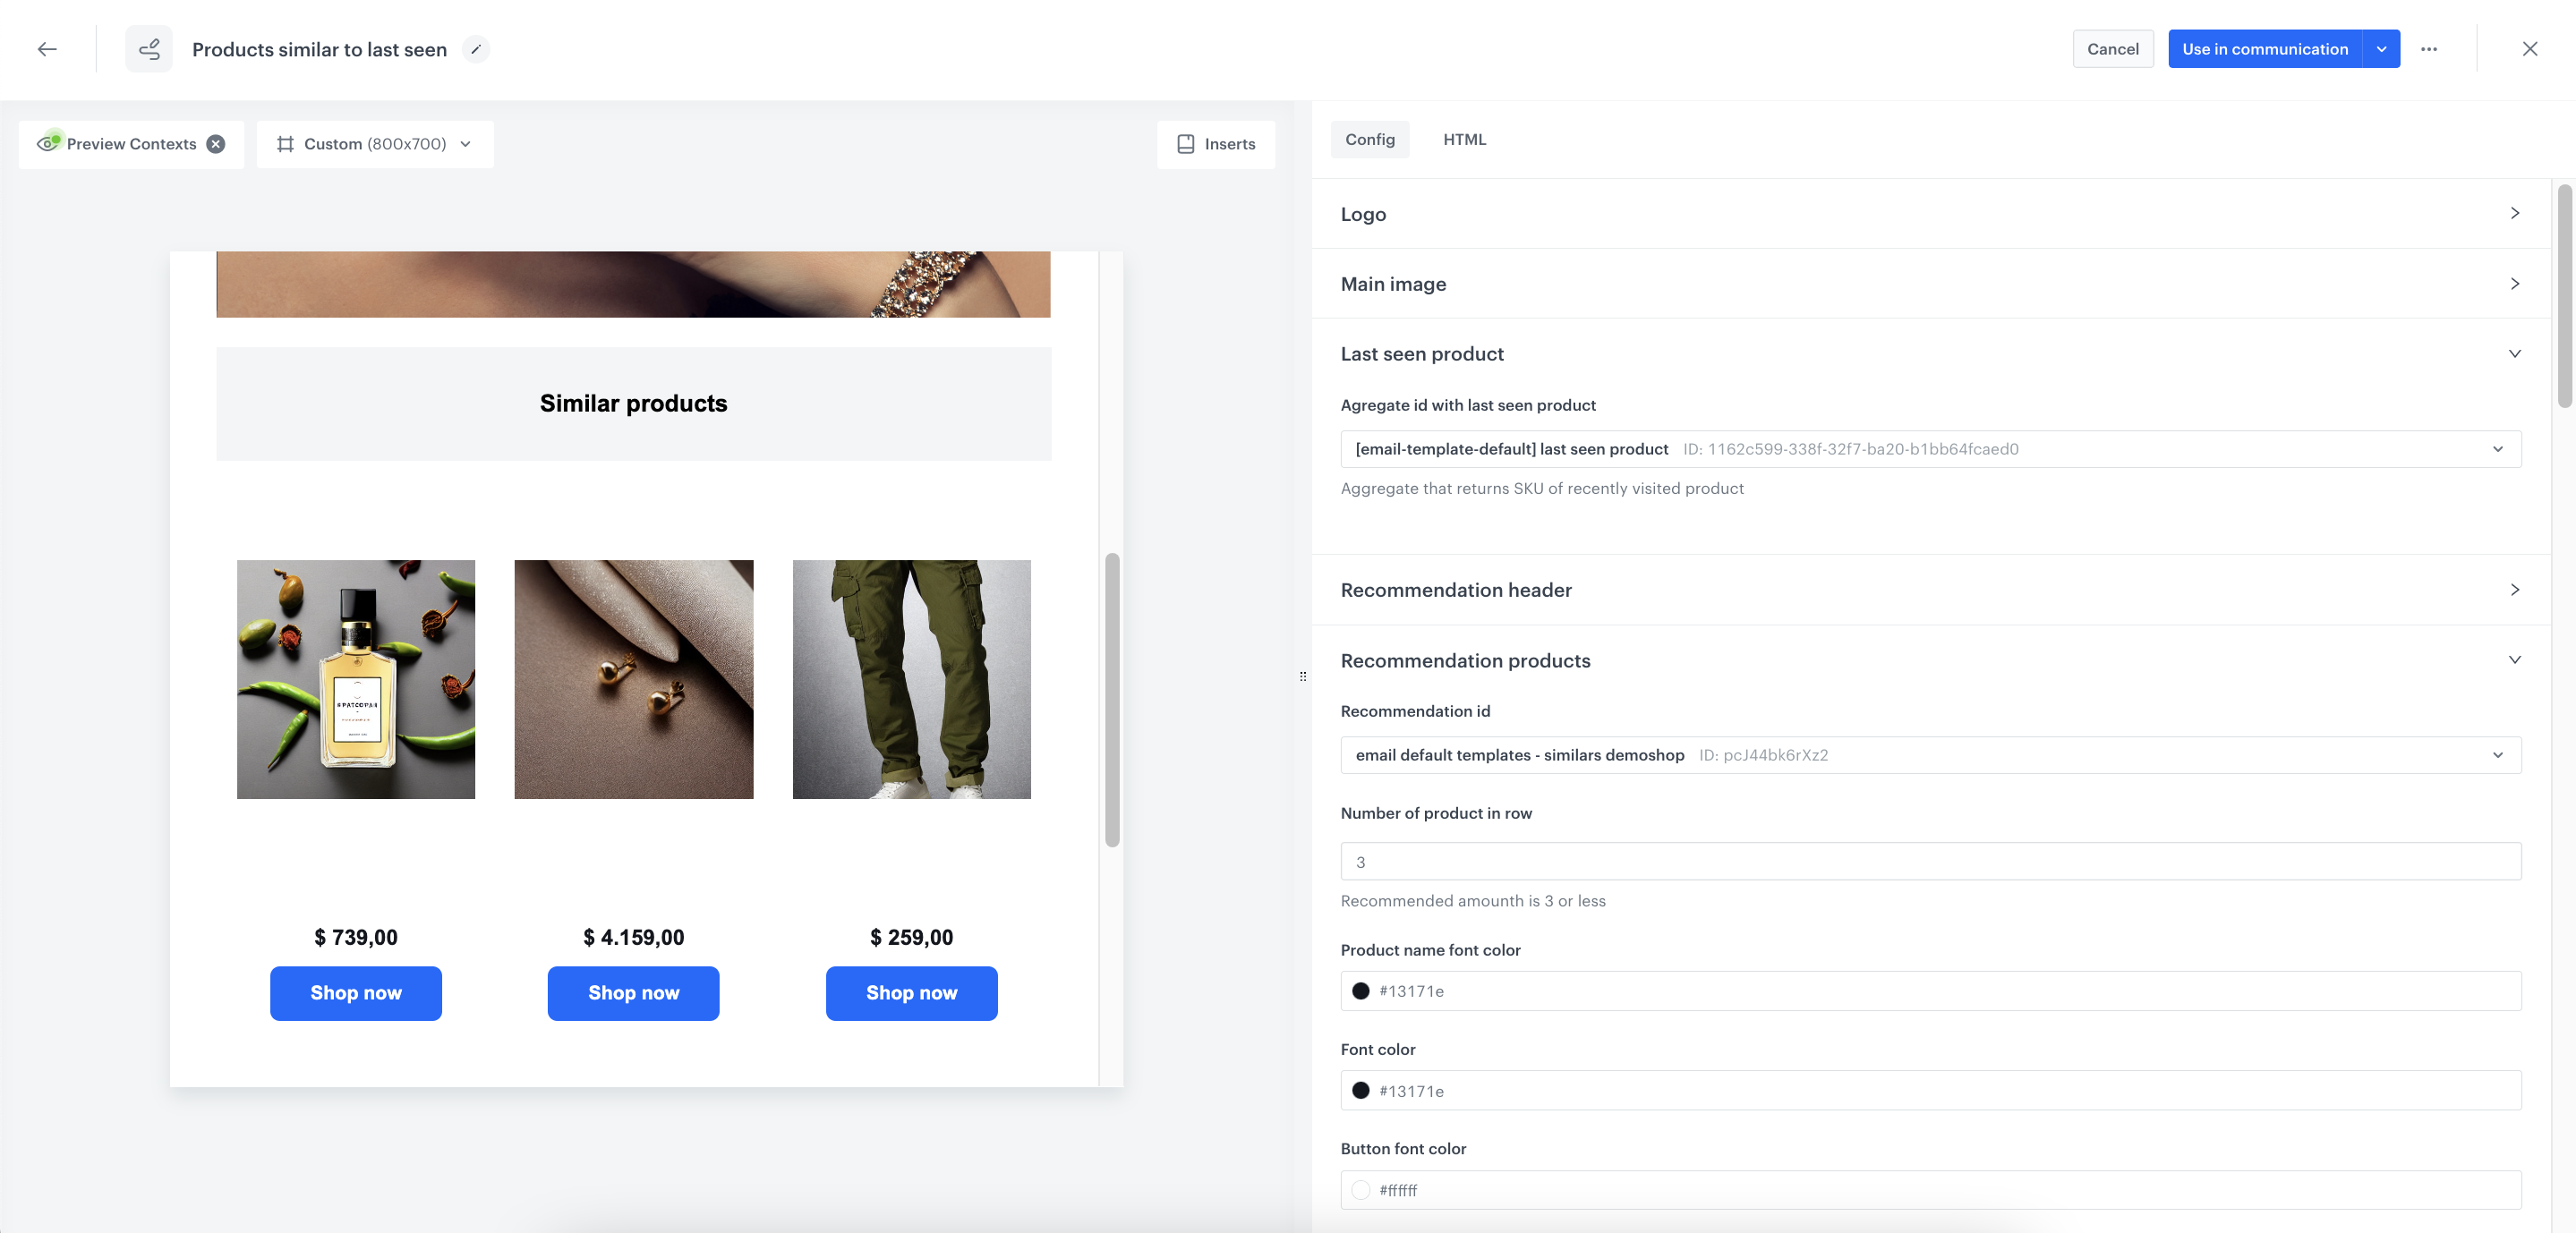
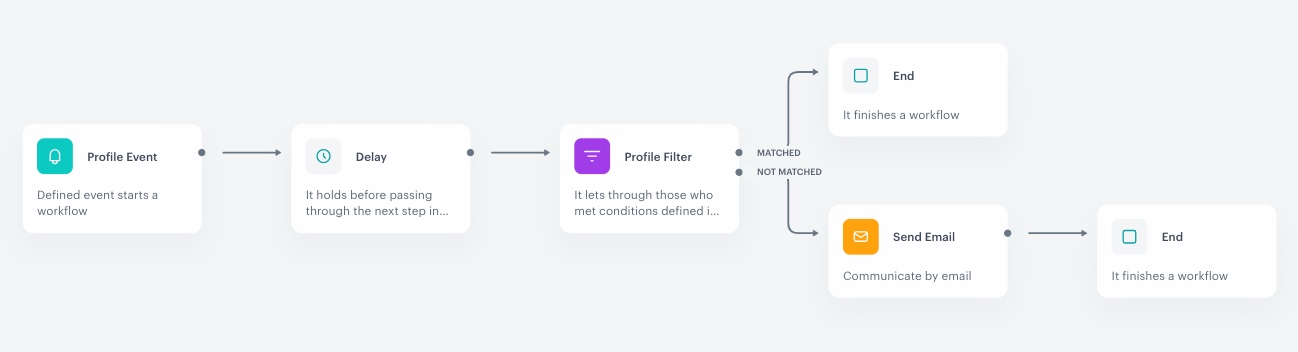
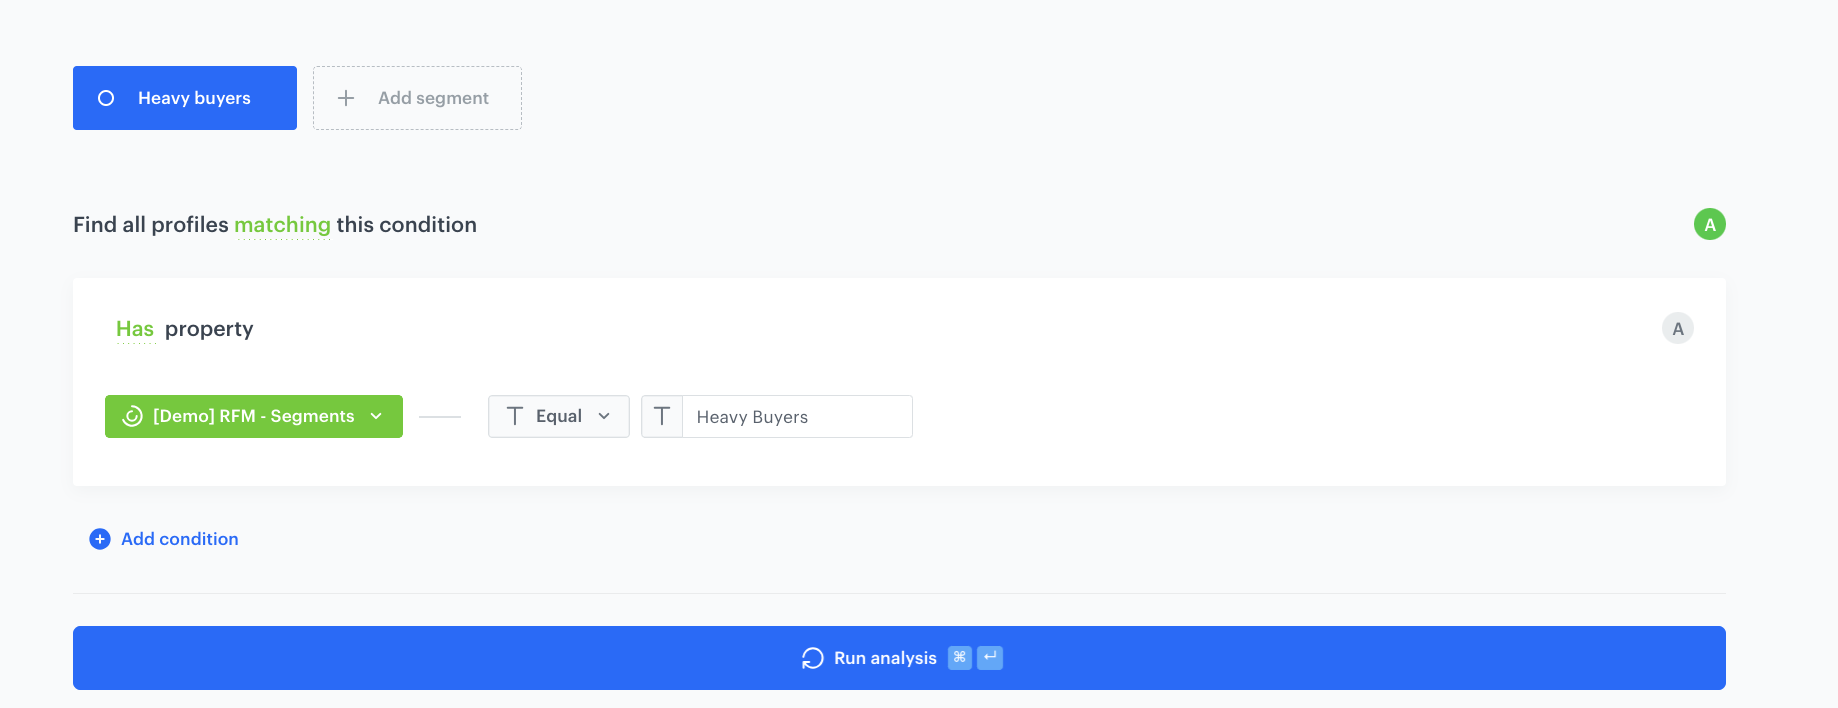


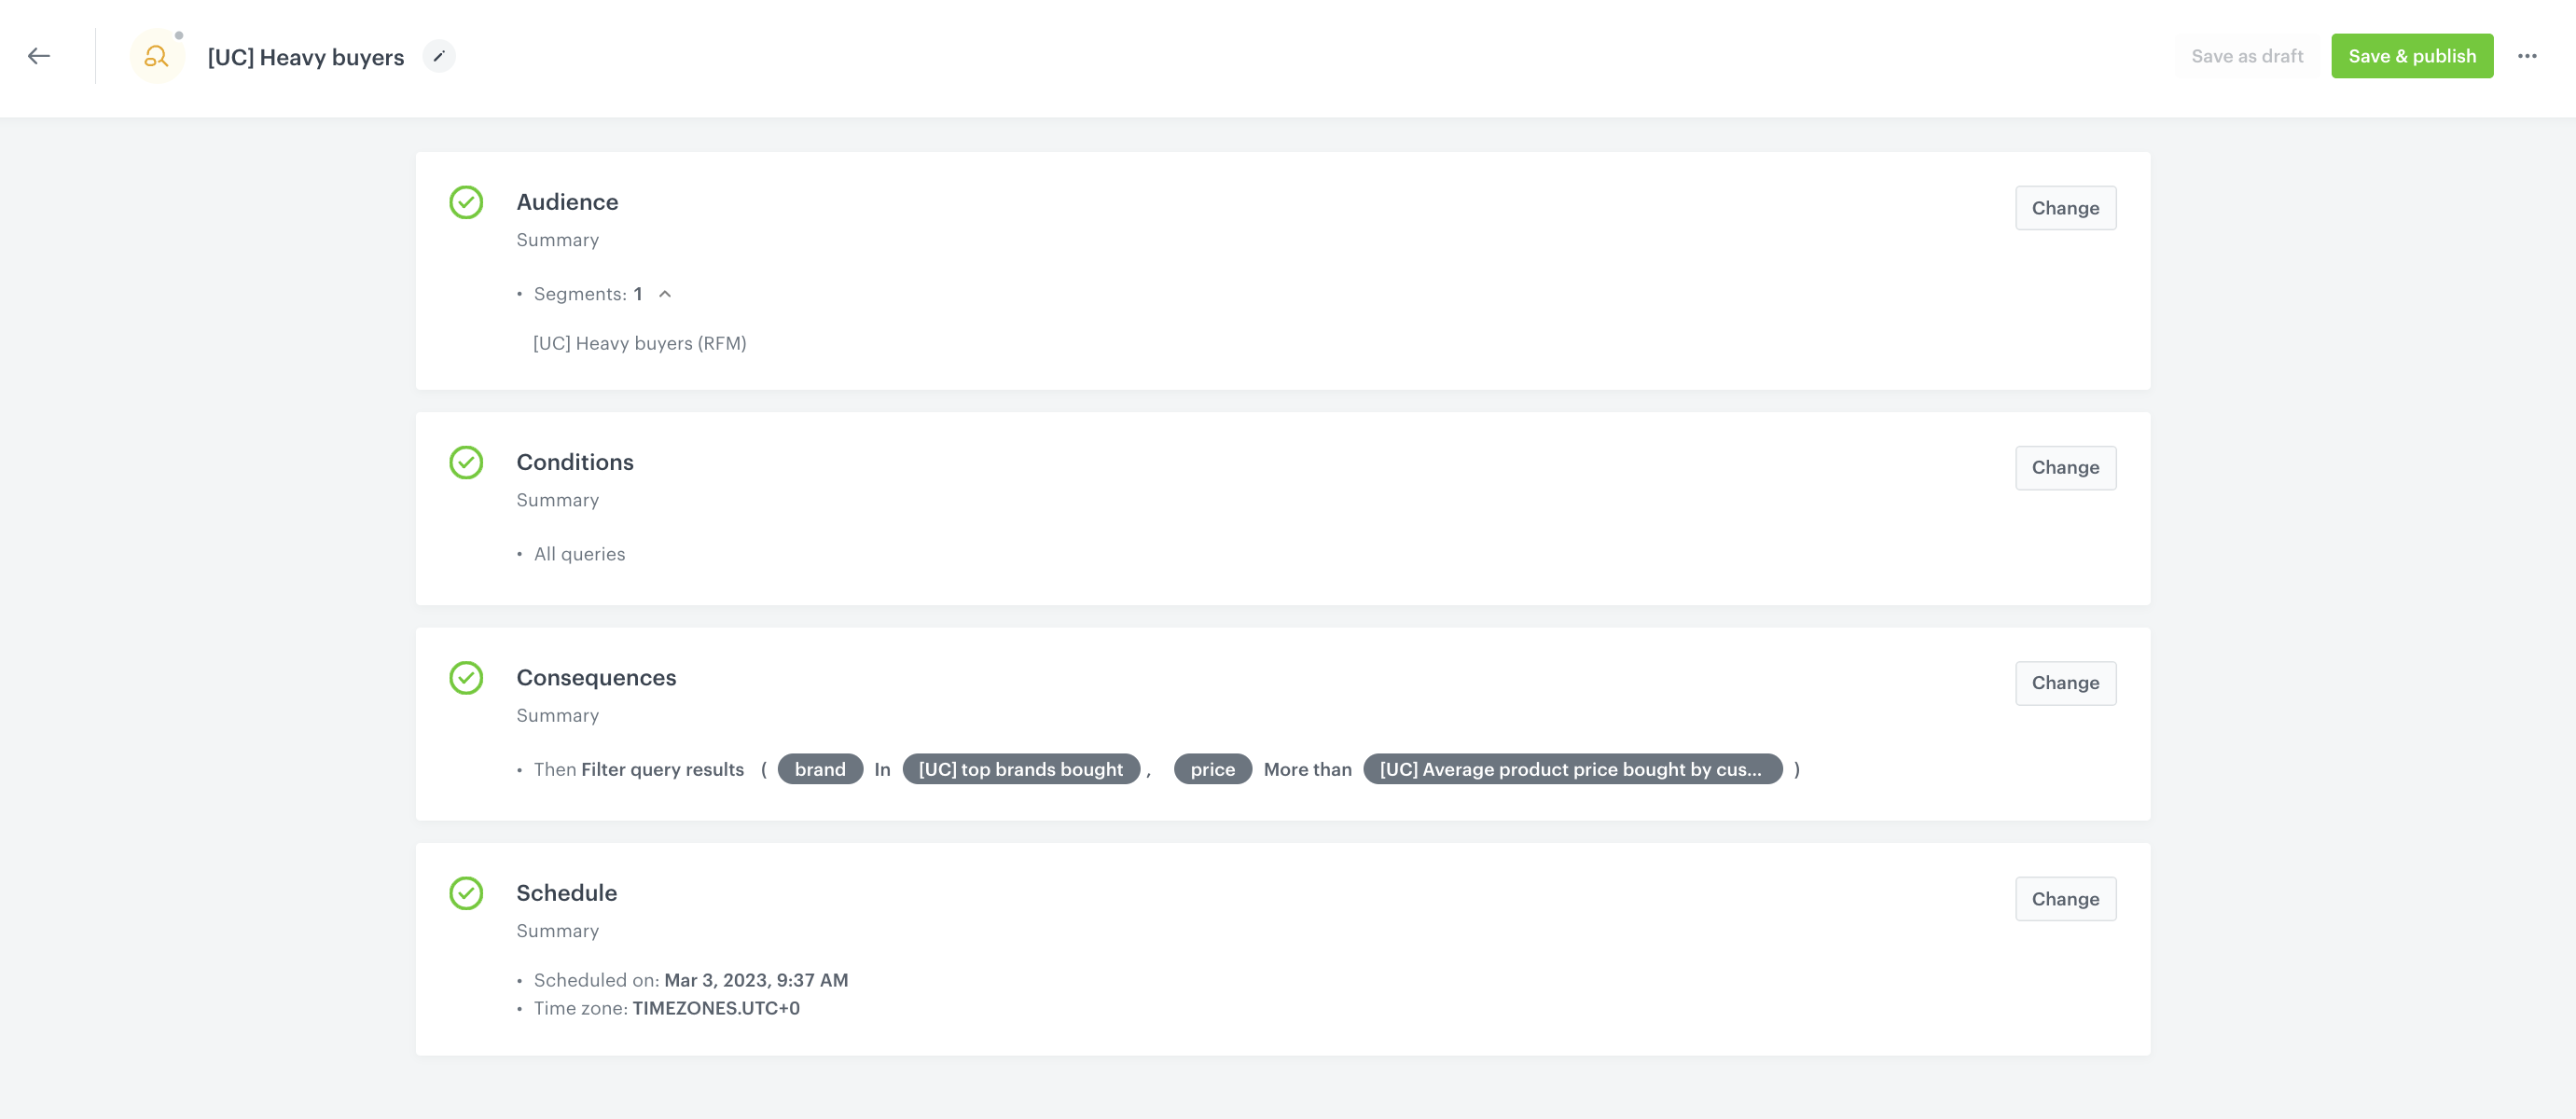
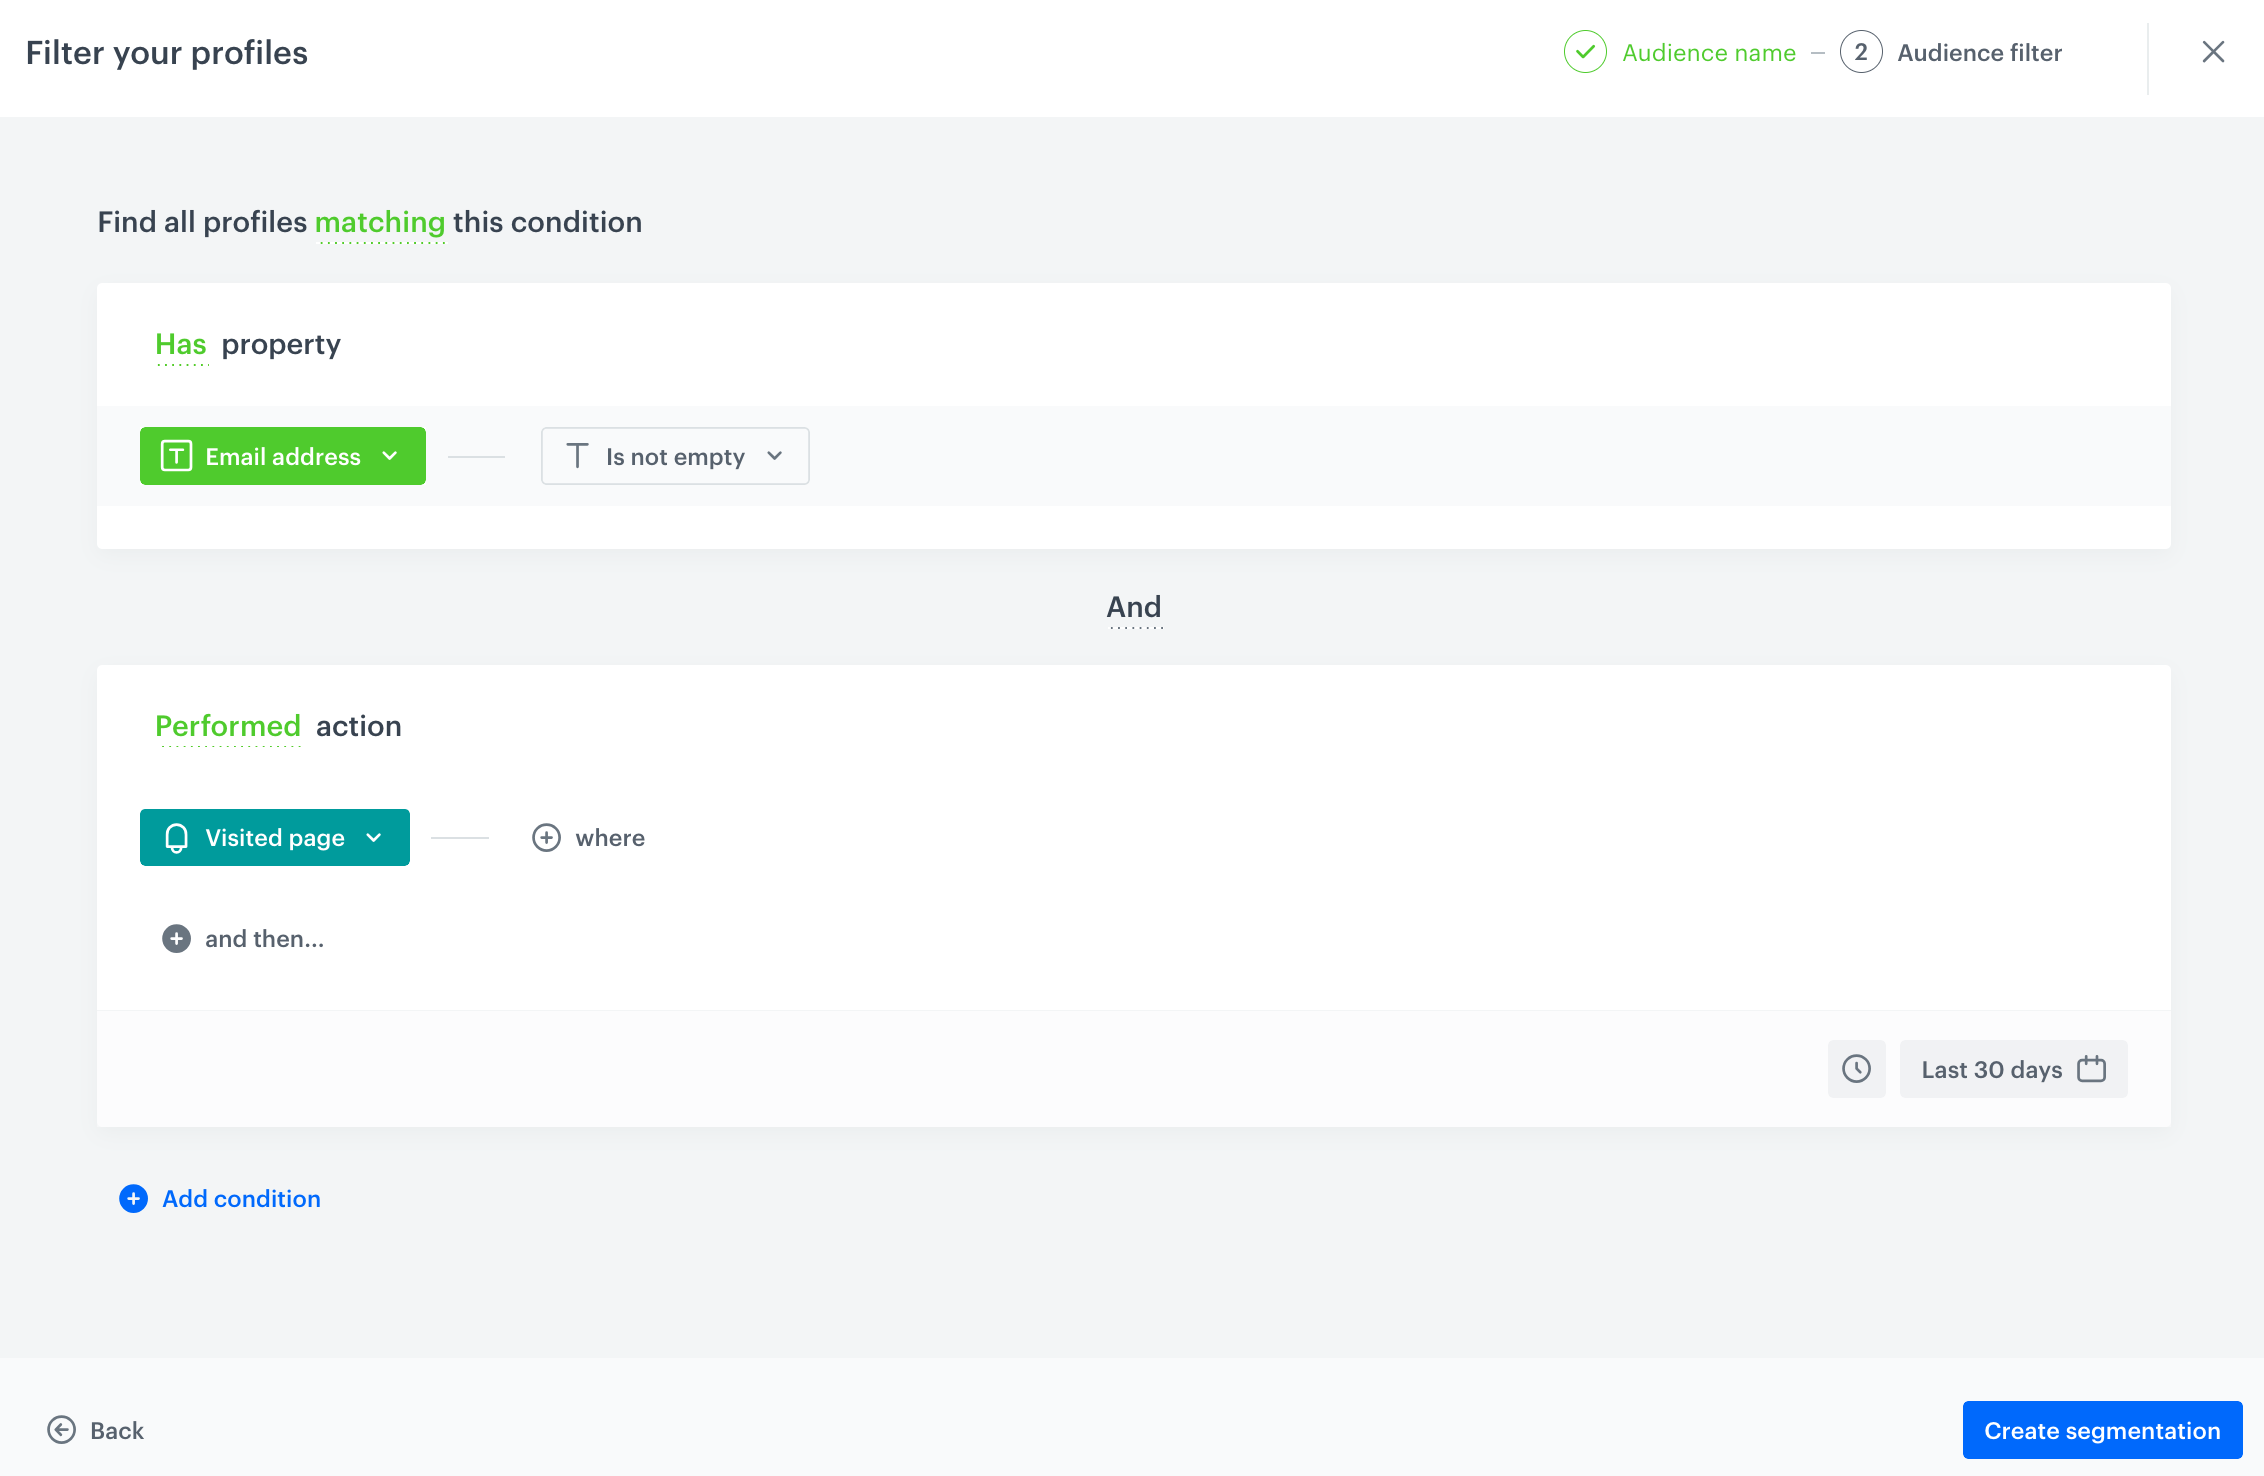
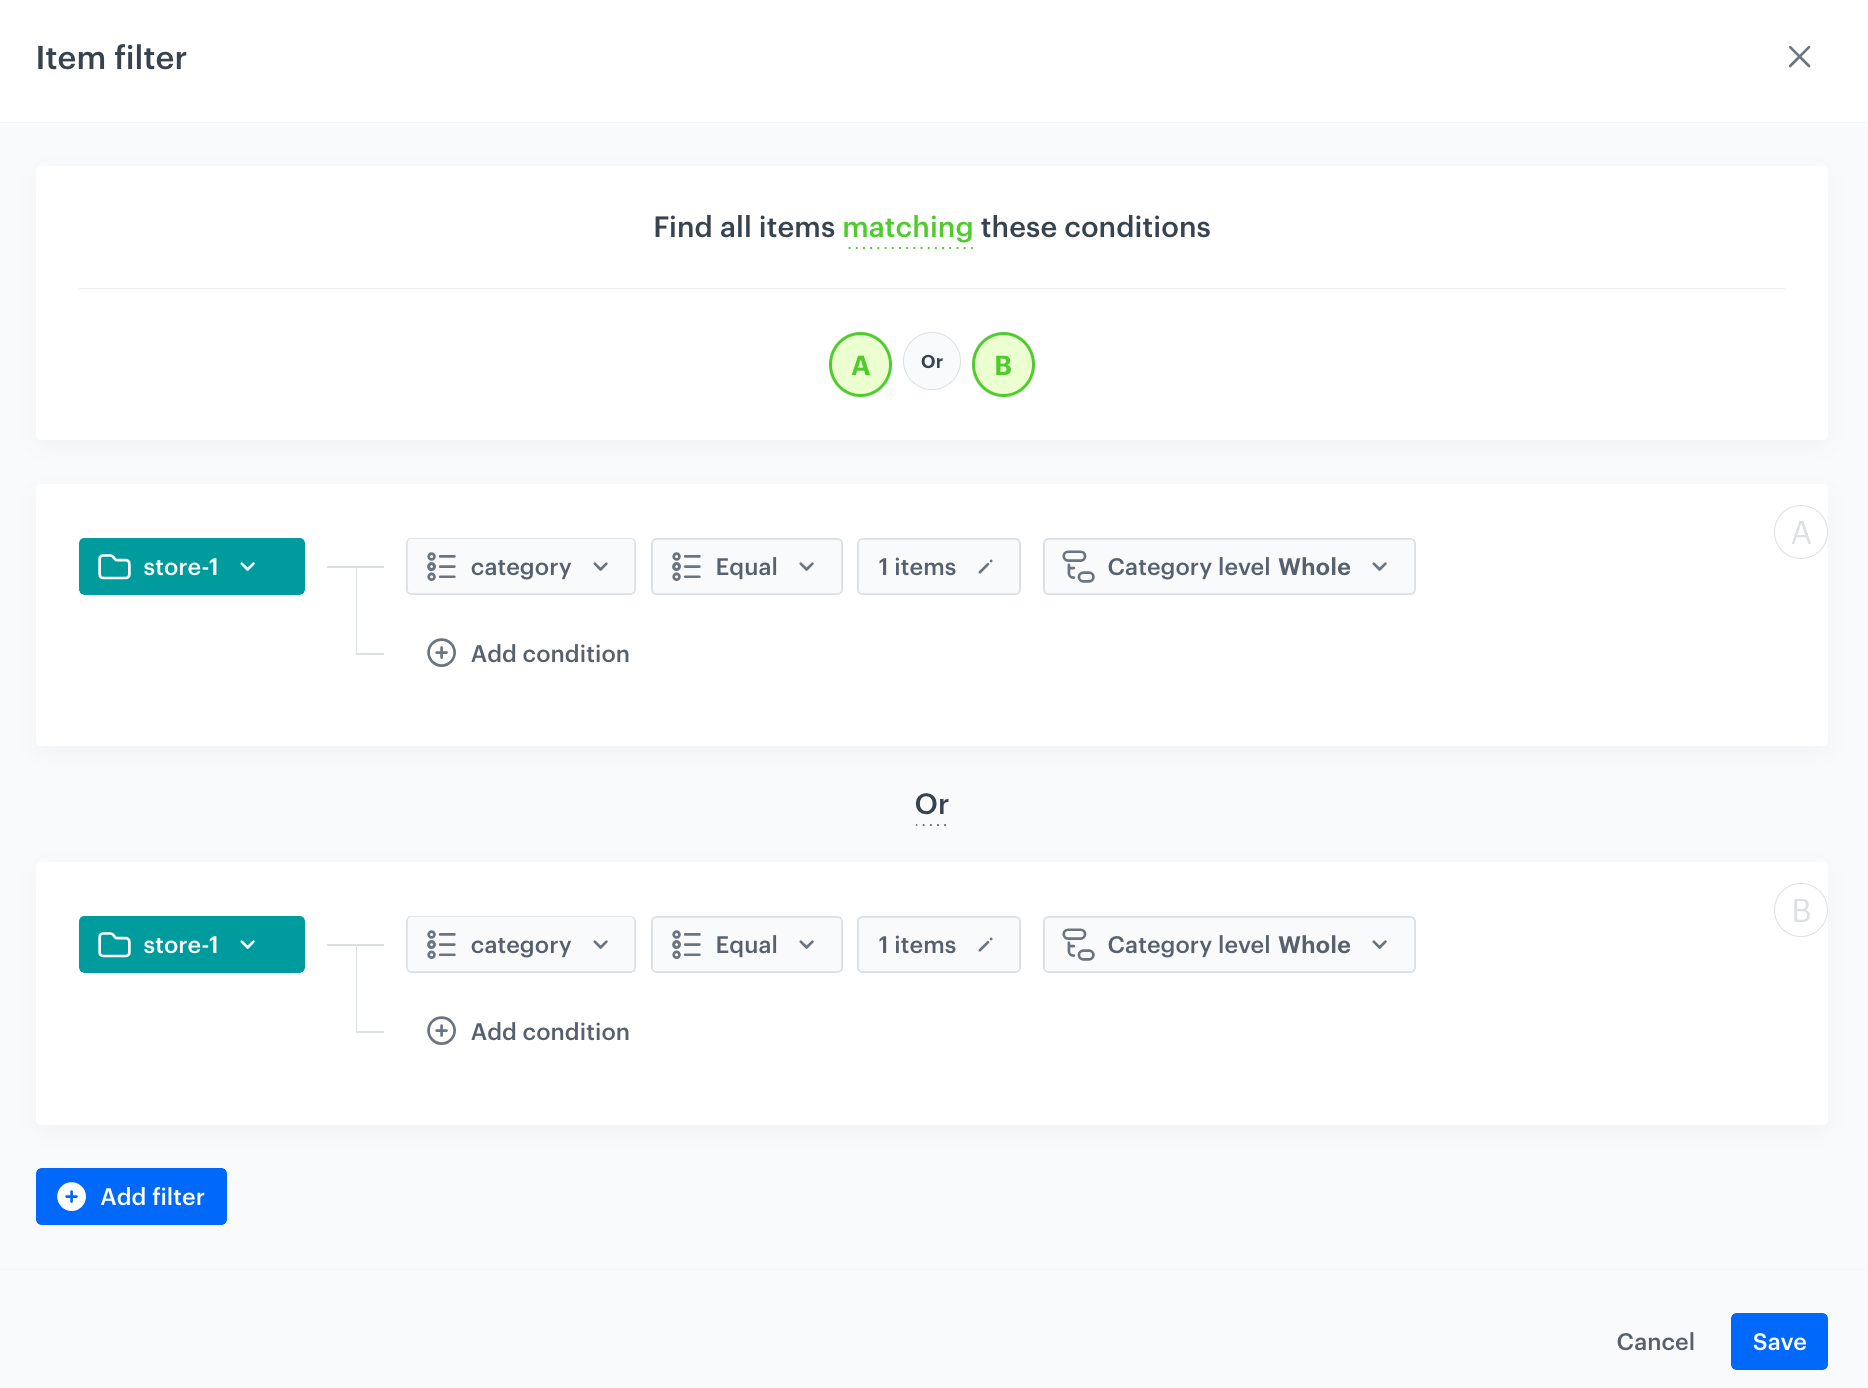
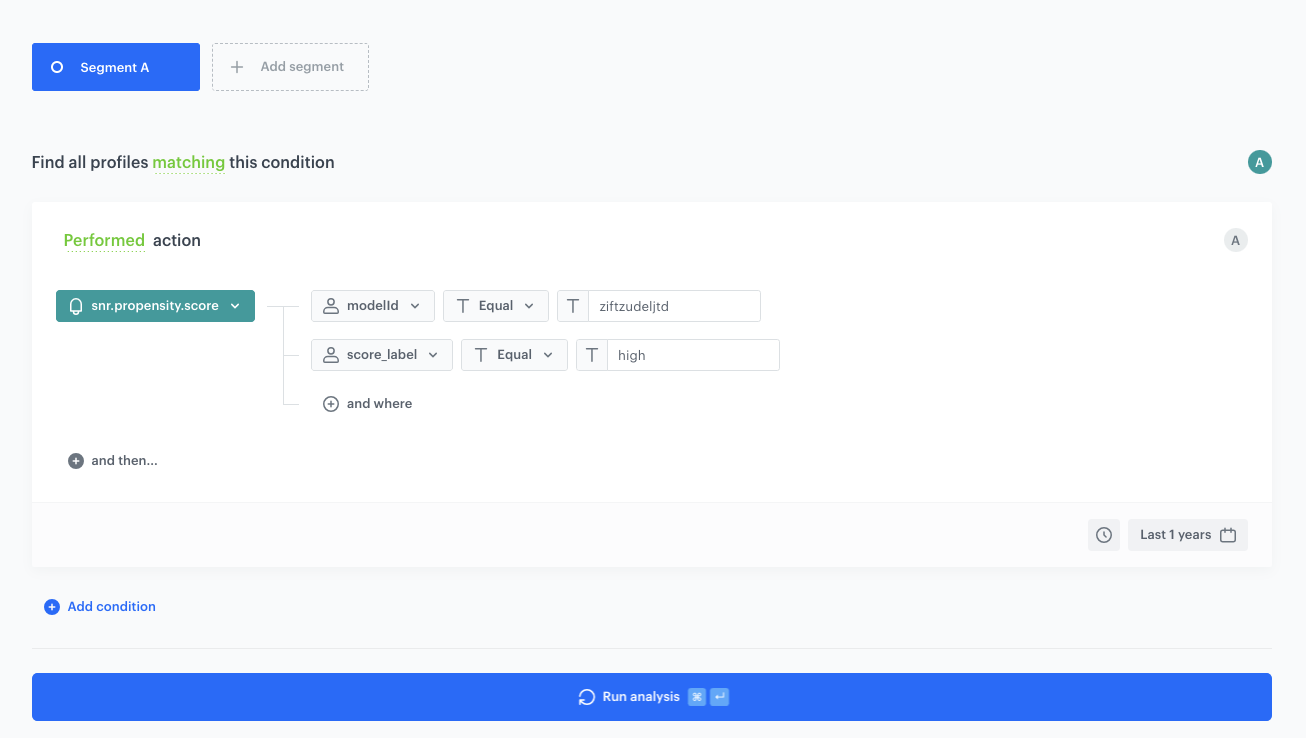
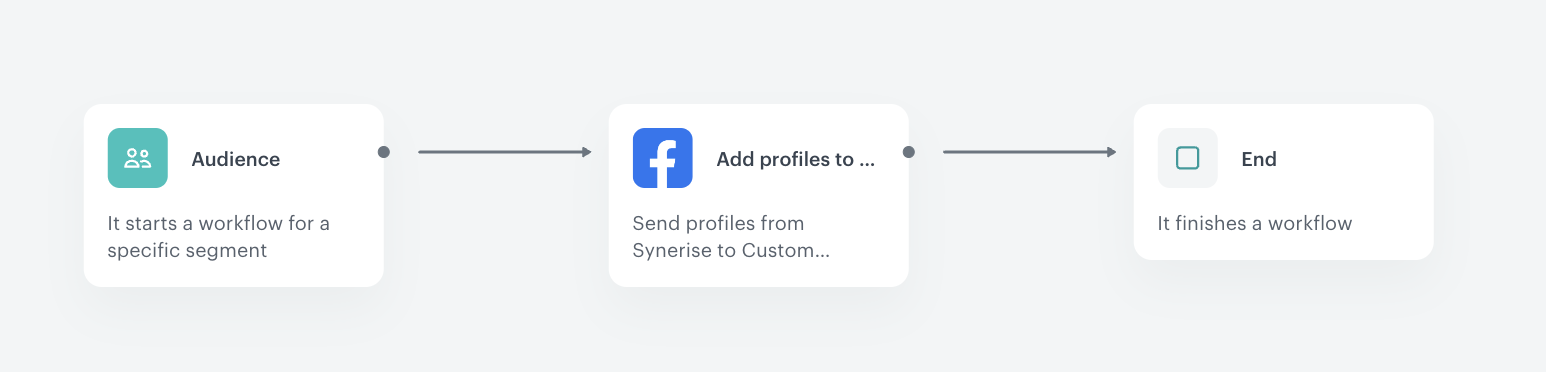
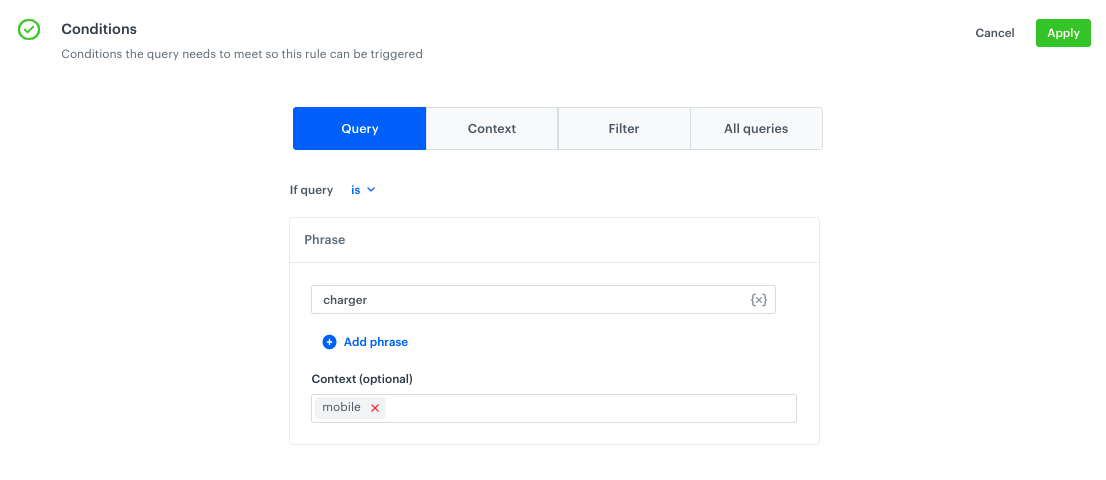
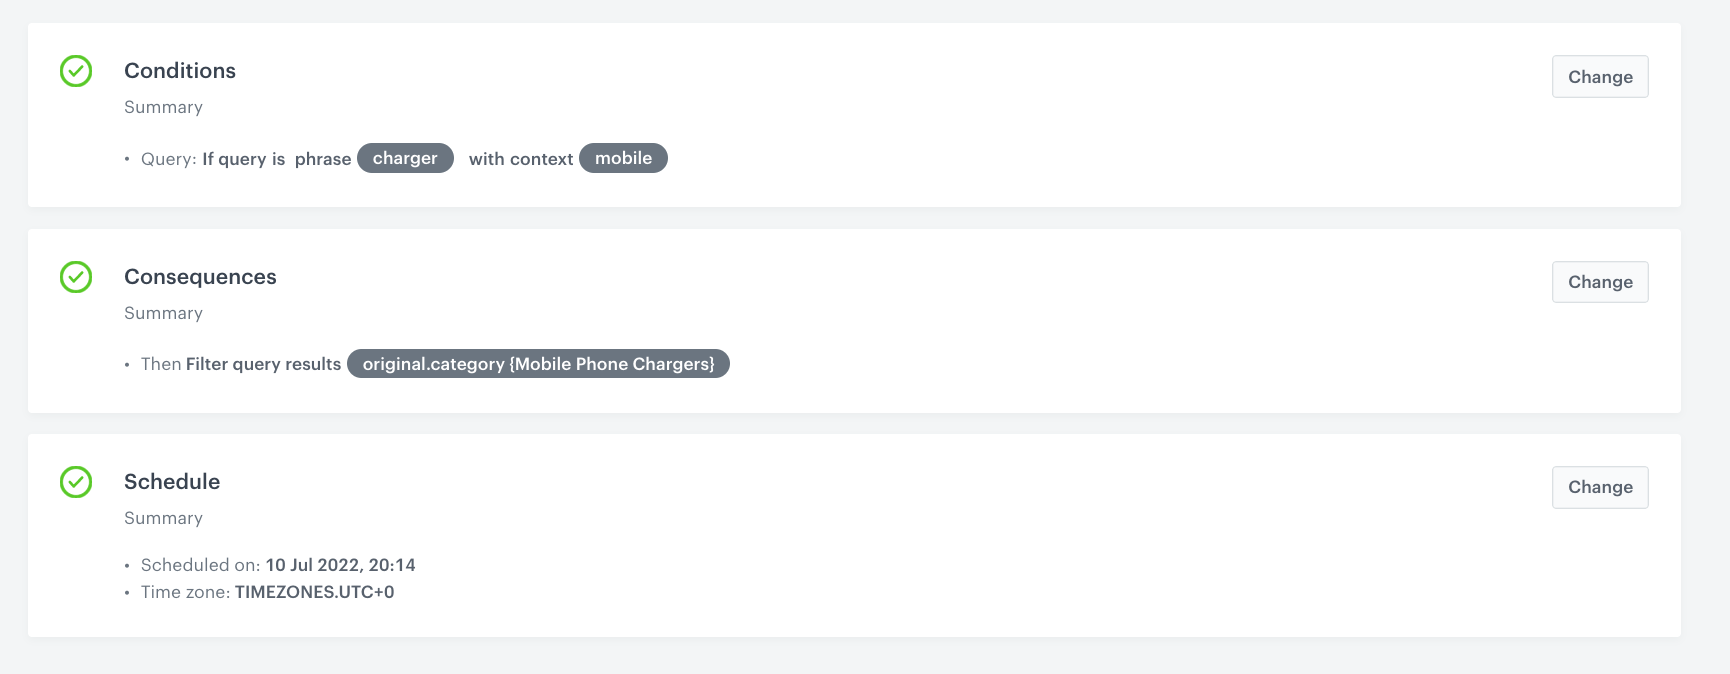
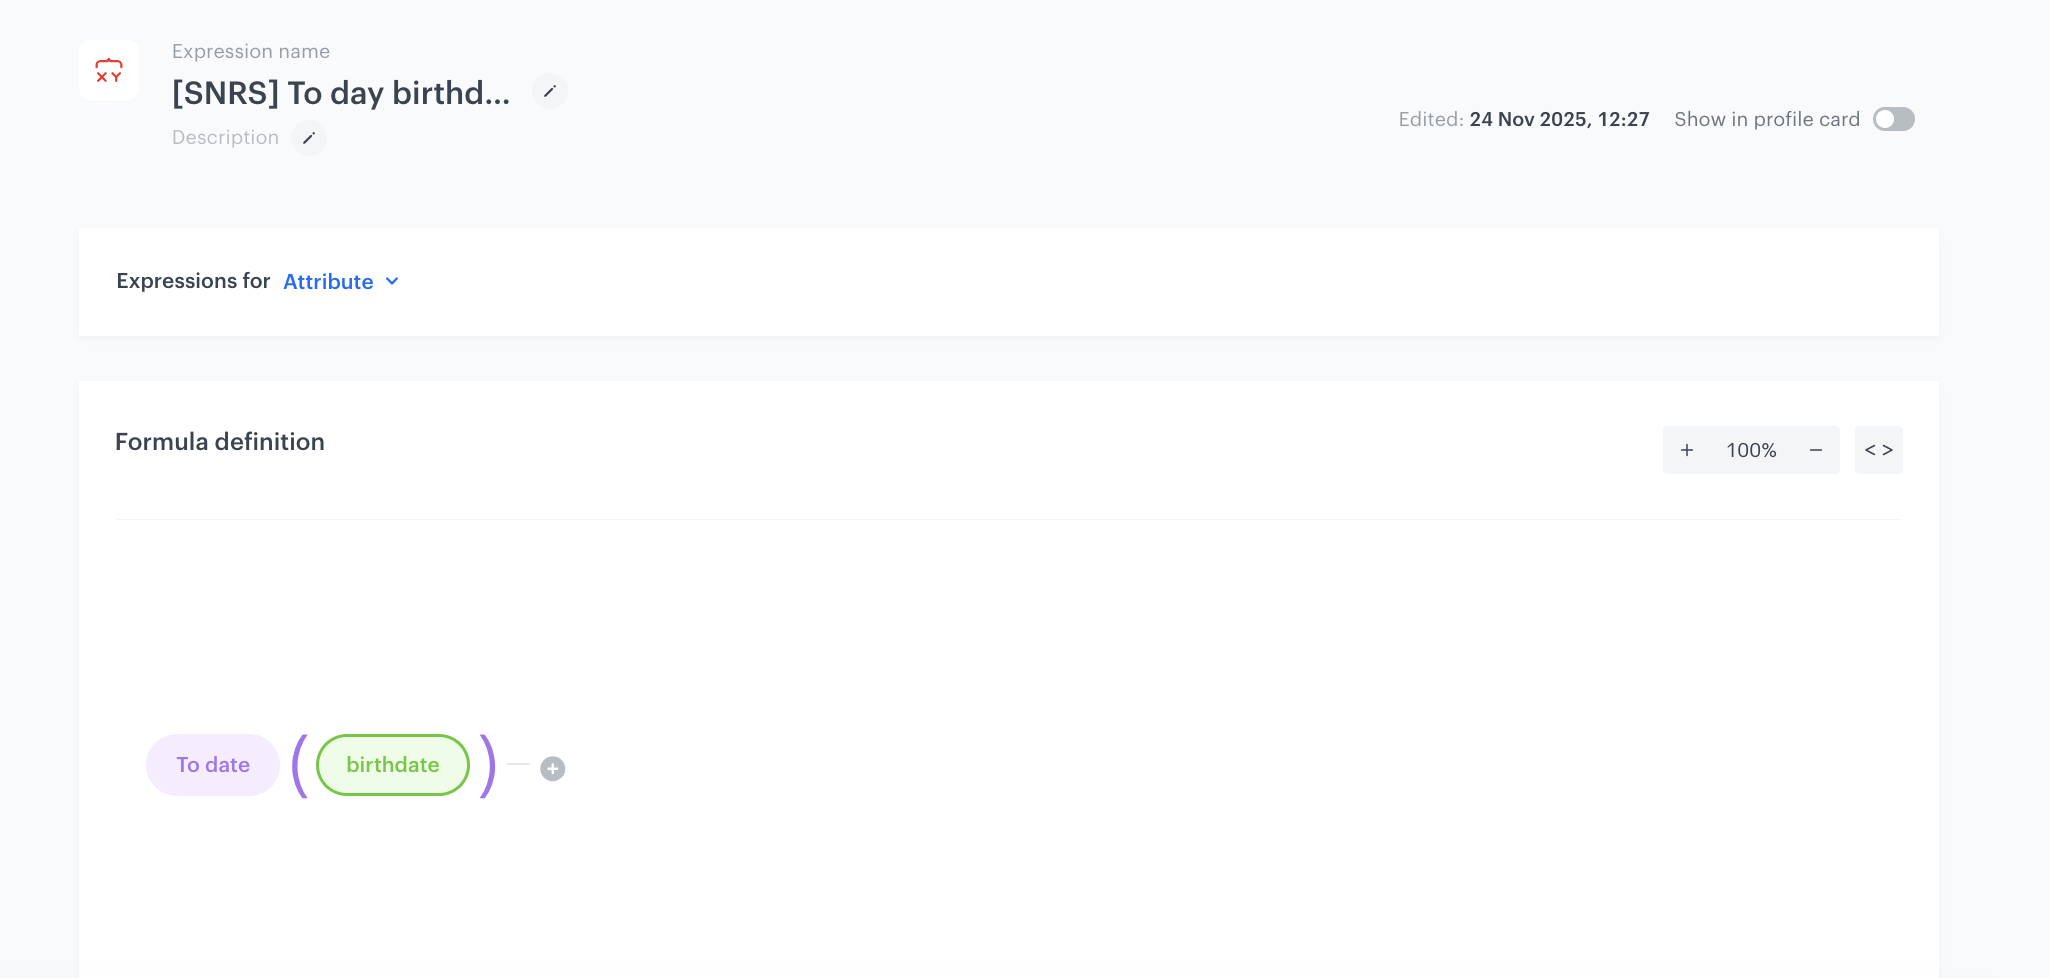
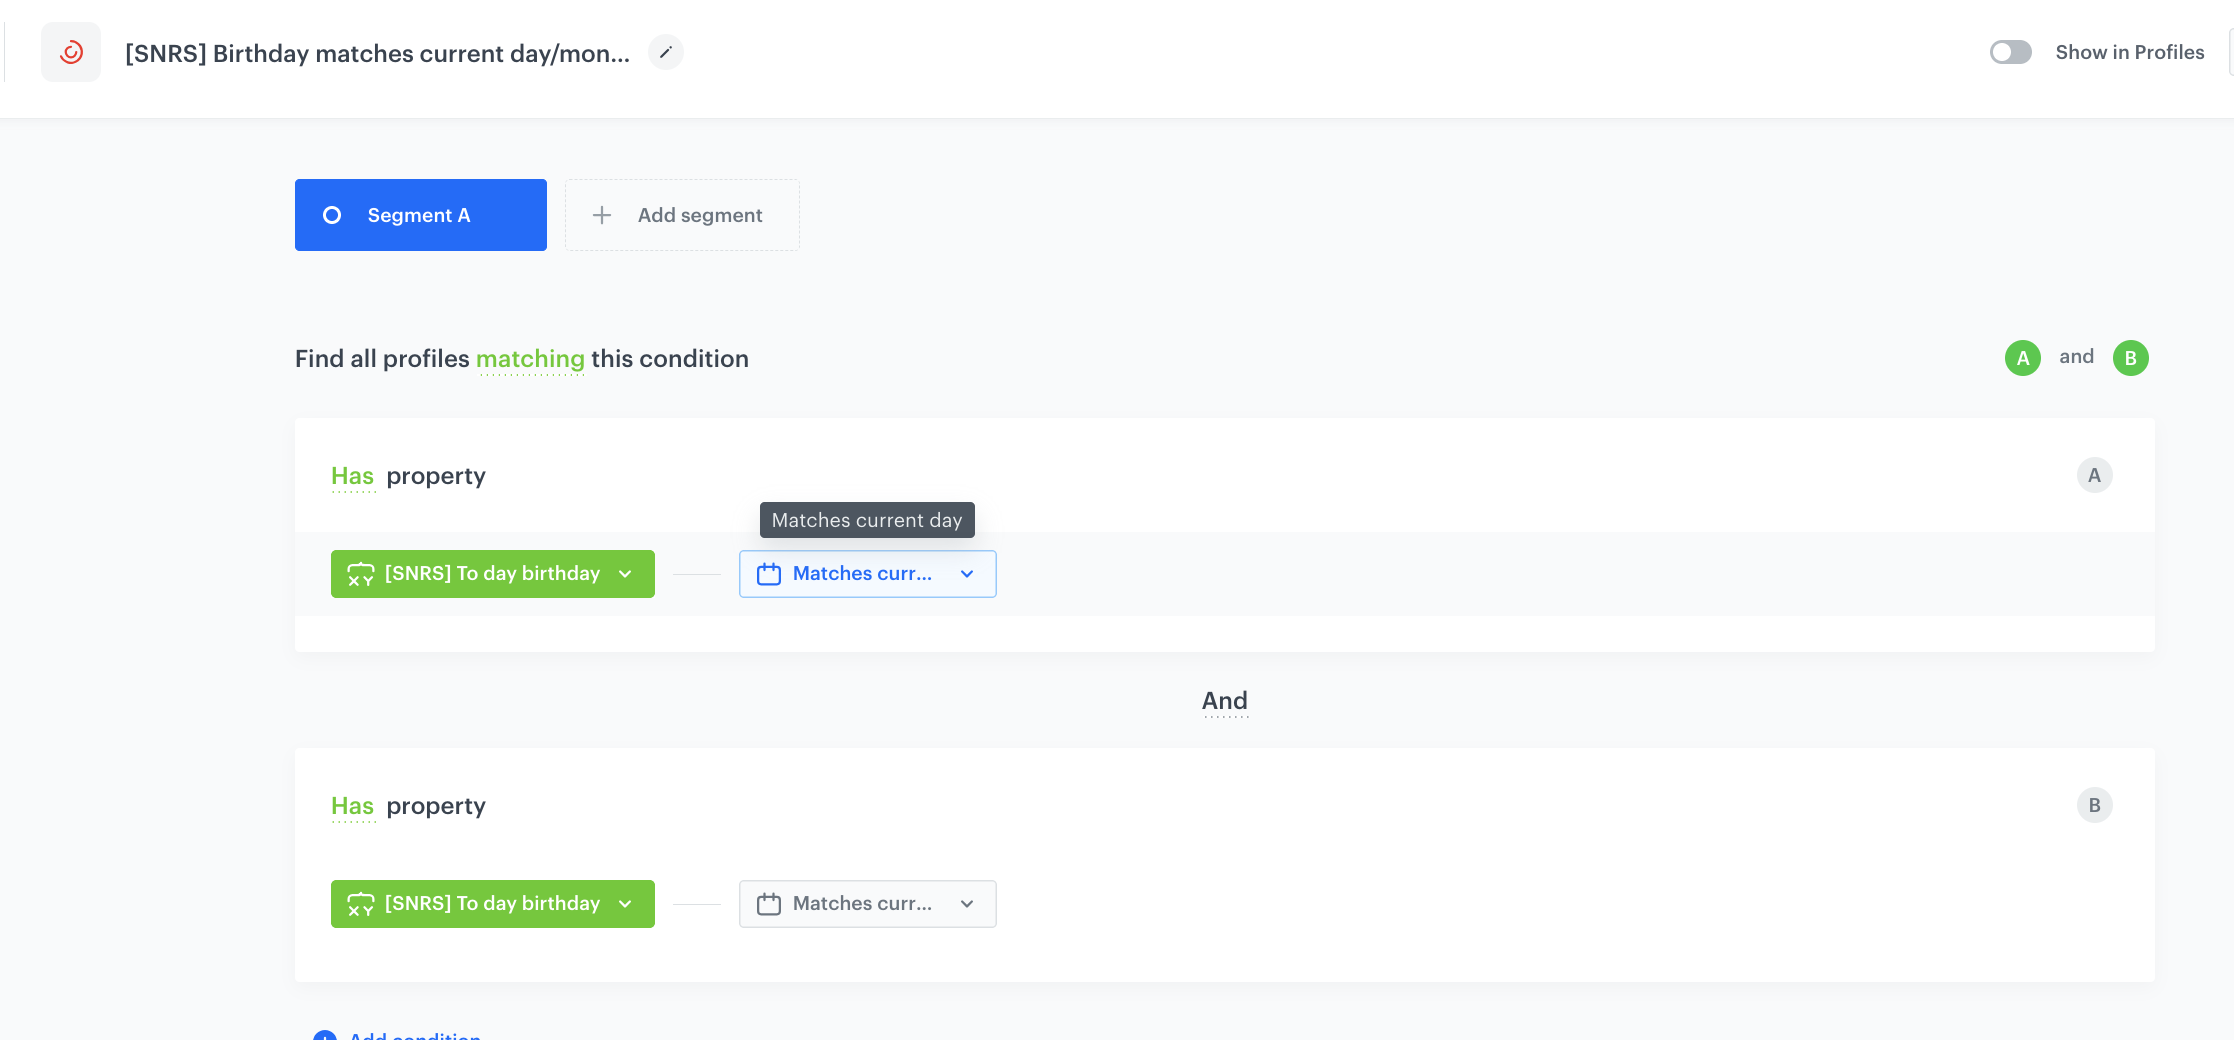
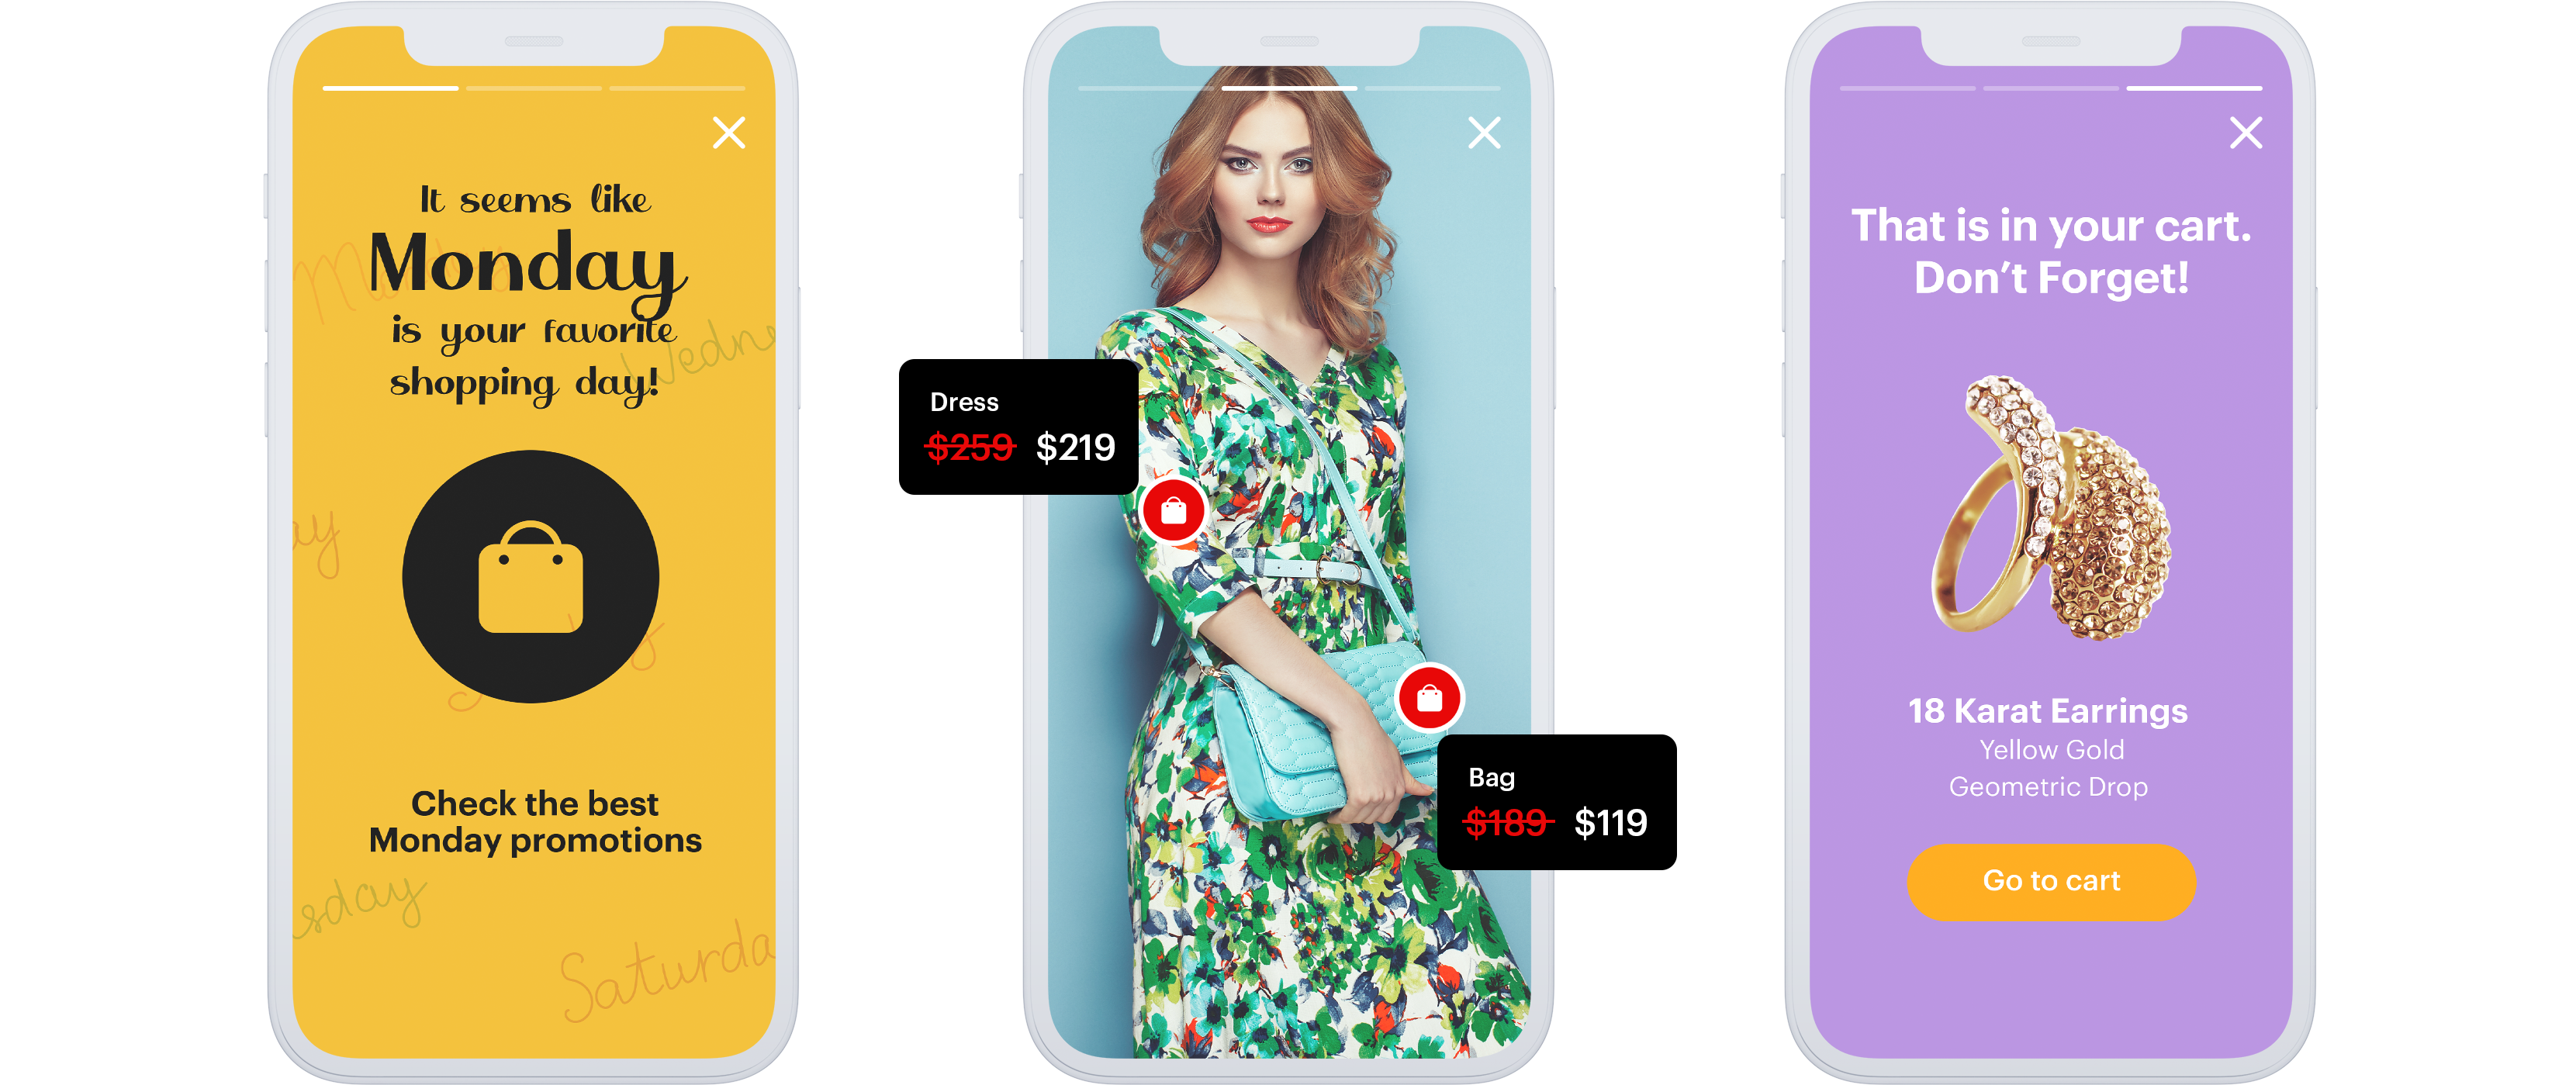
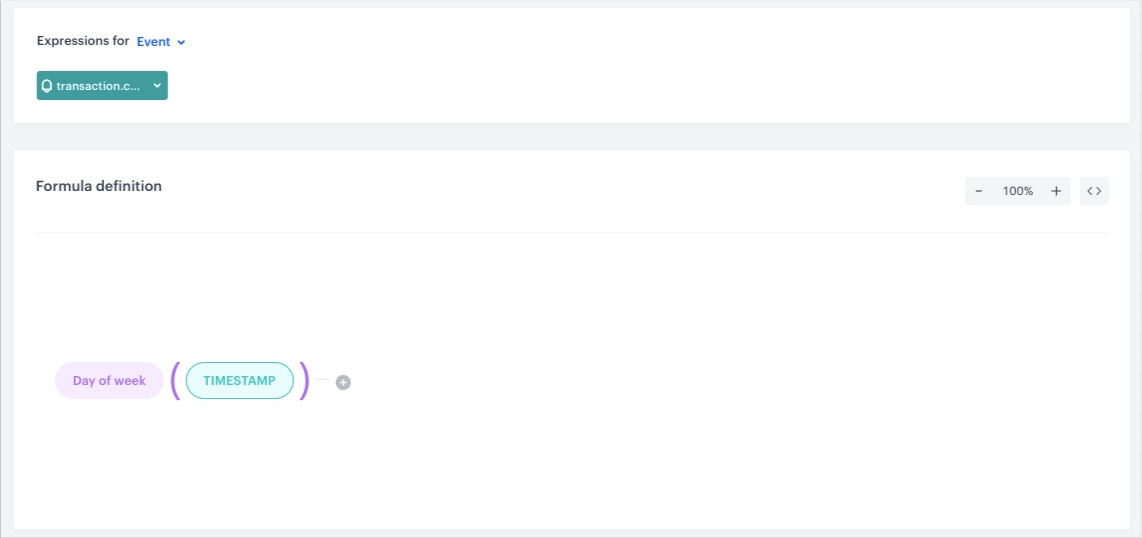

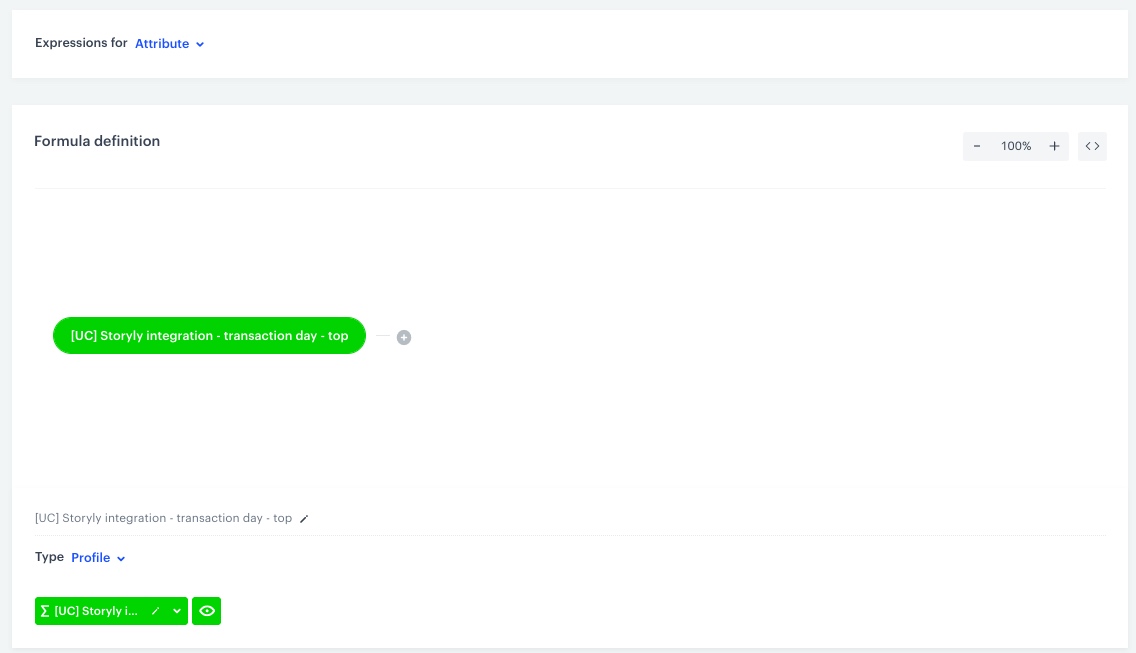
 **Data Modeling Hub > Documents > Add document**.
2. Enter the name for your document. Automatically, the field with a slug is filled as well. A slug is an ID of the document.
3. To select the type of schema, in the **Type** section, unfold the dropdown list. A schema defines the method of validating the data included in the document. To create a schema type, please refer to the [API reference pages](https://hub.synerise.com/api-reference/asset-management#operation/addSchemaType).
4. Optionally, in the **Description** field, you can add a description of the document.
5. In the **Content (JSON)** section, paste the JSON code:
**Data Modeling Hub > Documents > Add document**.
2. Enter the name for your document. Automatically, the field with a slug is filled as well. A slug is an ID of the document.
3. To select the type of schema, in the **Type** section, unfold the dropdown list. A schema defines the method of validating the data included in the document. To create a schema type, please refer to the [API reference pages](https://hub.synerise.com/api-reference/asset-management#operation/addSchemaType).
4. Optionally, in the **Description** field, you can add a description of the document.
5. In the **Content (JSON)** section, paste the JSON code:
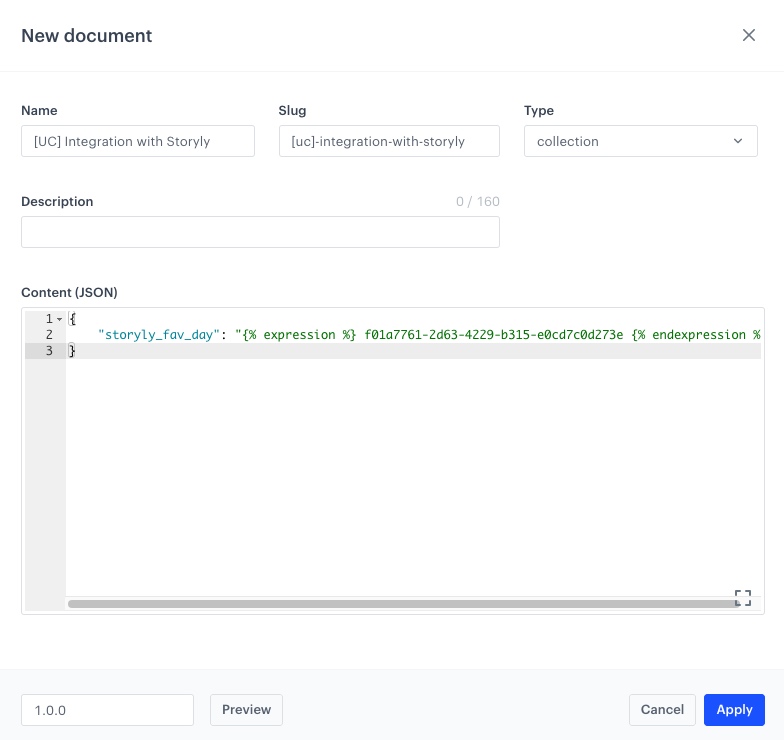
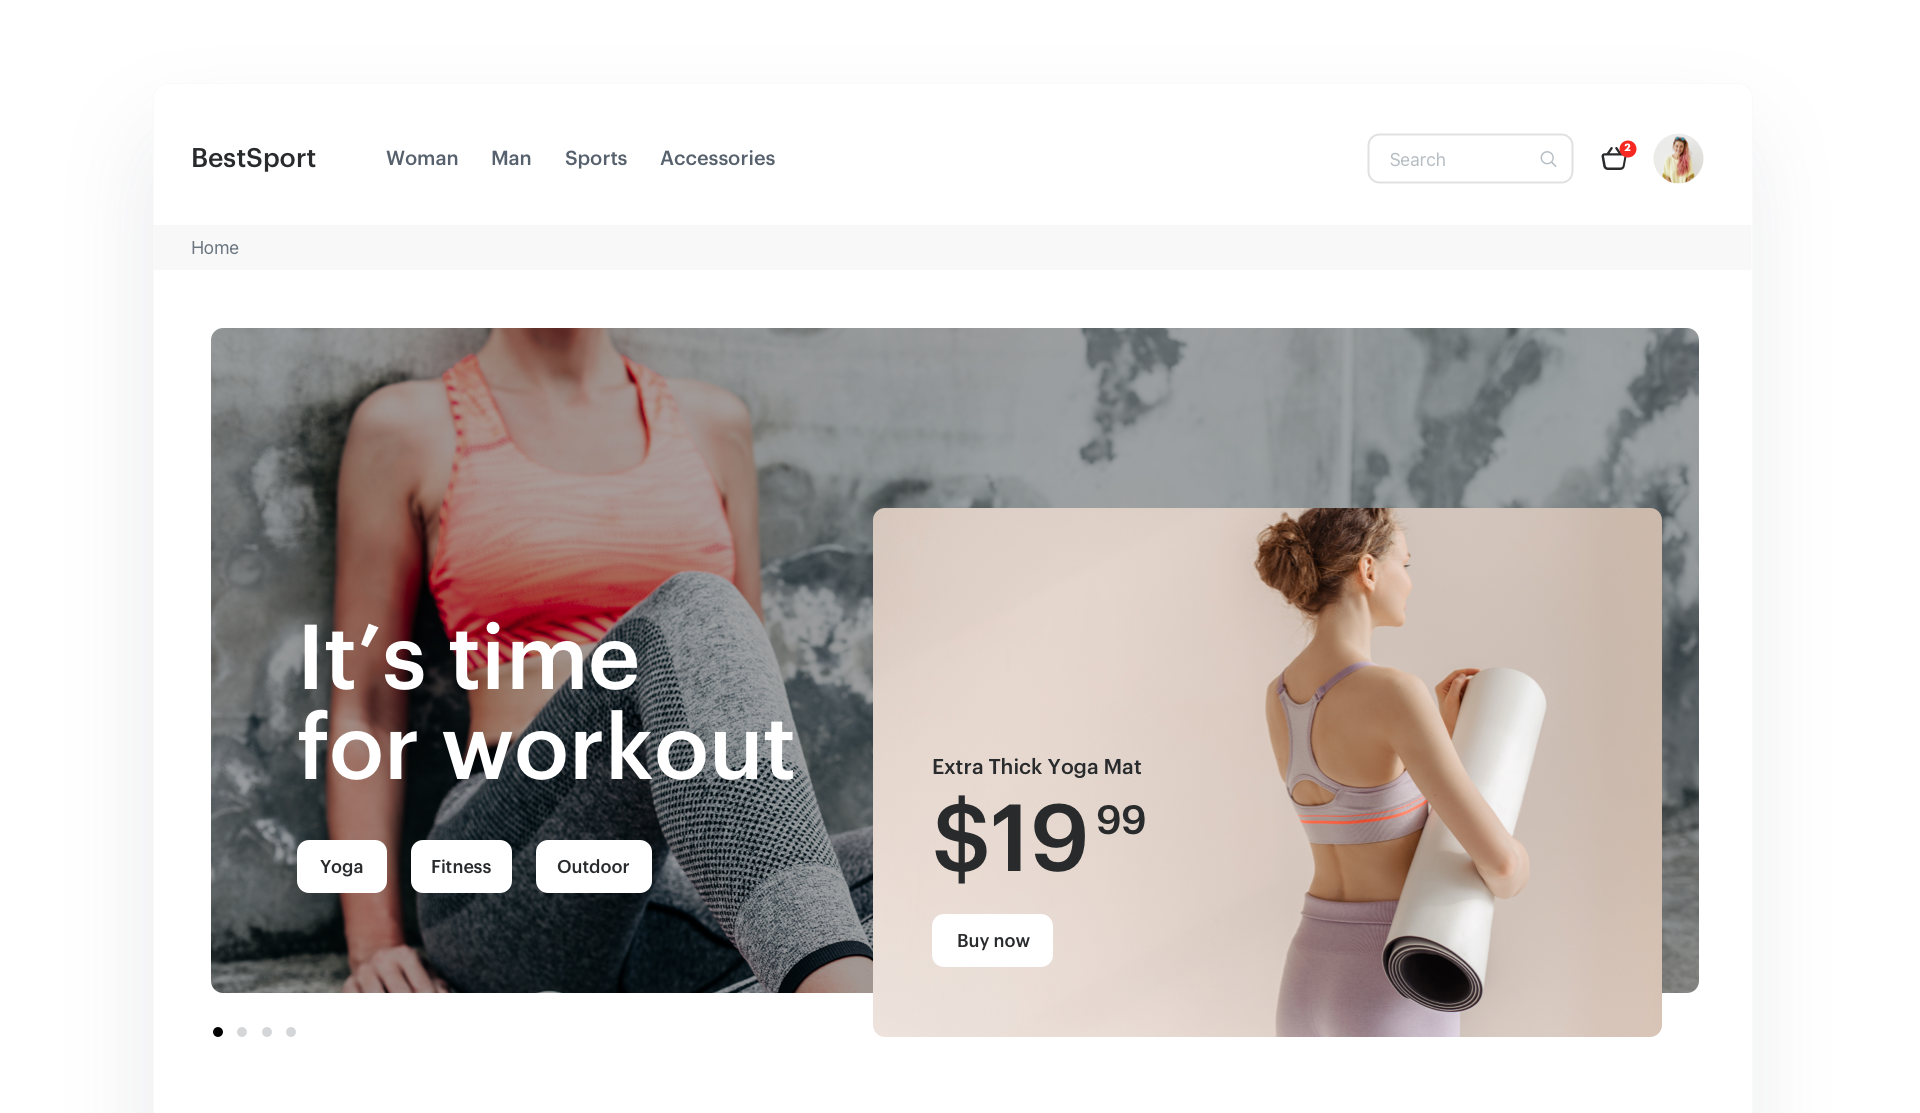

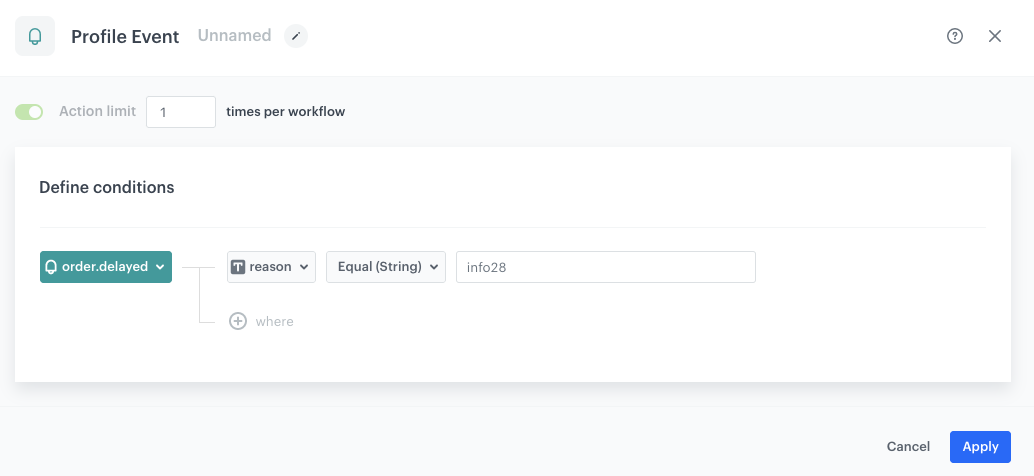
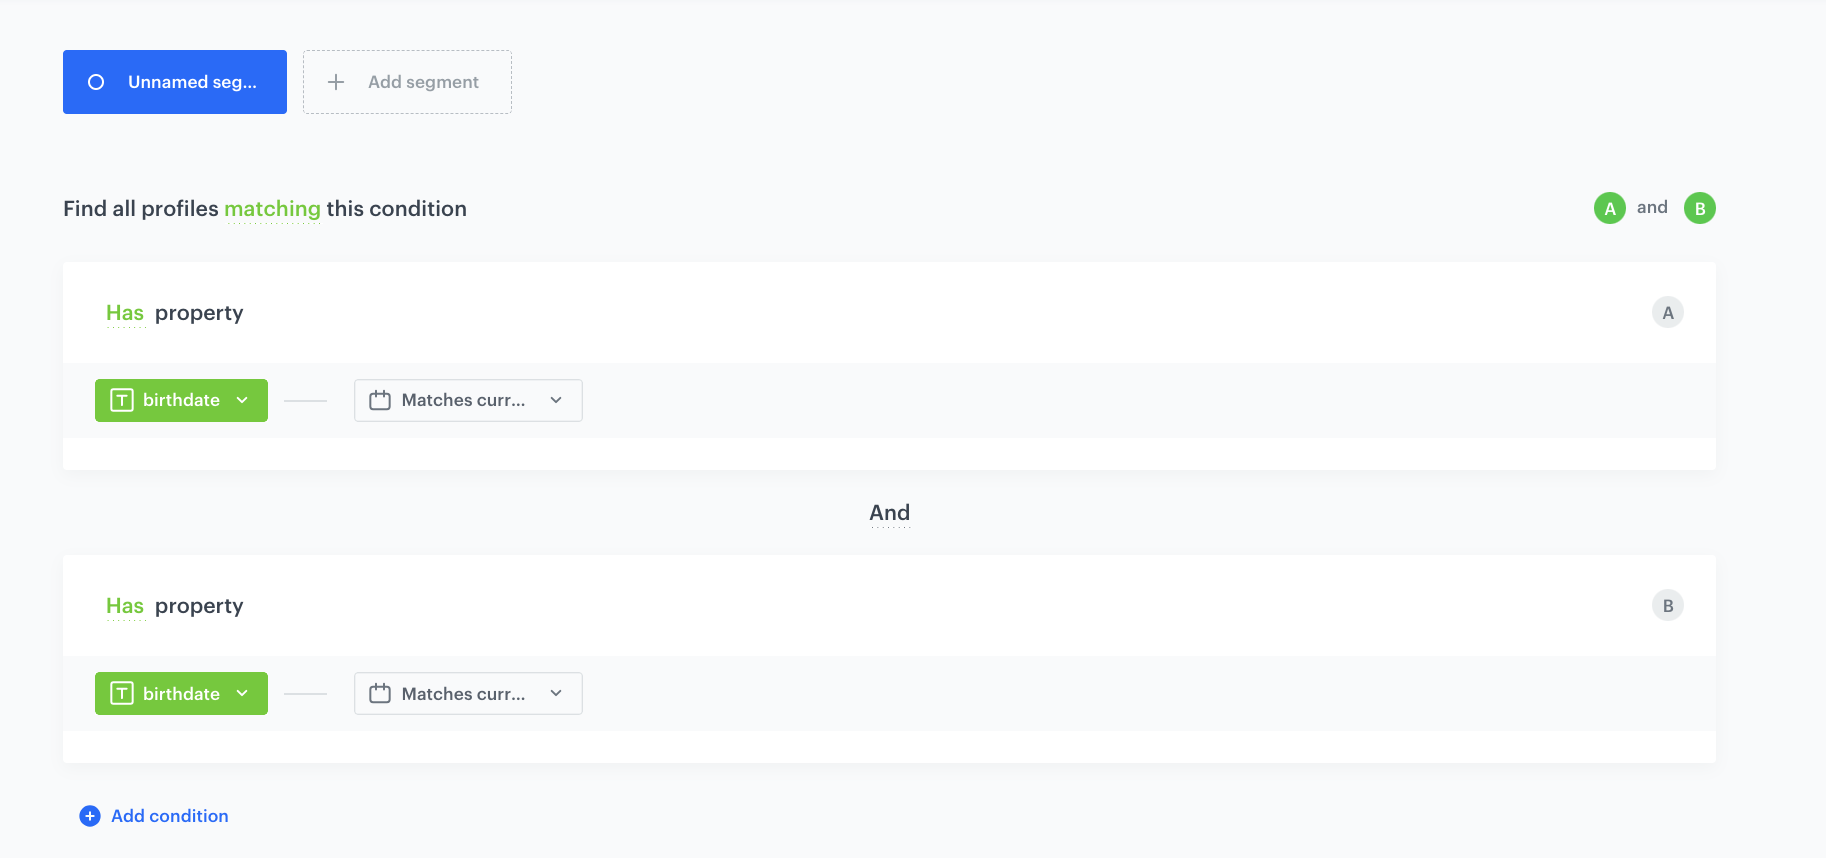
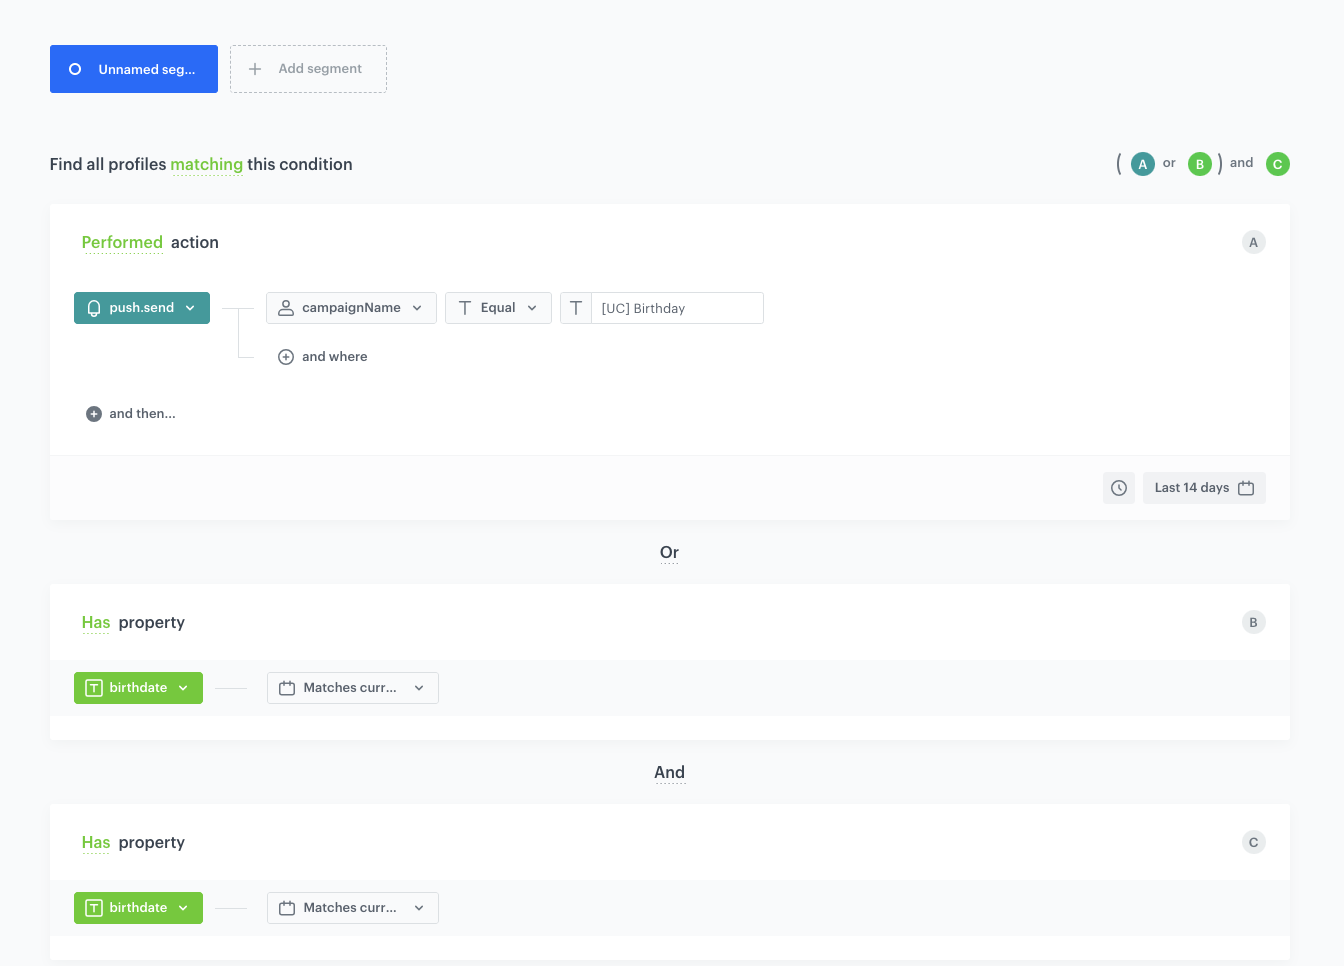
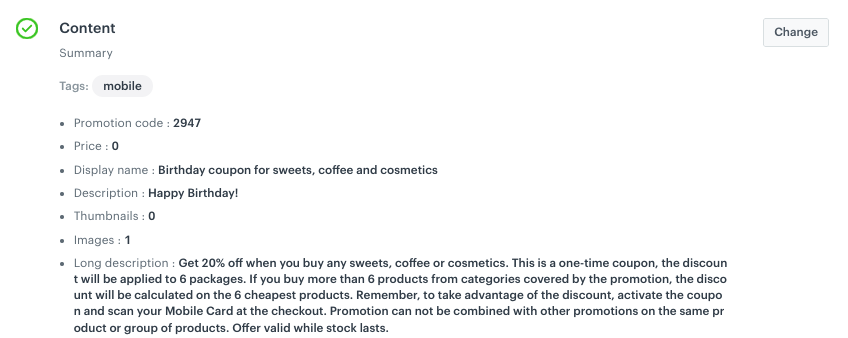
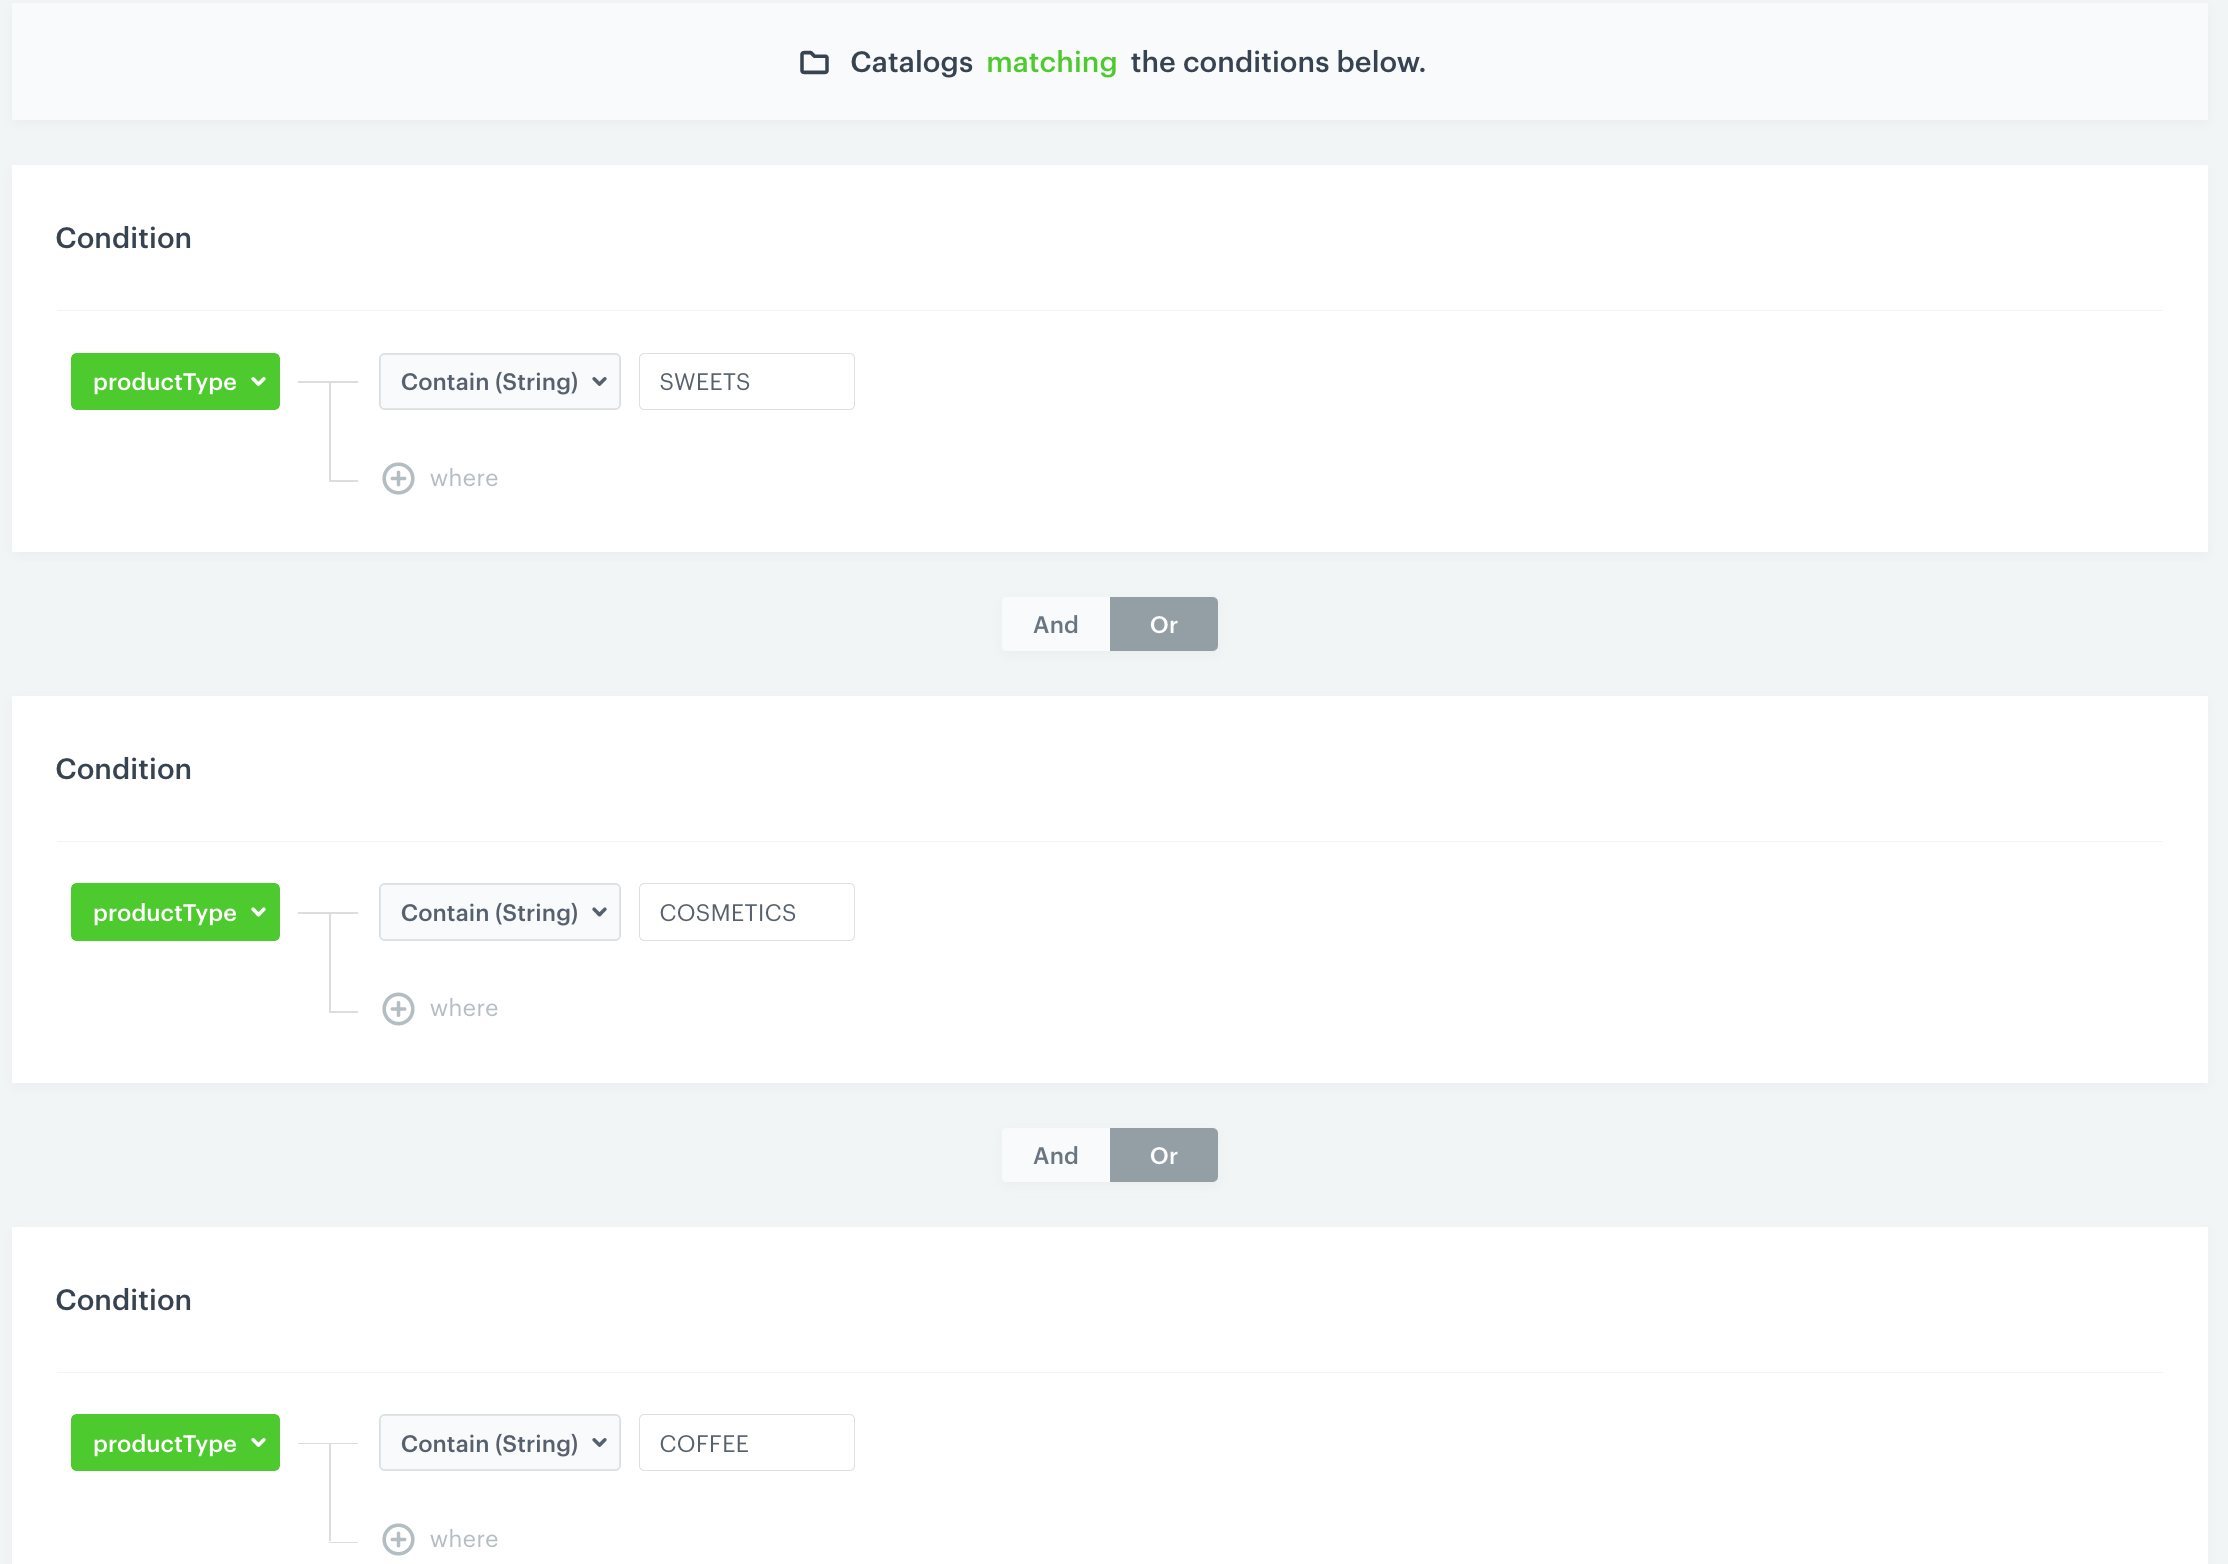
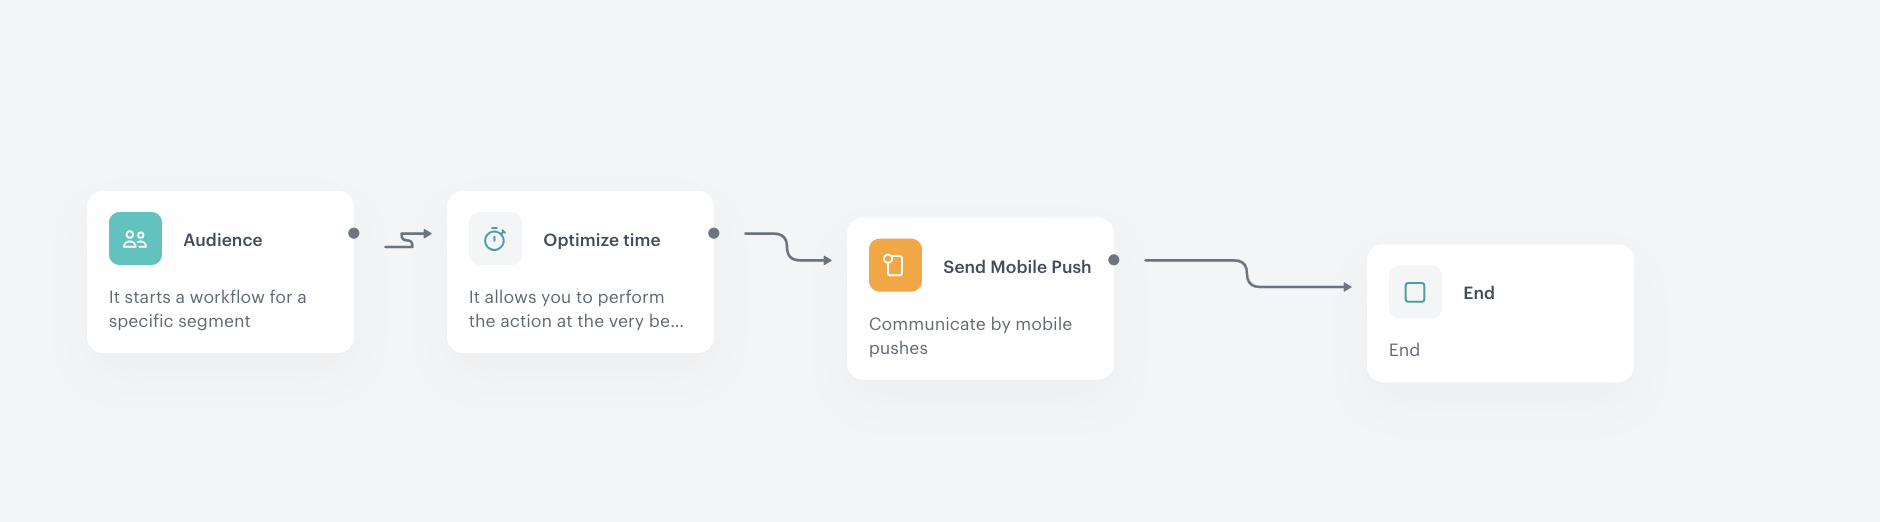
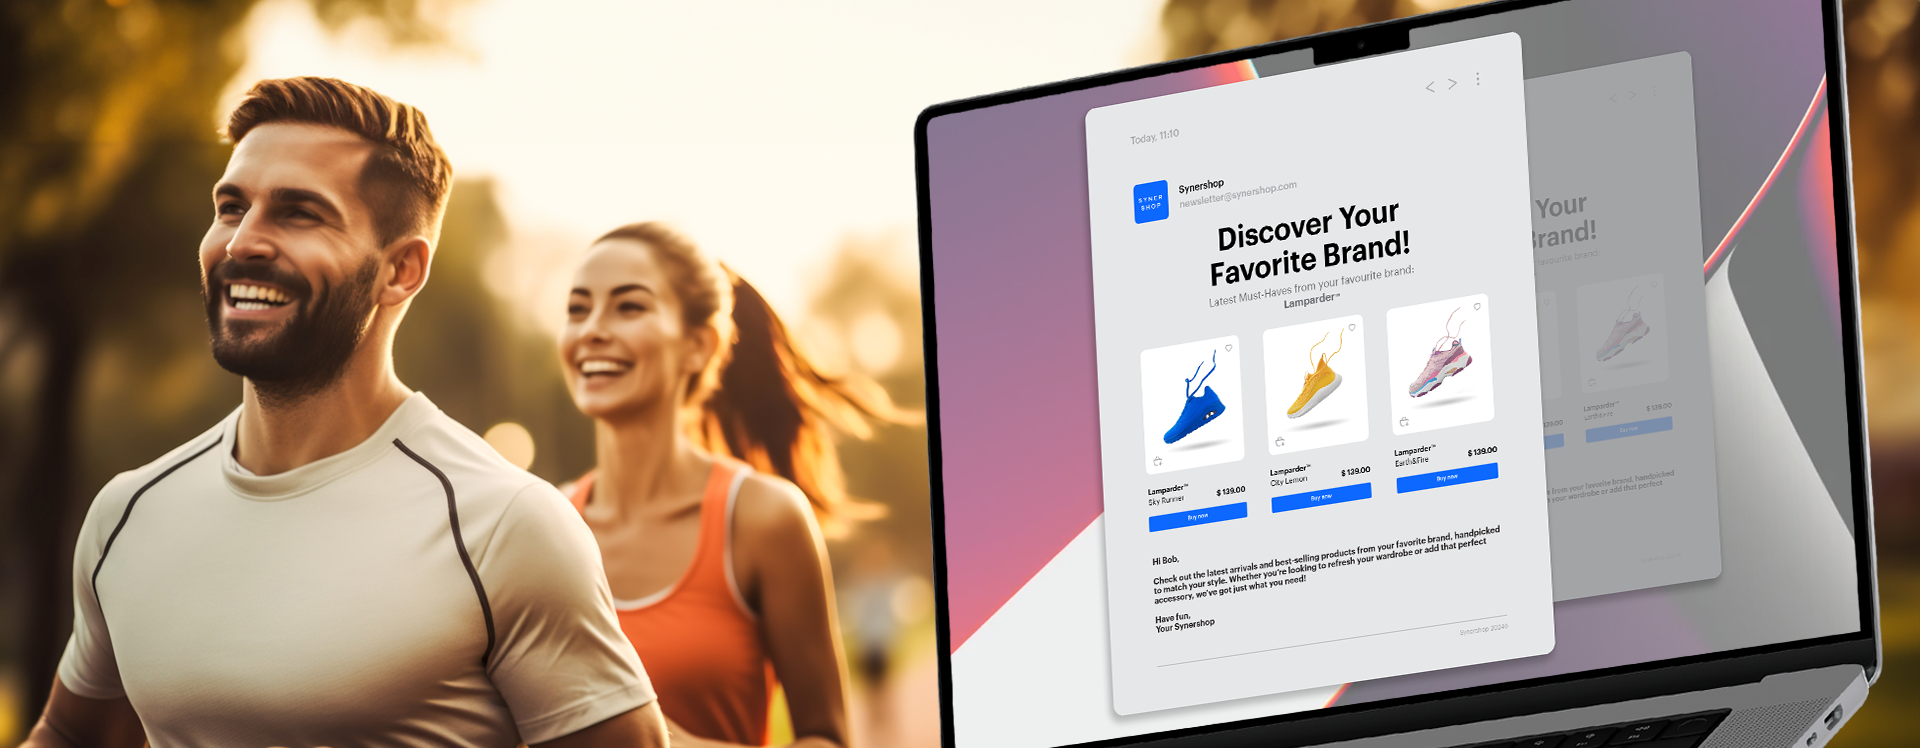
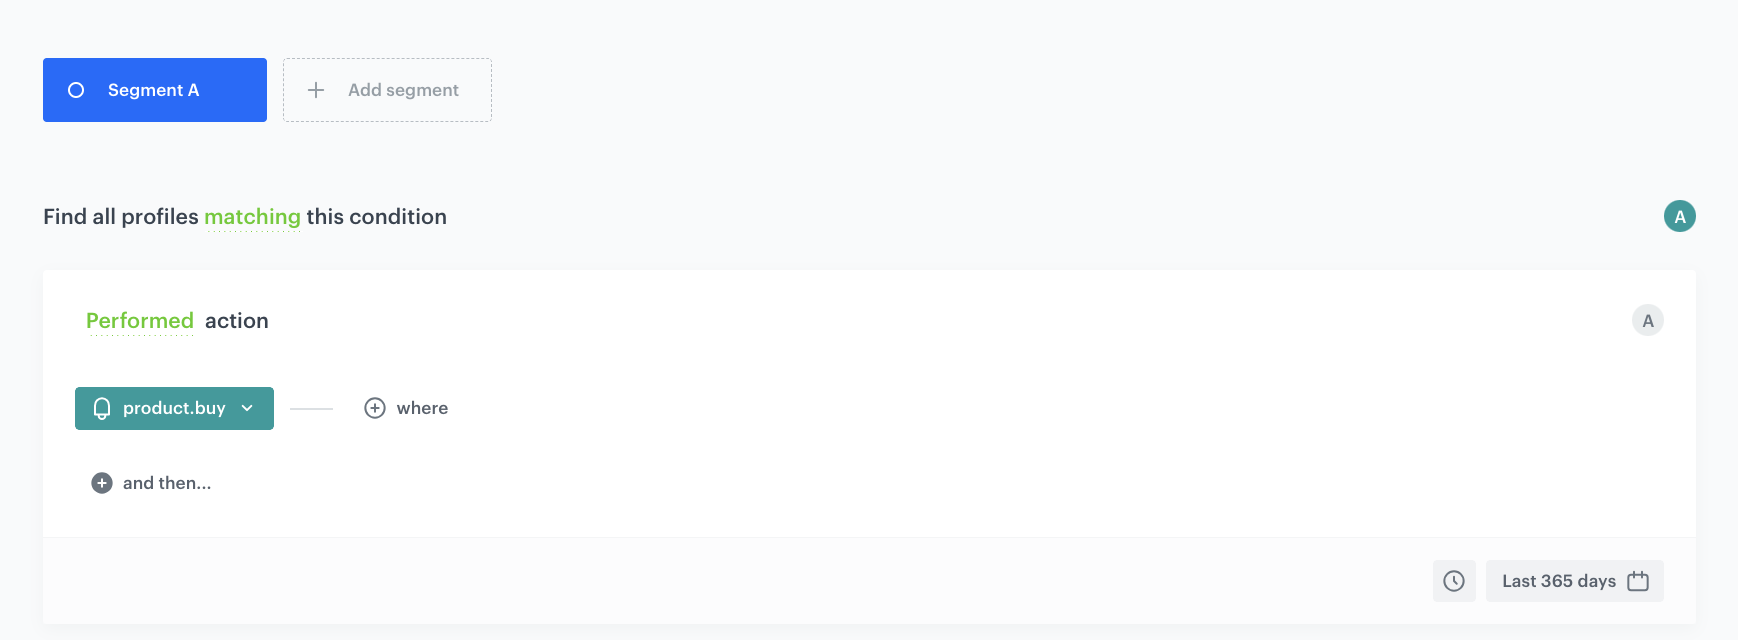
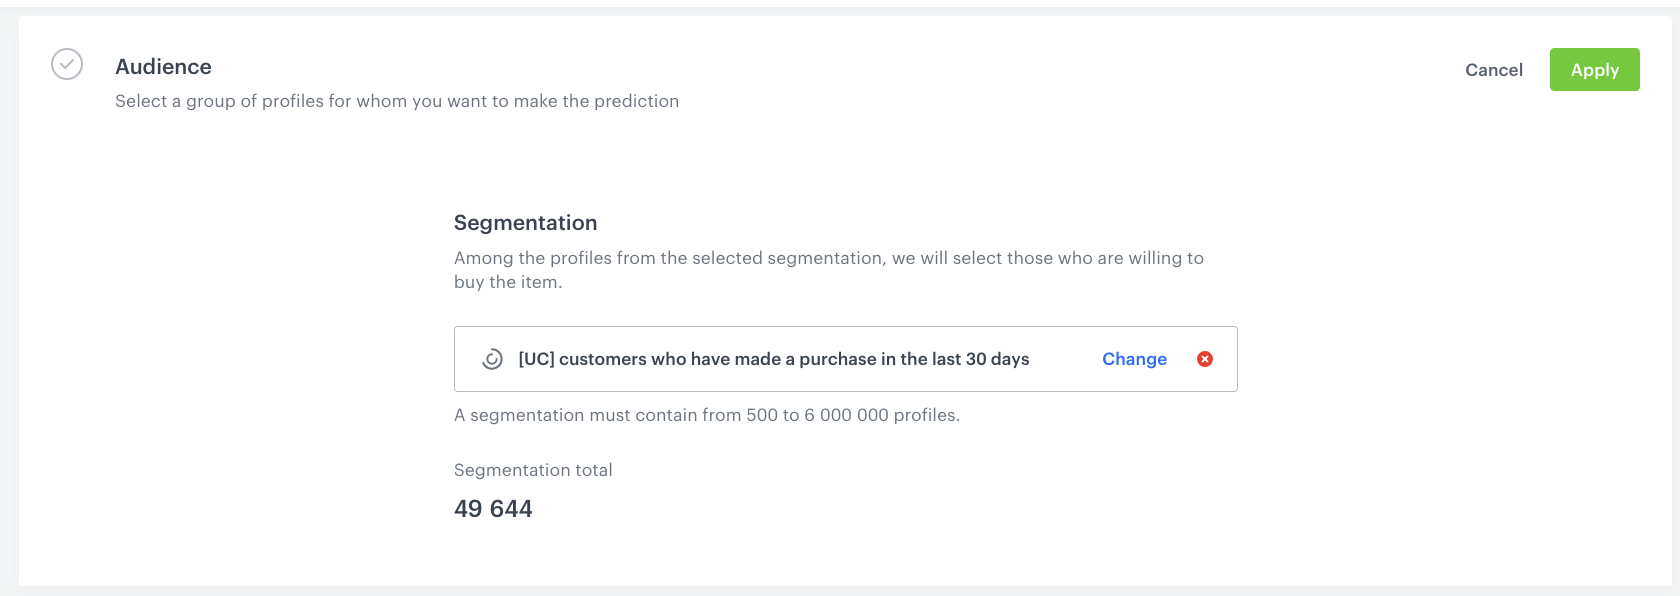
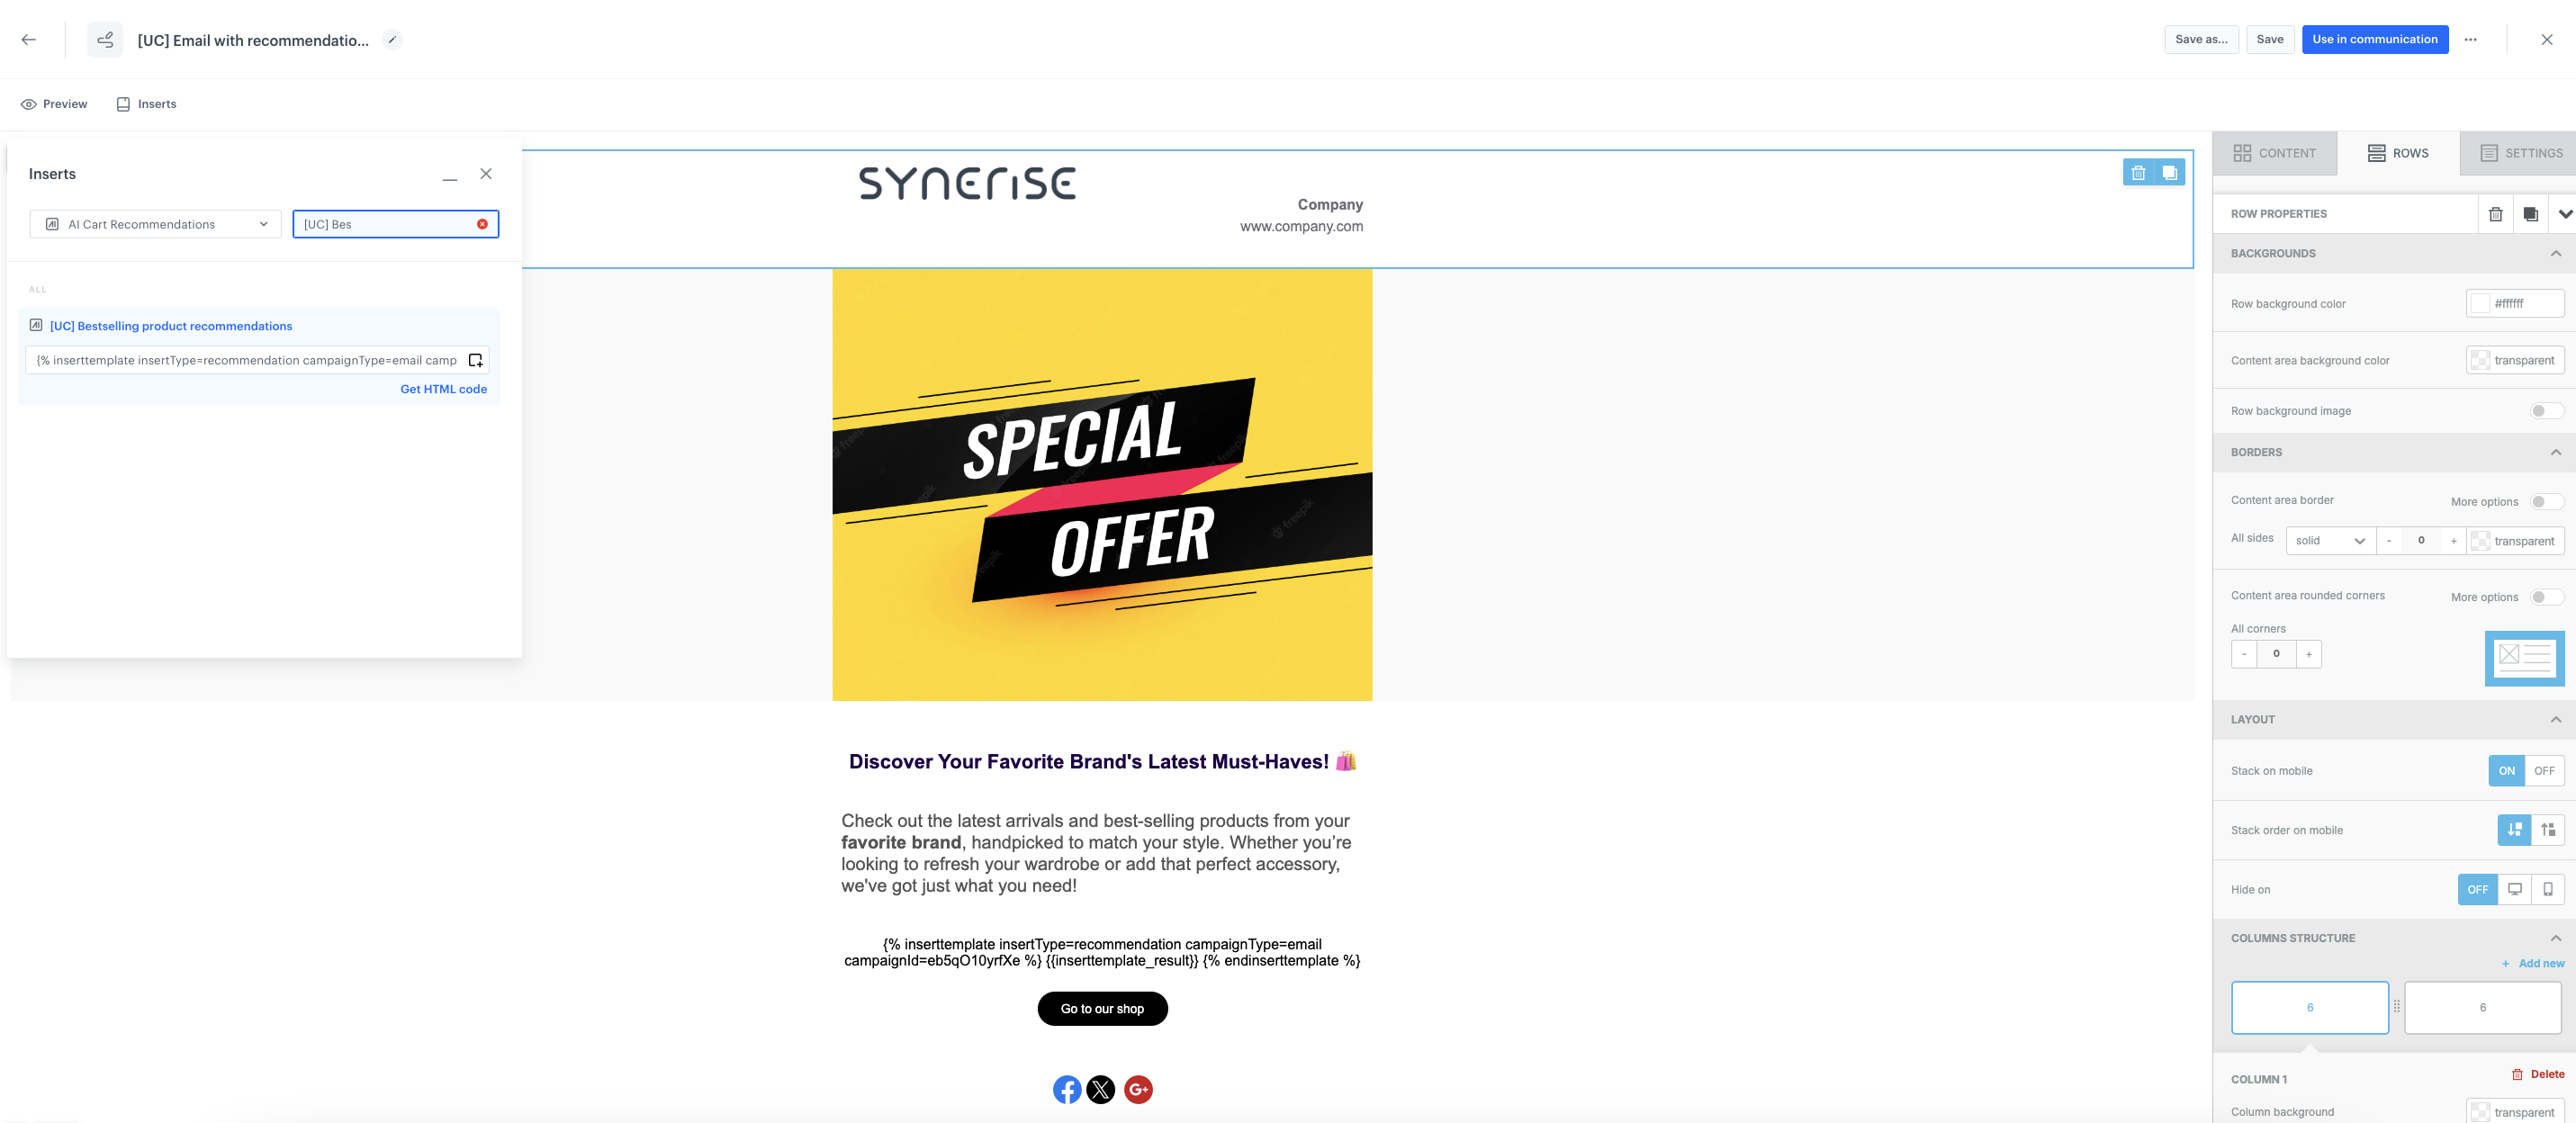
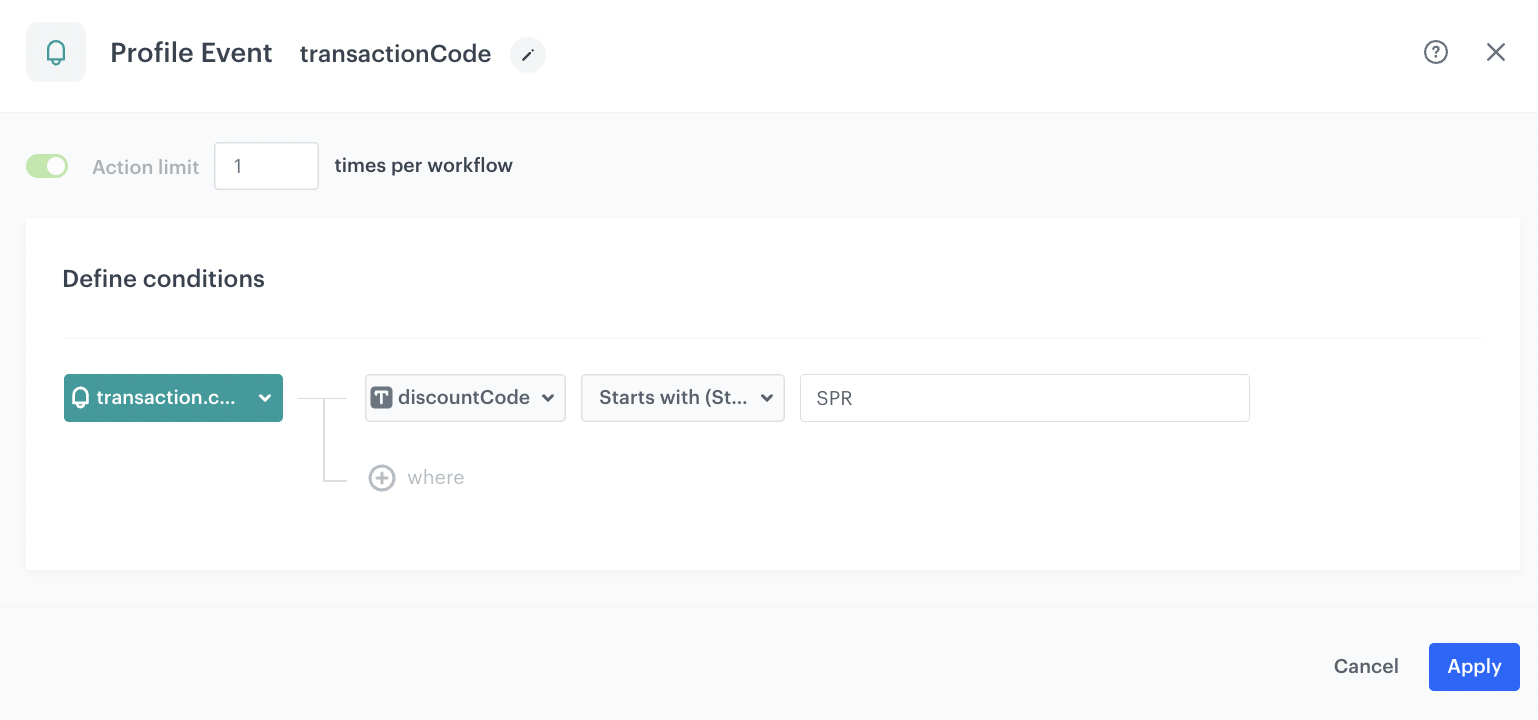
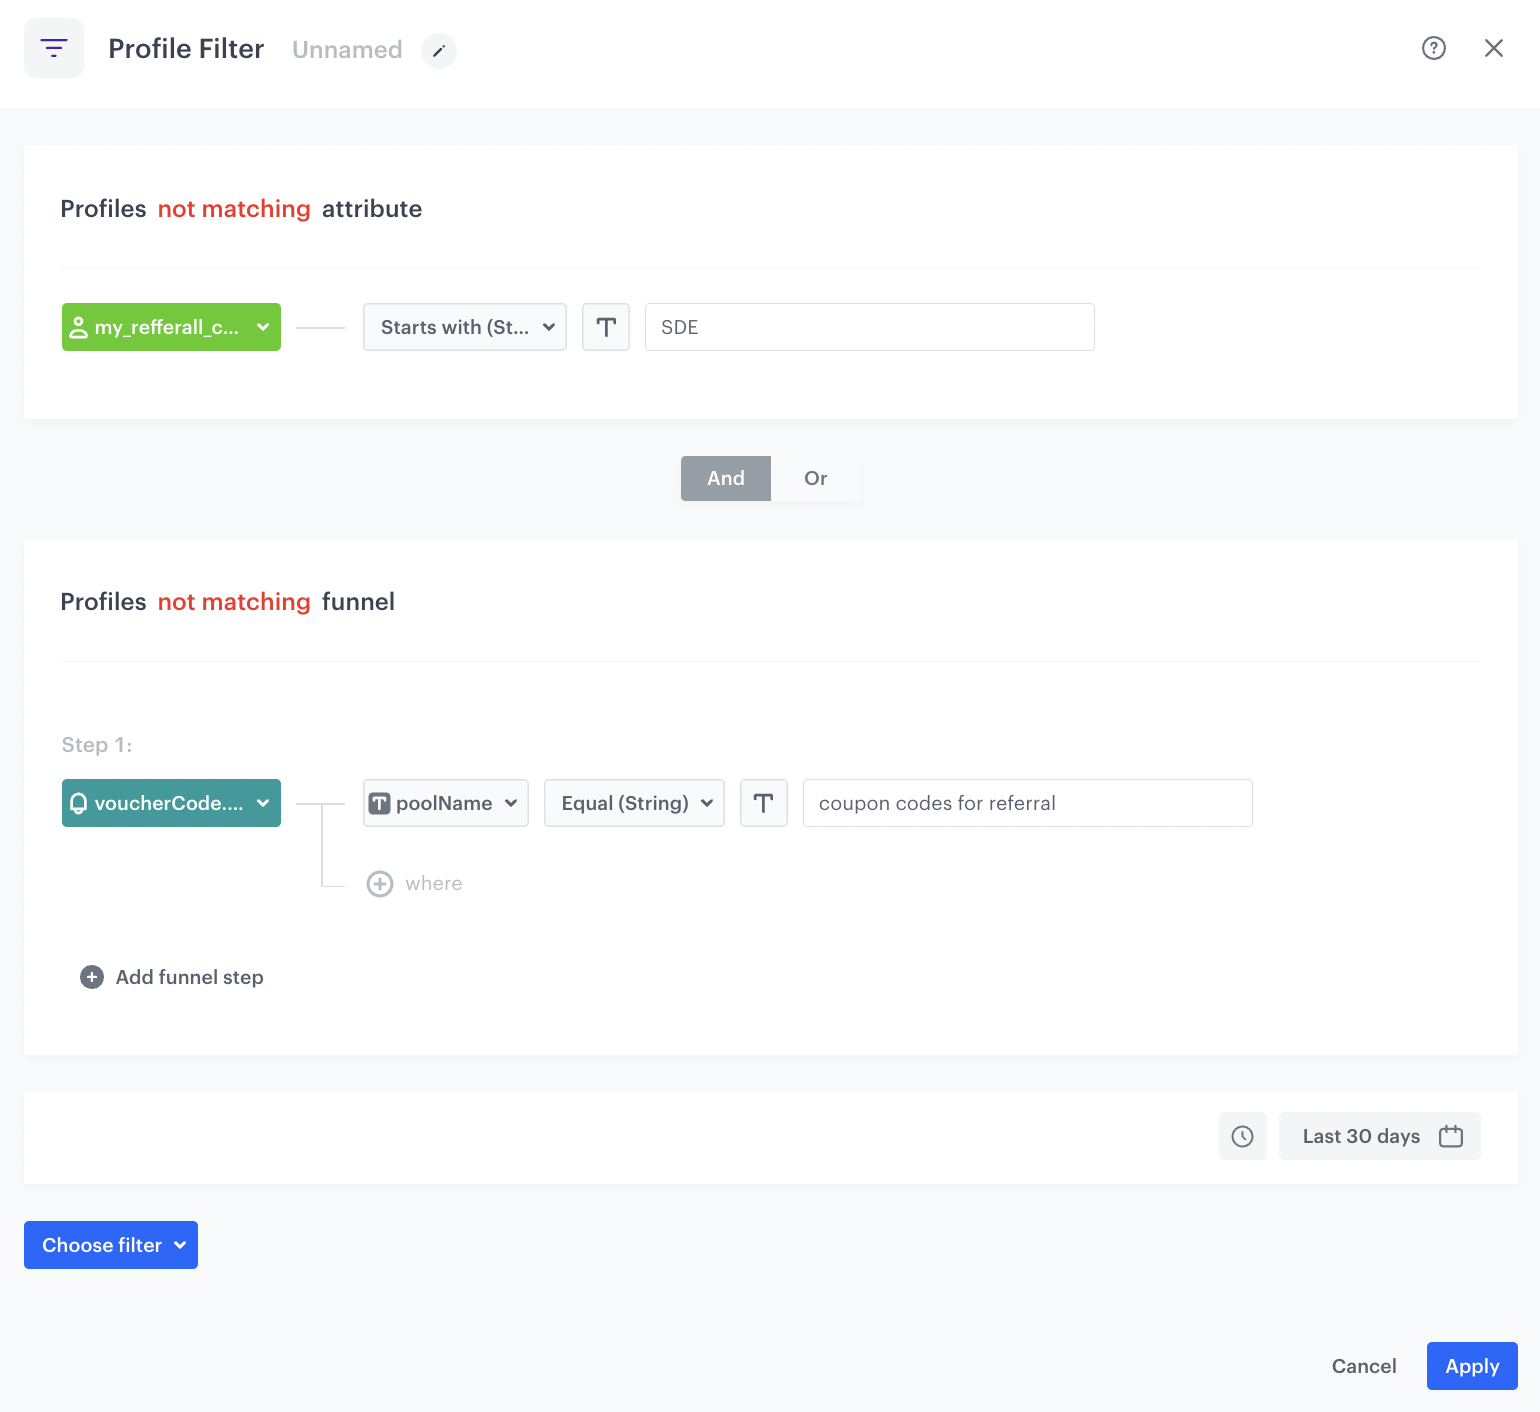
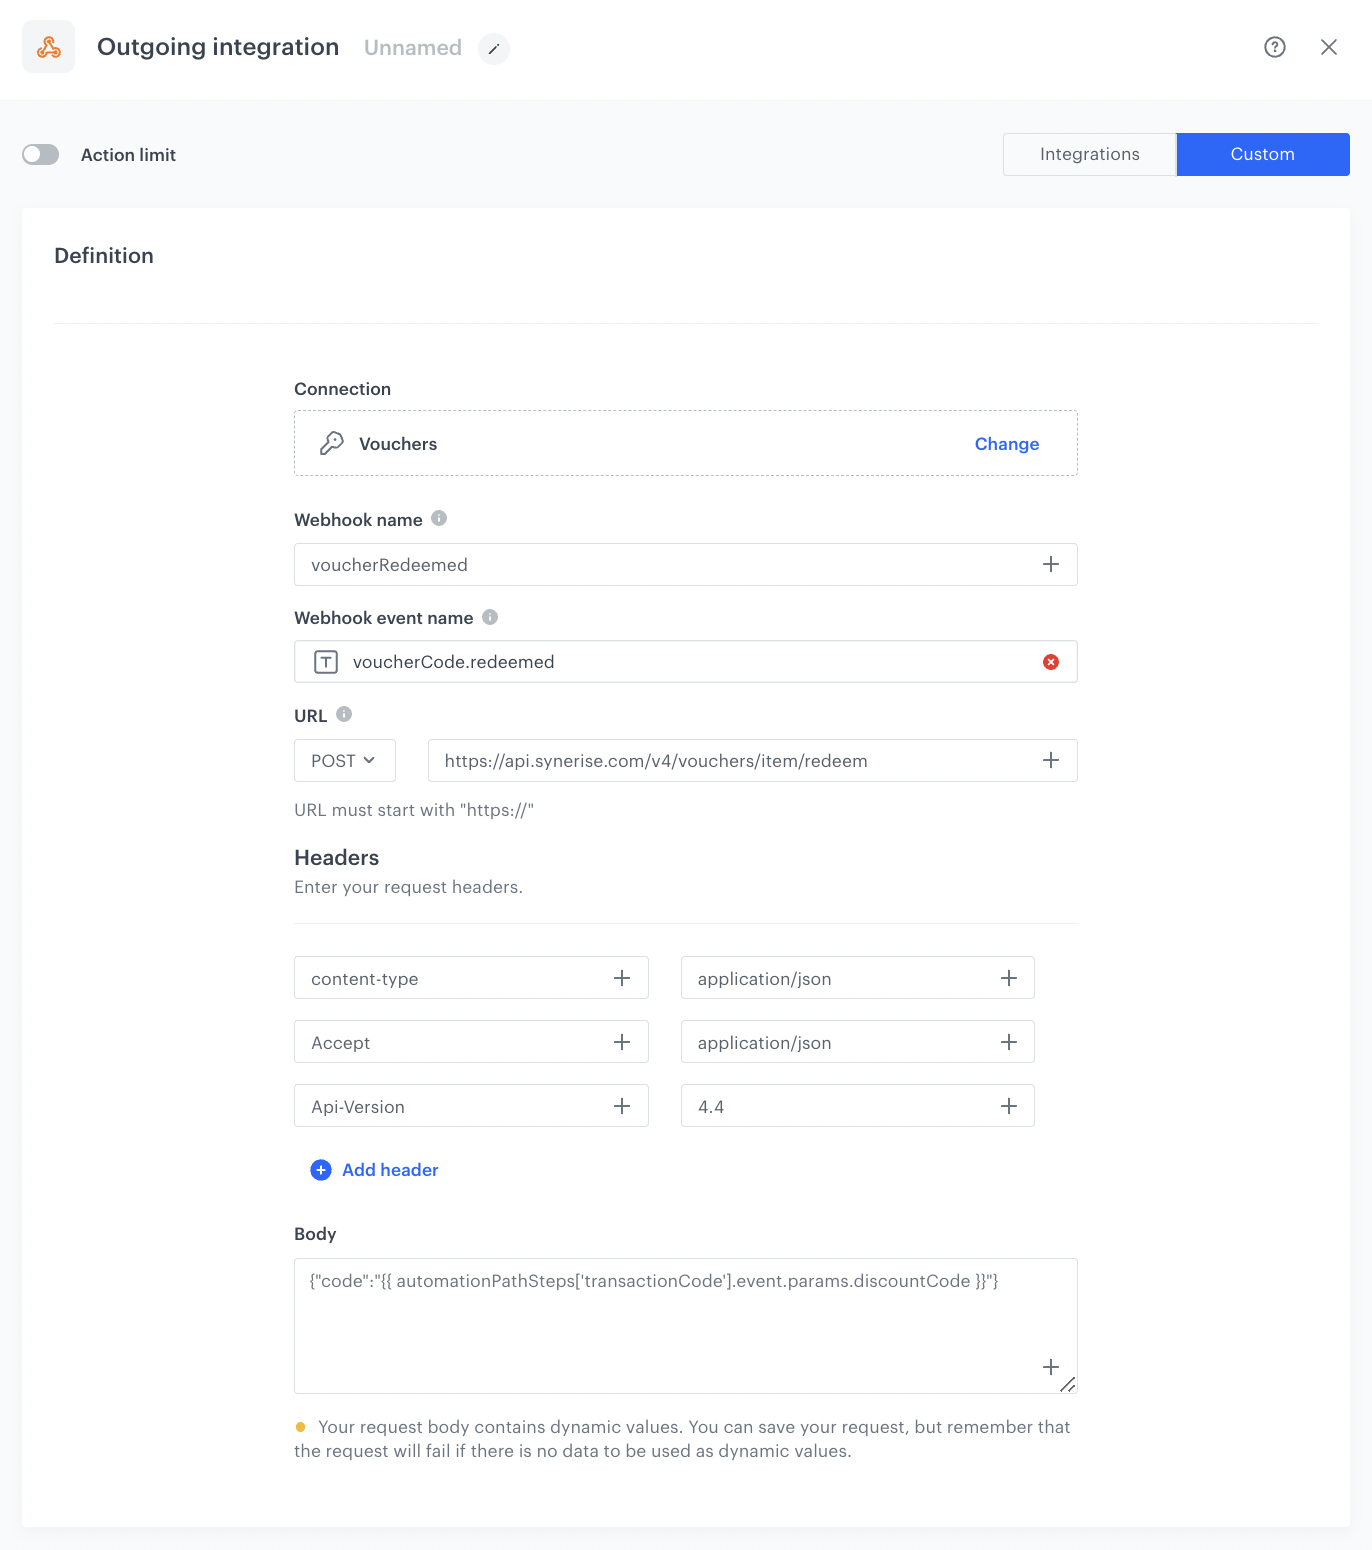
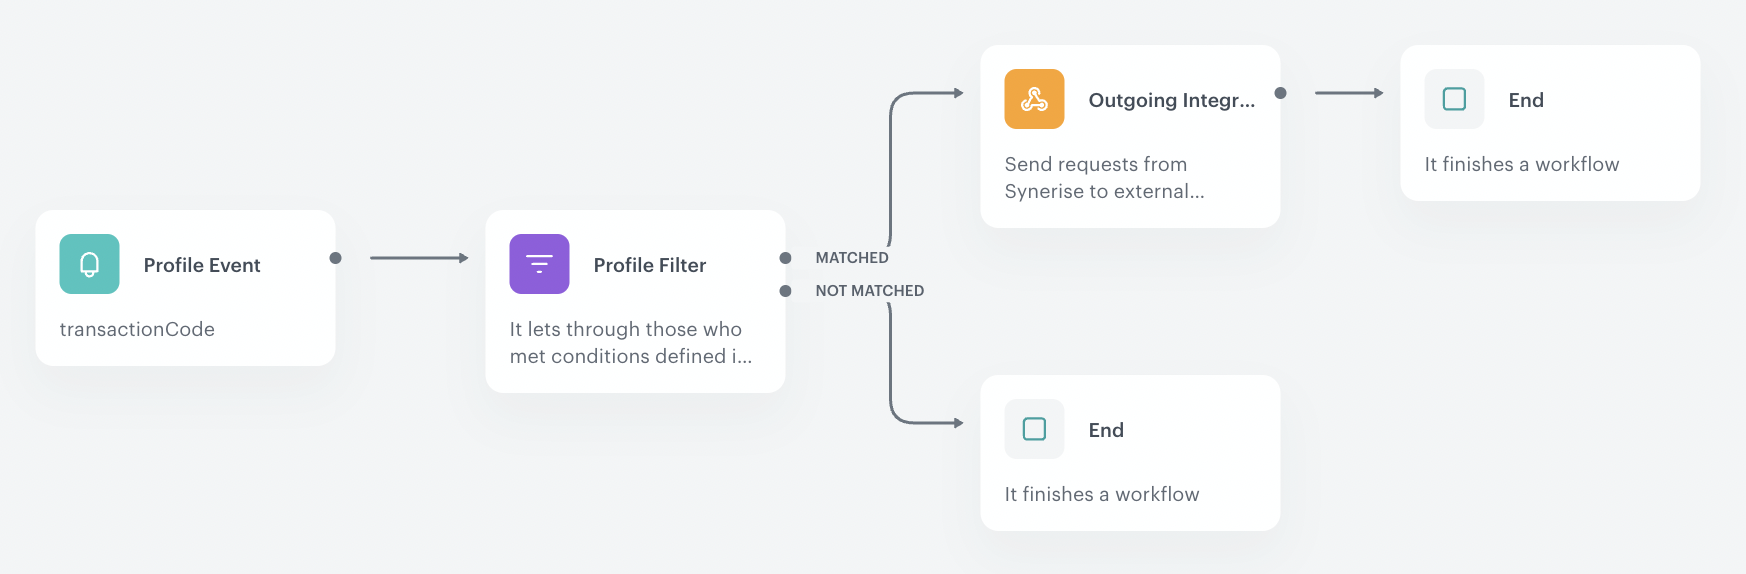
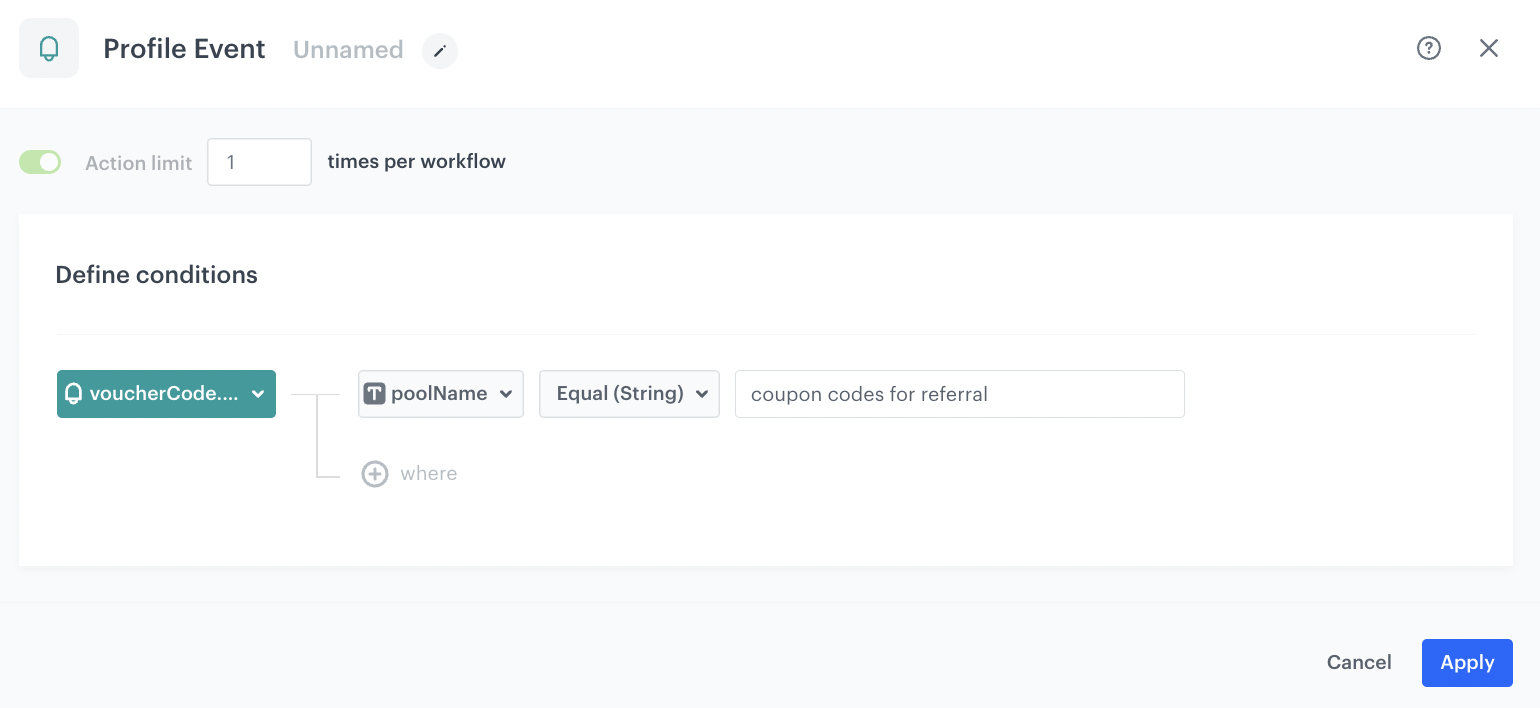
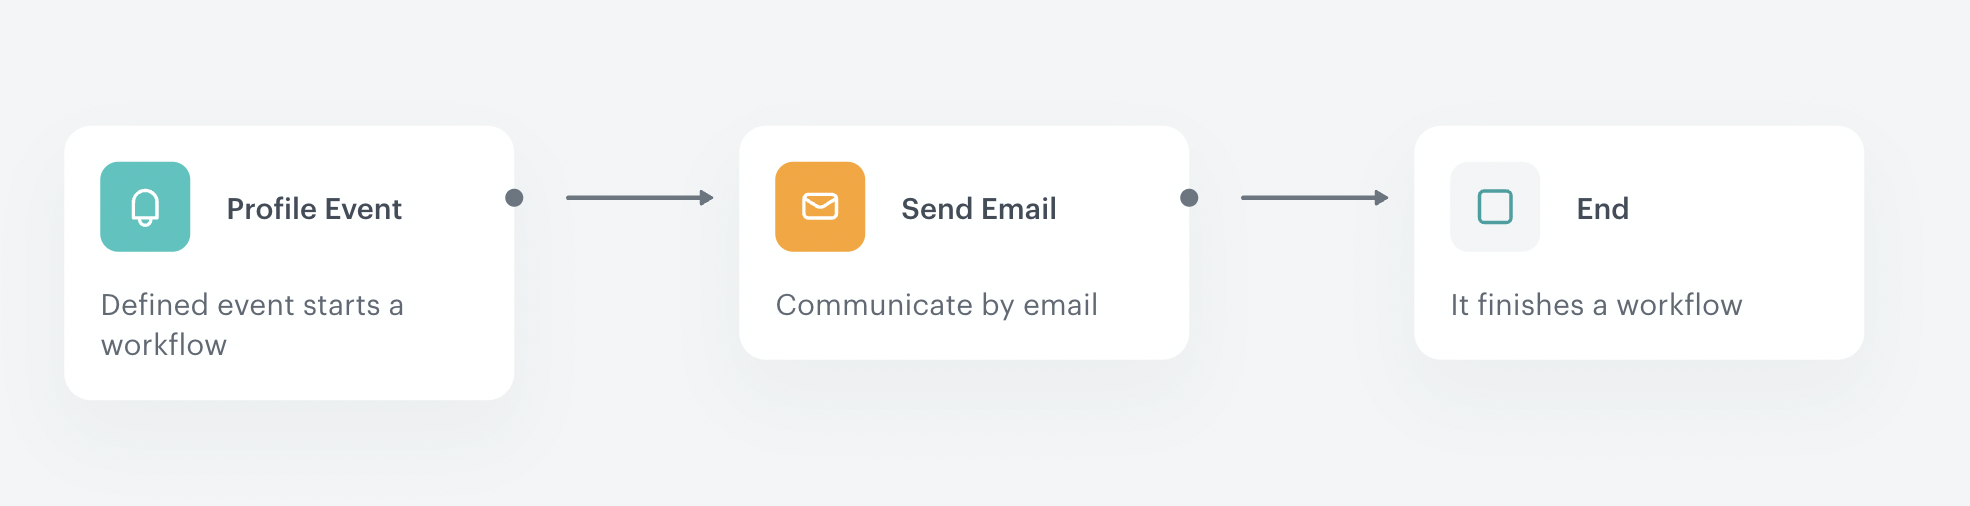
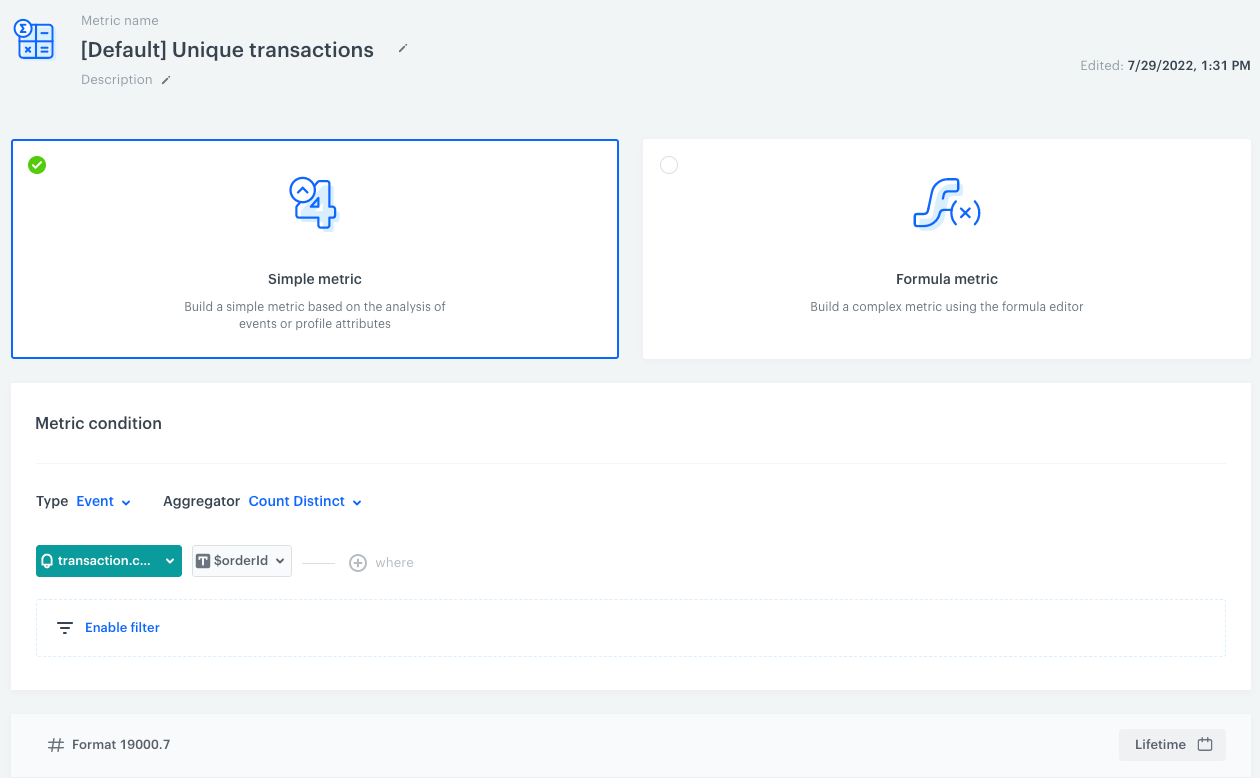
 button.
10. From the dropdown list, select **Event**.
11. Click the **unnamed** node.
12. From the **Choose event** dropdown list, select **transaction.charge**.
13. Leave the aggregator type at default (**Count**).
14. In the lower right corner, set the date range to **Lifetime**.
15. Click the
button.
10. From the dropdown list, select **Event**.
11. Click the **unnamed** node.
12. From the **Choose event** dropdown list, select **transaction.charge**.
13. Leave the aggregator type at default (**Count**).
14. In the lower right corner, set the date range to **Lifetime**.
15. Click the 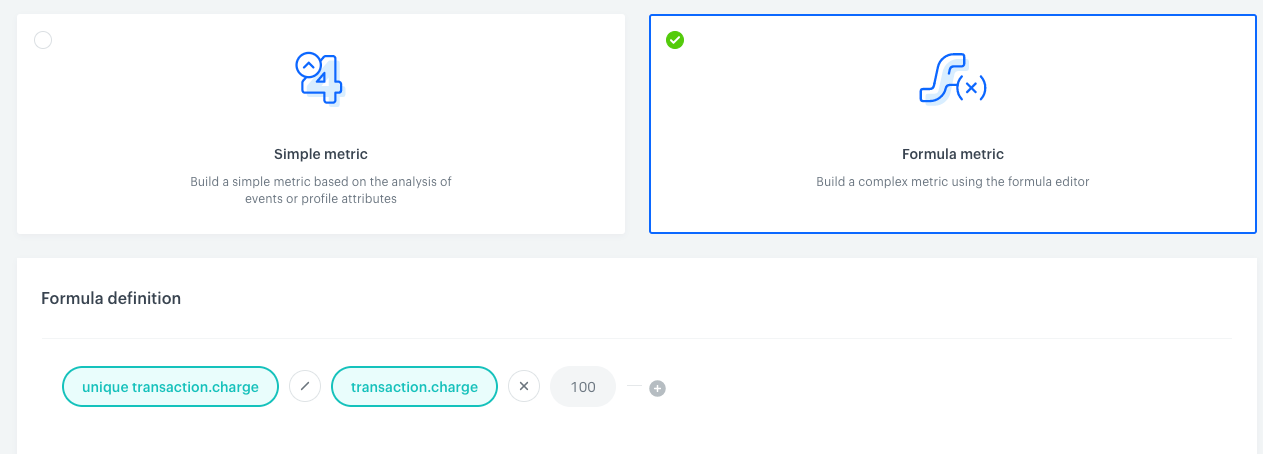
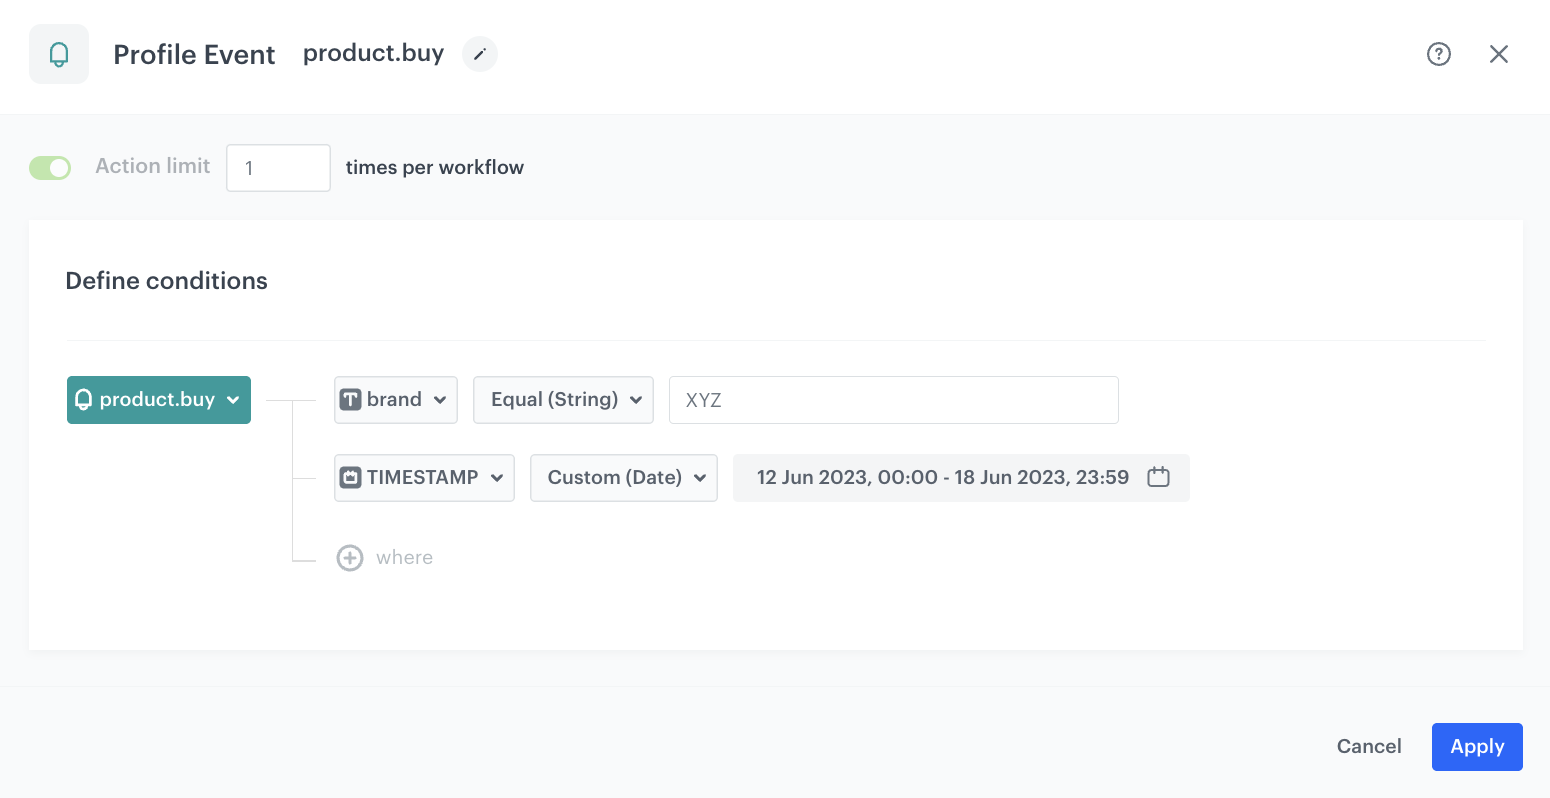
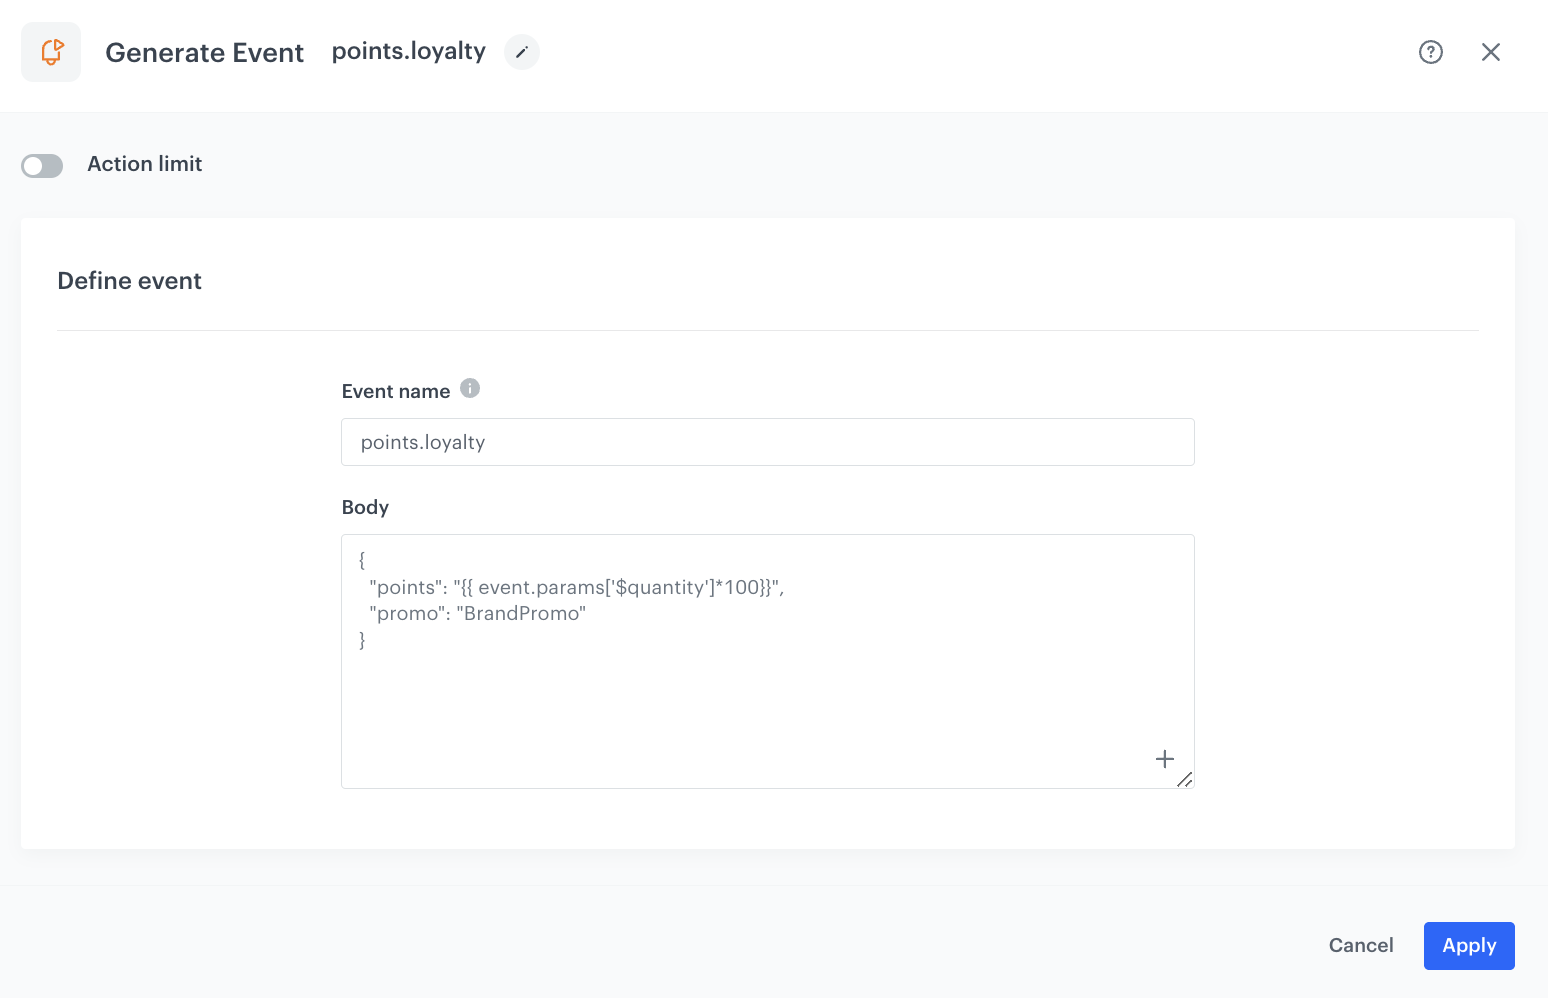
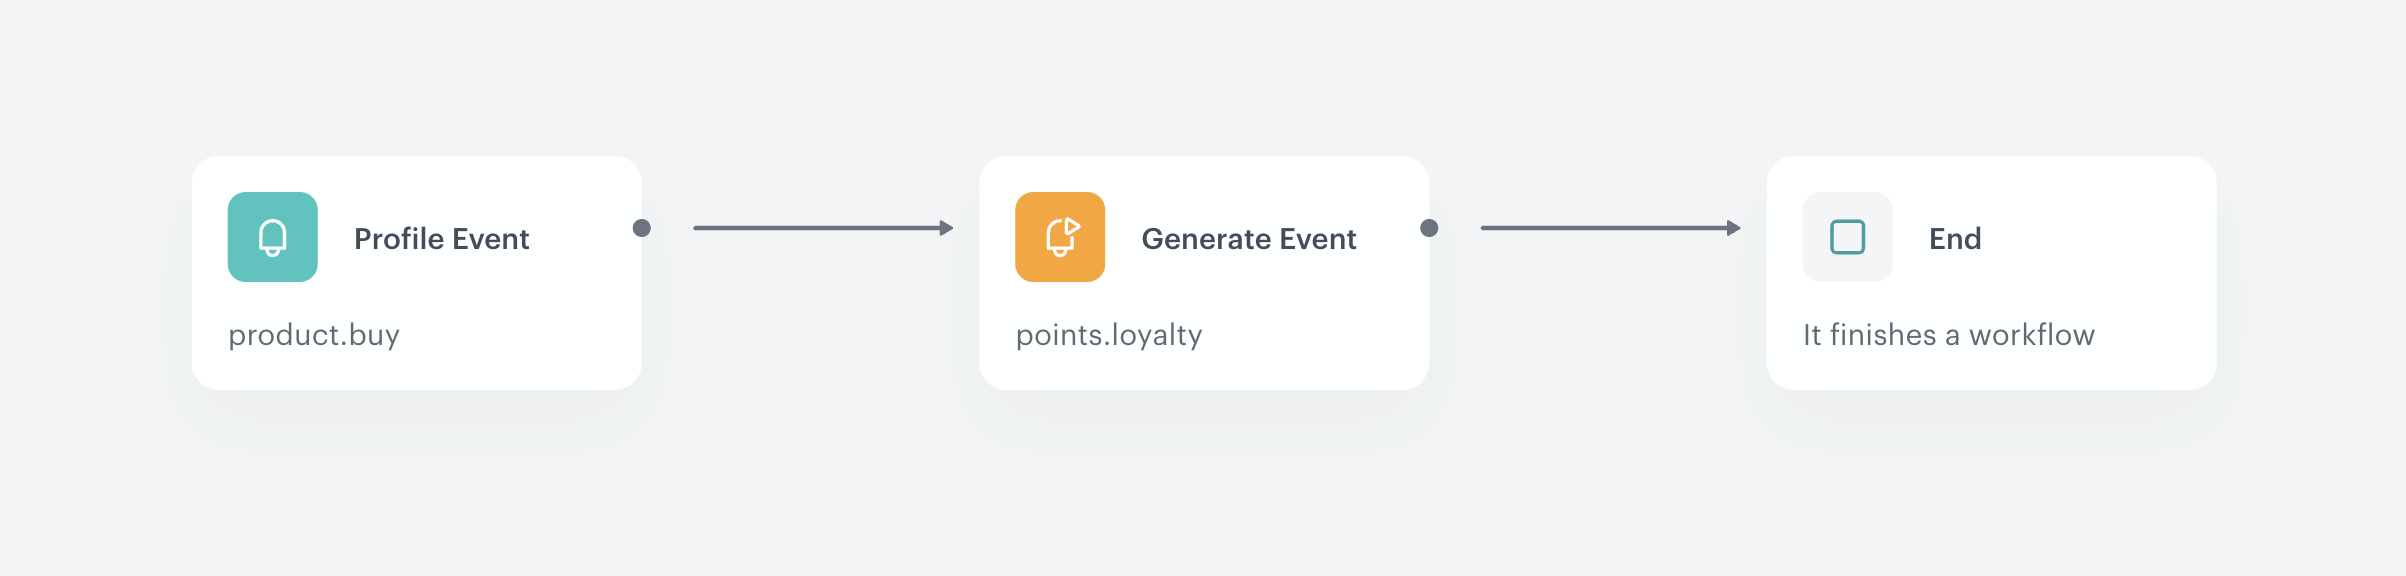
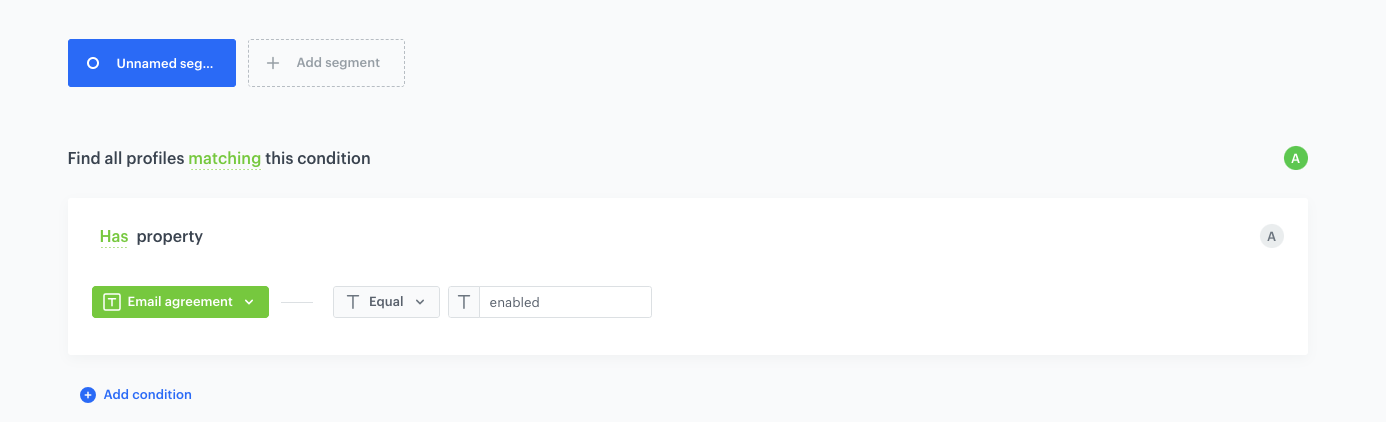
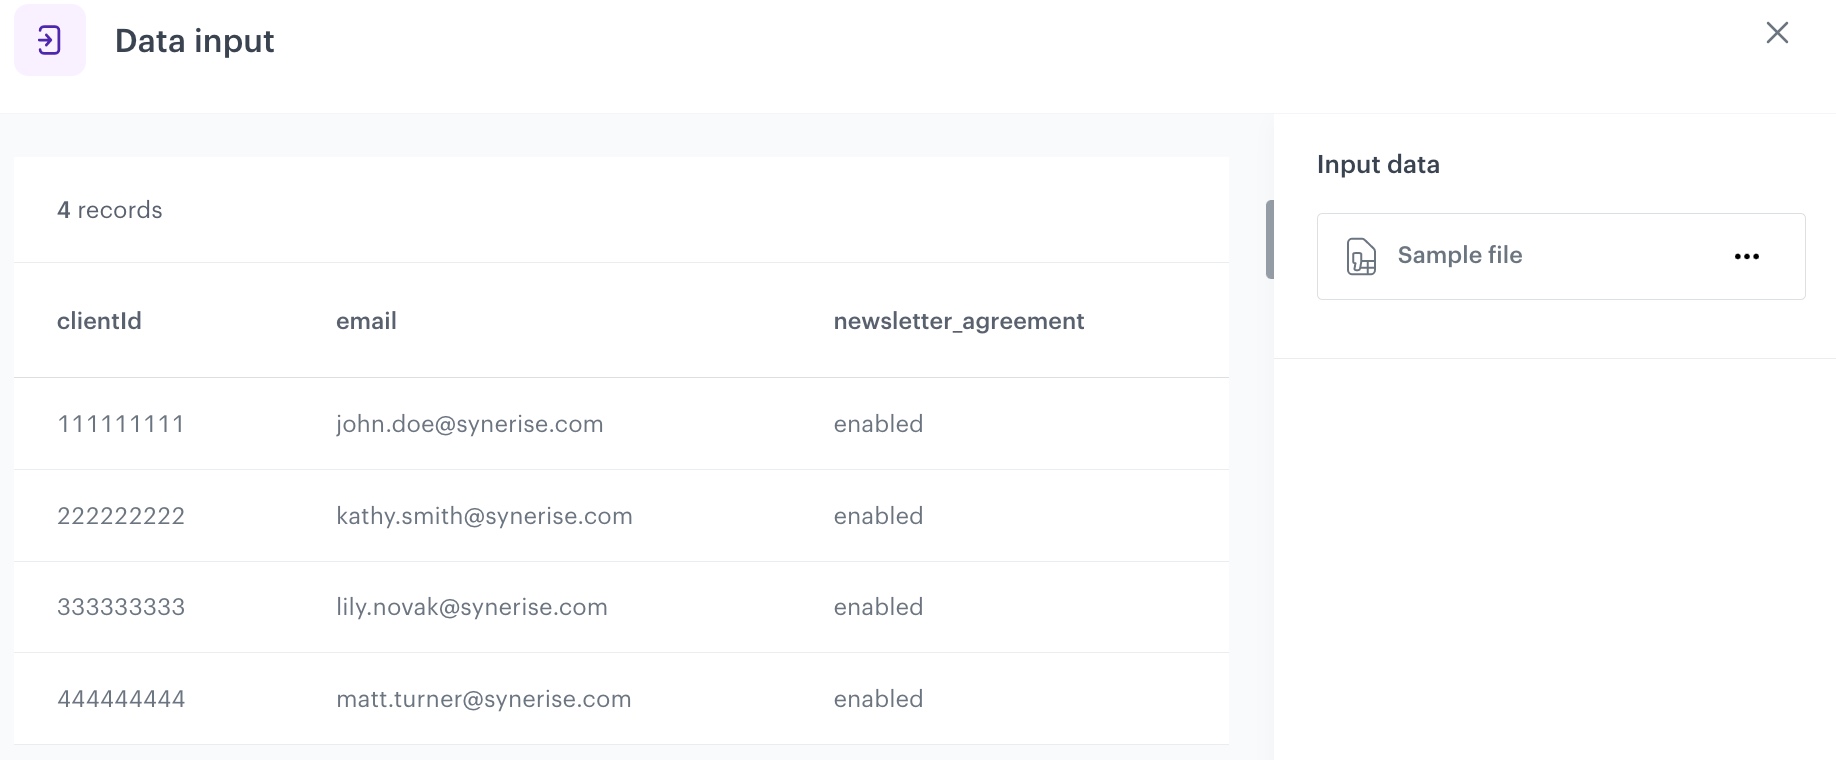
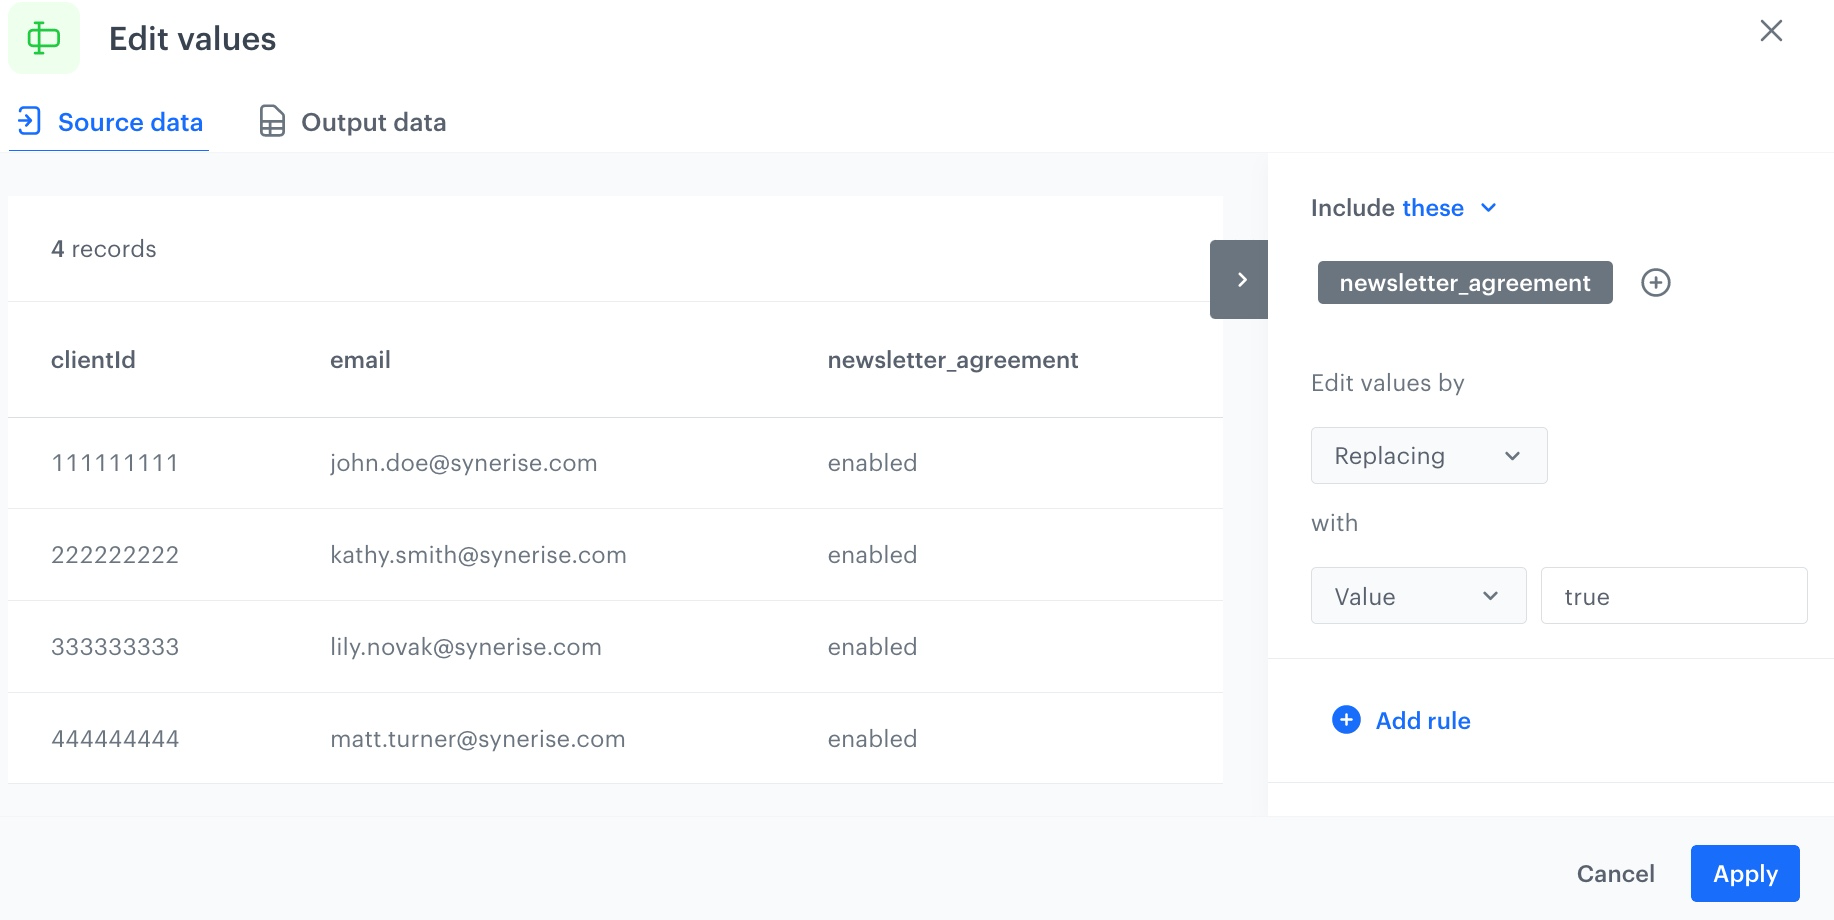
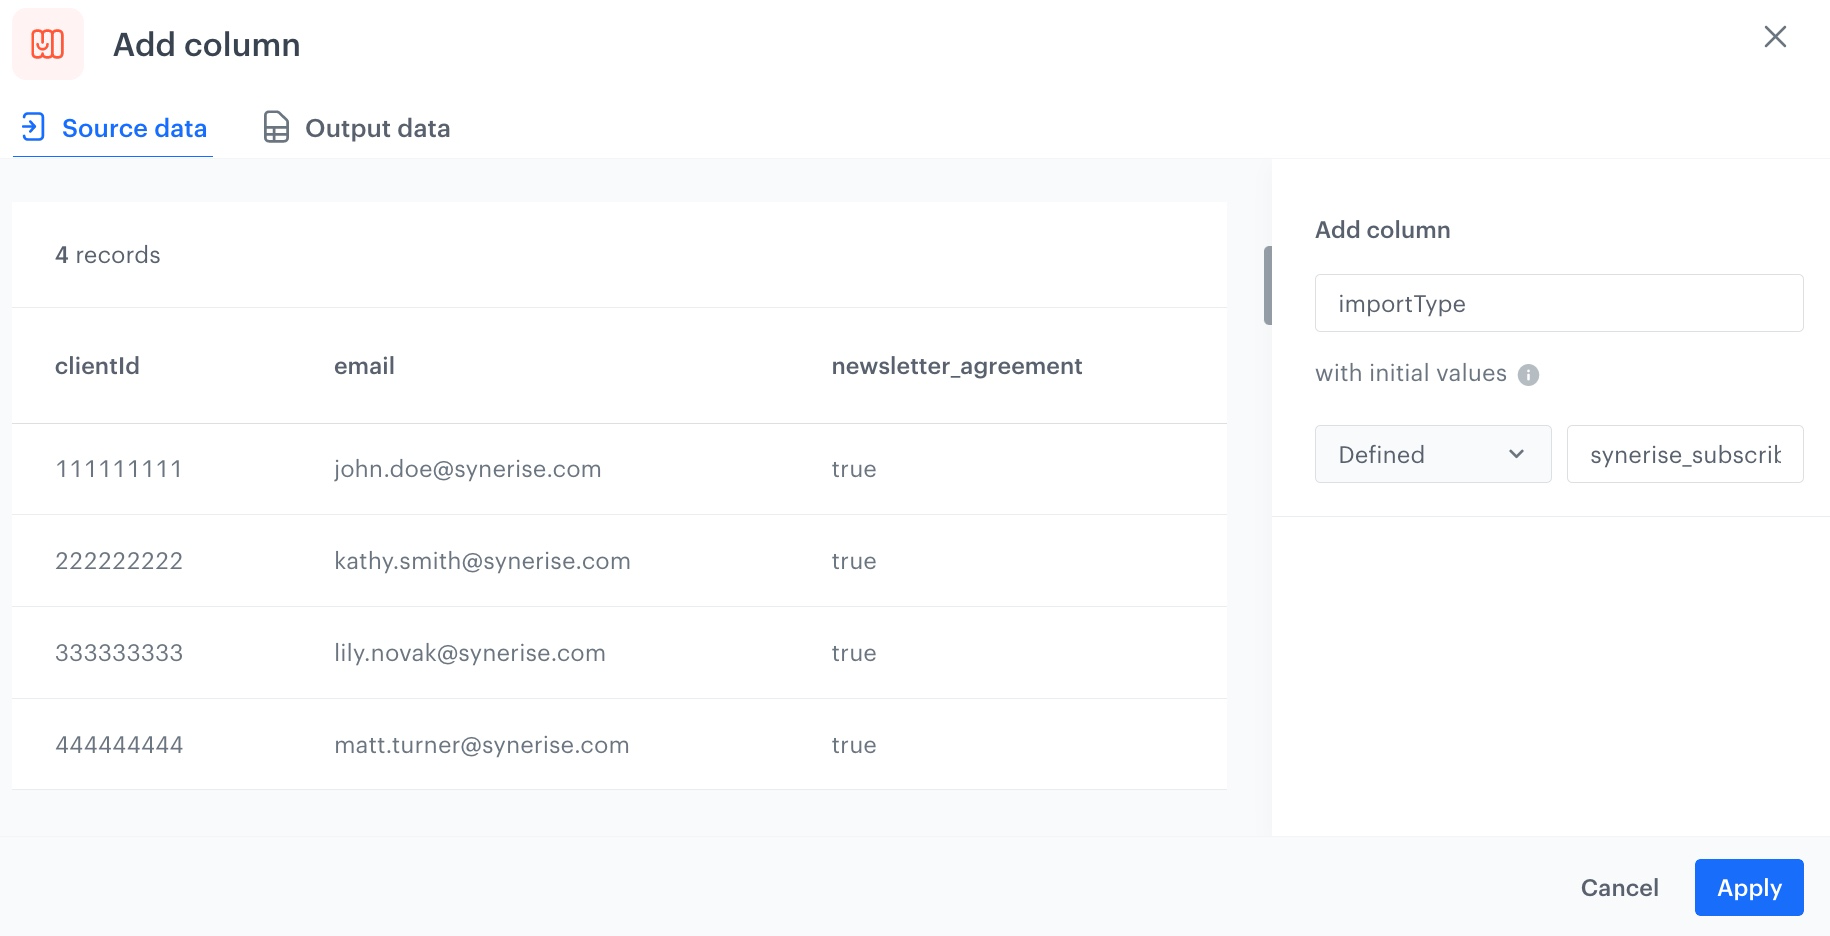
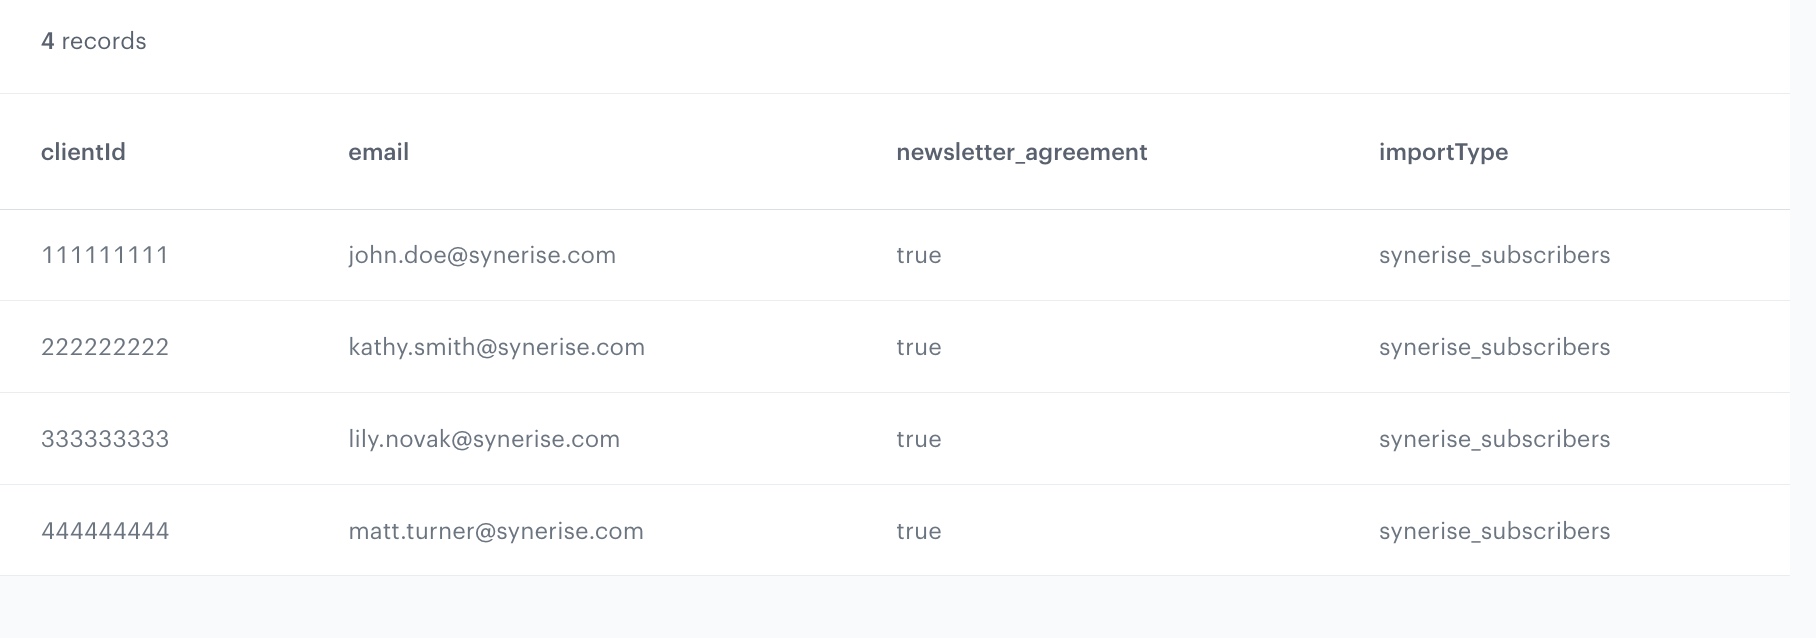
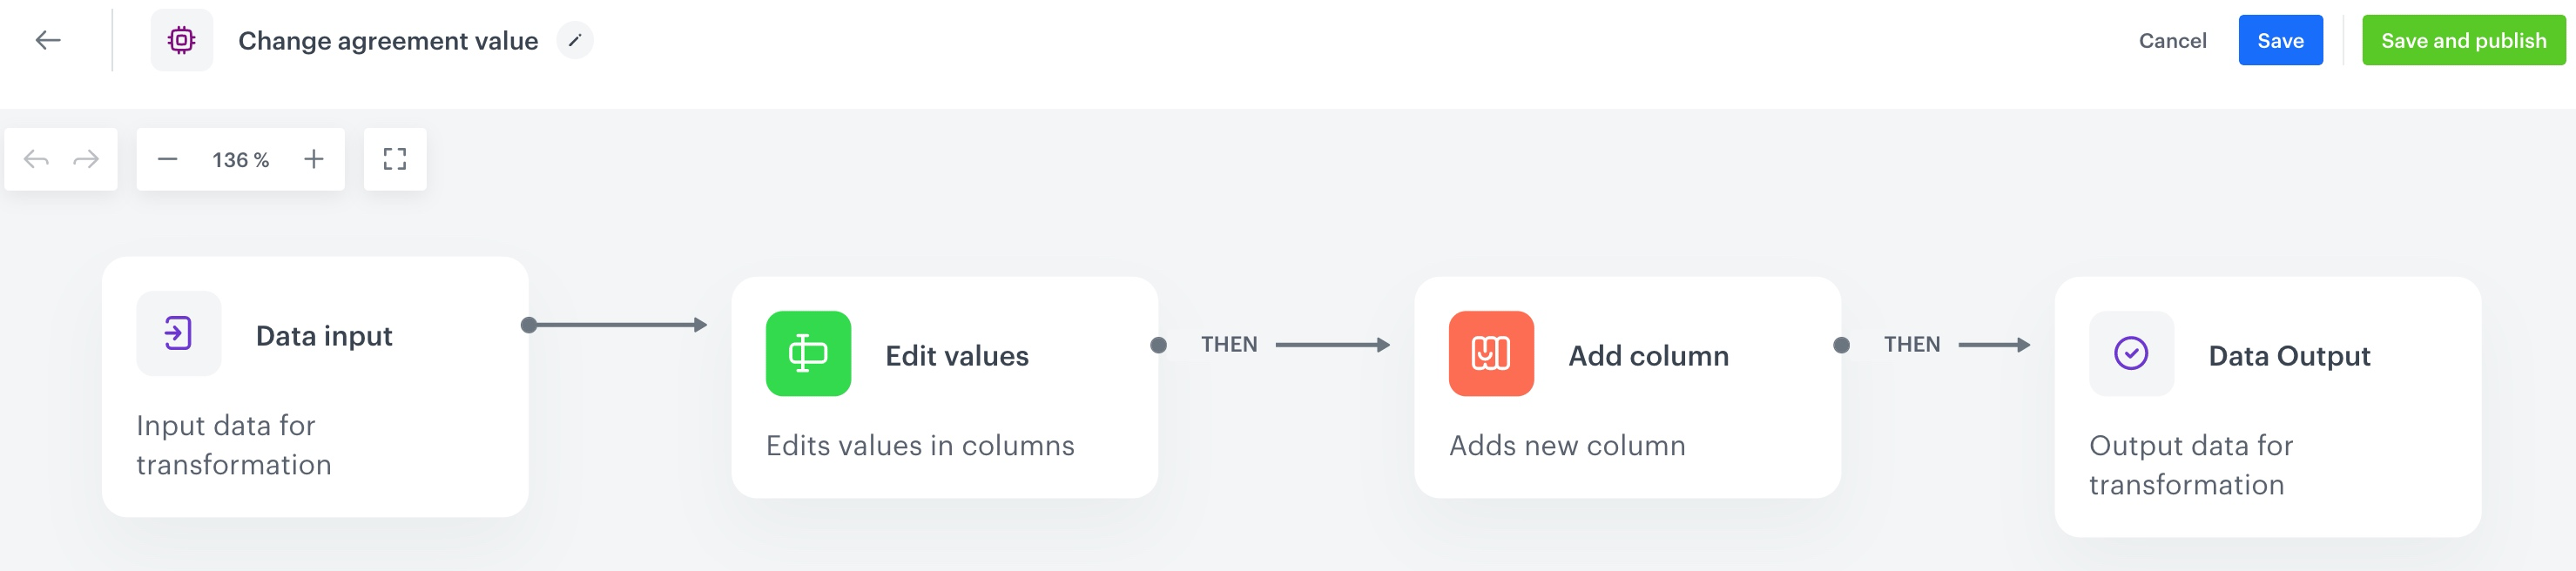
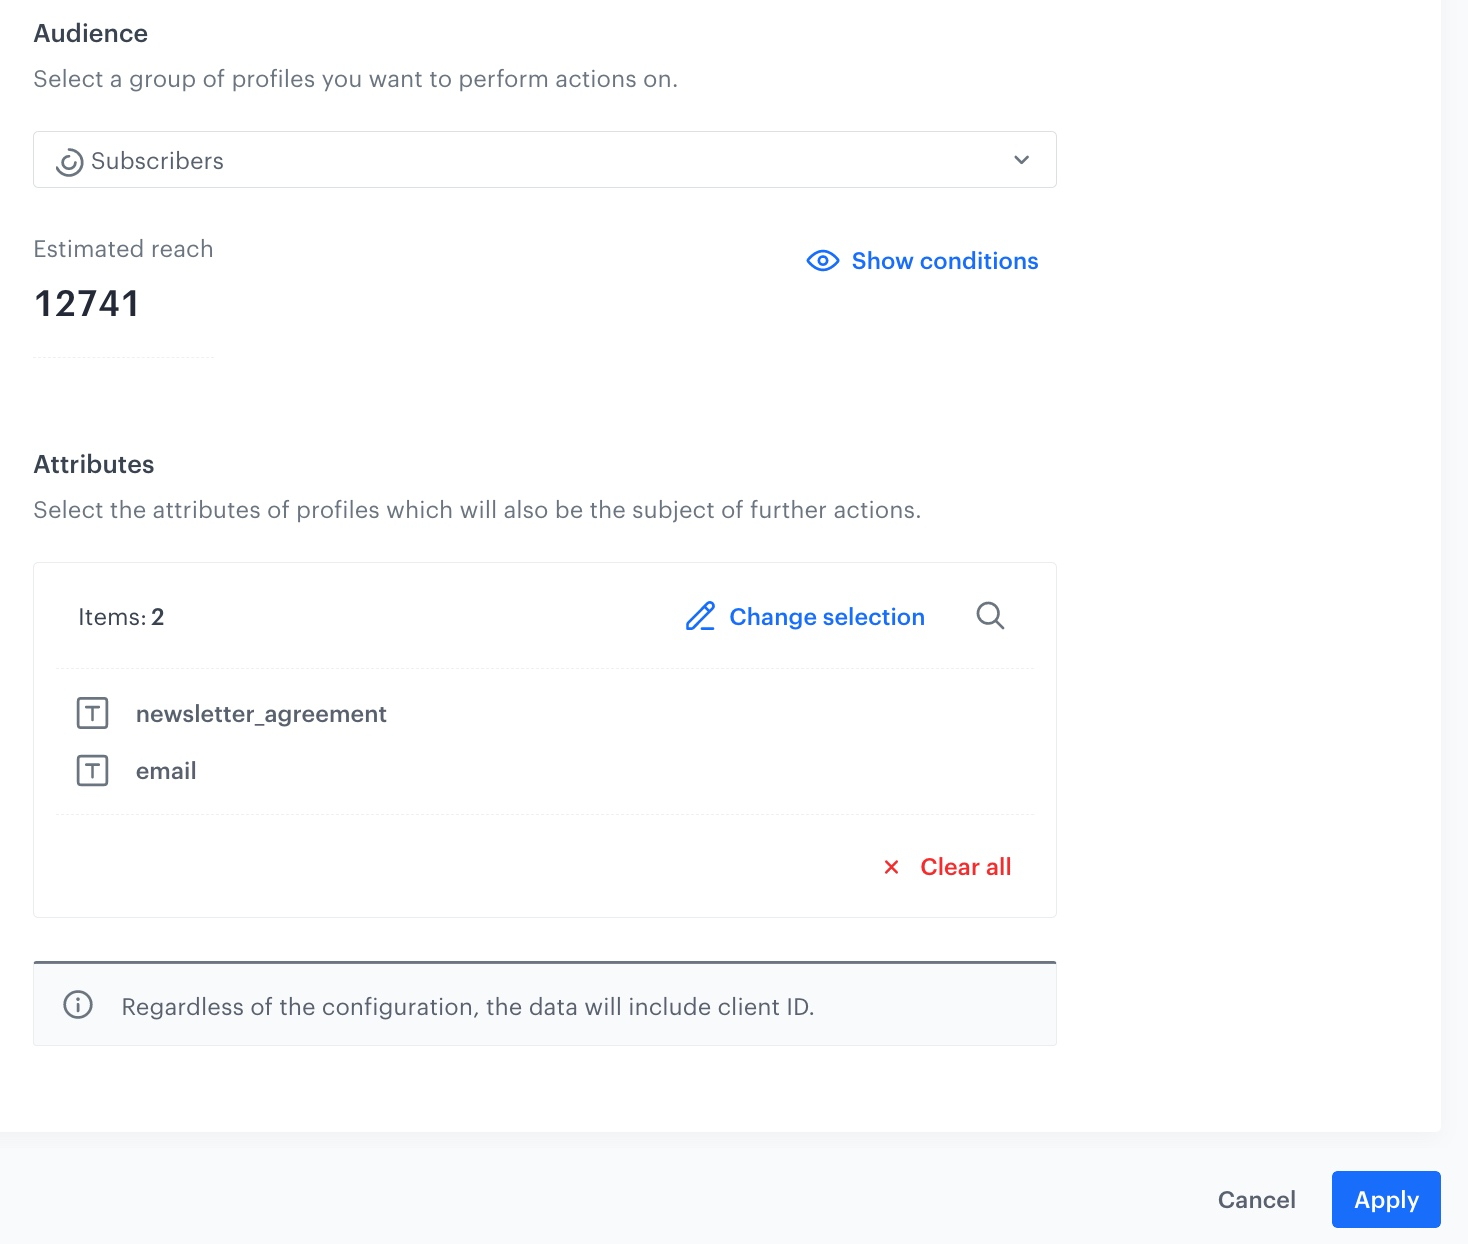
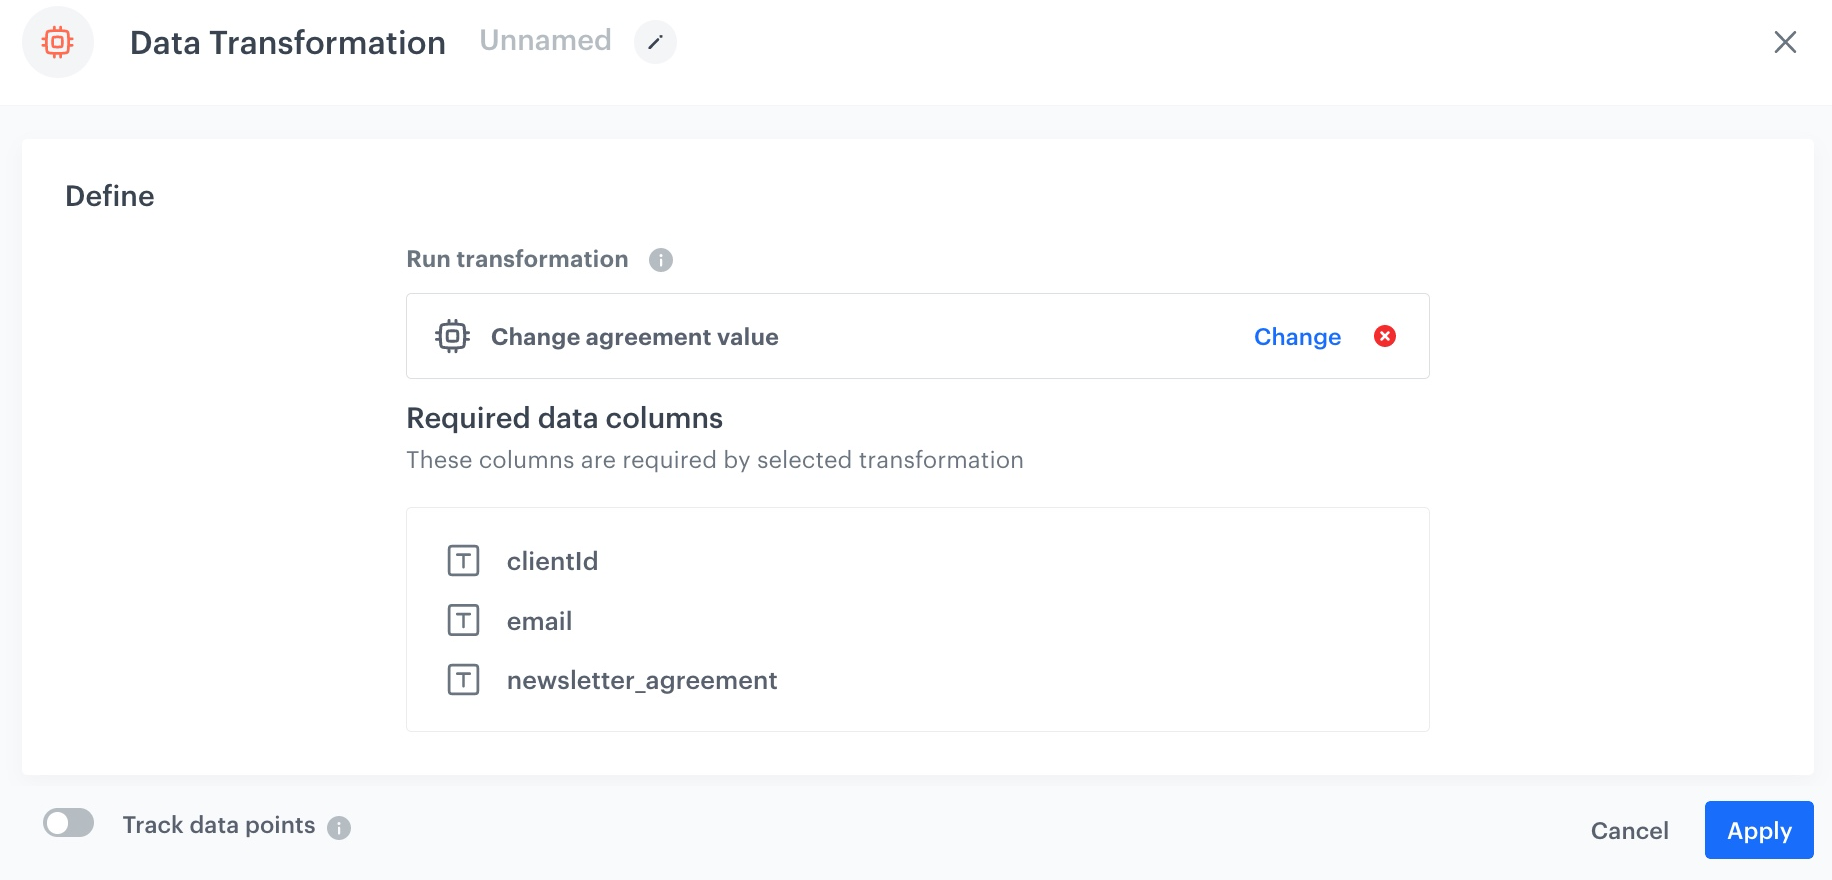
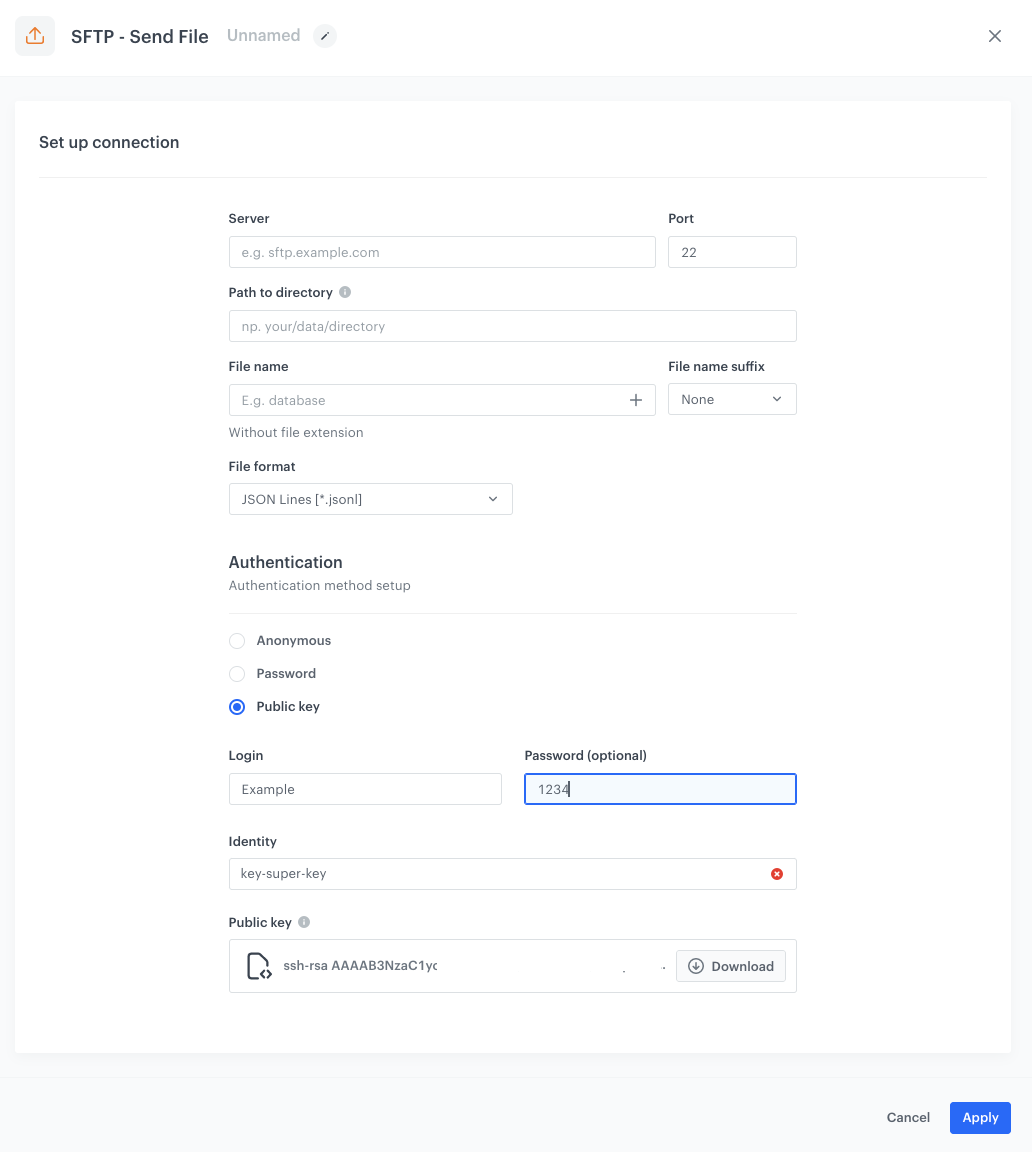
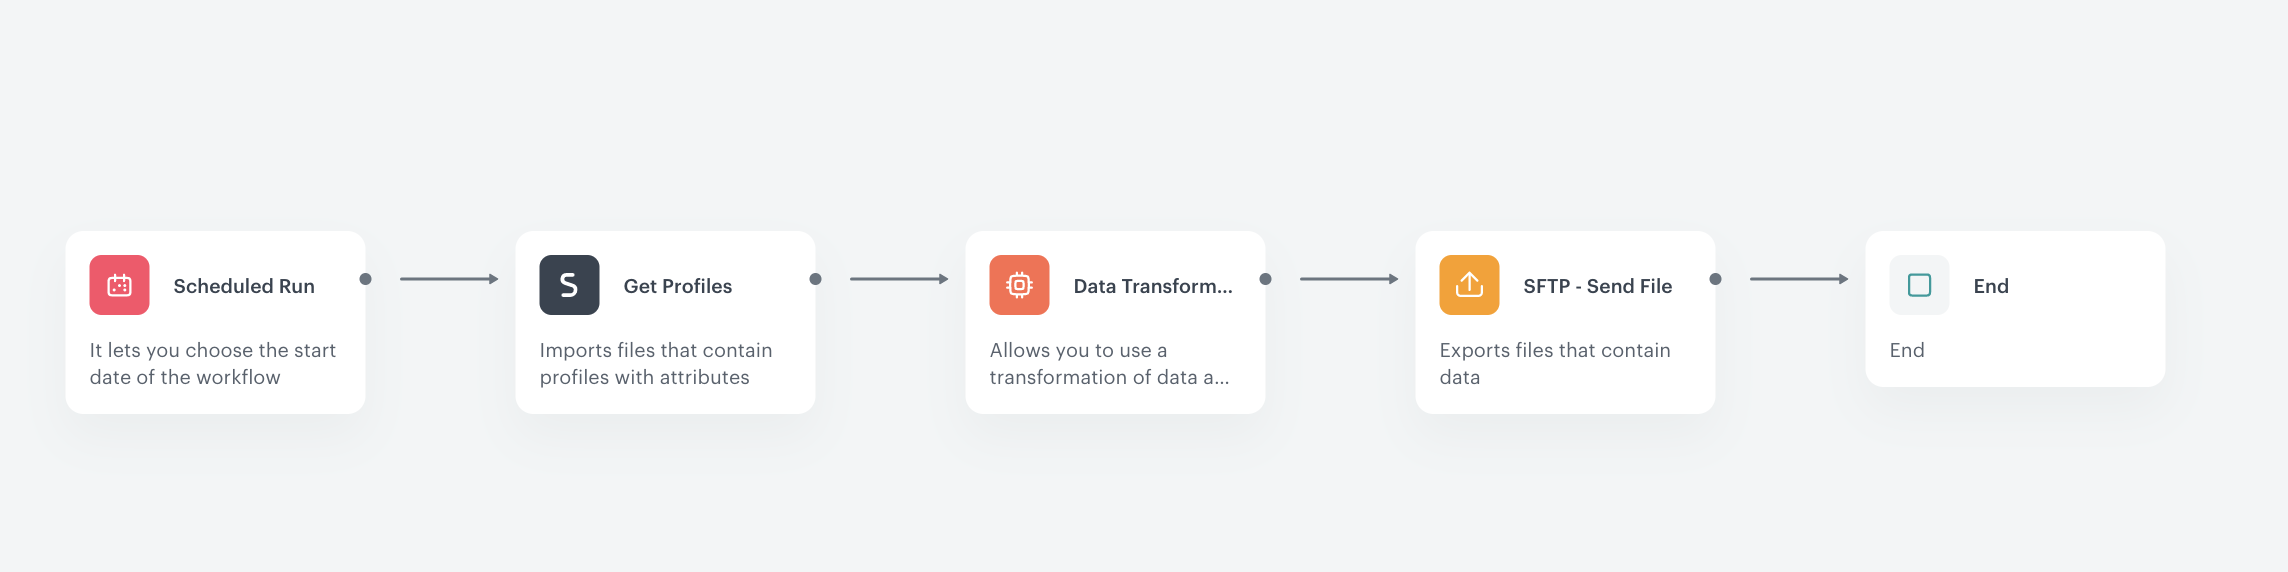
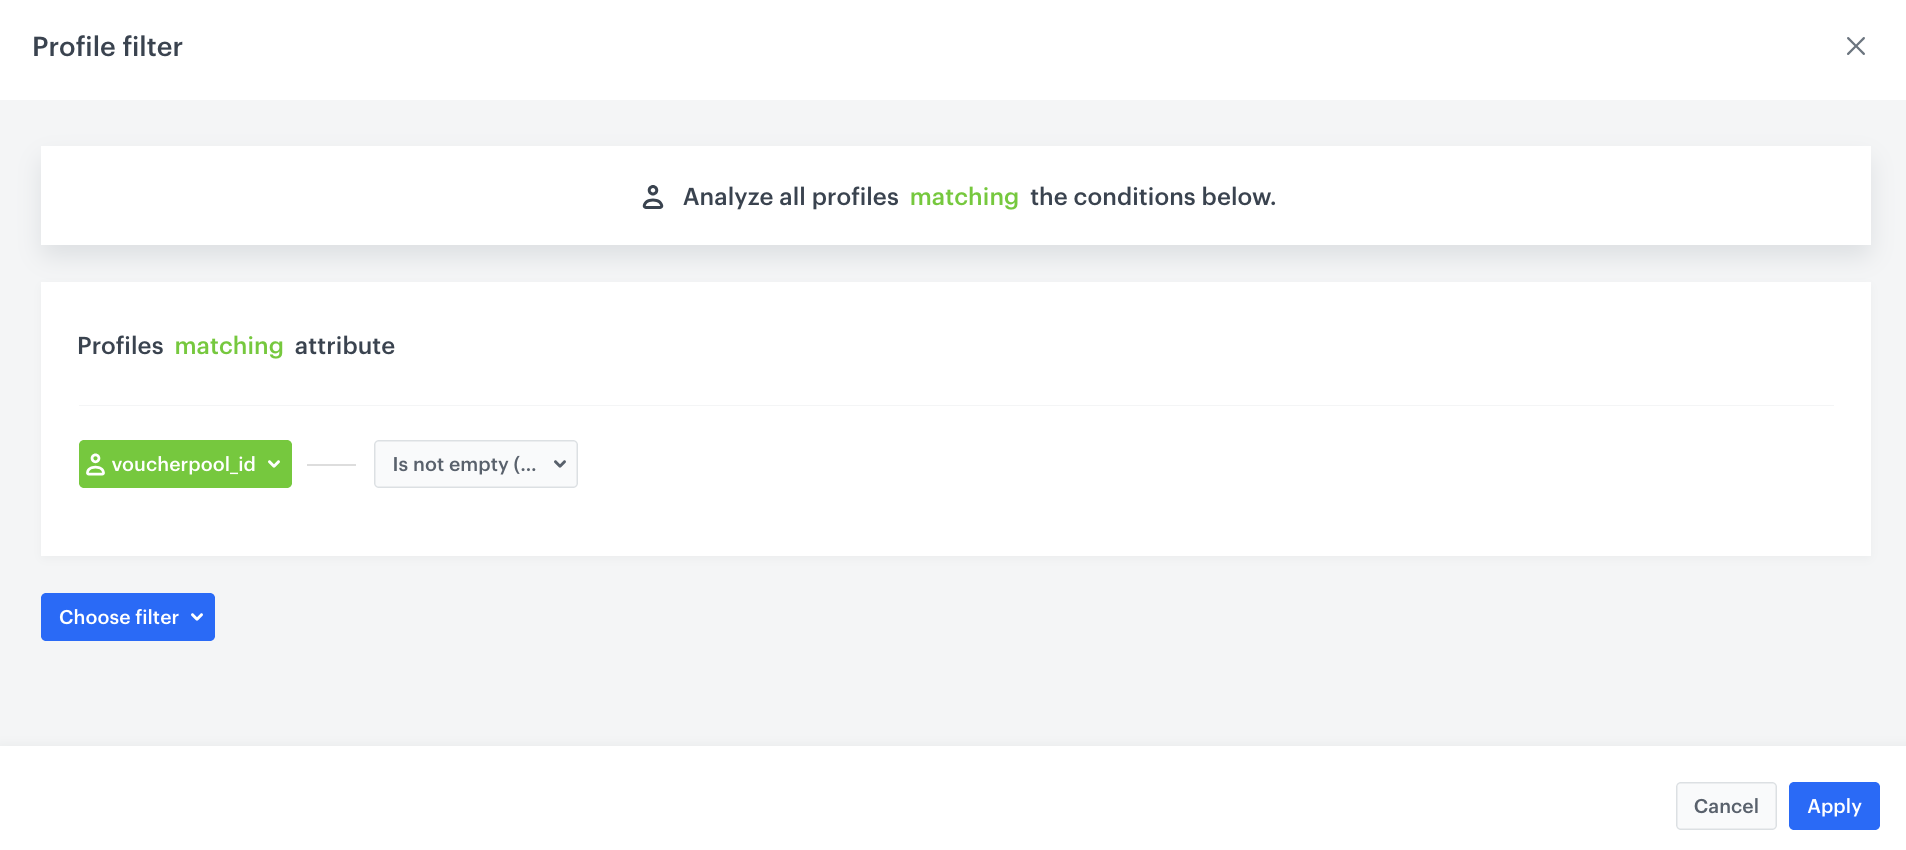
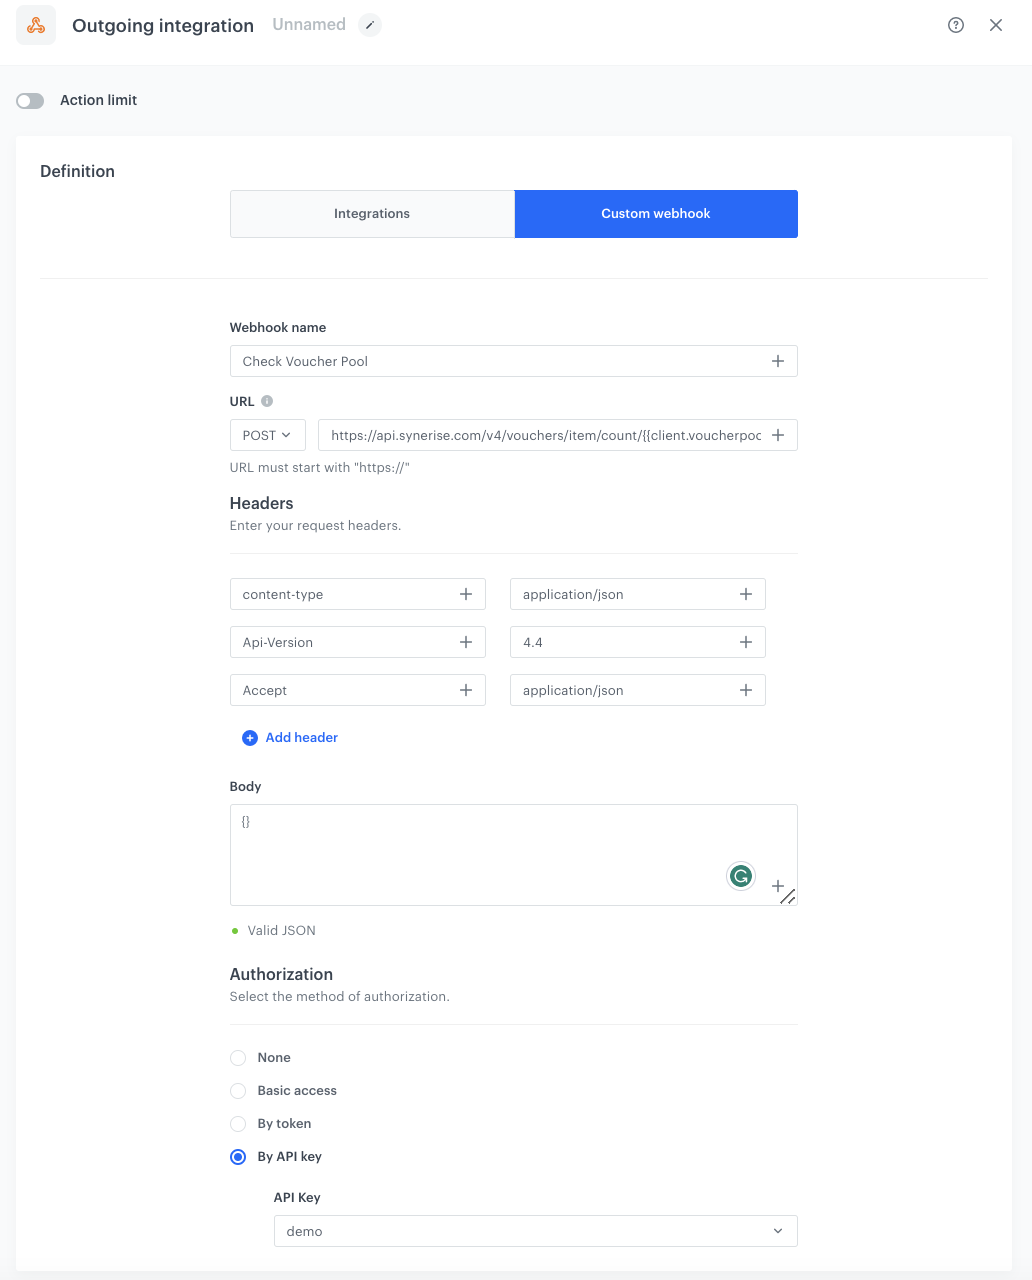
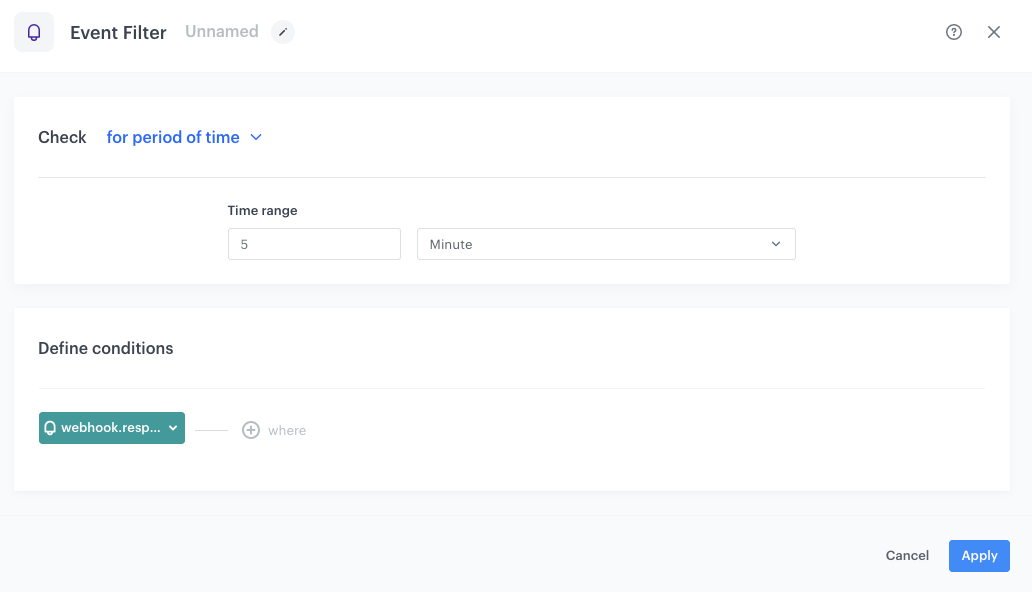
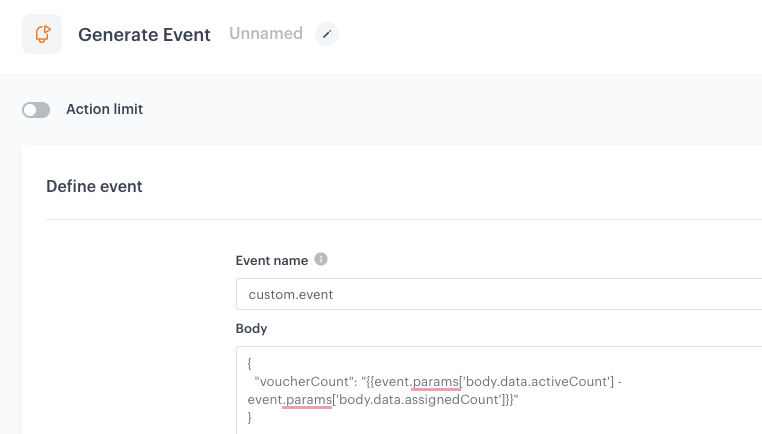
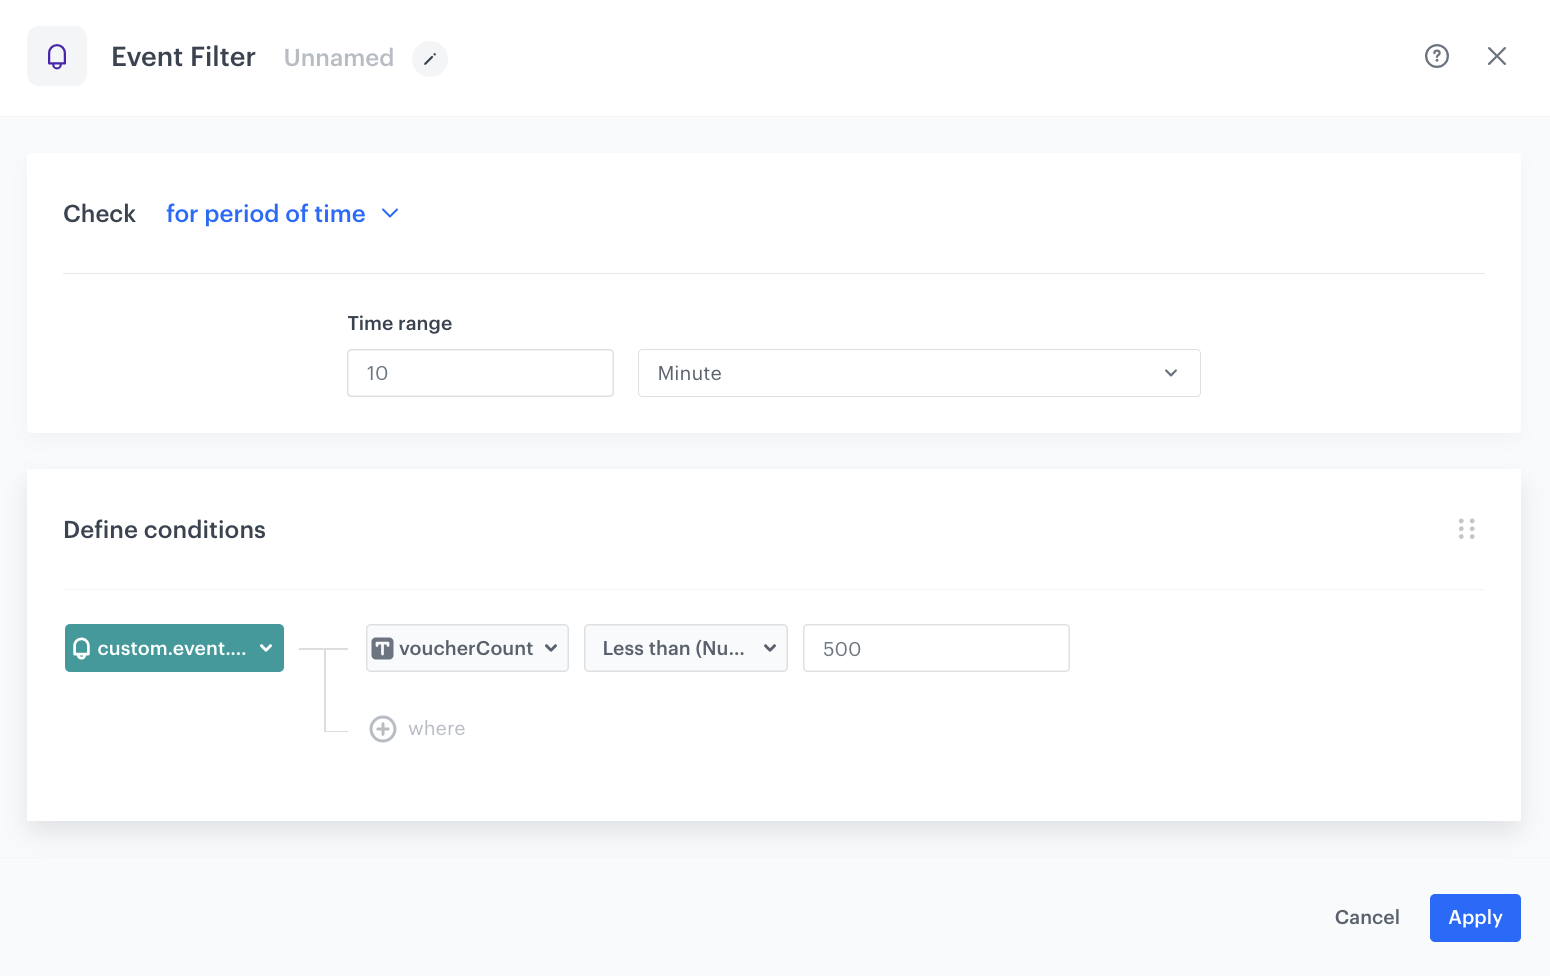
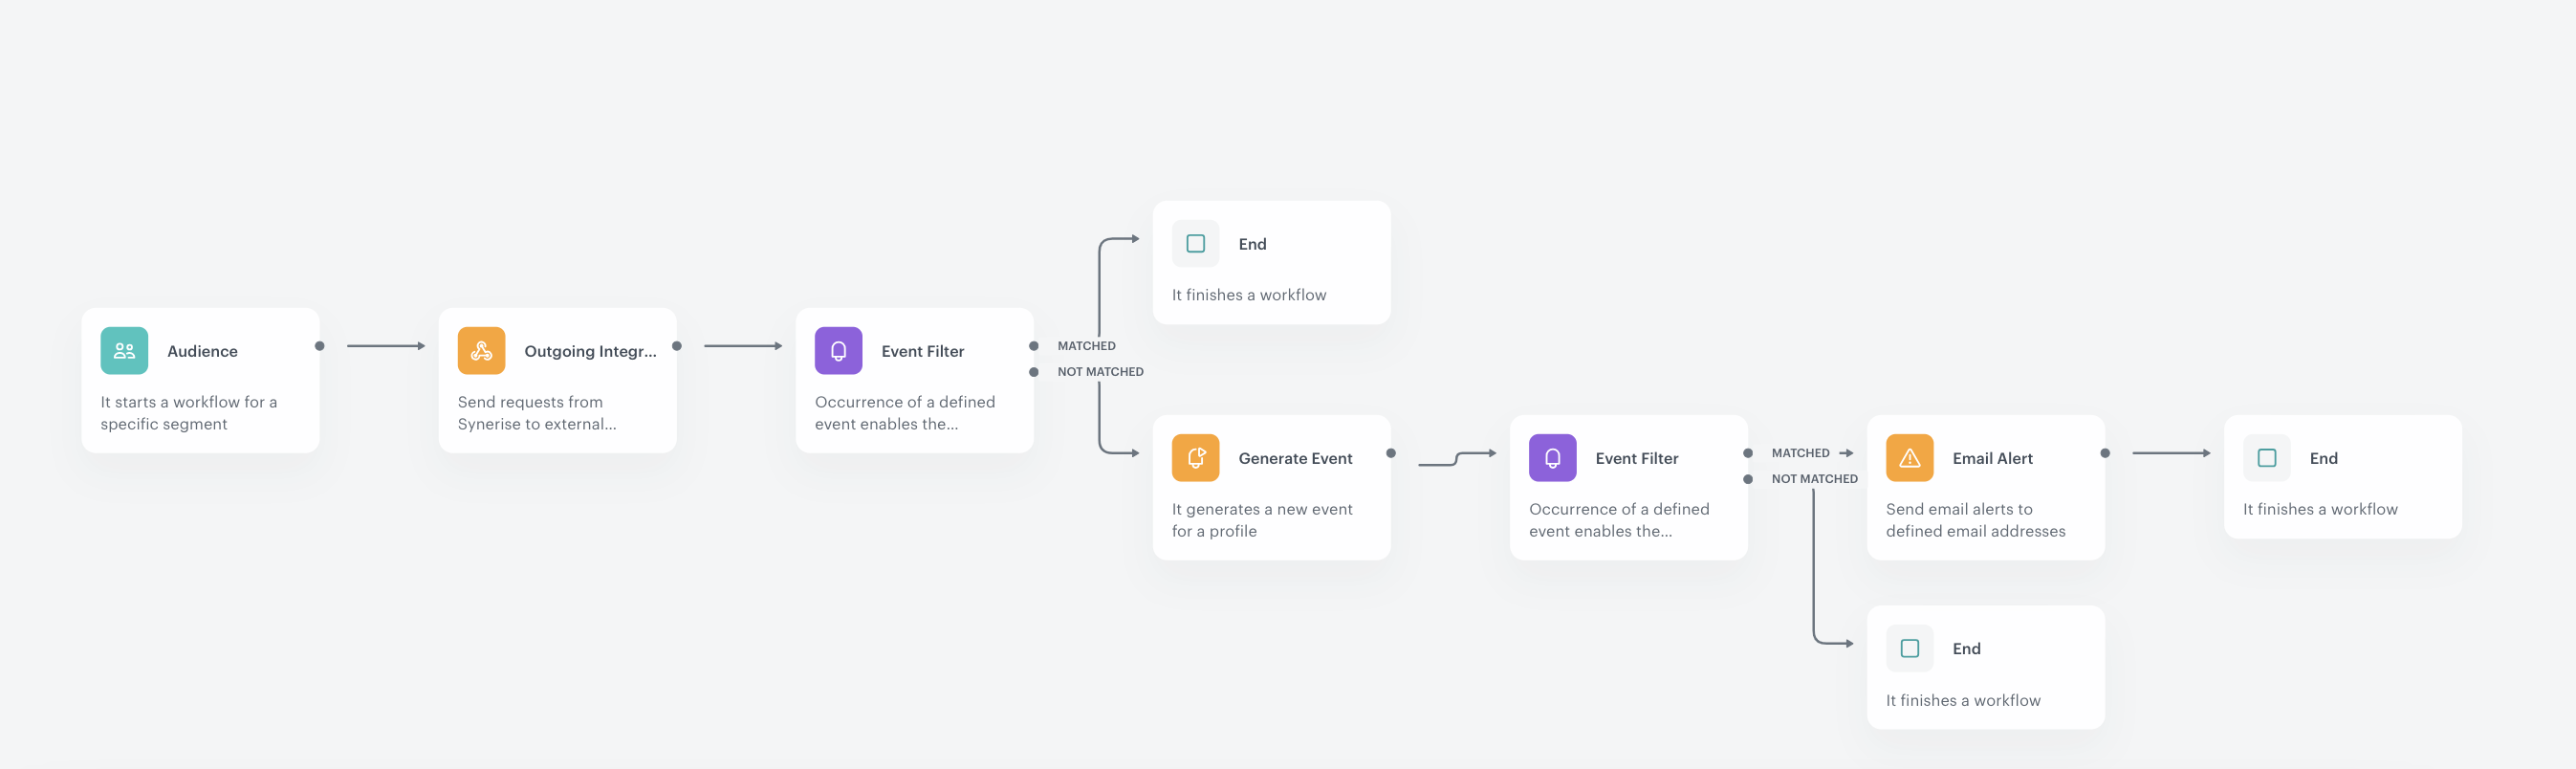
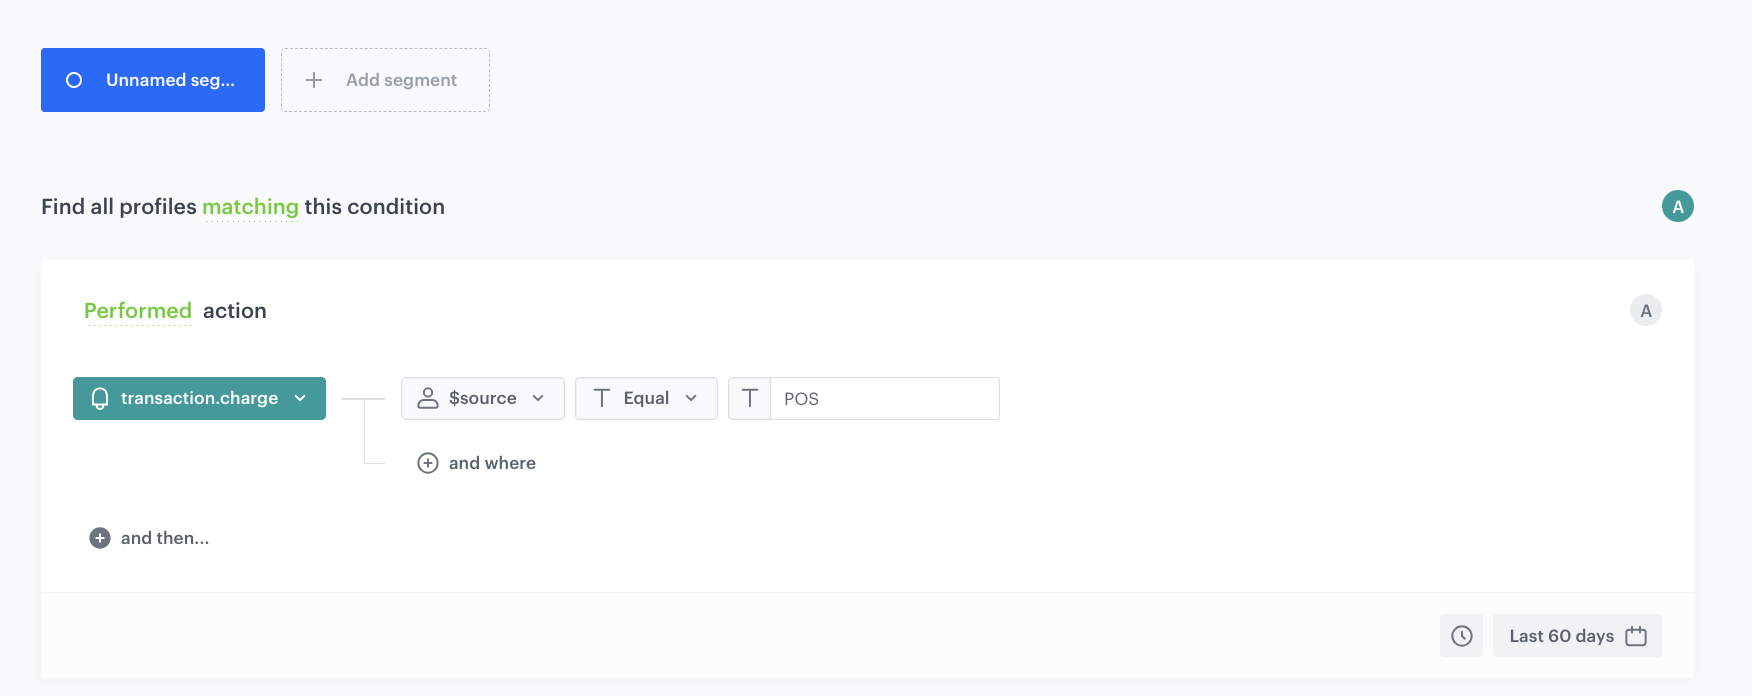
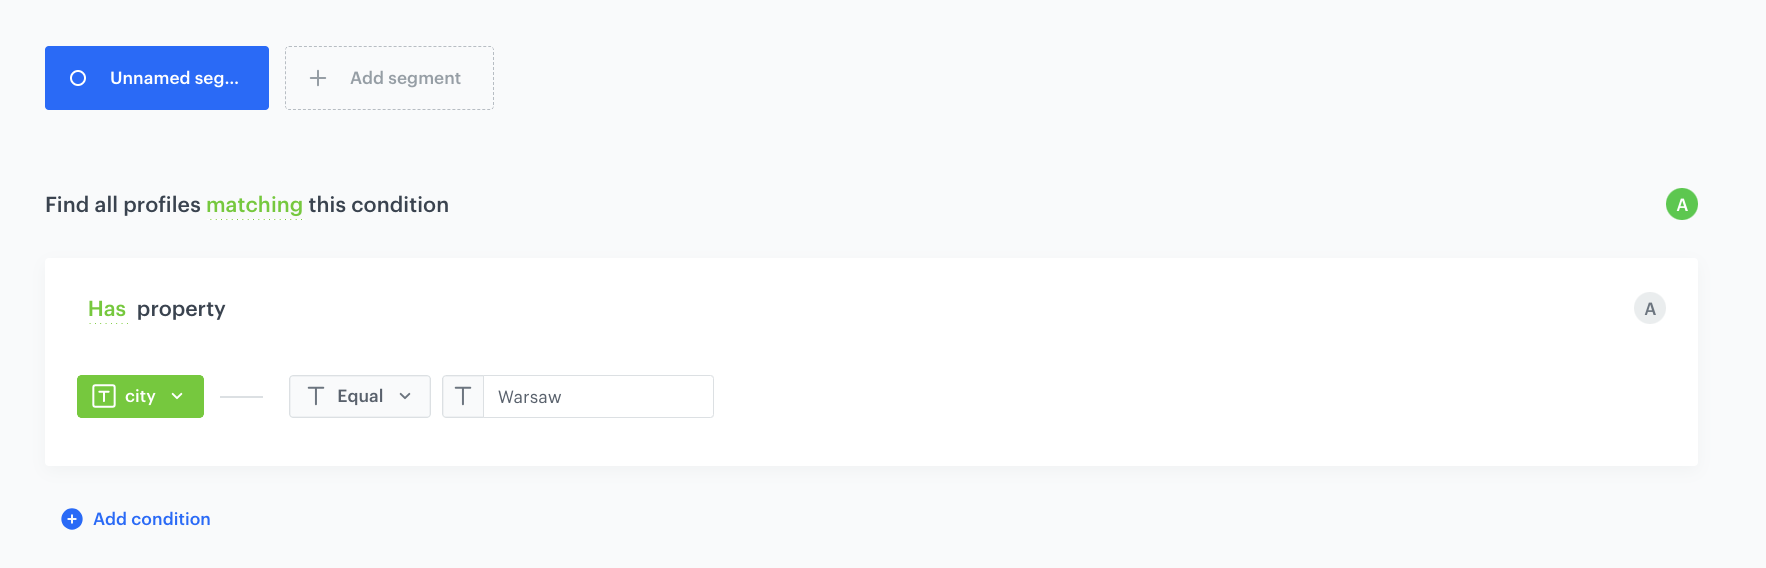
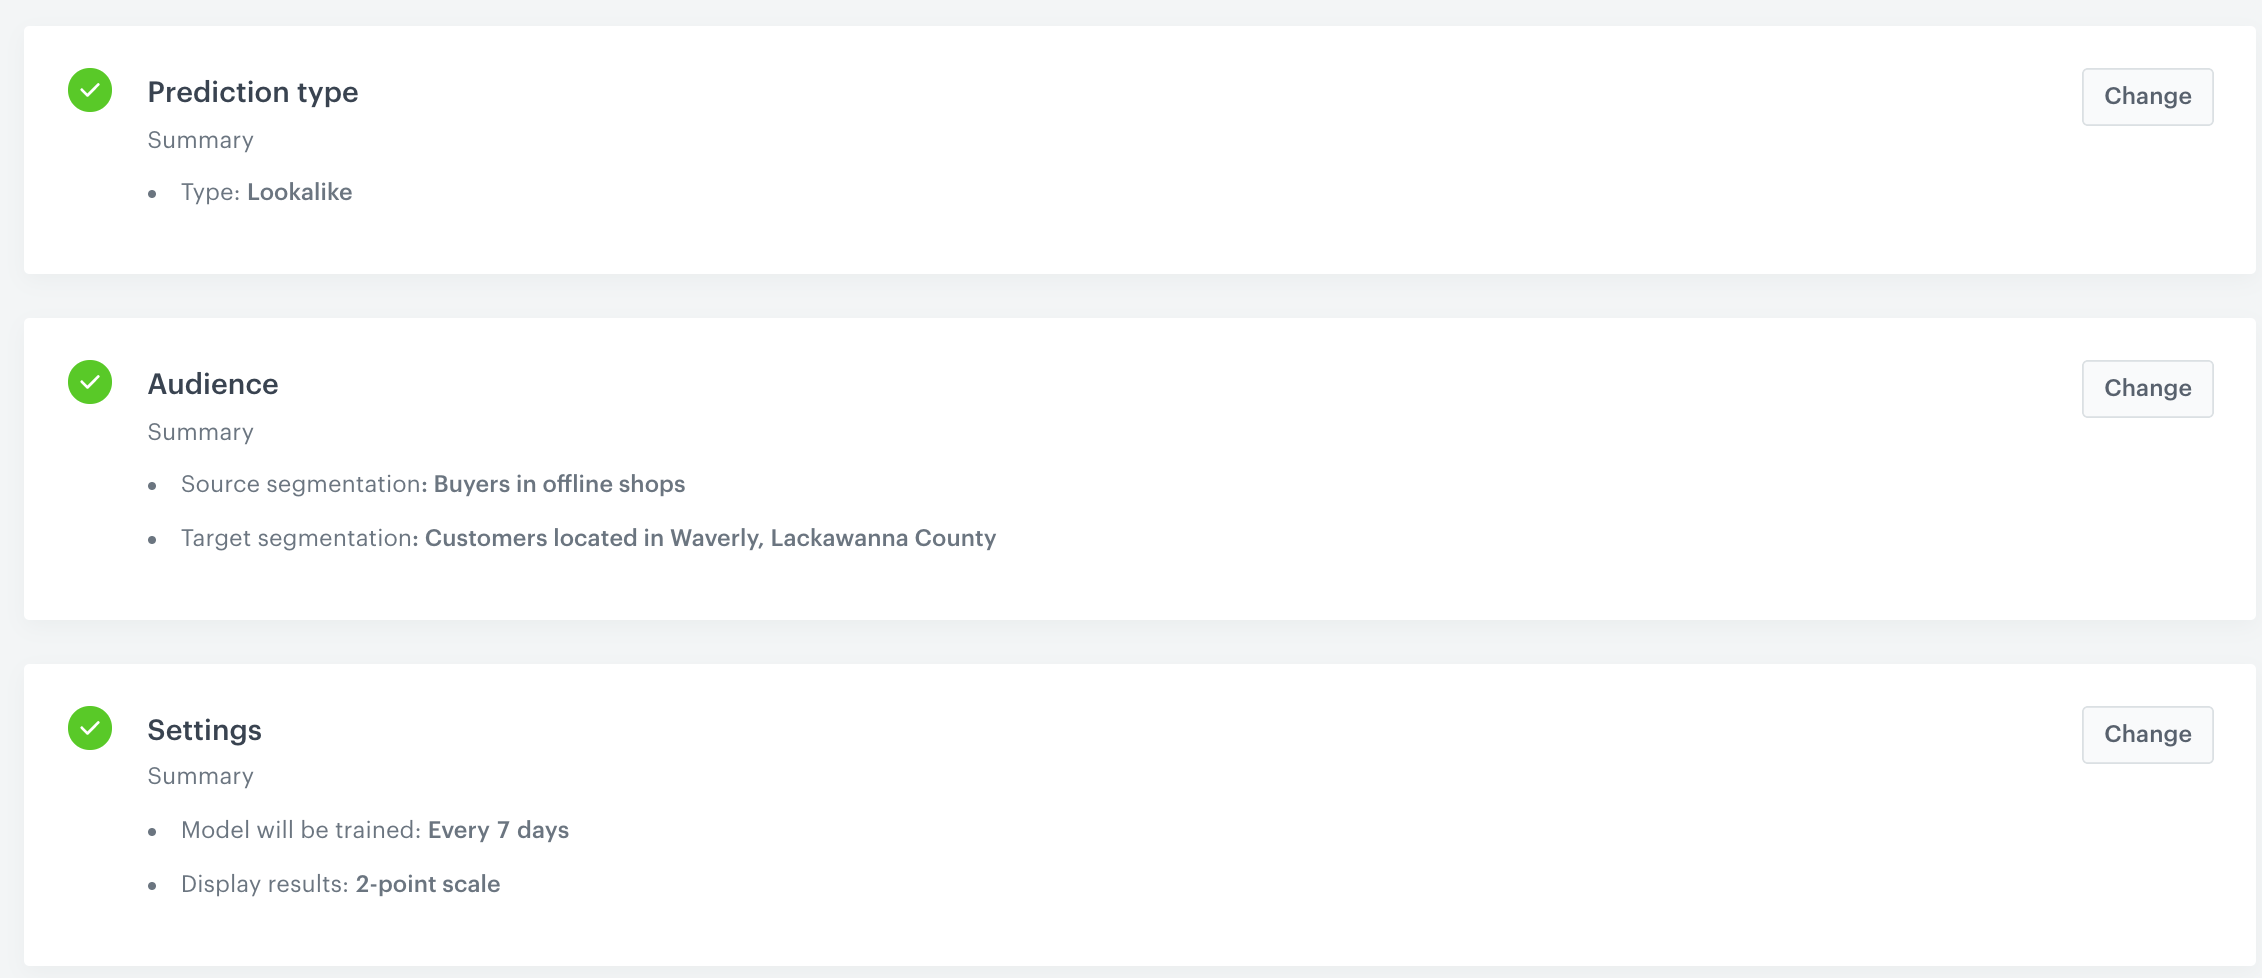
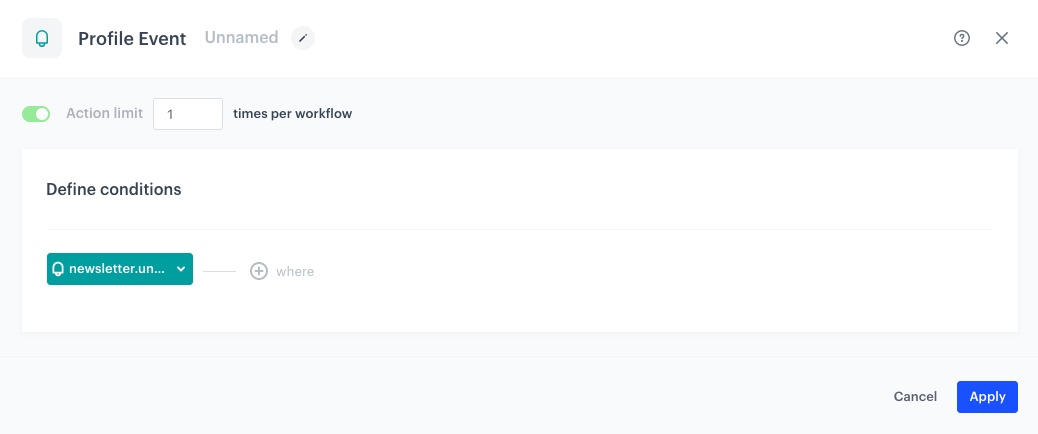
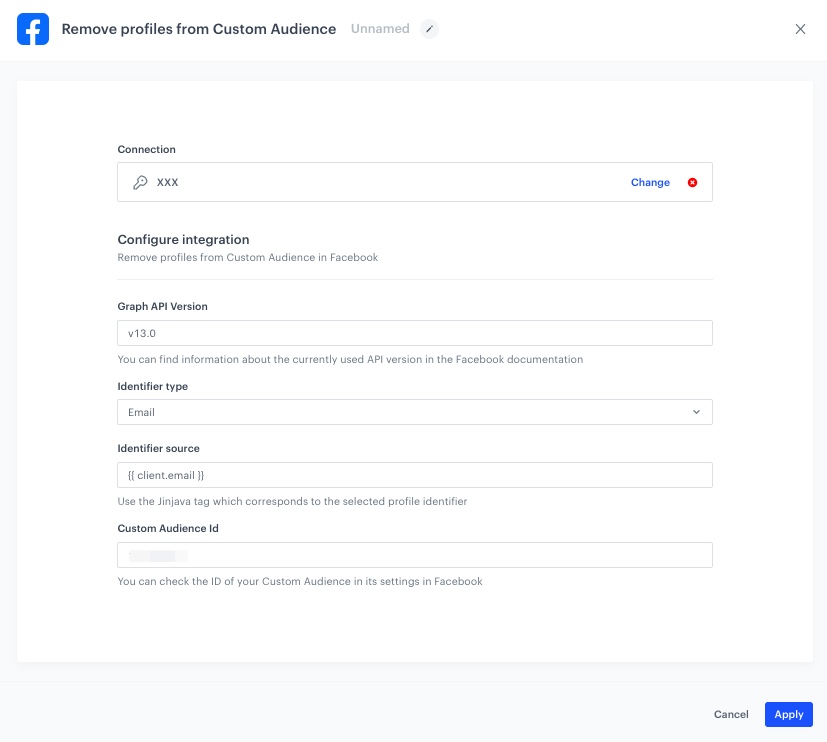

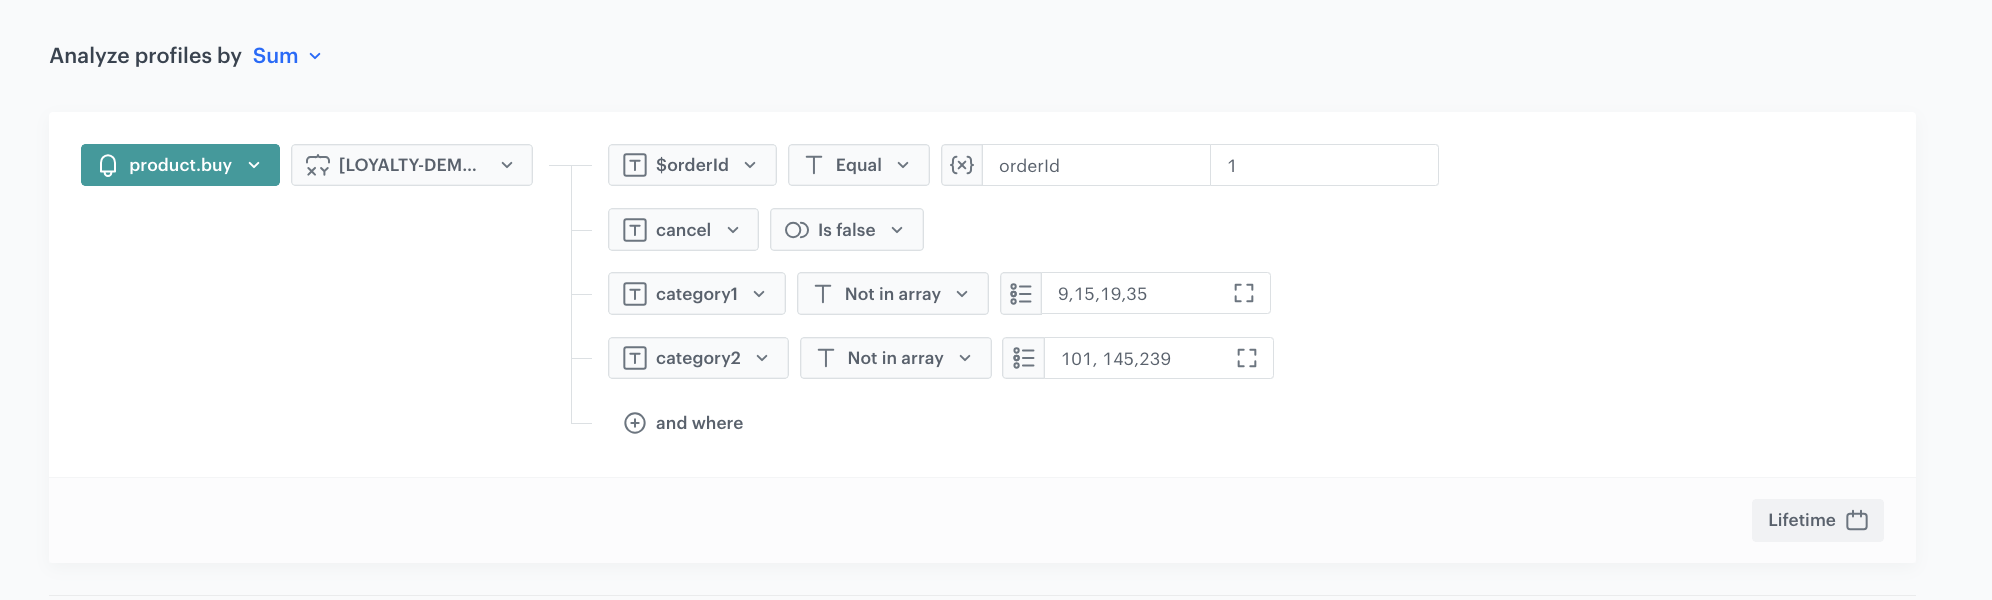
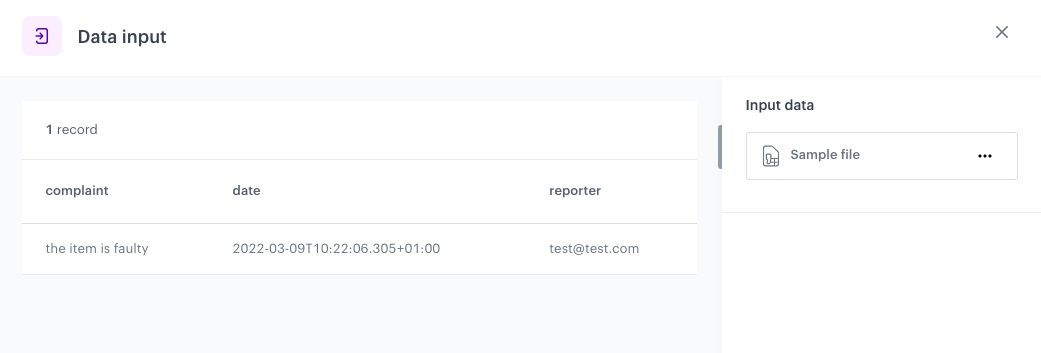
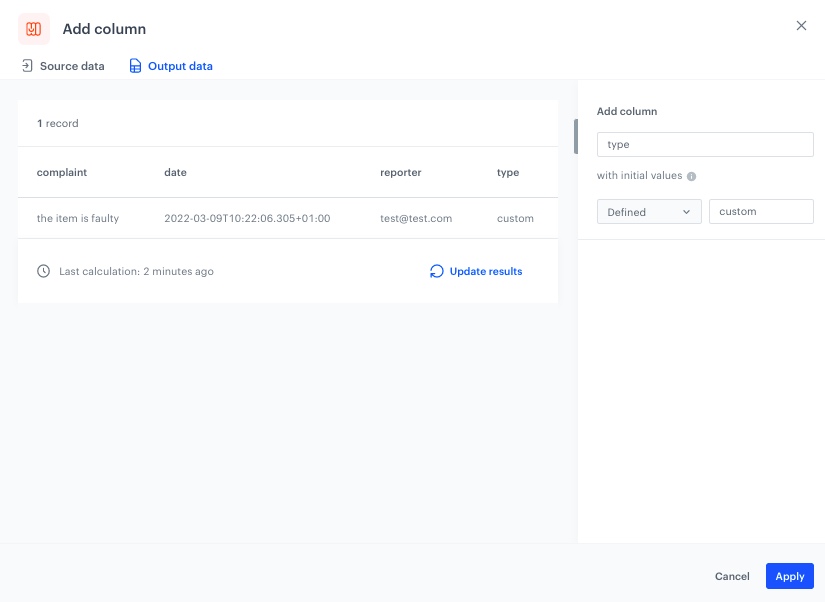
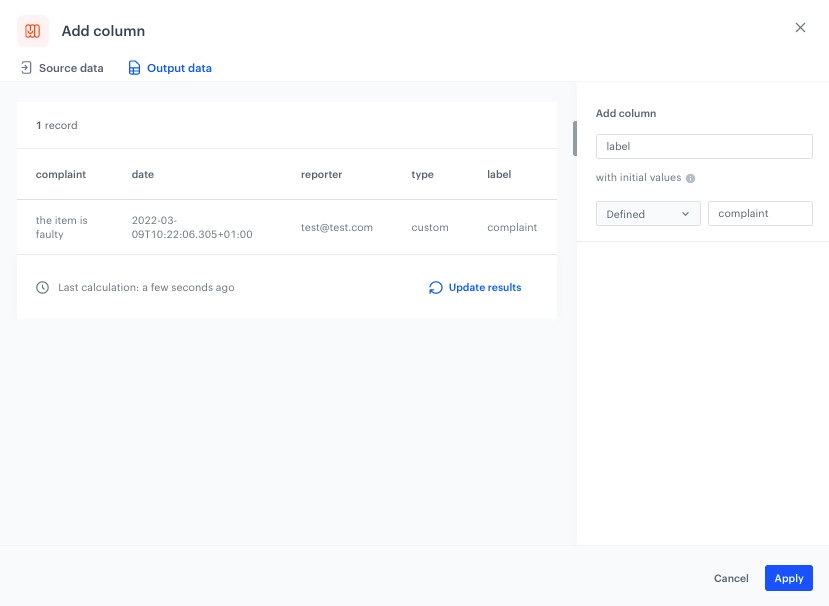
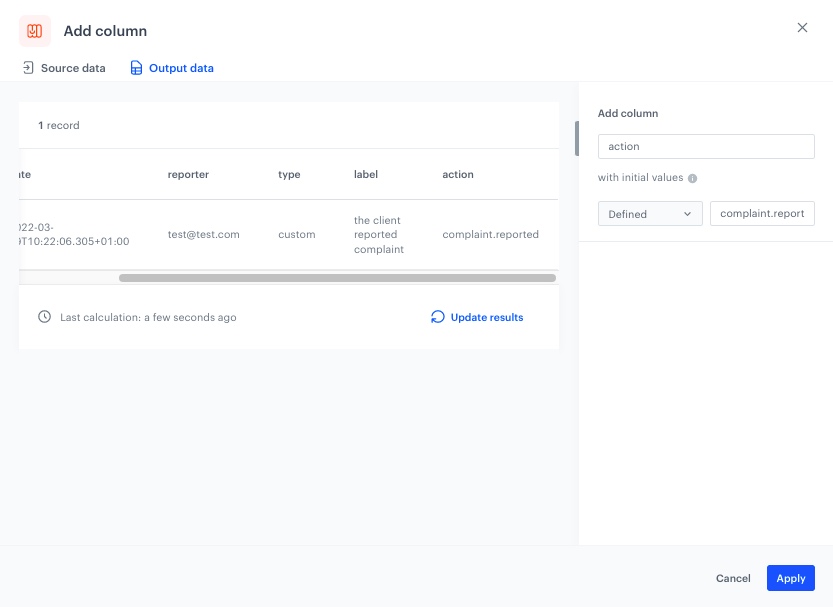
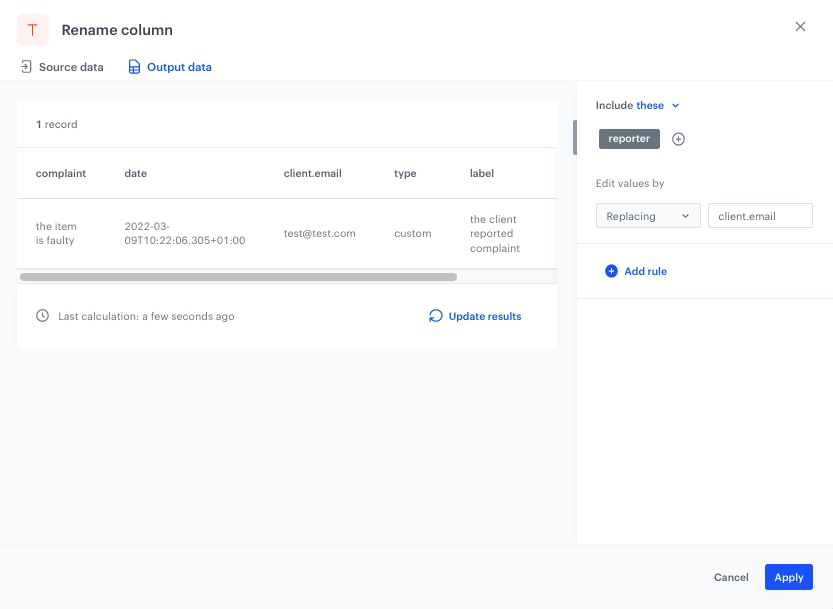

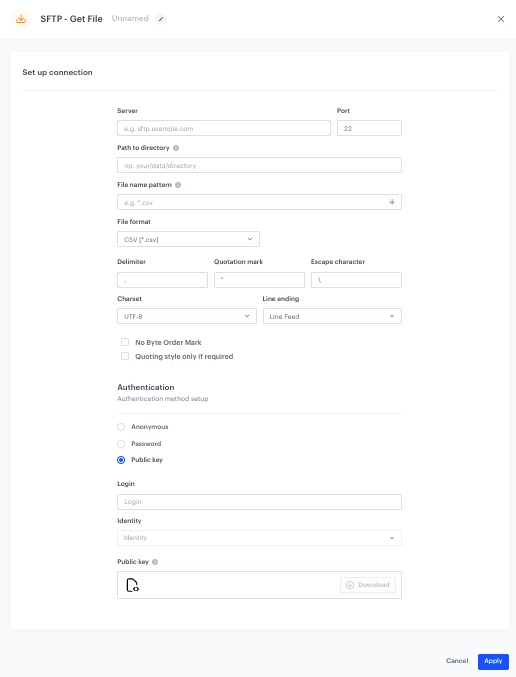
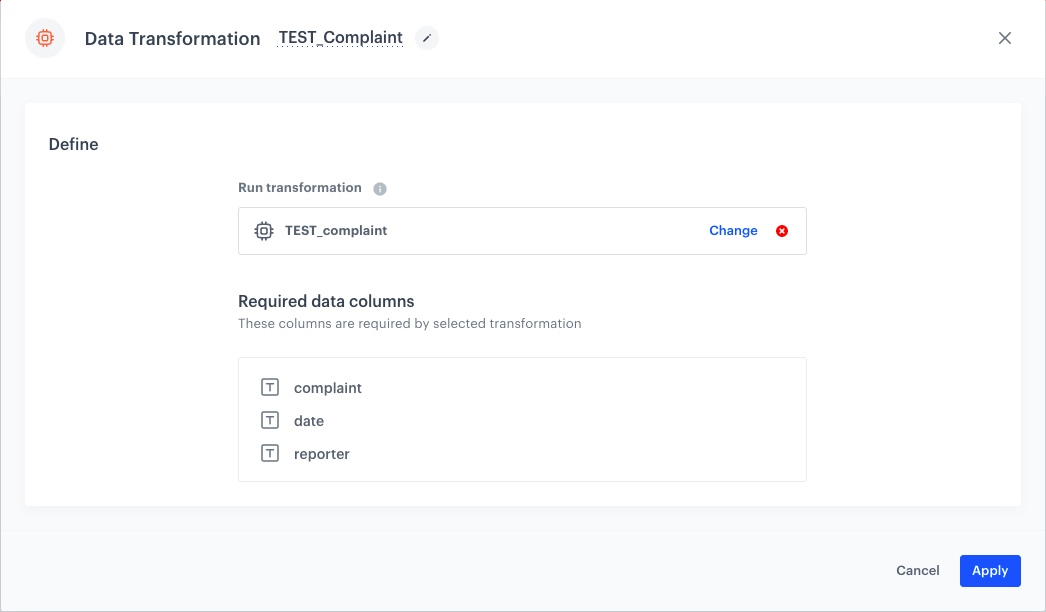
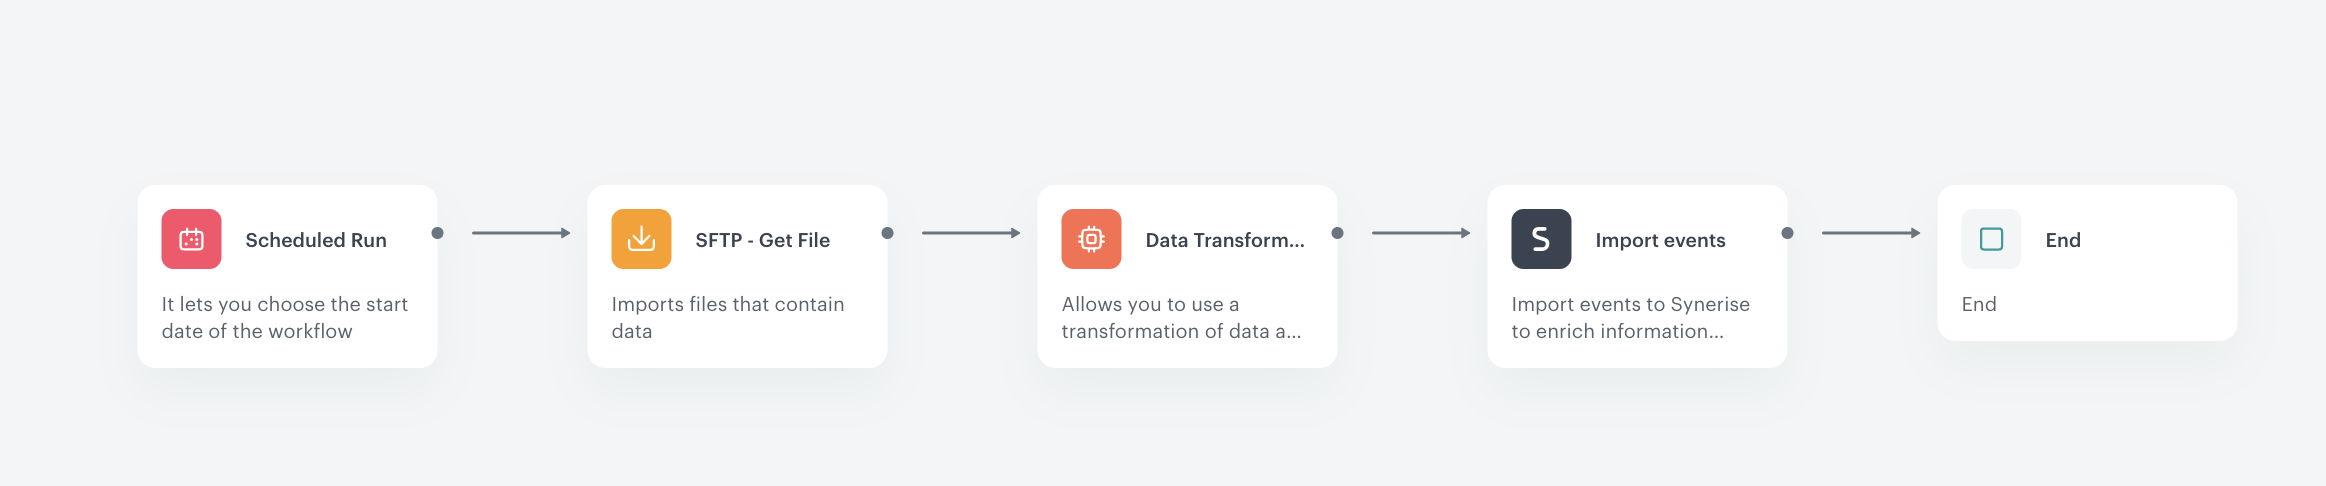
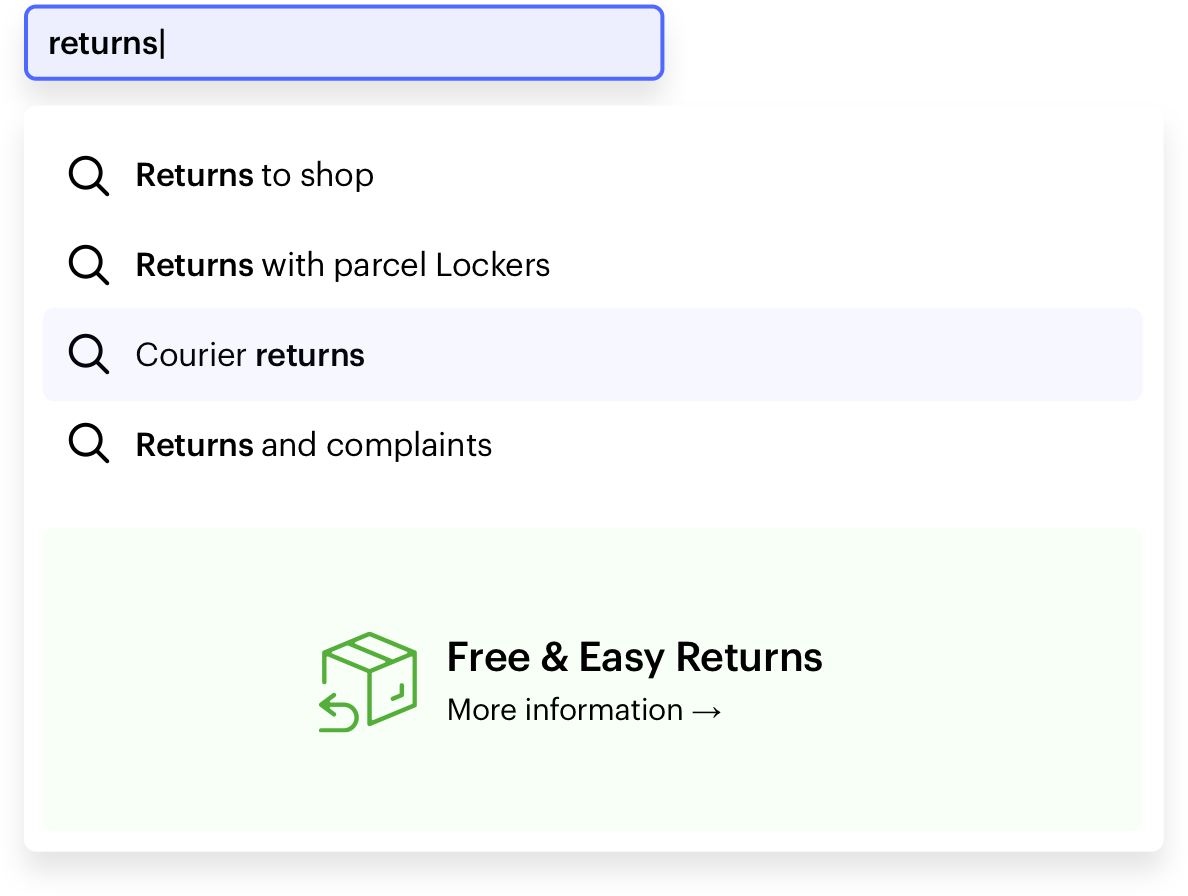
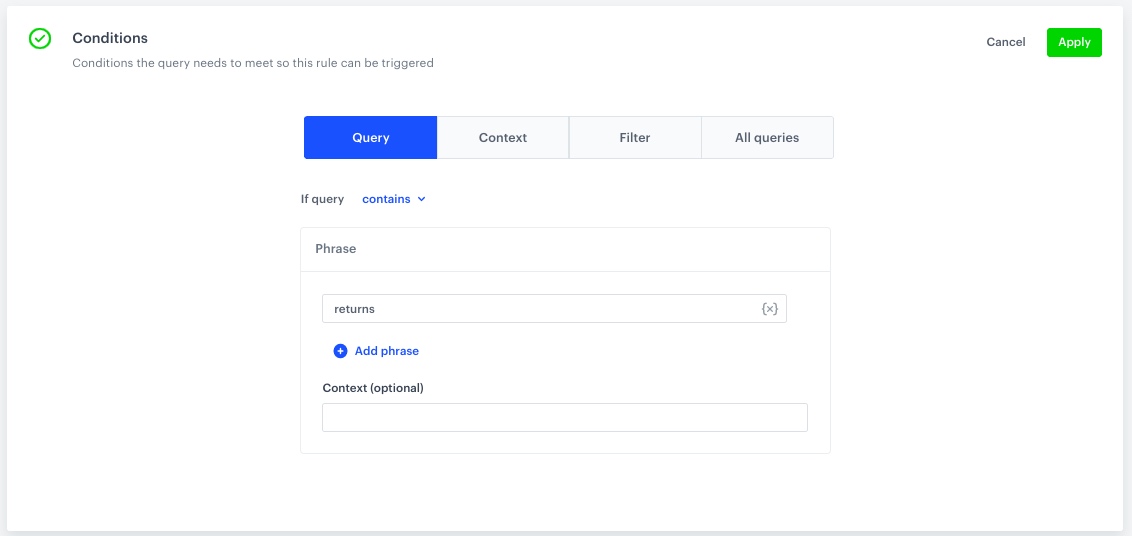
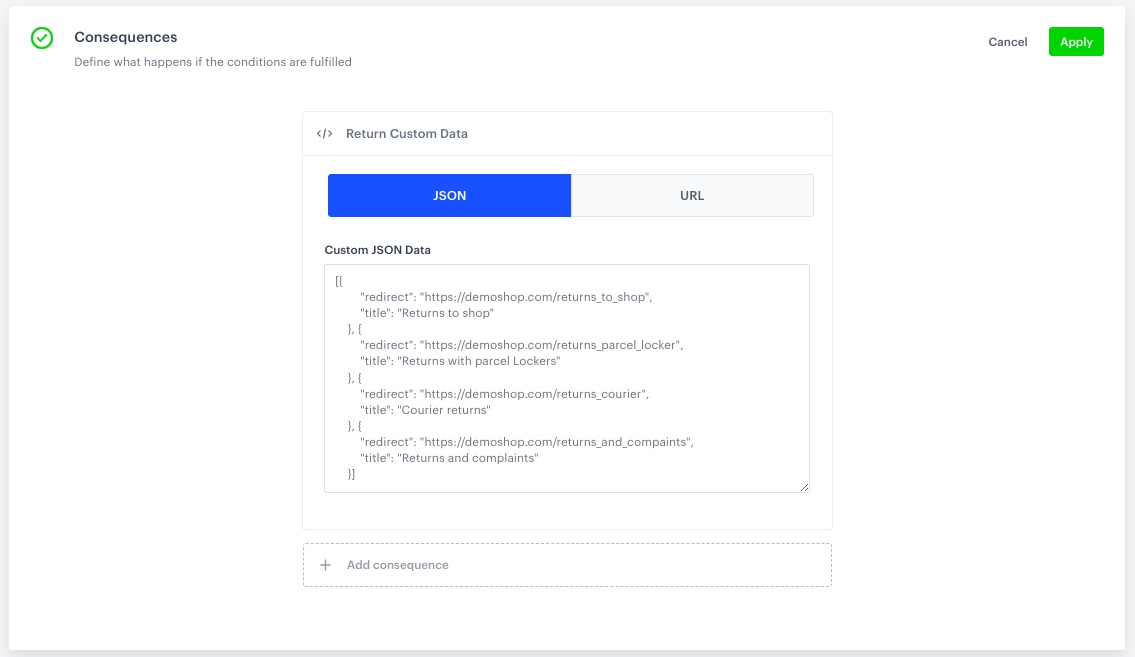
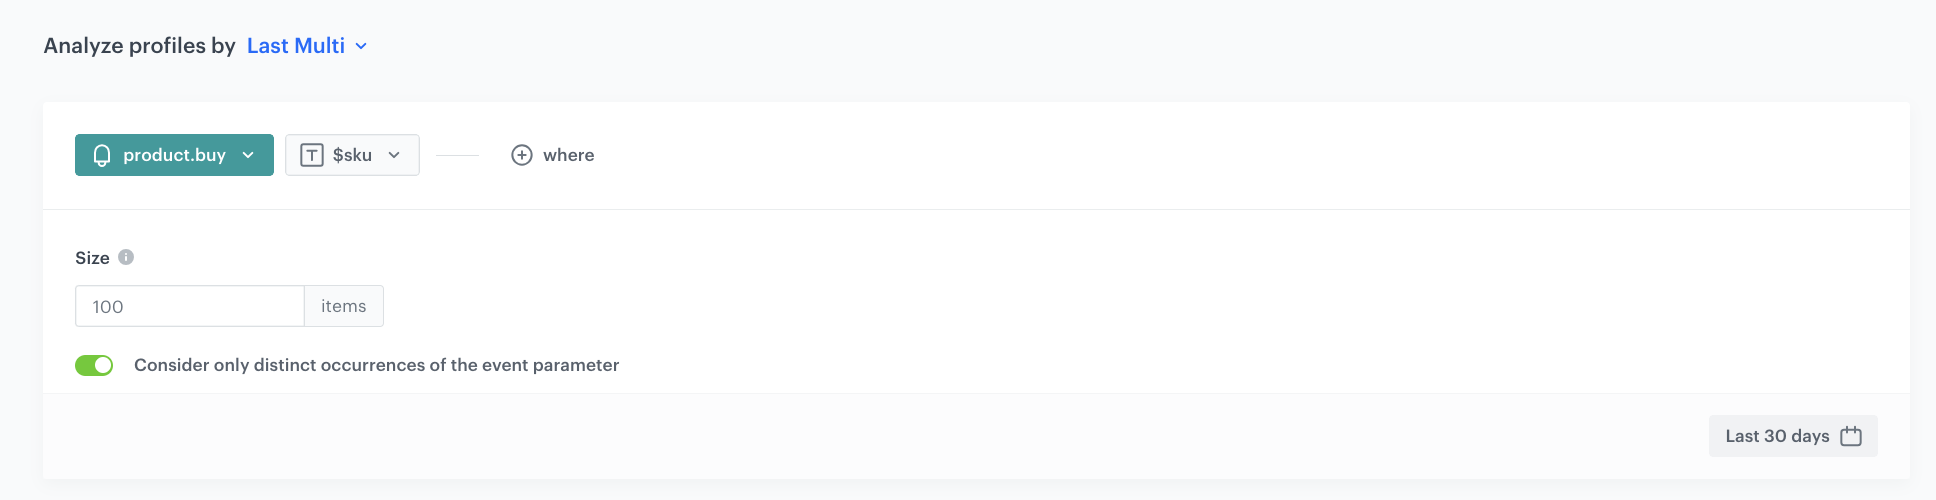
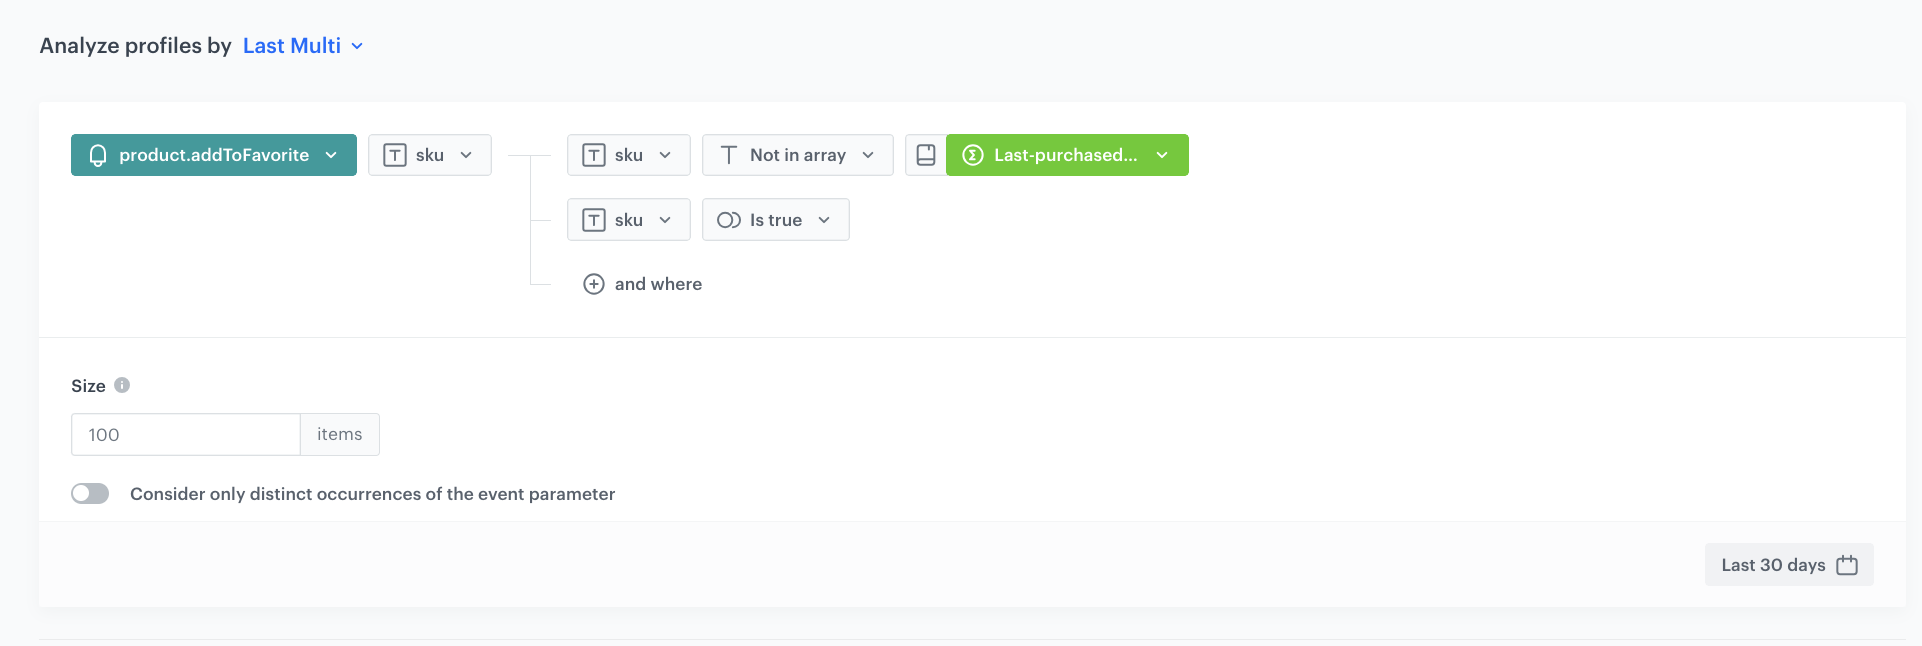
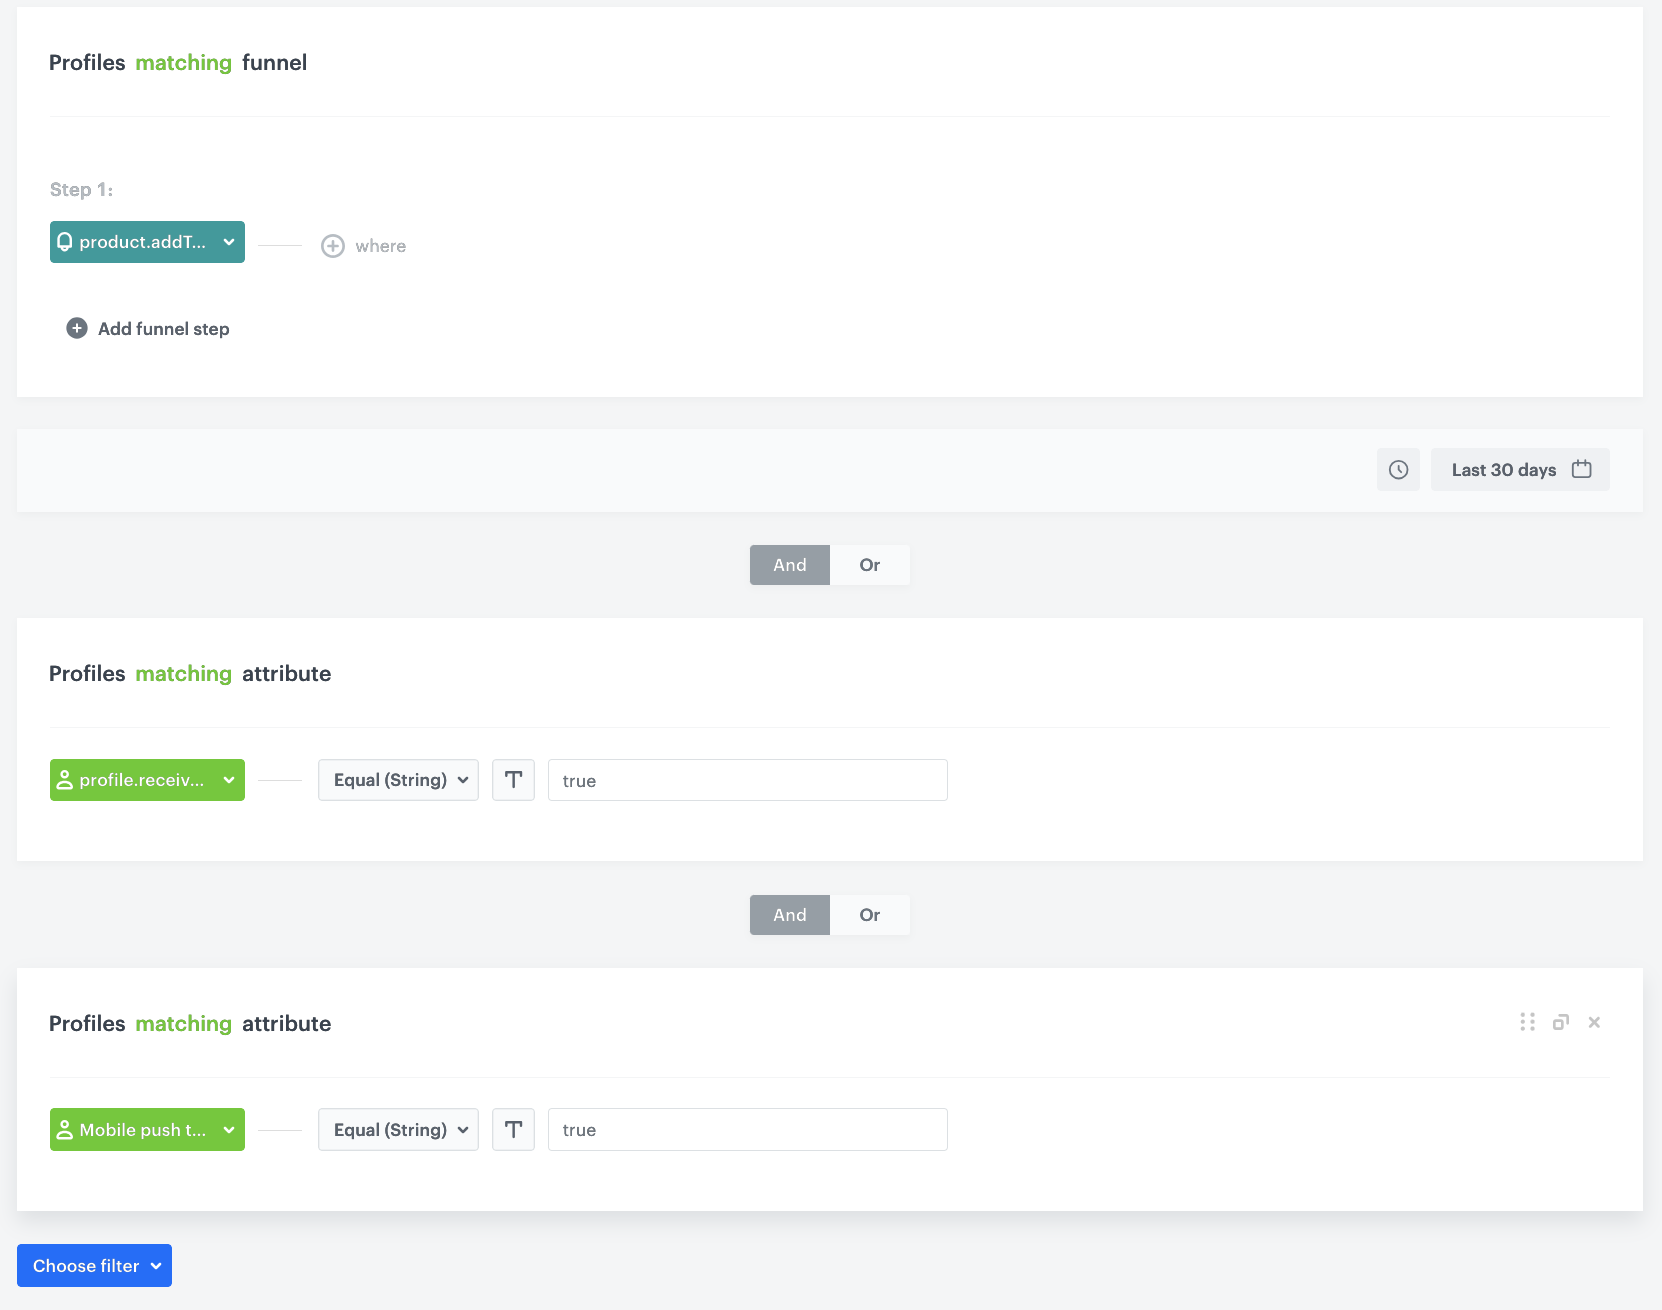
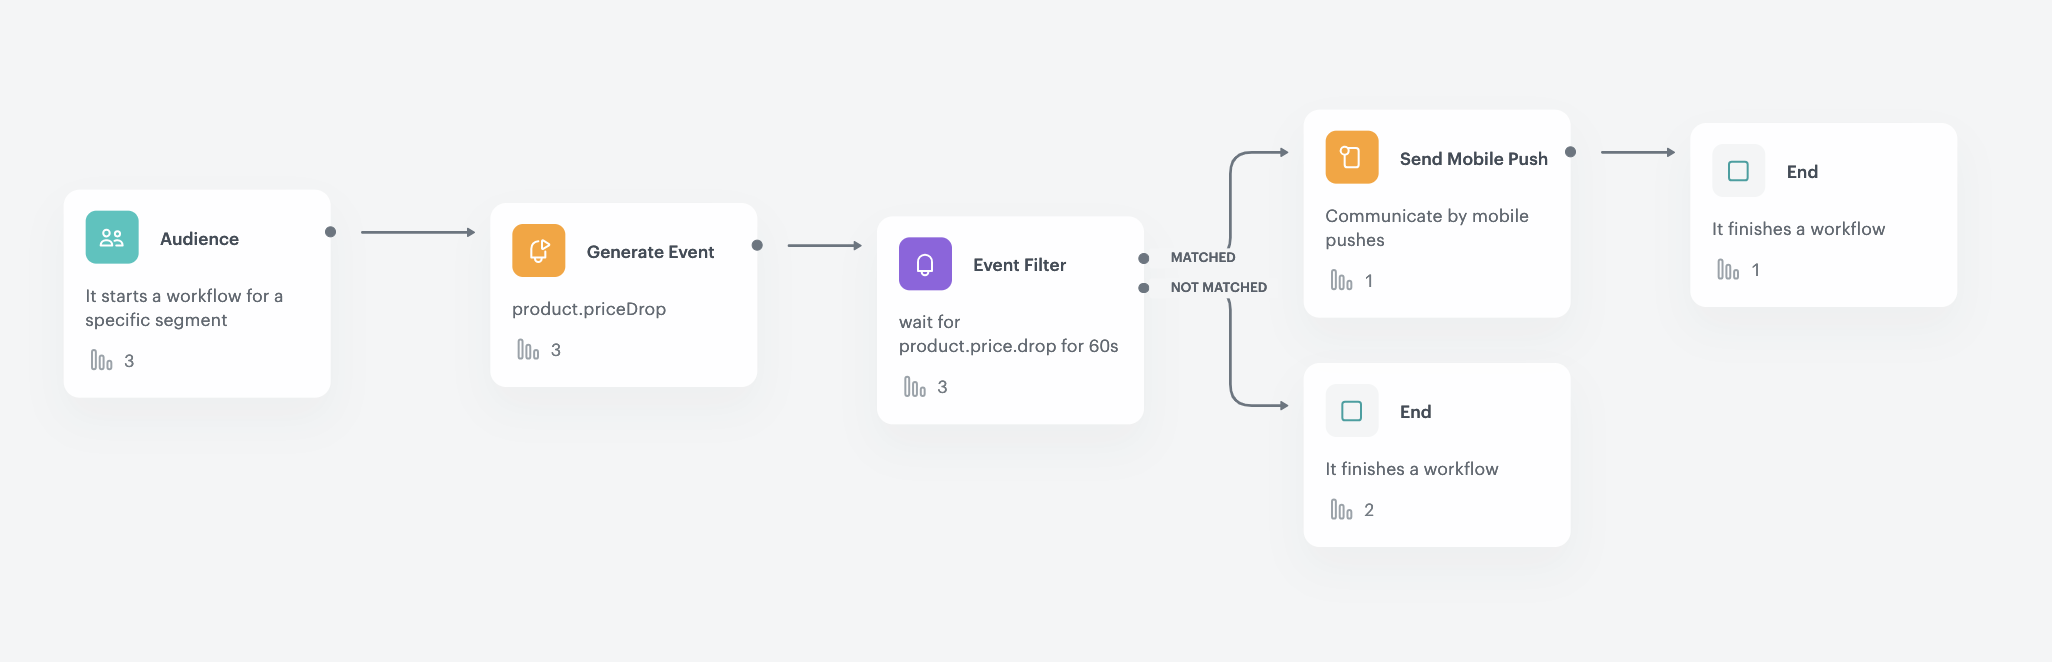

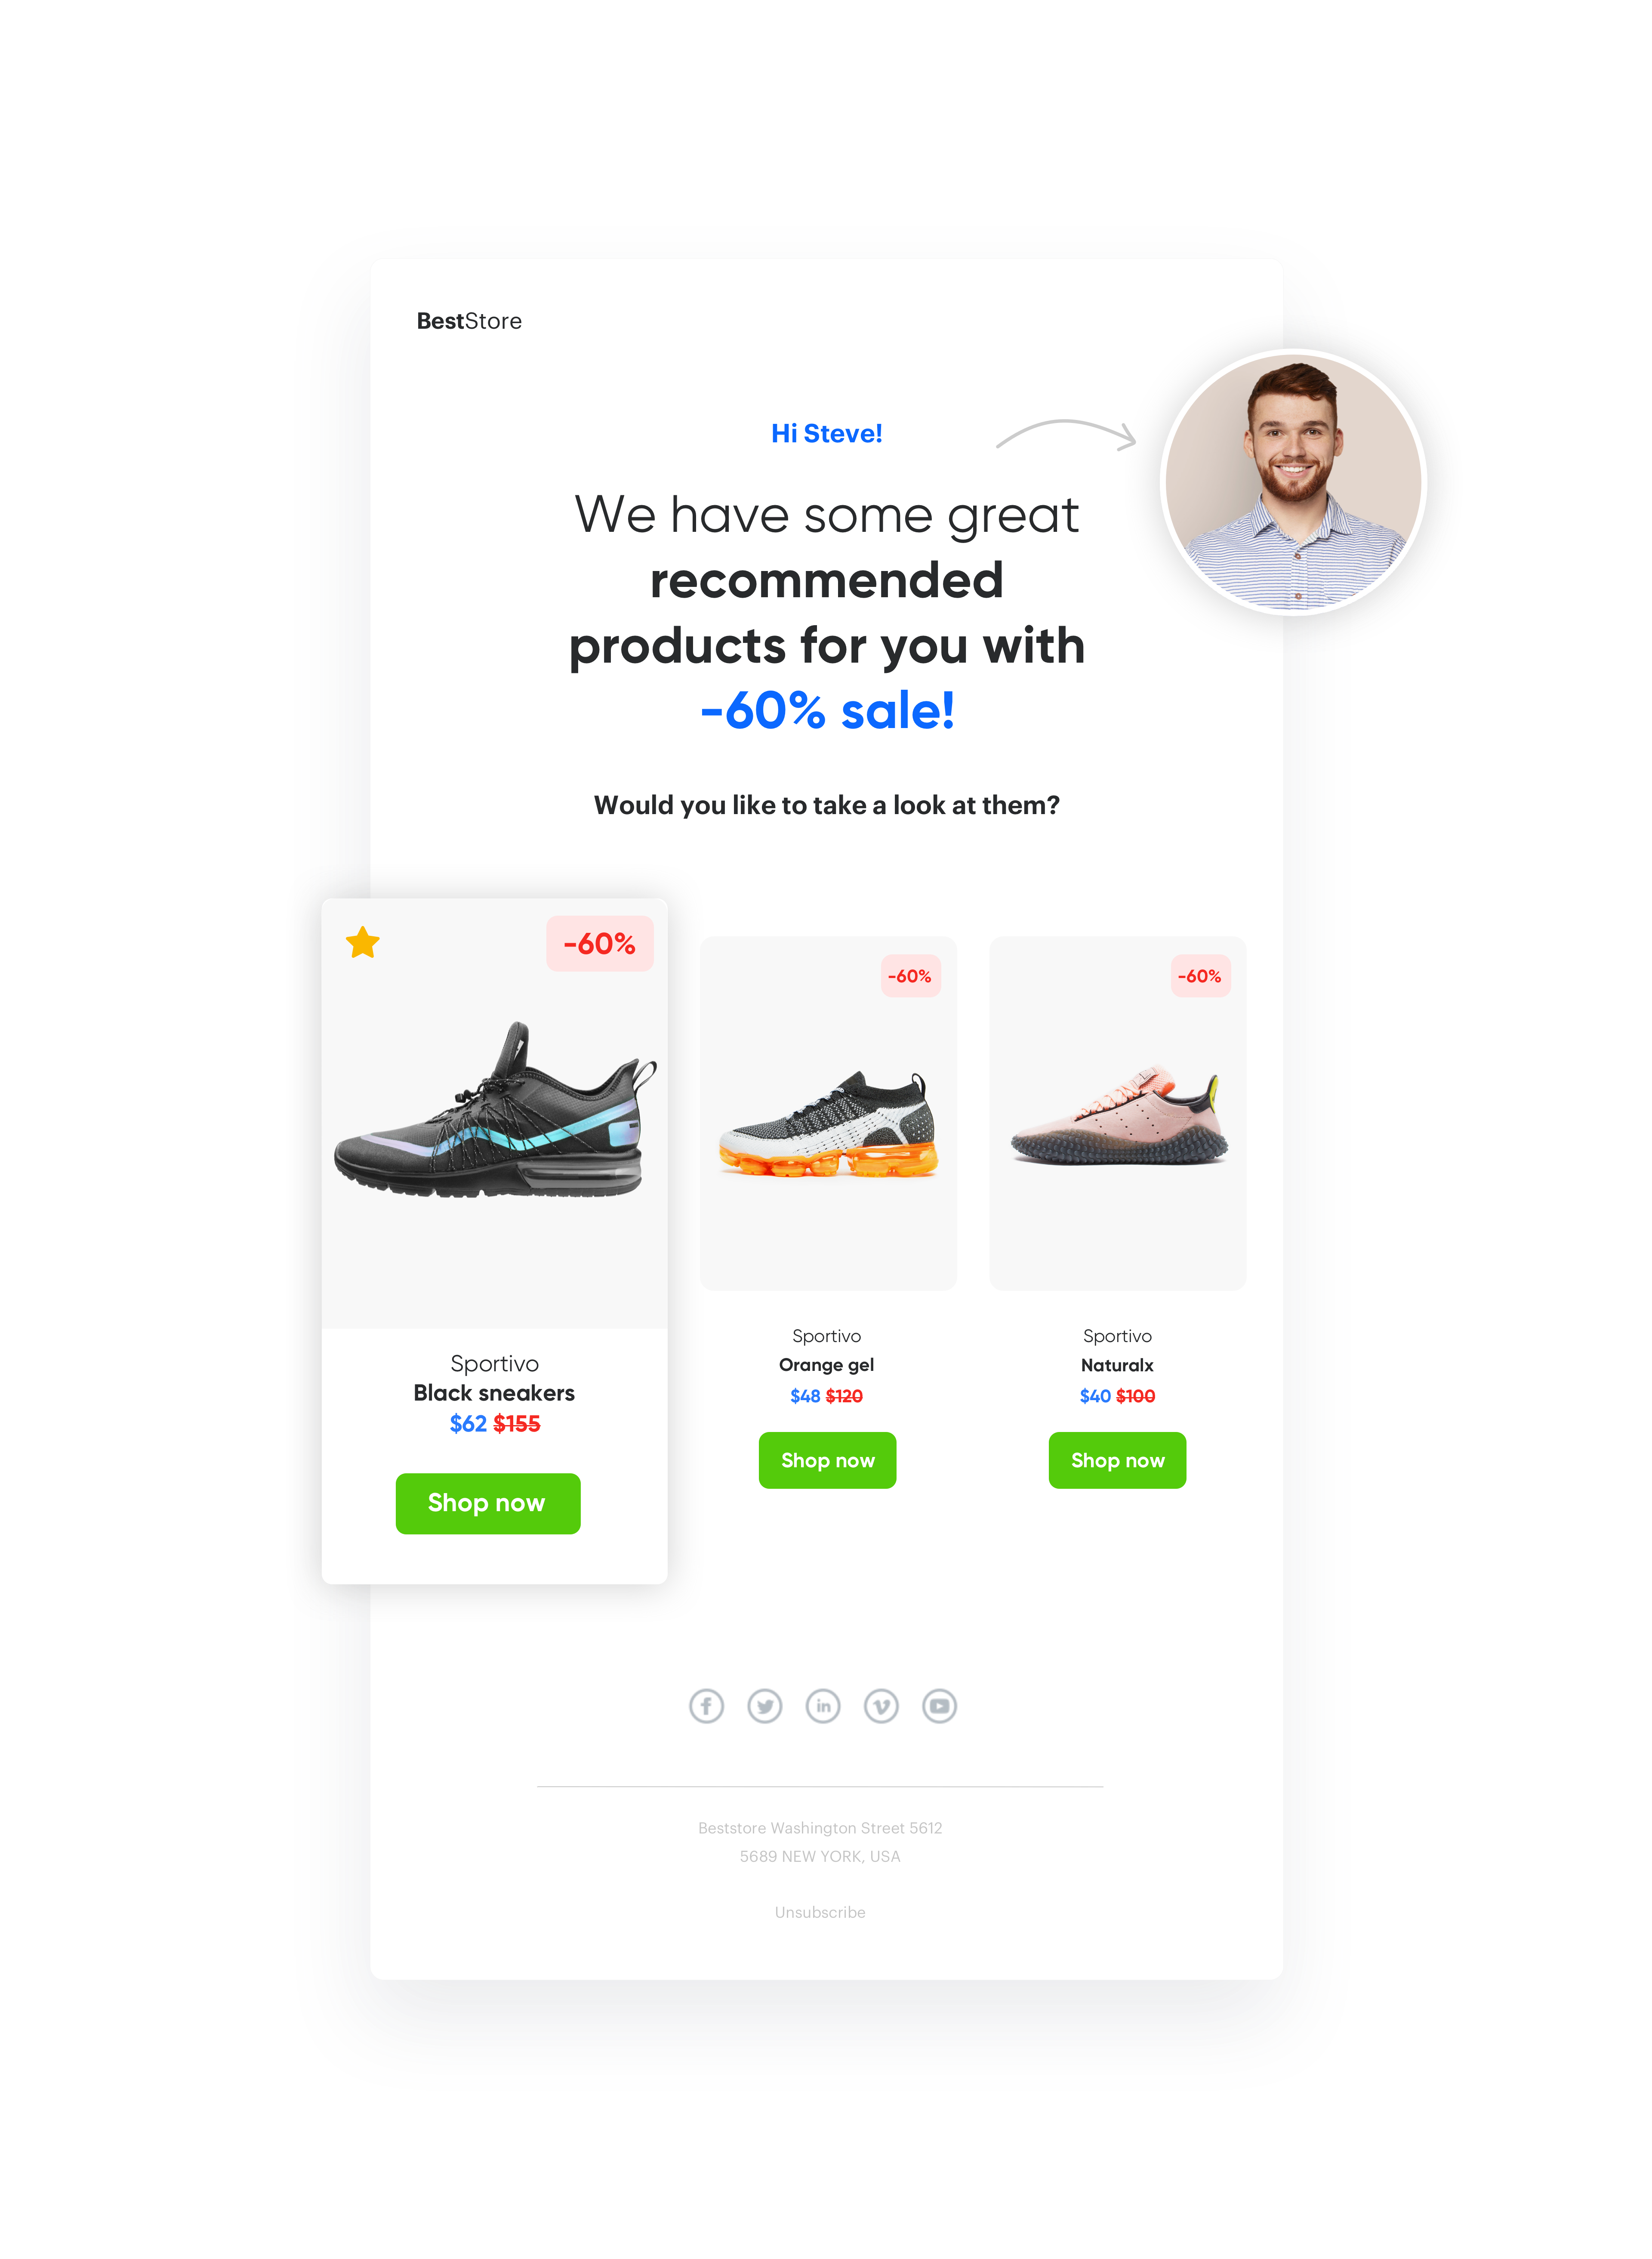
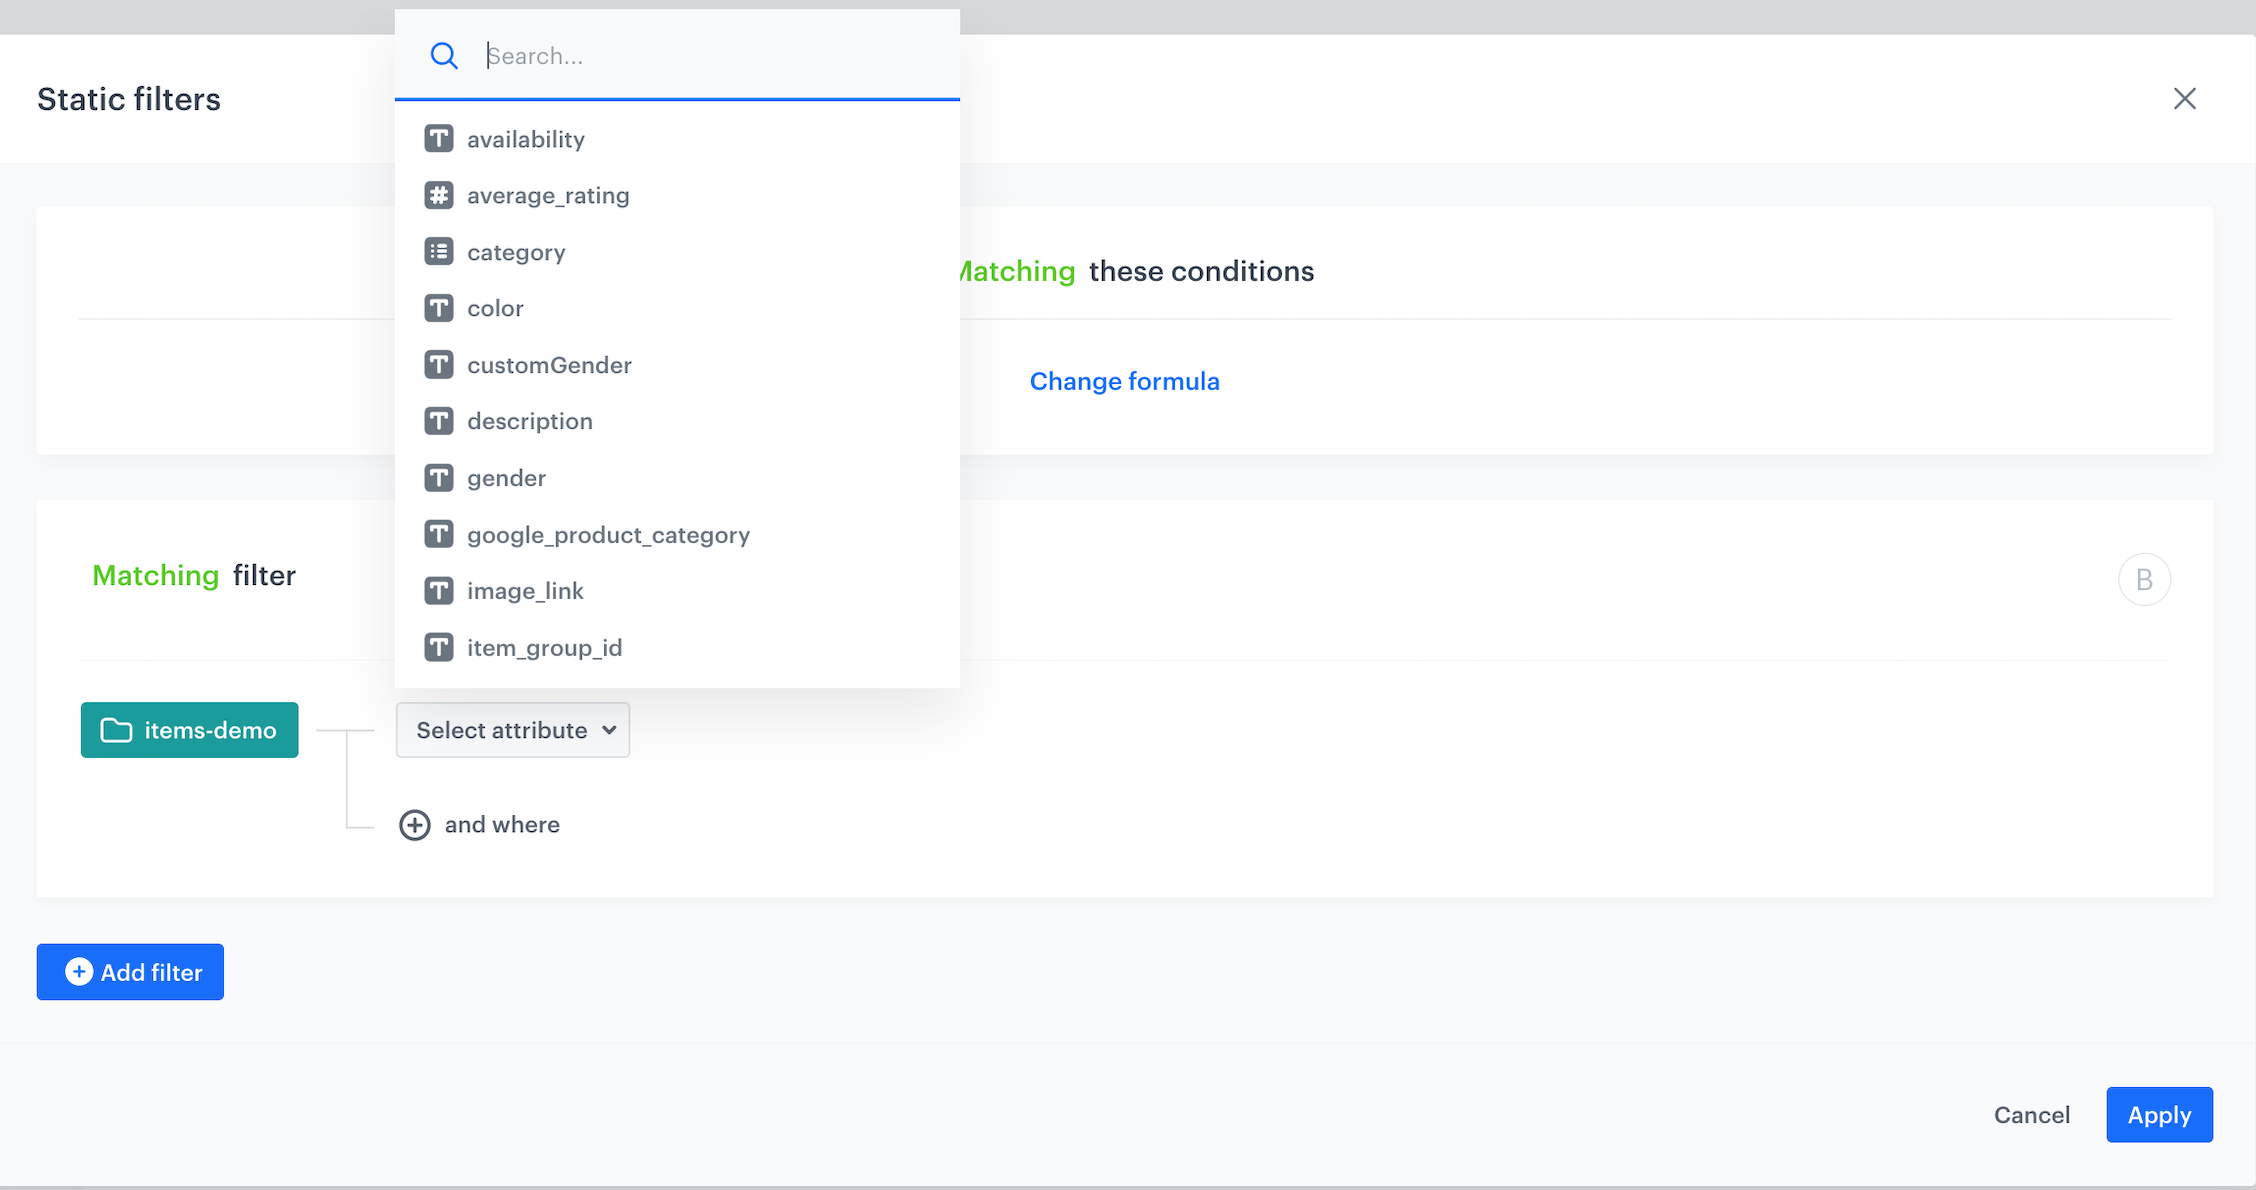
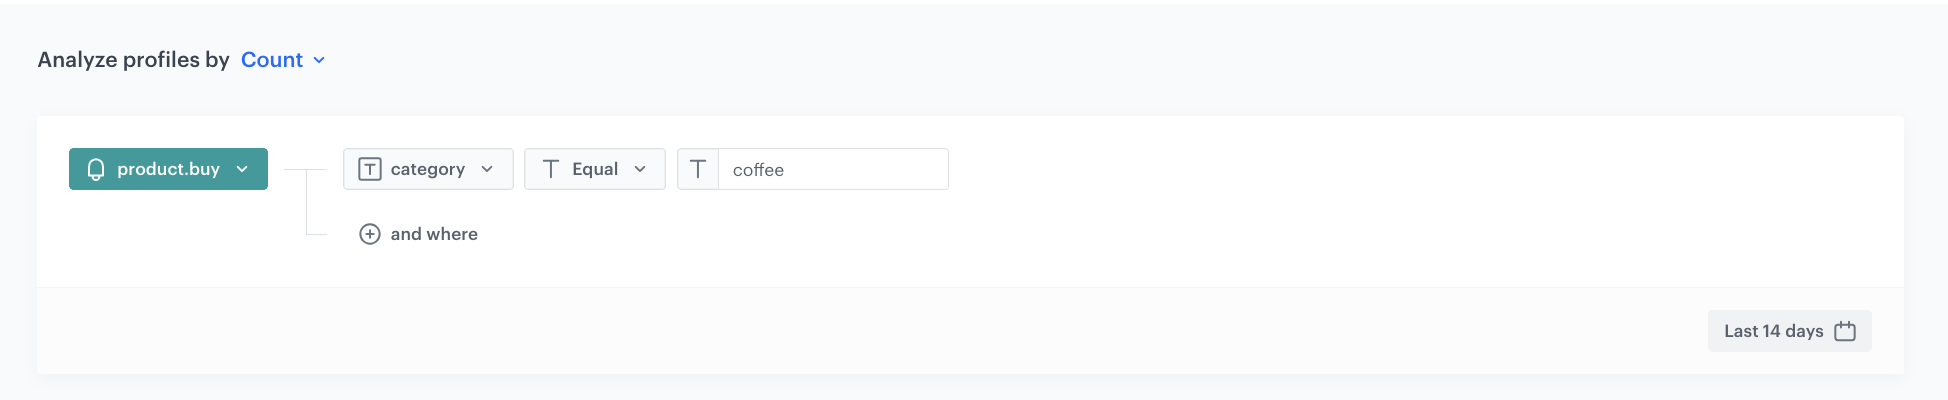
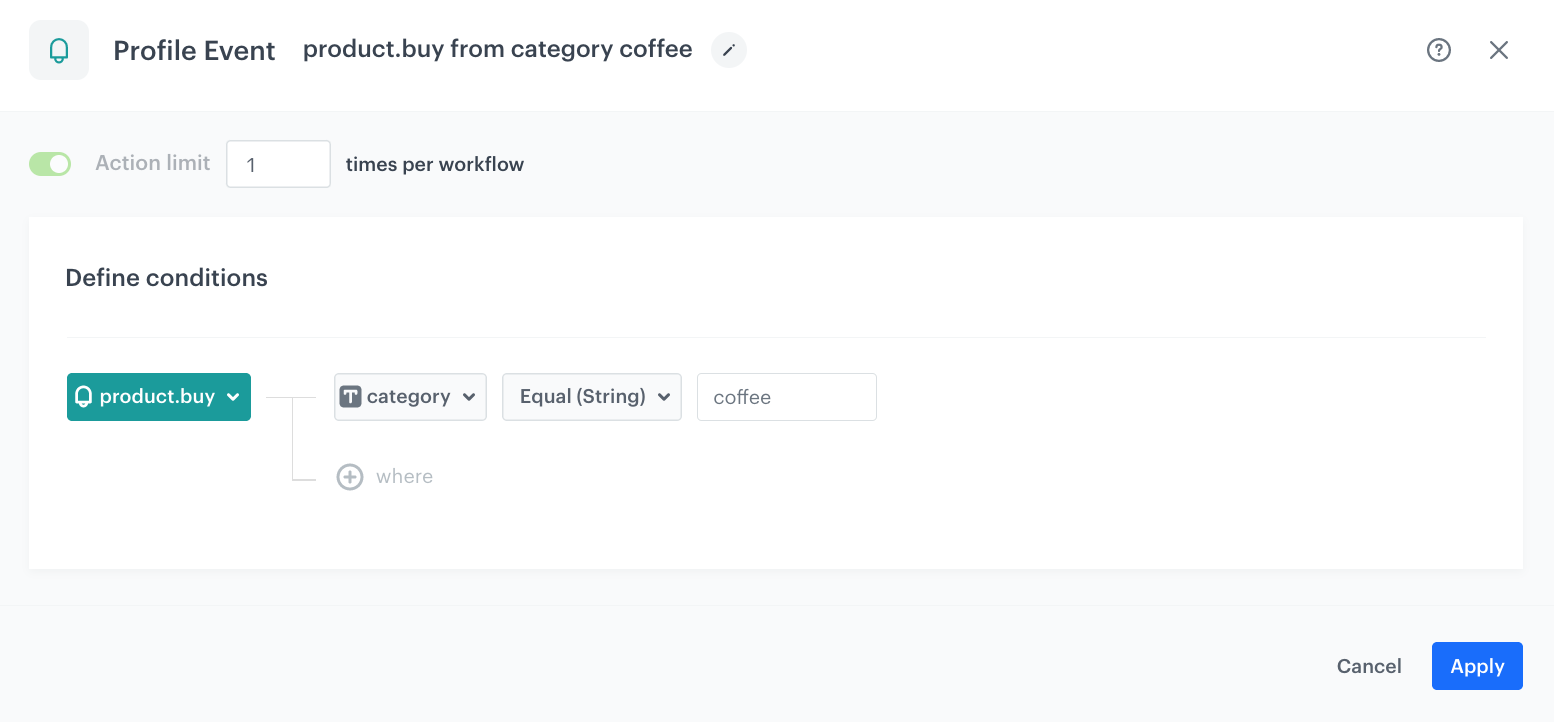
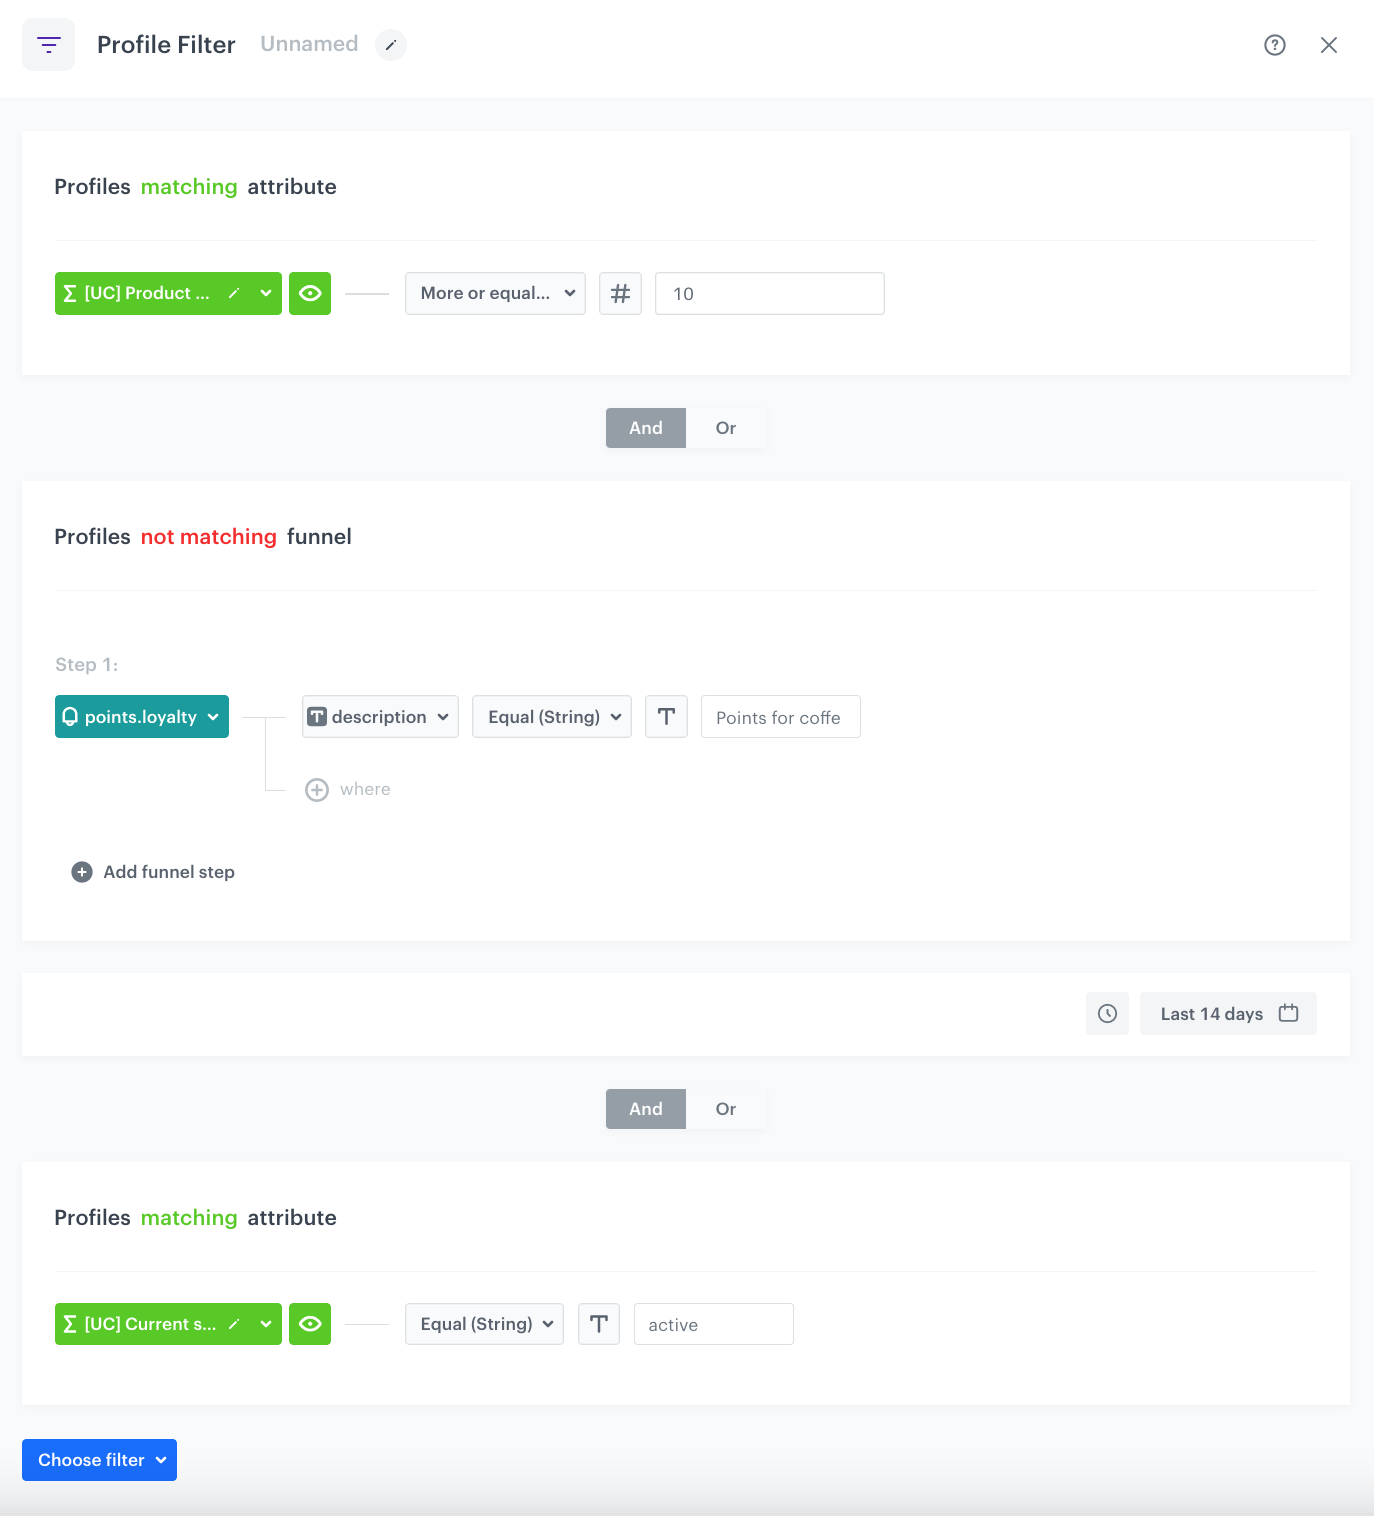


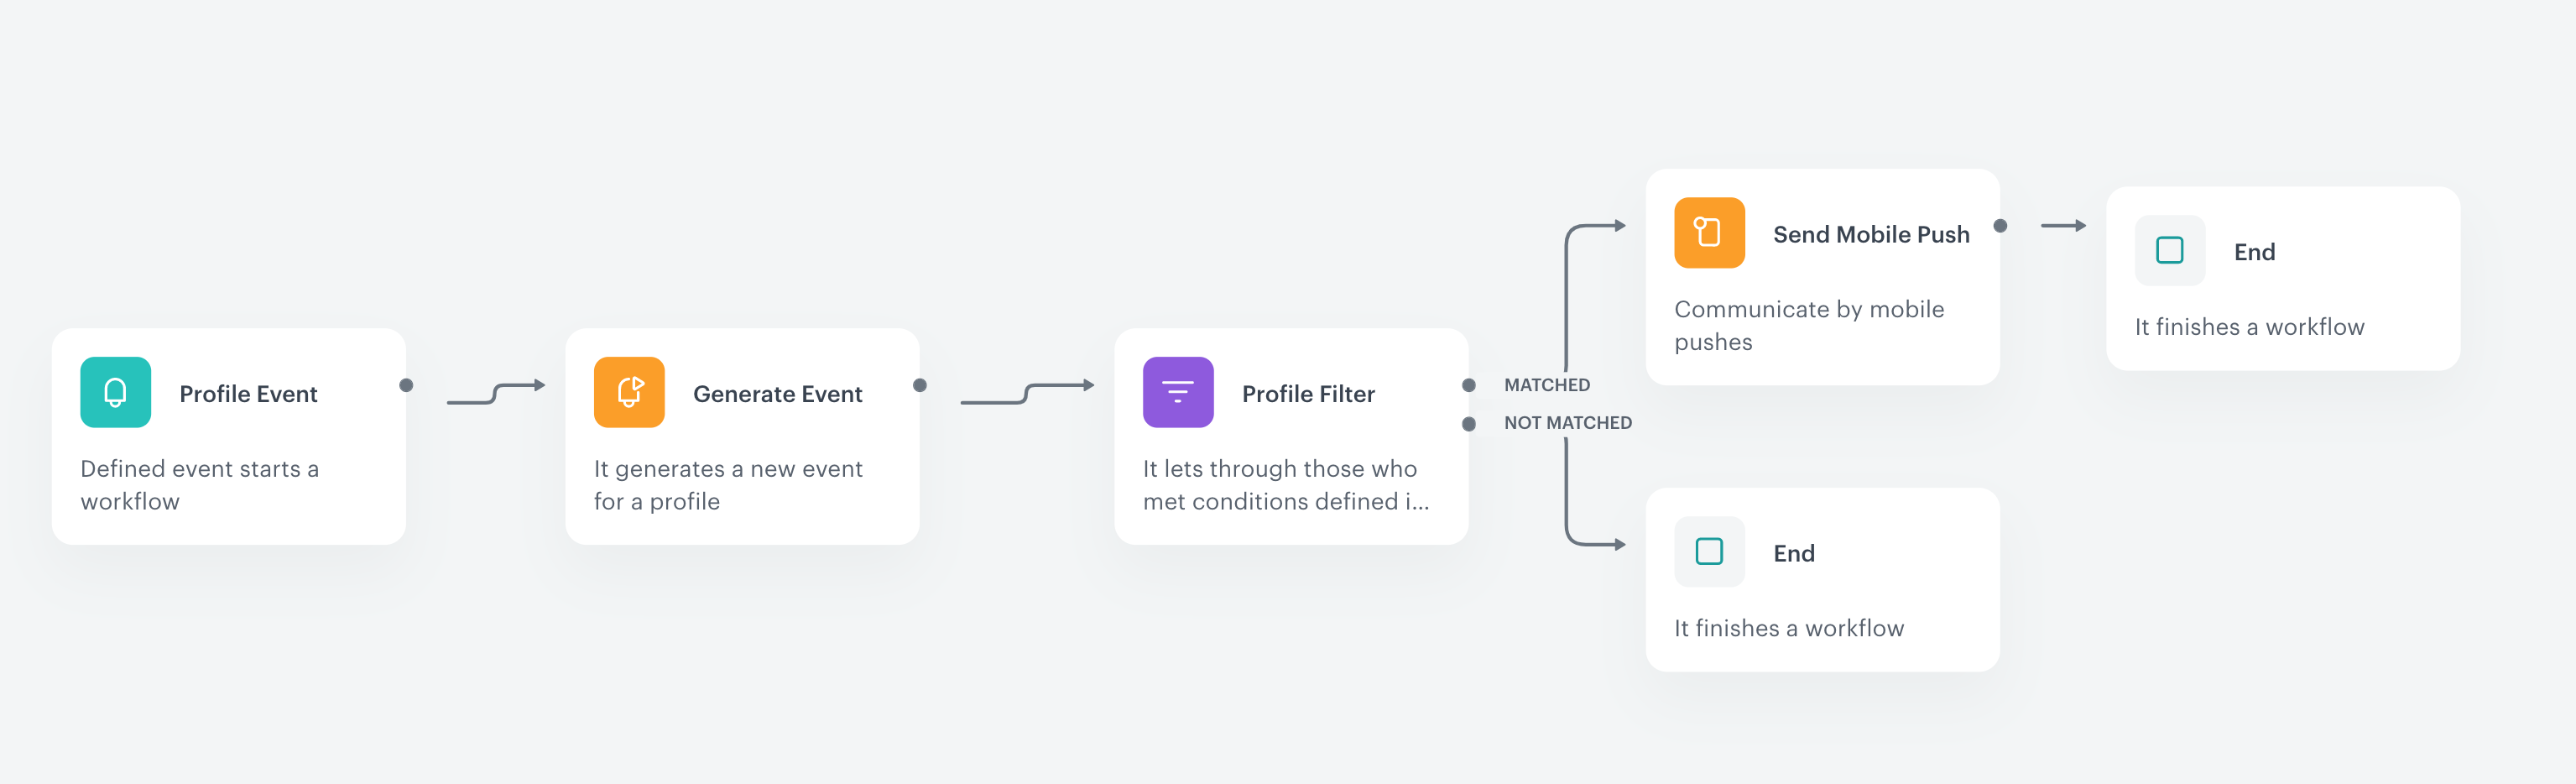

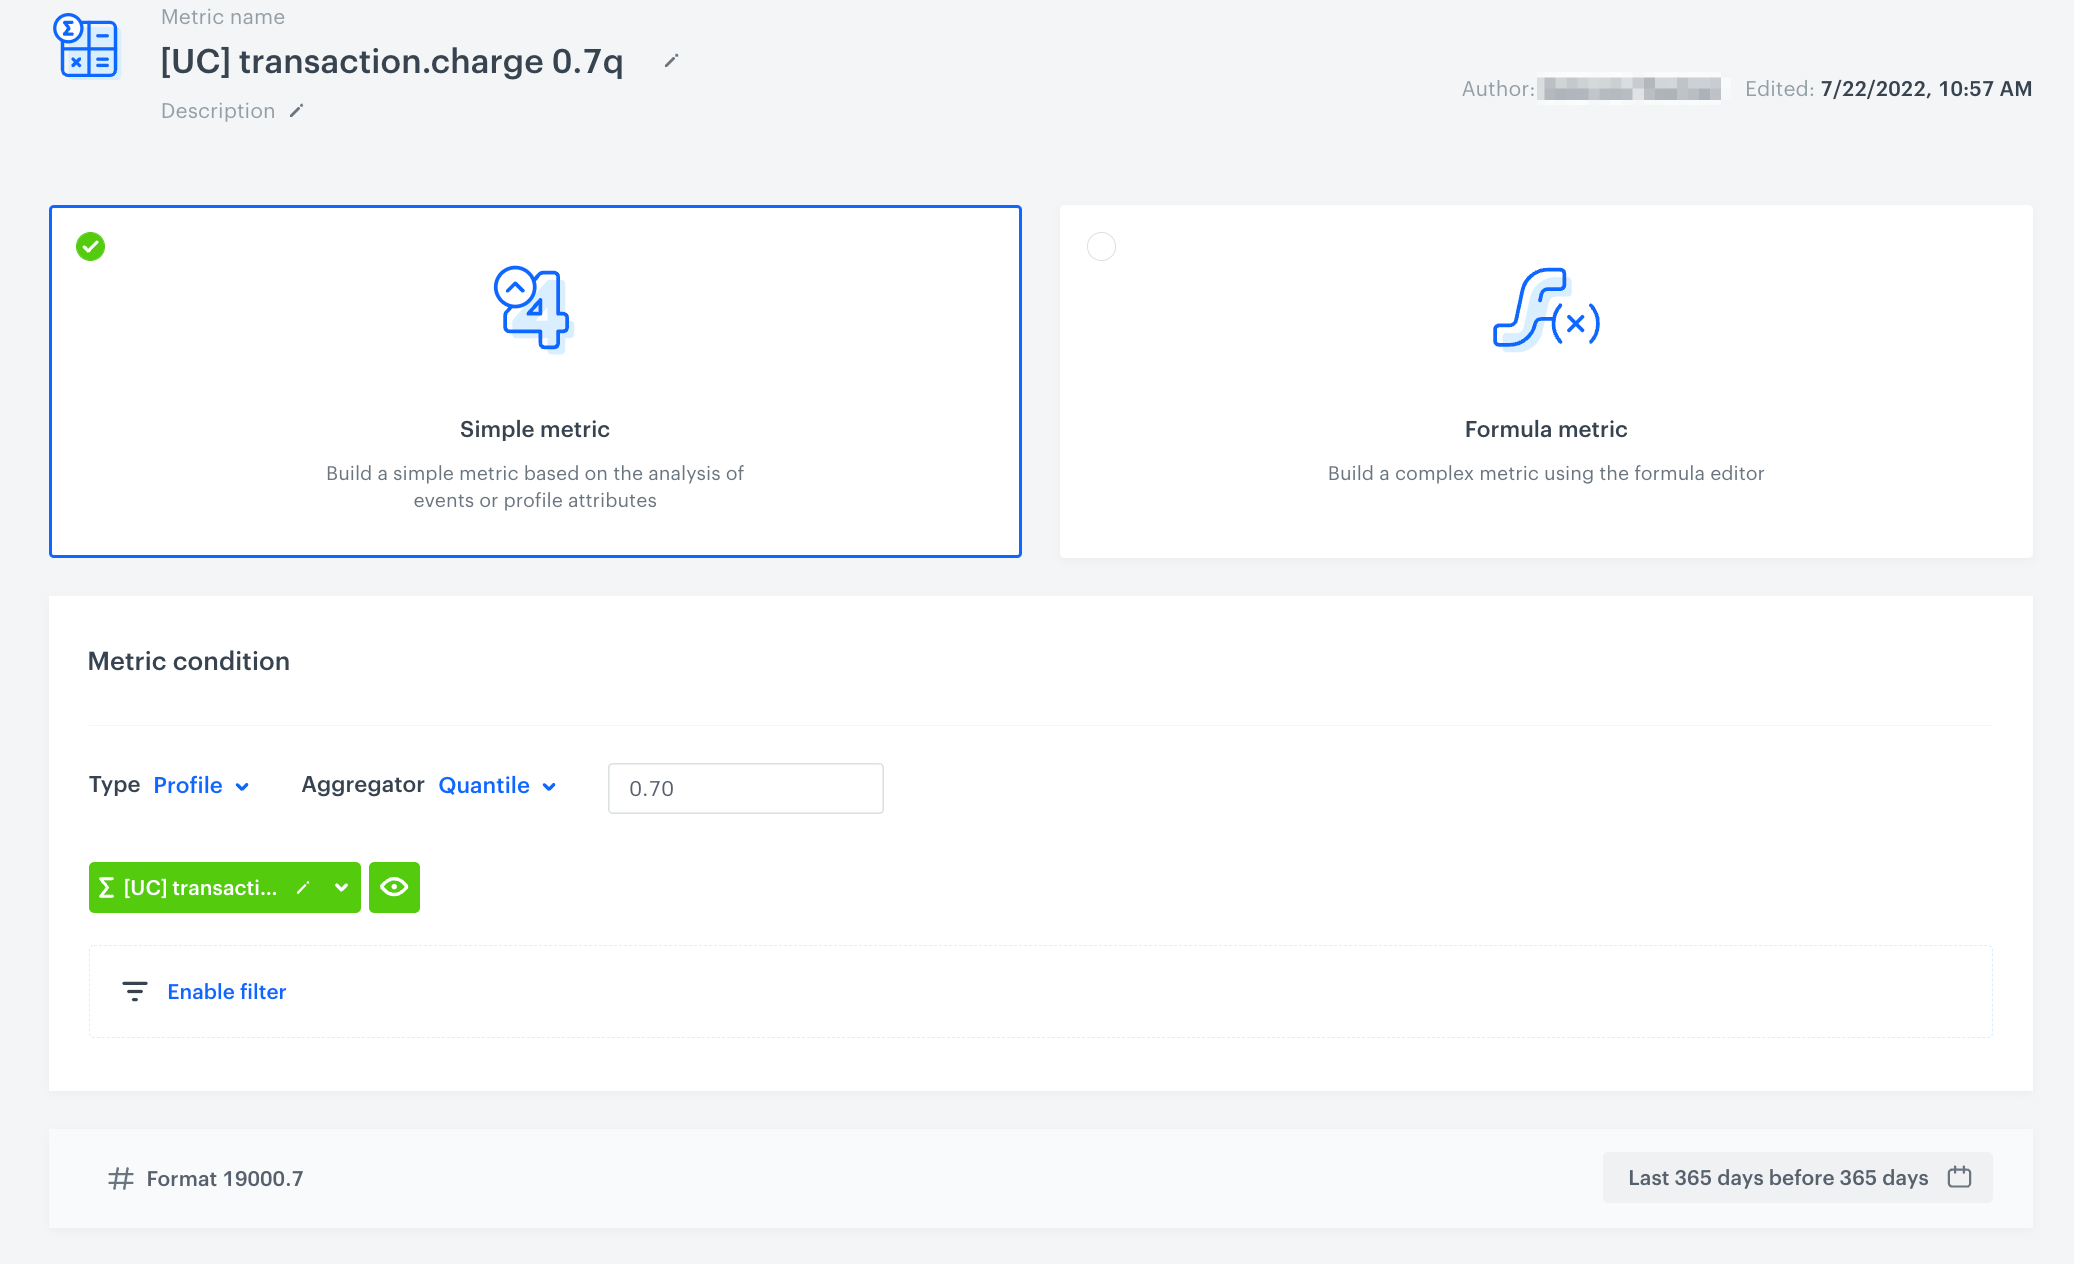
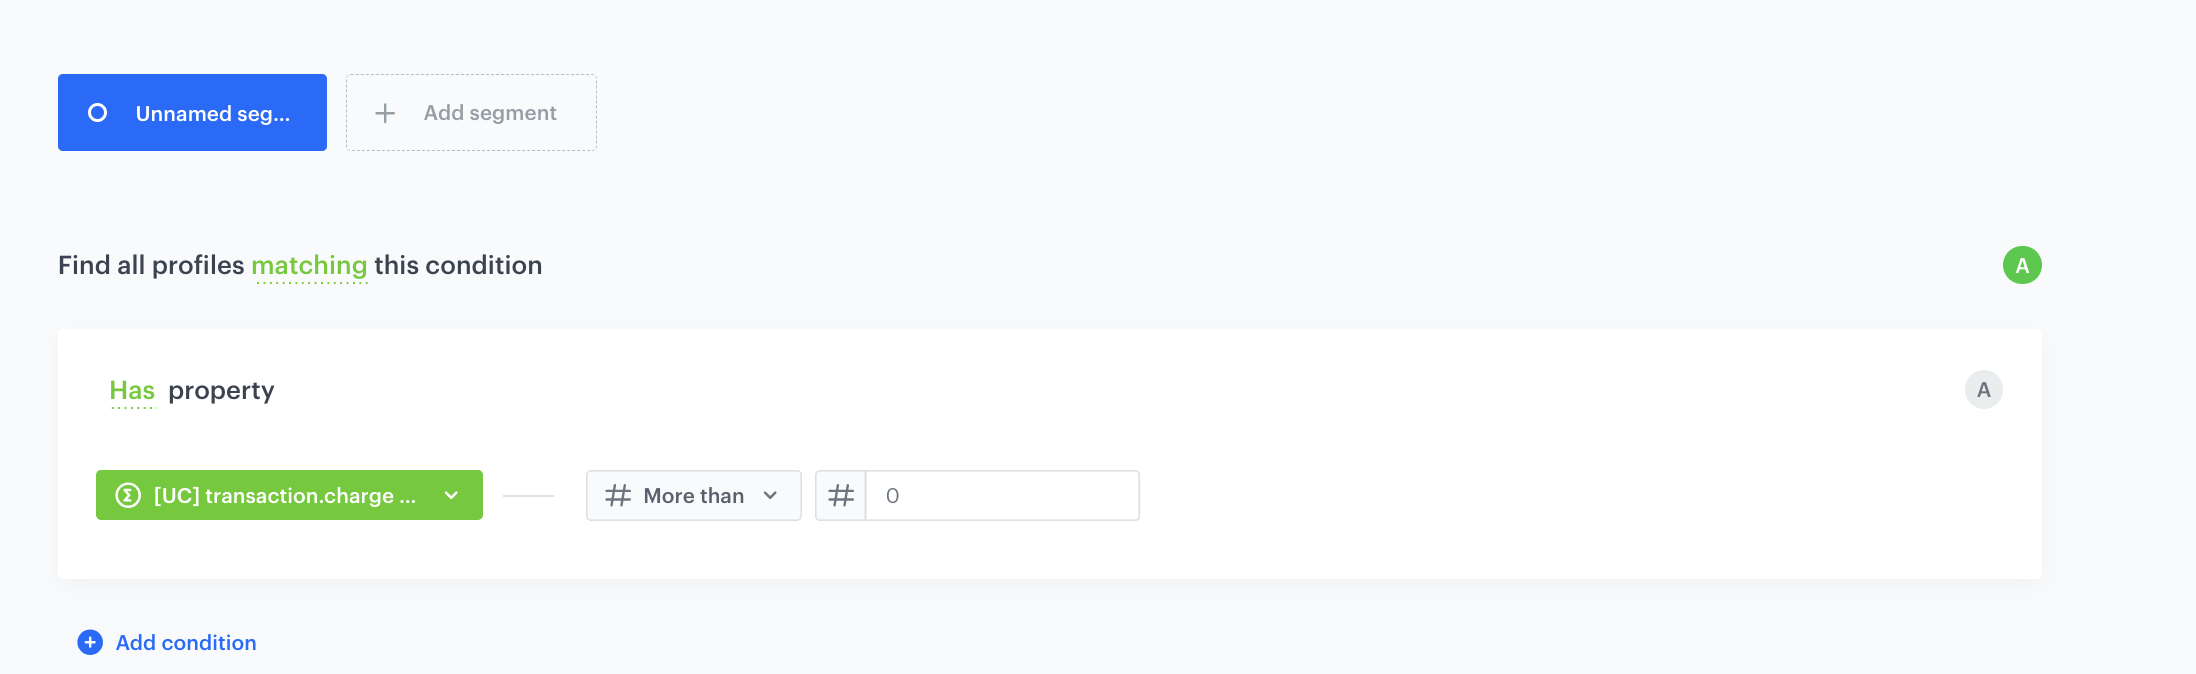
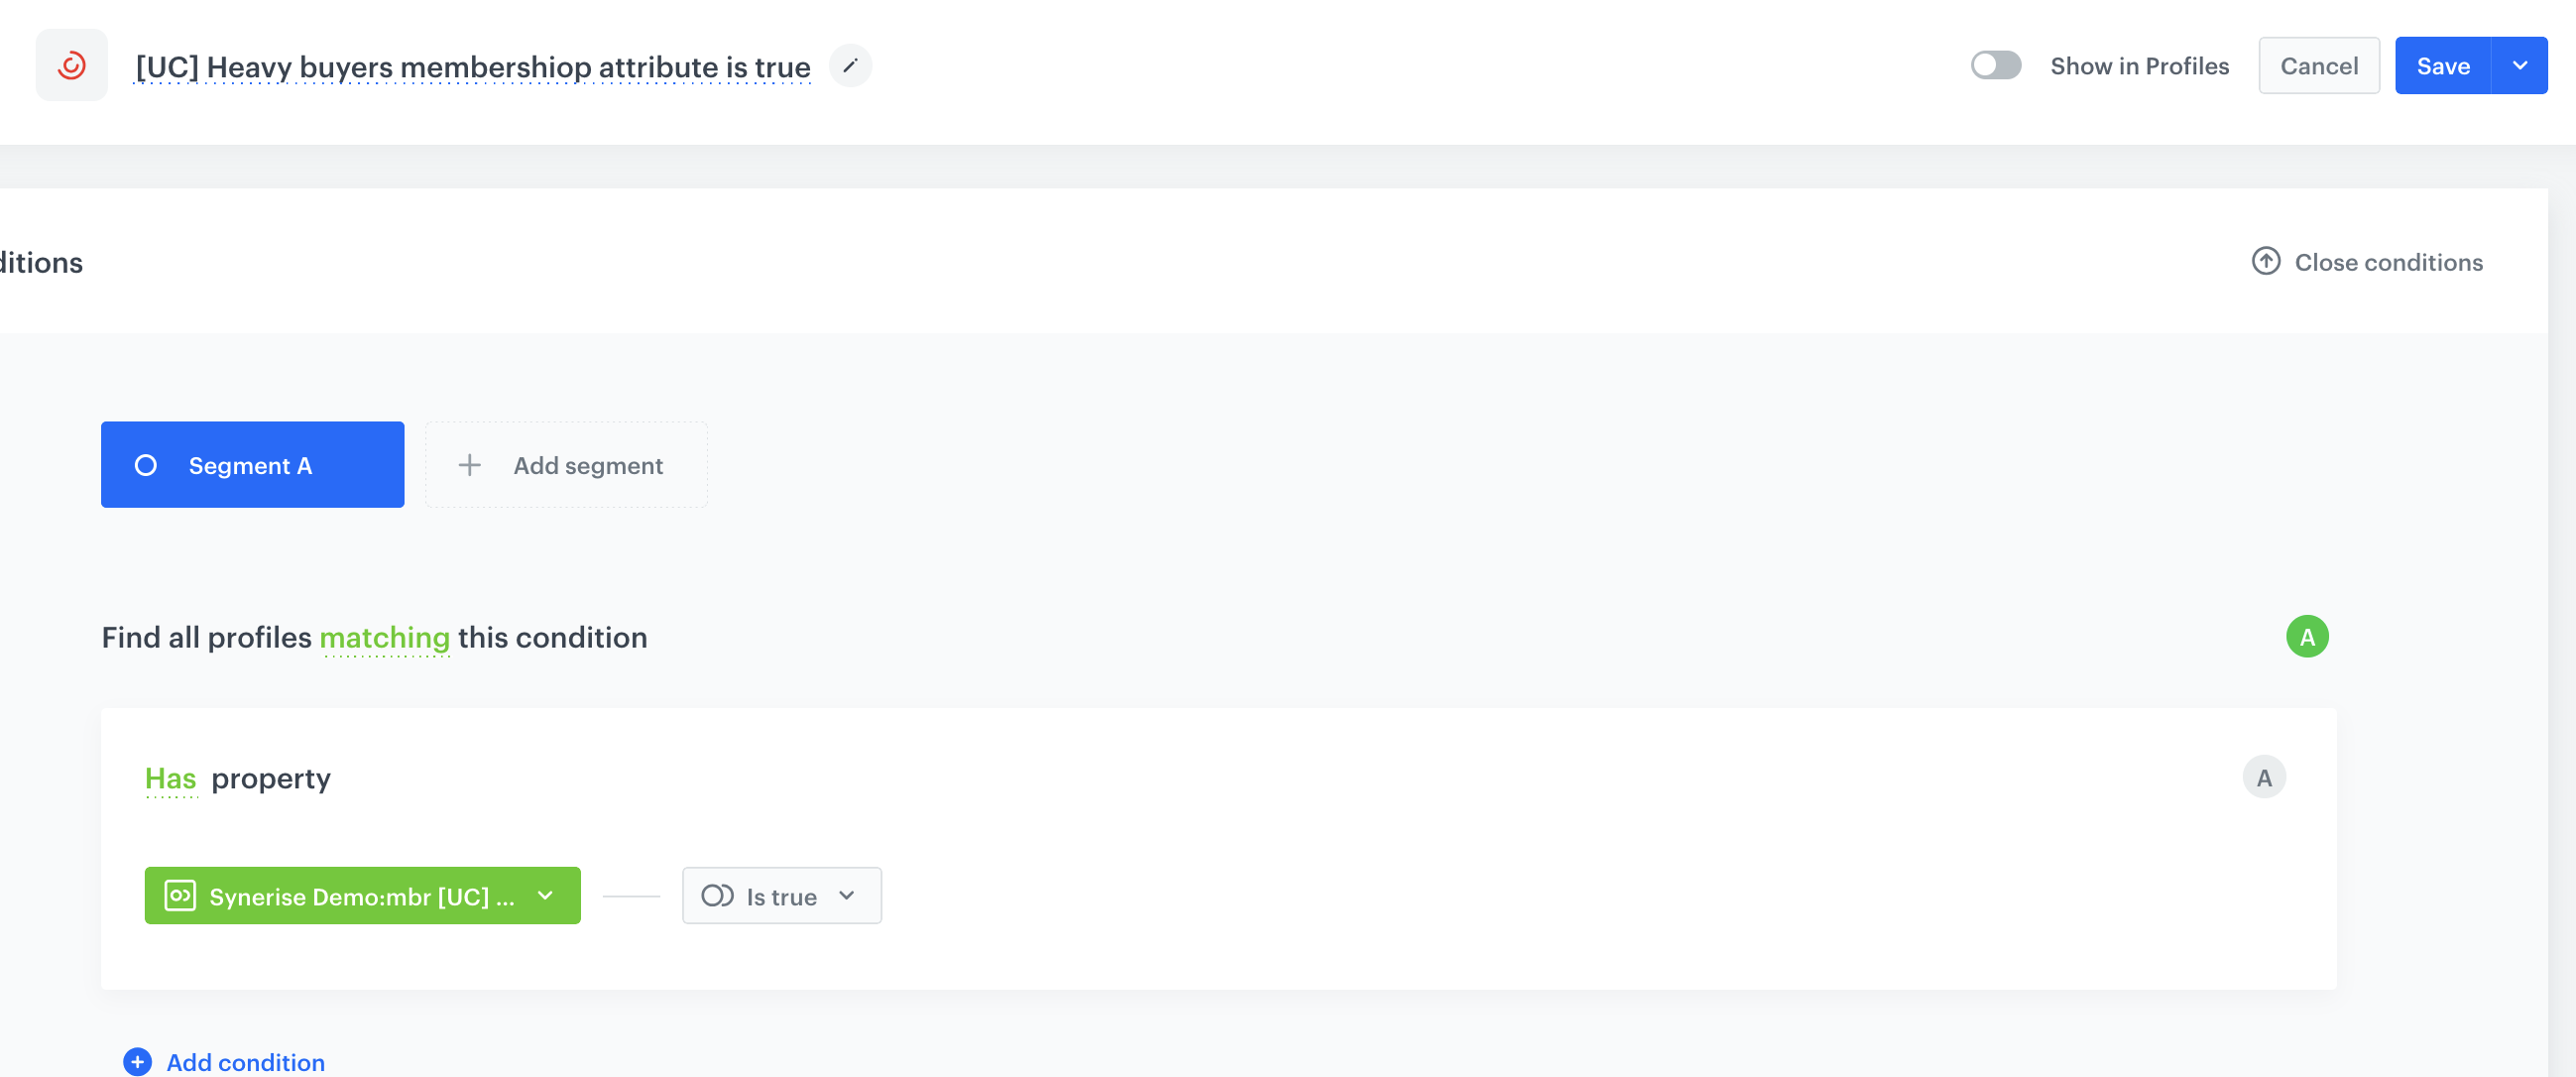
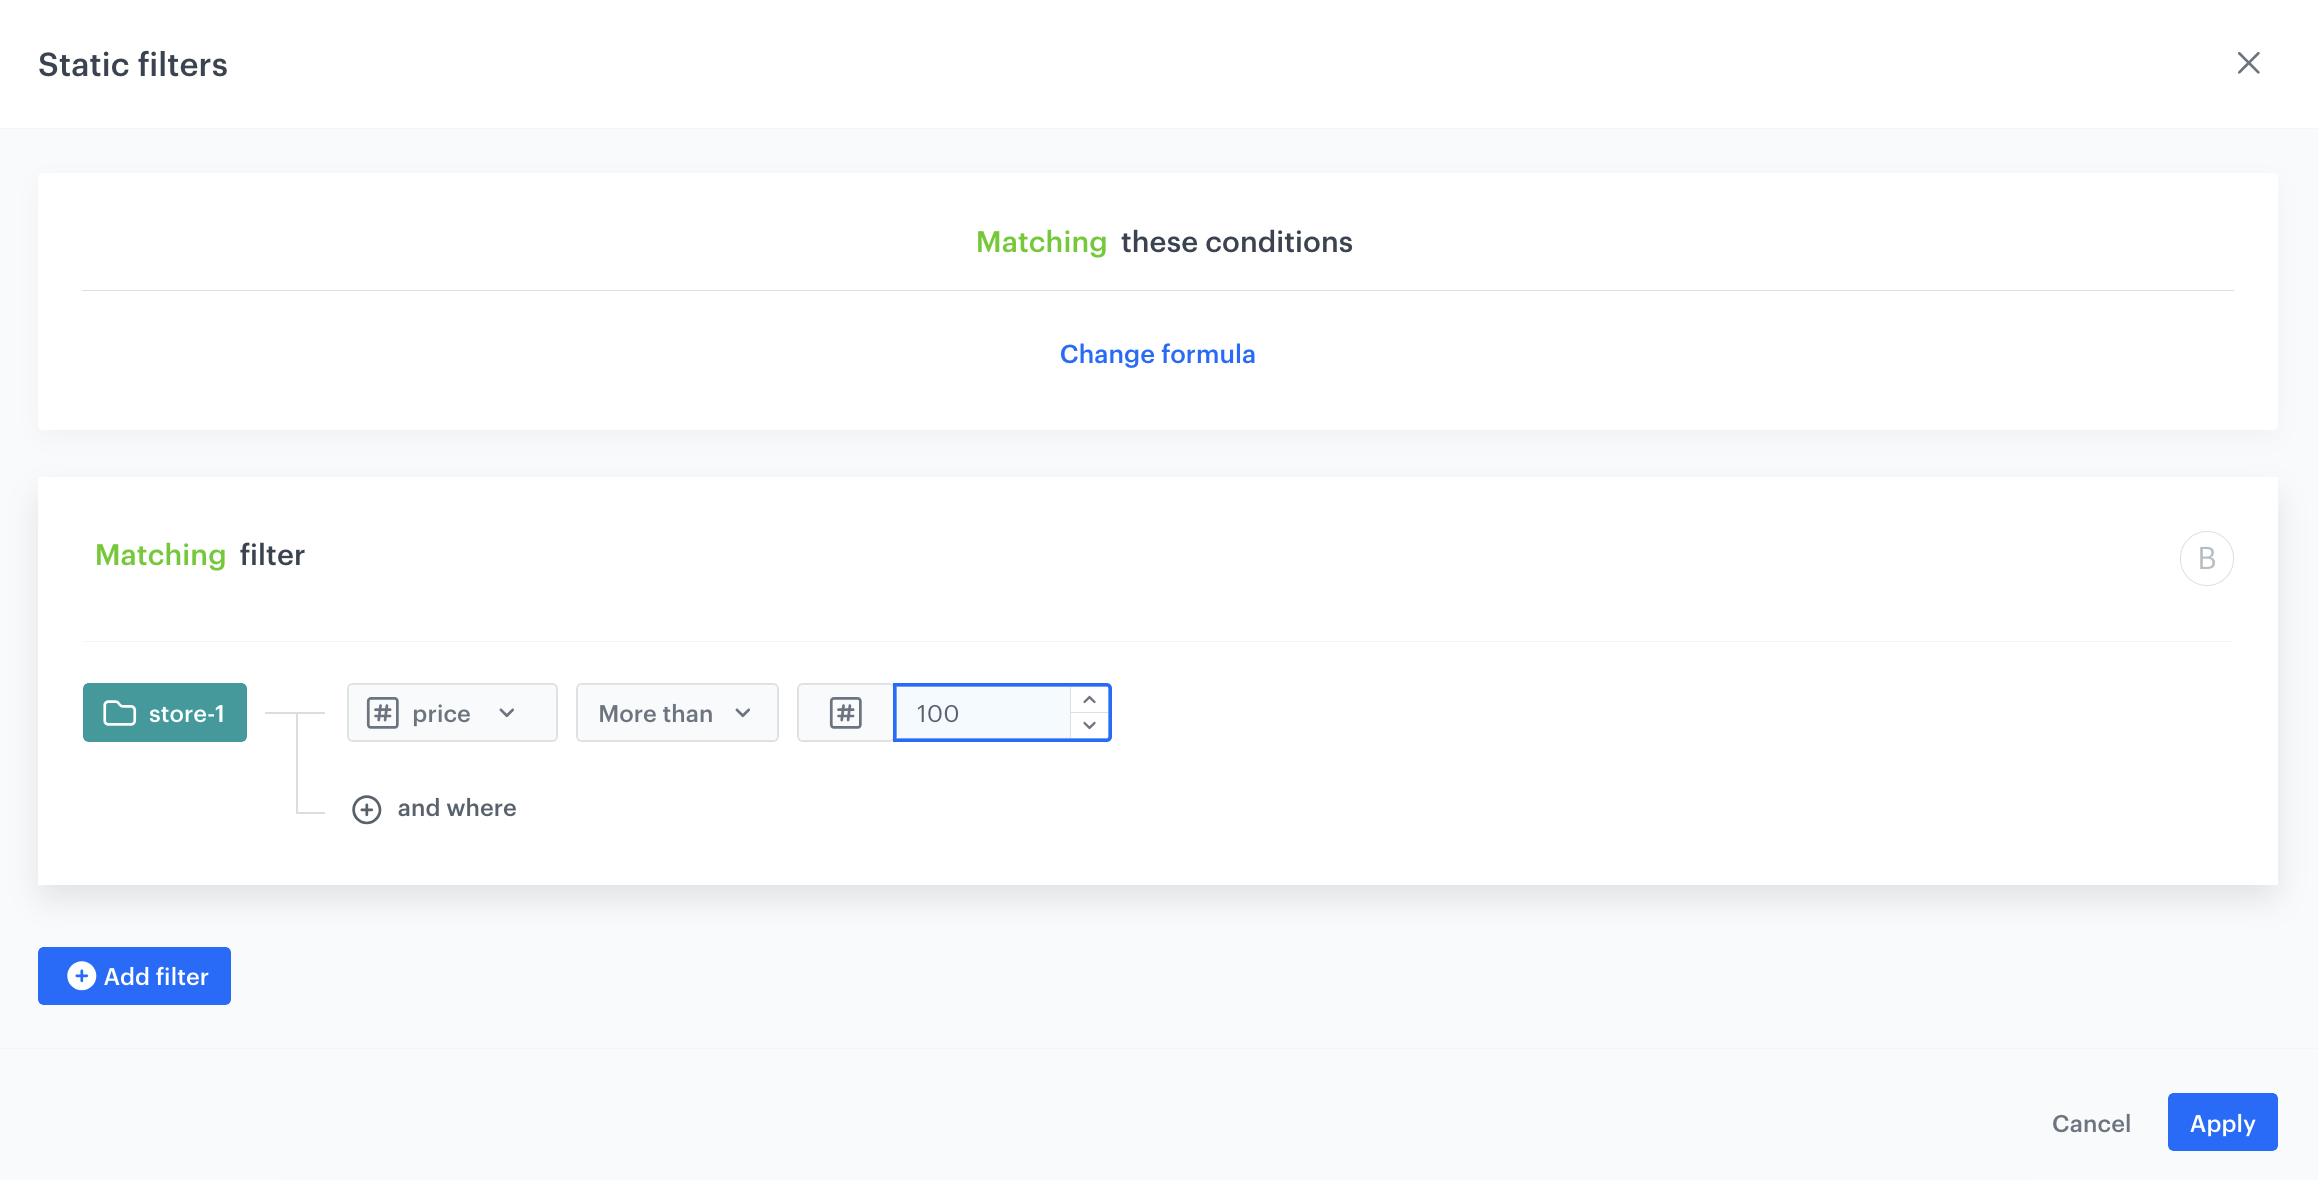
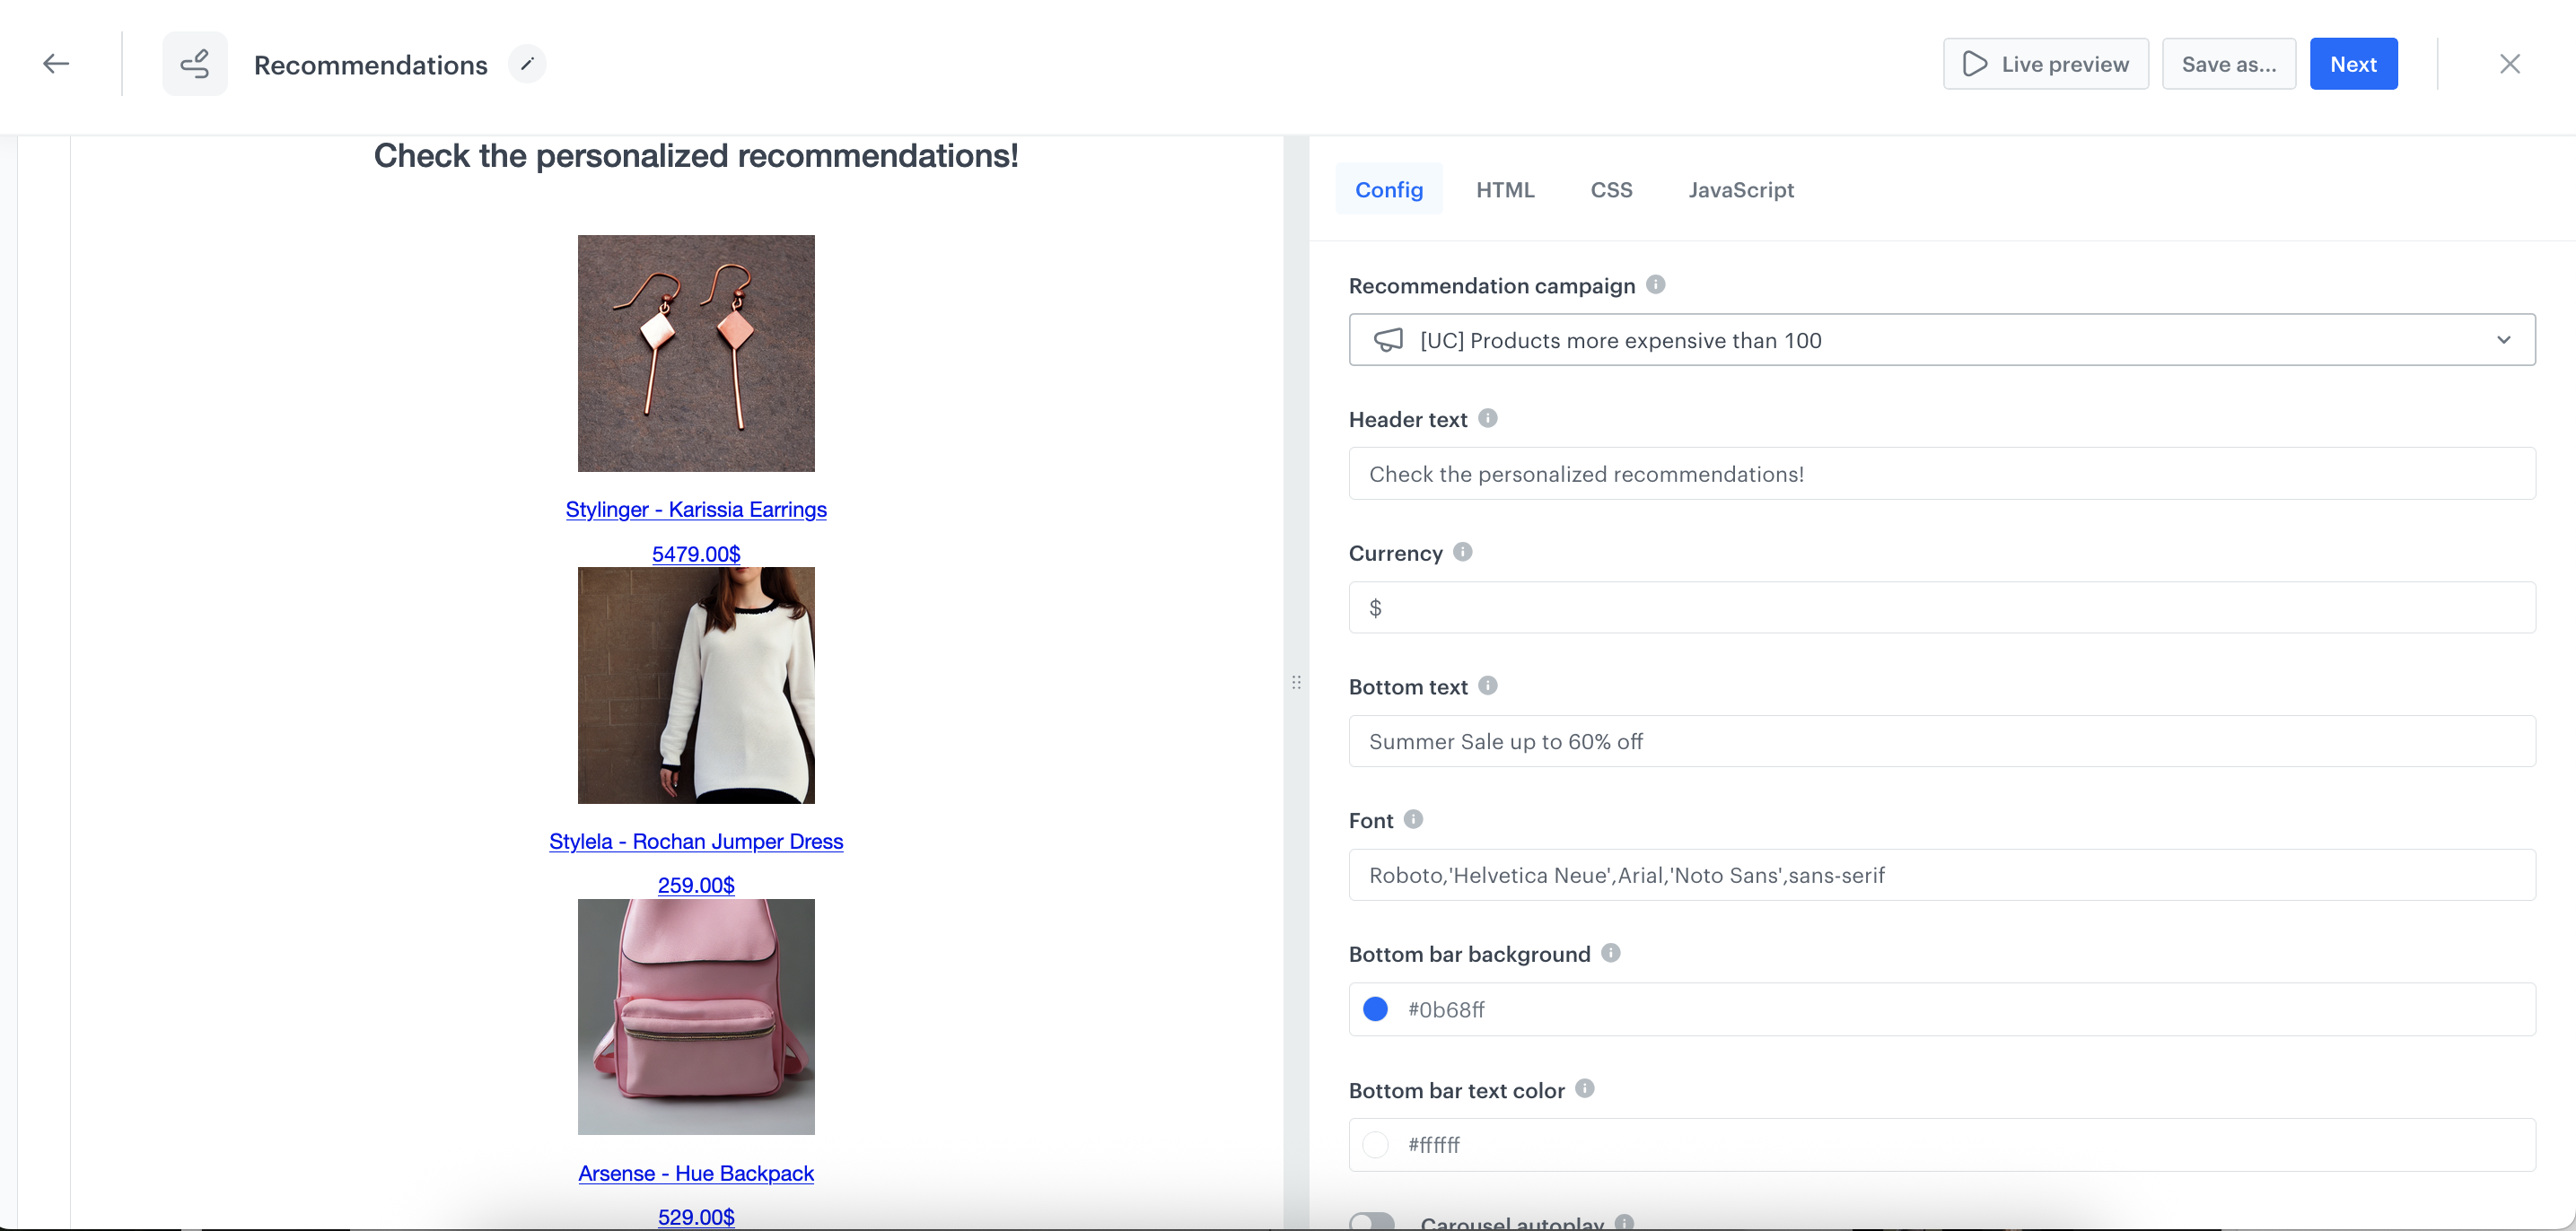
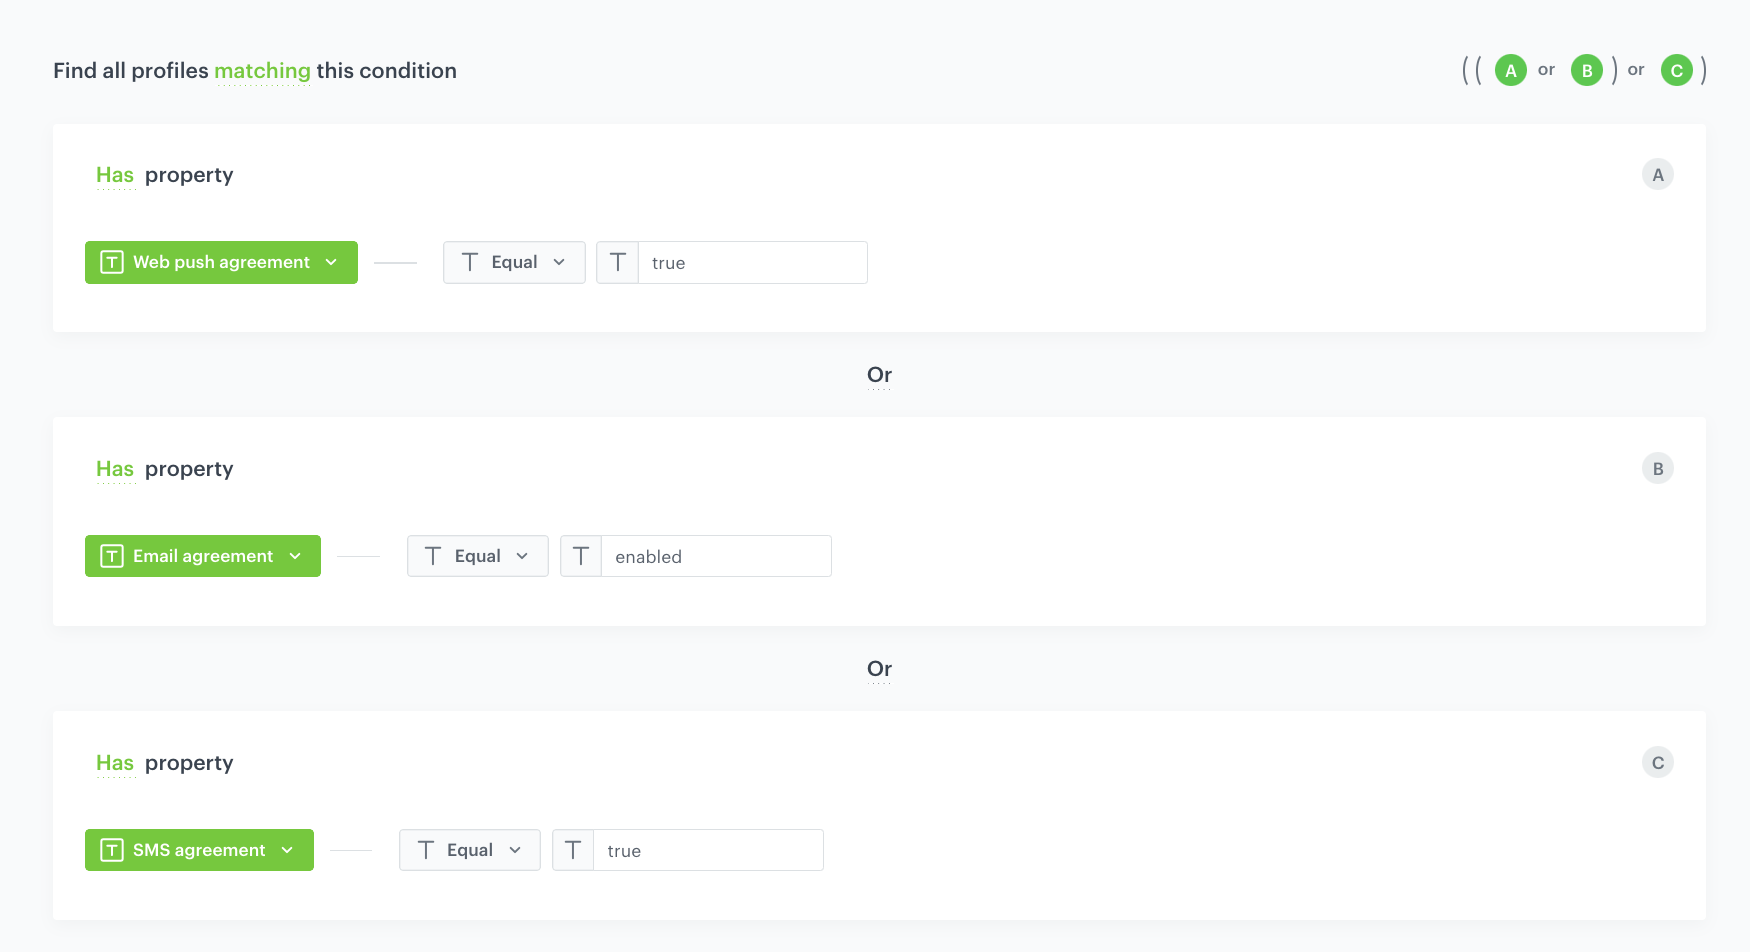
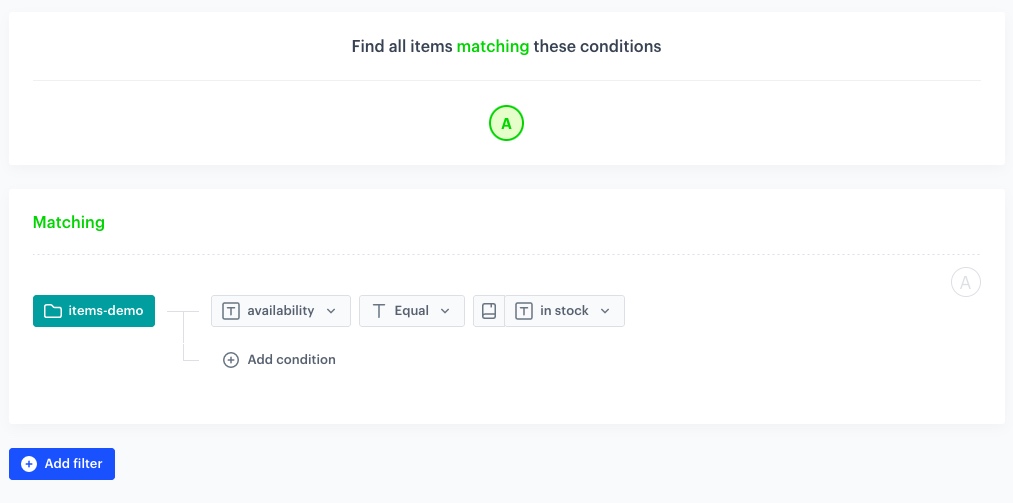
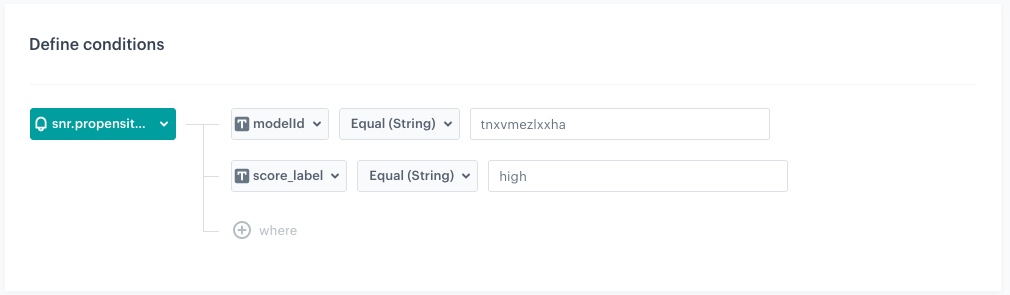
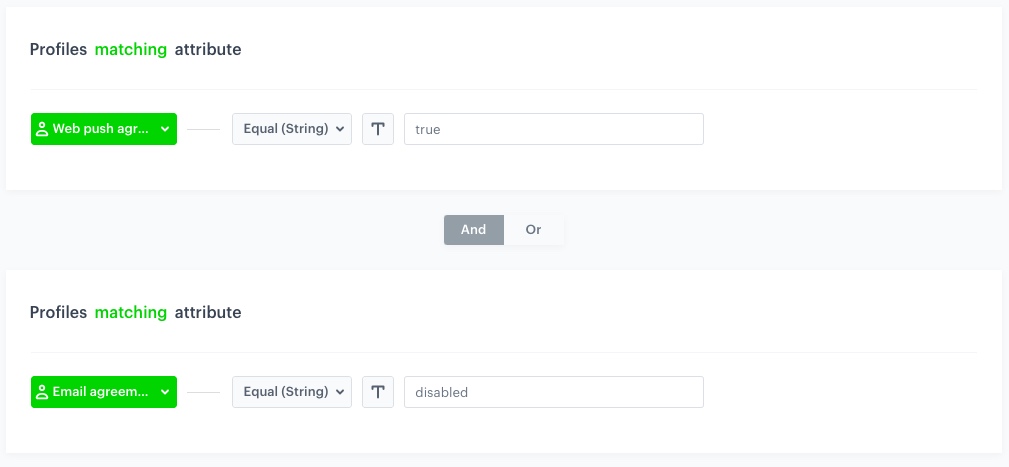
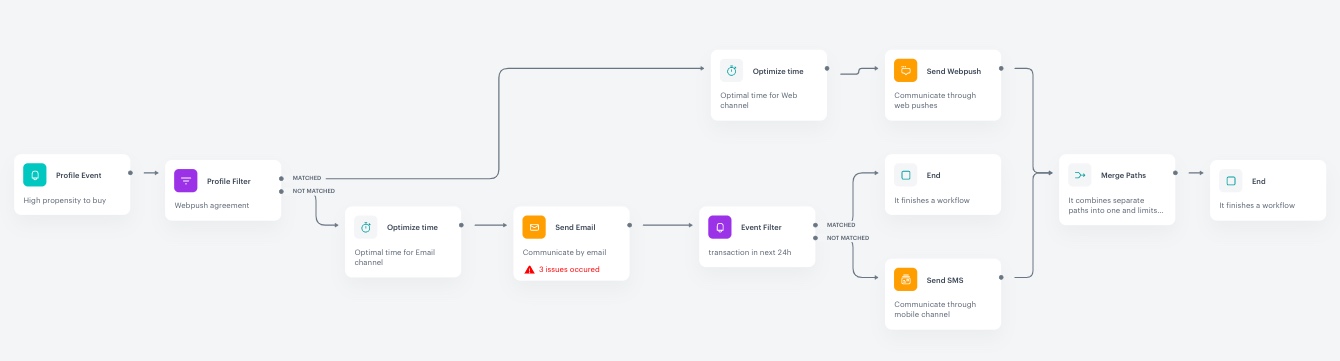

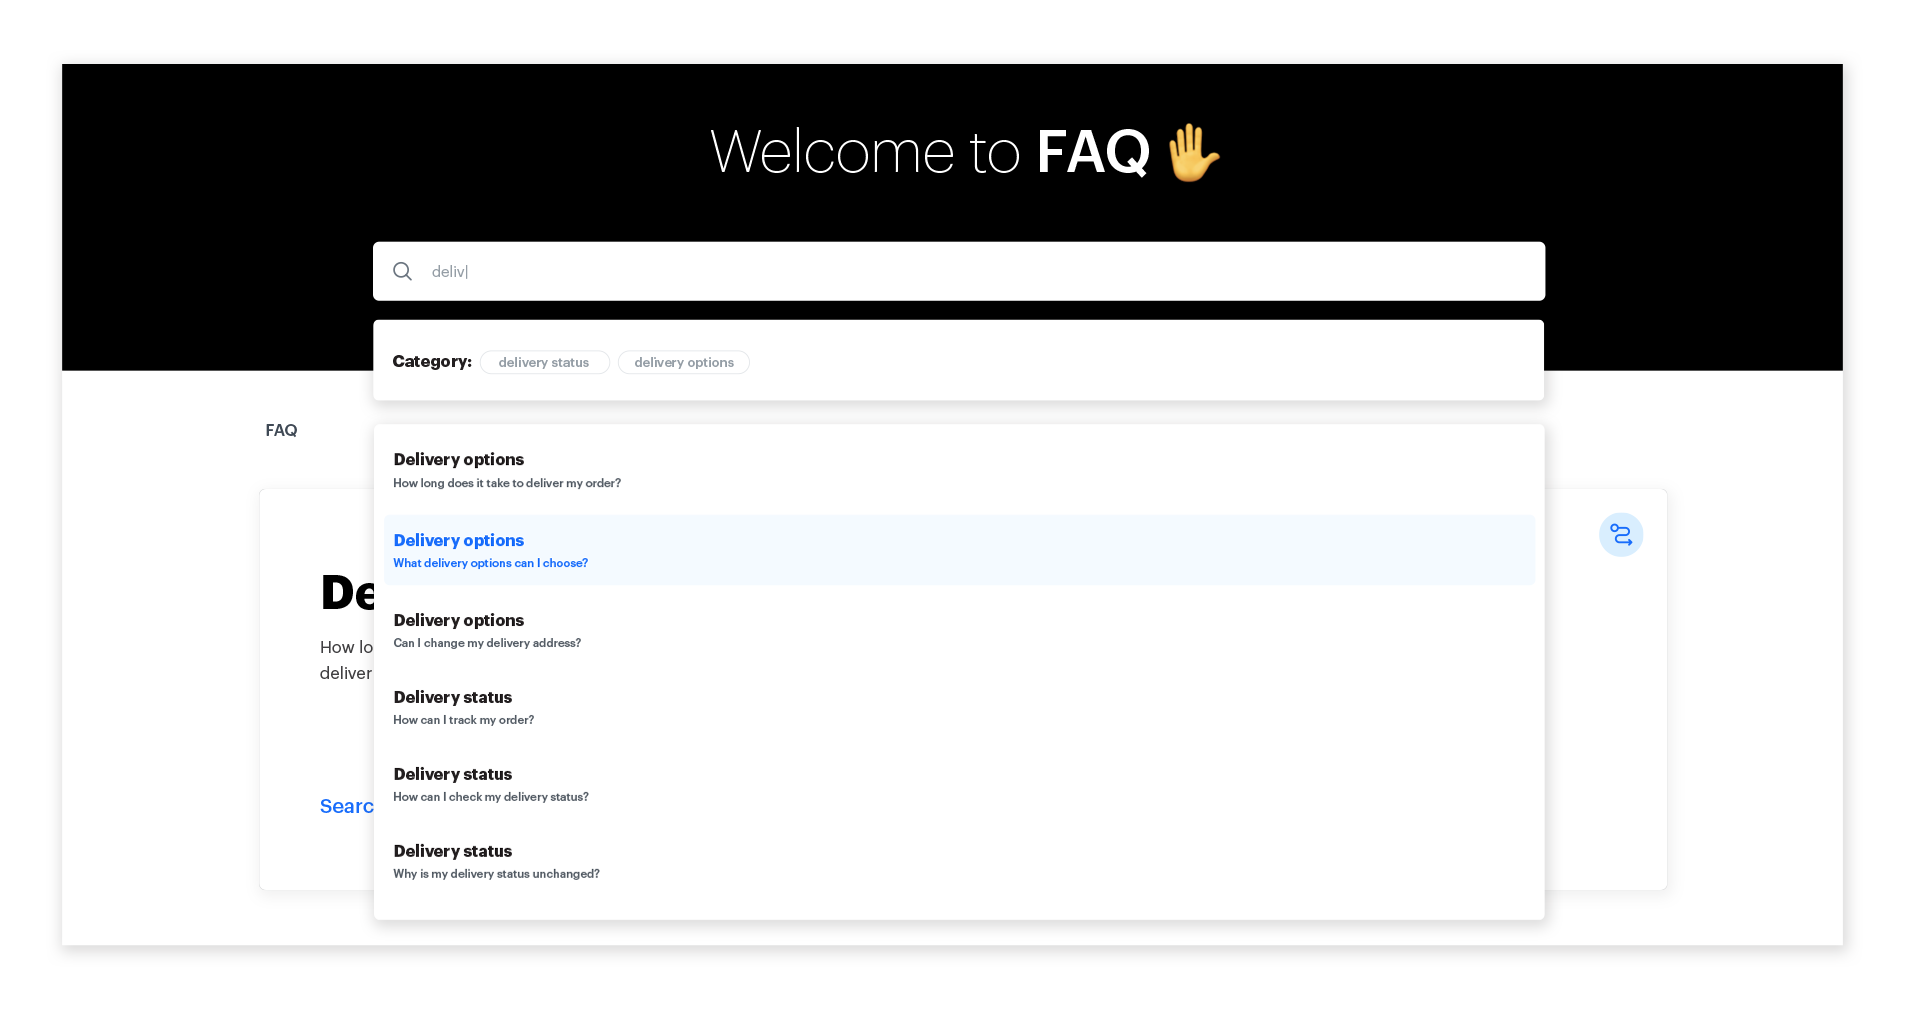
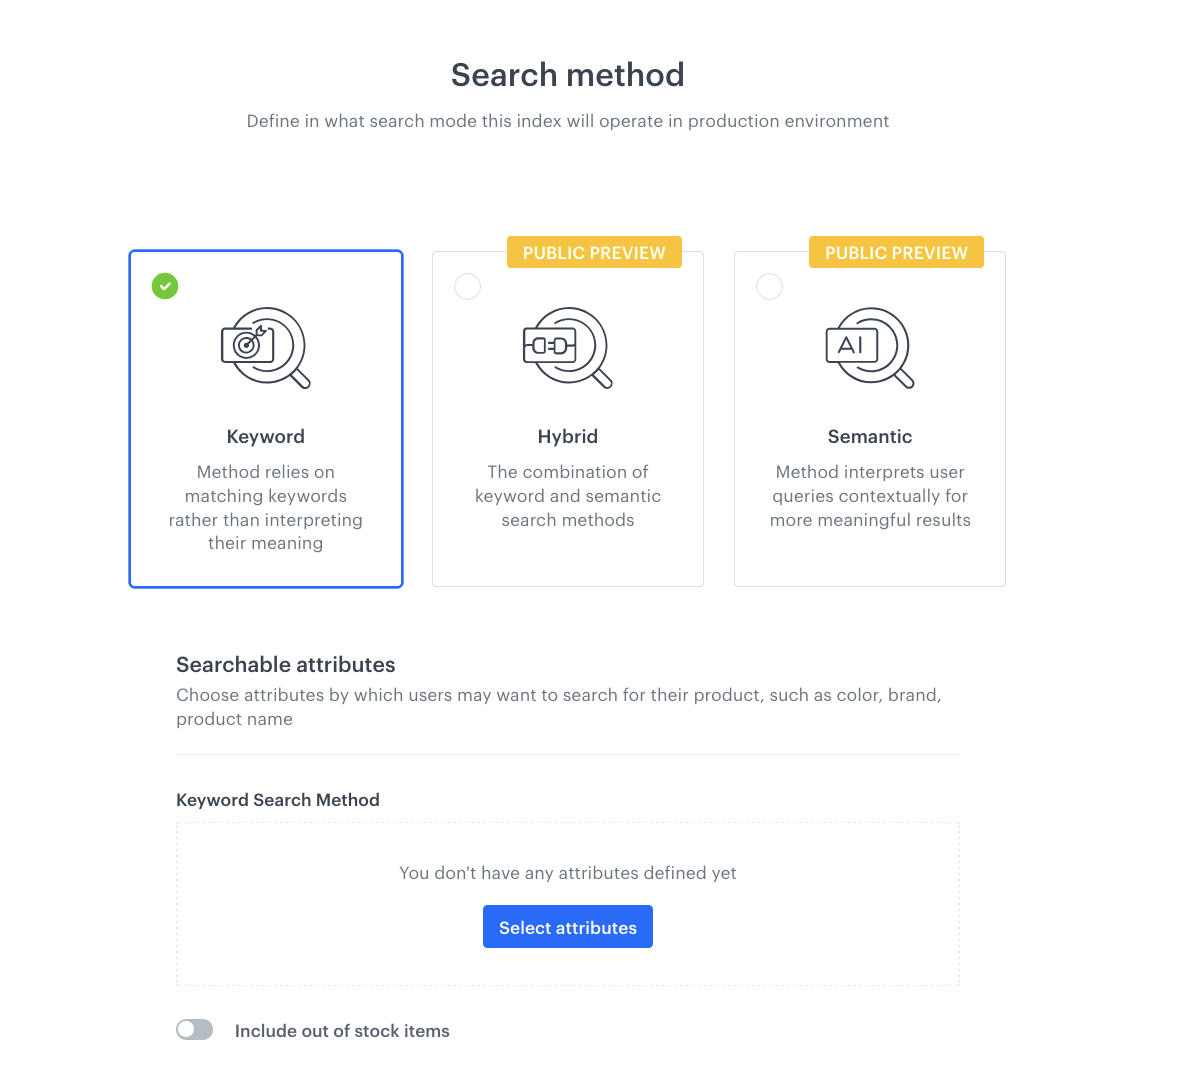
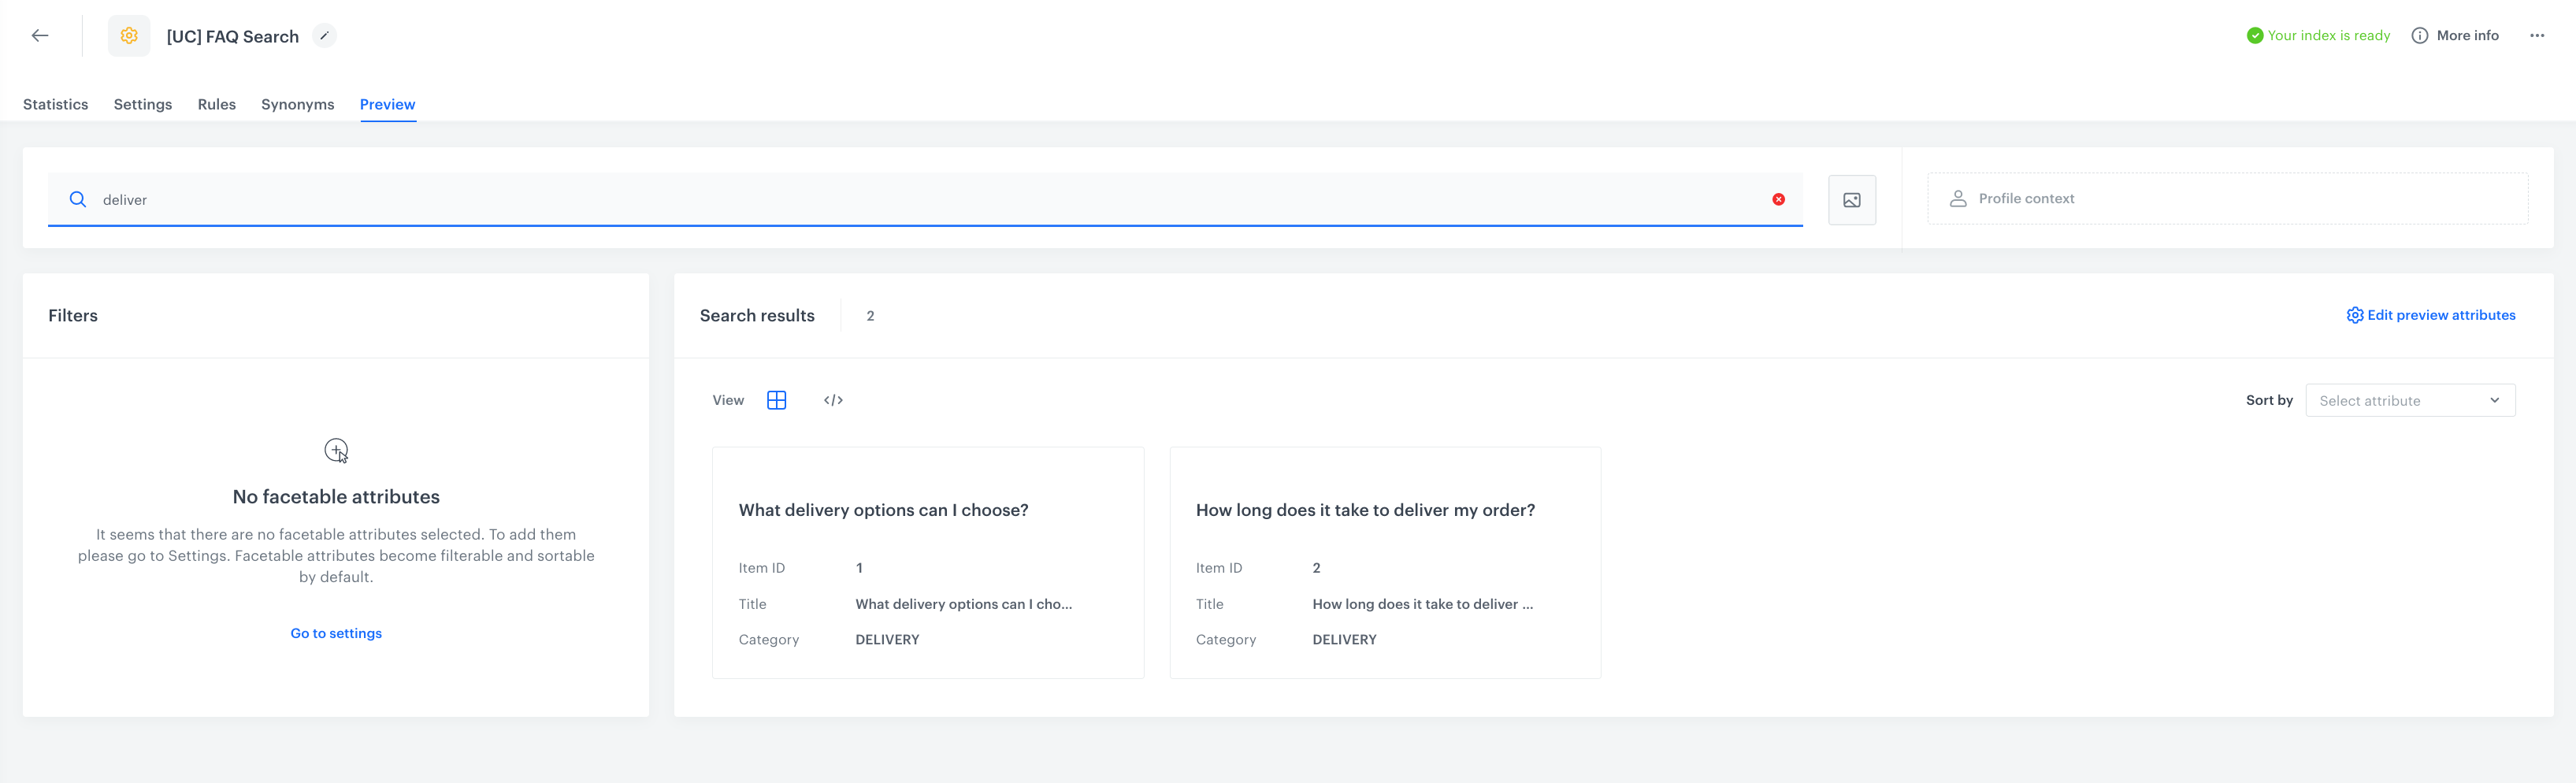
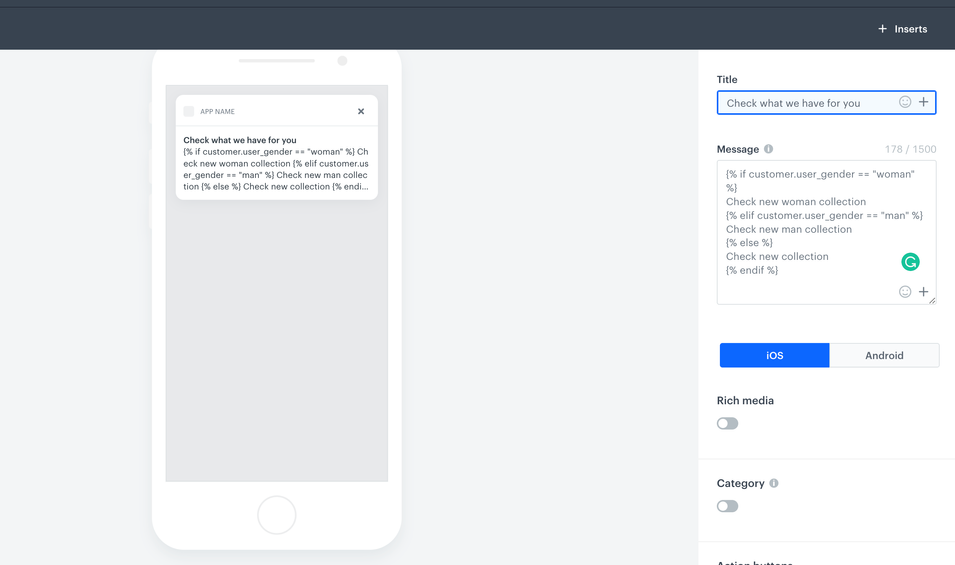
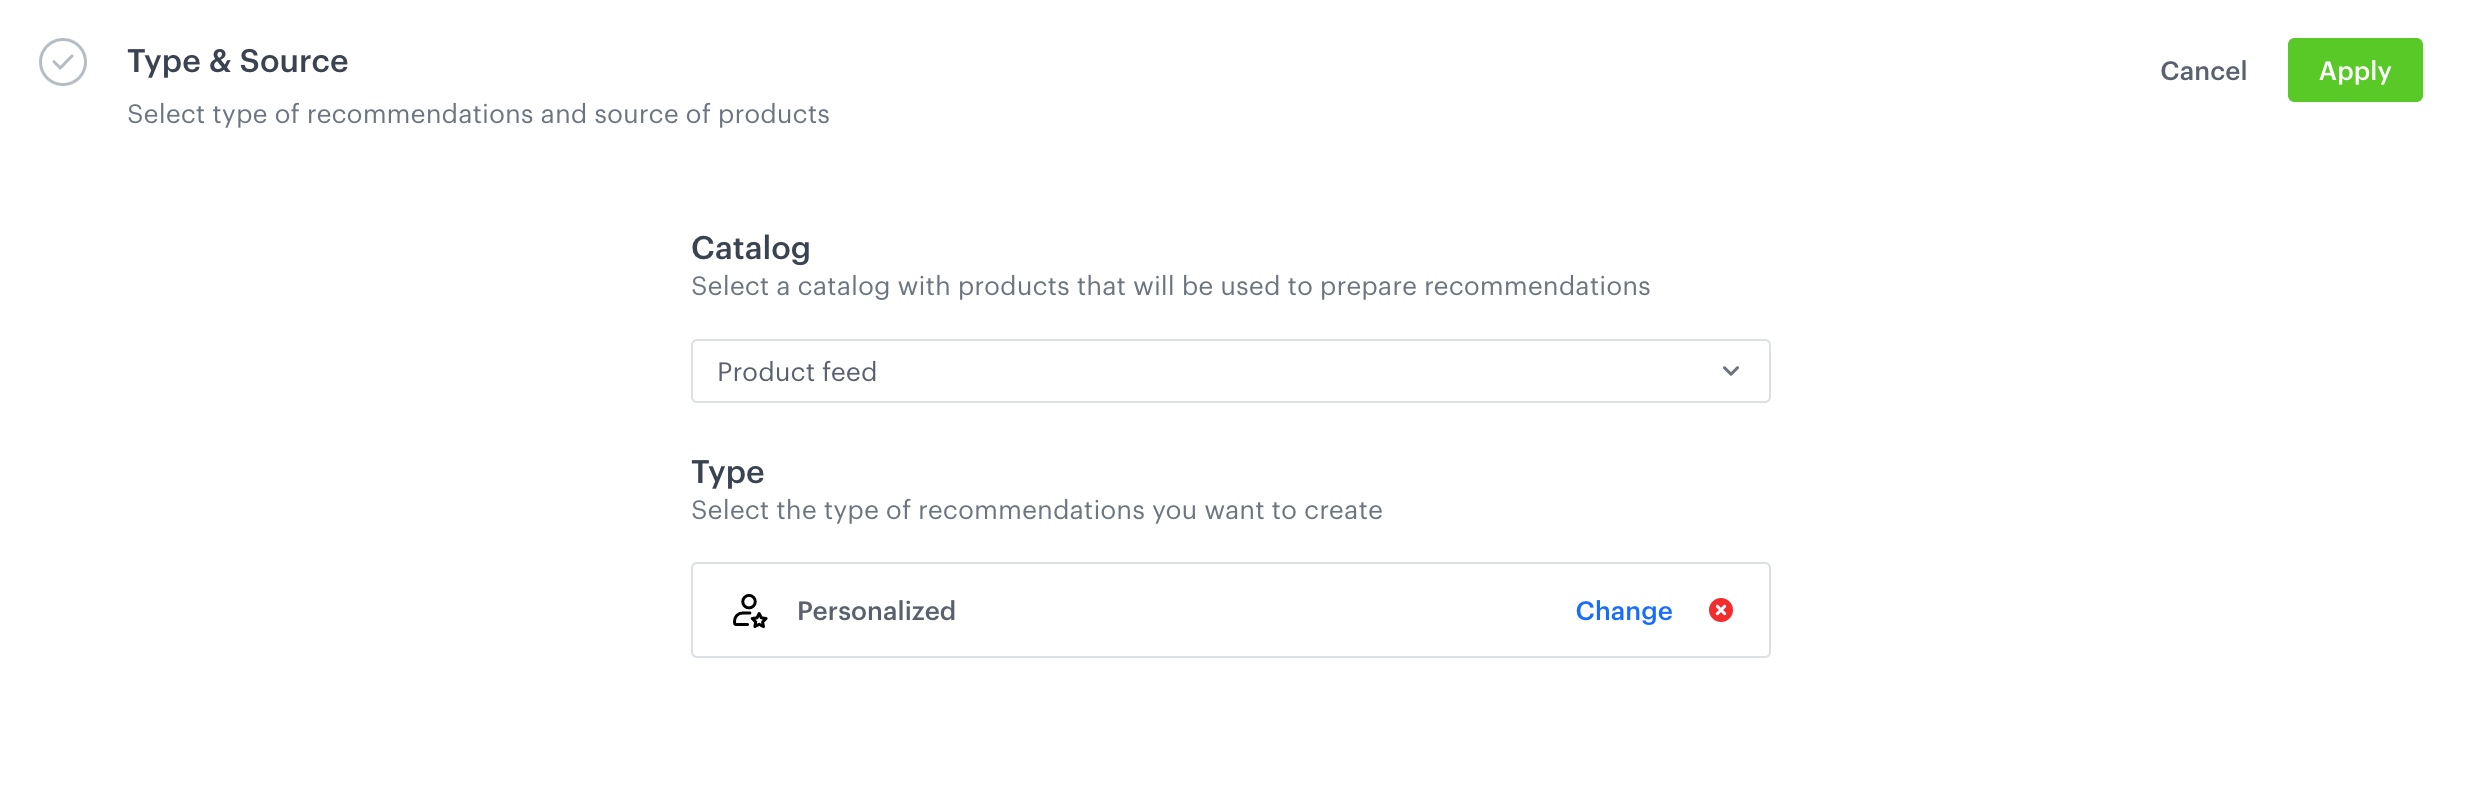
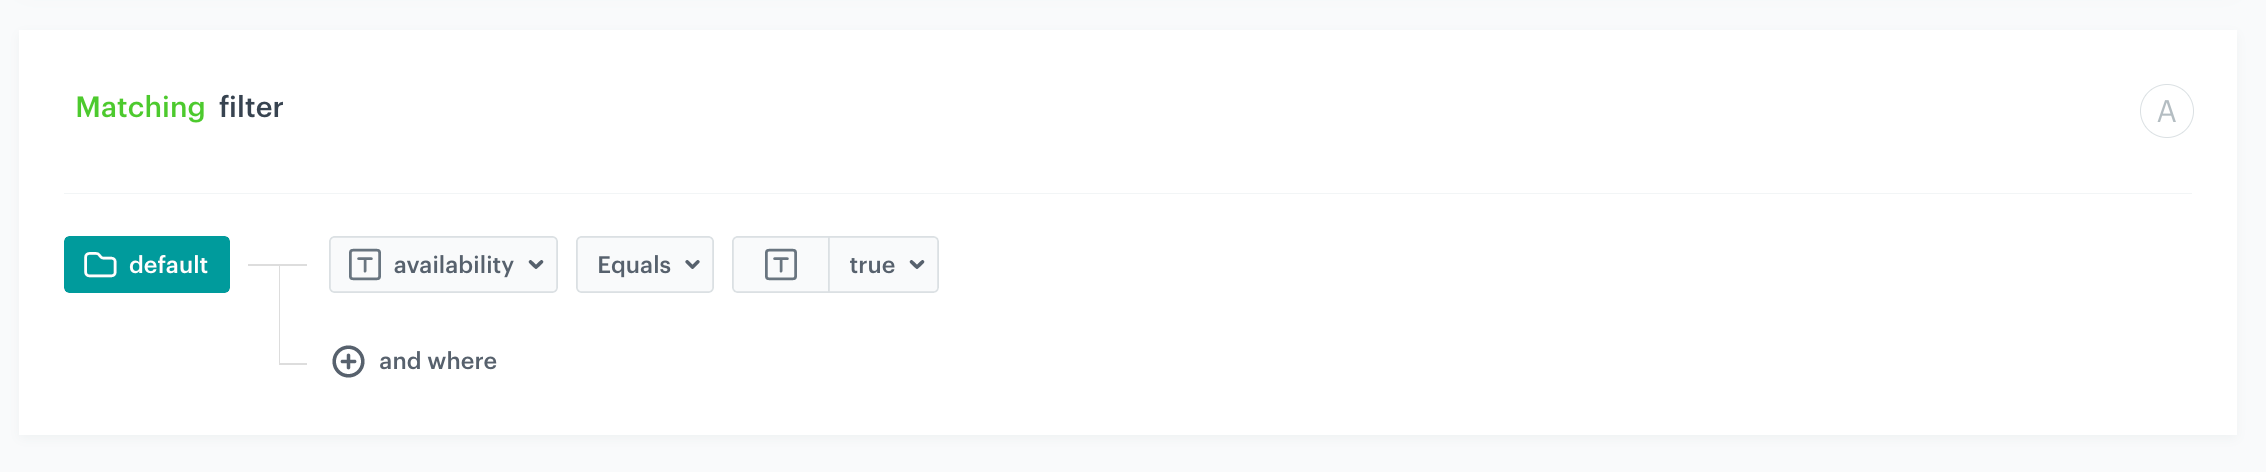
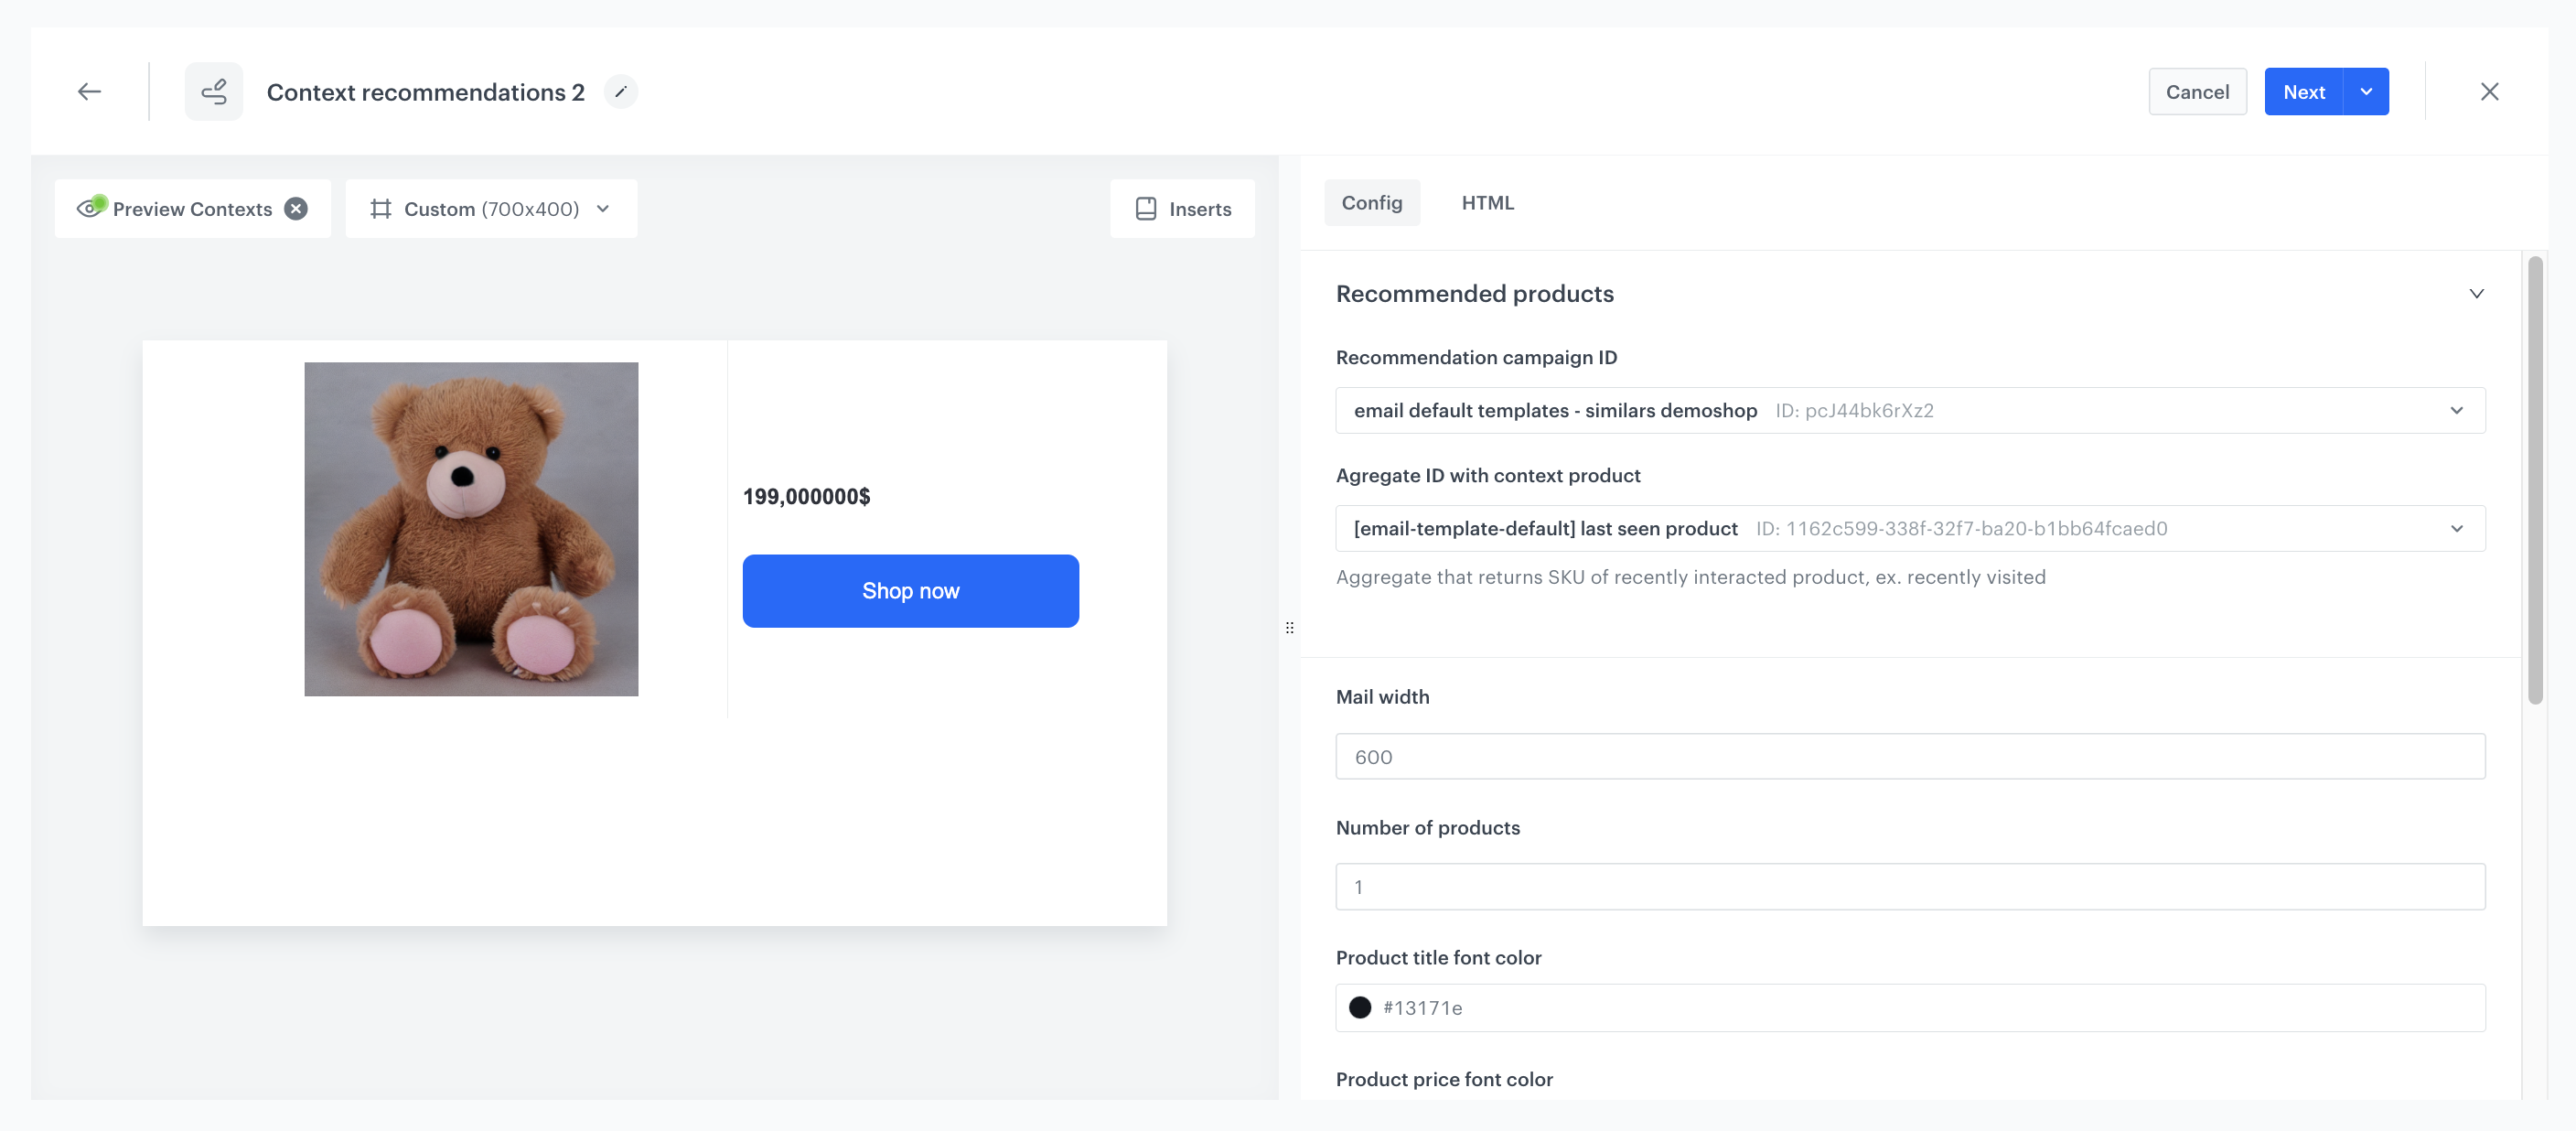
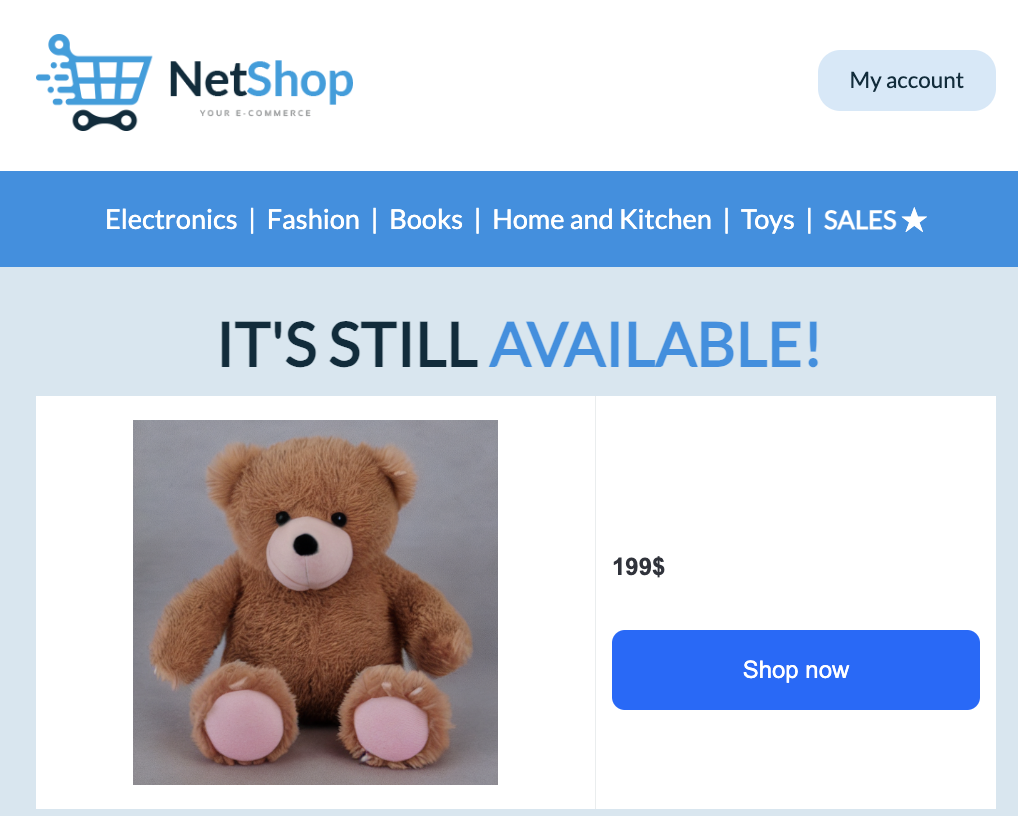
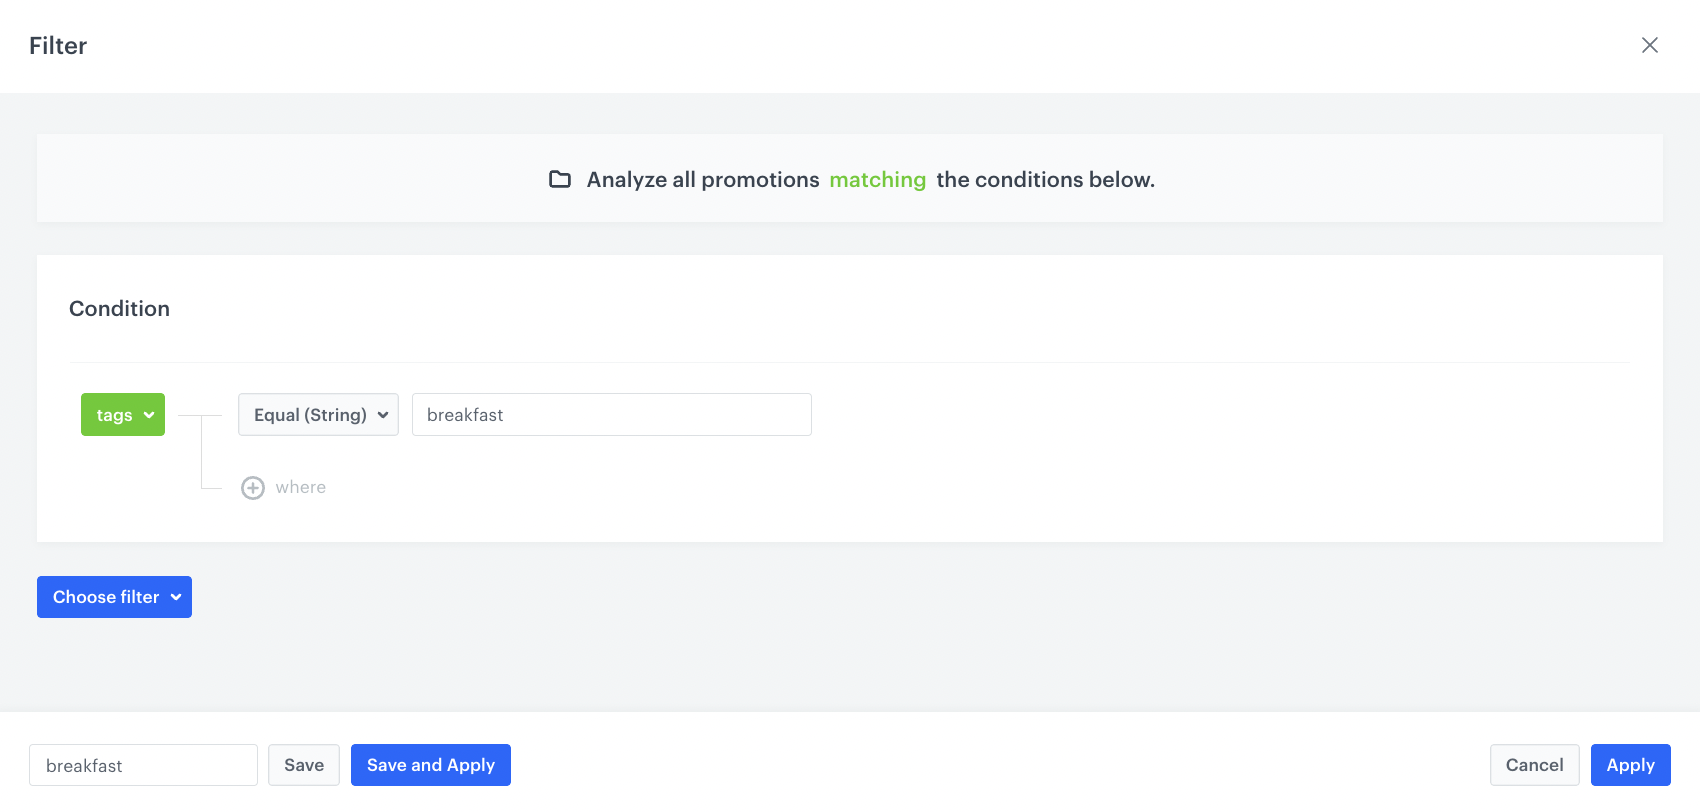
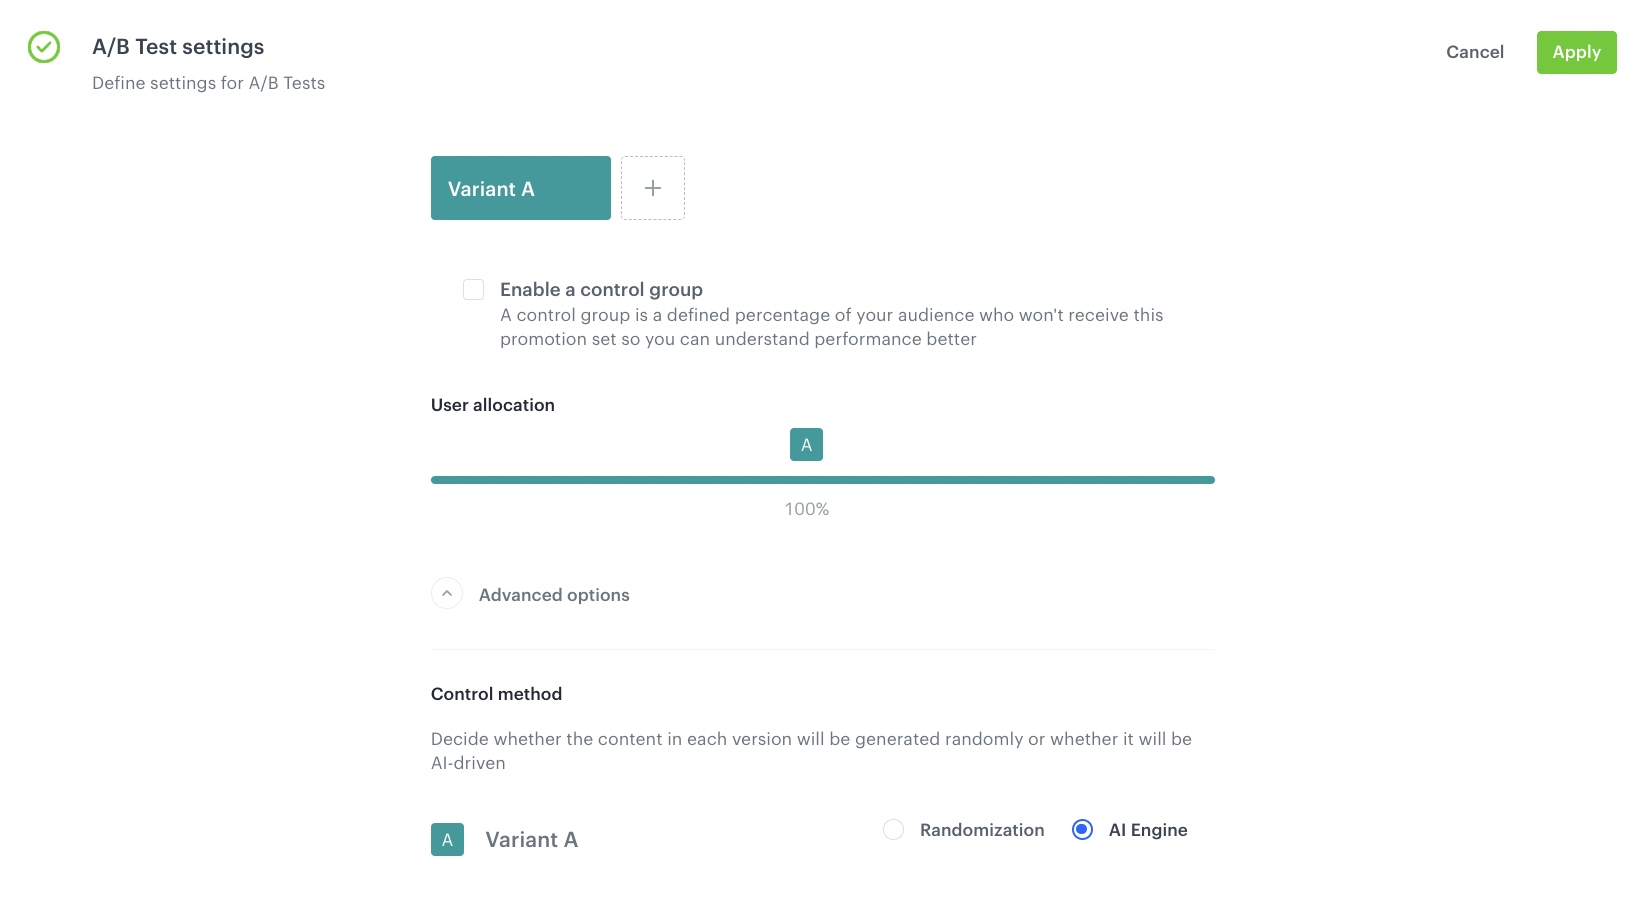
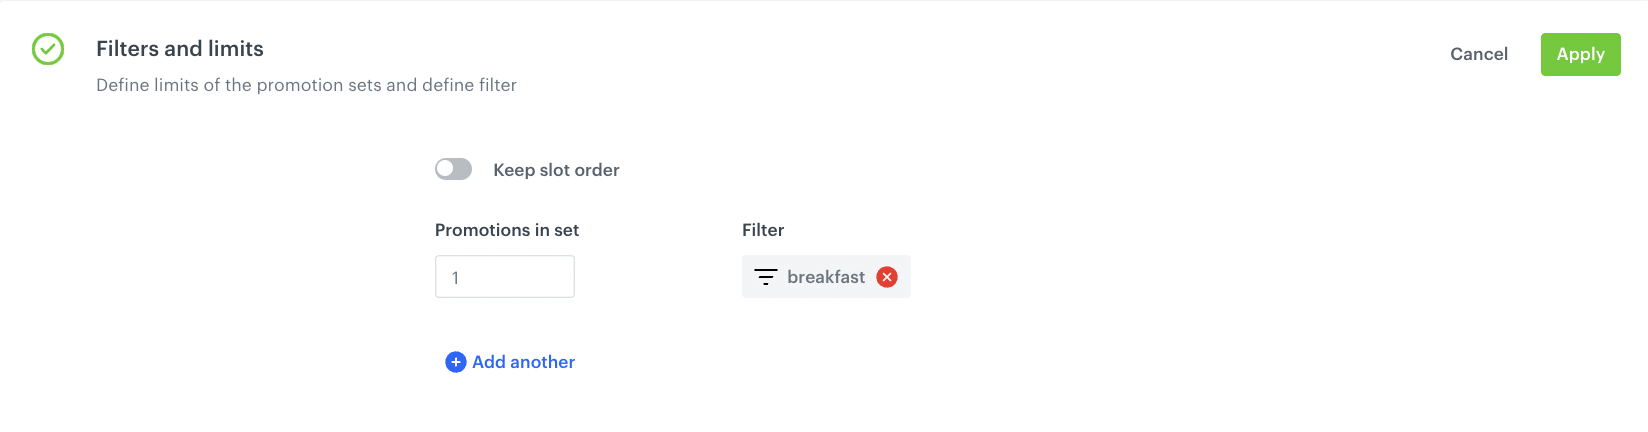
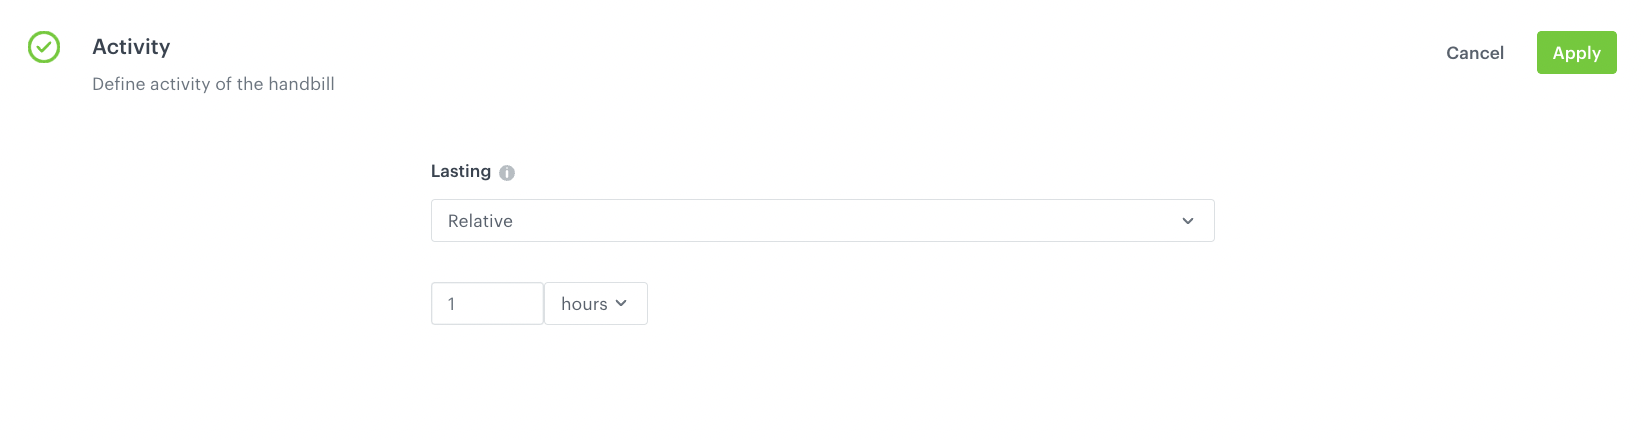
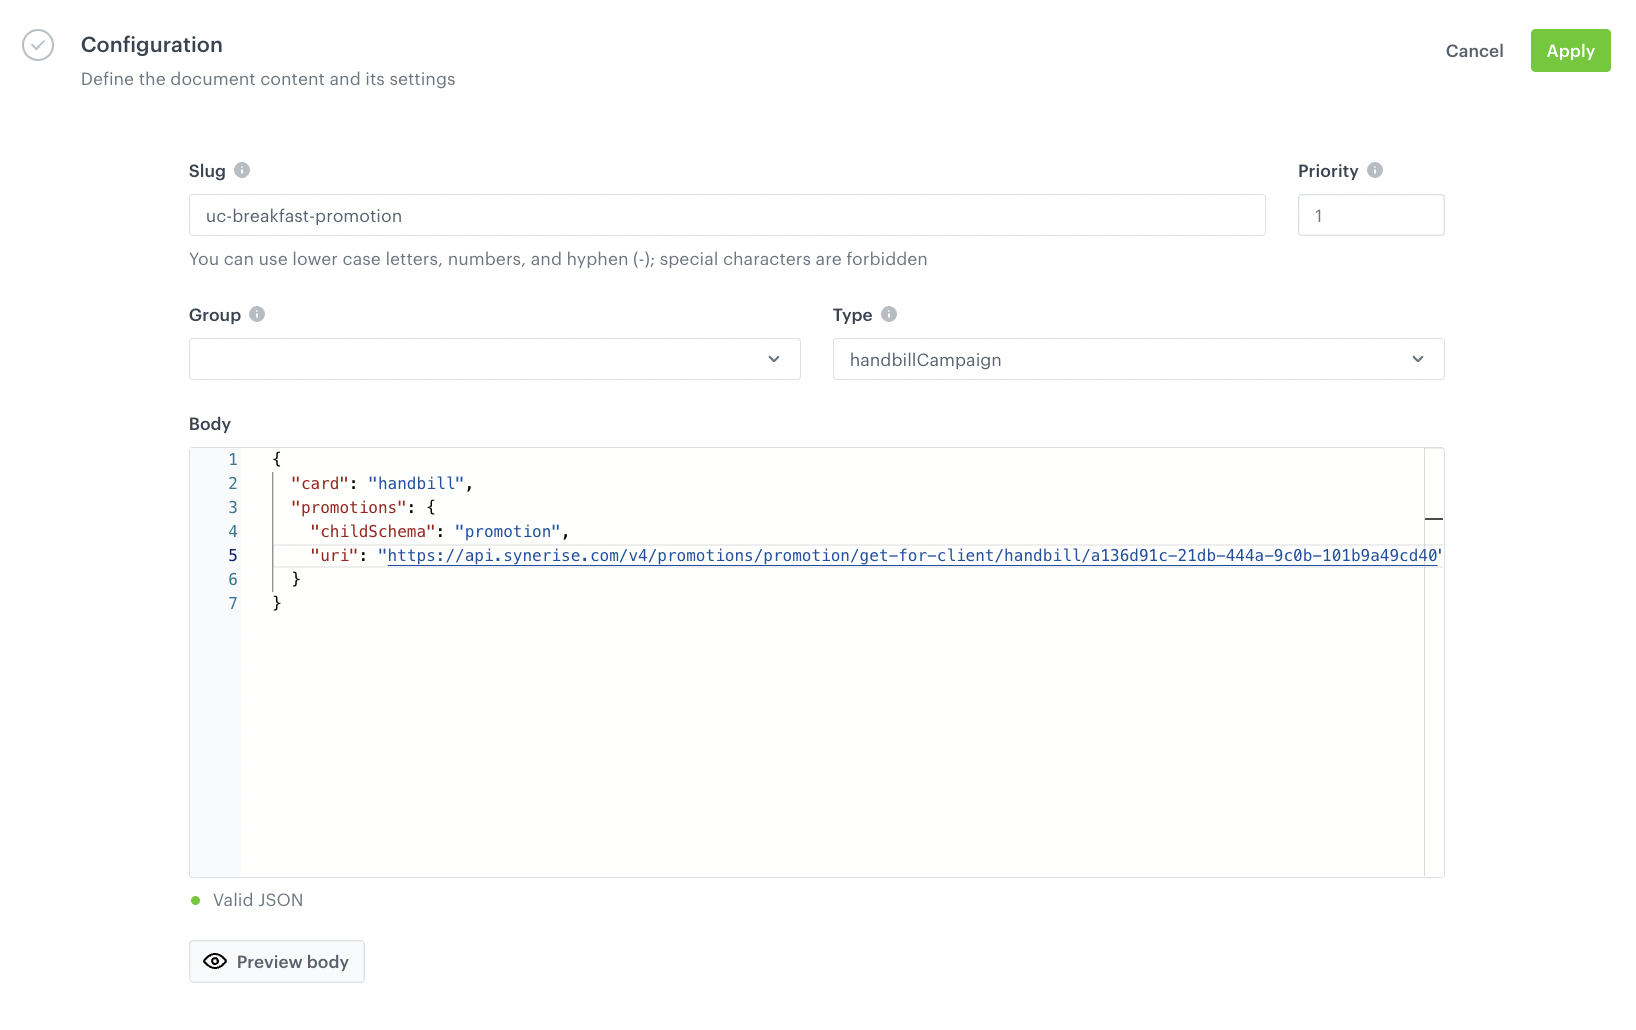
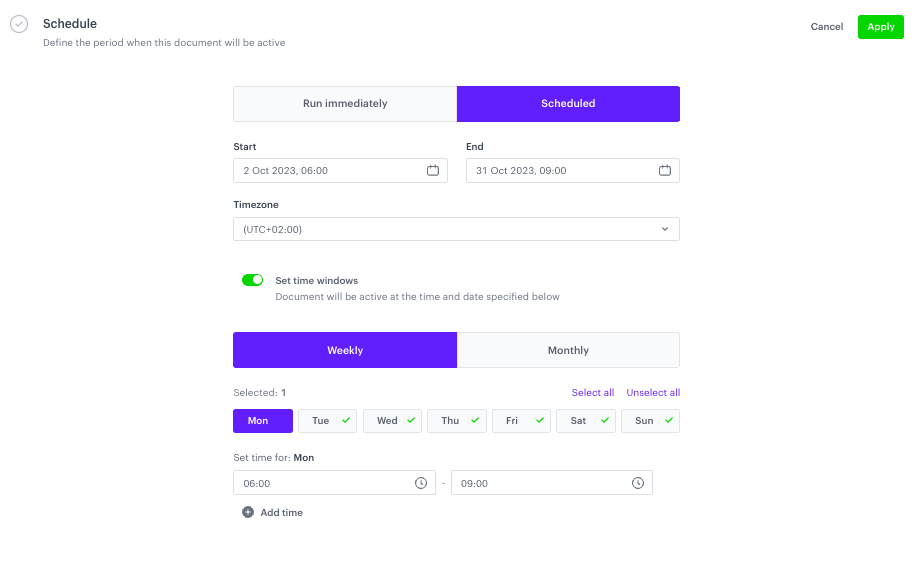
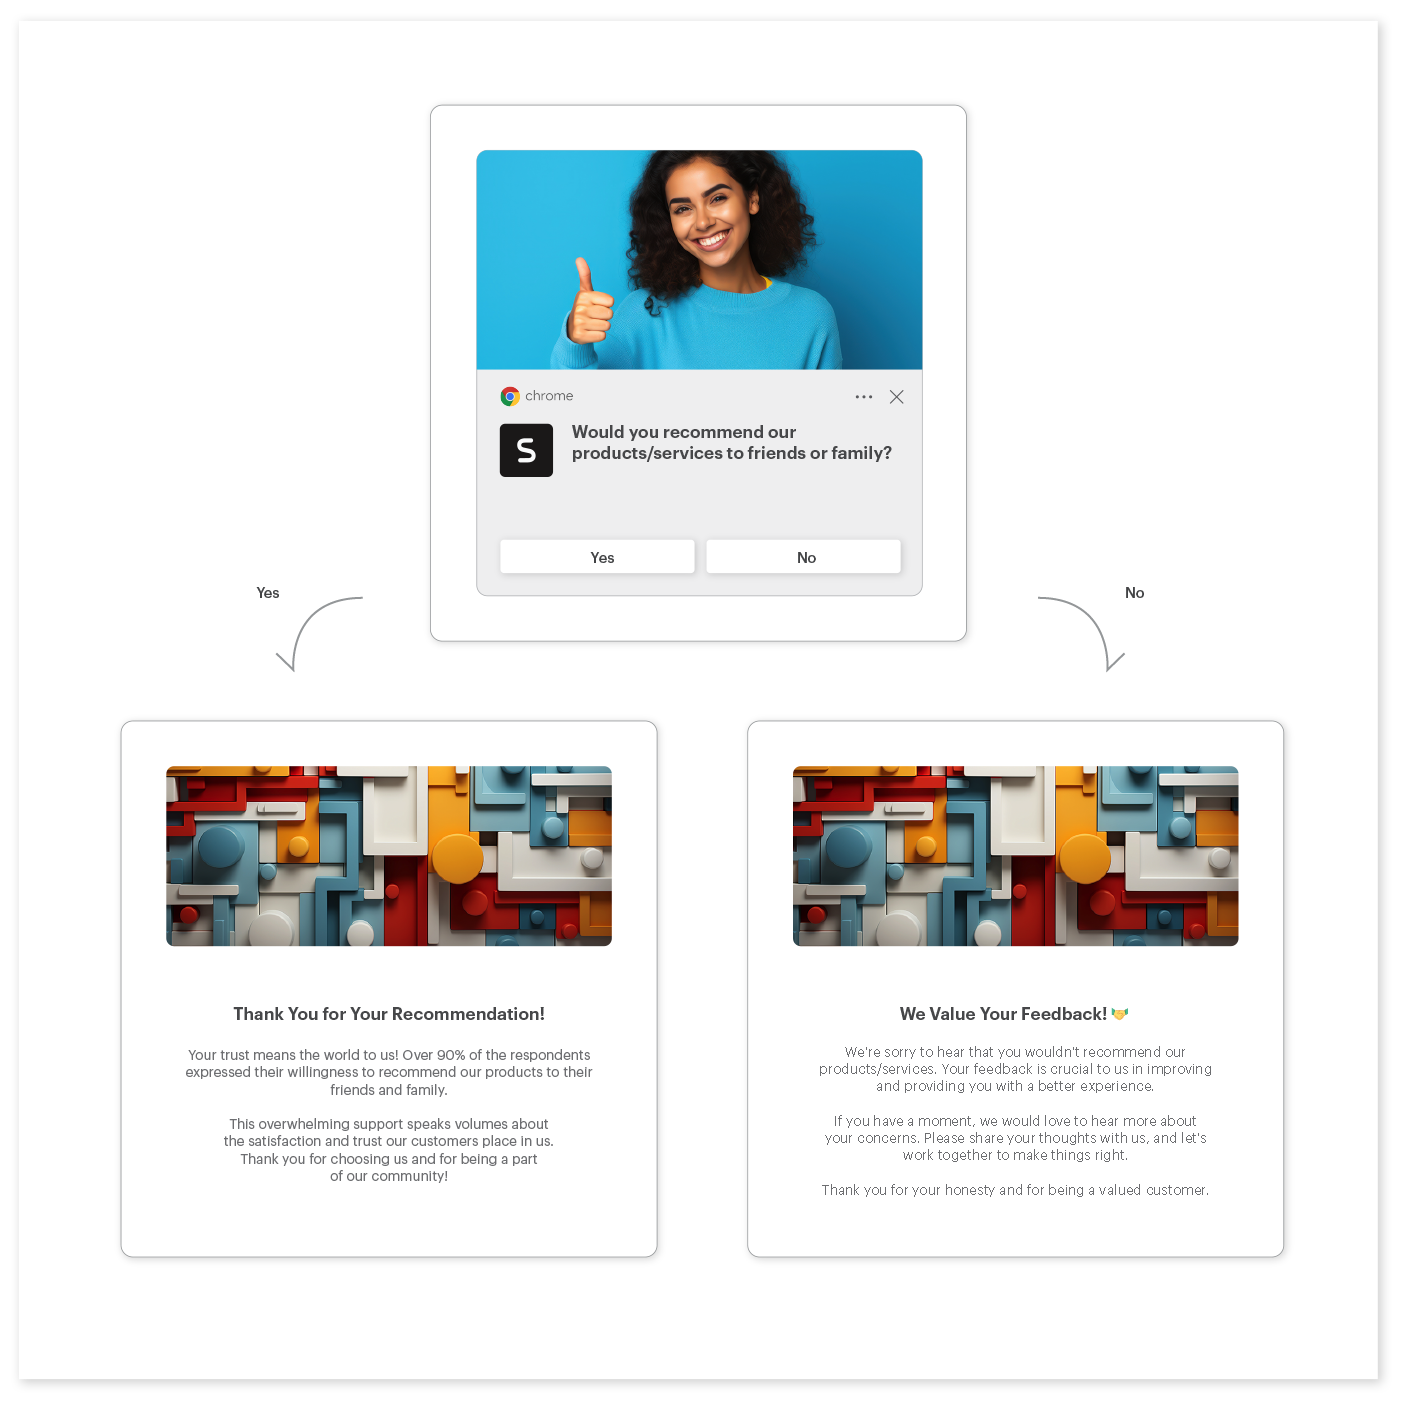
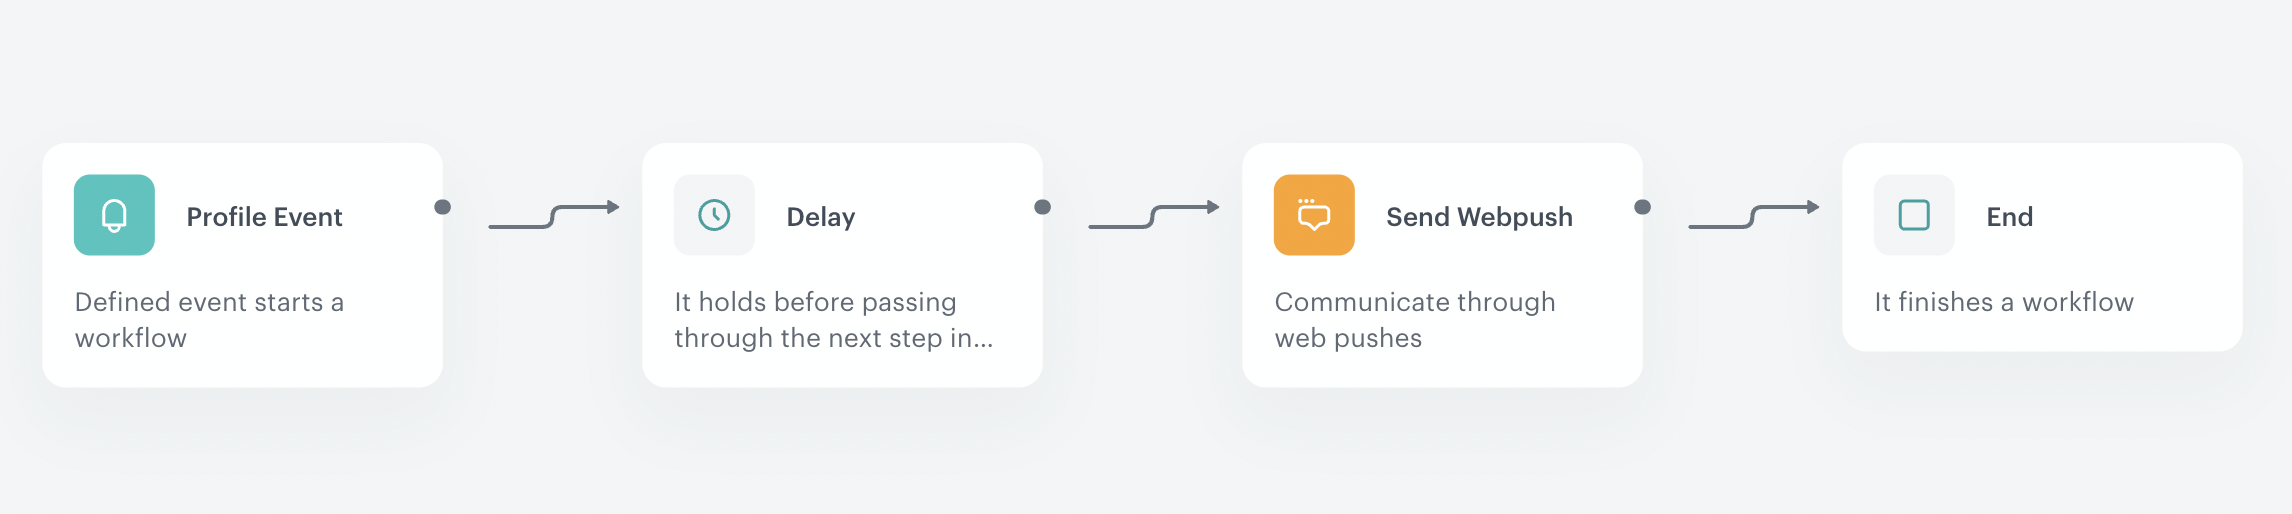
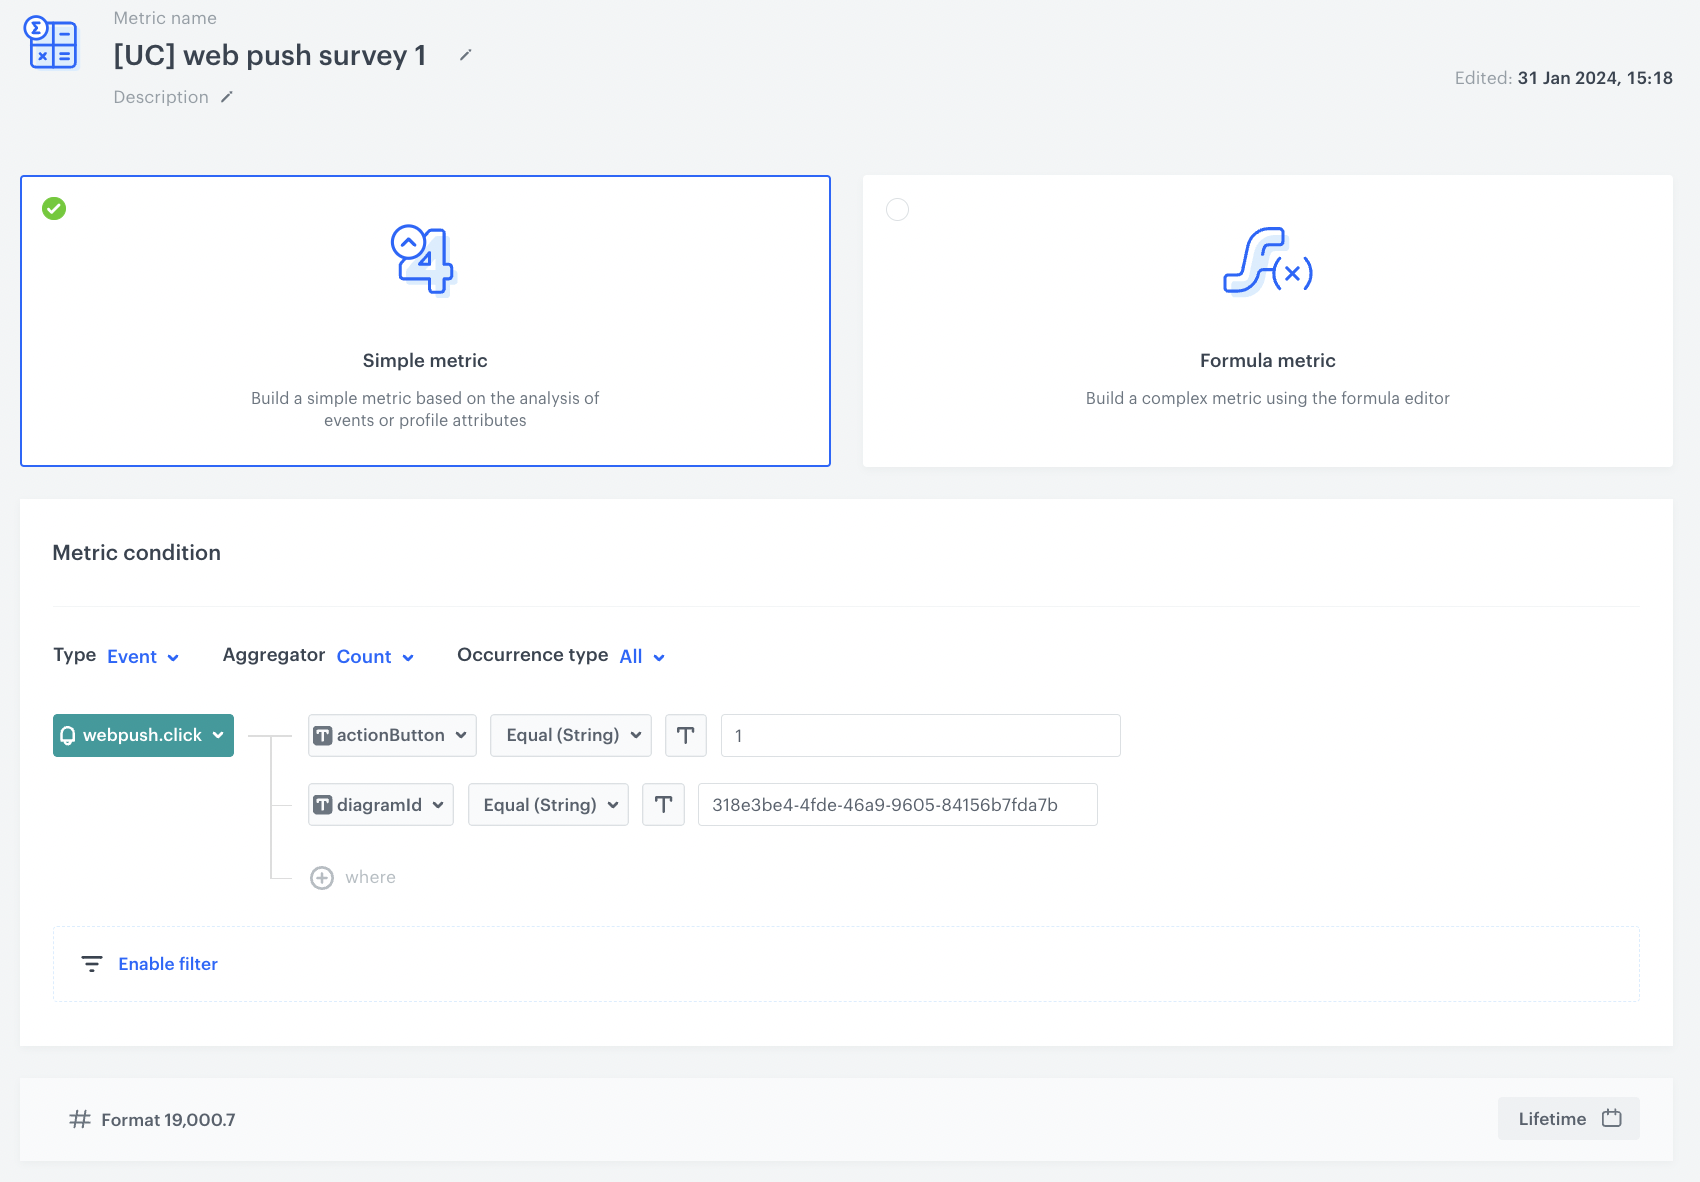
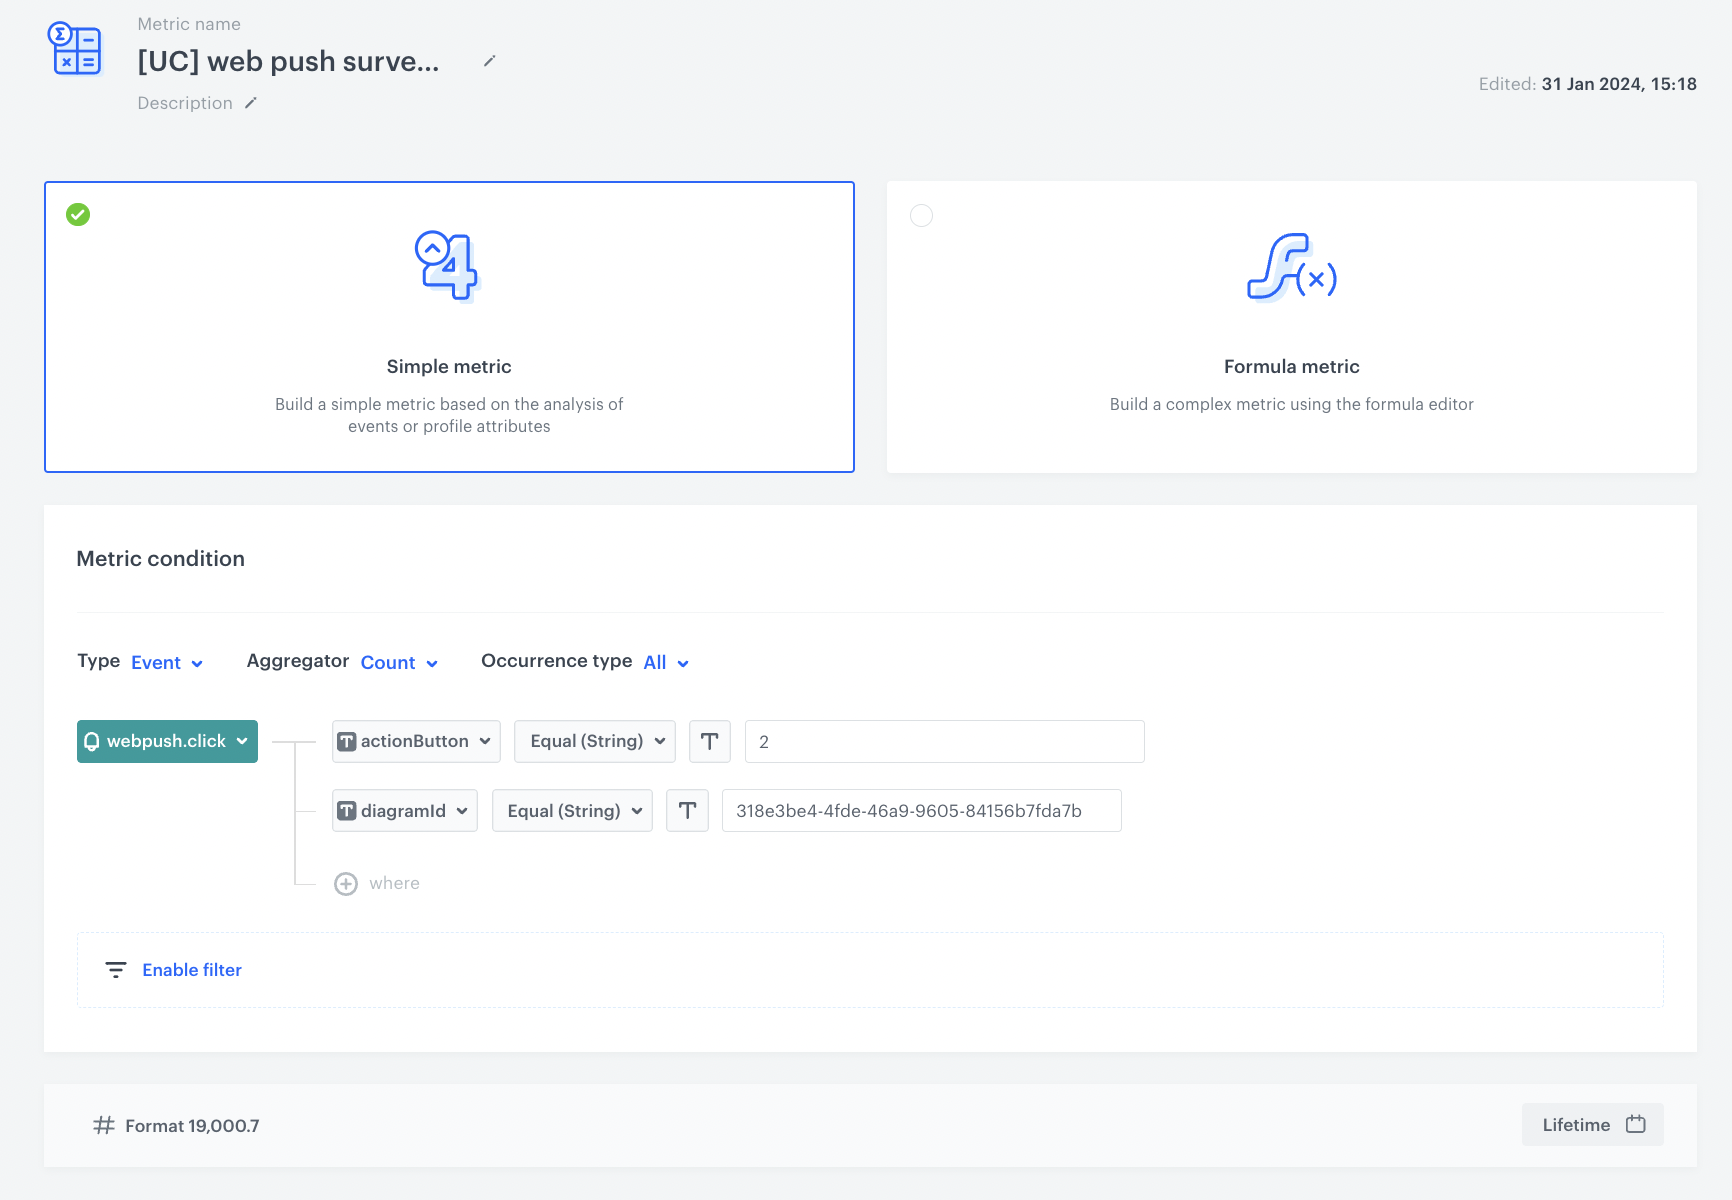
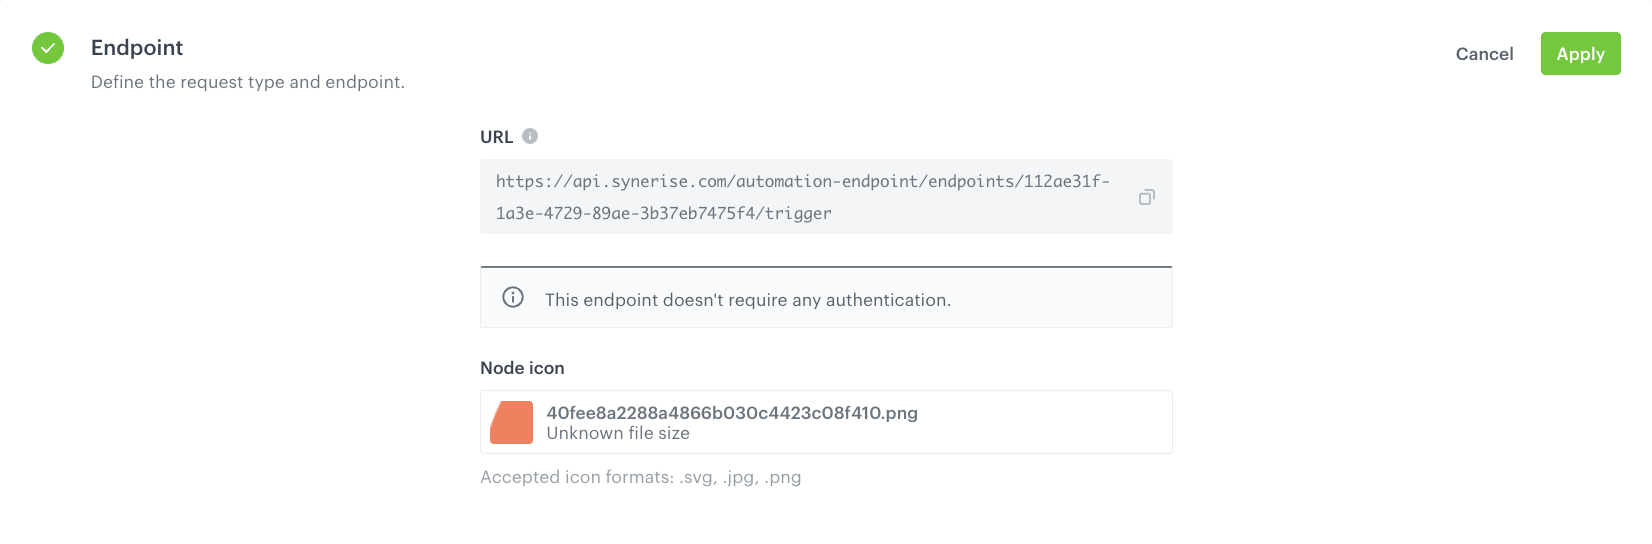
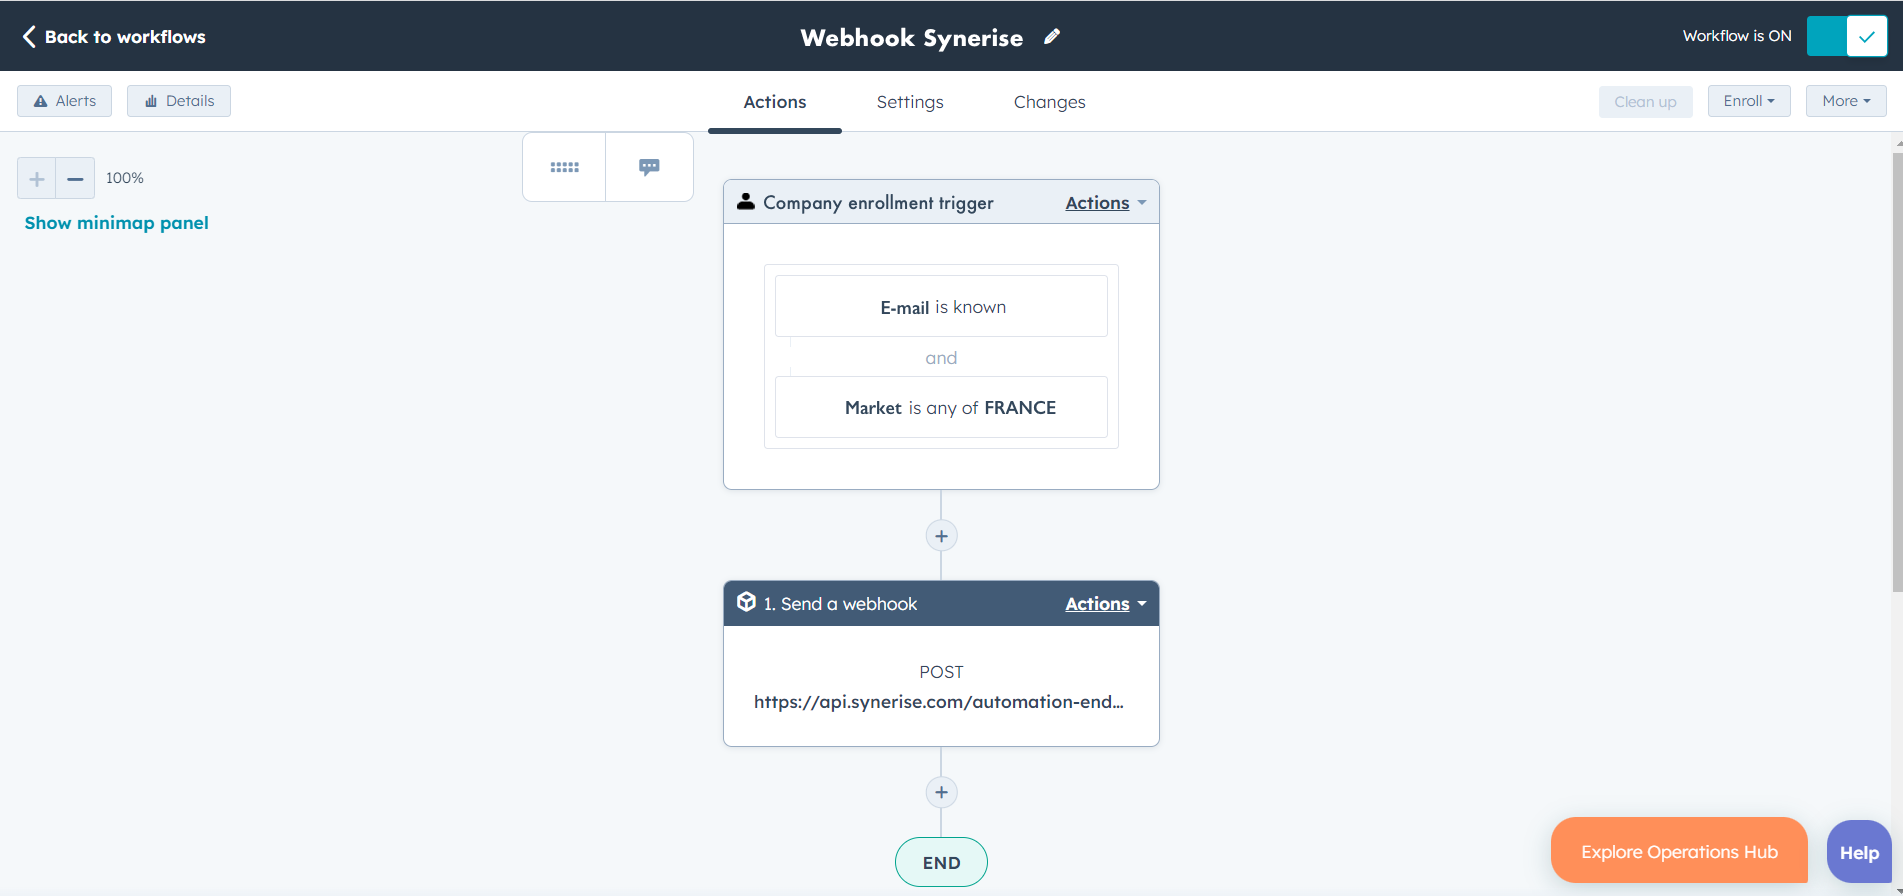
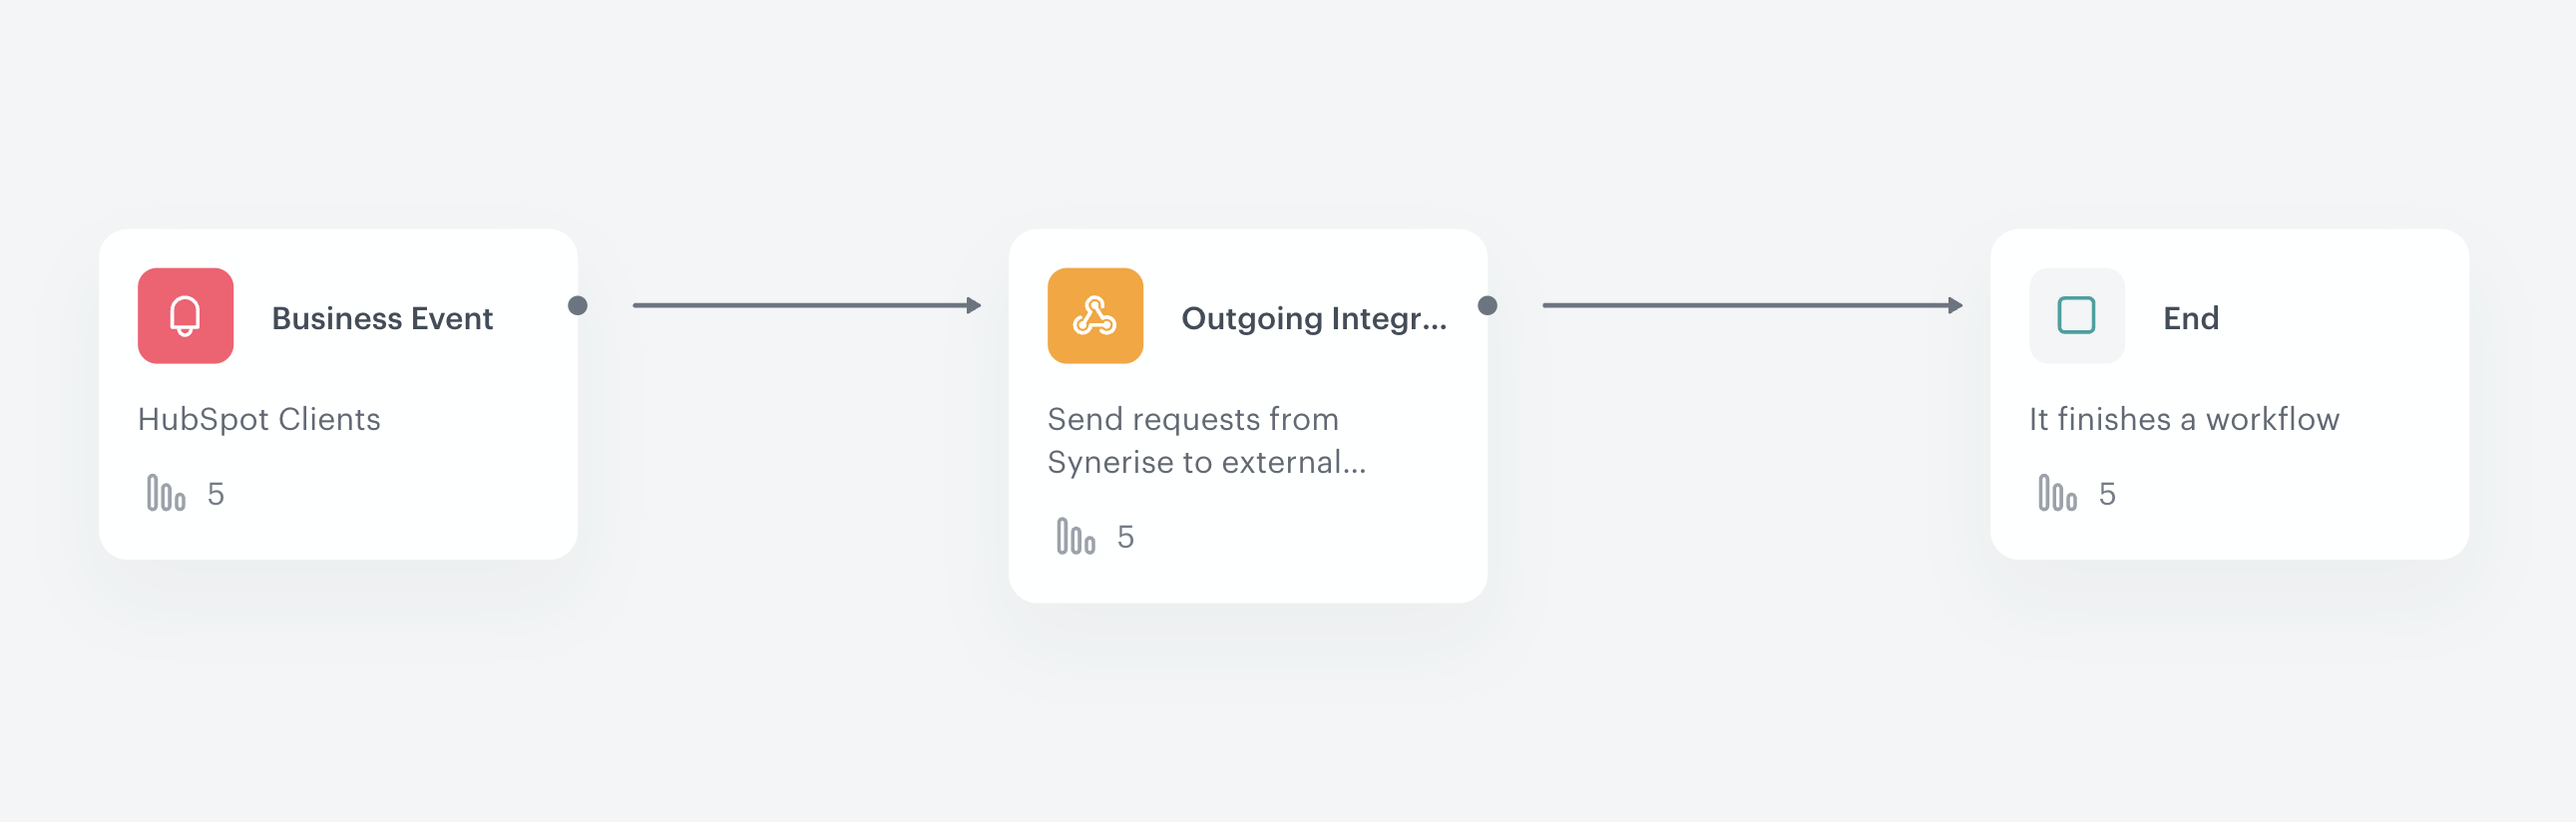
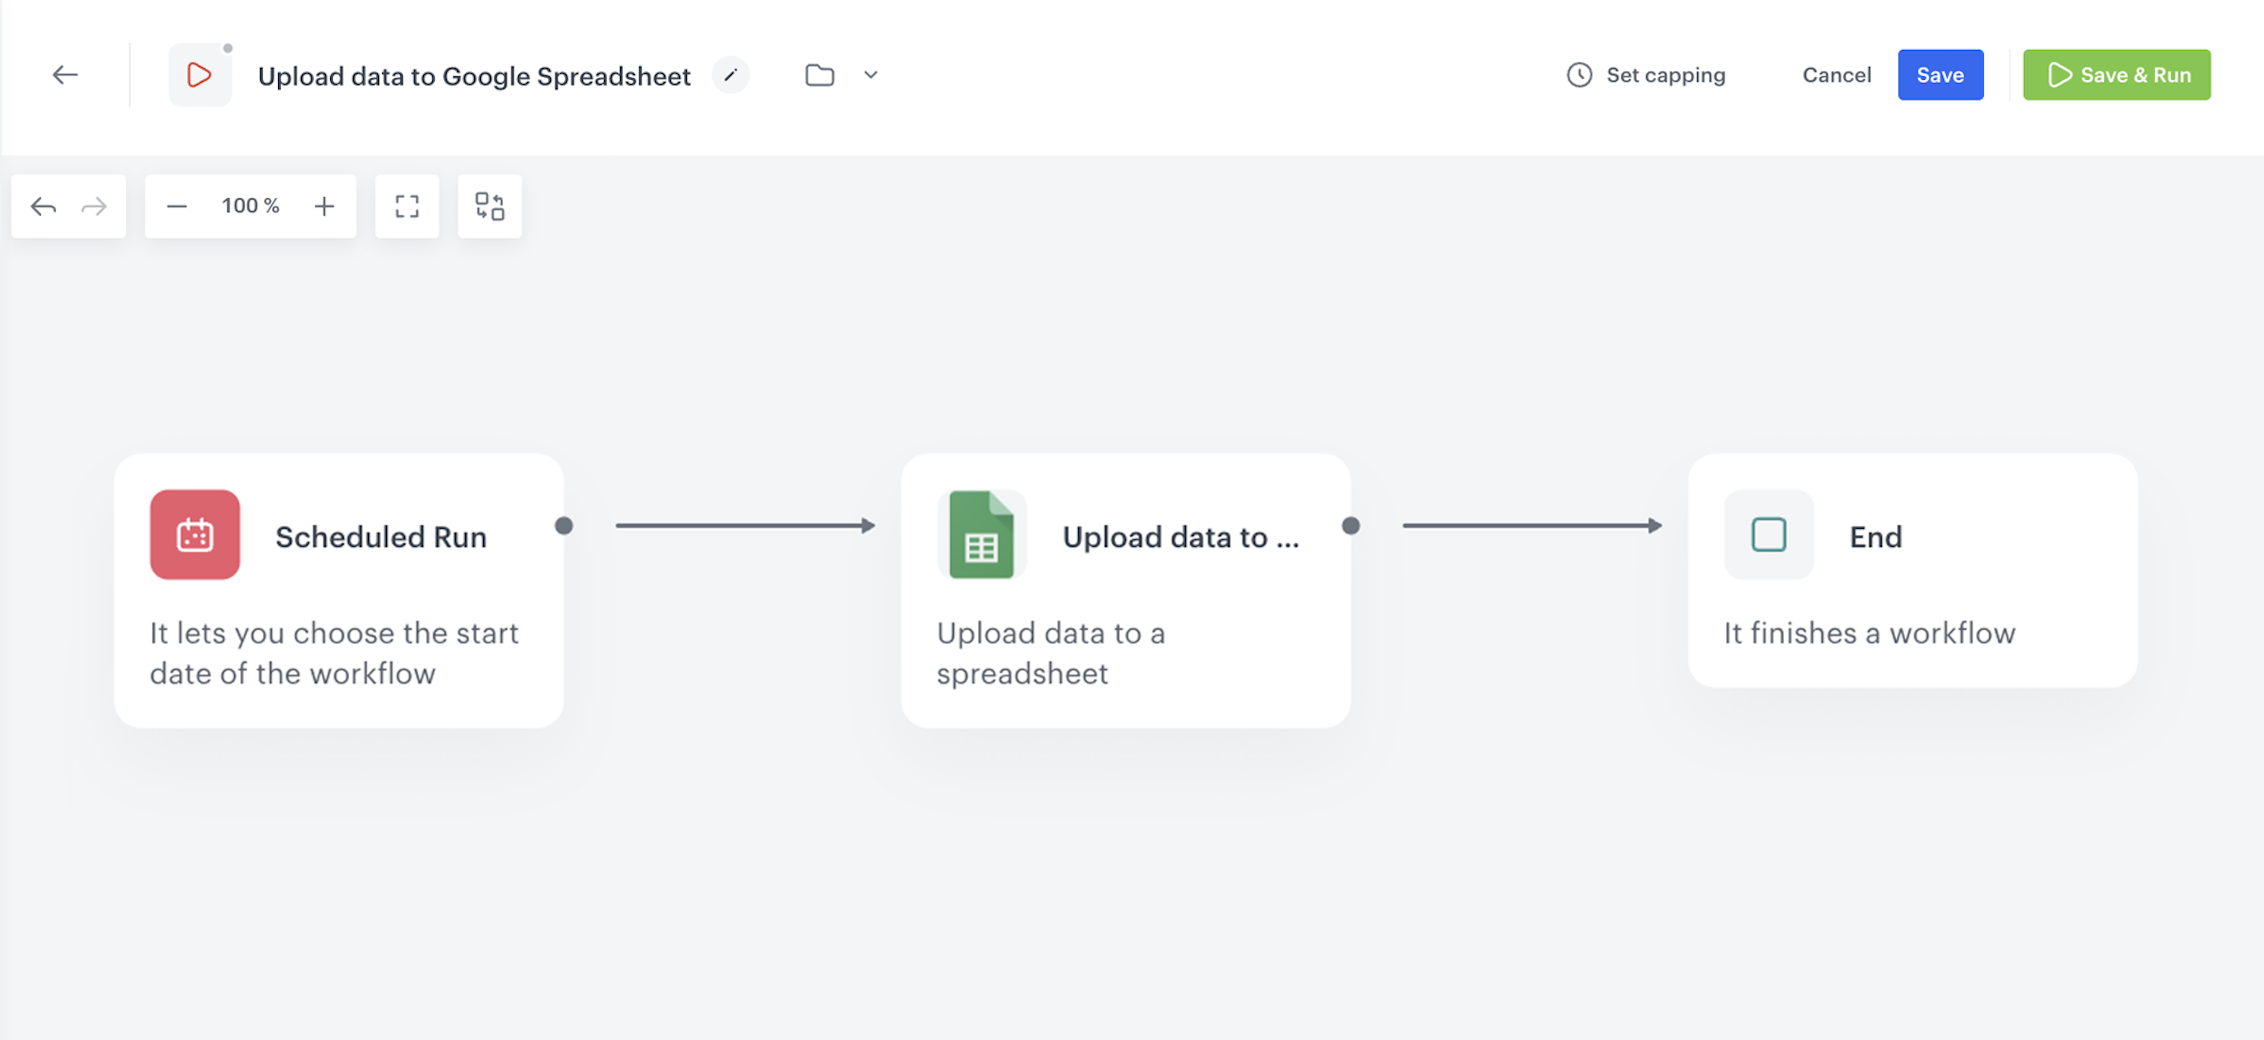
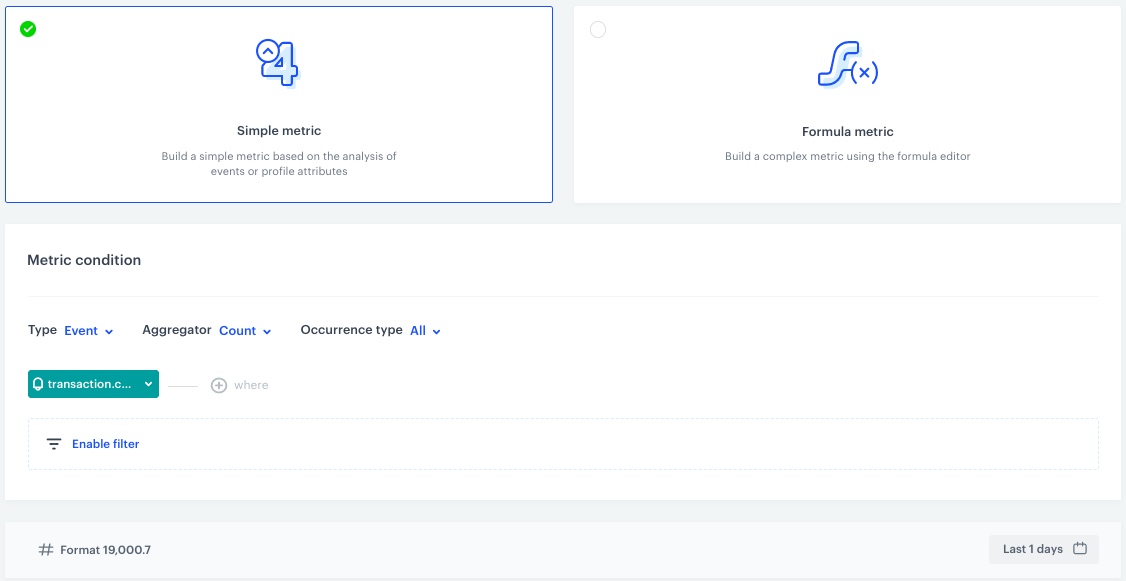
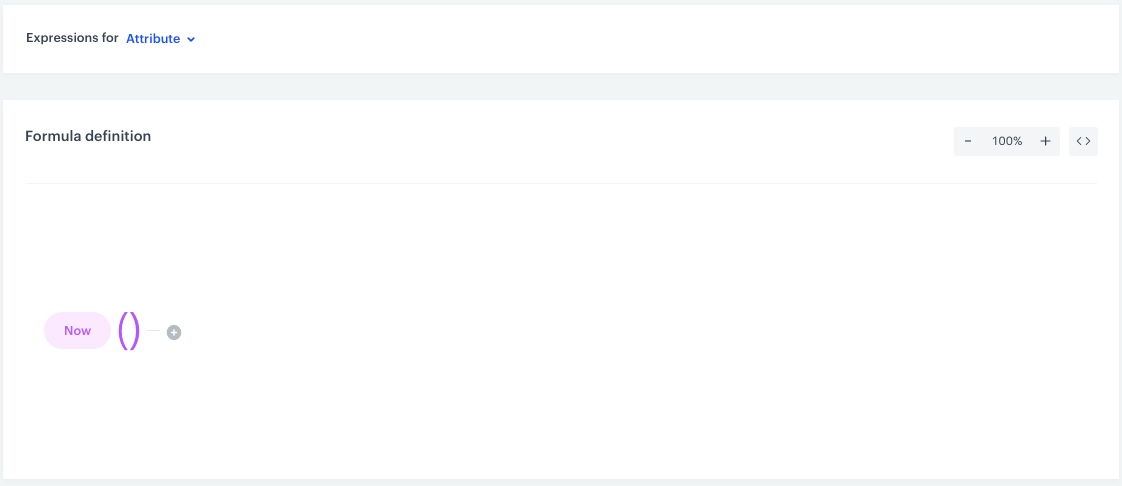
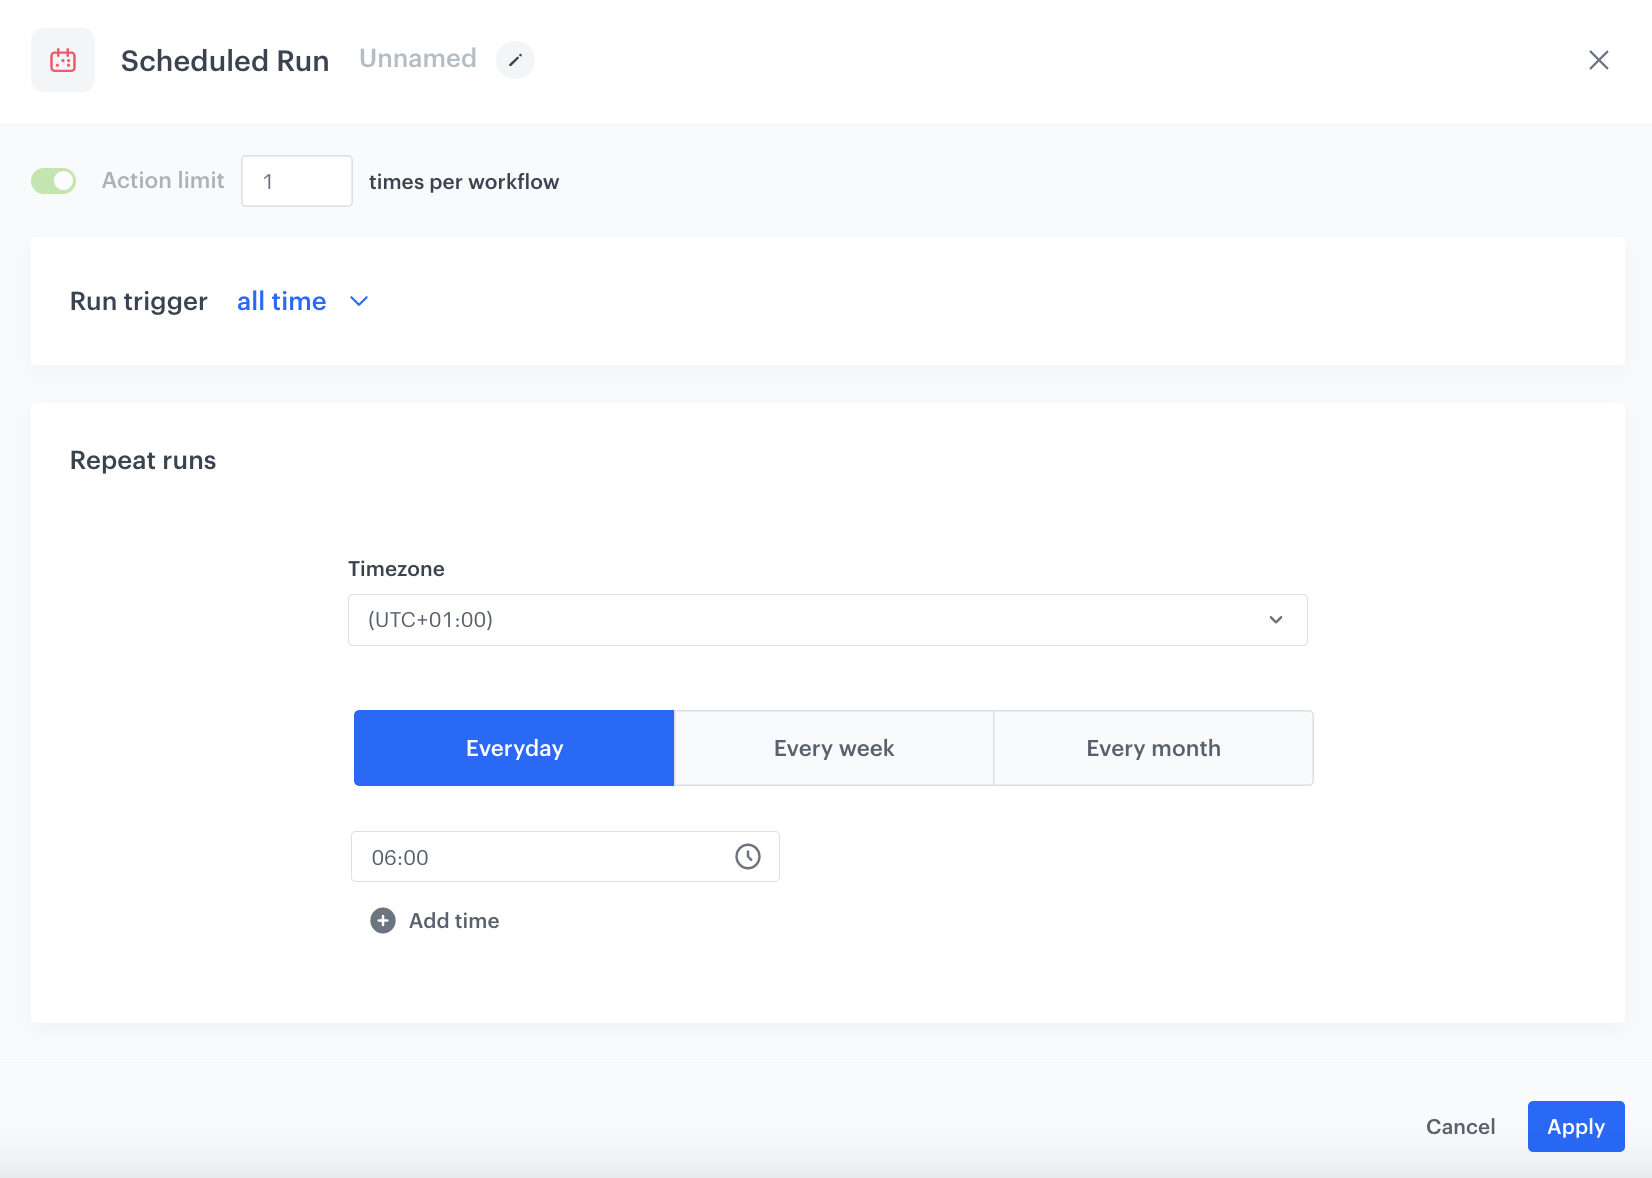
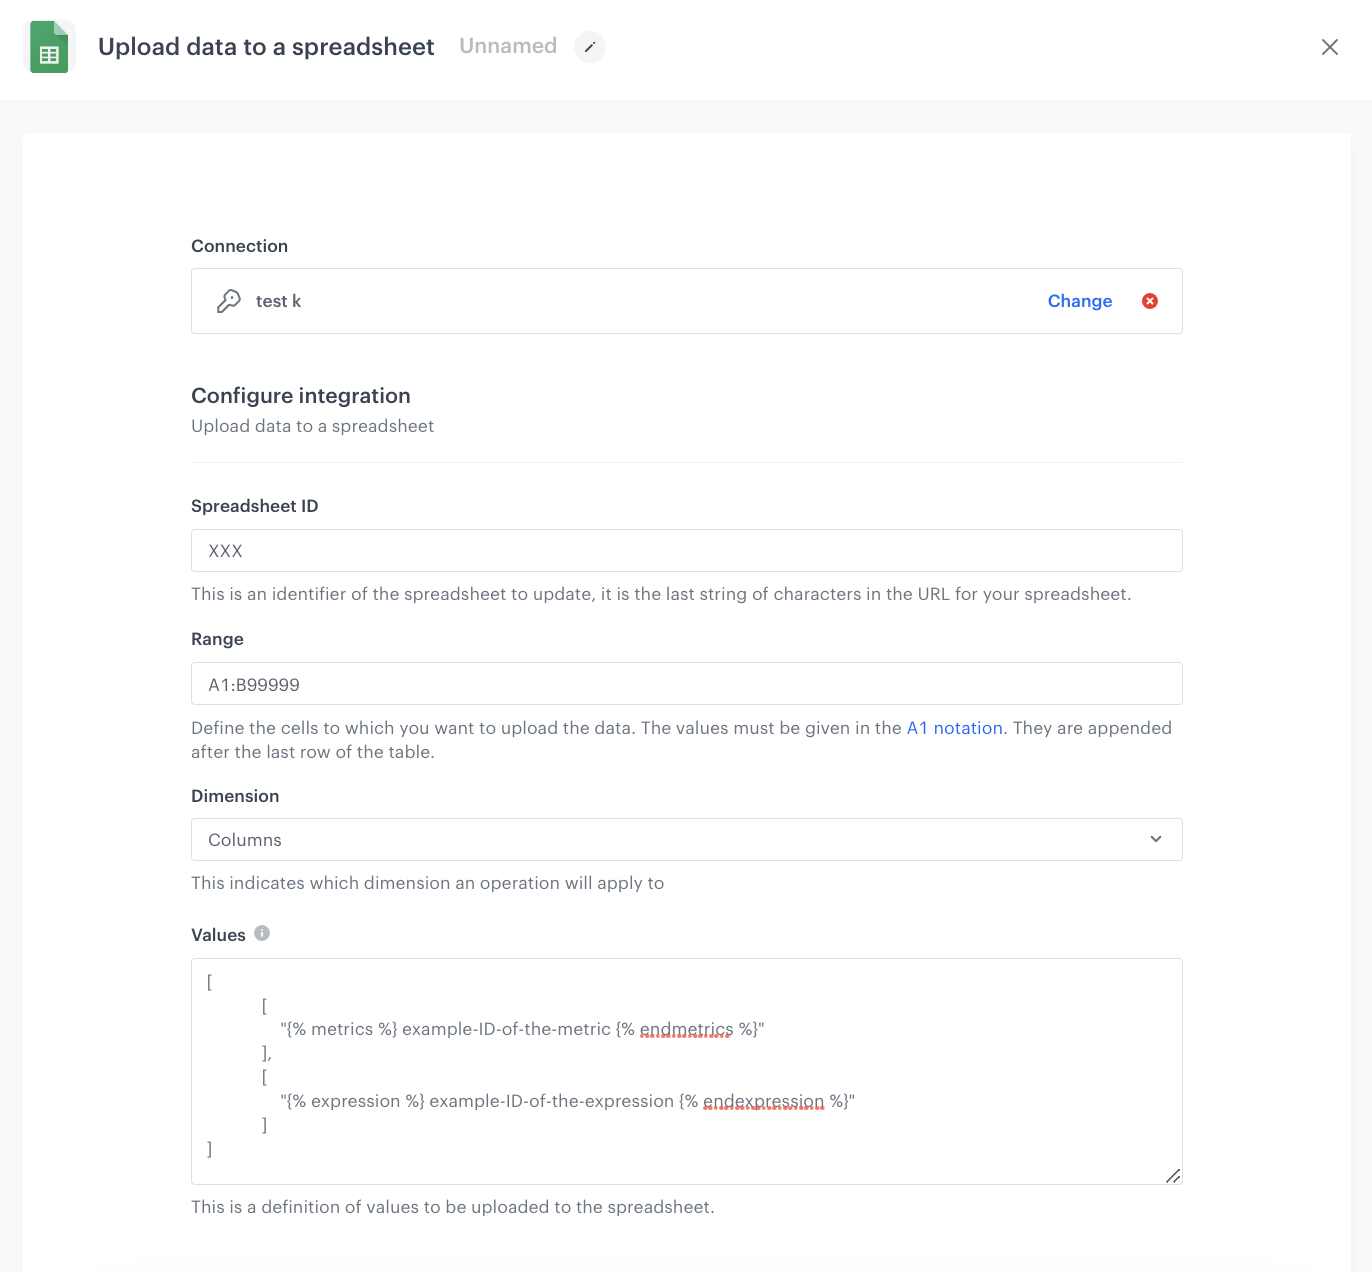

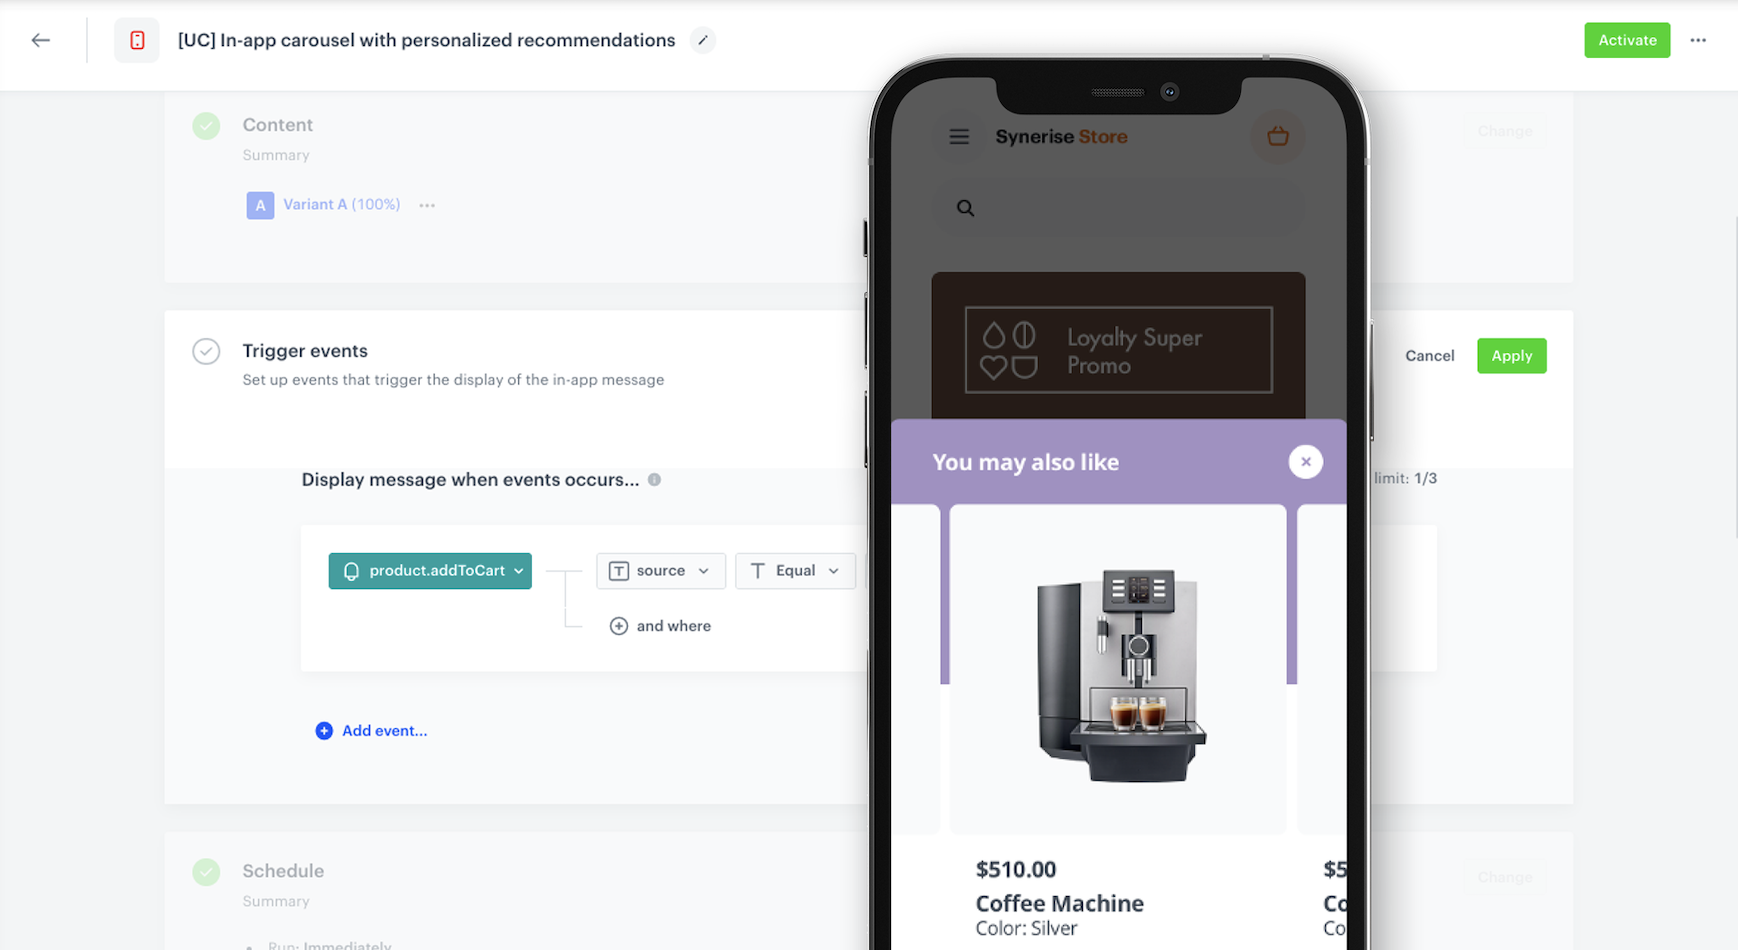
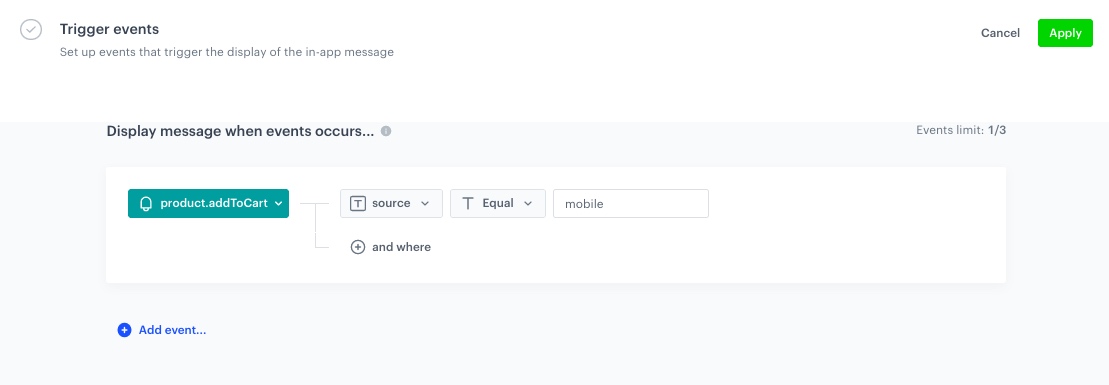
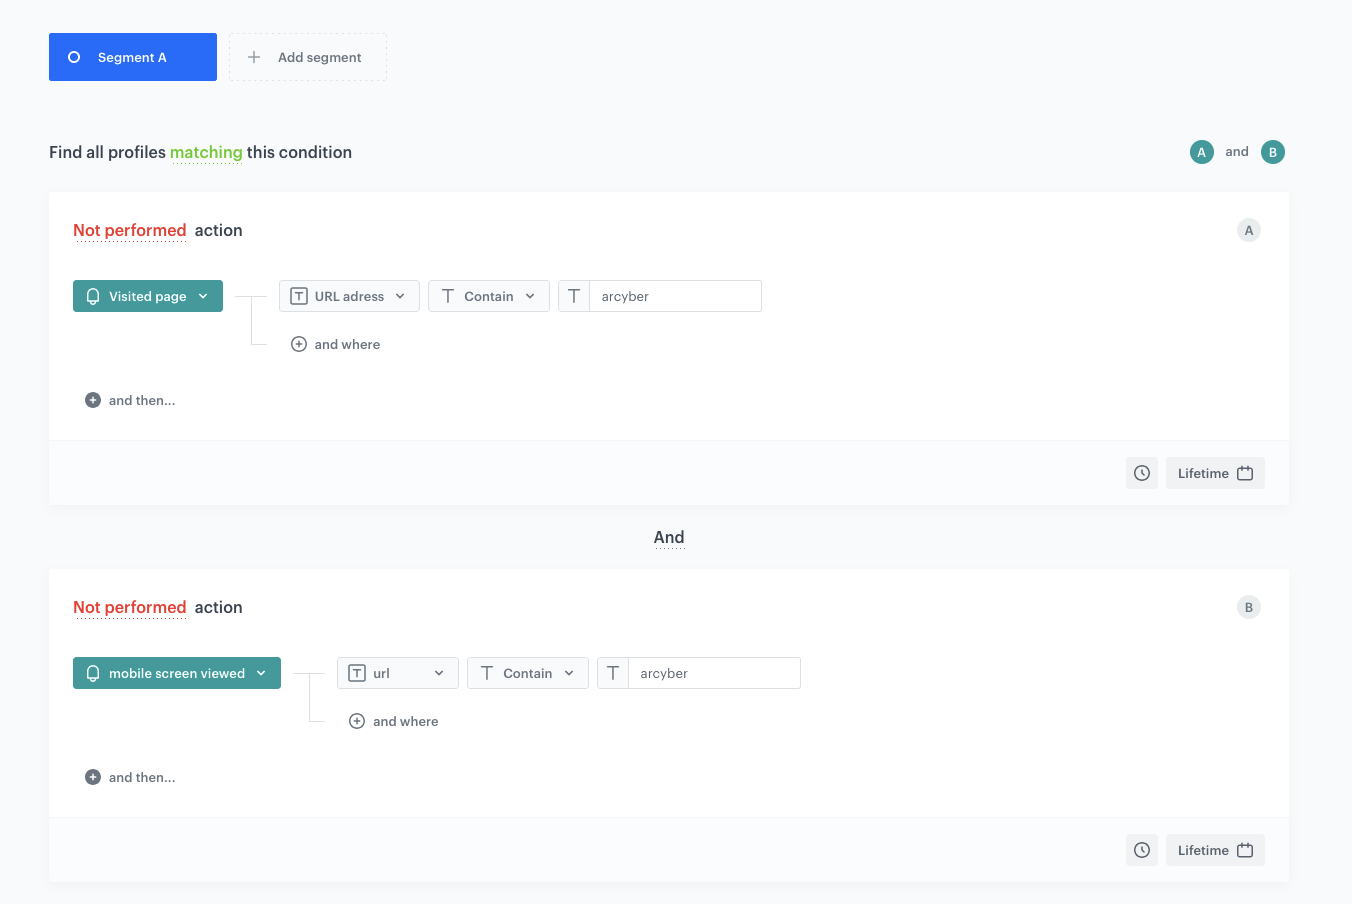
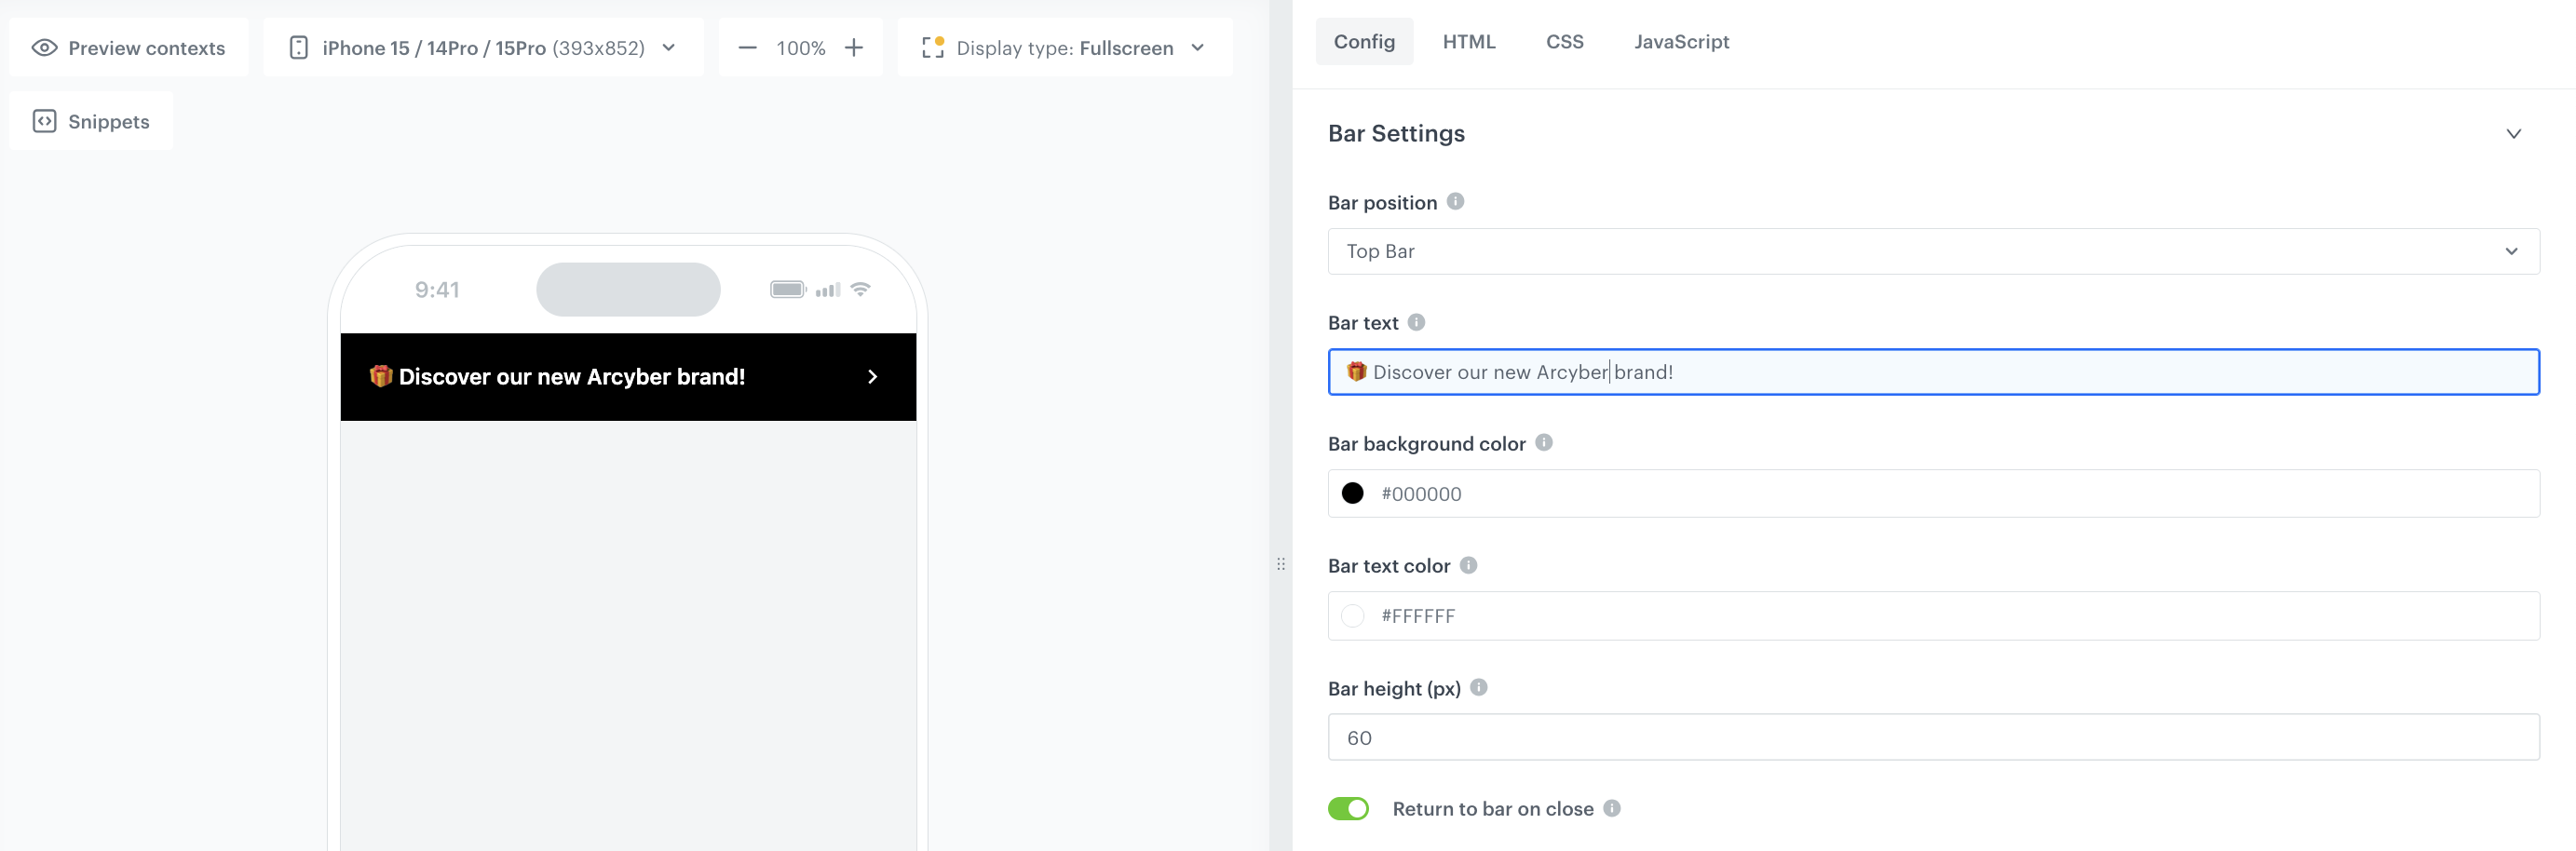
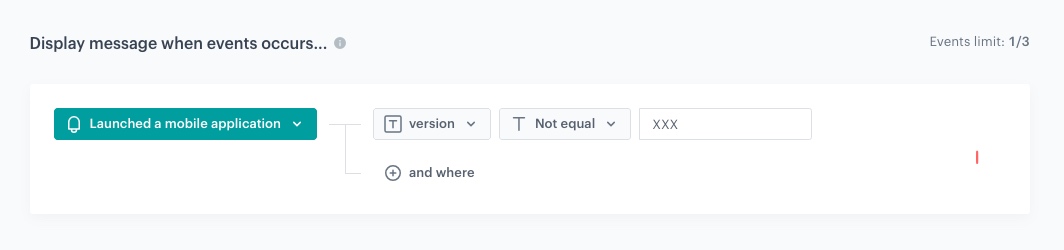
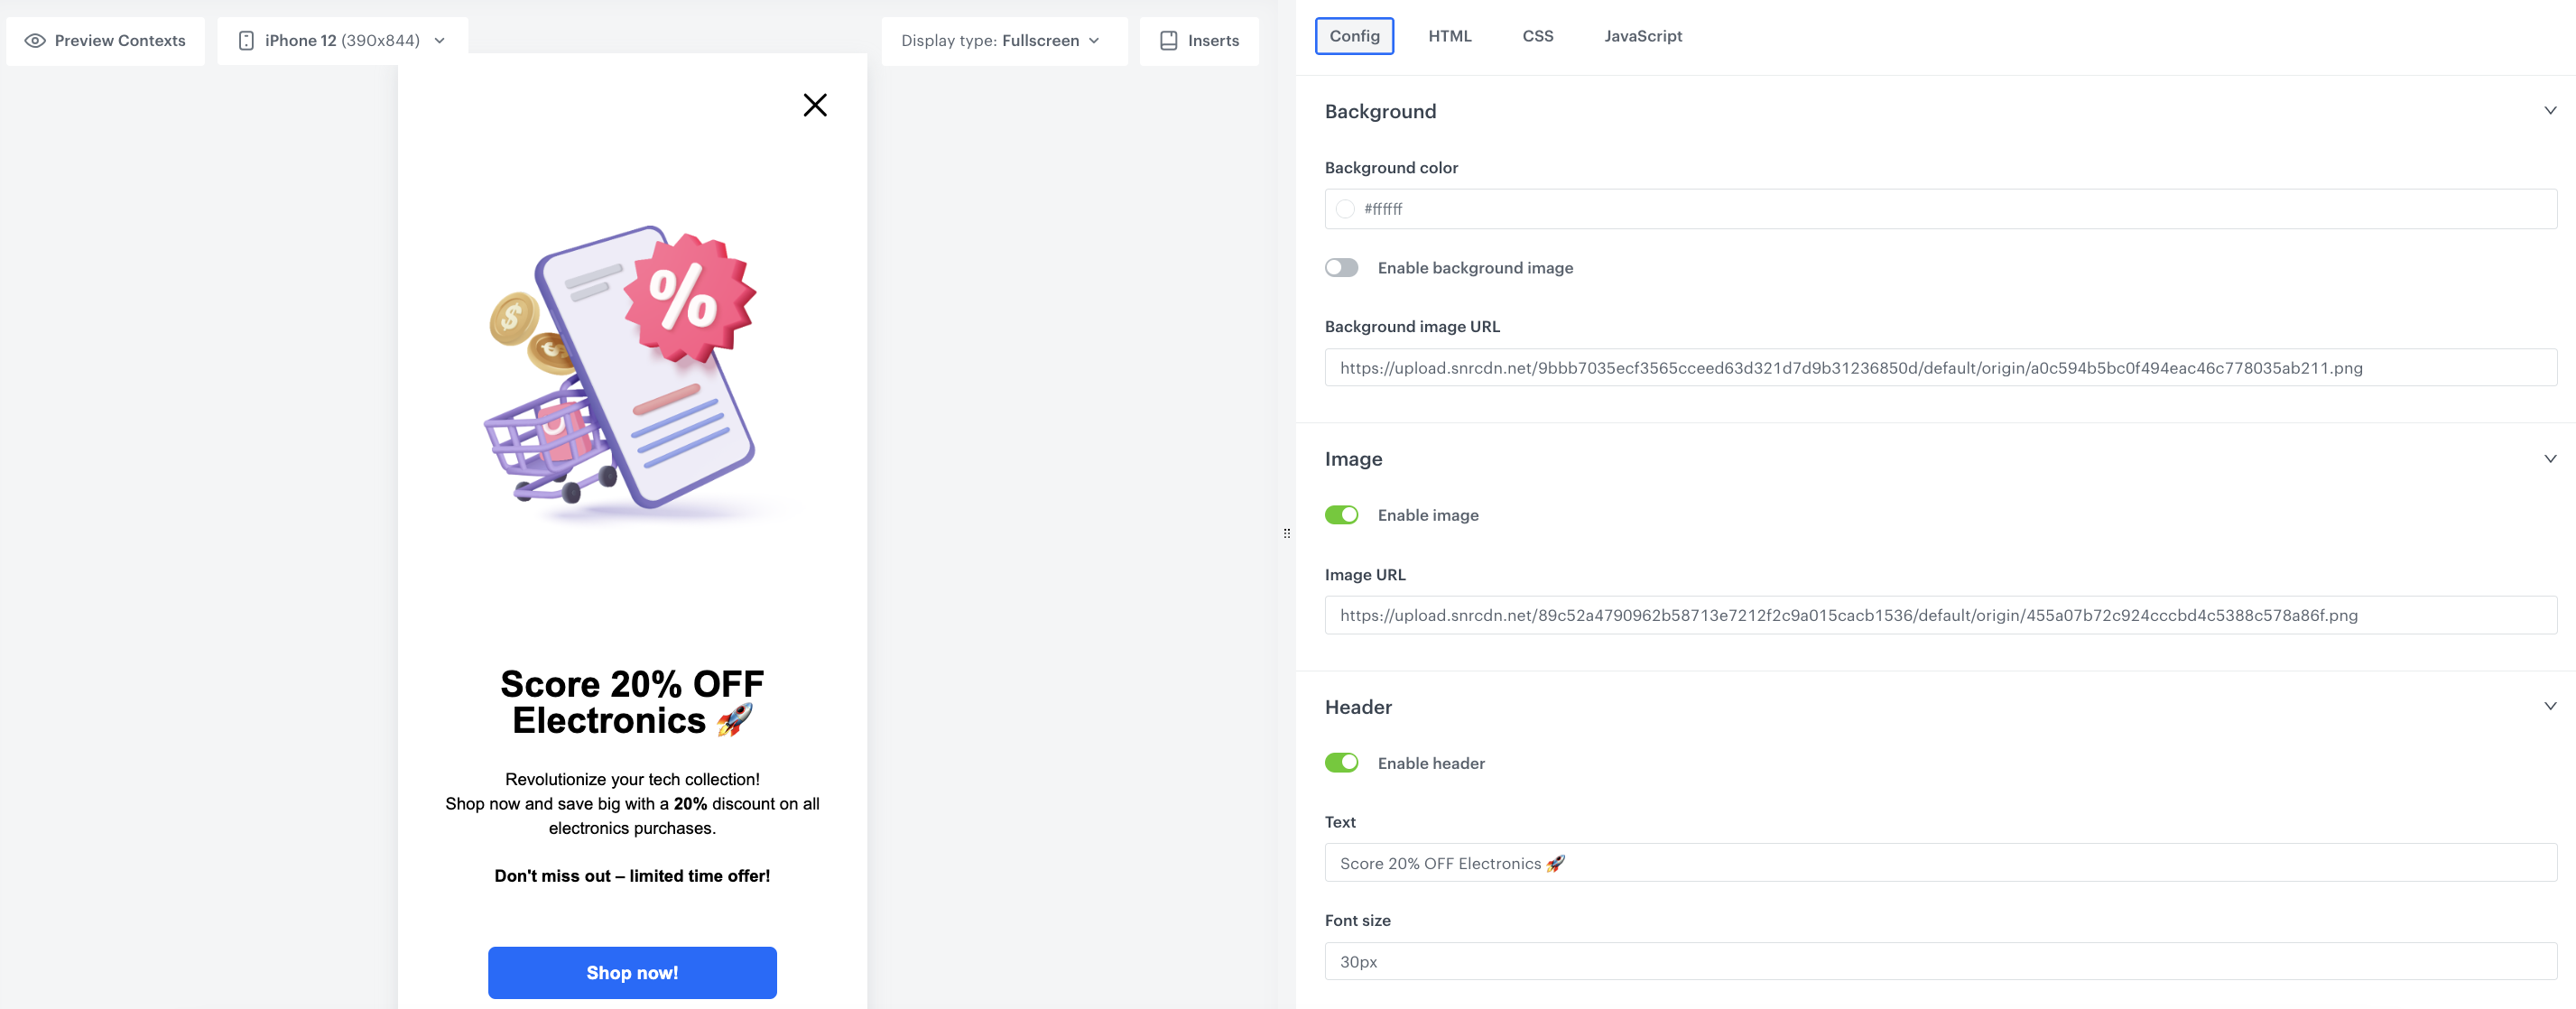
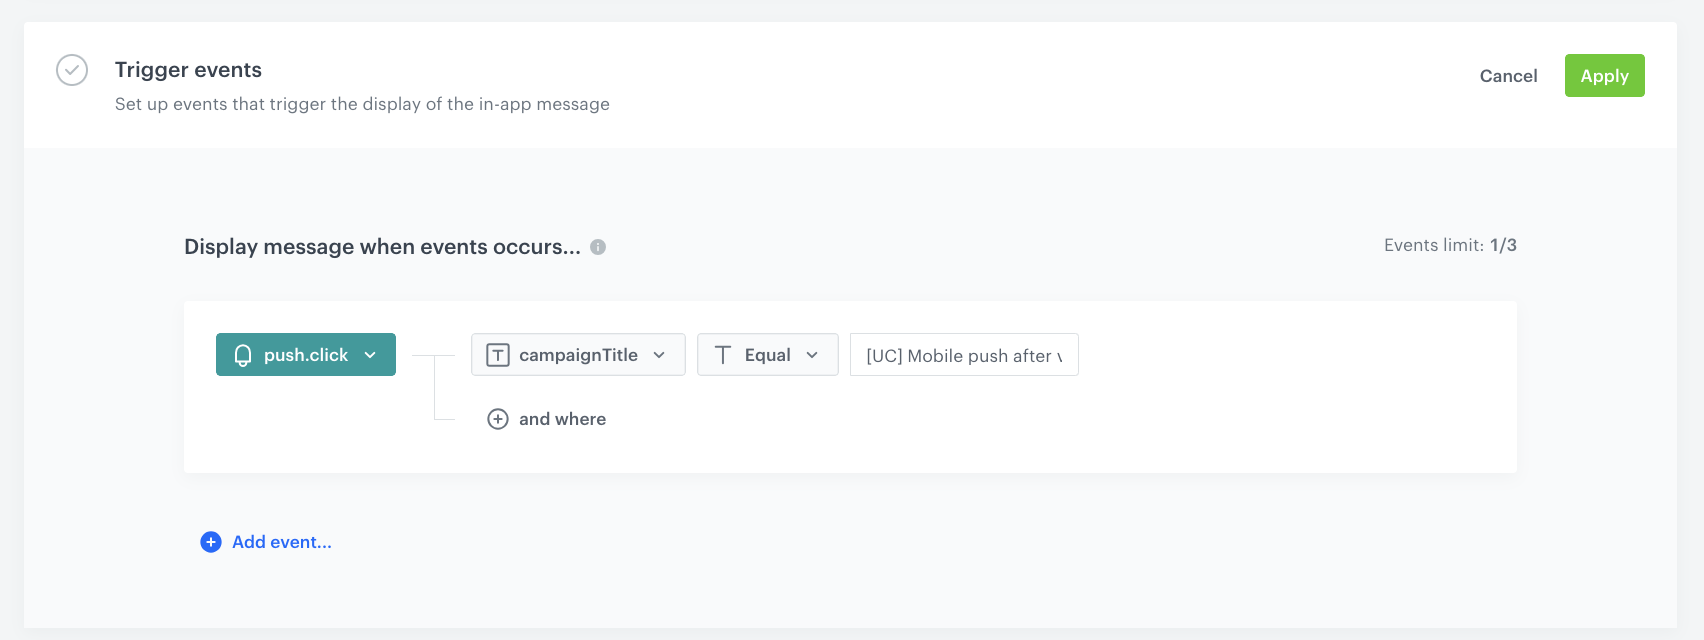
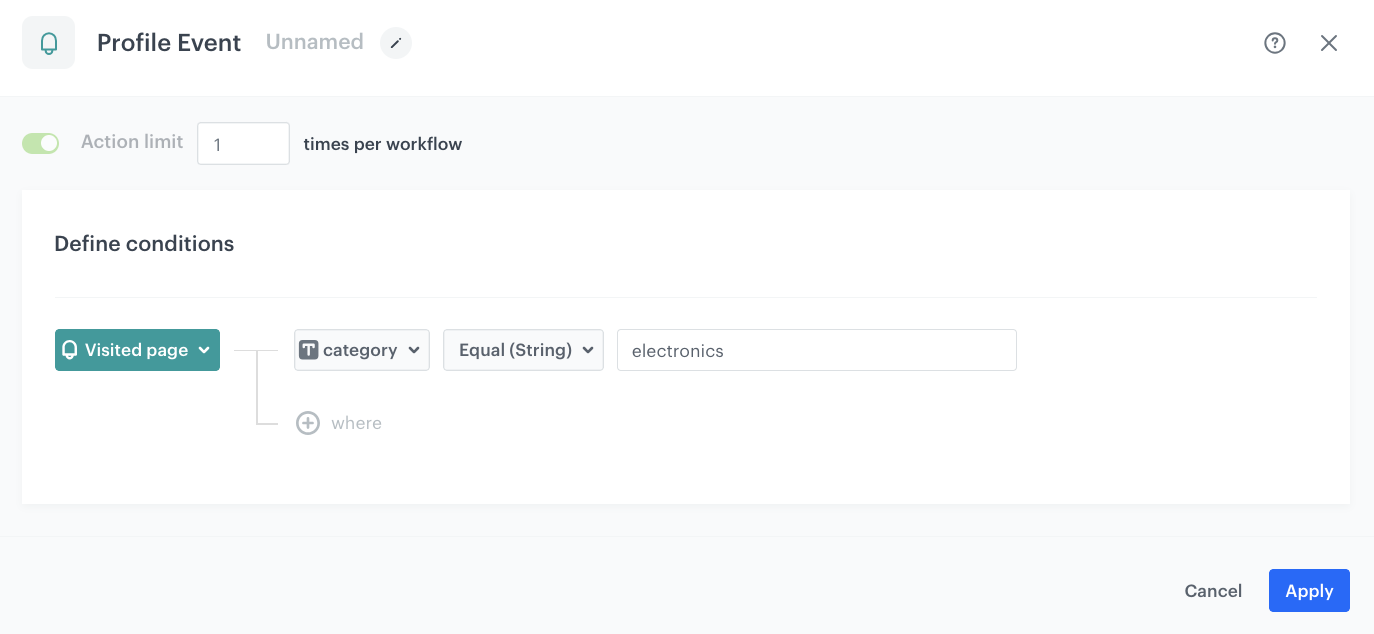
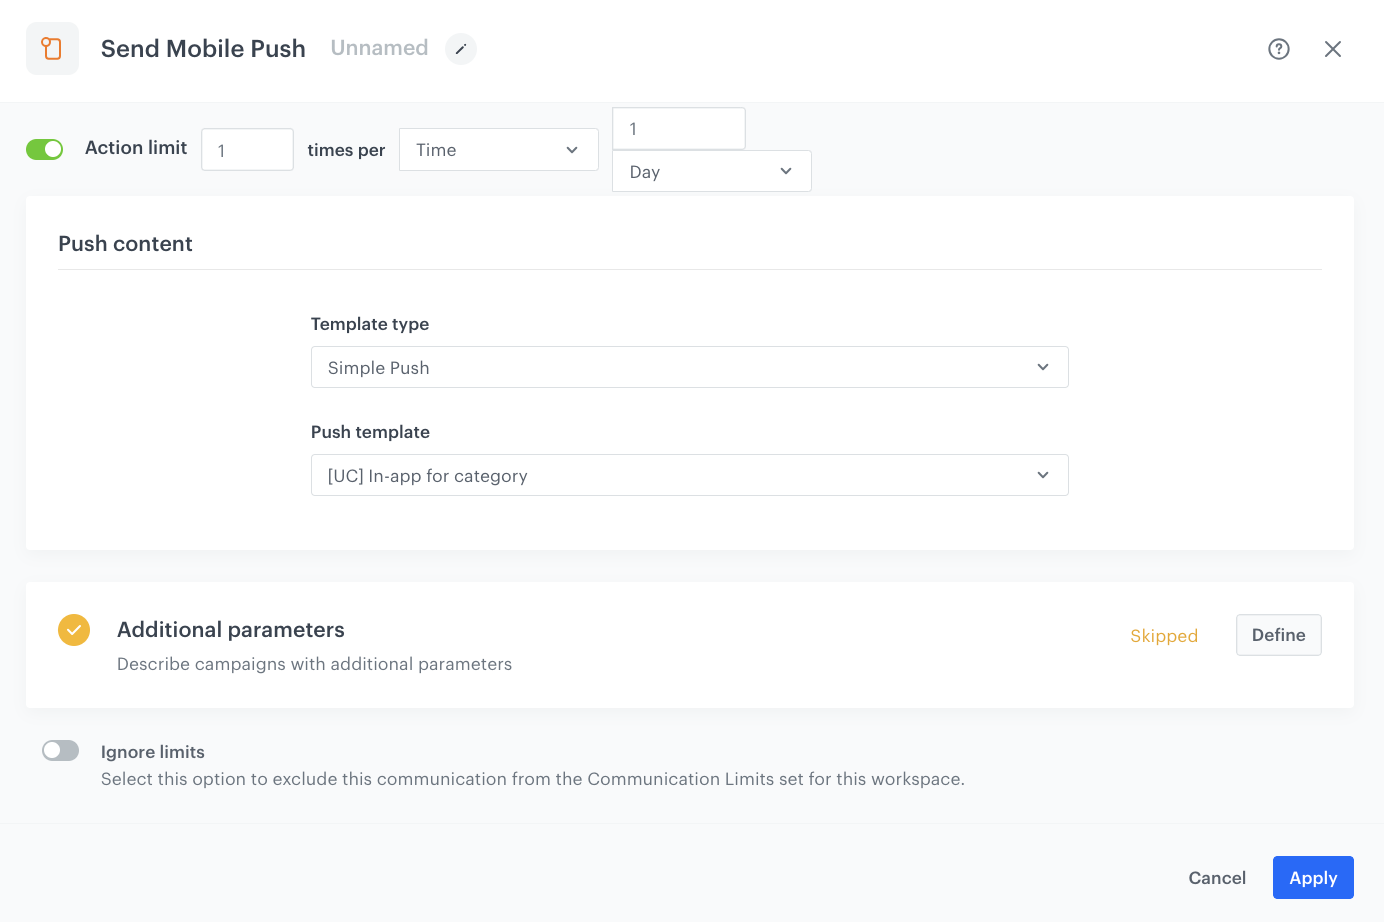
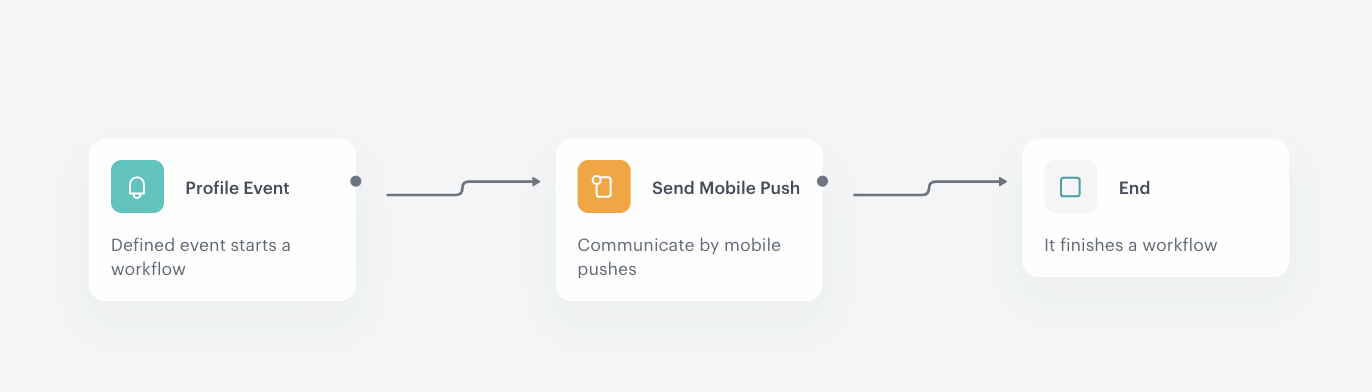
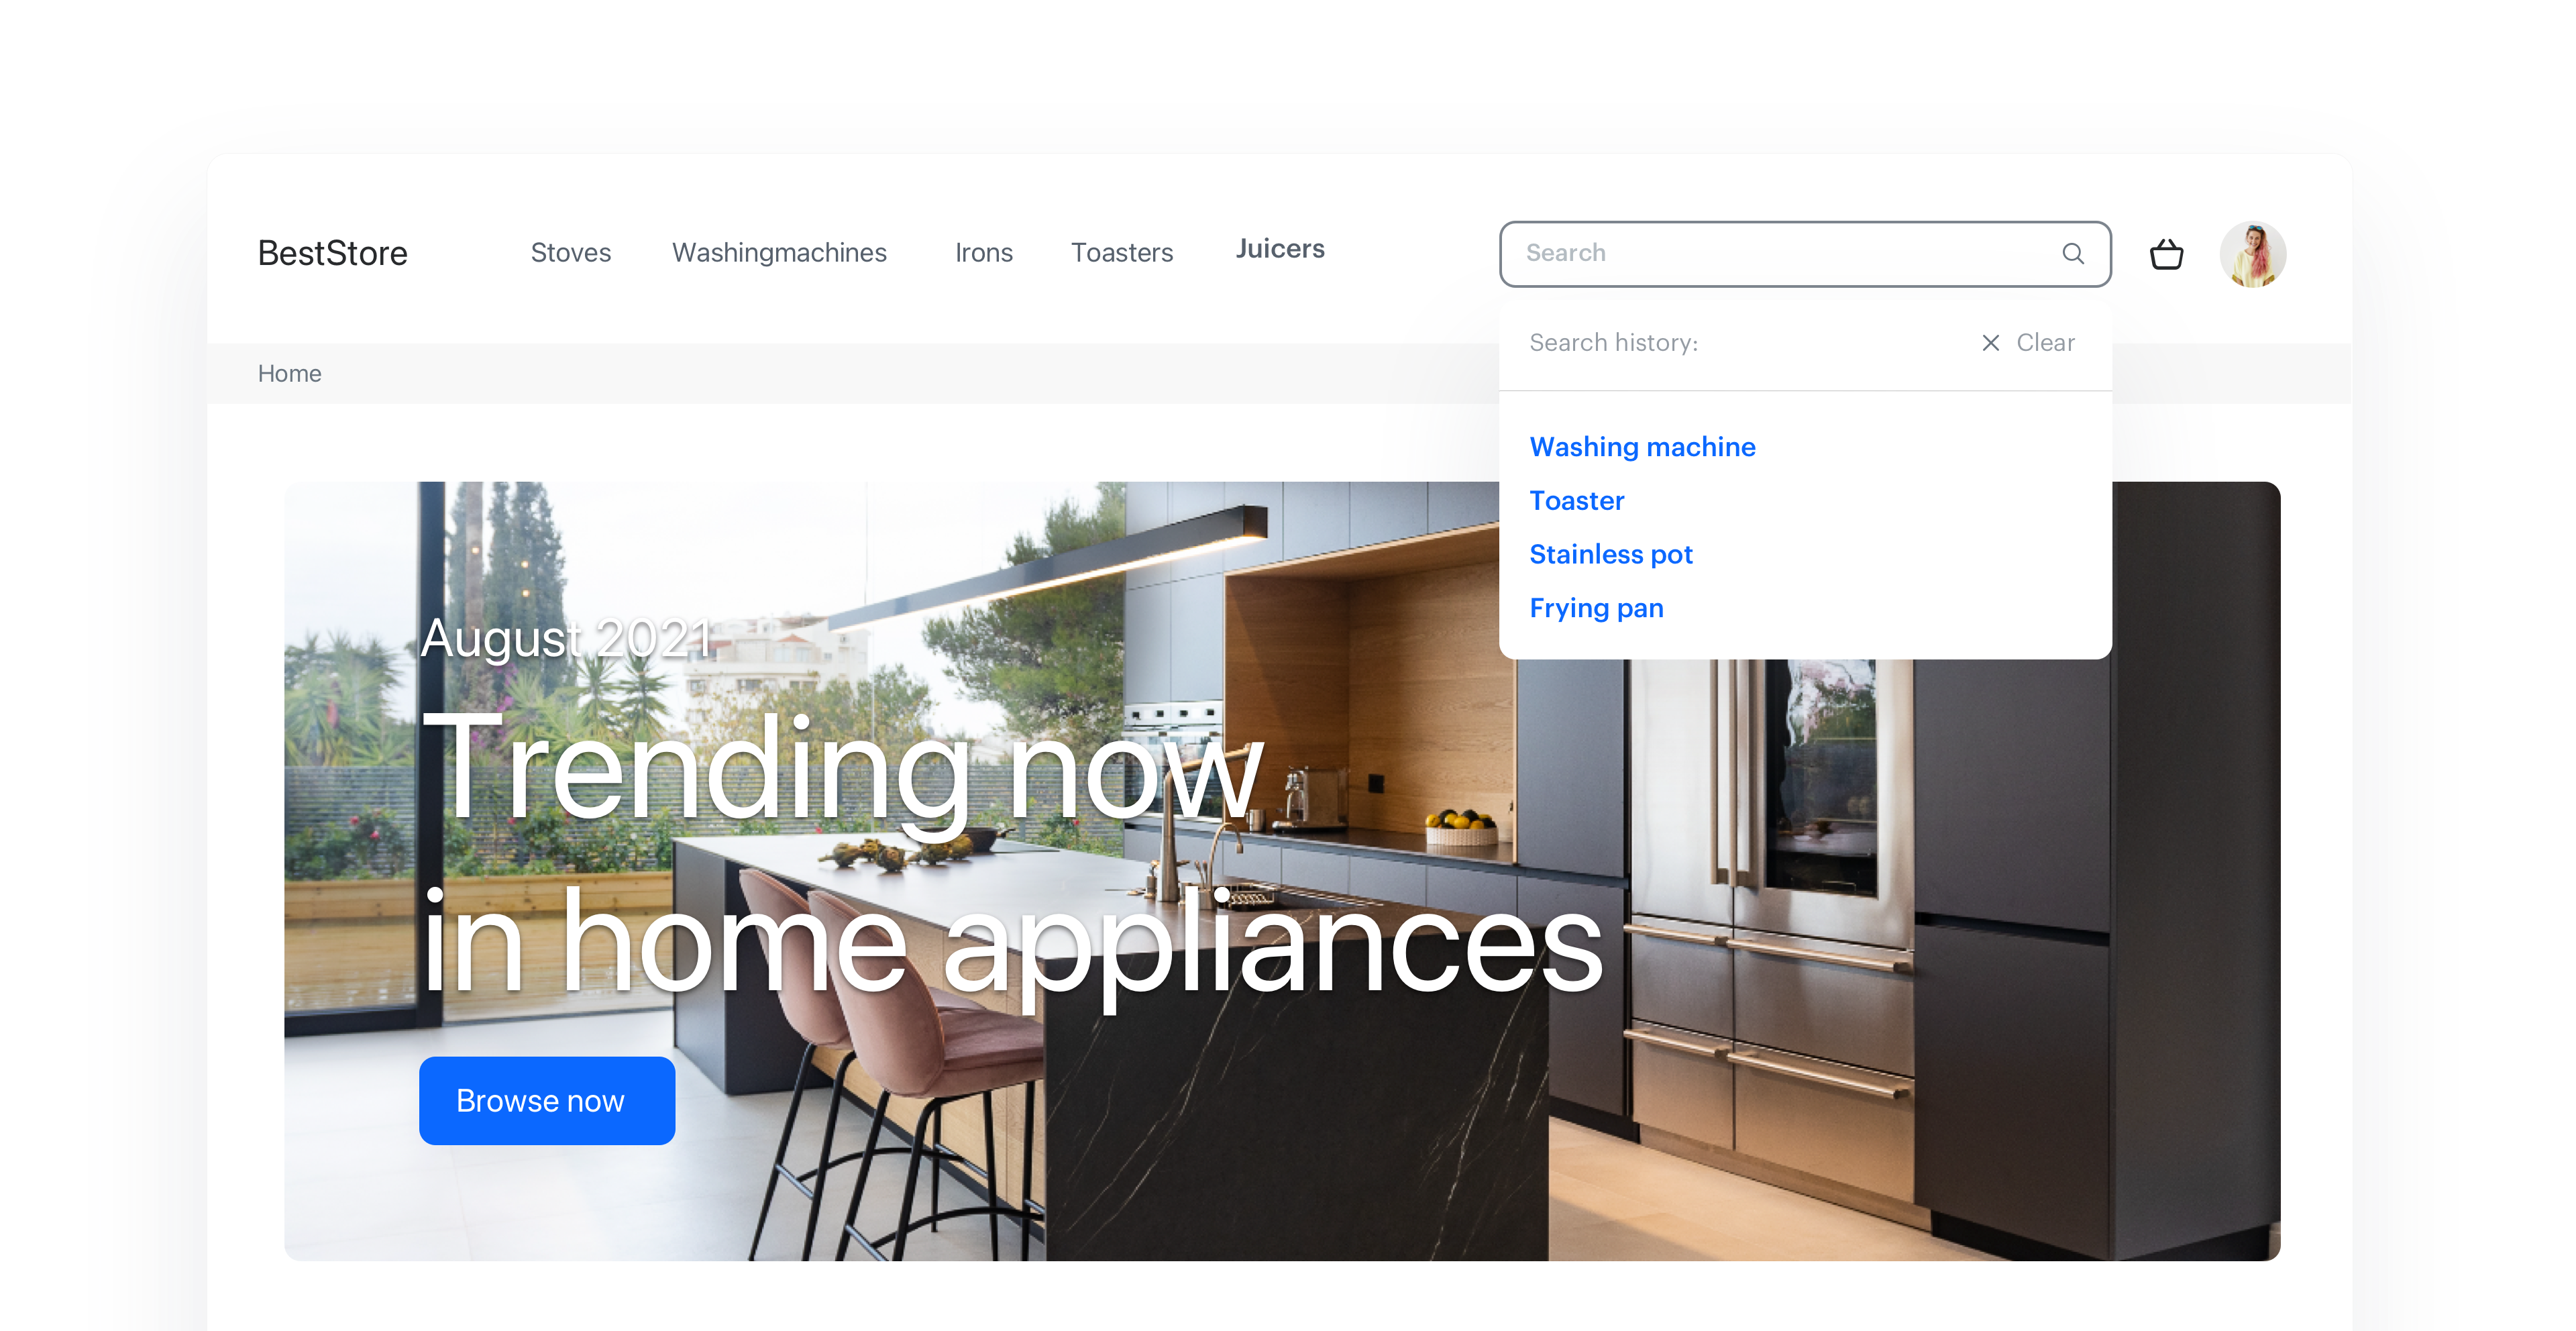
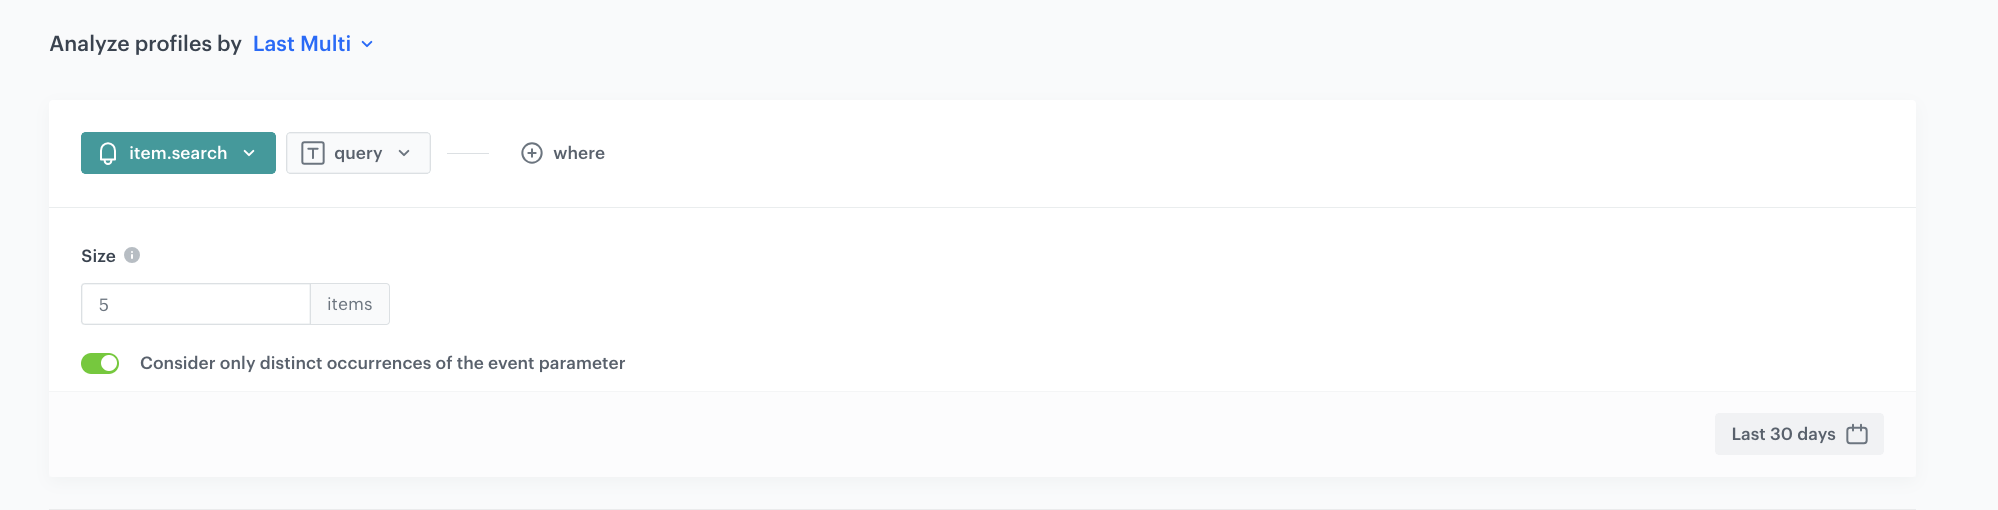
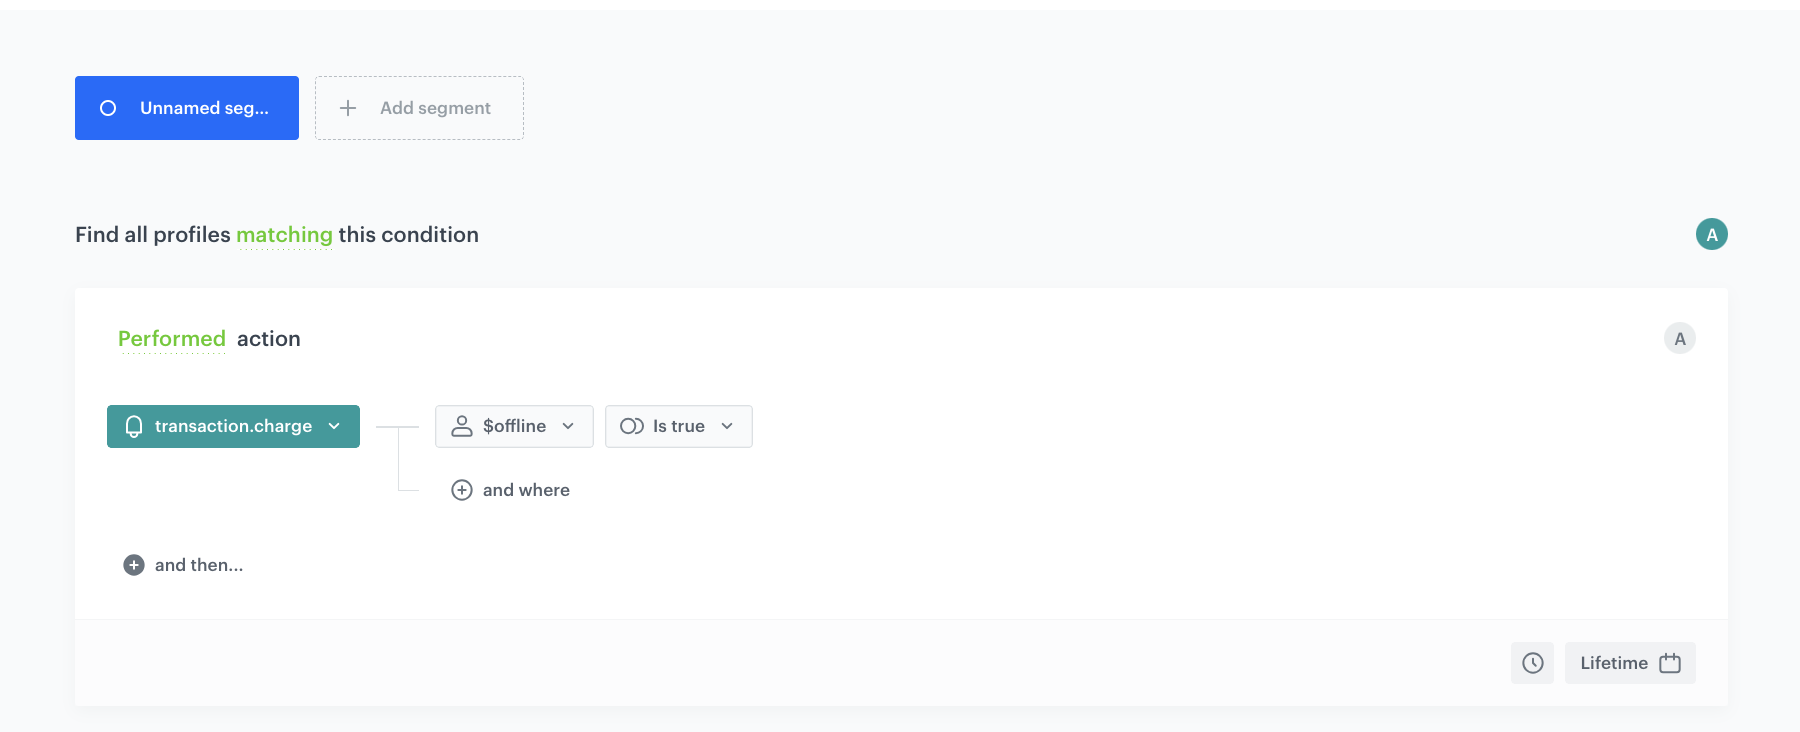
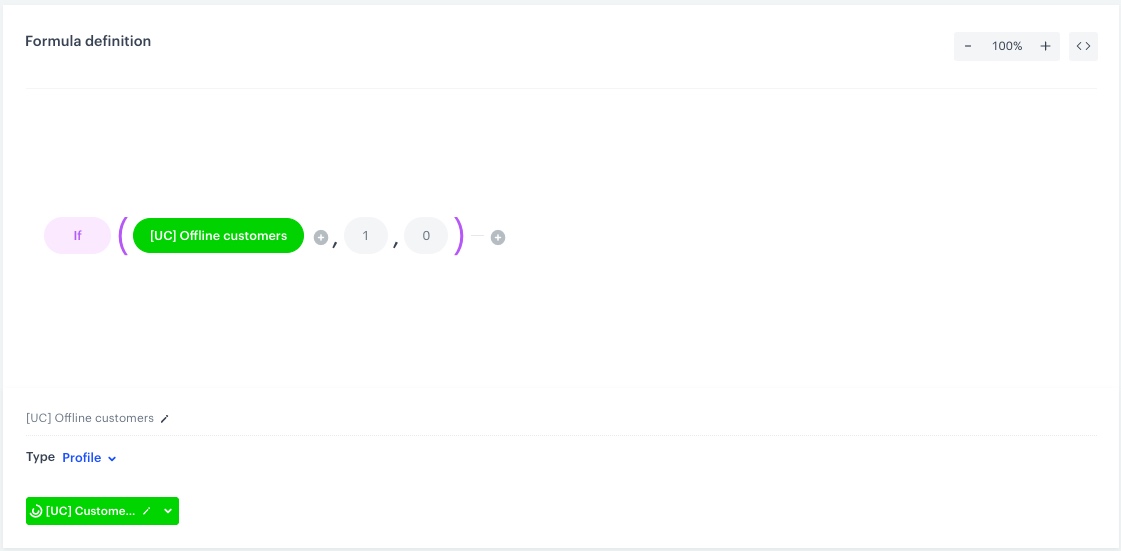
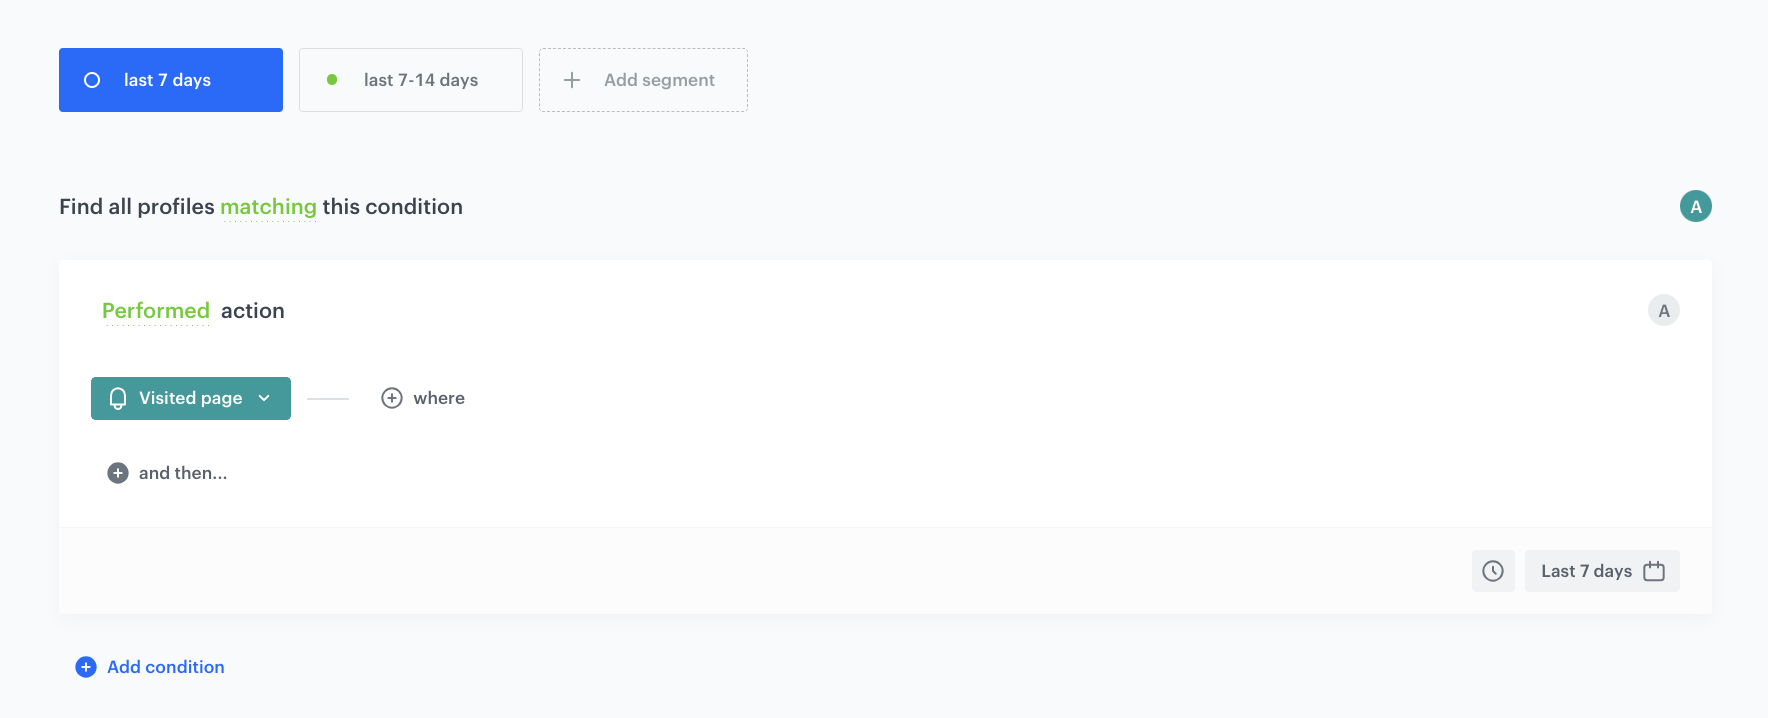
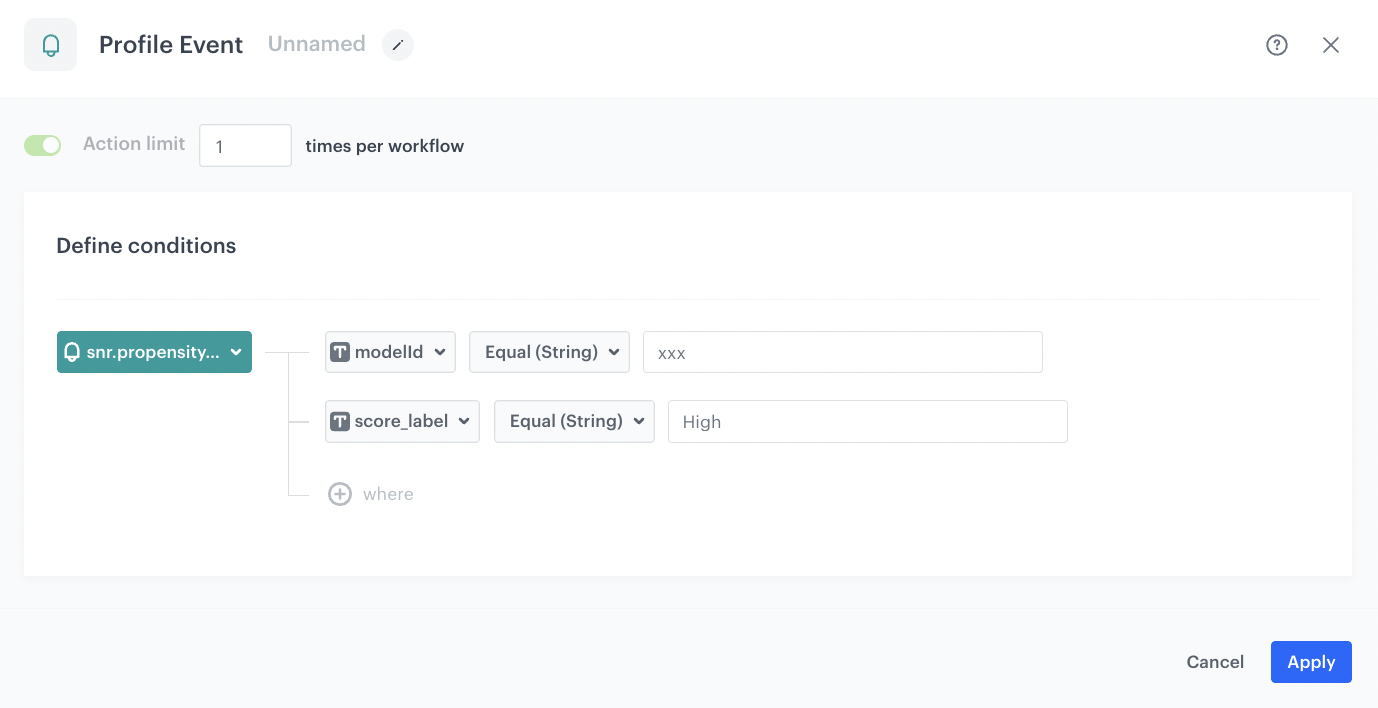

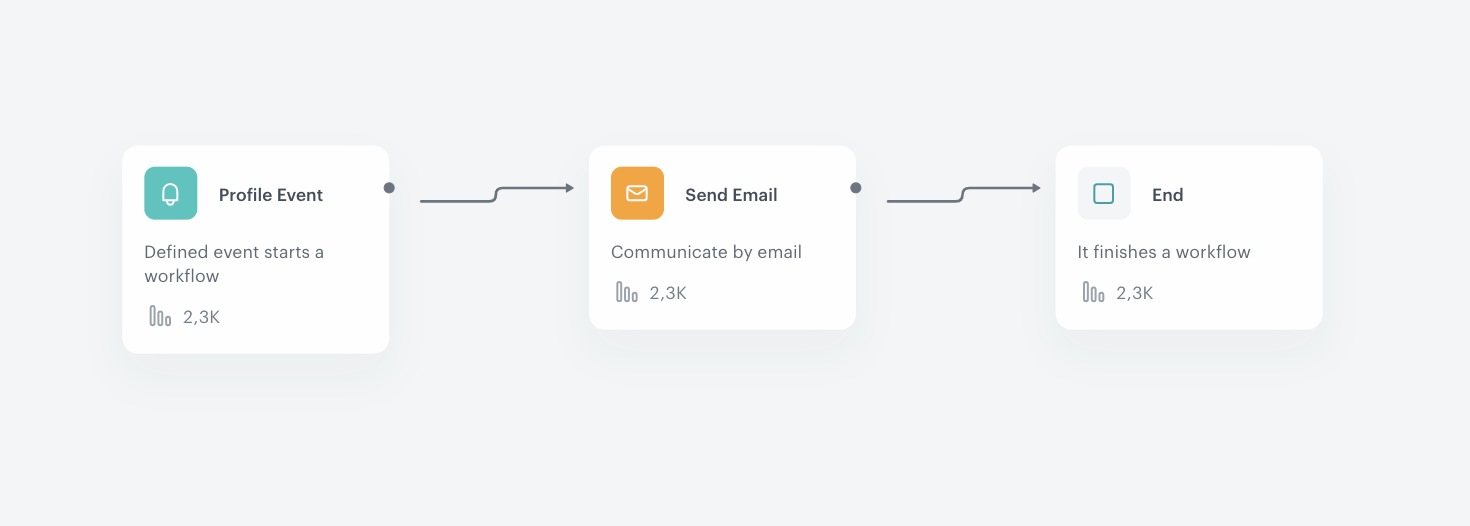
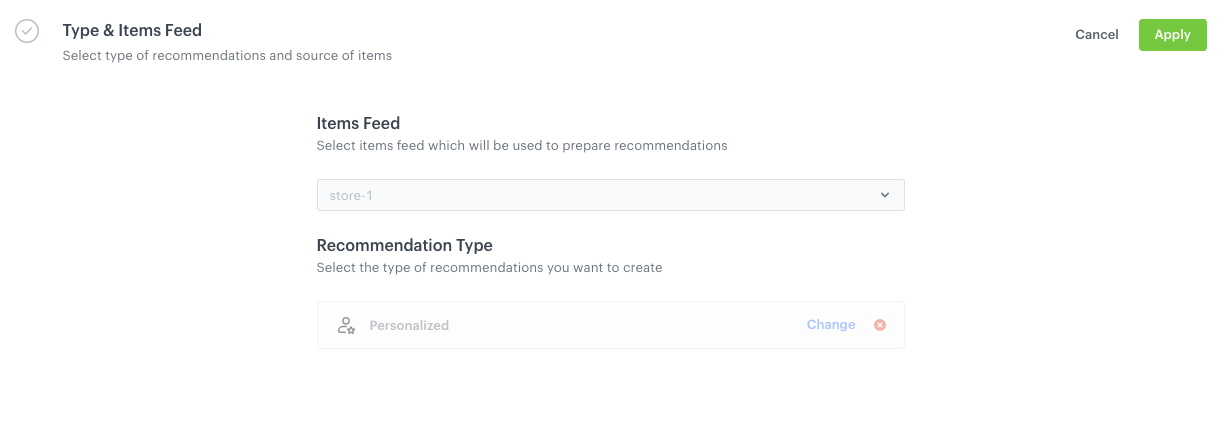
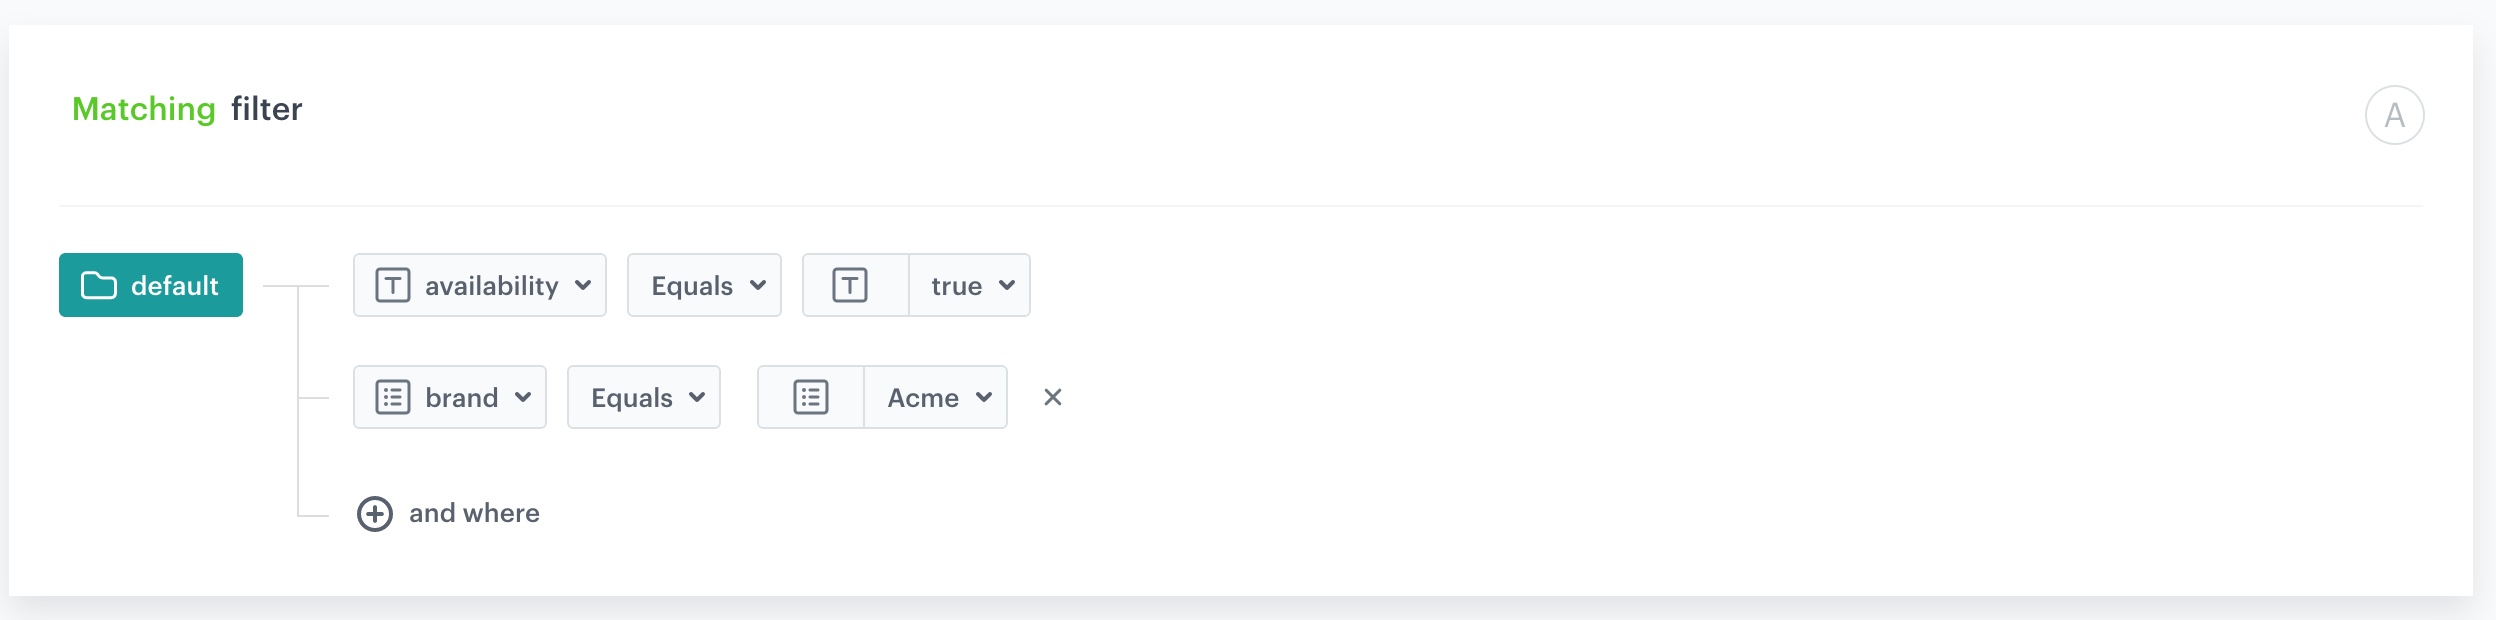
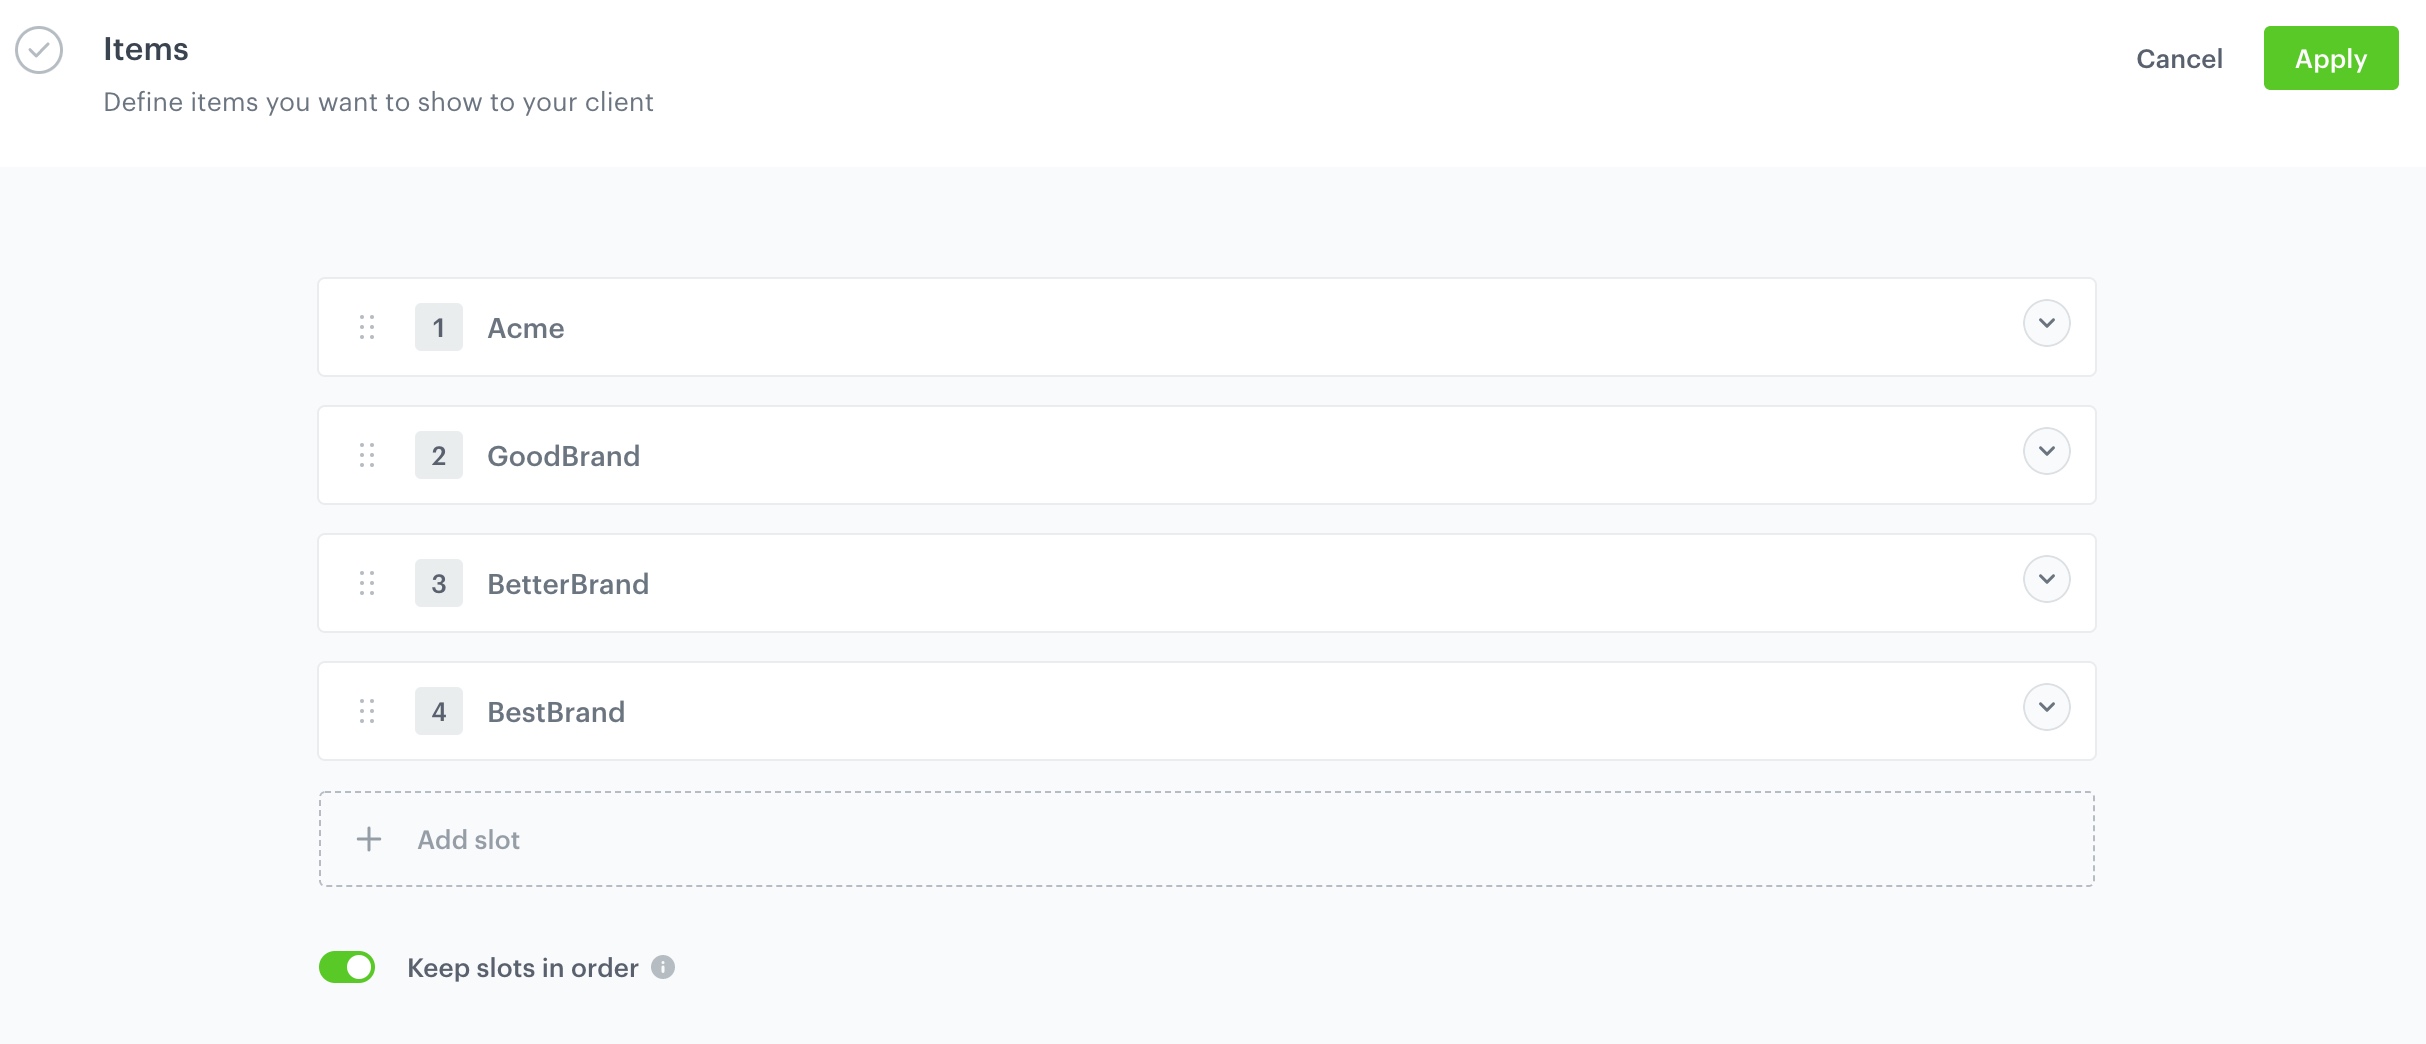

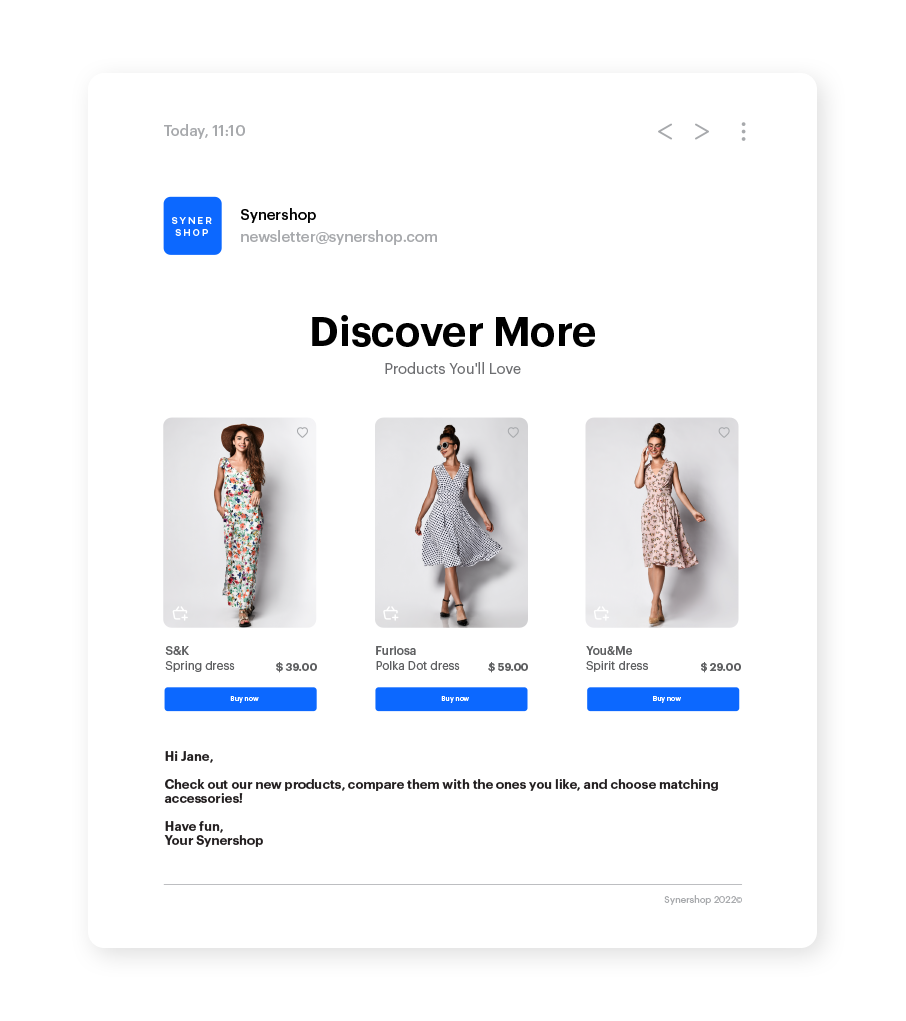
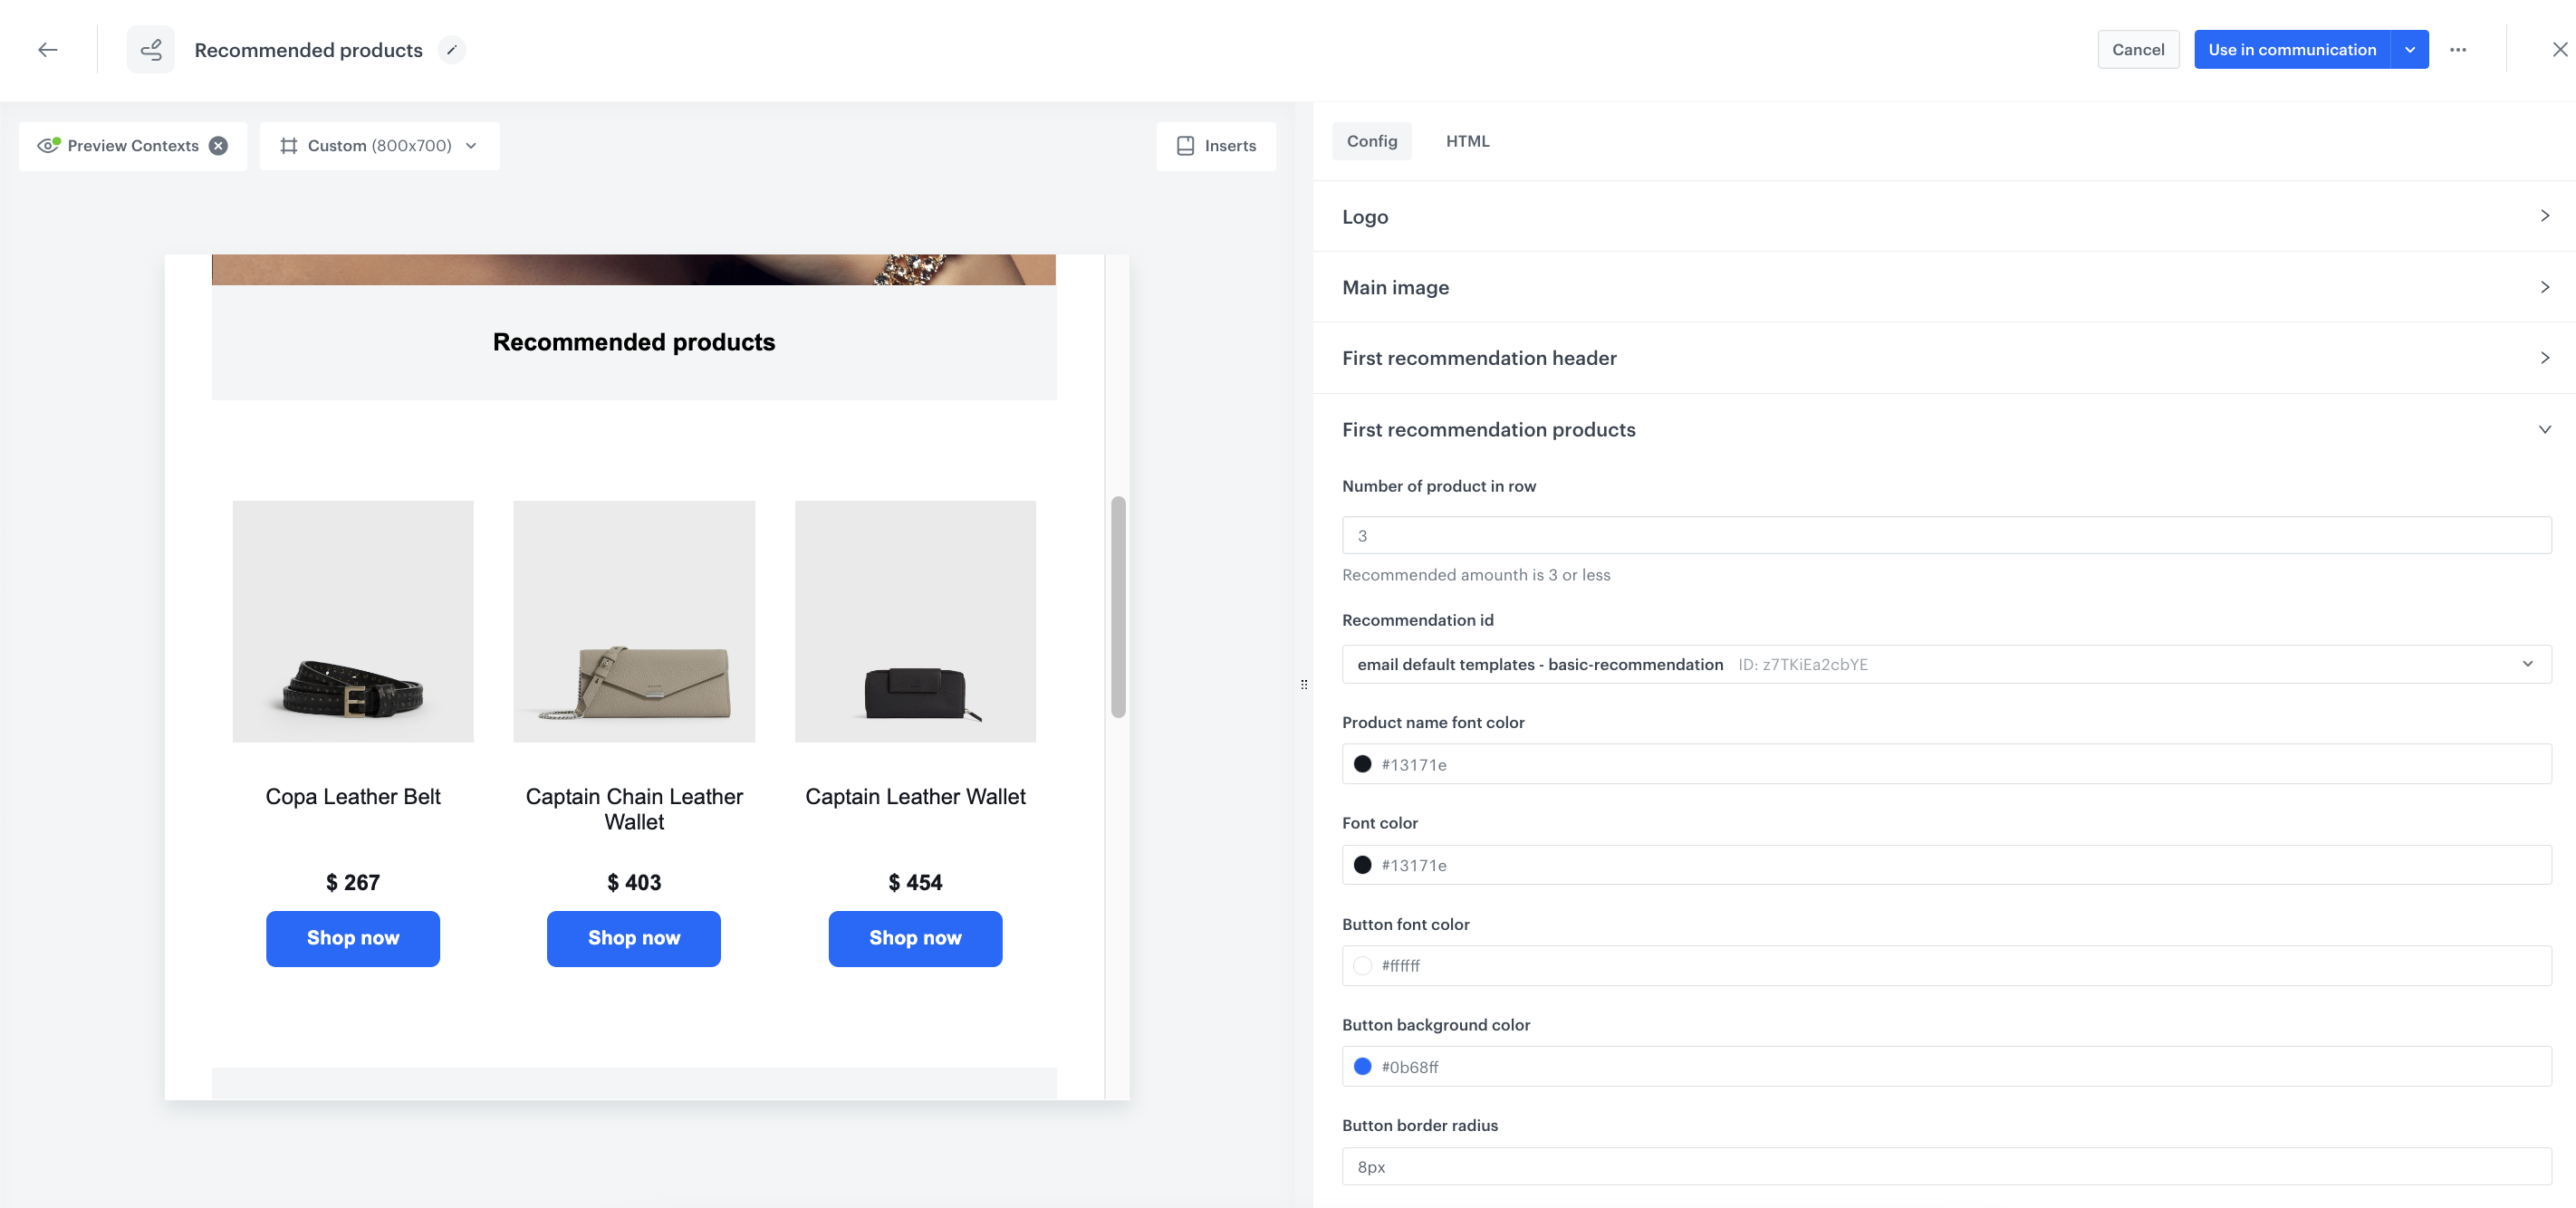
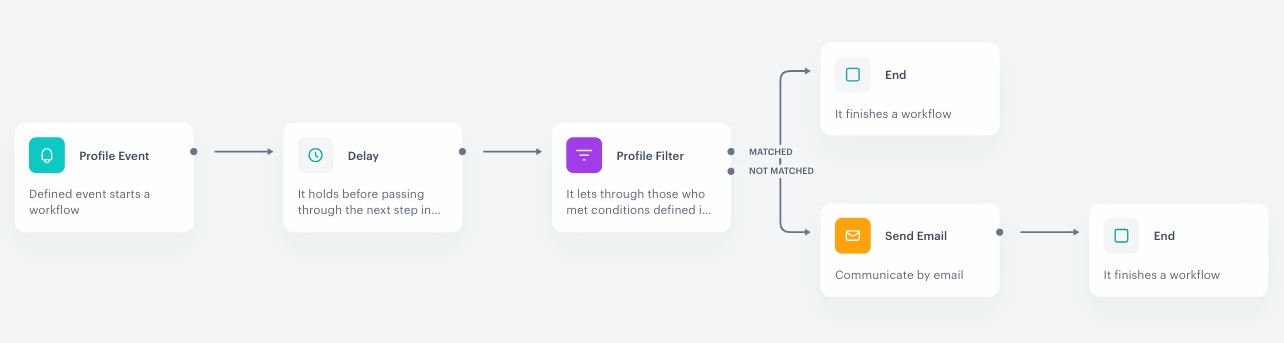
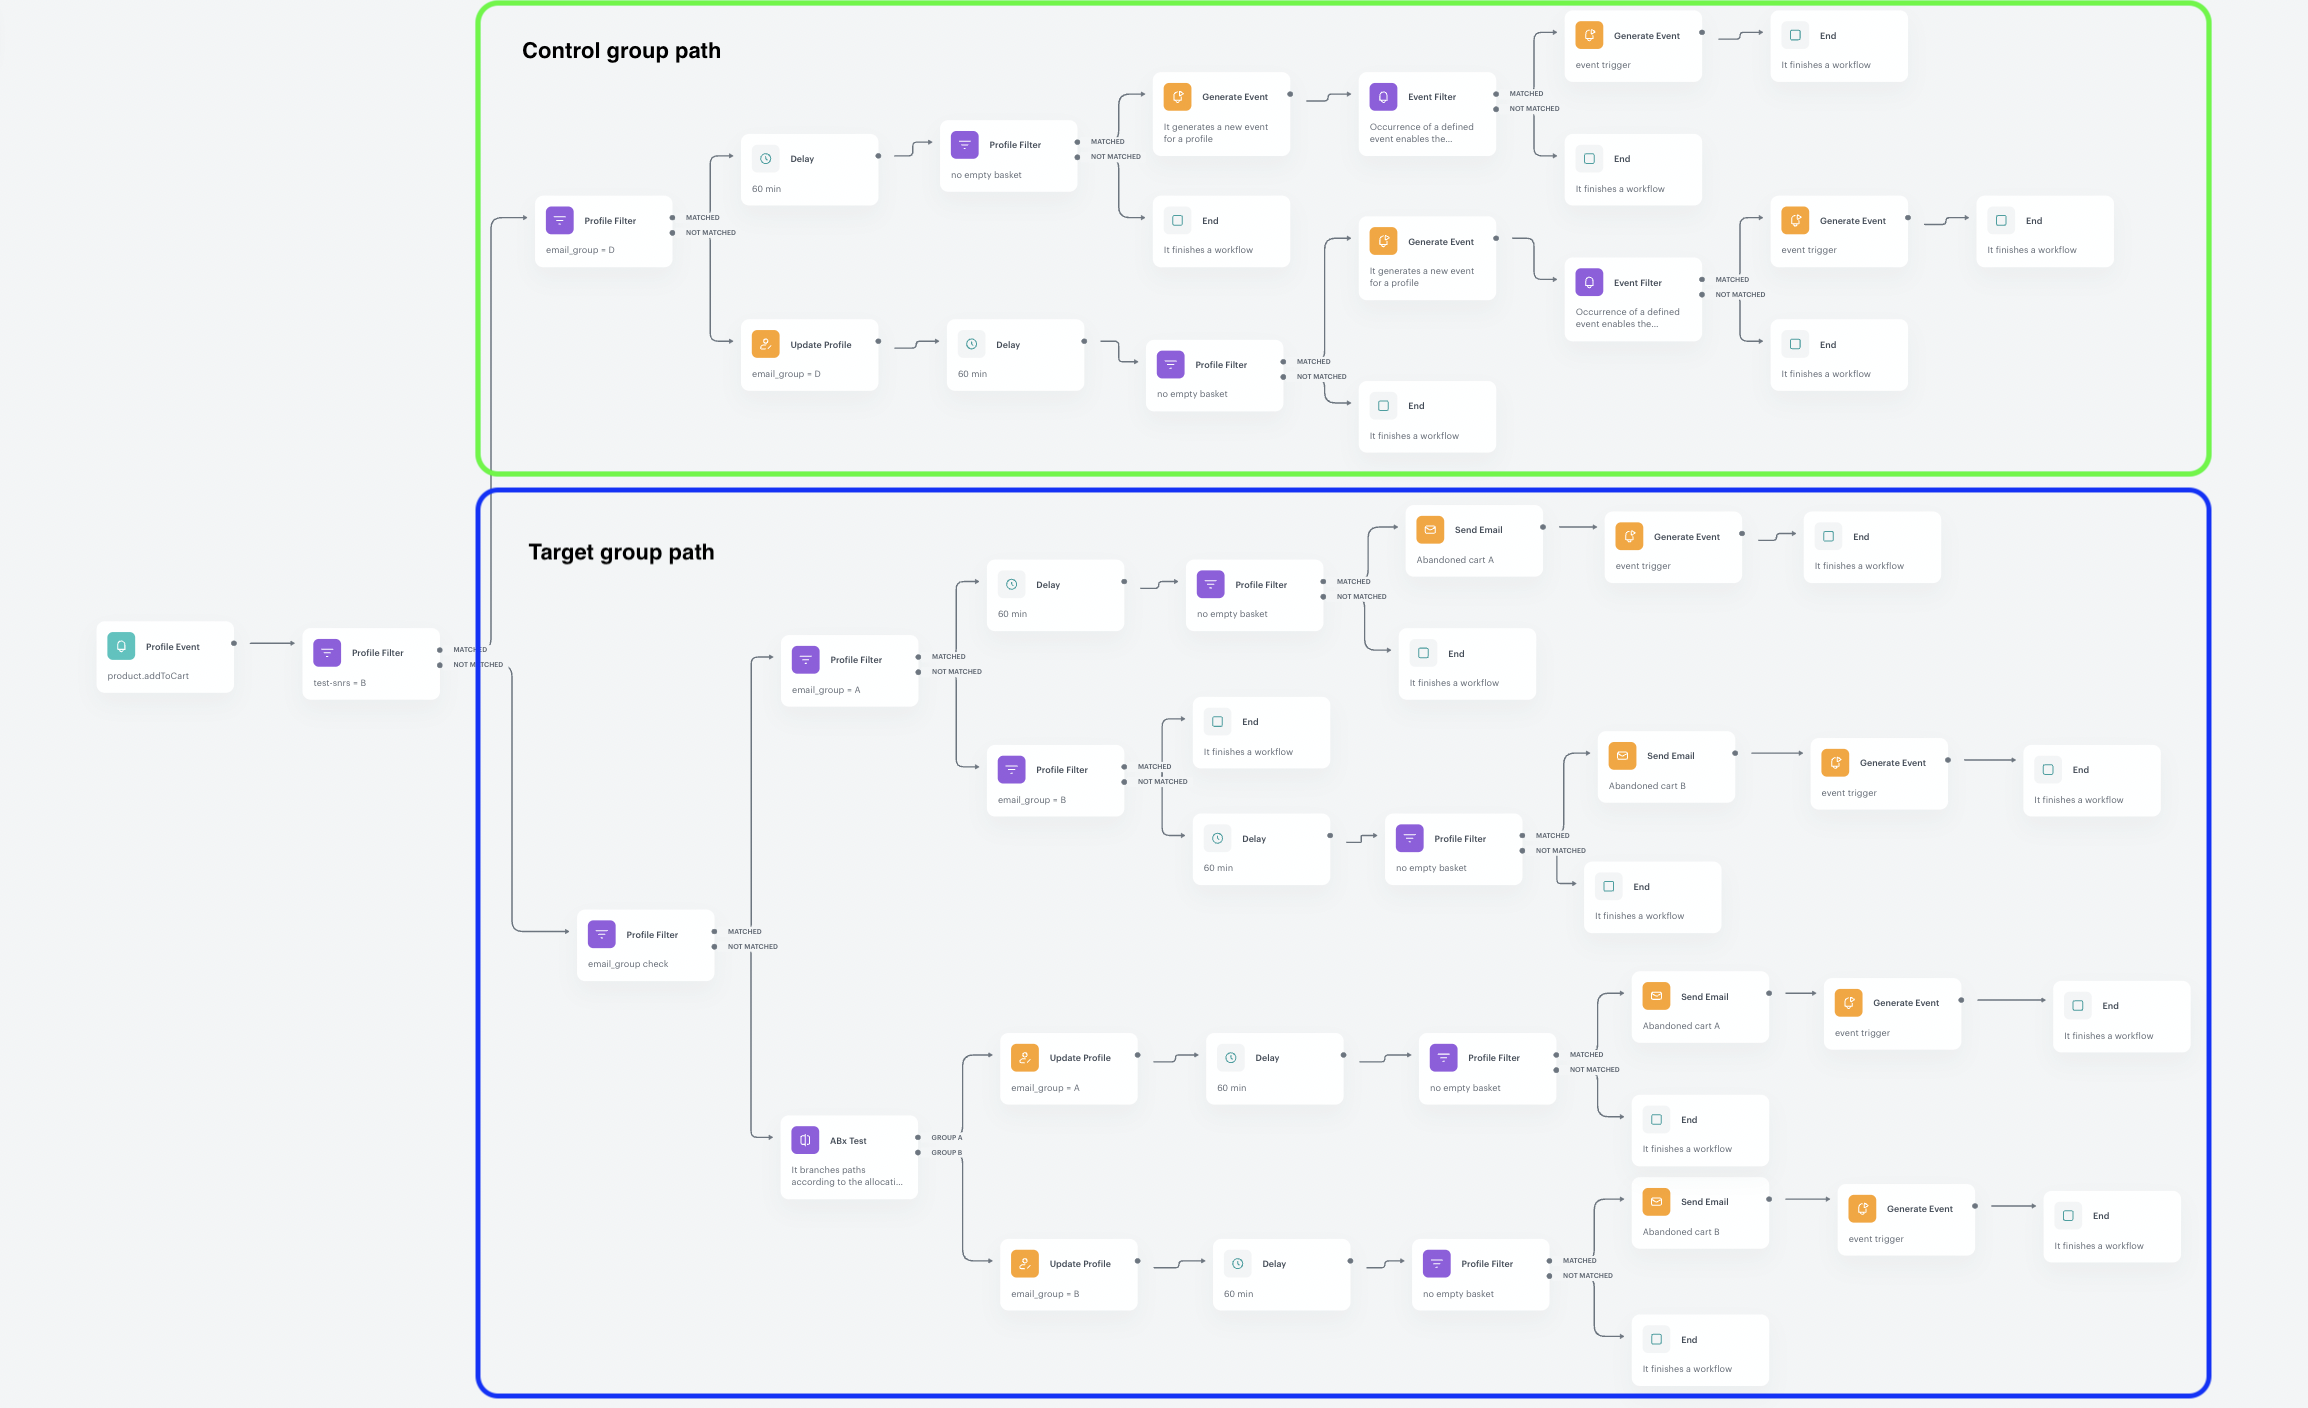
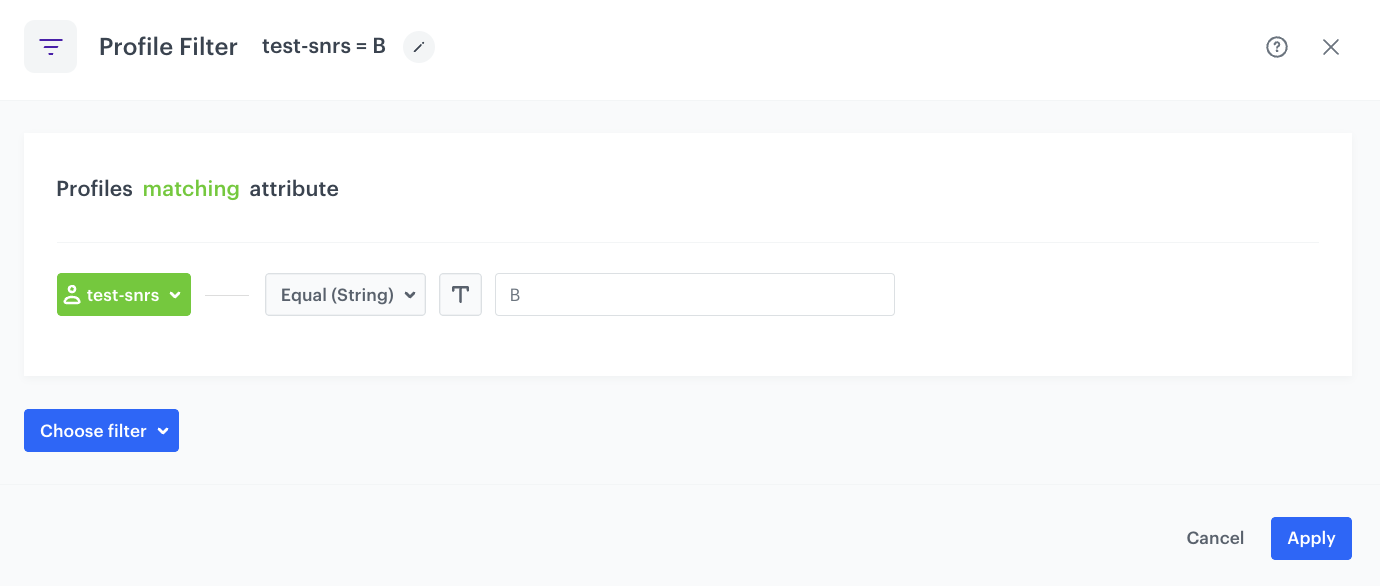
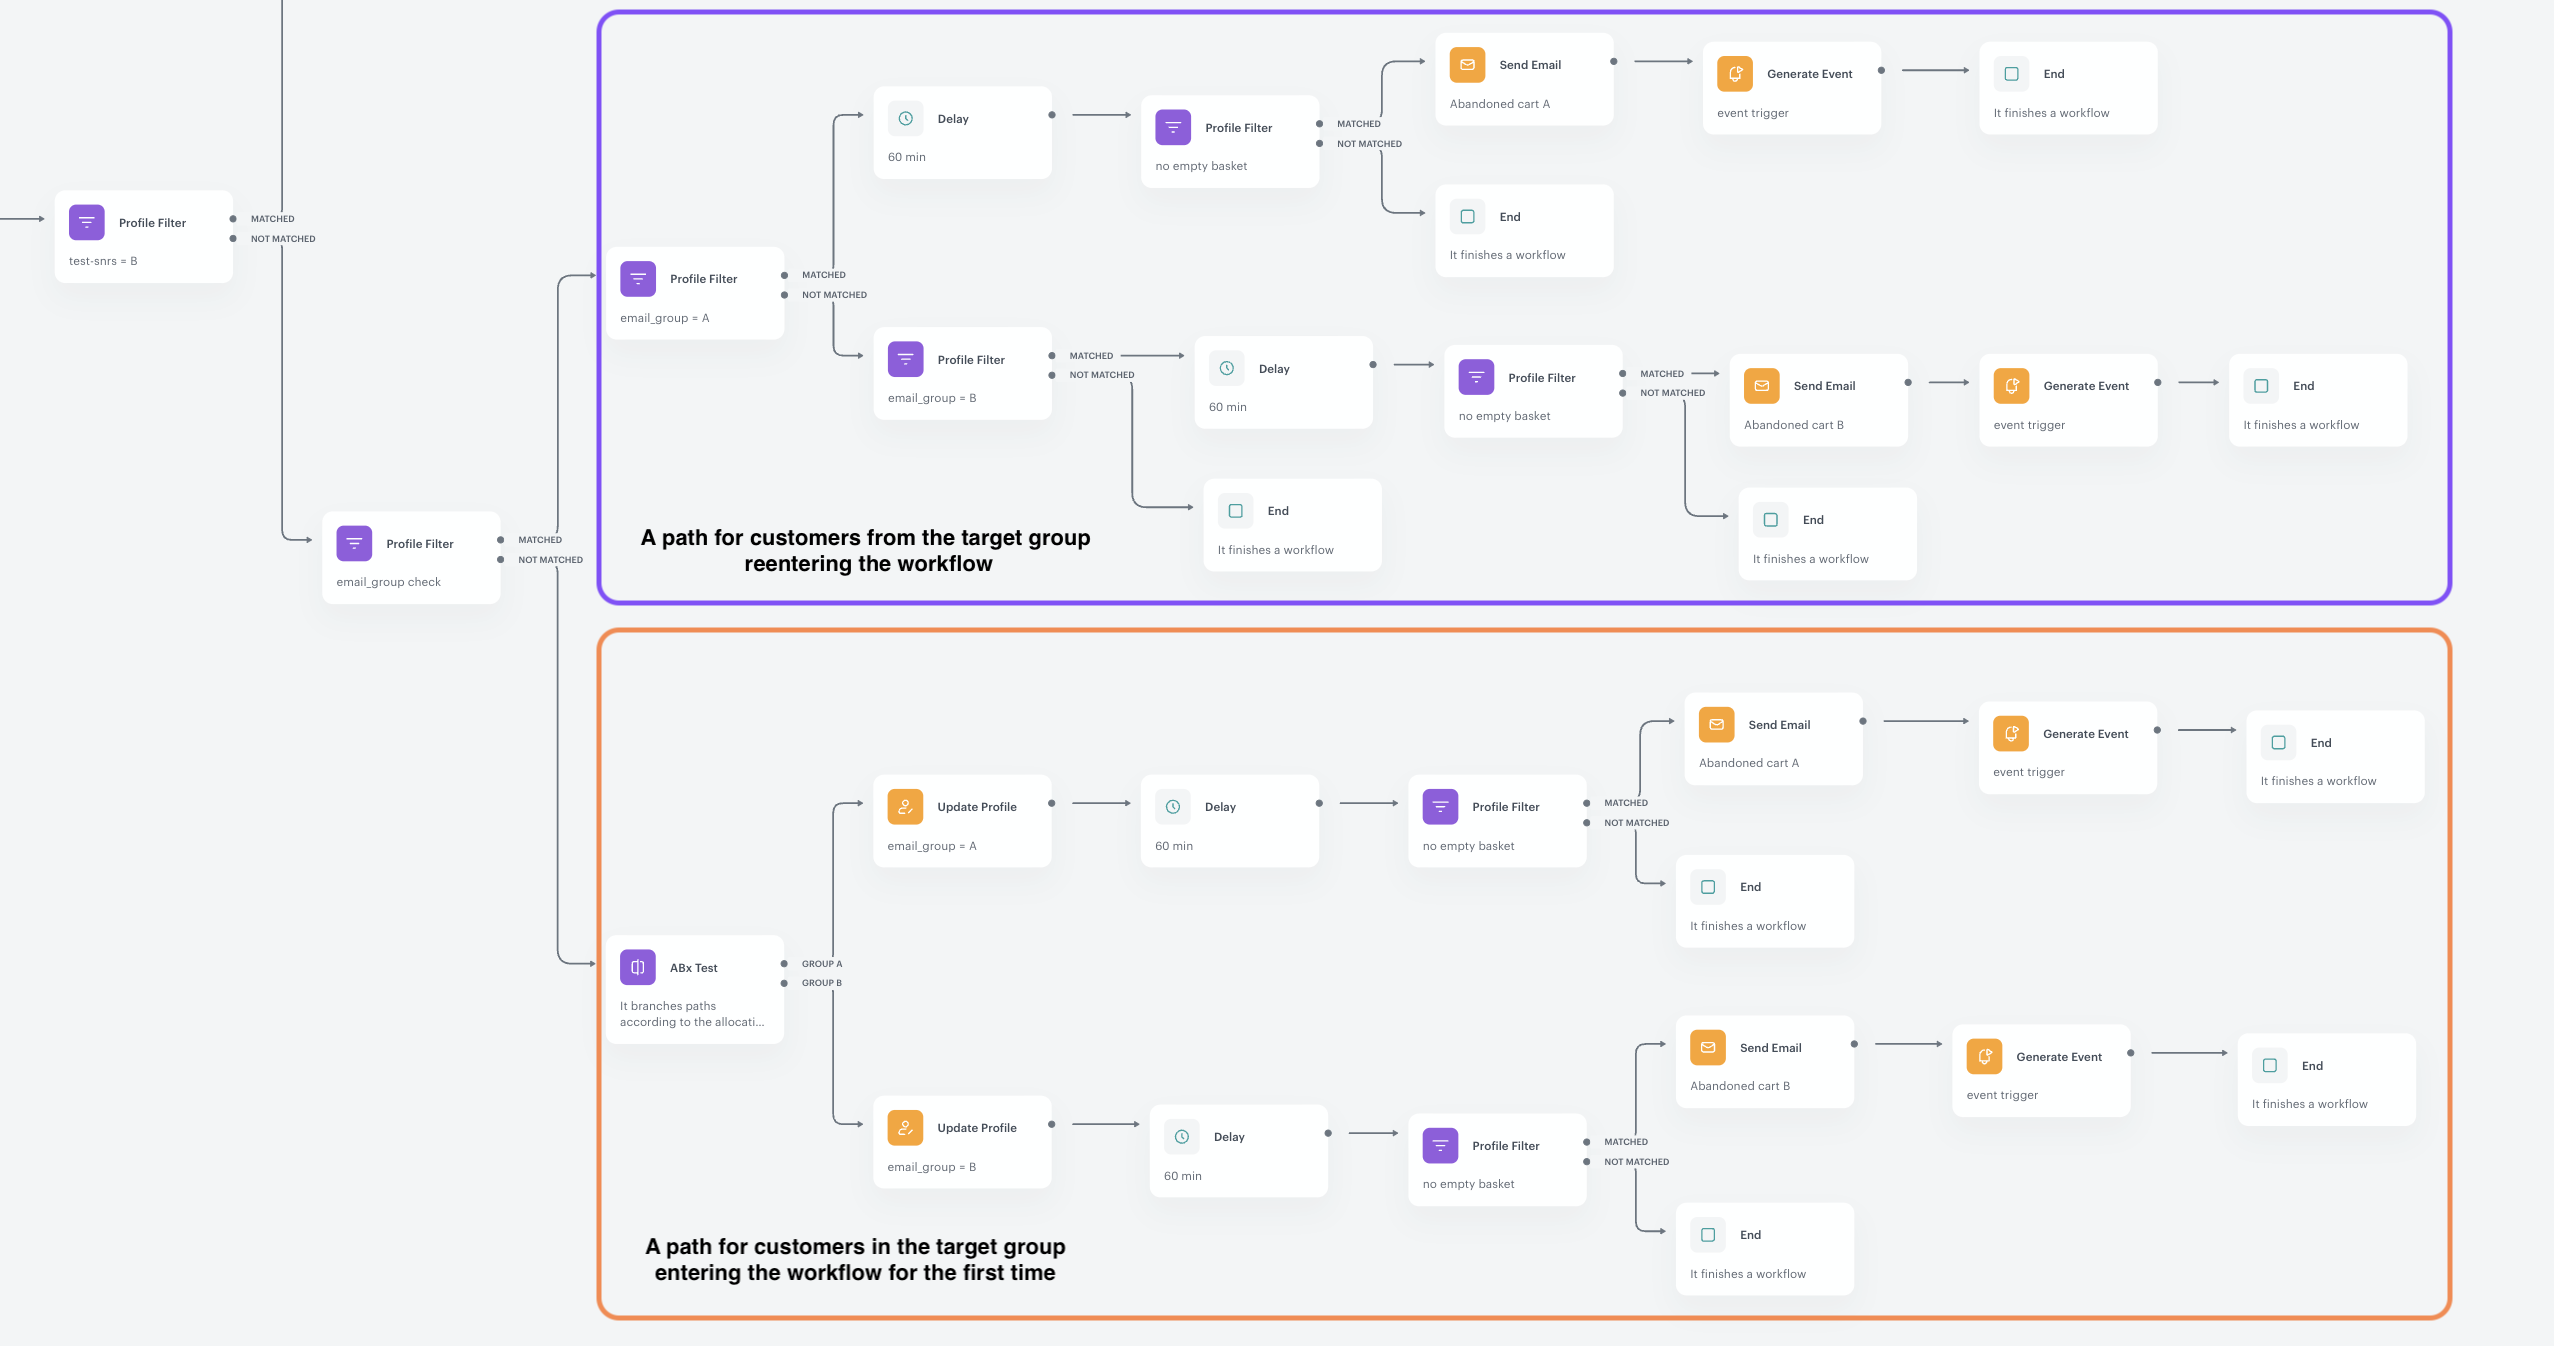
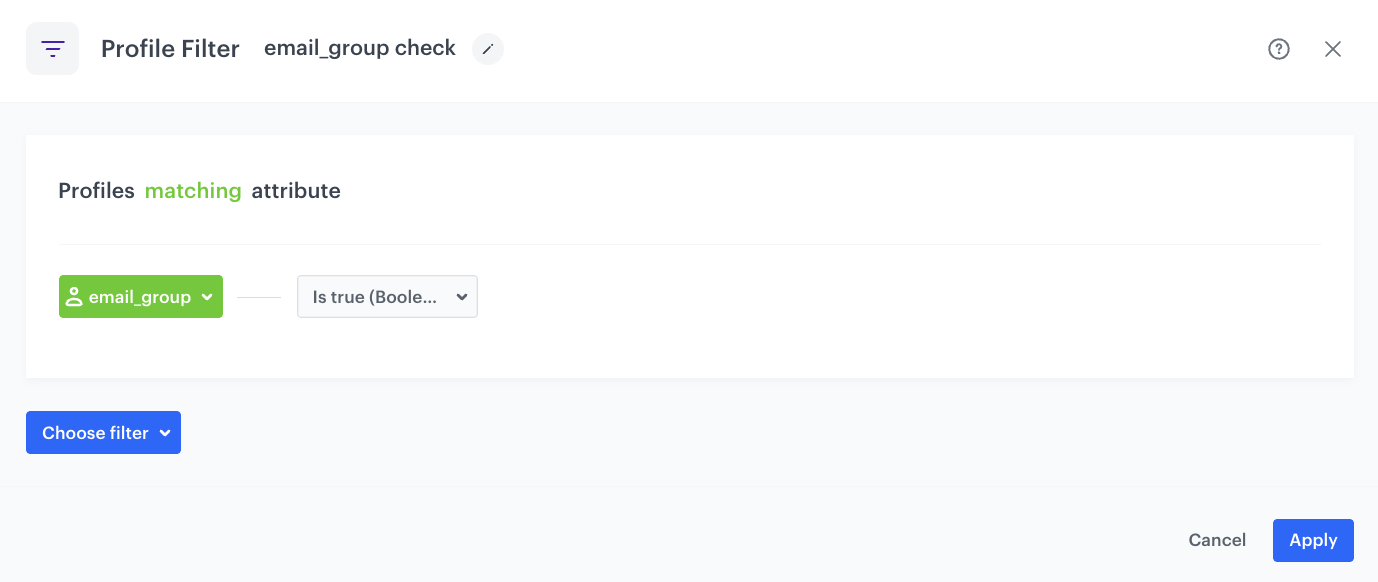
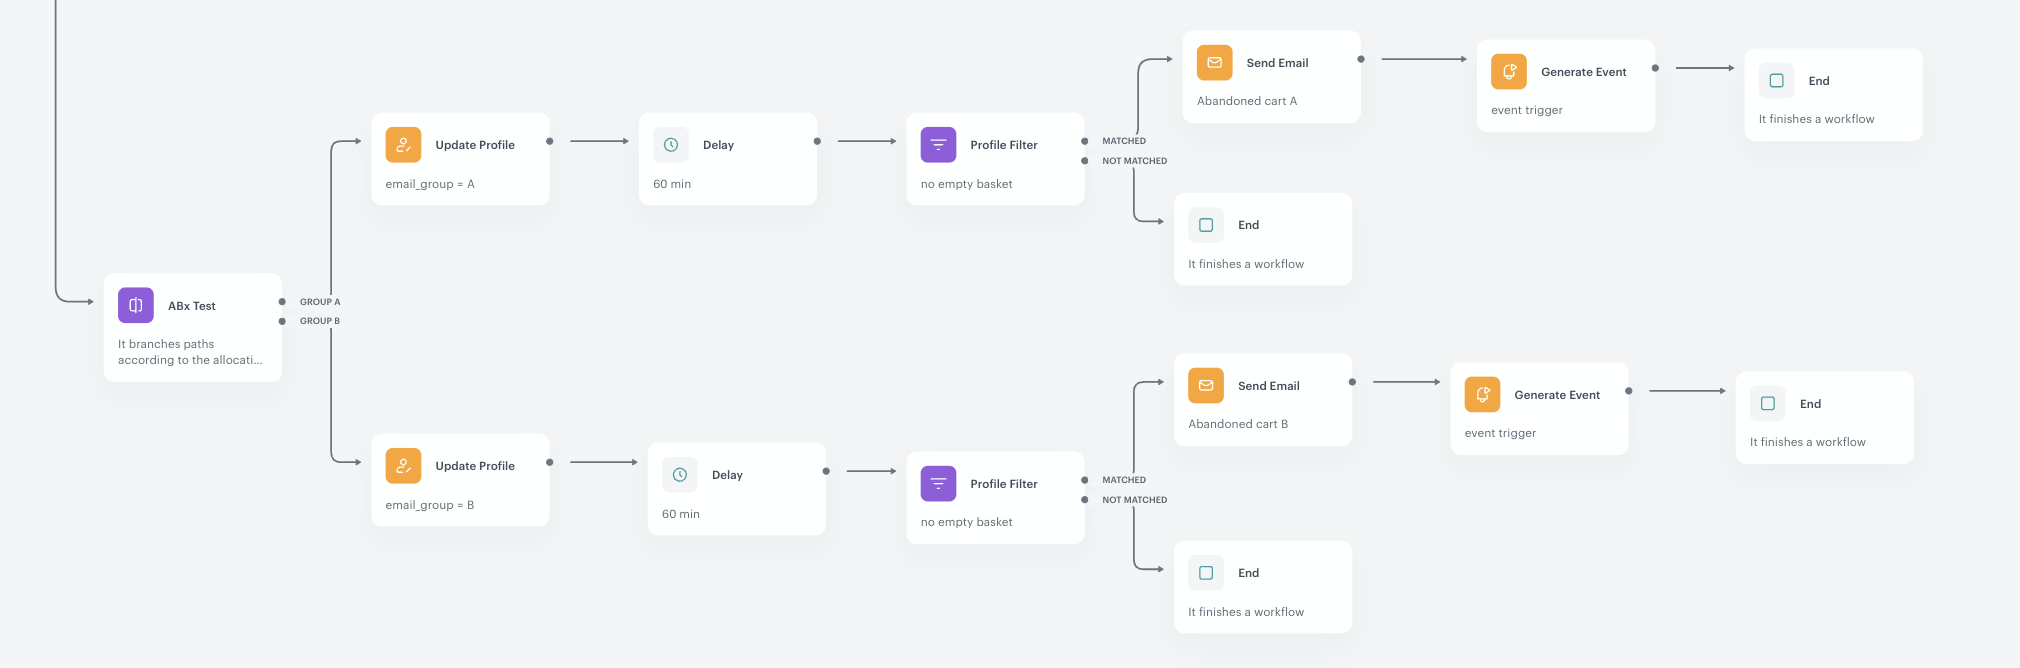
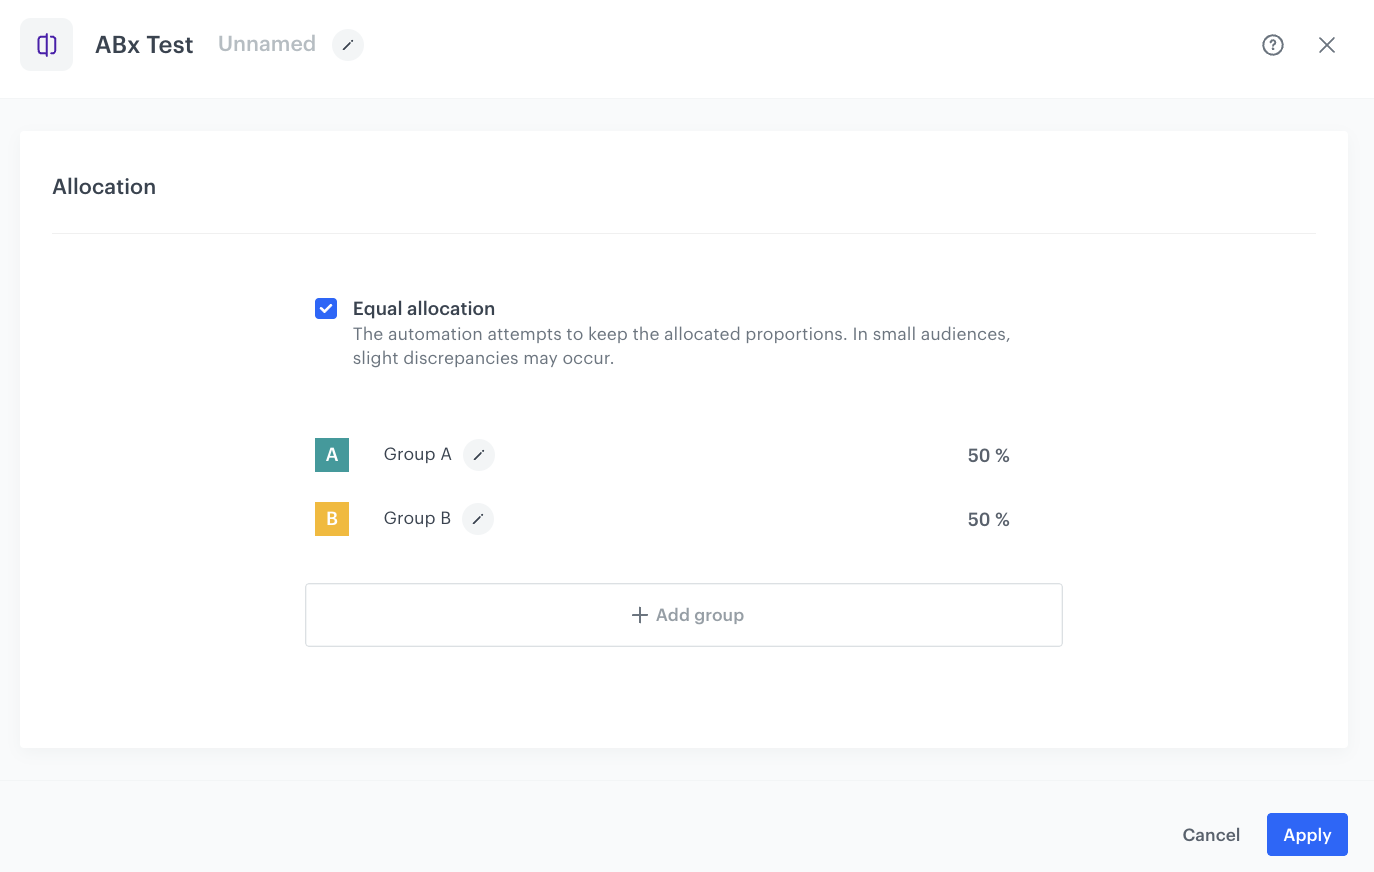
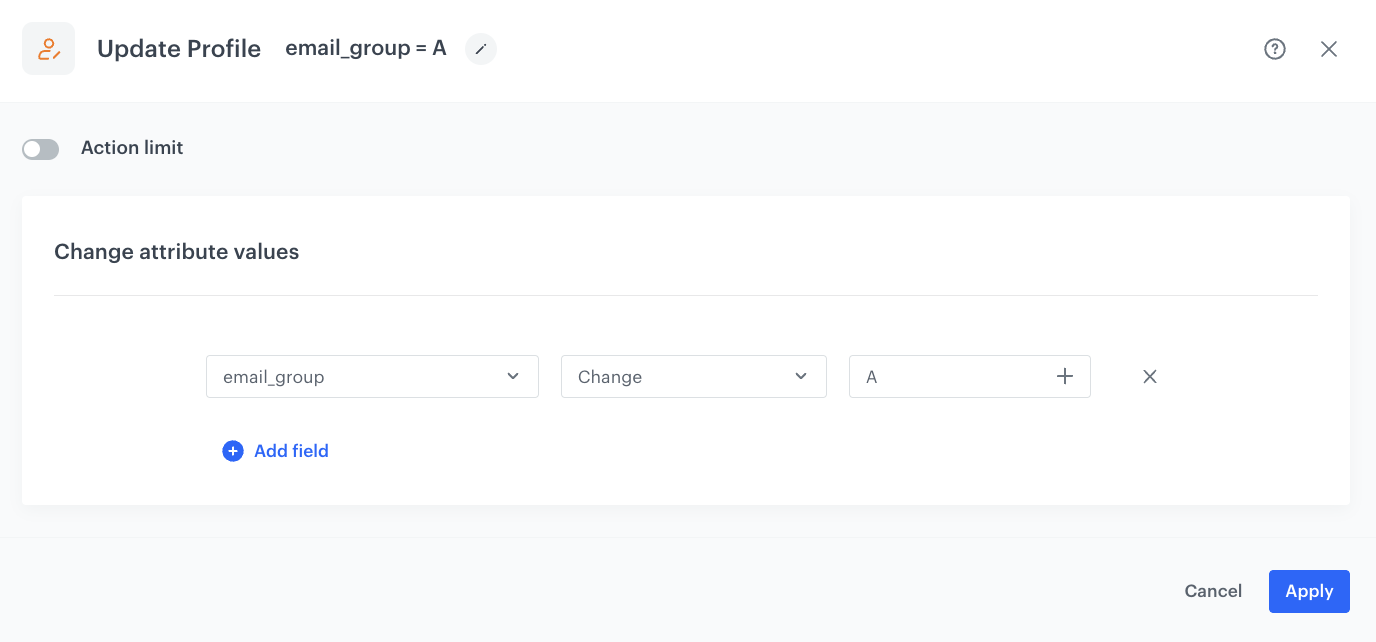
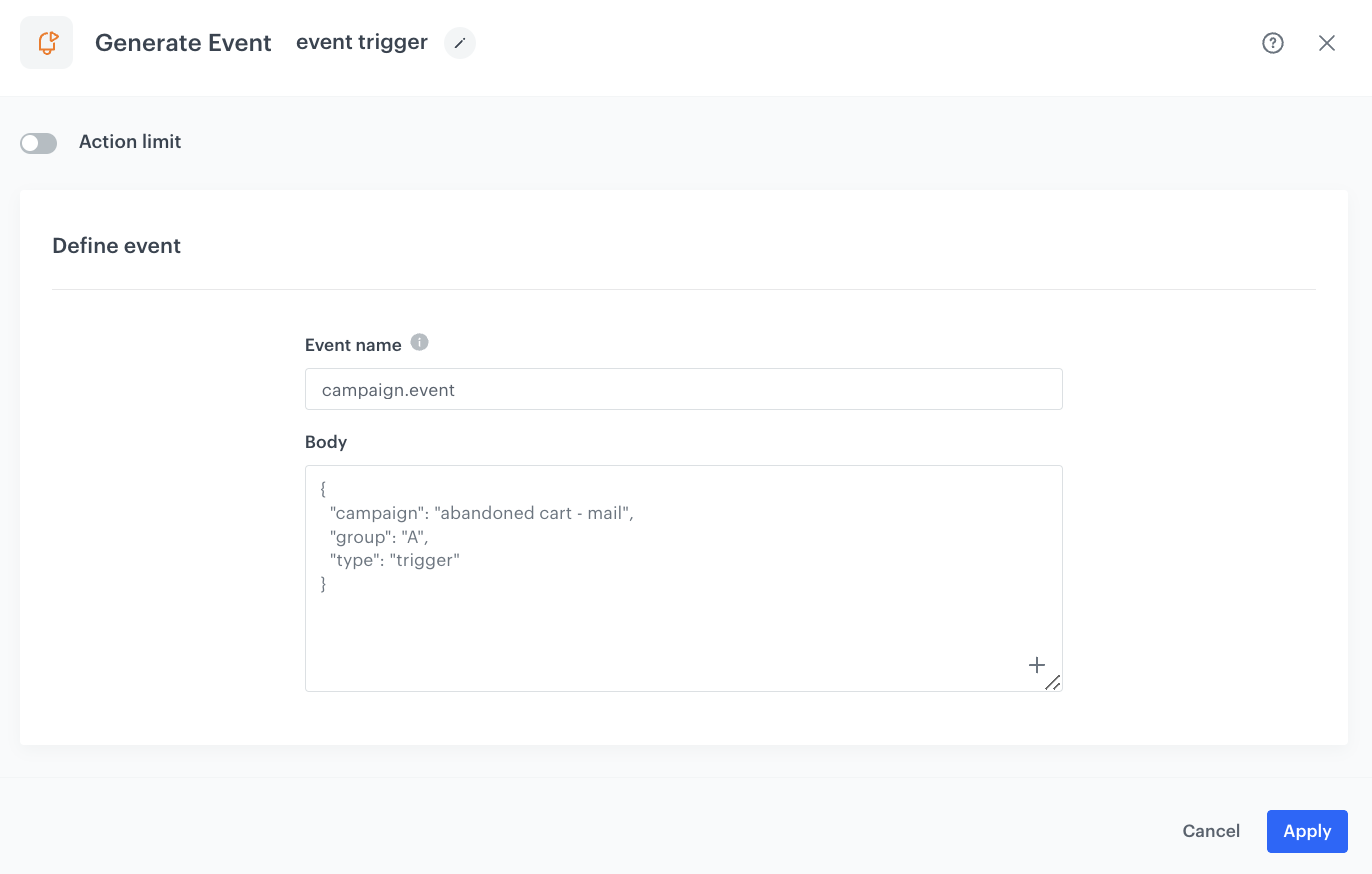
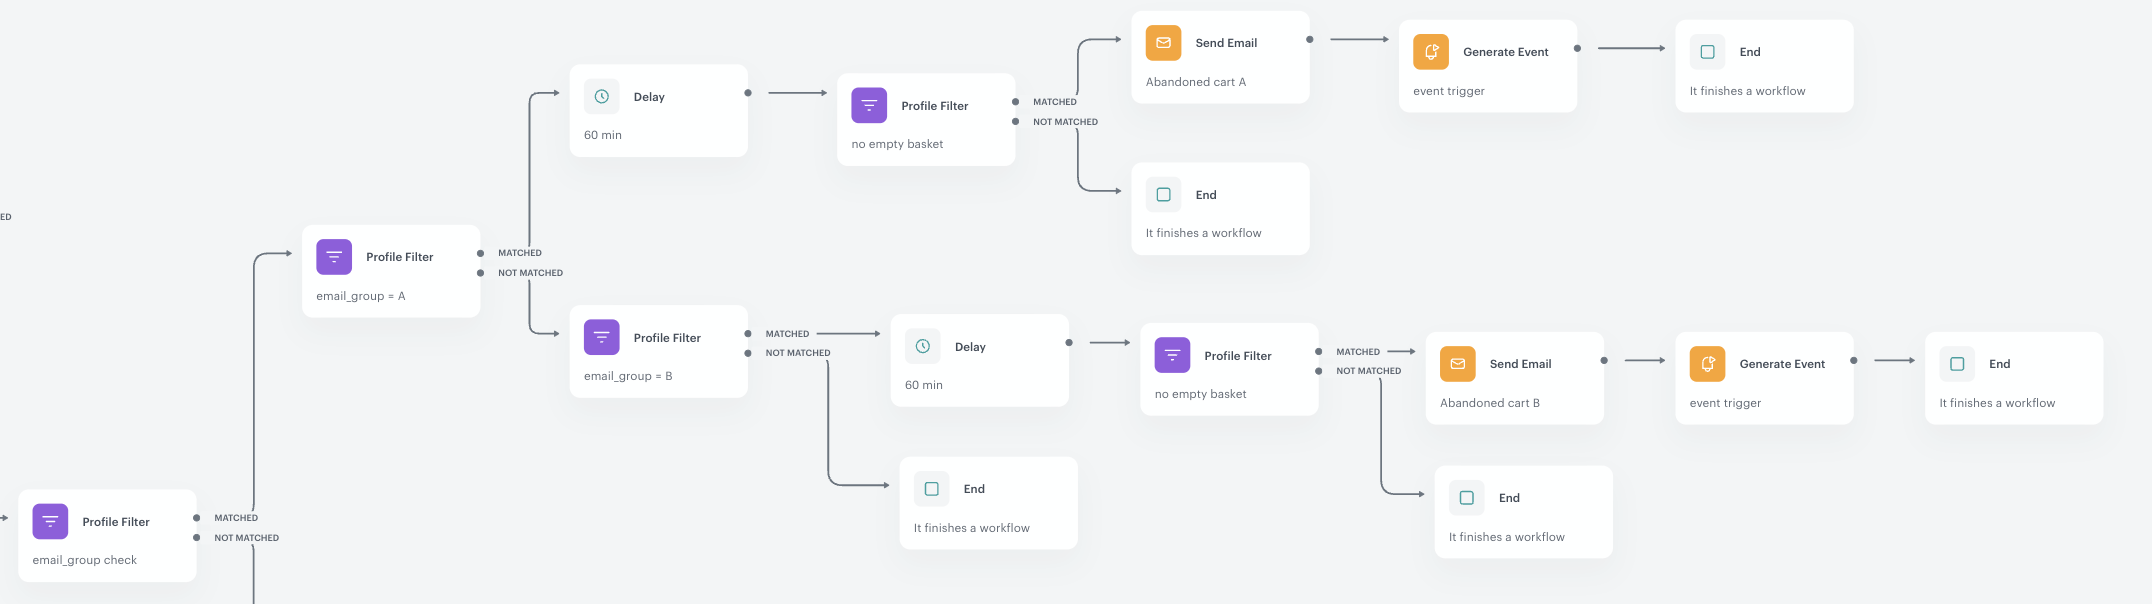
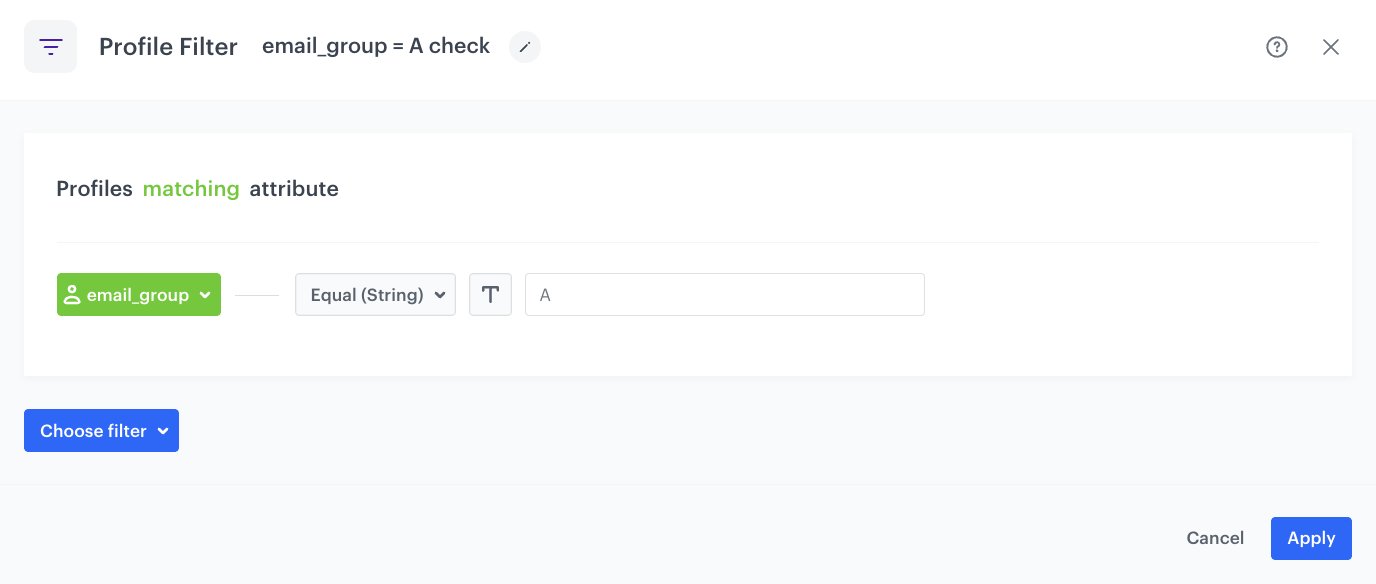
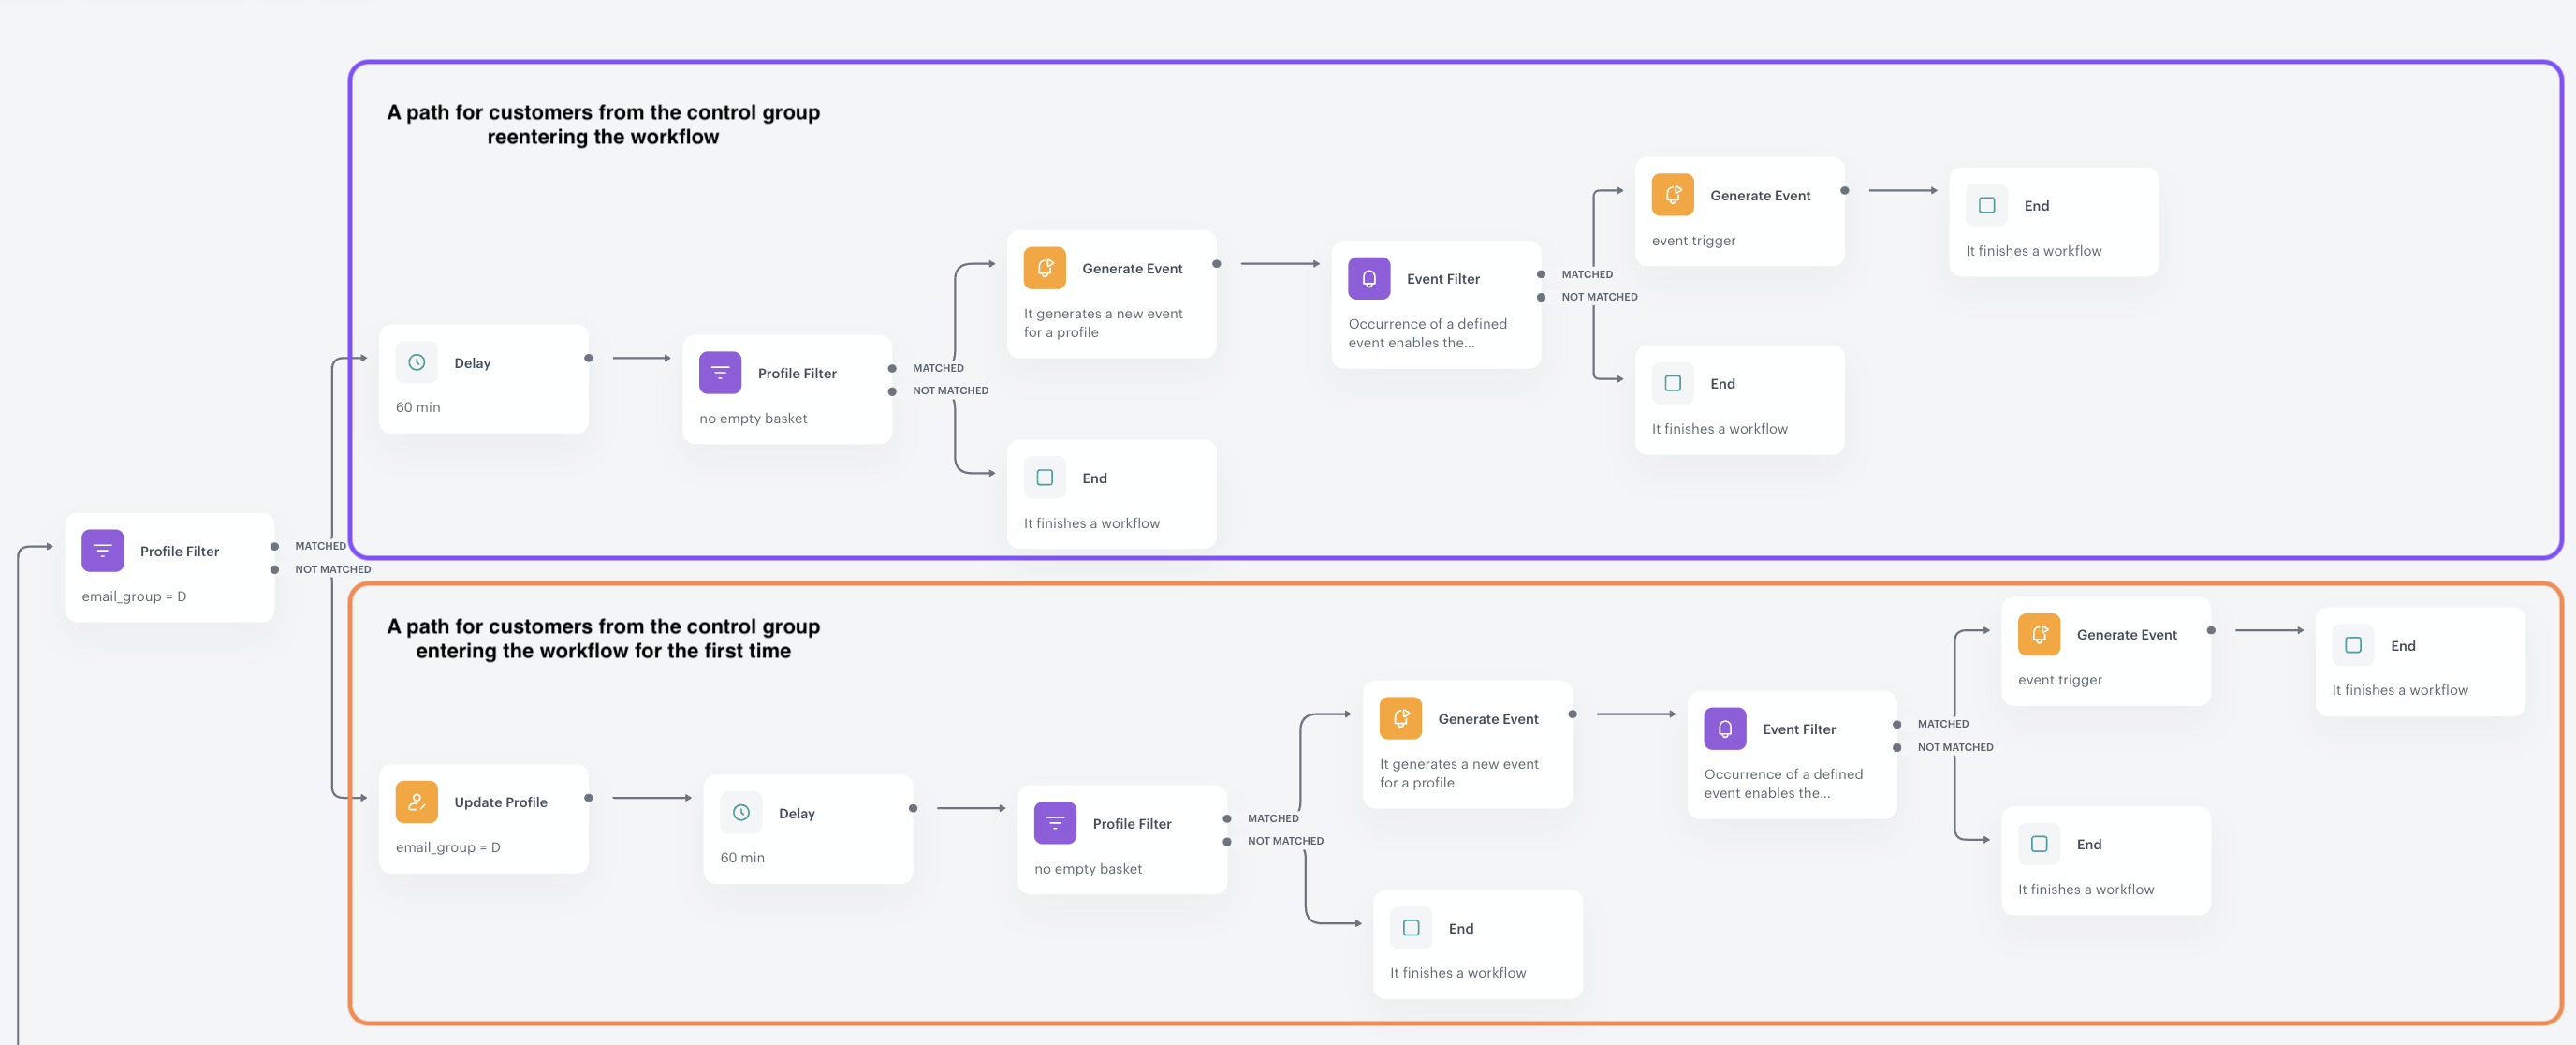
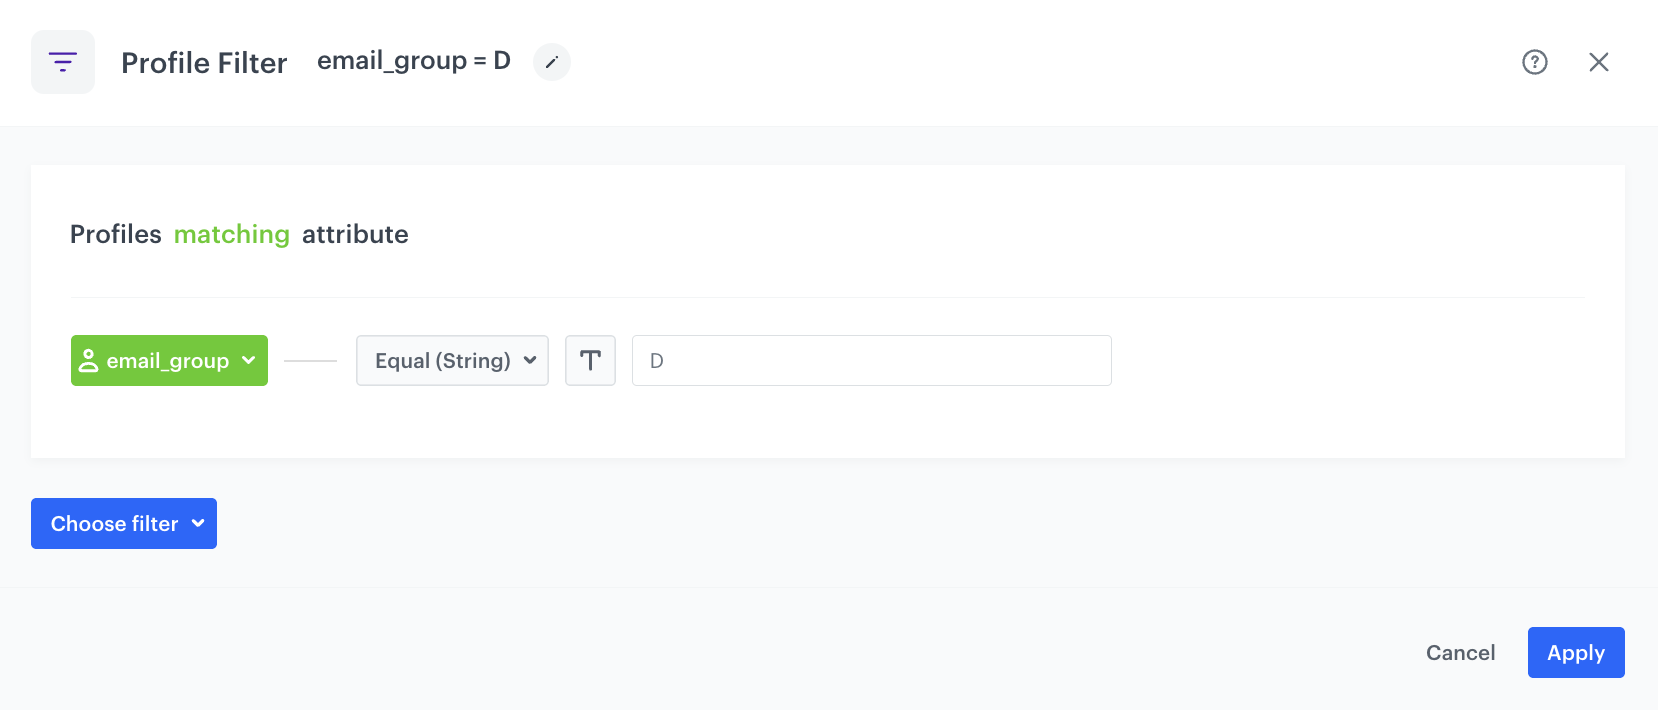
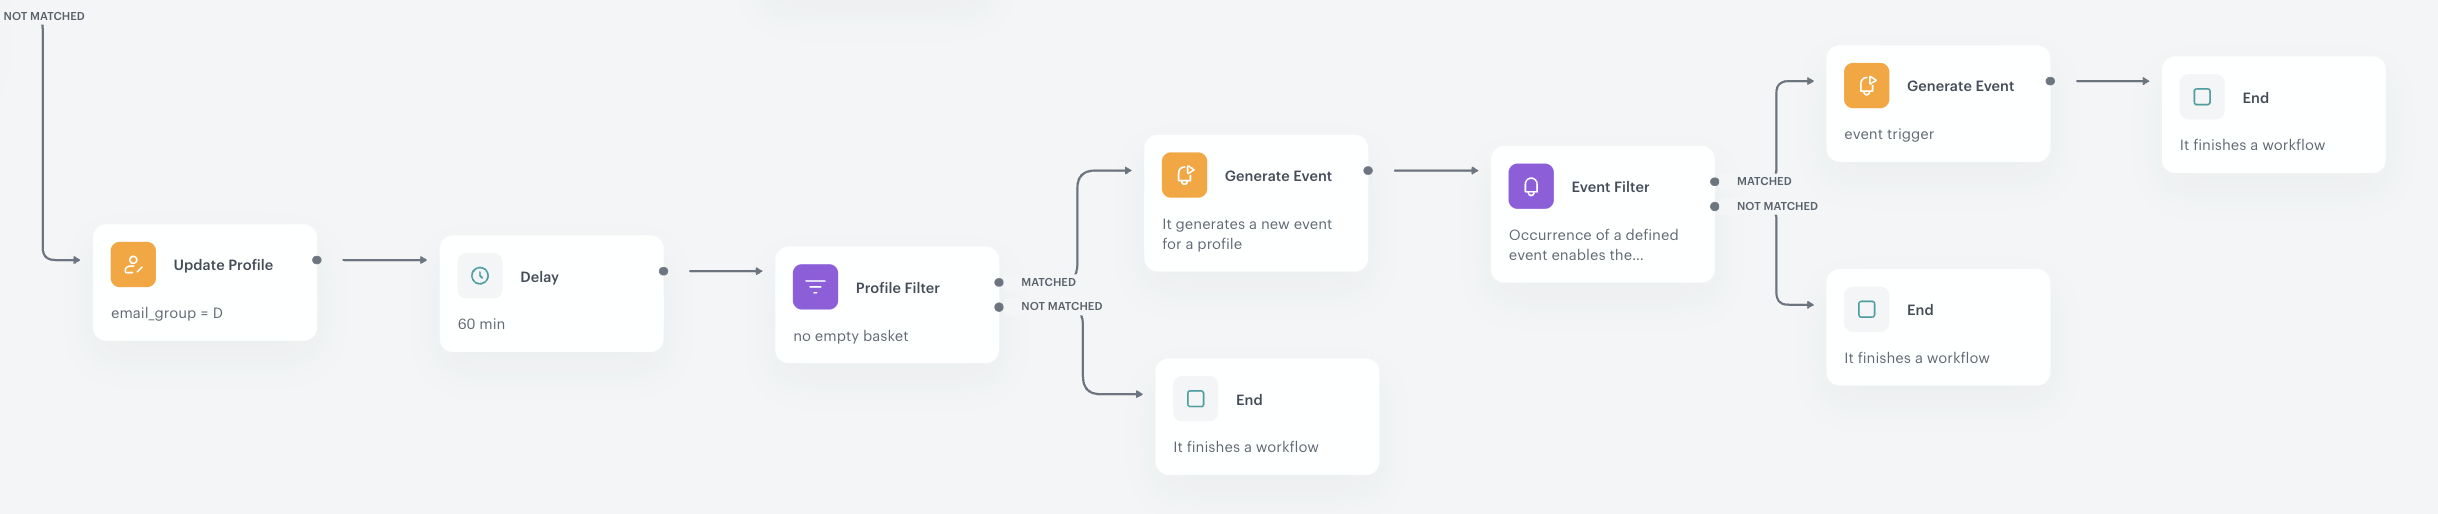
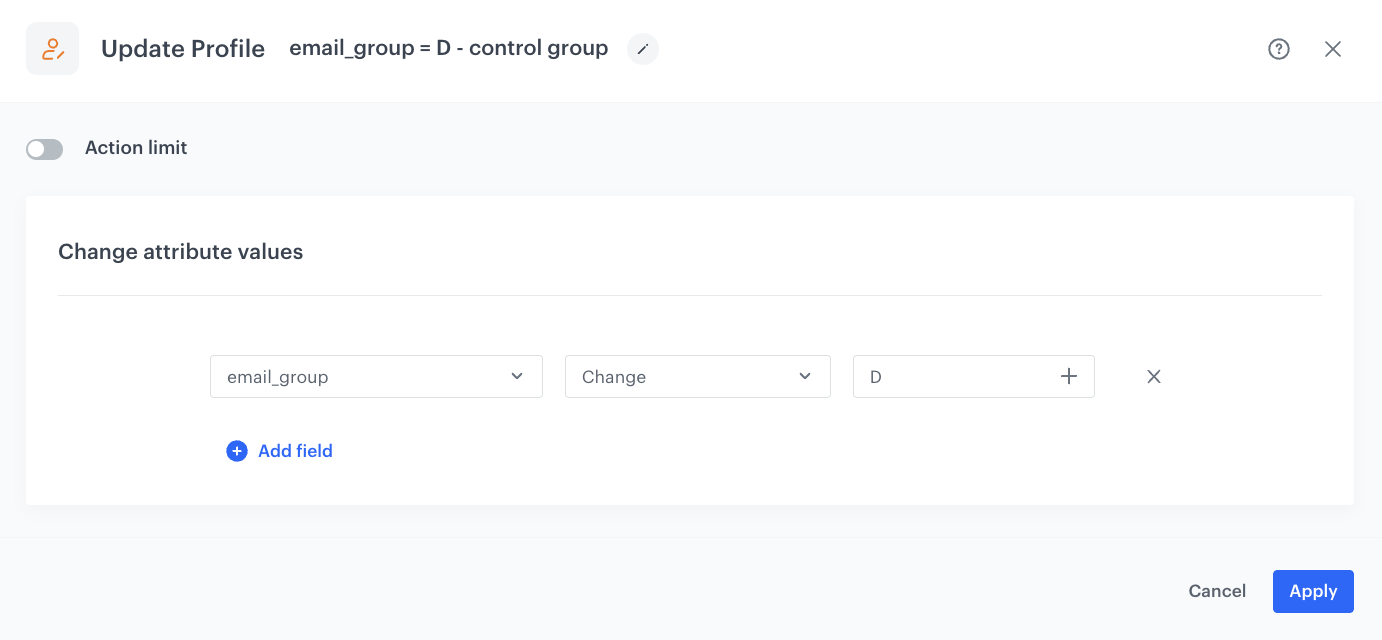
 (Choose value icon).
10. From the **Choose value** dropdown list, select the aggregate you created in the [previous step](/use-cases/abandoned-cart-scenario#create-an-aggregate-that-returns-the-timestamp-of-the-first-message-sent-from-an-abandoned-cart-campaign) of the process.
11. Set the period from which the aggregate will analyze the results to **Last 1455 minutes**.
12. Save the aggregate.
(Choose value icon).
10. From the **Choose value** dropdown list, select the aggregate you created in the [previous step](/use-cases/abandoned-cart-scenario#create-an-aggregate-that-returns-the-timestamp-of-the-first-message-sent-from-an-abandoned-cart-campaign) of the process.
11. Set the period from which the aggregate will analyze the results to **Last 1455 minutes**.
12. Save the aggregate.
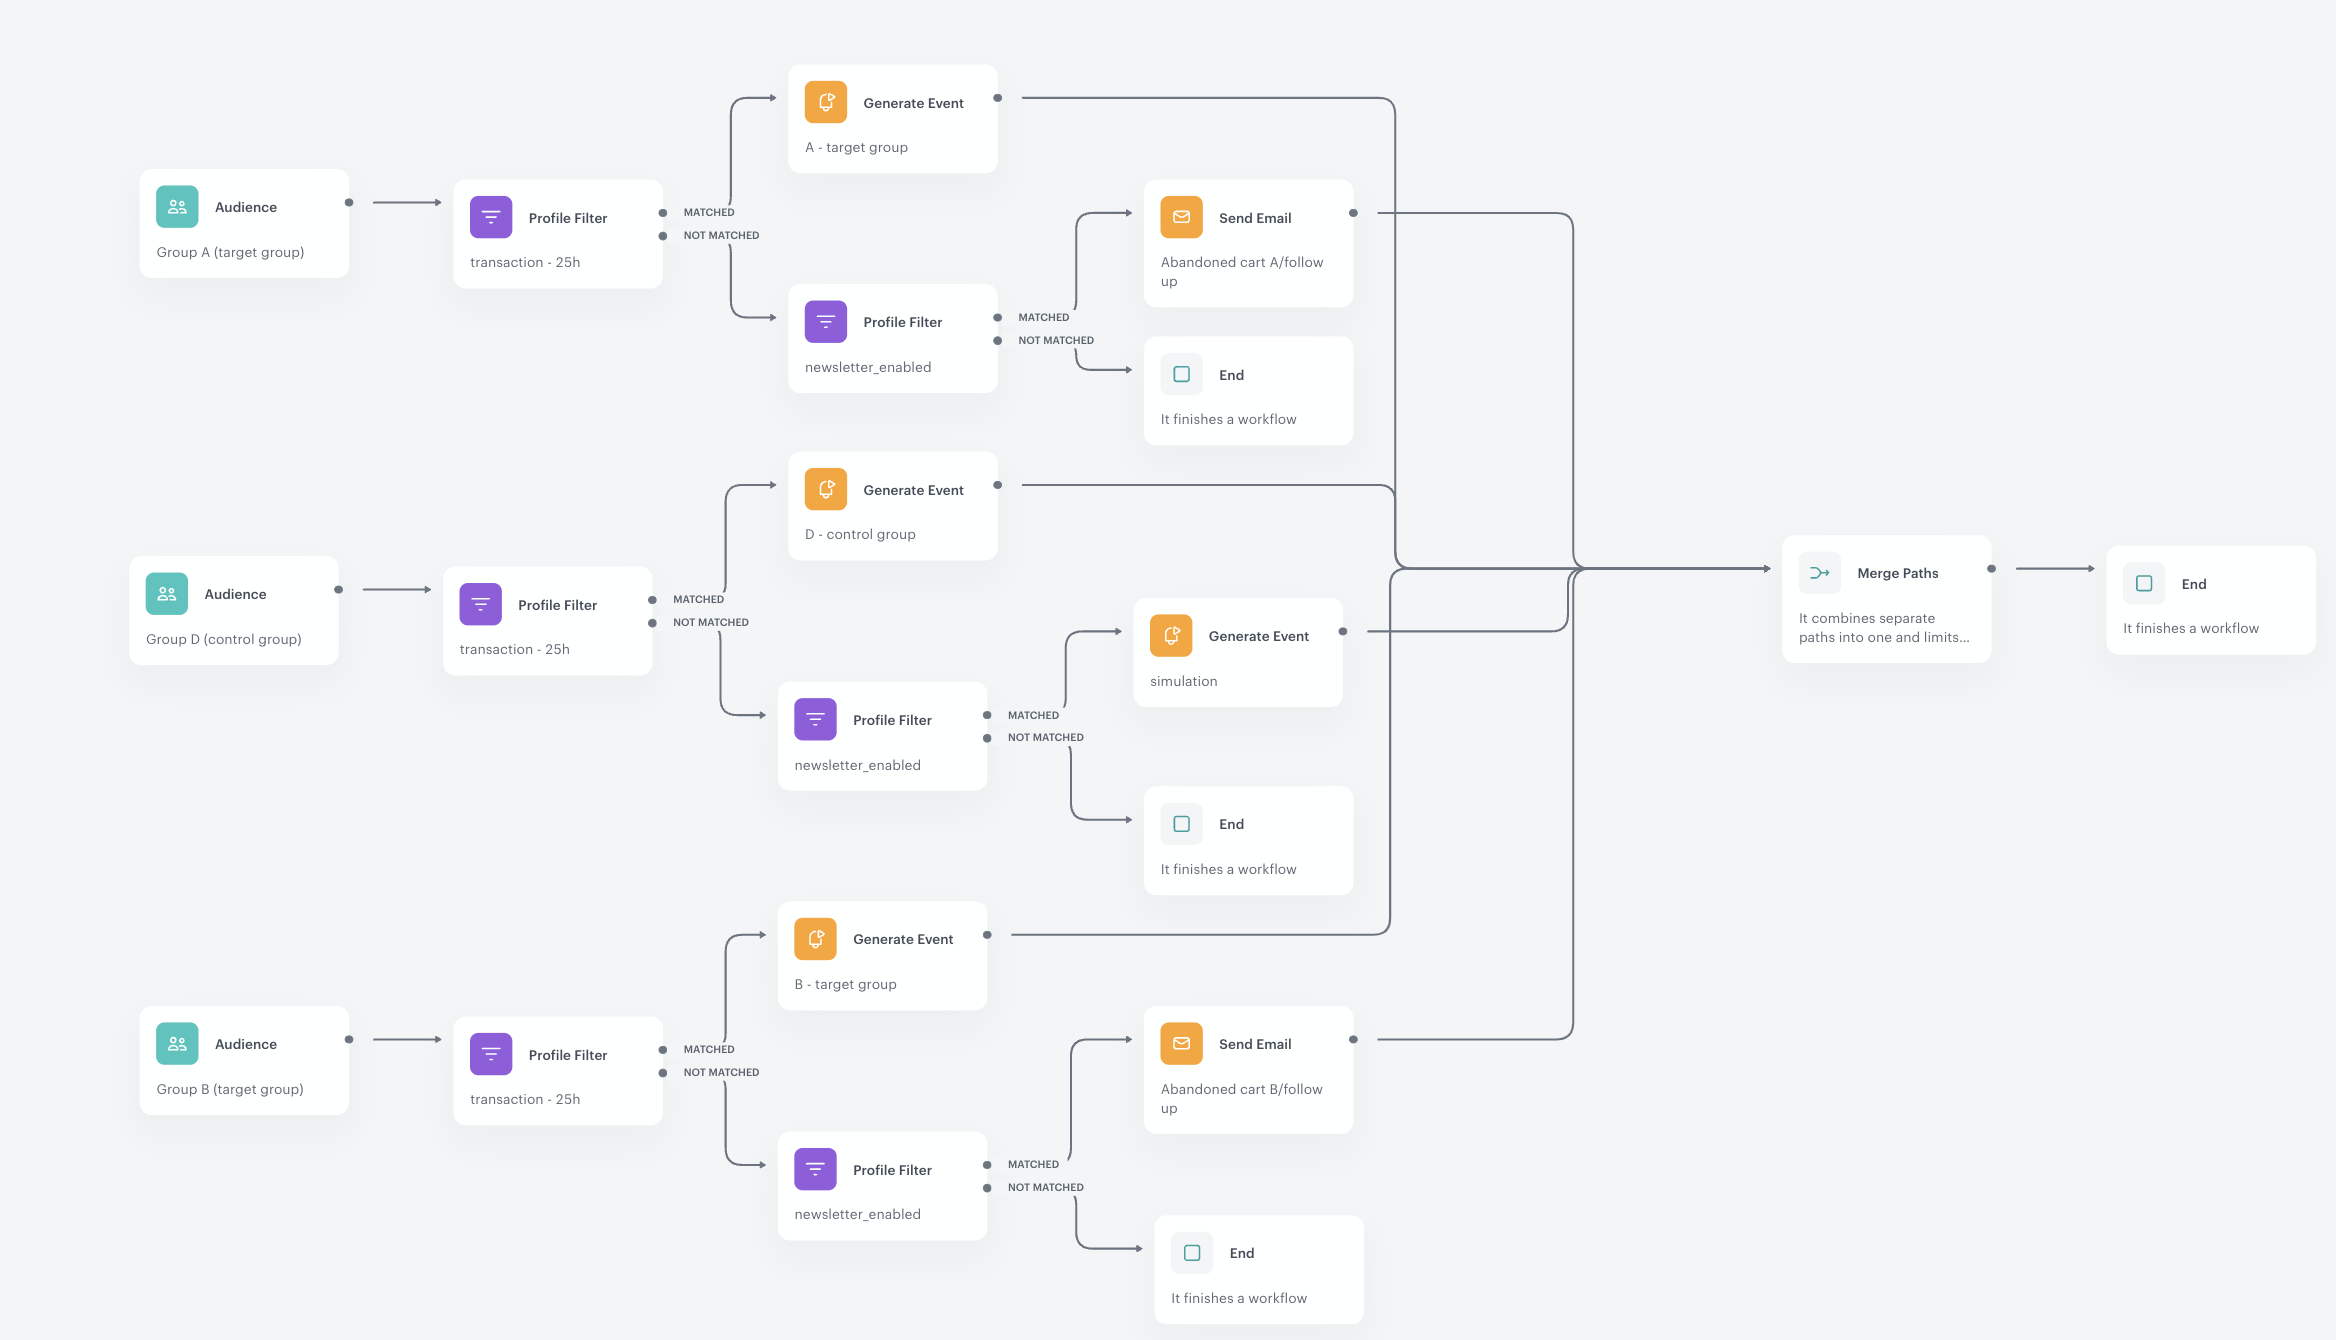
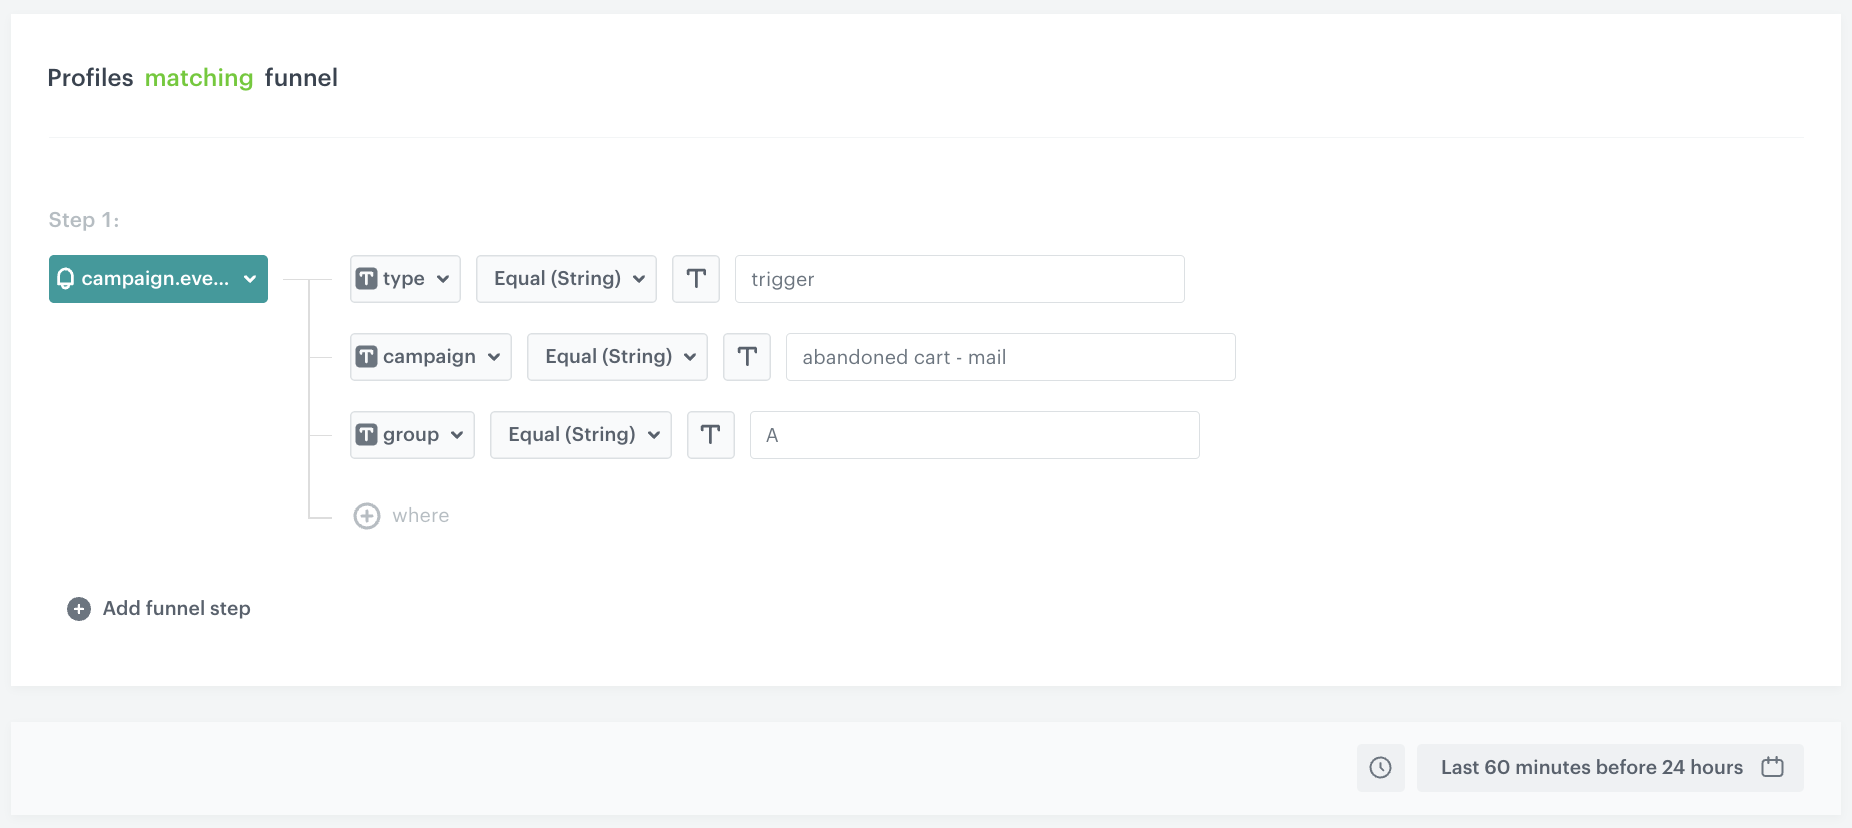
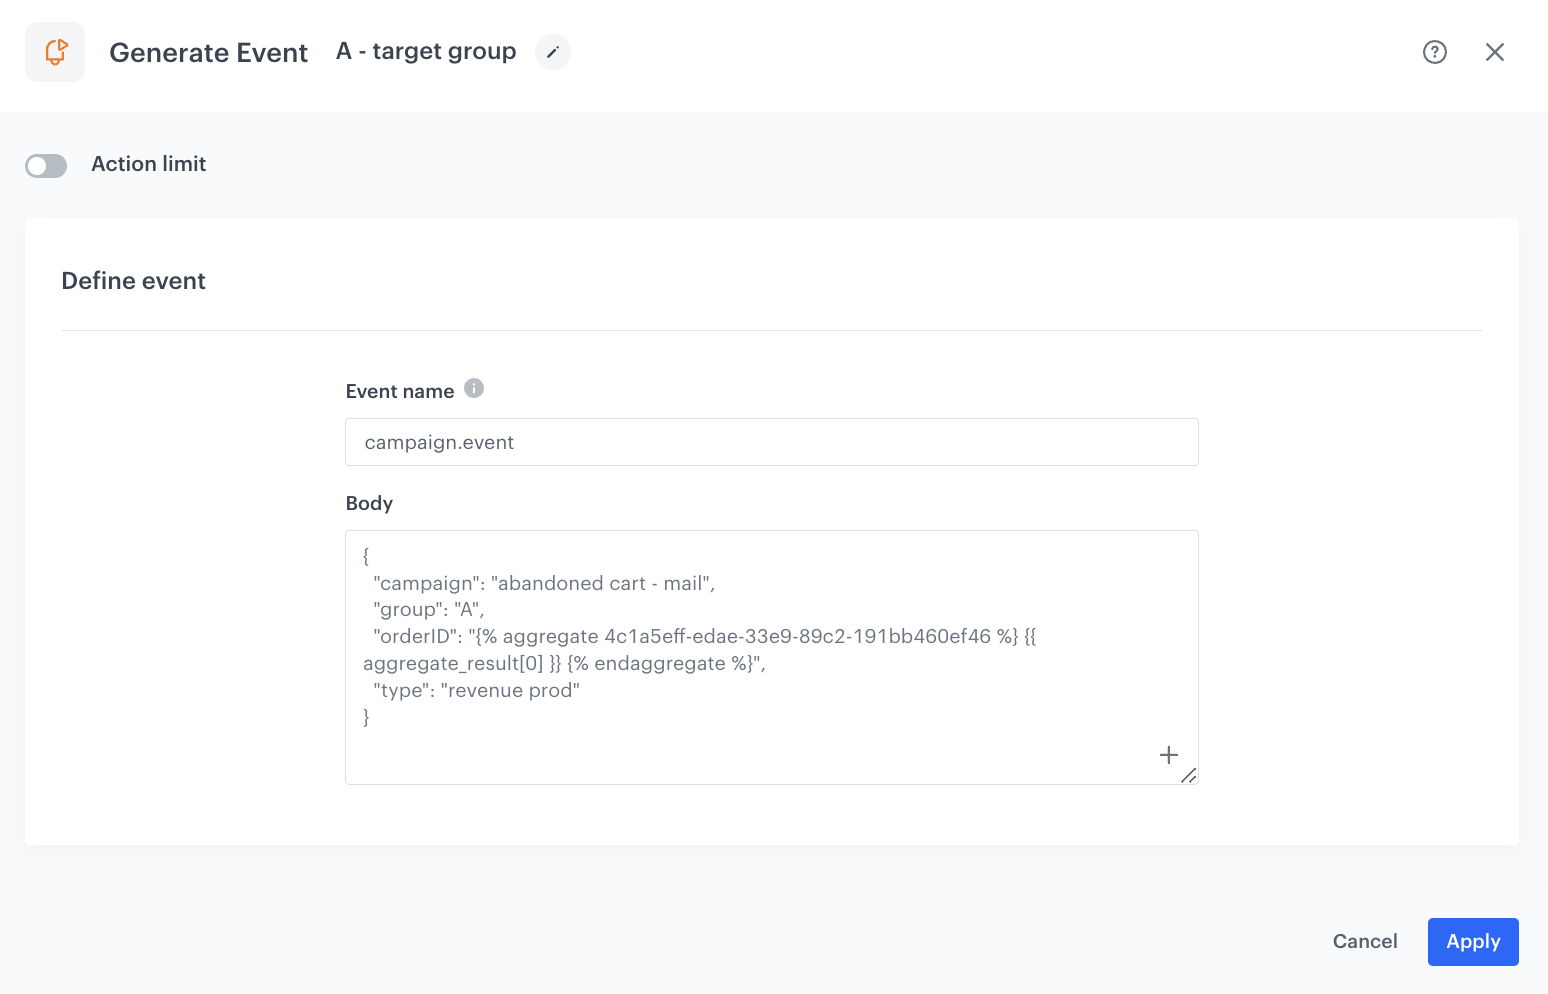
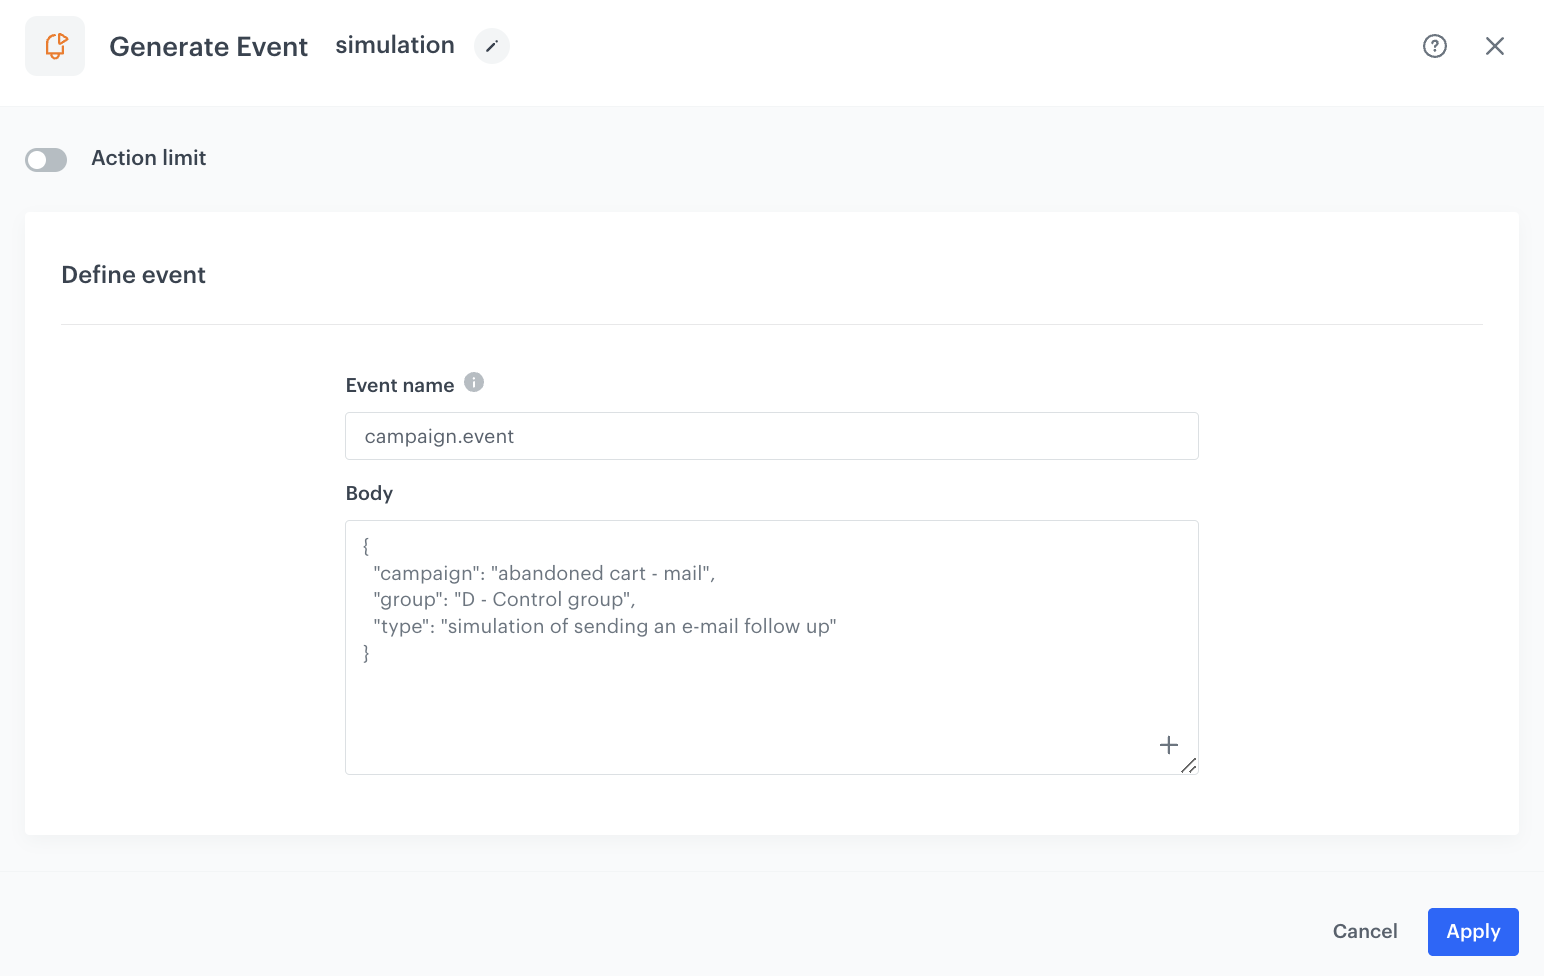

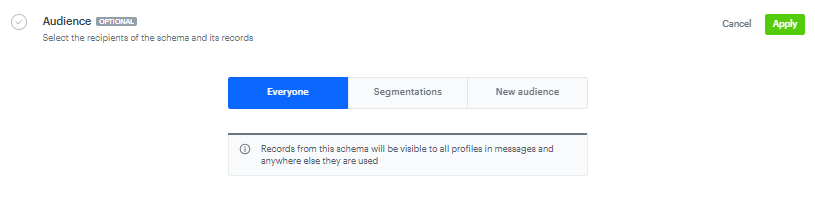
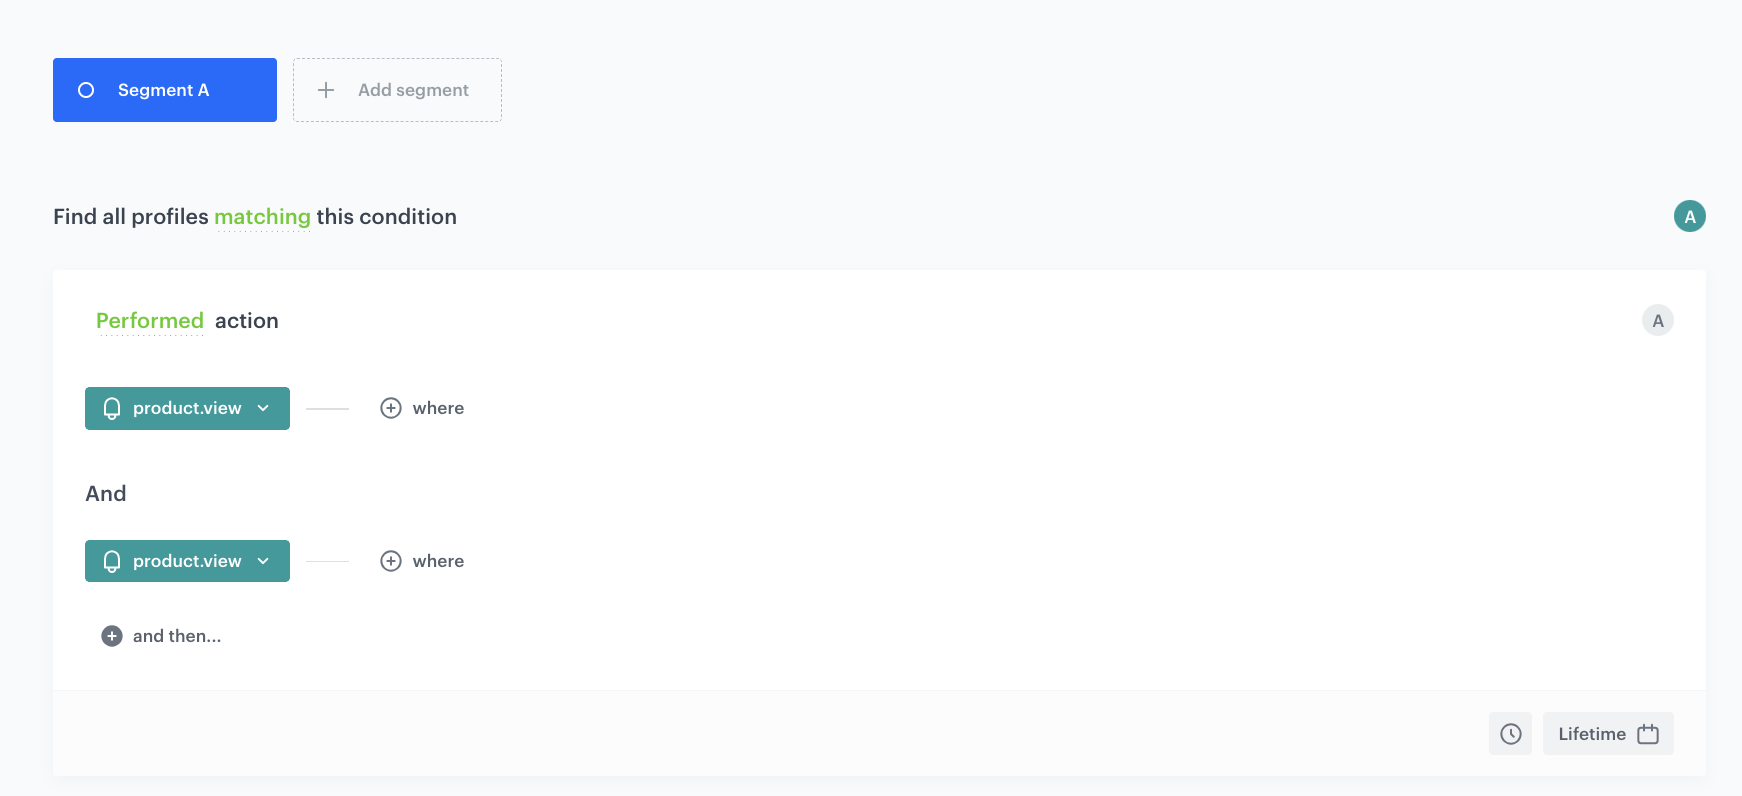
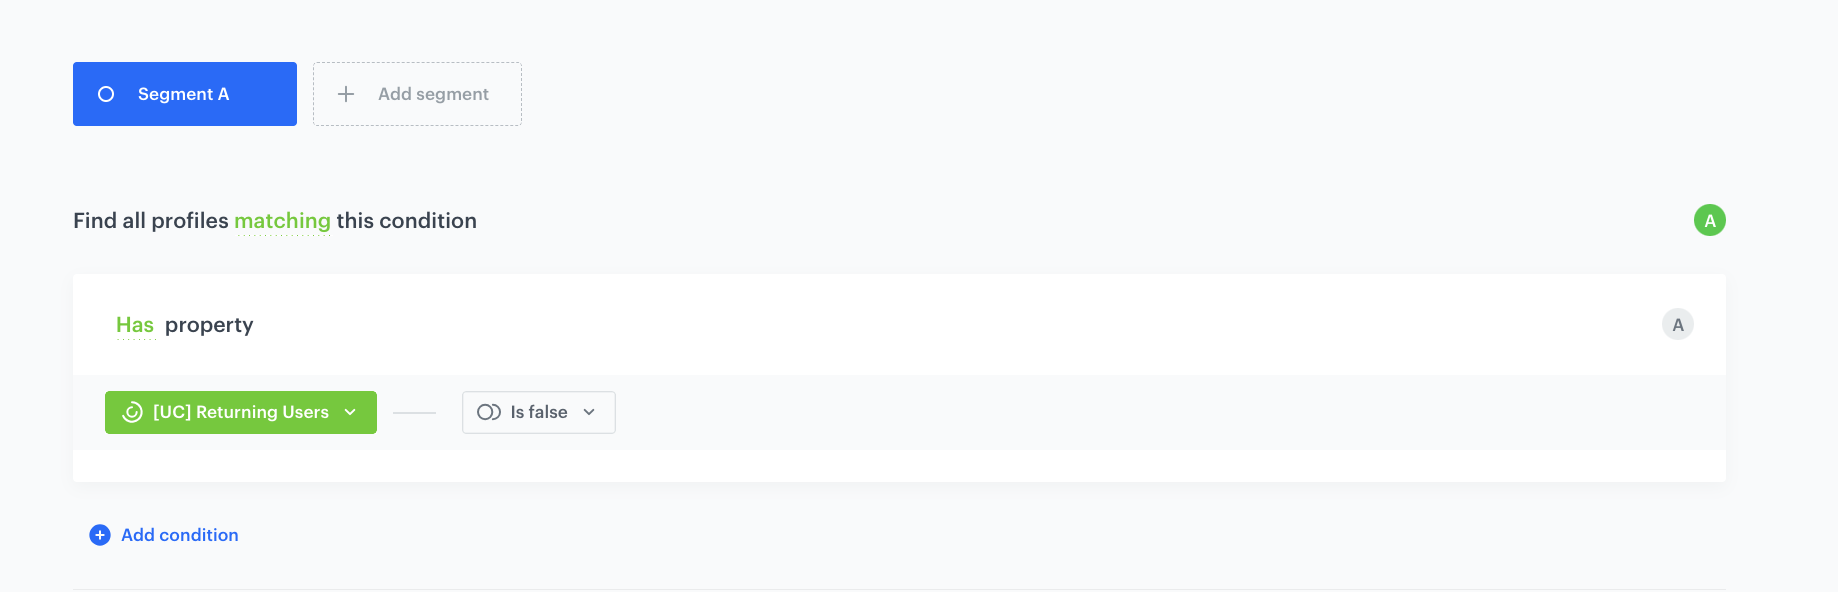
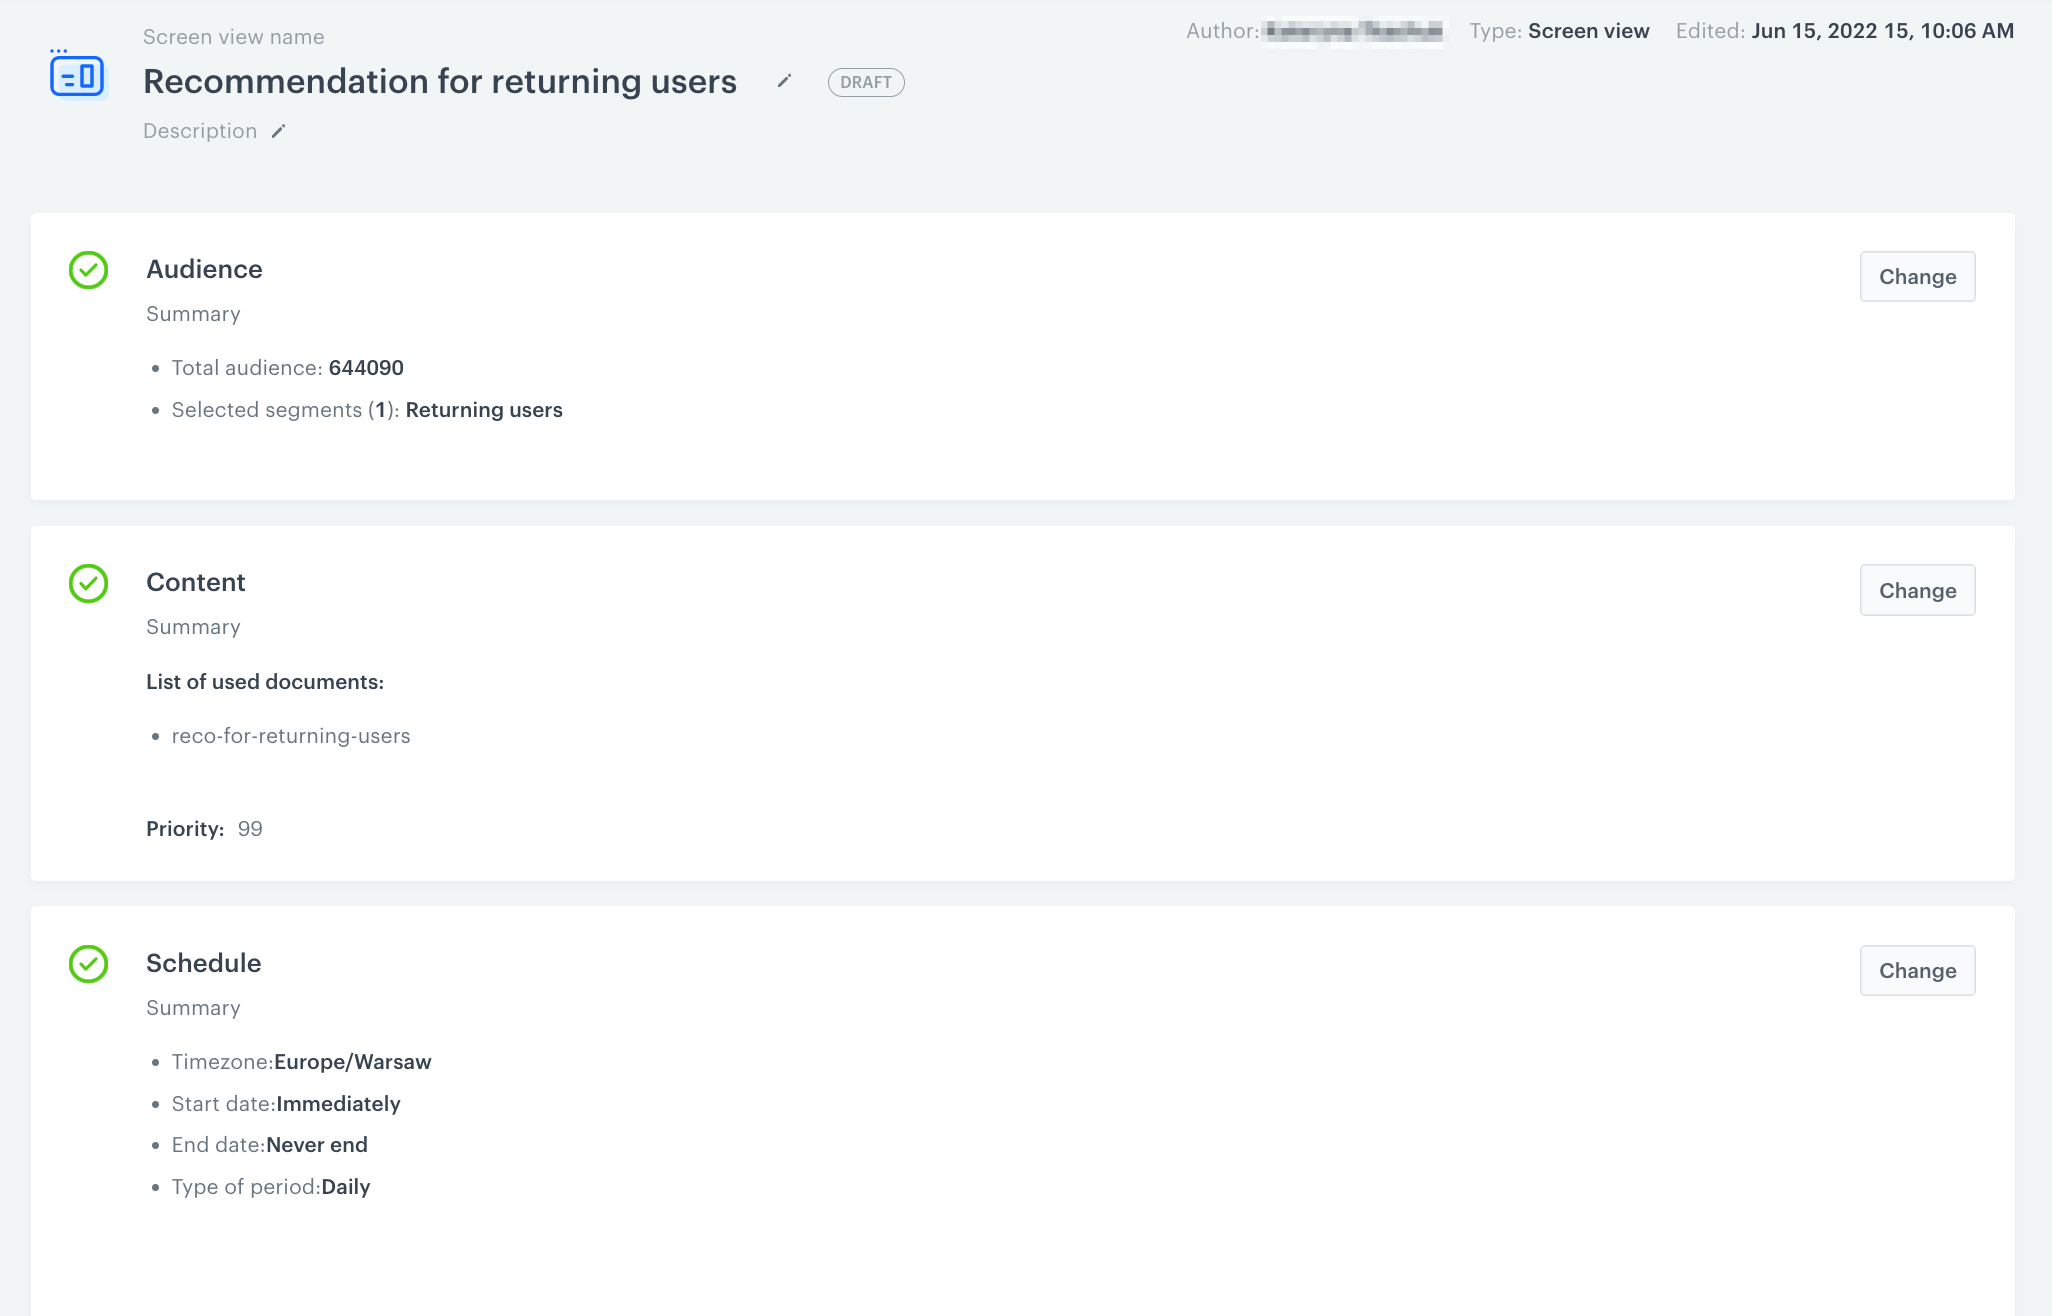
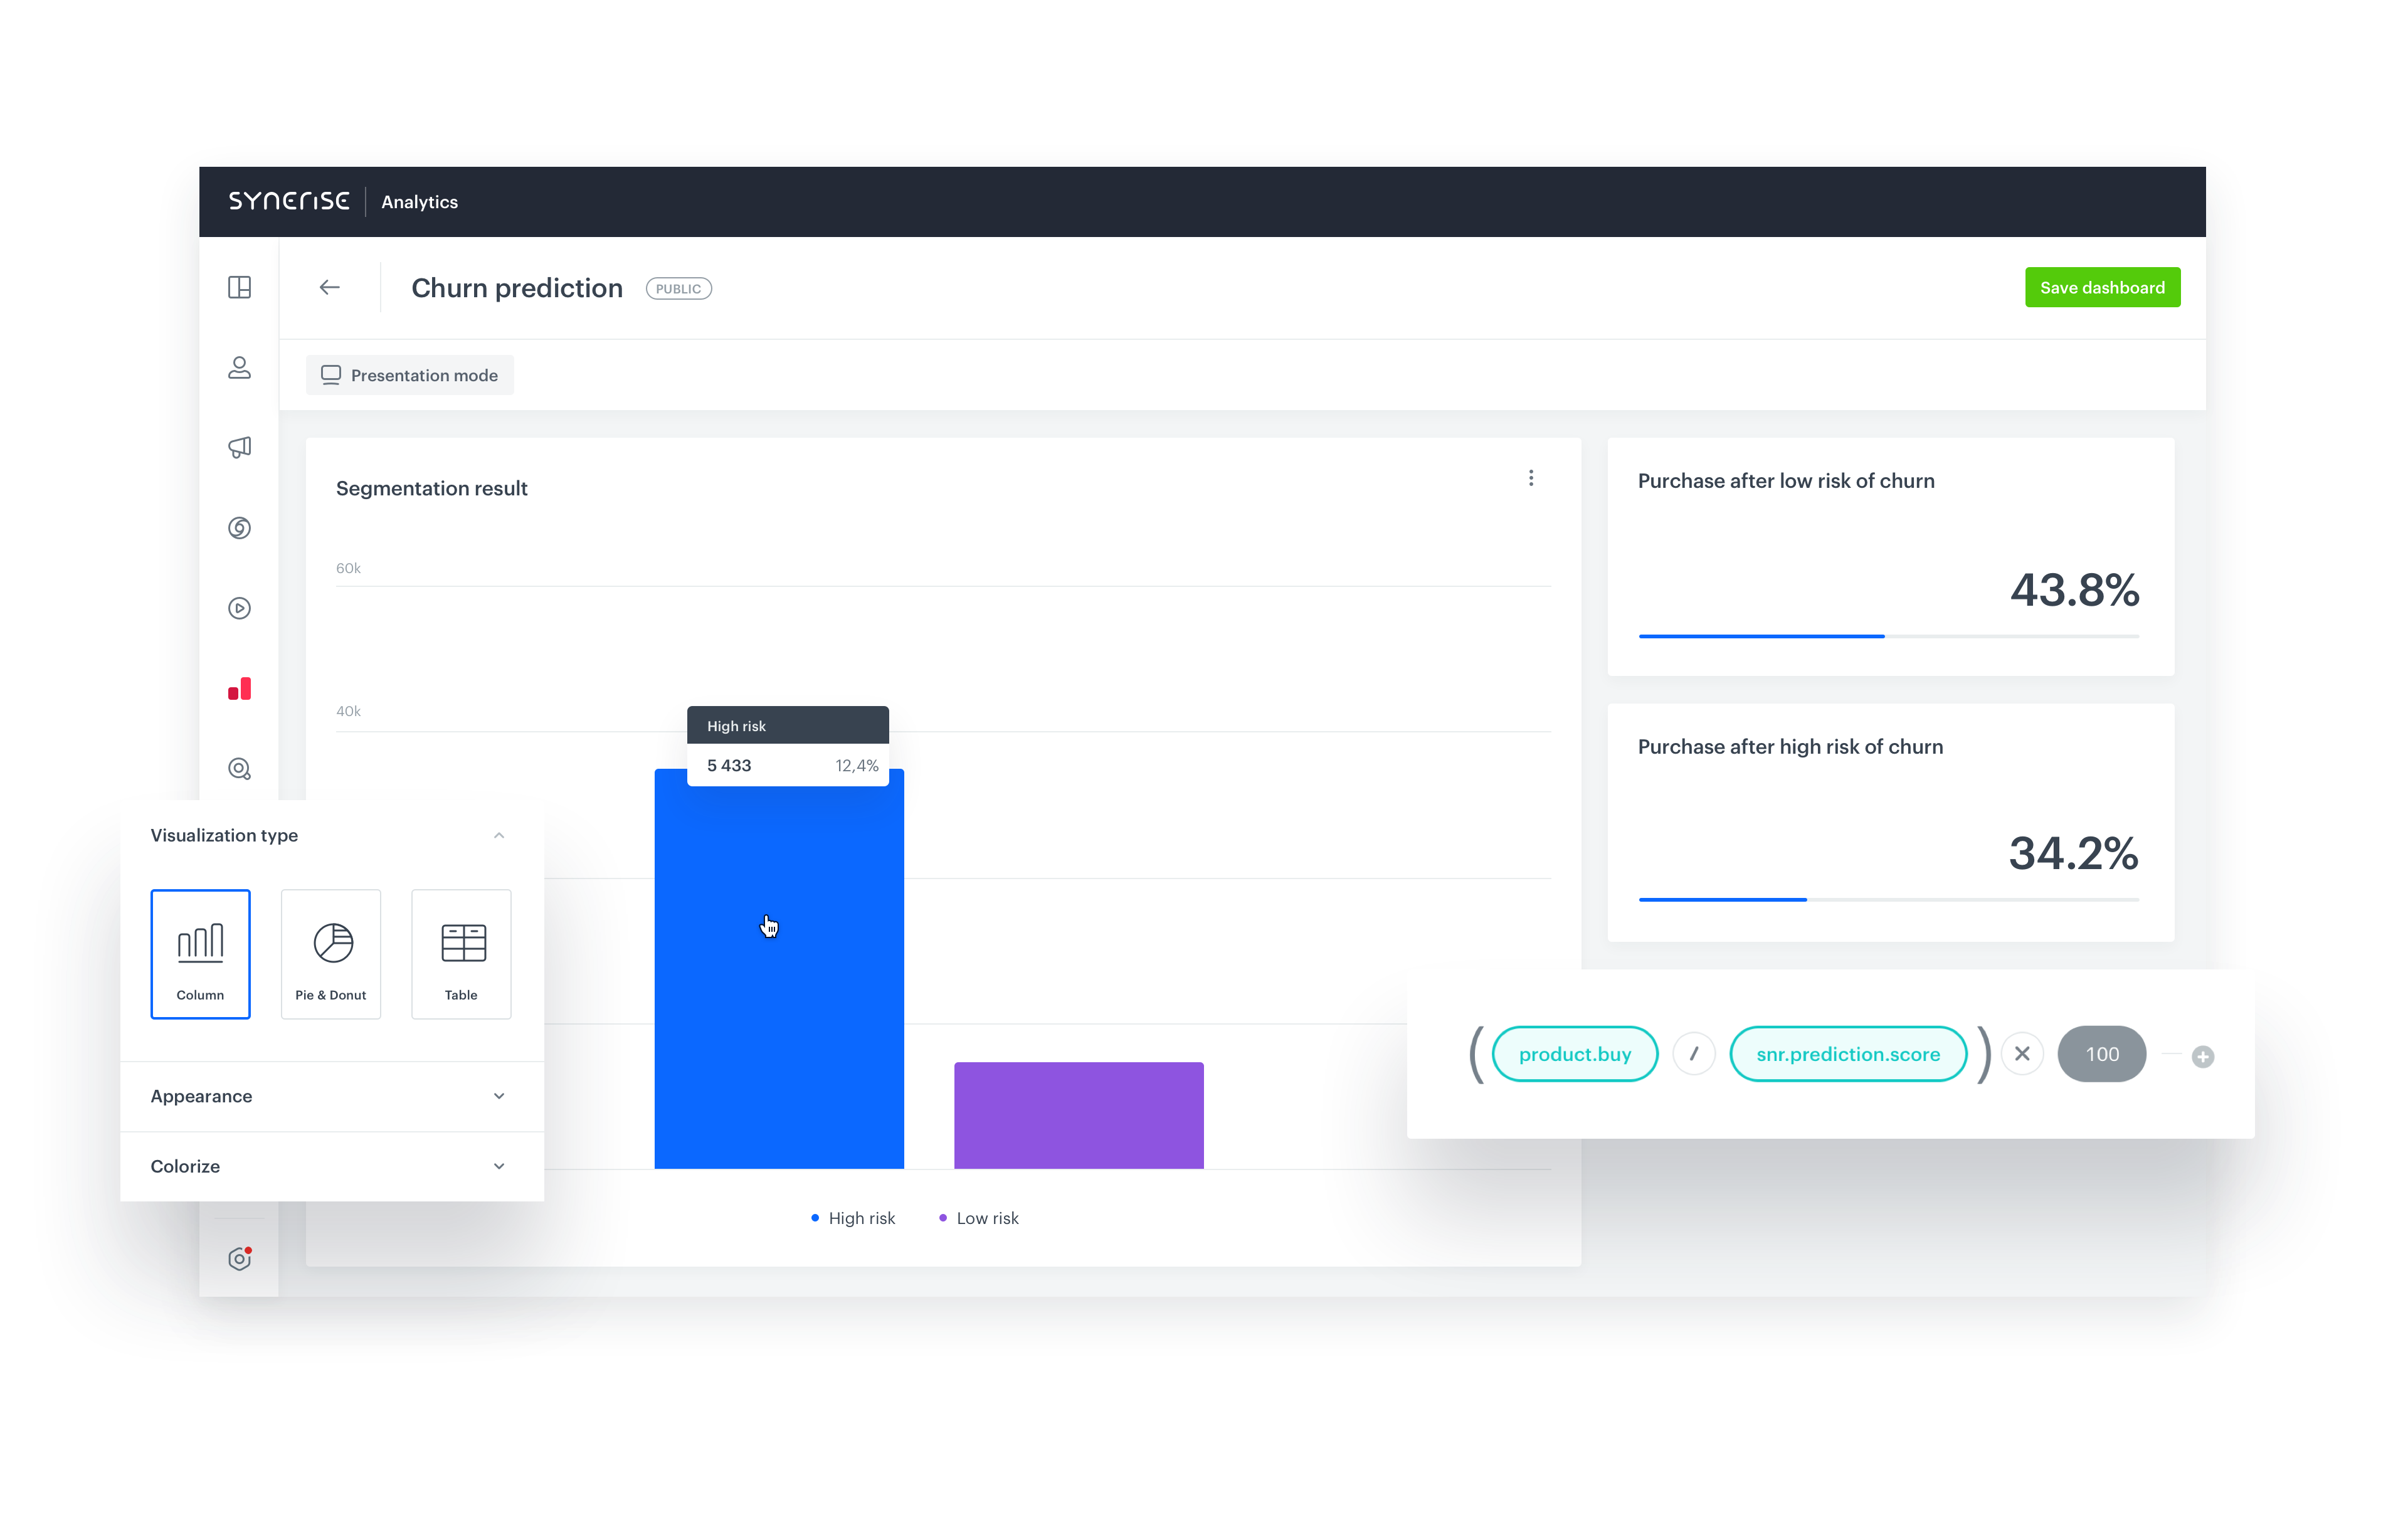
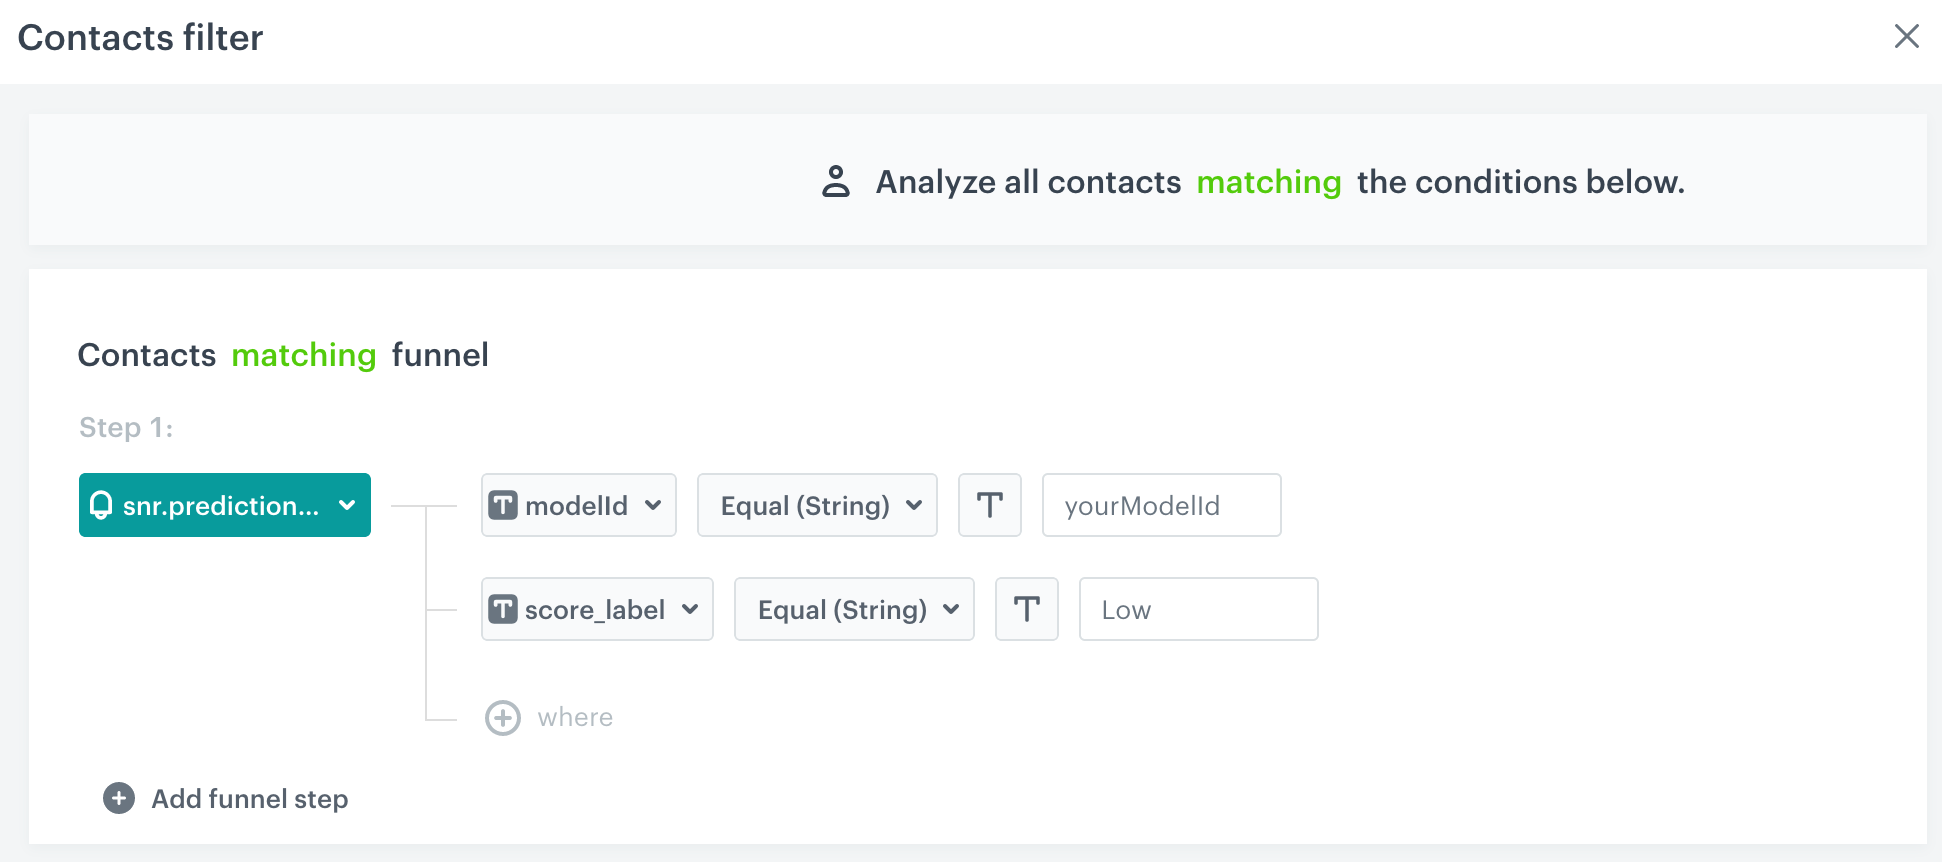

 .
2. Click the widget that appears.
3. In the panel on right, from the **Segmentation** drop-down list, select **Create new**.
**Result:** The segmentation editor opens.
4. Add the segment with customers whose probability of churn is high:
1. Click **Choose filter** and select the `snr.prediction.score` event.
2. Add the following condition: `modelId` equals the ID of the model of the prediction you want to analyze.
.
2. Click the widget that appears.
3. In the panel on right, from the **Segmentation** drop-down list, select **Create new**.
**Result:** The segmentation editor opens.
4. Add the segment with customers whose probability of churn is high:
1. Click **Choose filter** and select the `snr.prediction.score` event.
2. Add the following condition: `modelId` equals the ID of the model of the prediction you want to analyze.
 .
2. Click the widget that appears.
3. From the **Metric** drop-down list, select one of the metrics that you created previously.
4. On the **Style** tab, change **Data format** to **%**.
5. Repeat steps **3a-3d** to add the other metric.
2. Click **Save dashboard**.
**Result:** The dashboard becomes available for viewing and sharing. You can change the date range when viewing the results.
## Check the use case set up on the Synerise Demo workspace
---
You can check the [dashboard](https://app.synerise.com/analytics/dashboards/027184a7-d282-43c4-8acd-8fb192fb5e58) configuration directly in Synerise Demo workspace.
If you’re our partner or client, you already have automatic access to the **Synerise Demo workspace (1590)**, where you can explore all the configured elements of this use case and copy them to your workspace.
If you’re not a partner or client yet, we encourage you to fill out the contact [form](https://demo.synerise.com/request) to schedule a meeting with our representatives. They’ll be happy to show you how our demo works and discuss how you can apply this use case in your business.
## Generated events
This use case does not generate any events.
## Read more
---
- [Dashboards](/docs/analytics/analytics-dashboard)
- [Metrics](/docs/analytics/metrics)
- [Predictions](/docs/ai-hub/predictions)
# Secret sale
---
Personalized offers are more effective than intrusive advertising. When you offer something that is tailored to your target group, it is more likely to be successful. In fact, there are many ways that companies can use **personalized offers to increase their sales**. One of the most popular ways is through personalized discount for a given segment of users who might be interested in such a product. You should use appropriate group of recipients and personalize discount based on their behavior, products they visited etc.
This method is often used to reach out to potential customers and get them interested in **specific offer**.
## Example of use - Retail industry (jewelry)
**Challenge**
For one of our customers we prepared a special temporary campaign that worked for the needs of the internal marketing strategy.
For a given segment of users, the client offered a reduction in the prices of products from 5 collections if the product chosen by the user had the right weight of stones. In this case it was one carat. We segregated the appropriate group of recipients who might be interested in such a product (they visited products from these collections). Then, we displayed a message to them **when they clicked on the dropdown menu with the weight of the stone**. The message was visible only to logged-in users. Also, in order to check how the campaign worked, we collected information on the size of the stones that were added on the product card and what was finally placed in the basket.

## Requirements
---
- Tracker key
- Sending data about the carats based on custom events
## How to do it
---
1. Create dynamic content that contains code that will display messages.
.
2. Click the widget that appears.
3. From the **Metric** drop-down list, select one of the metrics that you created previously.
4. On the **Style** tab, change **Data format** to **%**.
5. Repeat steps **3a-3d** to add the other metric.
2. Click **Save dashboard**.
**Result:** The dashboard becomes available for viewing and sharing. You can change the date range when viewing the results.
## Check the use case set up on the Synerise Demo workspace
---
You can check the [dashboard](https://app.synerise.com/analytics/dashboards/027184a7-d282-43c4-8acd-8fb192fb5e58) configuration directly in Synerise Demo workspace.
If you’re our partner or client, you already have automatic access to the **Synerise Demo workspace (1590)**, where you can explore all the configured elements of this use case and copy them to your workspace.
If you’re not a partner or client yet, we encourage you to fill out the contact [form](https://demo.synerise.com/request) to schedule a meeting with our representatives. They’ll be happy to show you how our demo works and discuss how you can apply this use case in your business.
## Generated events
This use case does not generate any events.
## Read more
---
- [Dashboards](/docs/analytics/analytics-dashboard)
- [Metrics](/docs/analytics/metrics)
- [Predictions](/docs/ai-hub/predictions)
# Secret sale
---
Personalized offers are more effective than intrusive advertising. When you offer something that is tailored to your target group, it is more likely to be successful. In fact, there are many ways that companies can use **personalized offers to increase their sales**. One of the most popular ways is through personalized discount for a given segment of users who might be interested in such a product. You should use appropriate group of recipients and personalize discount based on their behavior, products they visited etc.
This method is often used to reach out to potential customers and get them interested in **specific offer**.
## Example of use - Retail industry (jewelry)
**Challenge**
For one of our customers we prepared a special temporary campaign that worked for the needs of the internal marketing strategy.
For a given segment of users, the client offered a reduction in the prices of products from 5 collections if the product chosen by the user had the right weight of stones. In this case it was one carat. We segregated the appropriate group of recipients who might be interested in such a product (they visited products from these collections). Then, we displayed a message to them **when they clicked on the dropdown menu with the weight of the stone**. The message was visible only to logged-in users. Also, in order to check how the campaign worked, we collected information on the size of the stones that were added on the product card and what was finally placed in the basket.

## Requirements
---
- Tracker key
- Sending data about the carats based on custom events
## How to do it
---
1. Create dynamic content that contains code that will display messages.
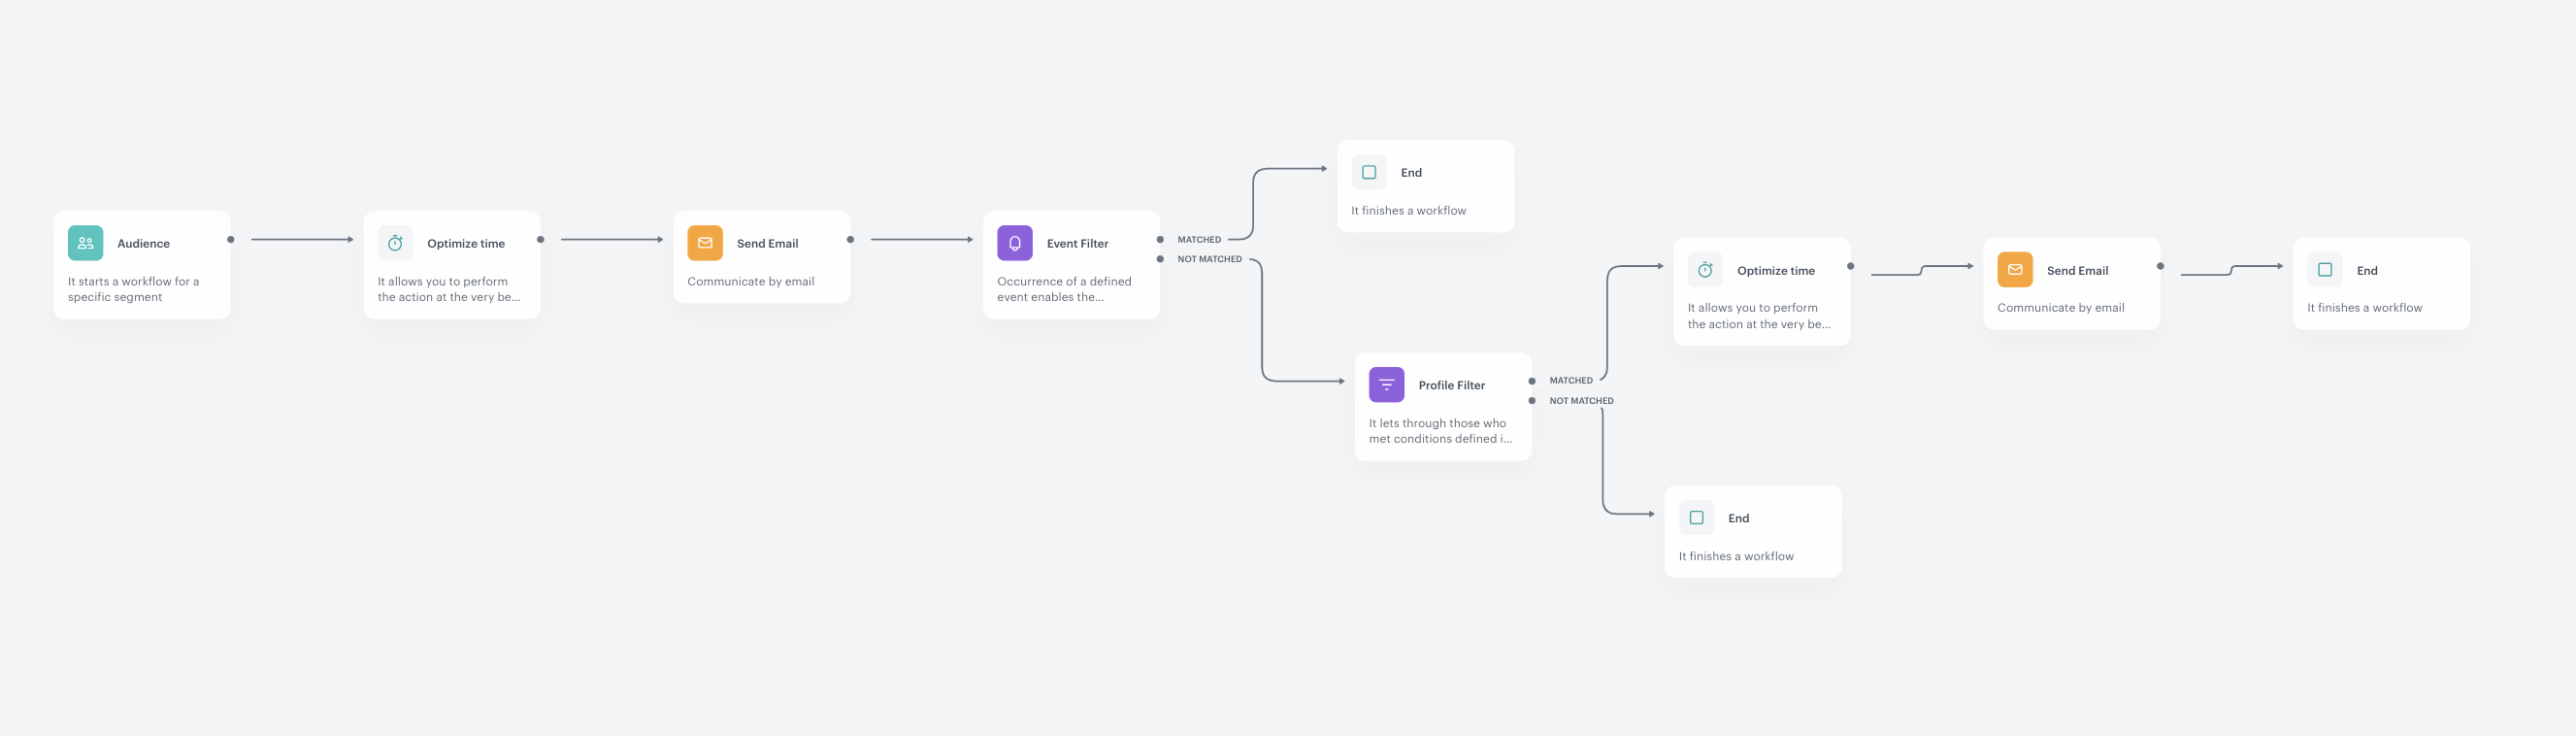
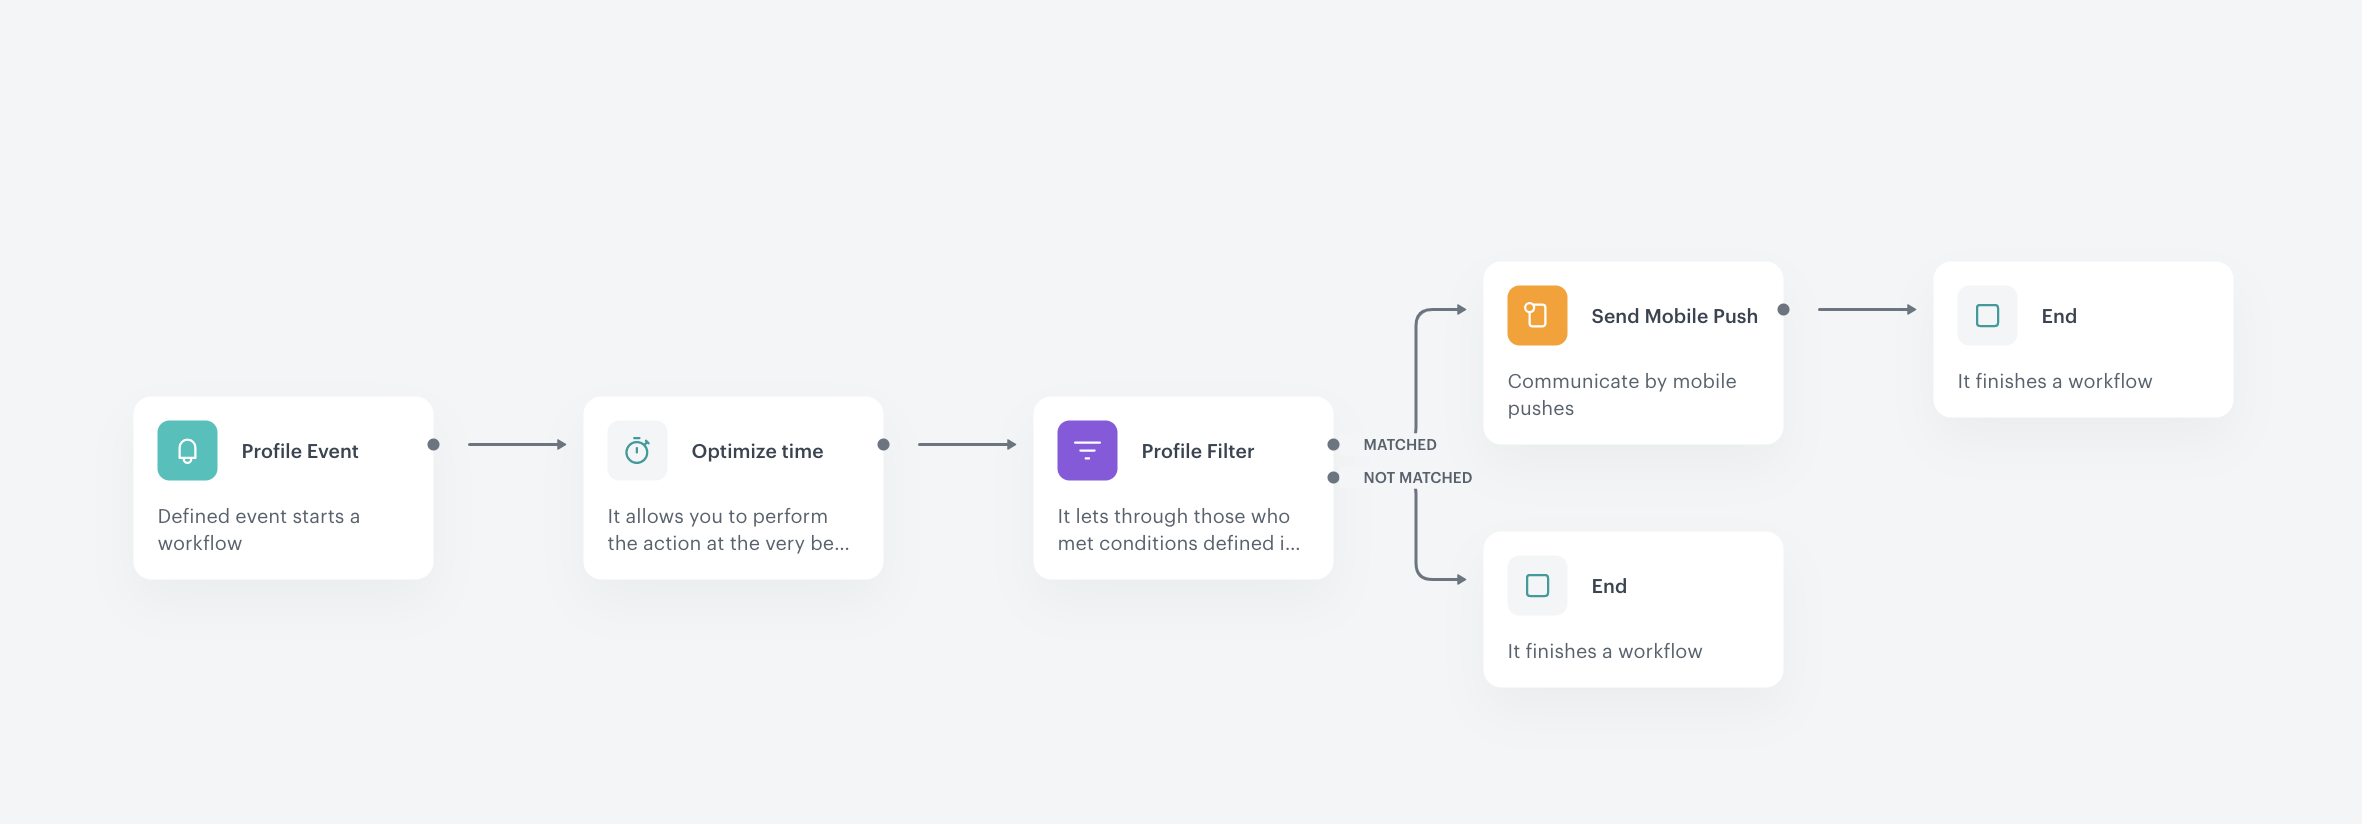
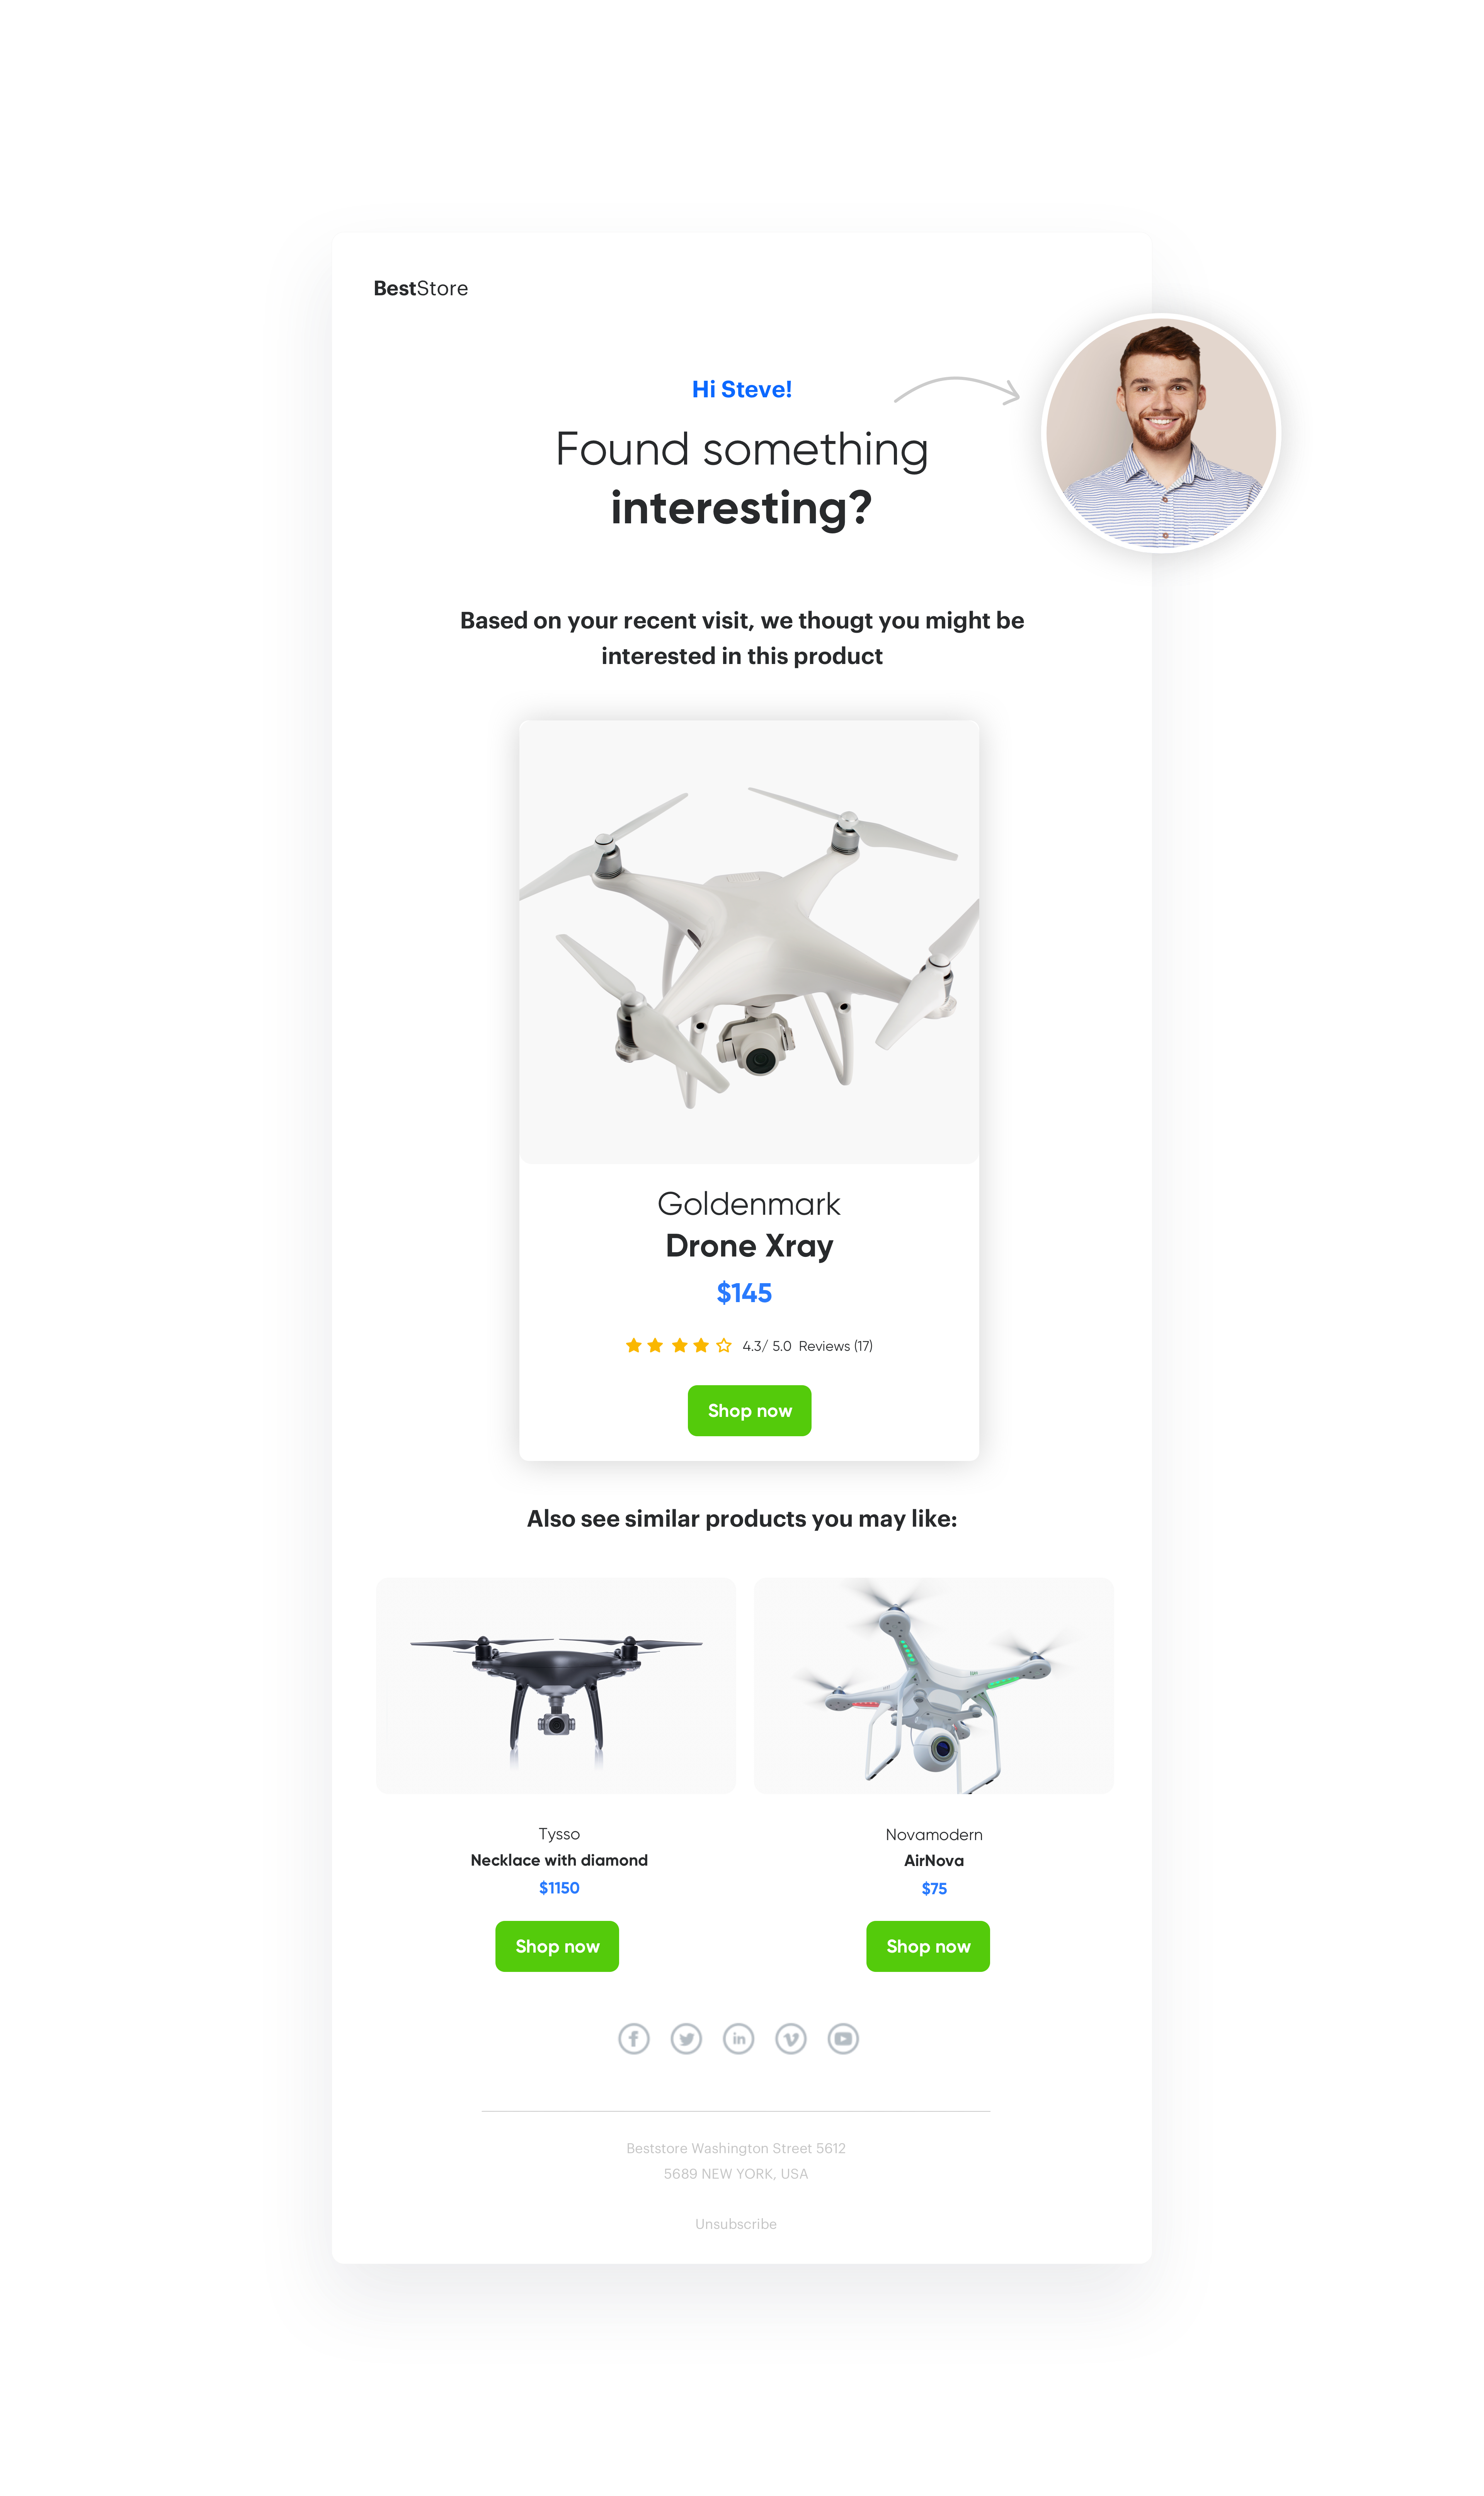

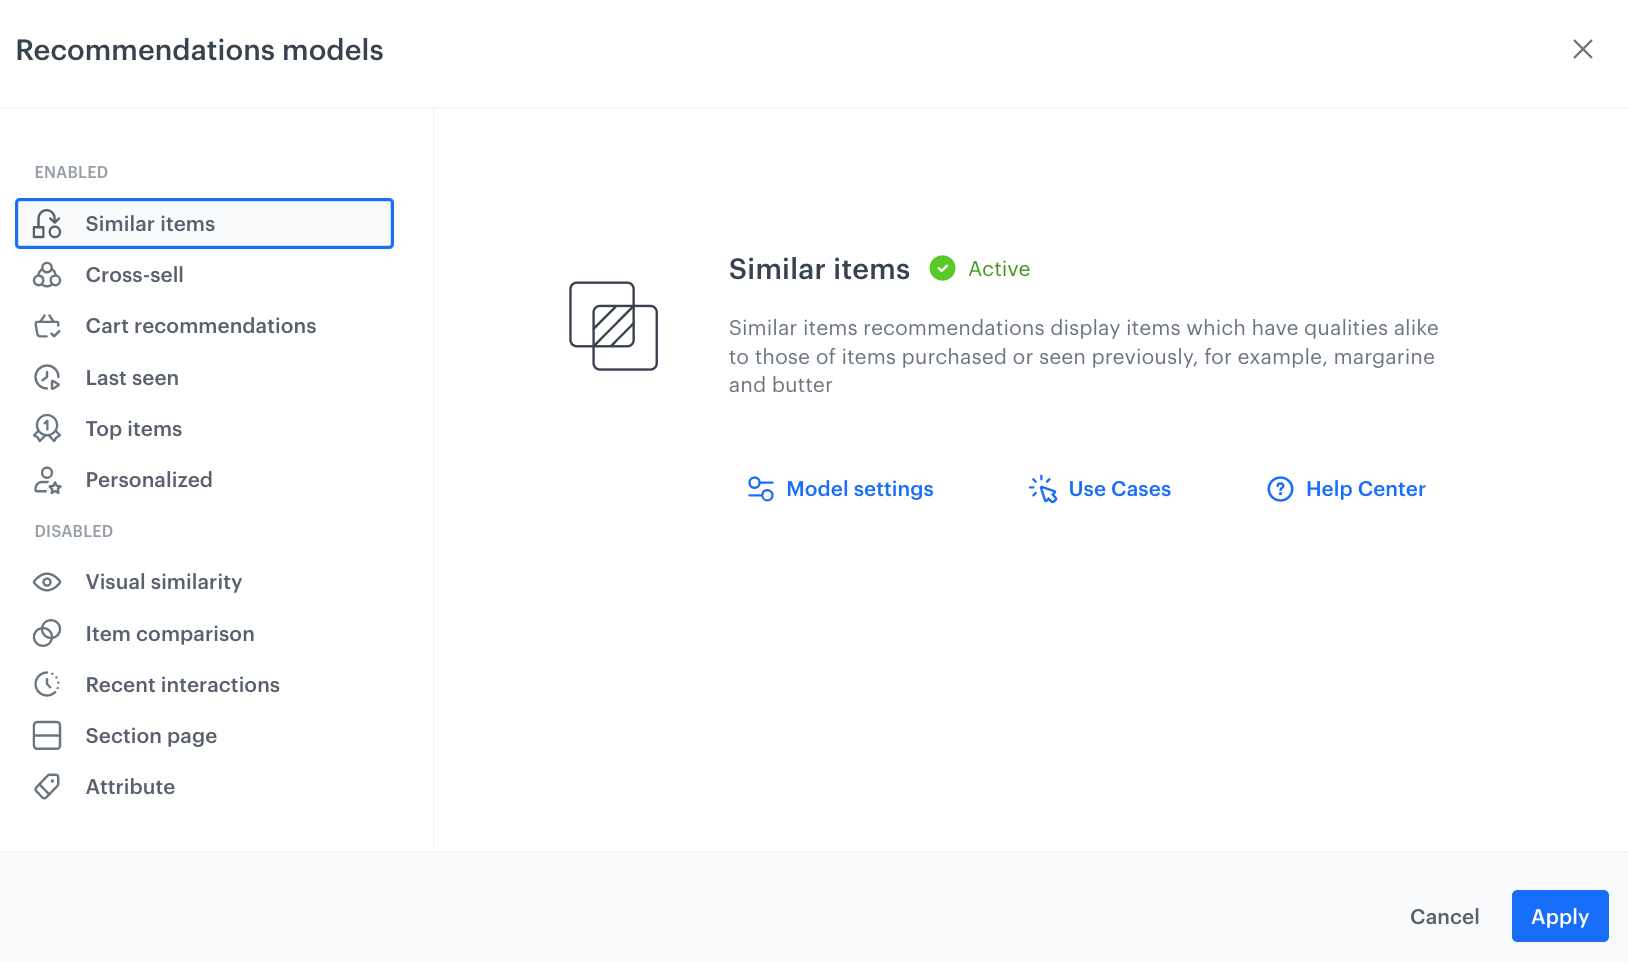
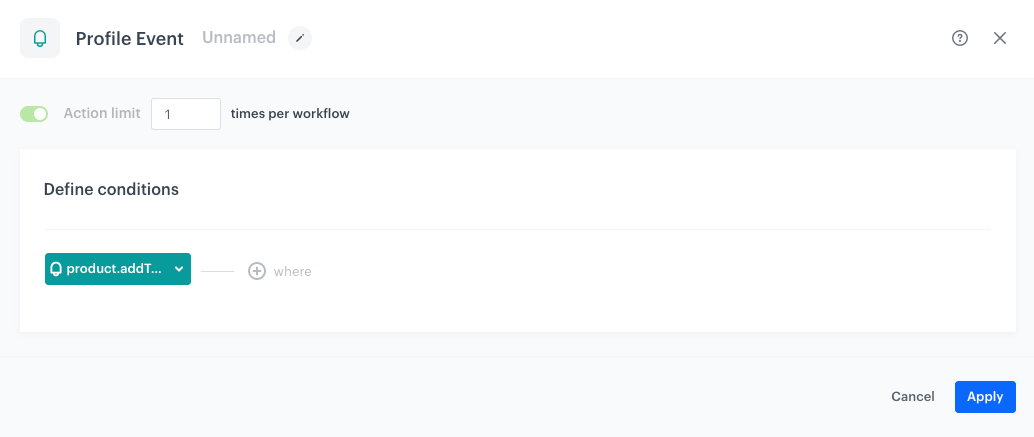
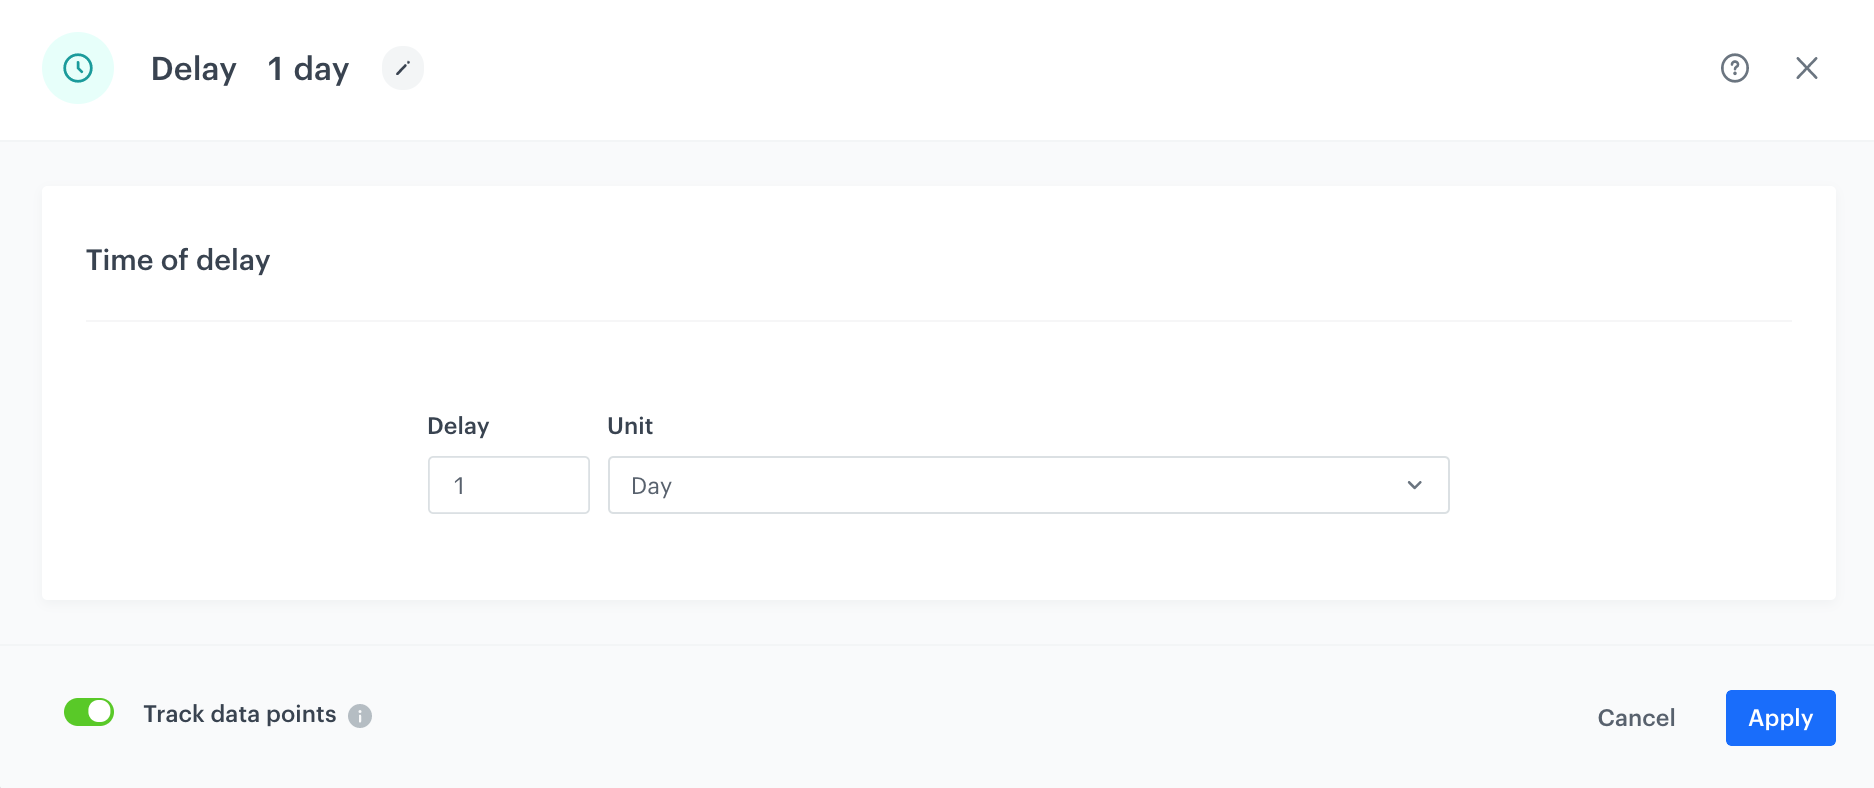
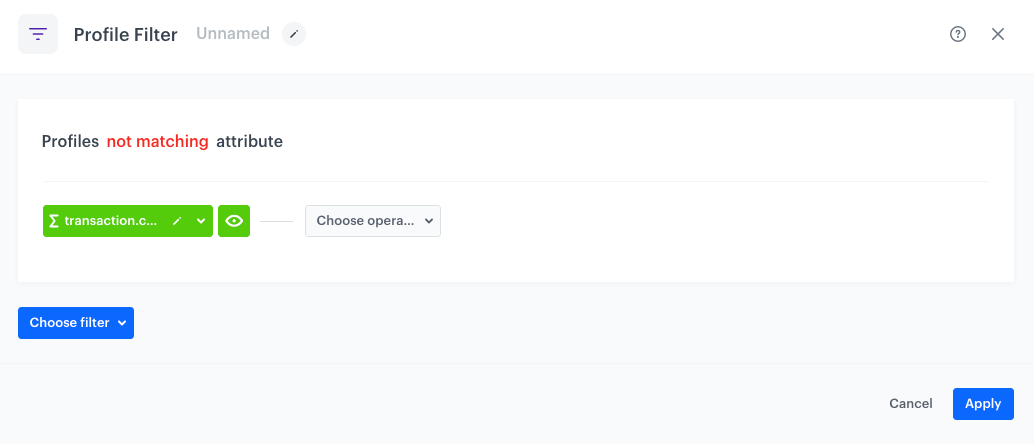
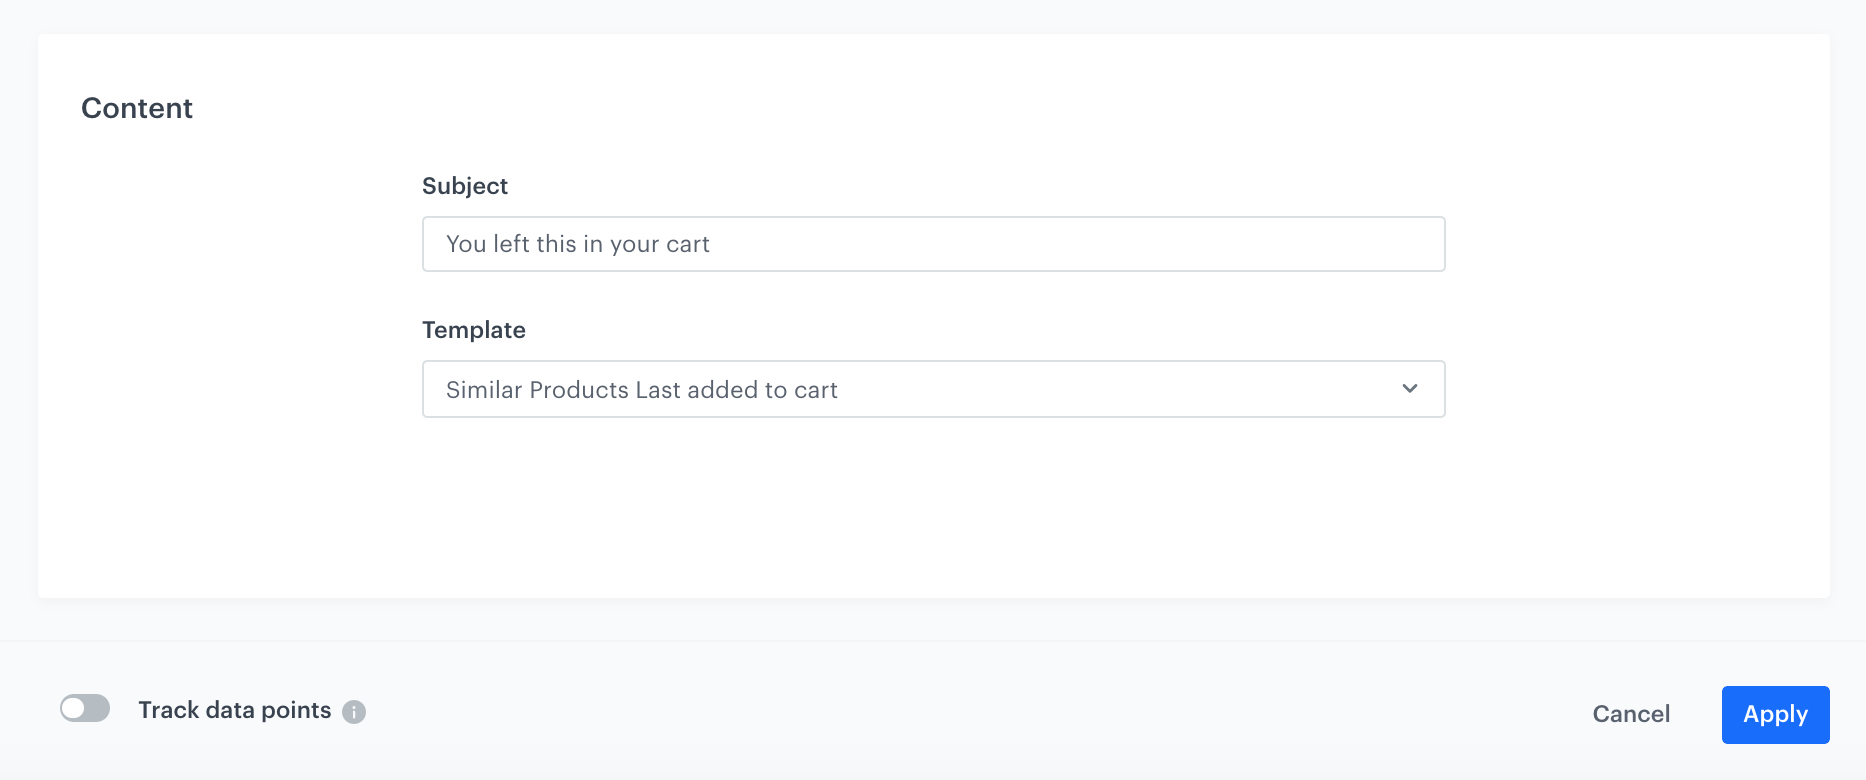
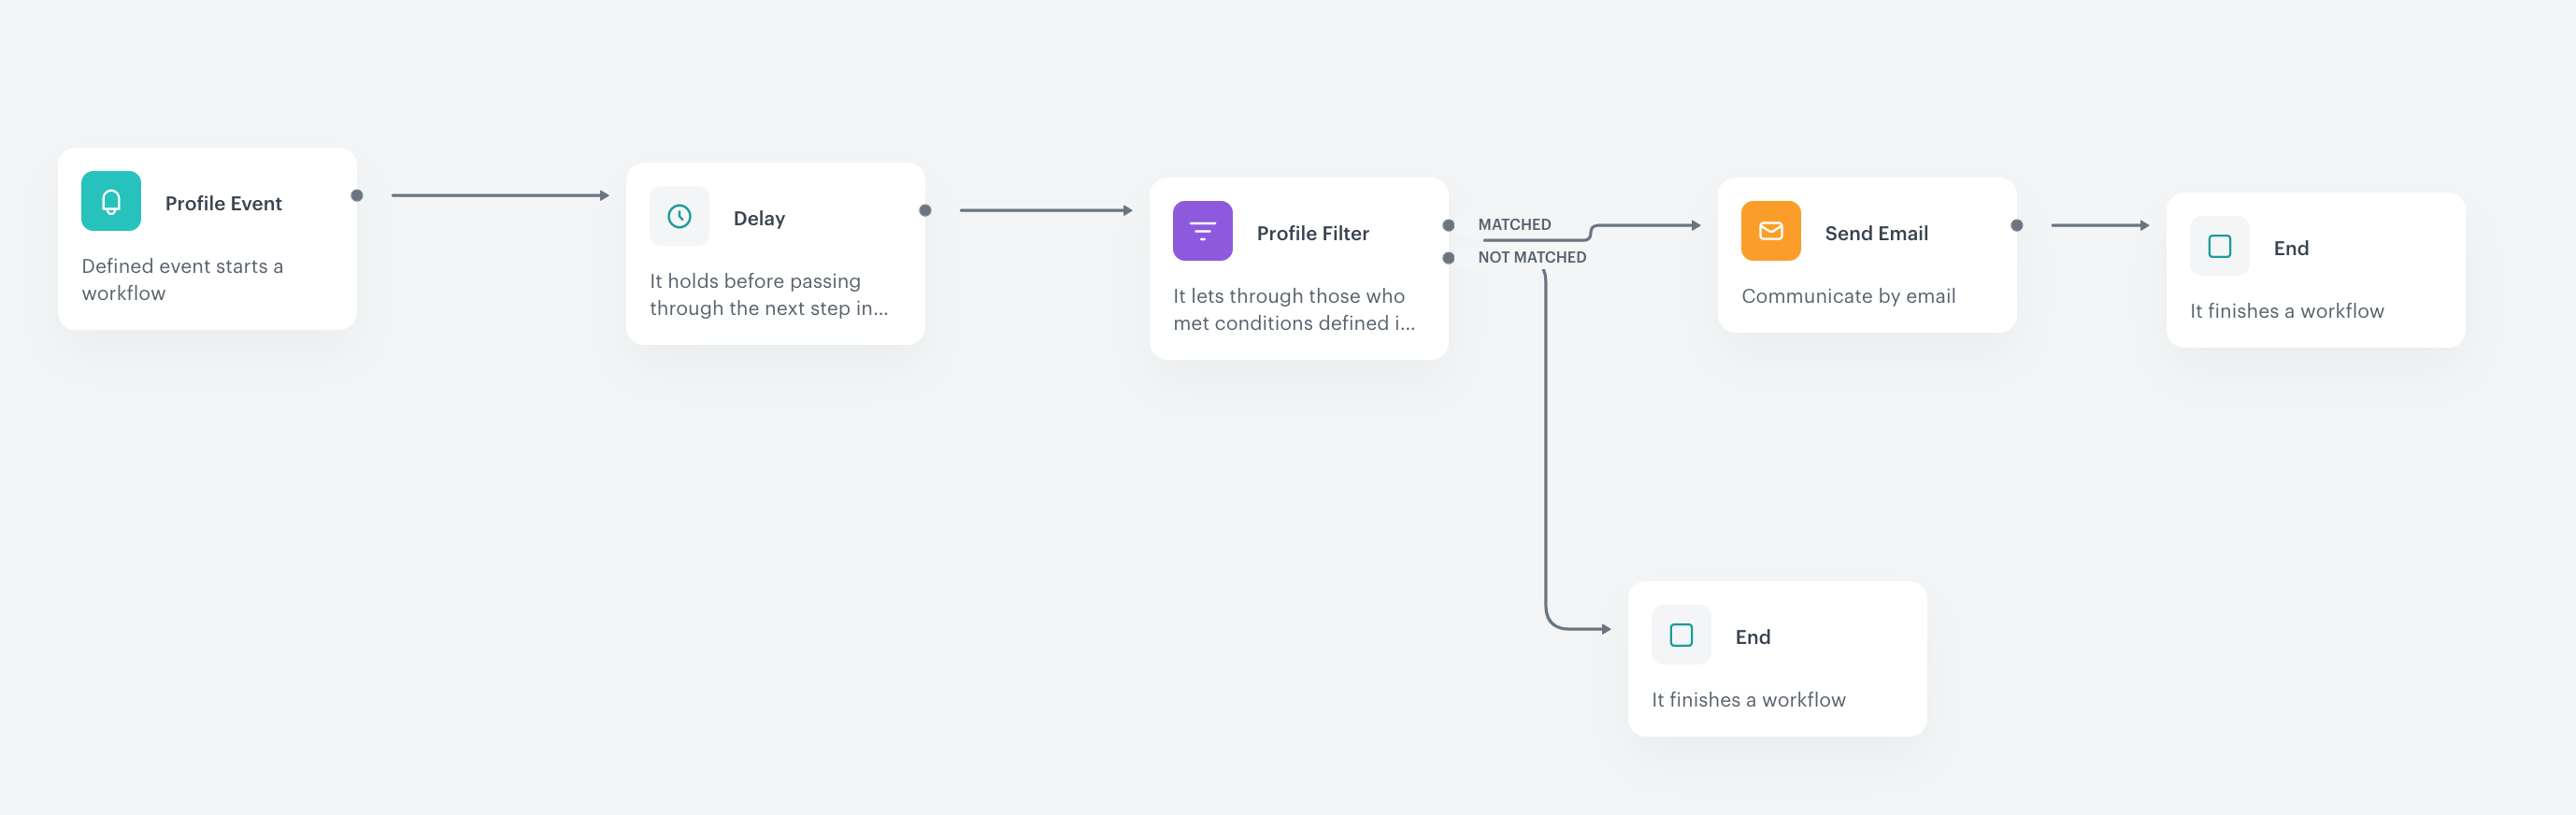
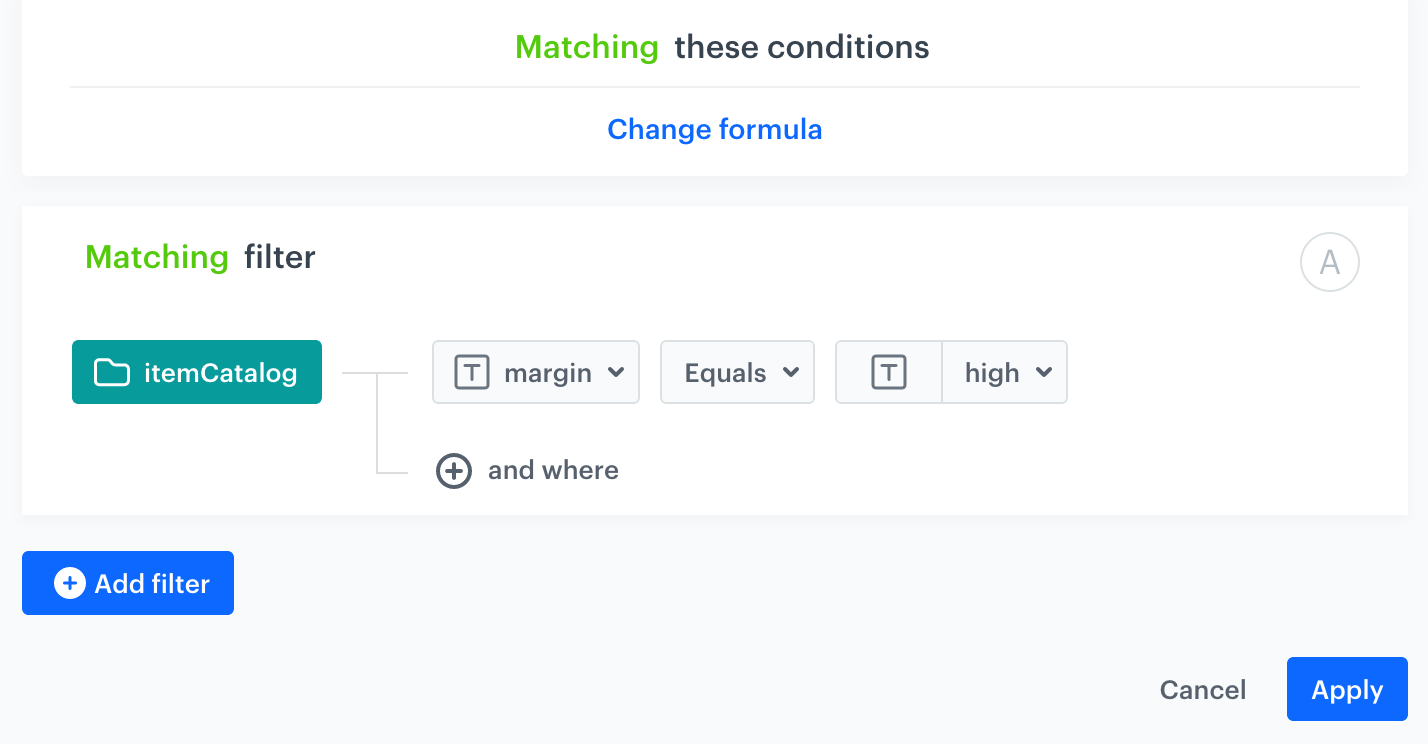
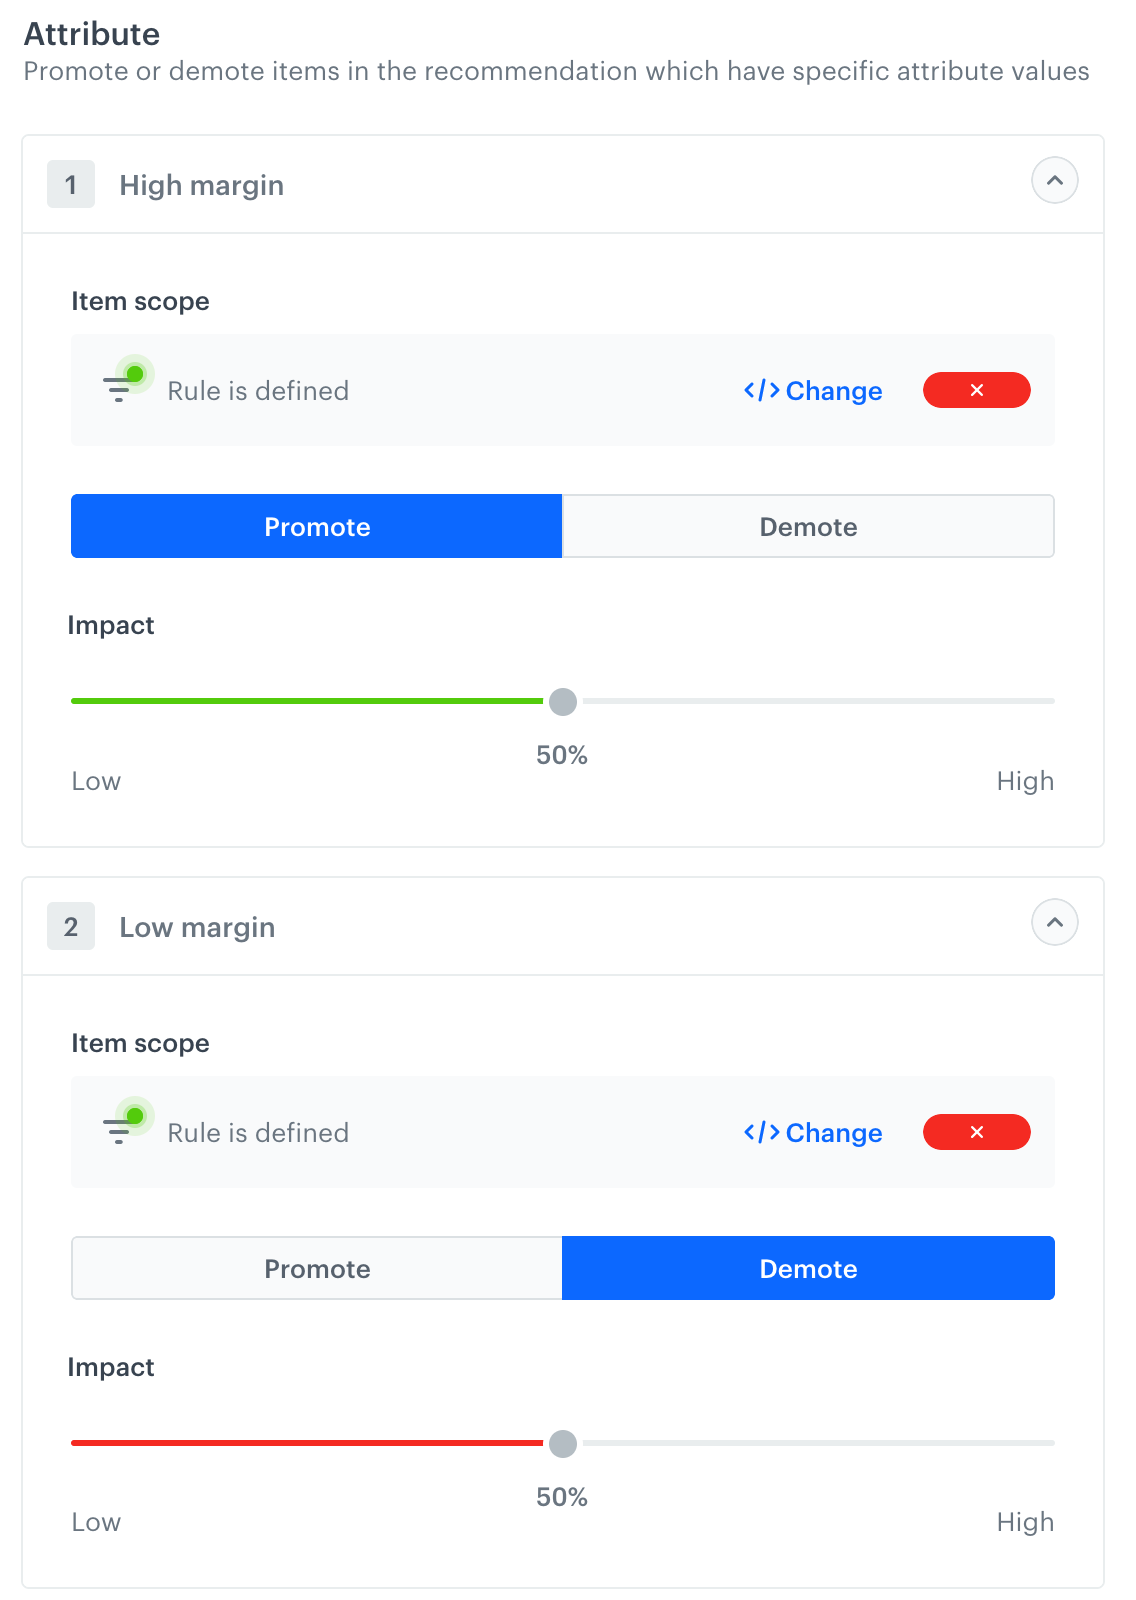
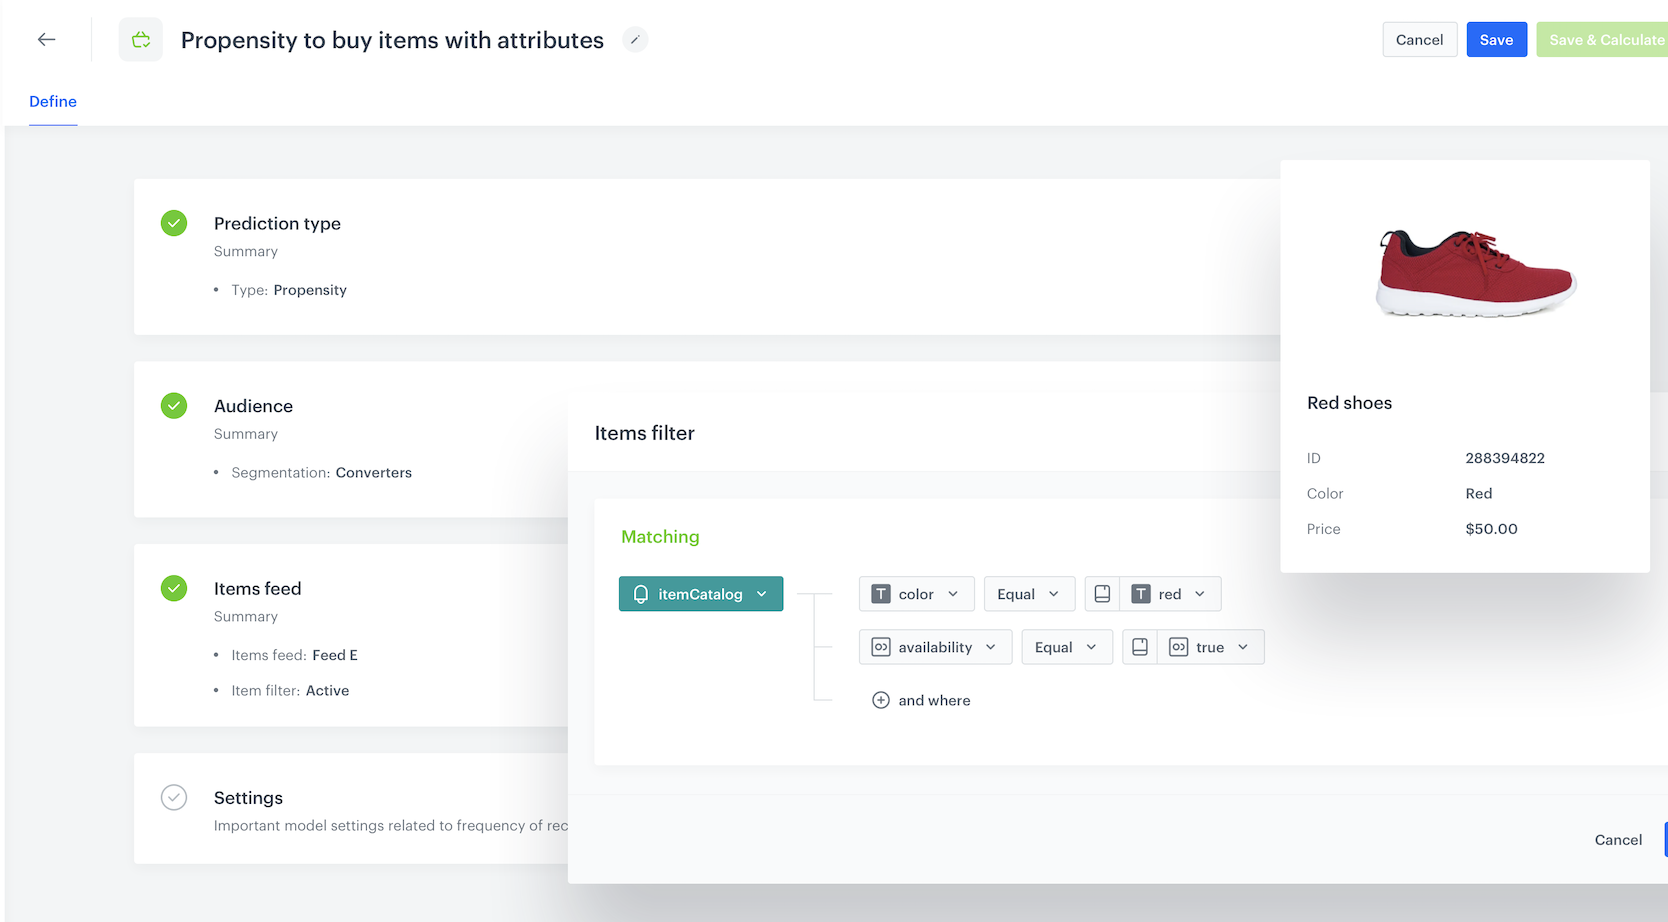
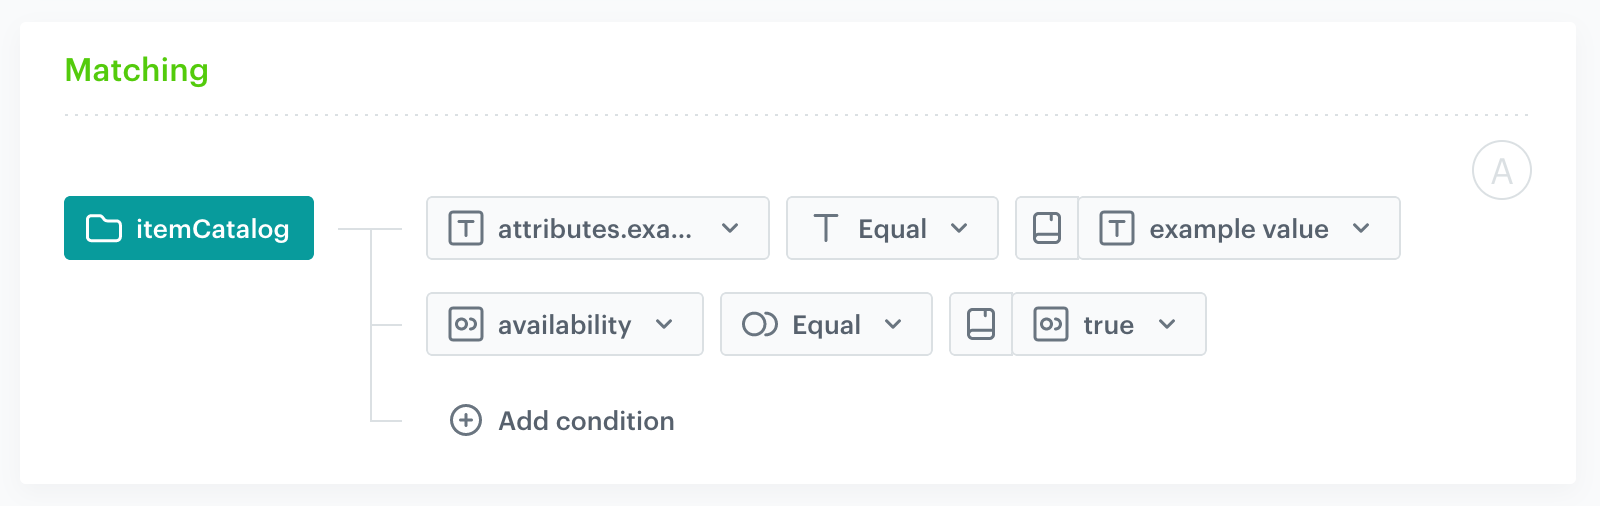
 ).
5. Click **Save**.
).
5. Click **Save**.
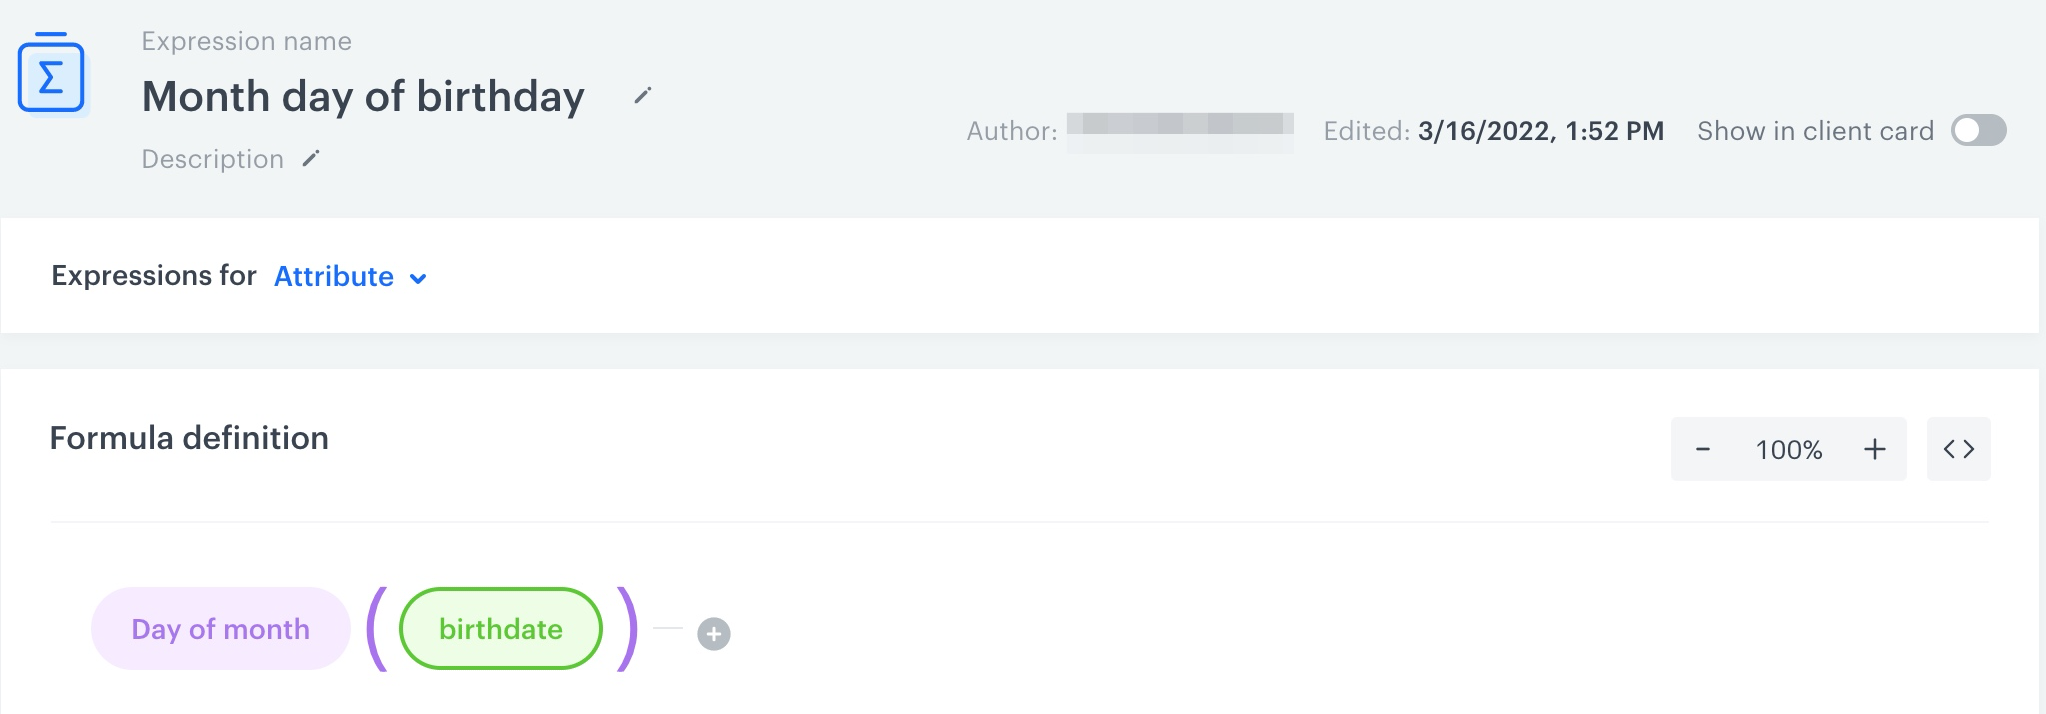
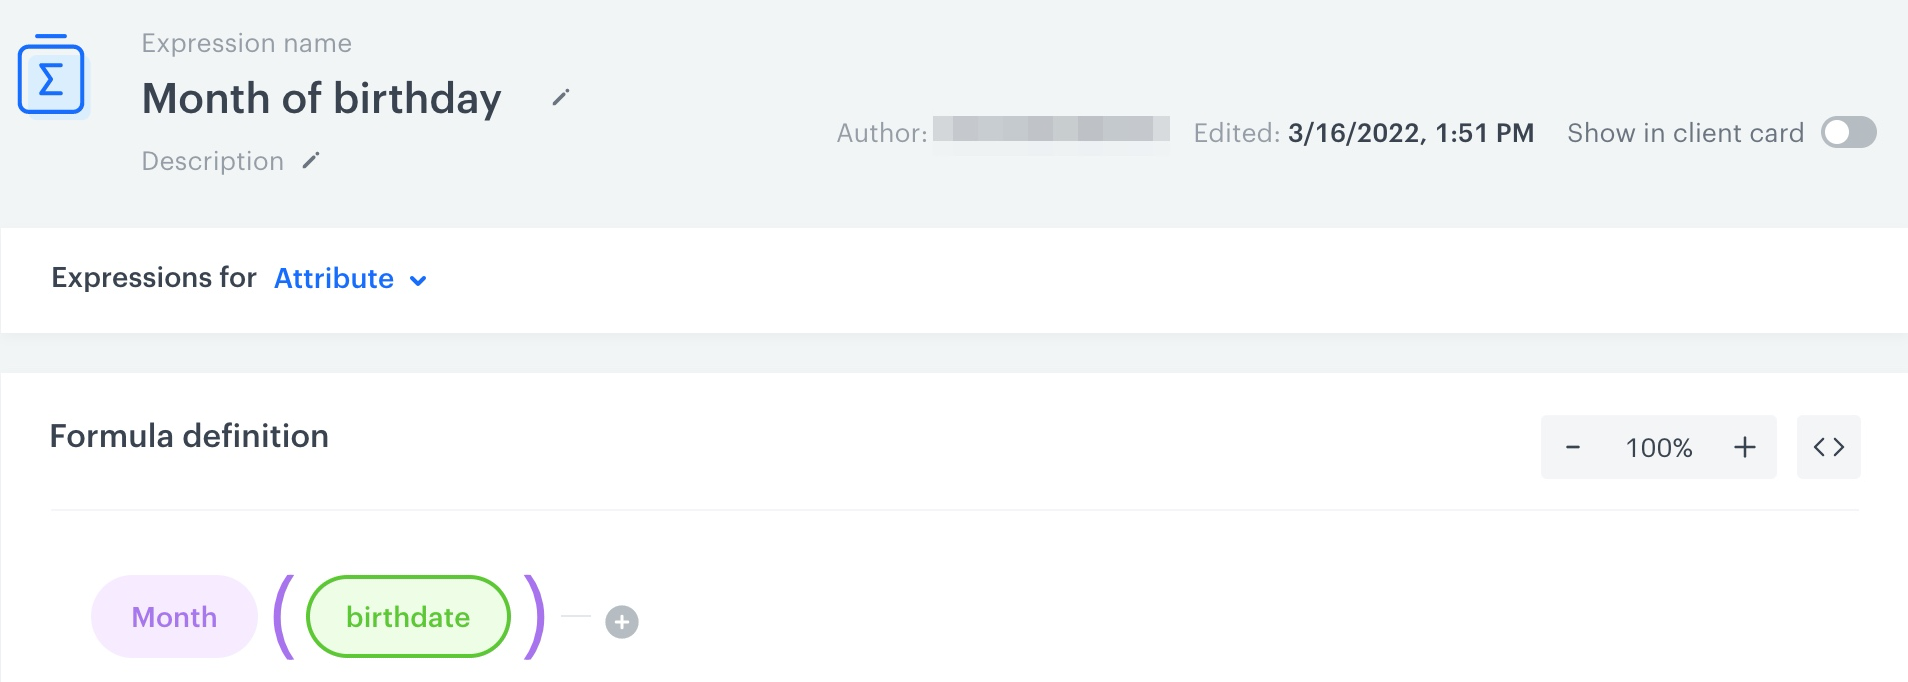
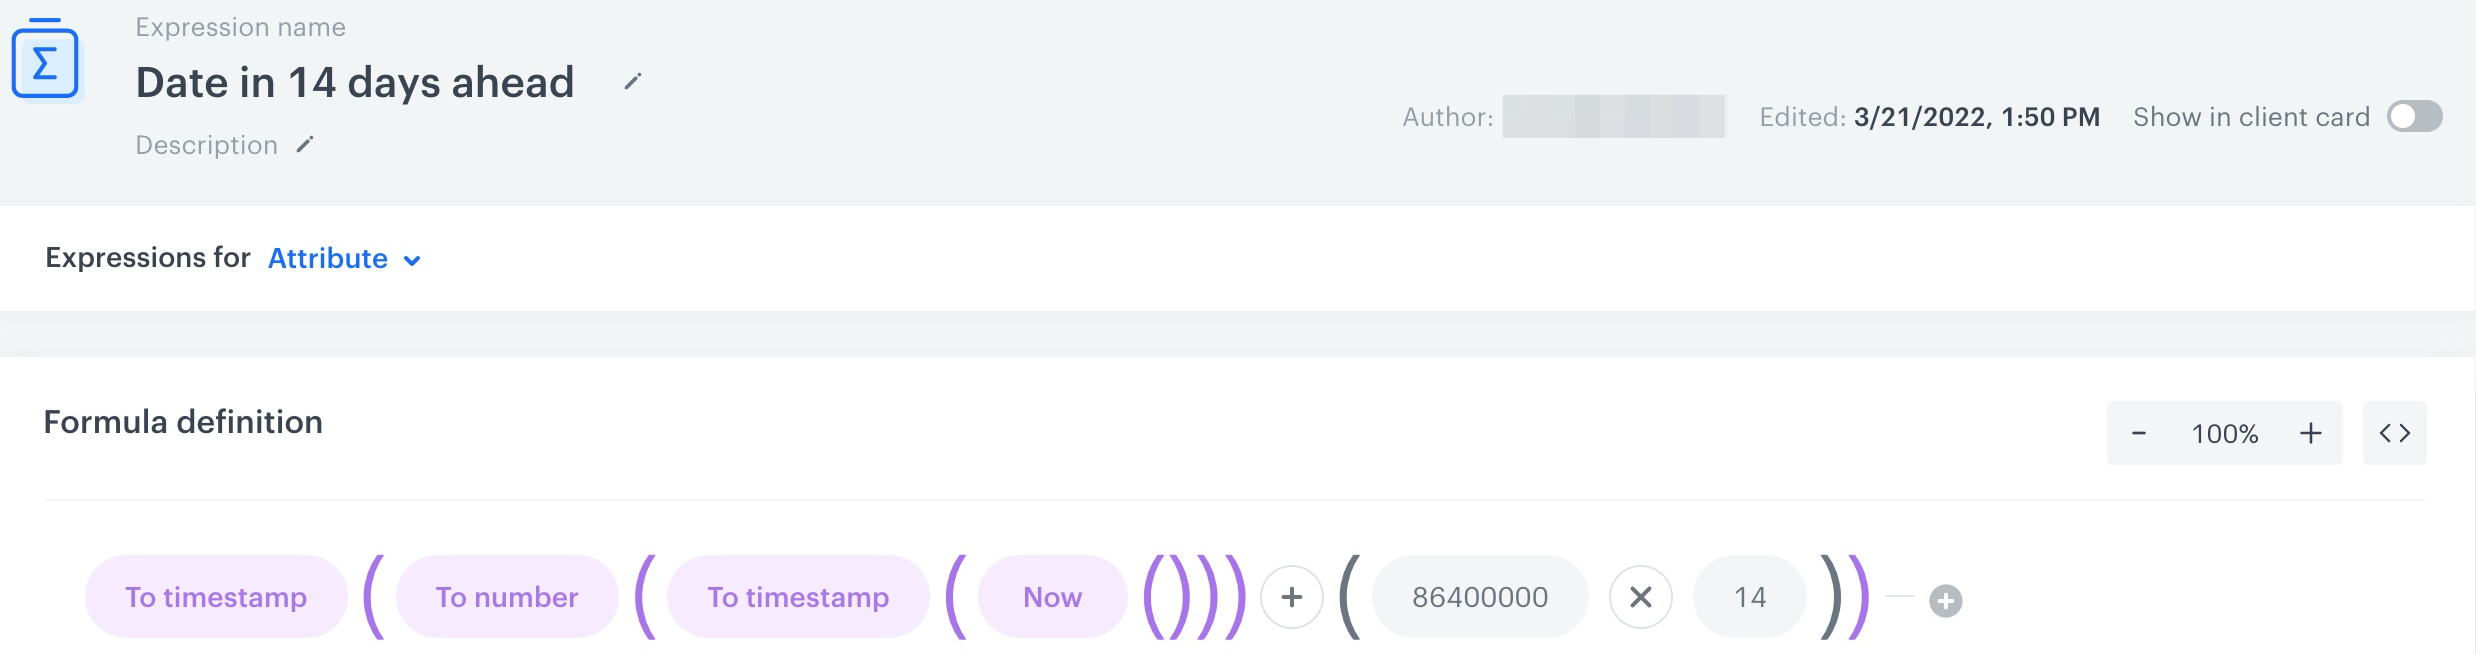

 icon.
10. Select **Is true**.
icon.
10. Select **Is true**.
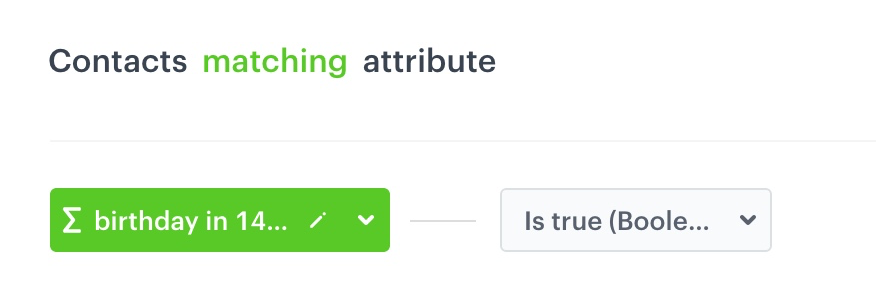
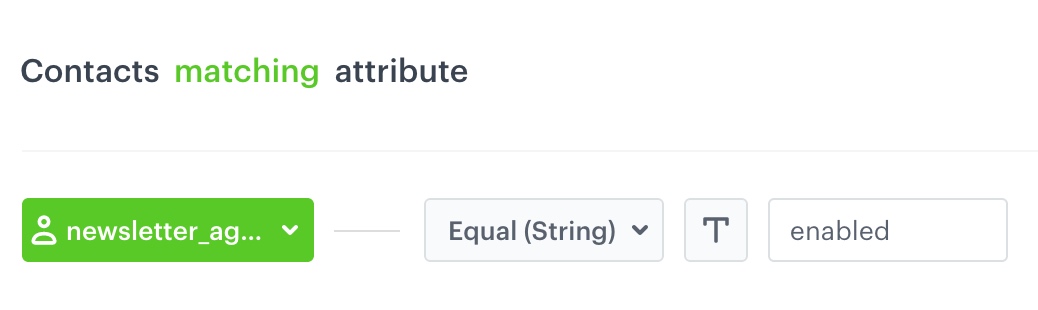
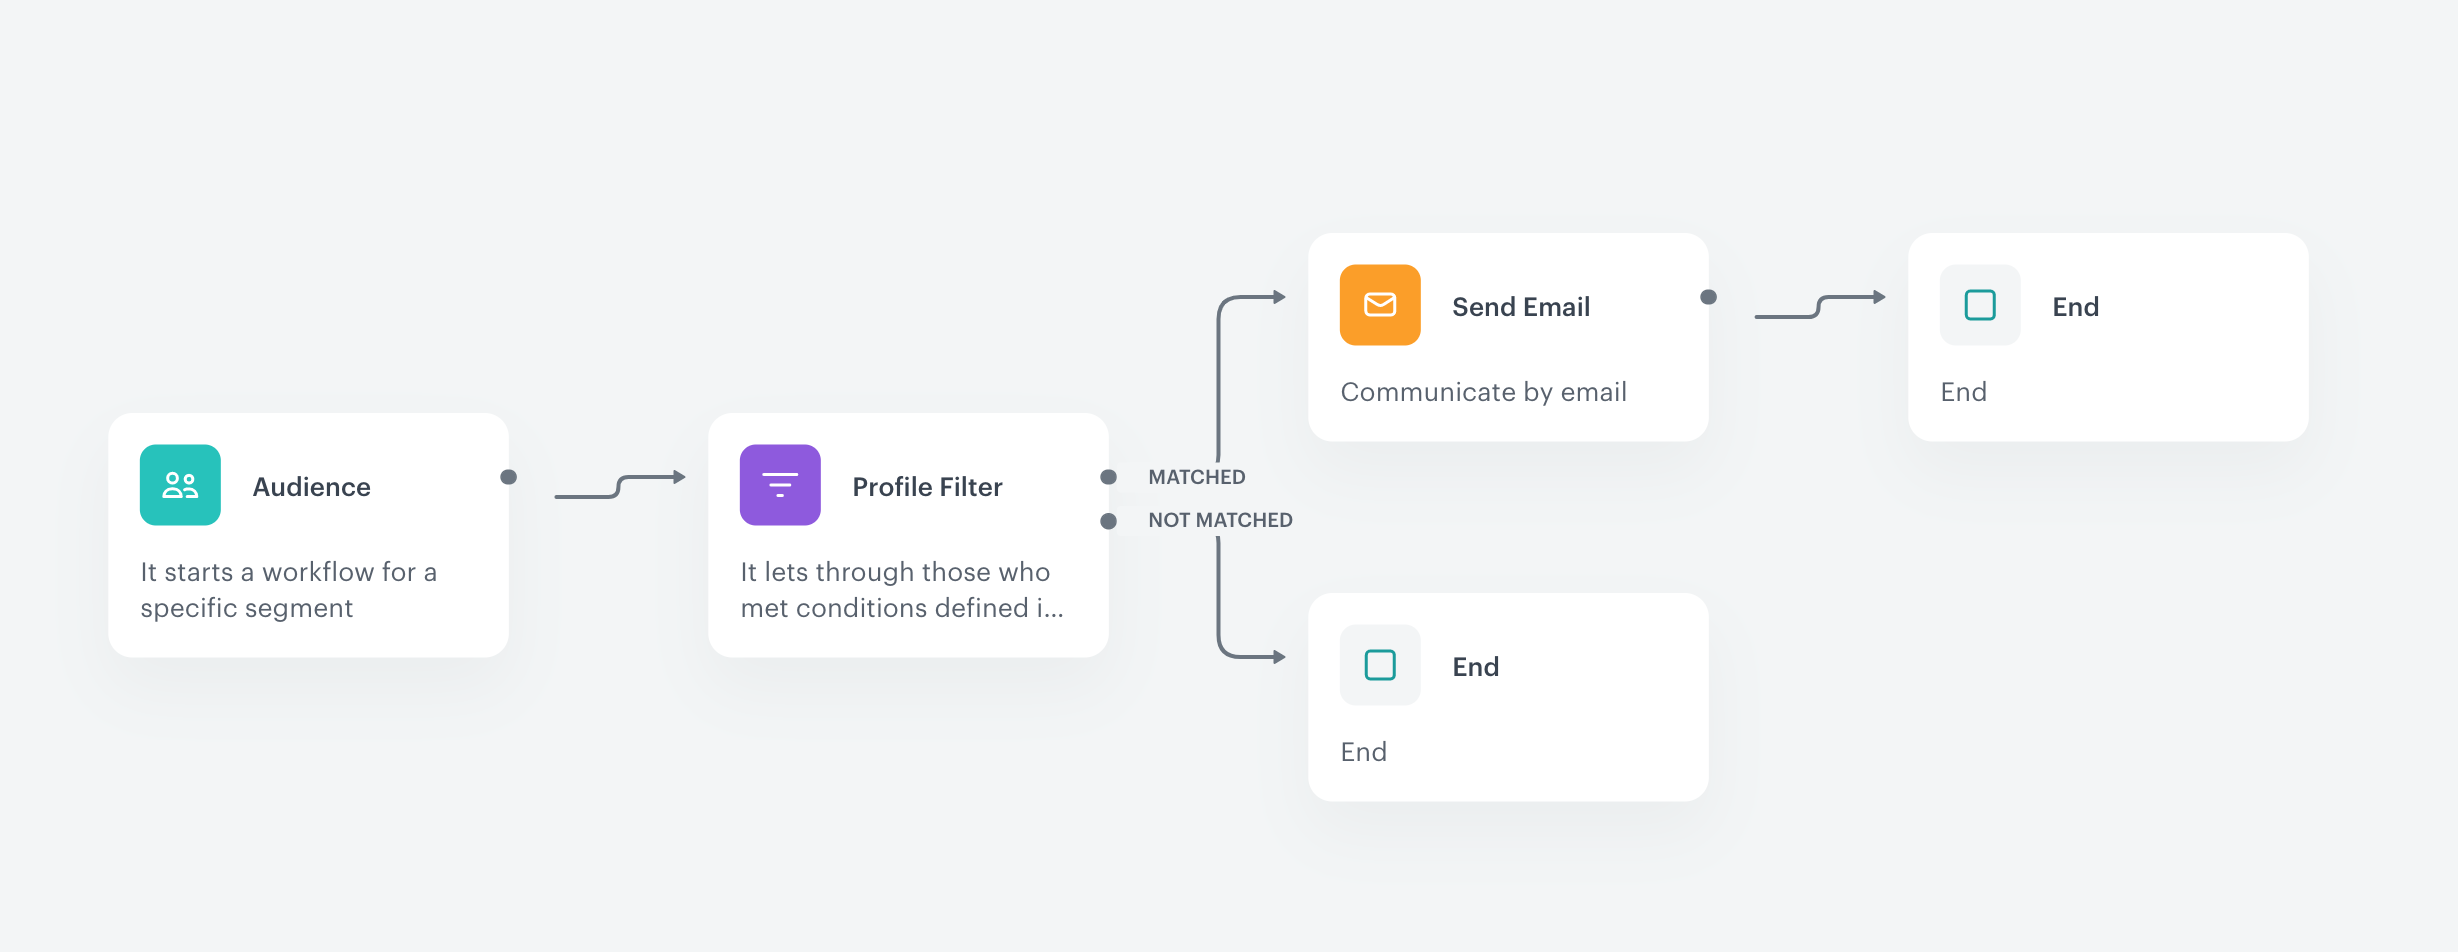
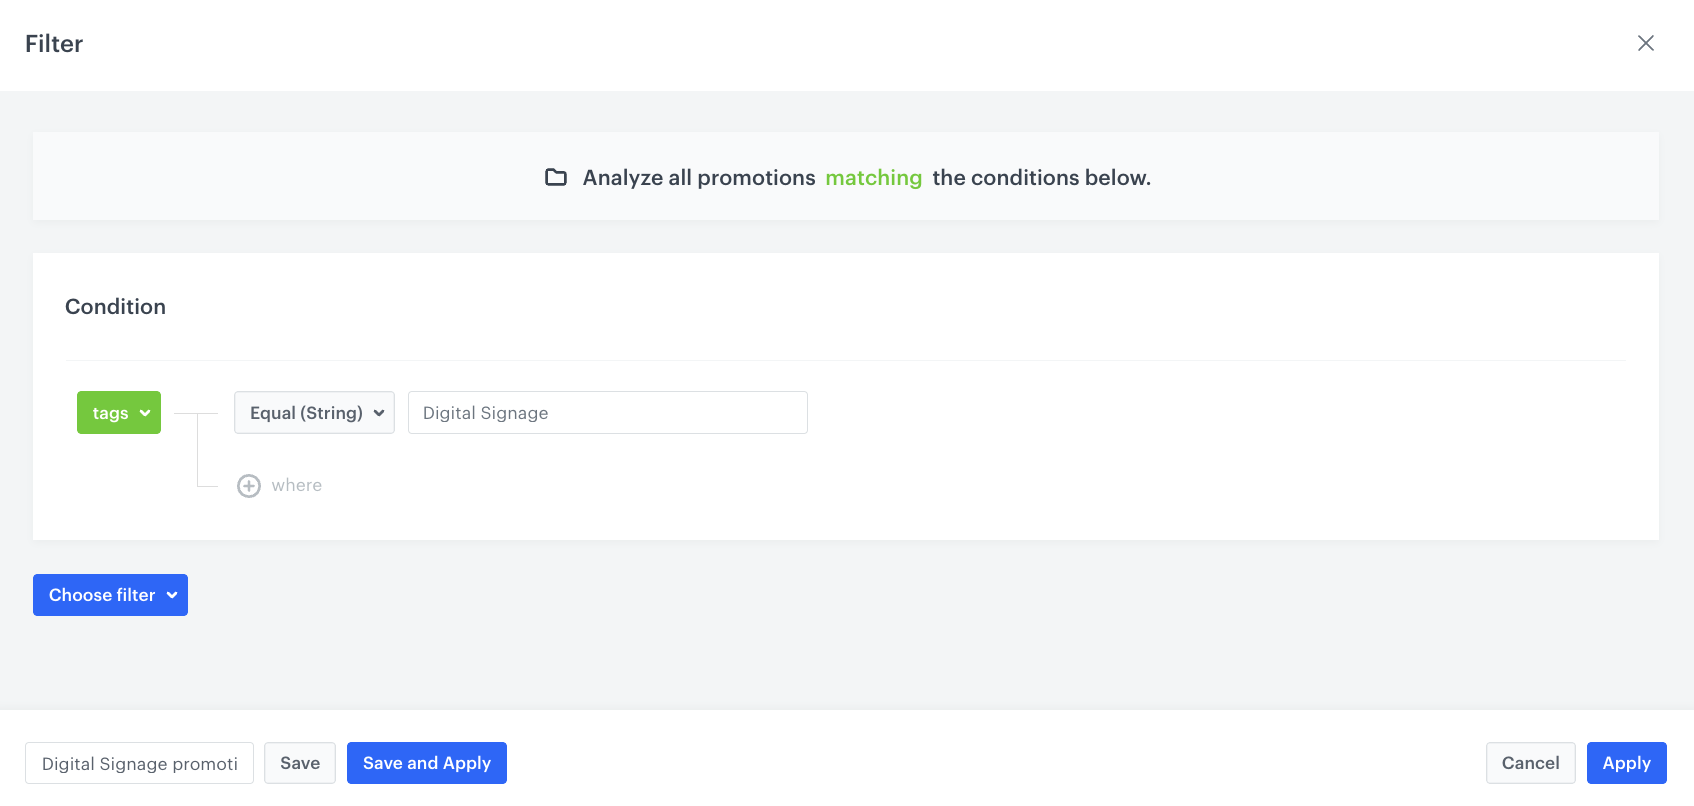
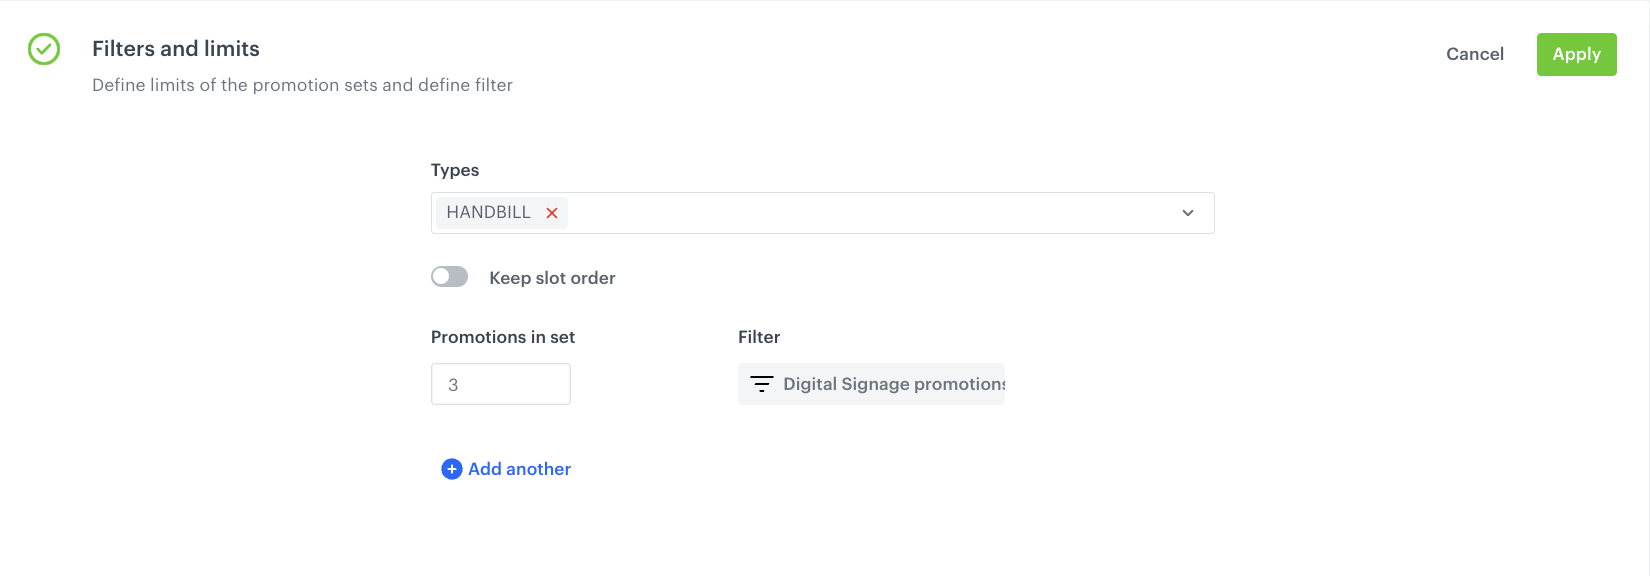
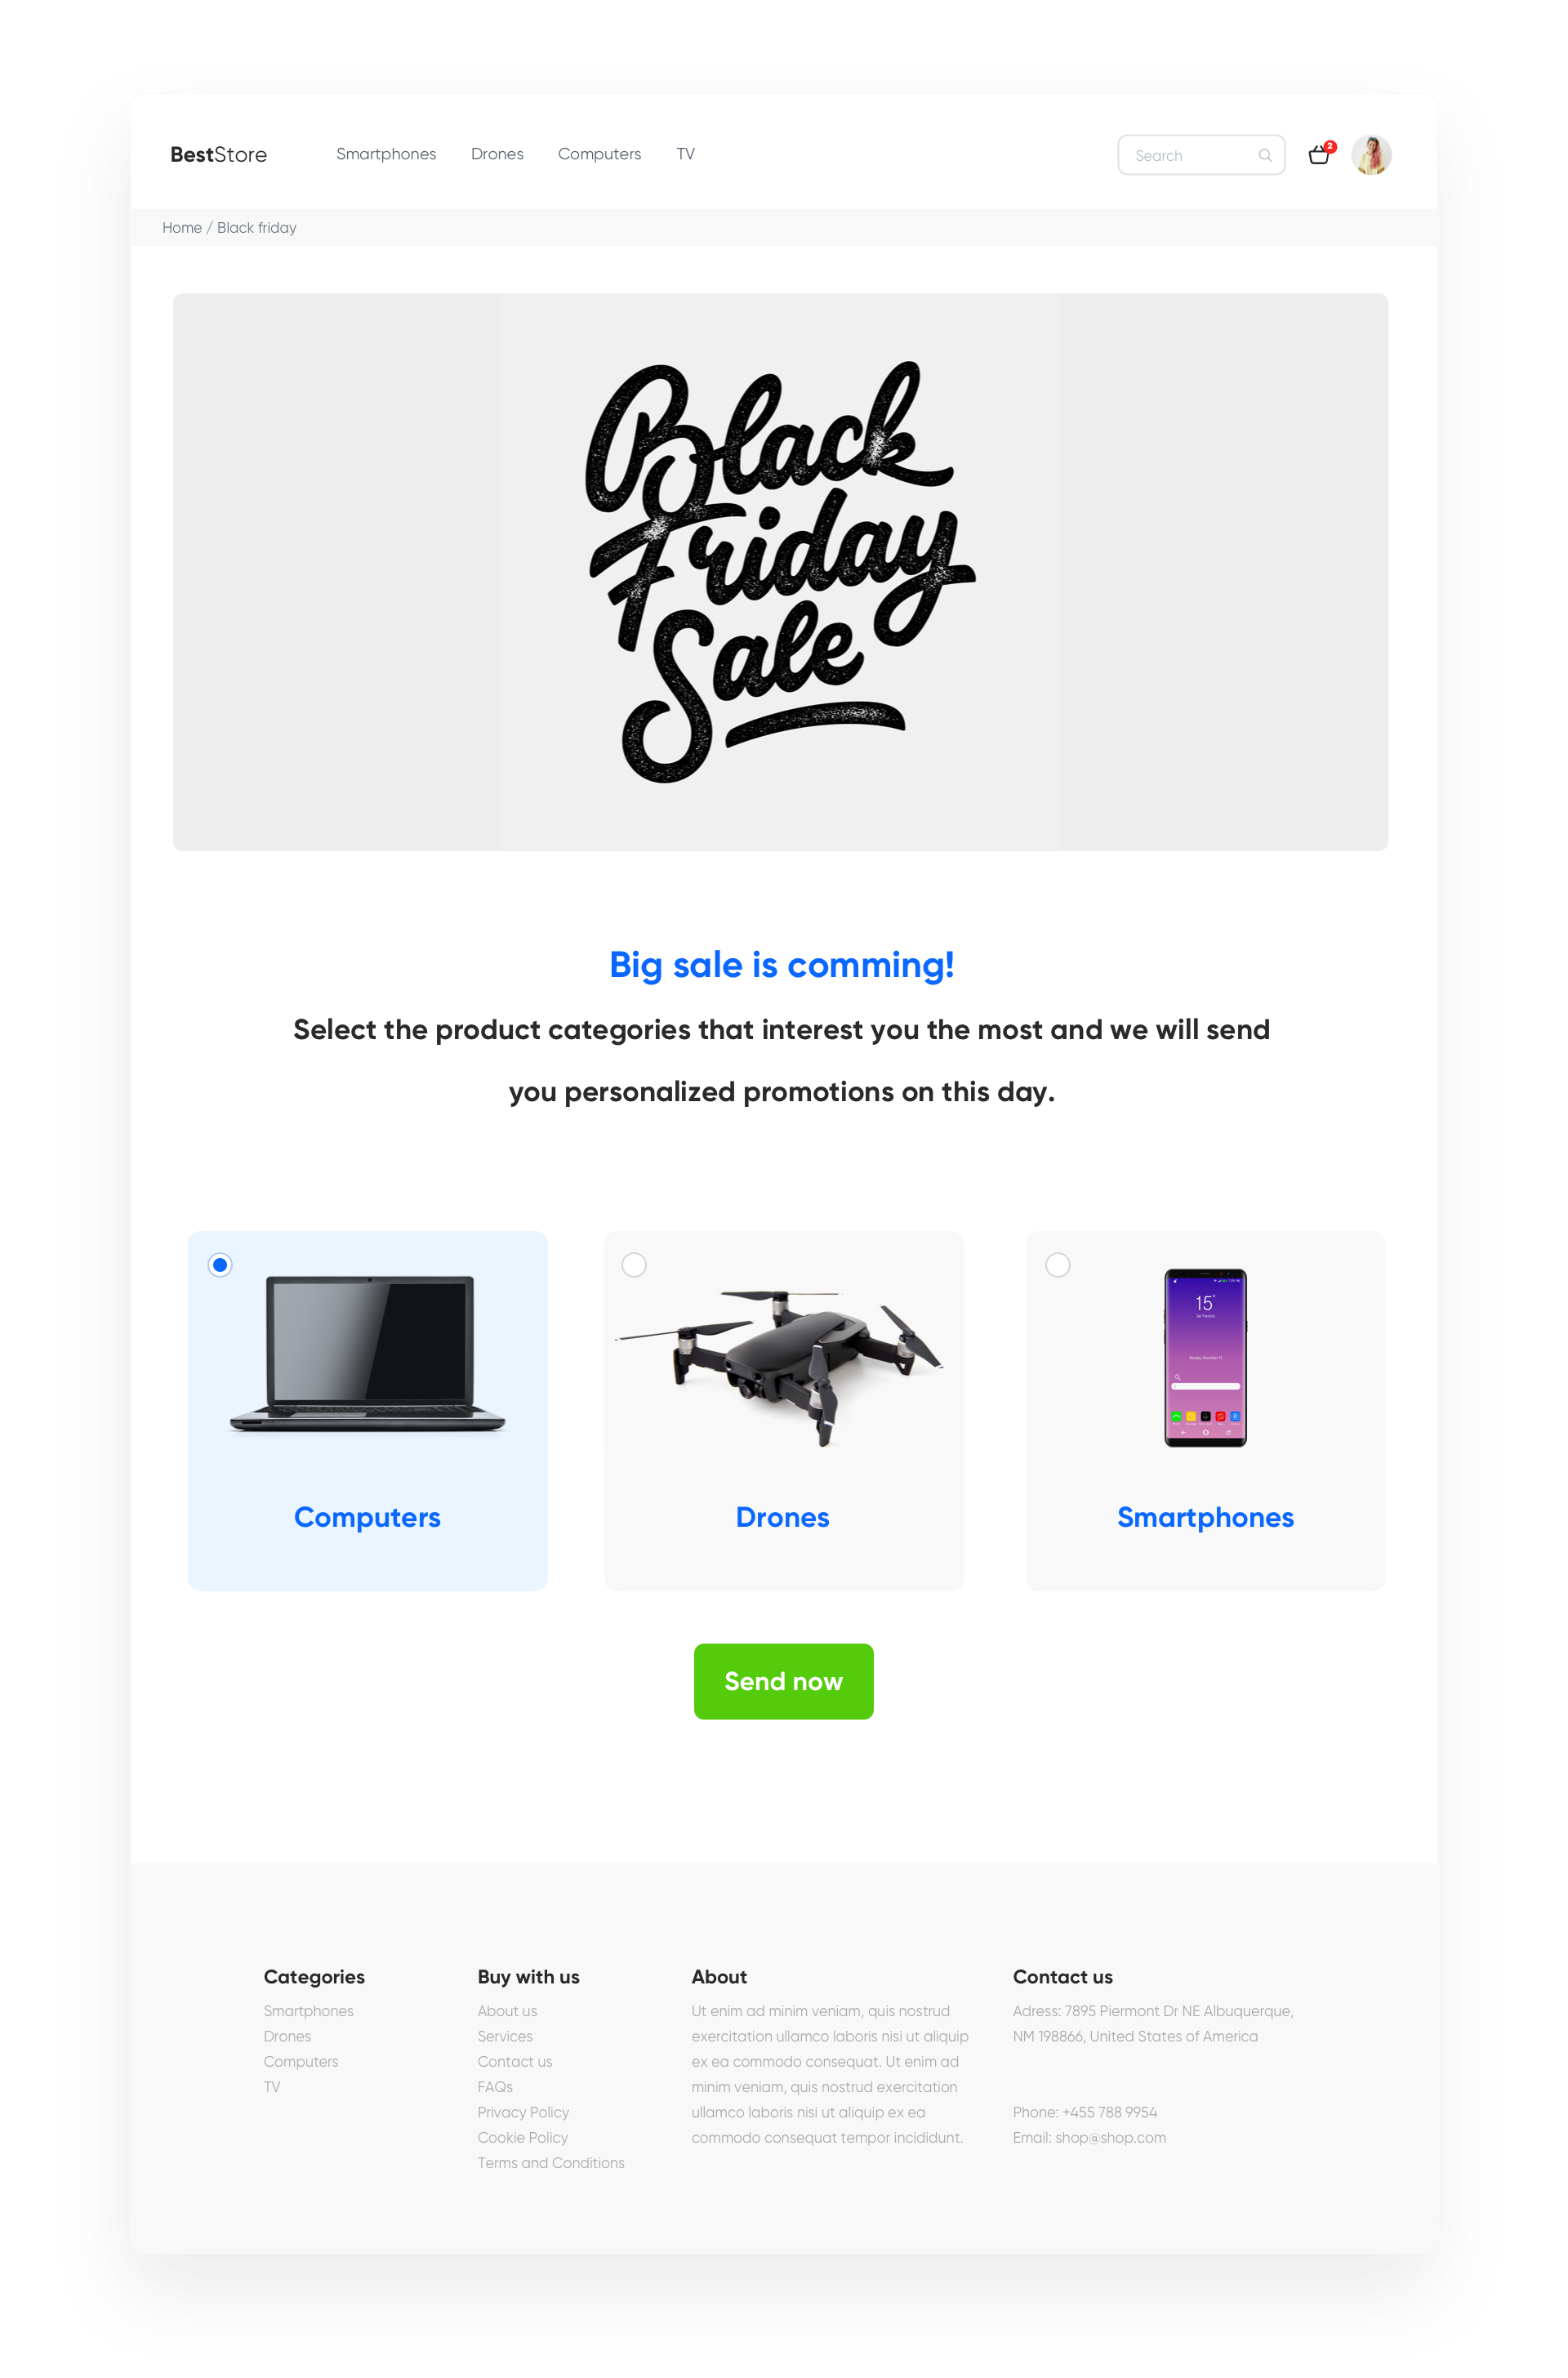
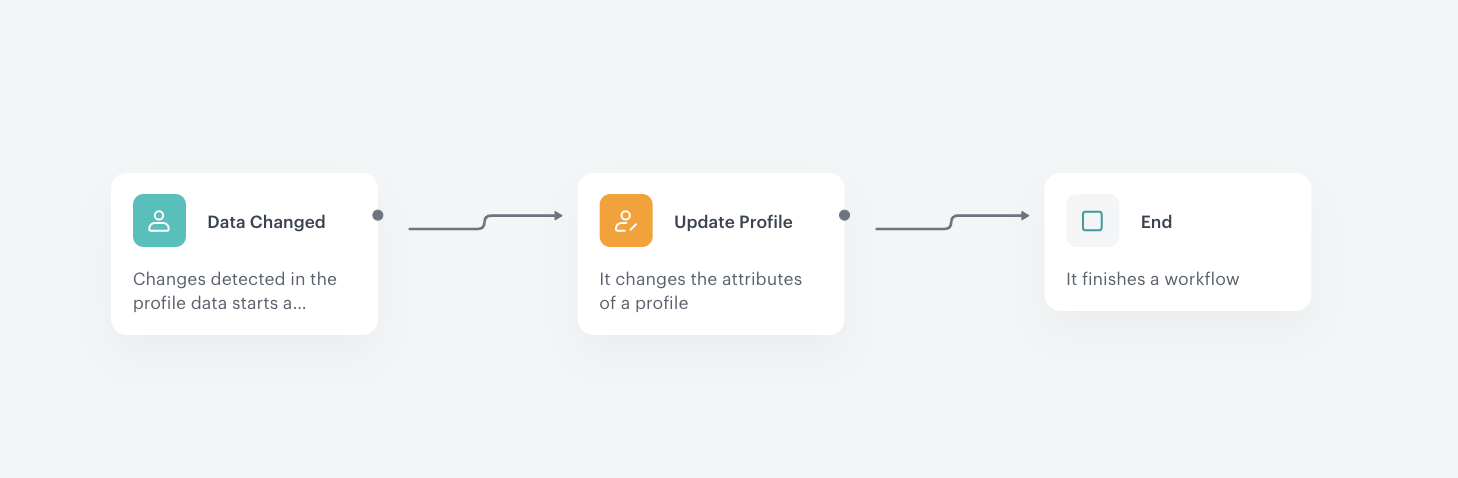
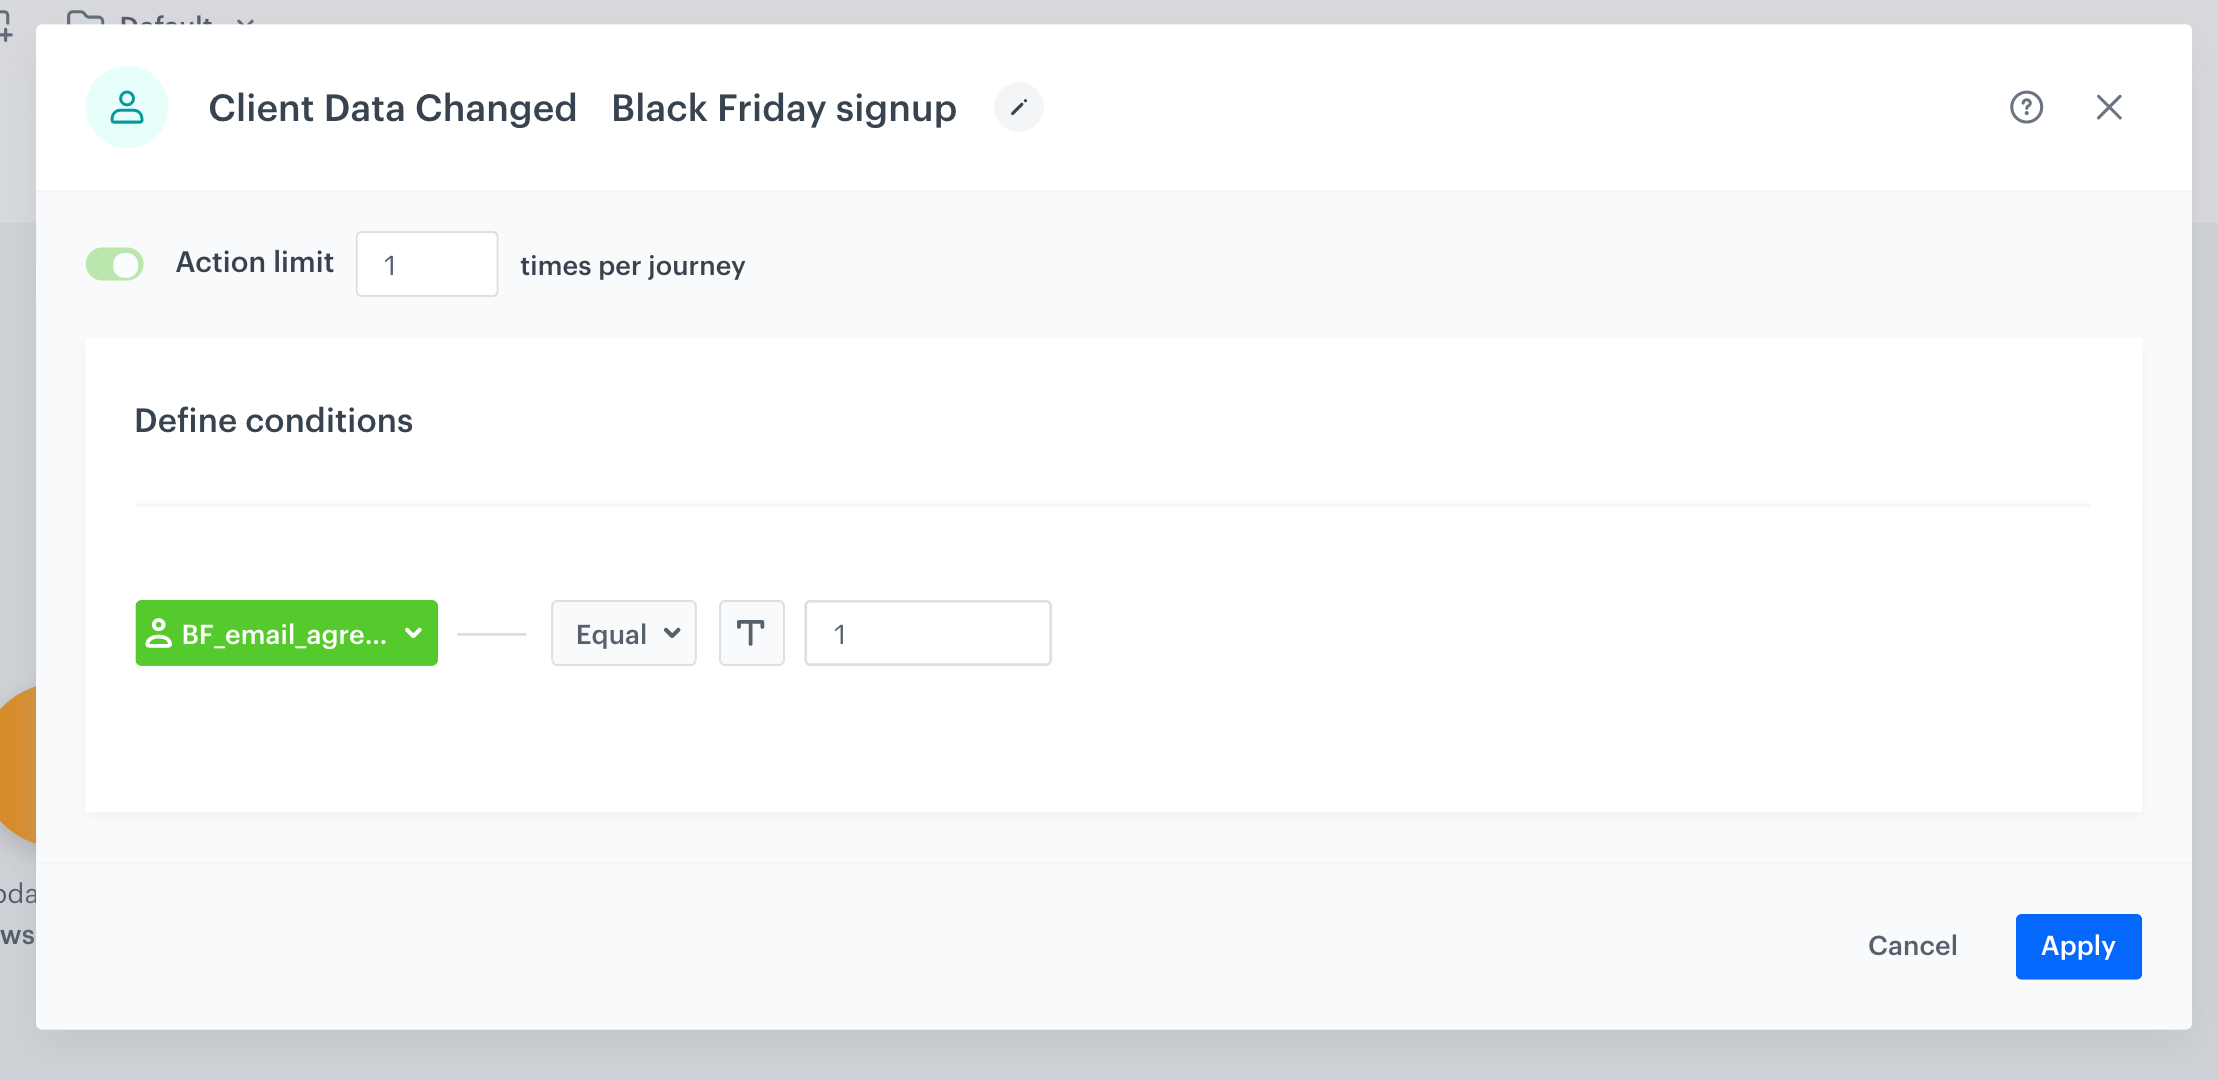
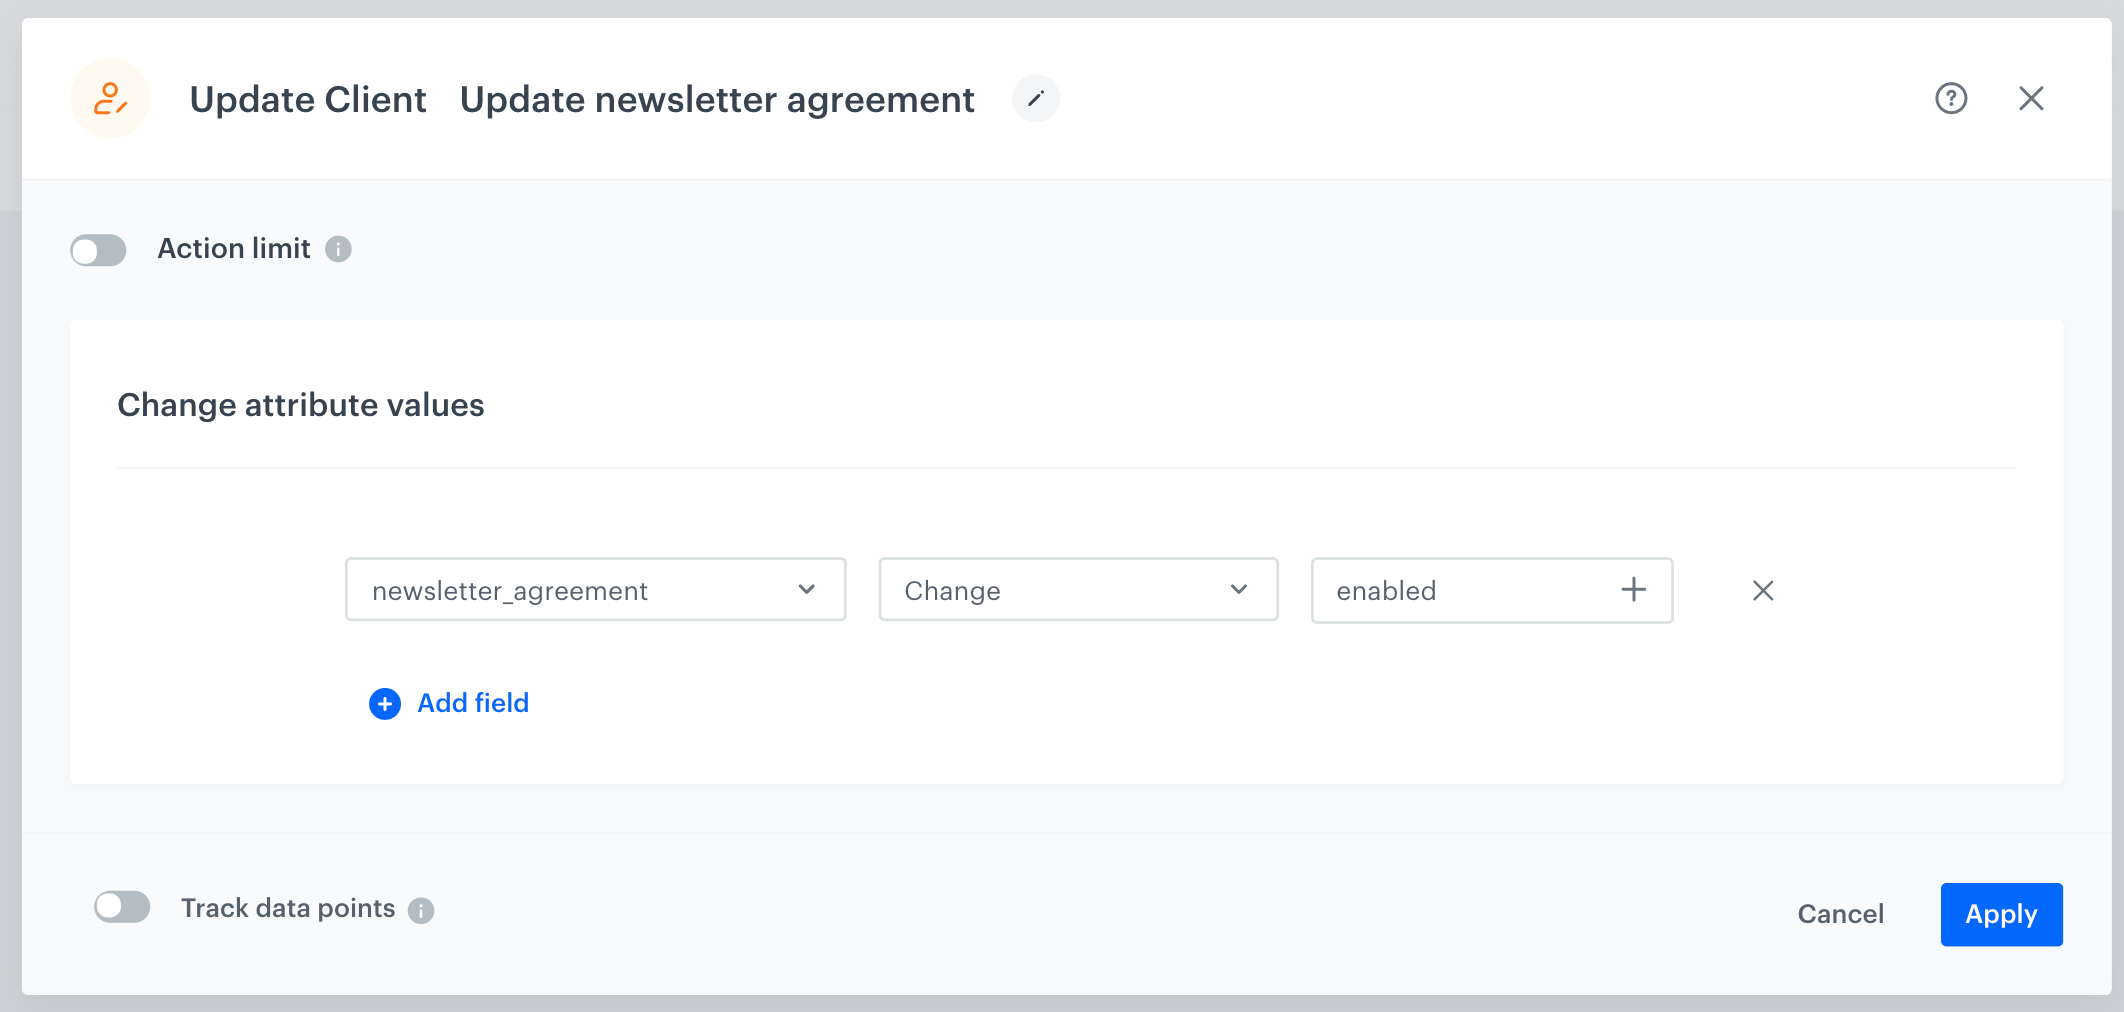
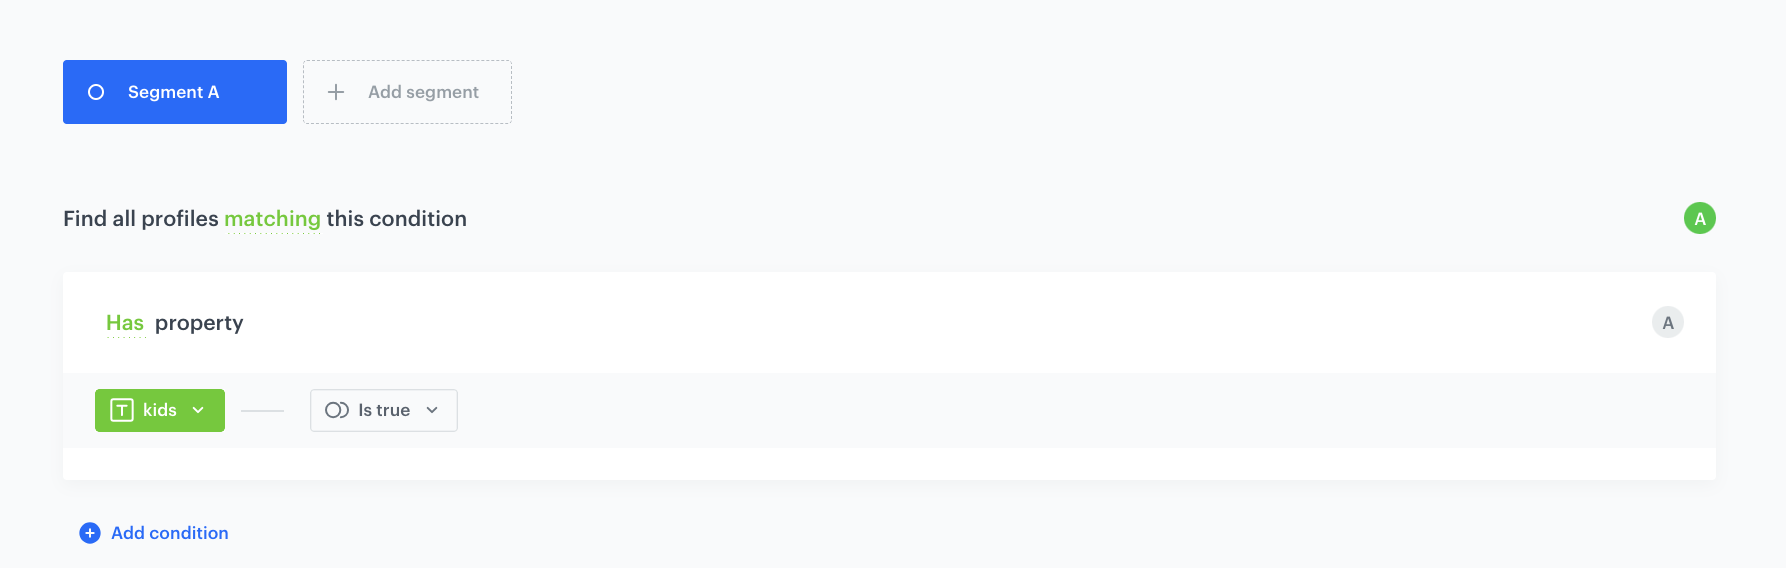

 .
9. In the first box add `orderId` and in the second add any value (in our case it might be `1`).
10. Define the period from which the aggregate will return products from the event as **Lifetime**.
11. Click **Save**.
.
9. In the first box add `orderId` and in the second add any value (in our case it might be `1`).
10. Define the period from which the aggregate will return products from the event as **Lifetime**.
11. Click **Save**.
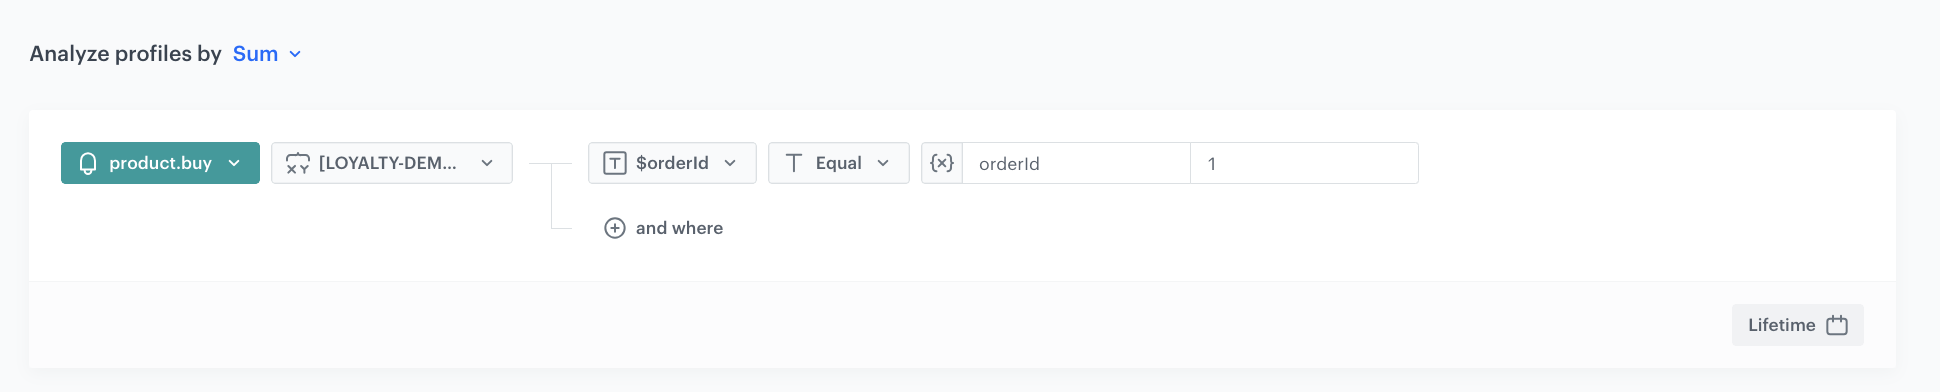


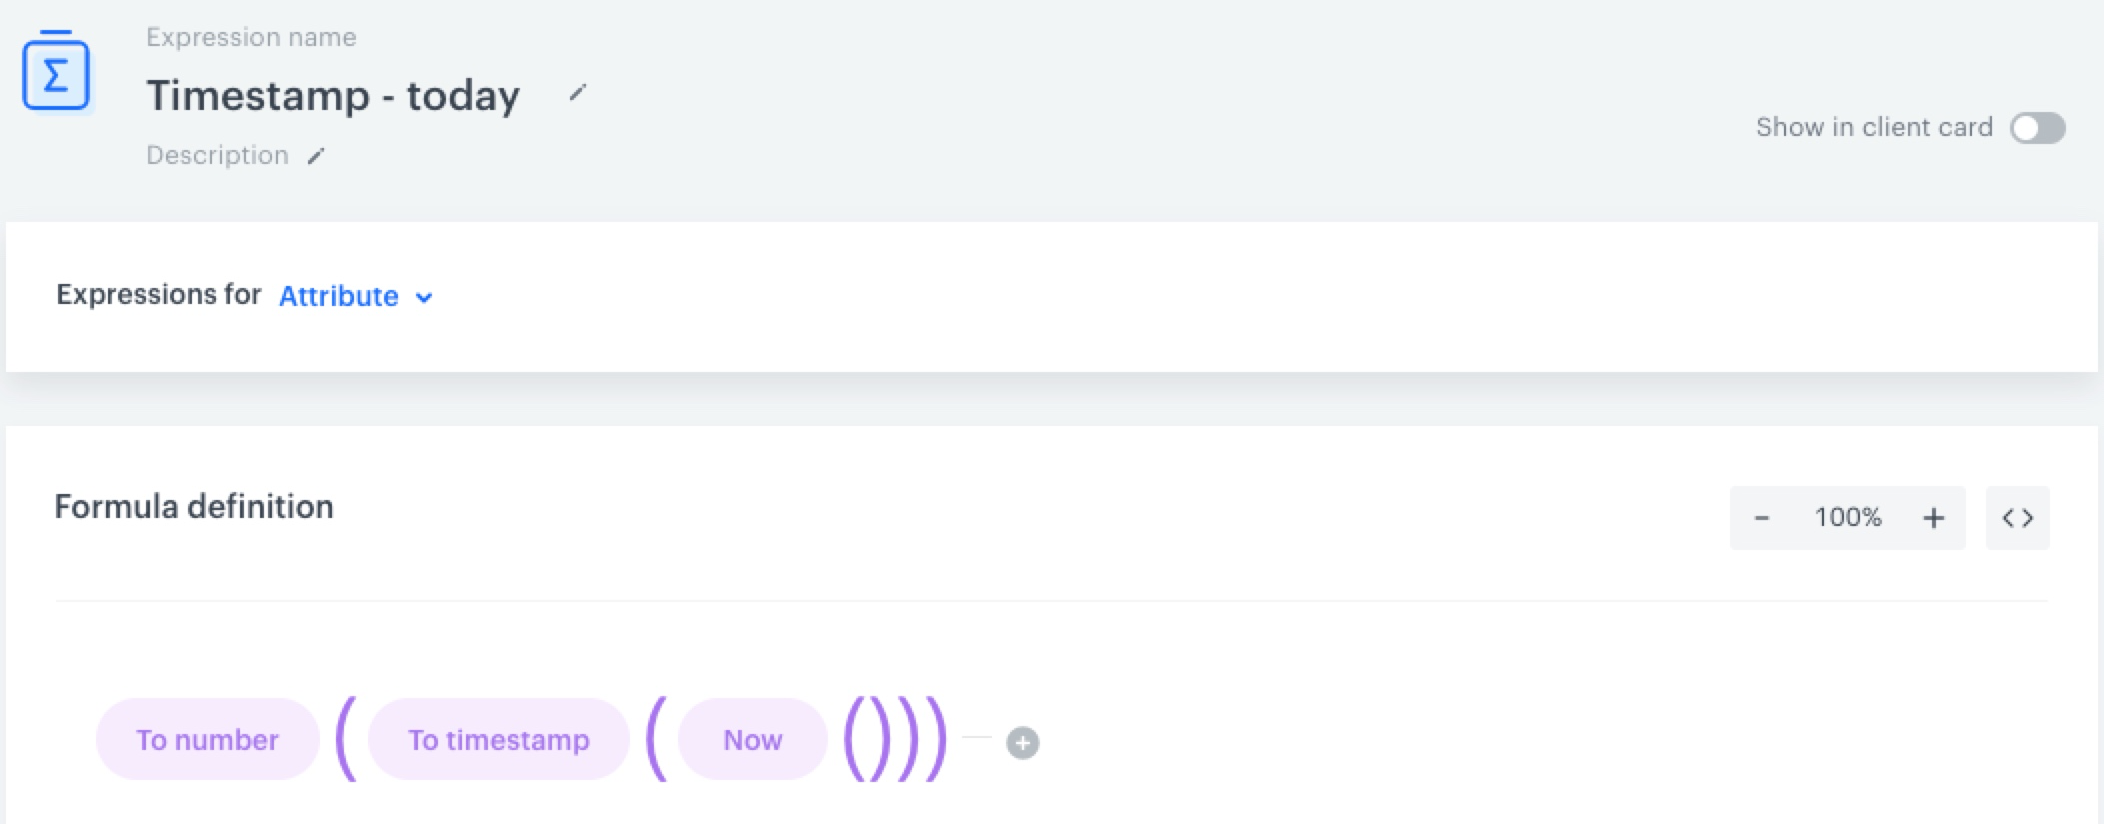
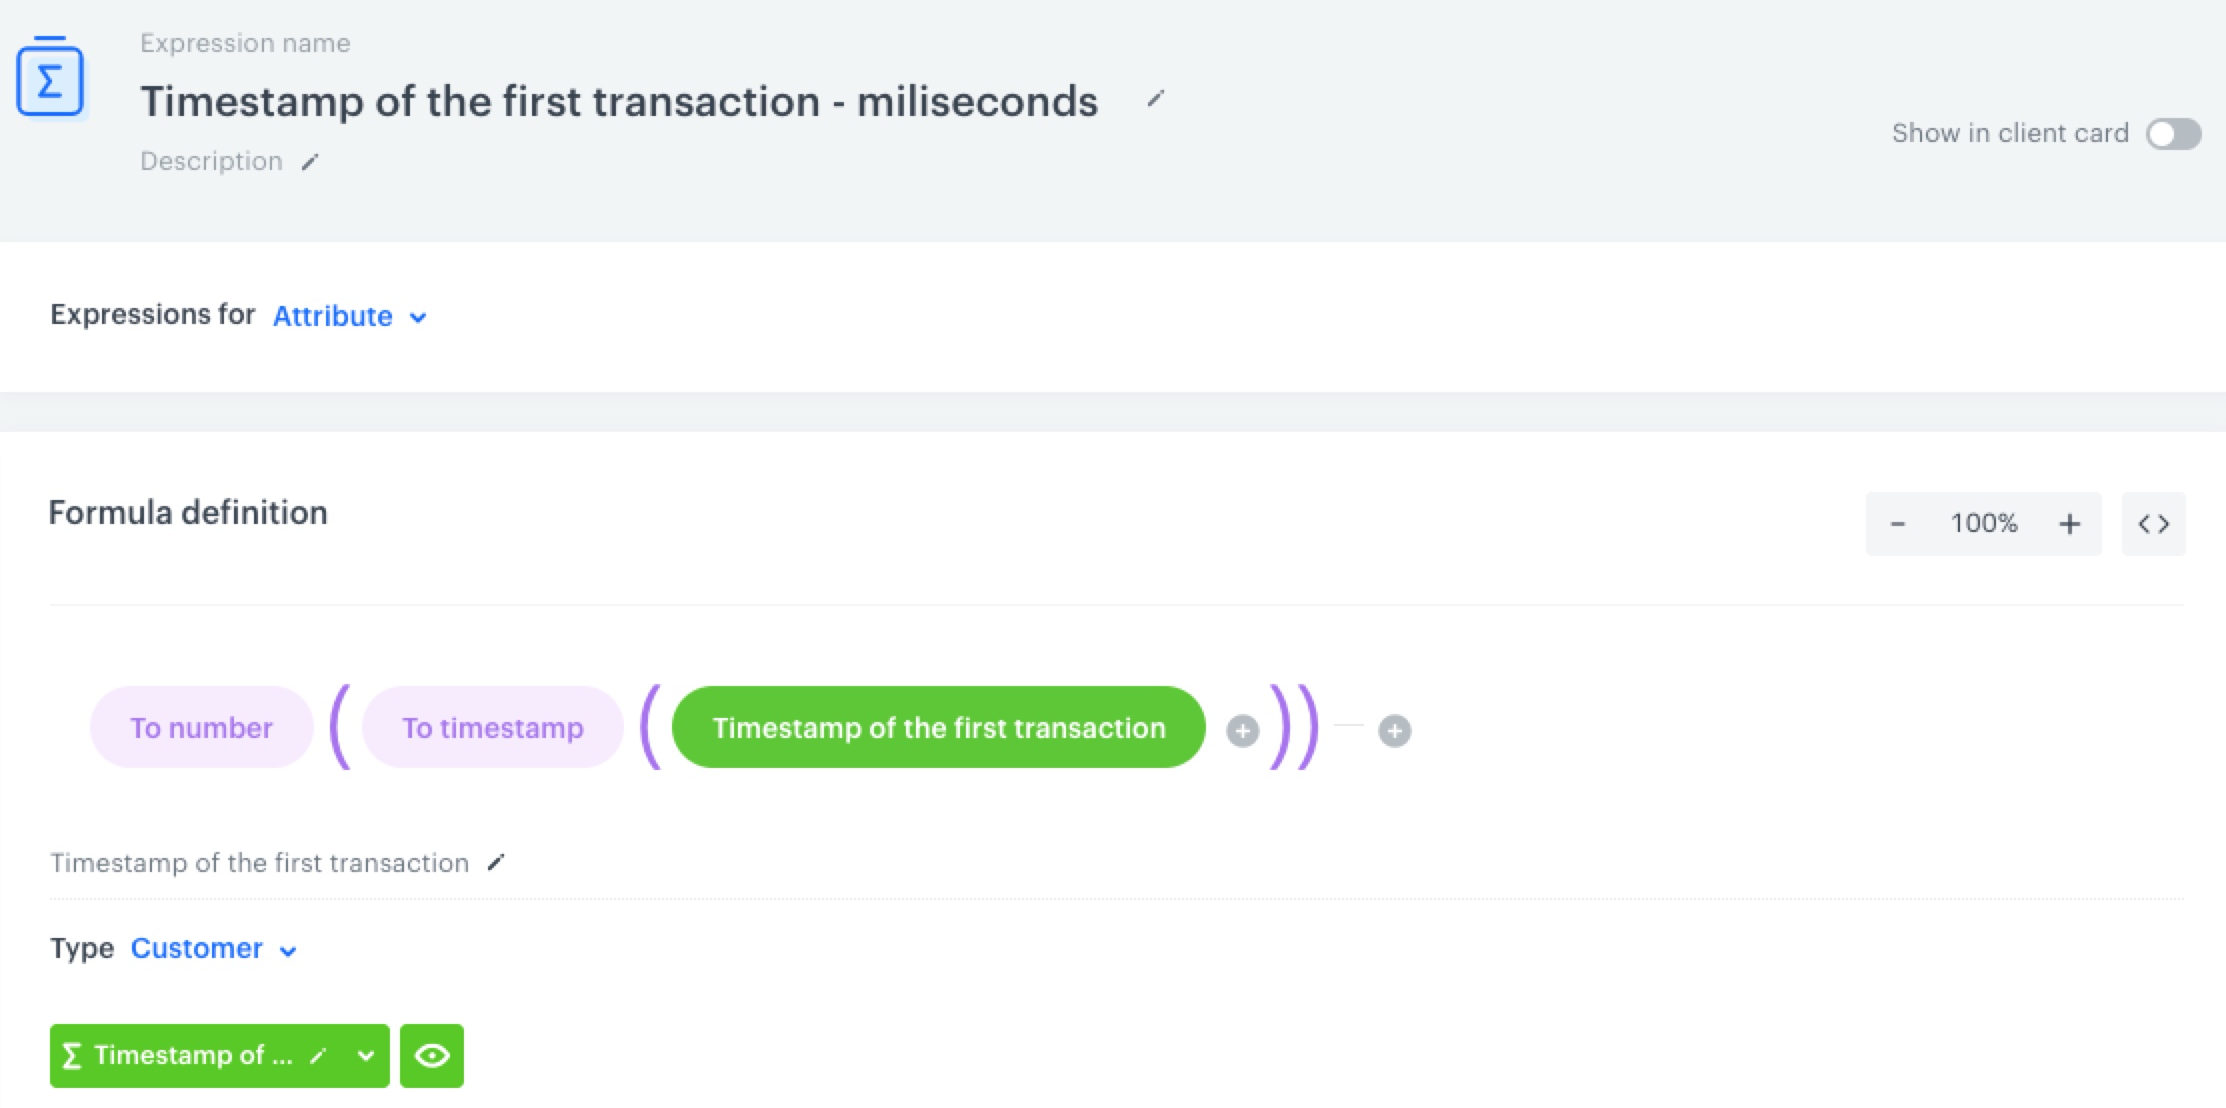


 )
)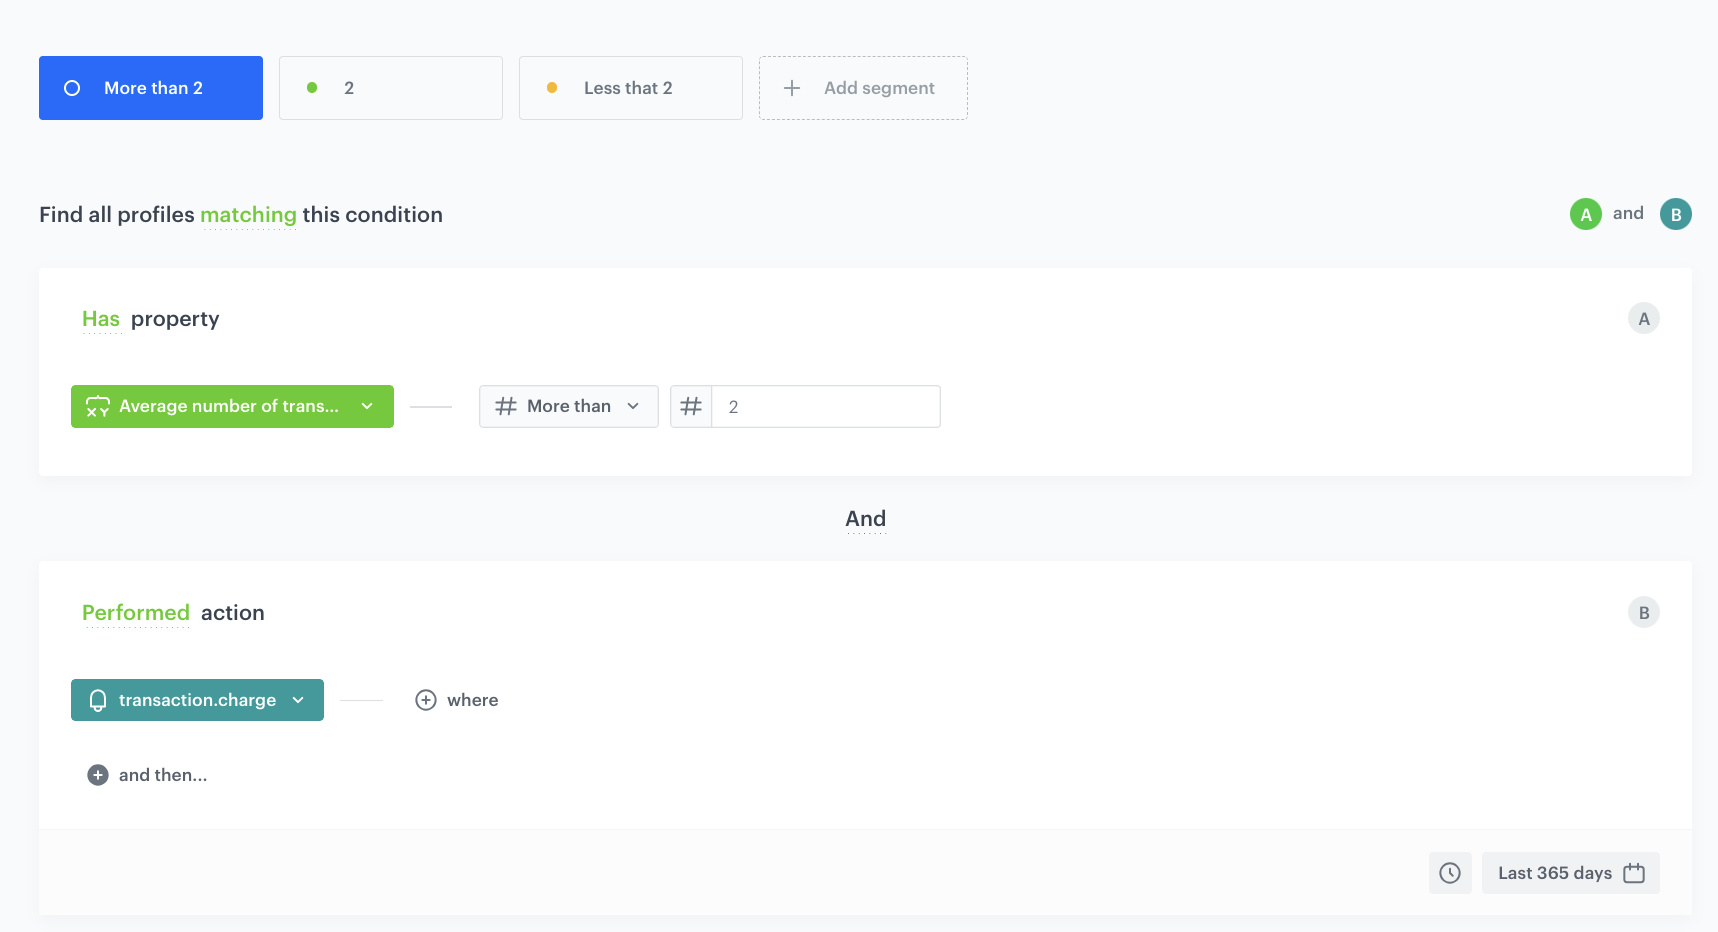
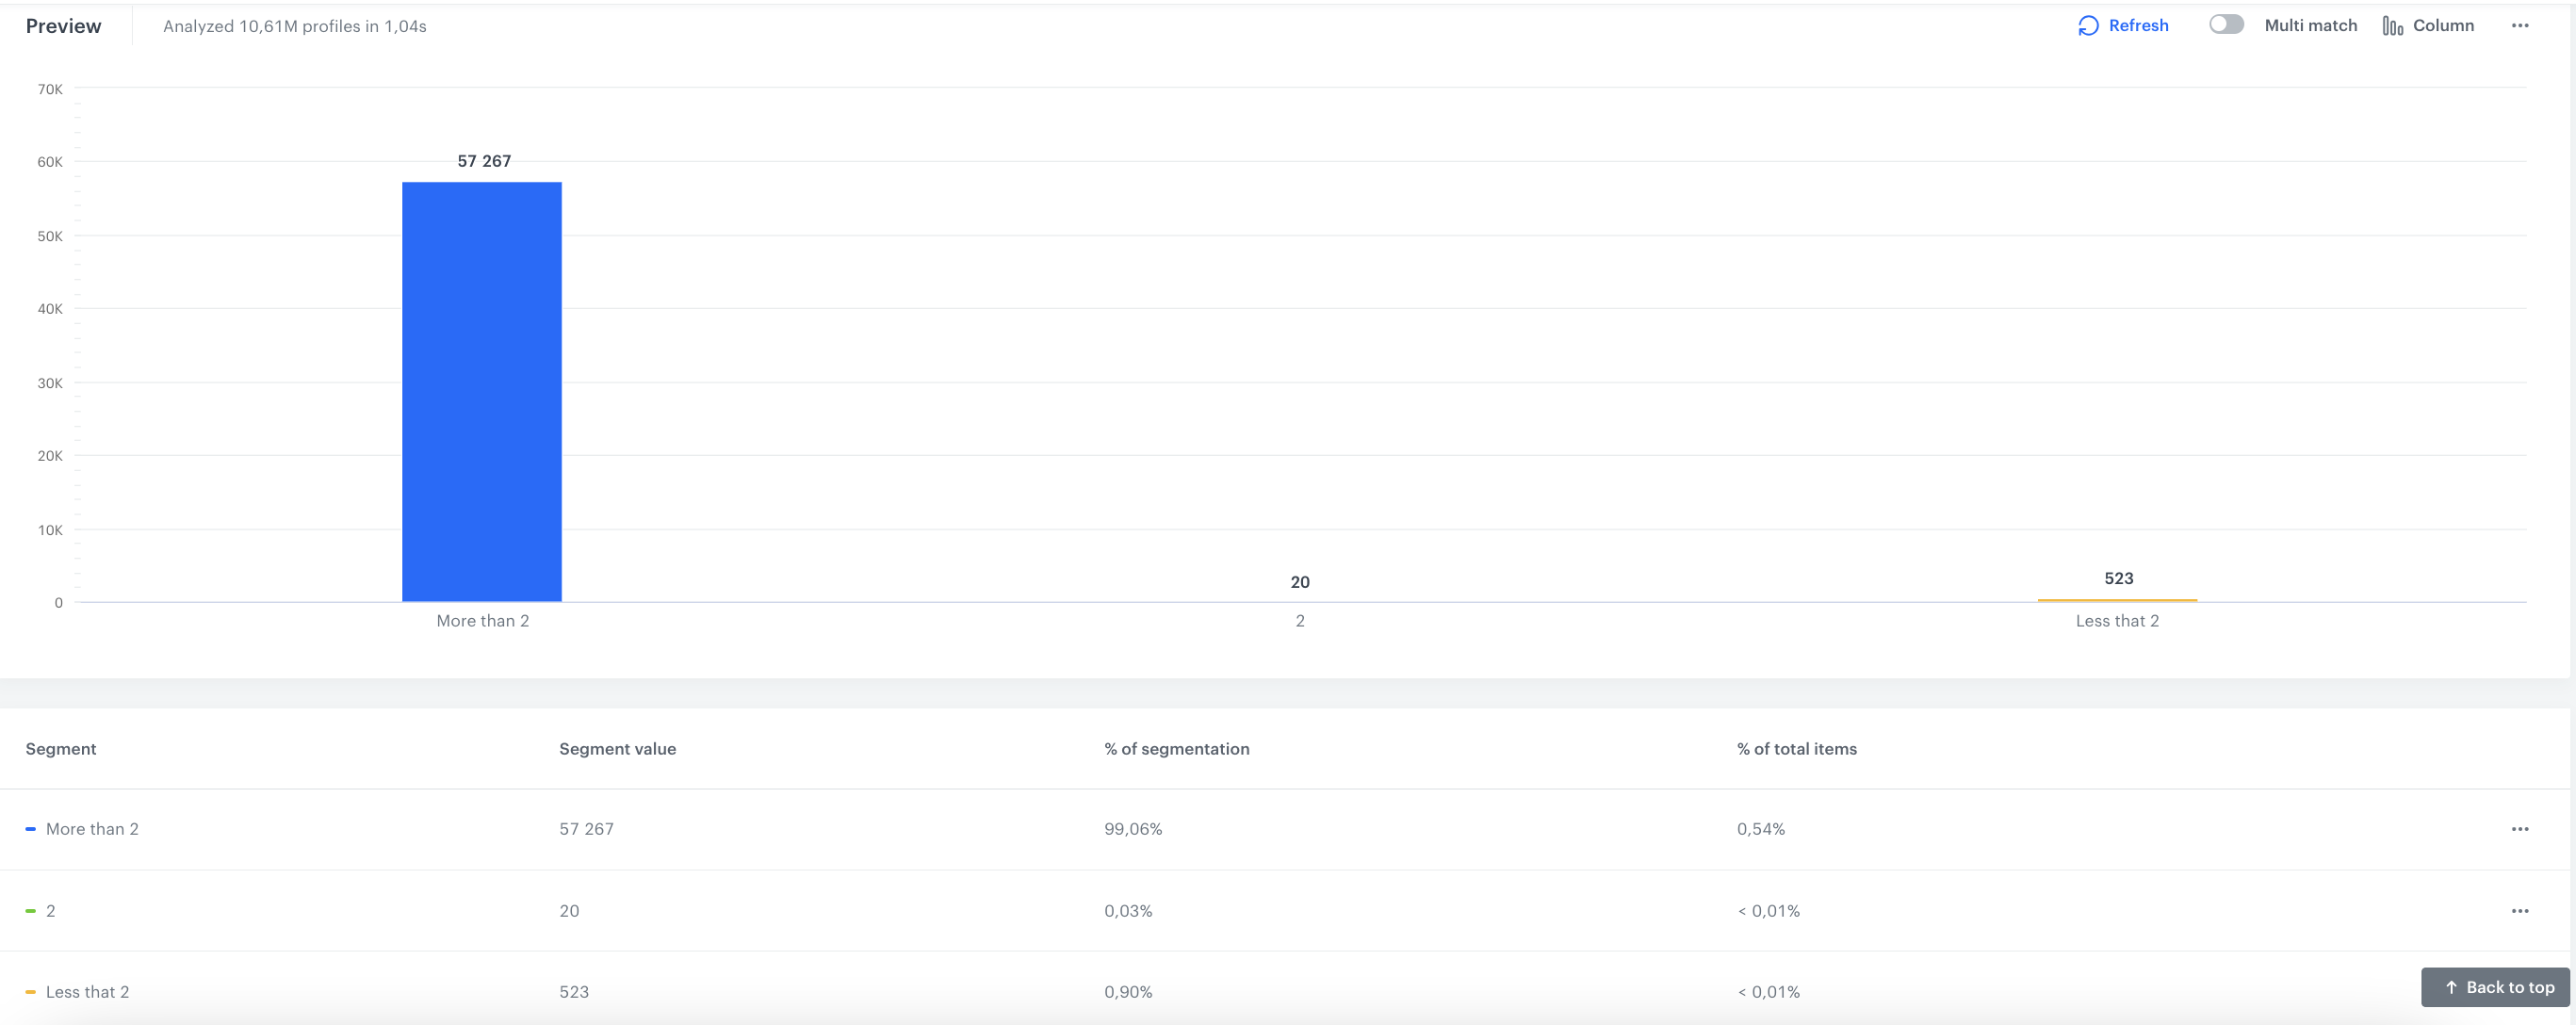
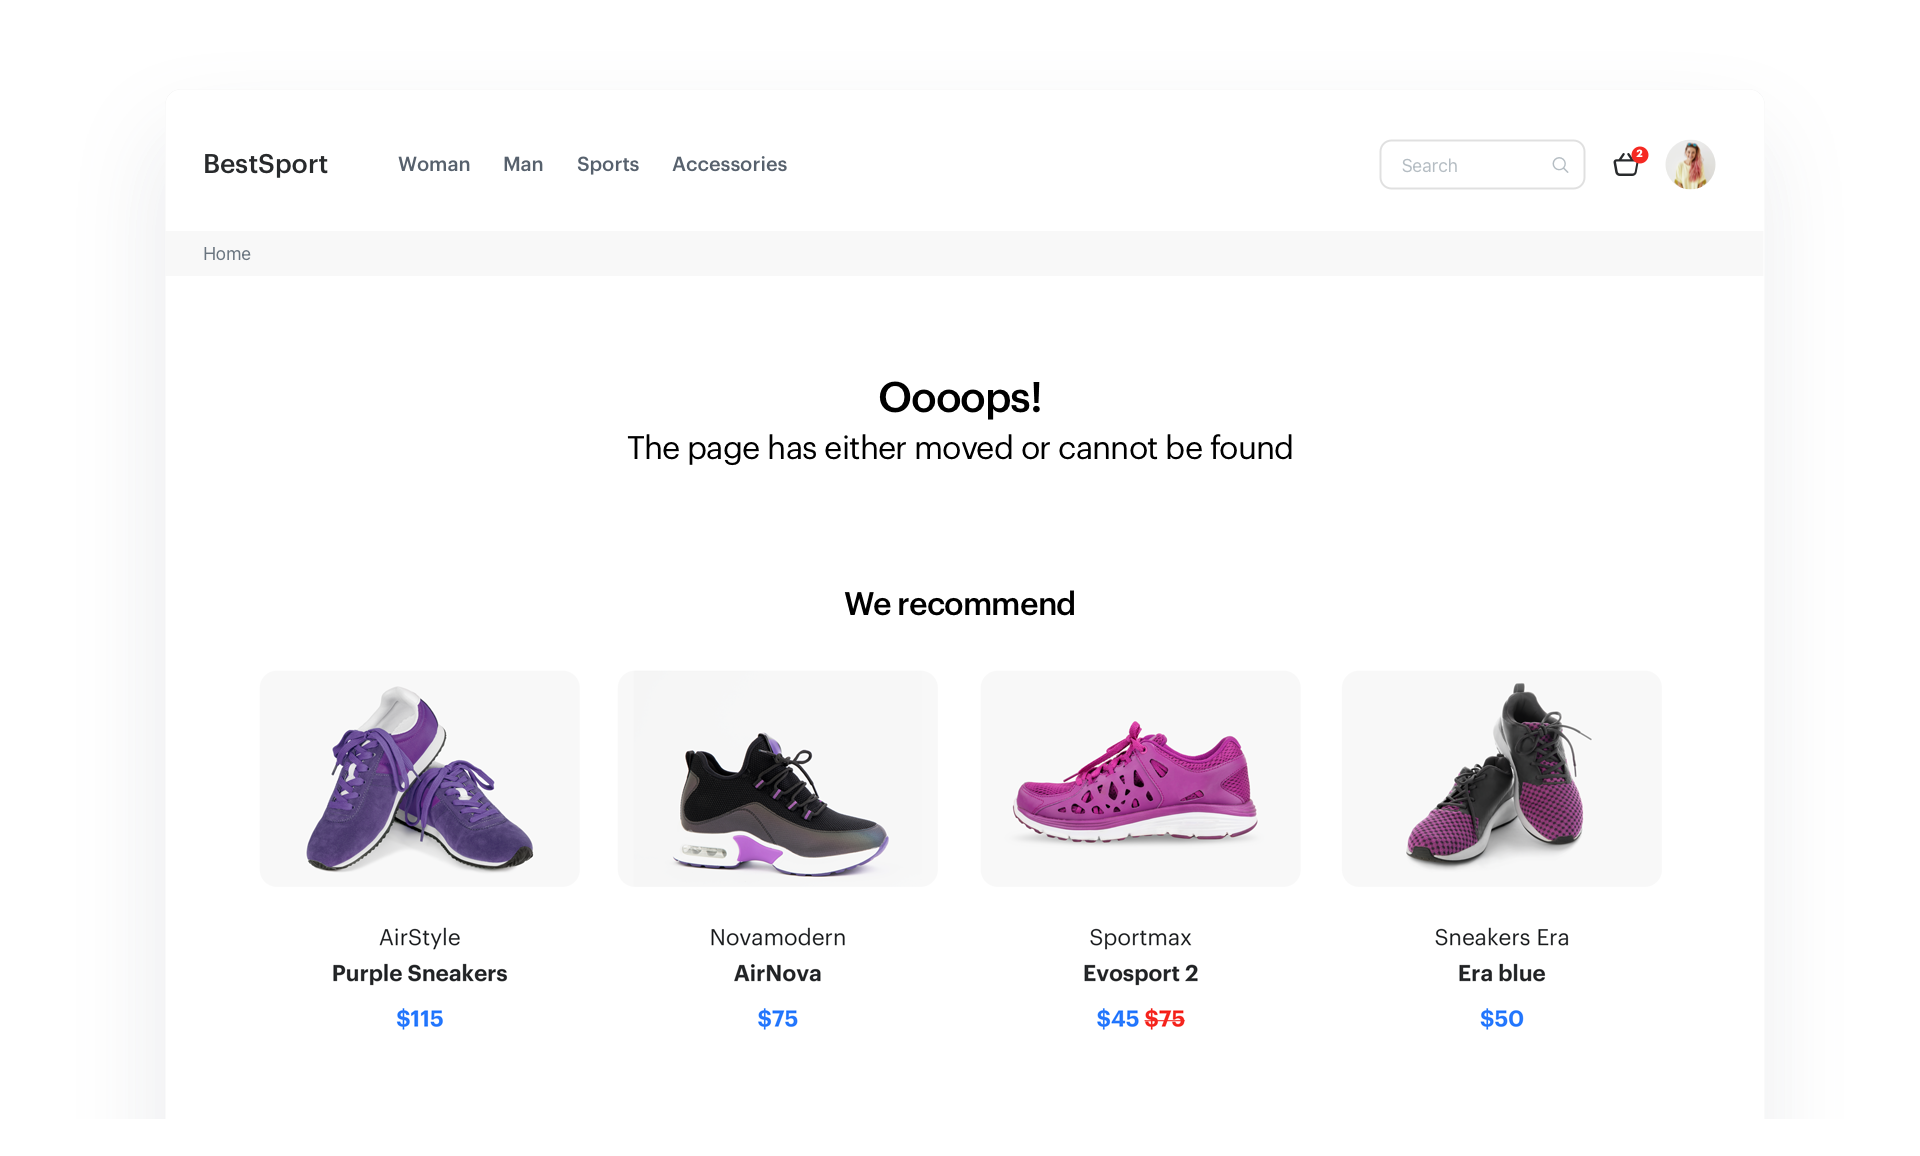
 **Behavioral Data Hub > Live Aggregates > Create aggregate**.
2. As the aggregate type, select **Profile**.
3. Enter the name of the aggregate, for example `Last price drop event data`.
4. Click **Analyze profiles by** and select **Last Multi** and size: **100 000**.
5. From the **Choose event** dropdown list, select the **results.priceDrop** event.
6. As the event parameter, select **eventdata**.
7. Click the **+ where** button:
- From the **Choose parameter** dropdown list, select the **eventdata** parameter.
- From the **Choose operator** dropdown list, select **Is not empty**.
8. Define the period to the last **30 days**.
9. Save the aggregate.
**Behavioral Data Hub > Live Aggregates > Create aggregate**.
2. As the aggregate type, select **Profile**.
3. Enter the name of the aggregate, for example `Last price drop event data`.
4. Click **Analyze profiles by** and select **Last Multi** and size: **100 000**.
5. From the **Choose event** dropdown list, select the **results.priceDrop** event.
6. As the event parameter, select **eventdata**.
7. Click the **+ where** button:
- From the **Choose parameter** dropdown list, select the **eventdata** parameter.
- From the **Choose operator** dropdown list, select **Is not empty**.
8. Define the period to the last **30 days**.
9. Save the aggregate.
 **Data Modeling Hub > Snippets > Add snippet**.
2. Enter the name of the snippet, for example `Price drop detection logic`.
3. Paste the following Jinjava code:
**Data Modeling Hub > Snippets > Add snippet**.
2. Enter the name of the snippet, for example `Price drop detection logic`.
3. Paste the following Jinjava code:
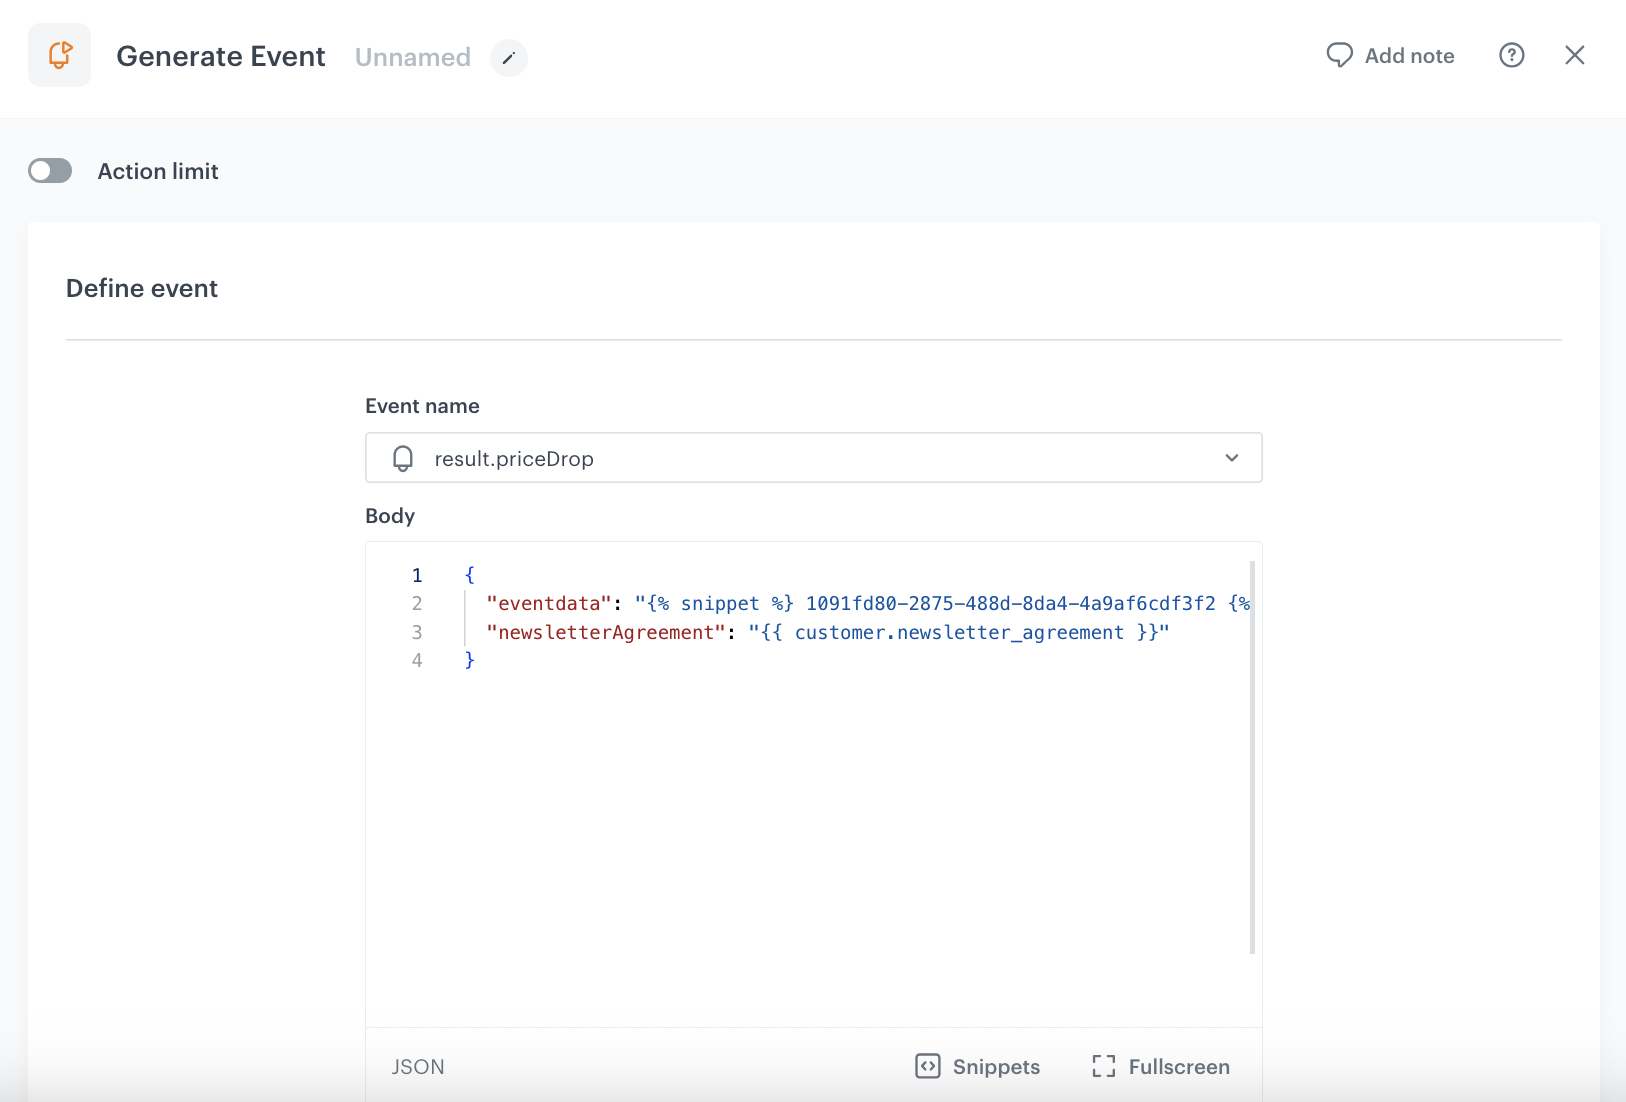
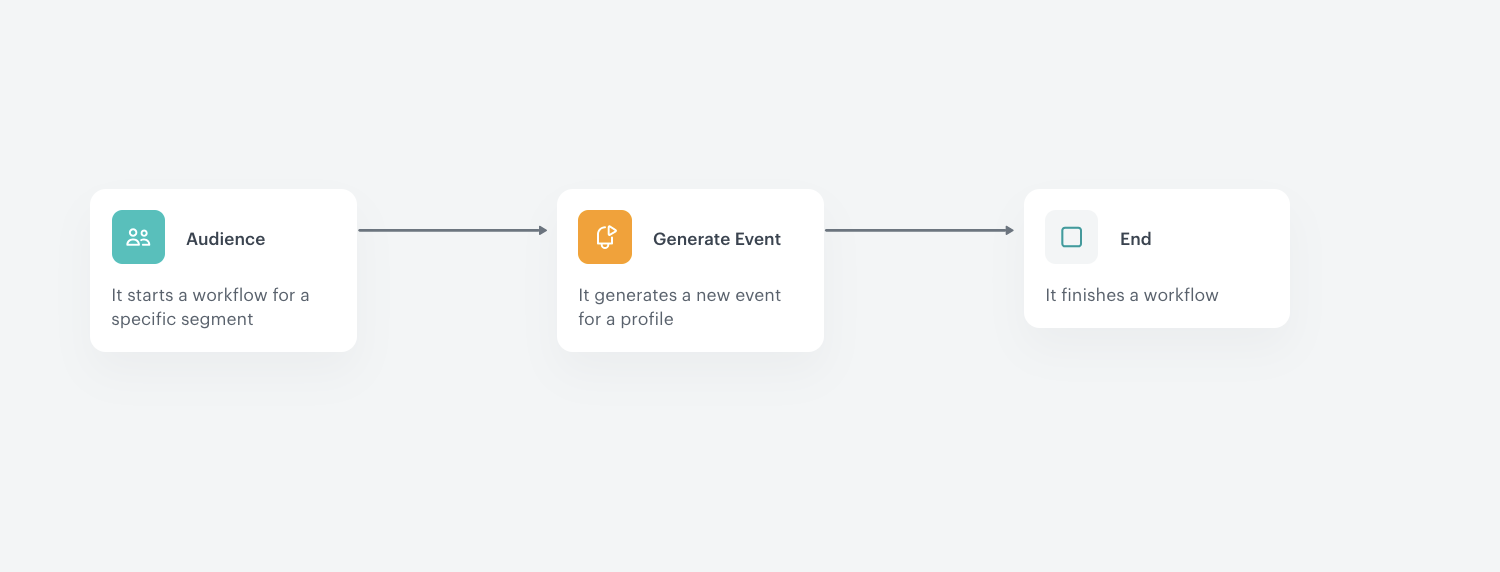
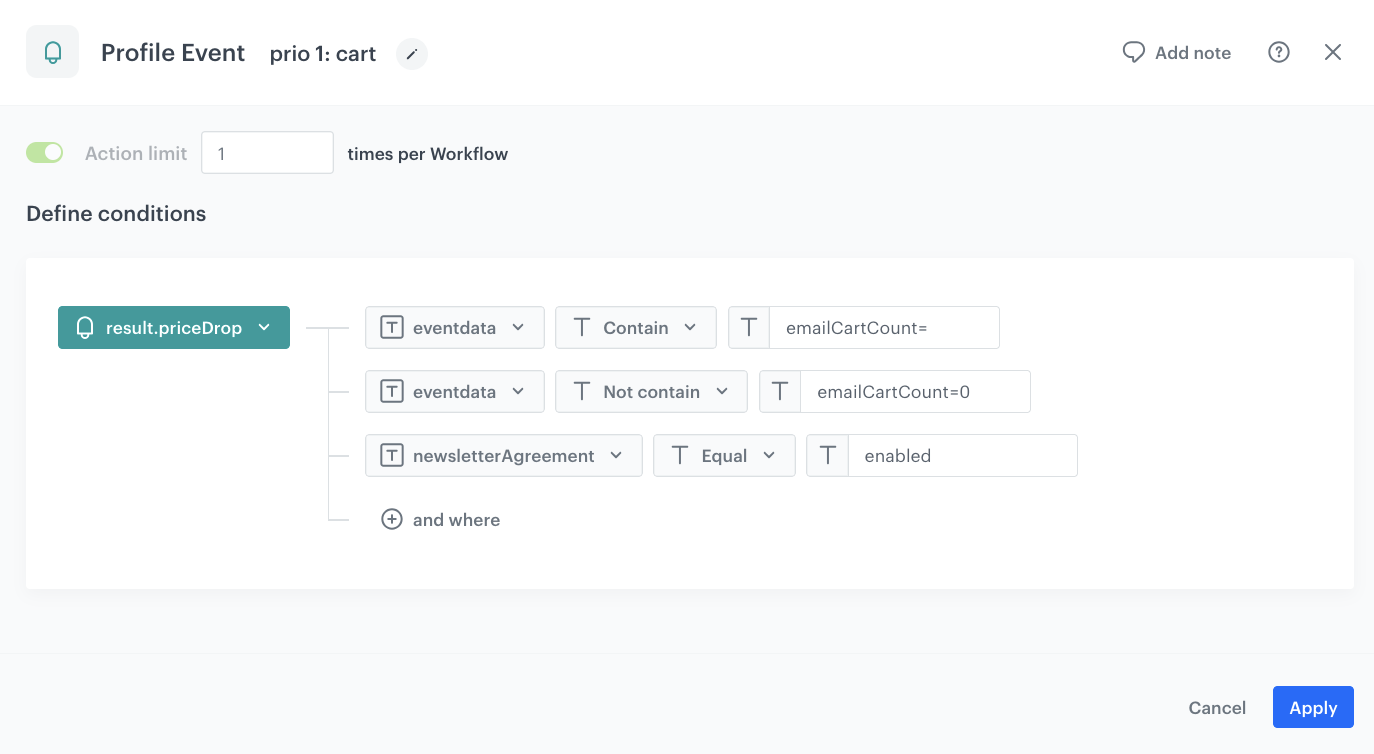
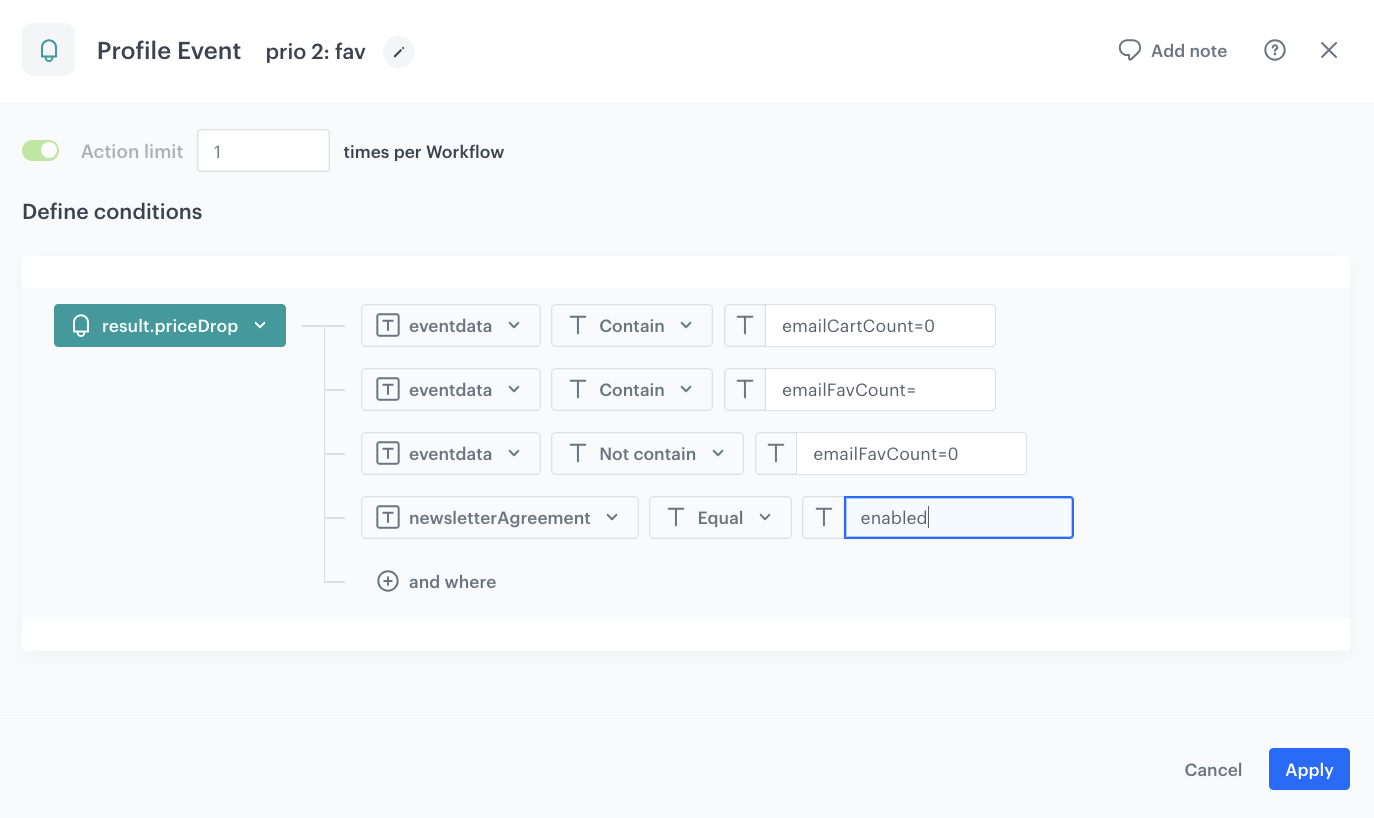
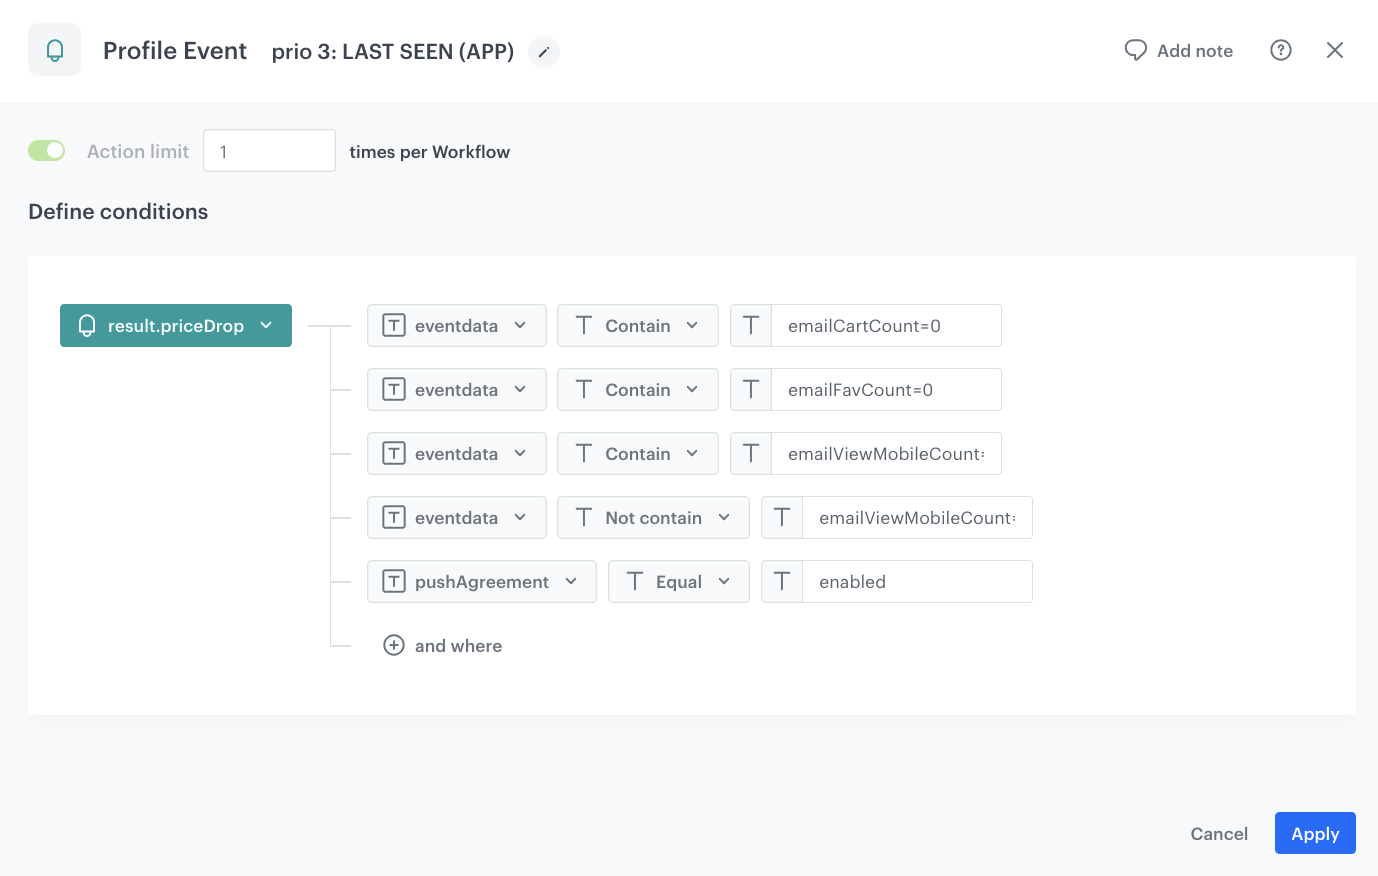
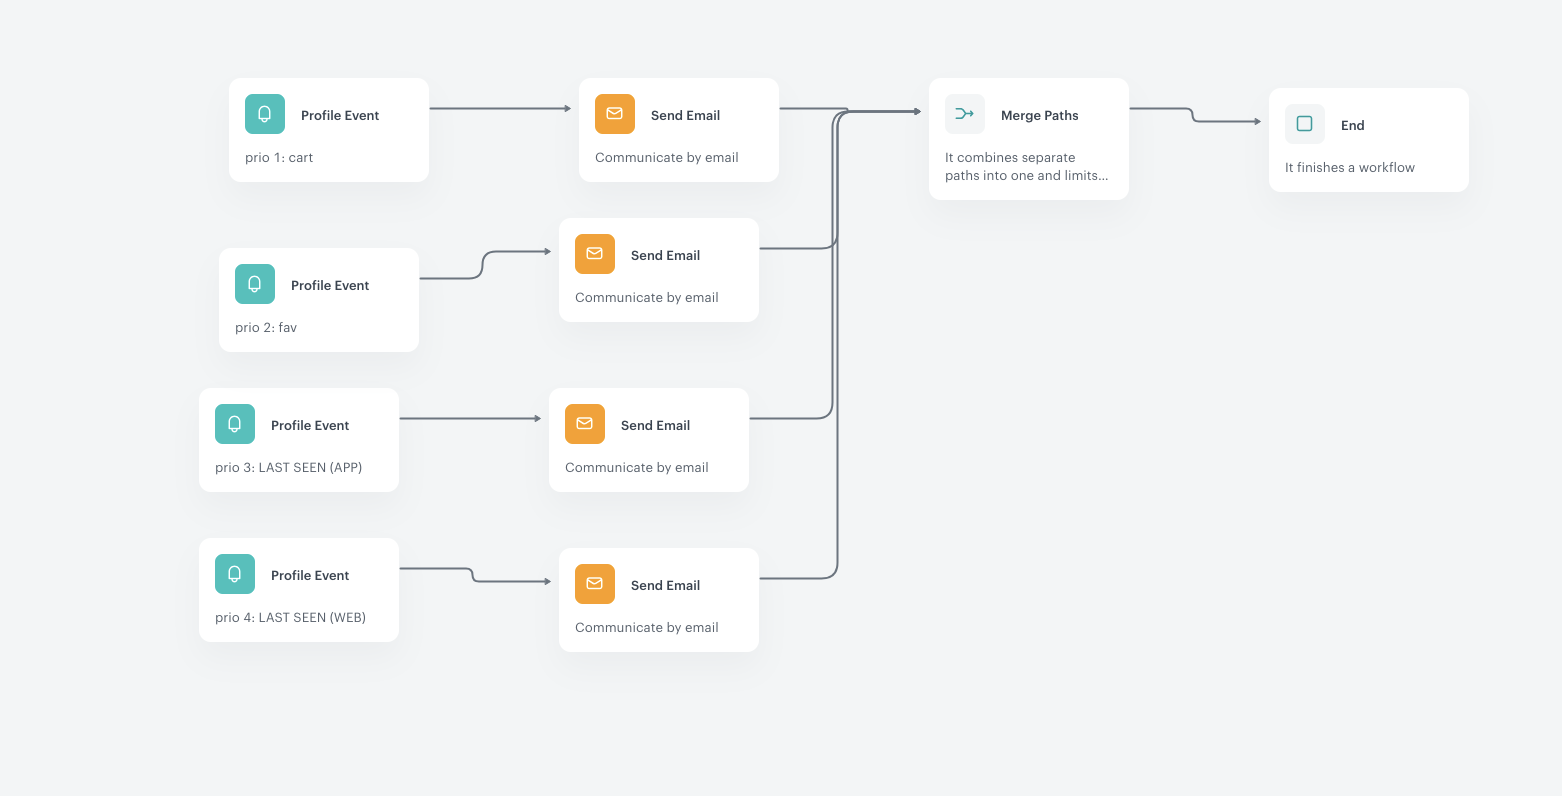
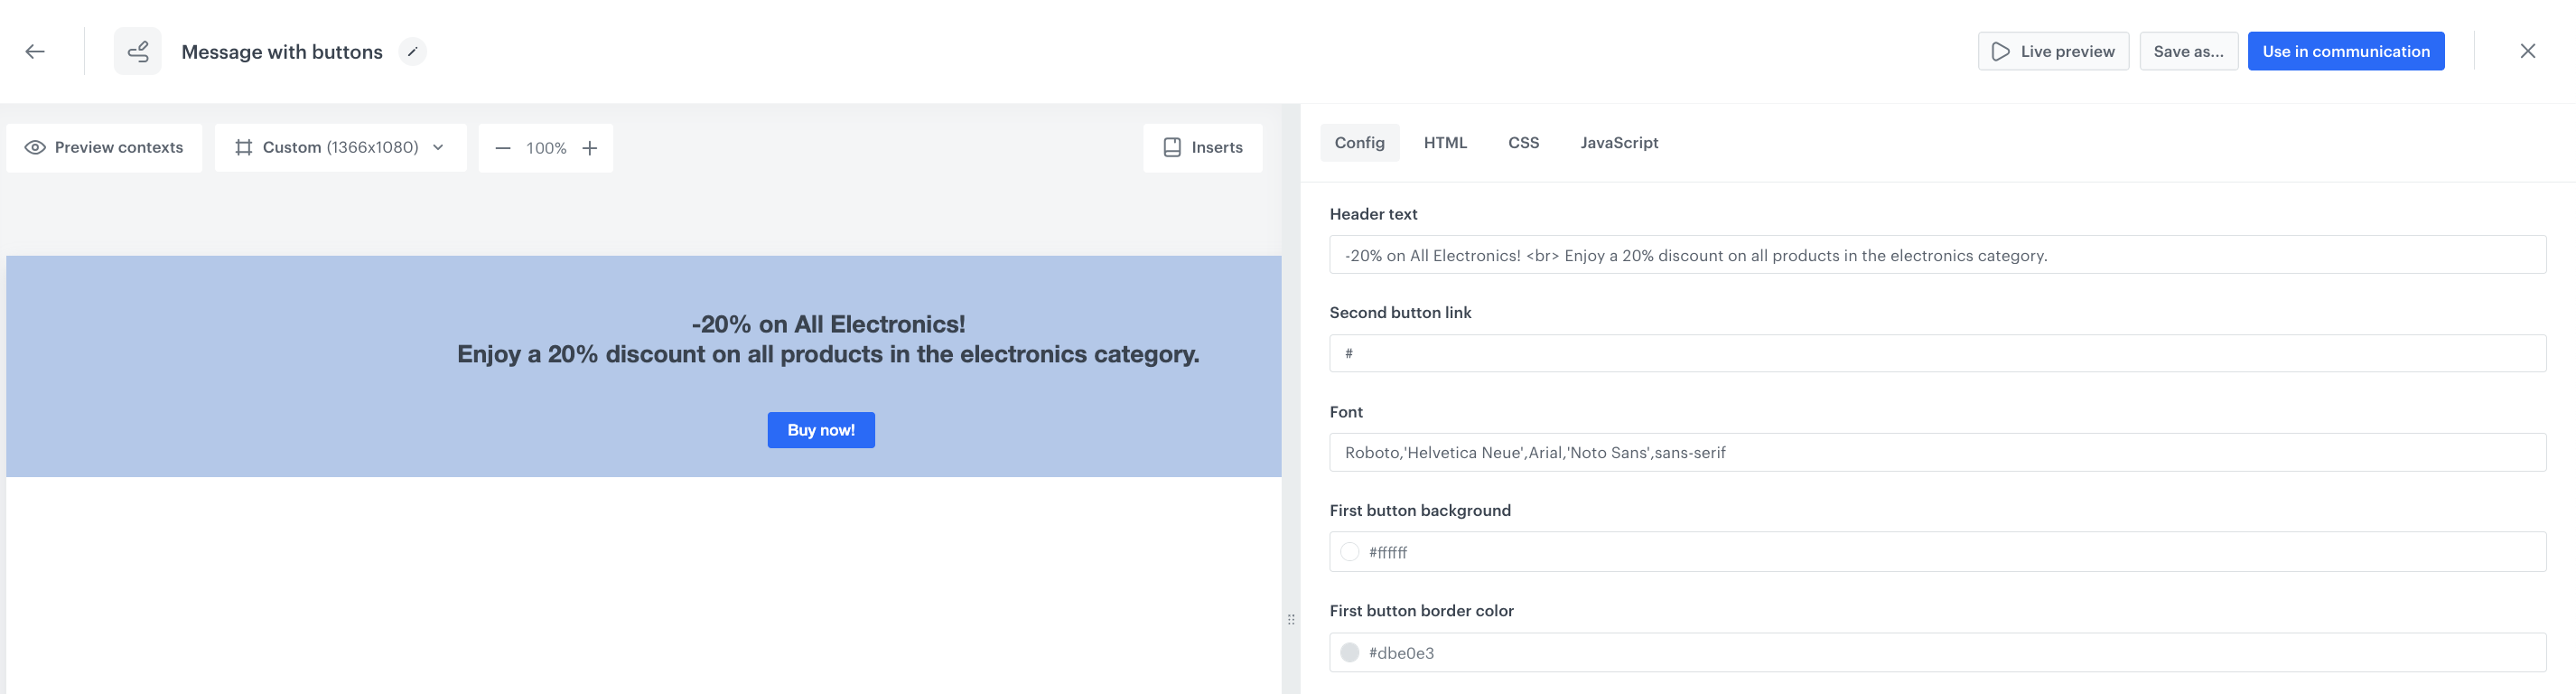
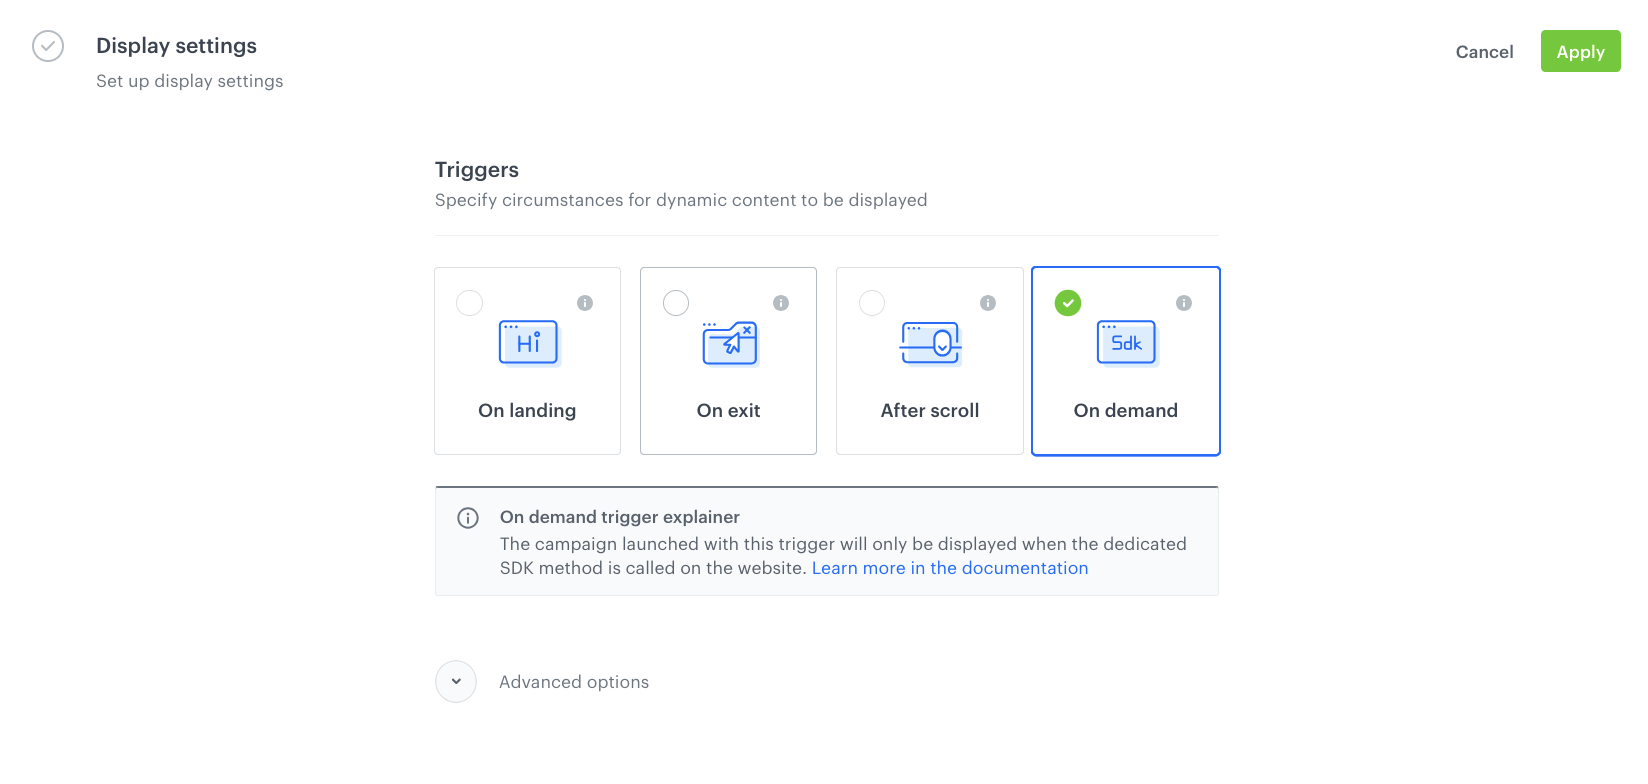
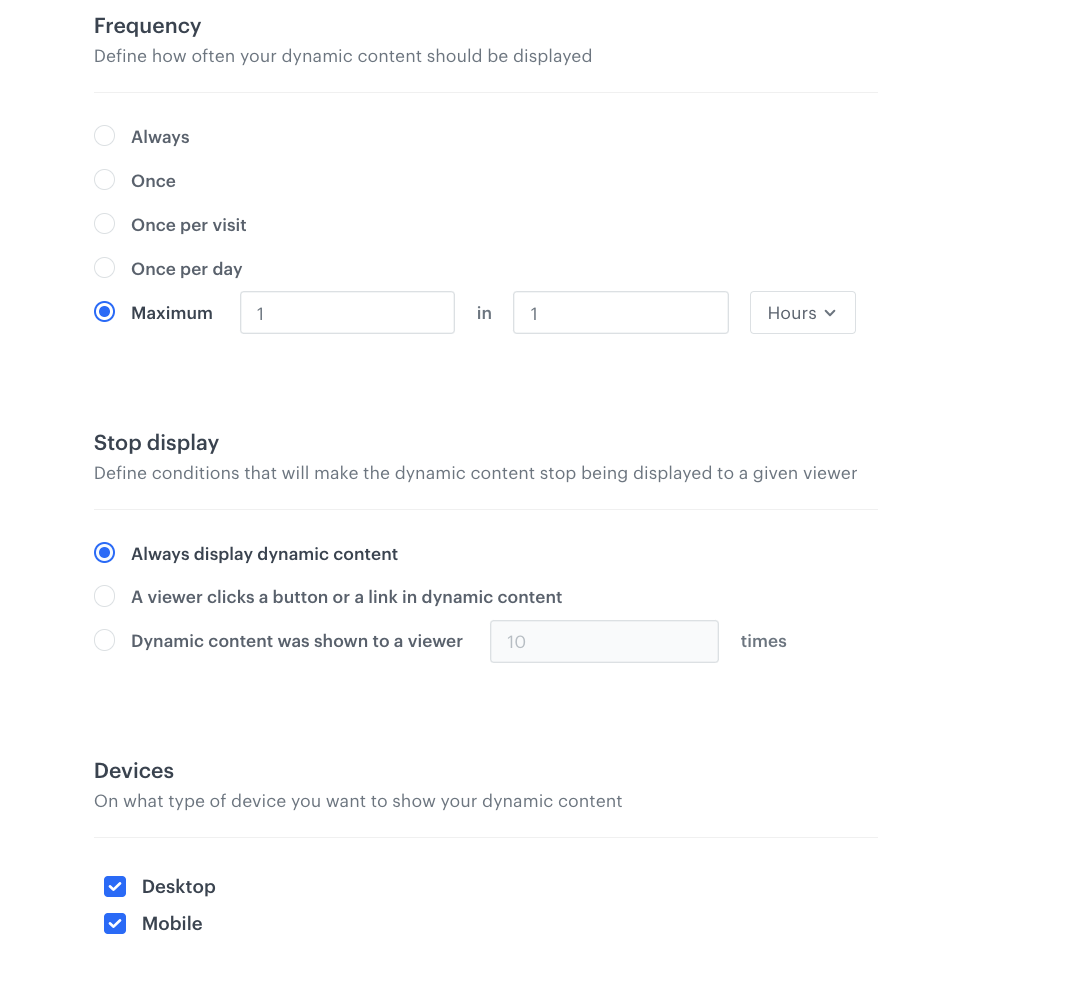
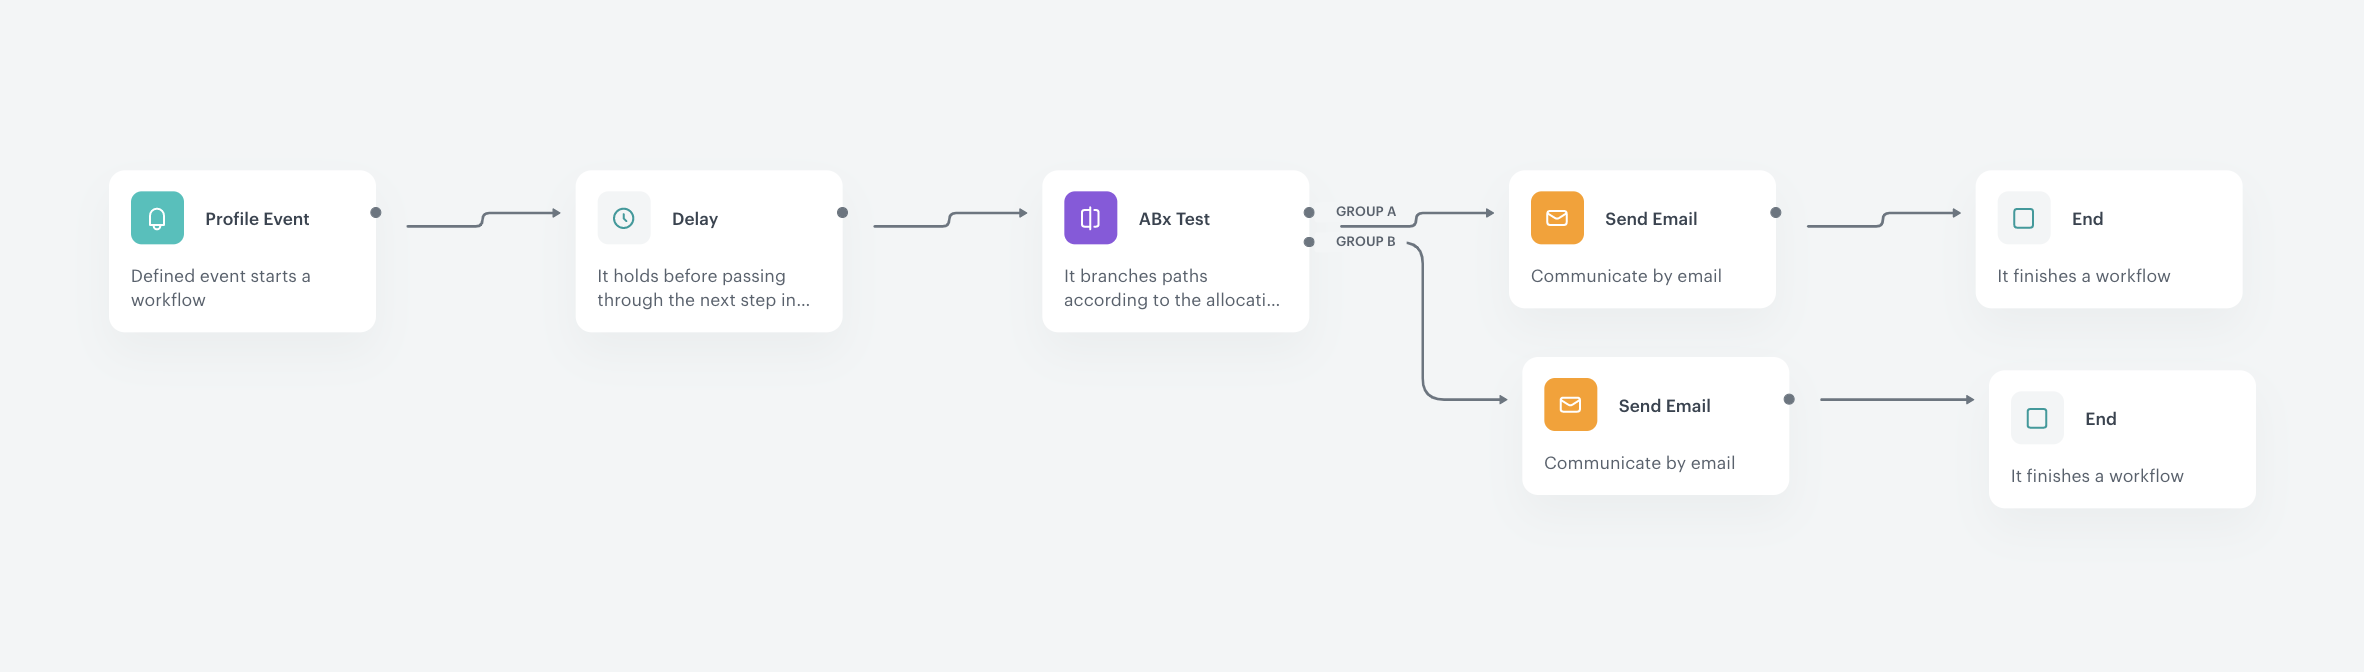
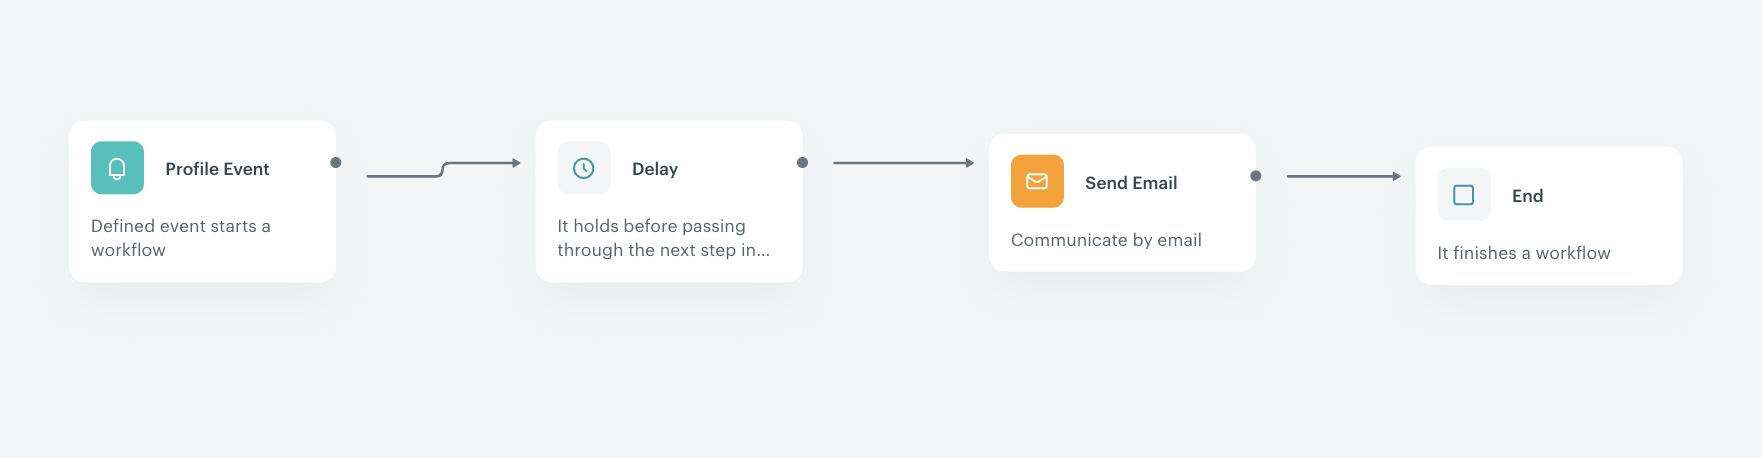
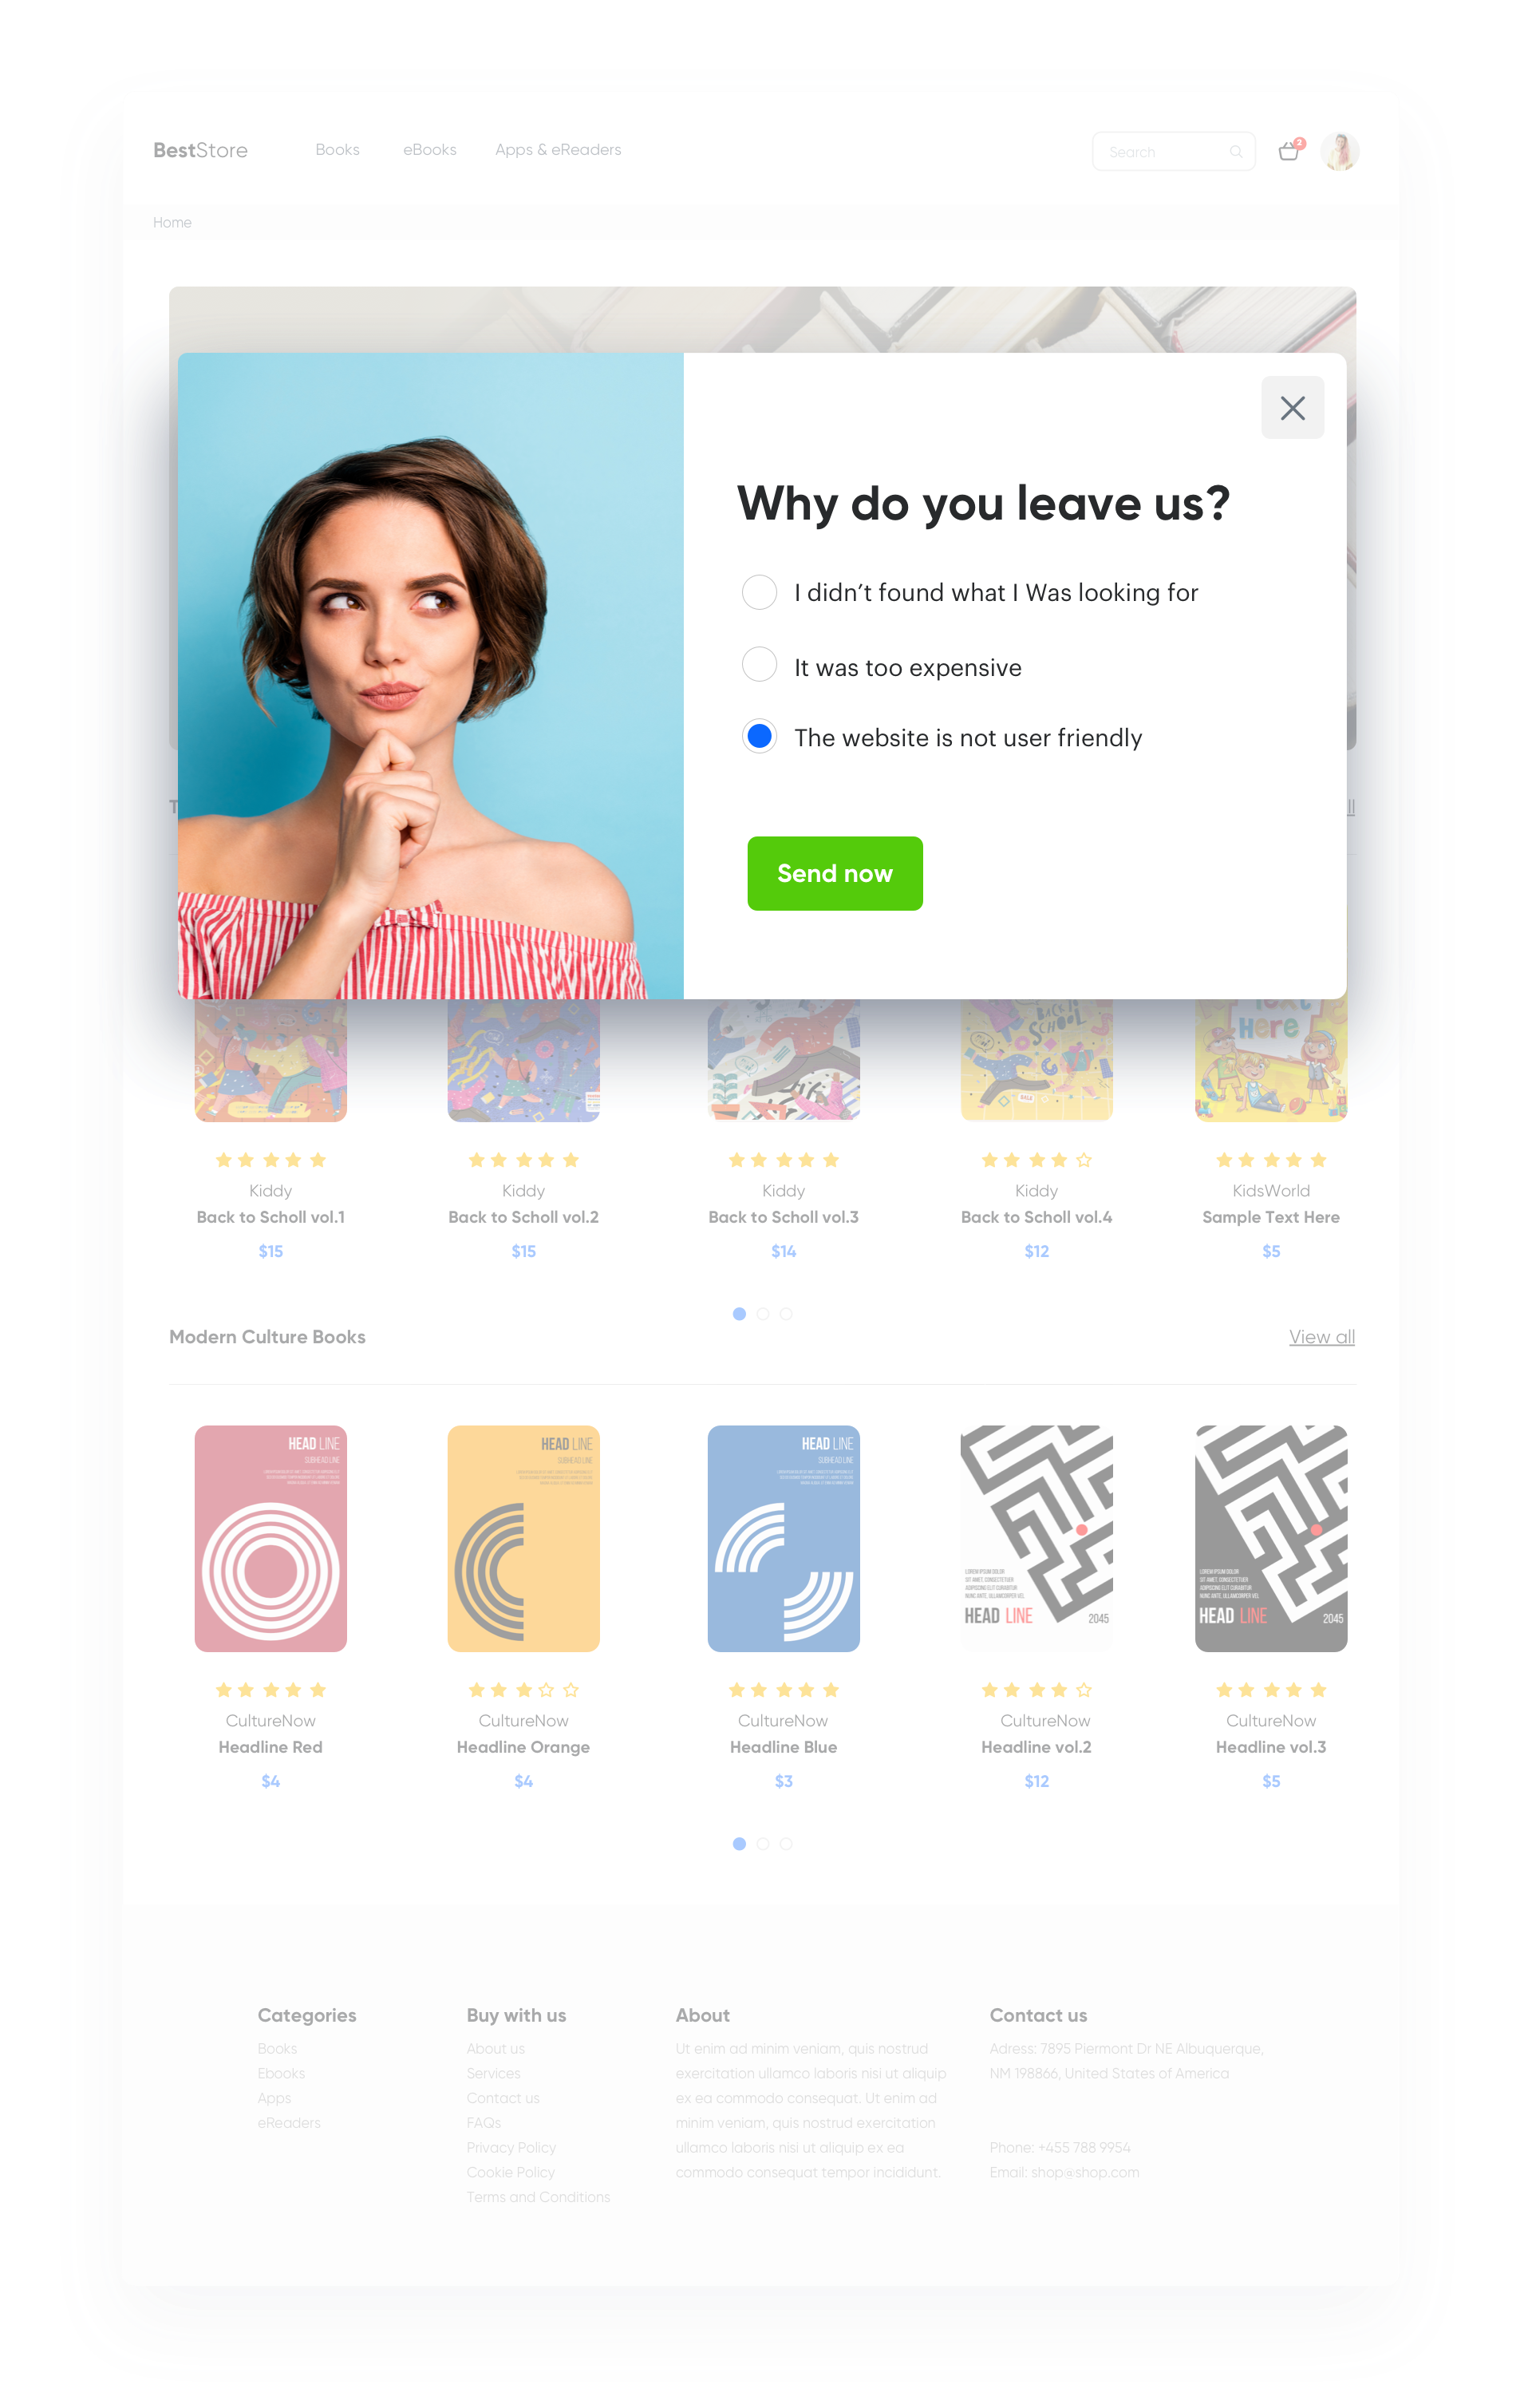
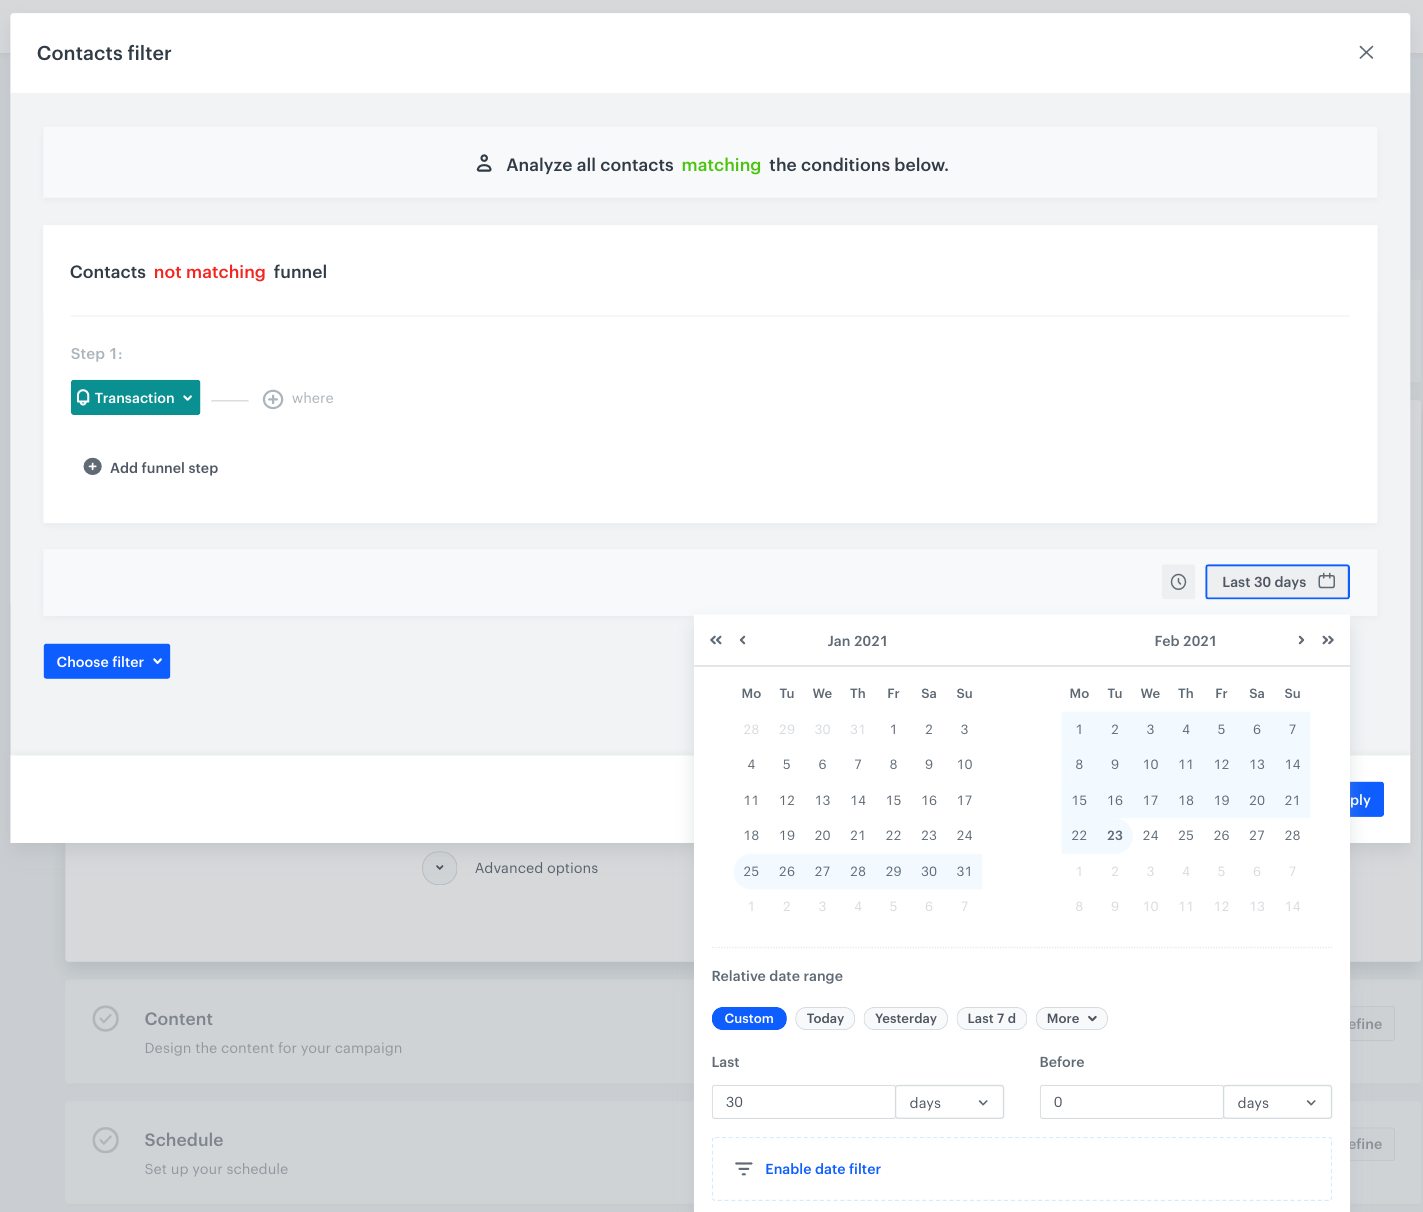
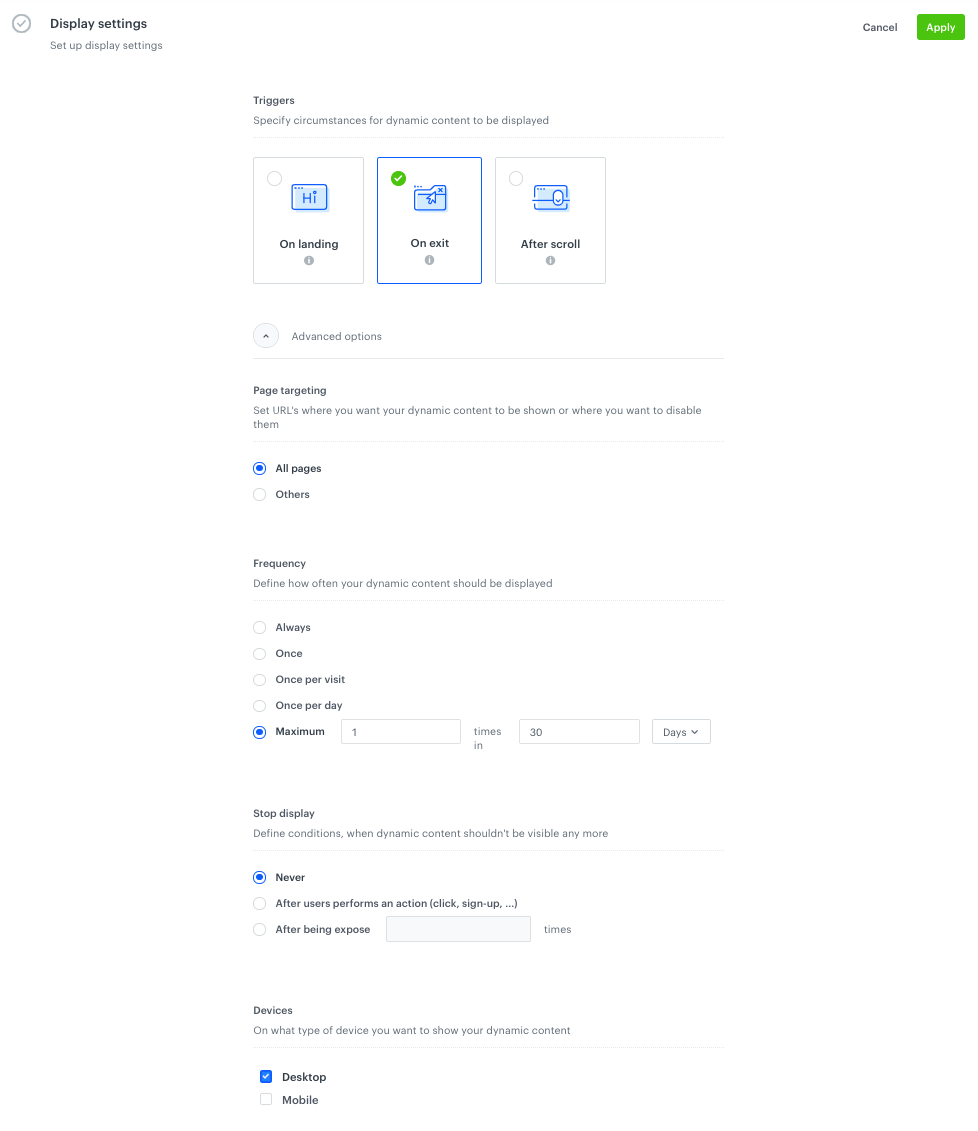
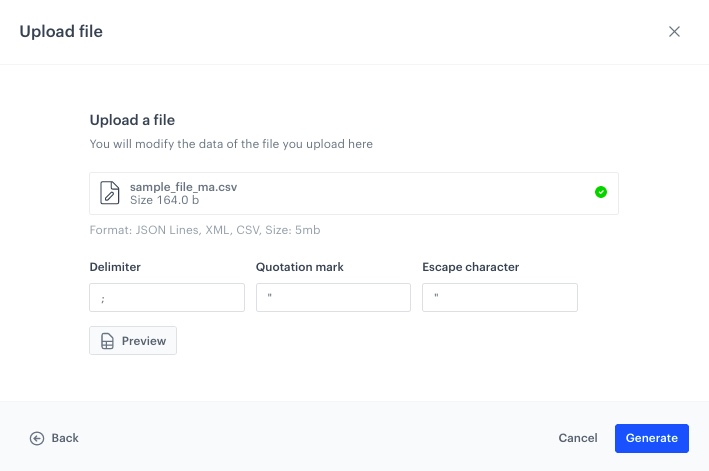
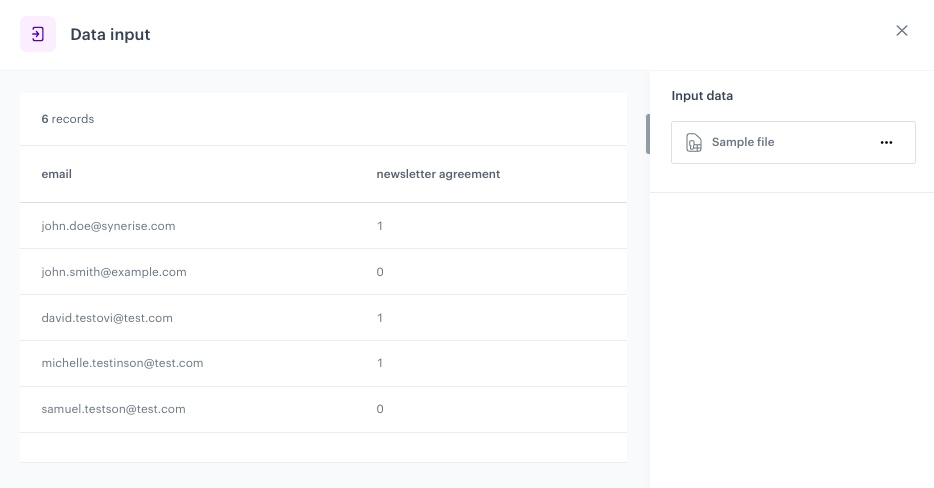
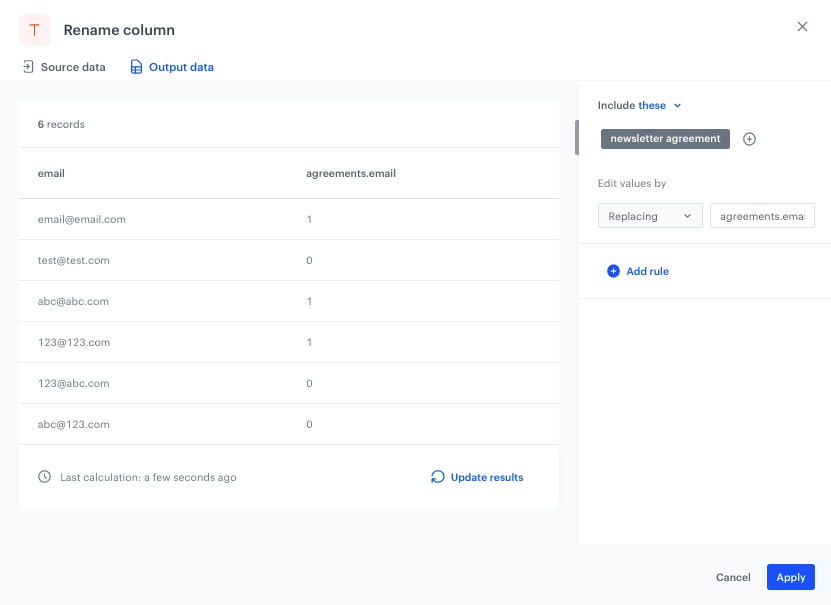

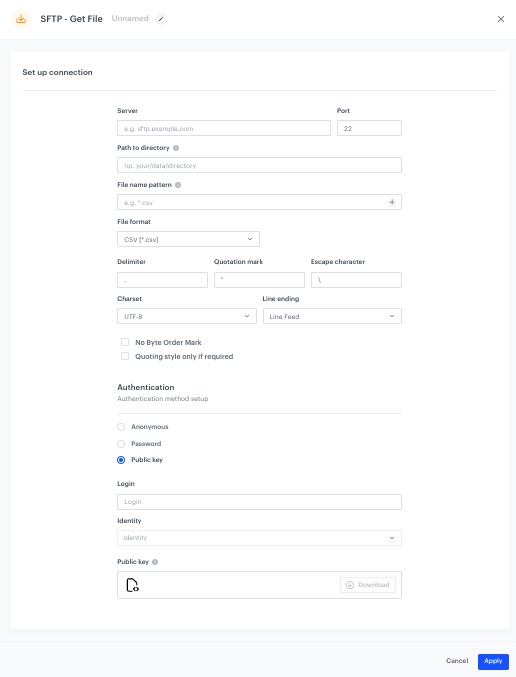
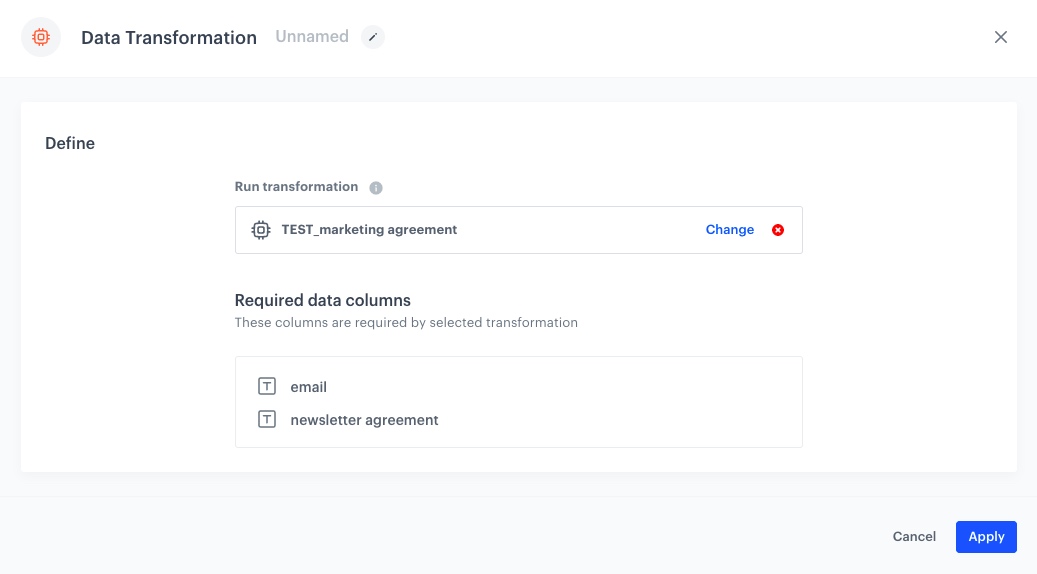
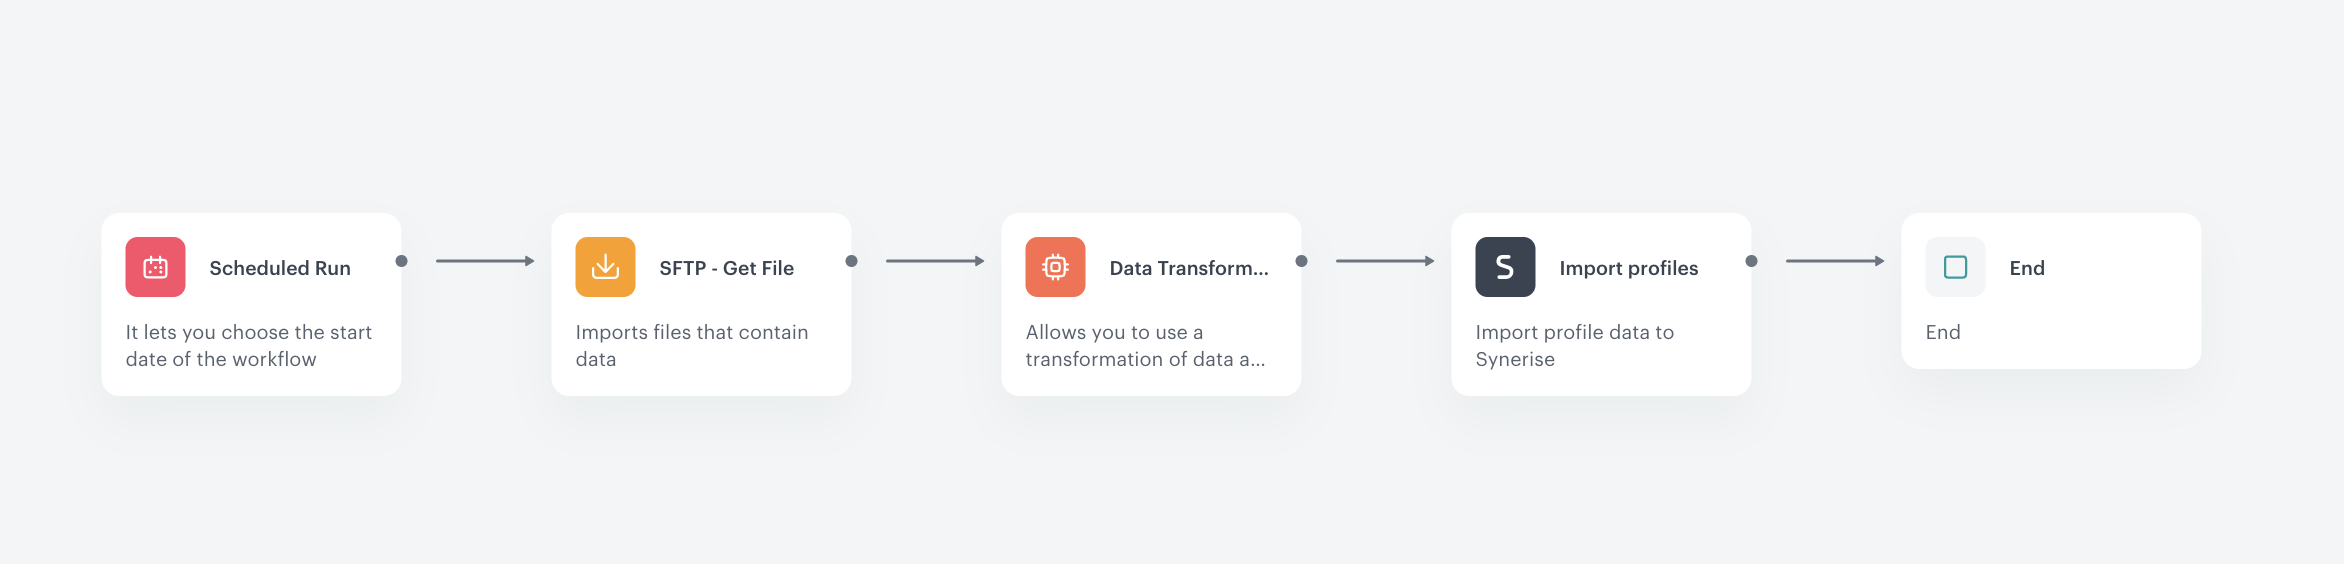
 appears below.
3. Click **Manual value** and choose **Tag**.
4. Click **Select value** and choose the tag that specifies if a customer is a VIP customer. In this example, it is `VIP`.
6. Between the **client.tag** node and the **VIP** node, change the plus sign to **HAS**.
9. Click the next **Select** node in the **IF** function.
1. From the dropdown menu, choose **Attribute**.
2. Click tne **null** node.
**Result**:
appears below.
3. Click **Manual value** and choose **Tag**.
4. Click **Select value** and choose the tag that specifies if a customer is a VIP customer. In this example, it is `VIP`.
6. Between the **client.tag** node and the **VIP** node, change the plus sign to **HAS**.
9. Click the next **Select** node in the **IF** function.
1. From the dropdown menu, choose **Attribute**.
2. Click tne **null** node.
**Result**:  appears below.
3. Click **Select value** and choose the attribute that describes the items' price.
4. Next to the price attribute, click the
appears below.
3. Click **Select value** and choose the attribute that describes the items' price.
4. Next to the price attribute, click the  appears below.
6. Enter the bottom price limit for items. In our example, it is `500`.
7. Between the price attribute and the 500 nodes, click on the
appears below.
6. Enter the bottom price limit for items. In our example, it is `500`.
7. Between the price attribute and the 500 nodes, click on the  (greater than or equal).
10. Click the last **Select** in the **IF** function.
11. From the dropdown menu, choose **Take all**.
**Result**:
(greater than or equal).
10. Click the last **Select** in the **IF** function.
11. From the dropdown menu, choose **Take all**.
**Result**: 

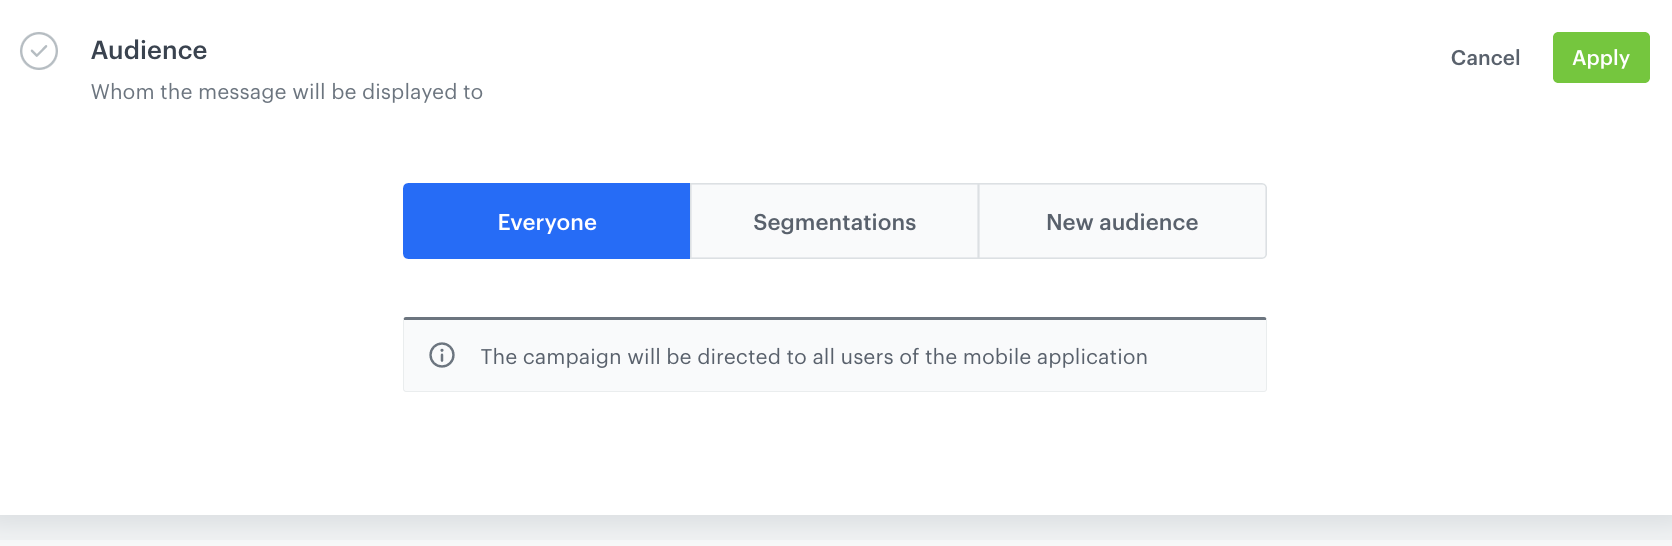
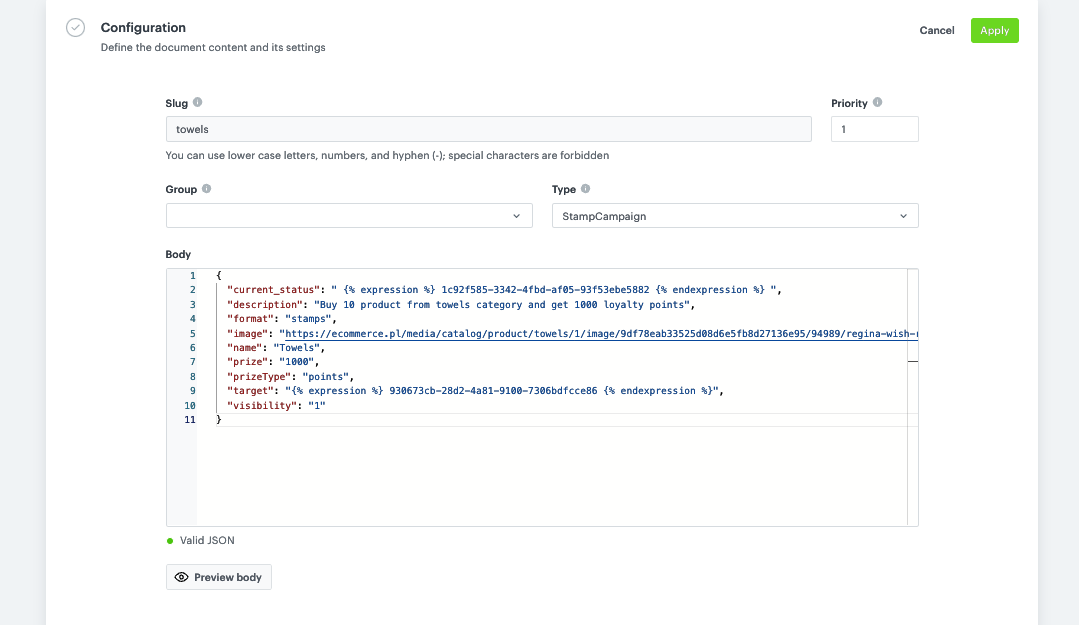
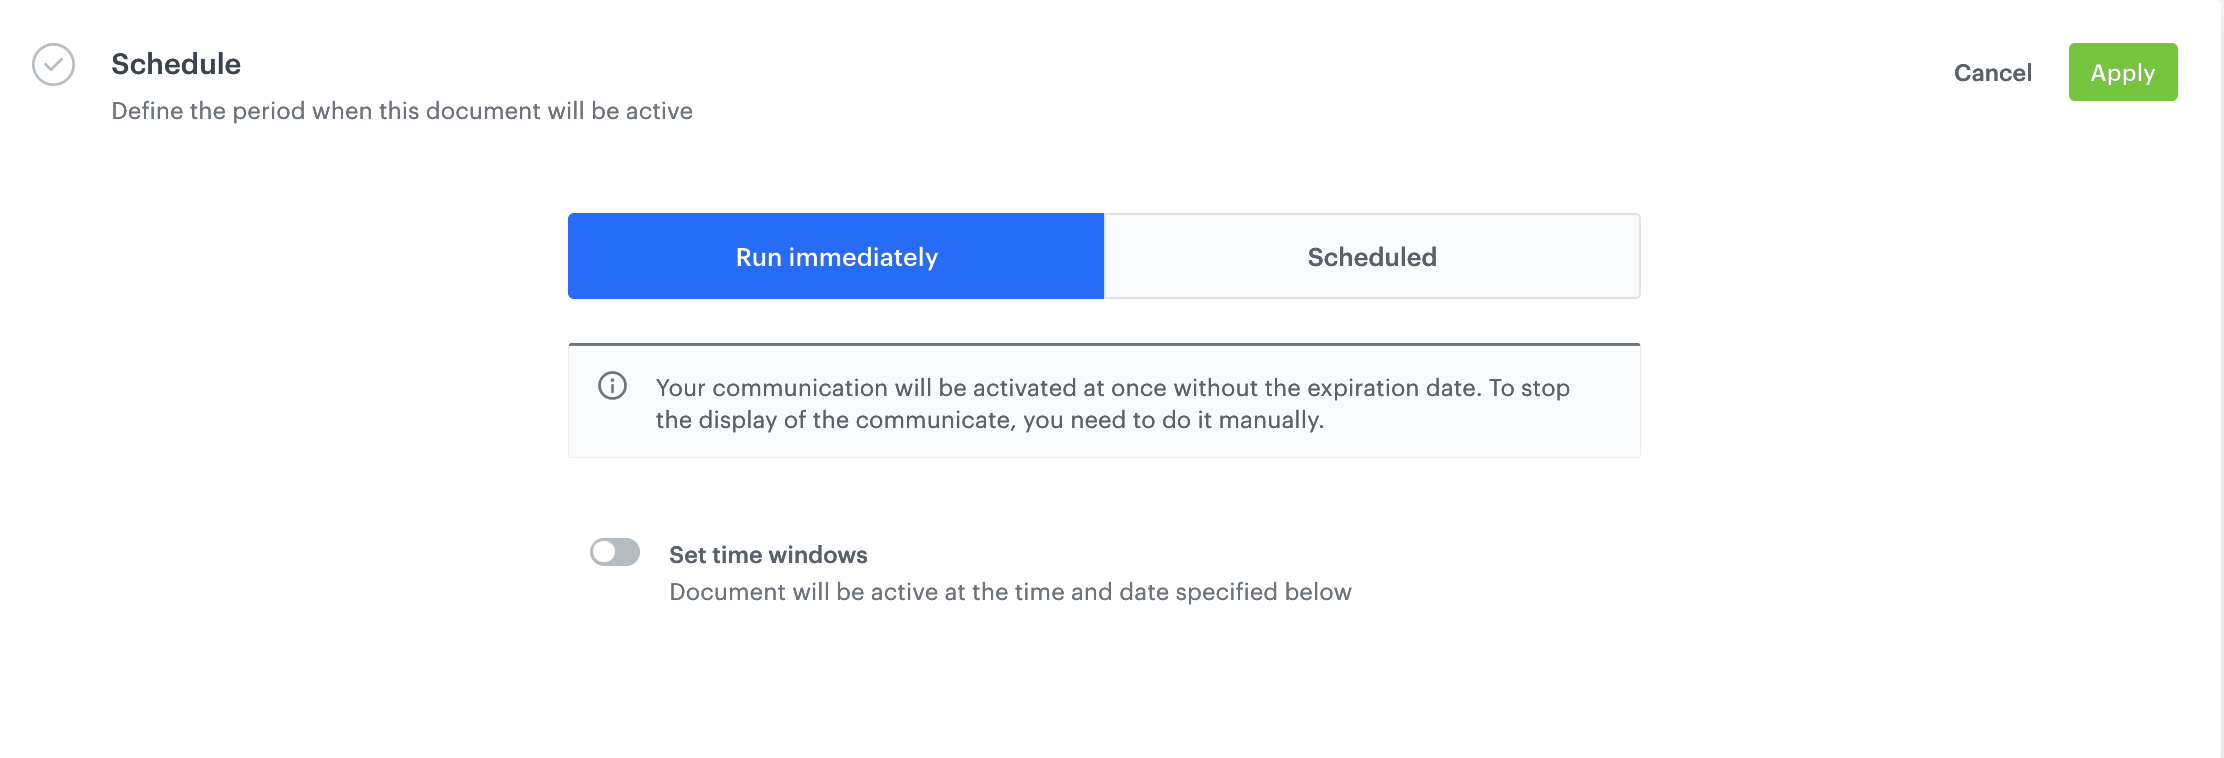
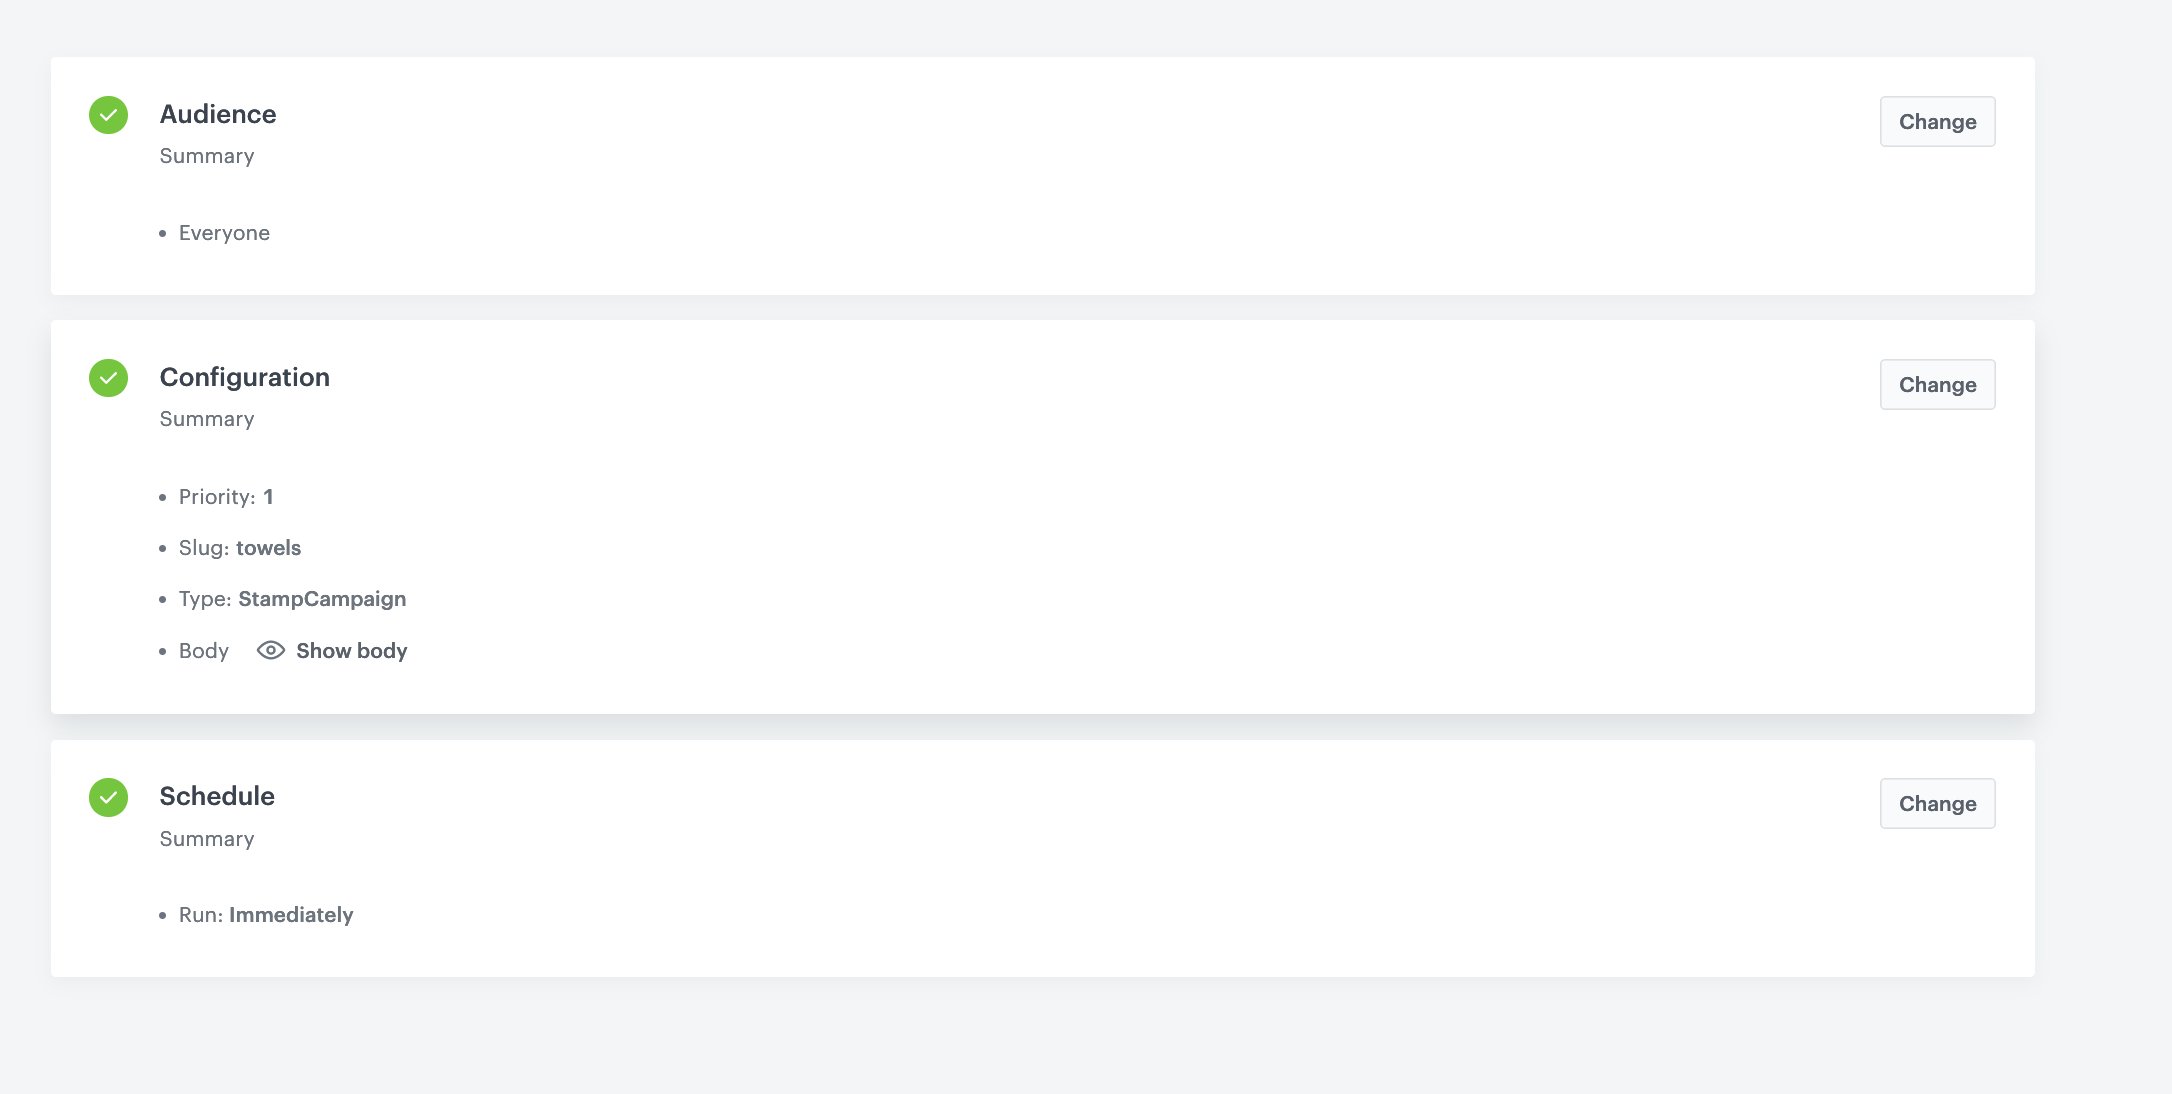
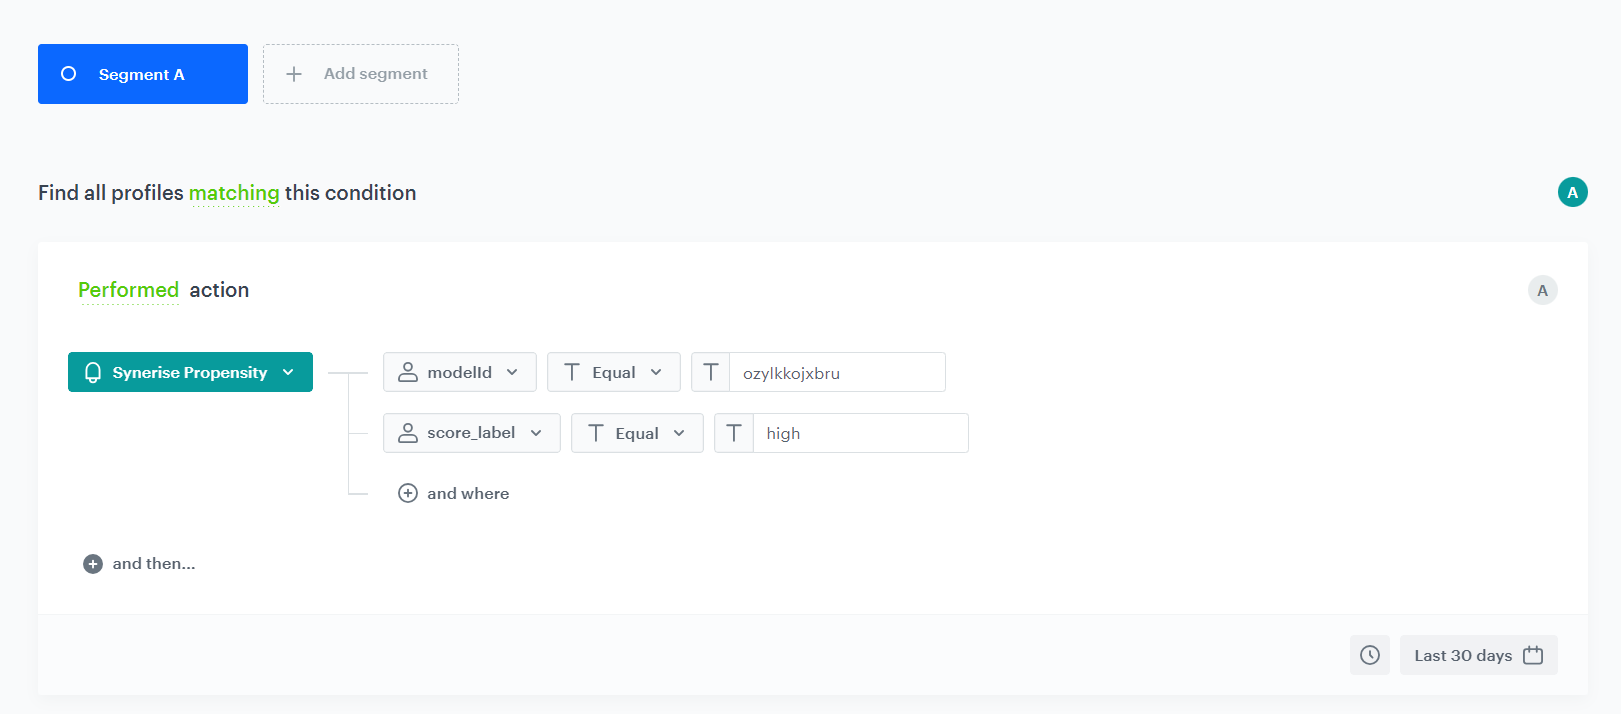
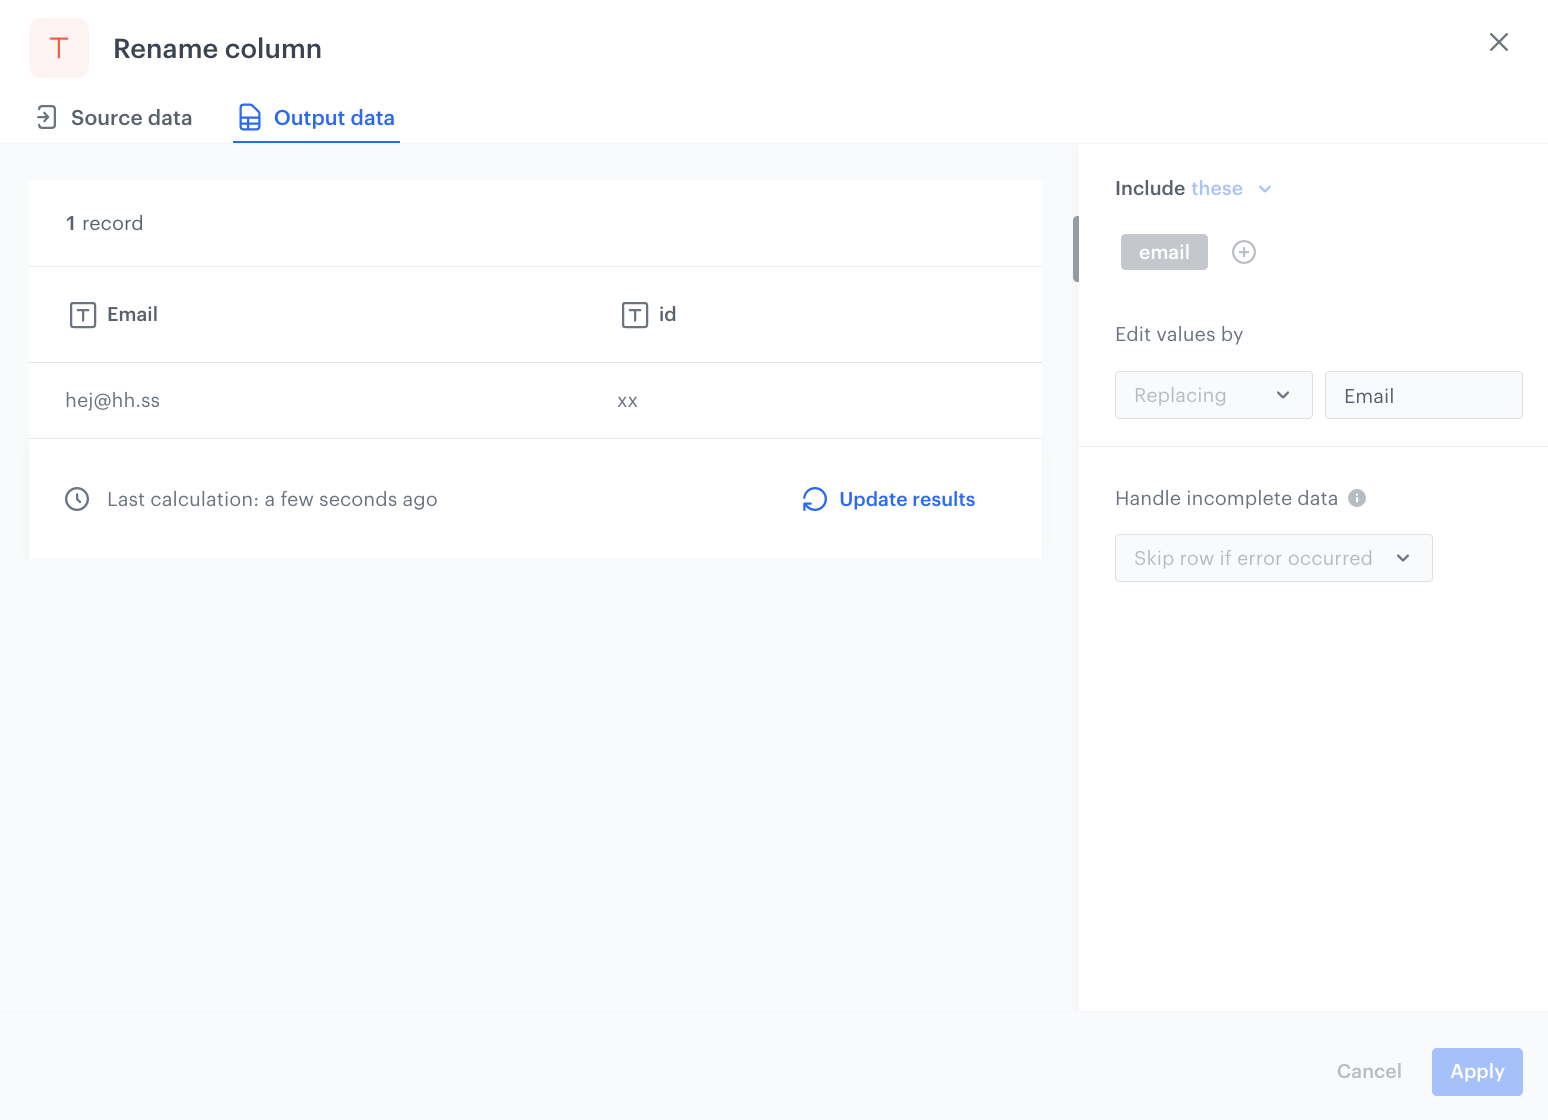
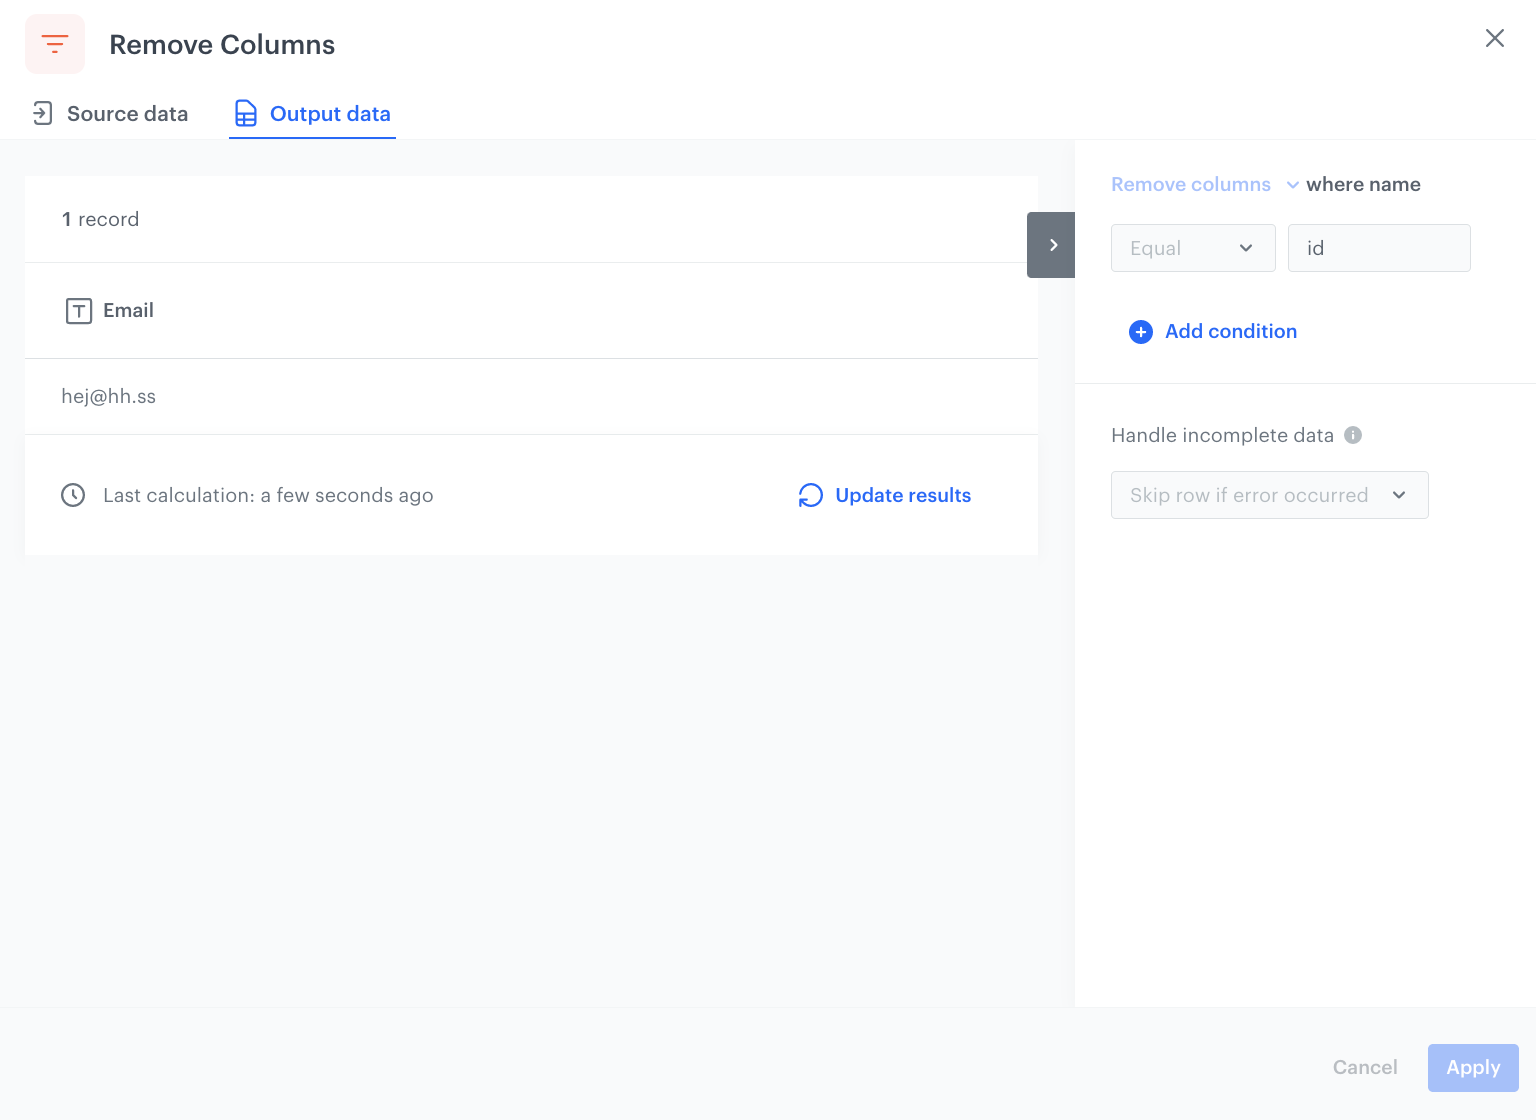
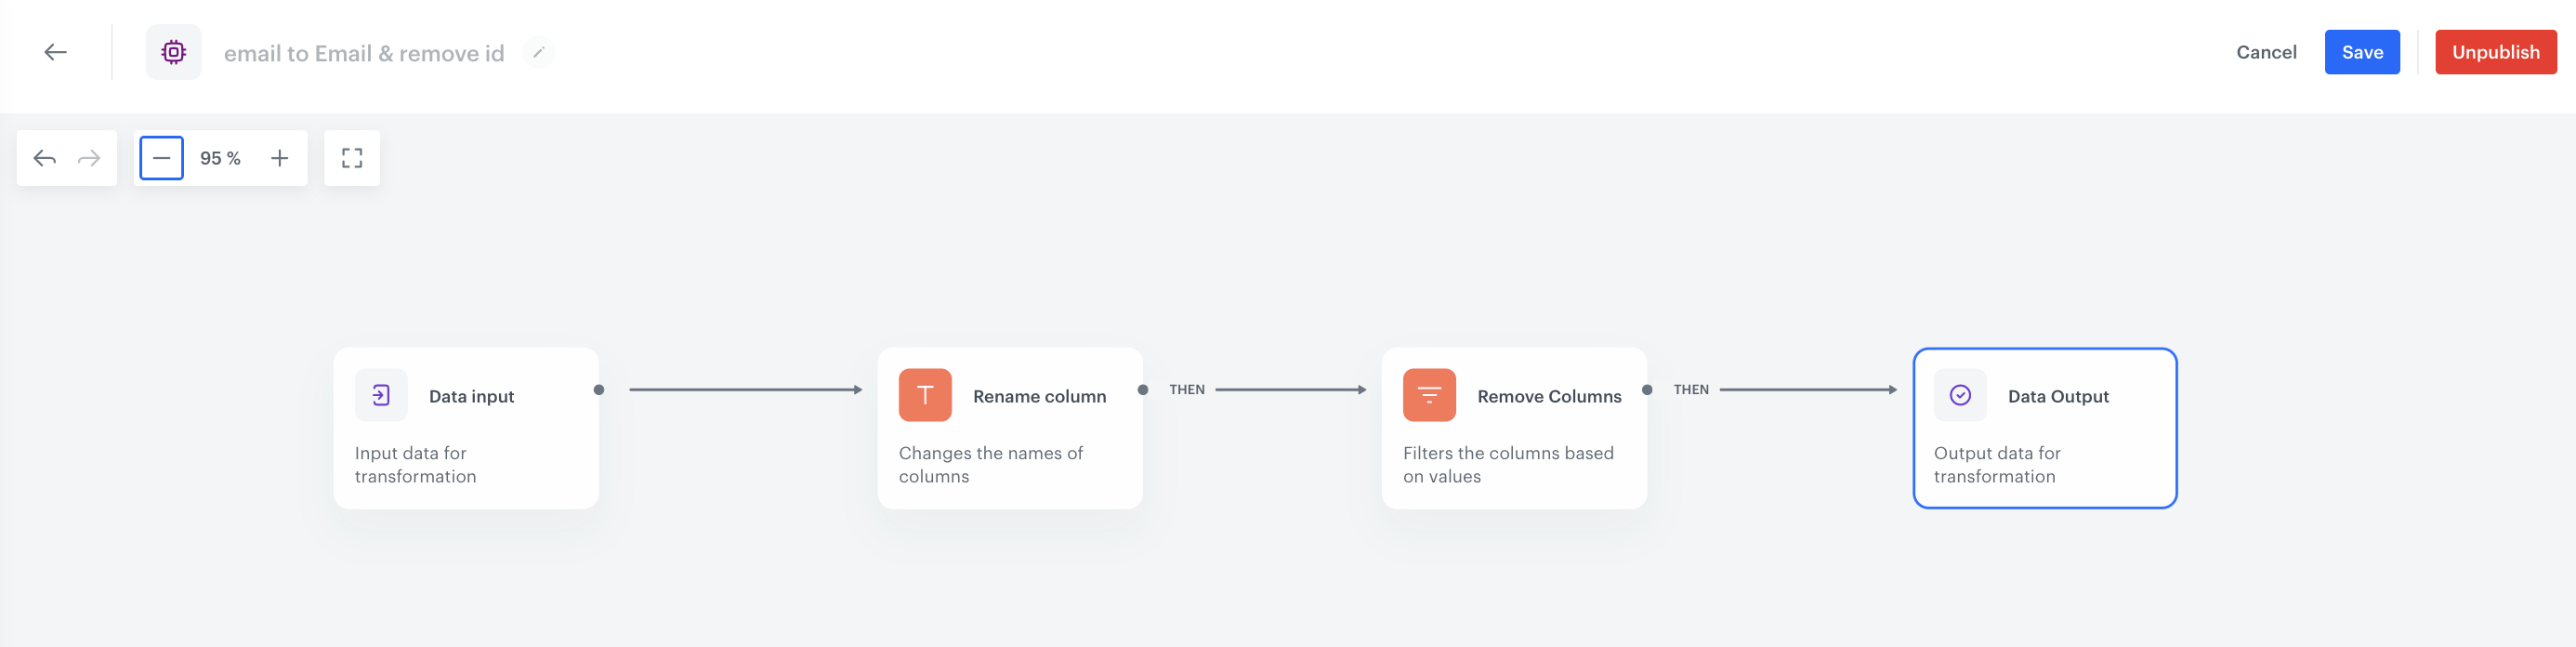
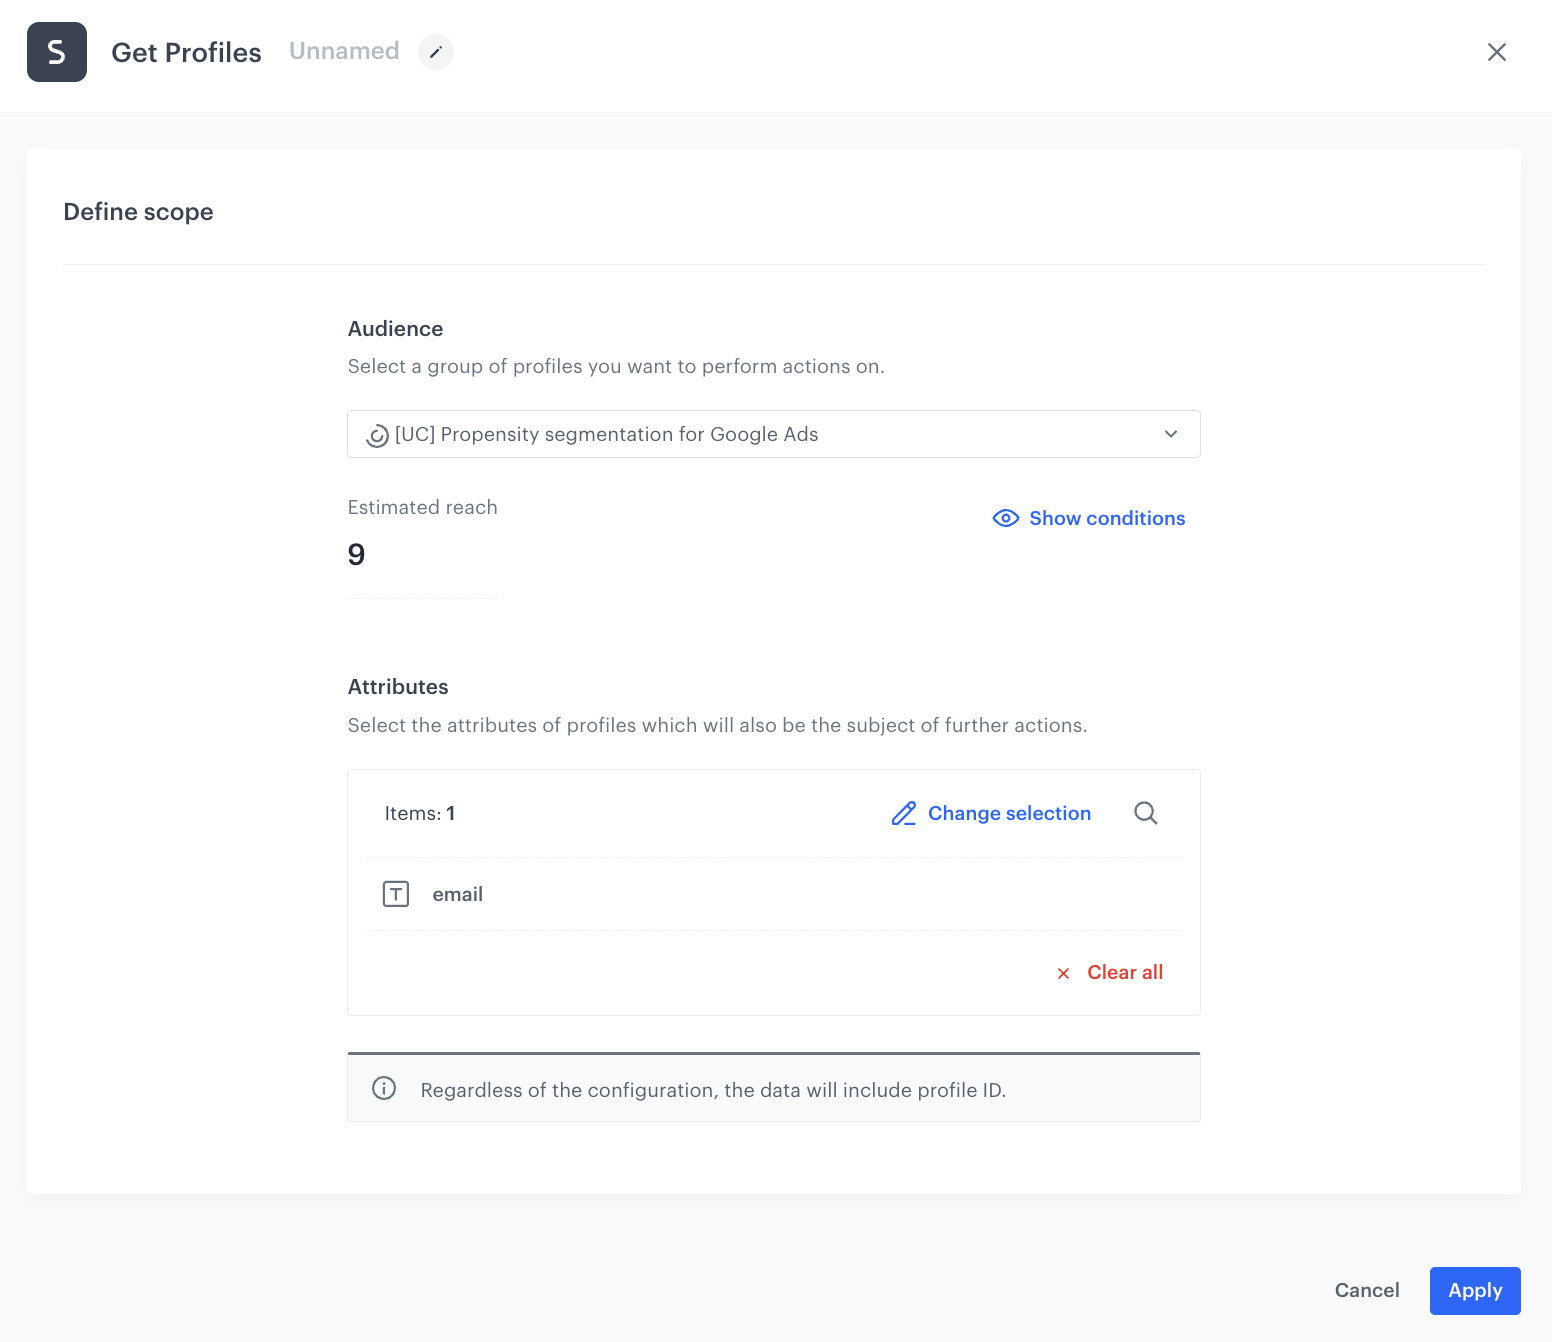
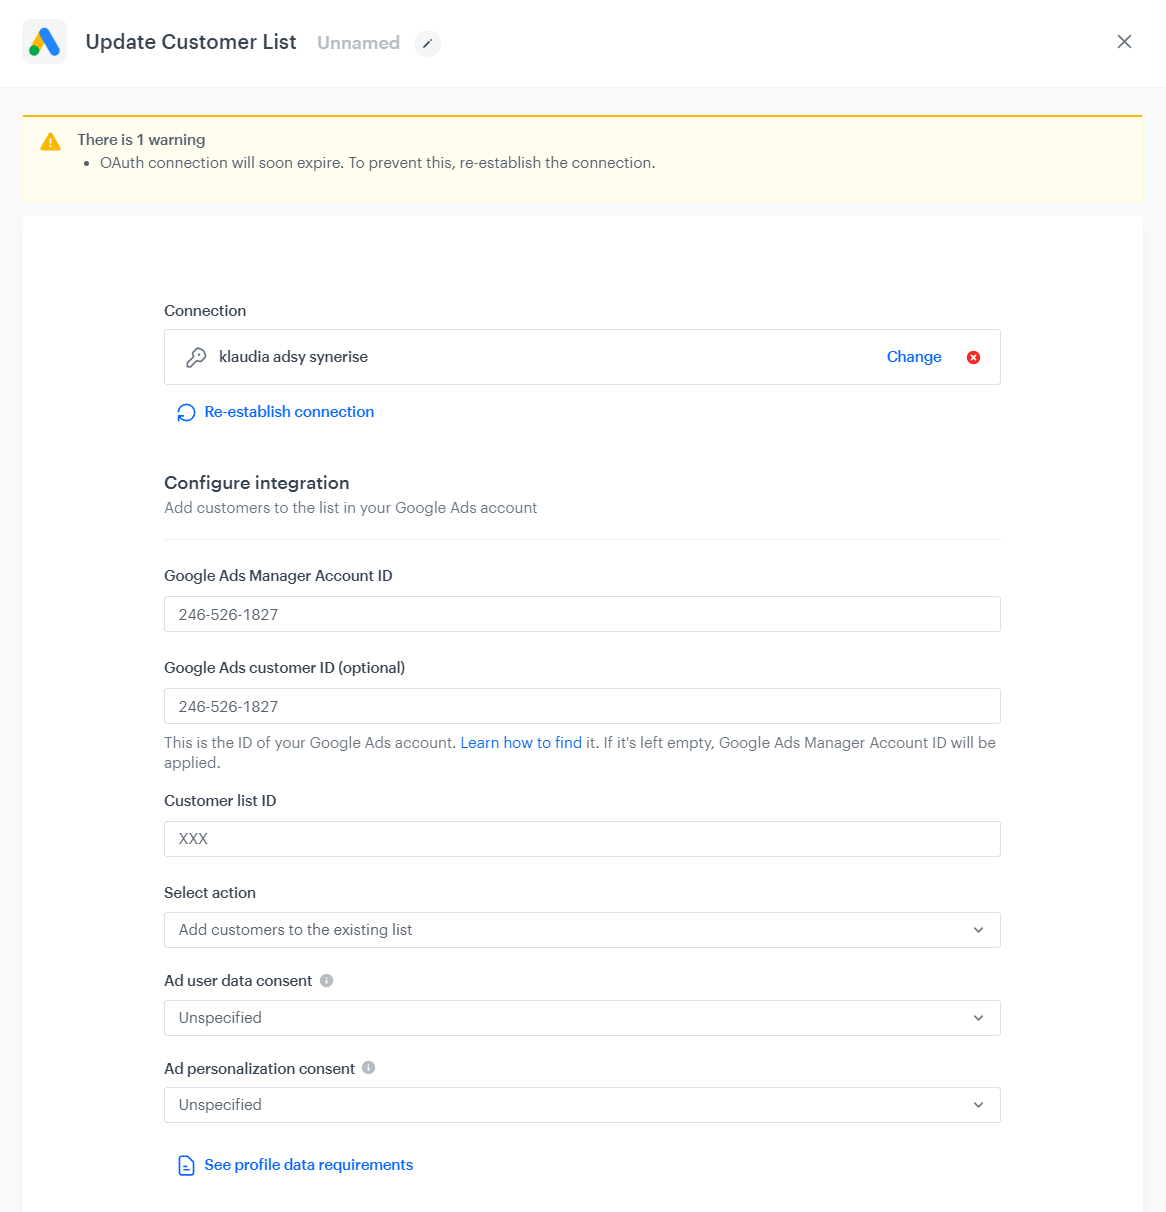

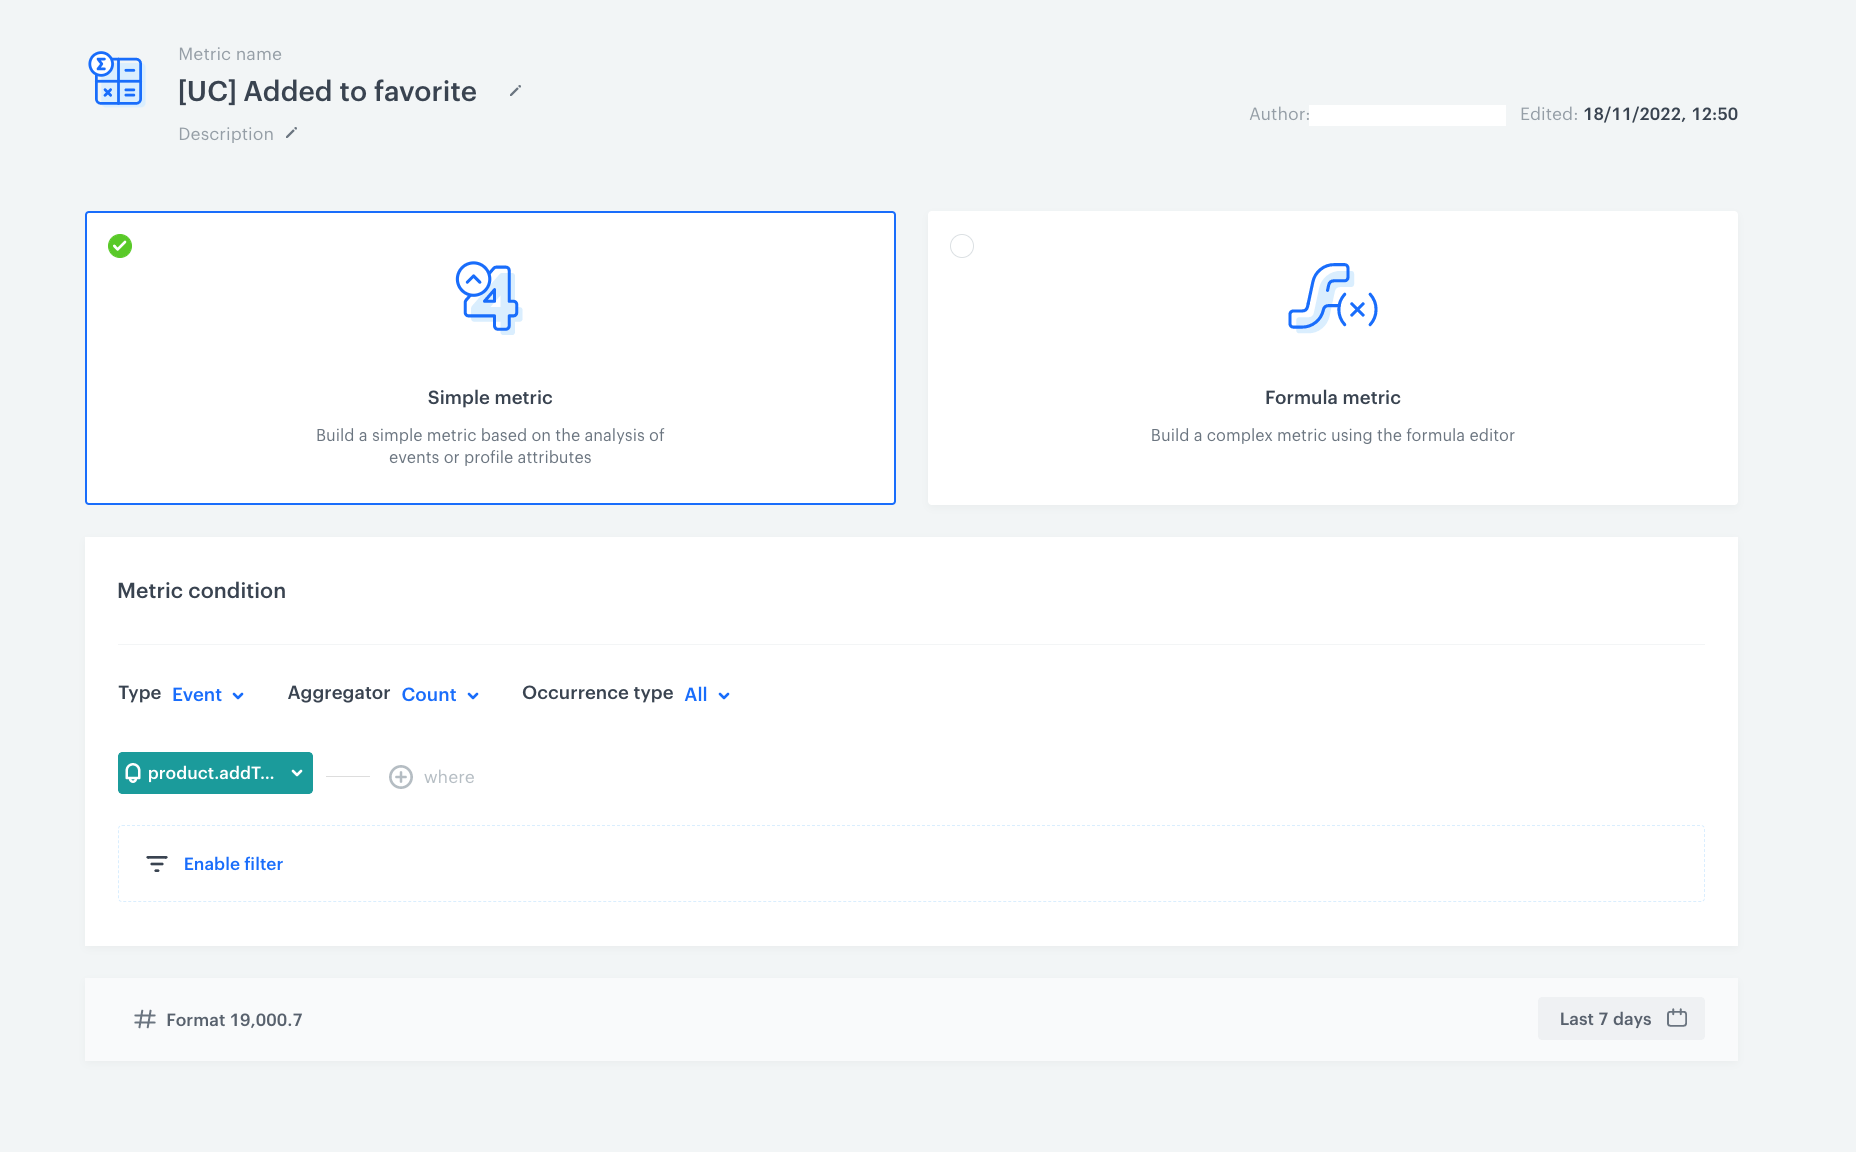
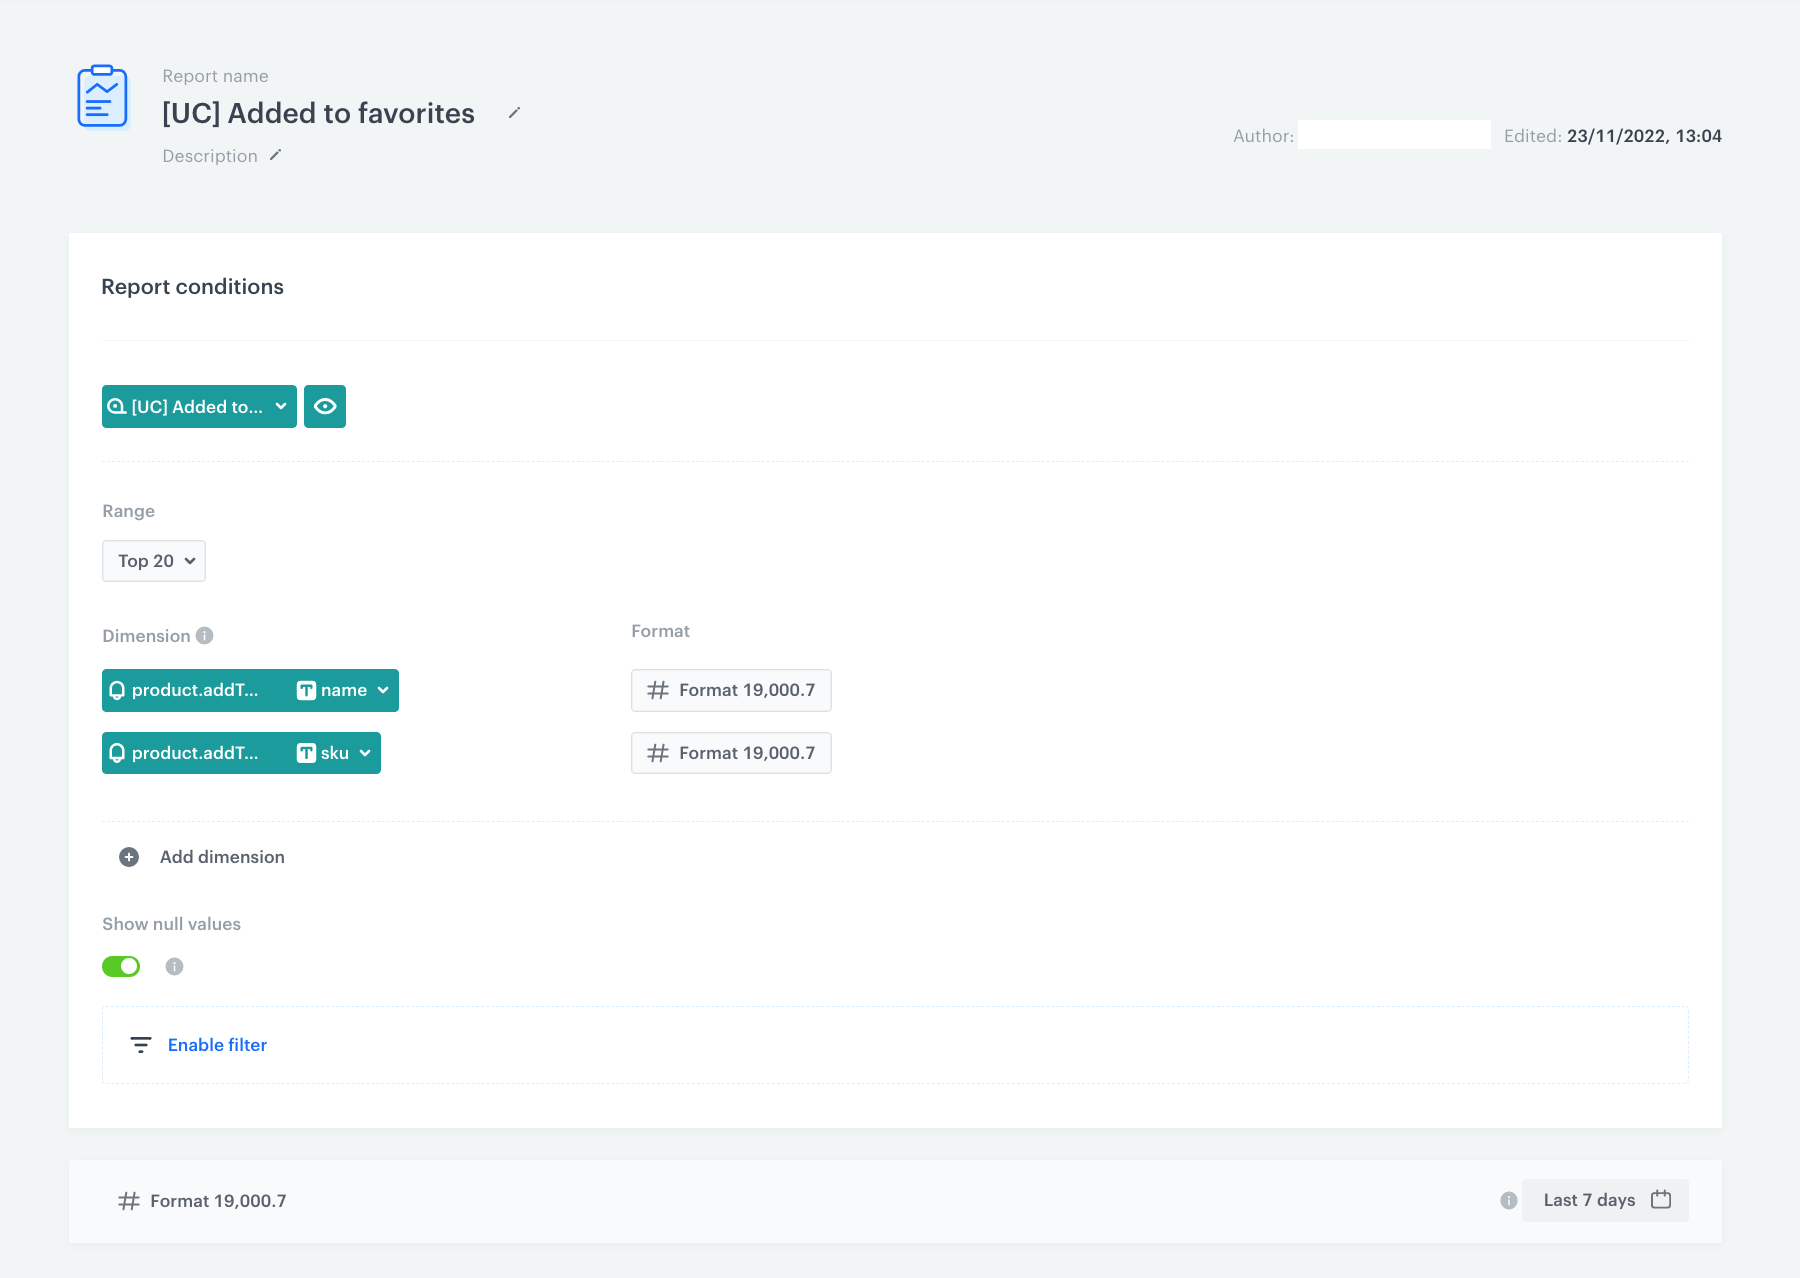
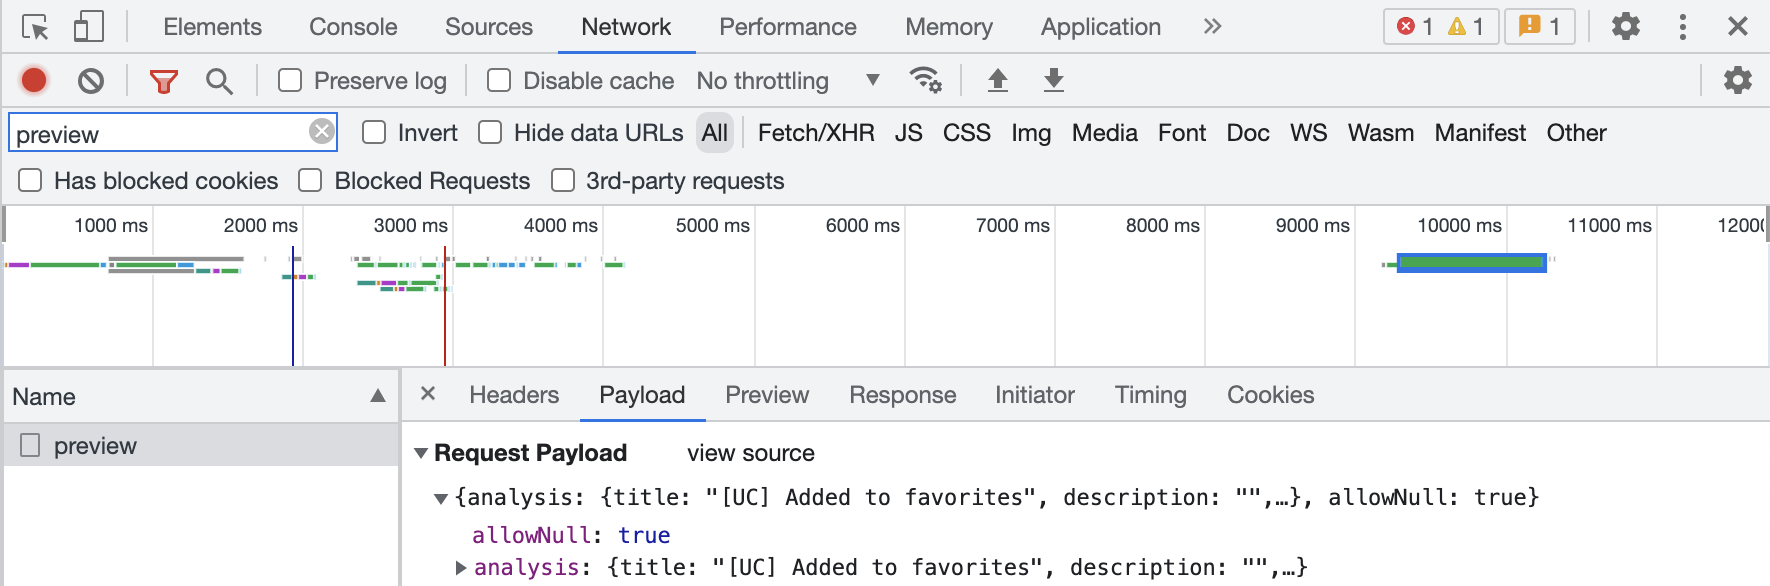
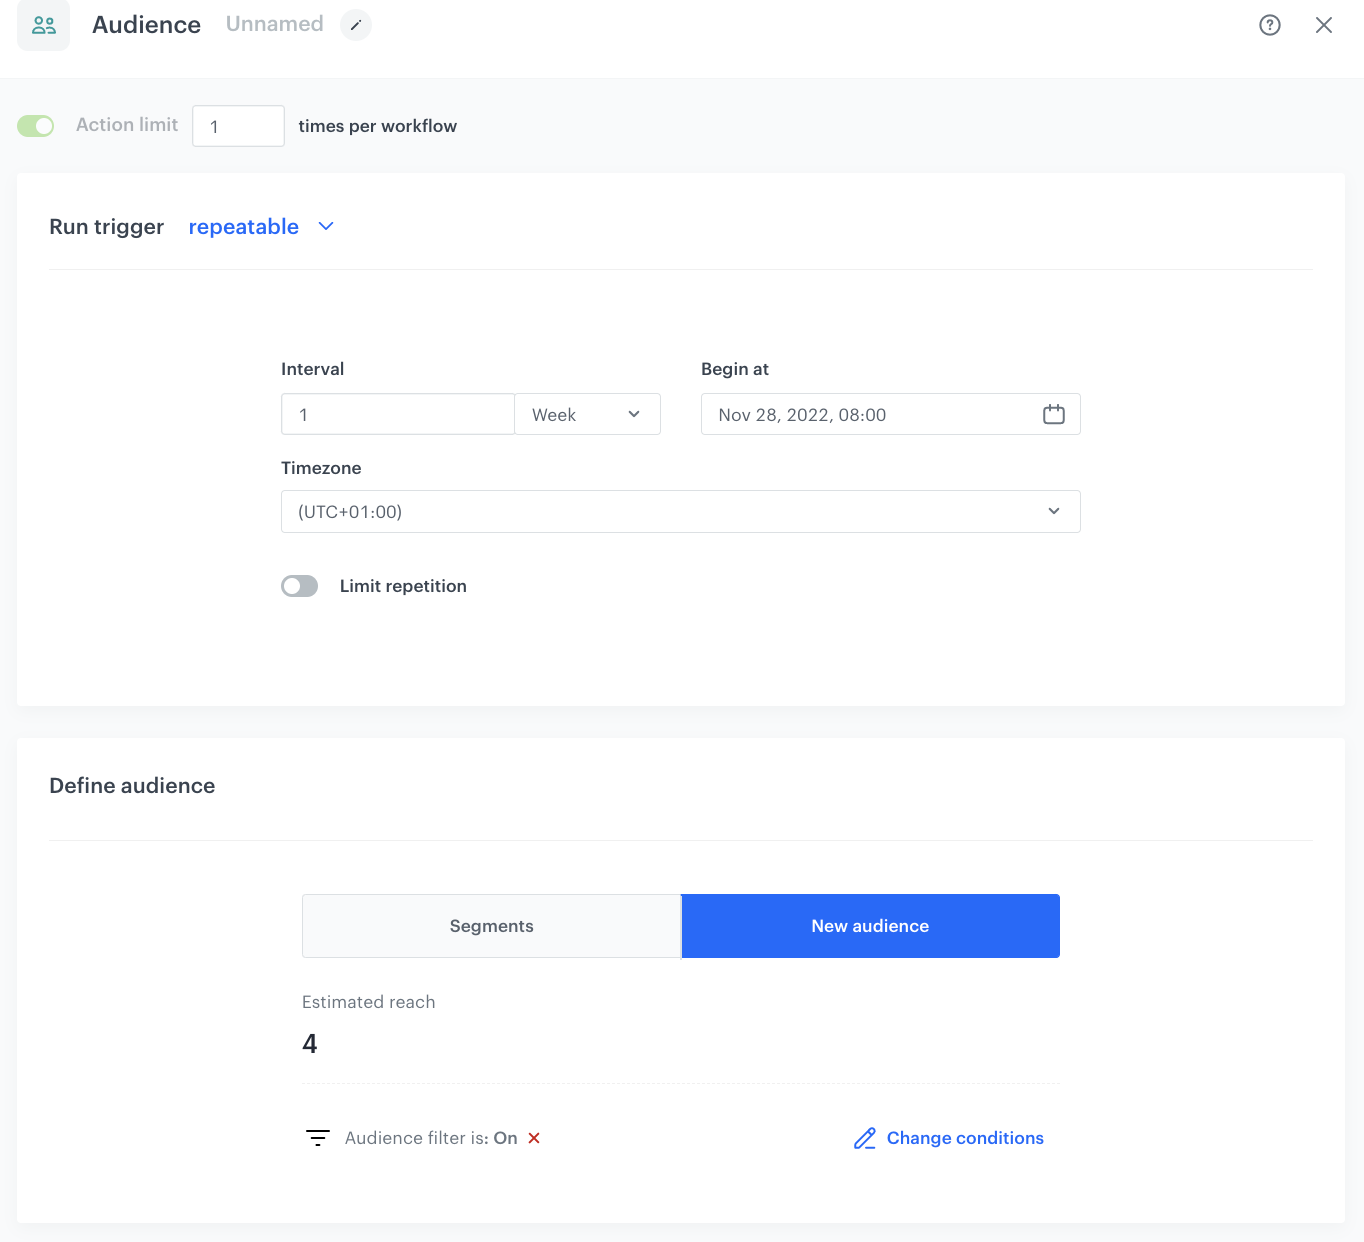
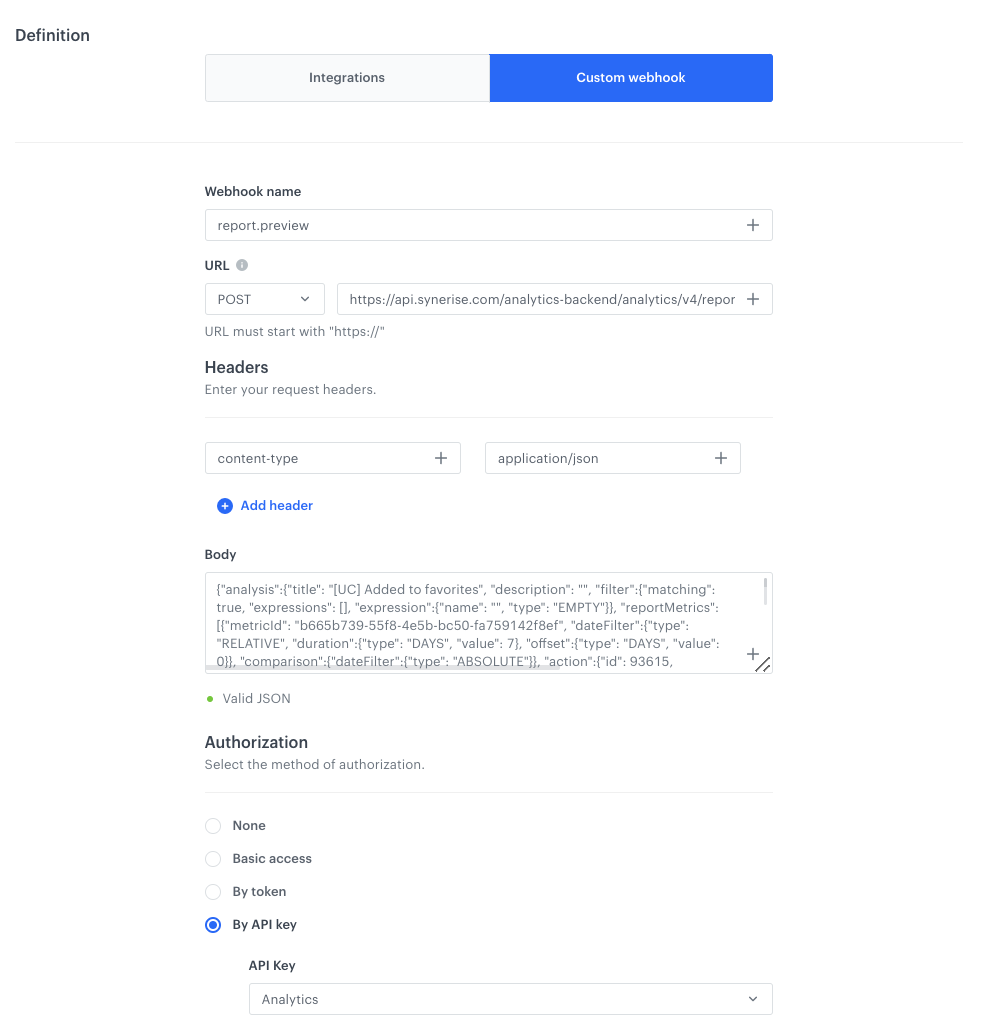
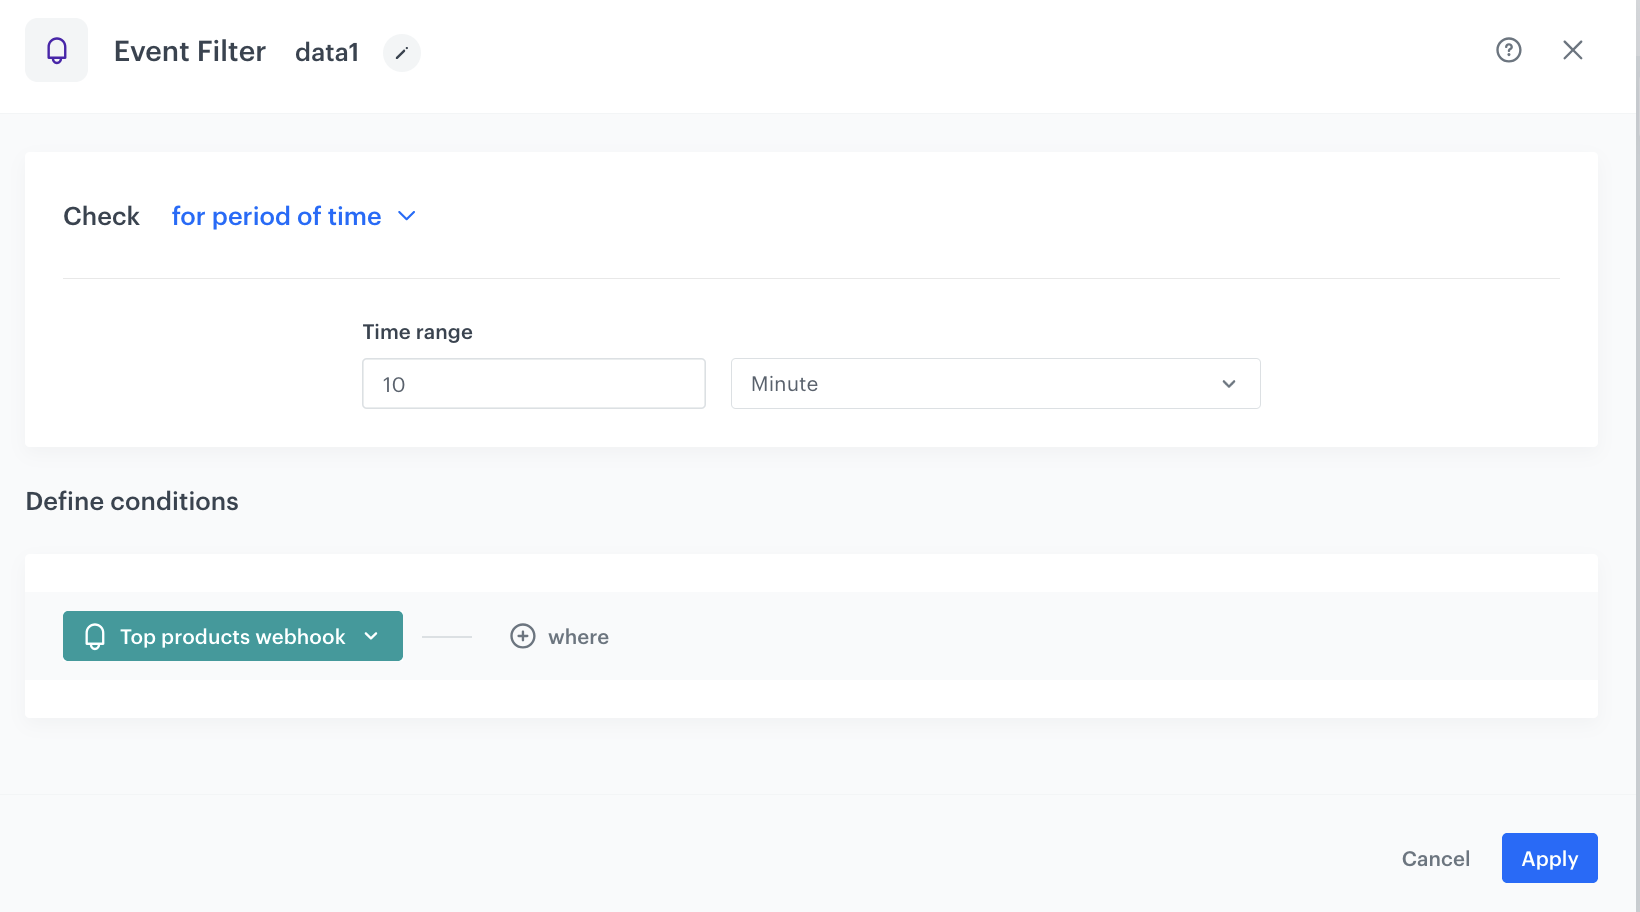
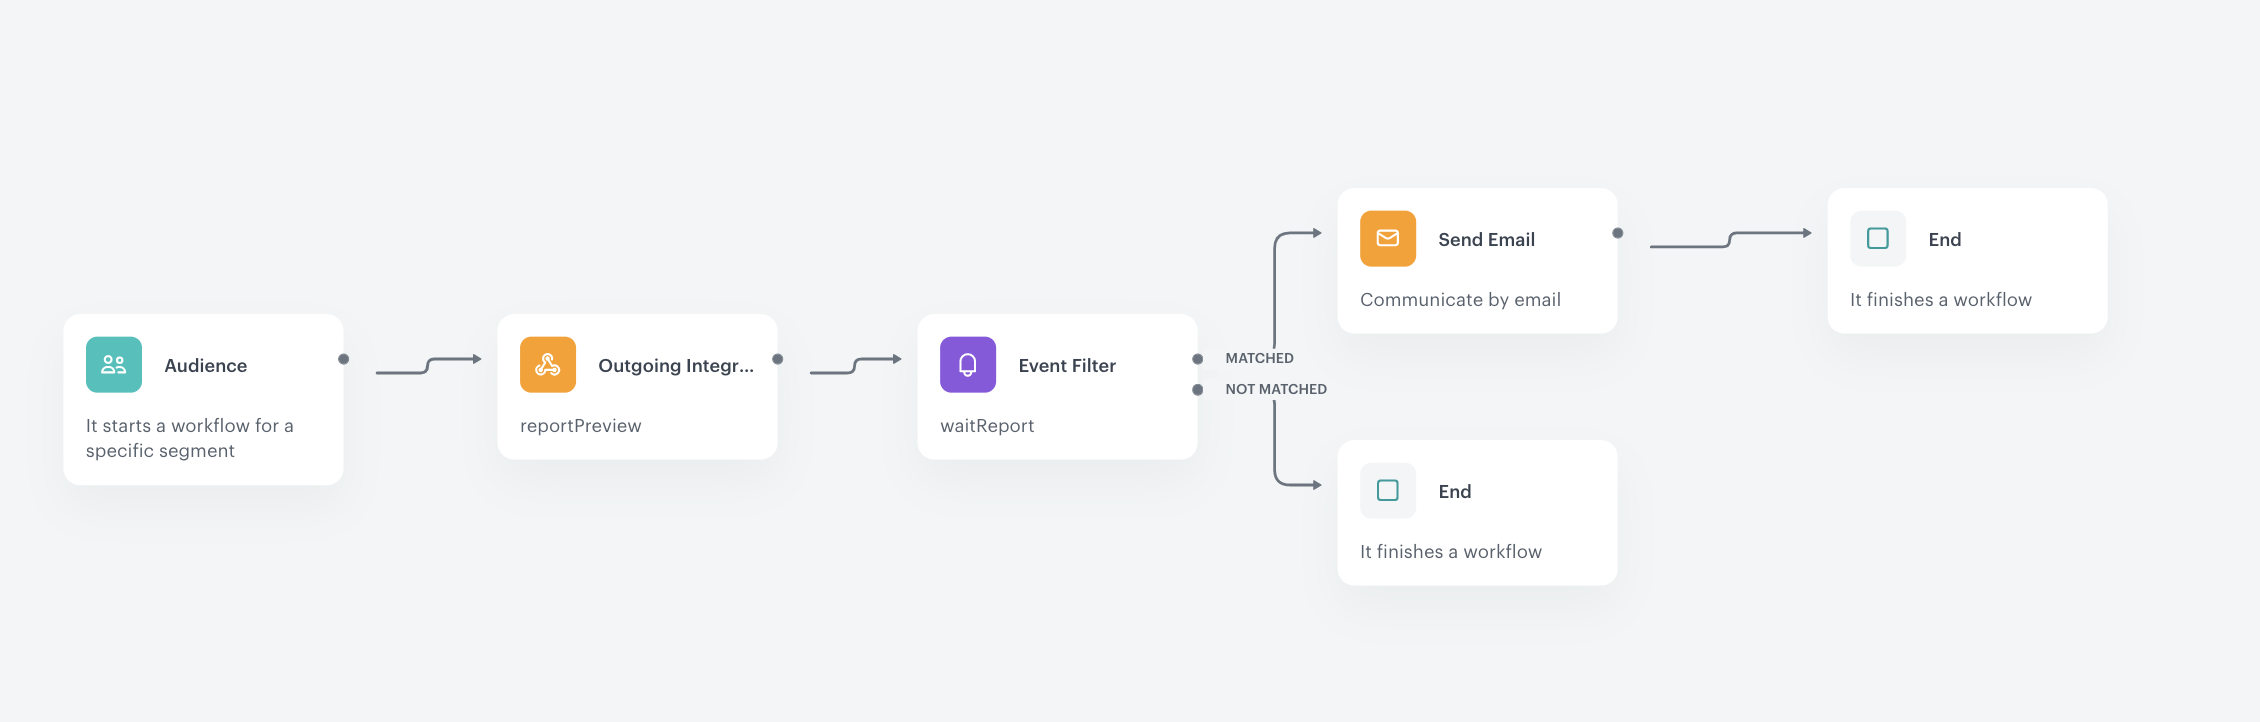

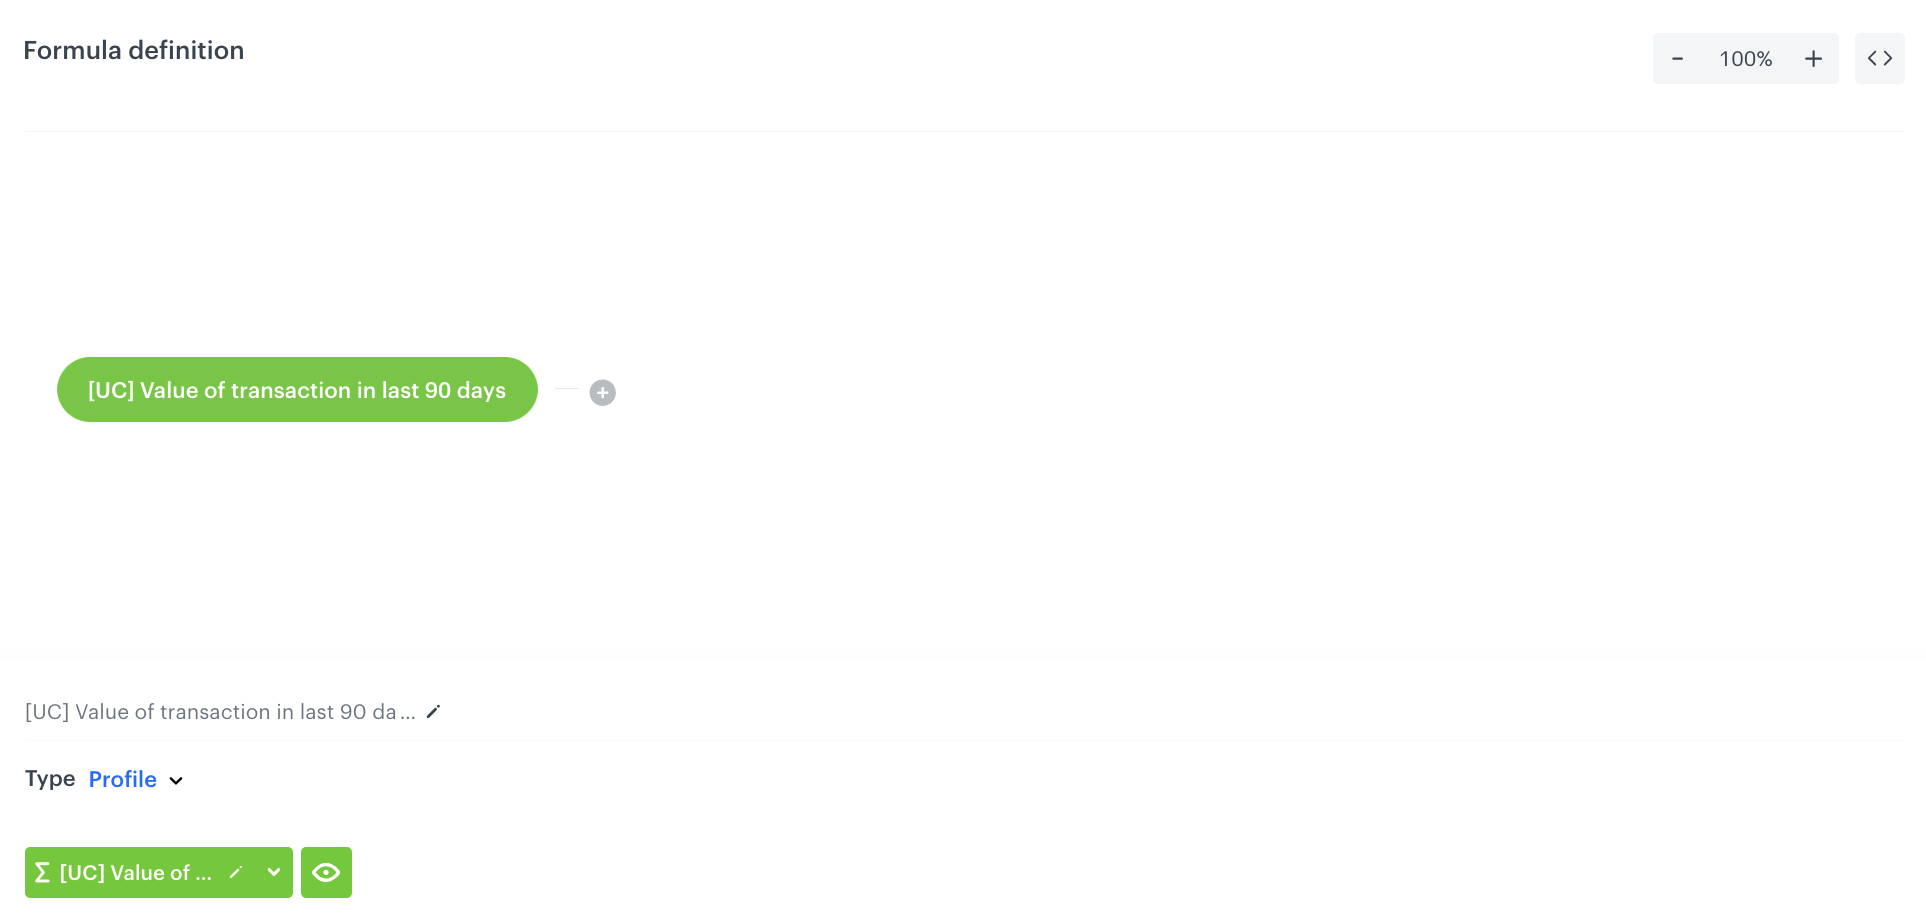
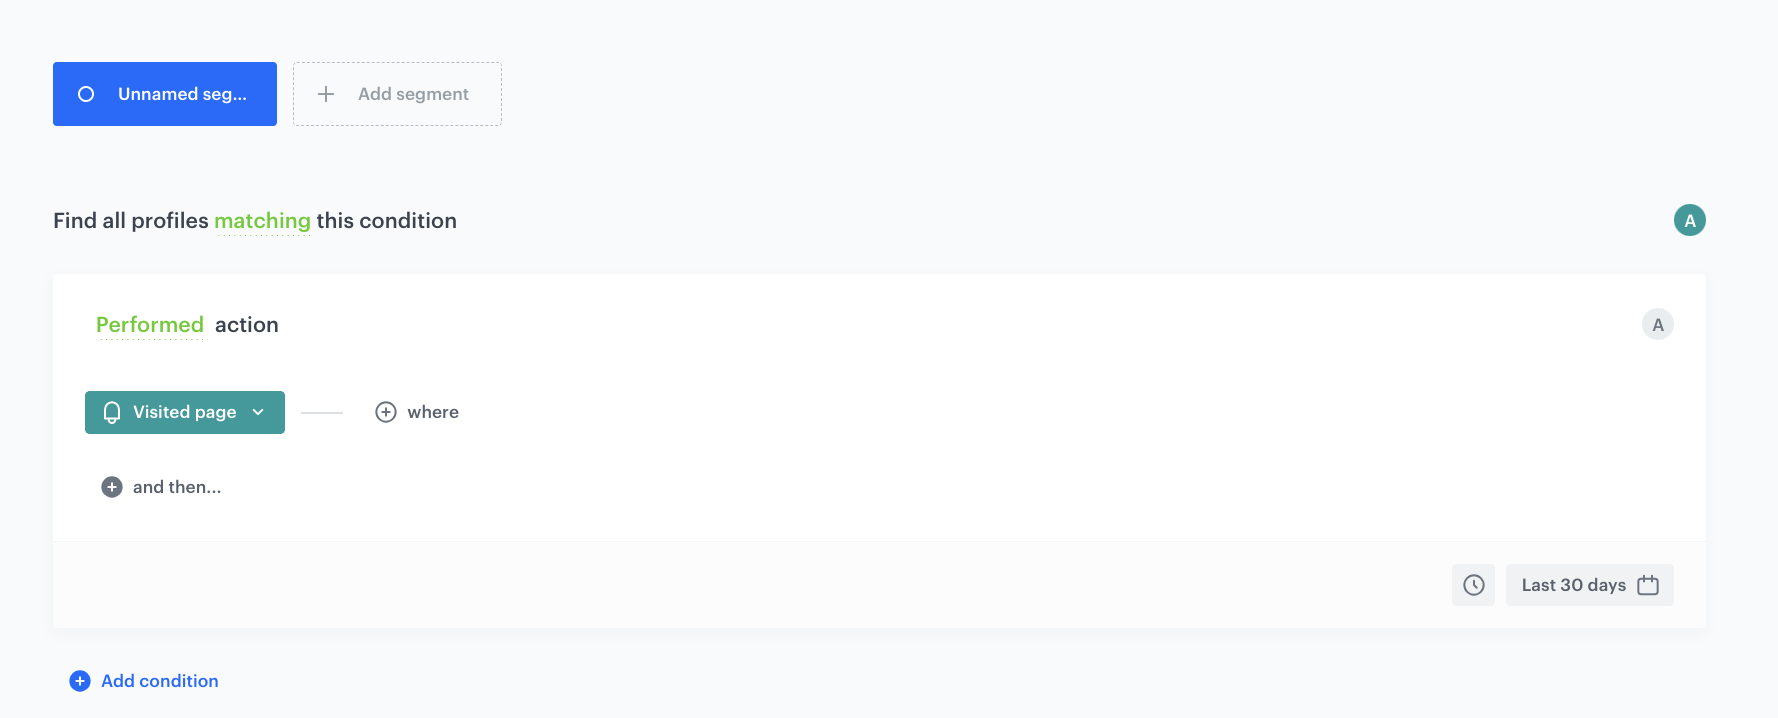
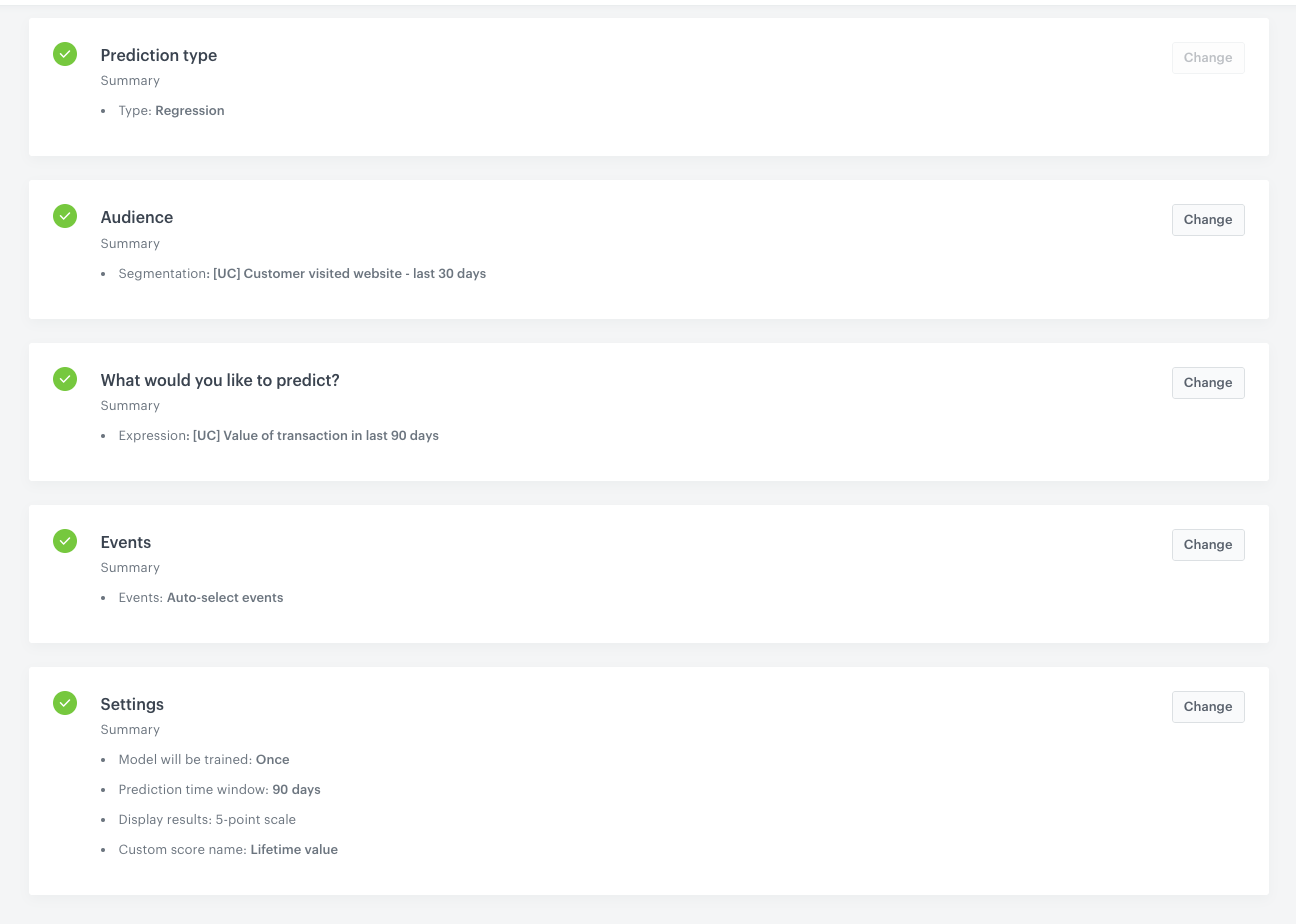
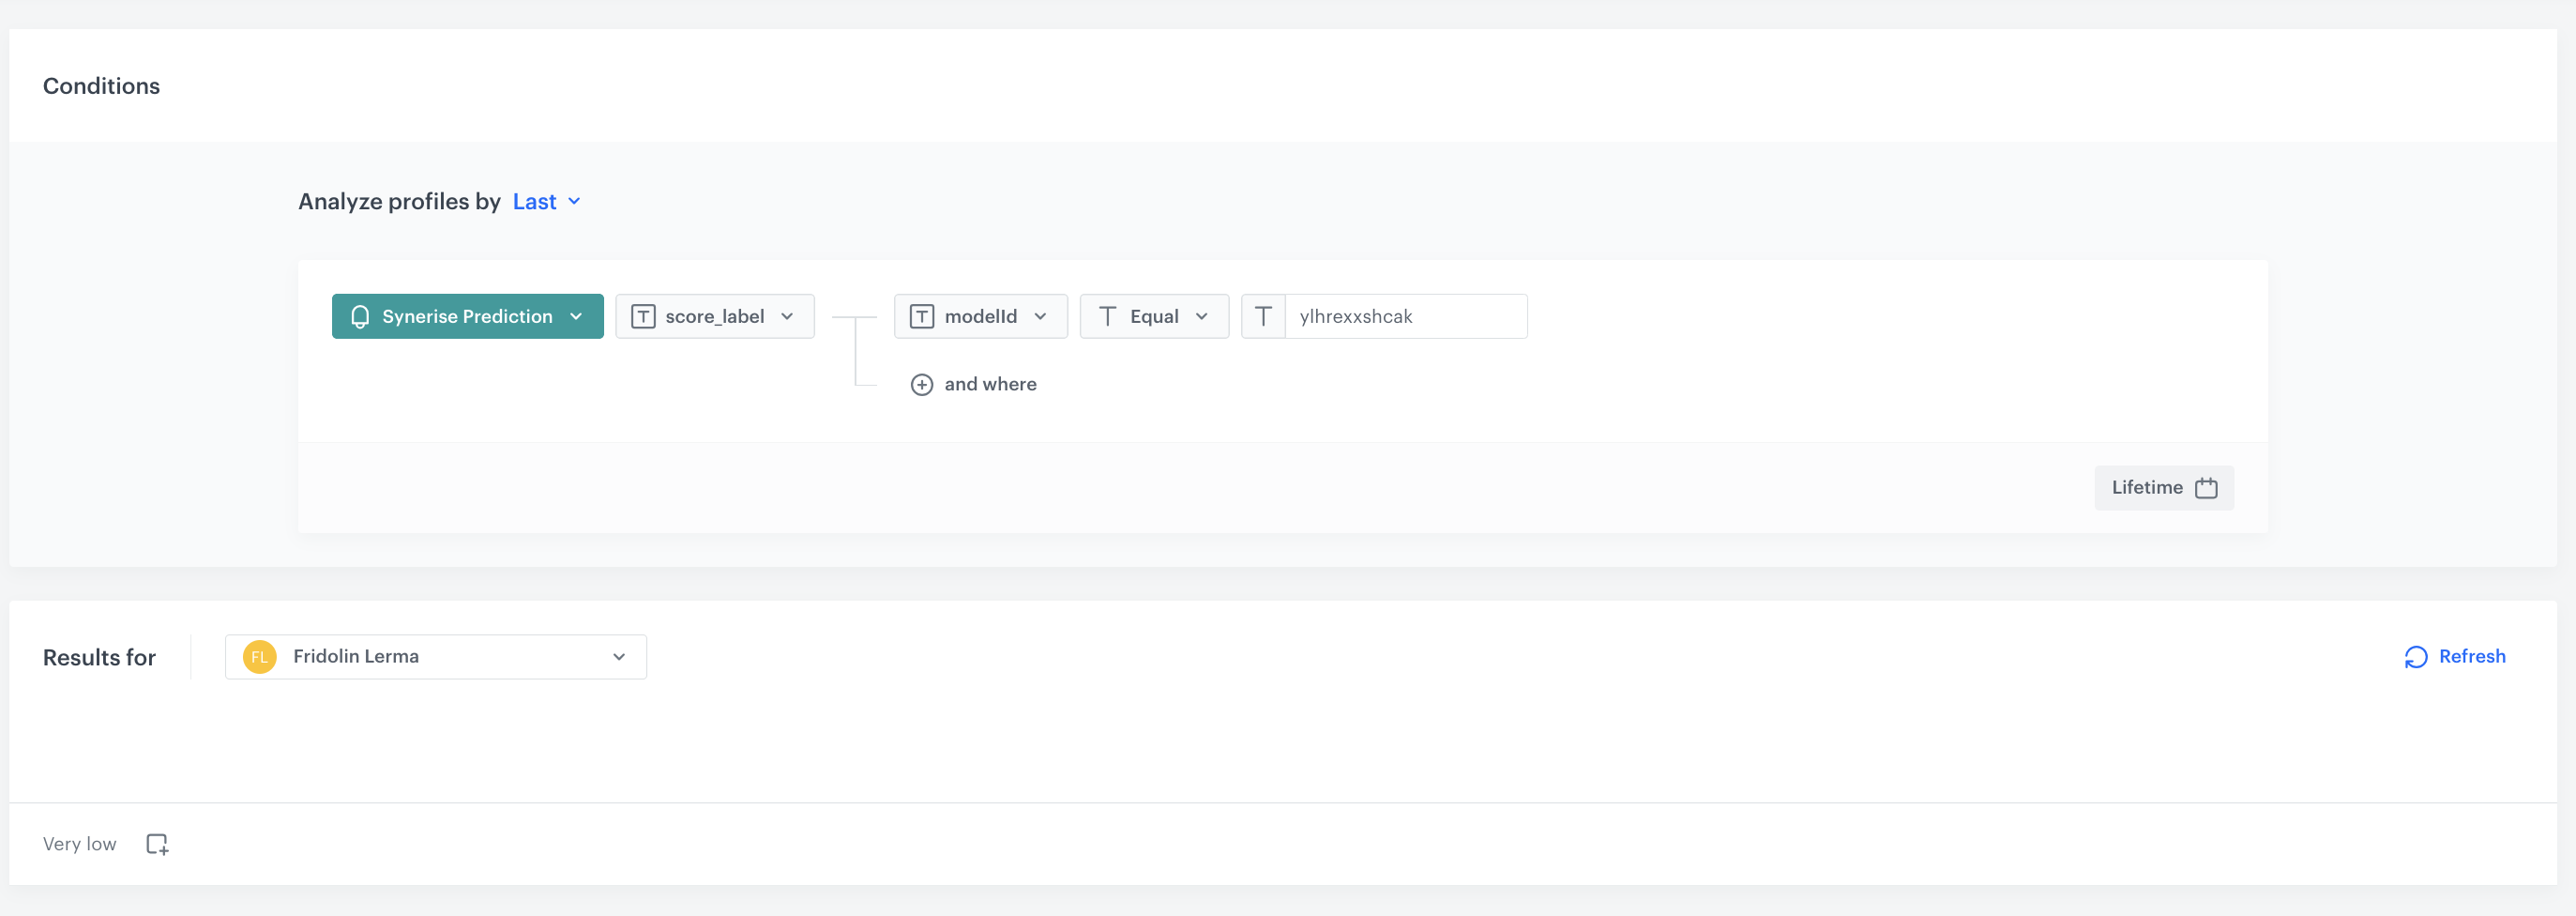
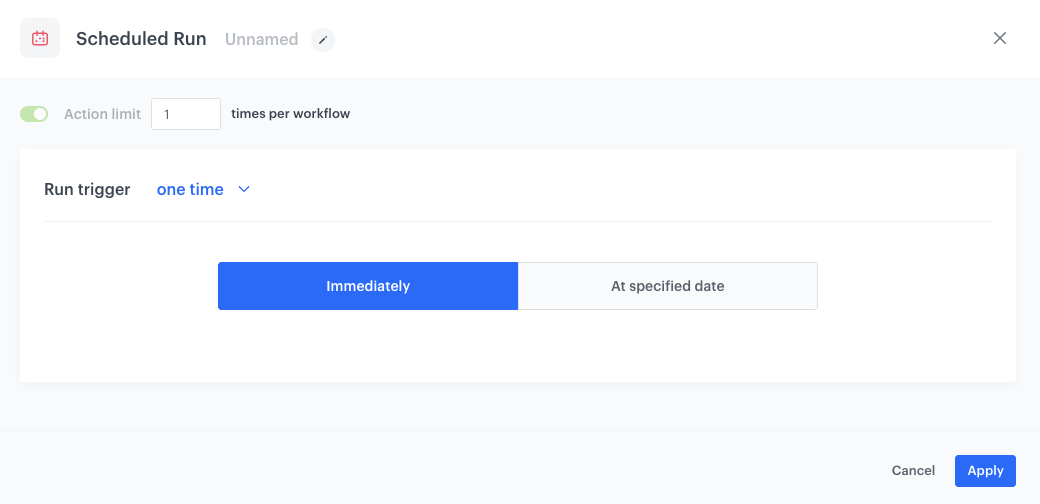
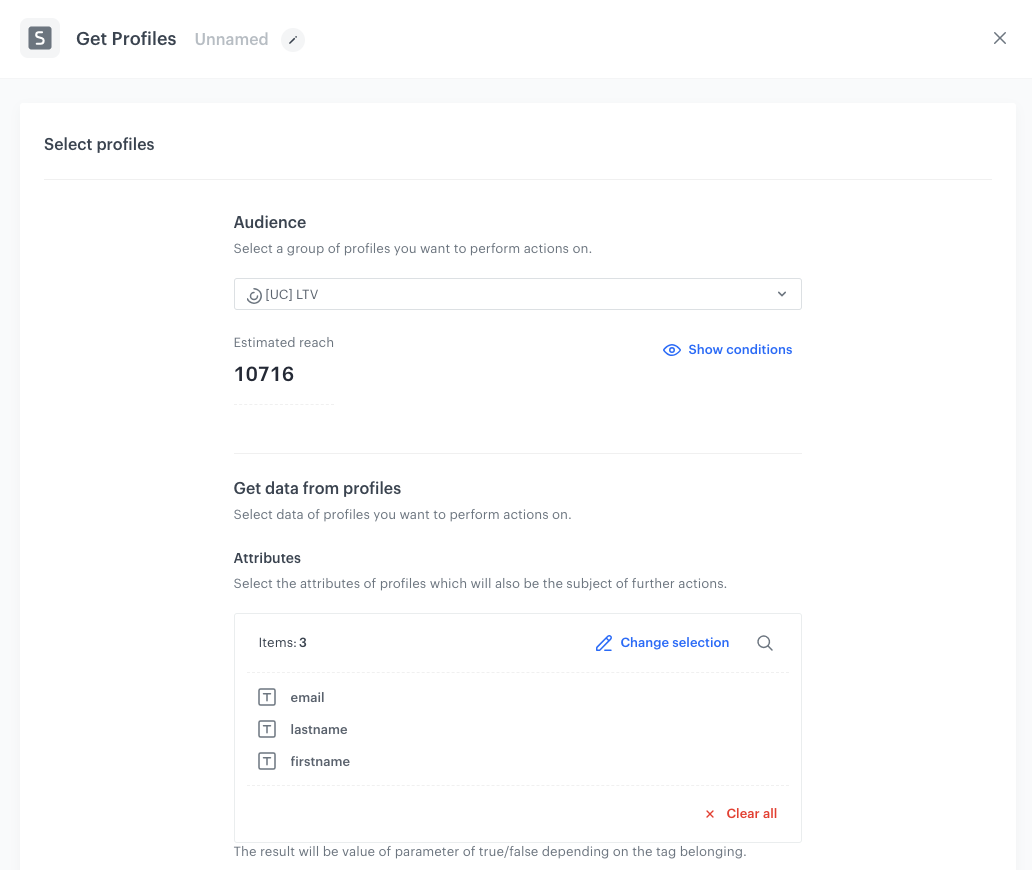
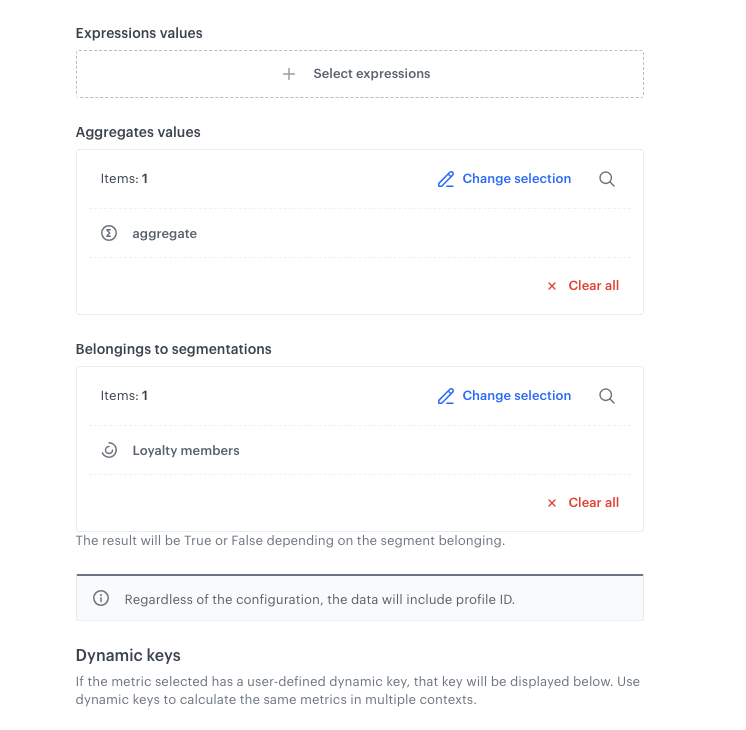
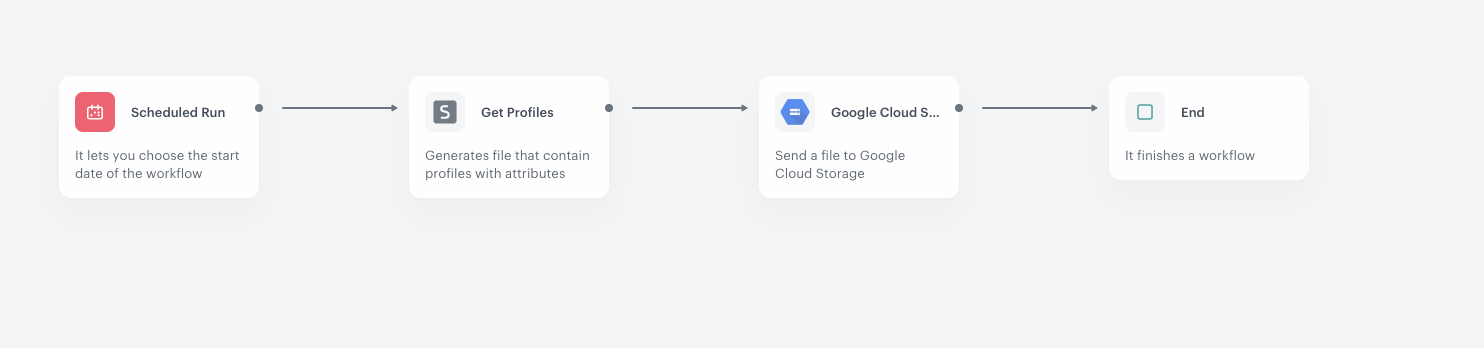
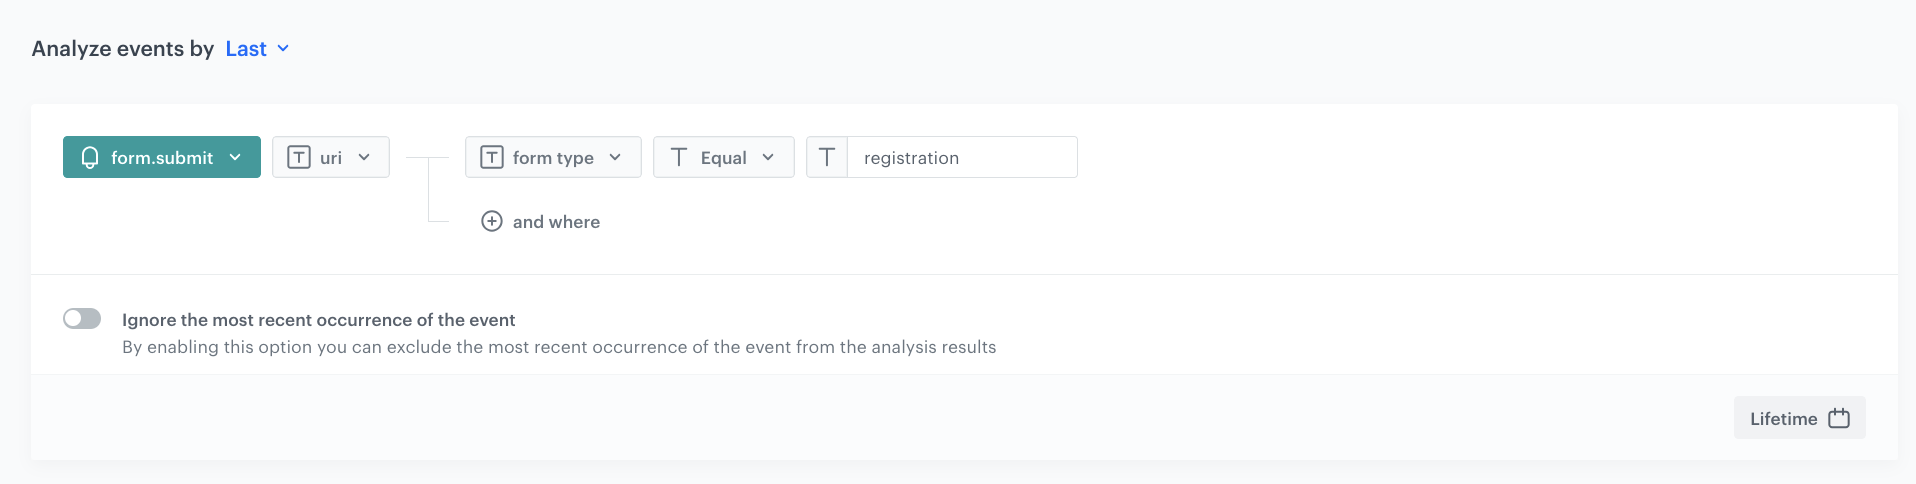
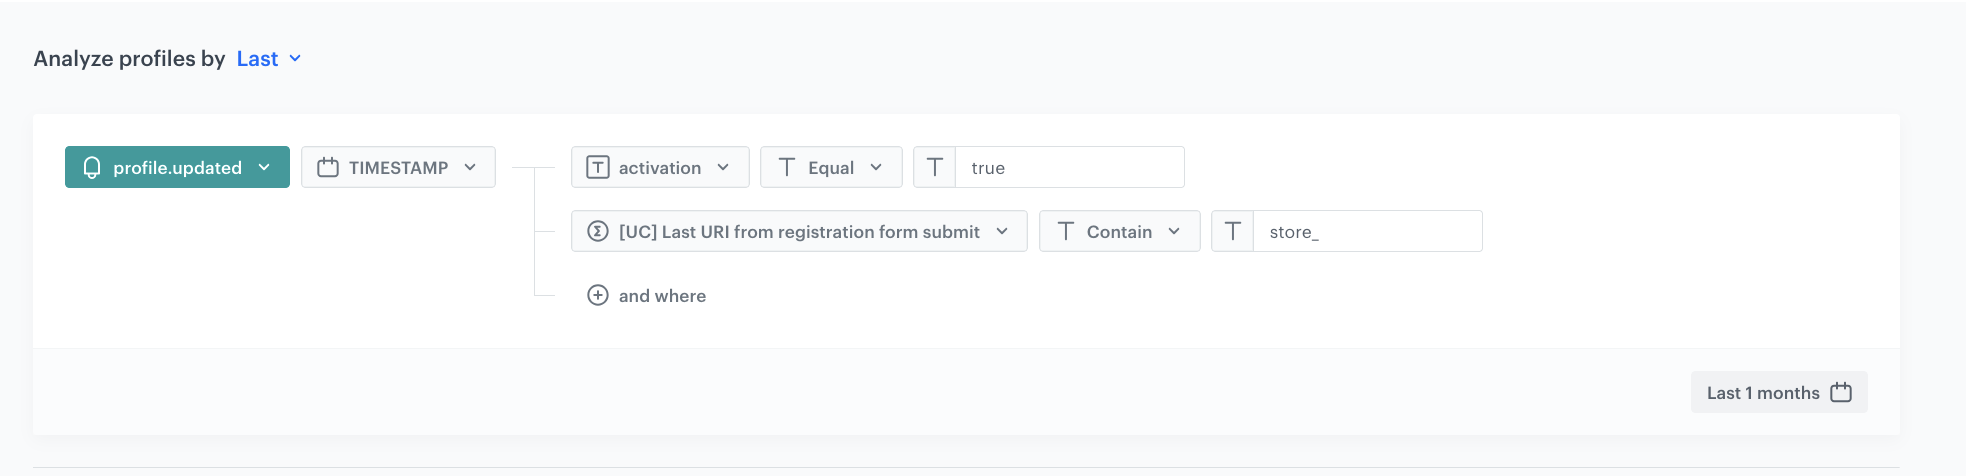
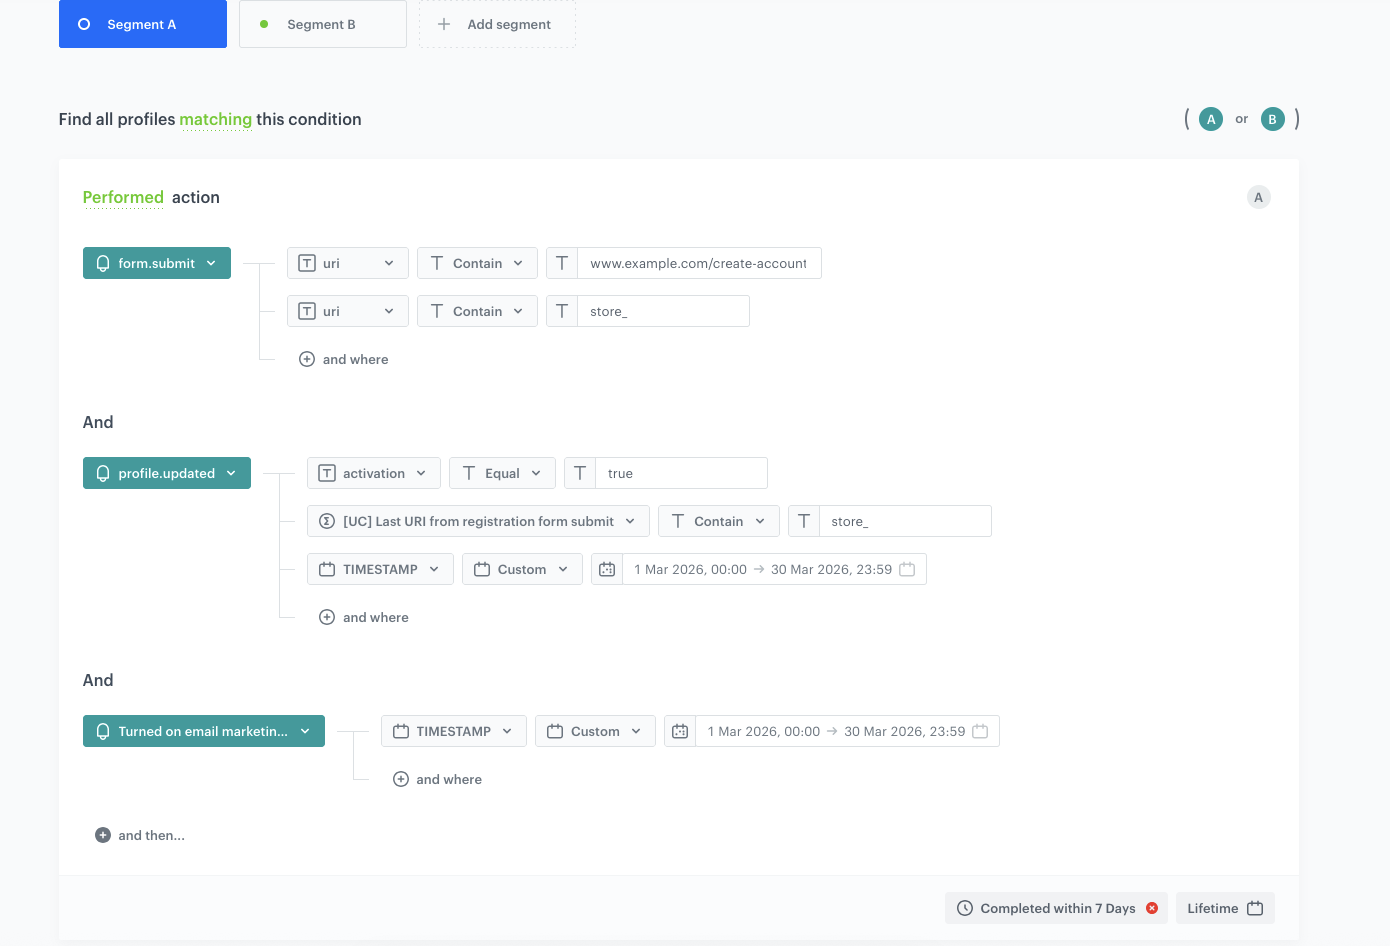
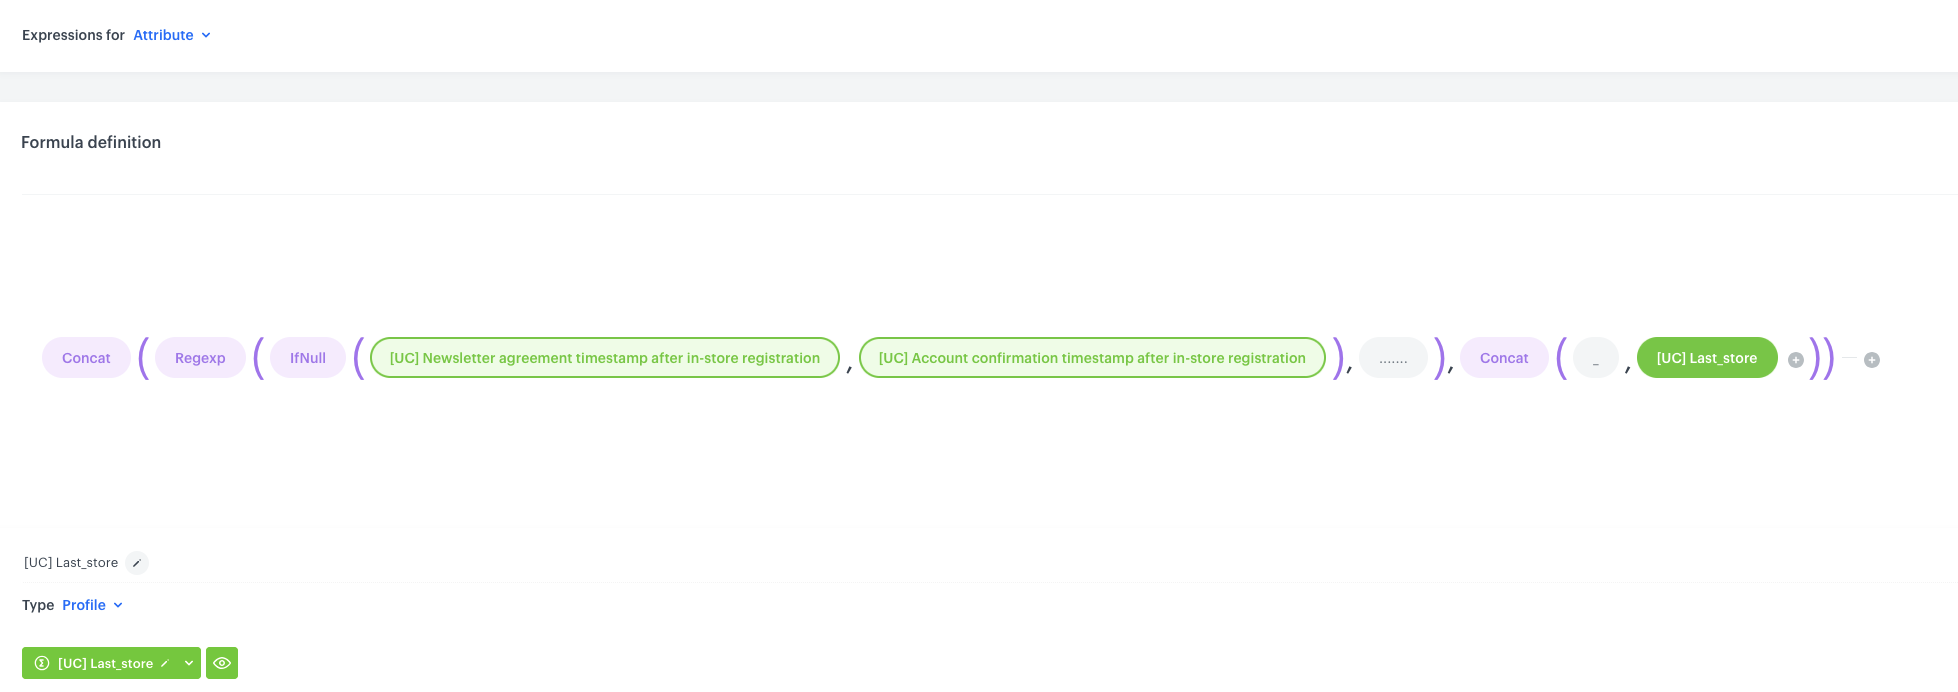
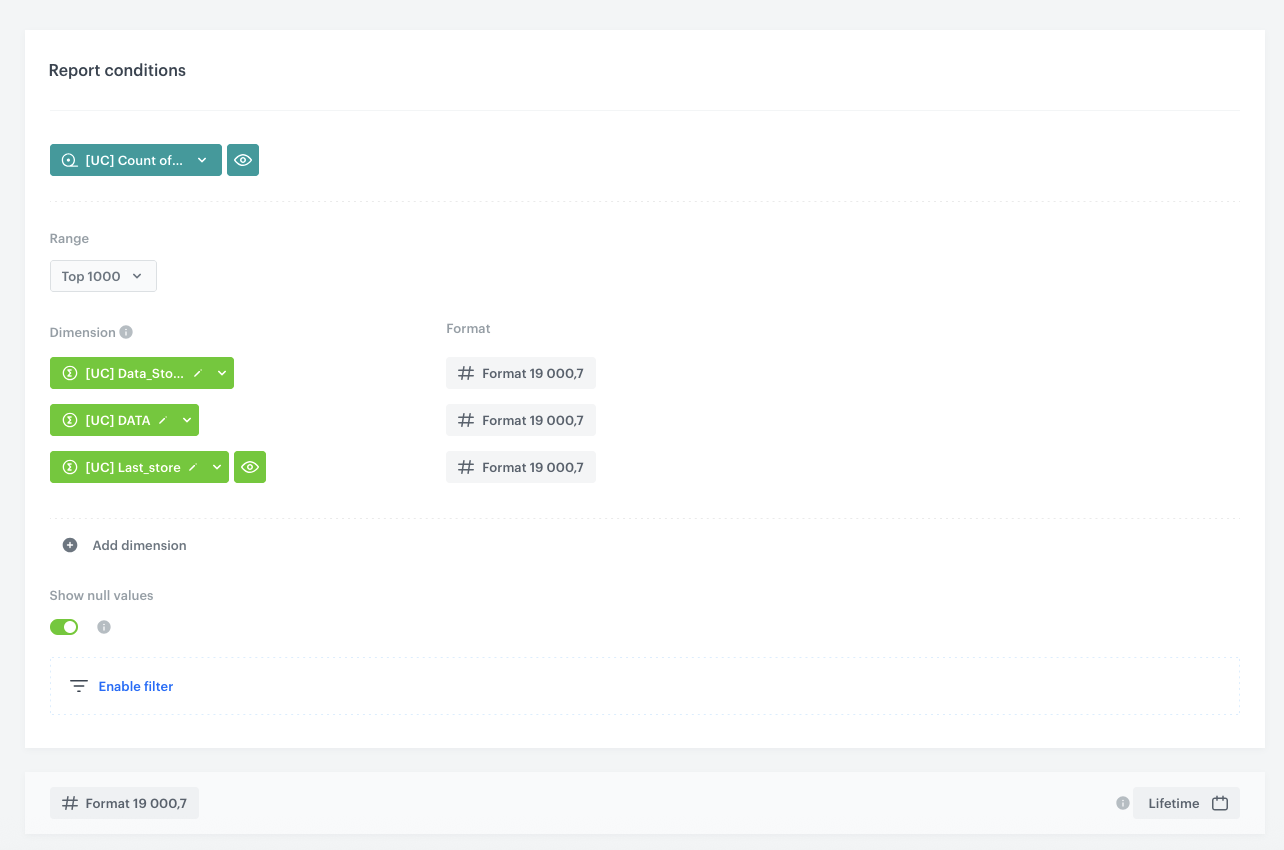
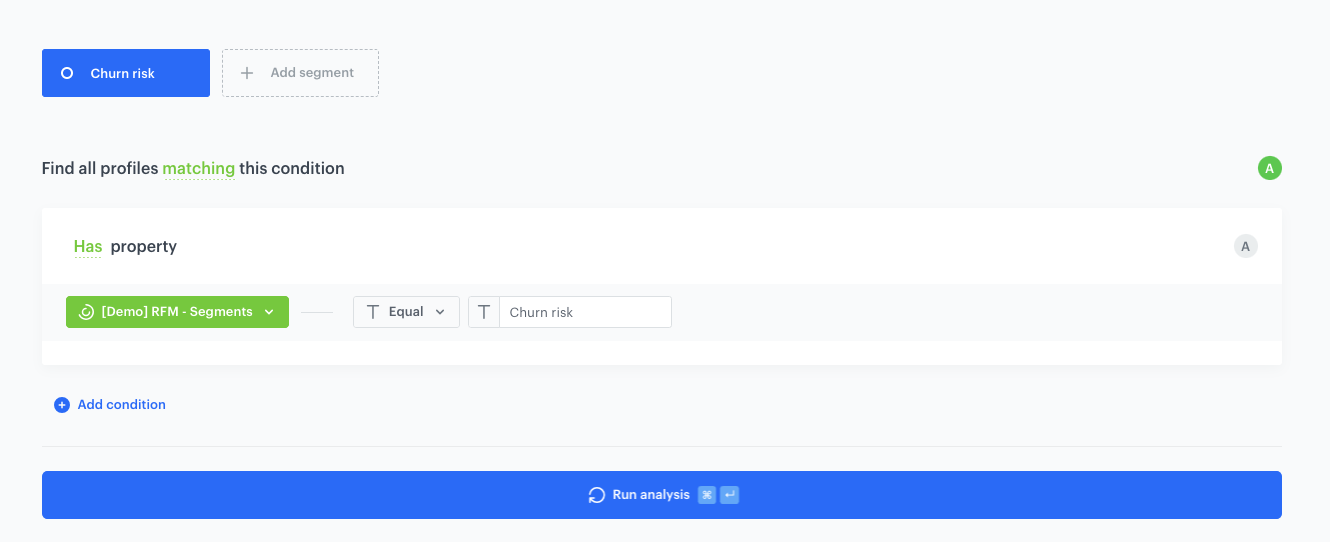
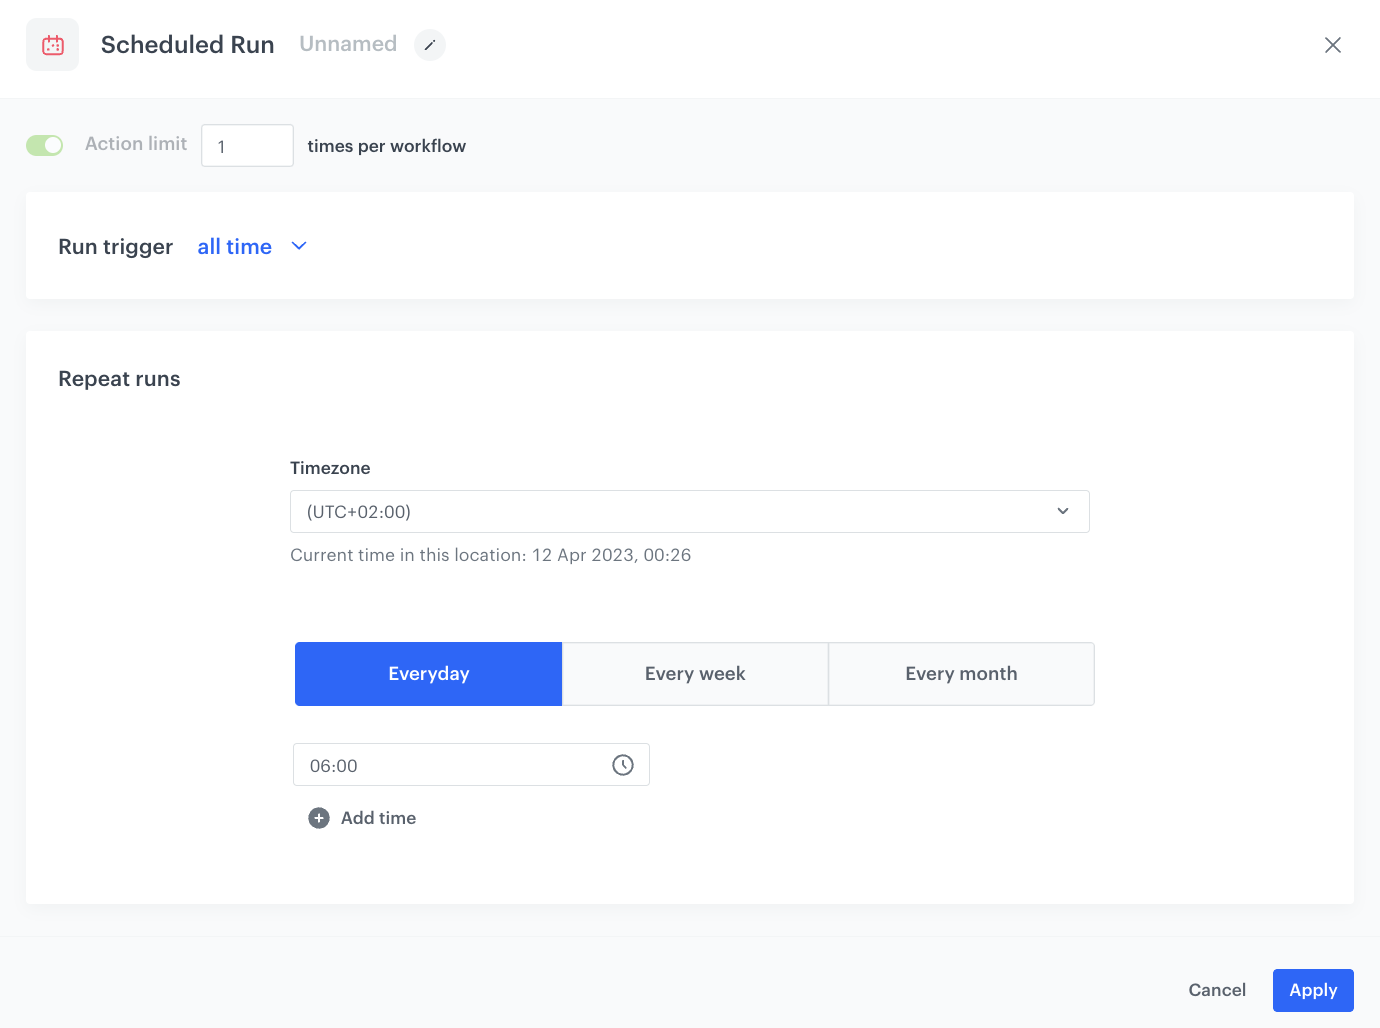
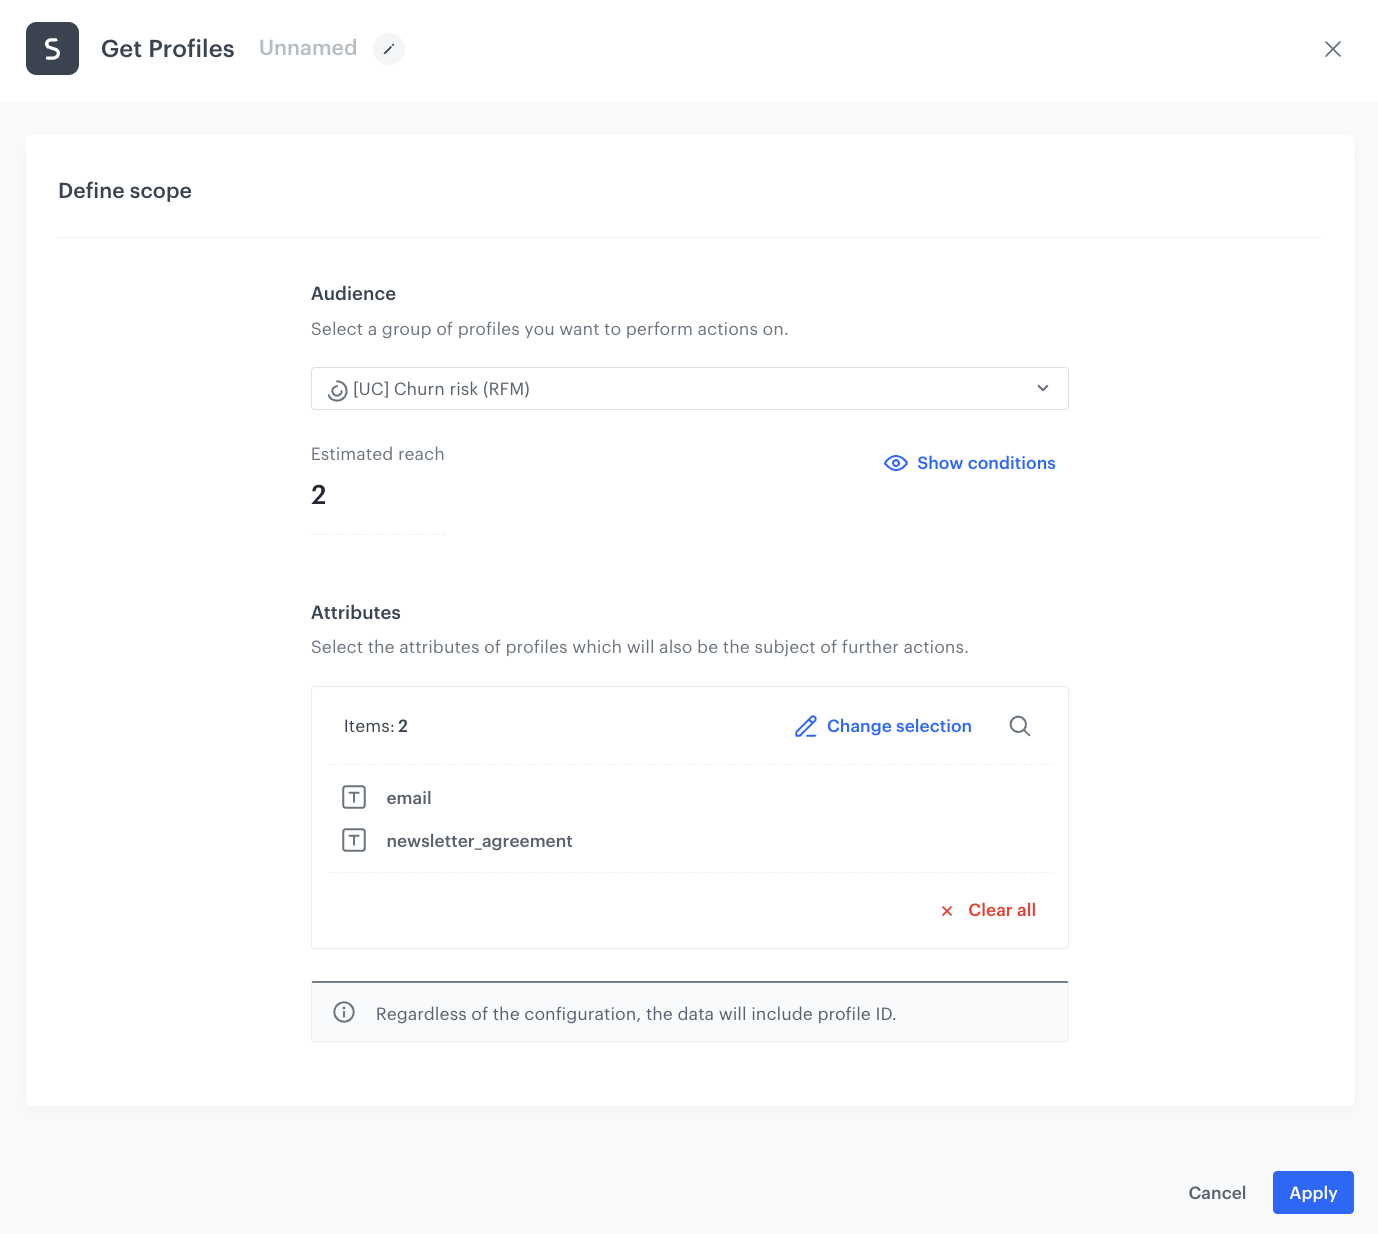
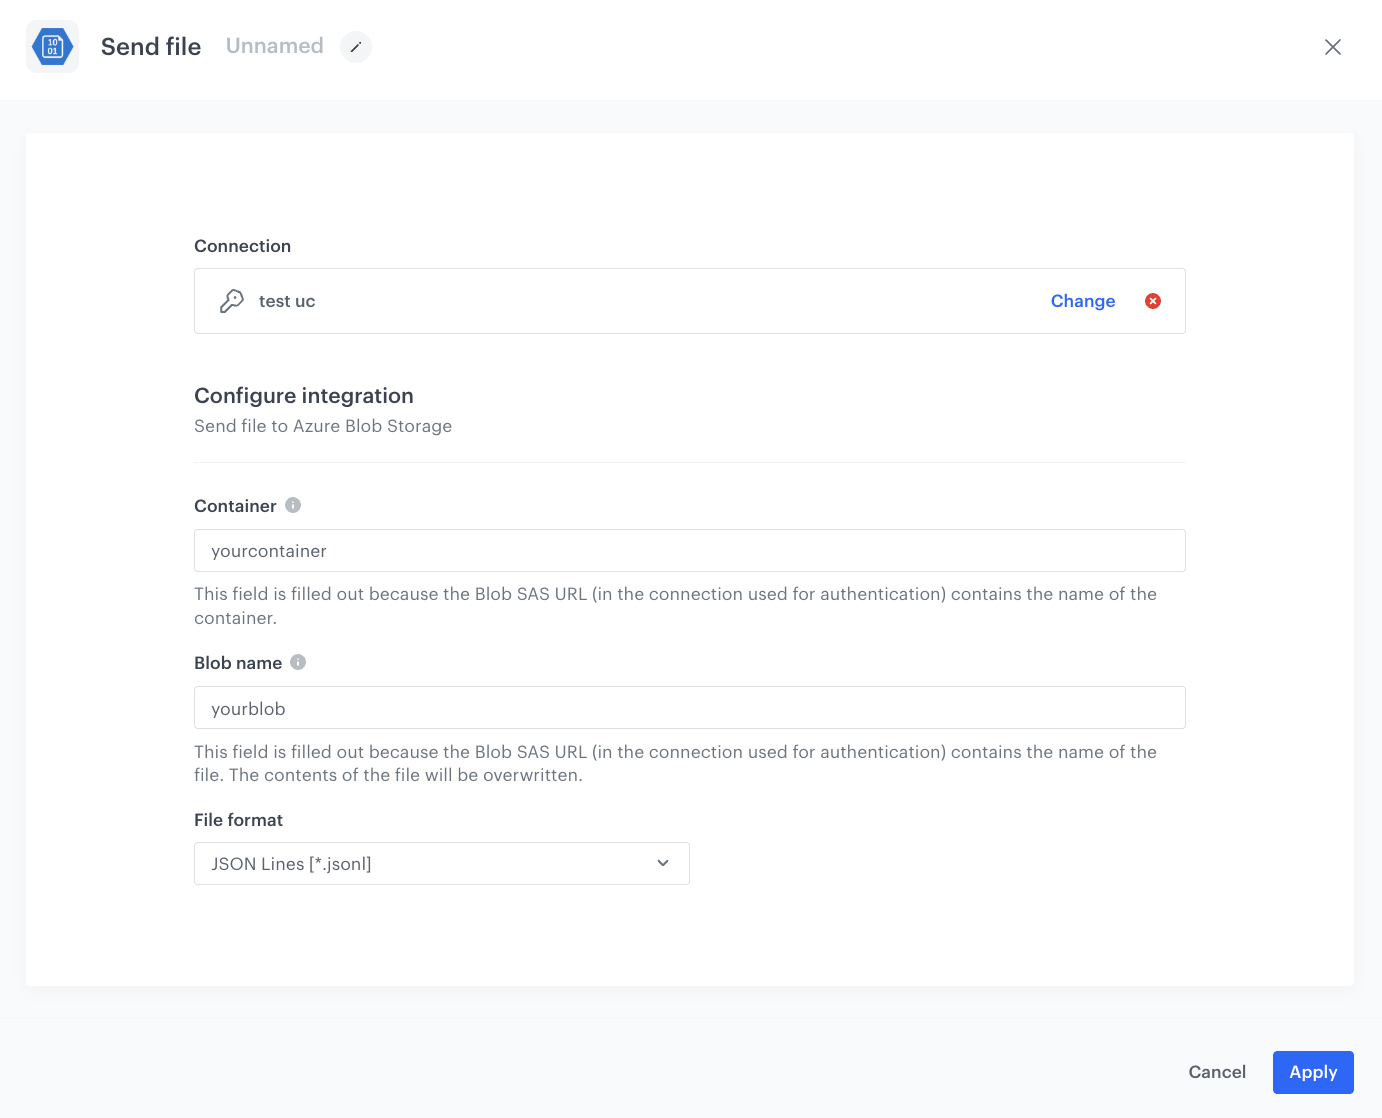
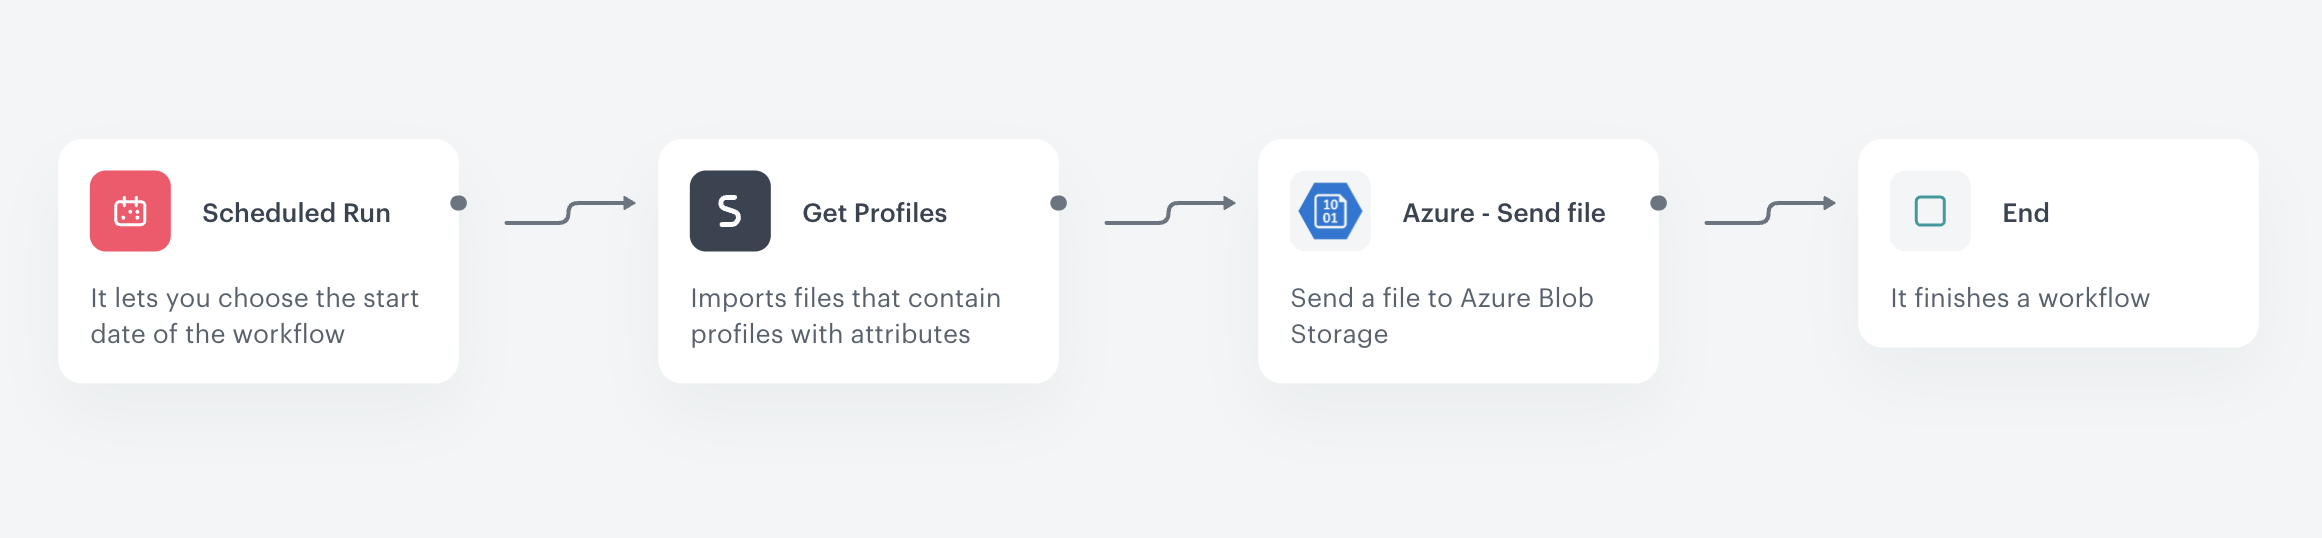

 .
13. Click **Choose values**.
14. Use the search box to find the **Session start** aggregate you created in the previous part of the process.
8. In the date range, select **Lifetime**.
9. Save the aggregate.
.
13. Click **Choose values**.
14. Use the search box to find the **Session start** aggregate you created in the previous part of the process.
8. In the date range, select **Lifetime**.
9. Save the aggregate.


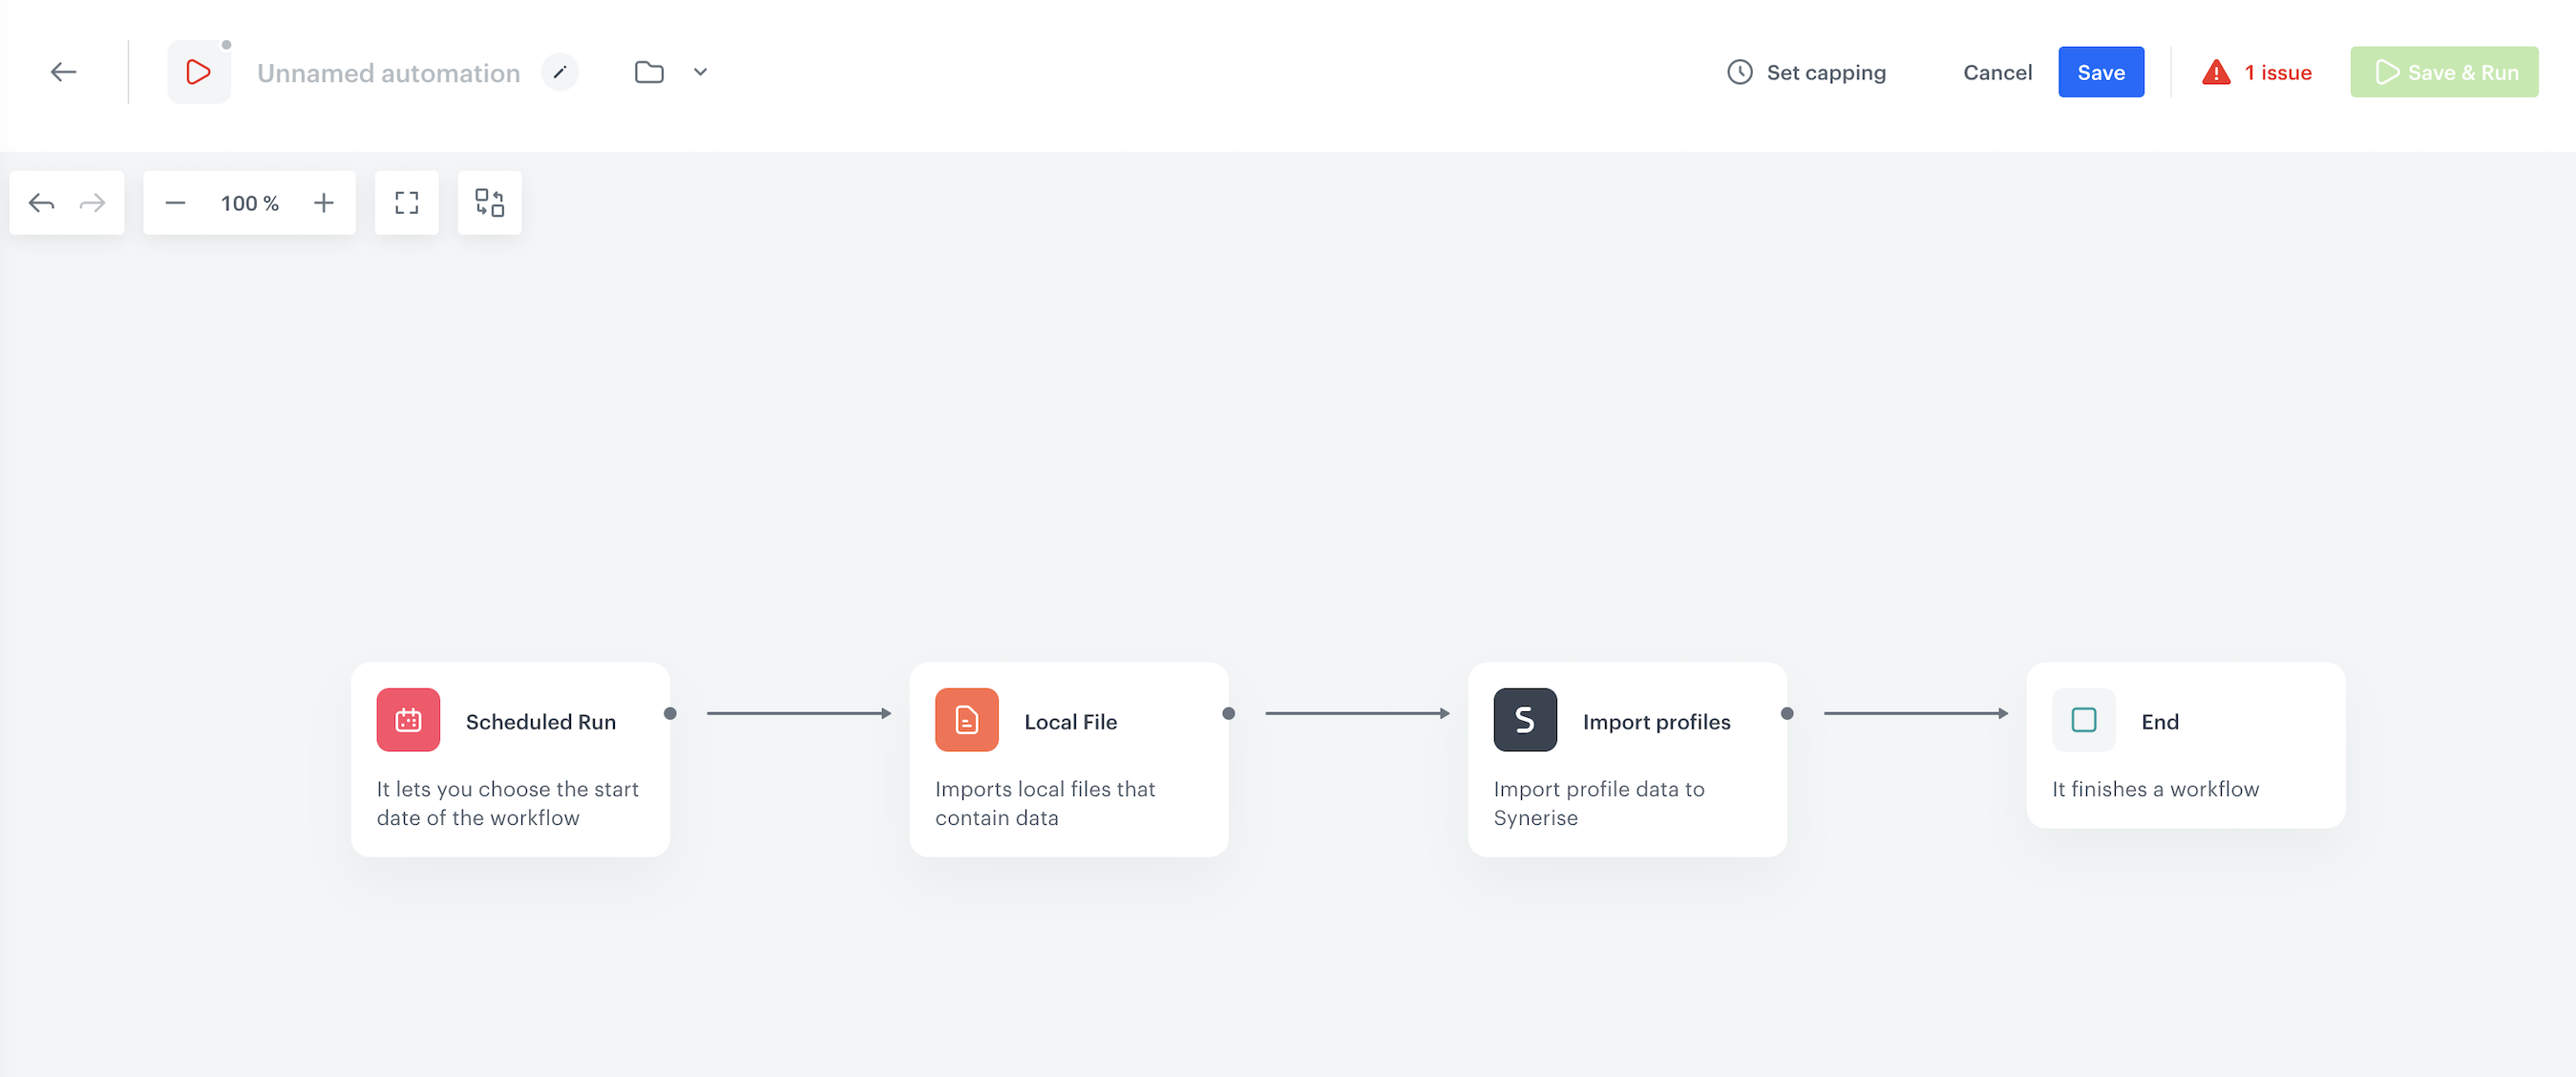
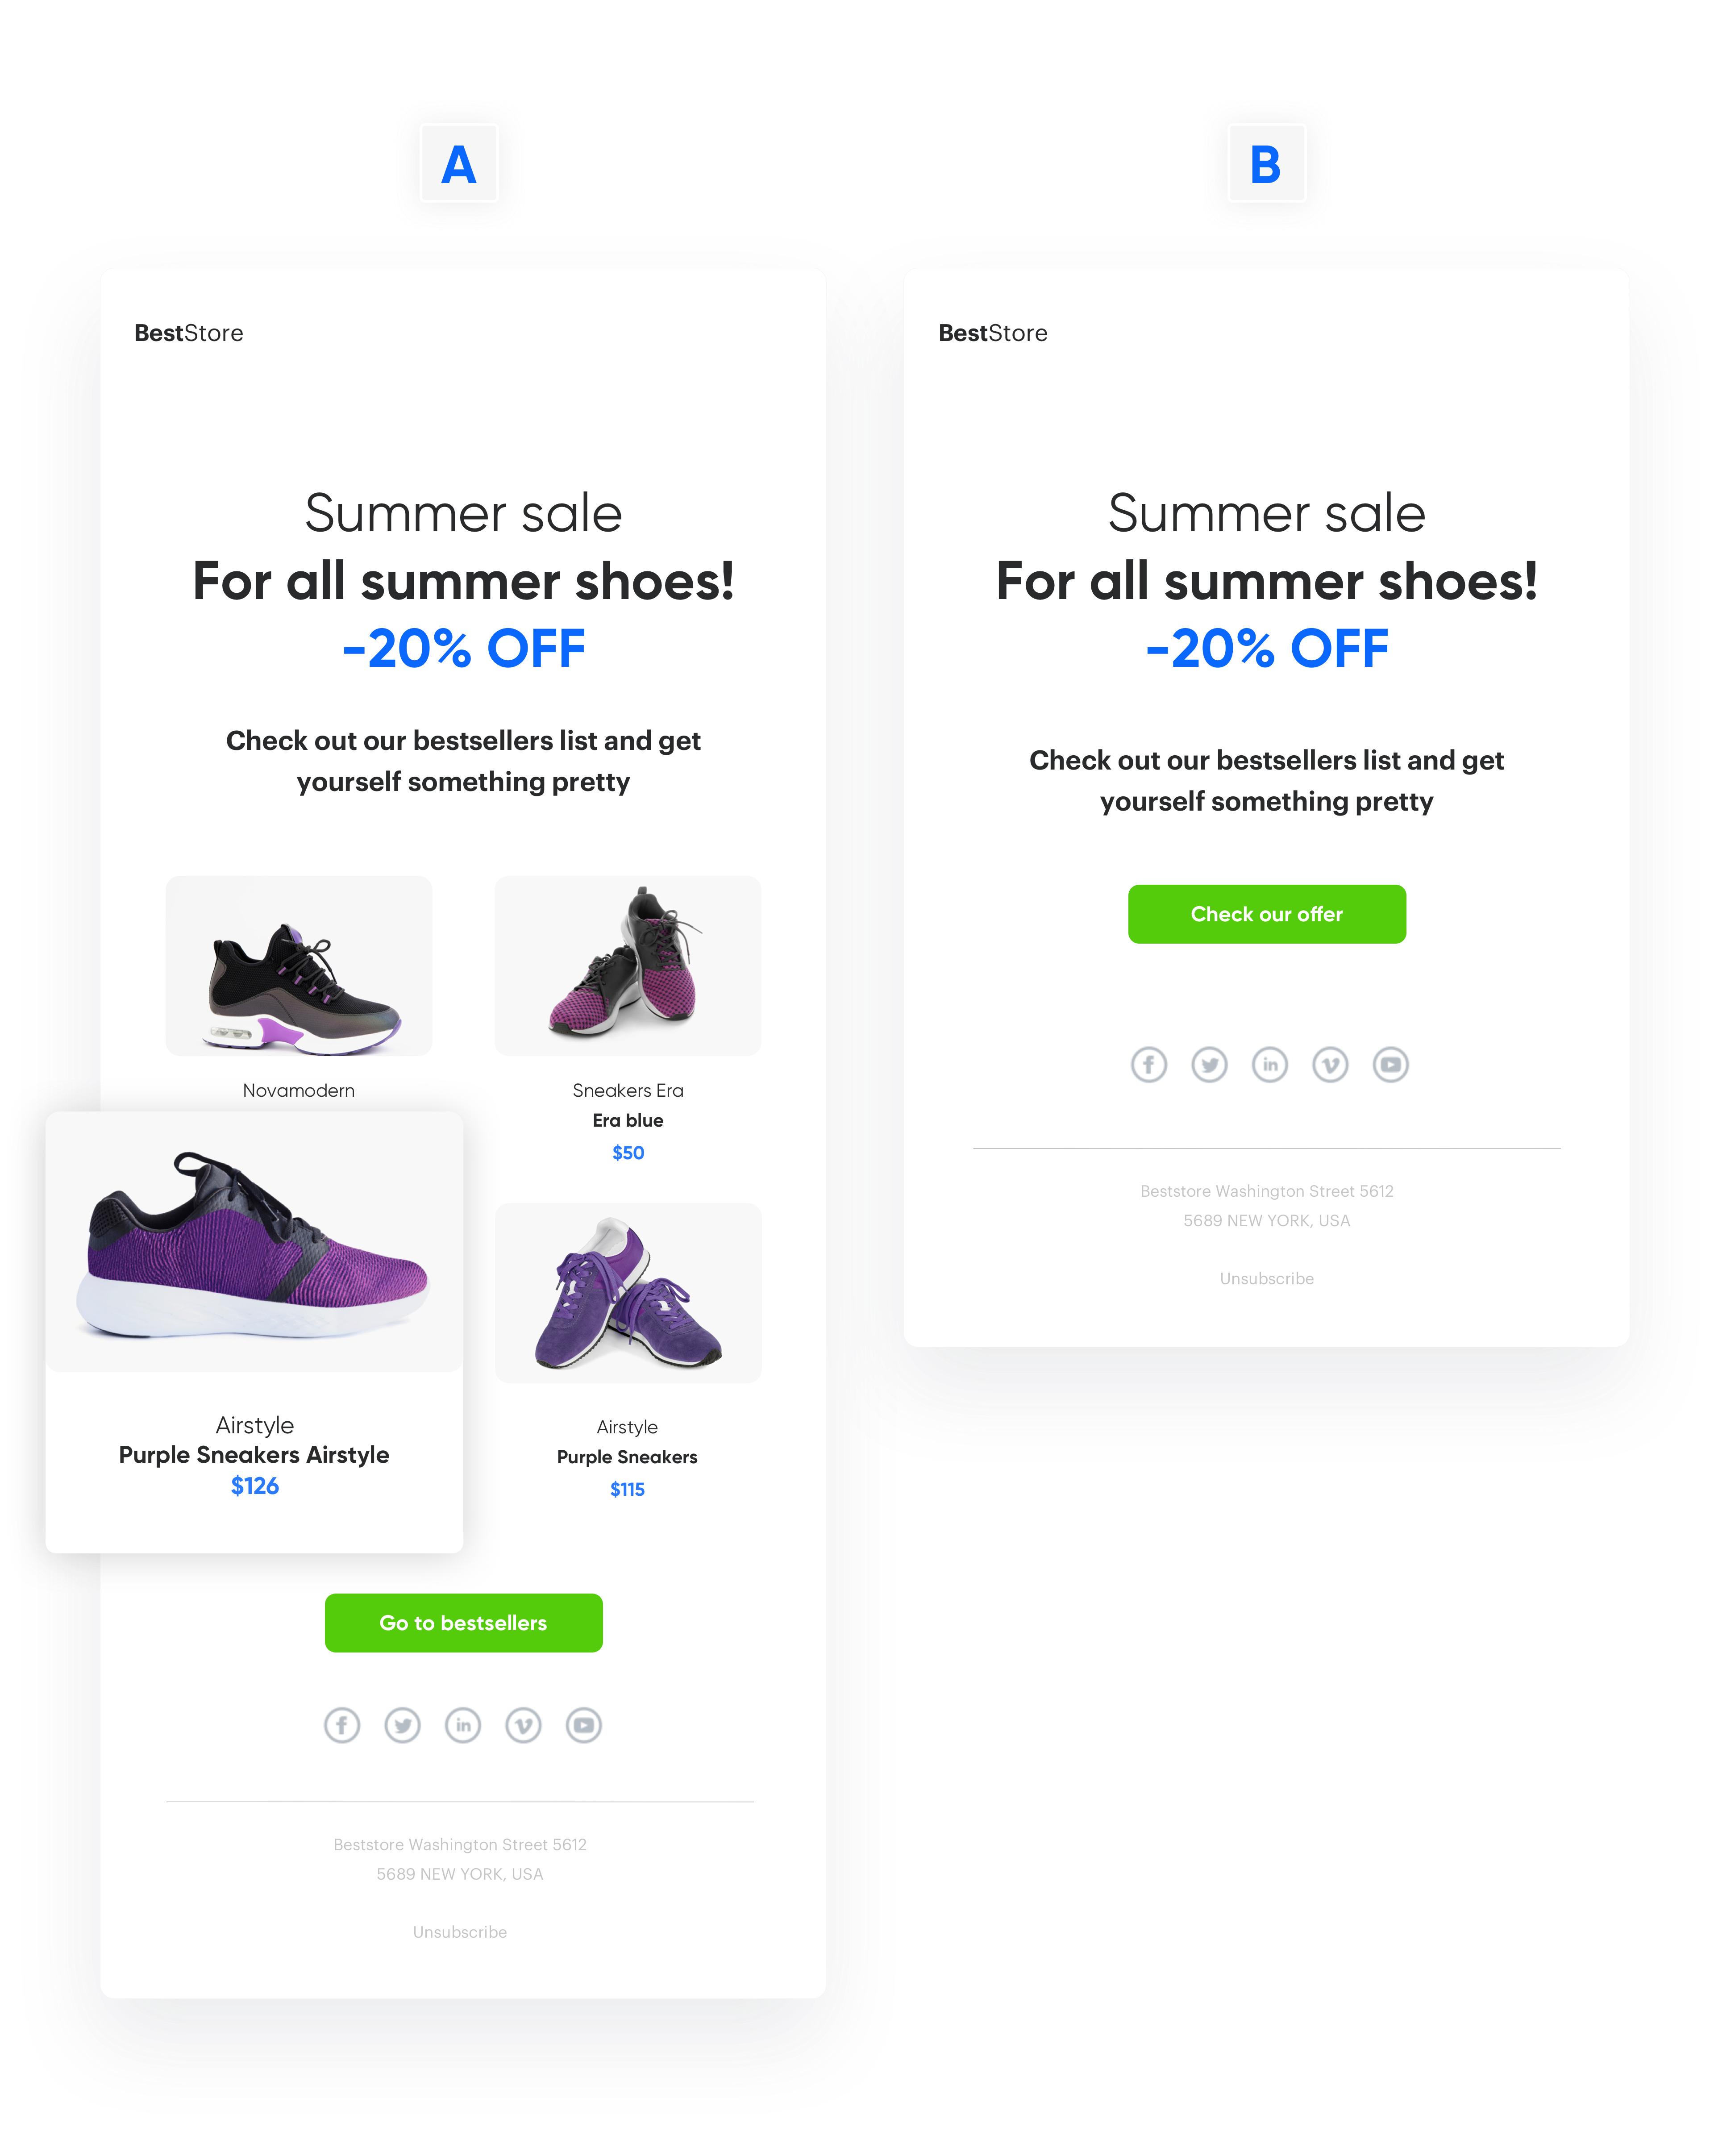
 , and save them using the **Save as a template** option.
## Prepare a metric
---
The next node we have to set up is the **Metric Filter** node. Add it to the third path for the group C. The value of the CTR indicator determines the winning version of the template. The formula of the metric must subtract the CTR of the template sent to group A from the CTR of the template sent to group B. If the result of the metric is greater than 0, it means that template A had higher CTR and wins. If the metric result is below 0, it means the CTR of the version B is higher.
1. Go to **Decision Hub > Metrics > New metric**.
2. Select the **Formula metric**.
, and save them using the **Save as a template** option.
## Prepare a metric
---
The next node we have to set up is the **Metric Filter** node. Add it to the third path for the group C. The value of the CTR indicator determines the winning version of the template. The formula of the metric must subtract the CTR of the template sent to group A from the CTR of the template sent to group B. If the result of the metric is greater than 0, it means that template A had higher CTR and wins. If the metric result is below 0, it means the CTR of the version B is higher.
1. Go to **Decision Hub > Metrics > New metric**.
2. Select the **Formula metric**.
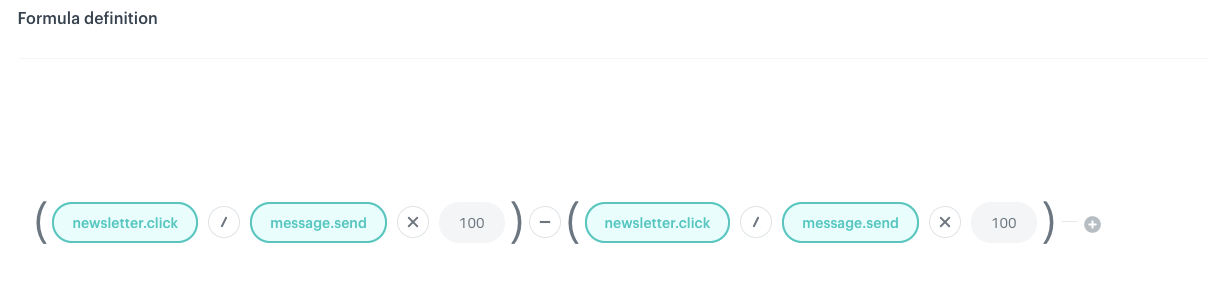
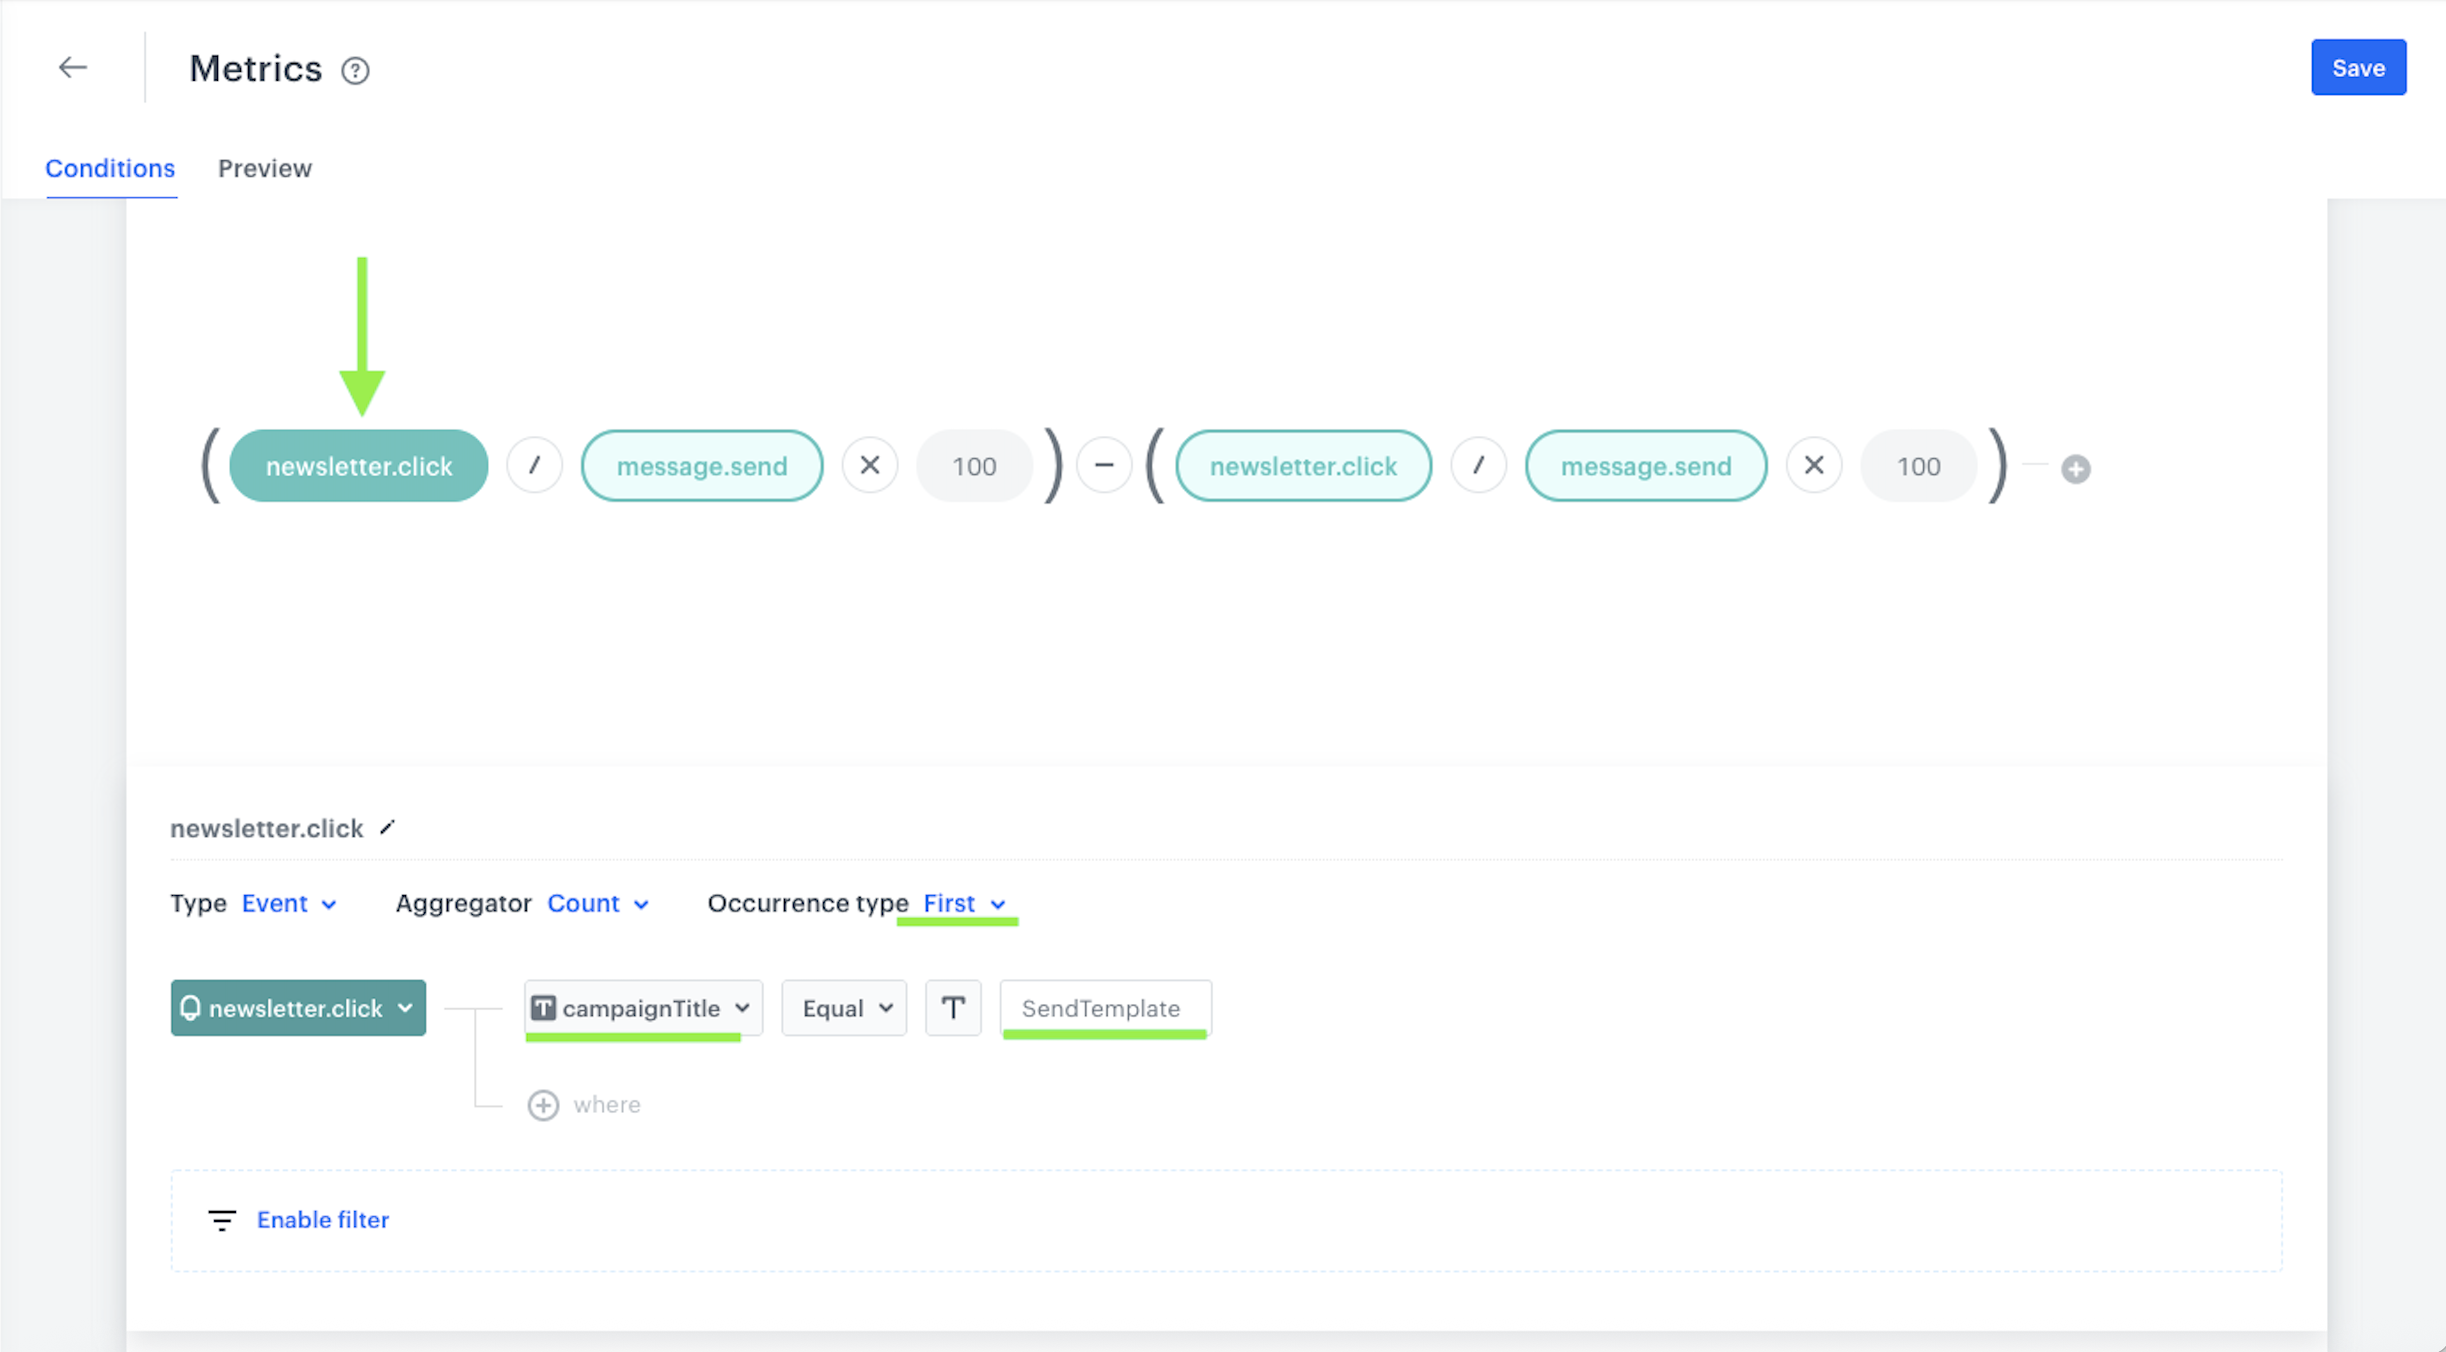
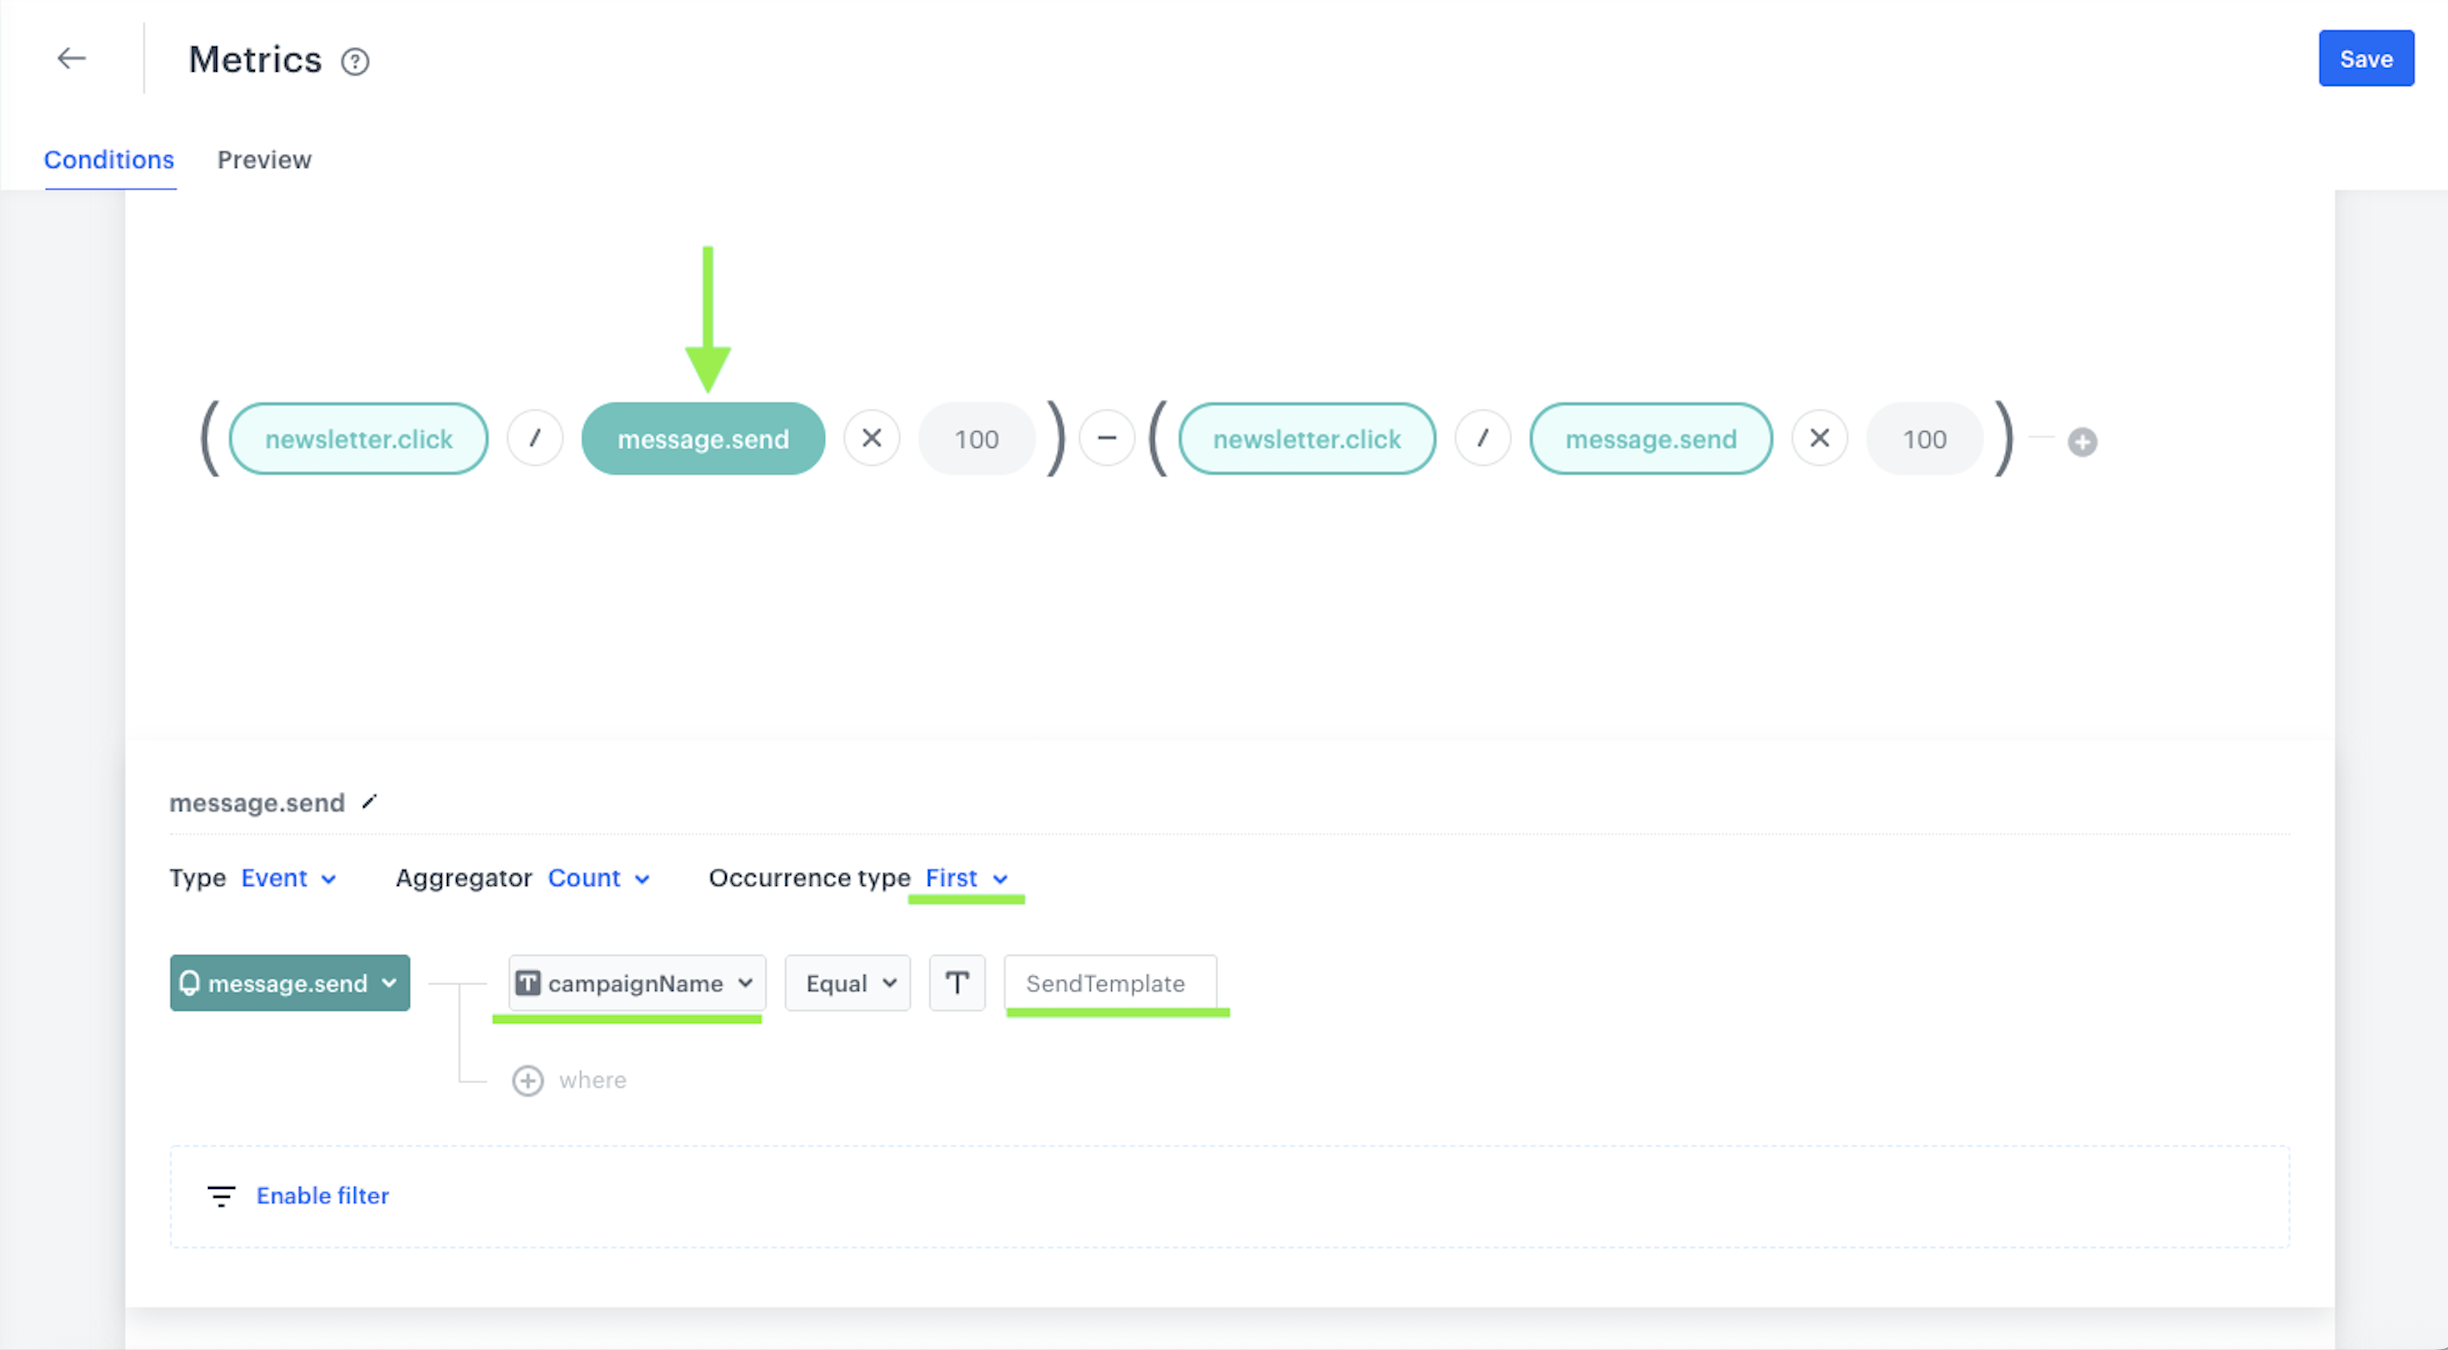
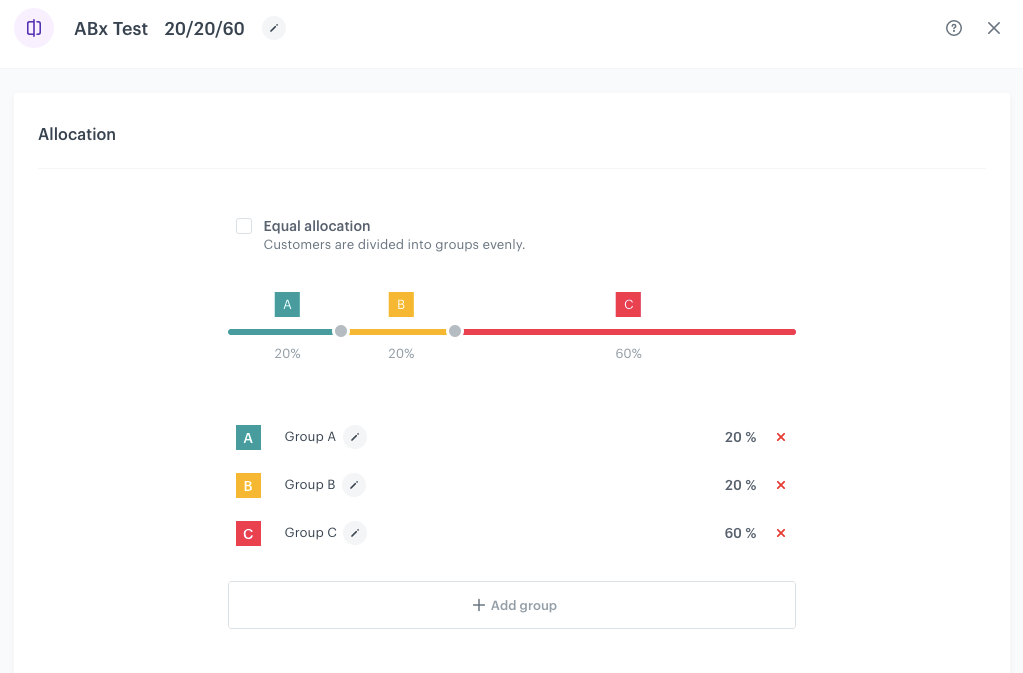
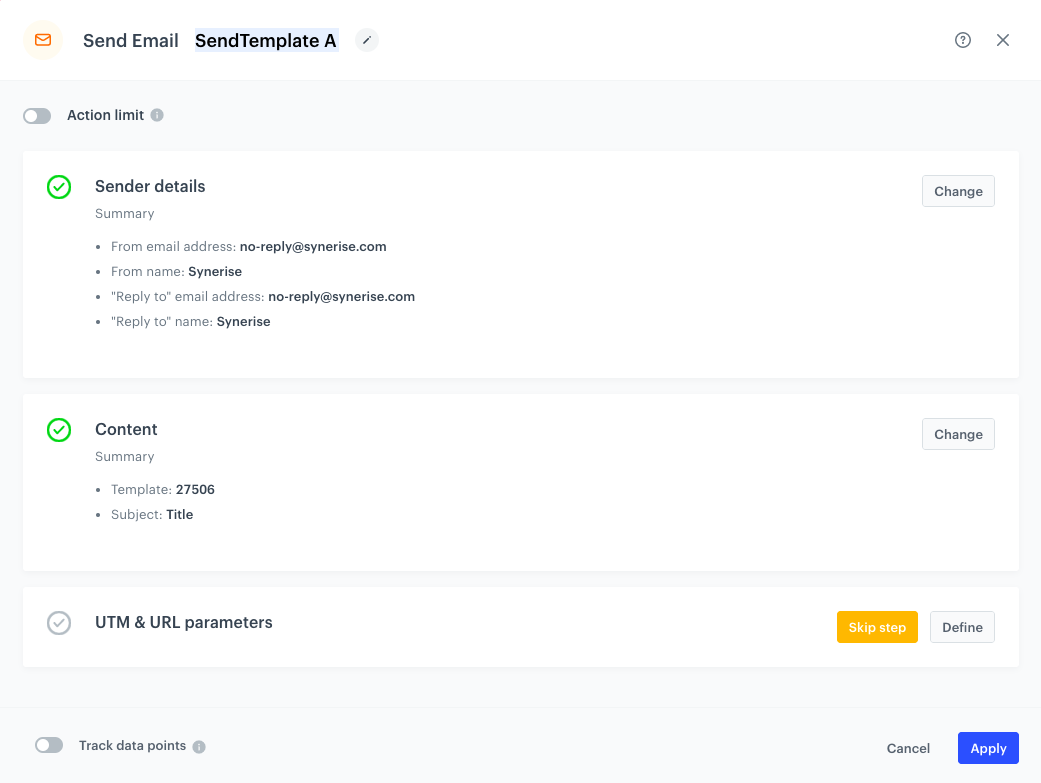
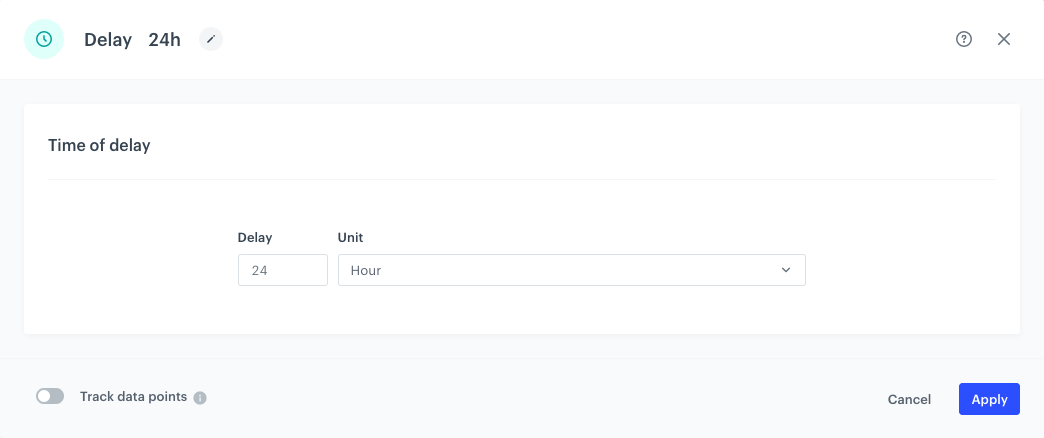
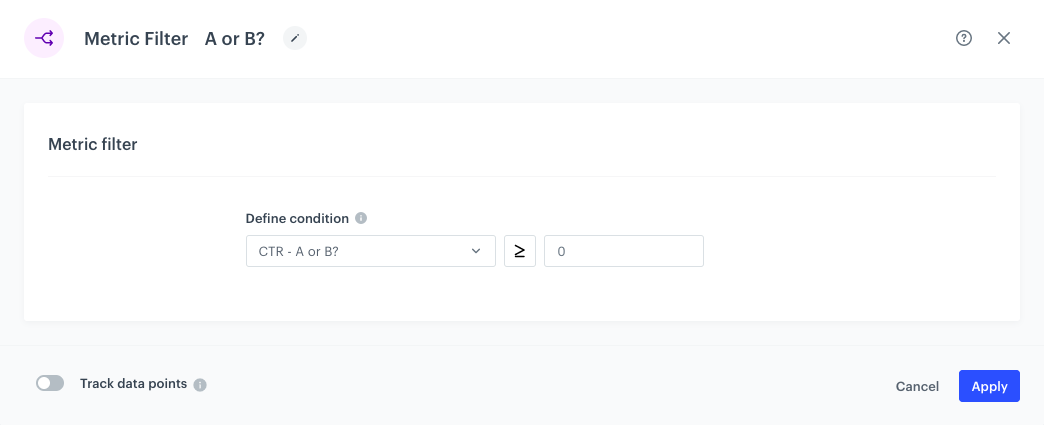
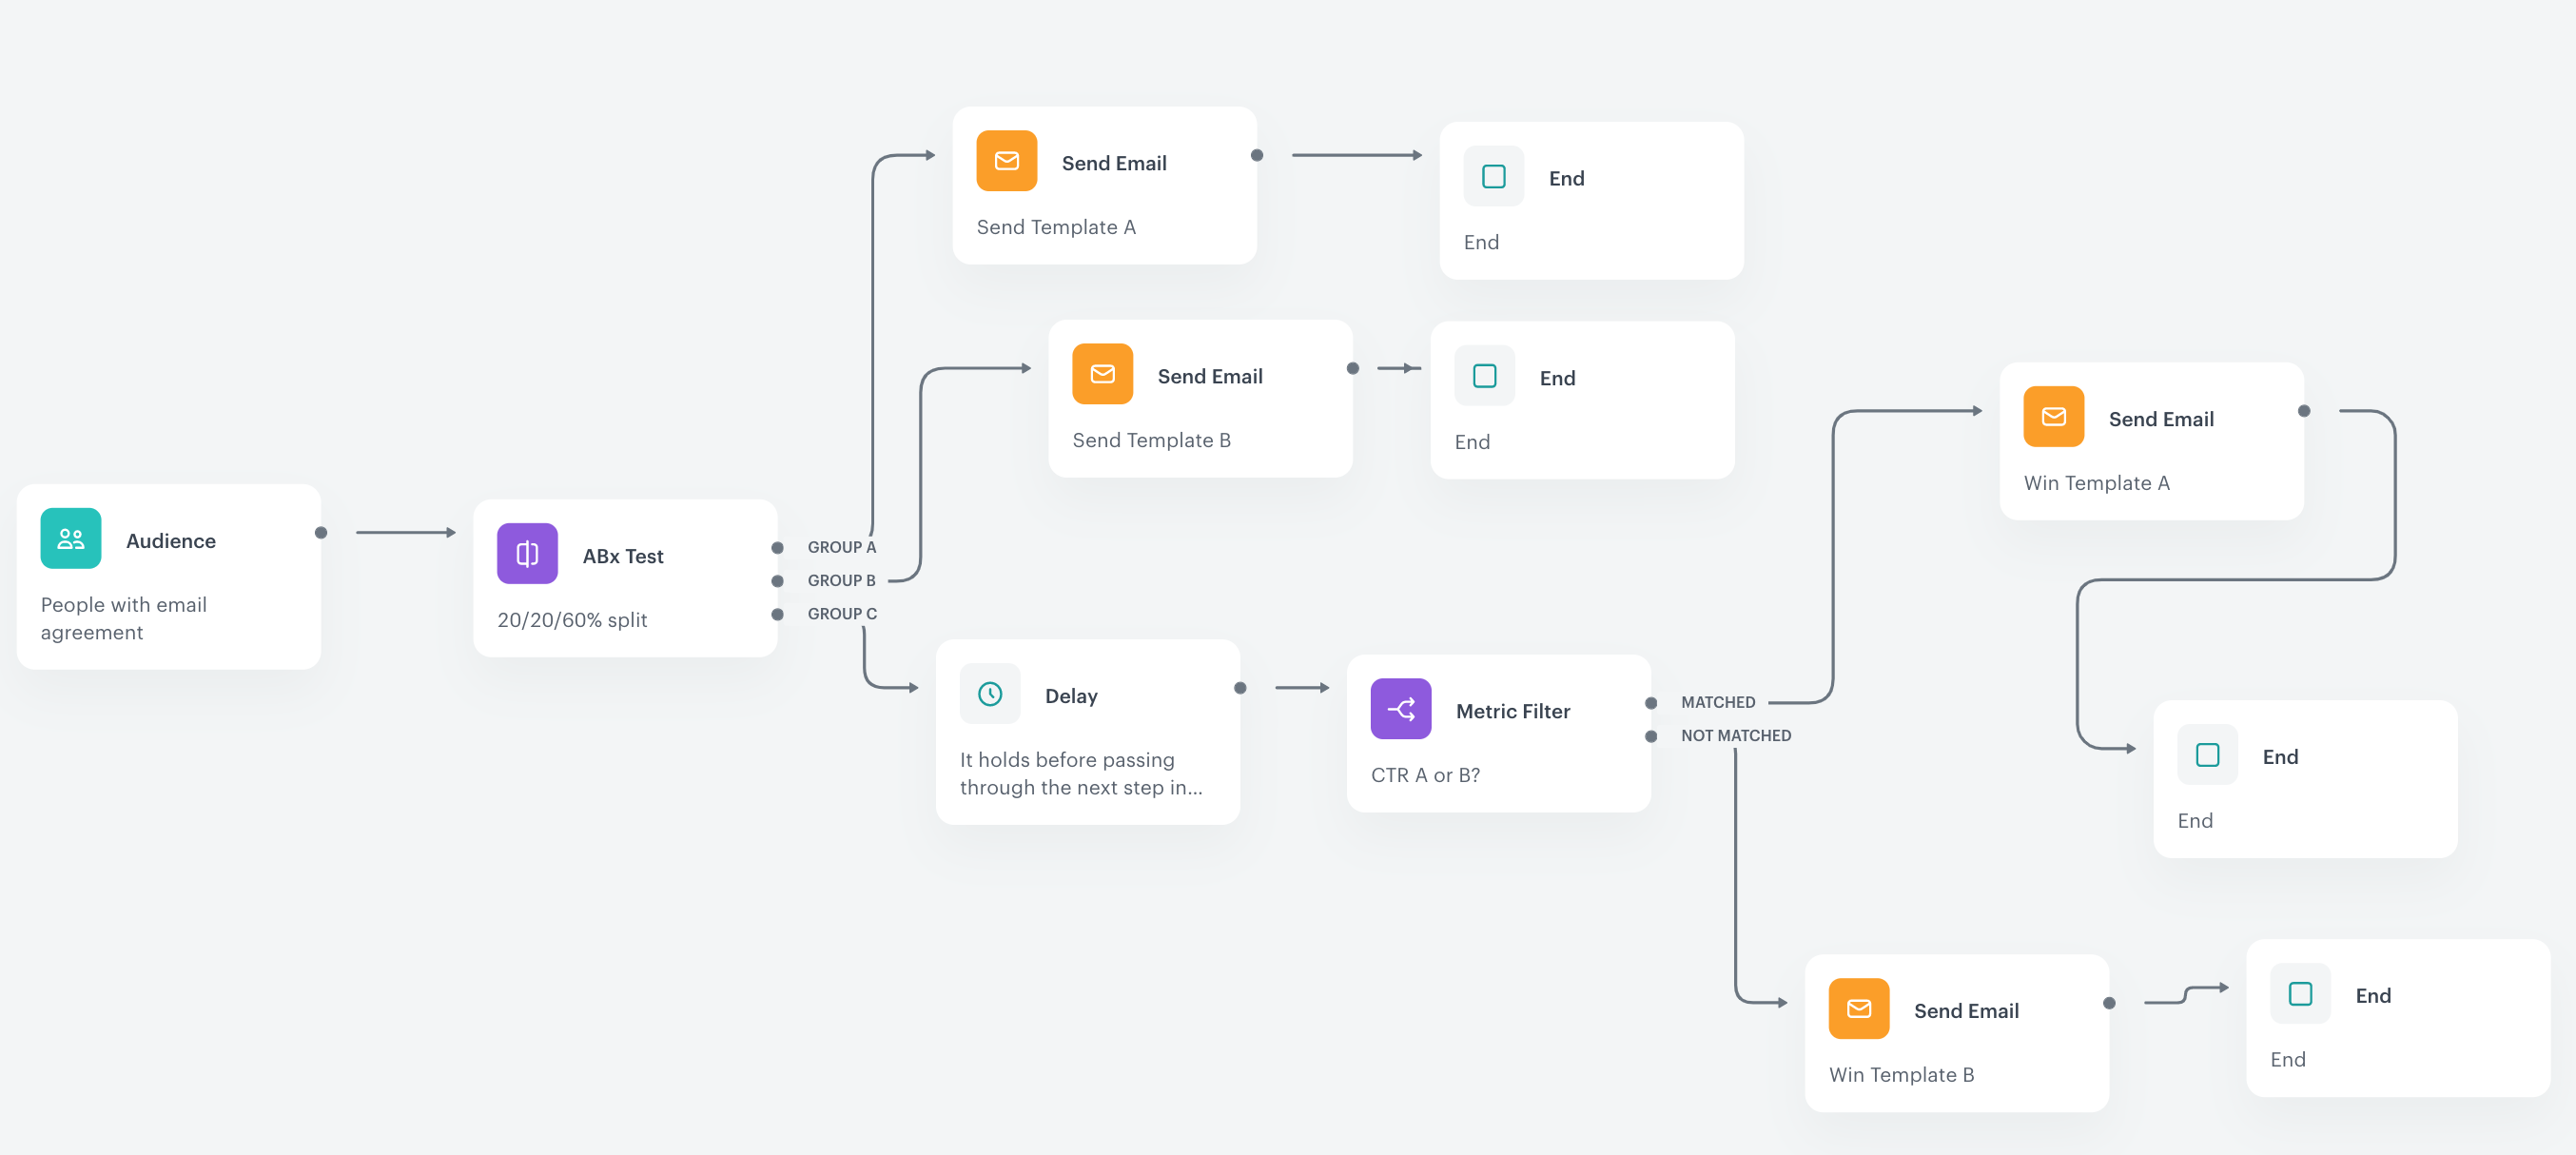
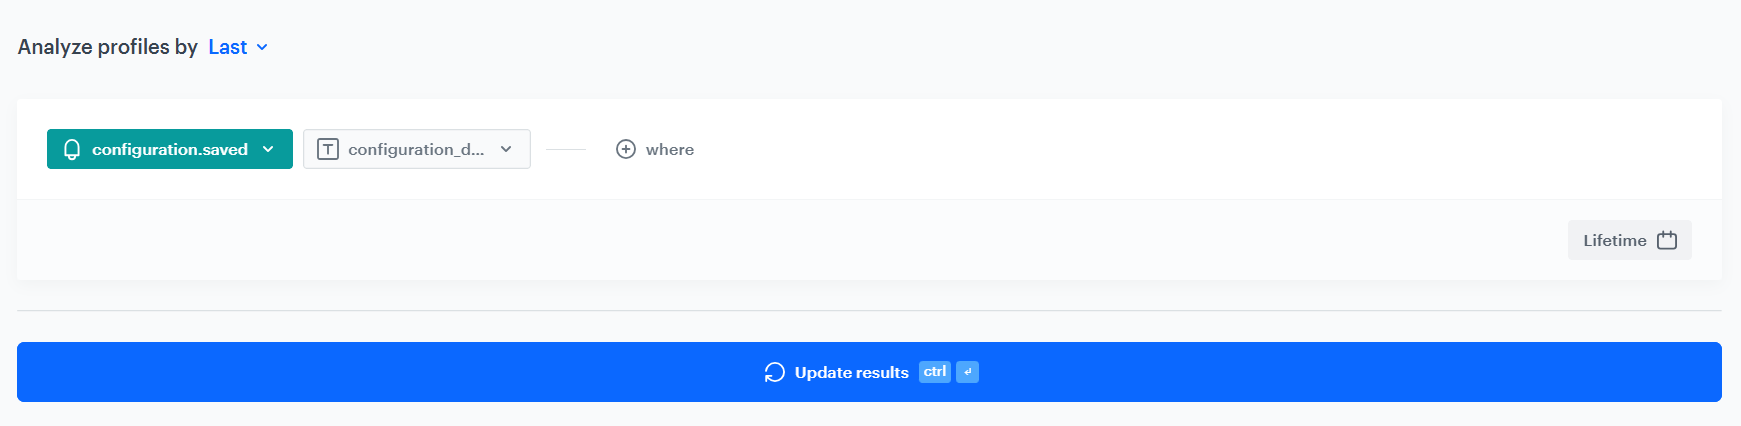
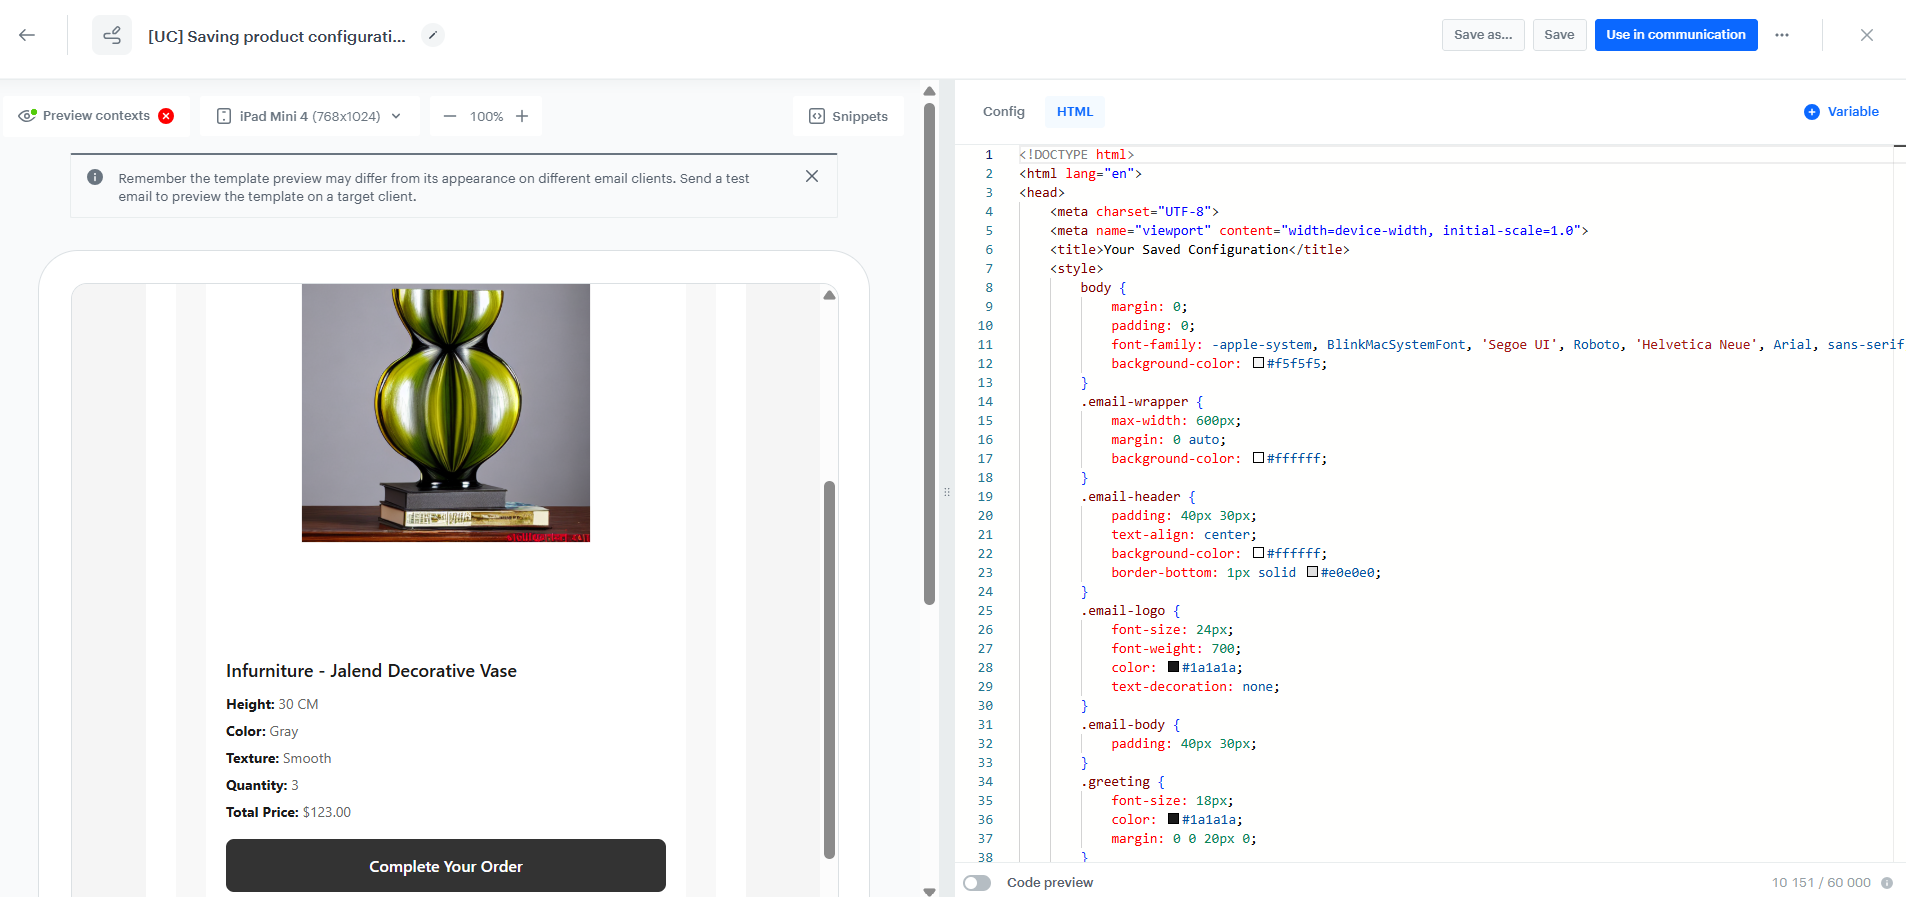
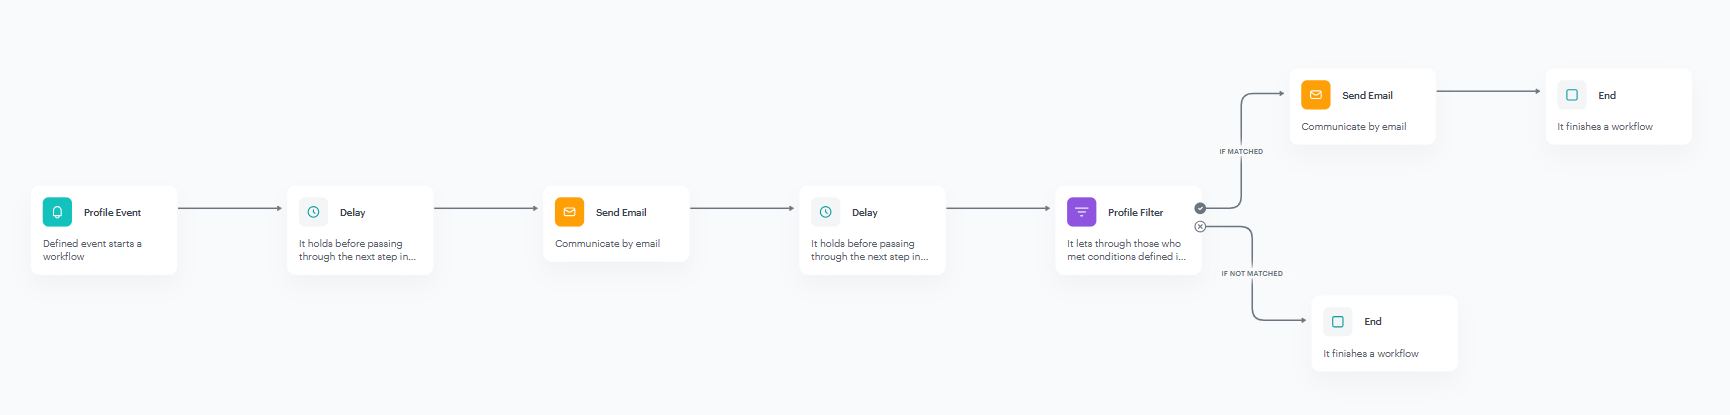
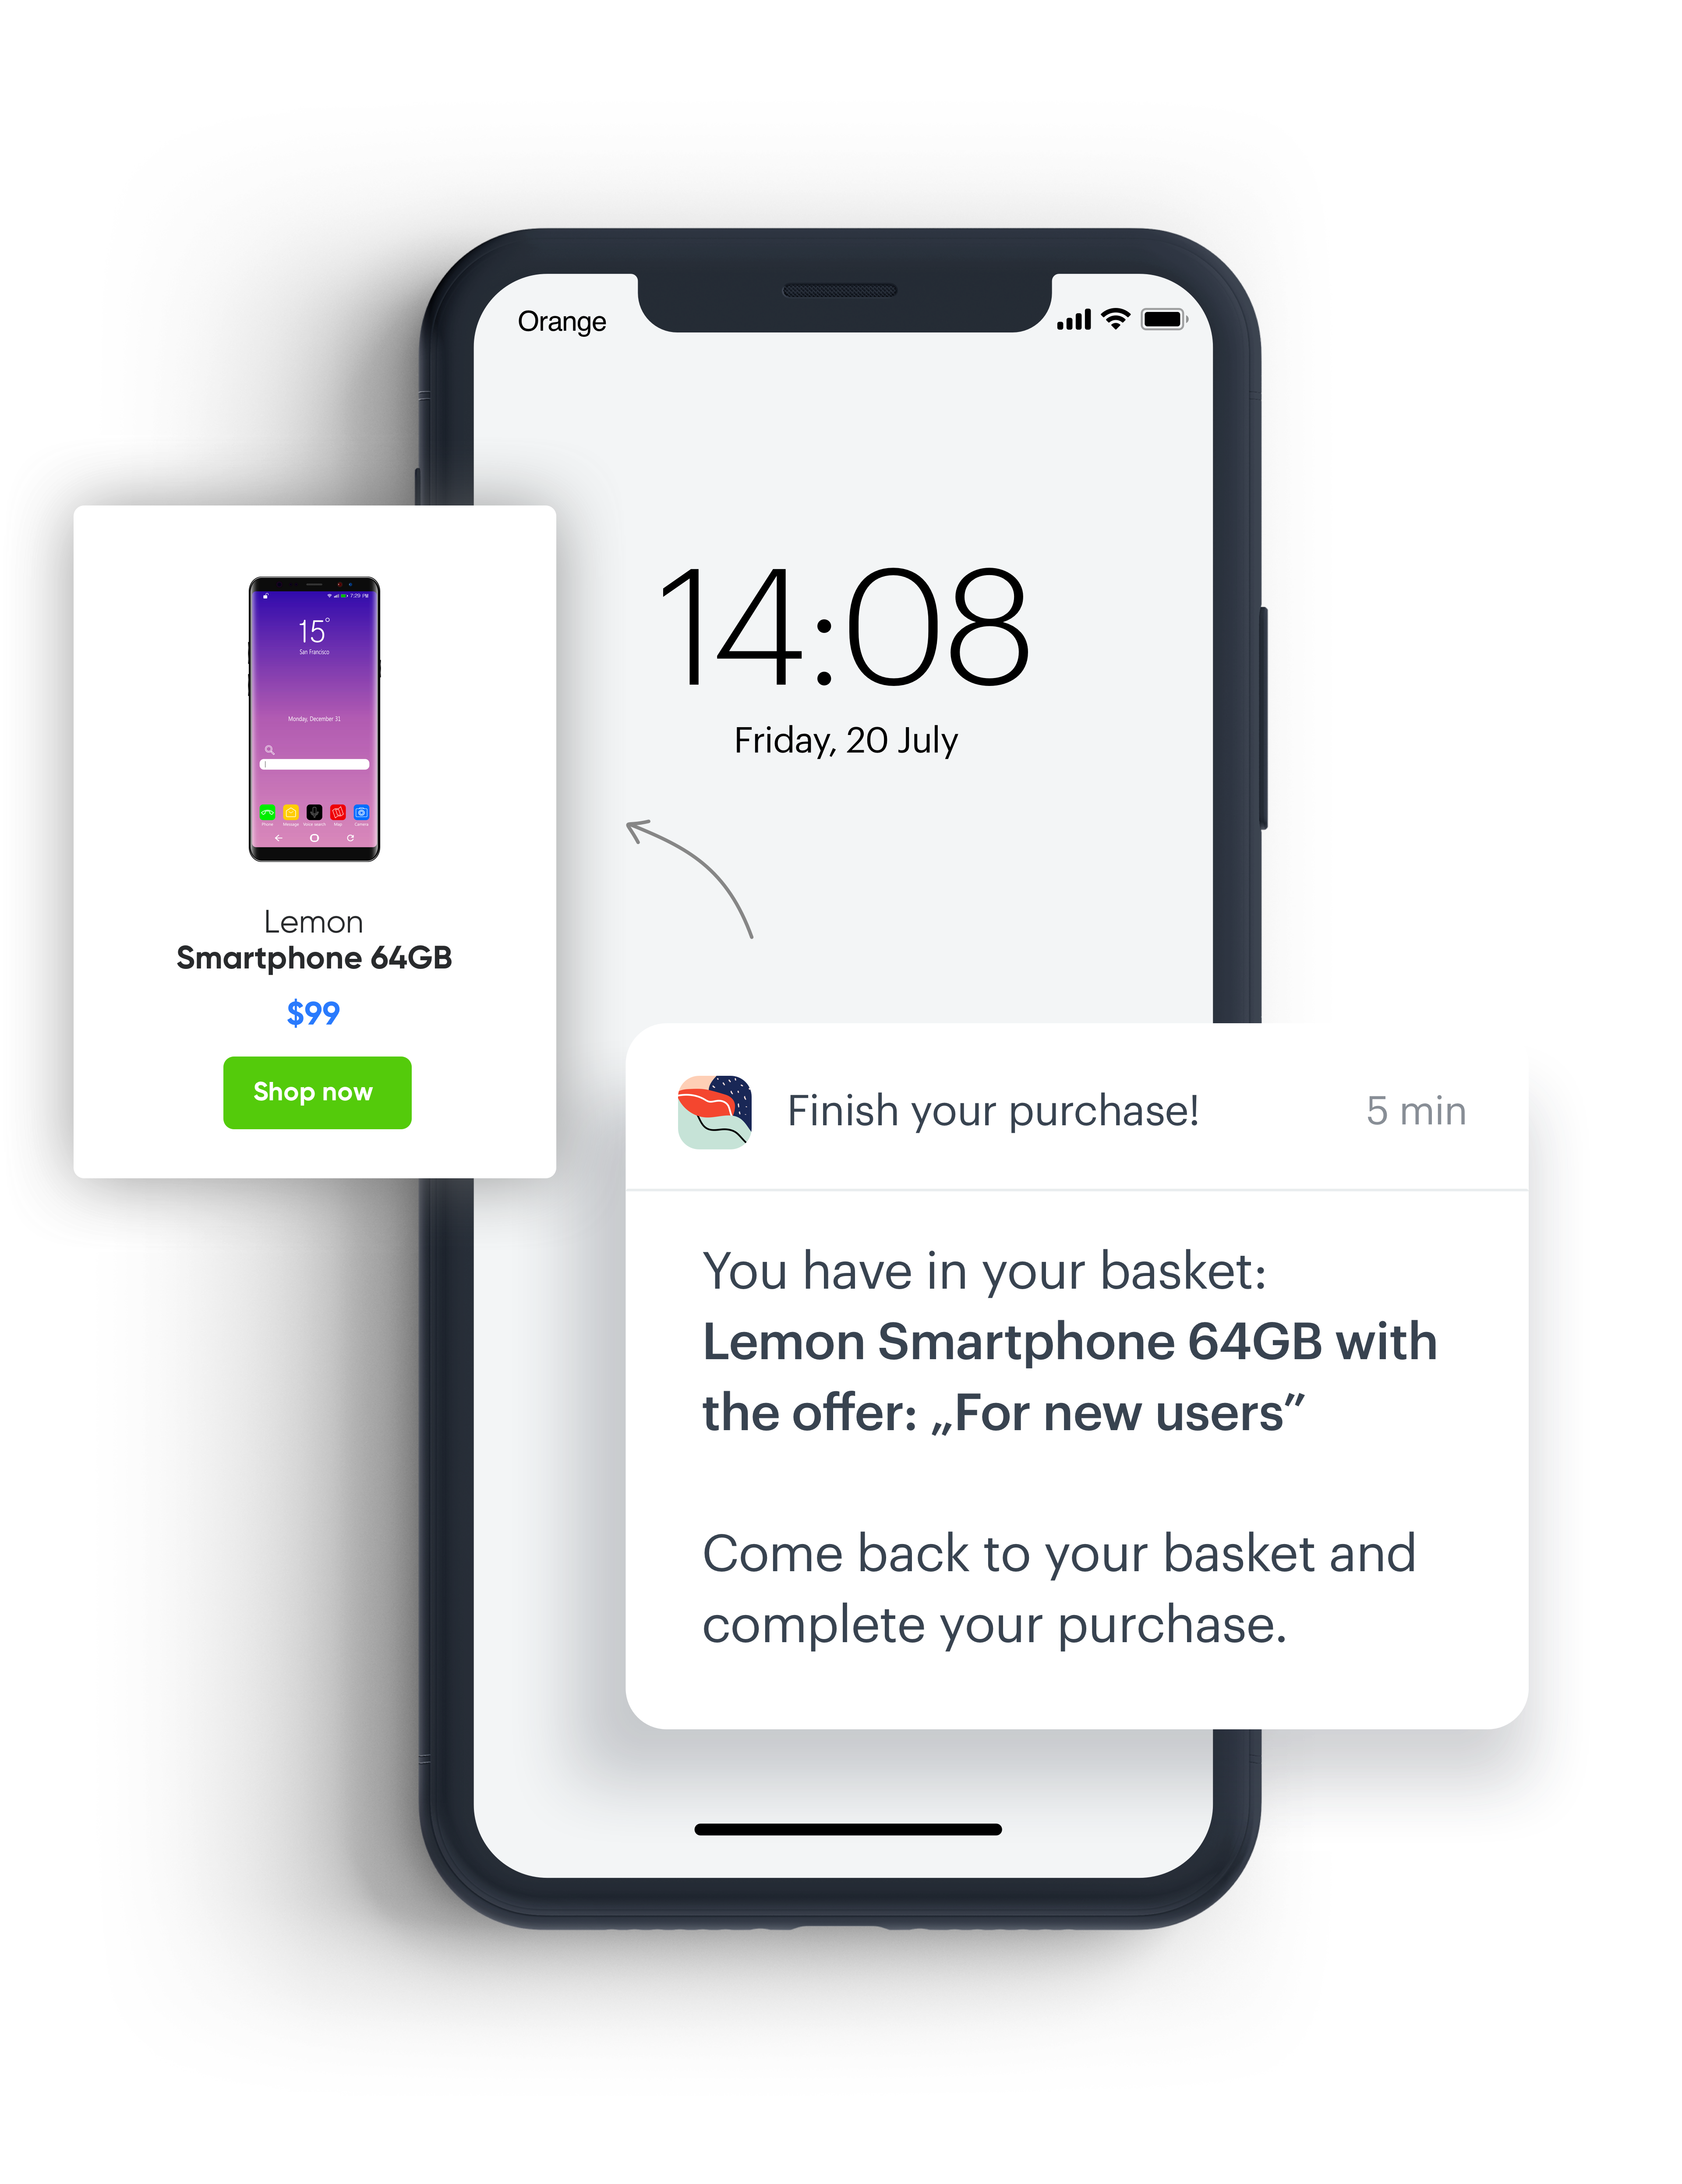

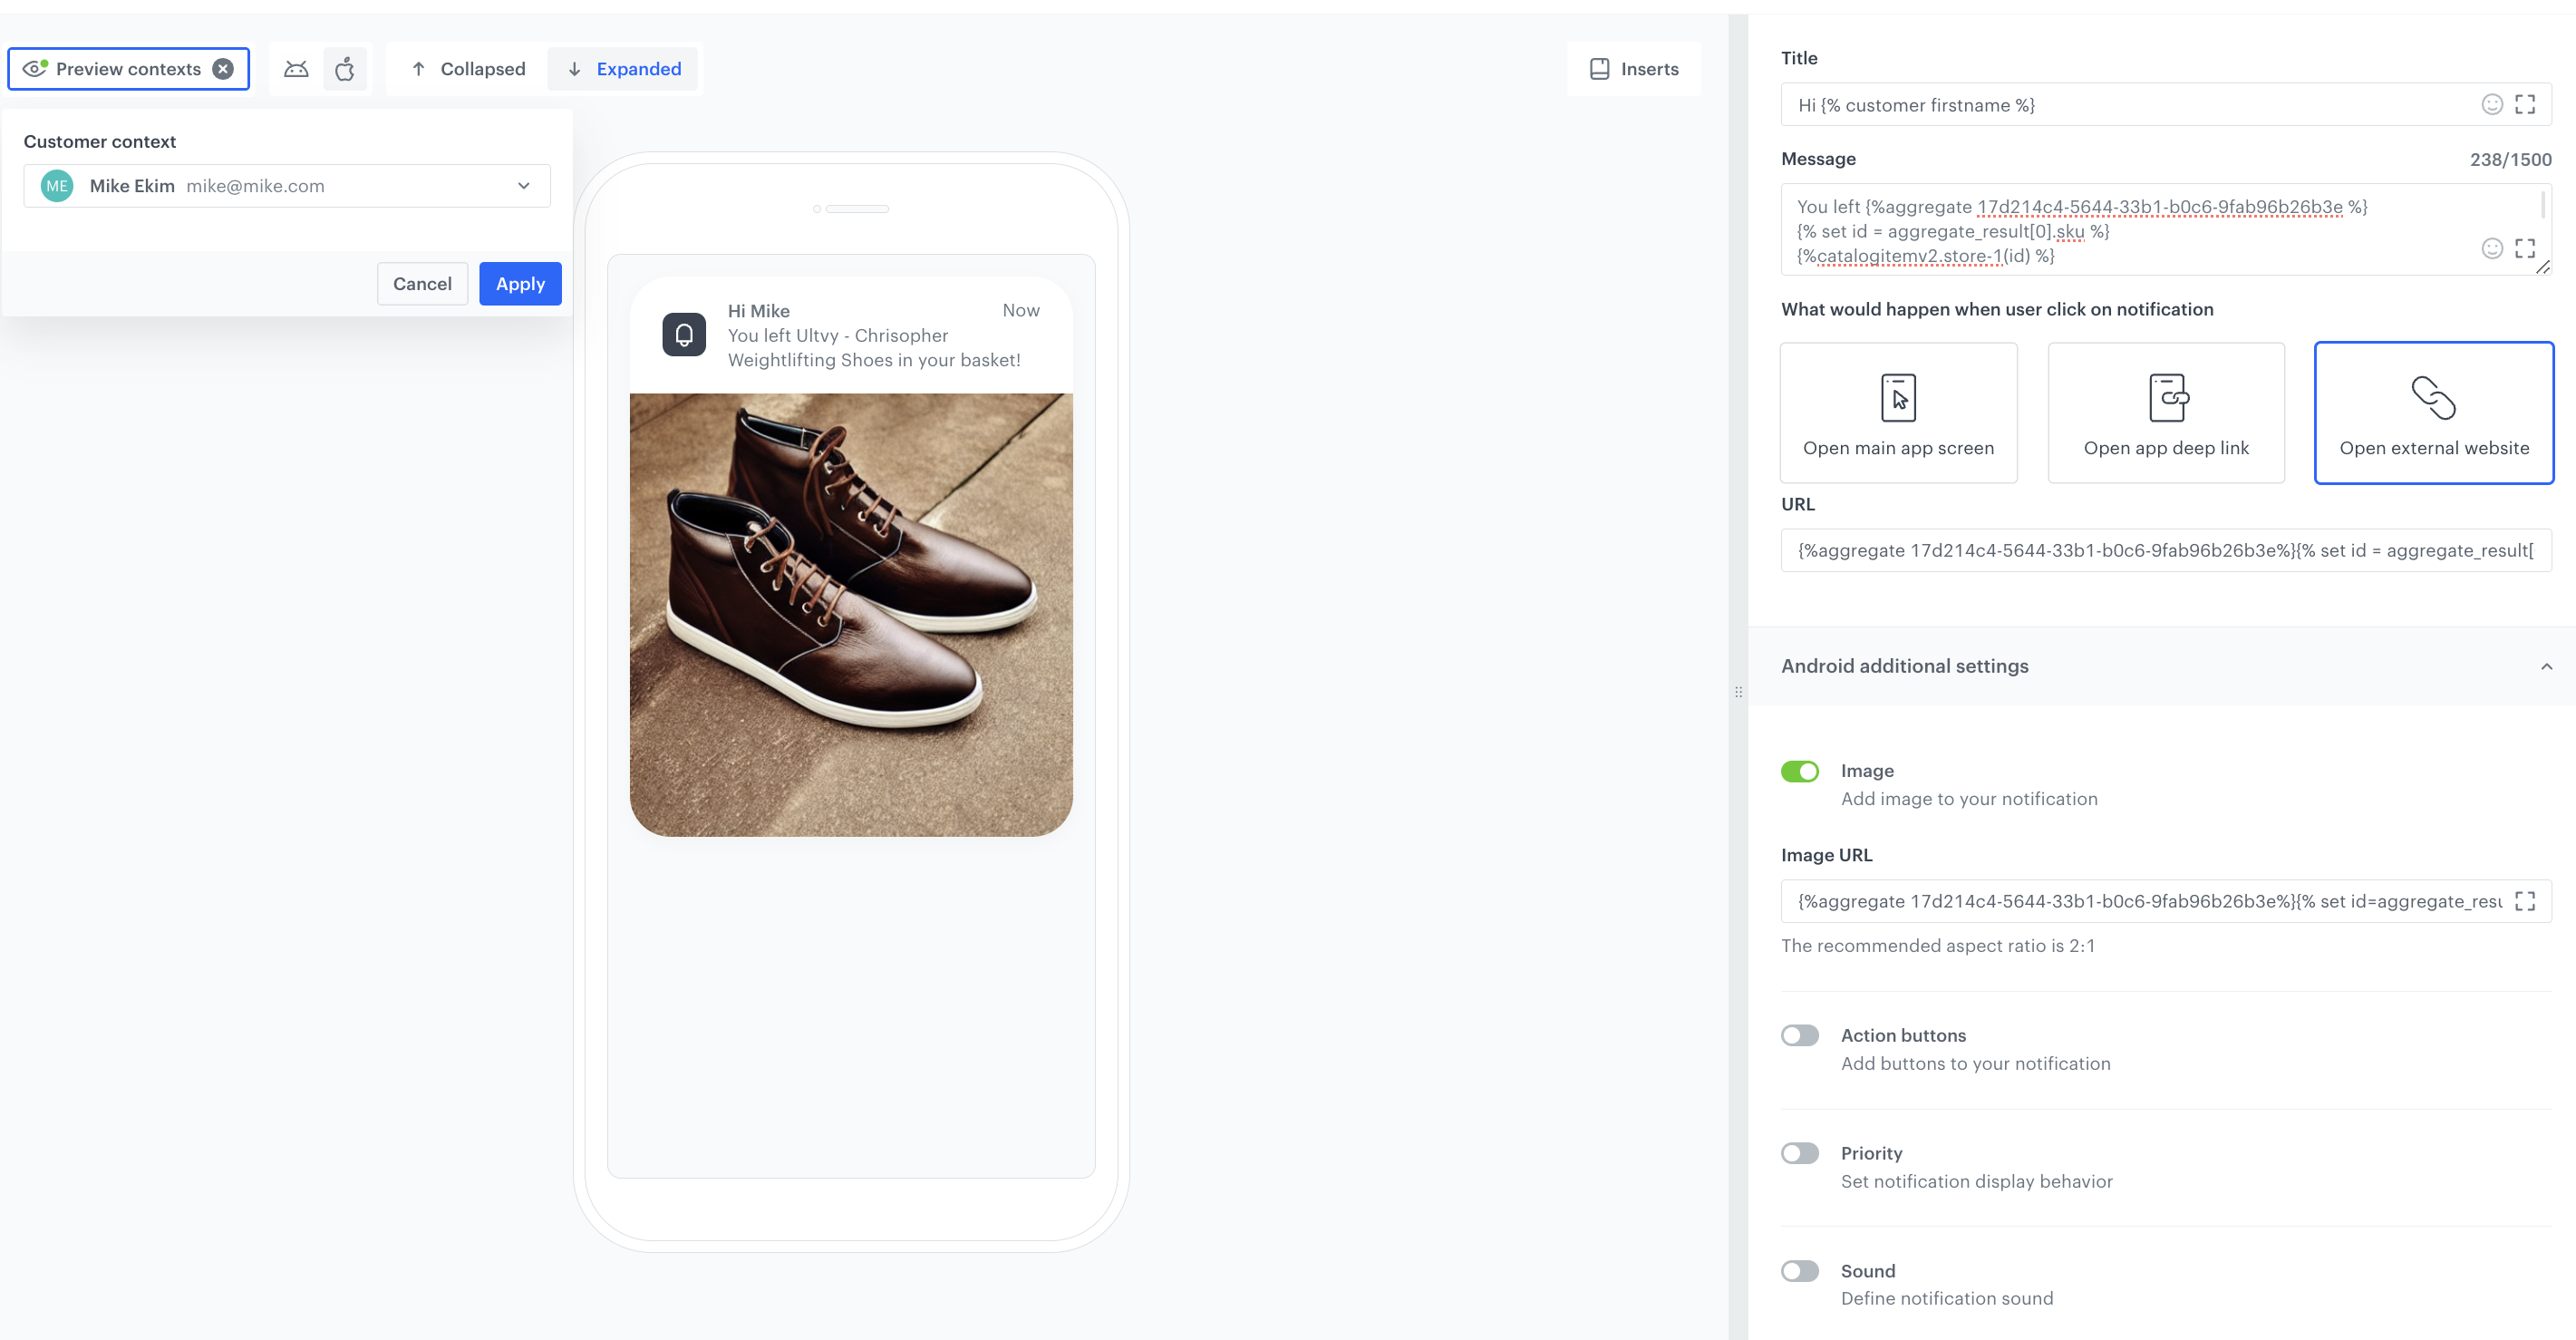
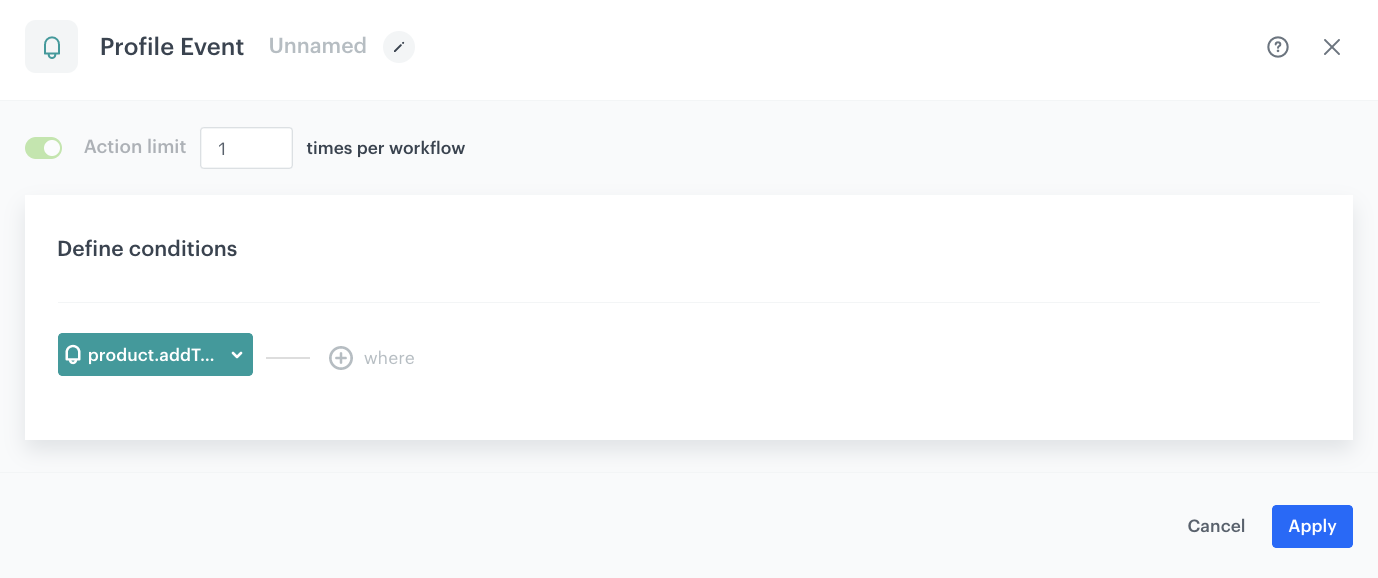
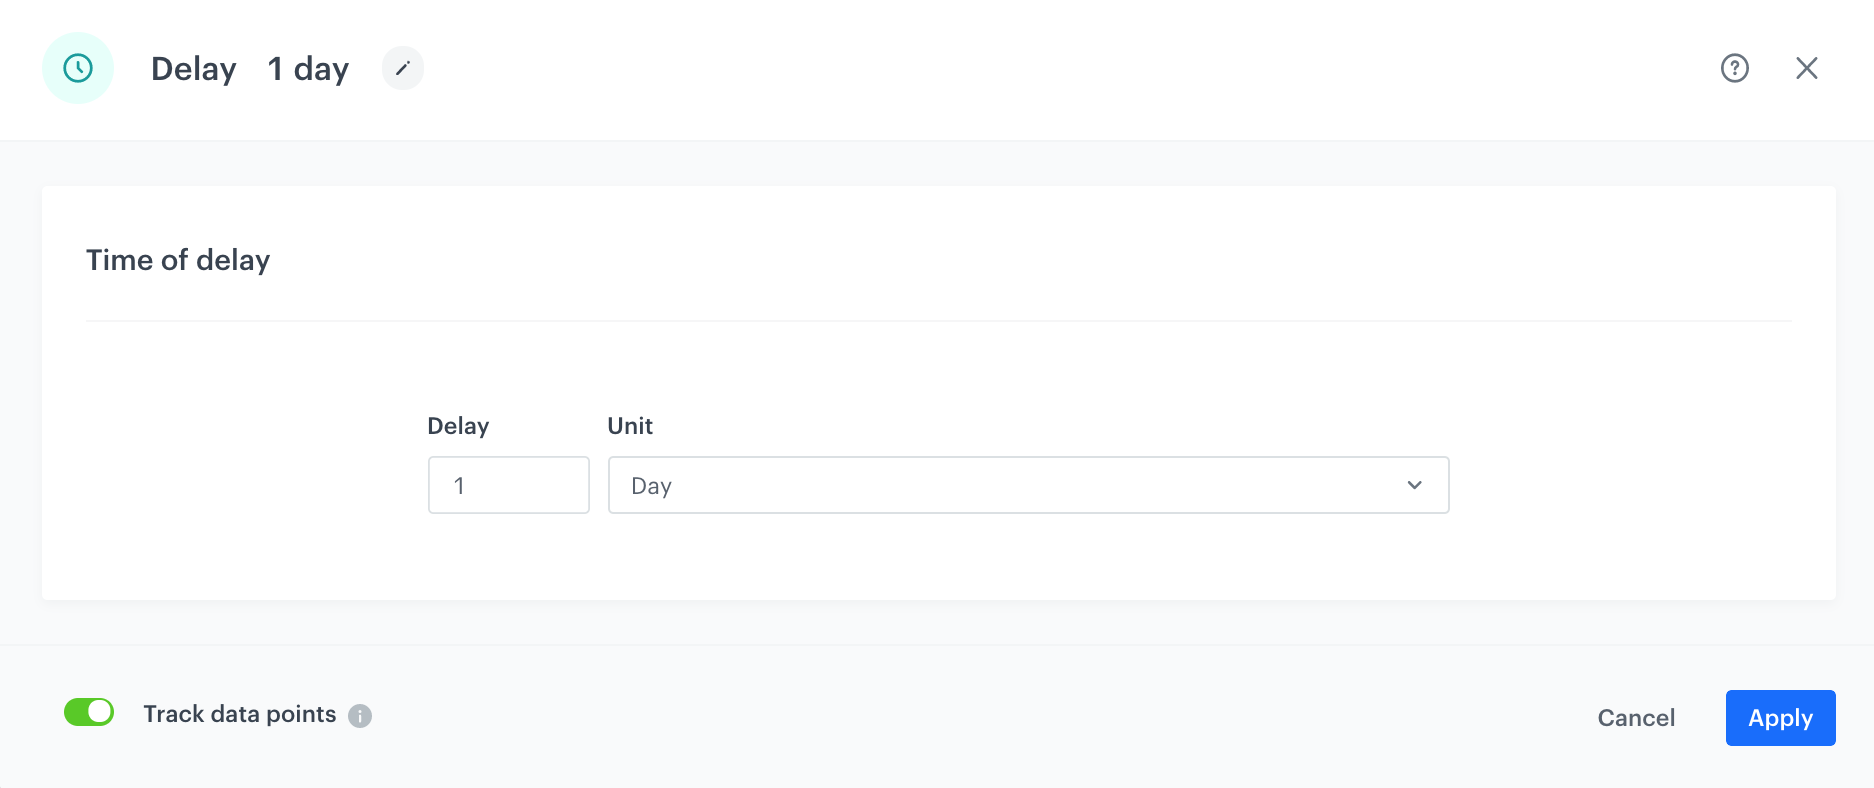
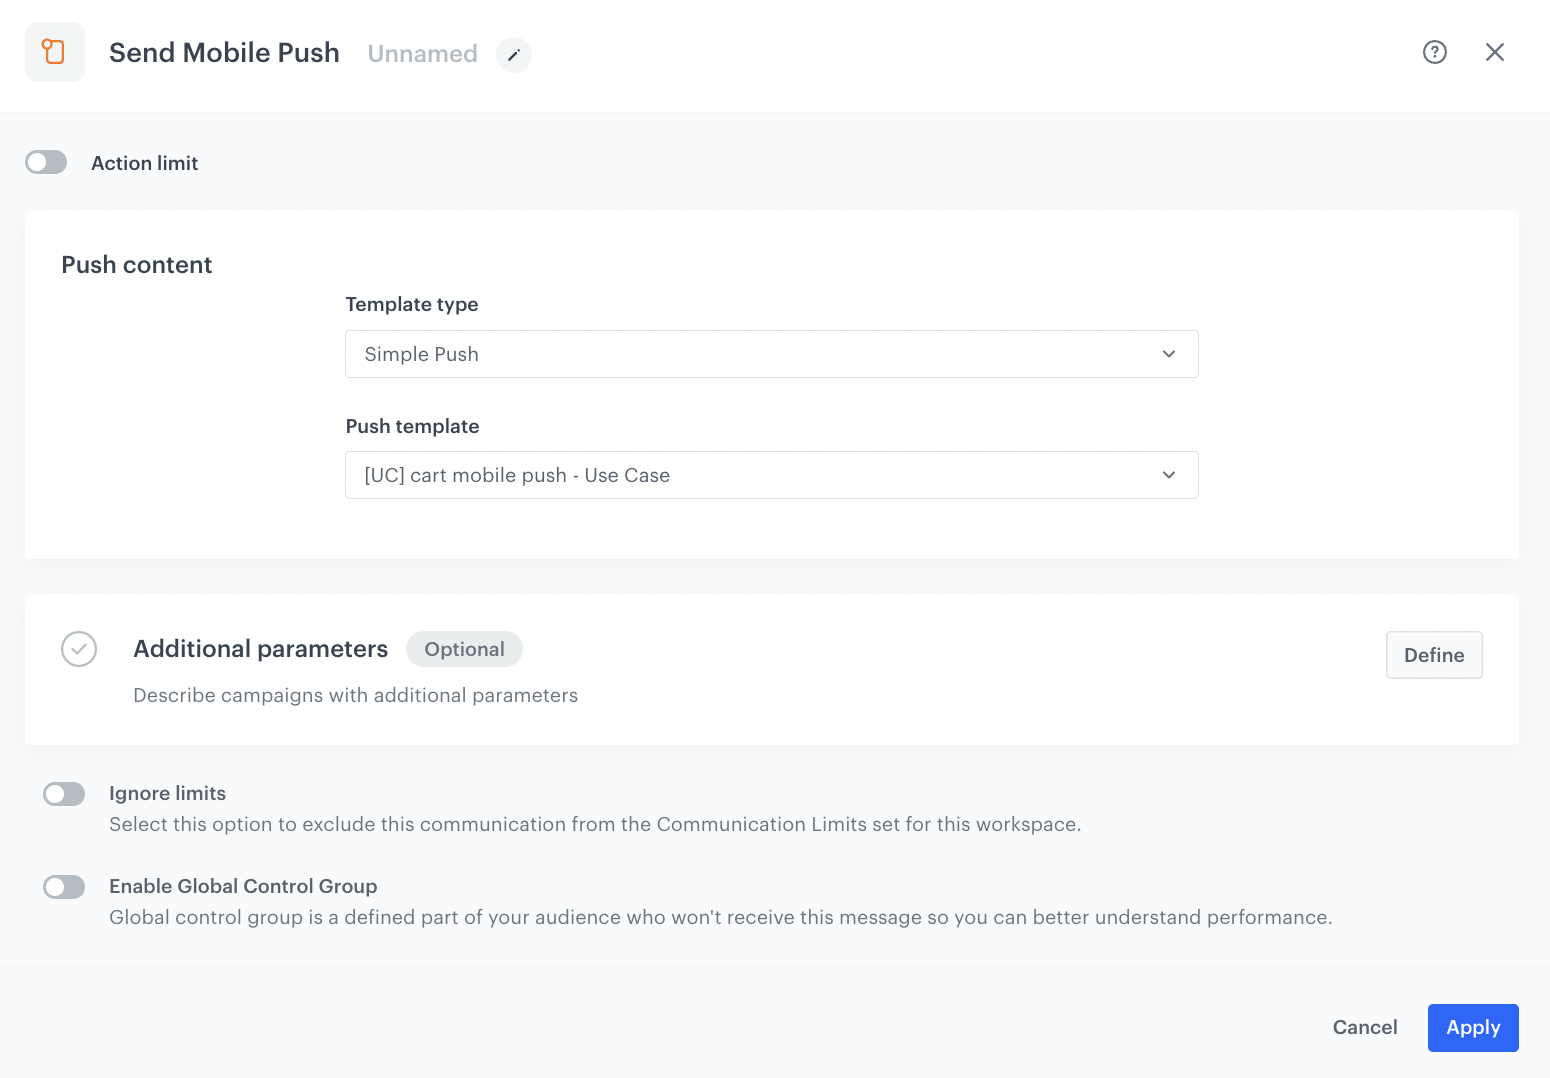
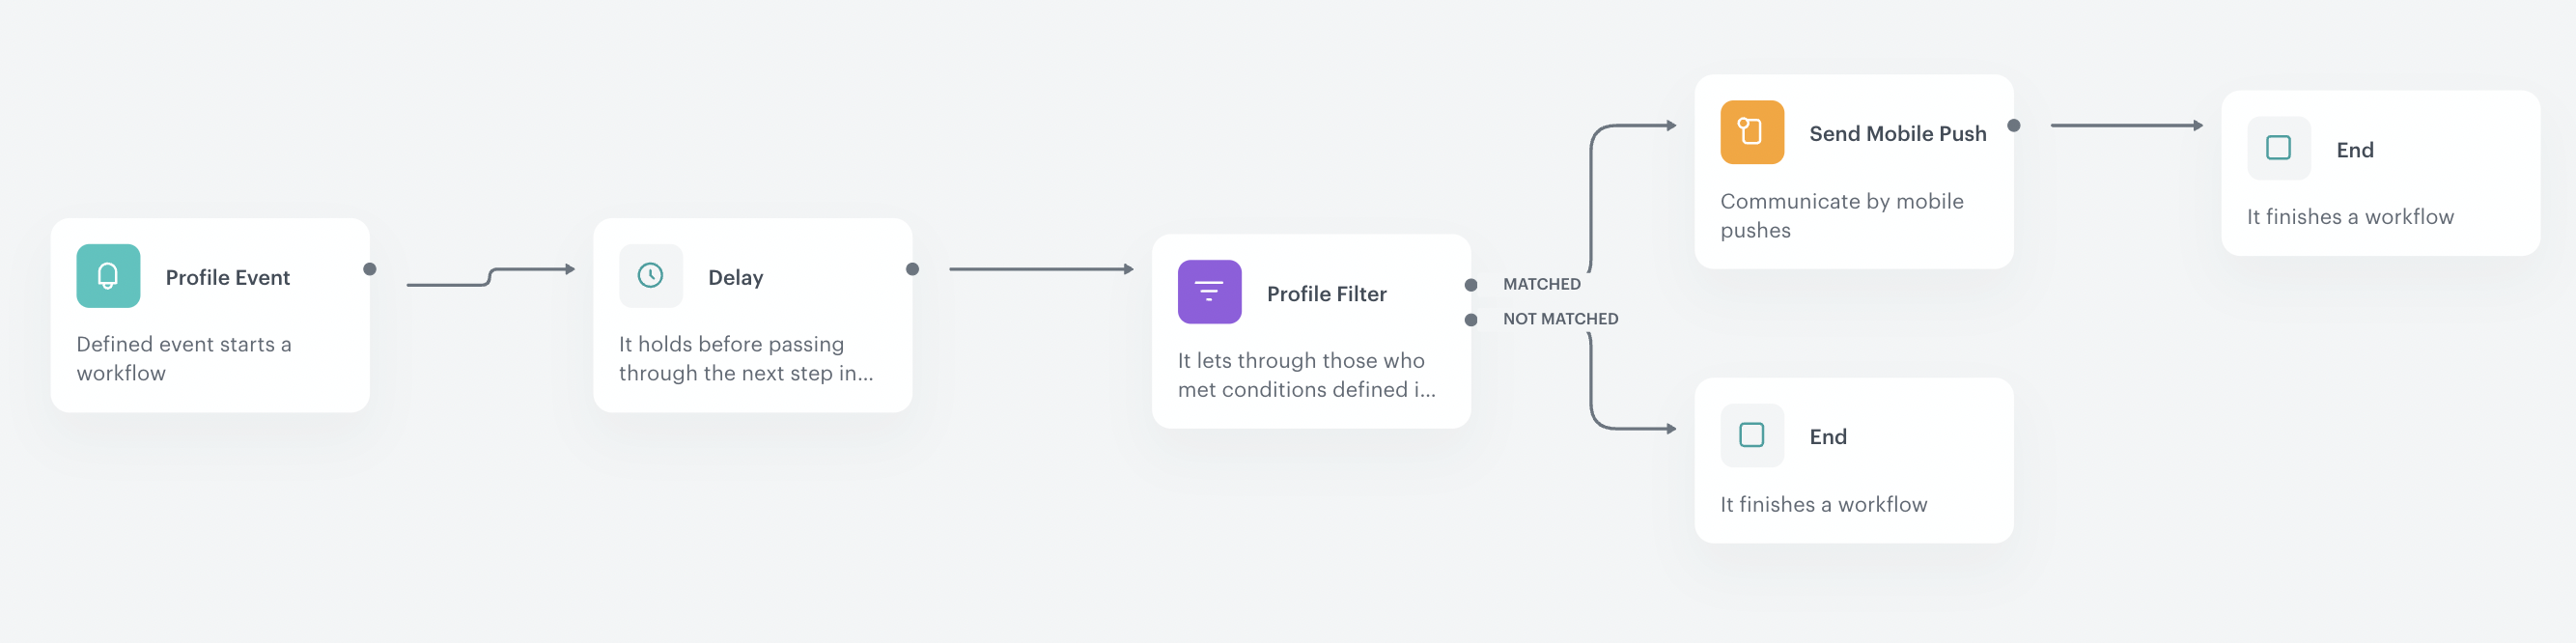
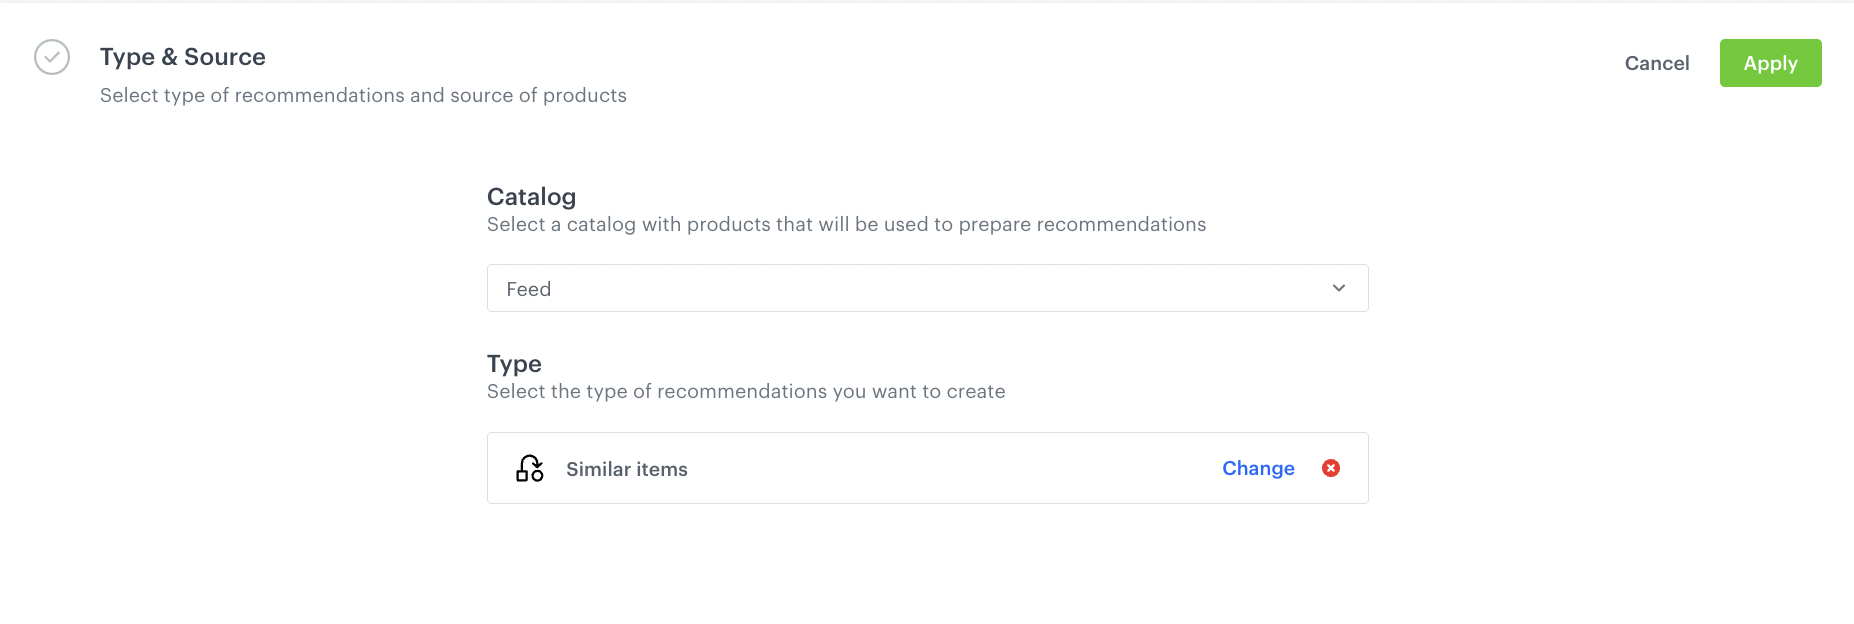
 ) and choose **Aggregate**.
7. From the **Choose aggregate** dropdown list, select an aggregate created in [the previous step](/use-cases/boost-favorite-brand#create-an-aggregate).
8. Click **Apply**.
) and choose **Aggregate**.
7. From the **Choose aggregate** dropdown list, select an aggregate created in [the previous step](/use-cases/boost-favorite-brand#create-an-aggregate).
8. Click **Apply**.