
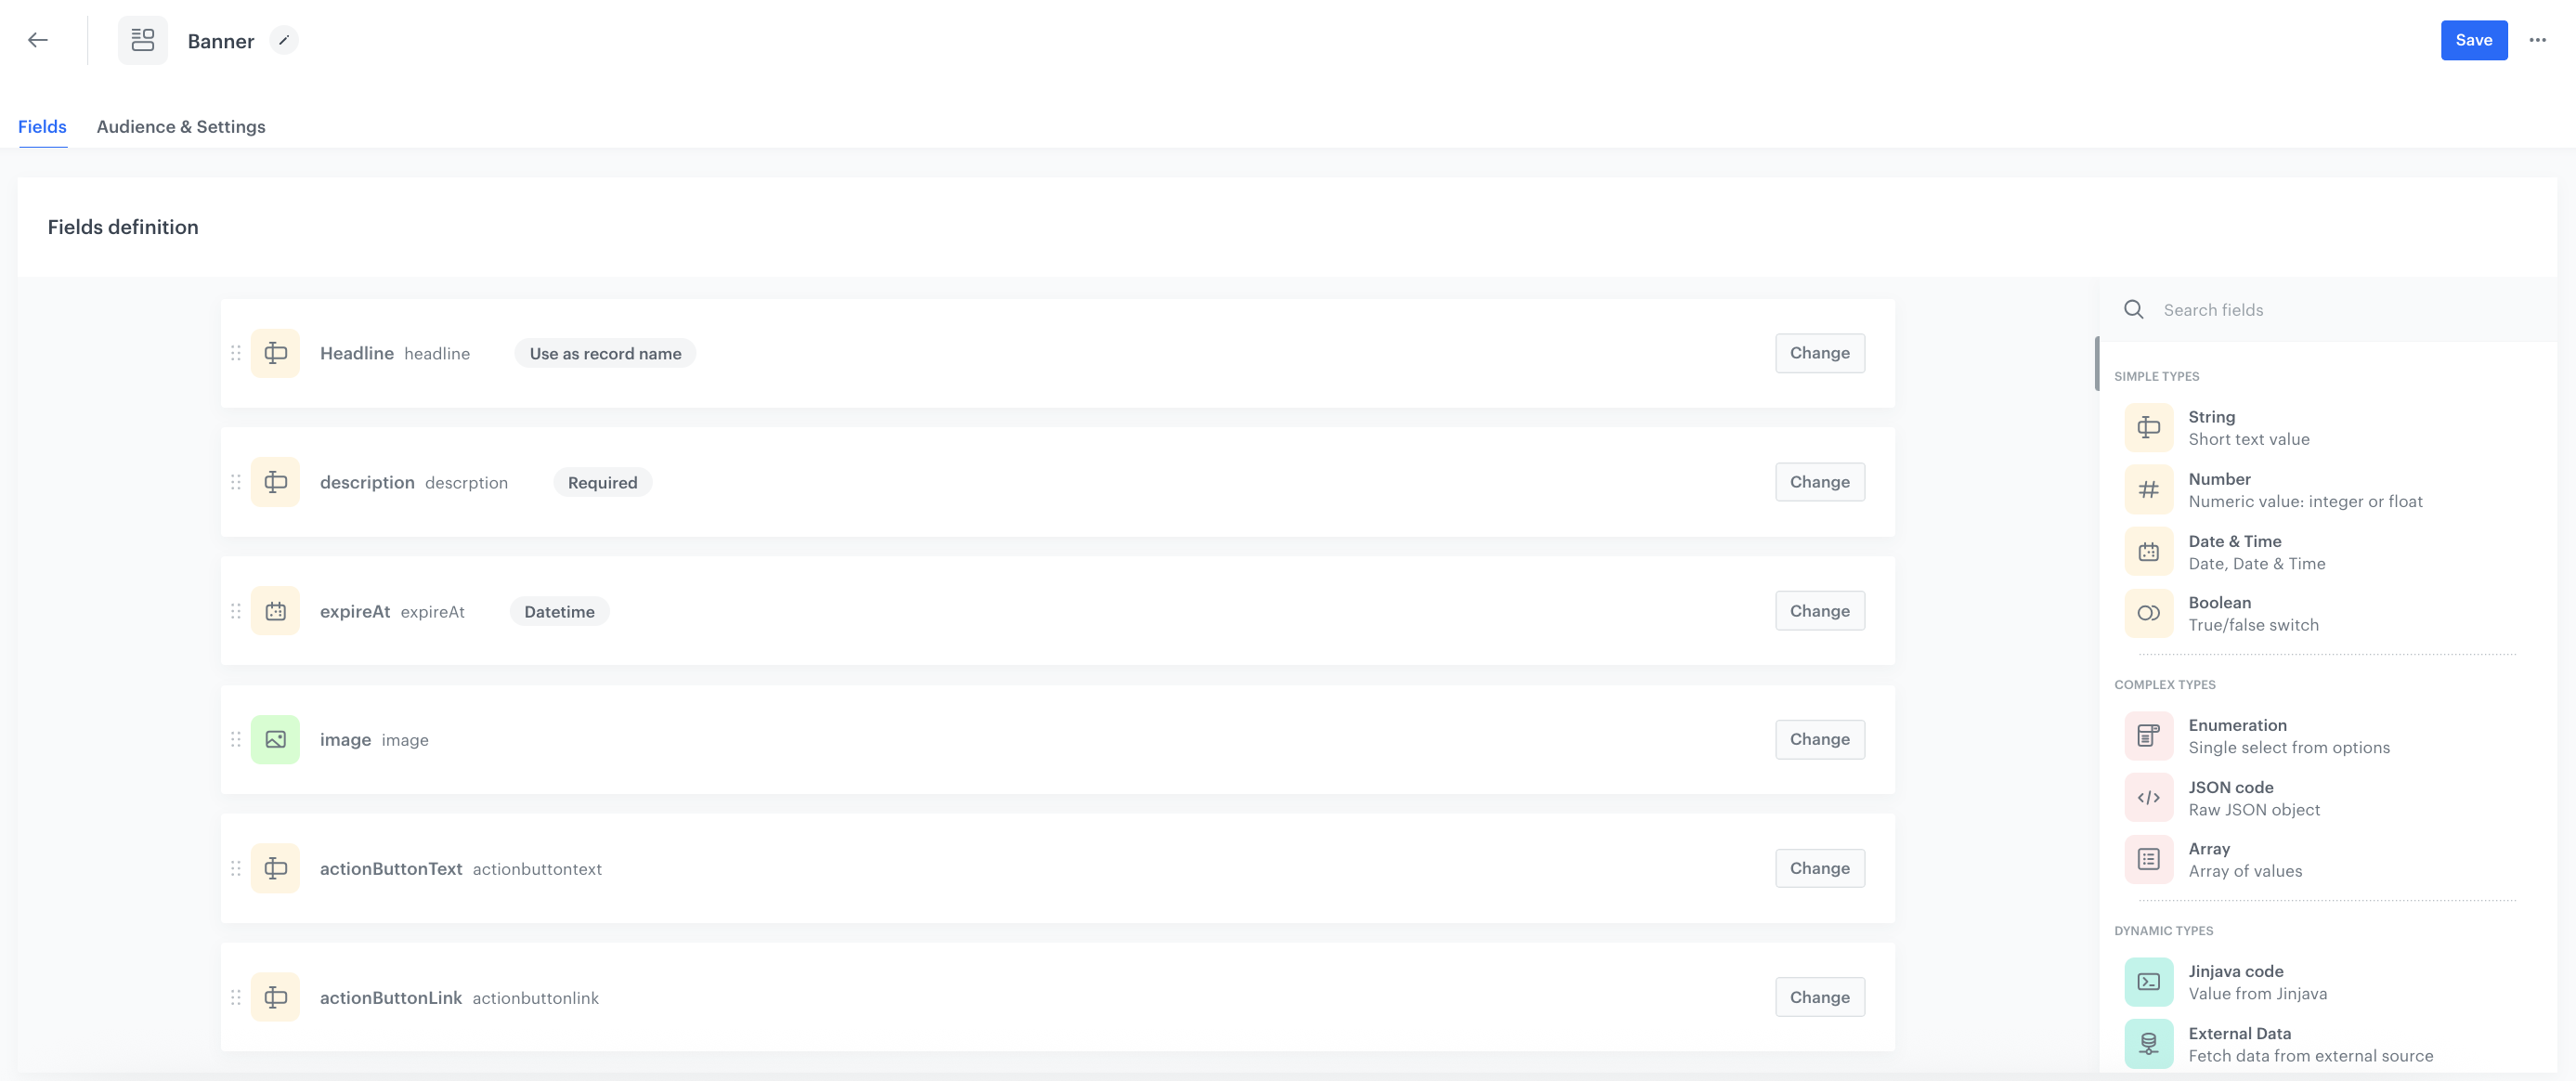
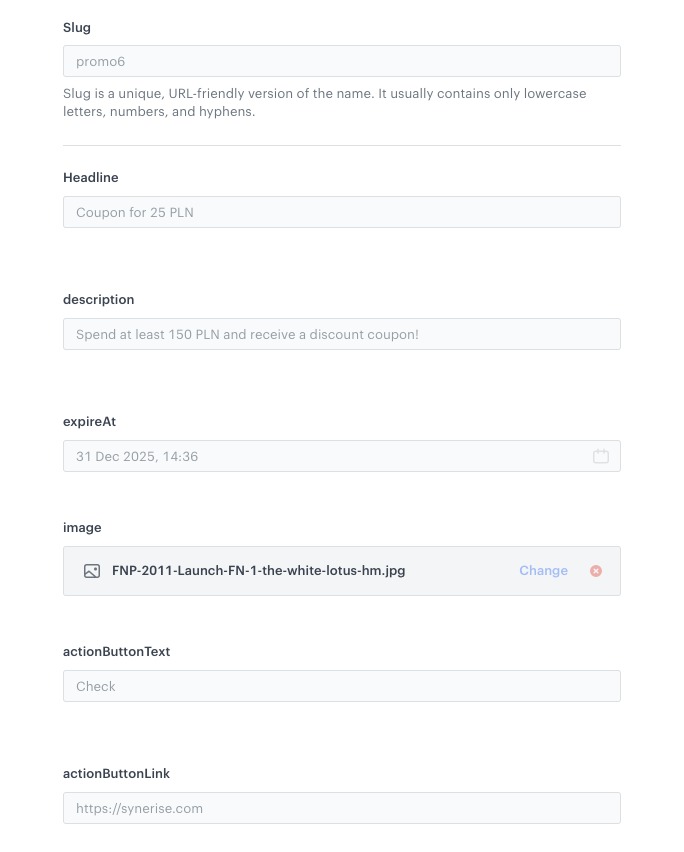
{% brickworksgeneratevar schemaId=banner recordId=promo6 %}{%set data = brickworks_result %} <div class="banner" data-slug="{{ data.__slug }}"> <div class="banner-image"> <img src="{{ data.image.medium | default(data.image.large) }}" alt="{{ data.headline }}" /> </div> <div class="banner-content"> <h1 class="headline">{{ data.headline }}</h1> <p class="description"> {{ data.descrption }} </p> <div id='expiry' class="meta" data-expiry="{{ data.expireAt }}"> <span id="countdown"> </div> <a class="cta" href="{{ data.actionbuttonlink }}" target="_blank"> {{ data.actionbuttontext }} </a> </div> </div> {% endbrickworksgeneratevar %}
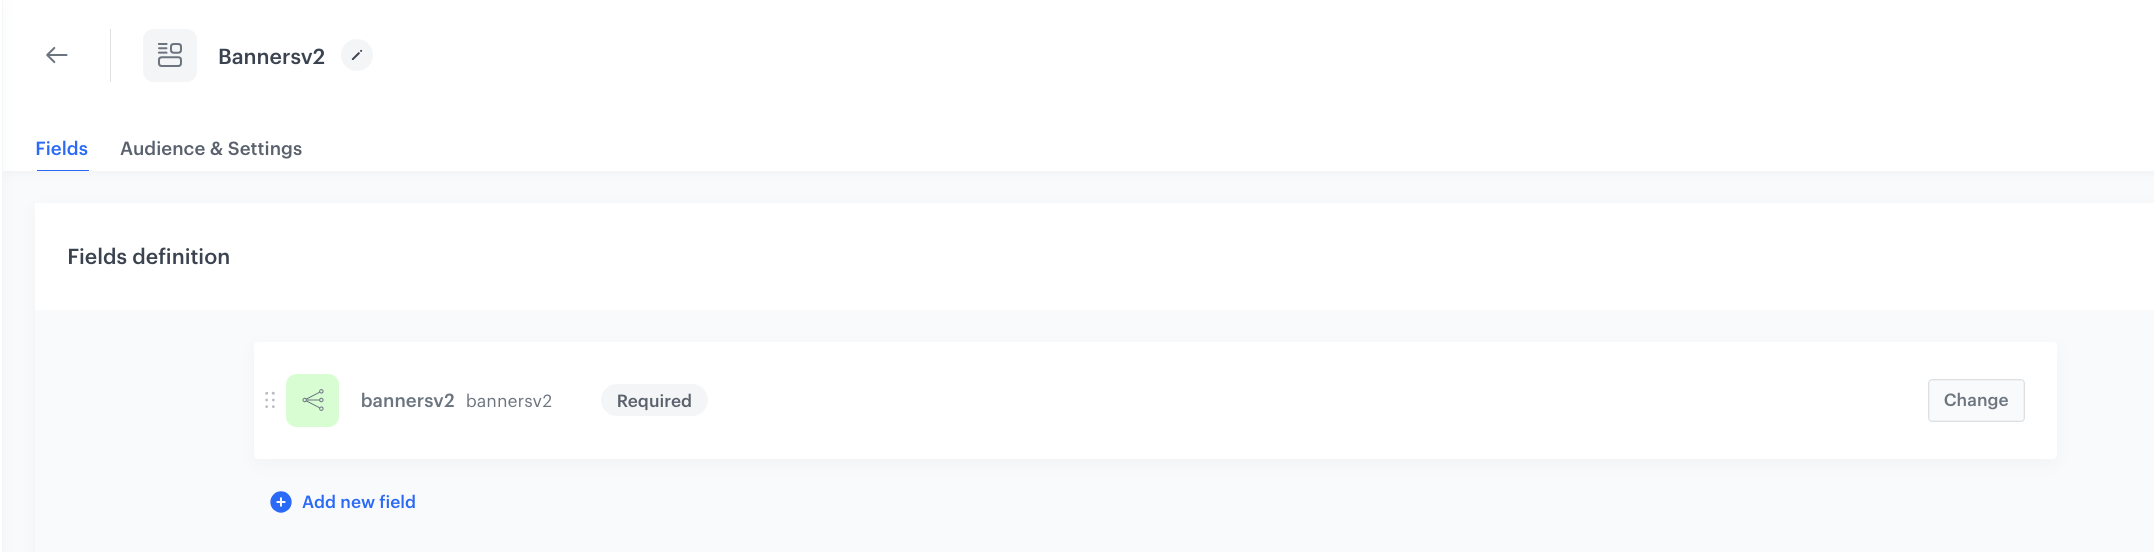
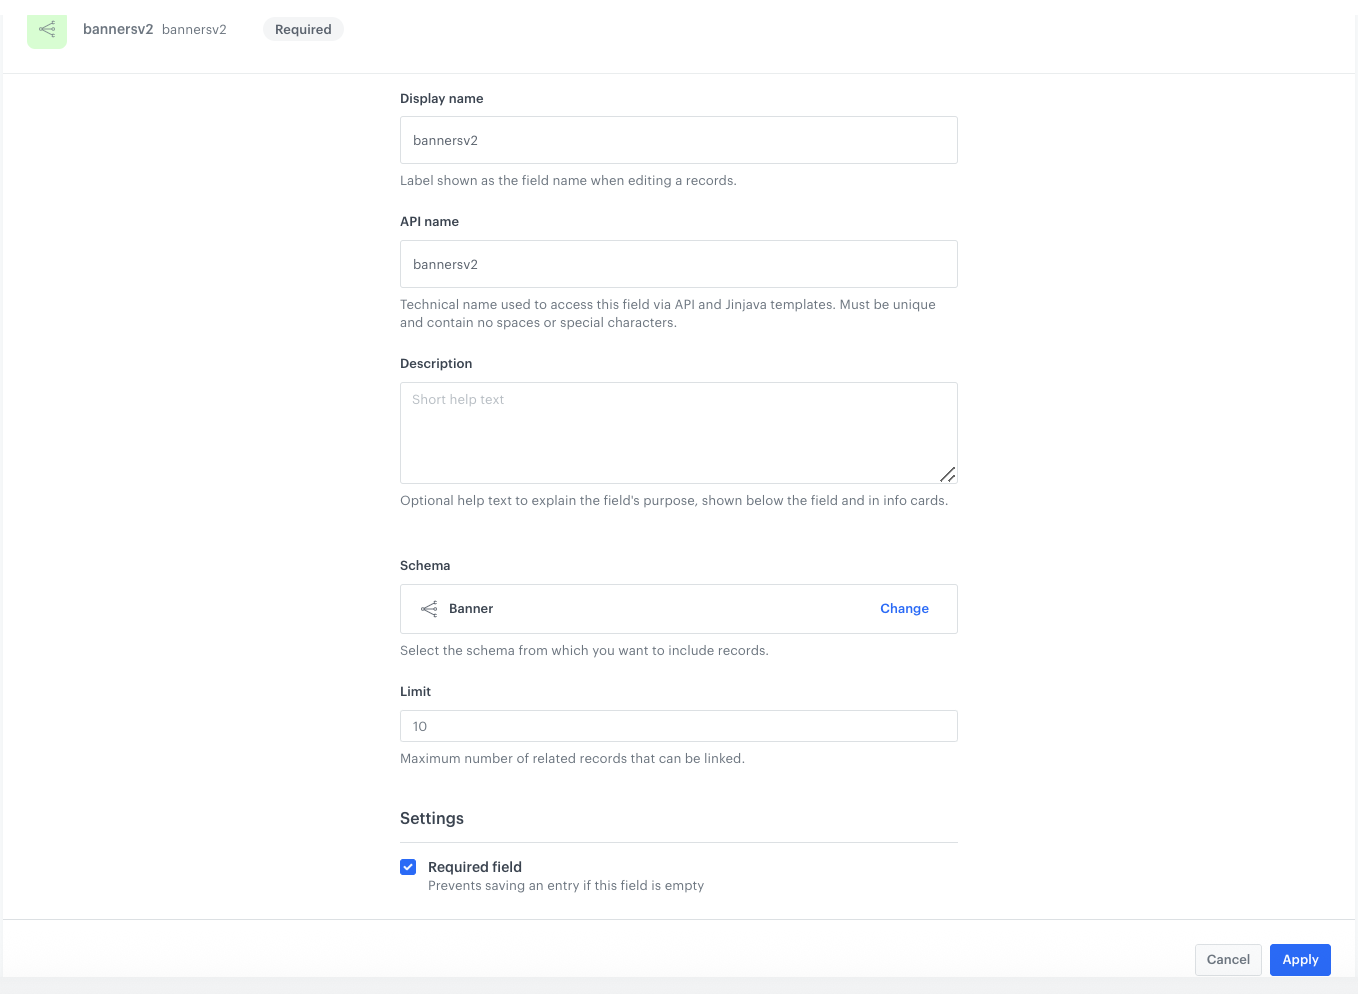

{% brickworksgeneratevar schemaId=bannersv2 recordId=activeBanners %}{%set data = brickworks_result.bannersv2 %} <div class="carousel" id="carousel"> <div class="track"> {% for item in data %} <div class="banner"> <div class="image"> <img src="{{ item.image.thumb | default(item.image.large) }}" alt="{{ item.headline }}" /> </div> <div class="content"> <div class="headline">{{ item.headline }}</div> <div class="description">{{ item.descrption }}</div> <div class="footer"> <a class="cta" href="{{ item.actionbuttonlink }}">{{ item.actionbuttontext }}</a> <div class="expiry" data-expiry="{{ item.expireAt }}">—</div> </div> </div> </div> {% endfor %} </div> <div class="dots"></div> </div> {% endbrickworksgeneratevar %} {% endbrickworksgeneratevar %}