You can calculate the value of sold items including items sold by weight and volume. It helps you analyze the sold products statistics in more effective way.
## Prerequisites
---
- Implement [tracking code](/developers/web/installation-and-configuration#creating-a-tracking-code) on your website.
- Implement [transactions](/docs/automation/actions/synerise-integrations/import-transactions).
## Process
---
In this use case, you will go through the following steps:
1. [Create an expression](/use-cases/calculate-items-sold-by-weight/?helpCenterAi=calc#create-an-expression) that will be available as a variable when including the `product.buy` event in analytics.
2. [Create a metric](/use-cases/calculate-items-sold-by-weight/?helpCenterAi=calc#create-a-metric) that calculates all sold items.
## Create an expression
---
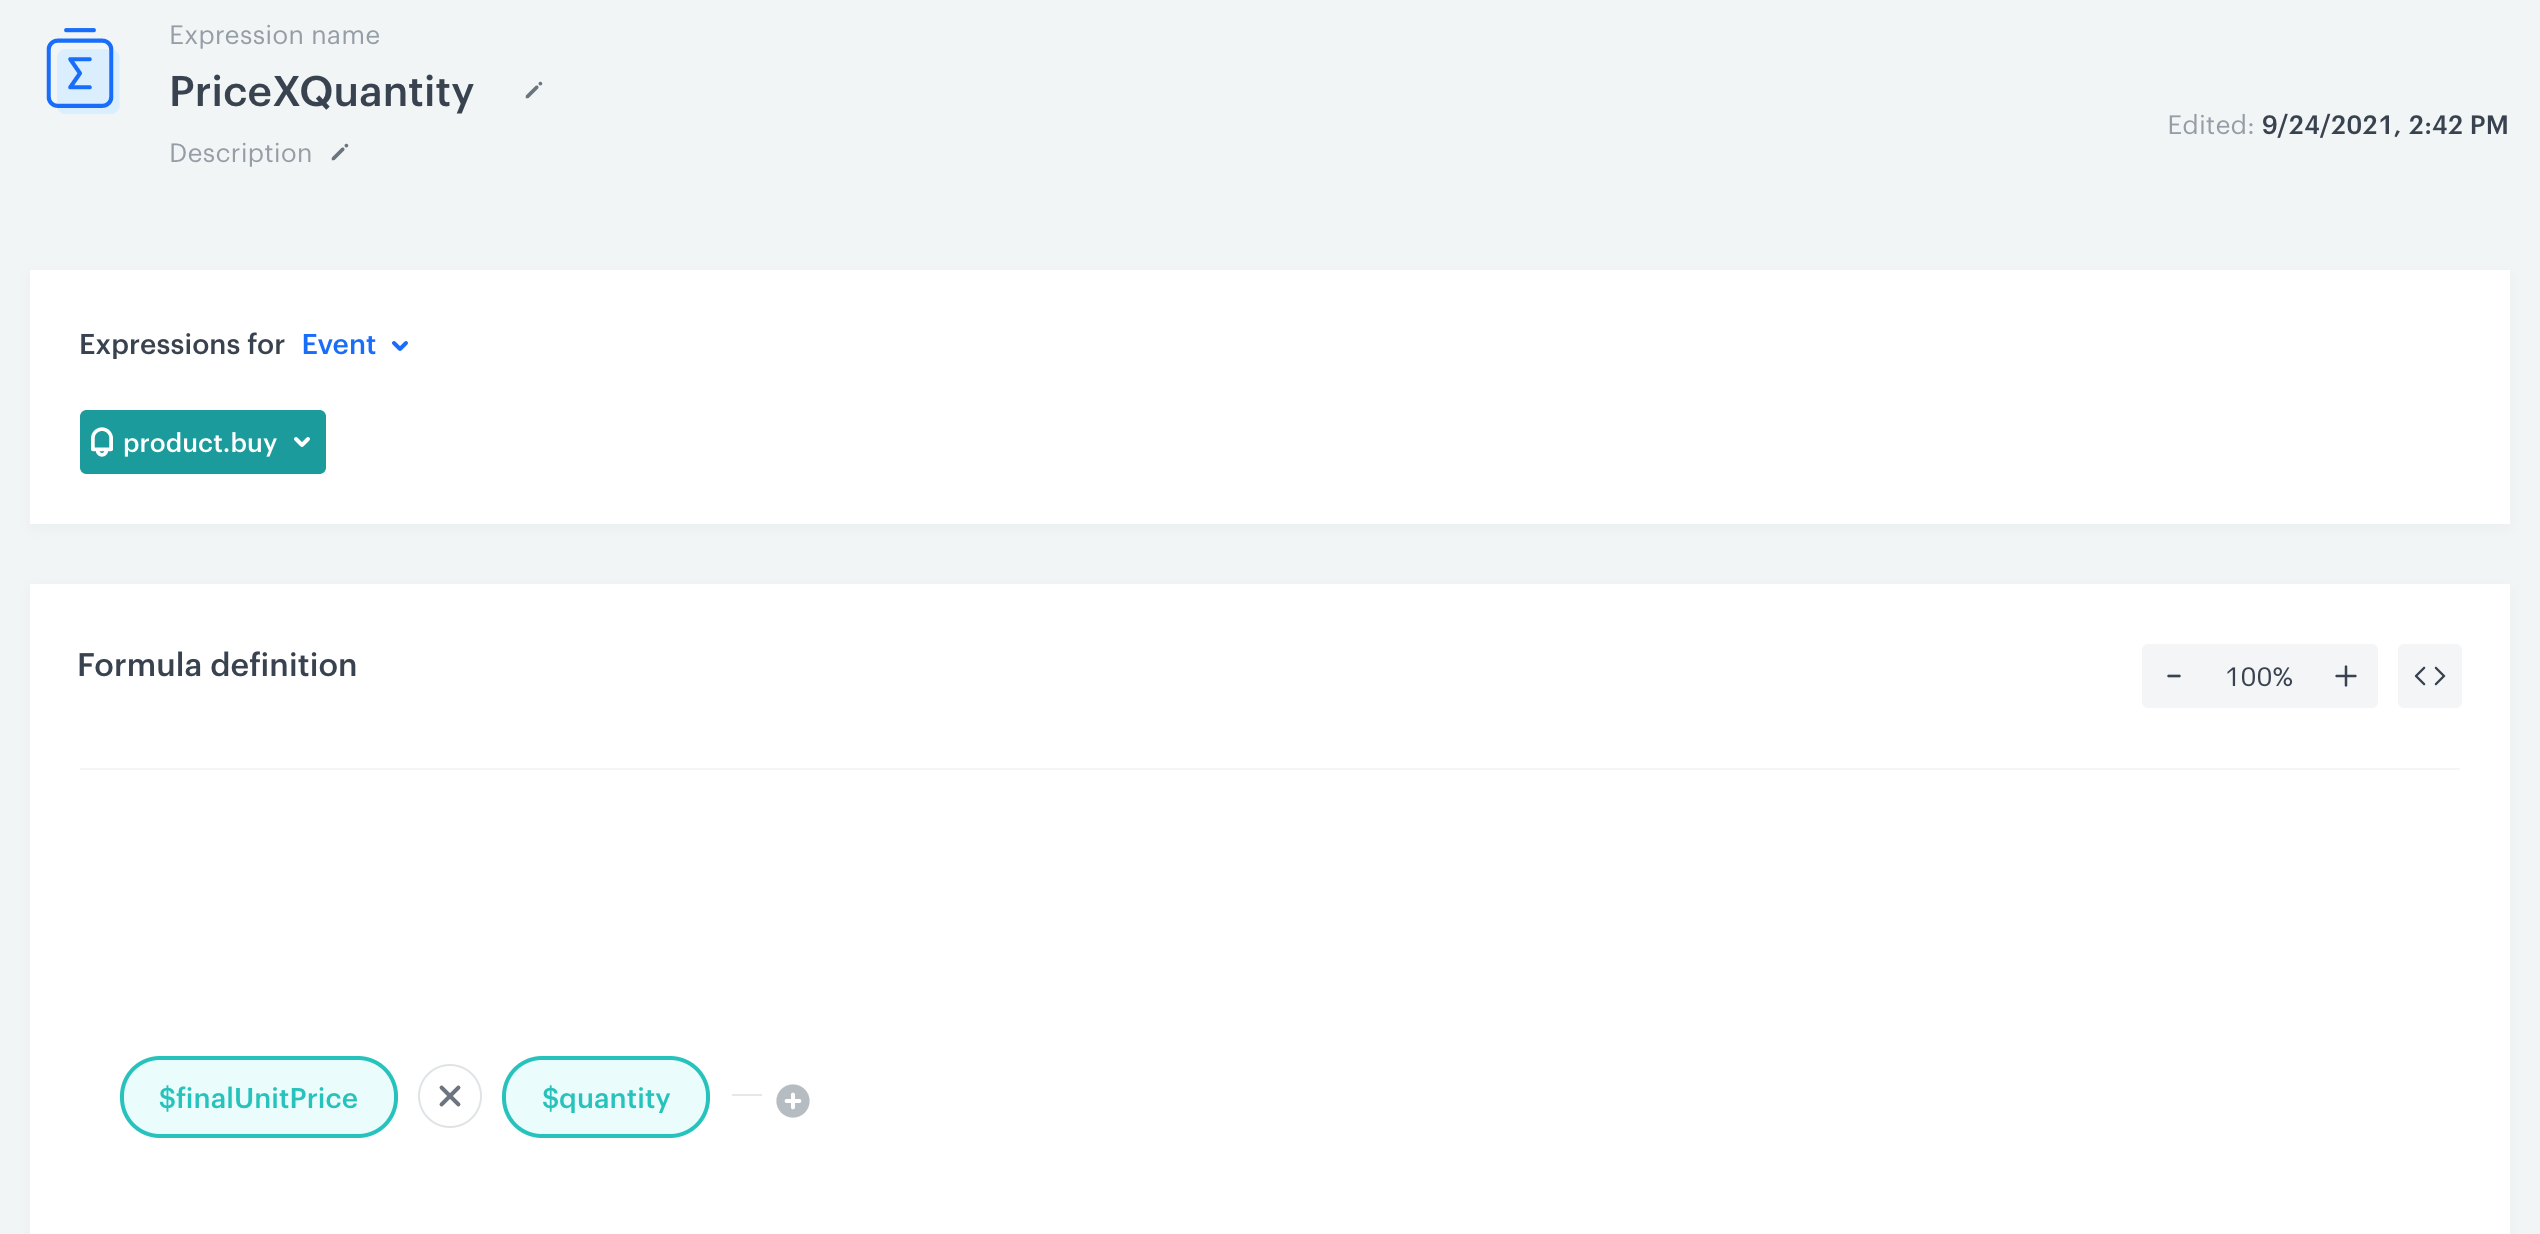
In this part of the process, create an expression that will be available as a variable when including the `product.buy` event in analytics. The formula of the expression multiplies the quantity of the item by the price of a single item.
1. Go to **Behavioral Data Hub > Expressions > New expression**.
2. Enter the name of the expression.
The name of the expression is also used as the name of the event's parameter.
2. As a type of expression, select **Event**.
2. From the **Choose event** dropdown, select the `product.buy` event.
4. In the **Formula definition** section of the page, click **Select**.
**Result**: A dropdown list appears.
6. From the dropdown list, select **Event attribute**.
5. Open the settings of the event attribute by clicking the **unnamed** expression element that appeared.
6. From the **Choose parameter** dropdown, select `$finalUnitPrice`.
7. Next to the added event attribute, click the plus button.
**Result**: A dropdown list appears.
8. From the dropdown list, select **Event attribute**.
9. Open the settings of the event attribute by clicking the **unnamed** expression element that appeared.
10. From the **Choose parameter** dropdown, select `$quantity`.
11. Click the mathematical operator between the attributes and change it to multiplication.
12. Click **Save**.
The final form of an expression
## Create a metric
---
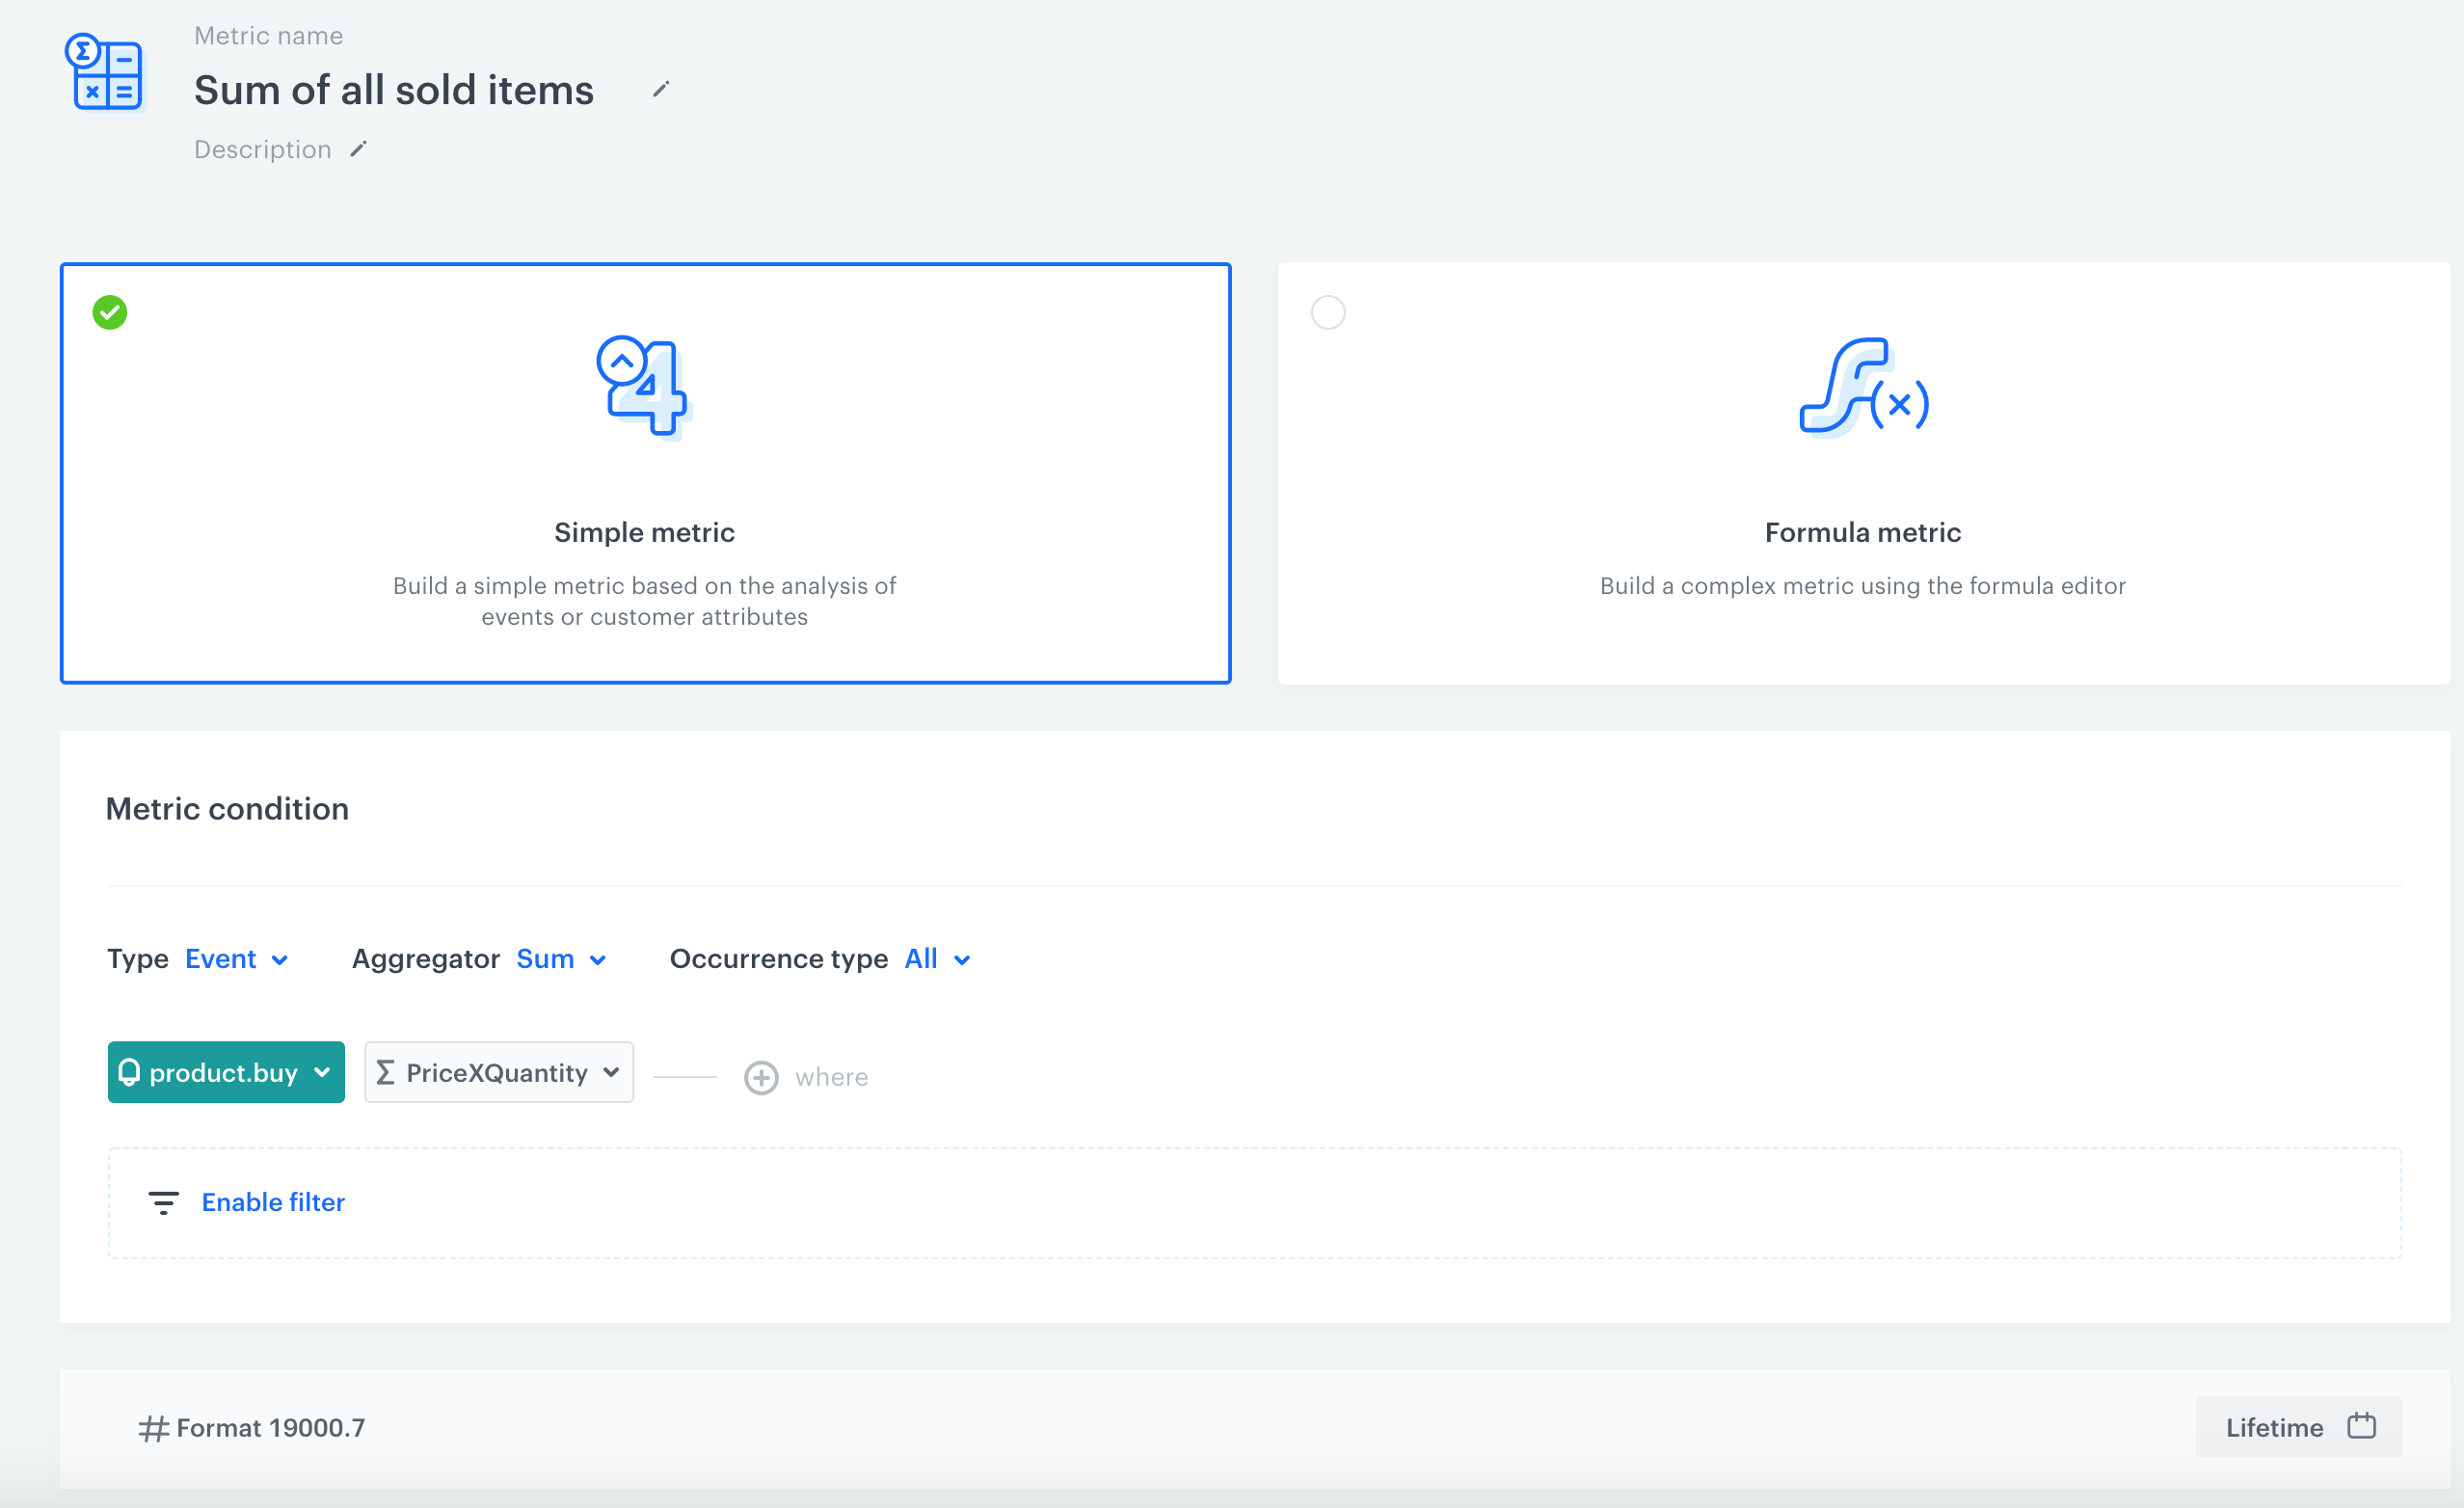
In this part of the process, create a metric that calculates all sold items. The metric reuses the expression you created in the previous part of the process.
1. Go to **Decision Hub > Metrics > New metric**.
2. Enter the name of the metric.
3. As a metric kind, select **Simple metric**.
3. As the aggregator, set `Sum`.
4. As the occurrence type, set `All`.
5. From the **Choose event** dropdown list, select `product.buy`.
6. Click button.
**Result**: The **Choose parameter** button appears.
7. Click the **Choose parameter** button.
**Result**: A pop-up appears.
8. On the pop-up, click the three-dot button.
**Result**: A dropdown shows.
9. From the dropdown, select **Expressions**.
10. In the list of expressions, find the event expression you have created earlier.
11. To select a specific time range, click the calendar icon. In our case it will be **Lifetime**. Confirm your choice with the **Apply** button.
12. Click **Save**.
The final form of a metric
## What's next
---
You can reuse the expression and metric while preparing the analyses to calculate items purchased in a given campaign. You can find more instructions [here](/docs/analytics/analytics-scenarios/items-bought-after-clicking).
## Check the use case set up on the Synerise Demo workspace
---
Check the [expression](https://app.synerise.com/analytics/expressions/1302fb26-5895-40c0-8bbf-547e798329c5) and [metric](https://app.synerise.com/analytics/metrics/db5f94fa-4a80-48e0-9bab-79130d1281a8) settings directly in Synerise Demo workspace.
If you’re our partner or client, you already have automatic access to the **Synerise Demo workspace (1590)**, where you can explore all the configured elements of this use case and copy them to your workspace.
If you’re not a partner or client yet, we encourage you to fill out the contact [form](https://demo.synerise.com/request) to schedule a meeting with our representatives. They’ll be happy to show you how our demo works and discuss how you can apply this use case in your business.
## Read more
---
- [Expressions](/docs/analytics/expressions)
- [Metrics](/docs/analytics/metrics)