Creating personalized dynamic content tailored to the individual customer's journey, serves as a powerful communication channel. This strategic approach allows you to seamlessly connect with customers at precisely the right moment, delivering a message that resonates with their needs and preferences.
In different industries, the objectives of dynamic messaging may vary, but one thing remains constant - the undeniable effectiveness of this form of communication. Its adaptability allows it to be used in countless ways, turning out to be a versatile tool in the arsenal.
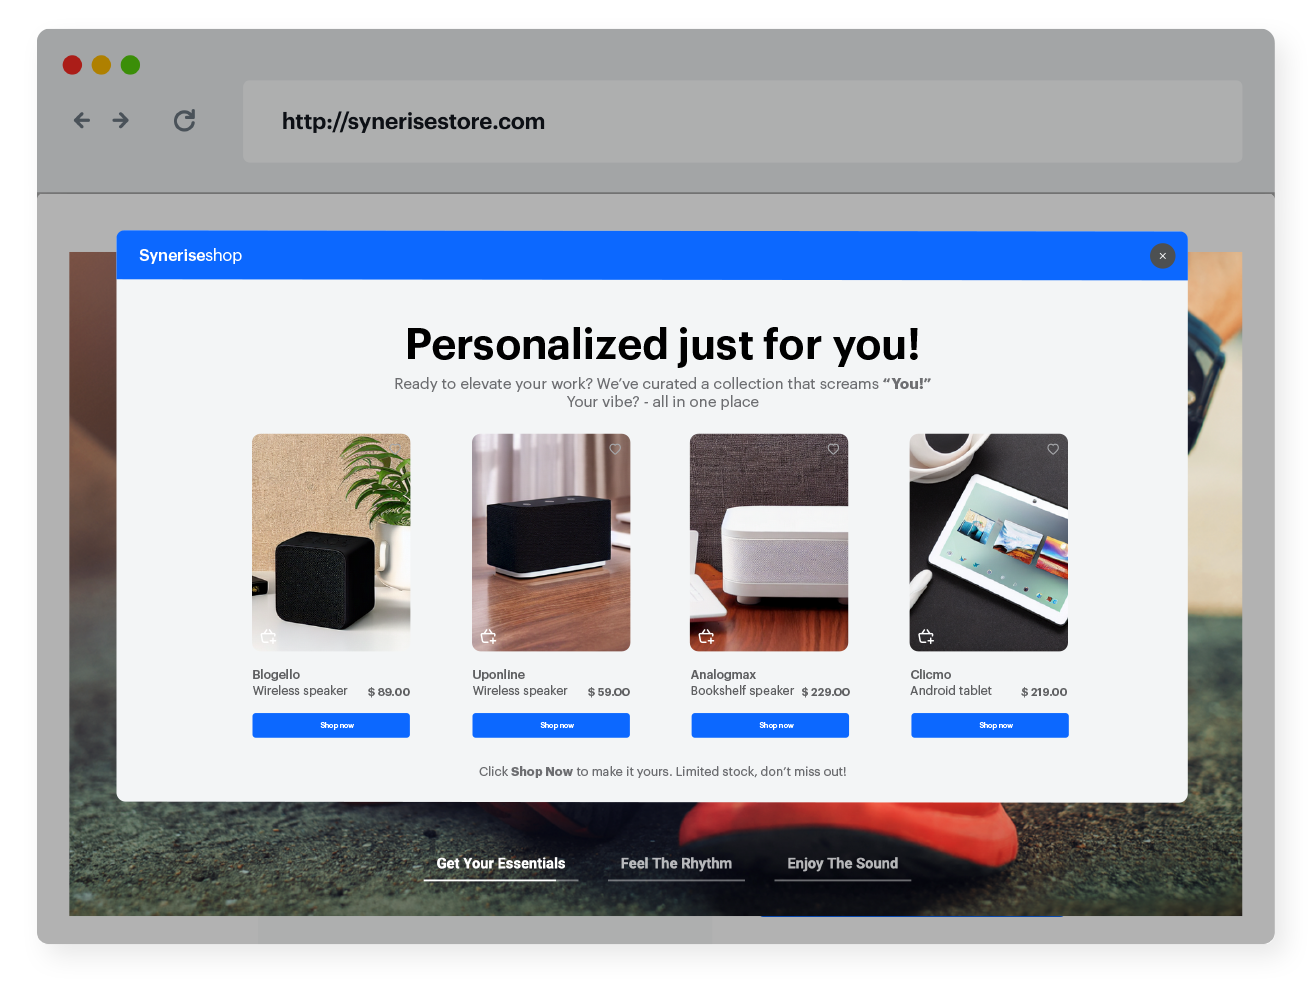
This use case illustrates how you can create your dynamic content using drag & drop builder and predefined HTML blocks with product recommendations.
## Prerequisites
---
- [Configure an item catalog for recommendations](/docs/settings/configuration/ai-engine-configuration/engine-configuration-for-recommendations). Enable personalized recommendations.
- [Import your product feed to AI engine](/docs/settings/configuration/ai-engine-configuration/engine-configuration-for-recommendations).
## Process
---
In this use case, you will go through the following steps:
1. [Prepare AI recommendations](/use-cases/recommendations-bestsellers#prepare-ai-recommendation).
2. [Create dynamic content campaign](/use-cases/recommendations-bestsellers#create-dynamic-content).
## Prepare AI recommendation
---
In this part of the process, you will create recommendations which will be used in dynamic content in the further part of the process.
1. Go to **AI Hub > (AI Recommendations) Models > Add recommendation**.
2. Enter the name of the recommendation (it is only visible on the list of recommendations).
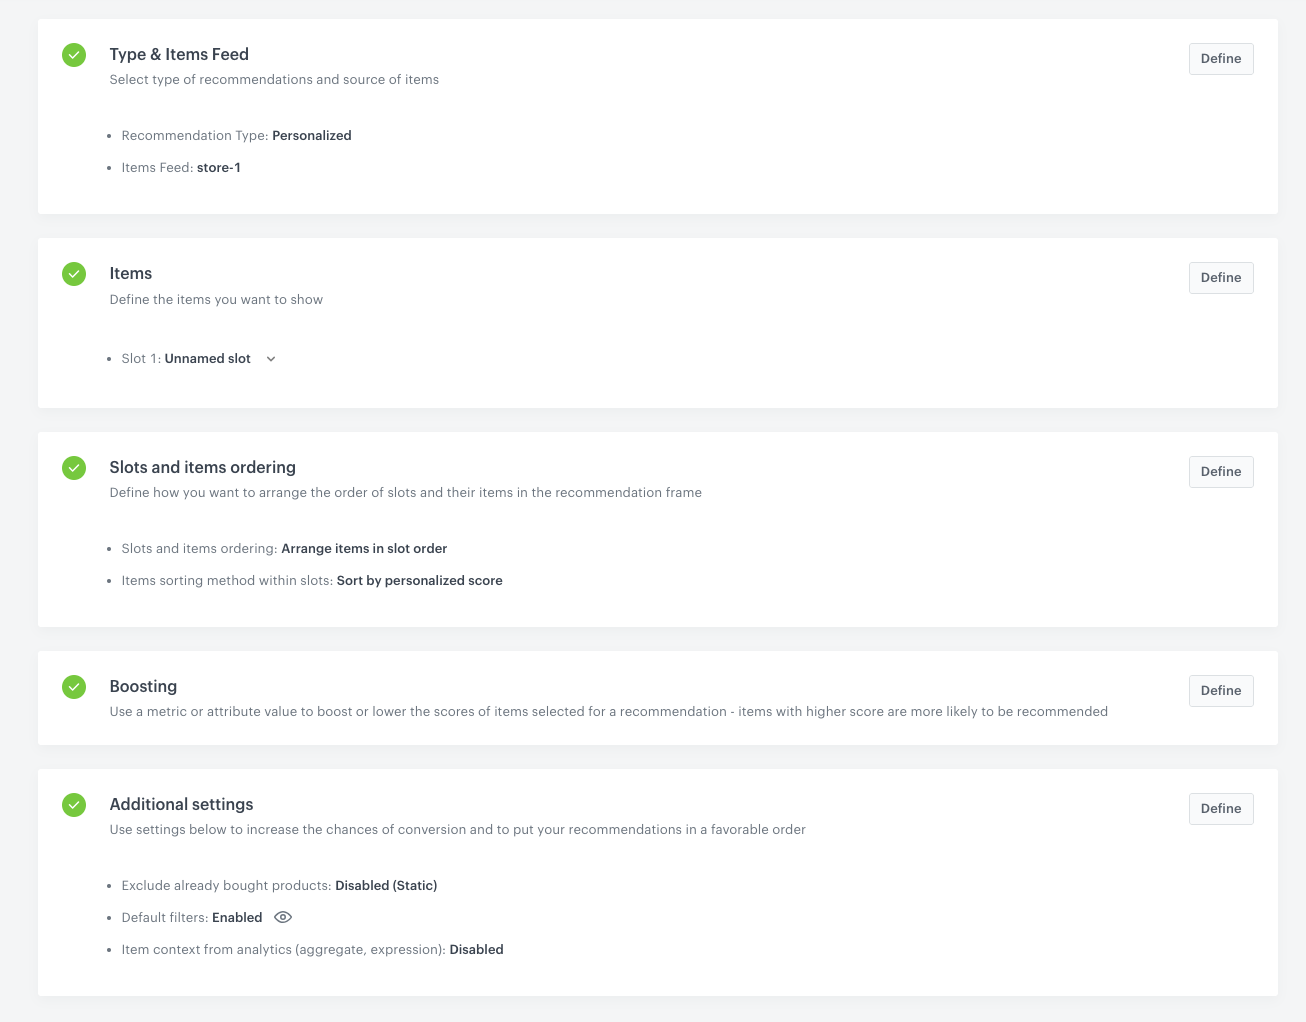
3. In the **Type & Items feed** section, click **Define**.
4. From the **Items feed** dropdown list, select a product feed that has a trained model.
5. Select the **Personalized** recommendation type.
6. Confirm the recommendation type by clicking **Apply**.
7. In the **Items** section, click **Define**.
8. Click **Add slot**.
9. Click the **Unnamed slot** that was created.
10. Define the minimum and maximum number of products displayed in the frame according to your needs.
11. Optionally, you can use filters to include specific items in the recommendation frame.
12. Confirm the configuration by clicking **Apply**.
13. Optionally, you can define the settings in the **Boosting** and **Additional settings** sections.
Learn more about [boosting](/docs/ai-hub/recommendations-v2/creating-recommendation-campaign#define-the-boosting-factors) and [additional settings](/docs/ai-hub/recommendations-v2/creating-recommendation-campaign#additional-settings).
14. Click **Save**.
AI recommendation campaign configuration
## Create dynamic content
---
In this part of the process, create a dynamic content campaign with personalized product recommendations using drag & drop builder and predefined HTML block with product recommendations.
1. Go to **Experience Hub > Dynamic content > Create new**.
2. Enter the name of the dynamic content.
3. Choose the **Web layer** type.
4. As an audience, select the user segment for which you want to display the recommendation.
### Define Content
5. In the **Content** section, click **Define**.
6. In the **Content tab**, click **Create Message**.
6. In the upper right corner, click **+ New template**.
7. On the pop-up, select **Drag & Drop builder**.
8. Create a dynamic content template by customizing the message style and copy using standard design elements such as Title, Paragraph, List, Image, Button, Divider, Social, HTML, Icons and Menu.
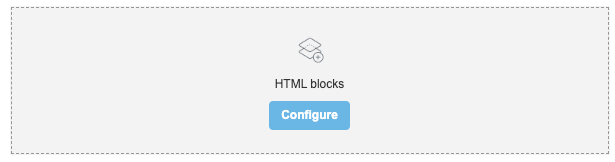
9. Use **HTML blocks** element to add predefined product recommendations block.
1. On the right side of the screen, select and drag the **HTML blocks** element to the template.
**Result**:
The HTML block added to the template
2. On the **HTML blocks** you added to the template, click **Configure**.
**Result**: A pop-up appears.
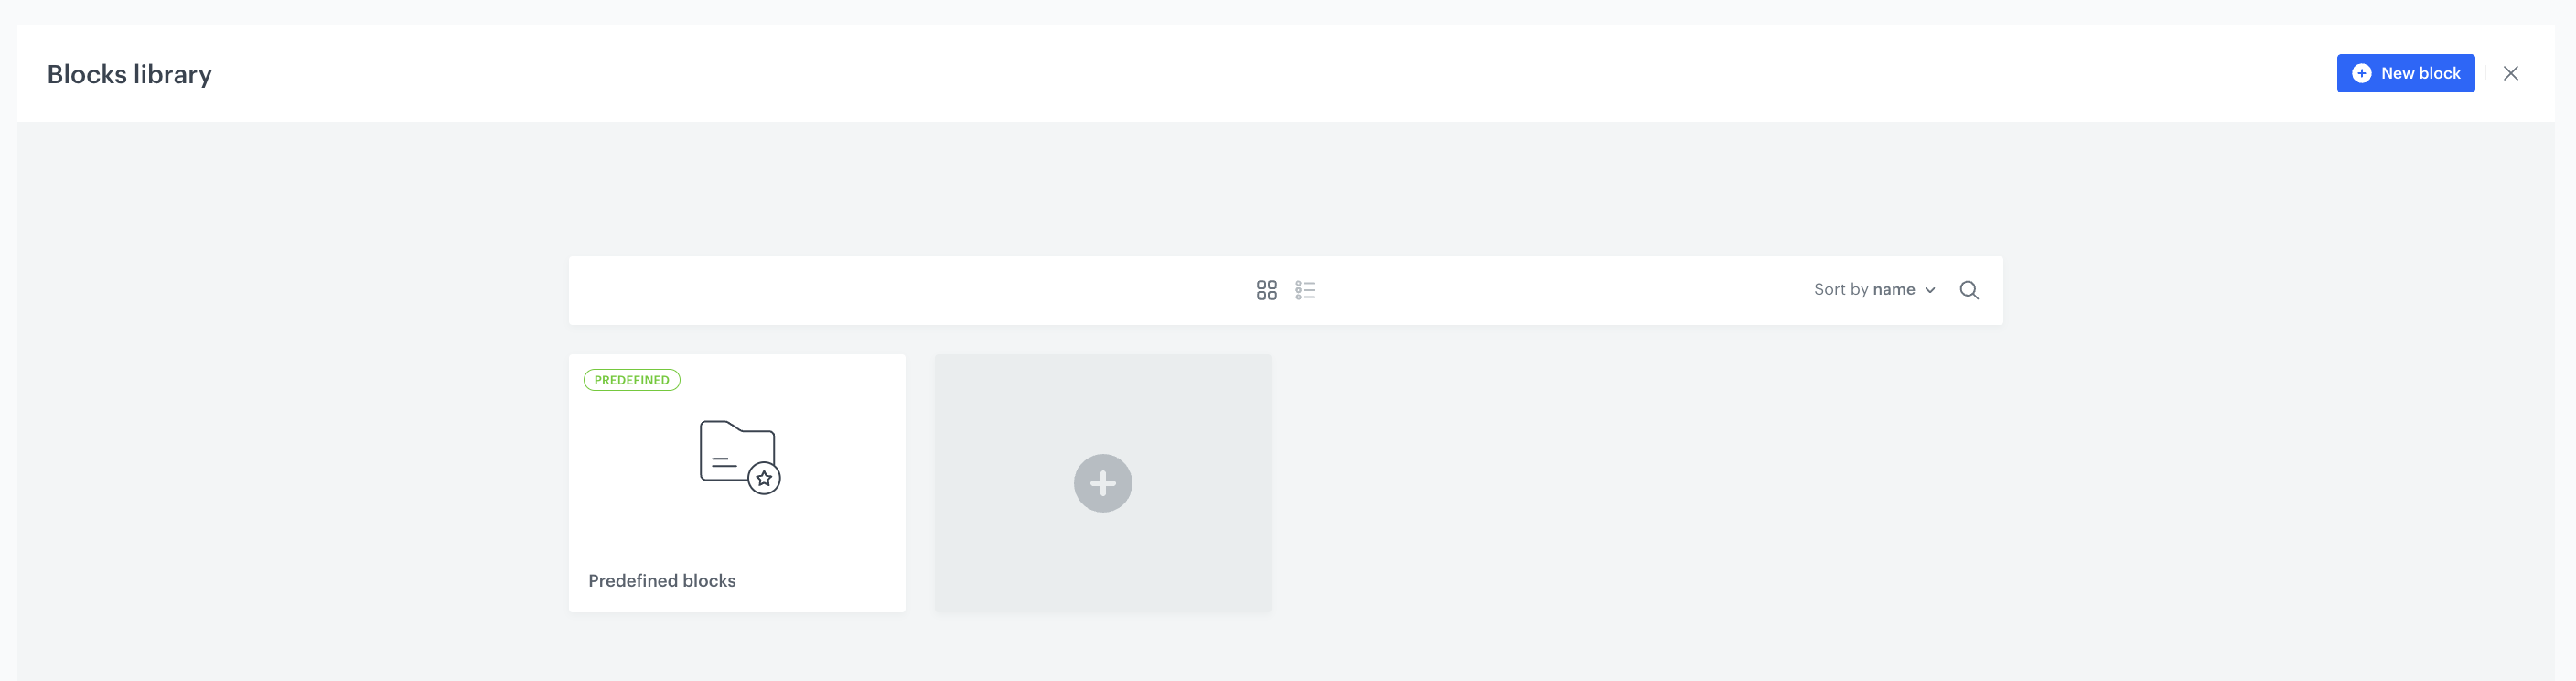
Predefined blocks folder
3. Choose **Predefined blocks** folder.
4. Select block with recommended products.
#### Edit the block in the Config tab
The form in the **Config** tab is already filled with default values. You can keep them or change them to fit your business needs.
1. In the **Recommended products** section from the **Recommendation campaign ID** dropdown list, select the [recommendation you prepared in the previous step](/use-cases/dynamic-content-with-drag-and-drop-builder#prepare-ai-recommendation). You can find it by typing its name or ID in the search box.
2. In the section below, you have the option to customize width, number of products in row, product title font color, button background color, button font color, button border radius, button text.
3. After you make changes to the template, you can check the preview.
1. On the upper left side, click the **Preview Contexts** button.
2. Enter the ID of a customer.
3. Click **Apply**.
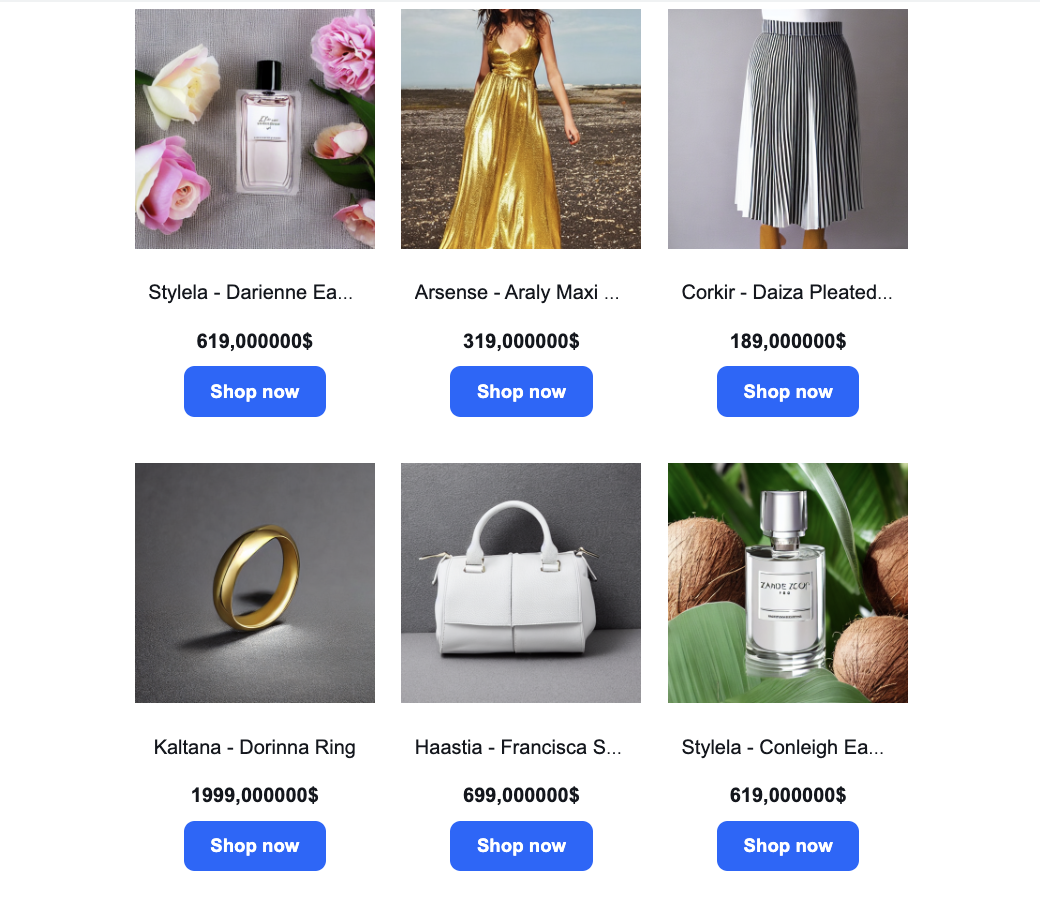
Html block preview
9. To save this block as a template, click an arrow on the left to the **Next** button, and select **Save as**. On the pop-up, enter the name of the template and select the folder in which the template will be saved.
10. To use this block in a dynamic content template, click **Next**.
We recommend placing the HTML block as the sole element in the row. Additionally, ensure that the styling of the block is compatible with the styling of the template.
### Preview dynamic content template
---
You can check the preview of the dynamic content directly in the template builder using [Preview Contexts](/docs/campaign/dynamiccontent/testing-dynamic-content/previewing-dynamic-content#preview-in-the-template-builder) option or you can use the [Live preview](/docs/campaign/dynamiccontent/testing-dynamic-content/previewing-dynamic-content#the-live-preview-option) option to see how dynamic content looks on the target website.
9. To save this dynamic content template, on the left to the **Next** button, click an arrow and select **Save as**. On the pop-up, enter the name of the template and select the folder in which the template will be saved.
10. To use this template in a dynamic content campaign, click **Next**.
11. Confirm by clicking **Apply**.
### Define schedule and display settings
9. In the **Schedule** section, select the date when the dynamic content is activated.
10. In **Display settings**, define the circumstances for displaying the content.
Instructions how to do it are available [here](/docs/campaign/dynamiccontent/creating-dynamic-content/creating-dynamic-content#schedule-dynamic-content).
11. Confirm by clicking **Apply**.
12. Optionally, you can define the UTM parameters for your dynamic content campaign.
13. Activate the dynamic content.
## What's next
---
Feel free to choose any HTML block that fits your business campaign. Additionally, you can use the recommendation ID in various communication types, as explained [here](/docs/ai-hub/recommendations-v2/creating-recommendation-campaign#distributing-recommendations).
## Check the use case set up on the Synerise Demo workspace
---
You can check the configuration of the campaign components directly in Synerise Demo workspace:
- [AI recommendation](https://app.synerise.com/ai-v2/recommendations/7NKlKKkRBQ2d),
- [Dynamic content](https://app.synerise.com/campaigns/create/68ffe89d-bc76-41a2-9c1e-37dd79f8b4d0).
If you’re our partner or client, you already have automatic access to the **Synerise Demo workspace (1590)**, where you can explore all the configured elements of this use case and copy them to your workspace.
If you’re not a partner or client yet, we encourage you to fill out the contact [form](https://demo.synerise.com/request) to schedule a meeting with our representatives. They’ll be happy to show you how our demo works and discuss how you can apply this use case in your business.
## Read more
---
- [Dynamic content using drag & drop builder](/docs/campaign/dynamiccontent/creating-dynamic-content-templates/dynamic-content-drag-and-drop)
- [Recommendations](/docs/ai-hub/recommendations-v2/creating-recommendation-campaign)
- [Using recommendations in dynamic content](/developers/inserts/recommendations-v2)