
Modern engagement strategies go beyond static campaigns. By combining gamification with real-time personalization, you can create experiences that react to user behavior instantly — rewarding action, adapting to inaction, and delivering the right incentive to the right person at the right moment.

This use case describes a gamified in-app flow where a user completes a quest (for example, browsing 3 product categories). Upon completion, the system immediately evaluates the user's profile — their spending history and recency of activity — to assign them to a segment (VIP, at-risk, or standard). A personalized offer with a time-limited voucher is then presented directly in the app.

If the user dismisses the offer or does not interact before it expires, the system sets a profile attribute and a workflow sends a mobile push notification after a delay, bringing the user back to the app where a modified offer with a higher discount is presented. Different users receive different rewards and timeout windows, even though the entire logic runs within a single flow.

The key value of this approach is **event-driven orchestration in one place** using [Brickworks](/docs/assets/brickworks). All segmentation logic, voucher pool selection, offer copy, and escalation rules are defined within a single schema — eliminating the need to chain multiple campaign tools or maintain separate backend logic.

## Prerequisites
---
- [Implement Synerise SDK in your mobile app](/developers/mobile-sdk).
- Implement [transaction events](/developers/web/transactions-sdk) using [SDK](/developers/web/transactions-sdk) or [API](https://developers.synerise.com/DataManagement/DataManagement.html#operation/CreateATransaction).
- [Create voucher pools](/docs/assets/code-pools) for each customer segment:
  - A voucher pool for VIP customers (for example, 20–25% discount on premium items).
  - A voucher pool for at-risk customers (for example, 30–40% discount).
  - A voucher pool for standard customers (for example, 10–15% discount).
- [Configure Google Firebase](/docs/settings/tool/firebase) for mobile push notifications.

## Process
---
In this use case, you will go through the following steps:

1. [Create aggregates](#create-aggregates) to collect customer spending and transaction recency data.
2. [Create expressions](#create-expressions) that reference the aggregates to calculate customer spend and inactivity.
3. [Create a Brickworks schema](#create-a-brickworks-schema) with the offer logic.
4. [Create an in-app campaign](#create-an-in-app-campaign) with the gamified quest and reward flow.
5. [Create a workflow](#create-a-workflow) that sends a mobile push after the user dismisses or ignores the offer.

## Create aggregates
---
In this part of the process, you will create two [aggregates](/docs/analytics/aggregates) that collect the data needed for customer segmentation. These aggregates will be referenced by the expressions in the next part of the process.

### Aggregate for lifetime transaction sum

This aggregate calculates the total value of all transactions made by a customer over their lifetime.

1. Go to <img src="/api/docs/image/54176ad07f146575310749eba44b7c2f42c1b327/icons/behavioral-data-hub-icon.svg" alt="Behavioral Data Hub icon" class="icon"> **Behavioral Data Hub > Live Aggregates > Create aggregate**.
2. As the aggregate type, select **Profile**.
3. Enter the name of the aggregate, for example `Sum of transactions lifetime`.
4. Click **Analyze profiles by** and select **Sum**.
5. From the **Choose event** dropdown list, select the `transaction.charge` event.
6. As the event parameter, select `$totalAmount`.
7. Set the time range to **Lifetime**.
8. Save the aggregate.

<figure>
<img src="/api/docs/image/54176ad07f146575310749eba44b7c2f42c1b327/use-cases/all-cases/_gfx/quest-aggregate-spend.png" alt="Configuration of the lifetime transaction sum aggregate" class="full">
<figcaption>Configuration of the lifetime transaction sum aggregate</figcaption>
</figure>

### Aggregate for last transaction timestamp

This aggregate returns the timestamp of the customer's most recent transaction where revenue was greater than zero.

1. Go to <img src="/api/docs/image/54176ad07f146575310749eba44b7c2f42c1b327/icons/behavioral-data-hub-icon.svg" alt="Behavioral Data Hub icon" class="icon"> **Behavioral Data Hub > Live Aggregates > Create aggregate**.
2. As the aggregate type, select **Profile**.
3. Enter the name of the aggregate, for example `Last transaction time`.
4. Click **Analyze profiles by** and select **Last**.
5. From the **Choose event** dropdown list, select the `transaction.charge` event.
6. As the event parameter, select `TIMESTAMP`.
7. Click the **+ where** button. From the **Choose parameter** dropdown list, select `$revenue`. From the **Choose operator** dropdown, select **More than (Number)**. In the value field, enter `0`.
8. Set the time range to **Last 30 days**.
9. Save the aggregate.

<figure>
<img src="/api/docs/image/54176ad07f146575310749eba44b7c2f42c1b327/use-cases/all-cases/_gfx/quest-aggregate-inactivity.png" alt="Configuration of the last transaction timestamp aggregate" class="full">
<figcaption>Configuration of the last transaction timestamp aggregate</figcaption>
</figure>

## Create expressions
---
In this part of the process, you will create two [expressions](/docs/analytics/expressions) that reference the aggregates created in the previous step. These expressions are later used inside the Brickworks schema to determine which segment a customer belongs to.

### Expression for total spend

This expression returns the result of the lifetime transaction sum aggregate.

1. Go to <img src="/api/docs/image/54176ad07f146575310749eba44b7c2f42c1b327/icons/behavioral-data-hub-icon.svg" alt="Behavioral Data Hub icon" class="icon"> **Behavioral Data Hub > Expressions > New expression**.
2. Enter the name of the expression, for example `Total customer spend`.
3. In the **Expressions for** dropdown, select **Attribute**.
4. In the **Formula definition** area, add the aggregate created in the [previous step](#aggregate-for-lifetime-transaction-sum) (`Sum of transactions lifetime`).
5. Set the expression **Type** to **Profile**.
6. Click **Publish**.

<figure>
<img src="/api/docs/image/54176ad07f146575310749eba44b7c2f42c1b327/use-cases/all-cases/_gfx/quest-expression-spend.png" alt="Configuration of the total spend expression" class="full">
<figcaption>Configuration of the total spend expression</figcaption>
</figure>

### Expression for last transaction time

This expression returns the result of the last transaction timestamp aggregate.

1. Go to <img src="/api/docs/image/54176ad07f146575310749eba44b7c2f42c1b327/icons/behavioral-data-hub-icon.svg" alt="Behavioral Data Hub icon" class="icon"> **Behavioral Data Hub > Expressions > New expression**.
2. Enter the name of the expression, for example `Last transaction time`.
3. In the **Expressions for** dropdown, select **Attribute**.
4. In the **Formula definition** area, add the aggregate created in the [previous step](#aggregate-for-last-transaction-timestamp) (`Last transaction time`).
5. Set the expression **Type** to **Profile**.
6. Click **Publish**.

<figure>
<img src="/api/docs/image/54176ad07f146575310749eba44b7c2f42c1b327/use-cases/all-cases/_gfx/quest-expression-inactivity.png" alt="Configuration of the last transaction time expression" class="full">
<figcaption>Configuration of the last transaction time expression</figcaption>
</figure>

## Create a Brickworks schema
---
In this part of the process, you will [create a Brickworks schema](/docs/assets/brickworks/quick-start/creating-a-schema) that contains all the personalization logic. The schema uses expressions and Jinjava logic to determine the customer's segment, select the appropriate voucher pool, and output a structured JSON payload consumed by the in-app message.

The schema checks the `questOfferShown` profile attribute to determine whether the customer has already seen the initial offer. If the attribute exists, the schema returns the modified offer with a higher discount. Otherwise, it returns the initial offer. The `questOfferShown` attribute is set from the in-app JavaScript code when the user dismisses or ignores the offer — it does not need to be created manually in advance.

The voucher is not assigned at schema level — instead, the schema returns the voucher pool UUID so the mobile app can handle voucher assignment directly. The voucher pool selection also differs between the initial and modified offer, allowing you to use separate pools for each stage if needed.

### Segmentation logic

The Jinjava code inside the schema evaluates two data points:

- **Spend** (from the total spend expression): customers who spent more than 200 and were active in the last 14 days are classified as **VIP**.
- **Inactivity** (from the last activity expression): customers inactive for more than 14 days are classified as **at-risk**.
- All other customers are classified as **standard**.

### Offer configuration per segment

| Segment | Initial offer | Timeout | Modified offer |
|---|---|---|---|
| VIP | 20% off premium items | 30 seconds | 25% VIP flash deal |
| At-risk | 30% flash comeback deal | 5 seconds | 40% emergency deal |
| Standard | 10% off + 2x loyalty points | 15 seconds | 15% off + 2x points |

### Schema creation steps

1. Go to **Data Modeling Hub > Brickworks > New schema**.
2. Choose **Singleton**.
3. Enter a name for the schema, for example `Quest reward offer`.

#### Add the Offer field

4. Click **Add new field** and choose **Jinjava code**.
5. Complete the fields:
    - In the **Display name** field, enter `Offer`.
    - The **API name** will be pre-filled automatically.
6. In the **Cast to** field, select `JSON`.
7. In the Jinjava code editor, paste the following code:

  
   <pre><code class="language-jinja">{%- set spendArr = [] -%}
     {%- set inactiveArr =[] -%}

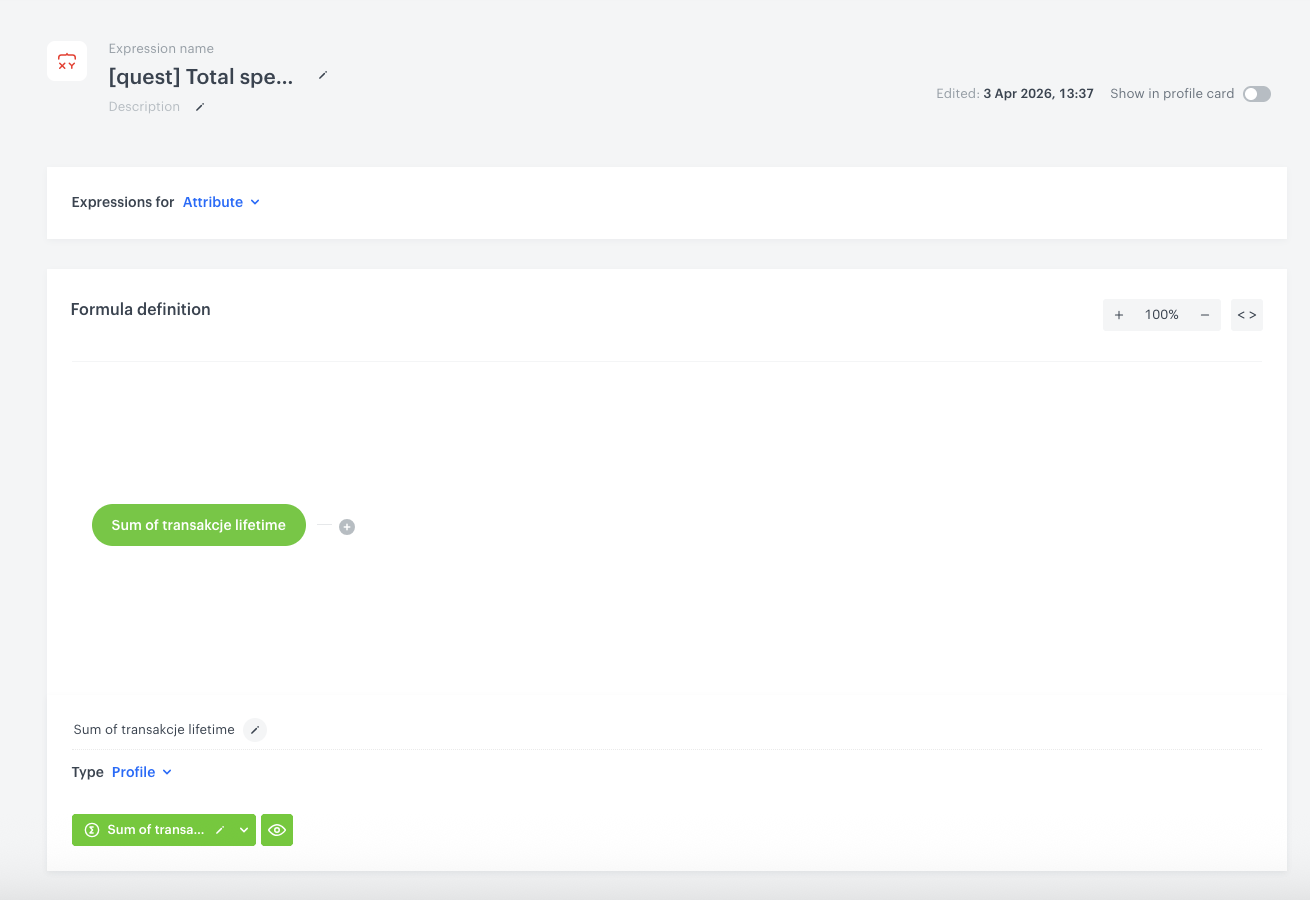
     {%- expressionvar EXPRESSION_ID_SPEND -%}
       {%- do spendArr.append(expression_result) -%}
     {%- endexpressionvar -%}

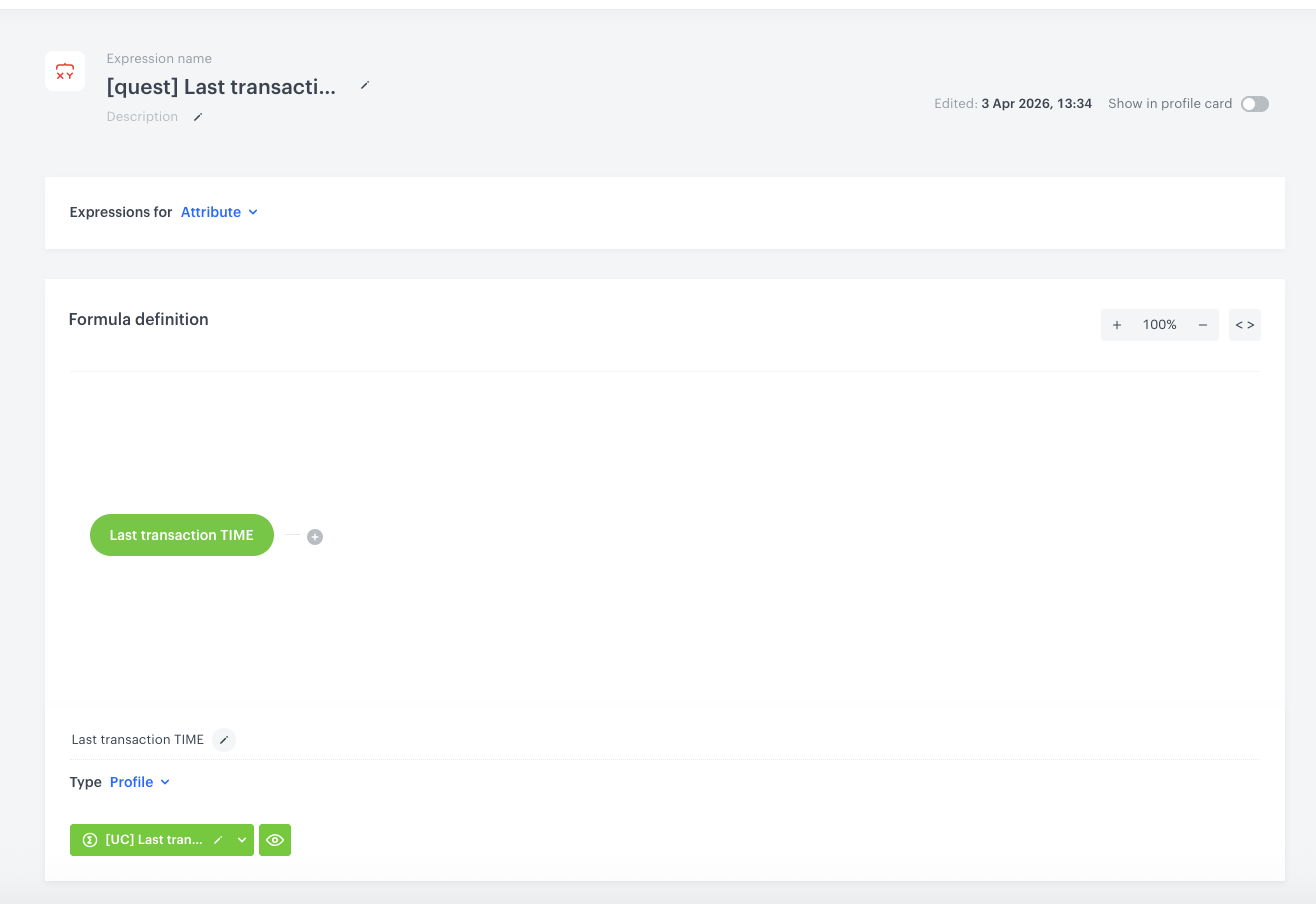
     {%- expressionvar EXPRESSION_ID_INACTIVITY -%}
       {%- do inactiveArr.append(expression_result) -%}
     {%- endexpressionvar -%}

     {%- set spend = spendArr[0] -%}
     {%- set inactive = inactiveArr[0] -%}

     {%- set now_dt = timestamp|timestamp_to_time -%}
     {%- set event_dt = '' -%}

     {%- if inactive == 'null' -%}
       {%- set event_dt = timestamp|timestamp_to_time -%}
       {% else %}
       {%- set event_dt = inactive|iso8601_to_time -%}
     {%- endif -%}

     {%- set now_day = now_dt|datetimeformat('%Y')|int * 365 + now_dt|datetimeformat('%j')|int -%}
     {%- set event_day = event_dt|datetimeformat('%Y','UTC')|int * 365 + event_dt|datetimeformat('%j','UTC')|int -%}
     {%- set days = now_day - event_day -%}

     {% set seg = '' %}
     {%- if spend &gt; 200 and days &lt; 14 -%}{% set seg = 'vip'%}
     {%- elif days &gt; 14 -%}{% set seg = 'atrisk'%}
     {%- else -%}{% set seg = 'standard'%}
     {%- endif -%}

     {%- set isMutated = [] -%}
     {%- if customer.questOfferShown -%}
       {% do isMutated.append(true)%}
     {%- else -%}
       {% do isMutated.append(false)%}
     {%-endif-%}

     {%- set mutated = isMutated[0] -%}

     {#- Resolve voucher pool UUID per segment and mutation state -#}
     {%- set code = [] -%}
     {%- if mutated -%}
         {%- if seg == "vip" -%}
           {% do code.append('VIP_VOUCHER_POOL_UUID') %}
       {%- elif seg == "atrisk" -%}
           {% do code.append('ATRISK_VOUCHER_POOL_UUID') %}
       {%- else -%}
           {% do code.append('STANDARD_VOUCHER_POOL_UUID') %}
       {%- endif -%}
     {%- else -%}
       {%- if seg == "vip" -%}
           {% do code.append('VIP_VOUCHER_POOL_UUID') %}
       {%- elif seg == "atrisk" -%}
           {% do code.append('ATRISK_VOUCHER_POOL_UUID') %}
       {%- else -%}
           {% do code.append('STANDARD_VOUCHER_POOL_UUID') %}
       {%- endif -%}
     {%-endif-%}

     {%- if seg == "vip" -%}
     {%- if mutated -%}
       {%- set title = "25% VIP flash deal" -%}
       {%- set desc = "We've upgraded your offer! 25% off premium items." -%}
       {%- set discount = 25 -%}
       {%- set cta = "Claim 25% off" -%}
     {%- else -%}
       {%- set title = "20% Exclusive deal" -%}
       {%- set desc = "As a VIP member, you've unlocked an exclusive discount on premium items." -%}
       {%- set discount = 20 -%}
       {%- set cta = "Claim 20% off" -%}
     {%- endif -%}
     {%- set timeout = 30 -%}

     {%- elif seg == "atrisk" -%}
     {%- if mutated -%}
       {%- set title = "40% emergency deal" -%}
       {%- set desc = "Final offer: 40% off anything. This won't come back." -%}
       {%- set discount = 40 -%}
       {%- set cta = "Claim 40% off NOW" -%}
     {%- else -%}
       {%- set title = "Flash 30% off" -%}
       {%- set desc = "Welcome back! Here's a special comeback deal. Don't let it slip away." -%}
       {%- set discount = 30 -%}
       {%- set cta = "Grab 30% off now" -%}
     {%- endif -%}
     {%- set timeout = 5 -%}

     {%- else -%}
     {%- if mutated -%}
       {%- set title = "15% off + 2x points" -%}
       {%- set desc = "We've boosted your offer! 15% off and double loyalty points." -%}
       {%- set discount = 15 -%}
       {%- set cta = "Claim 15% off" -%}
     {%- else -%}
       {%- set title = "10% off + 2x points" -%}
       {%- set desc = "Great job! Enjoy a 10% coupon and double loyalty points on your next order." -%}
       {%- set discount = 10 -%}
       {%- set cta = "Claim reward" -%}
     {%- endif -%}
     {%- set timeout = 15 -%}

     {%- endif -%}

     {
     "segment": "{{ seg }}",
     "offerTitle": "{{ title }}",
     "offerDescription": "{{ desc }}",
     "discountValue": {{ discount }},
     "ctaLabel": "{{ cta }}",
     "offerTimeout": {{ timeout }},
     "offerStyle": "{{ seg }}",
     "voucherCode": "{{ code[0] }}",
     "isMutated": {{ mutated }}
     }</code></pre>


<div class="admonition admonition-important"><div class="admonition-icon"><svg xmlns="http://www.w3.org/2000/svg" fill="none" viewBox="0 0 24 24" stroke="currentColor" stroke-width="2.5"><path stroke-linecap="round" stroke-linejoin="round" d="M12 8v4m0 4h.01M21 12a9 9 0 11-18 0 9 9 0 0118 0z" /></svg></div><div class="admonition-body"><div class="admonition-content">

Replace the following placeholders with your actual IDs:
  - `EXPRESSION_ID_SPEND` — the ID of the [total spend expression](#expression-for-total-spend).
  - `EXPRESSION_ID_INACTIVITY` — the ID of the [last transaction time expression](#expression-for-last-transaction-time).
  - `VIP_VOUCHER_POOL_UUID`, `ATRISK_VOUCHER_POOL_UUID`, `STANDARD_VOUCHER_POOL_UUID` — the UUIDs of the voucher pools for each segment. You can use different pool UUIDs for the initial and modified branches if needed.

</div></div></div>


<div class="admonition admonition-note"><div class="admonition-icon"><svg xmlns="http://www.w3.org/2000/svg" fill="none" viewBox="0 0 24 24" stroke="currentColor" stroke-width="2.5"><path stroke-linecap="round" stroke-linejoin="round" d="M13 16h-1v-4h-1m1-4h.01M21 12a9 9 0 11-18 0 9 9 0 0118 0z" /></svg></div><div class="admonition-body"><div class="admonition-content">

The schema does not assign voucher codes directly. Instead, it returns the voucher pool UUID in the `voucherCode` field. The mobile application is responsible for calling the voucher assignment API using this UUID when the user accepts the offer. The voucher pool resolution is split into two branches (mutated and non-mutated), so you can configure separate pools for each stage if your business logic requires it.

</div></div></div>


8. Click **Apply** to save the field.

### Set up the Audience & Settings

1. Click the **Audience & Settings** tab.
2. In the **Audience** section, click **Define**.
3. Choose the schema recipients, in this case, choose **Everyone**.
4. Click **Apply**.
5. In the upper-right corner, click **Save**.

## Create an in-app campaign
---
In this part of the process, you will [create an in-app campaign](/docs/campaign/in-app-messages/create-inapp-message) that renders the gamified quest interface. The in-app message uses JSON to call the Brickworks schema once and handle the quest and reward flow client-side.

1. Go to <img src="/api/docs/image/54176ad07f146575310749eba44b7c2f42c1b327/icons/experience-hub-icon.svg" alt="Experience Hub icon" class="icon"> **Experience Hub > In-app > Create new**.
2. Enter the name of the in-app campaign, for example `Quest reward offer loop`.

### Define the audience
---
1. In the **Audience** section, click **Define**.
2. Choose **Everyone** or specify the audience according to your business needs.
3. Click **Apply**.

### Define content
---
In this part of the process, you will create the in-app message template containing the quest UI and reward overlay.

1. In the **Content** section, click **Define**.
2. Click **Create message**.
3. Click **+ New template** in the upper right corner.
3. Choose **Code editor**.

#### HTML tab

The HTML defines the key structural elements required for the flow to work. The essential parts are:

- **Quest area** (`#mainArea`) — dynamically rendered quest card with progress bar and claim button.
- **Reward overlay** (`#overlay`) — bottom sheet that displays the personalized offer, countdown timer, and action buttons.


  <pre><code class="language-html">&lt;div id="app"&gt;
    &lt;div class="topbar"&gt;
      &lt;h1&gt;Quest hub&lt;/h1&gt;
      &lt;div class="streak-badge"&gt;
        &lt;span id="streakCount"&gt;-&lt;/span&gt;
      &lt;/div&gt;
    &lt;/div&gt;
    &lt;div class="main" id="mainArea"&gt;&lt;/div&gt;
  &lt;/div&gt;

  &lt;div class="overlay" id="overlay"&gt;
    &lt;div class="reward-sheet"&gt;
      &lt;div class="reward-icon" id="rewardIcon"&gt;&lt;/div&gt;
      &lt;div class="reward-title" id="rewardTitle"&gt;&lt;/div&gt;
      &lt;div class="reward-sub" id="rewardSub"&gt;&lt;/div&gt;
      &lt;div class="reward-timer" id="rewardTimer"&gt;&lt;/div&gt;
      &lt;button class="reward-cta" id="rewardCta"&gt;Claim&lt;/button&gt;
      &lt;button class="reward-dismiss" id="rewardDismiss"&gt;Maybe later&lt;/button&gt;
    &lt;/div&gt;
  &lt;/div&gt;</code></pre>


#### CSS tab

Define styles for the quest card, progress bar, overlay, reward sheet, and buttons according to your brand guidelines. The key functional styles that must be present are:

- `.overlay` — must be hidden by default and shown via a `.show` class (for example, using `display: none` / `display: flex` or opacity transitions).
- `.progress-bar` and `.progress-fill` — the fill element's `width` is set dynamically via inline styles in JavaScript.
- `.claim-btn[data-state="locked"]` — should appear disabled; `[data-state="ready"]` should appear active and clickable.

All other visual styling (colors, fonts, spacing, animations) can be customized to match your brand.

#### JavaScript tab

The JavaScript manages the core flow. The critical part is the **Brickworks integration at the top** — the Jinjava block that calls the Singleton schema and injects the offer payload as a JavaScript constant. Since the schema type is Singleton, the same schema ID is used for both `schemaId` and `recordId`:


<pre><code class="language-javascript">{% set offer = [] %}
{% brickworksgeneratevar schemaId=SCHEMA_ID recordId=SCHEMA_ID %}
  {% do offer.append(brickworks_result.offer) %}
{% endbrickworksgeneratevar %}

const BW_OFFER = {{ offer[0] }};</code></pre>


This produces a single JavaScript object at render time containing the full offer payload (`segment`, `offerTitle`, `offerDescription`, `discountValue`, `ctaLabel`, `offerTimeout`, `voucherCode`, `isMutated`). Whether this is the initial or escalated offer is determined automatically by the Brickworks schema based on the `questOfferShown` profile attribute.

The rest of the JavaScript implements the following flow logic:

1. **Quest progress tracking** — increments a counter on each user action. When the counter reaches the target (for example, 3 steps), the claim button becomes active.

2. **Claim action** — when the user taps the claim button, a `form.submit` event with `fd:formType = quest` is fired and the offer from `BW_OFFER` is presented in the overlay.

3. **Offer presentation** — the overlay is populated with data from the Brickworks payload (title, description, CTA label) and a countdown timer is started using the `offerTimeout` value.

4. **Accept** — the user taps the CTA button. The mobile app uses the voucher pool UUID from `BW_OFFER.voucherCode` to assign a voucher via the API. A success state is shown.

5. **Dismiss / Timeout** — if the user taps "Maybe later" or the timer expires, an `offer.dismissed` event is fired and the `questOfferShown` attribute is set to `true` on the customer's profile. This triggers the [workflow](#create-a-workflow) that sends a mobile push notification after a delay.

  
   <div class="admonition admonition-important"><div class="admonition-icon"><svg xmlns="http://www.w3.org/2000/svg" fill="none" viewBox="0 0 24 24" stroke="currentColor" stroke-width="2.5"><path stroke-linecap="round" stroke-linejoin="round" d="M12 8v4m0 4h.01M21 12a9 9 0 11-18 0 9 9 0 0118 0z" /></svg></div><div class="admonition-body"><div class="admonition-content">

   Replace `SCHEMA_ID` in the Jinjava block with the actual ID of the [schema](#create-a-brickworks-schema) you created. For Singleton schemas, the same ID is used for both `schemaId` and `recordId`. You can find the ID in the URL when viewing the schema in the Synerise platform.

   </div></div></div>


4. To continue the process of configuring the in-app campaign, click **Next**.
5. Click **Apply**.

### Select events that trigger the in-app message display
---
In this part of the process, you will define the event that triggers the display of the in-app message. The quest interface should appear when the user opens a specific screen or section in the app.

1. In the **Trigger events** section, click **Define**.
2. Select **Add event** and from the dropdown list, choose `screen.view` event.
3. Click the **+ where** button and select the appropriate parameter to target the quest hub screen according to your app structure.
4. Click **Apply**.

### Schedule the message and configure display settings
---
1. In the **Schedule** section, click **Define** and set the time when the message will be active.
2. In the **Display Settings** section, click **Change**.
3. Define the **Delay display**, **Priority index** and enable the **Frequency limit** toggle to manage how often the quest is shown. For example, display the quest a maximum of 1 time per day.

    
   <div class="admonition admonition-note"><div class="admonition-icon"><svg xmlns="http://www.w3.org/2000/svg" fill="none" viewBox="0 0 24 24" stroke="currentColor" stroke-width="2.5"><path stroke-linecap="round" stroke-linejoin="round" d="M13 16h-1v-4h-1m1-4h.01M21 12a9 9 0 11-18 0 9 9 0 0118 0z" /></svg></div><div class="admonition-body"><div class="admonition-content">

   You can additionally enable the **Capping limit** toggle to limit the total number of times the in-app message can be displayed to a user.

   </div></div></div>


4. Click **Apply**.
5. Optionally, define UTM parameters and additional parameters for your in-app campaign.
6. Click **Activate**.

## Create a workflow
---
In this part of the process, you will create a [workflow](/docs/automation/creating-automation) that sends a mobile push notification to users who dismissed the offer or let it time out. The push brings them back to the app, where the Brickworks schema — now reading `questOfferShown = true` on their profile — returns the escalated (mutated) offer automatically.

1. Go to <img src="/api/docs/image/54176ad07f146575310749eba44b7c2f42c1b327/icons/automation-hub-icon.svg" alt="Automation Hub icon" class="icon"> **Automation Hub > Workflows > New workflow**.
2. Enter the name of the workflow, for example `Quest offer follow-up push`.

### Define the Profile Event trigger nodes
---
The workflow uses two trigger nodes connected via a Merge Paths node, so the push is sent regardless of whether the user completed the quest without claiming or dismissed the offer.

#### First trigger — quest completed without claim

1. As the first node of the workflow, add **Profile Event**. In the configuration of the node:
    2. From the **Choose event** dropdown menu, choose the `form.submit` event.
    3. Click the **+ where** button. From the **Choose parameter** dropdown menu, choose `fd:formType`. From the **Choose operator** dropdown, choose **Equal**. In the value field, enter `quest`.
2. Confirm by clicking **Apply**.

<figure>
<img src="/api/docs/image/54176ad07f146575310749eba44b7c2f42c1b327/use-cases/all-cases/_gfx/quest-workflow-trigger-form.png" alt="Configuration of the first Profile Event trigger node" class="full">
<figcaption>Configuration of the first Profile Event trigger node</figcaption>
</figure>

#### Second trigger — offer dismissed

1. Add a second **Profile Event** node. In the configuration of the node:
2. From the **Choose event** dropdown menu, choose the `offer.dismissed` event.
2. Confirm by clicking **Apply**.

<figure>
<img src="/api/docs/image/54176ad07f146575310749eba44b7c2f42c1b327/use-cases/all-cases/_gfx/quest-workflow-trigger-dismissed.png" alt="Configuration of the second Profile Event trigger node" class="full">
<figcaption>Configuration of the second Profile Event trigger node</figcaption>
</figure>

### Configure the Delay node
---
1. Add the **Merge Paths** node and connect both Profile Event trigger nodes to it.
1. Add the **Delay** node. Configure the delay duration according to your business needs (for example, 15 minutes). This gives the user time before receiving the follow-up push.
2. Confirm by clicking **Apply**.

### Configure the Send Mobile Push node
---
1. Add the **Send Mobile Push** node. In the configuration of the node:
    1. Define the push notification content. For example:
        - **Title:** `Look at your new offer`
        - **Body:** `We have a new deal for you`
    2. Optionally, enable the **Send without marketing agreement** option if your business requirements allow it.
2. Confirm by clicking **Apply**.

### Add the finishing node
---
1. Add the **End** node.
2. In the upper right corner, click **Save & Run**.

<figure>
<img src="/api/docs/image/54176ad07f146575310749eba44b7c2f42c1b327/use-cases/all-cases/_gfx/quest-workflow-overview.png" alt="The workflow configuration" class="full">
<figcaption>The workflow configuration</figcaption>
</figure>

## Summary
---
The following describes the end-to-end flow from the user's perspective and how the system components interact:

1. **Quest phase:** The user sees a quest card (for example, "Browse 3 product categories"). As they complete each step, the progress bar advances. The quest progress is tracked client-side in the in-app message.

2. **Claim phase:** When all steps are completed, the "Claim your reward" button becomes active. Tapping it fires a `form.submit` event with `fd:formType = quest` and triggers the offer presentation.

3. **Initial offer:** The in-app reads the `BW_OFFER` payload (generated from the Brickworks schema). Since the `questOfferShown` attribute does not exist yet on the profile, the schema returns the initial offer. A bottom sheet overlay appears showing the personalized offer with the segment-appropriate discount, copy, and a countdown timer.

4. **User interaction paths:**
   - **Accept:** The user taps the CTA button. The app uses the voucher pool UUID from the payload to assign a voucher via the API, and shows a success confirmation.
   - **Dismiss / Timeout:** The `offer.dismissed` event is fired and the `questOfferShown` attribute is set to `true` on the profile. The overlay closes.

5. **Follow-up push:** The workflow detects either the `form.submit` or `offer.dismissed` event and, after the configured delay, sends a mobile push notification encouraging the user to return to the app.

6. **Escalated offer:** When the user opens the app via the push, the in-app campaign triggers again. This time, the Brickworks schema reads `questOfferShown = true` on the profile and returns the modified offer with a higher discount.


## Check the use case set up on the Synerise Demo workspace
---
You can check the configuration of each step directly in the Synerise Demo workspace:

- [Aggregate — Sum of transactions lifetime](https://app.synerise.com/analytics-v2/aggregates/bb592bec-43b6-3577-8e98-bf3a95a87f23)
- [Aggregate — Last transaction time](https://app.synerise.com/analytics-v2/aggregates/6be97f2c-ace2-3d9c-9da1-d9d6e2fdf0e0)
- [Expression — Total customer spend](https://app.synerise.com/analytics/expressions/8b0c8d34-f3ef-4368-bc51-dcdf198eb6f9)
- [Expression — Last transaction time](https://app.synerise.com/analytics/expressions/b7e698f6-9da1-4c98-aed5-e0e6a0130f22)
- [Brickworks schema](https://app.synerise.com/assets/brickworks/schemas/751096cf-b7a8-45b8-b673-c191bbe0d30f)
- [In-app campaign](https://app.synerise.com/communications/in-app/ee3fa59b-bd5c-4449-bf29-86f90f4f9431/content-manager/template/editor?variant=0)
- [Workflow — Quest offer follow-up push](https://app.synerise.com/automations/workflows/automation-diagram/542b1d19-6901-4880-99dd-b8c21143e2ea)

If you’re our partner or client, you already have automatic access to the **Synerise Demo workspace (1590)**, where you can explore all the configured elements of this use case and copy them to your workspace.  

If you’re not a partner or client yet, we encourage you to fill out the contact [form](https://demo.synerise.com/request) to schedule a meeting with our representatives. They’ll be happy to show you how our demo works and discuss how you can apply this use case in your business.

## Read more
---
- [Aggregates](/docs/analytics/aggregates)
- [Brickworks](/docs/assets/brickworks)
- [Creating workflows](/docs/automation/creating-automation)
- [Expressions](/docs/analytics/expressions)
- [In-app messages](/docs/campaign/in-app-messages)
- [Mobile push](/docs/campaign/Mobile/mobile_campaign)
- [Voucher pools](/docs/assets/code-pools)
- [Using in-app template builder](/docs/campaign/in-app-messages/creating-inapp-templates/creating-inapp-template)
