
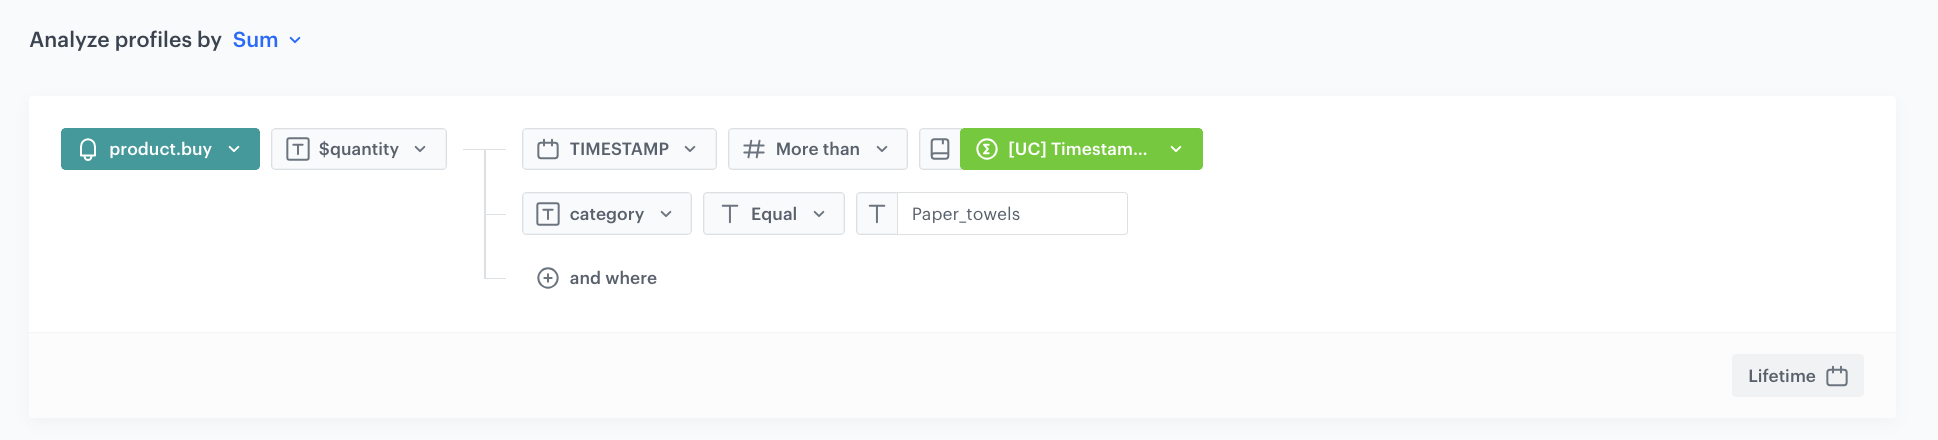
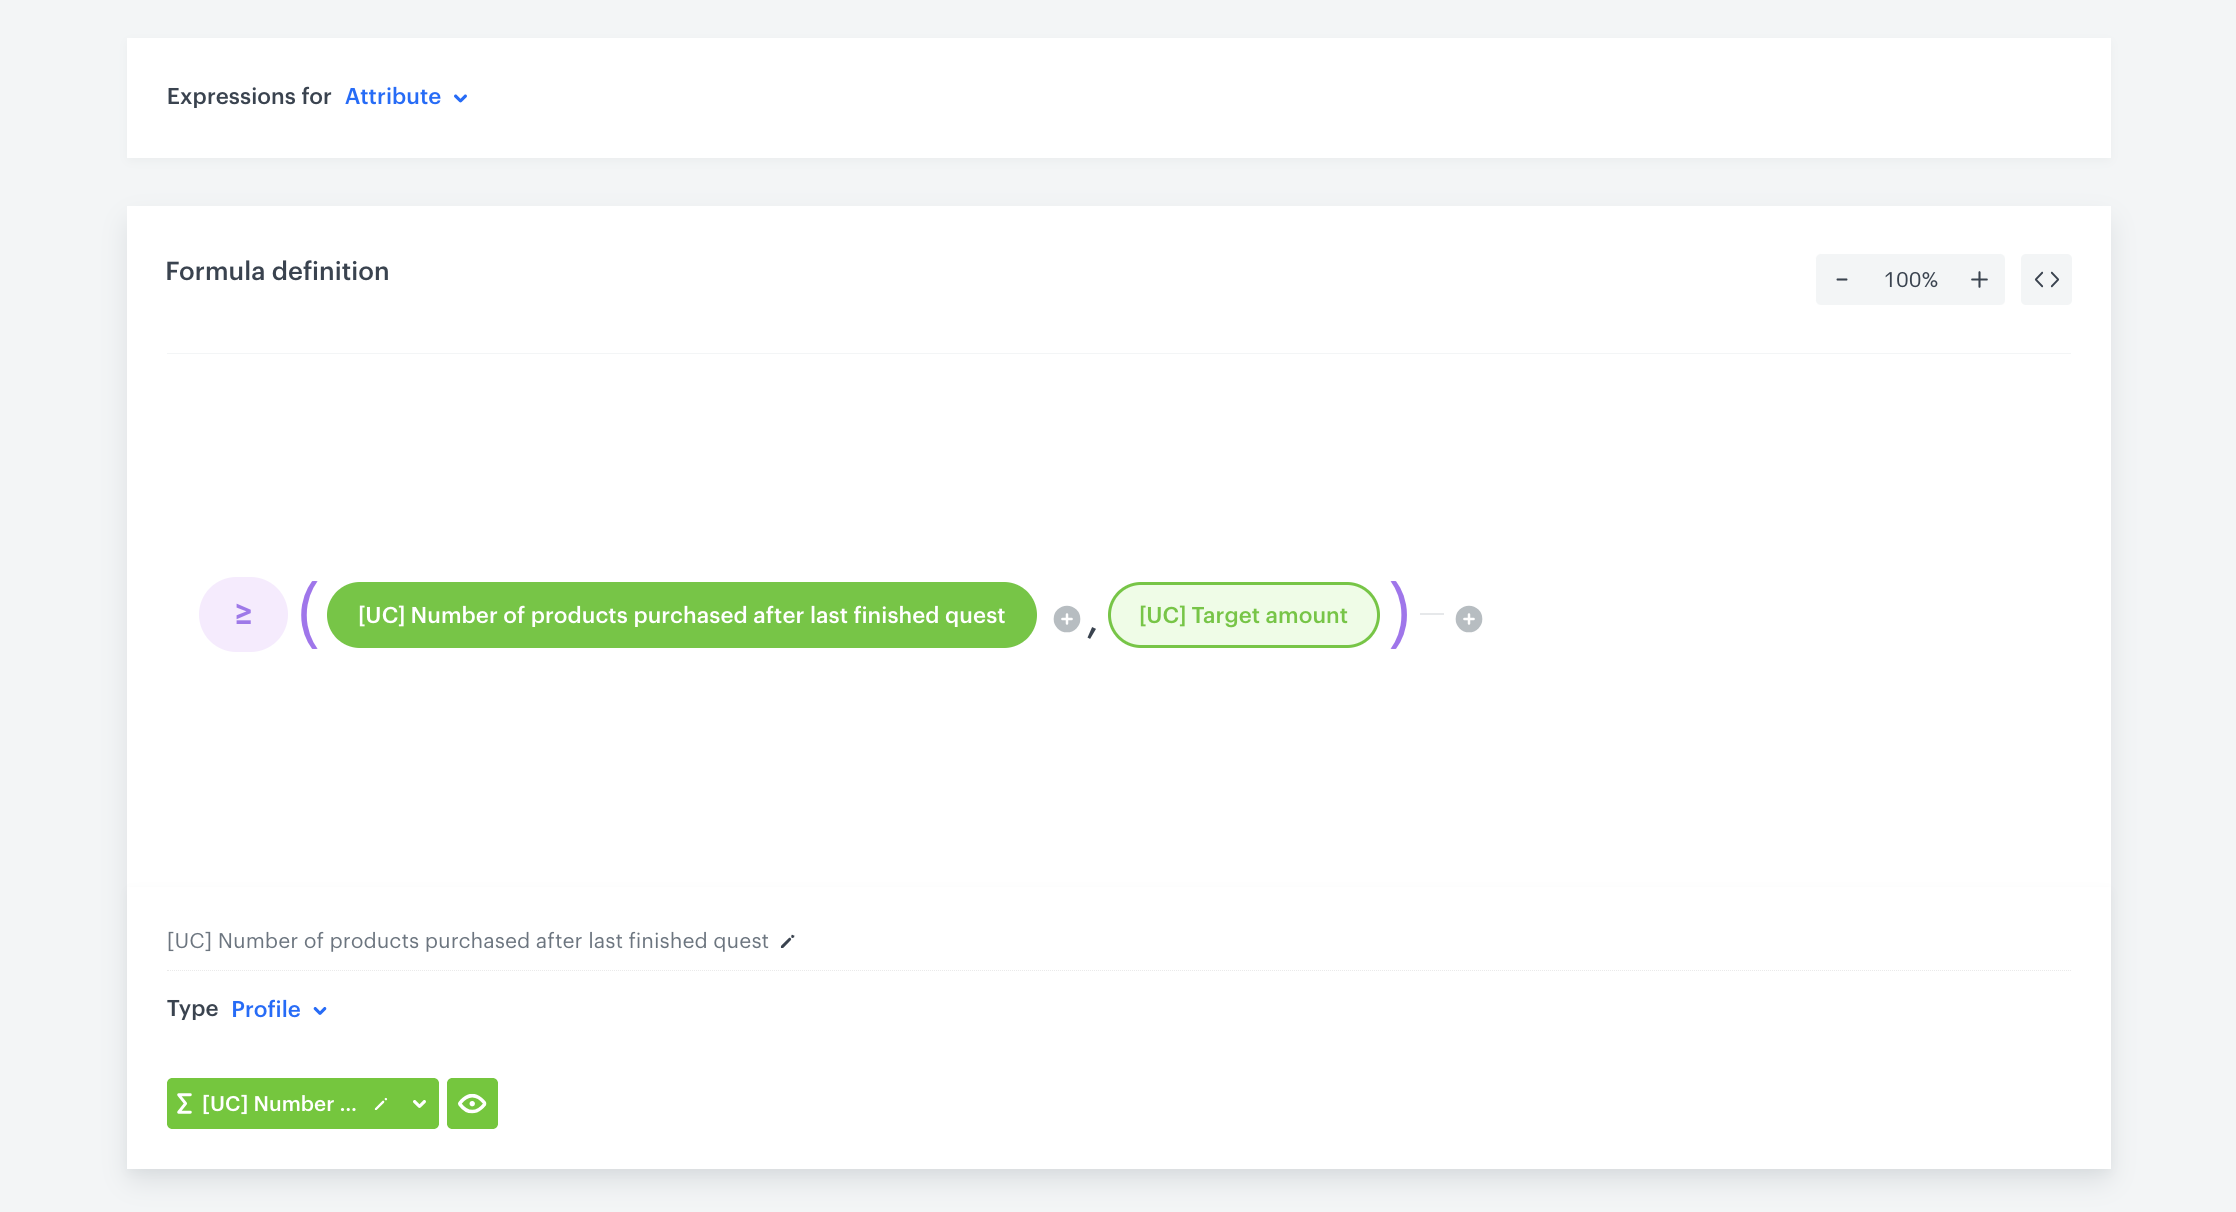
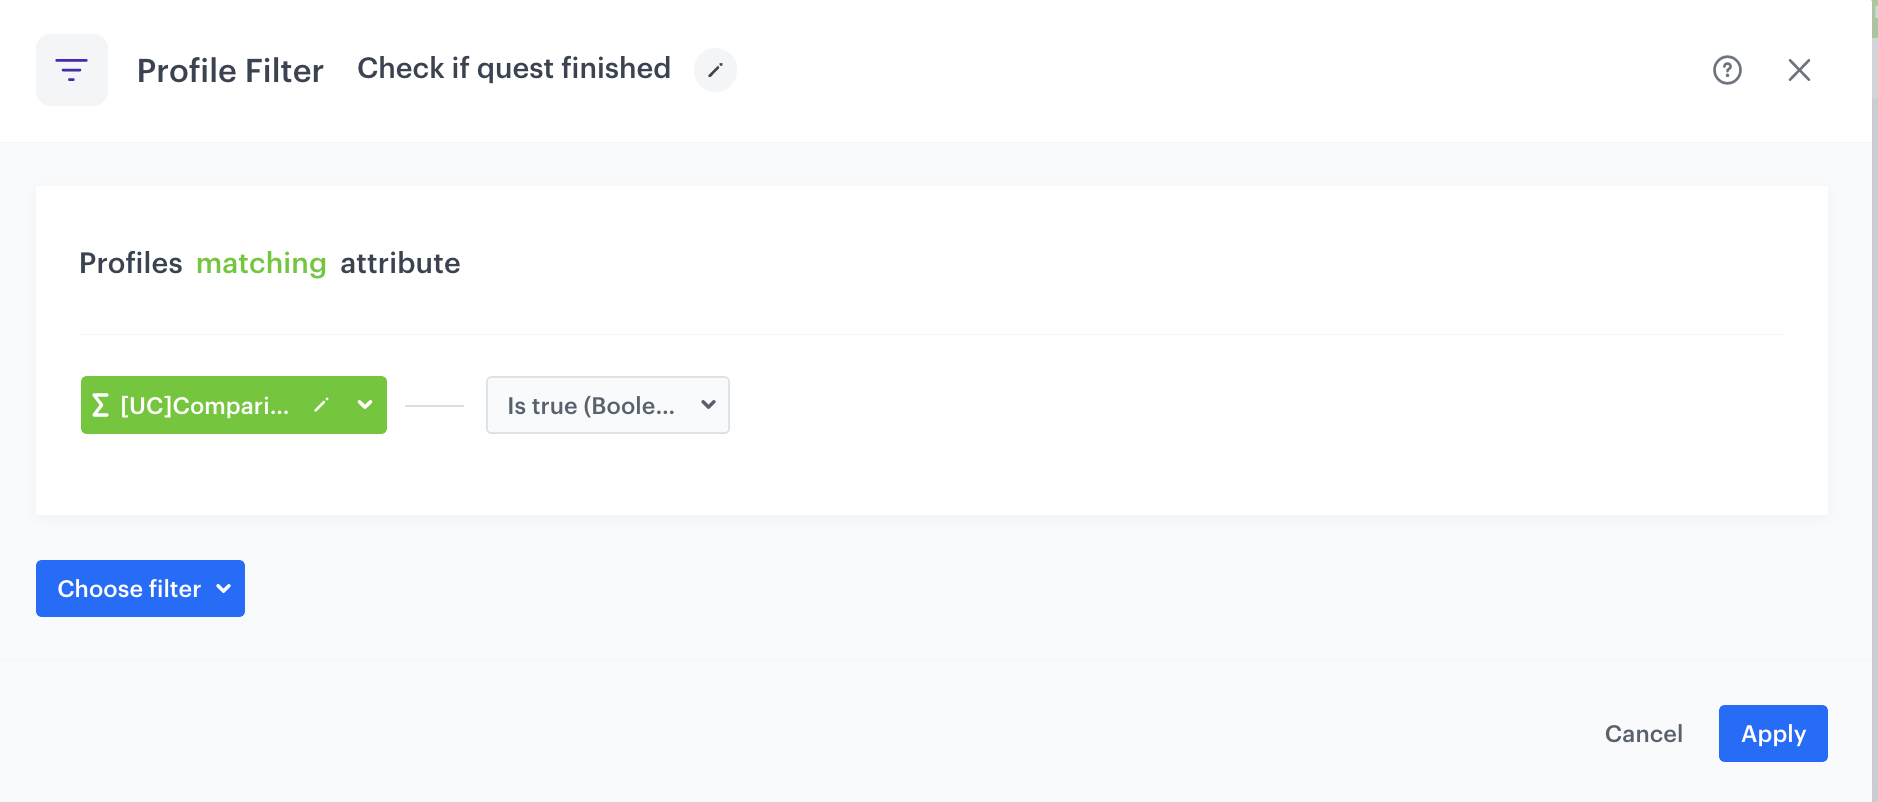
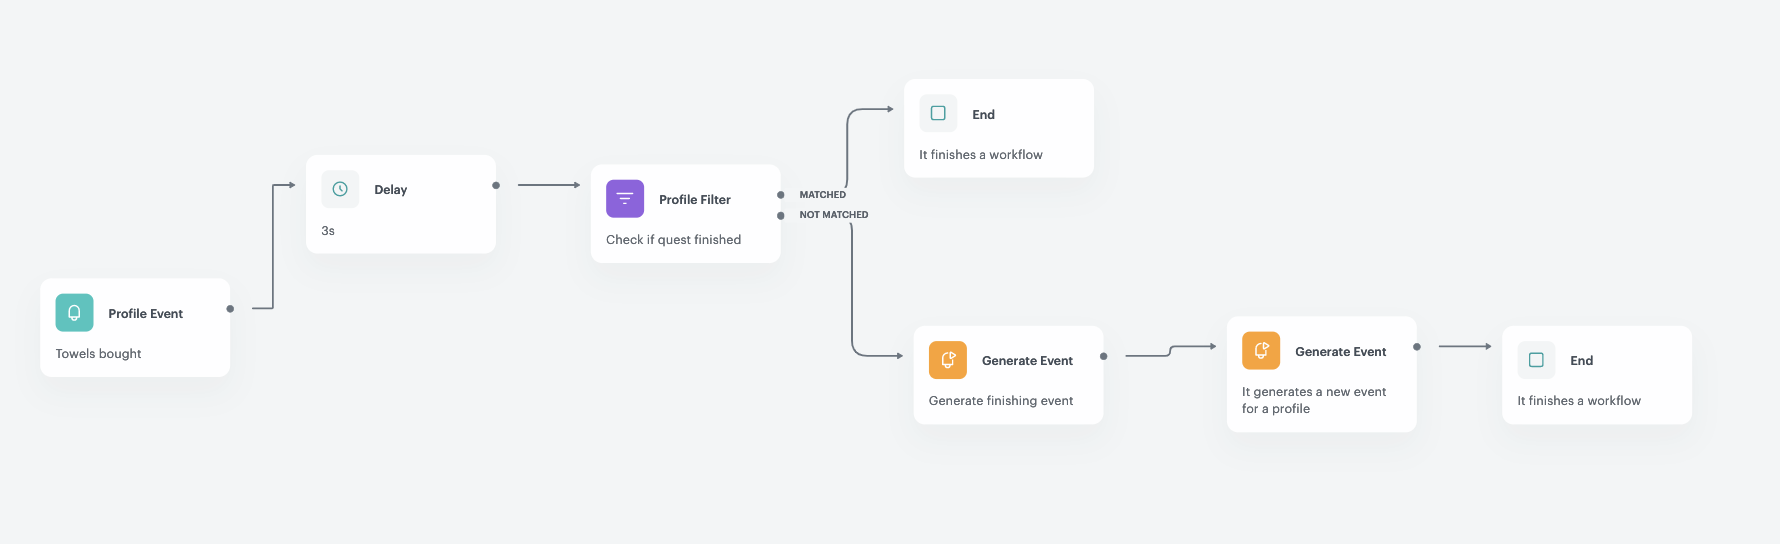
The logic in the expression compares the number of products purchased after the last finished quest to the target amount, which is 10 units needed to complete the quest. There are two possible scenarios:
If the number of products purchased in a single transaction exceeds the target of 10, the surplus is not carried over to the next quest.
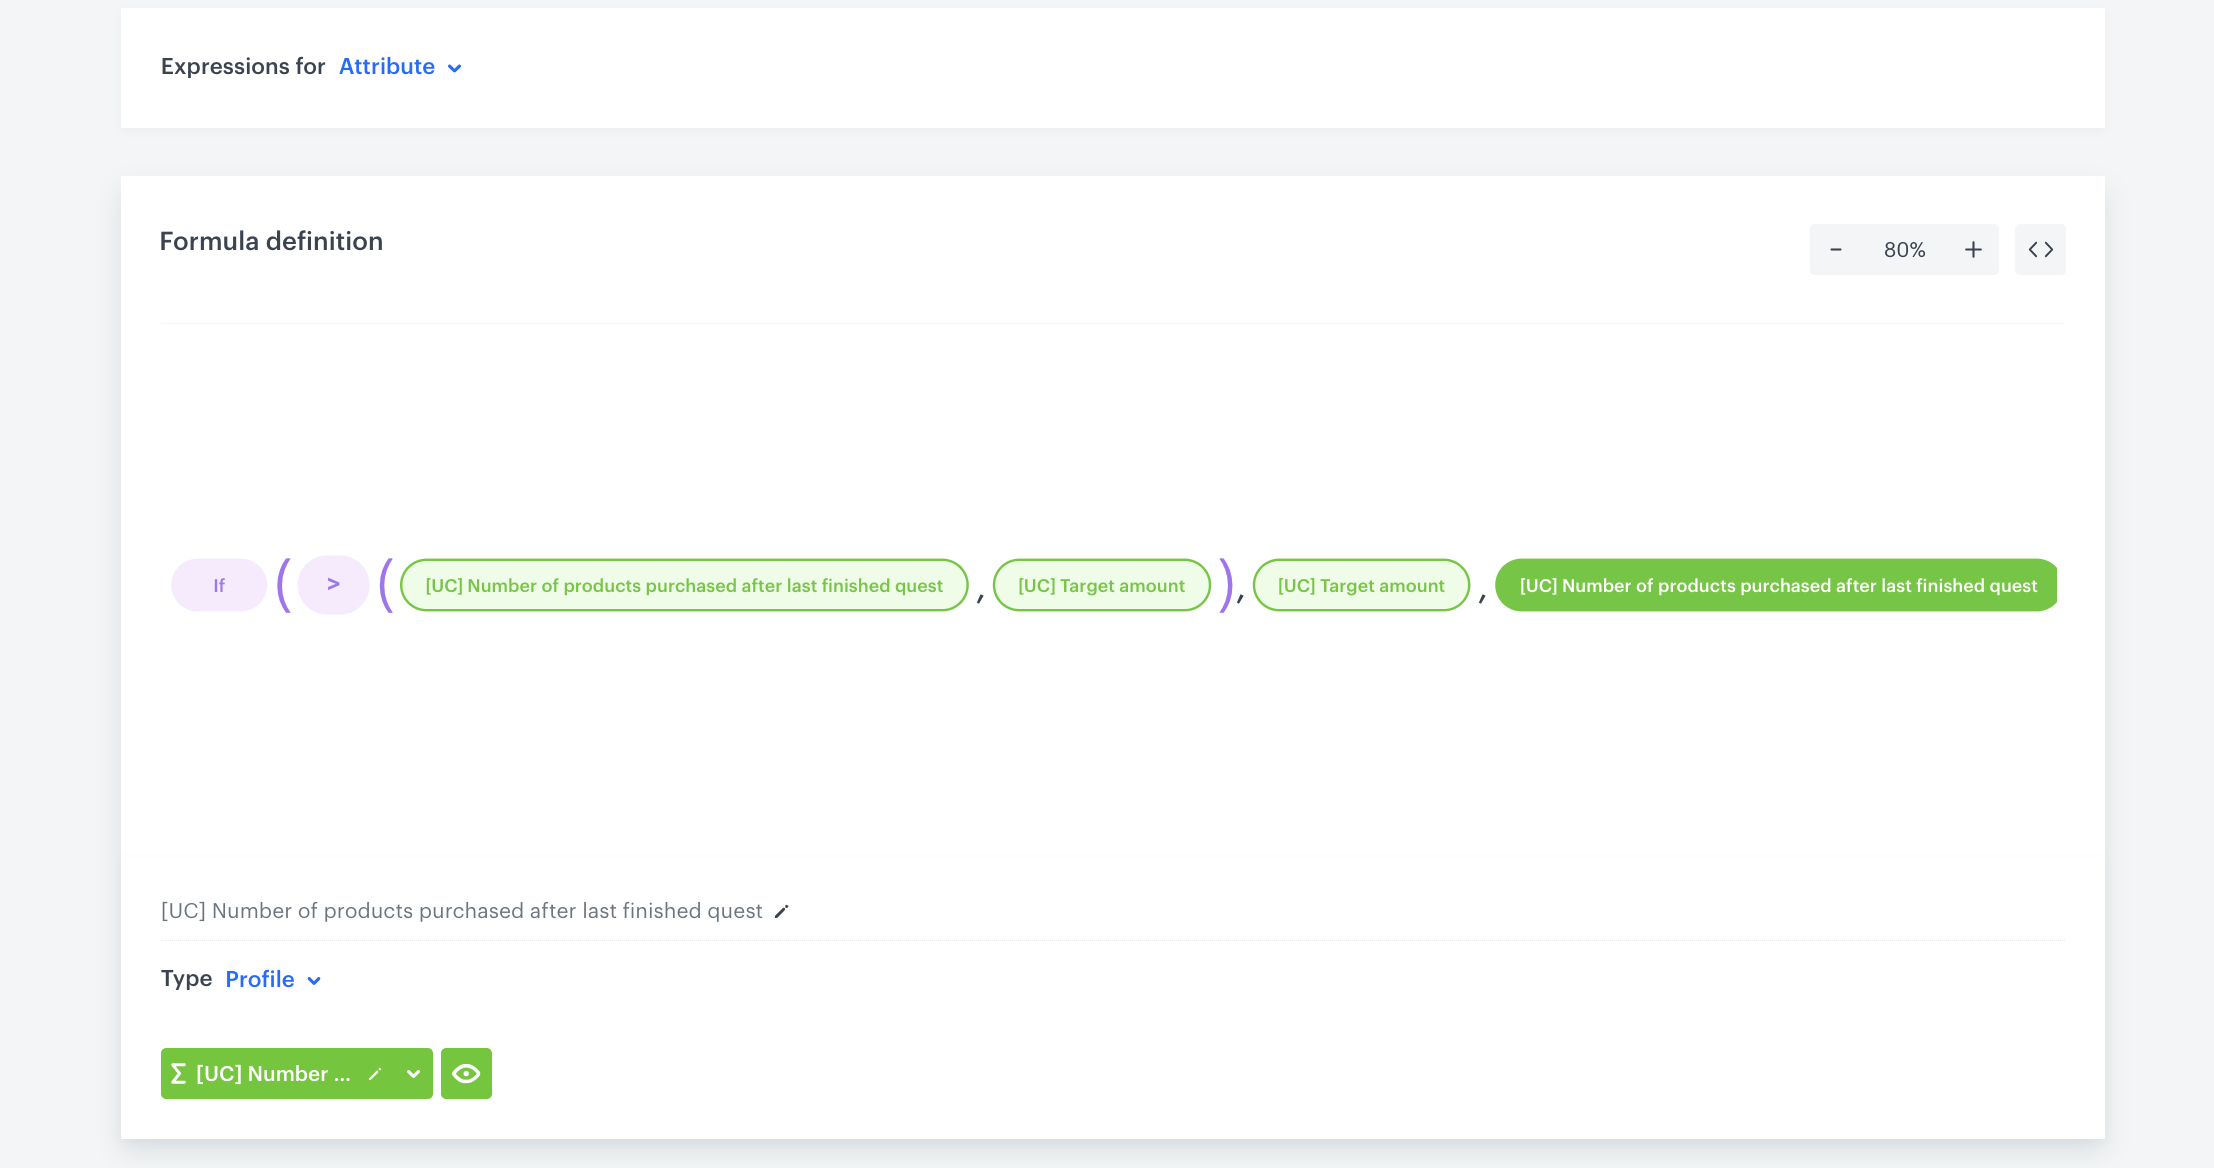
The expression will produce one of two results based on certain conditions:
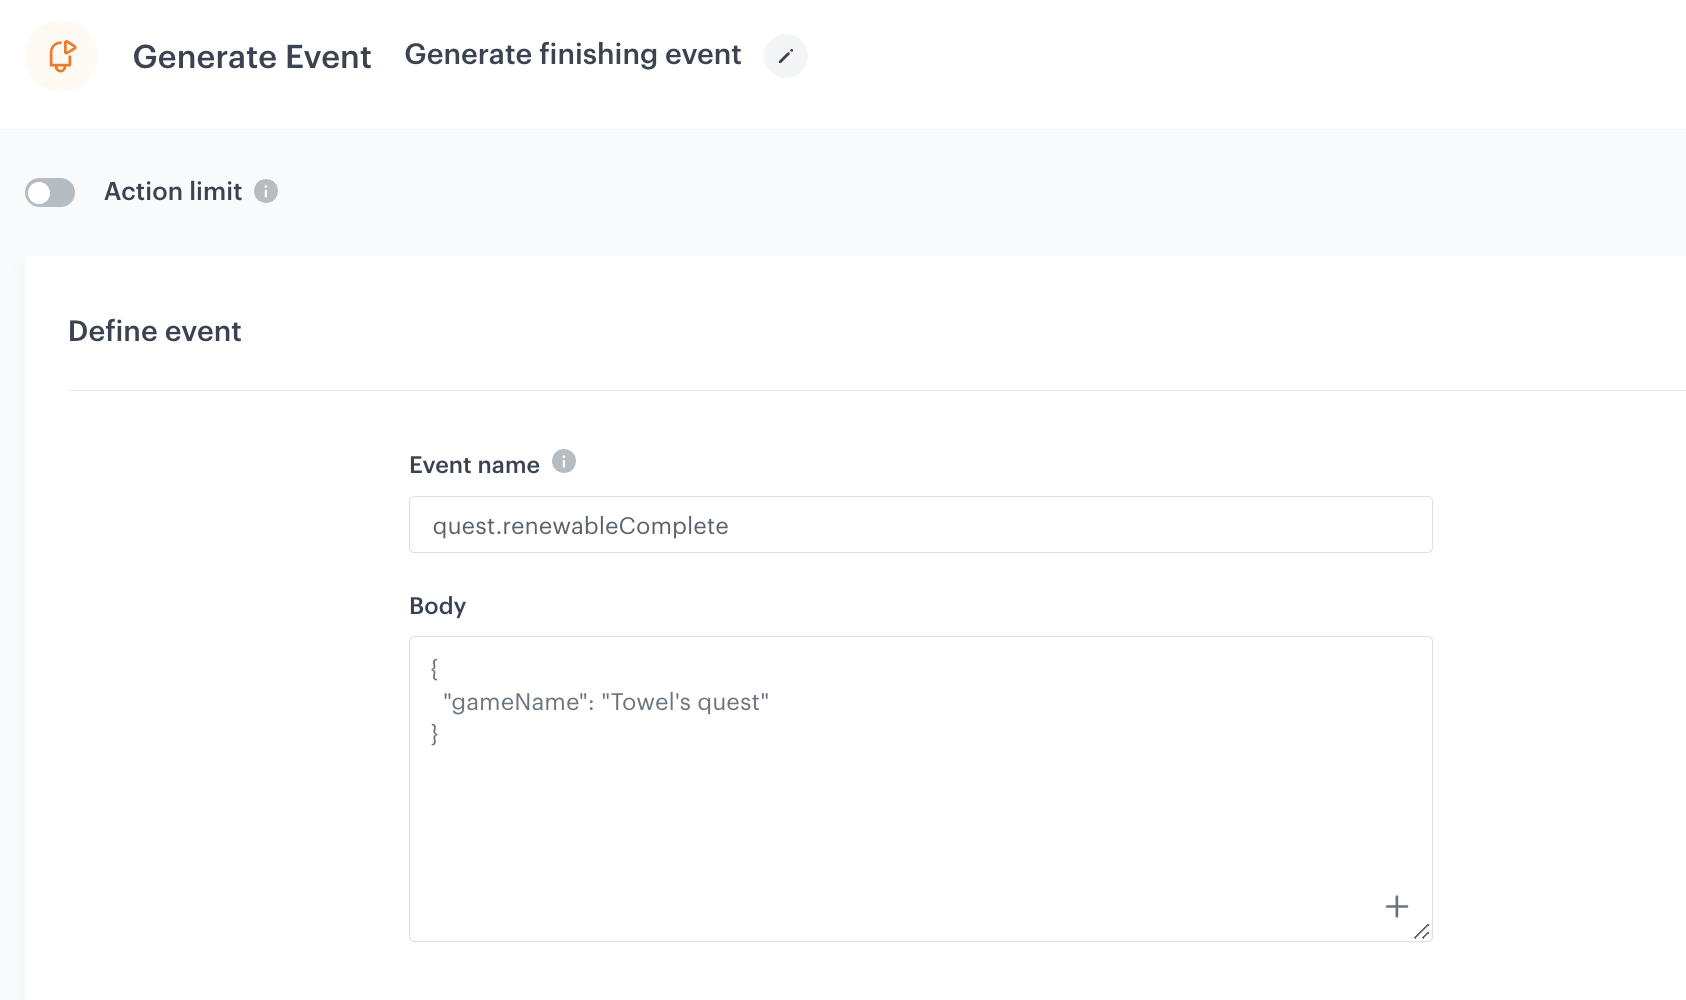
{
                   "gameName": "Towel's quest"
               }
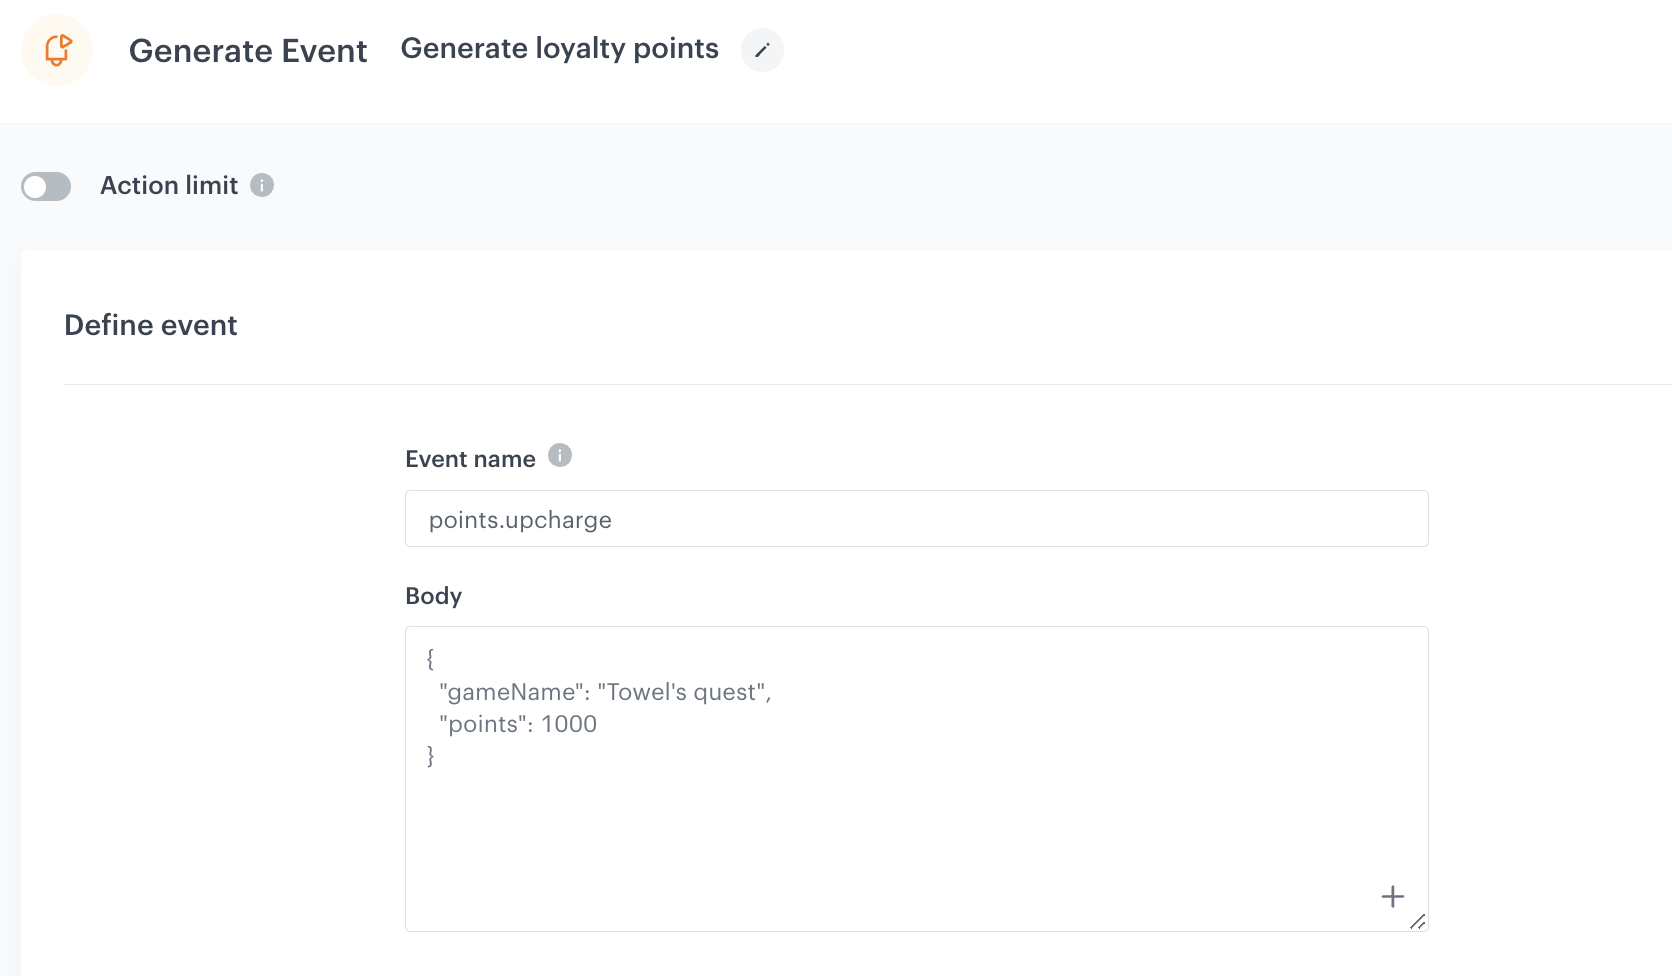
{
                   "gameName": "Towel's quest",
                   "points": 1000
               }
{
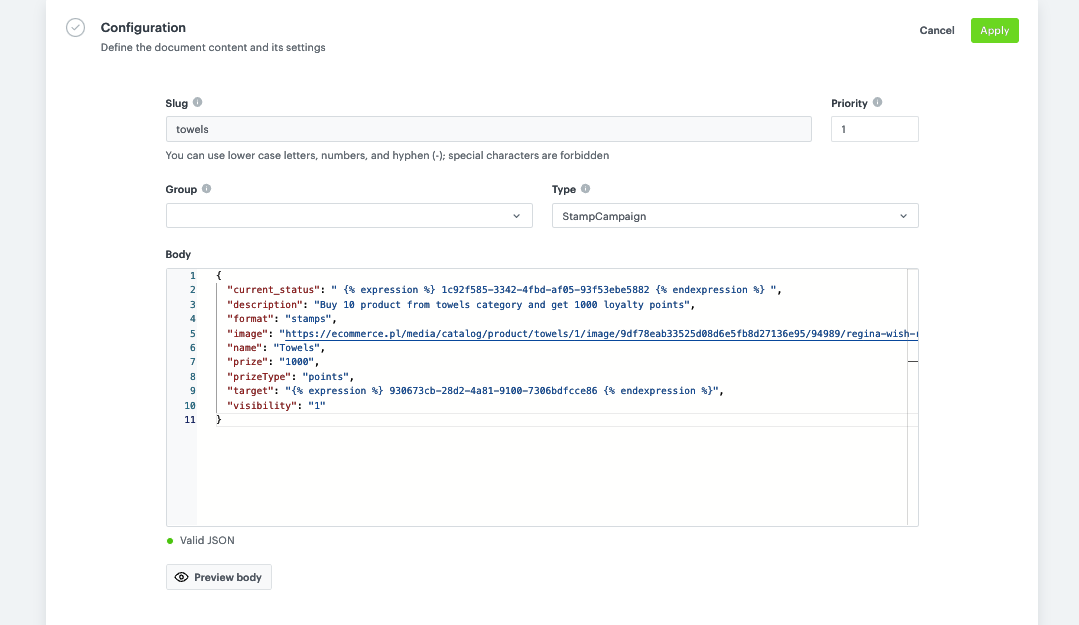
"current_status": " {% expression %} 1c92f585-3342-4fbd-af05-93f53ebe5882 {% endexpression %} ",
"description": "Buy 10 product from towels category and get 1000 loyalty points",
"format": "stamps",
"image": "https://ecommerce.pl/media/catalog/product/towels/1/image/9df78eab33525d08d6e5fb8d27136e95/94989/regina-wish-recznik-papierowy-bialy-2-rolki-reczniki-papierowe-artykuly-higieniczne_0.jpg",
"name": "Towels",
"prize": "1000",
"prizeType": "points",
"target": "{% expression %} 930673cb-28d2-4a81-9100-7306bdfcce86 {% endexpression %}",
"visibility": "1"
}