
Dynamic content campaigns are a powerful tool for delivering personalized and engaging experiences on websites. By enabling the rotation of promotional content, businesses can capture users’ attention with diverse messages. Automating this process allows for efficient management of campaigns, ensuring that each message reaches its audience without manual intervention or redundant displays.

In this use case we will describe an example campaign consisting of four dynamic content campaigns that rotate dynamically within an upper-page banner. The campaigns will be created based on the predefined dynamic content templates.  
The rotation is powered by the on-demand trigger in Synerise, which allows campaigns to be triggered programmatically rather than displayed automatically. A fifth campaign, implemented with custom code, manages the rotation logic and ensures seamless control over the display of these banners.

The objective is to:
- eliminate the need for manual replacement of campaigns, 
- allow for easy future updates, 
- ensure a smooth and sequential display of promotional content. 

This approach ensures efficiency in managing dynamic content while providing flexibility for the client to make modifications independently.

## Prerequisites 
---
[Implement a tracking code](/docs/settings/tool/tracking_codes).

## Process
---
In this use case, you will go through the following steps:
1. [Create dynamic content campaigns](/use-cases/rotating-dc#create-dynamic-content-campaigns) with on demand trigger.
2. [Prepare dynamic content campaign steering the rotation](/use-cases/rotating-dc#prepare-dynamic-content-campaign-steering-the-rotation).


## Create dynamic content campaigns
---
In this part of the process, create a few different dynamic campaigns, which will be displayed on the upper-page bar. 

1. Go to <img src="/api/docs/image/54176ad07f146575310749eba44b7c2f42c1b327/icons/experience-hub-icon.svg" alt="Experience Hub icon" class="icon" > **Experience Hub > Dynamic content > Create new**.
2. Enter the name of the dynamic content.
3. Choose the **Insert Object** type.
4. In the **Audience** section, click **Define**. You can choose **Everyone** or choose specific groups based on your business needs.
5. Confirm the settings by clicking **Apply**.

### Define content
5. In the **Content** section, click **Define**.
6. Click **Create Message**.
7. From the list of template folders, select **Insert Object templates** and choose the template based on your needs - in our example it will be **Message with buttons**. 
    **Result**: You are redirected to the list of predefined templates.
    <figure>
    <img src="/api/docs/image/54176ad07f146575310749eba44b7c2f42c1b327/use-cases/all-cases/_gfx/message-with-buttons-templates.png" class="full" alt="Insert objects templates folder">
    <figcaption>Insert objects template with buttons</figcaption>
    </figure>

   <div class="admonition admonition-note"><div class="admonition-icon"><svg xmlns="http://www.w3.org/2000/svg" fill="none" viewBox="0 0 24 24" stroke="currentColor" stroke-width="2.5"><path stroke-linecap="round" stroke-linejoin="round" d="M13 16h-1v-4h-1m1-4h.01M21 12a9 9 0 11-18 0 9 9 0 0118 0z" /></svg></div><div class="admonition-body"><div class="admonition-content">

   You can edit the template in two ways, by editing the code of the template ([add inserts](/docs/campaign/dynamiccontent/creating-dynamic-content-templates/dynamic-content-template-builder#adding-a-snippet-to-the-template-code), [add variables](/docs/campaign/dynamiccontent/creating-dynamic-content-templates/dynamic-content-template-builder#adding-a-variable)) and/or by [filling out the form in the Config tab](/use-cases/dynamic-content-item-context-recommendation#edit-the-form-in-the-config-tab). In this use case, we will use the capabilities of the predefined Config tab.
   - Remember that you can also create your new template from scratch, or choose any other from exisitng templates.

   </div></div></div>


6. To continue the process of configuring the dynamic content campaign, click **Next**.
7. To save your content changes, click **Apply**.

### Define schedule and display settings
1. In the **Schedule** section, click **Define** and set the time when the message will be active. 
2. In the **Display Settings** section, click **Define**.
3. Choose the **On Demand** trigger. The campaign launched with this trigger will only be displayed when the dedicated SDK method is called on the website. With these settings, the campaigns remain active but are not rendered on the page.

     <figure>
    <img src="/api/docs/image/54176ad07f146575310749eba44b7c2f42c1b327/use-cases/all-cases/_gfx/ondemand.png" class="full" alt="On demand trigger">
    <figcaption>On demand trigger</figcaption>
    </figure>
3. You can define the advanced options such as frequency, URLs where the content will be displayed or when to stop it. In our case, we will define the frequency of dynamic content to be displayed to **Always**. The final frequency will be set up in the main campaign. You can also define the type of device you want to show your dynamic content.
4. Click **Apply**. 
5. Optionally, you can define the UTM parameters and additional parameters for your dynamic content campaign.  
6. Click **Activate**.  

 <figure>
    <img src="/api/docs/image/54176ad07f146575310749eba44b7c2f42c1b327/use-cases/all-cases/_gfx/dc-settings.png" class="full" alt="DC settings">
    <figcaption>DC settings</figcaption>
    </figure>

Create more dynamic content campaigns like the one above, ensuring that the placement settings and appropriate dimensions are maintained, as all campaigns will be displayed interchangeably in the same location.

## Prepare dynamic content campaign steering the rotation
---
In this part of the process, you will create a main campaign that will automatically manage the previously created campaigns. The instructions contain JavaScript which identifies which dynamic content  campaign to display and which ones to omit. The last displayed campaign is stored in localStorage to ensure the proper order of rotation.

1. Go to <img src="/api/docs/image/54176ad07f146575310749eba44b7c2f42c1b327/icons/experience-hub-icon.svg" alt="Experience Hub icon" class="icon" > **Experience Hub > Dynamic content > Create new**.
2. Enter the name of the dynamic content.
3. Choose the **Insert Object** type.
4. In the **Audience** section, click **Define**. You can choose **Everyone** or choose specific groups based on your business needs.
5. Confirm the settings by clicking **Apply**.

### Define content
5. In the **Content** section, click **Define**.
6. In the **Content** tab, click **Create Message**.
7. Click **New template** and choose **Code editor**
8. In **JS** tab add the following code:

    
   <pre><code class="language-javascript">(function () {
       function findLaunchSend() {
           const value = localStorage.getItem(`dcCampaignId`);
           const dcFirst = 'ffdb6568-e699-49fb-a3a7-5ce94ab1f04f';
           const dcSecond = 'c8c19320-82c7-4fc8-b1af-0feb561dcea5';
           const dcThird = '1cb31d0a-95ee-42fc-bc5e-95737e223992';
           const dcFourth = '41f3d86a-eb8c-4c97-b769-b72b05b0e1af';
           if (value === null || value === dcFourth) {
               SR.dynamicContent.get(dcFirst);
               localStorage.setItem('dcCampaignId', dcFirst);
           } else if (value === dcFirst) {
               SR.dynamicContent.get(dcSecond);
               localStorage.setItem('dcCampaignId', dcSecond);
           } else if (value === dcSecond) {
               SR.dynamicContent.get(dcThird);
               localStorage.setItem('dcCampaignId', dcThird);
           } else if (value === dcThird) {
               SR.dynamicContent.get(dcFourth);
               localStorage.setItem('dcCampaignId', dcFourth);
           } else {
               console.log("Invalid data in localStorage");
           }
       }
       findLaunchSend();
    })();</code></pre>


   <div class="admonition admonition-note"><div class="admonition-icon"><svg xmlns="http://www.w3.org/2000/svg" fill="none" viewBox="0 0 24 24" stroke="currentColor" stroke-width="2.5"><path stroke-linecap="round" stroke-linejoin="round" d="M13 16h-1v-4h-1m1-4h.01M21 12a9 9 0 11-18 0 9 9 0 0118 0z" /></svg></div><div class="admonition-body"><div class="admonition-content">

   The script tracks the last displayed campaign using localStorage and ensures the next campaign is displayed in sequence.
   If no campaign has been displayed yet or the last one in the sequence was shown, it starts again from the first campaign.
   Here’s what you need to know and how to adapt it to your needs:
 - Change the campaign IDs:
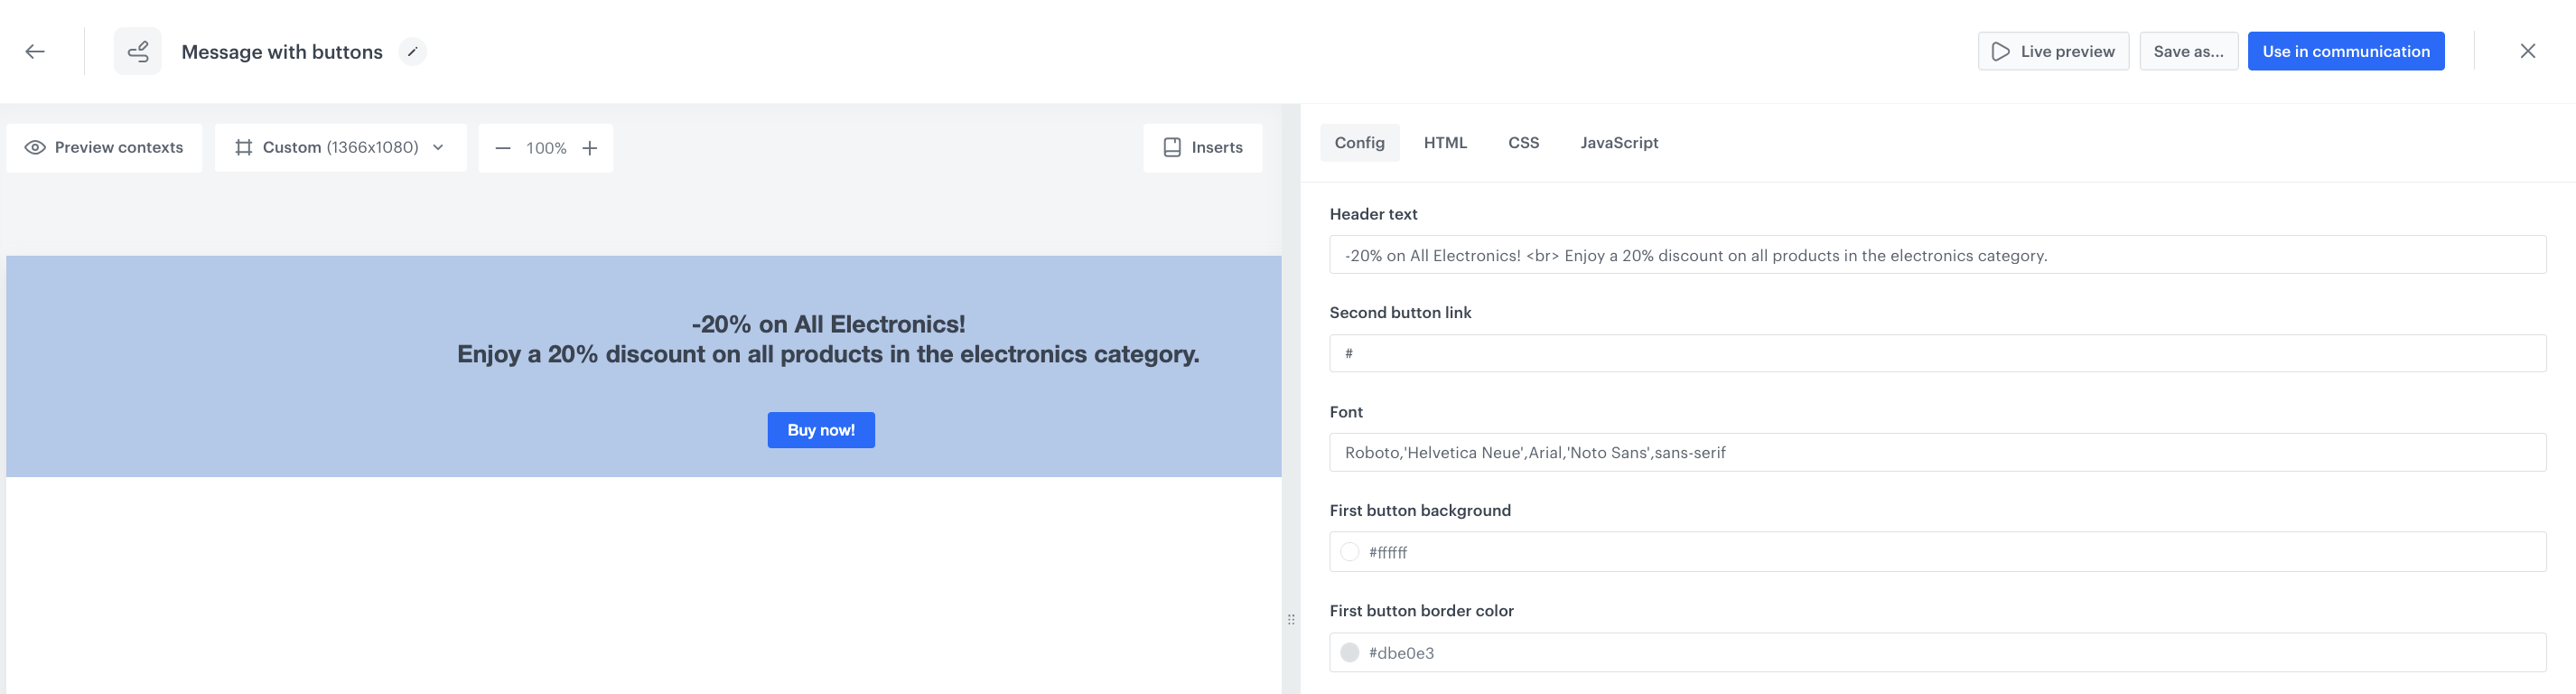
   The script references four DC campaigns by their unique IDs (e.g., dcFirst, dcSecond, etc.).
   To find these IDs, navigate to the Synerise campaign editor, open each DC campaign, and copy the ID visible in the URL (a string of letters and numbers in the address bar).
 - Arrange the IDs in the desired rotation order.

   </div></div></div>


5. After adding all changes, click **Use in communication**.
6. Click **Apply**.

### Define schedule and display settings
1. In the **Schedule** section, click **Define** and set the time when the message will be active. 
2. In the **Display Settings** section, click **Define**.
3. Choose the **On Landing** trigger. 
3. You can define the advanced options such as frequency, URLs where the content will be displayed or when to stop it. In our case, we will define the frequency of dynamic content to be displayed to **Maximum 3 in 1 Hours**. 
4. Click **Apply**. 
5. Optionally, you can define the UTM parameters and additional parameters for your dynamic content campaign.  
6. Click **Activate**.  


## Check the use case set up on the Synerise Demo workspace
---
You can check the configuration of each step from this use case in our Synerise Demo workspace:

- [First DC campaign](https://app.synerise.com/campaigns/dynamic-content/create/ffdb6568-e699-49fb-a3a7-5ce94ab1f04f)
- [Second DC campaign](https://app.synerise.com/campaigns/dynamic-content/create/c8c19320-82c7-4fc8-b1af-0feb561dcea5)
- [Third DC campaign](https://app.synerise.com/campaigns/dynamic-content/create/1cb31d0a-95ee-42fc-bc5e-95737e223992)
- [Fourth DC campaign](https://app.synerise.com/campaigns/dynamic-content/create/41f3d86a-eb8c-4c97-b769-b72b05b0e1af)
- [Main DC which let you manage all campaigns](https://app.synerise.com/campaigns/dynamic-content/create/bba1cdae-04f4-40da-a289-acf6a6cdde61)


If you’re our partner or client, you already have automatic access to the **Synerise Demo workspace (1590)**, where you can explore all the configured elements of this use case and copy them to your workspace.  

If you’re not a partner or client yet, we encourage you to fill out the contact [form](https://demo.synerise.com/request) to schedule a meeting with our representatives. They’ll be happy to show you how our demo works and discuss how you can apply this use case in your business.

## Read more
---
- [Dynamic content](/docs/campaign/dynamiccontent)
- [Dynamic content template builder](/docs/campaign/dynamiccontent/dynamic-content-template-builder)
