curl --location --request POST 'https://{SYNERISE_API_BASE_PATH}/automation-endpoint/endpoints/END_ID/trigger' \
--header 'Content-Type: application/json' \
--data-raw '{
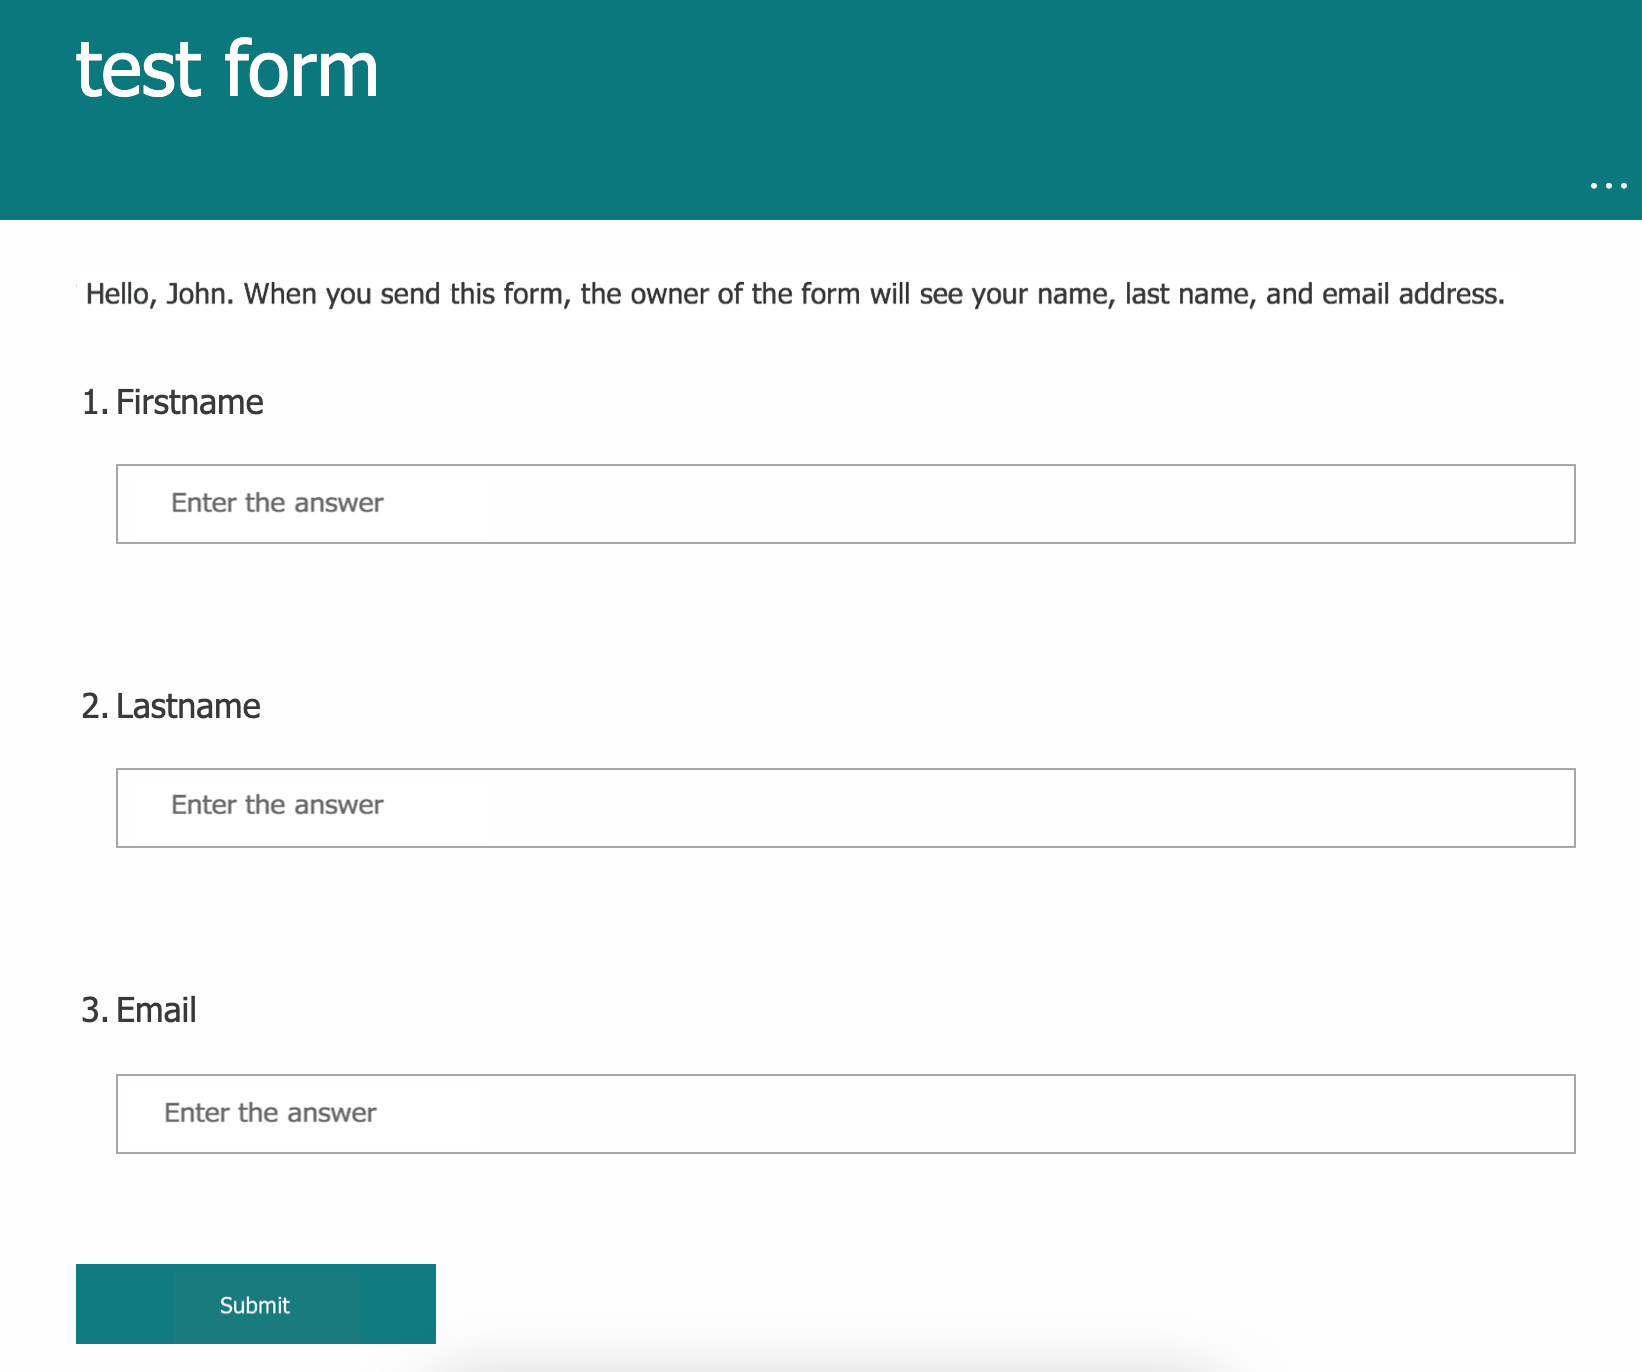
"firstname": "test",
"lastname": "test",
"email": "test"
}'

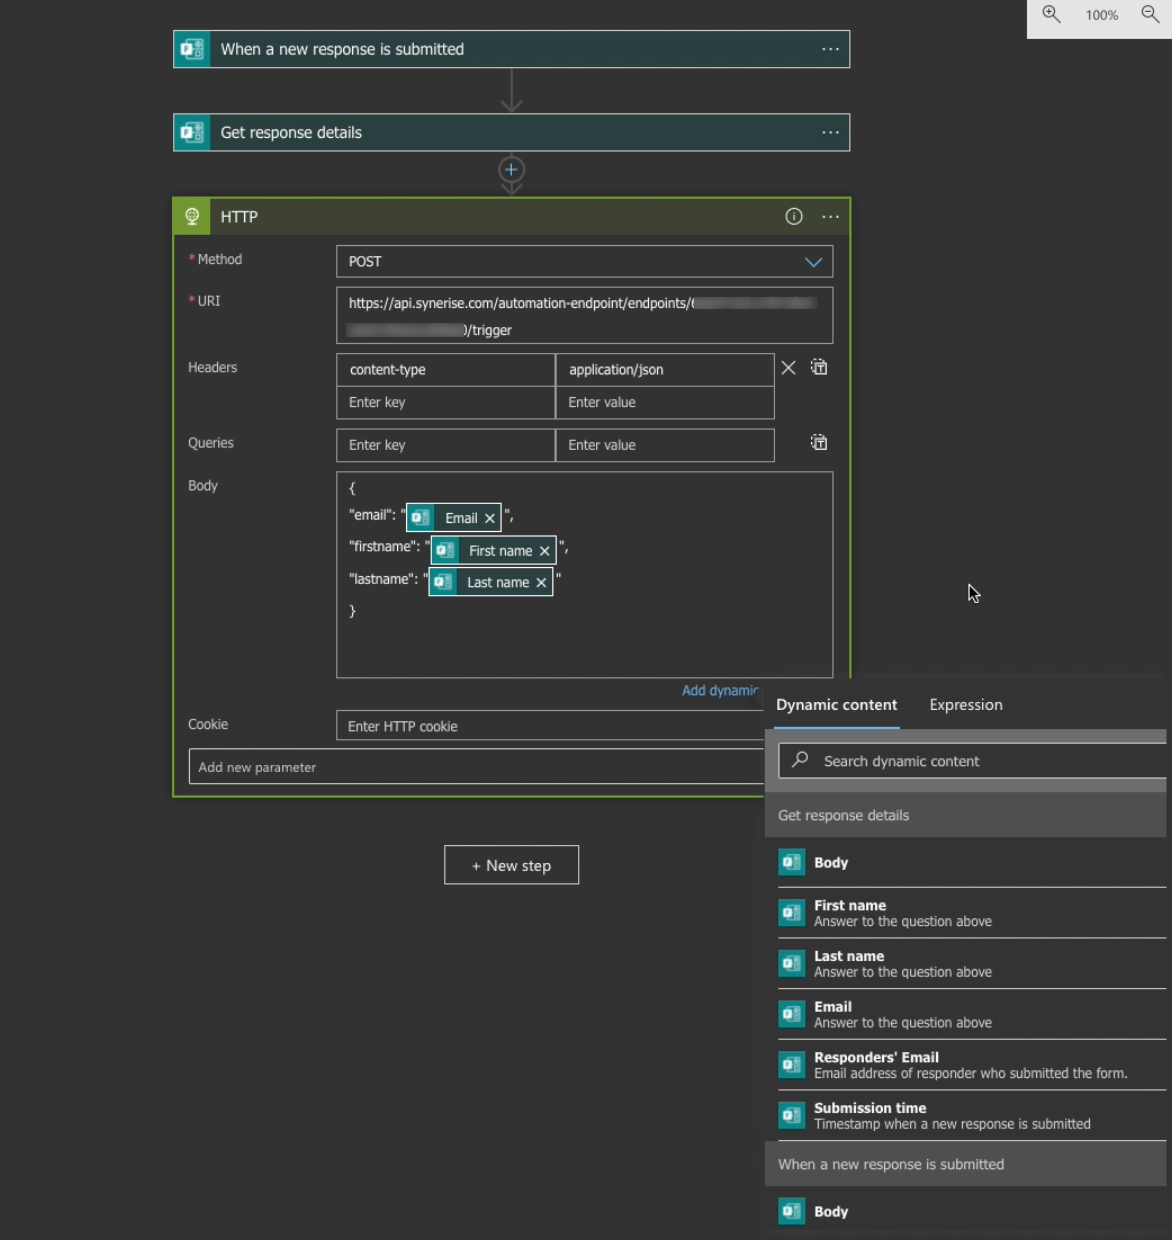
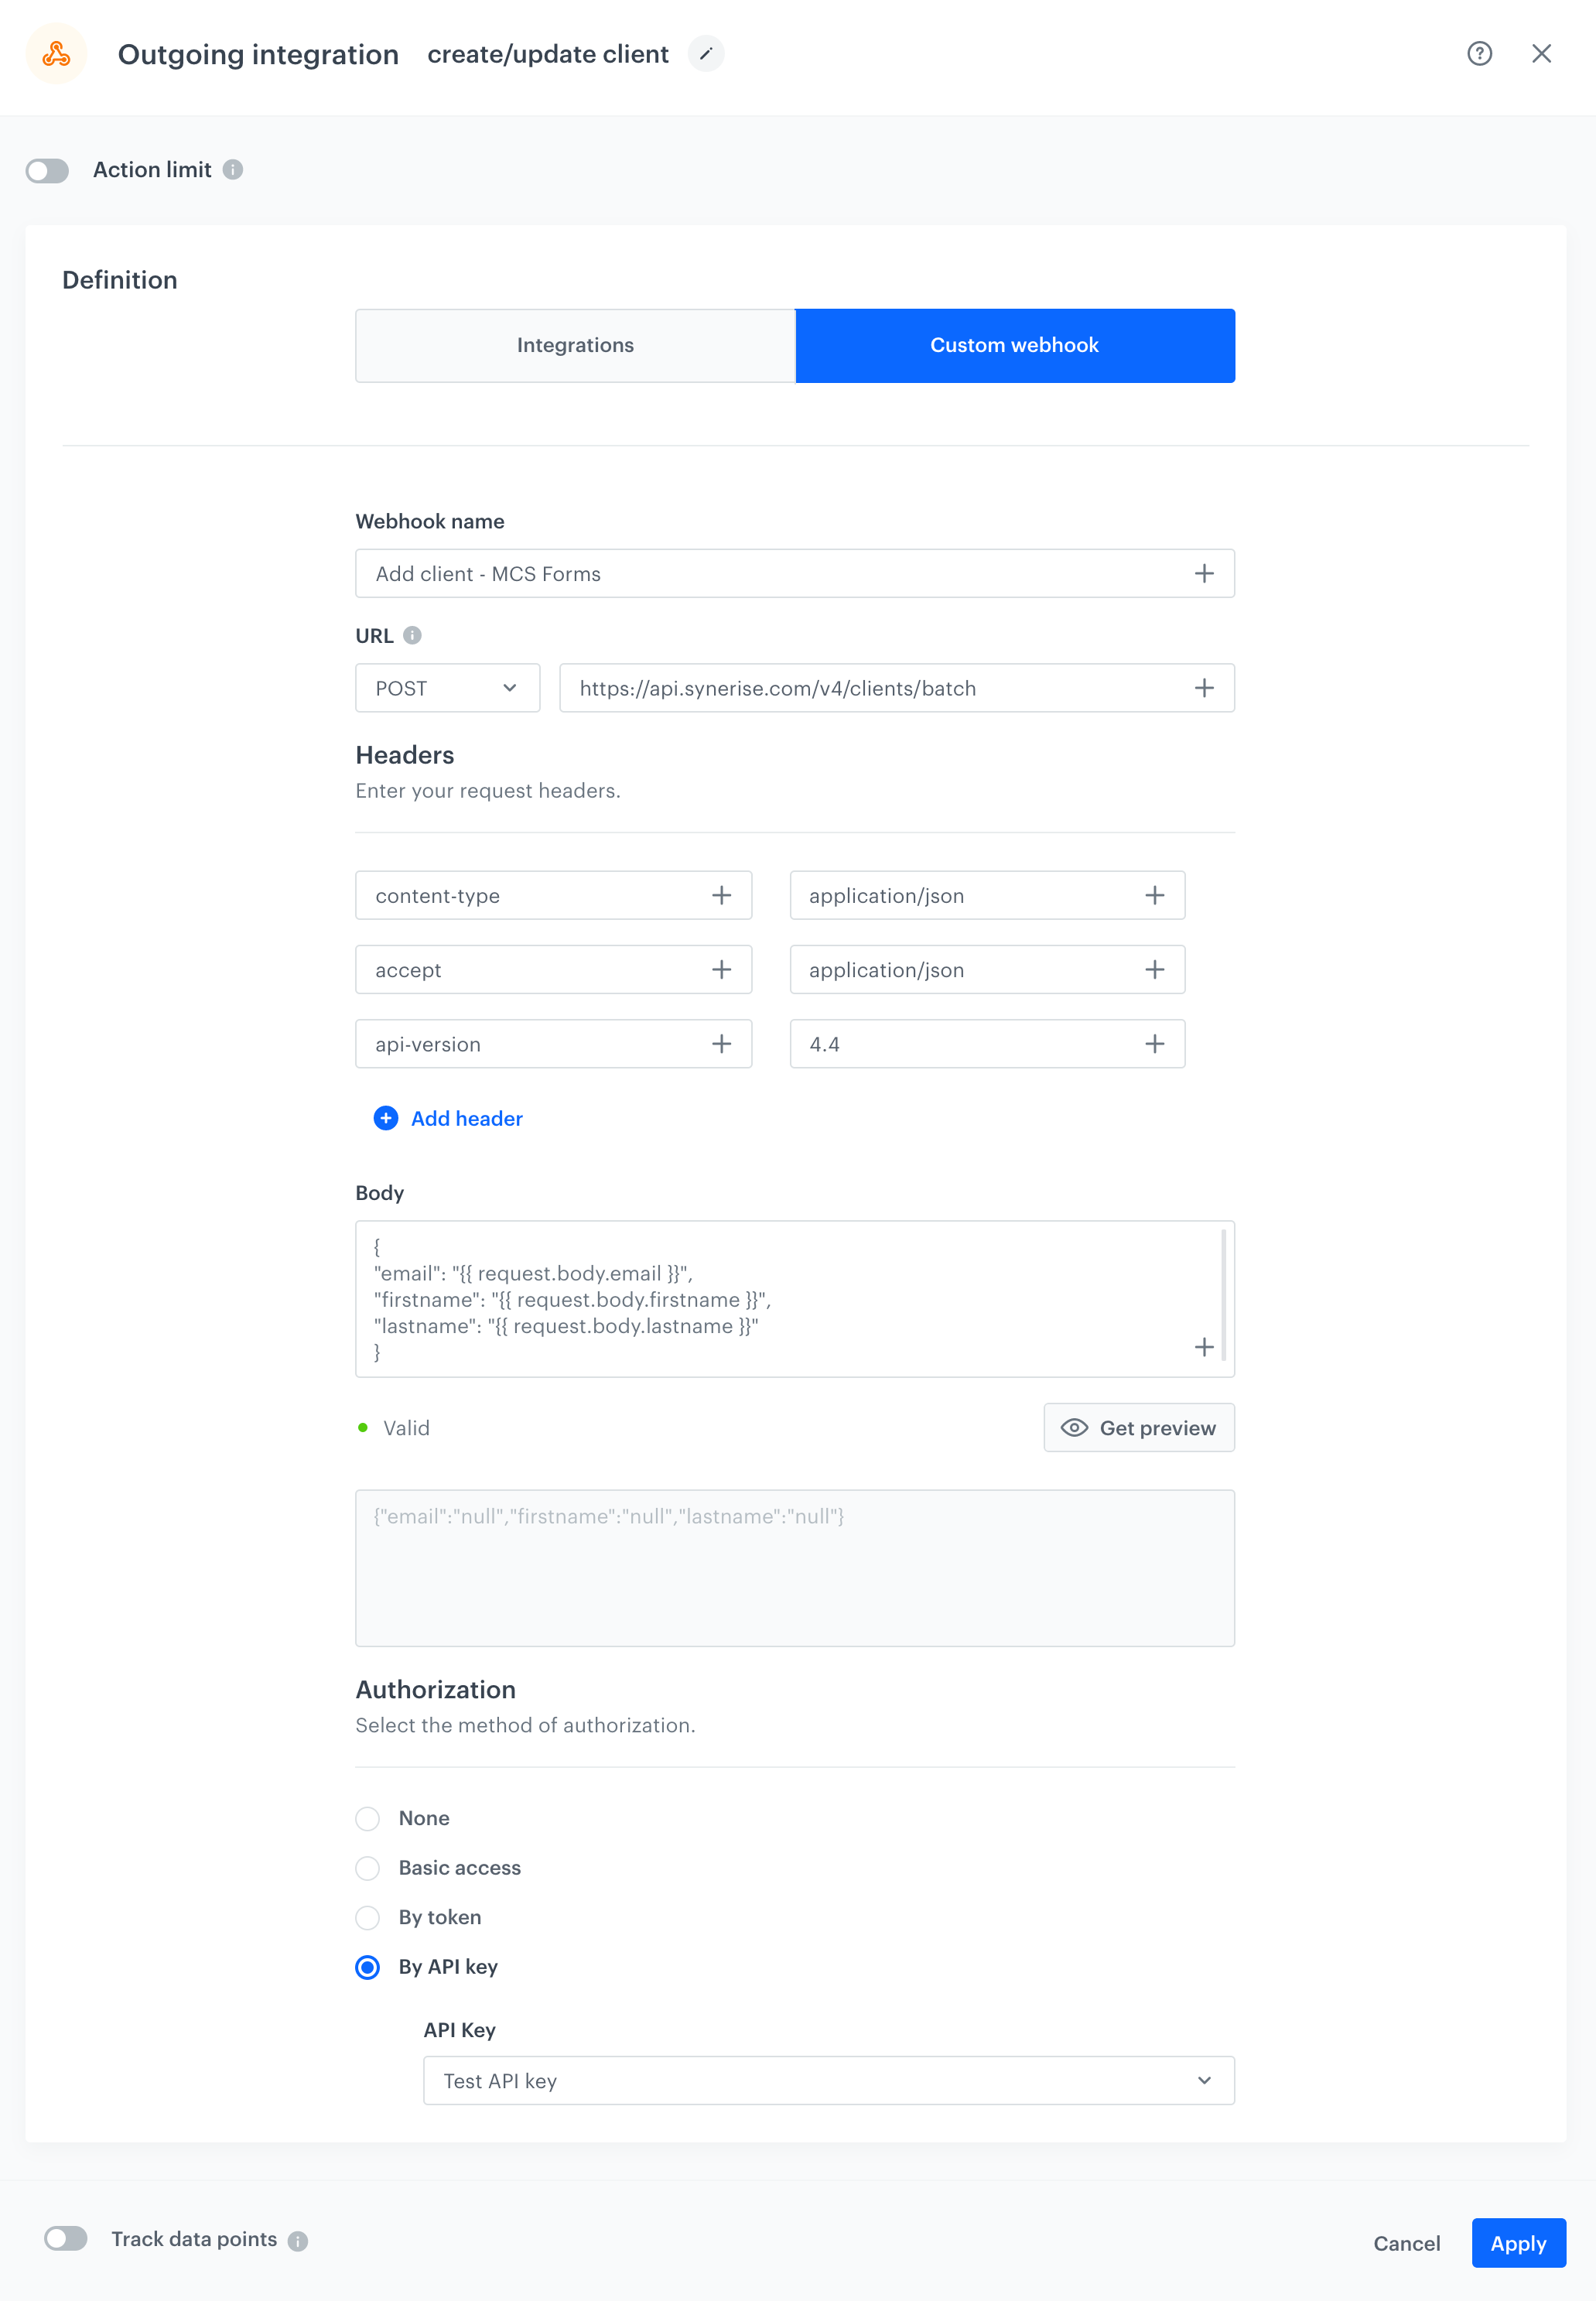
{
           "email": "{{ request.body.email }}",
           "firstname": "{{ request.body.firstname }}",
           "lastname": "{{ request.body.lastname }}"
       }