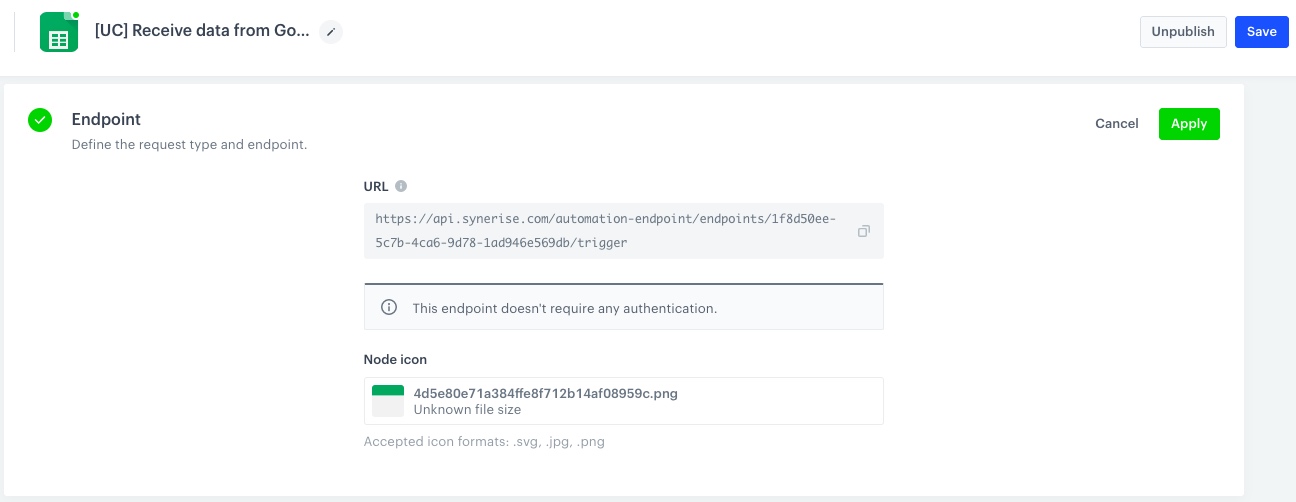
curl --location --request POST 'https://{SYNERISE_API_BASE_PATH}/automation-endpoint/endpoints/END_ID/trigger' \
   --header 'Content-Type: application/json' \
   --data-raw '{
    "opinion": "Great company",
    "email": "xyz@test.com"
   }'
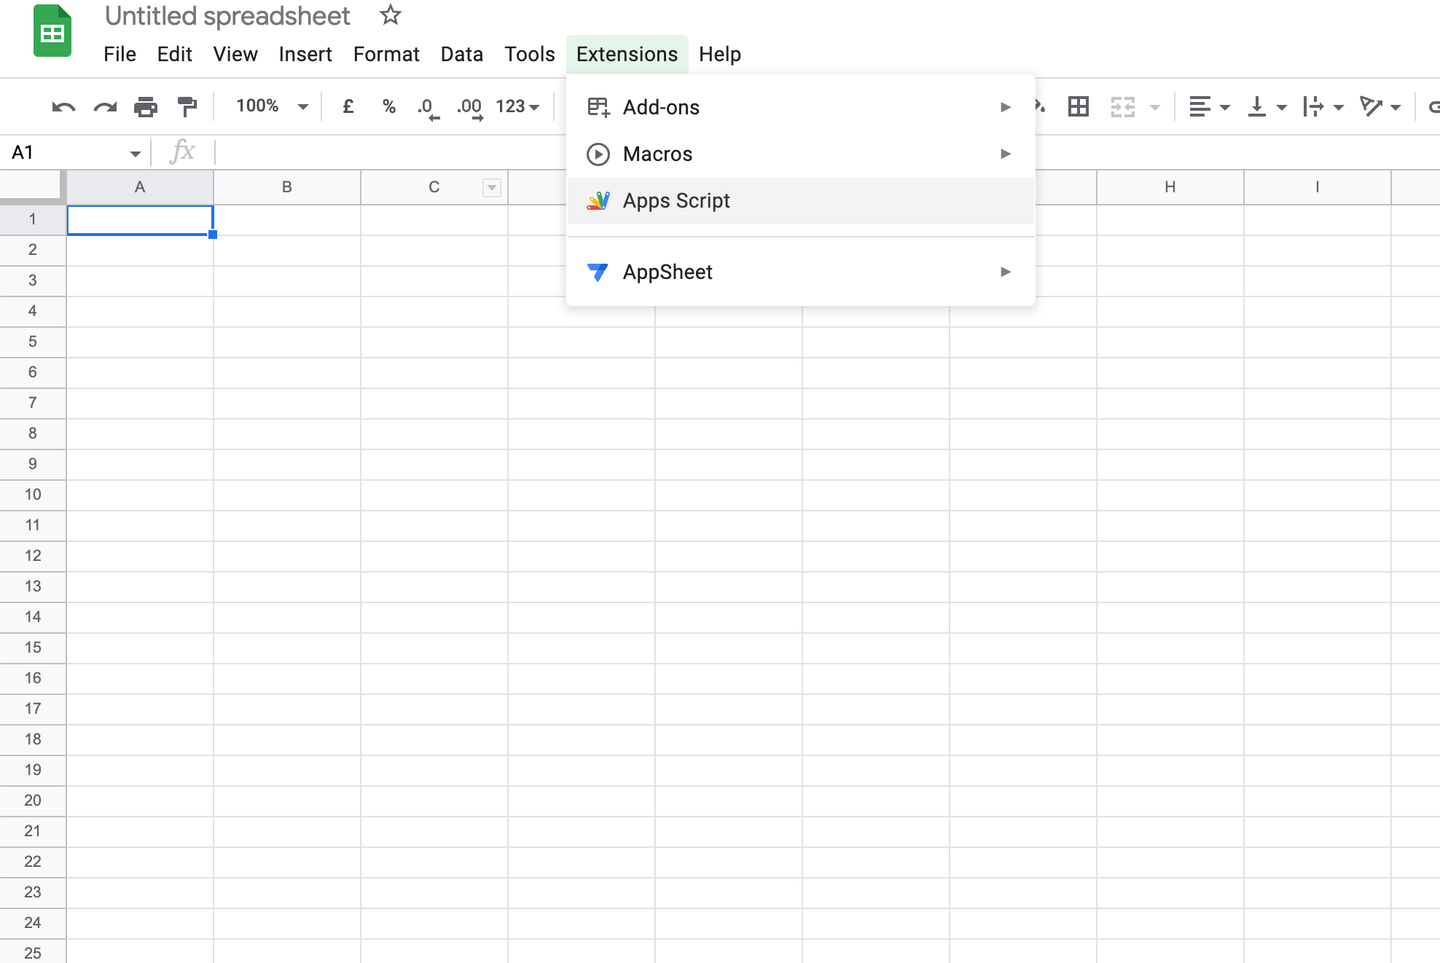
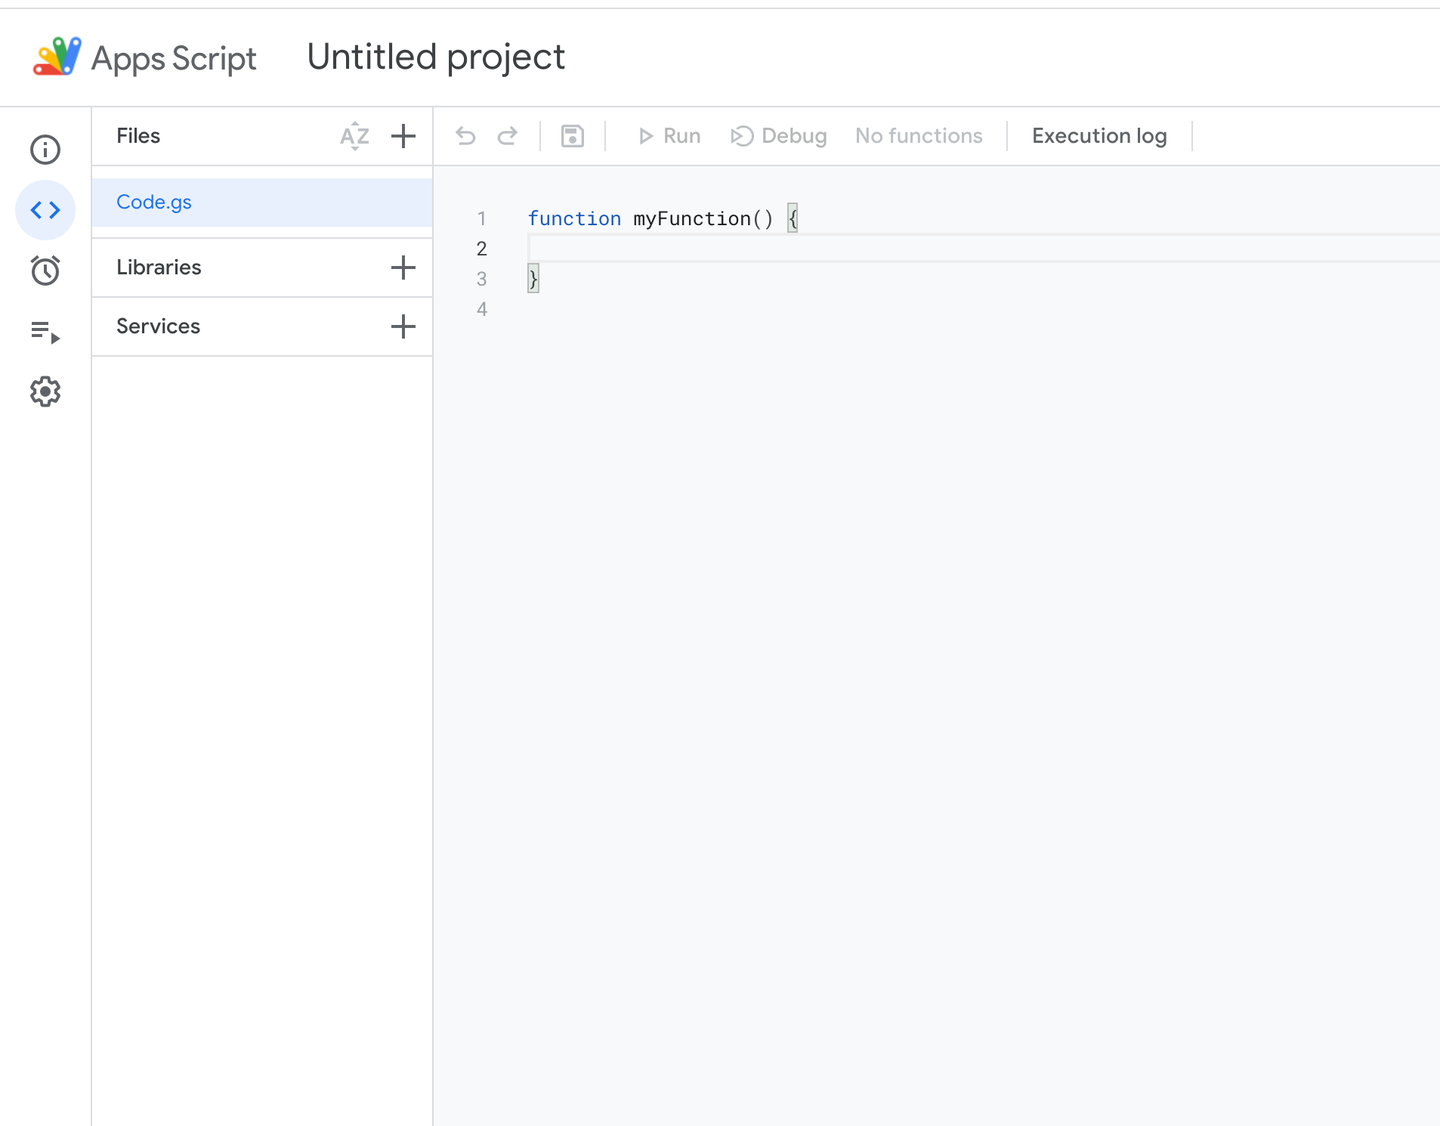
function onOpen() {
    var ss = SpreadsheetApp.getActiveSpreadsheet();
    var menuEntries = [
        { name: "Send to Synerise ", functionName: "doGet" },
    ];
    ss.addMenu("Export to Synerise", menuEntries);
   }
   function doGet() {
    var ss = SpreadsheetApp.getActiveSpreadsheet();
    var sheet = ss.getSheets()[0];
    var range = sheet.getRange(2, 1, 1000, 2); // 1000 is number of last row
    var values = range.getValues();
    for (var row in values) {
        if (values[row][0].length != 0 && values[row][1].length != 0) {
            var obj = {};
            obj.email = values[row][0]
            obj.opinion = values[row][1]
            UrlFetchApp.fetch('#insert_endpoint_URL_here#', {
                "method": "post",
                payload: JSON.stringify(obj), headers: { "content-type": "application/json" }
            })
        }
    }
   }
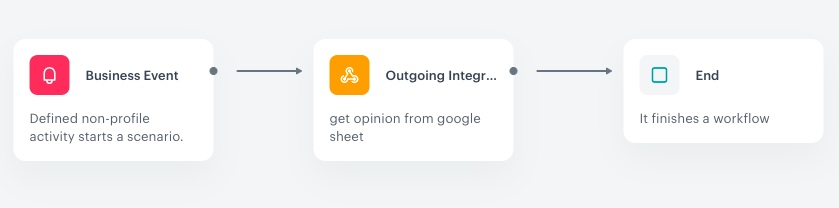
{
           "label":"customer made an opinion about company",
           "client":{
               "email":"{{ request.body.email }}"
           },
           "action":"company.opinion",
           "params":{
               "opinion":"{{ request.body.opinion }}"
           }
           }