The SFTP integration allows you to send data from Synerise to your other platforms and vice versa, ensuring that all your customer data is synchronized across all platforms. By using the Synerise Automation Hub and the Create Directory node, you can streamline your data management process, saving time and resources while ensuring that all your customer data is organized and up-to-date. This ensures that any data exports can be automatically saved in the correct folder in your resources, making it easier to manage and analyze your data.
This use case describes how to prepare an automated workflow that exports customer data with the agreement for email communication to SFTP. This workflow will be triggered everyday and before it sends a file with extracted customer data, it will send a request to your SFTP to create a directory whose name will be a date of the export.
## Prerequisites
---
- You must have customers in **Behavioral Data Hub > Profiles**.
- You must have a target resource with which you synchronize the data (in this use case, an SFTP server is used).
## Process
---
In this use case, you will go through the following steps:
1. [Create a segmentation](#create-a-segmentation) of customers whose data you want to send to the external resource.
2. [Create a workflow](#create-a-workflow) that sends a request to your SFTP server to create a new file with customer data from Synerise in a dedicated folder.
## Create a segmentation
---
As the first part of the process, create a segmentation of customers who agreed to receive emails. Data of these customers will be sent to the external resource.
1. Go to **Decision Hub > Segmentation > New segmentation**.
2. Enter the name of the segmentation.
3. Click **Choose filter**.
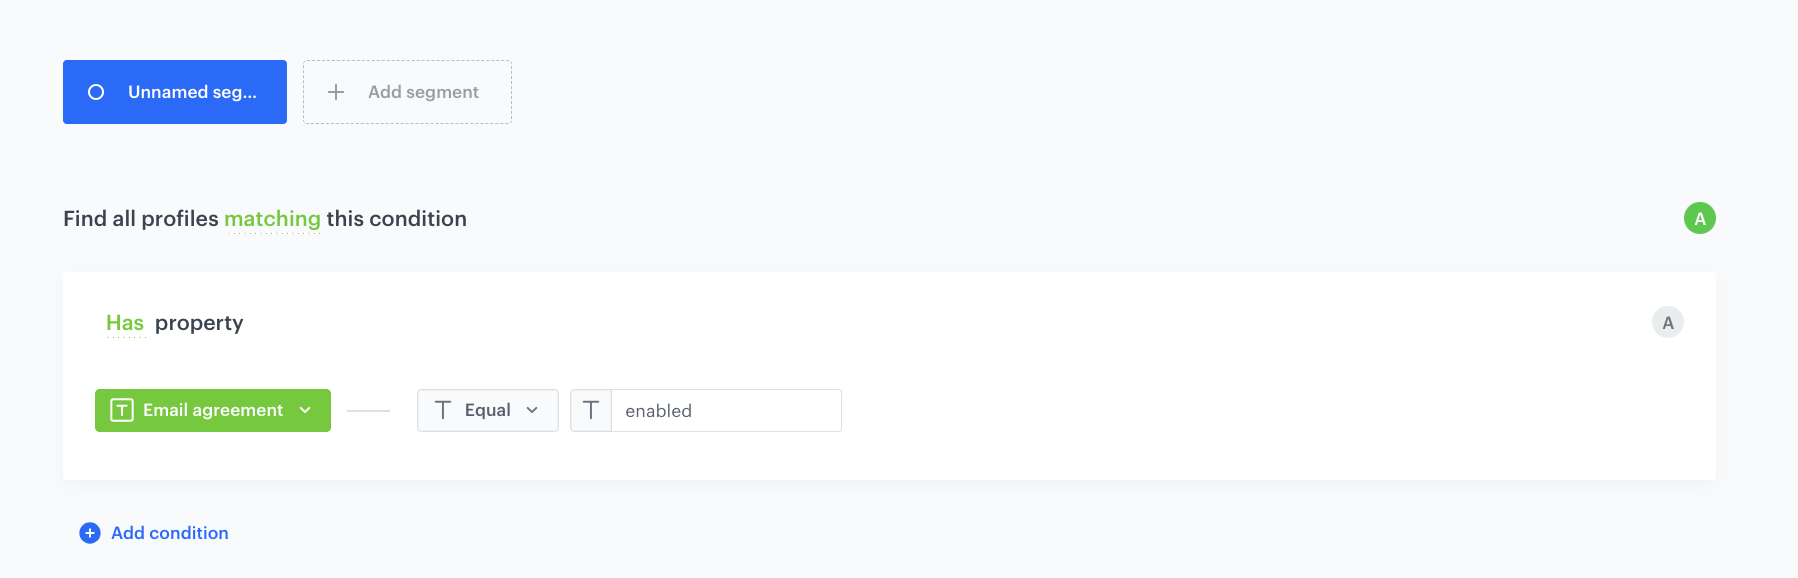
4. From the dropdown list, select `Email agreement`.
5. As the logical operator, select **Equal**.
6. In the text field, enter `enabled`.
7. Click **Save**.
The configuration of the segmentation
## Create a workflow
---
In the final part of the process, create a workflow which will send everyday a request to your SFTP server to deposit customers' data in a dedicated folder.
1. Go to **Automation Hub > Workflows > New workflow**.
2. Enter the name of the workflow.
### Define the Scheduled Run trigger node
1. As the trigger node, add **Scheduled Run**.
2. In the configuration of the node:
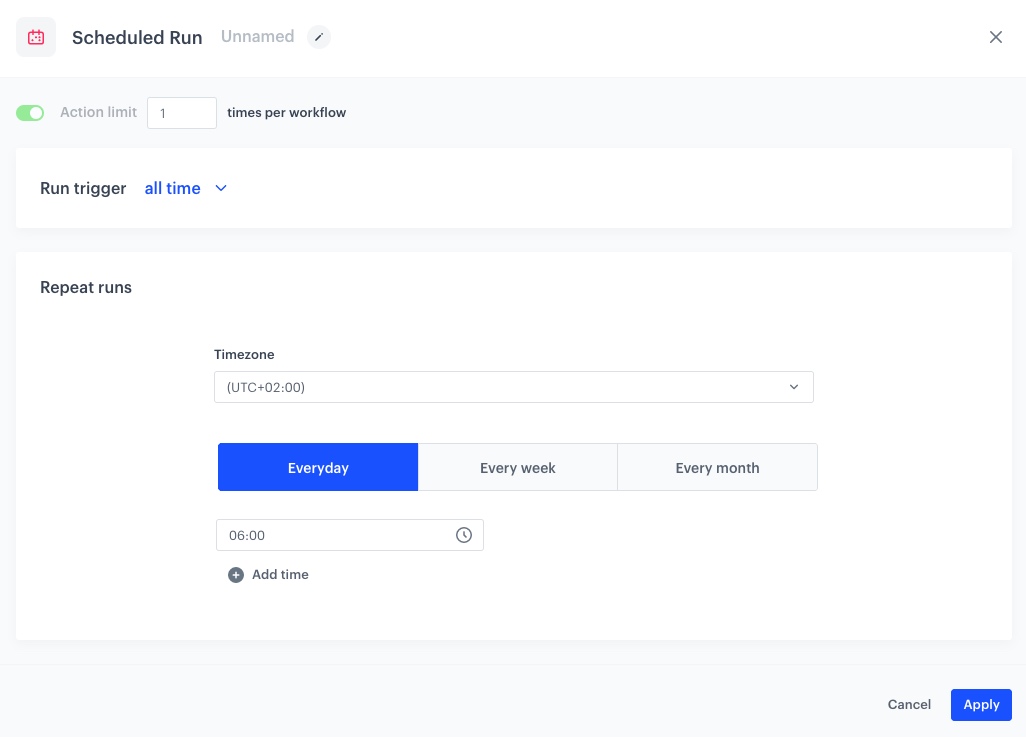
1. Leave the **Run trigger** option at **all time**.
2. From the **Timezone** dropdown list, select the time zone consistent with the timezone selected for your workspace.
3. Leave the **Everyday** tab.
3. In the **Select time** field, choose the time when the workflow will be triggered.
4. Confirm by clicking **Apply**.
The configuration of the Scheduled Run node
### Select customers to export
1. Add the **Get Profiles** node.
2. In the configuration of the node:
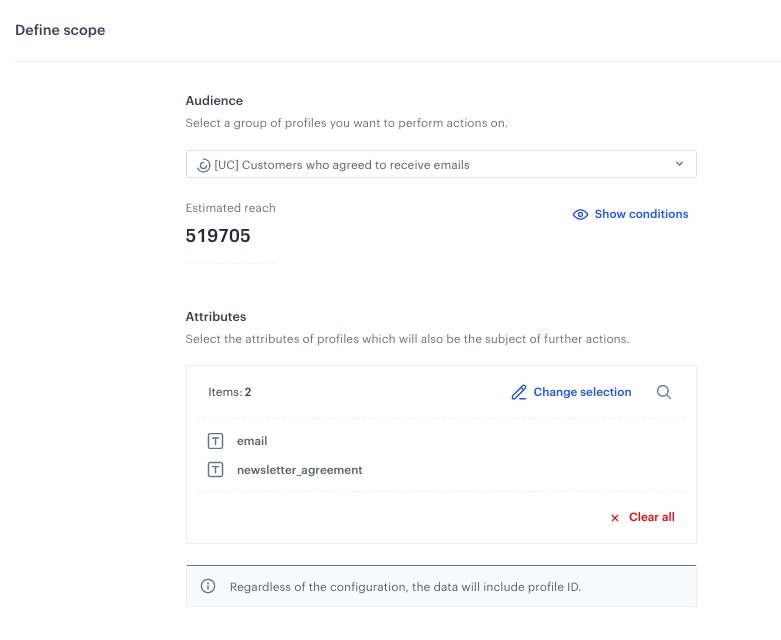
1. Select the segmentation you [created in the previous step](#create-a-segmentation) to extract customers’ data.
2. In the **Attributes** section, select **newsletter_agreement** and **email**.
3. Confirm by clicking **Apply**.
The configuration of the Get Profiles node
### Create a new directory in your SFTP
The **Create Directory** node allows you to send a request to your SFTP server to create a new folder.
1. Add a **Create Directory** node.
2. In the configuration of the node:
1. In the **Server** field, enter the URL of the server.
2. In the **Port** field, set the port. The default value is the most commonly used SFTP port.
3. In the **Path to directory** field, provide a path where your new directory will be created (for example: `/home/file-directory/`).
4. In the **Directory name**, you can use the following Jinjava code to use a date of launching the node as the directory name.
The Jinjava code returns the date in the following format: `08-03-2023`.
5. In the **Authentication** section, select the method of authentication.
6. Test the connection by clicking **Check connection**.
7. Confirm by clicking **Apply**.
### Configure settings for SFTP protocol
1. Add the **Send File** node by clicking **THEN > SFTP**.
2. In the configuration of the node:
1. In the **Server** field, enter the URL of the server.
2. In the **Port** field, set the port.
3. In the **Path to directory** field, provide the path to the directory.
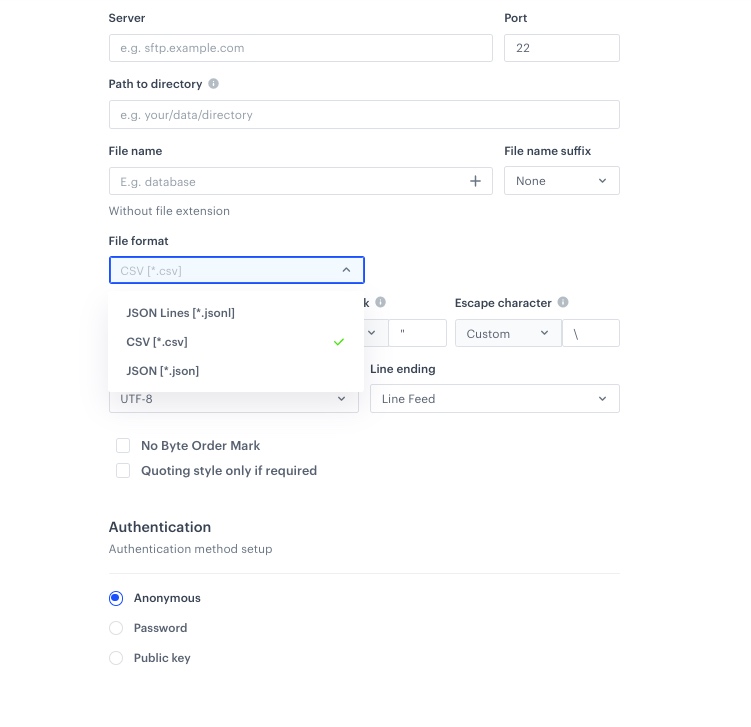
4. In the **File name** field, enter the name of the file under which it will be passed to your SFTP server.
5. If needed, in the **File name suffix**, select the suffix of the file name.
6. From the **File format** dropdown list, select the **CSV** format.
7. Verify and modify the delimiters if needed.
8. In the **Authentication** section, select the method of authentication.
9. Confirm by clicking **Apply**.
The configuration of the SFTP node
### Add the finishing node
12. Add the **End** node.
13. In the upper right corner, click **Save & Run**.
**Result**:
The workflow configuration
## Check the use case set up on the Synerise Demo workspace
---
You can check all the configurations directly in Synerise Demo workspace:
- [Segmentation](https://app.synerise.com/analytics/segmentations/7655038e-99bc-4876-9d7a-90f801ae6a5c)
- [Workflow](https://app.synerise.com/automations/automation-diagram/a82d48de-f57c-4b18-a48f-c07e26dd630f)
If you’re our partner or client, you already have automatic access to the **Synerise Demo workspace (1590)**, where you can explore all the configured elements of this use case and copy them to your workspace.
If you’re not a partner or client yet, we encourage you to fill out the contact [form](https://demo.synerise.com/request) to schedule a meeting with our representatives. They’ll be happy to show you how our demo works and discuss how you can apply this use case in your business.
## Read more
---
- [Automation Hub](/docs/automation)
- The ["Create Directory" node](/docs/automation/integration/sftp-integrations/create-directory)
- The ["Send File" node](/docs/automation/integration/sftp-integrations/sftp-send-file)
- [Segmentation](/docs/analytics/segmentations)