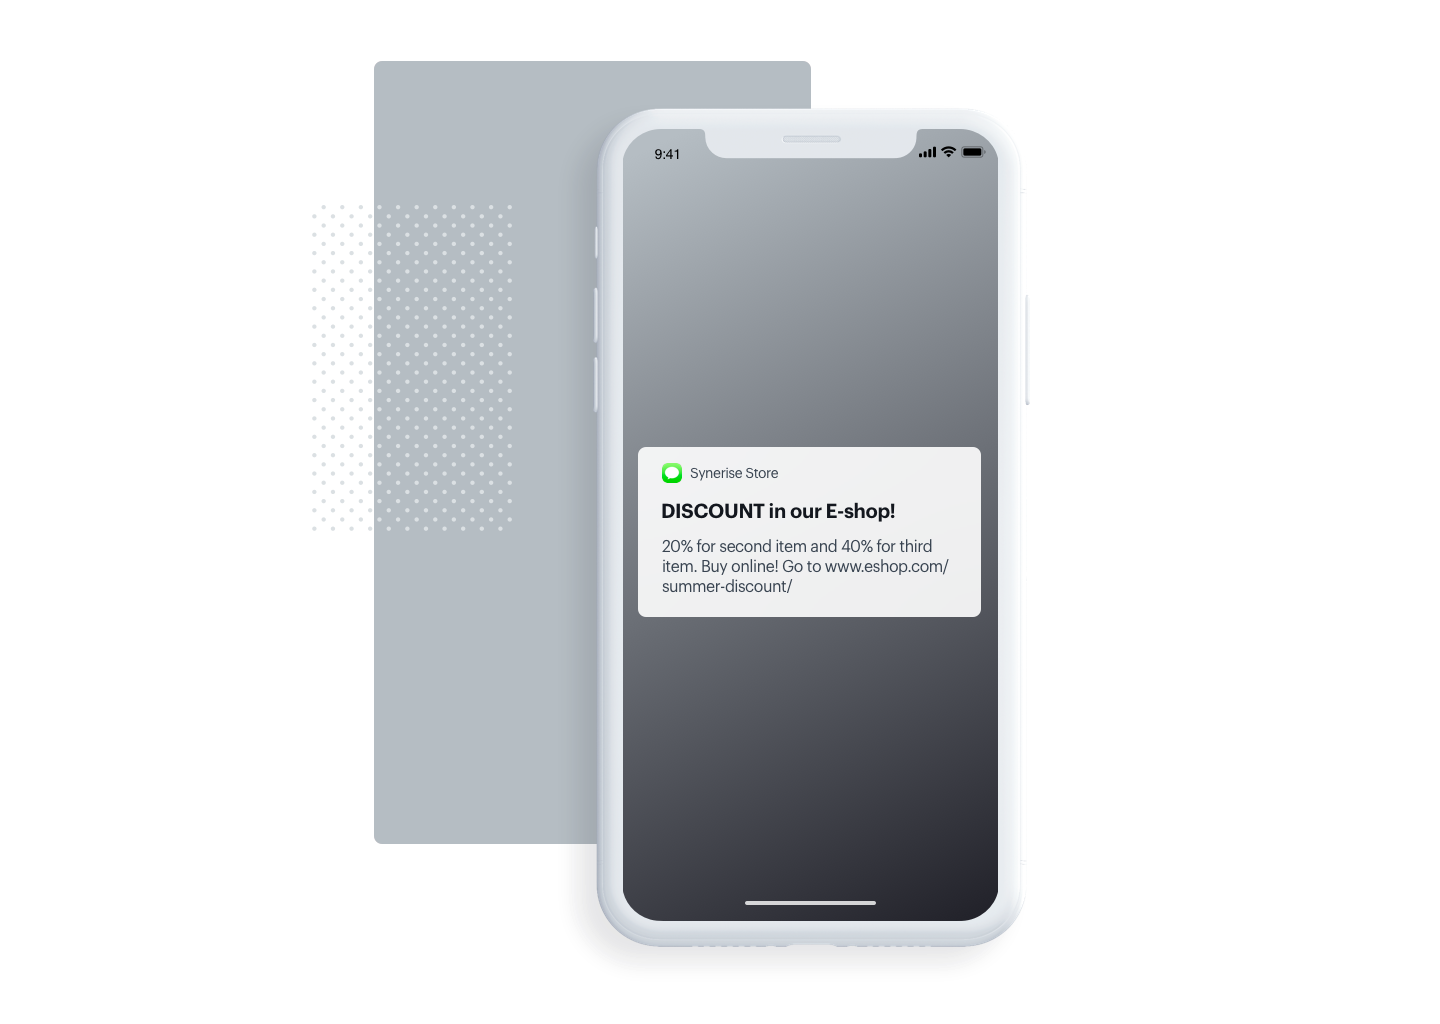
SMS campaigns give you the opportunity to reach users quickly and very effectively. Even if the user does not take advantage of the promotion, you can be almost sure that he will open the message. It is a good idea not to abuse this channel but to use it only in certain situations. One of them is an engaging campaign with a promotional code that gives a specific user a specific value – in this case discounted shopping.
## Example of use - Retail Industry
**Challenge**
We prepared an engaging SMS campaign with discount codes. It was sent to customers who gave us permission to send SMS messages. They got an individual code with a discount which they could use in the online shop.
## Prerequisites
---
- Customer data base with phone numbers and marketing consent for sending SMS campaigns.
- Discount coupons list.
- Integration of [SMS gateway with Synerise](/docs/settings/configuration/sms-account).
## Process
---
In this use case, you will go through the following steps:
1. [Add Voucher Pools](/use-cases/sms-with-discount#add-voucher-pools).
2. [Prepare the SMS content](/use-cases/sms-with-discount#prepare-the-sms-content).
## Add Voucher Pools
---
1. Go to **Data Modeling Hub > Voucher Pools > Add pool**.
2. On the pop-up, fill in the following fields:
1. In the **Pool name** field, enter the name of the pool (the name is only visible on the list of the voucher pools).
2. Optionally, from the **Barcode** type dropdown list, select the type of codes which will be imported in the CSV file to Synerise.
The selection in the dropdown has no influence on the further process. It serves only informational purposes for the users.
3. Optionally, in the **Voucher prefix** field, enter a number that will be added to the beginning of each code.
4. In the **Emission start** and **Emmision end** fields, select the dates when the distribution of the codes starts and finishes, respectively.
5. Optionally, to limit the size of the pool, fill in the **Pool limit** field.
6. Optionally, in the **Limit per profile**, define how many times a customer can get this voucher from the pool.
7. Optionally, in the **Description** field, enter the internal description of the pool that is visible only on the list of voucher pools.
3. Confirm by clicking **Apply**.
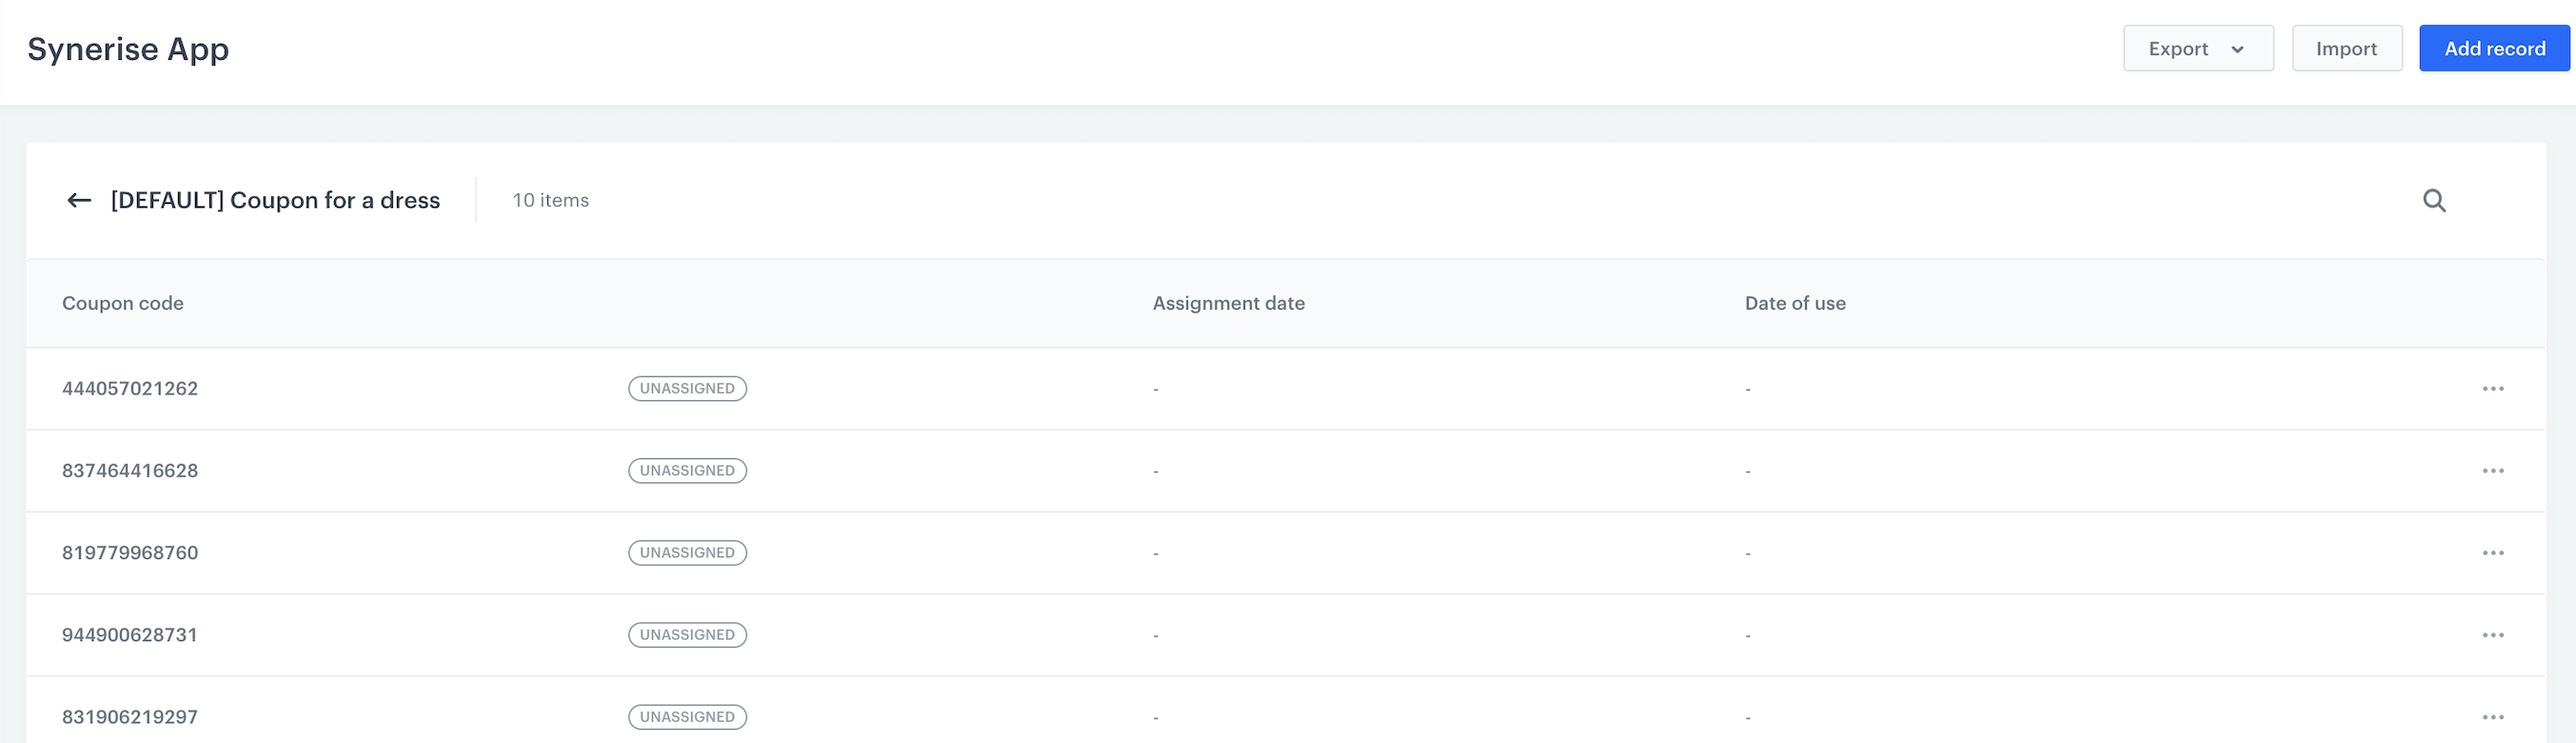
After importing them, you will be able to see the code with every voucher and information about whether it is assigned or unassigned to any customer. You can also see the assignment date and the date of use.
## Prepare the SMS content
---
1. Go to **Experience Hub > SMS > Create new**
2. In the **Audience** section, choose the campaign recipients. The system will automatically show you the customers who have given marketing consent for this type of campaign and have phone numbers on their contact card. You can choose to send the SMS to specific segments, create a new one directly from this place or send the message to everyone.
3. In **Content**, you have to choose the sender name (based on previously completed integration with a sending platform) and then you can create a message template in the text editor.
4. Click **Inserts** and choose pools with coupon codes you have created in previous step. Find it on the inserts list and copy its code to your message.
5. Add additional text to your message.
6. Save your template.
7. In **Schedule** section, choose what time the campaign will be sent
8. The last part is testing. If you want to test your SMS, you have to add your phone number and check how the message is displayed.
9. Save and run your campaign.

## Check the use case set up on the Synerise Demo workspace
---
Check the [SMS campaign settings](https://app.synerise.com/campaigns/create/d56922c7-9eb6-4a9c-9f5b-bc128b4ac356) in Synerise Demo workspace.
If you’re our partner or client, you already have automatic access to the **Synerise Demo workspace (1590)**, where you can explore all the configured elements of this use case and copy them to your workspace.
If you’re not a partner or client yet, we encourage you to fill out the contact [form](https://demo.synerise.com/request) to schedule a meeting with our representatives. They’ll be happy to show you how our demo works and discuss how you can apply this use case in your business.
## Read more
---
- [Catalogs](/docs/assets/catalogs)
- [Creating SMS campaign](/docs/campaign/SMS)
- [Voucher Pools](/docs/assets/code-pools)