Visual search
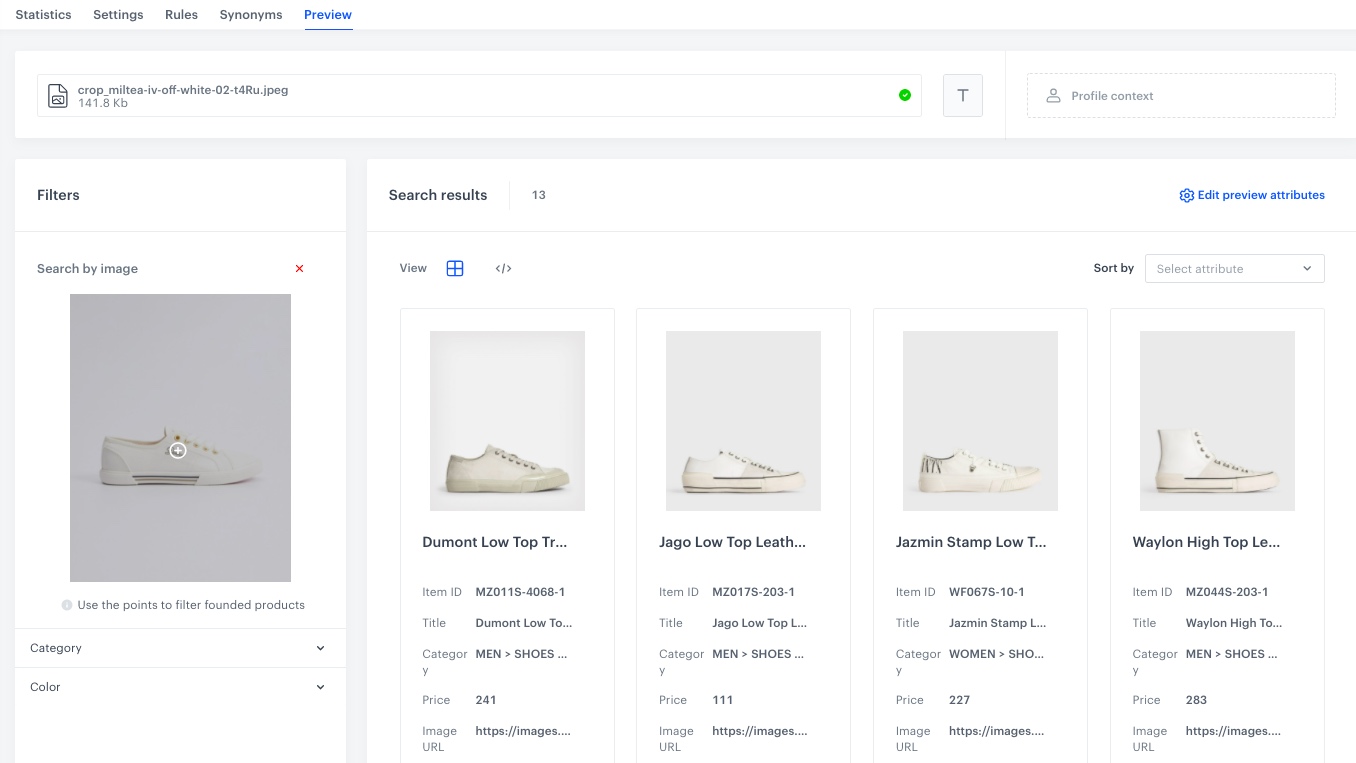
Visual search can really enhance shopping experience. By just taking a photo or uploading one of the items your customers are interested in, they will can search for visually similar products. Implementing visual search can connect online and offline shopping and the path from search to conversion may get shorter. Customers will be more willing to make a purchase when finding items is easier. Combining this with functionalities such as query rules, ranking may bring your business some serious benefits, and take the search experience to another level.
This use case describes the process of creating an index for a visual search engine and further step you should take to implement it on your website, including ideas on how you can upgrade it for an even better search experience.

Prerequisites
Create an index
We will configure an index for AI search and the settings for how it will work - this is the place for adding proper rules, ranking settings, returned attributes, and so on. Later, this index will be used during the implementation of the search - in the application or on the website.
-
Go to
 AI Hub > Indexes.
 -
Click Add index.
Result: The index creation screen opens. -
From the Choose feed dropdown list, select a catalog that contains an item feed based on which you would like to create an index.
-
From the Choose search language dropdown, select the language of your search engine.
-
Click Next step.
-
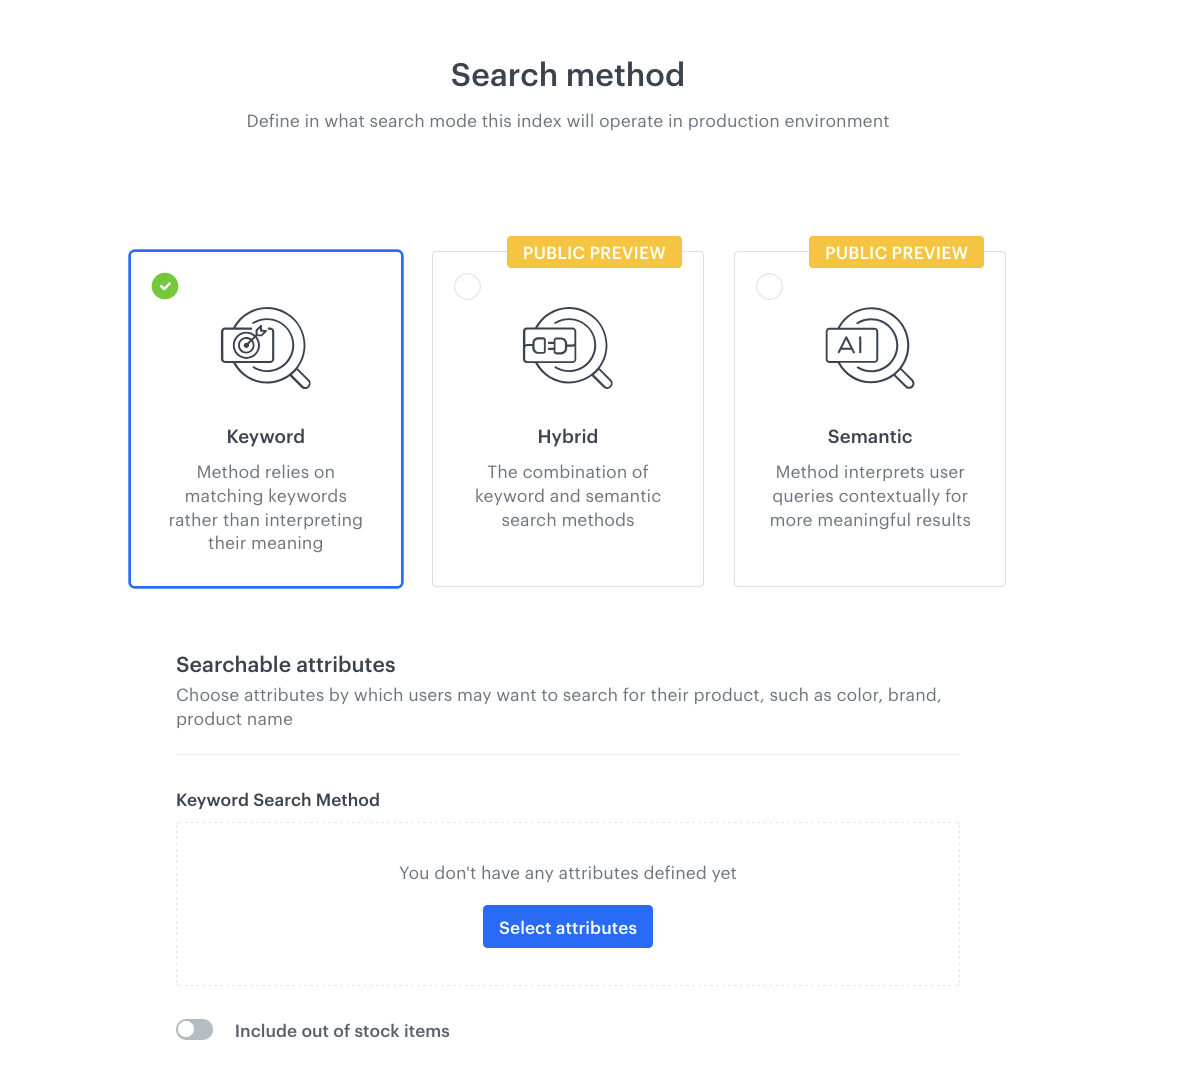
Choose Search Method.
-
Add searchable attributes. Searchable attributes are used by the search engine to calculate the item’s relevance to the query phrase provided by the customer. Attributes can be assigned to three importance levels: high, medium and low. When a word from the phrase matches an attribute, the score amount is assigned depending on importance assigned to the attribute.
-
Optionally, to display unavailable items in the search results, enable the Include out of stock items option.
-
Click Next step.

- Optionally, you can select item attributes which will be used as response, filterable, facetable, and sortable attributes.
- In the Item ranking section, define the criteria for sorting items in search results.
- Click Finish. Result: Your index is configured, now you can use the Preview tab to test the if the results meet your expectations.

What’s next
Once you set up AI search, you can use it in various channels. For example, you can incorporate it into a website with dynamic content. Alternatively, you can implement it as a feature in a mobile app or use it in an in-app message. In order to get the visual search results, you need to use the dedicated API method.
In our demo workspace, we have prepared a ready-made implementation of visual search, from which you can take inspiration when it comes to implementing it in your own shop. Check out an example visual search in our demo shop.
Check the use case set up on the Synerise Demo workspace
You can check the index configuration directly in Synerise Demo workspace.
If you’re our partner or client, you already have automatic access to the Synerise Demo workspace (1590), where you can explore all the configured elements of this use case and copy them to your workspace.
If you’re not a partner or client yet, we encourage you to fill out the contact form to schedule a meeting with our representatives. They’ll be happy to show you how our demo works and discuss how you can apply this use case in your business.


