
You can use web push notifications to remind customers of their last viewed products, helping them pick up where they left off and complete their purchase journey. Personalized push notifications can increase customer engagement, retention, and ultimately, sales. Reach your customers in a non-intrusive way and provide a seamless shopping experience that keeps your brand top of mind.

In this use case, you will create a workflow sending a personalized web push with product recently viewed by customer.

## Prerequisites 
---
- [Implement a tracking code](/docs/settings/tool/tracking_codes).
- [Implement OG tags](/developers/web/og-tags). Make sure that items include an image so webpush can render.
- [Configure web push notifications](/docs/campaign/Webpush/configuring-web-push).

## Process
---

In this use case, you will go through the following steps:
1. [Create aggregates](#create-aggregates) returning the tile, image and link of the last visited product.
2. [Create a web push template](#create-a-web-push-template) with aggregate inserts.
3. [Create a workflow](#create-a-workflow) to send customers a webpush.

## Create aggregates 
---
In this part of the process, create three aggregates that return title, image, and link of the last product customer had visited.

### Aggregate returning the title of the last visited product
---
1. Go to <img src="/api/docs/image/54176ad07f146575310749eba44b7c2f42c1b327/icons/behavioral-data-hub-icon.svg" alt="Behavioral Data Hub icon" class="icon"> **Behavioral Data Hub > Live Aggregates > Create aggregate**.
2. As the aggregate type, select **Profile**.  
2. Enter the name of the aggregate.
3. Click **Analyze profiles by** and select **Last**.
4. From the **Choose event** dropdown list, select the **Visited page** event.
5. As the event parameter, select **og:title**
6. Click the **+ where** button.
7. From the **Choose parameter** drop-down list, select the **product:retailer_part_no** parameter.
5. From the **Choose operator** dropdown list, select **String** and **Is not empty**.
6. Using the date picker in the lower-right corner, set the time range to **Custom > Last 12 hours**. Confirm your choice with the **Apply** button.
7. Click **Save**.

<figure>
<img src="/api/docs/image/54176ad07f146575310749eba44b7c2f42c1b327/use-cases/all-cases/_gfx/agg_title_wp.png" alt="The view of the aggregate configuration"  class="large">
<figcaption>Configuration of the aggregate returing the title of the last seen product</figcaption>
</figure> 

### Aggregate returning the image of the last visited product
---
1. Go to <img src="/api/docs/image/54176ad07f146575310749eba44b7c2f42c1b327/icons/behavioral-data-hub-icon.svg" alt="Behavioral Data Hub icon" class="icon"> **Behavioral Data Hub > Live Aggregates > Create aggregate**.
2. As the aggregate type, select **Profile**.  
2. Enter the name of the aggregate.
3. Click **Analyze profiles by** and select **Last**.
4. From the **Choose event** dropdown list, select the **Visited page** event.
5. As the event parameter, select **og:image**
6. Click the **+ where** button.
7. From the **Choose parameter** drop-down list, select the **product:retailer_part_no** parameter.
5. From the **Choose operator** dropdown list, select **String** and **Is not empty**.
6. Using the date picker in the lower-right corner, set the time range to **Custom > Last 12 hours**. Confirm your choice with the **Apply** button.
7. Click **Save**.

<figure>
<img src="/api/docs/image/54176ad07f146575310749eba44b7c2f42c1b327/use-cases/all-cases/_gfx/agg_image_wp.png" alt="The view of the aggregate configuration"  class="large">
<figcaption>Configuration of the aggregate returing the image of the last seen product </figcaption>
</figure> 

### Aggregate returning the link of the last visited product
---
1. Go to <img src="/api/docs/image/54176ad07f146575310749eba44b7c2f42c1b327/icons/behavioral-data-hub-icon.svg" alt="Behavioral Data Hub icon" class="icon"> **Behavioral Data Hub > Live Aggregates > Create aggregate**.
2. As the aggregate type, select **Profile**.  
2. Enter the name of the aggregate.
3. Click **Analyze profiles by** and select **Last**.
4. From the **Choose event** dropdown list, select the **Visited page** event.
5. As the event parameter, select **og:url**
6. Click the **+ where** button.
7. From the **Choose parameter** drop-down list, select the **product:retailer_part_no** parameter.
5. From the **Choose operator** dropdown list, select **String** and **Is not empty**.
6. Using the date picker in the lower-right corner, set the time range to **Custom > Last 12 hours**. Confirm your choice with the **Apply** button.
7. Click **Save**.

<figure>
<img src="/api/docs/image/54176ad07f146575310749eba44b7c2f42c1b327/use-cases/all-cases/_gfx/agg_url_wp.png" alt="The view of the aggregate configuration"  class="large">
<figcaption>Configuration of the aggregate returing the link of the last seen product </figcaption>
</figure> 

## Create a web push template
---
In this part of the process, you will create a web push template with [aggregate inserts you created in the previous part of the process](#create-aggregates).

1. Go to <img src="/api/docs/image/54176ad07f146575310749eba44b7c2f42c1b327/icons/experience-hub-icon.svg" alt="Experience Hub icon" class="icon" > **Experience Hub > Web Push > Templates > Create new**.
2. Click **Drag&drop builder**.
3. Enter the name of the template.
4. In the **Title** field, define the title you want to display in the web push.
5. In the **Message** field, define the copy you want to appear in the web push. In our case it will be an insert with [aggregate returing the product title, created in the previous step](#aggregate-returning-the-title-of-the-last-visited-product). Enter the following code:
    
   <pre><code class="language-jinjava">
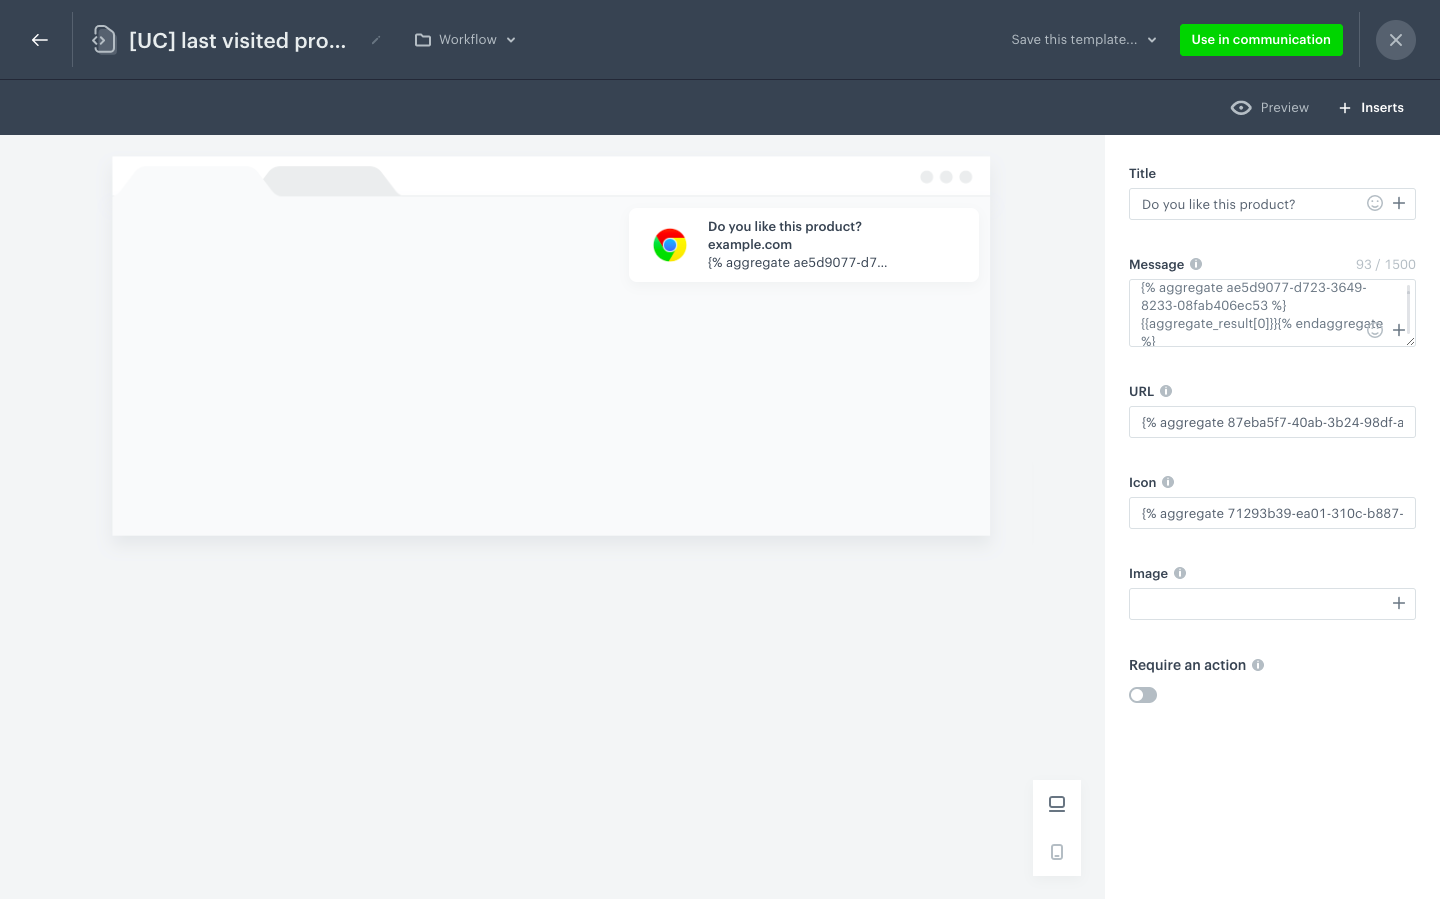
{% aggregate ae5d9077-d723-3649-8233-08fab406ec53 %}{{aggregate_result[0]}}{% endaggregate %}</code></pre>

    
   <div class="admonition admonition-note"><div class="admonition-icon"><svg xmlns="http://www.w3.org/2000/svg" fill="none" viewBox="0 0 24 24" stroke="currentColor" stroke-width="2.5"><path stroke-linecap="round" stroke-linejoin="round" d="M13 16h-1v-4h-1m1-4h.01M21 12a9 9 0 11-18 0 9 9 0 0118 0z" /></svg></div><div class="admonition-body"><div class="admonition-content">

   Aggregate IDs are used as examples for the purpose of this use case.

   </div></div></div>

6. In the **URL** field, define the link you want to display in the web push. In our case it will be an insert with [aggregate returing the product link, created in the previous step](#aggregate-returning-the-link-of-the-last-visited-product). Enter the following code:
    
   <pre><code class="language-jinjava">{% aggregate 87eba5f7-40ab-3b24-98df-ae2ac6263474 %}{{aggregate_result[0]}}{% endaggregate %}</code></pre>

7. In the **Icon** field, define the image you want to display in the web push. In our case it will be an insert with [aggregate returing the product image, created in the previous step](#aggregate-returning-the-image-of-the-last-visited-product). Enter the following code:
    
   <pre><code class="language-jinjava">{% aggregate 71293b39-ea01-310c-b887-3cb91b6645e3 %}{{aggregate_result[0]}}{% endaggregate %}</code></pre>

8. Optionally, you can define an image in the **Image** field.
<figure>
<img src="/api/docs/image/54176ad07f146575310749eba44b7c2f42c1b327/use-cases/all-cases/_gfx/template_wp.png" alt="The view of the web push template configuration"  class="full">
<figcaption>Web push template configuration</figcaption>
</figure> 

## Create a workflow
---
The workflow will be triggered by the `session.end` event. The delay is set to 2 hours, after this time customer will receive a web push with the last seen product.

1. Go to <img src="/api/docs/image/54176ad07f146575310749eba44b7c2f42c1b327/icons/automation-hub-icon.svg" alt="Automation Hub icon" class="icon" > **Automation Hub > Workflows > New workflow**.  
2. Enter the name of the workflow.

### Define the trigger node
---
1. As the first node, add the **Profile Event**. In the settings of the node, select the **session.end** event.
2. Click **Apply**.

### Configure the Delay node
---
1. Add the **Delay** node. In the node settings:
    1. In the **Delay** field, type `2`.
    2. From the **Unit** dropdown list, choose **Hour**.
2. Click **Apply**.

### Configure the Send Web Push node
---
1. Add the **Send Web Push** node. In the node settings:
    1. In the **Content** section, from the **Webpush template** dropdown, select [the template you created in the previous step](#create-a-web-push-template).
    2. In the **Schedule** section, set the **Webpush lifespan (TTL)** according to your business needs.
    3. You can describe campaigns with [additional parameters](/docs/campaign/Webpush/creating-webpush-campaigns#adding-custom-parameters).
2. Click **Apply**.

### Add the finishing node 
---
1. Add the **End** node to the **Send Web Push** node.
2. In the upper right corner, click **Save & Run**.

<figure>
<img src="/api/docs/image/54176ad07f146575310749eba44b7c2f42c1b327/use-cases/all-cases/_gfx/webpush_lastseen.png" alt="The workflow configuration"  class="full">
<figcaption>The workflow configuration</figcaption>
</figure> 

## Check the use case set up on the Synerise Demo workspace
---
You can check the all the configurations directly in Synerise Demo workspace:
- [Aggregate returning the name of the last visited product](https://app.synerise.com/analytics/aggregates/ae5d9077-d723-3649-8233-08fab406ec53) 
- [Aggregate returning an image of the last visited product](https://app.synerise.com/analytics/aggregates/71293b39-ea01-310c-b887-3cb91b6645e3)
- [Aggregate returning a link of the last visited product](https://app.synerise.com/analytics/aggregates/87eba5f7-40ab-3b24-98df-ae2ac6263474)
- [Workflow](https://app.synerise.com/automations/automation-diagram/8e027e43-2ac7-4e50-be0d-b4b6c4c5f469)

If you’re our partner or client, you already have automatic access to the **Synerise Demo workspace (1590)**, where you can explore all the configured elements of this use case and copy them to your workspace.  

If you’re not a partner or client yet, we encourage you to fill out the contact [form](https://demo.synerise.com/request) to schedule a meeting with our representatives. They’ll be happy to show you how our demo works and discuss how you can apply this use case in your business. 

## Read more
---

- [Automation Hub](/docs/automation)
- [Jinjava inserts](/developers/inserts)
- [Web push](/docs/campaign/Webpush)

