IMPORTANT: This feature is available in private preview mode and accessible only on selected workspaces. To get access, contact your account manager or Synerise Support.
Generate wallet pass link
Generating a personalized link to Apple/Google Wallet
walletPassId is the ID of the wallet pass. To find it, open the wallet pass for editing—the ID appears in the URL.
Optionally, set an expiration for the generated link itself with expirationTimeInDays (a number of days from now, as in the basic example) or expirationTime (an absolute date and time as an ISO 8601 date-time string, as in the variable example). This doesn't affect the expiration of the pass—that's configured separately when creating the wallet pass. If you don't set either parameter, the link doesn't expire.
You can also pass the following optional parameters:
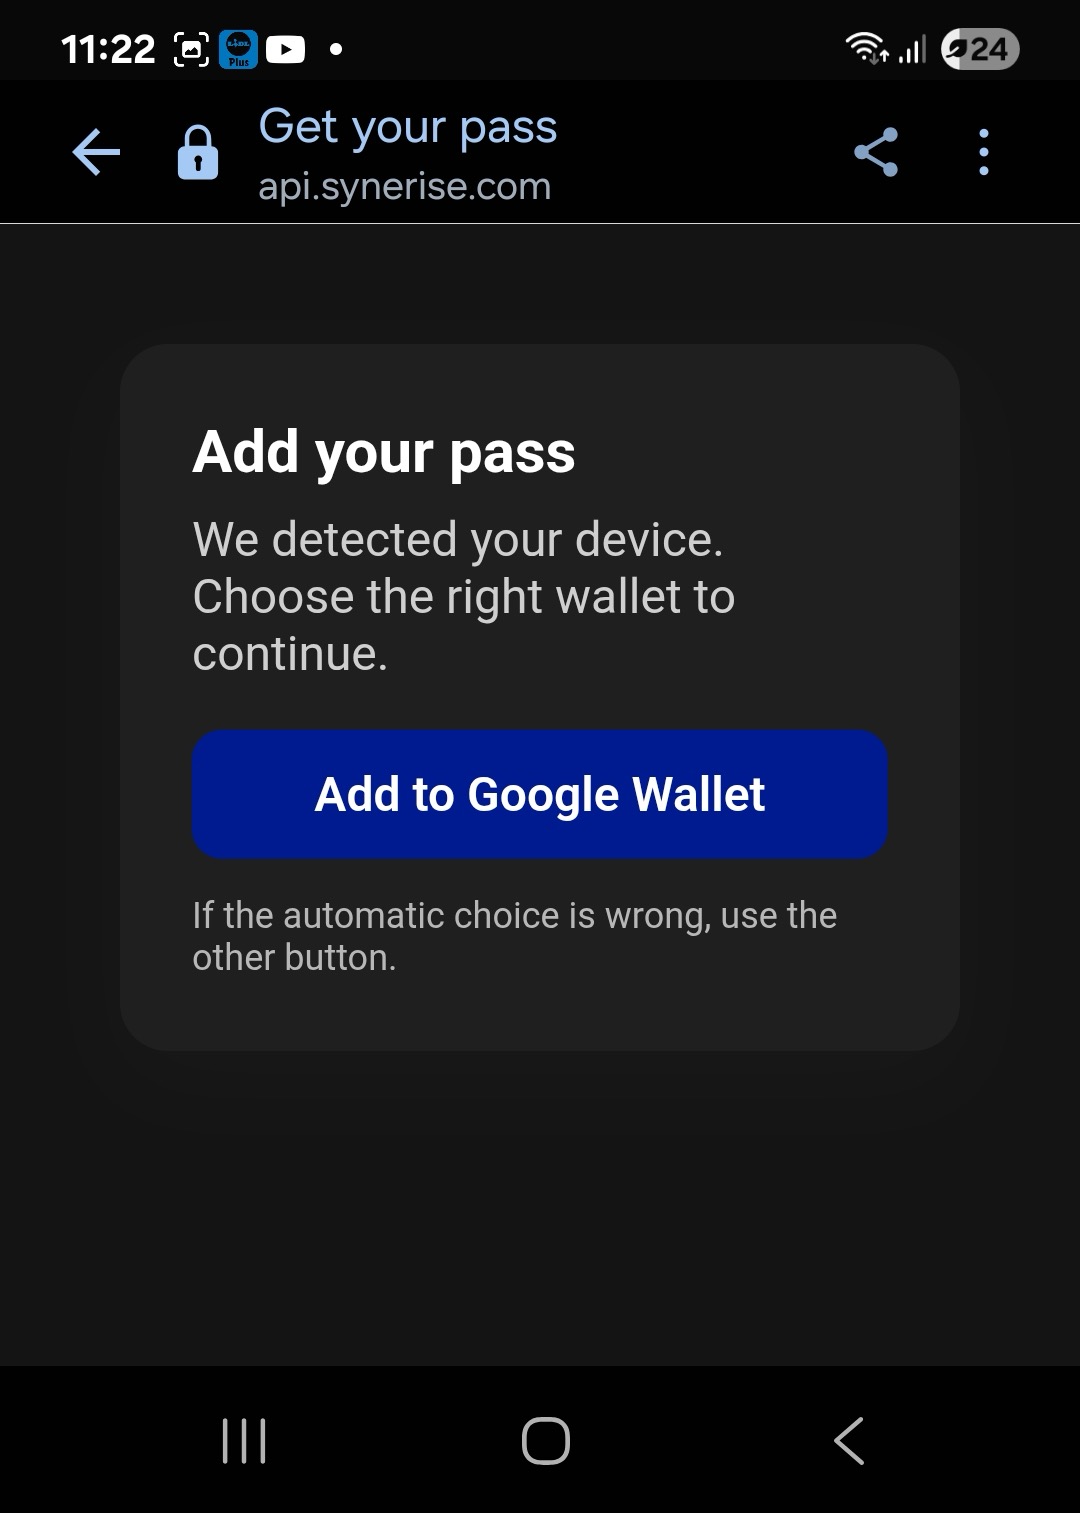
eventParams- a JSON object with additional parameters to attach to the events generated for this link, for exampleeventParams={"campaign": "summer-sale"}. Use it to track things like the source of the click on the link. These parameters are added to the walletPass.issued, walletPass.installed, and walletPass.installFailed events. Values can be of any type.additionalContext- a JSON object with parameters used by the{{ context }}insert.platform- the platform to generate the link for:IOSorANDROID, for exampleplatform=IOS— if you don't set it, the visitor lands on a page that detects their device and shows a button to add the pass to their wallet, as shown below. If you set it, the visitor skips that landing page and goes straight to the native add-pass screen for the platform you specified.
Basic
{% walletpasslink walletPassId=983890bb-846a-448f-9fae-1a4c9e0d7997 expirationTimeInDays=7 %}
Variable
{% walletpasslinkvar walletPassId=983890bb-846a-448f-9fae-1a4c9e0d7997 expirationTime=2026-08-01T00:00:00+02:00 %}
    {{walletpasslink_result}}
{% endwalletpasslinkvar%}Result:https://api.synerise.com/device-hub/wallets/issue?clientUuid=f6646ec5-34d4-4743-8c8f-3719443a8549&issueId=a2a77e3c-65bf-490d-8d97-39c3b4c3593c&hmac=DC2ZzhIzfvOI4SmWEMuAnIhax5t8KbdT4jXv2SYG3Xs
The generated link always includes the recipient's clientUuid, since it's rendered for the specific customer receiving the message - see Anonymous vs. identified links. Any dynamic field driven by profile data resolves to that customer's actual values.
The link directs to the following view:
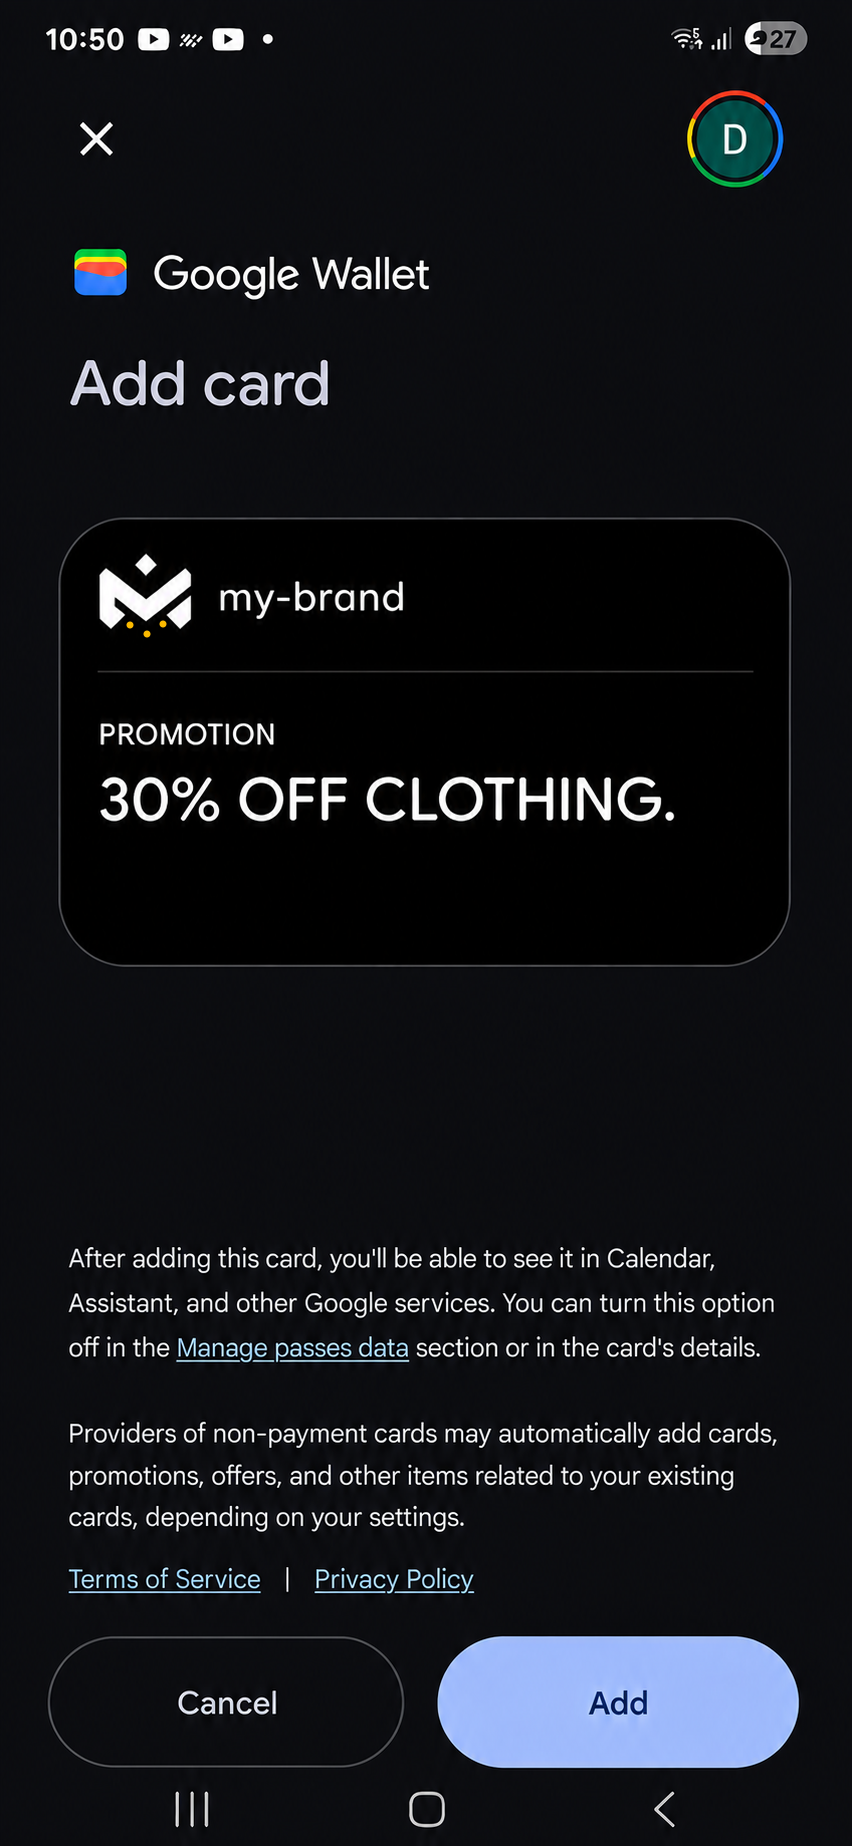
Then:
With optional parameters
You can combine eventParams, additionalContext and platform with either insert form, for example:
{% walletpasslink walletPassId=983890bb-846a-448f-9fae-1a4c9e0d7997 platform=IOS eventParams={"campaign": "summer-sale"} additionalContext={"customerNickname":"Champ"} %}
When you set platform, the link skips the device-detection view shown above and directs the visitor straight to the native add-pass screen for the platform you specified.
Context
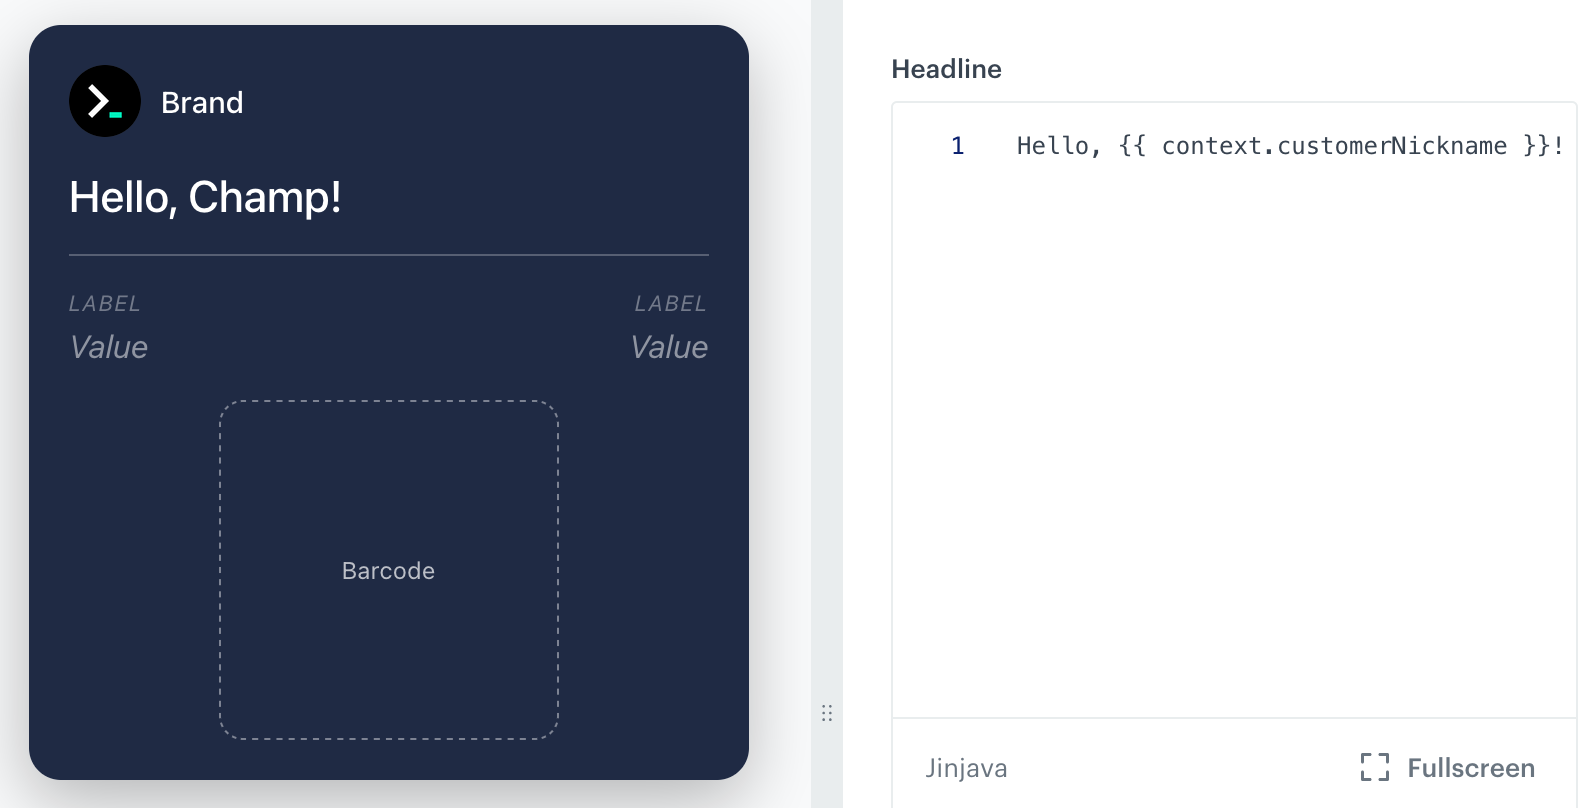
In the content of a wallet pass, you can use the {{ context }} insert. This allows you to provide variable values to the wallet pass at the time of generating a link.
Syntax:
{{ context.keyName }}
where keyName is the identifier of the variable.
If the key name includes special characters, use context['keyName'].
In the following image, the key name is customerNickname. The value "Champ" needs to be added to the wallet pass generation request. For the example screenshot, it was added in the preview settings in the wallet pass editor.
Usage example: let customers scan a code in a physical store and associate the wallet pass with that location
You can use the {{ context }} insert to easily generate a series of QR codes to display in stores. All these codes will use the same wallet pass template, so they will have the same customer-visible content (unless you customize that with Jinjava too), but their location data will be different for each code, so the wallet provider can send notifications when the customer approaches the location associated with their wallet pass.
To do this:
- Create a wallet pass.
In the location fields, use the context insert. For example, in Location 1 - latitude, enter{{ context.loc1-lat }}
For details on the location fields, see "Creating wallet passes". - Publish the wallet pass.
- Click Send to phone.
- In Additional context, provide the latitude and longitude for the location you want to generate a QR code for.
For details on using this view, see "Distributing wallet passes". - Save the QR code so that you can display it.
- Repeat steps 3 and 4 to generate codes for the other stores.
- Display the codes in your stores.
Result: After a customer scans the QR code and adds the pass to their wallet, they will receive a notification from the wallet provider when they are near the store.