> Synerise Documentation — Automation
>
> This file contains the complete "Automation" section of the Synerise documentation. Each article begins with a top-level "# " heading. The manifest listing all sections is at https://hub.synerise.com/llms-full.txt
# Introduction to data transformation
Transforming data is the process of shaping your data into a usable format. Instead of using different individual tools to modify your data, you can do it in Automation Hub thanks to its capability of data transformation and use its outcome at once.
The process of transforming data consists of two steps:
1. [Creating the transformation rule that defines the operations on the file structure](/docs/automation/data-transformation-and-imports/creating-data-transformation) based on a sample file, which reflects the source file you want to transform. It can be a fragment of the actual file.
2. Using the transformation rule in [workflows](/docs/automation/creating-automation) by means of the [Data Transformation node](/docs/automation/operation/data-transformation-node) to transform the actual file.
### Improve data security
Although the data transferred to and from Synerise is already secured with protocols, you can use the encryption feature. It lets you [add an encryption key](/docs/settings/data-exchange-encryption) and use it to encrypt or decrypt data during transformation with [Encrypt Data](/docs/automation/data-transformation-and-imports/transformations-and-data-operators/encrypt-data) and [Decrypt Data](/docs/automation/data-transformation-and-imports/transformations-and-data-operators/decrypt-data) nodes, you can use it for:
- selected values in an exported/imported file;
- any string data using Jinjva tag for [encrypting](/developers/inserts/automation#encrypt-data) and [decrypting data](/developers/inserts/automation#decrypt-data)
## Purpose of transforming data
---
### Imports and exports
The main purpose of data transformation is to structure the data to meet the requirements for importing (to Synerise) and exporting files to external tools.
After the data transformation rule is published, you can use it in the [Data Transformation](/docs/automation/operation/data-transformation-node) node while preparing a workflow that imports data to Synerise (such as transactions, events, profiles) or exports it further.
If your file meets the Synerise import requirements, you can omit the data transformation part.
## Accepted file formats
---
The data sample used for building transformation rules should meet the following requirements:
- The file can contain up to 500 rows
- Supported file formats: `.CSV`, `.XML feed`, `.JSONL`, `.JSON`
### How to prepare a transformation rule of the target file sample?
The transformation rules are created based on the sample file which must reflect the target file that will be the subject of the transformation in workflows. Transformation rules are meant to show you on a sample file, which reflects the source file you want to transform. It can be a fragment of the actual file.
The diagram of data transformation
The example on the screen is taken from the [import transactions to Synerise use case](/use-cases/import-transactions-dt).
Transformation rules are built by joining [data operators and transformation nodes](/docs/automation/data-transformation-and-imports/transformations-and-data-operators) together. Such a rule always starts with the [Input data node](/docs/automation/data-transformation-and-imports/transformations-and-data-operators/data-input) which requires you to upload a sample file. The final element of the transformation is the [Output data node](/docs/automation/data-transformation-and-imports/transformations-and-data-operators/data-output) which contains the preview of the final effect of the transformation and allows you to change the type of data in each column.
Between the [Input Data](/docs/automation/data-transformation-and-imports/transformations-and-data-operators/data-input) and [Output Data](/docs/automation/data-transformation-and-imports/transformations-and-data-operators/data-output) nodes, you can place the nodes that define the operations (for example adding columns, editing values, and so on) on the sample file in the order (from the left) you want it to be done.
As a result, you end up with a transformation rule which you can reuse in workflows by means of the [Data Transformation node](/docs/automation/operation/data-transformation-node) and use it every time when you need to modify files with a similar structure in a regular workflow (for example, when importing data to Synerise).
### What transformations are available?
You can perform the following operations on the file:
- [Add columns](/docs/automation/data-transformation-and-imports/transformations-and-data-operators/add-column)
- [Rename columns](/docs/automation/data-transformation-and-imports/transformations-and-data-operators/rename-columns)
- [Merge columns](/docs/automation/data-transformation-and-imports/transformations-and-data-operators/merge-columns)
- [Remove columns](/docs/automation/data-transformation-and-imports/transformations-and-data-operators/filter-columns)
- [Filter rows](/docs/automation/data-transformation-and-imports/transformations-and-data-operators/filter-rows)
- [Edit values in cells](/docs/automation/data-transformation-and-imports/transformations-and-data-operators/edit-values)
- [Encrypt data](/docs/automation/data-transformation-and-imports/transformations-and-data-operators/encrypt-data)
- [Decrypt data](/docs/automation/data-transformation-and-imports/transformations-and-data-operators/decrypt-data)
- [Use regular expressions to search values in cells and replace them with any value](/docs/automation/data-transformation-and-imports/transformations-and-data-operators/regex-replace)
- [Change the data type of the values in columns](/docs/automation/data-transformation-and-imports/transformations-and-data-operators/data-output)
- [Use Jinjava while editing values in columns](/developers/inserts/imports)
- [Handle errors in rows which may occur during transformation](/docs/automation/data-transformation-and-imports/transformations-and-data-operators/data-output#handle-errors)
# Amazon API Gateway
# Amazon Redshift
To simplify Amazon Redshift integration, Synerise offers ready-made native integration with preconfigured settings, enabling easy data transfer between Synerise and your Amazon Redshift database.
# Introduction to Automation Hub
Automation Hub lets you automate business processes in your company. With a wide range of multi-purpose scenarios that evoke specific actions in response to defined occurrences automatically, they are applicable in many use cases:
#### Implementation of multi-step marketing strategies
One of the possibilities offered by Automation Hub is creating workflows that allow you to achieve your business goals such as an increase of revenue and customer loyalty, engagement of new customers, and optimization of your campaigns. Good examples of workflows which allow you to fulfill these requirements are:
- [sending birthday emails](/use-cases/birthday-coupon),
- [sending out coupon for a membership anniversary](/use-cases/coupon_for_anniversary),
- [sending email with products from abandoned cart](/use-cases/save-abandoned-cart),
- [cutting down churn workflows](/use-cases/predictions-automation),
- [enhancing customer data with weather information](/use-cases/data_with_current_weather_information),
- and more.
#### Alert detection
Automation Hub is an excellent tool to build workflows which detect anomalies in your business environment such as [device connection issues](/use-cases/iot#case-2-making-smart-alerts-about-device-connection-problems), [temperature deviations](/use-cases/iot#case-1-making-smart-alerts-about-temperature-deviation-problems), and [delivery delays](/use-cases/automatic-notification-about-delay) which let you keep your customers updated with the delivery status.
#### Data transformation
Automation Hub provides you with the possibility of [modifying incoming (imported to Synerise) and outgoing (exported to external systems) data](/docs/automation/data-transformation-and-imports/introduction) which ultimately lets you convert the data to the structure you need and use it in one place without additional development. Although the data transferred to and from Synerise is already secured with protocols, you can use the encryption feature. It lets you [generate an encryption key](/docs/settings/data-exchange-encryption) and use it to encrypt or decrypt data during transformation, you can use it for:
- selected set of columns in an exported/imported file.
- handling the JSON column in ORC file by encrypting or decrypting it.
- any string data using Jinjva tag for [encrypting](/developers/inserts/automation#encrypt-data) and [decrypting data](/developers/inserts/automation#decrypt-data)
#### Data transmission
- **Third-party integrations**
You can even go outside the Synerise ecosystem by sending and requesting information from external systems. This way, you can use data from Synerise to enrich the scope of data in the external sources. Here are examples of third-party integrations through Automation Hub:
- [adding profiles to Custom Audience in Facebook](/use-cases/send-custom-audience-webhook),
- [uploading data to Google Spreadsheet](/use-cases/google-spreadsheet-integration),
- [sending survey results to Synerise (Gravity Form integration)](/use-cases/gravity-form-integration),
- [sending data from Microsoft Azure Forms to Synerise](/use-cases/send-data-from-forms),
- [sending customer opinions about your company stored in Snowflake to Synerise](/docs/automation/integration/snowflake/get-data-reverse-etl#example-of-use),
- **Import and export of the data files**
Most of the data is collected directly from touchpoints, however, data such as a contact database, historical transactional data, events can be imported to Synerise at the in order to, for example, train recommendation models. In Automation Hub, you can build workflows which import such data. The possibility of [transferring data](/docs/automation/actions/synerise-integrations#example-with-transformation) to Synerise may be connected with [data transformation](/docs/automation/data-transformation-and-imports/introduction), which you can perform in Automation Hub as well.
Data files pulled into nodes (such as Get File) can't be larger than 5 GB (5 000 000 000 bytes).
## Other features
---
- [Sequences](/docs/automation/sequences) - Reusable groups of connected nodes that you can save once and insert into any workflow
- [Creating custom webhooks](/docs/automation/integration/outgoing-webhook) which let you connect with any external service
- [Testing requests in HTTP-type integrations that connect to external APIs or services](/docs/automation/test-requests-for-outgoing-integrations) (for example, [Send offline conversion (Google Ads)](/docs/automation/integration/facebook/send-offline-transactions), [Send Custom Event (Facebook)](/docs/automation/integration/facebook/send-custom-event), [Outgoing Integration node](/docs/automation/actions/webhook-node))
- Keeping track of [real-time statistics for each node](/docs/automation/automation-activity-tracking)
- Keeping track of error log for data transformation workflows
- Analyzing both customer and non-customer events
- You can view the change history for this item from its configuration - see [Audit Log](/docs/settings/workspace/audit-log).
## Requirements
---
- If a workflow uses nodes that rely on customer activity on the website (for example `page.visit`, `product.buy`, and so on), a tracking code must be implemented into the website.
- If a workflow uses nodes that rely on sending emails, text messages, pushes or web pushes, the respective accounts for sending these must be configured in the Synerise system.
### Required user permissions
See [Automation Hub permissions](/docs/settings/identity-access-management/permissions/automation-permissions).
## Terminology
---
In this documentation, you will come across specialized terminology. To ensure clarity and good understanding of the instructions in this module, familiarize yourself with the terms below and [dictionary](/glossary/):
### Workflow and path
- A **workflow**:
- is a sequence of nodes that together describe a scenario and define the course of actions to be performed in defined circumstances. This term refers to the concept of an automated process whose subject is a profile ([customer-oriented workflow](/glossary/#profile-oriented-workflow)) or a process involving retrieving or sending out data ([business workflow](/glossary/#business-workflow)). The structure of the workflow is referred to in the documentation as a **diagram**.
- is a single instance of a [business workflow](/glossary/#business-workflow). Each time the trigger conditions defined in the trigger node are met the system creates a new workflow instance. It concerns the workflows which start with the [Business Event node](/docs/automation/triggers/businees-event-trigger) and [Scheduled Run node](/docs/automation/triggers/scheduled-run). There is a limit of 50 requests per second which can trigger such workflow instance.
- A **path** is a progression of a customer in a workflow. Each time a customer performs an action that triggers a workflow the system records it as a path of that particular workflow. New paths can be started even when the workflow is already triggered. This happens when an [action limit in the trigger node](/docs/automation/automation-capping#trigger-limits) is higher than 1. You can decide if the first path that reaches the final node terminates the remaining paths. This behavior is configurable in the [End node](/docs/automation/flow-control/end-node).
- [Customer-oriented workflows](/glossary/#profile-oriented-workflow)
- Example of terminating remaining paths when one of them reaches the End node:
In the example above, the first path terminates the path which stuck in the Delay node
- Example of allowing finishing other paths:
In the example above, the Delay path could be finished after the first path arrived to the final node.
### Nodes
Nodes are the elements that a workflow is built with. There are seven types of nodes:
- [Triggers](/docs/automation/triggers) - When their conditions are met, they launch a workflow.
- [Conditions](/docs/automation/conditions) - Condition nodes narrow down the number of customers and eliminate those who shouldn't be the subject of further actions.
- [Actions](/docs/automation/actions) - Action nodes define the type of activity undertaken towards the audience as a response of the circumstances defined in a workflow.
- [Flow control](/docs/automation/flow-control) - These nodes organize the flow of a workflow.
- [Transformations and data operators](/docs/automation/data-transformation-and-imports/transformations-and-data-operators) - These nodes are used to build data transformation workflows.
- [Operation](/docs/automation/operation) - These nodes let you transfer files and reuse the [transformation rules](/docs/automation/data-transformation-and-imports/creating-data-transformation)
Segmentation, expression, and aggregate definitions are cached for 20 minutes after a node with the analysis is activated in a journey.
When another journey in the Automation Hub requests a result of the same analysis in that period, the cached definition is used to calculate the results. This means that if you edit a segmentation, aggregate, or expression used in a workflow, it takes 20 minutes for the new version to start being used in journeys.
This includes definitions of segmentations, expressions, and aggregates nested in other analyses and used in Inserts.
## Workflow list
---
The workflow list in **Automation Hub > Workflows** displays the following columns:
| Column | Description |
|---|---|
| Name | The name of the workflow. |
| Status | The current status of the workflow (for example, active, paused, or stopped). |
| [Scheduler](/docs/automation/workflow-scheduler) | The schedule defined for the workflow, if any. |
| Actions | Quick actions available for the workflow, such as activating, pausing, or stopping. |
| Started | The number of times the workflow was started (a trigger node was activated). |
| In workflow | The number of workflow instances currently in progress. |
| Finished | The number of times the final step (End node) of the workflow was reached. |
| Created | The date and time when the workflow was created. |
| Updated | The date and time when the workflow was last modified. |
| Author | The user who created the workflow. |
### Managing columns
Due to the diverse user needs related to workflow management, you can control which columns on the workflow list are visible and in what order they appear.
Column visibility and order settings are saved per browser. They are not shared across devices or other users.
To manage columns, in the upper-right corner of the workflow list, click **Columns**. You can then:
- Toggle individual columns on or off to show or hide them.
- Drag columns to reorder them.
### Capping
To prevent some actions and processes from being unnecessarily repeated, there are several types of limits available in Automation Hub.
- Journey capping
- Action limits
- Trigger limits
- Condition limits
- Data limits
Read more about [limits in Automation Hub](/docs/automation/automation-capping).
## Best practices
---
- **Self-optimization** - Try to come up with a workflow structure that facilitates collective rather than single and often-repeated processing. Group processing is more effective, as it decreases the number of operations between particular steps of a workflow, such as the number of connections to the database, or the number of requests. So for example, try to use conditions that check abandoned carts every 24 hours rather than using it as a trigger.
- **Keep it simple** - However strong the temptation to create one complex workflow that would embrace the whole marketing strategy might be, such an approach is very risky. Instead of putting yourself in a position where you rely on one large process, try to create a number of smaller and simpler workflows. This way, you are able to track the soft spots of a given strategy, optimize it without impacting other workflows, and facilitate the undisturbed flow of customers from one process to the other.
- While sticking to the "keep it simple" rule, try to create workflows in a way that customers proceed along only one path of a workflow. If your workflow contains split paths, make sure that the filter logic prevents customers from proceeding along more than one path. It's important because the system doesn't check for duplicates when customers reach the junction. To avoid situations in which a customer proceeds the same path several times and receive the same messages several times, set up the limits correctly.
- When you use a **Profile Filter** or an **Event Filter** condition, prepare an alternative path to prevent customers from being stuck in a workflow forever.
- **Holistic overview** - Try to keep a broad perspective on the workflows you create and the prerequisite materials you prepare for them, such as email templates, segmentations, metrics, web pushes, mobile pushes, and so on. Apart from that, keep in mind to schedule a **Delay** node for heavy traffic hours when you send emails. Also, if possible, do not schedule Delay nodes for the same fixed time in a number of workflows.
# Amazon S3 Bucket
# "Data Input" node
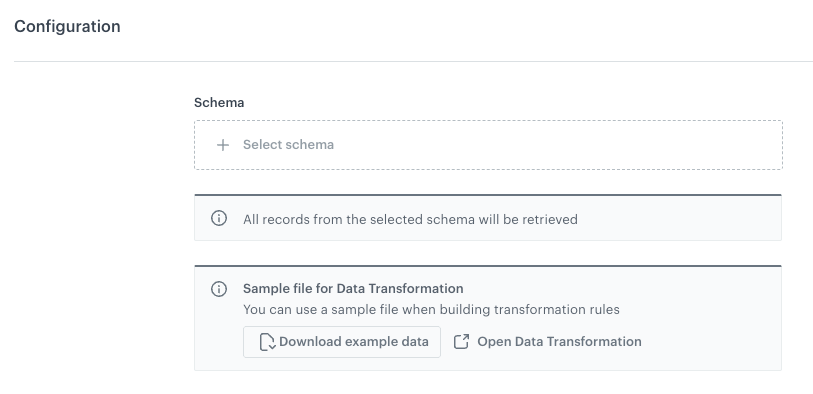
The **Data Input** node is the first node to be used while building a transformation. In the configuration of the node, you upload a sample file that imitates a structure of the source file (it can be a fragment of the real file or the whole file unless it contains 500 lines). Then, you can continue building a transformation with other nodes that let you add, merge, and rename columns, edit values in the rows, and so on. The transformation made on this sample file will help you see the results of the transformation made on the actual file. Data from the sample file is not passed to a [workflow](/docs/automation/creating-automation) itself.
The node contains the preview of the data in the file and their presentation depends on the file type.
The preview of the transformed file is available in the [Data Output node](/docs/automation/data-transformation-and-imports/transformations-and-data-operators/data-output), which is always the closing component of the transformation workflow.
After the transformation is saved and published, it can be used in further processes, such as imports, as a set of rules for the actual file to be transformed.
#### File requirements
- The file can contain up to 500 rows
- Supported file formats: `.CSV`, `.XML feed`, `.JSONL`, `.JSON`
#### Example files
Customer data
## Node configuration
---
2. Upload the file or drag it onto the specified area on the pop-up.
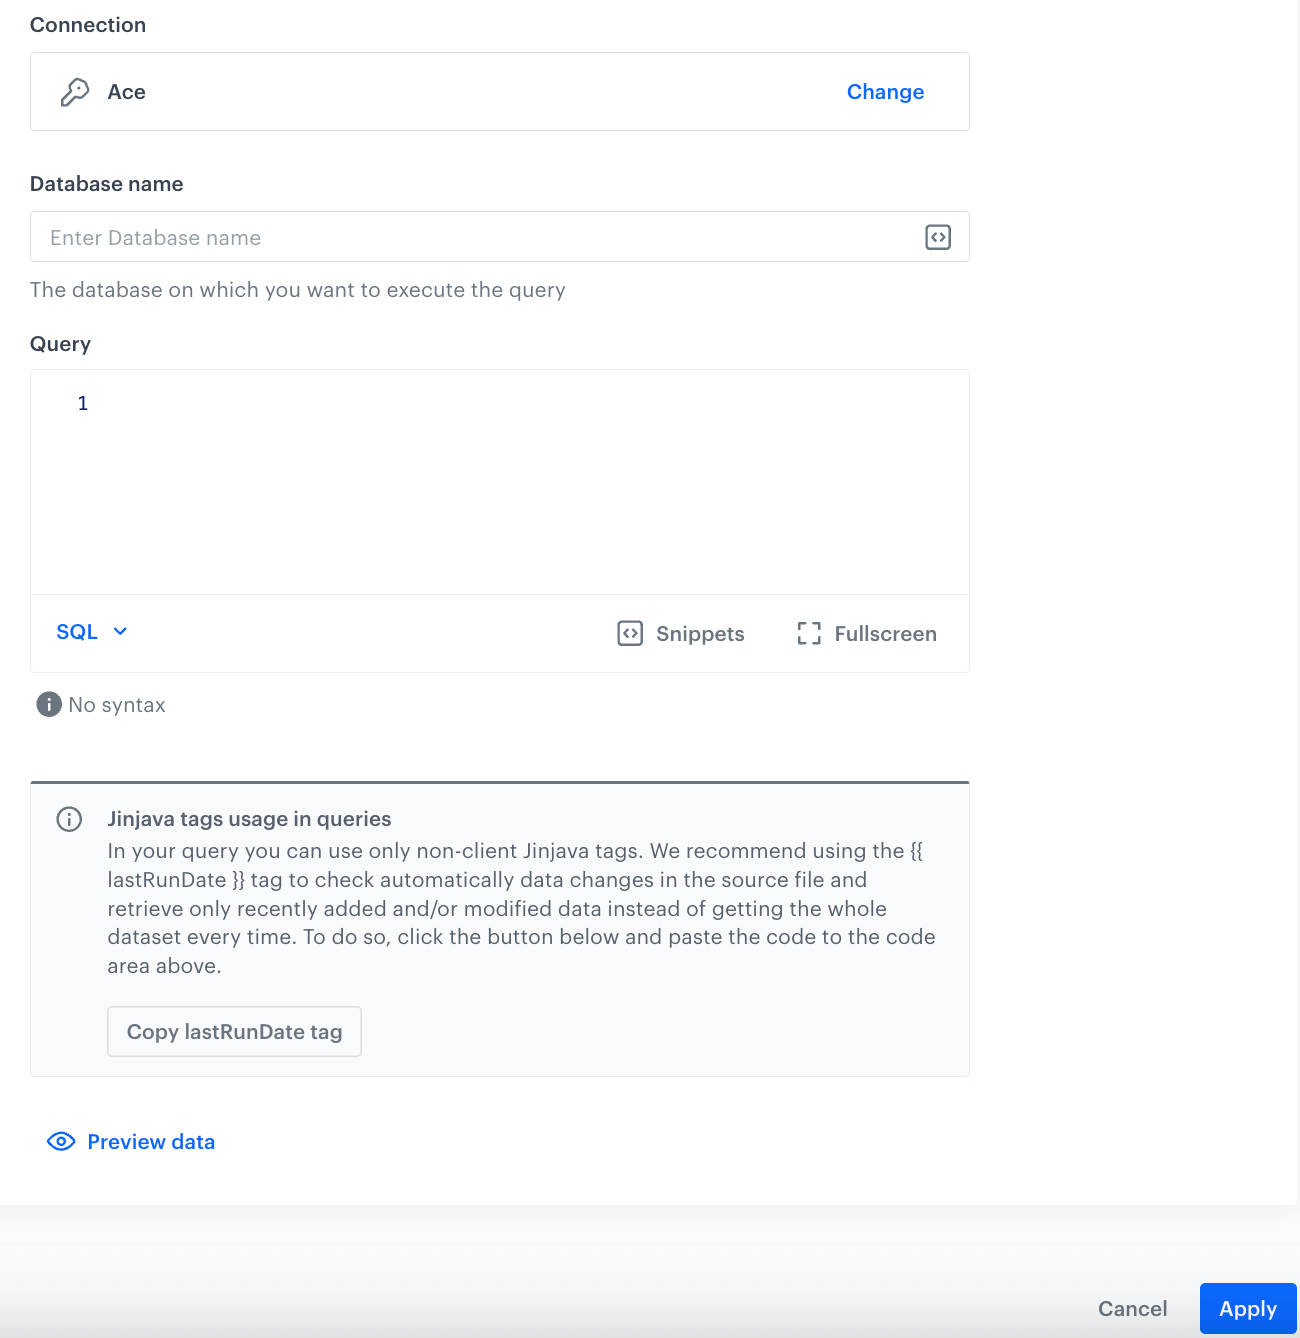
3. Verify the values **Delimiter**, **Quotation mark**, and **Escape character** fields - they describe separators in the file you uploaded. You can use the **Preview** option to see the first 10 rows of the file.
Configuration of the Data Input node
4. Confirm by clicking **Generate**.
# Control Center
The Automation Control Center provides a comprehensive dashboard designed to give you a broad overview of activities within the Automation Hub. Instead of focusing on individual [workflows](/glossary/#workflow), Control Center presents key statistics that reflect the overall performance and usage of the entire hub.
This centralized view helps you understand the scale of your automation efforts by showing vital metrics such as the number of data points generated and trigger frequency distribution. Additionally, the Control Center improves observability by highlighting workflows that need attention, identifying those with low performance, and pinpointing those generating the most errors.
By using this dashboard, you can monitor and manage running workflows, enabling faster decision-making and better system performance.
Data presented in the Automation Control Center is based on Automation statistics. Event retention within the workspace does not affect them.
## Requirements
Make sure you have [permissions to access the Control Center](/docs/settings/identity-access-management/permissions/automation-permissions#see-control-center).
## Overview
To open Control Center, go to **Automation Hub > Control Center**.
### Workflows by status
Shows the number of workflows currently in each state: Active, Pending, Paused, Stopped, or Draft. This overview helps you quickly determine the health and activity level of your entire automation setup. By understanding how many workflows are running or paused, you can better prioritize maintenance, troubleshooting, or optimization efforts.
You can find more information on workflow statuses and what they mean in the Automation dictionary, in [Workflow status entry](/glossary/#workflow-status).
### Workflows by trigger
Breaks down your active workflows based on their [trigger types](/docs/automation/triggers), such as [Scheduled Run](/docs/automation/triggers/scheduled-run), [Business Event](/docs/automation/triggers/businees-event-trigger), [Audience](/docs/automation/triggers/audience-node), [Profile Event](/docs/automation/triggers/client-event-node), or [Data Changed](/docs/automation/triggers/client-update-node). This insight helps you identify which triggers are driving most of your workflow activity, enabling you to optimize workflow design and focus on the most impactful event types.
### Trigger frequency
Tracks how often workflows are activated, presented per hour or per day. Monitoring this frequency allows you to detect activity patterns, such as peak usage times or unexpected drops in workflow execution. This helps in resource planning, spotting potential issues early, and ensuring workflows run as expected. You can select the time range for the data: last 24 hours, last 7 days, last 14 days, or last 30 days.
### Upcoming scheduled activity
Provides a look ahead at scheduled workflow triggers and status changes over the next 7 days. Use this preview to anticipate upcoming workload spikes, manage capacity, and prepare for planned workflow transitions. Staying informed helps you avoid bottlenecks and ensures smooth automation operations.
### Workflows with integration issues
Lists workflows experiencing problems with their connected systems or data sources, categorized by [profile-oriented](/glossary/#profile-oriented-workflow) (**Profile context**) and [business-oriented](/glossary/#business-workflow) (**Workspace context**) workflows. Quickly identifying these workflows helps you prioritize fixes to minimize downtime and maintain reliable data flows, ensuring your workflows run smoothly. You can select the time range for the data: last 24 hours or last 7 days.
### Workflow highlights
Ranks your workflows across key performance areas: most data points generated, most frequently triggered, and which have the largest number of profiles currently in workflow. Switching between these views lets you identify your highest-impact workflows, helping you focus attention on workflows driving the most value or requiring immediate action.
# Workflow processing logic
The article contains information about the current workflow processing logic and a comparison with its deprecated version.
## Terminology
- [Path](/glossary/#path)
- [Workflow](/glossary/#workflow)
- [Business workflow](/glossary/#business-workflow)
- [Customer-oriented workflow](/glossary/#profile-oriented-workflow)
## Comparison of the deprecated logic with the current
| Workflow type | Deprecated logic | Current logic |
|-------------------|-------------------------------------------------------------------------------------------------------------------------------------------------------------------------------------|--------------|
| Business | When a workflow is initiated, a workflow instance (process) begins and only one workflow instance can exist at a time. In the example below, if a workflow is launched by an incoming request and the process is stuck in the **Delay** node, the occurrence of another request will not launch another instance of the workflow. | More workflow instances can exist at a time. In the example below, a workflow is launched by an incoming request and the process is stuck in the **Delay** node, the next occurrences of incoming requests begin other workflow instances. However, there is a limit of **50 requests per second**. |
| Customer-oriented | A customer can begin multiple paths within one workflow if the workflow limits allow it. The path that first reaches the [End node](/docs/automation/flow-control/end-node) terminates all initiated paths within that workflow. | In the configuration of an End node, you can use the **Allow finishing other paths** option to select between the previous logic (remaining paths are terminated as one of them reaches the End node) or allow continuing initiated paths until the end of the workflow. Paths stuck for more than 60 days will be terminated automatically. |
## FAQ
1. How will workflows that were activated before the change work?
All workflows activated before the changes, will be working based on the previous logic.
2. How to apply the new logic to active workflows?
If you want them to function based on new logic, you must duplicate and activate them.
3. Do I need to change existing draft workflows?
If you want to use the new logic in them, you must edit them and enable it.
# Azure Blob Storage
# "Optimize Time" node
The **Optimize Time** node delays the execution of the nodes that follow it until the predicted best date and time for a specific profile in the workflow. The time of executing the nodes after the **Optimize Time** node is calculated for every profile individually based on the activity time of every profile that goes through a workflow (you can read more about [defining scope of data to be analyzed for time optimization here](/docs/settings/configuration/time-optimizer)).
This way, not only can you personalize the details of actions towards the profiles (such as content of the message) but also you can personalize the time of executing them.
### Node features
---
This node lets you:
- pick the [model](/docs/settings/configuration/time-optimizer#modes) to base the calculation on
- select the date range during which the AI engine must predict the best time:
- within next seven days (**Next 7 days**),
- within a specific number of hours in the next 166 hours (**Custom time period**),
- until a specific deadline (**Optimize until specific date and time**),
- exclude days and hours from calculating the best time
### Calculating the best time
---
The calculation of the prediction (the optimal time and date to let a profile continue the journey) starts at the moment a profile arrives at the **Optimize Time** node. The system processes about 30 000 predictions per minute. So if one million profiles reach the **Optimize Time** node at once, it may take 30 minutes to calculate the predictions for all of them.
Once a prediction is calculated, an `snr.ate.prediction` event is generated. It contains the following parameters:
| Parameter name | Description |
|--------------------|-------------------------------------------------------------------------------------------------------------------------------------------------------------------------------------------------------------------------|
| `isFallback` | This parameter can take two values: `true` or `false`. It describes whether there was enough data to make a prediction. If there was not enough data, this parameter takes `true` value. In such case, the system takes the most used time from the distribution of other profiles. |
| `nextNhours` | This parameter is the value used in the **Custom time period** option. |
| `expireAt` | This parameter contains the result of the prediction: the best date and time proposed by the algorithm given in UTC. Example value: `2022-12-04T19:39:47.398318+00:00` |
| `topN` | This parameter takes numerical values and it informs how many best hour predictions matched the conditions and exclusions. Usually the value is `1`. |
| `mode` | This parameter returns the name of the [mode](/docs/settings/configuration/time-optimizer#modes) used for calculating the prediction. |
| `timeIndexExclude` | This parameter returns the days and hours that are excluded from the time proposed by the algorithm. |
| `predictedHour` | This parameter returns the predicted hour in the form of an hour of the week (for example, according to the example in the `expireAt` description, the value for the `predictedHour` parameter is 163 - Sunday, 7 P.M. UTC) |
To the best predicted time proposed by the algorithm, the system adds extra 15-45 minutes to facilitate fluent flow of profiles in the workflow, for example, if the algorithm predicts the best time to be 10 A.M, the real time is between 10.15 and 10:45 A.M.
### Exclusion of days and hours
---
This option allows you to avoid continuation of the workflow (as a consequence, performing actions) at the specified day(s) and time, for example, you can exclude [weekends](#optimize-time-excluding-weekends) or [nighttime during the week](#optimize-time-excluding-nighttime).
If a profile arrives at the **Optimize Time** node at the hour included in the excluded time, in such case, this hour will be ignored as the excluded hour for this profile.
### Optimize Time and sending messages
---
If the **Optimize Time** node is followed by [Send email](/docs/automation/actions/send-email), [Send SMS](/docs/automation/actions/send-sms-node), [Send mobile push](/docs/automation/actions/send-mobile-push), or [Send Web Push](/docs/automation/actions/send-webpush-node), the exact delivery time of the message may be extended. It is affected by:
- the size of the audience
- the external systems involved in sending out the messages
Example configuration of the workflow with the Optimize Time node followed by the Send Email node
## Prerequisites
---
- Make sure that [time optimizer](/docs/settings/configuration/time-optimizer) is enabled.
After time optimizer is enabled, it starts being trained. This may take a few hours.
- Optionally, you can [create custom modes that match your business needs](/docs/settings/configuration/time-optimizer#creating-modes) or use the default modes.
## Node configuration
---
1. On the node after which you want to add **Optimize Time** node, click **THEN**.
**Result**: A dropdown list opens.
2. In the list, select the **Optimize Time** node.
**Result**: A pop-up opens.
3. From the **AI optimization method** dropdown list, select one of the modes which calculate the optimal time for performing an action.
Learn more about creating time optimizer modes [here](/docs/settings/configuration/time-optimizer#creating-modes).
4. If you want to restrict time optimization to a specific date, you can select the following options:
- **Next 7 days** - The AI engine selects the best time to perform an action defined in the node following **Optimize Time** in the next 7 days for a single customer, counting from the arrival at the **Optimize Time** node. The calculation time doesn't include the hour a profile arrived at the node.
- **Custom time period** - The AI engine predicts the best time to perform an action for a single customer in X hours (up to 166 hours). The calculation time doesn't include the hour a profile arrived at the node.
We recommend 12 hours as the minimum custom time period.
- **Optimize until specific date and time** - You can select a specific date and time until which the AI engine predicts the best time to perform an action defined after the **Optimize Time** node for a single customer. This option gives you more control in managing your campaigns.
When the selected time range expires, the nodes after **Optimize Time** node won't be activated.
**Example**: If the date and time expire at 08.08.2022 at 11.00 A.M. and the profile starts the workflow on 08.08.2022 at 11.05 A.M., the profile will be stuck in this node and the profile won't move on in this workflow. The profile will be stuck for 60 days and after that time, the workflow is automatically finished.
5. If you know you don't want to perform marketing activities at specific days and specific time, switch the **Time range exclusions** toggle on.
1. Select the day(s) of the week.
If you select only the days, the time for every selected day is set to `00:00-23:59` (in accordance with the time zone selected for a workspace) by default.
2. Click **Add range**.
3. If you selected more than one day, from the left dropdown list, define the day for which you want to define the time range exclusion.
4. From the middle dropdown list, select the starting time of the limit.
5. From the right dropdown list, select the ending time of the limit. The following table explains how the limit is applied:
| Interface configuration | Resulting time configuration |
|--------------------------------|----------------------|
| 8-20 | 8.00 AM to 8.59 PM |
| 0-23 | 0.00 AM to 23.59 PM |
| 13-19 | 1.00 PM to 7.59 PM |
6. If needed, add more time ranges by repeating steps **b-e**.
6. To confirm the settings, click **Apply**.
## Examples of use
---
### Optimize Time in the next 11 hours until the specific date
In the configuration below, the node calculates the best time to execute the rest of the nodes in the workflow in the 11 hours since arriving at the **Optimize Time** node.
Configuration of the node excluding nighttime
In such configuration, profiles who arrive at the Optimize Time node at 6:58 on the 19th of January, 2023 will continue the workflow at the best time calculated by the algorithm. The last release from the Optimize Time node occurs at 16:45 on the 10th of October.
The rest of the profiles who arrived later than 17:00 on the 19th of January, 2023 will be stuck in the node.
### Optimize Time excluding nighttime
In the configuration below, the node calculates the best time to execute the rest of nodes in the workflow for the next 7 days excluding the nighttime.
Configuration of the node excluding nighttime
Such node settings will effectively exclude all night hours (00:00 - 09:00) for the next 7 days.
### Optimize Time excluding weekends
In the configuration below, the node calculates the best time to execute the rest of nodes in the workflow for the next 7 days excluding the weekends.
Configuration of the node excluding weekend
Such node settings will effectively exclude hours between Friday at 19:00 and Monday at 09:00.
## Business examples of use
---
Check out the list of [use cases that showcase the Optimize Time node](/use-cases/?ordering=DESC&sortBy=publishDate&filters=tags%3D%3D"time+optimizer")
## FAQ
---
#### What is the recommended optimization time?
The recommended optimization time is 12 hours or more.
#### What are the recommended mode settings?
- Email mode:
Recommended settings for the email mode
- Mobile push mode:
Recommended settings for the mobile push mode
#### What are the recommended settings for the time optimizer for sending daily messages?
1. Start the workflow with the [Audience node](/docs/automation/triggers/audience-node). In the configuration of the node:
1. Define the **Run trigger** option to **repeatable**. Define the exact interval of launching the workflow.
2. Before the node that sends a message to your customers, add the **Optimize time** node.
1. Select the optimization mode in accordance to the channel in which the message will be sent.
2. Select the **Custom time period** option. In the **Time period** field, enter `12`. This means the engine will define the best time to send a message in the next 12 hours.
3. Finish the configuration of the workflow according to your business requirements.
#### What if I select a rare event for time optimizer?
In such cases, we suggest changing the settings of the model to include a combination of frequently occurring (for example, page.visit) and rare events.
#### Is it possible that the model will not be able to make a prediction before the set date (for the "Optimize until a specific date and time" option)?
Yes, but only if you set up a node for a very narrow time frame (for 1 or 2 hours in advance) or exclude all hours before the set date for a given customer. In such a case, the profile will be stuck in this node for the next 60 days.
#### What happens if a profile enters the Optimize Time node after the set date (for the "Optimize until a specific date and time" option)?
In such a case, the profile will be stuck in this node for the next 60 days.
#### What is the last prediction time slot for a profile who entered a node at 10:03 (the Optimize Time node is set for the next 11 hours)?
The first prediction is made in the first full hour after activation (so after 11:00). Predictions are always made for the hh:15-hh:45 period, so the first prediction is made for 11:15-11:45, and the last for 20:15-20:45.
#### What is the last prediction time slot for a profile who entered a node at 10:53 (the Optimize Time node is set for the next 11 hours)?
The first prediction is made in the first full hour after activation (so after 11:00). Predictions are always made for the hh:15-hh:45 period, so the first prediction is made for 11:15-11:45, and the last for 21:15-21:45.
# Databricks
# Eagle Eye
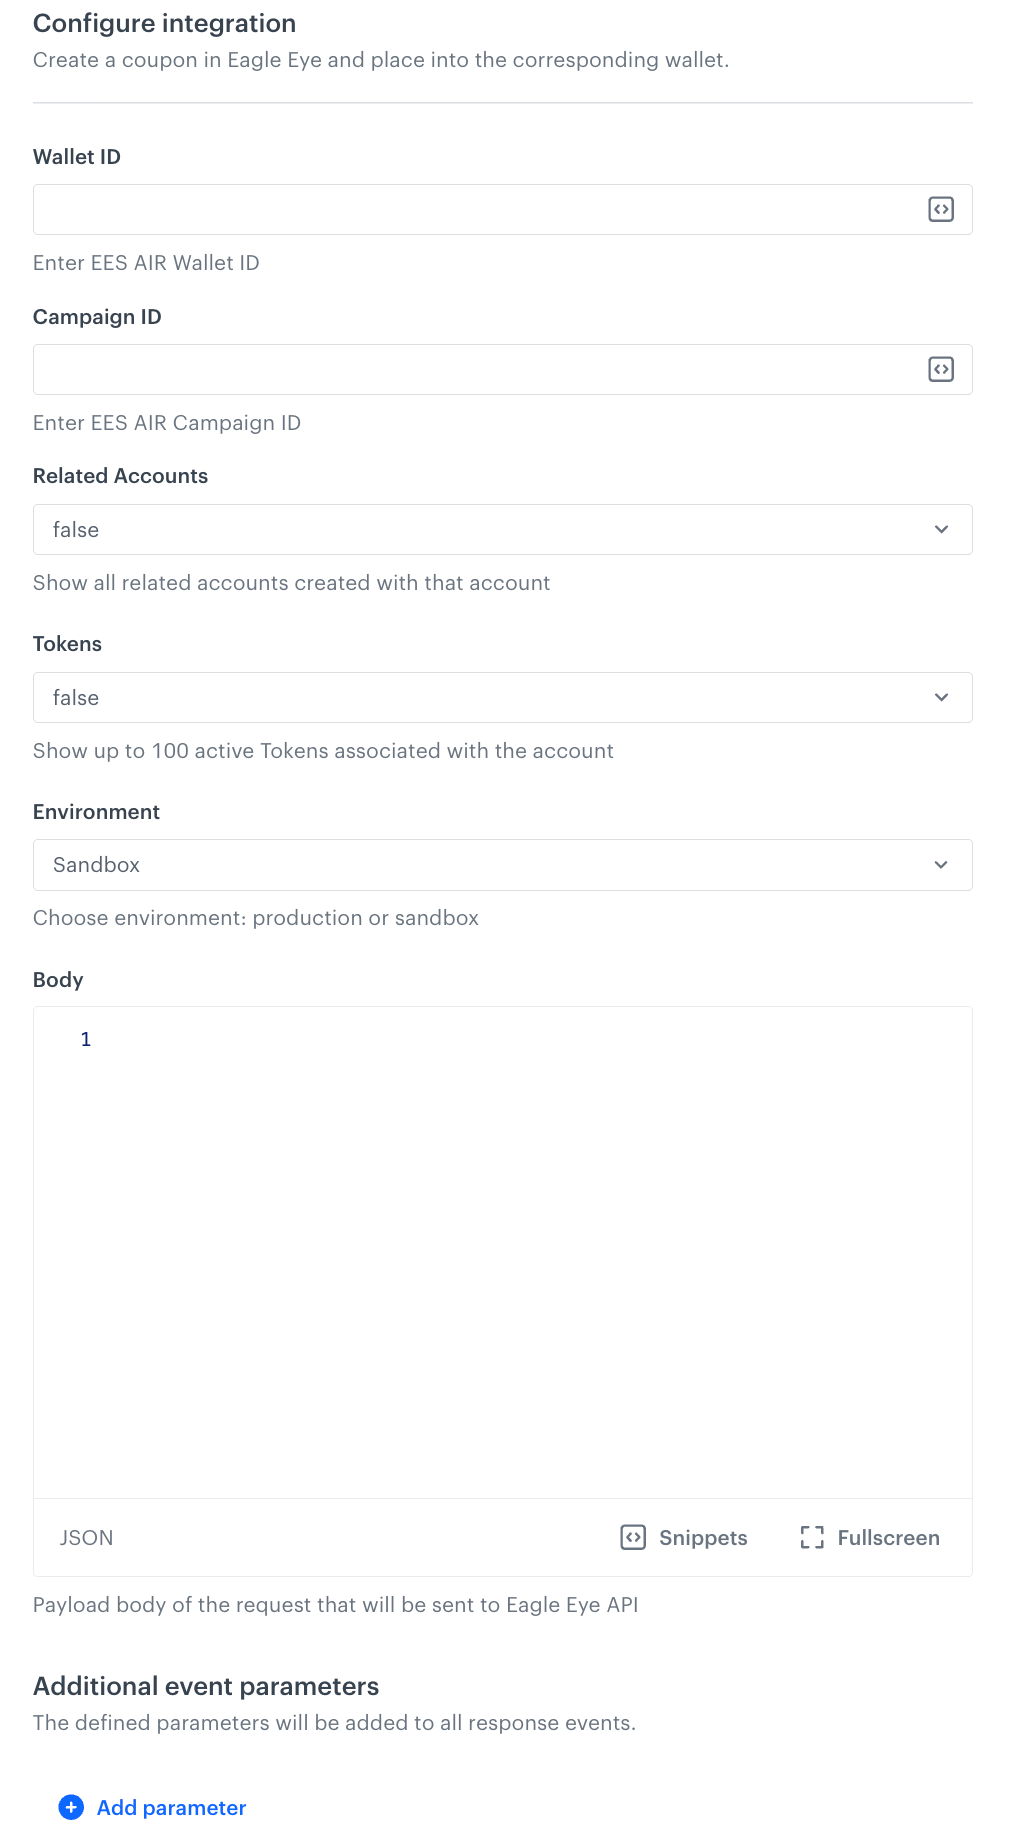
To make integration with Eagle Eye even more convenient, we prepared a ready-made node which lets you send a request to Eagle Eye for creating a coupon.
## Contents
# "Send Channel Message" node
The **Send Channel Message** node allows you to create a business-oriented workflow for sending notifications to your team members in a Slack channel. For example, you may send notifications immediately after a deviation occurs in your workspace.
## Prerequisites
---
Create [an incoming webhook in Slack](https://api.slack.com/messaging/webhooks) and learn how to build it JSON request body.
## Node configuration
---
Fields marked with the icon accept [snippets](/docs/assets/snippets) or [inserts](/developers/inserts). This integration allows usage of profile-related inserts.
1. Go to **Automation > Workflows > Create new**.
2. Start the workflow with a trigger node that doesn't contain a customer's context (for example, Scheduled Run).
3. On the trigger node, click **THEN**.
4. From the dropdown list, click **Slack > Send Channel message**.
2. To allow the data exchange, establish a connection between Synerise and Slack, click **Select connection**.
3. From the dropdown list, select the connection.
- If no connections are available or you want to create a new one, see [Create a connection](#create-a-connection).
- If you selected an existing connection, proceed to [defining the integration settings](#define-the-integration-settings).
### Create a connection
If you haven't established any connection yet or you want to create another, establish a connection between Synerise and Slack that facilitates the exchange of data.
1. In the **Connection name** field, enter the name of the connection.
It's used to find the connection on the list.
2. In the **Incoming webhook URL** field, enter the webhook you created [as a part of prerequisites](#prerequisites).
4. Confirm by clicking **Apply**.
## Define the integration settings
4. From the **Type of message** dropdown list, select the type of the message you want to create:
- **Simple message** - Choosing this option lets you write a plain text.
- **Interactive message (JSON)** - Choosing this option lets you build messages with sections, buttons, links, simple surveys.
5. Follow the scenario according to the message type you selected:
- If you selected the Simple message option:
1. In the **Text of message** field, enter the text you want to include in the message.
- If you selected the Interactive message (JSON) option:
1. In the **JSON body of message** field, enter the structure of the message as the JSON body.
A blank configuration form in Send message to channel node (Slack)
6. Confirm by clicking **Apply**.
**Result**: When the Send Channel Message node is executed, a [`slack.sendChannelMessage` event](/docs/assets/events/event-reference/integration#slacksendchannelmessage) is generated on the activity list of the profile who is the actor in the workflow.
### Test integration
---
You can run a test request. If the request body contains a dynamic reference to a profile attribute and/or an event data from preceding nodes, then you can define the context using [test profile data](/docs/settings/configuration/test-profiles).
Complete description of the feature is available in [Testing outgoing integrations](/docs/automation/test-requests-for-outgoing-integrations).
1. In the **Test integration** section, click **Send test request**.
**Result**: A test request builder opens. If:
- a request body contains dynamic references, the request preview appears after you select the context of test profiles and events.
- a request body contains static data, the preview of the body request appears immediately.
An empty test request builder
2. If your request contains dynamic references (otherwise, the options aren't available):
- From the **Test profile** dropdown, select a test profile in the context of whom the test request will be performed.
- From the **Event context** dropdown list, you can select a particular occurrence of an event whose values/information will be used for the test request.
1. Select a test profile.
**Result**: A history of test profile events appears.
A stream of events of a test profile
2. From the list of events, select one whose data you want use as a context. If there is no event you can use, in the upper-right corner of the pop-up, click **Define own event** and provide the body of the event.
3. Confirm by clicking **Apply**.
3. Verify the request body. If there is something you want to change, come back to the node settings from previous steps.
3. If the request body is ready to test, in the upper-right corner, click **Send request**.
**Result**: The response section appears and the **Update response event** button becomes active.
4. Optionally, you can update response event with new parameters by clicking **Update response event** in the upper-right corner.
## Example of use
---
Read [our use case that uses the Send message to Slack channel node](/use-cases/slack-integration)
# "Upload Data to Spreadsheet" node
The integration between Synerise and Google Sheets opens up possibilities of exporting data collected in Synerise. By using the **Upload Data to Spreadsheet** node, you can push data from Synerise to add it in the form of a row or a column in a spreadsheet. You can use this connection in various scenarios such as exporting transactions, event data, customer information (such as marketing agreements), results of [metrics](/docs/analytics/metrics), [aggregates](/docs/crm/aggregates/introduction-to-aggregates), [expressions](/docs/crm/expressions/introduction-to-expressions), [reports](/docs/analytics/reports/introduction-to-reports), and many more to Google Sheets.
During the configuration of the node, you can use [Jinjava inserts](/developers/inserts/automation) which let you dynamically refer to the profile attributes and event parameters in the workflow.
This node is not optimized for batch operations that send large volumes of data (for example, updating all events for each profile). Use it to export changes within one event, profile attribute (for example, marketing agreement), analysis results, and so on.
## Prerequisites
---
- You must have an account in Google Sheets.
- Your account must have permissions to edit the spreadsheet you want to update.
## Node configuration
---
1. Click **Google Sheets > Upload Data to Spreadsheet**.
2. Click **Select connection**.
3. From the dropdown list, select the connection.
- If no connections are available or you want to create a new one, see [Create a connection](#create-a-connection).
- If you selected an existing connection, proceed to [defining the integration settings](#define-the-integration-settings).
### Create a connection
To allow the data exchange, establish a connection between Synerise and Google Sheets.
1. At the bottom of the **Select connection** dropdown list, click **Add connection**.
2. On the pop-up, click **Sign in with Google**.
3. Select a Google account which has access to the spreadsheet you want to upload data to. The account must have editing permissions.
4. Follow the instructions on the interface.
5. After the successful authentication, click **Next**.
6. In the **Connection name** field, enter the name of the connection.
It's used to find the connection on the list.
7. Click **Apply**.
**Result**: A connection is created and selected.
### Define the integration settings
In this step, fill in the form that allows you to send data from Synerise to a table in Google Sheets.
A blank configuration form in Upload Data to Spreadsheets
Fields marked with the icon accept [snippets](/docs/assets/snippets) or [inserts](/developers/inserts). This integration allows usage of profile-related inserts.
1. In the **Spreadsheet ID** field, enter the ID of the spreadsheet to which you want to upload data.
You can find the ID in the URL of the spreadsheet.
2. In the **Range** field, define the range of cells to which the data will be uploaded. The values will be inserted to the first empty cell available in a defined range.
The value in this field must be given in the A1 notation, for example `Sheet1!A4:A5`, then the data will be added to A4 and A5 cells in the `Sheet1` spreadsheet only if the cells defined in a notation are empty.
3. From the **Dimension** dropdown list, select whether you want to add values in a column (vertically) or in a row (horizontally). Select this option in accordance with the value defined in the **Range** field (step 2).
The screens below present adding the following values: `John`, `Doe` in a column and row dimension, respectively:
The screen presents values added in a column dimensionThe screen presents values added in a row dimension
4. In the **Values** field, enter the data you want to upload to the spreadsheet. For example:
[
       [
           "John", "Doe"
       ],
   [
           "Alice", "Anderson"
       ]
   ]
In the request body with the values you can use [inserts](/developers/inserts) and use [Jinjava](/developers/inserts/automation) to refer to the data gathered in Synerise, such as results of the analyses (metrics, aggregates, expressions). For more information about appending values to spreadsheets, go to [Google documentation](https://developers.google.com/sheets/api/reference/rest/v4/spreadsheets.values).
5. Confirm by clicking **Apply**.
**Result**: When the Upload Data to Spreadsheet node is executed, a [`googleSheets.uploadData` event](/docs/assets/events/event-reference/integration#googlesheetsuploaddata) is generated on the activity list of the profile who is the actor in the workflow.
### Test integration
---
You can run a test request. If the request body contains a dynamic reference to a profile attribute and/or an event data from preceding nodes, then you can define the context using [test profile data](/docs/settings/configuration/test-profiles).
Complete description of the feature is available in [Testing outgoing integrations](/docs/automation/test-requests-for-outgoing-integrations).
1. In the **Test integration** section, click **Send test request**.
**Result**: A test request builder opens. If:
- a request body contains dynamic references, the request preview appears after you select the context of test profiles and events.
- a request body contains static data, the preview of the body request appears immediately.
An empty test request builder
2. If your request contains dynamic references (otherwise, the options aren't available):
- From the **Test profile** dropdown, select a test profile in the context of whom the test request will be performed.
- From the **Event context** dropdown list, you can select a particular occurrence of an event whose values/information will be used for the test request.
1. Select a test profile.
**Result**: A history of test profile events appears.
A stream of events of a test profile
2. From the list of events, select one whose data you want use as a context. If there is no event you can use, in the upper-right corner of the pop-up, click **Define own event** and provide the body of the event.
3. Confirm by clicking **Apply**.
3. Verify the request body. If there is something you want to change, come back to the node settings from previous steps.
3. If the request body is ready to test, in the upper-right corner, click **Send request**.
**Result**: The response section appears and the **Update response event** button becomes active.
4. Optionally, you can update response event with new parameters by clicking **Update response event** in the upper-right corner.
## Example of use
---
Refer to these use cases to see how you can use this node:
- [Sending metric results to Google Sheets](/use-cases/google-spreadsheet-integration)
- [Sending data from Google Sheets to Synerise](/use-cases/send-data-from-google-sheets)
# Dictionary
See the ["Automation Hub" section in the Synerise Glossary](/glossary?module=automation-hub).
# "Delay" node
## Delay node
In order to hold a workflow up for some time before it continues to the next nodes, you can use the Delay node.
##### When can you use it
- In profile-oriented scenarios. For example, in [an abandoned cart scenario](/use-cases/save-abandoned-cart#prepare-a-workflow), the workflow is delayed for some time after a product is added to a cart. When the delay period passes, the system checks if a purchase was made. If not, the system sends a reminder email with the products from the abandoned cart.
The maximum time limit a profile can spend in the **Delay** node is 60 days. If your workflow contains more than 1 **Delay** node, the total time in all **Delay** nodes cannot exceed 60 days.
- In the workflows triggered by the **Business Event** and **Scheduled Run** nodes which require delays in some parts of the scenario.
##### Delay possibilities
During the node configuration, you can use two delay options:
- **Defined** allows you to set a universal delay period for each passage of every profile in the workflow. Every time a profile passes through the Delay node, the delay period is the same.
- **Randomized** allows you to choose a range. Every time a profile passes through the node, a delay is randomized from that range. Even if the same profile goes through the workflow several times, a new delay is randomized every time.
### Node configuration
---
1. Click **THEN** on the node after which you want to have the **Delay** node.
**Result**: A dropdown list opens.
2. From the dropdown list, select **Delay**.
3. Click the node.
**Result**: A pop-up opens.
4. Select one of two tabs:
- **Defined** - If you want to set a universal delay period for each passage of every profile in the workflow, select this tab.
- **Randomized** - If you want to randomize the time of delay for each passage of every profile, select this tab. Even if the same profile goes through the workflow several times, a new delay is randomized every time.
5. Perform the steps according to the tab you selected in the previous step:
1. In the **Delay** field, enter the value of delay time.
2. From the **Unit** dropdown list, select the time unit.
1. From the **Minimum delay time** dropdowns, select the lowest value with the time unit for the delay interval.
2. From the **Maximum delay time** dropdowns, select the highest value with the time unit for the delay interval.
The Delay node configuration
6. To confirm the settings, click **Apply**.
### Example of use
---
Example of a workflow that uses the Delay node
This workflow sends an email containing products added to the cart as a result of not purchasing them.
1. It starts with the **Profile Event** trigger node. In the settings of the trigger, select the `product.addToCart` event.
2. As the next step of the workflow, add the **Delay** node and set it to 5 hours.
3. Add the **Profile Filter** node and create a segmentation which checks whether the customer made a purchase while being on hold for 5 hours.
4. If a customer didn't make a purchase, the system sends emails with products from the cart. If a customer **did** buy the products, they won't continue the workflow.
5. When the email is sent, the workflow is completed.
# "Get Data - Reverse ETL" node
By means of the **Get Data - Reverse ETL** node, you can pull data from Snowflake to Synerise in any form.
This node lets you extract, transform, and load data from your Snowflake database (using either your Snowflake login and password or by generating a public key and adding it to Snowflake authentication settings). You can easily test this connection and get a preview of the retrieved data through an SQL query, with a preview limit set to 10 records.
You can download the previewed data in JSON or CSV format, which can serve as a data sample for creating [data transformation rules](/docs/automation/data-transformation-and-imports/creating-data-transformation). These rules can be applied within a workflow to modify the data imported from Snowflake, ensuring it meets Synerise's requirements. Thus, you gain flexibility in customizing the data format while importing from Snowflake.
In the SQL query, you can use [Jinjava inserts](/developers/inserts/automation), except the ones that access the properties of the profile that is the context of the automation (`{% customer %}` and `{{ customer. }}`).
The integration also lets you retrieve incremental data, eliminating the need to pull all the data each time. This way, you can import only the data that has been added since the last import. This is possible through the Jinjava tag: `{{lastRunDate}}`
## Prerequisites
---
- If you use a firewall or an allowlist, make sure to allow the IP addresses listed below:
- Azure EU
- `52.146.154.208/29` (whole range in use: `52.146.154.208` - `52.146.154.215`)
- `20.67.16.0/28` (whole range in use: `20.67.16.0` - `20.67.16.15`)
- Azue US
- `23.100.20.128/30` (whole range in use: `23.100.20.128` - `23.100.20.132`)
- `23.100.20.228/30` (whole range in use: `23.100.20.228` - `23.100.20.232`)
- `23.100.22.32/30` (whole range in use: `23.100.22.32` - `23.100.22.35`)
- Google Cloud Platform
- `35.205.120.121`
- `35.233.100.131`
- `34.77.196.142`
- `34.140.213.162`
- `104.155.38.106`
- `34.79.223.232`
- `34.77.87.13`
- `34.78.208.88`
- You must have an account in Snowflake created.
- Maximum size of the retrieved data: 5 GB (5 000 000 000 bytes).
- Maximum database rows in the file: 20 000 000.
### Best practices
- **Create a new database user.**
You should have a database user with the minimum required permissions specifically for Synerise import/synchronization operations. This user only requires read permissions with access limited to the tables you want to synchronize from.
- **Avoid using your main database for this purpose.**
It's better to create a separate database that is read-only and set up replication. This helps reducing the workload on your main database and minimizes the risk of data loss.
- **Synchronize only the data that you’ll use in Synerise.**
This improves performance and reduces the chance of exposing sensitive information. Select only the columns that are important to you and use the `{{lastRunDate}}` Jinjava tag to limit synchronization to data that has changed since the last synchronization.
- **Set a reasonable synchronization size of data and interval to avoid overwhelming your database.**
Monitor the initial synchronizations to ensure they don't impact your system's security and performance. You can send a **maximum of 20,000,000 rows** per journey, and the data will be processed at a rate of 1,000,000 rows every 2 minutes.
- **Keep in mind regional data regulations.**
If your database is in the US, but your Synerise workspace is based in Europe, you need to comply with GDPR and other data regulations. Before connecting your database to Synerise, ensure you are following the rules for your region.
## Node configuration
---
1. Go to **Automation Hub > Workflows > New workflow**.
2. Start the workflow with a trigger node that doesn't contain a customer's context (for example, Scheduled Run).
3. On the trigger node, click **THEN**.
4. From the dropdown list, click **Snowflake> Get Data - Reverse ETL**.
2. To allow the data exchange, establish a connection between Synerise and Snowflake, click **Select connection**.
3. From the dropdown list, select the connection.
- If no connections are available or you want to create a new one, see [Create a connection](#create-a-connection).
- If you selected an existing connection, proceed to [defining the integration settings](#define-the-integration-settings).
### Create a connection
If you haven't established any connection yet or you want to create another, establish a connection between Synerise and Snowflake that facilitates the exchange of data.
1. Select one of the following connection methods:
- **Login and Password** - This method lets you connect with Snowflake by using your Snowflake login and password.
- **Public key** - This method lets you connect with Snowflake by generating a public key and adding it to your Snowflake authorization configuration.
2. To read further instructions, select the tab with the connection method you selected in the previous step.
1. In the **Connection name** field, enter the name of the connection.
It's used to find the connection on the list.
2. In the **Snowflake username** field, enter a login to your Snowflake account.
3. In the **Snowflake password** field, enter the password to your Snowflake account.
4. In the **Snowflake host** field, enter the Snowflake connection URL.
You can find more information about connection URL in the [Snowflake documentation](https://docs.snowflake.com/en/user-guide/organizations-connect#standard-account-urls).
5. Confirm the settings by clicking **Apply**.
1. In the **Connection name** field, enter the name of the connection.
It's used to find the connection on the list.
2. In the **Snowflake username** field, enter the login to your Snowflake account.
3. In the **Snowflake host** field, enter the Snowflake connection URL.
2. In the **Public key** field, click **Generate key**.
Securely store the key in a safe location, as it will no longer be accessible.
3. Confirm the settings by clicking **Apply**.
4. In the Snowflake panel, [assign the public key to a Snowflake user](https://docs.snowflake.com/en/user-guide/key-pair-auth#assign-the-public-key-to-a-snowflake-user).
### Define the integration settings
In this step, define the dataset and scope of data to be fetched to Synerise.
A blank configuration form in Snowflake Get Data Reverse ETL node
Fields marked with the icon accept [snippets](/docs/assets/snippets) or [inserts](/developers/inserts). But, you can’t use profile-related inserts.
1. In the **Database name** field, enter the name of your database.
You can check the [Snowflake documentation](https://docs.snowflake.com/en/sql-reference/functions/current_database) on how to retrieve a database name.
2. In the **Schema name** field, enter the name of schema in the database.
You can check the [Snowflake documentation](https://docs.snowflake.com/en/sql-reference/functions/current_schema) on how to retrieve a schema name.
3. In the **Warehouse name** field, enter the name of the warehouse within the schema.
You can check the [Snowflake documentation](https://docs.snowflake.com/en/sql-reference/functions/current_warehouse) on how to retrieve a warehouse name.
2. In the **Query** field, enter the SQL formula that retrieves specific data from the database in Snowflake.
You can optimize your query in the following way:
- Find out whether you are charged for query or data amount pulled within a query.
- Querying large data sets may result in timeouts.
- Retrieve up to 20,000,000 rows in one request.
- Limit requests to 1 request per hour.
- Retrieve incremental data using the `{{ lastRunDate }}` tag:
- Your resource in Snowflake must contain a column with the date of the latest update (recommended time format: `ISO-8601`)
- Add the `{{ lastRunDate }}` tag to your query, for example:
SELECT * FROM myTableName WHERE columnWithModificationDate > {{lastRunDate}}
- The value of the `{{ lastRunDate }}` is saved by Synerise with each successful data pull from Snowflake within a specific workflow
3. To test the connection and preview data that will be retrieved, click **Preview data**.
The preview includes up to 10 records.
1. To download a file with preview data, click **Download Sample Data**.
2. Select the format file:
- **.json file** (recommended)
- **.csv file**
3. If you want to use this sample to configure Data Transformation to modify the data according to Synerise requirements, click **Open Data Transformation**.
This feature lets you create data transformation rules according to which the data will be modified, for example, you can make operations on the column names (to comply with the Synerise import requirements), on the values inside the columns, and so on. Later on, you can add the [Data Transformation node](/docs/automation/operation/data-transformation-node) to the workflow, after the **Get Data - Reverse ETL** node, and in the configuration of the node select the data transformation rule to modify the incoming data.
4. Confirm by clicking **Apply**.
We recommend monitoring the workflows that use the Get Data - Reverse ETL node. You can do it by:
- previewing [the statistics of the node directly in the settings of the active workflow](/docs/automation/automation-activity-tracking#node-statistics).
- previewing the **Transformation logs** tab in the workflow view.
## Example of use
---
This example shows how to send your customers' opinions about your company stored in Snowflake by means of a periodic import.
An example of the data used in the example:
| description | rate | email |
|-------------------------------------------------------------------|------|------------------------|
| This product is life-changing. Finally, I have comfortable shoes. | 5 | john.doe@example.com |
| I'm satisfied with my purchase. | 5 | joan.smith@example.com |
These opinions will be imported to Synerise as a custom `opinion.import` event and will be available on the profiles of customers. This event will contain the following information:
- the descriptive part of the opinion, contained in the `description` parameter.
- the rating, which will take values from 1 to 5 (1 being the lowest), contained in the `rate` parameter.
Additionally, this example contains a process of creating a transformation rule based on the preview data received from the Get Data - Retrieve ETL node. This way, we will prepare the incoming data to comply with the Synerise requirements to be imported as events.
Workflow configuration
1. Start your workflow with the **Scheduled Run** node. In the configuration of the node:
1. Change the **Run trigger** option to **all time**. Define the frequency of triggering this node (for example, once a day).
3. Confirm by clicking **Apply**.
2. As the next node, select **Snowflake > Get Data - Retrieve ETL**.
1. Configure the node as described in the [Node configuration](#node-configuration) section.
2. In the **Query** field, enter a query that retrieves email, opinion, and rating. The snippets below contain queries that:
- create a table
- retrieve all data from the table (which is treated as the first import; then the import date is rendered to `1970-01-01T00:00`)
- retrieve the incremental data since the date of the latest import.
These example queries serve as demonstrations, and their specific structure may vary depending on the data structure in your database.
SELECT event_id, email, opinion, rate FROM events;
SELECT event_id, email, opinion, rate
FROM events
WHERE updated_at > {{lastRunDate}};
3. Preview the data and download it as a JSON file.
4. Click **Open Data Transformation**.
5. Transform the file as follows:
- Add the following columns and values:
| Column name | Column value |
|-------------|-------------------------------------|
| `action` | `opinion.import` |
| `label` | `Import of opinions from Snowflake` |
| `type` | `custom` |
- Rename the column name with the customer email to: `client.email`
- Optionally, you can change the names of columns which contain the descriptive opinion and rating.
6. Save the transformation rule.
3. Add the **Data Transformation** node. In the configuration of the node, select the transformation rule you created in the previous step.
4. Add the **Import events** node. This node doesn't require configuration.
5. Add the **End** node.
7. Click **Save & Run**.
**Result**: When the workflow is launched, the `opinion.import` event will be generated on the activity list of the customers who left an opinion on your company. You can later prepare analyses based on this event and its parameters and implement marketing strategy towards these customers.
# Facebook
To make integration with Facebook even more convenient, we prepared ready-made nodes with the configuration of the most frequently conducted actions between Synerise and Facebook.
## Contents
# "Get Survey Link (Single Product)" node
TrustMate is a tool that enables building online brand image through management of reviews of your online shop or company. Use this integration to build workflows that will automatically pass information about purchased products. In return, TrustMate will give back the survey link which you can use in a seasonal communication to your customers.
This node is recommended for generating an invitation to review a single product. To generate invitation links for multiple products simultaneously, use ["Create Invitation" node](/docs/automation/integration/trustmate/create-invitation)
## Prerequisites
---
Contact TrustMate support in order to receive the API key required for authorization.
## Node configuration
---
1. Click the node.
2. Click **Select connection**.
3. From the dropdown list, select the connection.
If you haven't established a connection yet, see [Create a connection](/docs/automation/integration/trustmate/get-survey-link#create-a-connection).
### Create a connection
After you generate an API key in TrustMate, use it to establish a connection.
1. At the bottom of the **Select connection** dropdown list, click **Add connection**.
2. In the **API key** field, enter API key generated by TrustMate.
3. Click **Next**.
4. In the **Connection name** field, enter the name for the access token you generated.
5. Click **Apply**.
**Result**: A connection is created and selected.
### Define the integration settings
A blank configuration form in the Get Survey Link (Single Product) node
Fields marked with the icon accept [snippets](/docs/assets/snippets) or [inserts](/developers/inserts). This integration allows usage of profile-related inserts.
1. In the **Customer’s firstname** field, enter the name of your customer. You can use the following insert to extract it from the customer's attribute: `{{ customer['firstname'] }}`.
2. In the **Customer’s email** field, enter the email of your customer. You can use the following insert to extract it from the customer's attribute: `{{ customer['email'] }}`.
3. In the **Order Id** field, enter the order Id of the purchase that triggers the workflow. Use the following insert to extract it from the profile event trigger: `{{ event.params['$orderId'] }}`.
4. In the **Product’s name** optional field, enter the name of the purchased product. Use the following insert to extract it from the profile event trigger: `{{ event.params['$name'] }}`.
5. In the **Product’s category** optional field, enter the category of the purchased product. Use the following insert to extract it from the profile event trigger: `{{ event.params['$category']|join(' / ') }}`.
Read the article about the [Automation inserts](/developers/inserts/automation).
6. In the **Product's SKU** field, enter the SKU of the purchased product. Use the following insert to extract it from the profile event trigger: `{{ event.params['$sku'] }}`
7. In the **Product's image URL** optional field, enter the URL of the image of the purchased product. Use the following insert to extract it from the profile event trigger: `{{ event.params['image-link'] }}`
8. In the **Product's URL** optional field, enter the URL of the purchased product. Use the following insert to extract it from the profile event trigger: `{{ event.params['$url'] }}`
6. Confirm by clicking **Apply**.
**Result**: When the Get Survey Link node is executed, a [`trustmate.getSurveyLinks` event](/docs/assets/events/event-reference/integration#trustmategetsurveylinks) is generated on the activity list of the profile who is the actor in the workflow.
### Test integration
---
You can run a test request. If the request body contains a dynamic reference to a profile attribute and/or an event data from preceding nodes, then you can define the context using [test profile data](/docs/settings/configuration/test-profiles).
Complete description of the feature is available in [Testing outgoing integrations](/docs/automation/test-requests-for-outgoing-integrations).
1. In the **Test integration** section, click **Send test request**.
**Result**: A test request builder opens. If:
- a request body contains dynamic references, the request preview appears after you select the context of test profiles and events.
- a request body contains static data, the preview of the body request appears immediately.
An empty test request builder
2. If your request contains dynamic references (otherwise, the options aren't available):
- From the **Test profile** dropdown, select a test profile in the context of whom the test request will be performed.
- From the **Event context** dropdown list, you can select a particular occurrence of an event whose values/information will be used for the test request.
1. Select a test profile.
**Result**: A history of test profile events appears.
A stream of events of a test profile
2. From the list of events, select one whose data you want use as a context. If there is no event you can use, in the upper-right corner of the pop-up, click **Define own event** and provide the body of the event.
3. Confirm by clicking **Apply**.
3. Verify the request body. If there is something you want to change, come back to the node settings from previous steps.
3. If the request body is ready to test, in the upper-right corner, click **Send request**.
**Result**: The response section appears and the **Update response event** button becomes active.
4. Optionally, you can update response event with new parameters by clicking **Update response event** in the upper-right corner.
## Example of use
---
For an example of use, refer to our [use case](/use-cases/trustmate-integration).
# "Get File" node
The integration allows you to download files embedded on Google Cloud Storage to Synerise. You can use this connection in various scenarios such as importing transactions, event data, customer information (such as marketing agreements).
## Prerequisites
---
- You must have a Google Cloud account.
- Create a project in Google Cloud.
- Maximum file size: 5 GB (5 000 000 000 bytes).
### Node configuration
---
1. Click **Google Cloud Storage > Get File**.
2. Click **Select connection**.
3. From the dropdown list, select the connection.
- If no connections are available or you want to create a new one, see [Create a connection](#create-a-connection).
- If you selected an existing connection, proceed to [defining the integration settings](#define-the-integration-settings).
### Create a connection
To allow the data exchange, establish a connection between Synerise and Google Cloud Storage.
1. At the bottom of the **Select connection** dropdown list, click **Add connection**.
2. On the pop-up, click **Sign in with Google**.
3. Select a Google account which has write access to the dataset that contains your destination table.
[Learn about required permissions](https://cloud.google.com/bigquery/docs/streaming-data-into-bigquery#required_permissions).
4. Follow the instructions on the interface.
5. After authentication, click **Next**.
6. In the **Connection name** field, enter the name of the connection.
It's used to find the connection on the list.
7. Click **Apply**.
**Result**: A connection is created and selected.
### Define the integration settings
In this step, fill in the form that allows you to get a file with data from the storage.
A blank configuration form in Get File node (Google Cloud Storage)
Fields marked with the icon accept [snippets](/docs/assets/snippets) or [inserts](/developers/inserts). But, you can’t use profile-related inserts.
1. In the **Project ID** field, enter the unique identifier of your project in Google Cloud.
You can learn how to find the project ID [here](https://support.google.com/googleapi/answer/7014113).
2. In the **Bucket** field, enter the name of the existing bucket (container) from which the file will be downloaded.
3. In the **Path to directory** field, enter the path to the existing bucket from which the file will be downloaded.
4. In the **File name** field, enter the name of the file you want to get from the storage. You can use Jinjava to build dynamic file name configuration.
5. From the **File format** dropdown list, select the format in which the file will be delivered.
If you select the **CSV [*.csv]** option, follow the instructions below:
1. From the **Delimiter** dropdown, select the character that splits the column.
2. From the **Quotation mark** dropdown list, select the characters that contain the text.
3. From the **Escape character** dropdown lists, select the character that changes the default interpretation of a character or a string followed by the escape character.
6. Confirm by clicking **Apply**.
## Example of use
---
As an example of use, you can create a workflow that is triggered one time in order to import the customer database (email addresses and newsletter agreements) to Synerise.
In the configuration of the workflow:
1. Start the workflow with the **Scheduled Run** node. In the configuration of the node, set the **Run trigger** to **one time**. Select the **Immediately** tab.
2. To feed the workflow with data, as the next node, select **Google Cloud Storage > Get File**. Fill in the configuration form in the node.
4. To import data to Synerise, select **Synerise > Import Profiles**. Make sure the data in the retrieved file meet the requirements defined in the Import profile node. If you need to adjust your data, you can use [Data Transformation node](/docs/automation/operation/data-transformation-node) to transform values in your file.
5. Add the **End** node.
**Result**:
Final configuration of the workflow
# "Send File" node
The integration between Synerise and Google Cloud Storage opens up possibilities of exporting data collected in Synerise. By means of the Send file node, you can push data from Synerise to add it to a storage in your Google Cloud. You can use this connection in various scenarios such as exporting transactions, event data, customer information (such as marketing agreements), results of metrics, aggregates, expressions, reports, and many more to Google Cloud Storage.
## Prerequisites
---
- You must have a Google Cloud account.
- Familiarize with pricing connected with sending data to your storage in Google Cloud.
- Create a project in Google Cloud.
- Create a [Cloud Storage bucket](https://cloud.google.com/storage/docs/creating-buckets).
### Node configuration
---
1. Click **Google Cloud Storage > Send File**.
2. Click **Select connection**.
3. From the dropdown list, select the connection.
- If no connections are available or you want to create a new one, see [Create a connection](#create-a-connection).
- If you selected an existing connection, proceed to [defining the integration settings](#define-the-integration-settings).
### Create a connection
To allow the data exchange, establish a connection between Synerise and Google Cloud Storage.
1. At the bottom of the **Select connection** dropdown list, click **Add connection**.
2. On the pop-up, click **Sign in with Google**.
3. Select a Google account which has write access to the dataset that contains your destination table.
[Learn about required permissions](https://cloud.google.com/bigquery/docs/streaming-data-into-bigquery#required_permissions).
4. Follow the instructions on the interface.
5. After authentication, click **Next**.
6. In the **Connection name** field, enter the name of the connection.
It's used to find the connection on the list.
7. Click **Apply**.
**Result**: A connection is created and selected.
### Define the integration settings
In this step, fill in the form that allows you to send a file with data from Synerise to a storage.
A blank configuration form in the Send File node (Google Cloud Storage)
Fields marked with the icon accept [snippets](/docs/assets/snippets) or [inserts](/developers/inserts). But, you can’t use profile-related inserts.
1. In the **Project ID** field, enter the unique identifier of your project in Google Cloud.
You can learn how to find the project ID [here](https://support.google.com/googleapi/answer/7014113).
2. In the **Bucket** field, enter the name of the existing bucket (container) to which you will send a file with data.
3. In the **Path to directory** field, enter the path to the existing bucket in which the file will be saved.
4. In the **File name** field, enter the name of the file you want to send to the storage. If the file already exists, in such case, the contents of the file will be overwritten.
In this field, you can use Jinjava.
5. From the **File format** dropdown list, select the format in which the file will be saved in the storage.
If you select the **CSV [*.csv]** option, follow the instructions below:
1. From the **Delimiter** dropdown, select the character that marks the end of a column.
2. From the **Quotation mark** dropdown list, select the characters that contain the text.
3. From the **Escape character** dropdown lists, select the character changes the default interpretation of a character or a string followed by the character.
5. From the **Line ending** dropdown list, select:
- **Line feed** - This option shifts the cursor to the next line vertically.
- **Carriage return and line feed** - This option points the cursor to the beginning of the line horizontally and shifts the cursor to the next line vertically.
6. The **No Byte Order Mark** option is currently unused.
7. To wrap the values with characters selected in the **Quotation mark** field when the delimiter occurs in the value, select the **Quoting style only if required** option. For example, for the following values:
- one
- two,three,four
The output with the enabled **Quoting style only if required** option will be as follows:
- "one",
- "two,three,four"
6. Confirm by clicking **Apply**.
## Example of use
---
As an example of use, you can create a workflow that is triggered one time in order to export the customer database (email addresses and newsletter agreement) to the storage.
As a prerequisite in this example, create a segmentation of customers who have email addresses and enabled newsletter agreement. This segmentation will be used in the [Get Profiles node](/docs/automation/actions/synerise-integrations/get-profiles) that will be a part of the workflow.
Example of the segmentation conditions
In the configuration of the workflow:
1. Start the workflow with the **Scheduled Run** node. In the configuration of the node, set the **Run trigger** to **one time**. Select the **Immediately** tab.
2. To retrieve customers data to the workflow, as the next node, select **Synerise > Get Profiles**. In the configuration of the node:
1. Select a segmentation from which you want to extract customers' data.
2. Select the customer attributes to be exported. In this example, it's an email address and email marketing agreement.
4. To send the file with customers data, add **Google Cloud Storage > Send File**. Fill in the configuration form in the node.
5. Add the **End** node.
**Result**:
Final configuration of the workflow
# "Send Request" node
Amazon API Gateway allows developers to create, publish, maintain, and secure APIs at any scale. By integrating with a specific endpoint, users can trigger AWS Lambda functions, forward message to Amazon SQS, interact with backend services, or access AWS resources through an HTTP request. The integration between Synerise and Amazon API Gateway allows you to send any requests from Synerise.
This node can be used in customer-oriented and business workflows. A reponse from the endpoint generates the [`amazonApiGateway.sendRequest` event](/docs/assets/events/event-reference/integration#amazonapigatewaysendrequest). The name of the event is customizable in the configuration form of this node.
## Prerequisites
---
- [Set up API keys using the API Gateway console - Amazon API Gateway](https://docs.aws.amazon.com/apigateway/latest/developerguide/api-gateway-setup-api-key-with-console.html).
## Node configuration
---
1. To create a workflow that sends a request to Amazon API Gateway, go to **Automation Hub > Workflows > New workflow**.
2. Start the workflow with a trigger node, (for example, ["Scheduled Run" node](/docs/automation/triggers/scheduled-run)).
3. On the trigger node, click **THEN**.
1. Click **Amazon API Gateway > Send request**.
2. Click **Select connection**.
3. From the dropdown list, select the connection.
- If no connections are available or you want to create a new one, see [Create a connection](#create-a-connection).
- If you selected an existing connection, proceed to [defining the integration settings](#define-the-integration-settings).
### Create a connection
To allow the data exchange, establish a connection between Synerise and Amazon API Gateway.
1. At the bottom of the **Select connection** dropdown list, click **Add connection**.
2. In the **Connection name** field, enter the name of the connection.
It will only be visible on the list of connections and will help you recognize it on the list.
2. In the **API key** field, enter your Amazon API key which lets you receive external requests.
3. Confirm by clicking **Apply**.
### Define the integration settings
In this step, fill in the form that allows you to send data from Synerise to Amazon API Gateway.
Blank configuration form of the Send request node
Fields marked with the icon accept [snippets](/docs/assets/snippets) or [inserts](/developers/inserts). This integration allows usage of profile-related inserts.
1. Select a **HTTP method** from the dropdown list.
2. In the **Stage invoke URL** field, enter the URL of your API Gateway under which your resource is published.
This is the base URL used to invoke your deployed API at a specific stage (for example, dev, prod). It’s the entry point for calling your API, the resource path is added in the next field. Example value: `https://abc123.execute-api.us-east-1.amazonaws.com/prod`
3. In the **Resource path** field, enter the path which is added to the stage URL to access a particular resource or endpoint.
Example values: `/users/create`; `/orders/{orderId}`
4. In the **Content Type** enter the value of the Content-Type header.
5. In the **Body** field, enter the request body.
2. In the **Response event name** field, enter the event name in which the response to the requests will be saved. By default, it's [`amazonApiGateway.sendRequest`](/docs/assets/events/event-reference/integration#amazonapigatewaysendrequest). We recommend customizing the event name per each business case.
The event will be generated only for the customer-oriented workflows on the profile cards of the customers who participated in the workflow.
3. In the **Additional event parameters** section, you can add parameters (key-value) which will be added to the event with the request response. It should be noted that:
- You can add up to 10 parameters
- The parameter name cannot exceed 128 characters
- The parameter name cannot contain special characters
4. Confirm by clicking **Apply**.
**Result**: When the Send Request node is executed, an [`amazonApiGateway.sendRequest` event](/docs/assets/events/event-reference/integration#amazonapigatewaysendrequest) (or an event with the custom name defined in the **Response event name** field) is generated on the activity list of the profile who is the actor in the workflow.
### Test integration
---
You can run a test request. If the request body contains a dynamic reference to a profile attribute and/or an event data from preceding nodes, then you can define the context using [test profile data](/docs/settings/configuration/test-profiles).
Complete description of the feature is available in [Testing outgoing integrations](/docs/automation/test-requests-for-outgoing-integrations).
1. In the **Test integration** section, click **Send test request**.
**Result**: A test request builder opens. If:
- a request body contains dynamic references, the request preview appears after you select the context of test profiles and events.
- a request body contains static data, the preview of the body request appears immediately.
An empty test request builder
2. If your request contains dynamic references (otherwise, the options aren't available):
- From the **Test profile** dropdown, select a test profile in the context of whom the test request will be performed.
- From the **Event context** dropdown list, you can select a particular occurrence of an event whose values/information will be used for the test request.
1. Select a test profile.
**Result**: A history of test profile events appears.
A stream of events of a test profile
2. From the list of events, select one whose data you want use as a context. If there is no event you can use, in the upper-right corner of the pop-up, click **Define own event** and provide the body of the event.
3. Confirm by clicking **Apply**.
3. Verify the request body. If there is something you want to change, come back to the node settings from previous steps.
3. If the request body is ready to test, in the upper-right corner, click **Send request**.
**Result**: The response section appears and the **Update response event** button becomes active.
4. Optionally, you can update response event with new parameters by clicking **Update response event** in the upper-right corner.
## Example of use
---
In this example, let's assume you already have your own email marketing tool, and Synerise serves as your primary data hub. By using real-time customer segmentation and analytics in Synerise and your email tool, you can benefit from both systems through the integration of Synerise and this tool via Amazon API Gateway.
The workflow will start at the defined date for selected group of customers. Information about these customers will be retrieved by the **Send request** node and exported to Amazon API Gateway. Jinjava will retrieve parameter values for each customer.
The data after sending the request will be available in Amazon SQS for further use in the Amazon email marketing tool.
1. Start with the **Audience** node.
2. In the configuration of the node:
1. In the **Run trigger** section define the frequency and/or date and time when this node will be triggered.
2. In the **Define audience** section, select an existing segmentation (the **Segments** tab) or define the conditions a customer must meet to be included in the node (the **New audience** tab).
3. Confirm the settings by clicking **Apply**.
3. Add the **Send request** node. In the configuration of the node, fill out the fields according to the instructions in the ["Node configuration" section](#node-configuration).
Below, you can find an example request body:
The values of these parameters will be replaced with the data of customers who arrive at the **Send request** node. The value of the `lastPurchasedItem` parameter is the result of an aggregate which returns the name of the last purchased item by the customer.
4. Finish the node by adding the **End** node.
**Result**:
Final workflow configuration
# "Data Changed" node
## Data Changed node
This trigger launches an automation process if the value of the customer attribute indicated in the trigger changes to the value defined in the trigger.
A profile attribute is a quality assigned to customers. A single customer can have limitless qualities. All of them are listed on the customer card in Profiles.
### Node configuration
---
1. Click the pencil icon on the node.
**Result**: A pop-up opens.
2. From the **Choose value** dropdown list select a customer attribute.
3. To define the exact value of the customer attribute that launches the automation process, click **Choose operator**.
4. From the dropdown list, select the operator (contain, equal, in, and so on).
**Result**: A text field is shown next to the selected operator.
5. Enter the value of the profile attribute that triggers a workflow.
6. To confirm the settings, click **Apply**.
### Example of use
----
Example of a workflow that uses the Data Changed trigger
The purpose of this workflow is to send a mobile push notification with a welcome message informing about access to special offers.
1. Add the **Data Changed** trigger reacts to birthdate changes.
2. The **Profile Filter** condition node checks if the birthdate change meets the requirement of a segmentation that defines customers as adults.
3. If customers belong to the segmentation, they proceed to the next stage. A mobile push is sent to them.
4. When the push is sent, the workflow ends.
# "Add column" node
This node allows you to supplement the file with the required data which your input file may be missing. It lets you create a new column with the rows that contain the target value in a file.
## Node configuration
---
1. In the **Add column** field, enter the unique column name.
2. Select one of the options:
- **Static value** - when you select this option, the rows in the new column are filled with the value you define.
If you leave an empty field for the **Static value** option, the values in the column will be empty strings.
- **Dynamic value** - when you select this option, the rows in the new column are filled with a [variable (Jinja)](/developers/inserts/imports). The use of custom Jinja tags (for example, referring to customer attributes, aggregates, expressions, and so on) is not possible.
- **No value** - when you select this option, the new column is added with empty rows.
If you choose the "No value" option, the values in the column will be null. It means that if a corresponding attribute exists in the database, it will be deleted.
- **UUID** - when you select this option, the rows in the new column are filled with a randomly generated UUID v4 (unique for each row).
- **Current date** - when you select this option, rows in the new column are filled with the current date (the date and time are generated on an ongoing basis during the transformation). After selecting the **Current date** option, [configure the date format](#current-date-option).
4. You can check the preview of the file after changes in the **Output data** tab.
4. To add more columns, add subsequent **Add column** nodes. You can add one column in each **Add column** node.
5. To define what happens if rows contain errors, select one of the options available in the [Error handling](#handle-errors) section.
6. Confirm the settings by clicking **Apply**.
### Current date option
Using the **Current date** option, you can enrich your data with a dynamically injected date and time which can be used, for example, to build an event salt.
To define a rule with **Current date**:
1. Select a timezone.
2. Select one of the available formats:
* ISO (for example 2022-10-05T05:55:16.786596Z)
* Timestamp (for example 1664949342323)
* MMM d, YYYY (for example Oct 5, 2022)
* MMM d, YYYY, HH:mm:ss (for example Oct 5, 2022, 05:57:14)
* YYYY-MM-dd HH:mm (for example 2022-10-05 05:57)
* Custom - you can create [your own date and time format](#custom-date-format).
#### Custom date format
You can use the following elements to build a custom format. The example values use October 05, 2022 as the date.
* MMM - name of month (Oct)
* MM - number of month (10)
* DD - day of year (278)
* dd - day of month (05)
* YYYY - year (2022)
* YY - year (22)
### Handle errors
You can define what to do with failed values (for example, as a result of Jinja rendering or in other cases) in cells where data type modification failed.
In the **Handle incomplete data** section, select one of the following options:
- **Skip row if error occurred** - It omits the row when an exception occurs.
- **Skip if result is null or empty string** - It omits rows with empty strings and `null` (which may be the result of rendering Jinja)
- **Stop further transformation** - The transformation stops at the row with an error. The data before the line that caused the error is transformed (and imported if the transformation rule is used in the Data Transformation node).
- **Insert null if error occurred** - Wrong values are replaced with `null`. If you use such a transformation for the import of profiles, the existing value of an attribute is cleared and replaced with the `null` value.
- **Insert empty string if error occurred** - Wrong value is removed and the cell remains empty.
## Example of use
---
You can create a transformation of a sample file with customers' data by adding a `marketing_agreement` column with the `true` value. Later, you can use this transformation while importing customers to Synerise.
Transformation of a sample file with customer's data
1. Start the transformation with the **Data Input** node.
2. Click the node.
3. In the configuration of the node, upload a sample file with customer data.
4. Add the **Add column** node and join it with the **Data Input**.
5. In the configuration of the **Add column** node:
1. In the **Add column** field, enter `marketing_agreement`.
2. Leave the first dropdown list at default (**Static value**).
3. In the last field, enter `true`.
Configuration of the Add column node
4. Confirm by clicking **Apply**.
5. Add the **Output data** node and join it with the **Add column** node.
# "Add Profiles to Custom Audience" node
You can use the **Add Profiles to Custom Audience** node to export a segmentation of customers from Synerise to Facebook.
You can check out the [use case that describes adding profiles to Custom Audience in Facebook](/use-cases/send-custom-audience-webhook).
## Prerequisites
---
- [Generate the system user access token in Facebook](https://developers.facebook.com/docs/marketing-api/collaborative-ads/managed-partner-ads/api-guide/prerequisites/generate-access-token-system-user); as the `scope` value, select `ads_management`.
- [Create a Custom Audience in Facebook](https://www.facebook.com/business/help/170456843145568?id=2469097953376494). Save the ID o the Custom Audience in the notepad.
## Node configuration
---
1. Click the node.
2. Click **Select connection**.
3. From the dropdown list, select the connection.
If you haven't established a connection yet, see [Create a connection](/docs/automation/integration/facebook/send-custom-audience#create-a-connection).
### Create a connection
Generate an access token which allows you to send a request (send a segmentation of customers from Synerise to Facebook).
1. At the bottom of the **Select connection** dropdown list, click **Add connection**.
2. In the **Access token** field, enter the app access token.
You can read more about access tokens in [Facebook documentation](https://developers.facebook.com/docs/marketing-api/conversions-api/get-started/#access-token).
3. Click **Next**.
4. In the **Connection name** field, enter the name for the access token you generated.
5. Click **Apply**.
**Result**: A connection is created and selected.
### Define the integration settings
In this part of the configuration process, you select the ID of the custom audience to which you export customers from Synerise, you define the API version of Facebook and select the type of customer ID based on which they will be identified.
A blank configuration form in Add Profiles to Custom Audience
Fields marked with the icon accept [snippets](/docs/assets/snippets) or [inserts](/developers/inserts). This integration allows usage of profile-related inserts.
1. In the **Graph API version** field, enter the currently used version of Facebook API.
3. From the **Identifier type** dropdown list, select the ID of customers based on which they will be identified.
You can select either an email address or a phone number.
4. In the **Identifier source** dropdown list, enter the Jinjava tag that corresponds to the identifier type you selected step before. It can be a `{{ customer.email }}` tag, for example.
You can read more about Jinjava tags in Automation Hub [here](/developers/inserts/automation).
2. In the **Custom Audience Id** field, enter the ID of the Custom Audience.
You can source this information from the settings of the Custom Audience settings in Facebook.
4. Confirm by clicking **Apply**.
**Result**: When the Add Profiles to Custom Audience node is executed, a [`facebook.sendAudience` event](/docs/assets/events/event-reference/integration#facebooksendaudience) is generated on the activity list of the profile who is the actor in the workflow.
4. Confirm by clicking **Apply**.
### Test integration
---
You can run a test request. If the request body contains a dynamic reference to a profile attribute and/or an event data from preceding nodes, then you can define the context using [test profile data](/docs/settings/configuration/test-profiles).
Complete description of the feature is available in [Testing outgoing integrations](/docs/automation/test-requests-for-outgoing-integrations).
1. In the **Test integration** section, click **Send test request**.
**Result**: A test request builder opens. If:
- a request body contains dynamic references, the request preview appears after you select the context of test profiles and events.
- a request body contains static data, the preview of the body request appears immediately.
An empty test request builder
2. If your request contains dynamic references (otherwise, the options aren't available):
- From the **Test profile** dropdown, select a test profile in the context of whom the test request will be performed.
- From the **Event context** dropdown list, you can select a particular occurrence of an event whose values/information will be used for the test request.
1. Select a test profile.
**Result**: A history of test profile events appears.
A stream of events of a test profile
2. From the list of events, select one whose data you want use as a context. If there is no event you can use, in the upper-right corner of the pop-up, click **Define own event** and provide the body of the event.
3. Confirm by clicking **Apply**.
3. Verify the request body. If there is something you want to change, come back to the node settings from previous steps.
3. If the request body is ready to test, in the upper-right corner, click **Send request**.
**Result**: The response section appears and the **Update response event** button becomes active.
4. Optionally, you can update response event with new parameters by clicking **Update response event** in the upper-right corner.
## Example of use
---
As an example of use, read our [use case](/use-cases/send-custom-audience-webhook).
# "Get File" node
You can use the **Get File** node to transfer the files from your server to the workflow using HTTP protocol.
- Maximum file size: 5 GB (5 000 000 000 bytes).
## Node configuration
---
### Set up a connection
In this part of the process, you must define how you will get access to your source. By selecting the authentication method and providing required information, you establish a connection.
1. Select **HTTPS > Get File**.
Selecting the authentication method
1. Select the authentication method:
- **No authentication** - No authentication is required.
- **Login & Password** - This method lets you use basic authentication to authenticate with the remote server.
Click here to see the instructions
- **Custom connection** - This method sends an authentication token request before executing the main request defined in the Outgoing integration node settings. The token is fetched when the request data is uncached, then cached according to its TTL, and added to the target request.
Click here to see the instructions
Click Select connection.
In the connection list:
If the connection you want to use is in the list, select it and proceed to Defining the request section in this article.
If the connection list is empty or you don't see a connection, you must:
At the top of the dropdown list, click Add connection.
In the Authorization request tab, click Define. Result:
The Request section in the configuration of a custom connection
In the Connection name field, enter the name of your connection (it's visible only on the Select connection dropdown list or on the list of connections in Settings > Connections).
In Secret, enter a value which is required in the request to obtain a token. This value will be anonymized and displayed as asterisks.
In the Headers section, add request headers (in the left field, enter the key; in the right, enter its value).
In the Body field, enter the request body. For example:
{ "api-key": "{{secret}}" }
where {{secret}} retrieves the value of the Secret field to anonymize the token.
Confirm the settings in the Authorization request tab by clicking Apply.
In the Token placement settings section, click Define.
Click Retrieve response. Result:
Retrieved token in the Response section in the custom connection configuration form
If you:
specify the value in the Headers section, the extracted authorization data from the response will be added as a header to the target request.
provide the value in the URL Parameters section, the data will be appended to the target request’s URL as a parameter. You can use the following values to retrieve values from the response:
authResponseBody - a variable that contains the full body of an authentication response
authResponseStatusCode - a variable that contains the status code of an authentication response
authResponseHeaders- a variable that contains the headers of an authentication response For example:
It takes the JSON response body stored in authResponseBody, parses it into a usable structure, and extracts the value of the token field. Outputs a string like: Bearer "eyJhbGciOiJIUzI1NiIsInR5cCI6IkpXVCJ9..."
In TTL field, specify the how long the cached response from the external request will be valid. If you leave this field empty, it's 60 seconds.
Confirm by clicking Apply.
- **Synerise API key** - This method is particularly recommended for the users who use Synerise REST API. It lets you select a connection that includes an [API key](/docs/settings/tool/api) with the required permissions. This way, the requests to Synerise API are executed by this integration and a JWT is not required as it is generated while sending requests and attached to the request headers.
Click here to see the instructions
If the connection list is empty or you don't see a connection, you must:
At the top of the dropdown list, click Add connection.
In the Connection name field, enter the name of your connection (it's visible only in Synerise).
In the Token endpoint URL field, enter the URL used to obtain an access token from the authorization server.
In the Client ID field, enter a unique identifier assigned to your application by the service provider.
In the Client secret field, enter a confidential key issued alongside the Client ID. It is used to securely authenticate your application.
Optionally, in the Scope field, define the level of access your application is requesting. Scopes specify which actions or data your application can access (for example, read user data, send messages). Refer to the API documentation for the correct scope values.
- **API Key** - This method lets you authenticate using an API secret by including it in a header of your choice or in a URL parameter — example outputs:
- the authorization header: `Authorization: Bearer [secret]`
- URL parameter: `client_id=[rendered secret]`.
When you use this connection in the Outgoing Integration node, the token will be automatically added to either the request header or the request URL with every request.
Click here to see the instructions
Click Select connection.
If the connection you want to use is in the list, select it and proceed to Defining the request section in this article.
If the connection list is empty or you don't see a connection, you must:
At the top of the dropdown list, click Add connection.
In the Connection name field, enter the name of your connection (it's visible only in Synerise).
In the Secret field, enter an API Key.
If you:
specify the value in the Headers section, the API key will be added as a header to the request. For example, x-api-key: {{secret}} where {{secret}} retrieves the value of the Secret field to anonymize the API key value.
provide the value in the URL Parameters section, the API key will be appended to the request’s URL as a parameter.
### Fill out the configuration form
A blank form for the HTTPS Get File node
Fields marked with the icon accept [snippets](/docs/assets/snippets) or [inserts](/developers/inserts). But, you can’t use profile-related inserts.
1. From the **Method** dropdown list, select the method.
2. In the **URL** field, enter the endpoint.
3. From the **File format** dropdown list, select the format of the file:
- **XML Feed**
- **JSON**
- **JSON Lines**
- **CSV** - Provide the details on how to format the imported file:
1. From the **Delimiter** dropdown, select the character that marks the end of a column.
2. From the **Quotation mark** dropdown list, select the characters that contain the text or data type.
3. From the **Escape character** dropdown lists, select the character changes the default interpretation of a character or a string followed by the character.
4. In the **Headers** fields, define request headers required by the HTTP API.
5. Confirm the settings by clicking **Apply**.
## Examples of use
---
In this example, you can launch a workflow which retrieves a Synerise [catalog](/docs/assets/catalogs) by means of HTTPS protocol and send it further to a SFTP server. If needed, the workflow can perform a transformation of data retrieved from the catalog in order to meet data structure requirements in the SFTP server.
If you decide to use the [Data Transformation node](/docs/automation/operation/data-transformation-node) you must [build a data transformation workflow](/docs/automation/data-transformation-and-imports/creating-data-transformation).
Final workflow configuration
1. Add the **Scheduled Run** node.
2. In the configuration of the node, set it to **immediately**.
3. Add the **Get File** node by clicking **THEN > HTTPS**.
4. In the configuration of the node:
1. Select the authentication method.
- If no connections are available or you want to create a new one, see Add connection.
- If you selected an existing connection, proceed to defining the integration settings.
2. Leave the method at default (**GET**).
3. In the URL, enter the address of the endpoint (you can get it [here](https://hub.synerise.com/api-reference/asset-management#tag/Catalogs/operation/getItemsCSV)
4. As a file format, from the dropdown list, select **CSV file**.
5. Verify the following fields: **Delimiter**, **Quotation mark**, **Escape character**, **Charset**, **Line ending**.
6. Configure settings for the **Headers** section.
7. Confirm by clicking **Apply**.
3. Optionally, you can add the [Data Transformation node](/docs/automation/operation/data-transformation-node) to modify the data retrieved from the catalog to comply with the data structure standards in your SFTP.
4. Add the **Send File** node by clicking **THEN > SFTP**.
5. In the configuration of the node:
1. Select the authentication method.
- If no connections are available or you want to create a new one, see Add connection.
- If you selected an existing connection, proceed to defining the integration settings.
1. Enter the URL to the server.
2. Enter the path to the directory.
3. Enter the name of the file under which you want to send the data to the server.
4. Select the format of the file.
6. Confirm by clicking **Apply**.
6. Add the **End** node.
# "Import Profiles" node
This node allows you to initiate an import of profiles to Synerise. The node doesn't require any further configuration - it contains a list of required parameters a file must contain to be imported.
## Requirements
---
The full list or requirements is available in [Importing profiles](/docs/assets/imports/importing-clients).
## Node configuration
---
No configuration is required. However, this node must be preceded by one of the following nodes:
- [Local File](/docs/automation/operation/local-file-node)
- [SFTP](/docs/automation/integration/sftp-integrations)
- [HTTP](/docs/automation/integration/http-integrations)
## Example of use
---
You can combine the **Local File** node with the **Import Profiles** node to import a file with customer data.
The file used in this example
Single import of customers to Synerise
1. Start the workflow with the **Scheduled Run** node.
2. In the configuration of the node:
1. Set the **Run trigger** to **one time**.
2. Select the **Immediately** tab.
3. Click **Apply**.
3. Add the **Local File** node.
4. In the configuration of the node:
1. Upload the file with customers.
2. Click **Apply**.
5. Add the **Import Profiles** node.
6. Add the **End** node.
# "Update Profile" node
The **Update Profile** node lets you modify profile attributes, as well as add or remove tags from profiles.
- A profile attribute is a characteristic assigned to profiles. There are two types of profile attributes: custom (those which you create yourself) and default (attributes which are assigned to a profile, such as first name, last name, phone, city, email, and so on). Profiles can have many attributes, all displayed on a card in **Behavioral Data Hub > Profiles**.
- Profile tags help you organize your profiles into groups for better communication and management.
To find out more about profile tags, you can refer to [Profile tags](/docs/crm/customer-tag).
The actions available in the **Update Profiles** node vary depending on whether the attributes are custom or default.
When the workflow is launched for a large amount of profiles, it can take longer to update the attributes.
## Requirements
---
You must implement the tracking code to your website.
## Node configuration
---
1. To configure the settings of the node, click it.
**Result**: A pop-up opens.
2. From the **Attribute** dropdown list, you can:
- select an existing attribute or tag,
- create a new profile attribute or tag by clicking **Add profile attribute** or **Add profile tag**, respectively.
3. From the **Action** dropdown, select an action:
- The **Clear field** option removes the old value and leaves the attribute empty. This option is available only for default profile attributes such as `email`.
- The **Update** option defines a new value for the profile attribute.
- The **Add** option adds the selected tag to a profile.
- The **Remove** option deletes the selected tag and/or a custom attribute.
4. For the **Update** option: Next to the action selection dropdown, enter a value that replaces the old value. You can also add [snippets](/docs/assets/snippets) by clicking the icon in the field. It's useful when you want to update the attribute value with the value of the aggregate, expression or the event parameter.
4. To impose a limit on the action, switch the **Action limit** toggle. Enter a number and from the dropdown list, select the time unit. You can define how many times this action can be executed for the whole automation process (**workflow**), or you can define how many times per second/minute/hour/day/week/month can be executed.
6. Confirm by clicking **Apply**.
If the Update Profile node is used in the workflow triggered by an event occurrence, the changes of attribute are processed in real time. In the case of the workflows triggered by the [Audience node](/docs/automation/triggers/audience-node), the changes of attribute are processed in a separate queue and the duration of the processing depends on the load.
## Example of use
---
Example of the workflow that uses the Update Profile action
The output of this workflow is tag assignment to profiles who buy premium-classified products is tagged with the `TopCustomer` label.
1. Add the **Profile Event** trigger and select an event that signifies transaction (`product.buy`).
2. Add an action that updates a profile attribute. In this case we add the TopCustomer tag.
**Result**: Once the action is launched, the scenario is completed.
# "Data Transformation" node
The Data Transformation node is useful for the workflows whose purpose is to retrieve the data, structure it to meet requirements and process them further. Examples of such workflows can be retrieving a file from an external source and importing it to Synerise. The intermediate step between these two actions is converting the data structure, which can be achieved by means of the **Data Transformation** node.
The Data Transformation node performs the operations on a file according to the logic described by a [transformation rule](/docs/automation/data-transformation-and-imports/creating-data-transformation) which you must select in the configuration of this node.
### How does it work
When you create a workflow which includes the **Data Transformation** node, you must add a node that contains the target file to be transformed (see [Prerequisites](#prerequisites)) right before the **Data Transformation** node.
When a launched workflow arrives at the Data Transformation node, the system performs the modifications to the target file according to the rules defined in the transformation rule selected in the node. It is important to select the transformation rule designated for the structure of the target file for the successful transformation.
#### What if the target file does not fully comply with the transformation rules?
Transformation will be performed but may not always be successful. The **Data Transformation** node accepts uneven data (for example, when a file contains a column that keeps information about the resolution of a product, which is required for items such as computers but not necessary for AGD equipment) but may not always transform them correctly.
**Example 1**: If a transformation rule was based on a file sample with columns: `A`, `B`, and `C`. The **Data Transformation** node receives the actual file with only `B` and `C` columns, the transformation of such file will be performed.
**Example 2**: A transformation rule was based on a file sample with columns: `A`, `B`, and `C`, but the **Data Transformation** node receives the actual file with `A`, `B` and `D` columns.
If the transformation rule contains a condition a column `D` qualifies to (for example, a specific value is added to columns whose names start with `A`, `B`, `C`, and `D`), then the transformation will be performed, even if the `D` column wasn't present in a file sample.
However, if column `D` doesn't qualify for any condition, the column will be imported as delivered in the file.
## Prerequisites
---
- You must create a [transformation rule](/docs/automation/data-transformation-and-imports/creating-data-transformation).
- The workflow which includes the **Data Transformation** node must contain one of the following nodes:
- [Local File](/docs/automation/operation/local-file-node)
- [Get File (HTTPS)](/docs/automation/integration/http-integrations/http-get-file)
- [Get File (SFTP)](/docs/automation/integration/sftp-integrations/sftp-get-file)
- [Get File (Google Cloud Storage)](/docs/automation/integration/google-cloud-storage/get-file-from-gcs)
- [Get File (Azure Blob Storage)](/docs/automation/integration/azure-blob-storage/get-file-azure-blob-storage)
- [Get file (Amazon S3)](/docs/automation/integration/amazon-s3-bucket/get-file-amazon-s3-bucket)
- [Get Profiles](/docs/automation/actions/synerise-integrations/get-profiles)
- [Get Statistic](/docs/automation/actions/synerise-integrations/get-statistics)
- [Get Catalog Data](/docs/automation/actions/synerise-integrations/export-data-from-catalog)
- [Get Analytics Report](/docs/automation/actions/synerise-integrations/get-analytics-report)
- [Get Metrics](/docs/automation/actions/synerise-integrations/get-metric-results)
- [Get Data (Google BigQuery)](/docs/automation/integration/google-bigquery/get-data-reverse-etl)
- [Get Data (Snowflake)](/docs/automation/integration/snowflake/get-data-reverse-etl)
- [Get Data (Databricks)](/docs/automation/integration/databricks/get-data-reverse-etl)
## Node configuration
---
In contrast to the majority of nodes in Automation Hub, **Data Transformation** node is an operation node, which means it must complete before the workflow can proceed to the next node.
1. Click the **Data Transformation** node.
2. From the dropdown list, select the transformation rule.
**Result**: The pop-up window displays the column a file contains.
## Example of use
---
This example describes a procedure of creating a workflow that performs a single import of a file with transactions uploaded from the device. The workflow performs the transformation of the file with transactions so it complies with the Synerise requirements. After the transformation, the file with transactions is imported to Synerise.
1. Learn about the [requirements for import of transactional data](/docs/automation/actions/synerise-integrations/import-transactions#requirements).
2. Prepare a [transformation rule](/docs/automation/data-transformation-and-imports/creating-data-transformation) according to the requirements.
1. Create the new workflow and start it with the **Scheduled Run** node.
2. In the configuration of the node, set it to be scheduled immediately.
3. Add the **Local File** node. In the configuration of the node, upload the file with transactions.
If you store the file on a server, select [HTTP](/docs/automation/integration/http-integrations) or [SFTP](/docs/automation/integration/sftp-integrations) node and follow the instructions on the interface.
4. Add the **Data Transformation** node.
5. In the configuration of the node, select the transformation you prepared in step 2.
3. Add the **Import Transactions** node. In the settings of the node, you can check the list of the required columns.
4. Add the **End** node.
Single import of transactions to Synerise
5. Click **Save & Run**.
# "Send Template Message" node
WhatsApp lets you easily send many message types to your customers. By combining it with the capabilities of Synerise, you can send [message templates (business-initiated conversations)](https://developers.facebook.com/docs/whatsapp/conversation-types#business-initiated-conversations) which are personalized based on the information about your customers collected in Synerise.
If you prefer a simpler setup with less technical configuration, consider using the [WhatsApp partner integration](/docs/automation/integration/whatsapp-partner-integration/send-template-message).
Before you start working with this integration, get familiar with:
- [pricing and payment methods](https://developers.facebook.com/docs/whatsapp/cloud-api/get-started#pricing---payment-methods),
- [opt-in policy and methods](https://developers.facebook.com/docs/whatsapp/overview/getting-opt-in),
- [messaging limits](https://developers.facebook.com/docs/whatsapp/messaging-limits#messaging)
### Prerequisites
---
- [Create an account in Meta for Developers](https://developers.facebook.com/docs/whatsapp/cloud-api/get-started)
- [Send a test message](https://developers.facebook.com/docs/whatsapp/cloud-api/get-started#sent-test-message)
- [Add the sender's phone number](https://developers.facebook.com/docs/whatsapp/cloud-api/get-started/add-a-phone-number)
- [Generate a permanent token](https://developers.facebook.com/blog/post/2022/12/05/auth-tokens/)
- [Create a message template](https://developers.facebook.com/docs/whatsapp/message-templates/guidelines)
- Make sure that the recipients' profiles in Synerise contain phone numbers in the format supported by WhatsApp.
Examples of supported formats:
- `+1-212-345-6789`
- `+1 (212) 345-6789`
- `+1 212 345 6789`
- `+1 (212) 345 6789`
- If your audience profiles in Synerise have phone numbers in a format that's not supported by WhatsApp, you can transform them and import back to Synerise. You can read [this use case](/use-cases/schemaless-transformations-profiles) to get the idea how to do it.
- If your audience profiles lack of phone numbers, you can [import them by uploading a file](/use-cases/clients-import) with phone numbers or [import it from SFTP](/use-cases/import-customers-data-from-sftp).
### What is a template message?
Message templates are used to initiate conversations with your customers. You can send it when a customer has not sent you a message in 24 hours or more, or to those who have not initiated a conversation with you. Such a message is created in the Meta portal, which means you don't have to build any template in Synerise. In the configuration of the **Send template message** node, you only need the name of [the template created in Meta](https://developers.facebook.com/docs/whatsapp/message-templates/guidelines).
### How to personalize a message?
Dynamic elements are pieces of information available in your workspace in Synerise that let you make your message personalized, such as customer's name, size, number of loyalty points collected, name of the last purchased product, and so on.
To append dynamic values to the message:
1. Create a message template in the Meta portal. In the body of the message, mark places where the dynamic elements will be added in the following way:
`Hello, {{1}}! You have already collected {{2}} points, have you considered using them to purchase products in the current promotion?`
Where `{{1}}` and `{{2}}` are markers that will be replaced with the dynamic values. This step will be done in Synerise.
Creating template in the Meta portal. {{1}} and {{2}} are variables for which values will be defined in Synerise
2. In the configuration of the **Send Template Message** node:
1. In the **Message template** field, enter the name of the message template you created in the Meta portal.
2. In the **Message components** field, insert the body that contains the dynamic values **in the order defined in the message template**. For example:
where:
- The value of the `{% customer firstname %}` insert is used as the value of `{{1}}`, so the name of a customer can be displayed in the message.
- The value of the `{% expression %} 4085025a-313e-4a63-a6b4-d19820853912 {% endexpression %}` insert is used as the value of `{{2}}`. In this example, the expression returns the number of loyalty points.
### How to add images to your message?
---
You can add images to your message. Before that, you must upload them to a public server or to Synerise, so in the body of the message, you can make reference to a source where you keep images.
1. Create a message template in the Meta portal. In the body of the message, mark places where you want to add an image. For example:
`Hello! Have you seen our latest promotion? {{1}}`
Where `{{1}}` will be replaced with the reference to a source where you keep the image. This step will be done in Synerise.
For further information on creating a template with an image in WhatsApp, refer to the [documentation](https://developers.facebook.com/docs/whatsapp/cloud-api/guides/send-message-templates#media-based).
2. In the configuration of the **Send a template message** node:
1. In the **Message template** field, enter the name of the message template you created in the Meta portal.
2. In the **Message components** field, insert the body that contains links to the source where the images are kept **in the order defined in the message template**. For example:
If you want to use an image you store in Synerise, you can use [Jinjava insert](/developers/inserts/automation) as a value of the link parameter.
### What is the allowed phone number format for recipients?
Here are examples of supported phone number formats:
- `+1-212-345-6789`
- `+1 (212) 345-6789`
- `+1 212 345 6789`
- `+1 (212) 345 6789`
## Node configuration
---
1. Click **WhatsApp > Send message template**.
2. Click **Select connection**.
3. From the dropdown list, select the connection.
- If no connections are available or you want to create a new one, see [Create a connection](#create-a-connection).
- If you selected an existing connection, proceed to [defining the integration settings](#define-the-integration-settings).
### Create a connection
To allow the data exchange, establish a connection between Synerise and WhatsApp.
1. At the bottom of the **Select connection** dropdown list, click **Add connection**.
2. In the **Permanent access token** field, enter the token you generated as a part of [prerequisites](#prerequisites).
6. In the **Connection name** field, enter the name of the connection.
It's used to find the connection on the list.
7. Click **Apply**.
**Result**: A connection is created and selected.
### Define the integration settings
In this step, fill in the form that allows you to send a message template from Synerise to your customers.
A blank configuration for Send Template Message node
Fields marked with the icon accept [snippets](/docs/assets/snippets) or [inserts](/developers/inserts). This integration allows usage of profile-related inserts.
1. In the **Sender ID** field, enter the phone number ID from which the message will be sent.
[You can find more information about phone number ID here](https://developers.facebook.com/docs/whatsapp/cloud-api/get-started/add-a-phone-number).
2. In the **Receiver** field, enter the phone number of the customer who will receive this message.
We recommend using the `{% customer phone %}` insert, which inserts the phone number of an individual customer who goes through this node.
3. In the **Template message** field, enter the name of the message template created in the Meta portal.
4. From the **Language code** dropdown list, select the language used in the message.
In the Meta portal, you can create one template and create multiple language versions for it. In this field, you must declare the language version of your message. Remember to select an existing language version of your message.
5. **Only if your message contains dynamic values**: In the **Message components** field, enter the contents of your message.
An example is shown in [Personalizing...](#how-to-personalize-a-message).
For more details and an explanation of all features, see [Facebook documentation](https://developers.facebook.com/docs/whatsapp/cloud-api/guides/send-message-templates). In the cURL examples shown in Facebook documentation, the value of the the `components` property is the part you need to enter in **Message components**.
Filled in configuration form
6. Click **Apply**.
**Result**: After a profile completes the Send Template Message node, the [`whatsApp.sendTemplateMessage` event](/docs/assets/events/event-reference/integration#whatsappsendtemplatemessage) is generated on the activity list on the profile in the **Profiles** module. The event contains weather information in its parameters in accordance with the node configuration.
### Test integration
---
You can run a test request. If the request body contains a dynamic reference to a profile attribute and/or an event data from preceding nodes, then you can define the context using [test profile data](/docs/settings/configuration/test-profiles).
Complete description of the feature is available in [Testing outgoing integrations](/docs/automation/test-requests-for-outgoing-integrations).
1. In the **Test integration** section, click **Send test request**.
**Result**: A test request builder opens. If:
- a request body contains dynamic references, the request preview appears after you select the context of test profiles and events.
- a request body contains static data, the preview of the body request appears immediately.
An empty test request builder
2. If your request contains dynamic references (otherwise, the options aren't available):
- From the **Test profile** dropdown, select a test profile in the context of whom the test request will be performed.
- From the **Event context** dropdown list, you can select a particular occurrence of an event whose values/information will be used for the test request.
1. Select a test profile.
**Result**: A history of test profile events appears.
A stream of events of a test profile
2. From the list of events, select one whose data you want use as a context. If there is no event you can use, in the upper-right corner of the pop-up, click **Define own event** and provide the body of the event.
3. Confirm by clicking **Apply**.
3. Verify the request body. If there is something you want to change, come back to the node settings from previous steps.
3. If the request body is ready to test, in the upper-right corner, click **Send request**.
**Result**: The response section appears and the **Update response event** button becomes active.
4. Optionally, you can update response event with new parameters by clicking **Update response event** in the upper-right corner.
# "Create Invitation" node
TrustMate is a tool that enables building online brand image through management of reviews of your online shop or company. Use this integration to build workflows that will automatically pass information about purchased products. In return, TrustMate will give back the survey link which you can use in a seasonal communication to your customers.
This node is recommended when you want to generate invitation links for one or multiple products simultaneously. Additionally, the integration allows for flexible management of product parameters from transactions that are to be passed on for creating an invitation.
If you want to generate invitation link for a single products, you can use ["Get Survey Link (Single Product)" node](/docs/automation/integration/trustmate/get-survey-link)
## Prerequisites
---
Contact TrustMate support in order to receive the API key required for authorization.
## Node configuration
---
1. Go to **Automation Hub > Workflows > New workflow**.
2. Create a workflow by adding nodes and arranging them in an order that aligns with your business requirements and the intended logic.
You can read more about the workflow basics in [Creating workflows](/docs/automation/creating-automation).
3. As one of the nodes, select **Trustmate > Create Invitation**.
2. To allow the data exchange, establish a connection between Synerise and TrustMate, click **Select connection**.
3. From the dropdown list, select the connection.
- If no connections are available or you want to create a new one, see [Create a connection](#create-a-connection).
- If you selected an existing connection, proceed to [defining the integration settings](#define-the-integration-settings).
### Create a connection
After you generate an Access Key in TrustMate, use it to establish a connection.
1. In the **Connection name** field, enter the name of the connection.
It's used to find the connection on the list.
2. In **Access Key**, enter access key for API requests.
3. Confirm by clicking **Create**.
4. Then click **Next**.
**Result**: You will be redirected to the form in which you will define the integration settings. The connection you created is available in **Settings > Connections**.
### Define the integration settings
A blank configuration form in the Create Invitation node
Fields marked with the icon accept [snippets](/docs/assets/snippets) or [inserts](/developers/inserts). This integration allows usage of profile-related inserts.
1. In the **Customer’s firstname** field, enter the name of your customer. You can use the following insert to extract it from the customer's attribute: `{{ customer['firstname'] }}`.
2. In the **Customer’s email** field, enter the email of your customer. You can use the following insert to extract it from the customer's attribute: `{{ customer['email'] }}`.
3. In the **Order Id** field, enter the order Id of the purchase that triggers the workflow. Use the following insert to extract it from the profile event trigger: `{{ event.params['$orderId'] }}`.
4. In the **Language** field, enter language code. for example: pl, en, de. Codes must be lowercase (see RFC5646).
5. Field **Configuration ID** can be used in some advanced use cases you may want to directly choose which invitation config should be used for given invitation. This field is optional.
6. In the **Products** field, you can provide one or more products from the transaction for which you want to create a product review invitation. The minimum required fields that must be provided are:
- id (your product unique id)
- name (required)
- brand (not required, but recommended)
Example with full product data for multiple products:
6. Confirm by clicking **Apply**.
**Result**: When the Create Invitation node is executed, a [`trustmate.createInvitation` event](/docs/assets/events/event-reference/integration#trustmatecreateinvitation) is generated on the activity list of the profile who is the actor in the workflow.
### Test integration
---
You can run a test request. If the request body contains a dynamic reference to a profile attribute and/or an event data from preceding nodes, then you can define the context using [test profile data](/docs/settings/configuration/test-profiles).
Complete description of the feature is available in [Testing outgoing integrations](/docs/automation/test-requests-for-outgoing-integrations).
1. In the **Test integration** section, click **Send test request**.
**Result**: A test request builder opens. If:
- a request body contains dynamic references, the request preview appears after you select the context of test profiles and events.
- a request body contains static data, the preview of the body request appears immediately.
An empty test request builder
2. If your request contains dynamic references (otherwise, the options aren't available):
- From the **Test profile** dropdown, select a test profile in the context of whom the test request will be performed.
- From the **Event context** dropdown list, you can select a particular occurrence of an event whose values/information will be used for the test request.
1. Select a test profile.
**Result**: A history of test profile events appears.
A stream of events of a test profile
2. From the list of events, select one whose data you want use as a context. If there is no event you can use, in the upper-right corner of the pop-up, click **Define own event** and provide the body of the event.
3. Confirm by clicking **Apply**.
3. Verify the request body. If there is something you want to change, come back to the node settings from previous steps.
3. If the request body is ready to test, in the upper-right corner, click **Send request**.
**Result**: The response section appears and the **Update response event** button becomes active.
4. Optionally, you can update response event with new parameters by clicking **Update response event** in the upper-right corner.
## Example of use
---
For an example of use, refer to our [use case](/use-cases/trustmate-integration).
# "Get File" node
You can use the **Get File** node to transfer the files from your server to the workflow using SFTP protocol.
- Maximum file size: 5 GB (5 000 000 000 bytes).
## Node configuration
---
### Set up a connection
In this part of the process, you must define how you will get access to your source. By selecting the authentication method and providing required information, you establish a connection.
1. Click the **SFTP > Get File** node.
Selecting the authentication method
2. On the pop-up, select the authentication method:
- **No authentication** - No authentication is required.
- **Password** - Authentication is based on a log-in and a password to your resource.
Click here to see the instructions
- **Public key** - Authentication is based on a public SSH key which is issued for a selected integration. This option lets you generate a public key and download it. Then, you must add it to your server configuration. After you download the key, you must secure it, because you won’t be able to download it later for security reasons.
Click here to see the instructions
### Fill out the configuration form
A blank form for the SFTP Get File node
Fields marked with the icon accept [snippets](/docs/assets/snippets) or [inserts](/developers/inserts). But, you can’t use profile-related inserts.
1. In the **Server** field, enter the URL of the server.
2. In the **Port** field, set the port. The default value is the most commonly used SFTP port.
3. If your data are stored in a directory, in the **Path to directory** provide a path to a directory (for example: `/home/file-directory/`).
4. In the **File name pattern**, type the full name of the file or a pattern. (for example, `synerise.csv`).
In the case of frequent imports, you can devise a name pattern which will make your work easier. Synerise supports glob patterns to specify sets of filenames with wildcard characters, for example `import*.csv`.
- To import all files from the directory that have a common word in the name, use the asterisk (for example, `synerise*.csv`). Then, all files with names that begin with `synerise` will be imported.
- To import several files that have a specific number of characters after the common part of the file name, use a question mark for each character (for example, `synerise???.csv`). This way you import all the files whose names consist of a specific number or additional characters after the common part of the file name (in this case, it’s `synerise`).
5. From the **File format** dropdown list, select the format of the file.
- **XML Feed**
- **JSON**
- **JSON Lines**
- **CSV** - Provide the details on how to format the imported file:
1. From the **Delimiter** dropdown, select the character that marks the end of a column.
2. From the **Quotation mark** dropdown list, select the characters that contain the text or data type.
3. From the **Escape character** dropdown lists, select the character changes the default interpretation of a character or a string followed by the character.
6. Optionally, by clicking **Check connection**, you can verify if your connection you created in [Set up a connection procedure](#set-up-a-connection) is ready.
7. Confirm by clicking **Apply**.
## Example of use
---
In this example, you can launch a workflow that once a day uploads customers data from the SFTP server. Further on, the data is imported to Synerise as profiles.
In this example, the [transformation of data](/docs/automation/data-transformation-and-imports/introduction) may be needed in order to comply with the structure of the data in the catalog.
Final workflow configuration
1. Add the **Scheduled Run** node.
2. In the configuration of the node:
1. Select the time zone consistent with the time zone selected for your workspace.
2. Leave the **Everyday** tab.
3. In the **Select time** field, choose the time when the workflow will be triggered.
4. Confirm by clicking **Apply**.
3. Click **SFTP > Get File**.
4. In the configuration of the node:
1. Select the authentication method:
- If no connections are available or you want to create a new one, see Add connection.
- If you selected an existing connection, proceed to defining the integration settings.
2. Enter the URL of the server.
3. Select the path to the directory.
4. Enter the name of the file you want to access (or file name pattern for larger amount of files to access).
5. Select the format of the file or files.
6. Confirm by clicking **Apply**.
5. If required, add the **Data Transformation** node. In the configuration of the node, select the data transformation template.
6. Add the **Import Profiles** node.
5. Add the **End** node.
# "ABx Test" node
## ABx Test node
This condition allows to branch the paths in a workflow and define the allocation of customer groups to every path. It's a good way to test the effectiveness of communication through a given channel and to verify content.
The **Group stickiness** option in this node lets you keep a profile assigned to the same group in situations when the profile re-enters the node. By default, the profile may be assigned to a different group than before. With **Group stickiness** enabled, the profile is always assigned to the same group as the first time.
The following list outlines the differences in a flow between group stickiness enabled and disabled:
1. A profile enters a workflow.
2. A profile arrives at the ABx Test node.
3. A profile is assigned to the group `A`.
4. A profile finishes the workflow.
5. A profile re-enters the workflow.
6. A profile arrives at the ABx Test node.
7. The profile is assigned to a group:
- **Stickiness enabled**: Always to group `A`, same as the first time.
- **Stickiness disabled**: Any group, possibly `A` again.
Enabling the **Group stickiness** option may result in an uneven distribution of the test group percentages, especially noticeable with a workflow audience of fewer than 1,000 profiles. This behavior is common and expected.
### Node configuration
---
1. Click the pencil icon on the node.
2. Click the **Add group** button. You can add up to 10 groups.
3. Optionally, you can select the **Equal allocation** option to evenly distribute customers between the paths.
4. If you want to always assign the customer to the same test group, enable the **Group stickiness** option.
5. Optionally, you can enable **Generate a variant assignment event** option. Enabling this will generate group assignment events ([`automation.abTestVariantAssigned`](/docs/assets/events/event-reference/automation#automationabtestvariantassigned)) at each profile transition, which may increase costs due to the additional events generated.
6. Confirm by clicking **Apply**.
### Example of use
---
Use of the ABx Test node
You can have a look at the [use case](/use-cases/ab-test-mailing) that involves a workflow that includes ABx Test node.
The aim of this workflow is to compare two email templates. Group A receives a standard version of the newsletter, whereas Group B receives an experimental version.
1. Start the workflow with the **Audience** trigger node. In the settings of the trigger, define the recipients and select a start date for the workflow.
2. Add the **ABx Test** condition. In the settings of the condition, divide the groups. Group A consists of 80% of the whole audience, whereas Group B consists of the remaining 20%.
3. Add the **Send Email** action nodes to every path. In the settings of the actions, select the appropriate templates.
3. When an email is sent, the workflow is completed.
# Google Ads
Google Ads (formerly Google AdWords) is an online advertising platform developed by Google, where advertisers pay to display brief advertisements, service offerings, product listings or video content. With our native integrations, you can utilize data collected in Synerise for even better targeting in Google Ads.
# "Remove Profiles from Custom Audience" node
The **Remove Profiles from Custom Audience** node is one of the integration nodes from the [Facebook collection](/docs/automation/integration/facebook). The node allows you to build a workflow that removes selected customers from a Custom Audience.
For example:
1. You have a Custom Audience of customers who abandoned a cart.
2. A customer makes a purchase.
3. You can use the node to remove the customer from that Custom Audience.
## Prerequisites
---
- [Generate the system user access token in Facebook](https://developers.facebook.com/docs/marketing-api/collaborative-ads/managed-partner-ads/api-guide/prerequisites/generate-access-token-system-user); as the `scope` value, select `ads_management`.
- [Create a Custom Audience in Facebook](https://www.facebook.com/business/help/170456843145568?id=2469097953376494). Save the ID o the Custom Audience in the notepad.
## Node configuration
---
1. Click the node.
2. Click **Select connection**.
3. From the dropdown list, select the connection.
If you haven't established a connection yet, see [Create a connection](/docs/automation/integration/facebook/send-custom-audience#create-a-connection).
### Create a connection
Generate an access token which allows you to send a request (send a segmentation of customers from Synerise to Facebook).
1. At the bottom of the **Select connection** dropdown list, click **Add connection**.
2. In the **Access token** field, enter the app access token.
You can read more about access tokens in [Facebook documentation](https://developers.facebook.com/docs/marketing-api/conversions-api/get-started/#access-token).
3. Click **Next**.
4. In the **Connection name** field, enter the name for the access token you generated.
5. Click **Apply**.
**Result**: A connection is created and selected.
### Define the integration settings
In this part of the configuration process, you select the ID of the custom audience from which you want to remove customers, you define the API version of Facebook and select the type of customer ID based on which they will be identified.
A blank configuration form in Remove Profiles from Custom Audience
Fields marked with the icon accept [snippets](/docs/assets/snippets) or [inserts](/developers/inserts). This integration allows usage of profile-related inserts.
1. In the **Graph API version** field, enter the currently used version of Facebook API.
3. From the **Identifier type** dropdown list, select the ID of customers based on which they will be identified.
You can select either an email address or a phone number.
4. In the **Identifier source** dropdown list, enter the Jinjava tag that corresponds to the identifier type you selected step before. It can be a `{{ customer.email }}` tag, for example.
You can read more about Jinjava tags in Automation Hub [here](/developers/inserts/automation).
2. In the **Custom Audience Id** field, enter the ID of the Custom Audience.
You can source this information from the settings of the Custom Audience settings in Facebook.
4. Confirm by clicking **Apply**.
**Result**: When the Remove Profiles from Custom Audience node is executed, a [`facebook.removeFromAudience` event](/docs/assets/events/event-reference/integration#facebookremovefromaudience) is generated on the activity list of the profile who is the actor in the workflow.
### Test integration
---
You can run a test request. If the request body contains a dynamic reference to a profile attribute and/or an event data from preceding nodes, then you can define the context using [test profile data](/docs/settings/configuration/test-profiles).
Complete description of the feature is available in [Testing outgoing integrations](/docs/automation/test-requests-for-outgoing-integrations).
1. In the **Test integration** section, click **Send test request**.
**Result**: A test request builder opens. If:
- a request body contains dynamic references, the request preview appears after you select the context of test profiles and events.
- a request body contains static data, the preview of the body request appears immediately.
An empty test request builder
2. If your request contains dynamic references (otherwise, the options aren't available):
- From the **Test profile** dropdown, select a test profile in the context of whom the test request will be performed.
- From the **Event context** dropdown list, you can select a particular occurrence of an event whose values/information will be used for the test request.
1. Select a test profile.
**Result**: A history of test profile events appears.
A stream of events of a test profile
2. From the list of events, select one whose data you want use as a context. If there is no event you can use, in the upper-right corner of the pop-up, click **Define own event** and provide the body of the event.
3. Confirm by clicking **Apply**.
3. Verify the request body. If there is something you want to change, come back to the node settings from previous steps.
3. If the request body is ready to test, in the upper-right corner, click **Send request**.
**Result**: The response section appears and the **Update response event** button becomes active.
4. Optionally, you can update response event with new parameters by clicking **Update response event** in the upper-right corner.
## Example of use
---
The example workflow
You can use this node in a workflow that removes customers with the "ABC" tag from the Custom Audience.
1. Start the workflow with the **Audience** node.
2. In the configuration of the node:
1. Set the **Run trigger** option to **one time** and **Immediately**.
2. In the **Define audience** section, select **New audience**.
3. Click **Define conditions**.
4. From the **Choose filter** dropdown list, select the name of the tag. In this example, it's **ABC**.
5. From the **Choose operator** dropdown list, select **Is true**.
6. Click **Apply**.
3. Click **Apply**.
5. As the next node, select **Remove Profiles from Custom Audience**.
6. Configure the settings of the node according the [instruction above](/docs/automation/integration/facebook/remove-profiles-from-custom-audience#node-configuration).
7. As the final node, add **End**.
# "Remove columns" node
This node allows you to remove columns that match the rule you define in the configuration of the node. In result, if you use the data transformation rule that contains this node, the system removes the matching columns as a part of data transformation in the workflow.
## Node configuration
---
1. In the upper right corner of the pop-up, click the icon.
2. Select one of the following options:
- **Remove columns** - This option deletes columns that match the conditions you define in the further steps.
- **Keep columns** - This option keeps only the columns that match the conditions you define in the further steps. The columns that don't match the conditions are removed.
3. From the dropdown list, select one of the logical operators:
- **Equal**
- **Not equal**
- **Ends with**
- **Starts with**
- **Contain**
- **Not contain**
4. In the text field, enter the value.
5. To add more conditions, click **Add condition**.
6. Repeat steps 1-4.
5. To define what happens if rows contain errors, select one of the options available in the [Error handling](#handle-errors) section.
6. Confirm the settings by clicking **Apply**.
### Handle errors
You can define what to do with failed values (for example, as a result of Jinja rendering or in other cases) in cells where data type modification failed.
In the **Handle incomplete data** section, select one of the following options:
- **Skip row if error occurred** - It omits the row when an exception occurs.
- **Skip if result is null or empty string** - It omits rows with empty strings and `null` (which may be the result of rendering Jinja)
- **Stop further transformation** - The transformation stops at the row with an error. The data before the line that caused the error is transformed (and imported if the transformation rule is used in the Data Transformation node).
- **Insert null if error occurred** - Wrong values are replaced with `null`. If you use such a transformation for the import of profiles, the existing value of an attribute is cleared and replaced with the `null` value.
- **Insert empty string if error occurred** - Wrong value is removed and the cell remains empty.
## Example of use
---
While importing a list of transactions, you can edit out unnecessary columns. In this example, these are any columns that include an underscore in their name (`import_type`, `payment_info`) and columns whose name is exactly `customers`.
Click to see example file
The final configuration of data transformation diagram
1. Start the diagram with **Data Input**.
2. In the configuration of the node, upload a sample file.
3. Add the **Remove columns** node.
4. In the configuration of the node:
1. Select **Remove columns**.
2. Add the following conditions:
- **Contain** `_`
- **Equal** `customer`
The configuration of the Remove columns node
3. Confirm by clicking **Apply**.
7. Add the **Data Output** node.
**Result**: You can use this transformation in [the workflow](/docs/automation/operation/data-transformation-node) to import or export files with the structure presented in this example.
The output of data transformation
# Google Analytics
To make integration with Google Analytics even more convenient, we prepared a ready-made node with the configuration that lets you to send an event to Google Analytics from Synerise
# Creating transformation rules
Creating transformation rules involves uploading a sample of the file that will be transformed and then defining the rules according to which the data will be modified. Such transformation rules can be reused in workflows by means of the [Data Transformation node](/docs/automation/operation/data-transformation-node). This way you may create workflows that retrieve data from external sources, modify them, and process them further.
A blank data transformation dashboard
1. Go to **Automation Hub > Transformations > Create transformation**.
2. Enter the name of the transformation.
## Select a goal
---
Before you proceed with selecting sample data and defining transformation rules, optionally you can [select a goal](/docs/automation/data-transformation-and-imports/creating-data-transformation#select-a-goal) to help you structure the data. Your goal may be to an import of transactions, events, or profiles into Synerise (called **standard goals**). When you select one of the standard goals, you will see a list of columns with their names which are required as the output of the selected transformation. The system will automatically check which columns you included and inform you if some are missing.
If you want to create a transformation diagram without a specific goal and you know the structure of the output data, skip this step.
1. On the dashboard, on the upper right corner, click **Add goal**.
2. On the left pane, select a goal:
- **Import profiles**
- **Import transactions**
- **Import vouchers**
- **Import events**
- **Import promotions**
3. On the right pane, expand the list of required columns the output data must contain.
3. Click **Apply**.
## Create a rule diagram
---
1. Upload a file with the sample data.
We recommend selecting a file that contains a sample of data you use.
You can read more about the configuration of [Data Input here](/docs/automation/data-transformation-and-imports/transformations-and-data-operators/data-input).
5. Add subsequent nodes by clicking the right mouse button. The full documentation on the nodes available for data transformation is available [here](/docs/automation/data-transformation-and-imports/transformations-and-data-operators).
6. As the final node, add [Data Output](/docs/automation/data-transformation-and-imports/transformations-and-data-operators/data-output) in which you will see the final result of file modifications.
7. Connect the nodes with each other.
12. Saving the transformation:
- If you want to save it as a draft, click **Save**.
- If you want to save it and make it available in Automations, click **Save and publish**.
**Example result**:
An example transformation
## What's next
---
You can add a [Data Transformation node](/docs/automation/operation/data-transformation-node) with this transformation while preparing the [workflow](/docs/automation/actions/synerise-integrations#example-with-transformation) that includes transforming the source file.
Selection of transformations in Data Transformation node
# "Enrich with Catalog" node
The **Enrich with Catalog** node allows you to enhance your dataset by adding information from a selected catalog. It works by matching records in your data with records in the catalog, using a designated item key column from your dataset and the primary key column from the catalog.
The primary key (also called the item key) in a catalog is the column that contains unique identifiers for each item. When you preview the catalog, this column will be highlighted as the primary key.
Catalogs store different types of data and are often used to enrich profiles imported into Synerise or to add more details to data sent outside the system. This node makes data transformation more powerful and helps Automation Hub and the Catalogs feature work better together.
On the left: a sample of transactional data to be enriched by the node; on the right: the catalog view that will provide enrichment. The transactional data will be enriched with the shop’s detailed address and manager’s name, based on matching values between the shopId column in the data and the primary key column in the catalog
## Additional important notes
---
- When enriching data, if the enriched columns already exist in your dataset, the values will be **overwritten** by the catalog values.
- The catalog’s primary key column will not be included in the enriched dataset.
- Once enriched data is imported into Synerise, the enrichment cannot be undone or reverted.
## Requirements
---
- You must be assigned with a user role with the [catalog permissions](/docs/settings/identity-access-management/permissions/data-management-permissions#work-with-catalogs).
- You must have at least one [Synerise catalog](/docs/assets/catalogs/creating-catalogs) with data.
Make sure that the key column in your dataset contains values that correspond to the values in the primary key column of the catalog you select for enrichment. Otherwise, an error is triggered and handled based on your selected [error handling option](#handling-incomplete-data).
## Node configuration
---
1. Click the **Enrich with Catalog** node.
**Result**:
An initial view of the configuration form in the Enrich with Catalog node
2. Click **Add rule**.
**Result**:
The configuration form in the Enrich with Catalog node on the right panel
2. In the right panel, from the **Match catalog item by column** dropdown list, select the sample data column that will be used to match records from the catalog.
The values from the declared column should correspond to the values in the primary key column of the catalog you select for enrichment.
3. From the **Select catalog** dropdown list, select the catalog which will be used for enriching the data.
4. From the **Enrich data with columns** section, click **Choose columns**.
**Result**: A pop-up appears.
5. Select the columns from the catalog which will be added to the data output.
4. Optionally, you can add more catalogs to enrich the data by clicking **Add rule** and repeating steps 3-6.
Make sure these catalogs and the data being enriched contain a shared key (column).
5. To define what happens if rows contain errors, select one of the options available in the [Handling incomplete data section](#handling-incomplete-data).
6. Confirm by clicking **Apply**.
### Handling incomplete data
When there is no matching record in the catalog for a given item key or if cell values fail (e.g., Jinja rendering failure), an error occurs and you can choose how the node behaves:
- **Skip row if error occurred** - Skips the row if no matching record is found or an error occurs and continues processing other rows.
- **Skip if result is null or empty string** - If a value from a catalog is null or empty, such rows will be skipped.
- **Stop further transformation** - Stops the transformation process with an error.
- **Insert null if error occurred** - If there is no matching record in the catalog, a selected column will be added with the null value.
- **Insert empty string if error occurred** - If there is no matching record in the catalog, a selected column will empty strings will be added.
## Example of use
---
In this example, we will create a transformation rule which will enrich information in [transaction.charge events](/docs/assets/events/event-reference/items#transactioncharge) during the import of transactions to Synerise. Based on the store ID in the event, we will enrich it with the store’s address data stored in the Catalog.
For the purposes of this example, you must create a catalog which contains the ID of the store (this column will be a primary key), and other address details in separate columns.
Click here to expand the contents of the example catalog
shopId,shopName,address,city,state,zipCode,country,phoneNumber,email,openingHours,managerName,hasFuelStation,numberOfEmployees 001,Shop XYZ Lake Highlands,123 Main St,Dallas,TX,75201,USA,214-555-0101,downtown@example.com,06:00-23:00,John Smith,Yes,15 002,Shop XYZ Lakewood,456 Oak Ave,Dallas,TX,75202,USA,214-555-0102,midtown@example.com,06:00-23:00,Sarah Johnson,No,12 003,Shop XYZ Oak Cliff,789 Pine Rd,Dallas,TX,75203,USA,214-555-0103,central@example.com,07:00-22:00,Mike Brown,No,10
Click here to expand the contents of a sample file for data transformation
Both catalog contents and the sample file for data transformation contain a `shopId` column - this column will be used for matching these two sources.
### Creating a transformation rule
1. Start with the **Data Input**. Upload a sample data with transactions you will import to Synerise.
2. As the next node, add **Enrich with catalog**. In the settings of the node:
1. Click **Add rule**.
1. In **Key**, select **shopId**.
2. In **From catalog**, select the catalog that contains shop information (it must contain a **shopId** column).
3. From **Enrich data with columns**, select the columns from the catalog which will be added to the data output.
4. Confirm by clicking **Apply**.
3. Add the **Data Output** node. No further configuration is required in this node.
**Result**:
A complete transformation rule that enriches data with information from a selected catalog
4. Save the rule.
### Creating a workflow which imports transactions
In this part of the example, we will create a workflow which imports transactions but before the import, the data will be enriched with shop information according to the transformation rule created in the first part of the example.
1. Start with the **Scheduled Run** node. In the configuration of the node define the frequency with which the workflow will be triggered.
2. Retrieve data for import by using one of the following nodes:
- [SFTP > Get File](/docs/automation/integration/sftp-integrations/sftp-get-file)
- [HTTPS > Get File](/docs/automation/integration/http-integrations/http-get-file)
- [Amazon S3 > Get File](/docs/automation/integration/amazon-s3-bucket/get-file-amazon-s3-bucket)
- [Azure > Get File](/docs/automation/integration/azure-blob-storage/get-file-azure-blob-storage)
- [Google Cloud Storage > Get File](/docs/automation/integration/google-cloud-storage/get-file-from-gcs)
- [Local File](/docs/automation/operation/local-file-node)
3. Add the [Data Transformation node](/docs/automation/operation/data-transformation-node). Select the transformation rule you have created in the previous part of the process.
4. Add the [Import transactions node](/docs/automation/actions/synerise-integrations/import-transactions). This node doesn't require configuration.
5. Add the [End node](/docs/automation/flow-control/end-node). This node doesn't require configuration.
**Result**:
A complete workflow rule that retrieves transactions from external file, enriches data with information from a selected catalog and imports enriched transactions to Synerise
6. Start the workflow by clicking **Save & Run**.
**Result**: The transaction is added to the profile activity list as a [`transaction.charge event`](/docs/assets/events/event-reference/items#transactioncharge), which is enriched with the shop's address and the shop manager's name
A preview of the transaction.charge event with enriched data
# "Send Custom Event" node
You can use the **Send Custom Event** node to transmit any event to Facebook. As a result, you'll be able to create an analysis in Facebook or create a new Custom Audience based on those events.
## Prerequisites
---
- [Create a Pixel in Facebook](https://developers.facebook.com/docs/facebook-pixel).
- [Generate an access token in Facebook](https://developers.facebook.com/docs/marketing-api/collaborative-ads/managed-partner-ads/api-guide/prerequisites/generate-access-token-system-user).
## Node configuration
---
1. Click the node.
2. Click **Select connection**.
3. From the dropdown list, select the connection.
If you haven't established a connection yet, see [Create a connection](/docs/automation/integration/facebook/send-custom-event#create-a-connection).
### Create a connection
After you generate a system access token in Facebook, use it a node to establish a connection.
1. At the bottom of the **Select connection** dropdown list, click **Add connection**.
2. In the **Access token** field, enter the app access token from Facebook.
You can read more about access tokens in [Facebook documentation](https://developers.facebook.com/docs/marketing-api/conversions-api/get-started/#access-token).
3. Click **Next**.
4. In the **Connection name** field, enter the name for the access token you generated.
5. Click **Apply**.
**Result**: A connection is created and selected.
### Define the integration settings
A blank configuration form in Send Custom Event (Facebook)
Fields marked with the icon accept [snippets](/docs/assets/snippets) or [inserts](/developers/inserts). This integration allows usage of profile-related inserts.
1. In the **Graph API version** field, enter the currently used Facebook API version.
You can find information about the currently used API version in the Facebook documentation.
2. In the **Meta Pixel** field, enter the identifier of the Pixel you use in Facebook.
You can find information about how to find the ID of the Pixel in the Facebook documentation.
4. In the **Event data** field, enter your event body. Different types of events may require different data in the request body. Refer to [Facebook developer documentation](https://developers.facebook.com/docs/marketing-api/conversions-api).
Read the article about the [Automation inserts](/developers/inserts/automation).
5. Confirm by clicking **Apply**.
**Result**: When the Send Custom Event node is executed, a [`facebook.sendCustomEvent` event](/docs/assets/events/event-reference/integration#facebooksendcustomevent) is generated on the activity list of the profile who is the actor in the workflow.
### Test integration
---
You can run a test request. If the request body contains a dynamic reference to a profile attribute and/or an event data from preceding nodes, then you can define the context using [test profile data](/docs/settings/configuration/test-profiles).
Complete description of the feature is available in [Testing outgoing integrations](/docs/automation/test-requests-for-outgoing-integrations).
1. In the **Test integration** section, click **Send test request**.
**Result**: A test request builder opens. If:
- a request body contains dynamic references, the request preview appears after you select the context of test profiles and events.
- a request body contains static data, the preview of the body request appears immediately.
An empty test request builder
2. If your request contains dynamic references (otherwise, the options aren't available):
- From the **Test profile** dropdown, select a test profile in the context of whom the test request will be performed.
- From the **Event context** dropdown list, you can select a particular occurrence of an event whose values/information will be used for the test request.
1. Select a test profile.
**Result**: A history of test profile events appears.
A stream of events of a test profile
2. From the list of events, select one whose data you want use as a context. If there is no event you can use, in the upper-right corner of the pop-up, click **Define own event** and provide the body of the event.
3. Confirm by clicking **Apply**.
3. Verify the request body. If there is something you want to change, come back to the node settings from previous steps.
3. If the request body is ready to test, in the upper-right corner, click **Send request**.
**Result**: The response section appears and the **Update response event** button becomes active.
4. Optionally, you can update response event with new parameters by clicking **Update response event** in the upper-right corner.
## Example of use
---
For an example of use refer to our [use case](/use-cases/sending-events-facebook).
# "Import Events" node
This node allows you to initiate import of events to Synerise. The node doesn't require any further configuration - it contains a list of required parameters a file must contain to be imported.
## Requirements
---
The file must contain the following columns (case sensitive):
- `action`
- `label`
- `type` - if you import events other than `custom`, fill in the type of the event according to the [API documentation](https://hub.synerise.com/api-reference/data-management#tag/Events):
1. Find the endpoint that's used for the non-custom event you want to import.
2. As the `type`, use the last element of the path.
For example, if the endpoint is `/events/added-to-favorites`, the type is `added-to-favorites`
## Node configuration
---
No configuration is required. However, this node must be preceded by one of the following nodes:
- [Local File](/docs/automation/operation/local-file-node)
- [SFTP](/docs/automation/integration/sftp-integrations)
- [HTTP](/docs/automation/integration/http-integrations)
## Example of use
---
You can launch a single import of custom events to Synerise for a particular customer. The file used in this example includes events of a customer.
The file used in this example
action,label,type,client.id addedTo.Favorites,Added to favorites,custom,4421574246 delete.Favorites,Product deleted from favorites,custom,4421574246 call.Support,Contacted with support,custom,4421574246
The final configuration of the import event workflow
1. Start the workflow with the **Scheduled Run** node.
2. In the configuration of the node:
1. Set the **Run trigger** to **one time**.
2. Select the **Immediately** tab.
3. Click **Apply**.
3. Add the **Local File** node.
4. In the configuration of the node:
1. Upload a file with events.
2. Click **Apply**.
5. Add the **Import Events** node.
6. Add the **End** node.
# "Profile Filter" node
The **Profile Filter** node lets you control which profiles (such as customers) continue through your workflow based on specific criteria. It can only be used in profile-oriented workflows, where the workflow’s actor is an individual profile. This node is essential for refining the flow of profiles in your workflow, enabling precise targeting and branching based on customer attributes or behaviors.
Within the node’s settings, you can select an existing segmentation or create a new one. If the existing segmentation includes multiple segments, you can split the workflow into separate paths for each of them ([segment-based branching](#segment-based-branching)), allowing for better personalization.
Additionally, the node always provides a default output path labeled **If not matched**. This path is for profiles that do not meet any of the segmentation conditions, ensuring they can follow a specific alternative flow or be handled differently.
### Segment-based branching
Segment-based branching lets you create a separate workflow [path](/glossary#path) (named after its corresponding segment) for each segment in a segmentation selected in the node. This option in the settings of the node (available in the **Split audience** tab), lets you:
- Manage multiple audience segments within a single workflow, reducing the need to create and maintain separate workflows for each segment.
- Easily branch campaigns based on distinct audience segments, allowing personalized messaging and actions for each group.
- Adapt to segmentation changes without rebuilding workflows, supporting dynamic campaign strategies as audiences evolve.
- Build a process for prioritizing communication for the selected segmentation, based on the order (priority) of segments in the segmentation.
**How it works**
When you select the **Split audience** option in the node, the segments from the segmentation are mapped to the workflow paths in the following way (these are default segment names, you can change them in the settings of the segmentation):
- Segment A > Path A
- Segment B > Path B
- Segment C > Path C
Default segment path mapping in the settings of the Audience/Profile Filter node
This mapping is active when the workflow status is Active or Paused. When a workflow is in Draft, initial output management is handled through connections between nodes. Refer to the table below to see how the mapping can be changed in specific scenarios. The table shows how changes to an example segmentation with three segments — Segment A, Segment B, and Segment C —affect the connections for Split audience mode when a workflow is active.
| Scenario | Description |
|------------------------------|------------------------------------------------------------------------------------------------------------------------------------|
| **Segment deletion** | Removing segment B in the segmentation settings leaves branches for segments A and C in the workflow. Segment C shifts to branch B’s position and Segment C follows the path originally assigned to the deleted segment. In such situation, you can disable any path and change path mapping for remaining segments: Disabling path in the settings of the Audience/Profile Filter node
You can disable paths and/or change path mapping only in active and paused workflows.
|
| **Segment reordering** | If the order of segments in a segmentation changes after launching the workflow, you can edit the mapping of the paths for each segment in a workflow: Change path mapping for segments in the Audience/Profile Filter node
You can disable paths and/or change path mapping only in active and paused workflows.
|
| **Segment addition** | If a new segment D is added, but the workflow still only has branches for A, B, and C, users matching segment D cannot proceed through the workflow as there is no corresponding branch. Then, the [`automation.clientPathAborted` event](/docs/assets/events/event-reference/automation#automationclientpathaborted) is generated for profiles who belong to the D segment. |
Path outputs from the Audience and Profile Filter nodes
#### Limits
- When configuring segment-based branching, there is a limit of 10 output connections available. Although the segmentation can include more than 10 segments, the system will display only the first 10 connections.
- If the segmentation contains more segments than outgoing connections, then profiles matching the segments that do not have an outgoing connection will be expelled from the workflow and the [`automation.clientPathAborted` event](/docs/assets/events/event-reference/automation#automationclientpathaborted) will be generated on their activity list.
- You can't use segmentations for which the [multi-match option](/docs/analytics/segmentations/creating-segmentations#multi-match) is enabled.
## Requirements
---
- You must implement the tracking code into your website.
- You must have customers in your database.
## Configuration
---
1. To define the node settings, click the node.
**Result**: A pop-up opens.
A blank configuration form of the Profile Filter node
2. Select one of the following tabs:
- **Segmentations** - Choose from the list of existing segmentations. You can select any number of segmentations. When you use this option, the node outputs two paths:
- **If matched** - for profiles that match the conditions of at least one selected segmentation.
- **If not matched** - for profiles that don't match any of the selected segmentations.
- **New audience** - Define a new group of profiles by specifying filter conditions.
- All filter fields that require manual input accept [snippets](/docs/assets/snippets) or [inserts](/developers/inserts). These fields are marked with the icon and it lets you select a snippet.
- **Split audience** - When a segmentation includes multitple segments, you can use this option to create separate paths in your workflow for each segment for more granular targeting and actions.
4. Confirm your choice by clicking the **Apply** button.
**Result**:
- if you selected the **Segmentations** or **New audience** tabs:
Profile Filter outputs after selecting segmentations or adding new on the spot
- if you selected the **Split audience** tab:
Profile Filter outputs after selecting the Split audience tab and a segmentation with multiple segments
## Example of use
---
### Regular outputs from the node
The purpose of this workflow is to send a mobile push notification with a welcome message informing about access to special discount.
1. In the **Data Changed** trigger node, select the event that indicates a change in the subscription status.
2. In the **Profile Filter** condition node, choose a segmentation that groups customers who have recently upgraded their subscription plan.
3. To the **If matched** branch, add the **Send Mobile Push** node.
Customers who belong to this segmentation will receive a mobile push notification introducing the new feature.
4. Add **End** nodes after the **Send Mobile Push** node and to the **If not matched** branch.
**Result**:
Example of a workflow that uses the Profile Filter condition
### Segment branching output from the node
In this example, a workflow is triggered when a customer submits a form. The workflow then checks the customer’s marketing agreements to determine which communication channel can be used to contact them. Based on this, a confirmation message about the form submission is sent through the appropriate channel. If the customer does not have any active marketing agreements, the workflow will end for that individual.
The segmentation used in this example includes three segments: web push, mobile push, and email. Although a customer may have consented to multiple channels, this segmentation has the multi-match option disabled. This means that even if a customer qualifies for more than one segment, they will be assigned to only one segment based on the defined conditions.
1. In the **Profile Event** node, select the event that corresponds to the form submission.
2. In the **Profile Filter** node, go to the **Split audience** tab and choose a segmentation that identifies which communication channel the customer has agreed to receive messages through.
3. For each segment branch, add a node that sends the message through the respective communication channel.
4. Add an **End** node after each message-sending node, as well as after the **If not matched** output branch.
**Result**:
Example of a workflow that uses the Profile Filter with the possibility of segment branching
# "Merge columns" node
This node allows you to create a new column based on the values from other columns and to define the separator between the merged values.
In the settings of this node, you must select the columns that will be merged. You can do this by:
- Selecting the column names.
- Creating a condition (referred to as a _dynamic condition_ further in this article) that the column names must meet in order to be transformed, for example, the column name must start with the letter "A".
Dynamic conditions are especially helpful when using a JSON file as a sample in the ["Data Input" node](/docs/automation/data-transformation-and-imports/transformations-and-data-operators/data-input). When a JSON file contains an object deeper than the root object, its items will be transferred to the Data Input node as separate columns named `{object}.{parameter}`. When choosing columns manually, you can't add those new columns from a JSON list to the transformation. Dynamic conditions can be set up to include those columns, for example by including columns whose name includes the name of the object they were created from.
## Node configuration
---
Merge column operation on an example file
1. Click **Add rule**.
2. Select one of the **Include** options, by clicking the icon next to **these**:
- **these** - the default; it lets you select the columns for merging.
- **all except these** - this option lets you select the columns which you do NOT want to merge. Values from all the other columns will be merged into a new column.
3. Select columns to include/exclude (according to the **Include** setting above) in one of the following ways:
- **Select column** - from the dropdown list, you can select the columns which will be included or excluded from the operation.
- **Define conditions** - you can create a dynamic condition which columns must meet to merge their values in a new column; for this purpose, you can use logical operators such as contain, starts with, ends with, and so on.
You can't combine dynamic conditions with the **Include all except these** option.
For further instructions, select one of the tabs below, depending on the option you have chosen in step 3.
Select column option
4. From the dropdown list, select the first column.
5. To add more columns, click icon and select the column from the list.
5. In the **New column name** field, enter the name of the column that will be added.
- If you selected **Include these** at the beginning of the procedure, the new column will contain values from columns you selected for merging.
- If you selected **Include all except these** at the beginning of the procedure, the new column will contain values from all the other columns that you didn't select.
6. In the **Separator** field, enter the character which will function as a separator among values of the columns that are being merged.
Define condition option
1. Select one of the following logical operators to define the conditions which column name must meet to be included in merging:
- **Ends with** - If a column name ends with a specified string, for example, `a`, then the operation will be performed on the columns whose names end with `a`.
- **Starts with** - If a column name starts with a specified string, for example, `pro`, then the operation will be performed on the columns whose name starts with `pro`.
- **Contain** - If a column name contains a specified string, for example `xyz`, then the operation will be performed on the columns whose name contains `xyz`.
- **Not contain** - If a column name doesn't contain a specified string, for example, `123`, then the operation will be performed on the columns whose names doesn't contain `123`.
- **Regex** - You can perform the operation on the column whose name matches the regular expression.
5. In the **New column name** field, enter the name of the newly created column in which the merged data will be placed.
The new column will contain values from the columns which meet the dynamic condition.
6. In the **Separator** field, enter the character which will function as a separator between values of the columns that are being merged.
4. Optionally, you can delete the original columns by enabling the **Remove original columns** option on.
5. You can check the preview of the file after changes in the **Output data** tab.
5. To define what happens if rows contain errors, select one of the options available in the [Error handling](#handle-errors) section.
6. Confirm the settings by clicking **Apply**.
### Handle errors
You can define what to do with failed values (for example, as a result of Jinja rendering or in other cases) in cells where data type modification failed.
In the **Handle incomplete data** section, select one of the following options:
- **Skip row if error occurred** - It omits the row when an exception occurs.
- **Skip if result is null or empty string** - It omits rows with empty strings and `null` (which may be the result of rendering Jinja)
- **Stop further transformation** - The transformation stops at the row with an error. The data before the line that caused the error is transformed (and imported if the transformation rule is used in the Data Transformation node).
- **Insert null if error occurred** - Wrong values are replaced with `null`. If you use such a transformation for the import of profiles, the existing value of an attribute is cleared and replaced with the `null` value.
- **Insert empty string if error occurred** - Wrong value is removed and the cell remains empty.
## Example of use
---
You can use the **Merge columns** node in order to create an event salt. Event salt allows you to avoid duplicating an entry in the database if it is imported more than once. It is especially useful while importing events to Synerise.
File sample used in the Data Input node
1. As the first node, add **Data Input**.
2. In the configuration of the node, upload a file on which you want to perform data transformation.
5. As the next node, add a **Merge Columns** node.
6. In the configuration of the node:
- merge the **orderId** and **eventTimestamp** columns together,
- enter `eventSalt` as the name of the new column,
- set `-` as a separator.
Configuration of the Merge columns node
7. Leave the rest of the settings at default.
7. As the last node, add **Data Output**.
**Result**: You receive a data file with a new eventSalt column.
# "Get Data - Reverse ETL" node
By means of the **Get Data - Reverse ETL** node, you can pull data from Databricks to Synerise in any form.
You can easily test this connection and get a preview of the retrieved data through an SQL query, with a preview limit set to 10 records.
You can download the previewed data in JSON or CSV format, which can serve as a data sample for creating [data transformation rules](/docs/automation/data-transformation-and-imports/creating-data-transformation). These rules can be applied within a workflow to modify the data imported from Databricks, ensuring it meets Synerise's requirements. Thus, you gain flexibility in customizing the data format while importing from Databricks.
In the SQL query, you can use [Jinjava inserts](/developers/inserts/automation), except dynamic references to the Profile context (such as expressions, aggregates or {% customer %} and {{ customer. }}).
The integration also lets you retrieve incremental data, eliminating the need to pull all the data each time. This allows you to import only the data that has been added since the last import. This is possible through the Jinjava tag: `{{lastRunDate}}`
## Prerequisites
If you use a firewall or an allowlist, make sure to allow the IP addresses listed below:
- Azure EU
- `52.146.154.208/29` (whole range in use: `52.146.154.208` - `52.146.154.215`)
- `20.67.16.0/28` (whole range in use: `20.67.16.0` - `20.67.16.15`)
- Azue US
- `23.100.20.128/30` (whole range in use: `23.100.20.128` - `23.100.20.132`)
- `23.100.20.228/30` (whole range in use: `23.100.20.228` - `23.100.20.232`)
- `23.100.22.32/30` (whole range in use: `23.100.22.32` - `23.100.22.35`)
- Google Cloud Platform
- `35.205.120.121`
- `35.233.100.131`
- `34.77.196.142`
- `34.140.213.162`
- `104.155.38.106`
- `34.79.223.232`
- `34.77.87.13`
- `34.78.208.88`
- Maximum size of the retrieved data: 5 GB (5 000 000 000 bytes).
- Maximum database rows in the file: `20 000 000`.
- Databricks workspace with your processed datasets ready
### Best practices
- **Avoid using your main database for this purpose.**
It's better to create a separate database that is read-only and set up replication. This helps reduce the workload on your main database and minimizes the risk of data loss.
- **Synchronize only the data that you’ll use in Synerise.**
This improves performance and reduces the chance of exposing sensitive information. Select only the columns that are important to you and use the `{{lastRunDate}}` Jinjava tag to limit synchronization to data that has changed since the last synchronization.
- **Set a reasonable synchronization size of data and interval to avoid overwhelming your database.**
Monitor the initial synchronizations to make sure they don't affect the security and performance of your system. You can send **maximum 20,000,000 rows** per journey and the data will be processed 1,000,000 per 2 minutes.
- **Keep in mind regional data regulations.**
If your database is in the US, but your Synerise workspace is based in Europe, you need to comply with GDPR and other data regulations. Before connecting your database to Synerise, ensure you are following the rules for your region.
## Node configuration
---
1. Go to **Automation Hub > Workflows > New workflow**.
2. Start the workflow with a trigger node that doesn't contain a customer's context (for example, Scheduled Run).
3. On the trigger node, click **THEN**.
4. From the dropdown list, click **Databricks> Get Data - Reverse ETL**.
2. To allow the data exchange, establish a connection between Synerise and Databricks, click **Select connection**.
3. From the dropdown list, select the connection.
- If no connections are available or you want to create a new one, see [Create a connection](#create-a-connection).
- If you selected an existing connection, proceed to [defining the integration settings](#define-the-integration-settings).
### Create a connection
If you haven't established any connection yet or you want to create another, establish a connection between Synerise and Databricks that facilitates the exchange of data.
1. In the **Connection name** field, enter the name of the connection.
It's used to find the connection on the list.
1. In **Token Endpoint URL**, enter the token endpoint URL from your Databricks deployment: `https:///oidc/v1/token`
2. In **Client ID**, enter a unique identifier assigned to your application by Databricks.
3. In **Client secret**, enter client secret which you can generate according to the documentation: [Authorize service principal access to Databricks with OAuth](https://docs.databricks.com/aws/en/dev-tools/auth/oauth-m2m#-step-1-create-an-oauth-secret).
4. In **Scope**, use `sql` for Databricks OAuth2.
4. Confirm by clicking **Apply**.
## Define the integration settings
A blank configuration form in Databricks Get Data Reverse ETL node
1. In **HTTP path**, enter a route that identifies a cluster or SQL warehouse inside the Databricks workspace.
2. In the **Query** field, enter the SQL query that retrieves specific data from the Databricks.
To optimize your query, consider the following:
- Find out whether you are charged for query or data amount pulled within a query.
- Querying large data sets may result in timeouts.
- Retrieve up to 20,000,000 rows in one request.
- Limit requests to 1 request per hour.
- Retrieve incremental data using the `{{ lastRunDate }}` tag:
- Your resource in Databricks must contain a column with the date of the latest update (recommended time format: ISO-8601)
- Add the `{{ lastRunDate }}` tag to your query, for example:
SELECT * FROM myTableName WHERE columnWithModificationDate > {{lastRunDate}}
- The value of the `{{ lastRunDate }}` is saved by Synerise with each successful data pull from Databricks within a specific workflow.
3. To test the connection and preview data that will be retrieved, click **Preview data**.
The preview includes up to 10 records.
1. To download a file with preview data, click **Download Sample Data**.
2. Select the format file:
- **.json file** (recommended)
- **.csv file**
3. If you want to use this sample to configure Data Transformation to modify the data according to Synerise requirements, click **Open Data Transformation**.
This feature lets you create data transformation rules according to which the data will be modified, for example, you can make operations on the column names (to comply with the Synerise import requirements), on the values inside the columns, and so on. Later on, you can add the [Data Transformation node](/docs/automation/operation/data-transformation-node) to the workflow, after the **Get Data - Reverse ETL** node, and in the configuration of the node select the data transformation rule to modify the incoming data.
4. Confirm by clicking **Apply**.
We recommend monitoring the workflows that use the Get Data - Reverse ETL node. You can do it by:
- previewing [the statistics of the node directly in the settings of the active workflow](/docs/automation/automation-activity-tracking#node-statistics).
- previewing the **Transformation logs** tab in the workflow view.
## Example of use
---
This example shows how to send your customers' opinions about your company stored in Databricks by means of a periodic import.
An example of the data used in the example:
| description | rate | email |
|-------------------------------------------------------------------|------|------------------------|
| This product is life-changing. Finally, I have comfortable shoes. | 5 | john.doe@example.com |
| I'm satisfied with my purchase. | 5 | joan.smith@example.com |
These opinions will be imported to Synerise as a custom `opinion.import` event and will be available on the profiles of customers. This event will contain the following information:
- the descriptive part of the opinion, contained in the `description` parameter.
- the rating, which will take values from 1 to 5 (1 being the lowest), contained in the `rate` parameter.
Additionally, this example contains a process of creating a transformation rule based on the preview data received from the Get Data - Reverse ETL node. This way, we will prepare the incoming data to comply with the Synerise requirements to be imported as events.
Workflow configuration
1. Start your workflow with the **Scheduled Run** node. In the configuration of the node:
1. Change the **Run trigger** option to **all time**. Define the frequency of triggering this node (for example, once a day).
3. Confirm by clicking **Apply**.
2. As the next node, select **Databricks > Get Data - Reverse ETL**.
1. Configure the node as described in the [Node configuration](#node-configuration) section.
2. In the **Query** field, enter a query that retrieves email, opinion, and rating. The snippets below contain queries that:
- create a table
- retrieve all data from the table (which is treated as the first import; then the import date is rendered to `1970-01-01T00:00`)
- retrieve the incremental data since the date of the latest import.
These example queries serve as demonstrations, and their specific structure may vary depending on the data structure in your database.
SELECT event_id, email, opinion, rate FROM events;
SELECT event_id, email, opinion, rate
FROM events
WHERE updated_at > {{lastRunDate}};
3. Preview the data and download it as a JSON file.
4. Click **Open Data Transformation**.
5. Transform the file as follows:
- Add the following columns and values:
| Column name | Column value |
|-------------|-------------------------------------|
| `action` | `opinion.import` |
| `label` | `Import of opinions from Databricks` |
| `type` | `custom` |
- Rename the column name with the customer email to: `client.email`
- Optionally, you can change the names of columns which contain the descriptive opinion and rating.
6. Save the transformation rule.
3. Add the **Data Transformation** node. In the configuration of the node, select the transformation rule you created in the previous step.
4. Add the **Import events** node. This node doesn't require configuration.
5. Add the **End** node.
7. Click **Save & Run**.
**Result**: When the workflow is launched, the `opinion.import` event will be generated on the activity list of the customers who left an opinion on your company. You can later prepare analyses based on this event and its parameters and implement marketing strategy towards these customers.
# "Send File" node
You can use the **Send File** node to transfer the files further using HTTP protocol.
## Node configuration
---
### Set up a connection
In this part of the process, you must define how you will get access to your source. By selecting the authentication method and providing required information, you establish a connection.
1. Select **HTTPS > Send File**.
Selecting the authentication method
1. Select the authentication method:
- **No authentication** - No authentication is required.
- **Login & Password** - This method lets you use basic authentication to authenticate with the remote server.
Click here to see the instructions
- **Custom connection** - This method sends an authentication token request before executing the main request defined in the Outgoing integration node settings. The token is fetched when the request data is uncached, then cached according to its TTL, and added to the target request.
Click here to see the instructions
Click Select connection.
In the connection list:
If the connection you want to use is in the list, select it and proceed to Defining the request section in this article.
If the connection list is empty or you don't see a connection, you must:
At the top of the dropdown list, click Add connection.
In the Authorization request tab, click Define. Result:
The Request section in the configuration of a custom connection
In the Connection name field, enter the name of your connection (it's visible only on the Select connection dropdown list or on the list of connections in Settings > Connections).
In Secret, enter a value which is required in the request to obtain a token. This value will be anonymized and displayed as asterisks.
In the Headers section, add request headers (in the left field, enter the key; in the right, enter its value).
In the Body field, enter the request body. For example:
{ "api-key": "{{secret}}" }
where {{secret}} retrieves the value of the Secret field to anonymize the token.
Confirm the settings in the Authorization request tab by clicking Apply.
In the Token placement settings section, click Define.
Click Retrieve response. Result:
Retrieved token in the Response section in the custom connection configuration form
If you:
specify the value in the Headers section, the extracted authorization data from the response will be added as a header to the target request.
provide the value in the URL Parameters section, the data will be appended to the target request’s URL as a parameter. You can use the following values to retrieve values from the response:
authResponseBody - a variable that contains the full body of an authentication response
authResponseStatusCode - a variable that contains the status code of an authentication response
authResponseHeaders- a variable that contains the headers of an authentication response For example:
It takes the JSON response body stored in authResponseBody, parses it into a usable structure, and extracts the value of the token field. Outputs a string like: Bearer "eyJhbGciOiJIUzI1NiIsInR5cCI6IkpXVCJ9..."
In TTL field, specify the how long the cached response from the external request will be valid. If you leave this field empty, it's 60 seconds.
Confirm by clicking Apply.
- **OAuth2 Client Credentials** - This method lets you use your OAuth2 credentials to authorize.
Click here to see the instructions
If the connection list is empty or you don't see a connection, you must:
At the top of the dropdown list, click Add connection.
In the Connection name field, enter the name of your connection (it's visible only in Synerise).
In the Token endpoint URL field, enter the URL used to obtain an access token from the authorization server.
In the Client ID field, enter a unique identifier assigned to your application by the service provider.
In the Client secret field, enter a confidential key issued alongside the Client ID. It is used to securely authenticate your application.
Optionally, in the Scope field, define the level of access your application is requesting. Scopes specify which actions or data your application can access (for example, read user data, send messages). Refer to the API documentation for the correct scope values.
- **API Key** - This method lets you authenticate using an API secret by including it in a header of your choice or in a URL parameter — example outputs:
- the authorization header: `Authorization: Bearer [secret]`
- URL parameter: `client_id=[rendered secret]`.
When you use this connection in the Outgoing Integration node, the token will be automatically added to either the request header or the request URL with every request.
Click here to see the instructions
Click Select connection.
If the connection you want to use is in the list, select it and proceed to Defining the request section in this article.
If the connection list is empty or you don't see a connection, you must:
At the top of the dropdown list, click Add connection.
In the Connection name field, enter the name of your connection (it's visible only in Synerise).
In the Secret field, enter an API Key.
If you:
specify the value in the Headers section, the API key will be added as a header to the request. For example, x-api-key: {{secret}} where {{secret}} retrieves the value of the Secret field to anonymize the API key value.
provide the value in the URL Parameters section, the API key will be appended to the request’s URL as a parameter.
### Fill out the configuration form
A blank form for the HTTPS Send File node
Fields marked with the icon accept [snippets](/docs/assets/snippets) or [inserts](/developers/inserts). But, you can’t use profile-related inserts.
1. From the **Method** dropdown list, select the method.
2. In the **URL** field, enter the endpoint.
3. From the **File format** dropdown list, select the format of the file:
- **JSON**
- **JSON Lines**
- **CSV** - Provide the details on how to format the file for sending:
1. From the **Delimiter** dropdown, select the character that marks the end of a column.
2. From the **Quotation mark** dropdown list, select the characters that contain the text or data type.
3. From the **Escape character** dropdown lists, select the character that changes the default interpretation of a character or a string followed by the character.
2. From the **Line ending** dropdown list, select:
- **Line feed** - This option shifts the cursor to the next line vertically.
- **Carriage return and line feed** - This option points the cursor to the beginning of the line horizontally and shifts the cursor to the next line vertically.
3. Optionally, select the **Quoting style only if required** checkbox to wrap the values with characters selected in the **Quotation mark** field when the delimiter occurs in the value. For example, for the following values:
- one
- two,three,four
The output with the enabled **Quoting style only if required** option will be as follows: `one,"two,three,four"`
4. In the **Headers** fields, define request headers required by the HTTP API.
6. Optionally, by clicking **Check connection**, you can verify if your connection you created in [Set up a connection procedure](#set-up-a-connection) is ready.
7. Confirm the settings by clicking **Apply**.
## Examples of use
---
In this example, you can select a group of customers and their attributes to pass it further to the external resource (for example, Azure) by using HTTP protocol.
Final workflow configuration
1. Add the **Scheduled Run** node.
2. In the configuration of the node, set it to **immediately**.
3. Add the **Get Profiles** node.
4. In the configuration of the node:
1. Select a segmentation of customers.
2. Select the attributes to be extracted.
3. Confirm by clicking **Apply**.
5. Click **THEN**, from the dropdown list, select **HTTPS > Send File**.
6. In the configuration of the node:
1. Select the authentication method.
- If no connections are available or you want to create a new one, see Add connection.
- If you selected an existing connection, proceed to defining the integration settings.
2. Select the method.
3. Enter the **URL** of the endpoint.
4. Select the format of the file.
5. **Only for CSV files**, verify the following fields: **Delimiter**, **Quotation mark**, **Escape character**, **Charset**, **Line ending**.
6. If required, enter the headers.
7. Confirm by clicking **Apply**.
7. Add the **End** node.
# "Send File" node
You can use the **Send File** node to transfer the files to your server using SFTP protocol.
## Node configuration
---
### Set up a connection
In this part of the process, you must define how you will get access to your source. By selecting the authentication method and providing required information, you establish a connection.
1. Click **SFTP > Send File**.
Selecting the authentication method
2. On the pop-up, select the authentication method:
- **No authentication** - No authentication is required.
- **Password** - Authentication is based on a log-in and a password to your resource.
Click here to see the instructions
- **Public key** - Authentication is based on a public SSH key which is issued for a selected integration. This option lets you generate a public key and download it. Then, you must add it to your server configuration. After you download the key, you must secure it, because you won’t be able to download it later for security reasons.
Click here to see the instructions
### Fill out the configuration form
A blank form for the SFTP Send File node
Fields marked with the icon accept [snippets](/docs/assets/snippets) or [inserts](/developers/inserts). But, you can’t use profile-related inserts.
1. In the **Server** field, enter the URL of the server.
2. In the **Port** field, set the port. The default value is the most commonly used SFTP port.
3. If your data are stored in a directory, in the **Path to directory** provide a path to a directory (for example: `/home/file-directory/`).
4. In the **File name** field, enter the name of the file under which it will be passed to your SFTP server.
5. From the **File name suffix** dropdown list, you can select a date to be added to the file name.
5. From the **File format** dropdown list, select the format of the file:
- **JSON**
- **JSON Lines**
- **CSV** - Provide the details on how to format the file for sending:
1. From the **Delimiter** dropdown, select the character that marks the end of a column.
2. From the **Quotation mark** dropdown list, select the characters that contain the text or data type.
3. From the **Escape character** dropdown lists, select the character changes the default interpretation of a character or a string followed by the character.
2. From the **Line ending** dropdown list, select:
- **Line feed** - This option shifts the cursor to the next line vertically.
- **Carriage return and line feed** - This option points the cursor to the beginning of the line horizontally and shifts the cursor to the next line vertically.
3. Optionally, select the **Quoting style only if required** checkbox, to wrap the values with characters selected in the **Quotation mark** field when the delimiter occurs in the value. For example, for the following values:
- one
- two,three,four
The output with the enabled **Quoting style only if required** option will be as follows: `one,"two,three,four"`
6. Optionally, by clicking **Check connection**, you can verify if your connection you created in [Set up a connection procedure](#set-up-a-connection) is ready.
7. Confirm by clicking **Apply**.
## Examples of use
---
In this example, you can launch a workflow which retrieves a Synerise [catalog](/docs/assets/catalogs) by means of HTTPS protocol and send it further to a SFTP server. If needed, the workflow can perform a transformation of data retrieved from the catalog in order to meet data structure requirements in the SFTP server.
If you decide to use the [Data Transformation node](/docs/automation/operation/data-transformation-node) you must [build a data transformation workflow](/docs/automation/data-transformation-and-imports/creating-data-transformation).
Final workflow configuration
1. Add the **Scheduled Run** node.
2. In the configuration of the node, set it to **immediately**.
3. Add the **Get File** node by clicking **THEN > HTTPS**.
4. In the configuration of the node:
1. Select the authentication method.
- If no connections are available or you want to create a new one, see Add connection.
- If you selected an existing connection, proceed to defining the integration settings.
2. Leave the method at default (**GET**).
3. In the URL, enter the address of the endpoint (you can get it [here](https://hub.synerise.com/api-reference/asset-management#tag/Catalogs/operation/getItemsCSV)
4. As a file format, from the dropdown list, select **CSV file**.
5. Verify the following fields: **Delimiter**, **Quotation mark**, **Escape character**, **Charset**, **Line ending**.
6. Configure settings for the **Headers** section.
7. Confirm by clicking **Apply**.
3. Optionally, you can add the [Data Transformation node](/docs/automation/operation/data-transformation-node) to modify the data retrieved from the catalog to comply with the data structure standards in your SFTP.
4. Add the **Send File** node by clicking **THEN > SFTP**.
5. In the configuration of the node:
1. Select the authentication method.
- If no connections are available or you want to create a new one, see Add connection.
- If you selected an existing connection, proceed to defining the integration settings.
1. Enter the URL to the server.
2. Enter the path to the directory.
3. Enter the name of the file under which you want to send the data to the server.
4. Select the format of the file.
6. Confirm by clicking **Apply**.
6. Add the **End** node.
# Transformations and data operators
If you need your data to be restructured, you can [transform it by using Automation Hub in Synerise](/docs/automation/data-transformation-and-imports/creating-data-transformation).
## Contents
# Creating workflows
The procedure describes the creation of a workflow.
## Requirements
---
- You must be granted user permissions which allow access to Automation Hub.
- If a workflow uses nodes that rely on customer activity on the website (for example `page.visit`, `product.buy`, and so on), you must implement a tracking code into the website.
- If the workflow uses nodes that rely on sending emails, text messages, pushes or web pushes, the respective accounts for sending these must be configured in the Synerise system.
## Basic information
---
1. [Workflow and path](/docs/automation/introduction-to-automation#workflow-and-path) are terms you can encounter in the documentation on **Automation Hub**.
2. You can create workflows of these types:
- [Business-oriented workflow](/glossary/#business-workflow) - This type of workflow in most cases is oriented at integrating Synerise with external services.
- [Profile-oriented workflow](/glossary/#profile-oriented-workflow) - This type of workflow is oriented at performing direct actions towards customers.
3. A workflow is linear and it always moves in one direction.
4. A node is an element a workflow is built with. It can be a trigger that launches a workflow, a condition such as the **Profile Filter**, an action such as the **Send Email**, and so on.
5. Action nodes are processed on the basis of a fire and forget method. It means that in a situation where the process consists of a trigger, condition, action (for example, Send Email), and a finalizing **End** node, the workflow is finished when email sending is launched. The completion of the workflow isn't conditioned upon the completion of sending emails.
6. While creating a workflow, you can make use of the toolbar which provides you the following features:
- You can follow the hints in the **Issues** and **Insights** tabs which will help you through the process of creating a workflow:
- **Issues** - This tab presents all issues that need to be addressed in order to activate the workflow, for example, missing connections between nodes, missing title to the workflow, and so on.
The Issues tab
- **Insights** - This tab presents suggestions on actions you may want to take, such as updating message templates used in a workflow to the latest version or re-establishing a connection which is about to expire in the [Integration nodes](/docs/automation/integration).
The Insights tab
- By clicking , you can [add notes to nodes](#adding-notes) in a workflow to inform other users about the purpose and assumptions of the node.
Example note added to the Send Email node
- By clicking , you can open a catalog of [snippets](/docs/assets/snippets).
- By clicking , you can define an automatic change or changes of the workflow status. This option lets you create schedule rules according to which the workflow changes status at a given date and time.
You can find the detailed instructions in the [Workflow scheduler](/docs/automation/workflow-scheduler) article.
- By clicking , you can get information about objects used in a workflow, such as segmentations, metrics, templates, email and SMS accounts, connections, and outgoing integrations (includes only integrations which are available in **Automation Hub > Outgoing**), and open the configuration of each in a separate tab.
Assets panel listing objects used in the workflow
- By clicking , you can use workflow [limits](/docs/automation/automation-capping) that let you restrict the number of repetitions in the context of a particular workflow and nodes used in a workflow, as well as ignore the global limit of messages.
- By clicking **Add node**, you can select any node to add at a random place on a canvas.
7. You can [preview node statistics](/docs/automation/automation-activity-tracking) for activated workflows and access [Control Center](/docs/automation/automation-control-center) to get a comprehensive overview of activities within the Automation Hub.
Segmentation, expression, and aggregate definitions are cached for 20 minutes after a node with the analysis is activated in a journey.
When another journey in the Automation Hub requests a result of the same analysis in that period, the cached definition is used to calculate the results. This means that if you edit a segmentation, aggregate, or expression used in a workflow, it takes 20 minutes for the new version to start being used in journeys.
This includes definitions of segmentations, expressions, and aggregates nested in other analyses and used in Inserts.
## Creating a standard workflow
---
1. Go to **Automation Hub > Workflows > New workflow**.
**Result**: A canvas opens:
Start view
2. From the canvas, select a node that will trigger a workflow.
**Result**: The chosen node appears on the automation process dashboard.
4. To edit the settings of the node, click the node.
**Result**: A pop-up is shown.
Configuration of the Profile Event node
5. On the pop-up, define the settings of the trigger.
6. To inform other users about the purpose of the node, you can write a short description. In the header of the pop-up, click the pencil icon and enter the text.
7. Confirm the settings by clicking **Apply**.
8. To select the further elements of the workflow, click the **THEN** button on the trigger node.
**Result**: A node picker opens with **Nodes** and **Sequences** tabs.
The node picker
- On the **Nodes tab**, the **Node Suggestions** section shows up to three nodes that the Synerise System Agent predicts are most likely to follow the current step, based on your workspace data and your existing workflows. These personalized suggestions help you build workflows faster, with the full list of node categories available below:
- [Integrations](/docs/automation/integration) - Nodes which let you integrate with external systems.
- [Flow](/docs/automation/flow-control) - Settings that concern the connections between the nodes.
- [Conditions](/docs/automation/conditions) - Nodes in the workflow that allow you to narrow the group of customers the workflow is directed to.
- [Actions](/docs/automation/actions) - Nodes which define the kind of action to be executed as a response to the fulfilled conditions.
- [Operations](/docs/automation/operation) - Nodes which are meant to transfer and upload files as well as reuse the transformations.
- On the **Sequences** tab, you can insert a [saved sequence](/docs/automation/sequences) - a group of connected nodes you can insert as a single reusable unit.
9. When you choose the next node, adjust its settings by clicking the node on the canvas.
10. Place at least one **End** node in the workflow. Otherwise, you won't be able to save it.
11. Define a limit on the number of workflows that a customer can launch/that can be launched within a specific time range, by clicking in the upper-right corner.
1. Enable the **Limit profile paths** toggle.
2. In the **Number of paths** field, enter the allowed paths.
3. In the middle field define the amount of time and from the dropdown list, select the time unit.
4. Confirm the settings by clicking **Apply**.
## Saving the workflow
You can:
- save a workflow as a draft, which lets you save your progress without running the workflow.
- save and activate the workflow immediately.
The process of saving and activating the workflow depends on application of [scheduler rules](/docs/automation/workflow-scheduler) in it.
### Save as draft
If you want to save your progress without activating the workflow, follow the instructions in this section.
The pop-up which appears after clicking the Save button in the workflow
1. In the upper-right corner, click **Save**.
**Result**: A pop-up appears. This pop-up appears while saving a draft for the first time.
1. In **Workflow name**, provide the name of the workflow.
2. From the **Folder** list, you can select the folder in which the workflow will be saved.
Saving workflows in folders lets you quickly find and efficiently manage them.
3. Optionally, you can add tags to workflows by clicking **Add tag**.
Tags are a method of organizing and managing your workflows. By assigning relevant tags from the predefined automations folder, you can keep your workflows structured and easy to navigate.
4. From the dropdown list, select the tags you want to assign to the workflow.
The list contains only tags from [the `automation` tag folder](/docs/automation/tagging-workflows#creating-automation-tags).
5. Confirm the settings by clicking **Save**.
### Save and run
To save and activate the workflow, in the upper-right corner, click **Save & Run**.
**Result**: A pop-up appears.
#### Without scheduler rules
A confirmation pop-up
Confirm by clicking **Yes, run workflow**.
#### With scheduler rules
A pop-up that appears after clicking Save & Run for a workflow with schedule rules
| Option | When selected |
|-----------------------------------------|----------------------------------------------------------------------------------------------------------------------------------------------------------------------------------------------------------------------------------------------|
| **Run workflow immediately** | Ignores schedule rules and runs the workflow immediately. Schedule rules are disabled, and any status changes must be done manually. |
| **Activate schedule rules** | Runs the workflow according to the schedule rules. The workflow stays in Pending status until the scheduled activation date, then proceeds based on the schedule rules. |
| **Run workflow immediately** and **Activate schedule rules** | Runs the workflow immediately and applies schedule rules. The workflow is immediately set to Active status, schedule rules are enforced, but if the first rule is activation, it is ignored since the workflow is already active. |
Confirm by clicking **Yes, run workflow**.
## Workflow status
The status of the workflow changes to **Stopped** when (applies only to workflows triggered by **Audience**):
- it's been 62 days from the latest execution of the trigger,
- it is a one-off workflow and it is completed,
- the limit of repetitions in the trigger settings runs out
In the audit log, this change of the workflow status will be marked as a change done by `internal user`.
Activating a paused or stopped automation that starts with the Audience trigger results in restarting the automation for all customers (also those who completed the automation before pausing or stopping it).
If your automation includes any communication nodes (send email/SMS/mobile push/webpush), a communication is created for each node. The communication is named after the template that was used and the author is `Automation`. The UUID of the communication is available in the details of the node.
**DO NOT** remove communications created for nodes. Removing such a communication breaks the node.
Each status allows certain scope of actions. The scope of actions:
| Action: | Edit | Activate | Pause | Stop |
|---------|:------:|:----------:|:-------:|:------:|
| Draft | | | | |
| Pending | * | | | |
| Active | * | | | |
| Paused | * | | | |
| Stopped | | | | |
*The editing option allows changing the settings in the nodes only. You won't be able to add new nodes to the diagram.
## Adding notes
---
As workflows grow, understanding decisions becomes harder especially for teams and future maintainers. Adding notes directly to nodes or placing them freely on the canvas helps capture important context like intent and assumptions where it’s needed most. This improves clarity, speeds up onboarding, enhances collaboration, and reduces knowledge loss by keeping critical information embedded within the workflow. Notes can also be updated as the workflow changes, keeping everything clear and up-to-date. You can also upload images to notes to provide additional visual context, such as screenshots or image of flowchart.
### Requirements and restrictions
- Make sure your role is assigned with permissions that allow adding notes to workflow. These permissions are included within the set required for creating and editing workflows. See permission reference for [creating and editing workflows](/docs/settings/identity-access-management/permissions/automation-permissions#create-and-edit-workflows).
- To add notes, a workflow must be at least saved as a draft.
- A note can be 2048 characters long.
- You can upload up to 5 images to a note (`JPG`, `PNG`, and `GIF`)
- You can only add one note per node. Notes added directly to the canvas are not tied to any node and can be placed freely.
### Adding notes
Notes can be added to nodes or placed directly on the canvas. There are multiple ways of adding notes:
- adding notes one by one to nodes:
- using [the node's context menu](#node-context-menu):
Adding note from the node context menu
- in the [settings of the node](#node-settings):
Adding note from the node settings
- [batch adding notes](#batch-add-notes)
Add notes icon
#### Node context menu
1. Hover the cursor over the node to which you want to add a note.
2. Click
3. From the dropdown list, select **Add note**.
4. In the text field, enter the text of the note.
**Result**:
Example note added to the Send Email node
5. Confirm by clicking **Save**.
##### Node settings
1. Go to the settings of the node.
2. In the upper-right corner of the pop-up, click **Add note**.
3. In the text field, enter the text of the note.
4. Confirm by clicking **Save**.
#### Batch add notes
You can add multiple notes consecutively, which is useful when you want to describe existing workflows in detail or add several notes at once.
1. On the canvas, click the note list icon.
**Result**: A sidebar appears, and the mouse cursor changes to a plus shape.
2. Hover the cursor over the node to which you want to add the note or anywhere on the canvas.
Adding a note to a node
3. Click the mouse button.
**Result**: A text field appears.
4. In the text field, enter the text of the note.
5. Click **Save**.
6. Repeat steps 2-5 if needed.
7. To leave batch add mode, on your keyboard, press the `Esc` key.
### Workflow notes overview
You can view all notes added to the workflow in the Notes Collector available on the workflow canvas.
To display a list of notes, on the canvas, click the note list icon:
Note list icon
**Result**:
Overview of all notes added within a workflow
## Keyboard shortcuts and bulk operations on nodes
---
Batch operations on nodes allow you to efficiently manage multiple elements on the canvas.
| Action | Keyboard shortcut | Description |
|--------------------------|-----------------------|----------------------------------------------------------------------------------------------------------------------|
| Selecting multiple nodes | Hold shift and select | To select several nodes, hold Shift while clicking individual nodes or drag a selection box across the desired area. |
| Copying selected nodes | Cmd+C / Ctrl+C | Copies the selected canvas elements. |
| Pasting the copied nodes | Cmd+V / Ctrl+V | Pastes canvas elements from the clipboard. |
| Deleting selected nodes | Backspace | Deletes the selected elements. |
Remember that the diagram’s structure can only be modified while it is in draft status.
You can also save a selection of connected nodes as a reusable [Sequence](/docs/automation/sequences).
## Tagging worfklows
You can assign [the automation tags](/docs/automation/tagging-workflows#creating-automation-tags) to workflows.
## Workflow folders
You can save the workflows in folders which will let you better organize and manage your workflows.
### Adding folders
To create your custom folders, follow the instructions in this section:
1. Go to **Automation Hub > Workflows**.
2. On the left pane, click **Add folder**.
**Result**: A text field appears under the **Add folder** button.
3. Enter the name of the folder.
4. Confirm the name by clicking enter.
**Result**: A folder appears on the list.
### Assigning workflows to folders
You can assign workflows to folders in the following ways:
- while [saving the workflow as draft](#save-as-draft)
- after saving the workflow, on the list of workflows, click **> Move to**.
**Result**: A pop-up appears.
From the dropdown list, select the folder name and to confirm the action, click **Apply**.
## Exporting a workflow as an image
You can export a workflow diagram as an image file (`PNG`).
To export a workflow as an image:
1. Go to **Automation Hub > Workflows**.
2. Find the workflow you want to export and enter its details.
3. In the upper right corner, click .
3. Select **Export as image**.
**Result**: The workflow diagram is downloaded as an image file. The name of the file is the name of the workflow and the date of export.
# "End" node
## End node
A workflow ends when a profile path or a process in a business workflow reaches this node. In this node, you can configure the logic of terminating paths and processes in workflows.
- **Default behavior**: The workflow ends when a path or a process reaches the **End** node. For example, if a profile started more than one path within the workflow, other paths are stopped regardless of their progress. This behavior is presented on an image below:
- If a workflow contains more than one **End** node, the first process/path that reaches the node doesn't terminate the remaining processes/paths that have been started. This behavior is presented on an image below:
You can customize the configuration of the End nodes in your workflow. This feature lets you designate specific branches that, when completed, will terminate all remaining processes or paths in the entire workflow. However, for other branches, continuation is possible even if one of them reaches the final node.
This flexibility in configuring the End nodes lets you control the flow and termination of processes or paths, allowing you to influence the frequency of actions performed towards customers, such as sending messages, in specific circumstances:
Workflow with two End nodes with different configurations
In the figure above, in Branch 2 the first path that reaches the End node terminates all paths in this branch, whereas in Branch 1 the first path that reaches the final node doesn't affect other paths in this branch. As a result of passing through in Branch 1, the email can be sent multiple times to a profile.
### Node usage in workflow
---
The following instructions explain how to add the **End** node to a workflow diagram. Once added, this node does not require any additional configuration.
1. Click **THEN** on the node after which you want to have the **End** node.
**Result**: A dropdown list opens.
2. From the dropdown list, select **End**.
3. Click the node to open its settings.
4. If you want allow finishing all initiated paths within a workflow, enable **Allow finishing other paths**.
### Example of use
---
Example of a workflow that uses the End node
This workflow is triggered by a purchase. As a result, the system automatically sends a purchase summary to a profile who bought products.
1. Add a **Profile Event** trigger node. In the settings of the trigger, select the `transaction.charge` event from the list. If you want to restrict the source of transactions, select an appropriate parameter and its value.
2. When the system detects an occurrence of the event, a profile receives an email with a purchase summary.
3. When the email is sent to the profile, the workflow ends.
# "Local File" node
You can use the **Local File** node to transfer the files from your device to the workflow. You can use the node in the workflows whose purpose is to pass the data further (for example, for import).
## Prerequisites
---
- Supported file formats: `.CSV`, `.XML feed`, `.JSONL`, `.JSON`
- Maximum size of the file: 500 MB
## Node configuration
---
Node settings without a file selected
1. Click the **Local File** node.
2. On the pop-up, upload a file from your device.
You can't change the file after you launch the workflow. To import a different file, you must create a new workflow.
3. Optionally, you can modify the delimiter, quotation mark character, and escape characters:
1. Enable **Customize metacharacters**.
2. Modify values in **Delimiter**, **Quotation mark**, and **Escape character** fields.
4. Optionally, you can get the preview of the first 20 records of the uploaded file.
3. Confirm by clicking **Apply**.
## Example of use
---
You can combine the **Local File** node with the **Import Profiles** node to import a file with customer data.
The file used in this example
Single import of customers to Synerise
1. Start the workflow with the **Scheduled Run** node.
2. In the configuration of the node:
1. Set the **Run trigger** to **one time**.
2. Select the **Immediately** tab.
3. Click **Apply**.
3. Add the **Local File** node.
4. In the configuration of the node:
1. Upload the file with customers.
2. Click **Apply**.
5. Add the **Import Profiles** node.
6. Add the **End** node.
# "Delete Profile" node
A profile that passes through the **Delete profile** node is deleted permanently and irreversibly. This node can be used in [customer-oriented](/glossary/#profile-oriented-workflow) workflows.
## Node configuration
---
This node doesn’t require any configuration. However, it must be immediately followed by the **End** node with the option to finish other paths disabled.
Using the **Delete Profile** node permanently deletes a profile. This action also stops all transitions involving the profile, both within the current workflow and in any other workflows.
## Example of use
---
You can launch the process of deleting a profile when a user closes their account on your website. The requirement for this example would be sending a custom "close account" event to Synerise after a user removes their account. The event triggers an automation that deletes the profile in Synerise. This way, you can automate cleaning of your customer base.
1. As the trigger node, add **Profile Event**.
2. In the configuration of the node, select a close account event and confirm the settings by clicking **Apply**.
3. As the next node, add **Delete Profile**.
4. As the final node, add the **End** node.
**Result**:
The final workflow configuration
# "Send Online Transactions" node
You can use the **Send Online Transactions** node to export online transactions to Facebook and then create audience for next marketing actions in Facebook on the basis of the transaction information.
## Prerequisites
---
- [Create a Pixel in Facebook](https://developers.facebook.com/docs/facebook-pixel).
- [Generate an access token in Facebook](https://developers.facebook.com/docs/marketing-api/collaborative-ads/managed-partner-ads/api-guide/prerequisites/generate-access-token-system-user).
## Node configuration
---
1. Click the node.
2. Click **Select connection**.
3. From the dropdown list, select the connection.
If you haven't established a connection yet, see [Create a connection](/docs/automation/integration/facebook/send-online-transactions#create-a-connection).
### Create a connection
After you generate a system access token in Facebook, use it a node to establish a connection.
1. At the bottom of the **Select connection** dropdown list, click **Add connection**.
2. In the **Access token** field, enter the app access token from Facebook.
You can read more about access tokens in [Facebook documentation](https://developers.facebook.com/docs/marketing-api/conversions-api/get-started/#access-token).
3. Click **Next**.
4. In the **Connection name** field, enter the name for the access token you generated.
5. Click **Apply**.
**Result**: A connection is created and selected.
### Define the integration settings
A blank configuration form in Send Online Transactions (Facebook)
Fields marked with the icon accept [snippets](/docs/assets/snippets) or [inserts](/developers/inserts). This integration allows usage of profile-related inserts.
1. In the **Graph API version** field, enter the currently used Facebook API version.
You can find information about the currently used API version in the Facebook documentation.
2. In the **Meta Pixel** field, enter the identifier of the Pixel you use in Facebook.
You can find information about how to find the ID of the Pixel in the Facebook documentation.
3. From the **Identifier type** dropdown list, select the identifier of customer - an email address of phone number.
Online transactions will be matched with customers based on this identifier.
4. In the **Identifier source** field, enter the Automation insert (Jinjava tag) that corresponds to the identifier you selected as the **Identifier type**.
Read the article about the [Automation inserts](/developers/inserts/automation).
5. Confirm by clicking **Apply**.
**Result**: When the Send Online Transactions node is executed, a [`facebook.sendOnlineTransaction` event](/docs/assets/events/event-reference/integration#facebooksendonlinetransaction) is generated on the activity list of the profile who is the actor in the workflow.
5. Confirm by clicking **Apply**.
### Test integration
---
You can run a test request. If the request body contains a dynamic reference to a profile attribute and/or an event data from preceding nodes, then you can define the context using [test profile data](/docs/settings/configuration/test-profiles).
Complete description of the feature is available in [Testing outgoing integrations](/docs/automation/test-requests-for-outgoing-integrations).
1. In the **Test integration** section, click **Send test request**.
**Result**: A test request builder opens. If:
- a request body contains dynamic references, the request preview appears after you select the context of test profiles and events.
- a request body contains static data, the preview of the body request appears immediately.
An empty test request builder
2. If your request contains dynamic references (otherwise, the options aren't available):
- From the **Test profile** dropdown, select a test profile in the context of whom the test request will be performed.
- From the **Event context** dropdown list, you can select a particular occurrence of an event whose values/information will be used for the test request.
1. Select a test profile.
**Result**: A history of test profile events appears.
A stream of events of a test profile
2. From the list of events, select one whose data you want use as a context. If there is no event you can use, in the upper-right corner of the pop-up, click **Define own event** and provide the body of the event.
3. Confirm by clicking **Apply**.
3. Verify the request body. If there is something you want to change, come back to the node settings from previous steps.
3. If the request body is ready to test, in the upper-right corner, click **Send request**.
**Result**: The response section appears and the **Update response event** button becomes active.
4. Optionally, you can update response event with new parameters by clicking **Update response event** in the upper-right corner.
# "Send Offline Transactions" node
You can use the **Send Offline Transactions** node to export offline transactions to Facebook.
## Prerequisites
---
- [Generate a system user access token in Facebook](https://developers.facebook.com/docs/marketing-api/collaborative-ads/managed-partner-ads/api-guide/prerequisites/generate-access-token-system-user); as the `scope` value, select `ads_management`.
- Create a Pixel in Facebook (more information about Pixel is available [here](https://developers.facebook.com/docs/facebook-pixel)).
## Node configuration
---
1. Click the node.
2. Click **Select connection**.
3. From the dropdown list, select the connection.
If you haven't established a connection yet, see [Create a connection](/docs/automation/integration/facebook/send-offline-transactions#create-a-connection).
### Create a connection
After you generate a system access token in Facebook, use it a node to establish a connection.
1. At the bottom of the **Select connection** dropdown list, click **Add connection**.
2. In the **Access token** field, enter the app access token from Facebook.
You can read more about access tokens in [Facebook documentation](https://developers.facebook.com/docs/marketing-api/conversions-api/get-started/#access-token).
3. Click **Next**.
4. In the **Connection name** field, enter the name for the access token you generated.
5. Click **Apply**.
**Result**: A connection is created and selected.
### Define the integration settings
A blank configuration form in Send Offline Transactions (Facebook)
Fields marked with the icon accept [snippets](/docs/assets/snippets) or [inserts](/developers/inserts). This integration allows usage of profile-related inserts.
1. In the **Graph API version** field, enter the currently used Facebook API version.
You can find information about the currently used API version in the Facebook documentation.
2. In the **Meta Pixel** field, enter the identifier of the Pixel you use in Facebook.
You can find information about how to find the ID of the Pixel in the Facebook documentation.
3. From the **Identifier type** dropdown list, select the identifier of customer - an email address of phone number.
Offline transactions will be matched with customers based on this identifier.
4. In the **Identifier source** field, enter the Automation insert (Jinjava tag) that corresponds to the identifier you selected as the **Identifier type**.
Read the article about the [Automation inserts](/developers/inserts/automation).
5. Confirm by clicking **Apply**.
**Result**: When the Send Offline Transactions node is executed, a [`facebook.sendOfflineTransaction` event](/docs/assets/events/event-reference/integration#facebooksendofflinetransaction) is generated on the activity list of the profile who is the actor in the workflow.
5. Confirm by clicking **Apply**.
### Test integration
---
You can run a test request. If the request body contains a dynamic reference to a profile attribute and/or an event data from preceding nodes, then you can define the context using [test profile data](/docs/settings/configuration/test-profiles).
Complete description of the feature is available in [Testing outgoing integrations](/docs/automation/test-requests-for-outgoing-integrations).
1. In the **Test integration** section, click **Send test request**.
**Result**: A test request builder opens. If:
- a request body contains dynamic references, the request preview appears after you select the context of test profiles and events.
- a request body contains static data, the preview of the body request appears immediately.
An empty test request builder
2. If your request contains dynamic references (otherwise, the options aren't available):
- From the **Test profile** dropdown, select a test profile in the context of whom the test request will be performed.
- From the **Event context** dropdown list, you can select a particular occurrence of an event whose values/information will be used for the test request.
1. Select a test profile.
**Result**: A history of test profile events appears.
A stream of events of a test profile
2. From the list of events, select one whose data you want use as a context. If there is no event you can use, in the upper-right corner of the pop-up, click **Define own event** and provide the body of the event.
3. Confirm by clicking **Apply**.
3. Verify the request body. If there is something you want to change, come back to the node settings from previous steps.
3. If the request body is ready to test, in the upper-right corner, click **Send request**.
**Result**: The response section appears and the **Update response event** button becomes active.
4. Optionally, you can update response event with new parameters by clicking **Update response event** in the upper-right corner.
## Example of use
---
For an example of use refer to our [use case](/use-cases/sending-offline-transactions-facebook).
# "Audience" node
An **Audience** node launches a workflow for a selected group of profiles. It allows you to automate scenarios based on the behavior or attributes of these profiles, making it an effective way to engage targeted audiences dynamically.
This node combines the functionality of triggering workflows at a defined frequency — similar to the [Scheduled Run](/docs/automation/triggers/scheduled-run) node — but with an important difference in context and use case: it's designed for profile-oriented workflows, where individual profiles are the actors. It triggers workflows for specific segments or audiences, scheduled at a chosen frequency.
#### Use cases for the Audience node
- **Single-use workflow with static segmentation conditions:**
Triggered once for a fixed audience.
- **Repeatable workflow with static segmentation conditions:**
Triggered repeatedly for the same audience conditions over time.
- **Single-use or repeatable workflows with segment-based branching:**
Separate paths for each [segment in a segmentation](#segment-based-branching).
- **Repeatable workflow with dynamic segmentation conditions:**
- Uses [Jinjava](/developers/inserts) templates to change segmentation conditions periodically.
- Each workflow repetition triggers for a different audience.
- Enables managing one workflow for multiple audiences instead of creating many workflows for each campaign segment.
## Segment-based branching
Segment-based branching lets you create a separate workflow [path](/glossary#path) (named after its corresponding segment) for each segment in a segmentation selected in the node. This option in the settings of the node (available in the **Split audience** tab), lets you:
- Manage multiple audience segments within a single workflow, reducing the need to create and maintain separate workflows for each segment.
- Easily branch campaigns based on distinct audience segments, allowing personalized messaging and actions for each group.
- Adapt to segmentation changes without rebuilding workflows, supporting dynamic campaign strategies as audiences evolve.
- Build a process for prioritizing communication for the selected segmentation, based on the order (priority) of segments in the segmentation.
**How it works**
When you select the **Split audience** option in the node, the segments from the segmentation are mapped to the workflow paths in the following way (these are default segment names, you can change them in the settings of the segmentation):
- Segment A > Path A
- Segment B > Path B
- Segment C > Path C
Default segment path mapping in the settings of the Audience/Profile Filter node
This mapping is active when the workflow status is Active or Paused. When a workflow is in Draft, initial output management is handled through connections between nodes. Refer to the table below to see how the mapping can be changed in specific scenarios. The table shows how changes to an example segmentation with three segments — Segment A, Segment B, and Segment C —affect the connections for Split audience mode when a workflow is active.
| Scenario | Description |
|------------------------------|------------------------------------------------------------------------------------------------------------------------------------|
| **Segment deletion** | Removing segment B in the segmentation settings leaves branches for segments A and C in the workflow. Segment C shifts to branch B’s position and Segment C follows the path originally assigned to the deleted segment. In such situation, you can disable any path and change path mapping for remaining segments: Disabling path in the settings of the Audience/Profile Filter node
You can disable paths and/or change path mapping only in active and paused workflows.
|
| **Segment reordering** | If the order of segments in a segmentation changes after launching the workflow, you can edit the mapping of the paths for each segment in a workflow: Change path mapping for segments in the Audience/Profile Filter node
You can disable paths and/or change path mapping only in active and paused workflows.
|
| **Segment addition** | If a new segment D is added, but the workflow still only has branches for A, B, and C, users matching segment D cannot proceed through the workflow as there is no corresponding branch. Then, the [`automation.clientPathAborted` event](/docs/assets/events/event-reference/automation#automationclientpathaborted) is generated for profiles who belong to the D segment. |
Path outputs from the Audience and Profile Filter nodes
### Limits
- When configuring segment-based branching, there is a limit of 10 output connections available. Although the segmentation can include more than 10 segments, the system will display only the first 10 connections.
- If the segmentation contains more segments than outgoing connections, then profiles matching the segments that do not have an outgoing connection will be expelled from the workflow and the [`automation.clientPathAborted` event](/docs/assets/events/event-reference/automation#automationclientpathaborted) will be generated on their activity list.
- You can't use segmentations for which the [multi-match option](/docs/analytics/segmentations/creating-segmentations#multi-match) is enabled.
## Important notes
---
| Remark | Details |
|-------------------------------------|----------------------------------------------------------------------------------------------------|
| **Dynamic conditions** | Work only for segmentations created within the Audience node. You can check an example application of dynamic conditions in the ["Dynamic conditions example use case" section](#dynamic-conditions-example-use-case). |
| **Dynamic query exceptions** | Familiarize yourself with [exceptions and limitations](/developers/inserts/automation#audience-node-syntax-limitations). |
| **Data dependency** | Workflows rely on dynamic data (for example, [Synerise catalogs](/developers/inserts/insert-usage#extracting-values-from-catalogs), [Synerise analyses](/developers/inserts/insert-usage#metrics)) and require monitoring to ensure accuracy. |
| **Processing delay** | It may take several minutes before the Audience node starts processing after the workflow is launched. |
| **Scheduling load management** | To maintain performance, spread your scheduled workflows over time rather than running many simultaneously. |
| **Workflow prioritization** | Schedule data synchronization or external integration workflows at times that do not interfere with communication workflows. |
## Workflow status
The status of the workflow changes to **Stopped** when (applies only to workflows triggered by **Audience**):
- it's been 62 days from the latest execution of the trigger,
- it is a one-off workflow and it is completed,
- the limit of repetitions in the trigger settings runs out
In the audit log, this change of the workflow status will be marked as a change done by `internal user`.
Activating a paused or stopped automation that starts with the Audience trigger results in restarting the automation for all profiles (also those who completed the automation before pausing or stopping it).
## Requirements
---
- You must have profiles in your database.
- You must implement a tracking code into your website.
- Optionally, you can [create a segmentation](/docs/analytics/segmentations/creating-segmentations) beforehand.
## Node configuration
---
1. Click the node.
**Result**: A pop-up shows up.
2. Select one of the following tabs to define the trigger schedule for the **Audience** node:
- **Run once** - This option lets you trigger the **Audience** node only once - either immediately after activating the workflow or at a scheduled date.
- **Repeat runs** - This option lets you trigger the **Audience** node repeatedly at a defined frequency.
1. If you select **Immediately**, proceed to step 3 (the **Audience** section).
2. If you select **Scheduled**, then:
1. From the **Timezone** dropdown list, select the timezone for executing a one-off workflow activation.
2. In the **Activate date** field, using the calendar, select the date and time when the workflow will be activated.
1. From the **Timezone** dropdown list, select the timezone for executing the Audience node repetitions.
2. You can:
- select **Everyday**, **Every week**, and **Every month** tabs if that's the frequency you want to run the trigger node, and then define the time at which the node will be triggered.
- create a custom frequency in the **Interval** tab.
1. In the **Interval** field, define the frequency of launching the node.
2. In the **Begin at** field, select the date when the first activation is scheduled.
**Example**: If a user selects the 2nd of February, 5.00 PM means that this is the date when the trigger is activated for the first time.
3. To define the number of times a trigger launch is repeated, switch the **Limit repetition** toggle on.
**EXAMPLE**: If the scheduled time is February 2; 5.00 PM, the interval is 1 day; and the repetition limit is 3, it means the trigger is activated for the first time at the February 2 at 5.00 PM, repeated on the February 3 at 5.00 PM and repeated the day after.
Because the number of profiles in a segmentation can change, the trigger may not be repeated exactly with the frequency defined in the schedule for all profiles. It can take longer to repeat the trigger launch as profiles rejoin segmentations. If a profile rejoins a segmentation after the trigger reaches the repetition limit for the profile, the trigger will not launch for this profile.
3. In the **Audience** section, select the segmentation with profiles for whom the workflow will be triggered:
- **Segments** - You can choose from the list of existing segmentations. There is no limit on the number of selected segmentations.
If you select several segments they are connected with the `OR` logic operator.
- **New audience** - You can select a new group of profiles by defining the filter conditions.
- All fields in the filter in which you must provide value manually accept [snippets](/docs/assets/snippets) or [inserts](/developers/inserts). These fields are marked with the icon and it lets you select a snippet.
- **Split audience** - You can choose a segmentation that consists of smaller segments and prepare separate path in a workflow for each of them.
4. Confirm the settings by clicking the **Apply** button.
- if you selected the **Segmentations** or **New audience** tabs:
Audience outputs after selecting segmentations or adding new on the spot
- if you selected the **Split audience** tab:
Audiencer outputs after selecting the Split audience tab and a segmentation with multiple segments
## Example of use
---
### Regular outputs from the node
---
The assumption of the scenario is to allow the customers to register a receipt in a lottery directly after a purchase, but also to give this possibility to customers who made a transaction the week before.
1. Add an **Audience** trigger. In the settings of the trigger, add a segment (or several segments) of customers.
2. Add a **Profile Filter** condition which waits until customers register their receipts.
3. When the receipt registration is completed, a push notification is sent with information about joining the lottery.
4. When the push is sent, the workflow is completed.
**Result**:
Example of a workflow that uses the Audience trigger
### Segment branching output from the node
---
The assumption of the workflow is to send personalized marketing communications through preferred channels — email, web push, and mobile push — only to customers who have given their marketing agreement for each specific channel.
The segmentation used in this example includes three segments: web push, mobile push, and email. Although a customer may have consented to multiple channels, this segmentation has the multi-match option disabled. This means that even if a customer qualifies for more than one segment, they will be assigned to only one segment based on the defined conditions and the order of segments in a segmentation.
1. In the **Audience** node, choose **Split audience**, then select a segmentation that groups customers based on the marketing channels for which they have given consent.
2. For each segment branch, add a node that sends the message through the respective communication channel.
3. Add an **End** node after each message-sending node.
**Result**:
Example of a workflow that uses the Audience with the possibility of segment branching
### Dynamic conditions example use case
---
A marketing campaign sends a **daily email** promoting the *product of the day*.
- The audience is customers who added this product to their cart within the last month (dynamic segmentation).
- Each day, a different product is promoted via a schedule file imported into Synerise.
- The schedule file contains two columns: **date** and **product ID**.
- A dynamic query checks the current date and retrieves the corresponding product ID from the catalog.
- The audience changes daily as the product ID changes, ensuring the email targets the relevant customers for the promoted product.
# Google BigQuery
To make integration with Google BigQuery convenient, we prepared a ready-made node with the configuration that lets you to send data from Synerise to a BigQuery table.
# Google Sheets
To make integration with Google Sheets convenient, we prepared a node which simplifies sending data from Synerise to a spreadsheet.
# Google Cloud Pub/Sub
To make integration with Google Cloud Pub/Sub convenient, we prepared a ready-made nodes with the configuration that lets you to send data from Synerise to Google Cloud Pub/Sub.
# Google Cloud Storage
# "Create Directory" node
The **Create Directory** node allows you to send a request to your SFTP server to create a new folder. This node can be used in workflows that export data to Synerise, so the export can be preceded by defining a new folder in your resources.
## Node configuration
---
### Set up a connection
In this part of the process, you must define how you will get access to your source. By selecting the authentication method and providing required information, you establish a connection.
1. Click the **Create Directory** node.
Selecting the authentication method
2. On the pop-up, select the authentication method:
- **No authentication** - No authentication is required.
- **Password** - Authentication is based on a log-in and a password to your resource.
Click here to see the instructions
- **Public key** - Authentication is based on a public SSH key which is issued for a selected integration. This option lets you generate a public key and download it. Then, you must add it to your server configuration. After you download the key, you must secure it, because you won’t be able to download it later for security reasons.
Click here to see the instructions
### Fill out the configuration form
A blank form for the Create Directory node
Fields marked with the icon accept [snippets](/docs/assets/snippets) or [inserts](/developers/inserts). But, you can’t use profile-related inserts.
1. In the **Server** field, enter the URL of the server.
2. In the **Port** field, set the port. The default value is the most commonly used SFTP port.
3. In the **Path to directory** field, provide a path where your new directory will be created (for example: `/home/file-directory/`).
4. In the **Directory name** field, enter the name of the directory you want to create.
Don't use spaces and special characters.
6. Optionally, by clicking **Check connection**, you can verify if your connection you created in [Set up a connection procedure](#set-up-a-connection) is ready.
6. Confirm the settings by clicking **Apply**.
## Example of use
---
You can use the **Create Directory** node in a workflow that exports customer data from a selected [segmentation](/docs/analytics/segmentations/creating-segmentations) to SFTP. The customer data will be extracted with the [Get Profiles](/docs/automation/actions/synerise-integrations/get-profiles) node. This workflow will be triggered only once and before it sends a file with extracted customer data, it will send a request to your SFTP to create a directory whose name will be a date of the export.
1. Start the workflow with the **Scheduled Run** node. In the configuration of the node, set the **Run trigger** to **one time**. Select the **Immediately** tab.
2. To retrieve customers' data for the workflow, as the next node, select **Synerise > Get Profiles**. In the configuration of the node:
1. Select a segmentation from which you want to extract customers' data. In this example, it's a segmentation of loyalty program prospects.
2. Select the customer attributes to be exported. In this example, the email address and email marketing agreement status.
3. The next step is creating a new directory in your SFTP. For this purpose, select **SFTP > Create Directory**. In the configuration of the node, in the **Directory name**, you can use the following Jinjava code to use a date of launching the node as the directory name.
The Jinjava code returns the date in the following format: `08-03-2023`.
4. The next step is sending the customer data retrieved from the **Get Profiles** node. For this purpose, select **SFTP >** [Send File](/docs/automation/integration/sftp-integrations/sftp-send-file). In the configuration of the node, fill out the configuration form.
5. Add the **End** node.
**Result**:
The configuration of the workflow that creates a directory in SFTP
# "Rename columns" node
Because the name of the columns are the key under which the data will be imported to Synerise or appear in the output file, you can change them to meet the requirements by using the **Rename Column** node.
In the settings of this node, you must select the columns that will be renamed. You can do this by selecting particular columns or you can create a condition that the column names must meet in order for the transformation to be performed on them, for example, the column name must start with the letter "A".
Dynamic conditions are especially helpful when using a JSON file as a sample in the ["Data Input" node](/docs/automation/data-transformation-and-imports/transformations-and-data-operators/data-input). When a JSON file contains an object deeper than the root object, its items will be transferred to the Data Input node as separate columns named `{object}.{parameter}`. When choosing columns manually, you can't add those new columns from a JSON list to the transformation. Dynamic conditions can be set up to include those columns, for example by including columns whose name includes the name of the object they were created from.
## Node configuration
---
Rename column operation on an example file
1. Click **Add rule**.
2. Select one of the **Include** options, by clicking the icon next to **these**:
- **these** - it is a default option, if you leave it, the columns you select will be renamed as you specify in the further configuration.
- **all except these** - this option excludes renaming the columns you select, as a result the rest of the columns will be renamed as defined in the further steps.
3. Select columns to include/exclude (according to the **Include** setting above) in one of the following ways:
- **Select column** - from the dropdown list, you can select the columns to be included or excluded from the transformation.
- **Define conditions** - you can create a dynamic condition which columns must meet to change their names; for this purpose, you can use logical operators such as contain, starts with, ends with, and so on.
You can't combine dynamic conditions with the **Include all except these** option.
For further instructions, select one of the tabs below, depending on the option you have chosen in step 3.
Select column option
4. From the dropdown list, select the first column to be renamed.
5. To add more columns, click icon.
5. In the **Edit values by** field, select one from the following options:
- **Replacing** - Select this option if you want to entirely change the column name, for example, from `type` to `promotion_type` as a new column name.
- **Adding prefix** - Select this option if you want to add a group of letters at the beginning of a column name, for example, applying a `promotion` prefix to the `Name` column transforms it into in `promotionName` as a new column name.
- **Adding suffix** - Select this option if you want to add a group of letters to the end of a column name, for example, applying a `.promotion` suffix to the `code` column transforms it into in `code.promotion` as a new column name.
Define condition option
1. Select one of the following logical operators to define the conditions which column name must:
- **Ends with** - If a column name ends with a specified string, for example, `a`, then the operation will be performed on the columns whose names end with `a`.
- **Starts with** - If a column name starts with a specified string, for example, `pro`, then the operation will be performed on the columns whose name starts with `pro`.
- **Contain** - If a column name contains a specified string, for example `xyz`, then the operation will be performed on the columns whose name contains `xyz`.
- **Not contain** - If a column name doesn't contain a specified string, for example, `123`, then the operation will be performed on the columns whose names doesn't contain `123`.
- **Regex** - You can perform the operation on the column whose name matches the regular expression.
6. To add more rules, click **Add rule** and repeat steps from 2 to 5.
5. Before you save the settings, you can check the preview of the file after changes in the **Output data** tab.
5. To define what happens if rows contain errors, select one of the options available in the [Error handling](#handle-errors) section.
6. Confirm the settings by clicking **Apply**.
### Handle errors
You can define what to do with failed values (for example, as a result of Jinja rendering or in other cases) in cells where data type modification failed.
In the **Handle incomplete data** section, select one of the following options:
- **Skip row if error occurred** - It omits the row when an exception occurs.
- **Skip if result is null or empty string** - It omits rows with empty strings and `null` (which may be the result of rendering Jinja)
- **Stop further transformation** - The transformation stops at the row with an error. The data before the line that caused the error is transformed (and imported if the transformation rule is used in the Data Transformation node).
- **Insert null if error occurred** - Wrong values are replaced with `null`. If you use such a transformation for the import of profiles, the existing value of an attribute is cleared and replaced with the `null` value.
- **Insert empty string if error occurred** - Wrong value is removed and the cell remains empty.
## Example of use
---
You can replace the `email address` column name with `email`, which is a required column name for Synerise imports. In result, the data from this column will be imported as the `email` attribute.
The sample file uploaded to the Input data node
1. As the first node add **Data Input**.
2. In the configuration of the node, upload a sample file used to configure the transformation for later use and preview its results.
3. As the next node, add a **Rename column** node.
4. In the configuration of the node, change the column name from **email_address** to **email**.
Changed name of the email address column
7. As the last node, add **Data Output**.
**Result**: You receive a data file.
# Trigger nodes explained
Triggers are building nodes that launch a workflow regardless of the type of the workflow (a customer workflow or non-customer scenario). The **Triggers** section contains two main types of triggers: scheduled and instant. Both types can be used in a customer workflow and workspace-oriented scenarios. Triggers can be also divided into customer-oriented and workspace-oriented.
### Usage guidelines
- A trigger is always the first step in the workflow.
- You can use several triggers simultaneously (connect them to [Merge Paths](/docs/automation/flow-control/merge-paths-node) node).
- When you use several triggers at the time, they are linked with each other by `OR` dependency. It means only one activated trigger is enough to start the workflow.
- The starting point of the workflow is tracked by default (you can switch it off). When a profile starts a workflow, this is marked on the list of activity on their profile's card.
### Processing multiple triggers in a scenario
---
Remember that every scenario can contain more than one trigger, though, some of the elements can't be joined. To prevent errors in the flow logic, we introduced a dynamic validation. If you add one type of the node, the next elements will be proposed in accordance with the logic of node combinations.
## Contents
---
# "Merge Paths" node
## Merge Paths node
The **Merge Paths** node is used to rejoin the split paths in a workflow into one main path (for example, if a workflow contains a [Split Path node](/docs/automation/flow-control/split-path-node)). By default, the **Merge Paths** node is processed every time a profile arrives at this node. If you don't want the node to be processed more than once, set a [limit](/docs/automation/automation-capping#flow-control-limits) for this node.
### Node usage in workflow
---
The following instructions explain how to add the **Merge Paths** node to a workflow diagram. Once added, this node does not require any additional configuration.
1. Click **THEN** on the node after which you want to place the **Merge Paths** node.
**Result**: A dropdown list opens.
2. From the dropdown list, select **Merge Paths**.
3. Connect the paths from the preceding nodes to the **Merge Paths** node.
### Example of use
---
Example of a workflow that uses the Merge node
The purpose of this automation is to divide the recipients into two groups to compare the effectiveness of email templates. Group A receives a standard version of the newsletter, whereas Group B receives an experimental version. At the end of the process, customers are assigned a tag.
1. Start the workflow with the **Audience** trigger node. In the trigger settings, define the recipients of the email.
2. Add the **ABx Test** condition. In the settings of the condition, divide the audience. Group A consists of 80% of the whole audience, whereas Group B consists of the remaining 20% and receives the experimental version.
3. After an email is sent to customers, the two paths are joined with the **Merge Paths** node.
4. Recipients of the email are tagged.
5. When the tag is assigned, the workflow ends.
# "Import to Catalog" node
This node initiates the import of data to a catalog created in **Data Modeling Hub > Catalogs**.
Importing data to the catalog is an asynchronous process, which means your data is added to a queue and will become available after processing.
### Import modes
When importing data into your catalog, you can choose how to handle existing and new records. You can use the following options:
1. **Create or overwrite records**
**How it works:**
- If an item does not exist in the catalog, it will be created as a new record.
- If the item already exists, the entire record will be fully updated, replacing all existing parameters with the new data.
**When to use it**:
You want to discard some or all items in the catalog and replace them with their new versions, without keeping any of their old data.
**Example:**
| Before import | Imported data | Results after import |
|----------------------------------------|---------------------------------|---------------------------------------------------|
| Item A:
{ "Name": "Widget", "Price": 10, "Color": "Red" }
| Item A:
{ "Name": "Widget", "Price": 12 }
| Item A:
{ "Name": "Widget", "Price": 12 }
(Color removed) |
| Item B does not exist | Item B:
{ "Name": "Gadget", "Price": 25 }
| Item B:
{ "Name": "Gadget", "Price": 25 }
|
2. **Create or partial update**
**How it works:**
- If an item does not exist, it will be created as a new record.
- If the item already exists, only the parameters included in the import will be updated or added; existing parameters not mentioned remain unchanged.
**When to use it:**
You want to update specific parts of existing records without losing any other data, allowing incremental or additive changes.
**Example**:
| Before import | Imported data | Results after import |
|----------------------------------------|---------------------------------|---------------------------------------------|
| Item A:
{ "Name": "Widget", "Price": 10, "Color": "Red" }
| Item A:
{ "Price": 12 }
| Item A:
{ "Name": "Widget", "Price": 12, "Color": "Red" }
|
| Item B does not exist | Item B:
{ "Name": "Gadget", "Price": 25 }
| Item B:
{ "Name": "Gadget", "Price": 25 }
|
### Summary
| Option | Creates new records? | Updates existing records? | Update type | When to use |
|----------------------------|---------------------|--------------------------|-------------------|----------------------------------|
| Create or overwrite records | Yes | Yes | Full replacement | Completely refresh existing data |
| Create or partial update | Yes | Yes | Partial / additive| Incrementally update or add parameters |
## Requirements
---
- [Create a catalog](/docs/assets/catalogs/creating-catalogs). The catalog can be empty.
- This node must be preceded by one of the following nodes:
- [Local File](/docs/automation/operation/local-file-node)
- [SFTP](/docs/automation/integration/sftp-integrations)
- [HTTPS](/docs/automation/integration/http-integrations)
- [Amazon S3](/docs/automation/integration/amazon-s3-bucket/get-file-amazon-s3-bucket)
- [Azure](/docs/automation/integration/azure-blob-storage/get-file-azure-blob-storage)
- [Google Cloud Storage](/docs/automation/integration/google-cloud-storage/get-file-from-gcs)
## Node configuration
---
1. To configure the node, click it.
**Result**:
The preview of a form in the Import to catalog node
1. From **Select catalog** dropdown list, select the catalog to which the data from the file will be imported.
2. In **Primary key**, enter the name of the column which contains the unique identifiers of the items.
This field accepts [snippets](/docs/assets/snippets) or [inserts](/developers/inserts).
3. In the **Import modes** section, select how data will be updated in the catalog:
- **Create or overwrite records** - if an item from the file exists in the catalog, the entire record in the catalog is overwritten with data from the file;
- **Create or partial update** - if an item from the file exists in the catalog, the record is modified - new parameters are added, matching parameters are updated. If a parameter doesn't exist in the file, it's not modified in the catalog.
You can learn more about import modes in [Import modes section](#import-modes).
3. Confirm by clicking **Apply**.
Importing data to the catalog is an asynchronous process, which means your data is added to a queue and will become available after processing.
## Example of use
---
You can initiate a single import of a file with the list of stores.
The final configuration of the import to a catalog workflow
1. Start the workflow with the **Scheduled Run** node.
2. In the configuration of the node:
1. Set the **Run trigger** to **one time**.
2. Select the **Immediately** tab.
3. Click **Apply**.
3. Add the **Local File** node.
4. In the configuration of the node:
1. Upload the file with the list of stores.
2. Click **Apply**.
5. Add the **Import to Catalog** node.
6. In the configuration of the node:
1. Select the catalog to which the file will be imported.
2. As the primary key, enter the name of the column which contains the unique identifiers of the items.
3. Click **Apply**.
6. Add the **End** node.
# "Profile Event" node
This trigger starts the scenario immediately when Synerise receives information that a customer has performed a specific action, for example, submitted a form or reacted to a notification by opening it or clicking a link in it. Such actions are called events and they define customers' activities in the touchpoints integrated with Synerise.
## Requirements
----
- You must have customers in your database.
- You must implement a tracking code into your website.
## Node configuration
---
1. Click the pencil icon.
**Result**: A pop-up shows up.
2. Click **Choose event**.
**Result**: A dropdown list shows.
3. From the dropdown list, select the event which is to trigger the workflow.
The list only includes events whose definitions exist in **Data Modeling Hub > Events**.
The following events can't be used as triggers: `automation.clientStartPath`; `automation.clientEndPath`; `automation.clientPathStep`
4. Optionally, click the **+ where** button to select the event parameters. This lets you narrow down the event occurrence that triggers the workflow.
- Select the parameter.
- Define the operator.
- Enter the value of the parameter.
5. Confirm the settings by clicking the **Apply** button.
## Defining the date of event occurrence
---
You can determine when exactly the customer activity launches the workflow. In the example on the screen, the workflow is triggered only when a user visits a website between 0:00 on the 14th of April to 23:59 on the 30th of April, 2021.
The workflow is triggered according to the time zone selected in the workspace.
Selected event occurrence date range
1. From the **Choose event** dropdown list, select the event.
2. Click **+ where** button.
3. In the list of parameters, click **Specials**.
5. Select **TIMESTAMP**.
Timestamp parameter
6. From the **Choose operator** list, select:
Timestamp parameter
- **Date** - if you want to select a start or end date
Click to see the explanation of operator options
More than - You choose dates after the selected date (including the selected date).
Less than - You choose dates before the selected date (including the selected date).
- **Custom** - apart from standard date ranges, you can use non-standard (dynamic) dates, for example, everyday from 8:00 to 14.00; Mondays and Thursdays between 15:00 and 17:00; the first and the fourteenth day of the month, and so on.
To use non-standard (dynamic) dates, click this option in the calendar.
The Enable date filter option
- **Current date** - if you want to include those event occurence that happen.
Click to see the explanation of operator options
Matches the current hour - matches only date that fits the current hour, day, month, and year (example: if current date is 2024-05-20 17:00:00, dates from 2024-05-20 17:00:00.000 to 2024-05-20 17:59:59.999 matches)
Matches current day - matches only date that fits the current day, month, and year (example: if current day is 2024-05-20, only 2024-05-20 matches)
Matches current month - matches any date that fits the current month in current year (example: if current month is May 2024, dates from 2024-05-01 to 2024-05-31 match)
Matches current year - matches any date that fits the current year (example: if current year is 2024, dates from 2024-01-01 to 2024-12-31 match)
## Example of use
---
Example of a workflow that uses the Profile Event trigger
The purpose of the workflow is to send an email with a purchase summary every time a customer buys a product.
1. Add the **Profile Event** trigger node. From the list of events, choose the event which signifies a purchase (`product.buy`).
2. Connect the trigger with the **Send email** action. In the settings of the node, select the appropriate template or create a new one.
3. Complete the process with the finishing node (**End**).
# "Metric Filter" node
## Metric Filter node
This condition allows splitting paths of a scenario in two. The result of the metric decides which path is continued.
### Requirements
---
- You must implement a tracking code into your website.
- You must create a [metric](/docs/analytics/metrics) to be used in the automation process.
### Configuration
---
1. Click the pencil icon.
**Result**: A pop-up opens.
2. From the **Define condition** dropdown, select the metric or create a new one.
Read more about creating [metrics](/docs/analytics/metrics).
3. Select a mathematical symbol.
4. In the next field, enter the value of the metric.
5. If the condition met, the `matched` path is continued. If not, then the `not matched` path is selected.
6. If If you want to monitor the entries into this step, switch the **Track datapoints** toggle on. As a result, events related to the movement between nodes (`automation.clientPathStep`) will be available in Decision Hub to use. These events (`automation.clientPathStep`, `automation.clientEndStep`, `automation.startPath`) are displayed on the activity list on the profile card regardless of the configuration of this option.
7. Confirm by clicking **Apply**.
### Example of use
---
Example of an automation process that uses the Metric Filter condition
You can have a look at the [use case](/use-cases/ab-test-mailing) that involves a workflow that includes Metric Filter node.
1. It starts with a **Profile Event** trigger node. In the trigger settings, a transaction amount is defined at over 100$.
2. The **Metric Filter** contains a metric that counts the number of emails with a discount code. The critical value entered in the condition is 1000.
3. Then the customer proceeds to action:
1. If the value defined in the condition is not exceeded, the customer follows the path in which the email with voucher code is sent.
2. If the value defined in the condition is exceeded, the customer receives an email with information that the voucher pool just run out.
4. When an email is sent, the process is completed.
# "Run Code" node
The **Run Code** node can be used only in [business-oriented workflows](/glossary/#business-workflow).
The **Run Code** node lets you write and execute custom JavaScript code directly inside a workflow. Use it when you need to transform, enrich, or otherwise process data in a way that isn't covered by the built-in nodes, without building a separate integration. With this node, you can:
- transform or clean up data (for example, convert text to numbers, format dates, adjust field values),
- add new fields calculated from the existing ones,
- filter out rows that shouldn't continue through the workflow,
- split one row into several separate rows.
The code you provide runs in a secure, sandboxed environment with no access to the file system, network, or environment variables. The node receives the data available at its point in the workflow, passes it to your code as the `row` argument, and forwards whatever your code returns to the next node.
## Prerequisites
---
- Knowledge of JavaScript.
- The workflow must be a [business workflow](/glossary/#business-workflow), for example one started with the [Business Event node](/docs/automation/triggers/businees-event-trigger).
## Node configuration
---
1. Click the **Run Code** node.
**Result**: The configuration pop-up opens.
2. In the **JavaScript source code** field, write the function that processes the input data and returns the transformed result.
The code must be a function with the following signature:
(row) => {
return row;
}
- `row` is one row of the data received by the node at this point in the workflow - your function runs once per row. See ["How your code receives data"](#how-your-code-receives-data-the-row-object) for details on what this data looks like and where it comes from.
- The function must return the value you want to pass to the next node.
- For the rules your function must follow and the values it can return, see ["Writing your function"](#writing-your-function).
- To expand the code editor, click **Fullscreen** .
3. Test your code before applying it. For details, see ["Testing your code"](#testing-your-code).
1. Under **Test execution**, upload a sample file in the **Sample file** field.
Supported formats: JSON, XML, CSV. Maximum size: 5 MB.
2. Click **Preview sample data** to check the content of the uploaded file.
The preview shows each row exactly as your code receives it in the `row` argument - nesting and lists included, whatever the file format. This happens automatically, so you can check the field names and structure before writing your function.
3. Click **Execute test** to run your code against the sample file and review the result.
The result shows the data exactly as your function returned it - nothing is added, removed, or restructured.
Once you upload a sample file, **Apply** stays disabled until you run **Execute test** at least once.
4. Confirm by clicking **Apply**.
**Result**: The node runs your function once for every row and passes the returned data to the next node in the workflow.
### Writing your function
---
#### How your code receives data (the row object)
The `row` argument is a plain JavaScript object with the same structure as one row of your data - you don't need to parse anything. For example, if the node before **Run Code** is [Local File](/docs/automation/operation/local-file-node) and it loads a CSV file with 100 rows of data, the **Run Code** node runs your function 100 times - once for each row - and each time, `row` contains only the fields of that one row, not the whole file. Nested data stays nested: objects contain objects, and lists are real arrays. You access fields directly:
You don't have to guess this structure. Upload a sample file and click **Preview sample data** - the preview shows each row exactly as your code receives it (see ["Testing your code"](#testing-your-code)).
`row` contains only the row's data - there is no extra metadata inside it.
**Run Code** must be placed directly after a node that produces row data - for example, [Local File](/docs/automation/operation/local-file-node) or one of the **Get File** nodes (available for integrations such as Amazon S3, Azure Blob Storage, Google Cloud Storage, SFTP, and HTTP).
If a field name in the incoming data contains a dot, your code sees it as a nested structure - a field named `details.weight` is read as `row.details.weight`, not `row["details.weight"]`. See ["Dots in field names"](#dots-in-field-names).
Do not assume a field is always present. If a row does not contain a field, its value is `null`, and reading a property of a `null` value returns an error (see ["When your code fails"](#when-your-code-fails)). Use optional chaining (`?.`) and defaults (`??`) for fields that may be missing:
- **Input**: `{ "sku": "A-1", "details": null }`
- **Result**: `{ "sku": "A-1", "details": null, "weightKg": 0 }` - no error, even though details is empty.
#### What your function must return
The value your function returns replaces the row completely - it is not merged with the input. Fields you don't include in the returned object are not available to any following node. To keep the existing data and add new fields, spread `row` into the result:
- **Input**: `{ "sku": "A-1", "price": "$19.99" }`
- **Result**: `{ "sku": "A-1", "price": "$19.99", "priceNumeric": 19.99 }` - the original fields are preserved.
You can also modify `row` in place and return it: `row.priceNumeric = 19.99; return row;`
The value you return decides what happens to the row:
| Your function returns | What happens |
|-----------------------|-------------|
| An object | One row continues with that data |
| An array of objects | Each element becomes a separate row |
| An empty array `[]` | The row is dropped - nothing continues |
| `null` or `undefined` | Error - the node execution fails |
| A string, number, or boolean | Error - the node execution fails |
| An array containing values that are not objects | Error - the node execution fails |
- **To drop a row, return an empty array `[]`** - The row ends at this node and is not treated as an error. Returning null does not drop the row - it causes an error.
- **Dropping can also happen unintentionally** - If you build the result with `.filter()` or `.map()` and the array comes out empty, the row is dropped silently. Check for empty results if that is not what you want.
- **To split one row into several, return an array of objects** - Each object becomes a separate row, and each one goes through the following nodes independently.
Your result is saved as JSON. Keep these conversions in mind:
- `Date` objects become text in ISO format, for example `"2026-07-13T10:00:00.000Z"`. The following nodes see a text value, not a date.
- Fields set to `undefined`, and functions, are removed from the output without an error.
- `NaN` and `Infinity` become `null`. For example, `parseFloat("abc")` returns `NaN`, which the next node sees as `null` - validate inputs if that matters.
The fields your function returns are available in the following nodes - for example, in filters and mappings. Nested fields appear as dot-separated names: if you return `{ "details": { "weight": 2.5 } }`, select `details.weight` in the next node.
#### Dots in field names
A dot in a field name always means nesting - it is not an ordinary character. If you return a field whose name contains a dot, the platform expands it into a nested structure on the output.
(row) => ({ "details.weight": 2.5 })
- **Test result**: `{ "details.weight": 2.5 }` - shown exactly as you returned it.
- **Output**: `{ "details": { "weight": 2.5 } }` - the dot is expanded into nesting, exactly as if you had returned the nested object yourself.
Keep these consequences in mind:
- The test result shows the field name with the dot exactly as you returned it, but on the real output the dot is expanded into nesting.
- There is no way to output a field with a literal dot in its name, and no way to escape the dot.
- If you return both forms at once - for example `{ "details.weight": 2.5, "details": { "weight": 9 } }` - one value silently overwrites the other, without an error.
Unless you intend to create nesting, don't use dots in field names.
#### Good practices
- **Wrap returned object literals in parentheses** - In an arrow function, `{ }` after the arrow is a code block, not an object. `(row) => { total: 1 }` returns nothing and fails with the "returned null" error. Write one of:
(row) => ({ total: 1 }) // parentheses make it an object
(row) => { return { total: 1 }; } // explicit return
- **Test with a sample that matches your real data** - the same field names and the same value types. Remember that CSV and XML samples turn every value into text.
- **Expect missing fields** - Use `?.` and `??` rather than assuming every row is complete.
- **Keep the function fast and lightweight** - Combining several transformations in one function is fine - just avoid heavy computation and building very large data structures.
- **Don't use dots in field names** unless you intend to create nesting - a dot is always treated as a nesting separator (see ["Dots in field names"](#dots-in-field-names)).
#### Restrictions
**Allowed**:
- Standard JavaScript built-ins: `JSON`, `Math`, `Date`, string, number, array, and object methods, regular expressions, `Map` and `Set`.
- Modern syntax: arrow functions, optional chaining (`?.`), nullish coalescing (`??`), spread (`...`), destructuring, template literals.
**Forbidden**:
- Network calls: `fetch` and `XMLHttpRequest` are not available. To use external data, add it to the workflow data before this node.
- `async`/`await`: the function must be synchronous. Async functions are rejected with an error.
- Timers: `setTimeout` and `setInterval` are not available.
- Libraries: `import` and `require` are not available. You cannot use npm packages.
- File system and environment variables.
Execution time and memory are strictly limited. The node is designed for quick transformations of a single row - not for heavy computation. Long loops or building very large data structures fail with a time or memory limit error. The size of a single row must not exceed 1 MB. This applies both to the rows the node receives and to the rows your function returns. Larger rows are not supported.
The **JavaScript source code** field must contain exactly one function. Don't write any statements before or after it. Define helpers inside the function body:
If you need constants or helpers defined once, outside the per-row function, wrap everything in an immediately invoked function that returns your main function:
### Testing your code
---
You can test your code against a sample file before applying the node and as a result a successful test shows the transformed data your function returned for each sample row. A failed test shows the error message.
Each row of the sample is passed to your function separately, exactly like the rows of real data. How the file becomes rows depends on the format:
| Format | Structure | Value type |
|--------|-----------|------------|
| `JSON` | An array of objects, or one object per line. Each object is one row. Nesting and lists are kept. | Kept as in the file - numbers stay numbers, booleans stay booleans, `null` stays `null`. |
| `CSV` | The first line contains the field names. Each following line is one row. | **Every value is text.**|
| `XML` | Each repeating element is one row. Nested elements become nested fields. Repeated tags become a list. Empty elements become `""`. | **Every value is text.** |
Prepare the sample so that the field names and value types match the real data. If your real data contains `"price": 19.99` (a number), a CSV sample gives you `"price": "19.99"` (text) and your test results will differ from production. For example, `row.price + 1` returns `"19.991"` with the CSV sample, but `20.99` with the real data. When in doubt, use a JSON sample copied from real data.
Both views show the data from your code's point of view: the sample preview shows each row as the `row` argument your function will receive, and the test result shows exactly what your function returned.
### When your code fails
---
If your function throws an error (for example, `TypeError: Cannot read properties of null`), returns an invalid value, or exceeds the execution limits, the node execution fails and the data does not continue to the following nodes. A single failing row is enough to stop the execution, so guard against fields that may be missing (see ["How your code receives data"](#how-your-code-receives-data-the-row-object)). For a running workflow, the error and its details are available in the **Transformation logs** tab in the workflow view.
Test your code with **Execute test** before you apply the node.
## Example of use
---
You import product stock updates from a file kept in external storage (for example, an SFTP server or a cloud storage bucket). The price field in the file is text with a currency symbol (for example, `"$19.99"`), and you need a plain number before importing the data further.
1. Add a **Scheduled Run** trigger node and configure when the workflow starts - immediately or on a schedule.
2. Add the node that loads the stock updates file from your external storage and configure the connection.
3. Add the **Run Code** node and connect it to the node that loads the file. In the configuration of the node, enter the following code:
- **Input**: `{ "sku": "A-1", "price": "$19.99" }`
- **Result**: `{ "sku": "A-1", "price": 19.99 }`
The function runs once for every row of the loaded file.
If some rows may arrive without a price, guard against the missing field: `row.price = parseFloat((row.price ?? "").replace(/[^0-9.]/g, "")) || 0;` - rows without a price then get 0 instead of failing.
4. Upload a sample file with a price column to test the transformation, then click **Execute test** to confirm the output contains a numeric value.
5. Click **Apply**.
6. Connect the **Run Code** node to the node that further processes or imports the transformed data.
7. Finish the workflow with the **End** node.
## More examples
---
- **Adding a field calculated from an existing one, keeping the rest of the data**
- **Input**: `{ "name": "anna", "city": "Warsaw" }`
- **Result**: `{ "name": "anna", "city": "Warsaw", "upper": "ANNA" }`
- The `...` row spread keeps the existing fields - without it, only `upper` would reach the next node.
- **Filling in defaults for values that may be missing**
- **Input**: `{ "product": { "id": "A-1", "name": "Mug" }, "details": { "weight": 0.4, "height": 10 } }`
- **Result**: `{ "sku": "A-1", "weight": 0.4 }`
- This returns only two fields - everything else is intentionally dropped.
- **Filtering out rows that don't meet a condition**
(row) => row.total >= 100 ? [row] : []
- **Input**: `{ "orderId": 7, "total": 250 }` → the row continues.
- **Input**: `{ "orderId": 8, "total": 40 }` → the row is dropped, without an error.
- **Splitting one row into several rows**
- **Input**: `{ "orderId": 7, "items": [ { "sku": "A" }, { "sku": "B" } ] }`
- **Result**: two separate rows:
- `{ "orderId": 7, "sku": "A" }`
- and `{ "orderId": 7, "sku": "B" }`
Each one goes through the following nodes independently.
# HTTPS integrations
You can use the **HTTPS** integrations to transfer the files to or from your server using HTTPS protocol. You can use the node in the workflows whose purpose is to pass the data further (for example, for import).
There are two types of HTTPS integrations:
- **HTTPS Get File** - It allows you to upload a file to a workflow by using the HTTPS protocol.
- **HTTPS Send File** - It allows you to pass further the file by using the HTTP protocol (for example, to a catalog in Synerise or to an external service).
# "Email Alert" node
The **Email Alert** node sends an email to selected users when an incident occurs in business processes. These email notifications are especially useful when urgent action is needed from Synerise users. You can use this node to inform about anomalies, getting closer to a workflow goal, form submissions, running out of coupons, and other events.
### Node logic
When a profile triggers a workflow containing the **Email Alert** node, a record of events from each workflow step is stored in the profile card's activity list (including the `message.send` event). However, the email alert is not sent to this profile unless their email is configured within the **Email Alert** node settings. Instead, the email alert is directed to the individual specified in the **Email Alert** node settings.
## Requirements
---
[Configure an email account](/docs/campaign/e-mail/configuring-email-account) which you will use to send email alerts (and emails in general).
## Node configuration
---
Blank Email Alert configuration form
1. To create a workflow that lets you send email alerts to the Synerise users, go to **Automation Hub > Workflows > New workflow**.
2. Select one of the business or profile [trigger nodes](/docs/automation/triggers).
3. Click **THEN > Email Alert**.
4. Click the node.
### Select sender account
---
In this part of the node configuration, you will define the email account from which the alert will be sent and define the email address to which the recipients can send replies.
The Sender Details section is filled out by default
2. In the **Sender details** section, perform the following actions:
1. In the **From email address**, from the dropdown list, select an email account from which the alert is sent.
2. In the **From name**, enter the name of the sender that is displayed in the inbox.
3. In the **Reply to email address**, enter the email address to which the responses to the email are delivered. [Dynamic values](/developers/inserts) are allowed in this field.
4. In the **Reply to name**, enter the name of the receiver of responses. [Dynamic values](/developers/inserts) are allowed in this field.
5. Confirm the settings in this section by clicking **Apply**.
### Prepare email content
---
In this part of the node configuration, you will define the email subject that will be displayed in the recipient's inbox and create the content of the message.
Blank configuration form for the Content section in the settings of the Send Email Alert node
3. In the **Content** section, click **Define**.
1. In the **Subject** field, enter the subject of the email that is shown in the inbox.
2. Optionally, by clicking you can select a [snippet](/docs/assets/snippets) which will let you personalize the message subject.
2. If you want to:
- Select an email template, click **Create message**. From the list of the templates, select the one you want to use.
- If you make changes to the template, click **Save** and then **Use in node**.
- If you don't make changes to the template, click **Use in node**.
- Create a message from scratch, click **Create message > New template**. The template will be available only in this node for preview and modifications.
1. Select one of the builders you want to use to create a message: [email template builder](/docs/campaign/e-mail/creating-email-templates/email-code-editor) or [basic drag&drop builder](/docs/campaign/e-mail/creating-email-templates/creating-custom-html-block-basic-builder). You can also [import email templates](/docs/campaign/e-mail/importing-email-templates) to an email builder.
2. After finishing the template, click **Use in node**.
After the node is configured, the name of the selected template is displayed directly on the node. To preview the template without opening the node settings, click the eye icon on the node. If the template was created directly in the node settings, the ID of the inplace content is displayed on the node instead of the template name.
2. Confirm settings in the section by clicking **Apply**.
### Select recipients
In this part of the process, you will select the recipients of the alert.
3. In the **Recipient** section:
Blank configuration form for the Recipient section in the settings of the Send Email Alert node
- To choose an existing list, click the search box:
1. Go to the **Saved lists** tab.
2. Select a list of recipients.
- To create a list of recipients of the alert email, click the search box:
1. In the **Profiles** tab, use the text field to find recipients or enter an email address to add recipients outside the contact base.
2. Confirm the selection by clicking **Add**.
4. Confirm the list by clicking **Save list**. This way you can use this list in the future.
**Result**: A pop-up opens.
5. In the **List name** field, enter the name of the list.
6. Confirm by clicking **Apply**.
- Optionally, you can provide a dynamic value such as an [automation insert](/developers/inserts/automation) or you can select a reusable code ([snippet](/docs/assets/snippets)) by clicking
**Example of an automation insert**: To retrieve an email address from the [Profile Event](/docs/automation/triggers/client-event-node), use `{{ automationPathSteps['ProfileTriggerNodeTitle'].event.params.email }}` and replace `ProfileTriggerTitle` with the title of this node. This way, the profile who goes through the node will be sent an email alert.
6. Confirm the action setting by clicking **Apply**.
## Examples of use
---
Below are selected examples of use cases with Email Alert node, which can help you better understand its applications:
- [Send alerts to Microsoft Teams and email alerts about unsent and failed emails](/use-cases/teams-alerts)
- [Email notification to call center about expensive abandoned cart](/use-cases/abandoned-cart-call-center-notification)
- [Monitor Voucher Pool Levels and Receive Alerts for Replenishment](/use-cases/voucherpools)
- [Automated email campaign performance reports](/use-cases/data-reference)
# Incoming Integration
## Overview
---
An incoming integration is a custom endpoint you create in the Synerise platform to receive data from external systems. You can create this endpoint on the interface in the Synerise platform in **Automation > Incoming**.
You can use this with the ["Business Event" node](/docs/automation/triggers/businees-event-trigger) to trigger [workflows](/glossary/#workflow) by sending a request from somewhere in your infrastructure to the custom endpoint exposed by Synerise.
This article outlines the feature information and the [Creating incoming integration](#creating-incoming-integration) section explains the steps in the process and logic.
In the workflow, you can refer to the [parameters of request headers and body from the incoming request](/developers/inserts/automation#request-context).
## Requirements
---
- You must have the following user permissions to be able to create incoming integrations:
- [access Automation Hub](/docs/settings/identity-access-management/permissions/automation-permissions#access-the-automation-hub)
- [see incoming/outgoing integrations](/docs/settings/identity-access-management/permissions/automation-permissions#see-incomingoutgoing-integrations)
- [create and edit incoming/outgoing integrations](/docs/settings/identity-access-management/permissions/automation-permissions#create-and-edit-incomingoutgoing-integrations)
- [publish incoming/outgoing integrations](/docs/settings/identity-access-management/permissions/automation-permissions#publish-incomingoutgoing-integrations)
- If you plan to use JWT for request authorization, create a [workspace API key](/docs/settings/tool/api#adding-api-keys) with the following permission: `INCOMING_WEBHOOK_EXECUTE `
## Endpoint
---
The URL to which the request can be sent is unique and generated automatically in the Synerise interface when you [create an incoming integration](#creating-incoming-integration).
## Authorization
---
The following authorization methods are supported:
| Method | Description | Header |
|--------------------|-------------------------------------------|--------------------------------|
| None | You can disable the authorization requirement. | N/A |
| JWT Authentication | Requires a JSON Web Token (JWT). To generate the token, use the [Log in as Workspace method](https://hub.synerise.com/api-reference/data-management#tag/Authorization/operation/profileLogin). | `Authorization: Bearer {jwt_token}` |
| Meta authentication | SHA-256 signature required only for the [Webhooks from Meta](/docs/automation/integration/webhook-from-meta). | `X-Hub-Signature-256: sha256={signature}` |
## Other headers
---
| Header | Type | Description | Required |
|-----------------------|--------|------------------------------------------------------------------------|------------------------------|
| Content-Type | string | Must be `application/json` | Yes |
| X-Deduplication-Hash | string | Custom hash to identify duplicate requests and avoid multiple triggers | Optional |
## Request body
---
The endpoint accepts a JSON payload containing any key-value structure. Nested JSON objects are automatically flattened, enabling their parameters to be used directly in the filter to define the conditions which will trigger a workflow.
- Flattening converts nested keys into dot notation or other flat structures.
- Up to 5 parameters from the body and/or headers can be selected in Synerise UI for deduplication hash creation.
### Example request
#### Without authorization
This error occurs when the API key selected in the configuration of the incoming integration lacks permissions. For the list of required permissions, see ["Requirements"](#requirements).
This error occurs when you make a request to a non-published endpoint or the endpoint URL is incorrect. Make sure you copied the entire URL.
```plaintext
The requested resource could not be found but may be available again in the future.
```
## Creating incoming integration
The table below outlines the steps which you will go through in this part of the process. The step-by-step instructions on creating the integration are under the table.
| Step | Description |
|-------|-----------------------------------------------------------------------------------------------------------------|
| **Select authentication method** | Select authentication method to secure the integration. You can choose from the following options: **JWT authentication**, **Without authentication**, **Webhook from Meta** |
| **Send sample data** | Enable data retrieval and send a request to the endpoint within 90 seconds to retrieve and view all parameters in Synerise. Use this information to test if the result meets your expectations. |
| **Set deduplication rules** | (Optional) Set deduplication rules to prevent duplicate data if needed. |
| **Publish the incoming integration** | Publish the integration to make the endpoint publicly accessible and allow sending data. |
1. Go to **Automation Hub > Incoming > New integration**.
2. On the pop-up, select:
1. In the **Endpoint** section, click **Define**.
2. In the **URL** field, you can find the endpoint URL which is generated automatically. The endpoint is unique for every integration.
2. From the **API key** dropdown list, select the key which will be used for generating JWT for authentication. You must implement a solution that allows you to authenticate this way.
To generate the JWT, use the [`/uauth/v2/auth/login/profile` endpoint](https://hub.synerise.com/api-reference/data-management#operation/profileLogin).
3. Optionally, you can personalize the integration by adding an icon in **Node icon**.
The Endpoint section while creating an incoming integration in Automation Hub
3. Confirm the settings by clicking **Apply**.
4.
1. In the **Incoming data** section, click **Define**.
2. Click **Retrieve data**.
The Retrieve data option in the Incoming data section while creating an incoming integration in Automation Hub
2. Send a POST request to the endpoint defined in the **Endpoint** section. The system waits for the incoming request for 90 seconds.
On the basis of received data, the system lists parameters which can be used in the future to filter requests.
If the endpoint receives the data, they appear in flattened form.
3. To see the raw JSON, click the icon.
4. If the received data has the expected structure, confirm by clicking the **Apply** button.
Example of retrieved data
Deduplication is the process that Incoming Integration uses to ensure your workflow only triggers for new information, avoiding duplicates. To prevent duplicated requests, it is possible to select the request parameters from which the deduplication hash will be calculated.
1. To select request parameters, you must first perform instructions described in the "Retrieve data" section in this document.
2. In **Deduplication hash generator** section, click **Define**.
The Deduplication hash generator section while creating an incoming integration in Automation Hub
3. Select up to 5 parameters from which the deduplication hash is to be built. You can use any incoming data from request body and headers.
2. Confirm the settings by clicking **Apply**.
Before you start using request deduplication, it's worth reviewing the key concepts:
- all deduplication keys are stored for the 7 days. It means that Synerise deduplicates requests with the same deduplication hash for a period of only 7 days from the last sent request.
- if a duplicated request is sent, Synerise will return `204` HTTP status code.
- for non-duplicated request, Synerise will return `200` HTTP status code.
- if you would like to provide your own deduplication hash, you can do so by including it in the request headers. In this case, choose only your header in the **Deduplication hash generator** section in the **Incoming Integration** settings.
1. In the **Endpoint** section, click **Define**.
2. In the **URL** field, you can find the endpoint URL which is generated automatically. The endpoint is unique for every integration.
3. Optionally, you can personalize the integration by adding an icon in **Node icon**.
The Endpoint section while creating an incoming integration in Automation Hub
3. Confirm the settings by clicking **Apply**.
3.
1. In the **Incoming data** section, click **Define**.
2. Click **Retrieve data**.
The Retrieve data option in the Incoming data section while creating an incoming integration in Automation Hub
2. Send a POST request to the endpoint defined in the **Endpoint** section. The system waits for the incoming request for 90 seconds.
On the basis of received data, the system lists parameters which can be used in the future to filter requests.
If the endpoint receives the data, they appear in flattened form.
3. To see the raw JSON, click the icon.
4. If the received data has the expected structure, confirm by clicking the **Apply** button.
Example of retrieved data
Deduplication is the process that Incoming Integration uses to ensure your workflow only triggers for new information, avoiding duplicates. To prevent duplicated requests, it is possible to select the request parameters from which the deduplication hash will be calculated.
1. To select request parameters, you must first perform instructions described in the "Retrieve data" section in this document.
2. In **Deduplication hash generator** section, click **Define**.
The Deduplication hash generator section while creating an incoming integration in Automation Hub
3. Select up to 5 parameters from which the deduplication hash is to be built. You can use any incoming data from request body and headers.
2. Confirm the settings by clicking **Apply**.
Before you start using request deduplication, it's worth reviewing the key concepts:
- all deduplication keys are stored for the 7 days. It means that Synerise deduplicates requests with the same deduplication hash for a period of only 7 days from the last sent request.
- if a duplicated request is sent, Synerise will return `204` HTTP status code.
- for non-duplicated request, Synerise will return `200` HTTP status code.
- if you would like to provide your own deduplication hash, you can do so by including it in the request headers. In this case, choose only your header in the **Deduplication hash generator** section in the **Incoming Integration** settings.
The full instructions are available in [Webhooks from Meta](/docs/automation/integration/webhook-from-meta).
### Saving integration
1. To save the integration as a draft, click **Save**.
2. To save the integration and make it available for use in workflows, click **Save & publish**.
## Example of use
---
You can check how the incoming integration is used in the [Send data from Microsoft Azure Forms to Synerise](/use-cases/send-data-from-forms) use case.
# Microsoft Teams
Microsoft Teams is a communication tool that facilitates teamwork in many companies in the world. To make integration between Synerise and Microsoft Teams even more convenient, we prepared a ready-made node with the configuration of sending a message to a channel.
## Contents
# Outgoing Integration
Outgoing Integration lets you integrate Synerise with any external service. Thanks to the possibility of building HTTP requests and supplementing them with customer attributes or data calculated by Decision Hub, you can synchronize data by sending them out of Synerise. You can create a [reusable](#creating-reusable-integration) and [single-use](/docs/automation/actions/webhook-node) integrations to be used in the [workflows](/docs/automation/creating-automation).
## Creating single-use integration
If you only need to configure a webhook to integrate with an external source for a specific workflow, we recommend creating an integration that only exists in that workflow by [using the **Outgoing Integration node**](/docs/automation/actions/webhook-node).
## Creating reusable integration
To create a reusable webhook which can be used in the [Outgoing Integration node](/docs/automation/actions/webhook-node), perform the instructions described in this section.
### Deciding the approach
- **Use schema builder to create a schema template** - Schema builder lets you create a form which you can use further in the [Outgoing Integration node](/docs/automation/actions/webhook-node). This way, you will configure the node by filling out the form with values which you want to send to the external source eliminating the need to repeatedly define the HTTP method, endpoint, authorization, and request body. Additionally, you can populate fields with variables sourced from the profile/event context, as well as utilize Jinjava for retrieving aggregate or expression results.
- To create the form, follow the instructions available in the [Schema builder documentation](/docs/assets/schema-builder/creating-schemas).
- For a detailed guide on managing parameters with schemas, refer to the [Managing parameters with schema](/developers/inserts/automation#managing-parameters-with-schemas) section.
Schema template in the Outgoing Integration node
- **Send a custom request body** - You can skip creating a schema template and go straight to creating the outgoing integration that sends a request to a defined endpoint with the same request body which you will define in the ["Enter request body"](#enter-the-request-body) section in this document. The request can contain variables sourced from the profile/event context as well as Jinjava inserts to retrieve analyses results. If you use such integration in the [Outgoing Integration node](/docs/automation/actions/webhook-node), the node won't require further configuration.
### Creating the integration
#### Define the connection
---
In this part of the process, you define the authentication method and providing the information required to establish a connection.
Outgoing Integration creation page
1. Go to **Automation Hub > Outgoing**.
2. In the upper-right corner of the screen, click **New integration**.
1. In the upper-left corner of the screen, enter a name for the integration.
3. In the **Choose connection**, click **Define**.
4. Once the section is expanded, select the authentication method:
- **No authentication** - No authentication is required.
- **Login & Password** - This method lets you use basic authentication to authenticate with the remote server.
Click here to see the instructions
Click Select connection.
In the connection list:
If the connection you want to use is in the list, select it and proceed to Defining endpoint.
If the connection list is empty or you don't see a connection, you must:
At the top of the dropdown list, click Add connection.
In the Connection name field, enter the name of your connection (it's visible only in Synerise).
- **Custom connection** - This method sends an authentication token request before executing the main request defined in the Outgoing integration node settings. The token is fetched when the request data is uncached, then cached according to its TTL, and added to the target request.
Click here to see the instructions
Click Select connection.
In the connection list:
If the connection you want to use is in the list, select it and proceed to Defining the request section in this article.
If the connection list is empty or you don't see a connection, you must:
At the top of the dropdown list, click Add connection.
In the Authorization request tab, click Define. Result:
The Request section in the configuration of a custom connection
In the Connection name field, enter the name of your connection (it's visible only on the Select connection dropdown list or on the list of connections in Settings > Connections).
In Secret, enter a value which is required in the request to obtain a token. This value will be anonymized and displayed as asterisks.
In the Headers section, add request headers (in the left field, enter the key; in the right, enter its value).
In the Body field, enter the request body. For example:
{ "api-key": "{{secret}}" }
where {{secret}} retrieves the value of the Secret field to anonymize the token.
Confirm the settings in the Authorization request tab by clicking Apply.
In the Token placement settings section, click Define.
Click Retrieve response. Result:
Retrieved token in the Response section in the custom connection configuration form
If you:
specify the value in the Headers section, the extracted authorization data from the response will be added as a header to the target request.
provide the value in the URL Parameters section, the data will be appended to the target request’s URL as a parameter. You can use the following values to retrieve values from the response:
authResponseBody - a variable that contains the full body of an authentication response
authResponseStatusCode - a variable that contains the status code of an authentication response
authResponseHeaders- a variable that contains the headers of an authentication response For example:
It takes the JSON response body stored in authResponseBody, parses it into a usable structure, and extracts the value of the token field. Outputs a string like: Bearer "eyJhbGciOiJIUzI1NiIsInR5cCI6IkpXVCJ9..."
In TTL field, specify the how long the cached response from the external request will be valid. If you leave this field empty, it's 60 seconds.
Confirm by clicking Apply.
- **Synerise API key** - This method is particularly recommended for the users who use Synerise REST API. It lets you select a connection that includes an [API key](/docs/settings/tool/api) with the required permissions. This way, the requests to Synerise API are executed by this integration and a JWT is not required as it is generated while sending requests and attached to the request headers.
Click here to see the instructions
Click Select connection.
If the connection you want to use is in the list, select it and proceed to Defining endpoint.
If the connection list is empty or you don't see a connection, you must:
At the top of the dropdown list, click Add connection.
In the Connection name field, enter the name of your connection (it's visible only in Synerise).
From API Key dropdown, select API key you want to use. If you don't see any API Keys on the list, verify if you are assigned with a user role that includes permissions to preview API keys.
- **OAuth2 Client Credentials** - This method lets you use your OAuth2 credentials to authorize.
Click here to see the instructions
Click Select connection.
In the connection list:
If the connection you want to use is in the list, select it and proceed to Defining endpoint.
If the connection list is empty or you don't see a connection, you must:
At the top of the dropdown list, click Add connection.
In the Connection name field, enter the name of your connection (it's visible only in Synerise).
In the Token endpoint URL field, enter the URL used to obtain an access token from the authorization server.
In the Client ID field, enter a unique identifier assigned to your application by the service provider.
In the Client secret field, enter a confidential key issued alongside the Client ID. It is used to securely authenticate your application.
Optionally, in the Scope field, define the level of access your application is requesting. Scopes specify which actions or data your application can access (for example, read user data, send messages). Refer to the API documentation for the correct scope values.
- **API Key** - This method lets you authenticate using an API secret by including it in a header of your choice or in a URL parameter — example outputs:
- the authorization header: `Authorization: Bearer [secret]`
- URL parameter: `client_id=[rendered secret]`.
When you use this connection in the Outgoing Integration node, the token will be automatically added to either the request header or the request URL with every request.
Click here to see the instructions
Click Select connection.
If the connection you want to use is in the list, select it and proceed to Defining the request section in this article.
If the connection list is empty or you don't see a connection, you must:
At the top of the dropdown list, click Add connection.
In the Connection name field, enter the name of your connection (it's visible only in Synerise).
In the Secret field, enter an API Key.
If you:
specify the value in the Headers section, the API key will be added as a header to the request. For example, x-api-key: {{secret}} where {{secret}} retrieves the value of the Secret field to anonymize the API key value.
provide the value in the URL Parameters section, the API key will be appended to the request’s URL as a parameter.
- **SHA256-based authentication** - *This method is recommended exclusively for connecting with Eagle Eye*. This method lets you authenticate using SHA256 algorithm. When a target request is sent, the following headers are added to the request:
- **X-EES-AUTH-CLIENT-ID** – the value is taken from the Client ID field.
- **X-EES-AUTH-HASH** – the value is generated by concatenating the endpoint URI, request body, and client secret, then hashing the result using SHA256.
Click here to see the instructions
Click Select connection.
In the connection list:
If the connection you want to use is in the list, select it and proceed to Defining the endpoint section in this article.
If the connection list is empty or you don't see a connection, you must:
In the Connection name field, enter the name of the connection. It's used to find the connection on the list.
In Client ID, enter a unique identifier assigned to your application by the service provider.
In Client secret, enter client secret assigned to your application by the service provider.
Confirm by clicking Create.
#### Define the endpoint
---
In this part of the process, select the HTTP method and define the endpoint to which you will send a request from Synerise. Additionally, you can define the name of the event which will contain the request response when the **Outgoing Integration** node is triggered.
4. In the **Destination endpoint** section, click **Define**.
The Defining endpoint section in the process of creating an outgoing integration
All fields that contain accept [snippets](/docs/assets/snippets) or [inserts](/developers/inserts). If you use this integration in a [business workflow](/glossary/#business-workflow), profile-related inserts cannot be used.
5. From the **URL** drop-down list, select an HTTP method.
6. In the **URI address** field, enter the endpoint.
The URI can contain inserts.
This field doesn't allow the endpoints defined as IPs (for example, `51.145.180.18`). You can only use endpoints that contain a domain (for example, `https://example.com`)
4. **Optional:** Upload an icon for the node.
5. In the **Webhook name** field, enter the value that will be displayed in the `name` parameter of the event which will contain the request response.
2. **Optional, recommended:** In the **Event name** field, choose an action name for the [event that contains the request response](/docs/assets/events/event-reference/integration#webhookresponse-and-custom-webhook-response-names) from your selected endpoint. We recommend using a meaningful name instead of the default one.
- from the dropdown list, you can select the name of the event (event action) that will be generated when a request from this node will be executed.
- at the bottom of the dropdown list, you can create a new event using the **Create new event** option.
**Result**: A pop-up appears. Fill out the configuration form on the pop-up, according to instructions in step 3 in the [Adding event definitions - in the Web application](/docs/assets/events/event-definitions#in-the-web-application) section.
- If you leave the field blank, the action defaults to `webhook.response`.
7. Click **Apply**.
#### Select the schema template
---
This part of the process is optional. If you took the **Use schema builder to create a schema template** approach described in [Creating reusable integration](#creating-reusable-integration), in this part of the process, you will select the schema template you created.
Selecting a schema in the process of creating an outgoing integration
2. In the **Configuration schema** section, click **Define**.
3. From the **Schema template** drop-down list, select a schema you created before.
4. Click **Apply**.
#### Enter the request body
---
In this part of the process, enter a body that contains all parameters and their values which you will send in a request.
Sending out an example request to the endpoint defined in the outgoing integration process
5. In the **Webhook payload** section, click **Define**.
6. In the **Payload** text box, enter the JSON payload schema.
This JSON schema can include inserts. By filling out fields with dynamic data using Jinjava as described in the [Managing parameters with schemas](/developers/inserts/automation#managing-parameters-with-schemas) section, the request body will be as follows:
14. In the **Headers** sub section, add headers in the following way:
1. In the **Key** field, enter the header name.
2. In the **Value** field, enter the header value.
The key and value can contain inserts.
1. If you want to add more headers, click **Add header**.
15. Click **Apply**.
### Custom response event parameters
You can add up to 10 custom parameters in each event that is generated from the response to the request that was sent. This solution allows for even more precise identification of response events, the creation of more detailed analyses and reports, and more accurate error handling.
The Additional parameters section
1. To define the custom event parameters, in the **Additional parameters** section, click **Define**.
2. Click **Add parameter**.
3. In the **Parameter** field, enter the name of the parameter.
- The name must not contain special characters or exceed 128 characters
- The following parameters cannot be sent:
- `eventUUID`
- `status`
- `statusDescription`
- `uuid`
- `clientId`
- `diagramId`
- `diagramName`
- `blockId`
- `blockName`
- `req`
- `name`
- `body`
4. In the **Value** field, enter the parameter value.
- The value is always sent as a string when the event's JSON payload is generated. The maximum length of the value is 230 characters.
- You can use dynamic values in the **Value** field.
5. If you want to add more parameters, click **Add parameter**, and repeat steps 3-4.
### Enable timeout events
By default, when an endpoint fails to respond, the workflow stops at the failing node without signalling the problem. You can enable generating an event instead.
1. If you want to save a [`webhook.timeout`](/docs/assets/events/event-reference/integration#webhooktimeout) event when the endpoints fails to respond, enable the **Produce timeout event** toggle.
### Saving the integration
In the upper-right corner:
- to save the outgoing integration as a draft, click **Save**.
- to save and make the outgoing integration available for use in workflows, click **Save & publish**.
**Result**:
You can use the integration you created in the [Outgoing Integration node](/docs/automation/actions/webhook-node).
# Condition nodes explained
This type of nodes allows users to define the circumstances that need to exist so the workflow could continue. The conditions can be divided into two groups: customer-related and general.
### Usage guidelines
- Conditions cannot be used as the starting point of the workflow.
- Conditions are not tracked in workflows by default. If you want to have statistics or include information about the movement of a customer to a specific condition on a profile, you need to turn this option on in the settings of a condition.
- All condition nodes allow for more than one path to let users define separate paths for the scenarios when the conditions are met or not.
## Contents
# "SMS Alert" node
The SMS Alert node sends a text message to the selected users in the workspace when an incident occurs in business processes. These text messages are especially useful when urgent action is needed from the Synerise users. You can use this node to inform about anomalies, getting closer to a workflow goal, form submissions, running out of coupons, and other events.
## Requirements
---
1. [Enable integration with an SMS provider in Synerise](/docs/campaign/SMS/configuring-sms-gateway#enable-integration).
2. [Create a sender account in Synerise](/docs/campaign/SMS/configuring-sms-gateway#create-sms-account).
## Node configuration
---
Blank SMS Alert configuration pop-up
1. To create a workflow that lets you send SMS alerts to the Synerise users, go to **Automation Hub > Workflows > New workflow**.
2. Select one of the business or profile [trigger nodes](/docs/automation/triggers).
3. Click **THEN > SMS Alert**.
4. Click the node.
### Select sender account
---
In this part of the node configuration, you will define the SMS account from which the alert will be sent.
1. In the **Sender details** section, click **Define**.
2. From the dropdown list, select the SMS account from which the message will be sent.
After selecting the account, you can preview its settings by clicking **Account settings**.
3. Confirm the settings by clicking **Apply**.
### Prepare content
---
In this part of the node configuration, you will select a message template or create a message from scratch.
1. In the **Content** section, click **Define**.
2. If you want to:
- Select a template, click **Create message**. From the list of the templates, select the one you want to use.
- If you make changes to the template, click **Save** and then **Use in node**.
- If you don't make changes to the template, click **Use in node**.
- Create a message from scratch, click **Create message > New template**. The template will be available only in this node for preview and modifications. After finishing the template, click **Use in node**.
After the node is configured, the name of the selected template is displayed directly on the node. To preview the template without opening the node settings, click the eye icon on the node. If the template was created directly in the node settings, the ID of the inplace content is displayed on the node instead of the template name.
3. Confirm by clicking **Apply**.
### Select recipients
----
1. In the **Recipient** section, click **Define**.
Blank configuration form for the Recipient section in the settings of the SMS Alert node
- To choose an existing list, click the search box:
1. Go to the **Saved lists** tab.
2. Select a list of recipients.
- To create a list of recipients of the alert SMS, click the search box:
1. In the **Profiles** tab, use the text field to find recipients or enter a phone number to add recipients outside the contact base.
2. Confirm the selection by clicking **Add**.
4. Confirm the list by clicking **Save list**. This way you can use this list in the future.
**Result**: A pop-up opens.
5. In the **List name** field, enter the name of the list.
6. Confirm by clicking **Apply**.
7. Go to **Saved lists** tab.
8. Select the list you created.
- Optionally, you can provide a dynamic value such as an [automation insert](/developers/inserts/automation) or you can select a reusable code ([snippet](/docs/assets/snippets)) by clicking
**Example of an automation insert**: To retrieve a phone number from the [Profile Event](/docs/automation/triggers/client-event-node), use `{{ automationPathSteps['ProfileTriggerNodeTitle'].event.params.phone }}` and replace `ProfileTriggerTitle` with the title of this node. This way, the profile who go through the node will be sent an SMS alert.
6. Confirm the action setting by clicking **Apply**.
## Example of use
---
Example of the workflow that uses the SMS Alert action
This example presents an automated scenario triggered by a lead form submission on a specific URL.
1. In the settings of **Profile Event**, select a form submission event.
2. Add **SMS Alert** action. In its setting, select the account from which the message will be sent, select the recipients and the template of the alert.
3. When a text message is sent to the recipients, the process ends.
# Sequences
A sequence is a named, reusable group of connected workflow nodes. Instead of rebuilding the same node patterns in every workflow, you can capture a pattern once, save it to the sequence library, and insert it into any workflow with a single action.
#### Sequence types
Sequences come in two types:
| Type | What is saved |
|------|--------------|
| **Structure** | Nodes and their links only. Configuration is not saved, so you fill in the settings each time the sequence is inserted. |
| **Configured** | Nodes, links, and all parameter values. The sequence is ready to use as-is after insertion. |
Sequences are unchangeable. Once saved, a sequence cannot be edited. To update a pattern, save a new sequence and remove or replace the old one in the workflows that use it. This protects existing workflows from unintended changes.
## Sequence library
The sequence library is the central management view for all sequences in the workspace. To open it, go to **Automation Hub > Sequences**.
The Sequence Library
The library shows the following information for each sequence:
| Column | Description |
|--------|-------------|
| **Name** | The display name assigned when the sequence was saved. |
| **Type** | [Structure or Configured](#sequence-types). |
| **Created** | When the sequence was created. |
| **Last used** | When the sequence was last inserted into a workflow. |
### Organizing sequences into folders
You can create folders to group related sequences.
To add a folder:
1. In the left panel, click **Add folder**.
2. Enter the folder name and confirm.
To move a sequence to a folder, click next to the sequence and select **Move to**.
### Filtering sequences
- Use the **All**, **Structure**, and **Configured** tabs in the left panel to filter by type.
- Use **Select tag** to filter by tag. Tags are shared with workflow tags, so any tag you create here also appears in workflows and vice versa.
- Use the search icon in the upper-right corner of the list to search by name.
## Saving a selection as a sequence
---
You can save any group of connected nodes from a workflow canvas as a sequence.
### Requirements
- The workflow must be saved at least as a draft before you can save a sequence from it.
- The selected nodes must form a single connected chain with no gaps.
### Procedure
1. On the workflow canvas, select the nodes you want to save.
2. Hold **Shift** and click individual nodes, or drag a selection box around the desired area.
Selected nodes with the Save as Sequence toolbar
2. In the toolbar that appears above the selection, click the **Save as Sequence** icon.
**Result**: The **Save as Sequence** dialog opens.
The Save as Sequence dialog
3. In the **Name your sequence** field, enter a name for the sequence.
4. From the **Folder** dropdown, select the folder where the sequence will be saved.
If you want to create a new folder, click **Add folder** in the dropdown.
5. Optionally, add tags to help organize and find the sequence later.
6. From the **Type** dropdown, select the sequence type:
- **Structure** - saves nodes and connections only, without configuration.
- **Configured** - saves nodes, connections, and all configured parameter values.
7. Click **Save**.
**Result**: The Sequence is saved and appears in the Sequence Library.
## Inserting a sequence into a workflow
---
You can insert a sequence into a workflow in two ways: from the workflow canvas, or directly from the sequence library.
### From the workflow canvas
1. On the workflow canvas, click the **THEN** button on the node after which you want to insert the sequence.
**Result**: A node picker opens.
The node picker showing Sequences
2. Click the **Sequences** tab.
**Result**: The list of sequences appear.
3. Find the sequence you want to insert and click it.
**Result**: The nodes from the sequence appear on the canvas.
4. If the sequence type is **Structure**, configure each node before saving or activating the workflow.
If the sequence type is **Configured**, review the node settings and adjust any values specific to the current workflow.
### From the sequence library
1. Go to **Automation Hub > Sequences**.
2. Find the sequence you want to use.
3. Click next to the sequence and select **Start with sequence**.
**Result**: A new workflow is created with the sequence nodes already placed on the canvas.
## Deleting a sequence
---
Deleting a sequence does not affect workflows that have already used it - the nodes are already inserted to those canvases. However, the sequence will no longer be available to insert into new workflows.
To delete a sequence:
1. Go to **Automation Hub > Sequences**.
2. Find the sequence you want to delete.
3. Click on the right side of the row.
4. Select **Delete** and confirm.
# "Import to Voucher pool" node
This node allows you to initiate an import of vouchers to a specific voucher pool created in **Data Modeling Hub > Voucher Pools**.
You can read more about voucher pools [here](/docs/assets/code-pools).
## Requirements
---
- The file must contain only one column (case sensitive): `code`
- Values in the `code` column must be unique across the entire workspace, meaning that codes cannot be duplicated in any voucher pool
## Node configuration
---
Before you add the **Import to Voucher Pool** node, feed workflow with data by using one of the following nodes:
- [Local File](/docs/automation/operation/local-file-node)
- [SFTP](/docs/automation/integration/sftp-integrations)
- [HTTPS](/docs/automation/integration/http-integrations)
1. Click the **Import to Voucher Pool** node.
2. From the dropdown list, select the voucher pool to which the data from the file will be imported.
2. Confirm by clicking **Apply**.
## Example of use
---
You can launch a single import of vouchers to Synerise. The file used in this example contains sample voucher data.
The file used in this example
code 13746362 84383873 39074938 49289484
The final configuration of the import transactions workflow
1. Start the workflow with the **Scheduled Run** node.
2. In the configuration of the node:
1. Set the **Run trigger** to **one time**.
2. Select the **Immediately** tab.
3. Click **Apply**.
3. Add the **Local File** node.
4. In the configuration of the node:
1. Upload the file with vouchers.
2. Click **Apply**.
5. Add the **Import to Voucher Pool** node.
6. In the configuration of the node, select the voucher pool to which the codes from the file will be imported.
6. Add the **End** node.
**Result**: The codes from the file are imported to the selected voucher pool.
# "Business Event" node
## Business Event node
The **Business Event** is a node that receives information from external systems, such as the product storage changes, price changes, and so on. This way you can automate your business activities and build integrations between them. The node can receive multiple requests at a time, each trigger launches a separate workflow instance, however, it has a maximum capacity of **50 requests per second** (when this limit is exceeded, the HTTP 429 error is returned).
By using the **Business Event** node as a trigger, the workflow is automatically categorized as a business workflow. This means that:
- the customer context is not incorporated into the workflow
- you can’t use the `{{ customer.attribute }}` and `{% customer attribute %}` inserts.
- you can't use the customer-oriented nodes in a workflow.
If the data sent to Synerise contains a customer ID, you can use the [Outgoing Integration node](/docs/automation/actions/webhook-node) to produce the event on the profile card of the customer.
### Prerequisites
---
Prepare the [Incoming integration](/docs/automation/integration/incoming-webhook-node).
### How it works
---
1. To create a workflow that is triggered by the **Business Event** node, go to **Automation Hub > Workflows > New workflow**.
2. On the canvas, select **Business Event**.
1. To open the settings of the node, click it
**Result**: A pop-up opens.
2. From the **Choose** dropdown, select the incoming integration you have prepared before.
4. Confirm by clicking **Apply**.
### Example of use
---
Example of a workflow
You can check how the Business Event node is used in the [use case](/use-cases/send-data-from-forms) concerning integration of Microsoft Azure Forms with Synerise.
The aim of the workflow is to receive data that contains indirect customer information and then to process and to transform the data in such a way that further actions become customer oriented.
1. Add a **Business Event** trigger node.
2. Use the incoming webhook integration by means of which the system receives data about products in the cart and the email as the identifier.
2. Connect the **Business Event** trigger node with the **Outgoing Integration** node. In the **Outgoing integration** node, we will send a request to Synerise API to generate a profile event. All data from the incoming webhook can be transferred to the **Outgoing integration** node using Jinjava described below.
In this example, the **Outgoing integration** uses the endpoint documented [here](https://hub.synerise.com/api-reference/data-management#operation/CustomEvent). To pass further the values received through the **Incoming integration**, you can use Jinja.
{{request.body.paramName}} for the parameters in the request body
{{request.headers.headerName}} for the parameters in the request headers
Below you can find an example of data received from the external service to an endpoint indicated in the **Incoming integration** settings.
- To pass the value of `parameter1`, in the body of the **Outgoing Integration** enter:
`{{request.body.parameter1}}`
- To pass the value of the `X-Request-ID` header, in the body of the **Outgoing Integration** enter:
`{{request.headers["X-Request-ID"]}}`
**Result**: A new event appears on the activity list on the customer card.
3. Connect the **Outgoing Integration** with the **End** node.
# "Send Event" node
The "Send Event" to Google Analytics (v4) node facilitates sending events from Synerise to Google Analytics.
## Prerequisites
---
- Create an API secret in your Google Analytics panel. To create a new secret, navigate to **Admin > Data Streams > {stream name} > Measurement Protocol > Create**.
- Get the measurement ID associated with a stream in your Google Analytics panel. Navigate to **Admin > Data Streams > {stream name} > Measurement ID**.
- [Enable saving Google Analytics ID in profiles](#getting-the-customer-id-from-google-analytics)
## Node configuration
---
In this part of the process, you can create a workflow that contains the **Send Event** node. This node allows you to send an event to Google Analytics with the data defined in this node. In the settings of the integration, you will use the value of `cid` attribute as a customer identifier.
If you haven't saved Google Analytics IDs in profiles, see [Getting the customer ID from Google Analytics](#getting-the-customer-id-from-google-analytics)
1. Click the node.
2. Click **Select connection**.
3. From the dropdown list, select the connection.
If you haven't established a connection yet, see [Create a connection](#create-a-connection).
### Create a connection
To allow the data exchange, establish the connection between Synerise and Google Analytics.
1. At the bottom of the **Select connection** dropdown list, click **Add connection**.
2. In the **Measurement ID** field, enter the ID you retrieved as a part of [prerequisites](#prerequisites).
3. In the **API secret** field, enter the API secret you created as a part of [prerequisites](#prerequisites).
3. Click **Next**.
4. In the **Connection name** field, enter the name for the access token you generated.
5. Click **Apply**.
**Result**: A connection is created and selected.
### Define the integration settings
In this step, fill in the form that allows you to send an event from Synerise to Google Analytics.
A blank configuration form in Send an Event (Google Analytics)
Fields marked with the icon accept [snippets](/docs/assets/snippets) or [inserts](/developers/inserts). This integration allows usage of profile-related inserts.
1. In the **Customer's identifier** field, enter `{{ customer['cid'] }}`. This way, you will retrieve the value of the `cid` attribute.
2. Optionally, in **User ID** field, provide the ID of the user.
2. In the **Event name** field, enter the name of the event you want to send to Google Analytics.
- You don't have to use an existing event.
- We recommend using the event nomenclature consistent with the Synerise events (such as `page.visit`, `message.send`, and so on).
- The event you send within this node won't be added to the list of events in Synerise.
3. In the **Event parameters** field, enter parameters of the event in the form of the JSON object.
Refer to the [Google Analytics documentation](https://developers.google.com/analytics/devguides/collection/protocol/ga4/sending-events?client_type=gtag) for the event requirements.
4. Confirm the settings by clicking **Apply**.
**Result**: When the Send Event node is executed, a `googleAnalytics.sendEvent` event is generated on the activity list of the profile who is the actor in the workflow.
### Test integration
---
You can run a test request. If the request body contains a dynamic reference to a profile attribute and/or an event data from preceding nodes, then you can define the context using [test profile data](/docs/settings/configuration/test-profiles).
Complete description of the feature is available in [Testing outgoing integrations](/docs/automation/test-requests-for-outgoing-integrations).
1. In the **Test integration** section, click **Send test request**.
**Result**: A test request builder opens. If:
- a request body contains dynamic references, the request preview appears after you select the context of test profiles and events.
- a request body contains static data, the preview of the body request appears immediately.
An empty test request builder
2. If your request contains dynamic references (otherwise, the options aren't available):
- From the **Test profile** dropdown, select a test profile in the context of whom the test request will be performed.
- From the **Event context** dropdown list, you can select a particular occurrence of an event whose values/information will be used for the test request.
1. Select a test profile.
**Result**: A history of test profile events appears.
A stream of events of a test profile
2. From the list of events, select one whose data you want use as a context. If there is no event you can use, in the upper-right corner of the pop-up, click **Define own event** and provide the body of the event.
3. Confirm by clicking **Apply**.
3. Verify the request body. If there is something you want to change, come back to the node settings from previous steps.
3. If the request body is ready to test, in the upper-right corner, click **Send request**.
**Result**: The response section appears and the **Update response event** button becomes active.
4. Optionally, you can update response event with new parameters by clicking **Update response event** in the upper-right corner.
## Getting the customer ID from Google Analytics
---
To send events from Synerise to Google Analytics, you must use the customer identifier generated by Google Analytics. It is stored on the website in the `_ga` cookie. You need to retrieve this ID from the cookie and save it as a custom attribute (`cid`) of a Synerise profile.
You can do this by using [dynamic content](/docs/campaign/dynamiccontent/creating-dynamic-content) as a tag manager. You don't have to prepare a template, you can use the predefined template that already contains the Javascript code that sets the cookie value as the value of the `cid` attribute in Synerise. The instruction below describes how to use this template.
1. In Synerise, go to **Experience Hub > Dynamic content > Create new**.
2. As the dynamic content type, select **Insert object**.
3. In the **Audience** section, leave the settings at default (**Everyone**).
4. Confirm by clicking **Apply**.
5. In the **Content** section:
1. Leave the content type at **Simple message**.
2. Set the **CSS selector** to **Before (in div)**.
3. In the text field, enter `.snrs-modal-wrapper`
4. Click **Create message**.
5. Select the folder with predefined script templates.
6. Select the **Map Google Analytics ID to...**.
7. In the **Config** tab, leave the values in the form at default.
When the Google Analytics ID is matched with the customer, the `form.submit` event will be sent with the `formType` parameter set to the value defined in the **formType of event** field (`GA-ID-matched`).
The form in the predefined template
7. Click **Next**.
**Result**: You leave the dynamic content builder and go back to the dynamic content settings.
7. Confirm by clicking **Apply**.
6. In the **Schedule** section:
1. Select **Display immediately**.
3. Expand **Advanced options**.
4. Select **Display every hour every day**.
5. Confirm by clicking **Apply**.
7. In the **Display settings** section:
1. Leave **Triggers** at default (**On landing**).
2. Leave **Pages** at default (**All pages**).
3. Set **Frequency** to **Once per visit**.
4. Leave **Stop display** at default (**Never**).
5. In **Devices**, select **desktop** and **mobile**.
6. Leave **View count capacity** empty.
7. Confirm by clicking **Apply**.
8. In the **UTM & URL parameters** section, click **Skip this step**.
9. In the top right corner, click **Activate**.
**Results**: A tag is initialized on all pages for all users (both recognized and unrecognized). It retrieves the current value of the `_ga` cookie and sets its identifier value as the `cid` attribute.
The dynamic content configuration of the matching pixel
## Example of use
---
For example of use, refer to the [use case that describes sending the score of RFM analysis to Google Analytics](/use-cases/google-analytics-integration).
# "Split Path" node
## Split Path node
Several nodes let you define two workflow paths for the cases when specific conditions are met (for example, [Condition nodes](/docs/automation/conditions)). To increase the number of branches in a diagram among elements, use the **Split Path** node.
When a workflow contains the **Split Path** node, the workflow can branch out up into 5 branches after the **Split Path** node. The nodes that follow the **Split Path** node are executed simultaneously. The process from the branch that first arrives at any **End** node in the workflow stops all the remaining processes in a workflow that are in progress unless you define otherwise in the configuration of the **End** nodes. You can find more information in the documentation of the [End node](/docs/automation/flow-control/end-node).
##### Example
Example of a workflow that uses the Split Path node
In this example, a profile starts a path in a workflow as they add an item to a cart. The path of the workflow splits into two **Event Filters**, which means a profile is in those two nodes at the same time. The workflow waits for the occurrence of two events defined in the **Event Filter** nodes (purchase or deleting an item from the cart) for one hour.
The remaining part of this example is fully described in the [Example of use](#example-of-use) section.
### Node usage in workflow
---
The following instructions explain how to add the **Split Path** node to a workflow diagram. Once added, this node does not require any additional configuration.
1. Click **THEN** on the node after which you want to place the **Split Path** node.
**Result**: A dropdown list opens.
2. From the dropdown list, select **Split Path**.
3. Add nodes (up to 5) to the **Split Path** by clicking the icon.
### Example of use
---
Example of a workflow that uses the Split Path node
In this example, a workflow is launched by adding an item to a cart. The profile who enters this workflow will proceed to both **Event Filter** nodes at the same time, which means waiting for the occurrence of one of two events (purchase or deleting an item from the cart). If the customer completes the transaction and their marketing agreement is enabled, an email with coupon is sent after 5 minute delay. In other cases such as abandoning the cart or deleting items from the cart, the workflow is finished.
This workflow has two **Event Filter** nodes after the **Split Path** node. If the conditions of both filters are met within the allowed time range, the nodes that come after each **Event Filter** might be executed more than once. That is why managing limits (in this example, limits of [Merge Paths node](/docs/automation/flow-control/merge-paths-node) and workflow capping) and/or defining terminating all [remaing paths](/docs/automation/introduction-to-automation#workflow-and-path) of the workflow in the **End** node is crucial for the successful implementation of business assumptions within the workflow, ensuring that no errors or edge cases occur. More information about Automation Hub limits is available in the [Limits](/docs/automation/automation-capping) article.
1. Add a **Profile Event** trigger node. In the settings of the trigger node, select the event that signifies adding a product to the cart.
2. Add the **Split Path** node.
2. Add two **Event Filter** nodes. In the configuration of these nodes, define the following conditions:
- Wait for an hour for the transaction event
- Wait for an hour for the event of deleting items from the cart
3. At the **Matched** paths of both event filters, add **End** nodes.
3. Add the **Merge Paths** node to the **Not matched** path of one of the event filters and then connect the **Not matched** path of the other filter to this node.
If any of the filter conditions is met, the workflow ends. If any filter is not matched, the customer proceeds to the next step of the workflow, the Merge Paths node. It's possible for both filters to not be matched, which activates the Merge Paths node twice. This may result in executing the defined actions twice towards the customer. To prevent this, set a limit in the configuration form of the Merge Paths node.
3. After the **Merge Paths** node, add the **Profile Filter** node. In the conditions of the node, set the marketing agreement to `enabled`.
5. To the **Not matched** path, add the **End** node.
4. To the **Matched** path, add the **Delay** node.
9. In the configuration of the **Delay** node, define the length of the delay period.
8. After the **Delay** node, add **Send Email**.
6. Configure the settings of the **Send Email** node according to instructions available in the [Send Email node](/docs/automation/actions/send-email) article.
7. After the **Send Email** node, add the **End** node.
# SFTP integrations
You can use the **SFTP** integration to transfer the files to and from your server using SFTP protocol. You can use the node in the workflows whose purpose is to pass the data further (for example, for import).
There are two types of SFTP node:
- **SFTP Get File** - It allows you to upload a file to a workflow by using the SFTP protocol.
- **SFTP Send File** - It allows you to pass further the file to your SFTP server.
# Salesforce CRM
In your workflow, you can use the following actions to manage leads in Salesforce CRM. These actions help you automate lead management and keep your CRM data up to date.
# "Event Filter" node
## Event Filter node
This condition allows a customer to proceed in the process only if they performed a specific action (in other words, if a specific event occurred in the context of a customer). Such actions are called [events](/docs/assets/events/event-definitions) and they define customer activity in the touchpoints integrated with Synerise.
### Requirements
---
You must implement a tracking code into the website.
### Configuration
---
1. Click the pencil icon on the node.
**Result**: A pop-up opens.
2. Define the event, its parameters and their values. If you choose several parameters of one event, it means that the customer needs to perform an action that covers **all** the values defined in the event parameters.
3. Define the limits.
- By default, an **Event Filter** is set without limits. This means that the occurrence of any action defined in the settings of the condition allows the customer to continue the process. In such a limit configuration, this node has only one **MATCHED** path.
Event Filter one branch configuration
- You can set the time limit of the filter. In such a limit configuration, this node branches into two paths: **MATCHED** and **NOT MATCHED**.
- If the event occurs within the specified time, the customer follows the **MATCHED** path.
- If the conditions of the filter are not met in the specified time, the customer follows the **NOT MATCHED** path.
- If you change the limit configuration from specific limits to no limits, the connections with the nodes followed by the **Event Filter** are removed.
Event Filter two branch configuration
4. If If you want to monitor the entries into this step, switch the **Track datapoints** toggle on. As a result, events related to the movement between nodes (`automation.clientPathStep`) will be available in Decision Hub to use. These events (`automation.clientPathStep`, `automation.clientEndStep`, `automation.startPath`) are displayed on the activity list on the profile card regardless of the configuration of this option.
5. Confirm the settings by clicking **Apply**.
### Defining the date of event occurrence
---
As an example of use, uou can use these date filters to limit the communication with customers in the specific parts of the day.
You can determine when a customer qualifies to move forward based on the occurrence of a specific event. In the example in the screenshot, the workflow continues only when a user visits a website between 0:00 on the 14th of April and 23:59 on the 30th of April, 2021.
The workflow is triggered according to the time zone selected in the workspace.
Selected event occurrence date range
1. From the **Choose event** dropdown list, select the event.
2. Click **+ where** button.
3. In the list of parameters, click **Specials**.
5. Select **TIMESTAMP**.
Timestamp parameter
6. From the **Choose operator** list, select:
Timestamp parameter
- **Date** - if you want to select a start or end date
Click to see the explanation of operator options
More than - You choose dates after the selected date (including the selected date).
Less than - You choose dates before the selected date (including the selected date).
- **Custom** - apart from standard date ranges, you can use non-standard (dynamic) dates, for example, everyday from 8:00 to 14.00; Mondays and Thursdays between 15:00 and 17:00; the first and the fourteenth day of the month, and so on.
To use non-standard (dynamic) dates, click this option in the calendar.
The Enable date filter option
- **Current date** - if you want to include those event occurence that happen.
Click to see the explanation of operator options
Matches the current hour - matches only date that fits the current hour, day, month, and year (example: if current date is 2024-05-20 17:00:00, dates from 2024-05-20 17:00:00.000 to 2024-05-20 17:59:59.999 matches)
Matches current day - matches only date that fits the current day, month, and year (example: if current day is 2024-05-20, only 2024-05-20 matches)
Matches current month - matches any date that fits the current month in current year (example: if current month is May 2024, dates from 2024-05-01 to 2024-05-31 match)
Matches current year - matches any date that fits the current year (example: if current year is 2024, dates from 2024-01-01 to 2024-12-31 match)
### Example of use
---
Example of a workflow that uses the Profile Event Filter condition
The purpose of the workflow is to allow the customers to register a receipt in a lottery directly after a purchase, but also to give this possibility to customers who made a transaction the week before.
1. It starts with the **Audience** trigger node. In the settings of the trigger, define the customer groups who participate in the workflow.
2. Add an **Event Filter** condition node. It checks if customers have registered their receipts within a time range.
3. Customers who register a receipt within the given time range receive a push notification.
4. When the push is sent, the workflow is completed.
# "Edit values" node
This node allows you to apply rules that specify how the values in the file are modified. You can also apply a filter to the rules to modify only the values that meet the filter criteria.
The scope of editing covers:
- adding a suffix/prefix to the values
- replacing the value with:
- a fixed value (selected values are replaced with a defined string)
- [dynamic value](/developers/inserts/imports) (usage of Jinja that allows you to perform advanced operations on editing values, expcept for custom tags, for example, tags which refer to the customer's attributes, aggregates, expressions, and so on)
- values from other column,
- UUID (UUID v4)
- current date
In the settings of this node, you must select the columns from which the values will be edited. You can do this by selecting the column names or you can create a condition (referred to as a _dynamic condition_ further in this article) that the column names must meet in order for the transformation to be performed on their values, for example, the column name must start with the letter "A".
Dynamic conditions are especially helpful when using a JSON file as a sample in the ["Data Input" node](/docs/automation/data-transformation-and-imports/transformations-and-data-operators/data-input). When a JSON file contains an object deeper than the root object, its items will be transferred to the Data Input node as separate columns named `{object}.{parameter}`. When choosing columns manually, you can't add those new columns from a JSON list to the transformation. Dynamic conditions can be set up to include those columns, for example by including columns whose name includes the name of the object they were created from.
## Node configuration
---
Edit value operation on an example file
1. Double-click the **Edit value** node.
2. Click **Add rule**.
2. Select one of the **Include** options, by clicking the icon next to **these**:
- **these** - the default; it lets you select the columns in which you want to edit values.
- **all except these** - this option lets you select the columns in which you do NOT want to edit values. Values from the other columns will be changed as defined in the further steps.
3. Select columns to include/exclude (according to the **Include** setting above) in one of the following ways:
- **Select column** - from the dropdown list, you can select the columns to be included or excluded from the transformation.
- **Define conditions** - you can create a dynamic condition which columns must meet to edit their values; for this purpose, you can use logical operators such as contain, starts with, ends with, and so on.
You can't combine dynamic conditions with the **Include all except these** option.
For further instructions, select one of the tabs below, depending on the option you have chosen in step 4.
Select column option
4. From the dropdown list, select the first column whose values will be edited.
5. To add more columns, click icon.
4. To narrow down the scope of changes to the values in the column, apply a filter to the rule, by hovering a mouse cursor over the **Include** header and clicking icon.
**Result**: The filter settings appear:
The filter settings marked with a rectangle
5. Using the following logical operators, define the settings of the filter. The filter will be applied to the selected columns and the transformation will be performed on the values which meet the filter conditions.
- **Equal** - Select this option if you want the transformation to be performed on the values which are equal to the string you provide.
- **Not equal** - Select this option if you want the transformation to be performed on the values which are different from the string you provide.
- **Ends with** - Select this option if you want the transformation to be performed on the values which end with a character or sequence you provide.
- **Starts with** - Select this option if you want the transformation to be performed on the values which start with a character or sequence you provide.
- **Contain** - Select this option if you want the transformation to be performed on the values which contain a substring or character you provide.
- **Not contain** - Select this option if you want the transformation to be performed on the values which do not contain a substring or character you provide.
5. In the **Edit values by** field, select one from the following options:
- **Adding suffix** - Select this option if you want to add a group of characters to the end of a value, for example, applying a `, Ph.D.` suffix to the `surname` column transforms its values into values such as `Woods, Ph.D.`
- **Adding prefix** - Select this option if you want to add a group of characters at the beginning of a value in a column, for example, applying a `+48` prefix to the `phone` column transforms its values into values such as `+487717678890`.
- **Replacing** - Select this option if you want to entirely change the value with:
- **Static value** - This option replaces original value with the one you enter, for example, change `John` to `Johnatan`
- **Dynamic value** - This option replaces the original value according to the logic expressed by a [Data transformation insert (Jinja)](/developers/inserts/imports). The use of custom Jinja tags (for example, referring to customer attributes, aggregates, expressions, and so on) is not possible. For example, using the following insert: `{{ root["name"]|replace("Bob", "Robert") }}` transforms all occurrences of `Bob` in the `name` column into `Robert` - only the part of the value which matches will be replaced.
- **Column** - This option replaces the original value with values from a column you select.
- **UUID** - This option replaces the column values with a randomly generated UUID v4 (unique for each row).
- **Current date** - This option replaces the original value with the current date (the date and time are generated on an ongoing basis during the transformation). You can select the timezone and [date format](#current-date-option).
Example: Adding +48 prefix to the phone column
Define condition option
1. Select one of the following logical operators to define the conditions which column name must:
- **Ends with** - If a column name ends with a specified string, for example, `a`, then the operation will be performed on the columns whose names end with `a`.
- **Starts with** - If a column name starts with a specified string, for example, `pro`, then the operation will be performed on the columns whose name starts with `pro`.
- **Contain** - If a column name contains a specified string, for example `xyz`, then the operation will be performed on the columns whose name contains `xyz`.
- **Not contain** - If a column name doesn't contain a specified string, for example, `123`, then the operation will be performed on the columns whose names doesn't contain `123`.
- **Regex** - You can perform the operation on the column whose name matches the regular expression.
2. To narrow down the scope of changes to the values in the column, apply a filter to the rule, by hovering a mouse cursor over the **Include** header and clicking icon.
**Result**: The filter settings appear:
The filter settings marked with a rectangle
3. Using the following logical operators, define the settings of the filter. The filter will be applied to the selected columns and the transformation will be performed on the values which meet the filter conditions.
- **Equal** - Select this option if you want the transformation to be performed on the values which are equal to the string you provide.
- **Not equal** - Select this option if you want the transformation to be performed on the values which are different from the string you provide.
- **Ends with** - Select this option if you want the transformation to be performed on the values which end with a character or sequence you provide.
- **Starts with** - Select this option if you want the transformation to be performed on the values which start with a character or sequence you provide.
- **Contain** - Select this option if you want the transformation to be performed on the values which contain a substring or character you provide.
- **Not contain** - Select this option if you want the transformation to be performed on the values which do not contain a substring or character you provide.
5. To add more rules, click **Add rule** and repeat steps from 2 to 5.
5. You can check the preview of the file after changes in the **Output data** tab.
5. To define what happens if rows contain errors, select one of the options available in the [Error handling](#handle-errors) section.
6. Confirm the settings by clicking **Apply**.
### Current date option
Using the **Current date** option, you can enrich your data with a dynamically injected date and time which can be used, for example, to build an event salt.
To define a rule with **Current date**:
1. Select a timezone.
2. Select one of the available formats:
* ISO (for example 2022-10-05T05:55:16.786596Z)
* Timestamp (for example 1664949342323)
* MMM d, YYYY (for example Oct 5, 2022)
* MMM d, YYYY, HH:mm:ss (for example Oct 5, 2022, 05:57:14)
* YYYY-MM-dd HH:mm (for example 2022-10-05 05:57)
* Custom - you can create [your own date and time format](#custom-date-format).
#### Custom date format
You can use the following elements to build a custom format. The example values use October 05, 2022 as the date.
* MMM - name of month (Oct)
* MM - number of month (10)
* DD - day of year (278)
* dd - day of month (05)
* YYYY - year (2022)
* YY - year (22)
### Handle errors
You can define what to do with failed values (for example, as a result of Jinja rendering or in other cases) in cells where data type modification failed.
In the **Handle incomplete data** section, select one of the following options:
- **Skip row if error occurred** - It omits the row when an exception occurs.
- **Skip if result is null or empty string** - It omits rows with empty strings and `null` (which may be the result of rendering Jinja)
- **Stop further transformation** - The transformation stops at the row with an error. The data before the line that caused the error is transformed (and imported if the transformation rule is used in the Data Transformation node).
- **Insert null if error occurred** - Wrong values are replaced with `null`. If you use such a transformation for the import of profiles, the existing value of an attribute is cleared and replaced with the `null` value.
- **Insert empty string if error occurred** - Wrong value is removed and the cell remains empty.
## Example of use
---
In example transformation `+48` is removed from all values in a given column.
Configuration of two rules in the Edit values node
1. Start the transformation with the **Data Input** node.
2. Click the node.
3. Upload a sample file used to configure the transformation for later use and preview its results.
4. Confirm the configuration of the node by clicking **Apply**.
5. Add the **Edit Values** node.
6. Double-click the node.
7. Select the column to be transformed.
8. Replace all values that begin with `+48` in the selected column with an empty value.
9. Confirm the changes by clicking **Apply**.
10. Add the **Data Output** node.
11. In the preview of the **Data Output** node, all values in the column that began with `+48` are transformed and the `+48` value was removed.
# "Import Transactions" node
This node allows you to initiate an import of transactions to Synerise. The transactions are imported in the form of the `transaction.charge` events and they are saved in a profile's history with the timestamps declared in the imported file.
The configuration view contains a list of required parameters that must be included in the imported file.
Optionally, you may use enable automatic calculation of revenue. The system recognizes the items purchased within a specific transaction based on the order ID and multiplies the quantity of purchased items by the price of a single item piece. The result of the calculation is saved in the following parameters of the `transaction.charge` event: `revenue.amount` and `revenue.value`.
If you enable automatic calculation of revenue in the node configuration, the imported file doesn't have to include the `revenue.amount` and `revenue.value` columns. If the file includes these columns, the system will overwrite the values in these columns with its calculation.
## Requirements
---
- The file must include the following columns (case-sensitive):
- each transaction must have at least one of the following customer identifier columns: `client.email`, `client.id` `client.customid`, `client.uuid`
- `orderId`
- `paymentInfo.method`
- `products.finalUnitPrice.amount`
- `products.finalUnitPrice.currency`
- `products.name`
- `products.quantity`
- `products.sku`
- `revenue.amount`
- `revenue.currency`
- `value.amount`
- `value.currency`
Rows can be considered a single transaction only if all of the following conditions are met:
- they are adjacent to each other,
- have the same value of `orderId`,
- have the same value of `recordedAt` (if provided).
- This node must be preceded by one of the following nodes:
- [Local File](/docs/automation/operation/local-file-node)
- [SFTP](/docs/automation/integration/sftp-integrations)
- [HTTP](/docs/automation/integration/http-integrations)
## Node configuration
---
No configuration is required. However, optionally you can enable automatic calculation of the revenue:
1. Enable the **Calculate revenue** option.
2. In the **Product unit price** field, enter the name of the column (in the case of importing transactions from CSV file), or the name of the parameter that contains the price of a single piece of an item.
3. Confirm by clicking **Apply**.
## Example of use
---
You can launch a single import of transactional data to Synerise for a particular customer. The file used in this example contains transactions for one customer.
The file used in this example
The final configuration of the import transactions workflow
1. Start the workflow with the **Scheduled Run** node.
2. In the configuration of the node:
1. Set the **Run trigger** to **one time**.
2. Select the **Immediately** tab.
3. Click **Apply**.
3. Add the **Local File** node.
4. In the configuration of the node:
1. Upload the file with transactions.
2. Click **Apply**.
5. Add the **Import Transactions** node.
6. Add the **End** node.
# PostgreSQL
To simplify PostgreSQL integration, Synerise offers ready-made native integration with preconfigured settings, enabling easy data transfer between Synerise and your PostgreSQL database.
# Operation nodes explained
This is a collection of nodes which are meant to transfer and upload files as well as reuse the transformations. These nodes can be used only in workflows which are not based on a customer activity.
### Contents
# Slack
Slack is a communication tool that facilitates teamwork in many companies in the world. To make integration between Synerise and Slack even more convenient, we prepared a ready-made node with the configuration of sending a message to a Slack channel.
## Contents
# "Import Promotions" node
This node allows you to initiate import of promotions to Synerise. The imported promotions will be available **AI Hub > Regular Promotions** in the draft status.
The node doesn't require any further configuration - it contains a list of required parameters a file must contain to be imported.
## Requirements
---
The file must contain the following columns:
- `code` - ID of the promotion - it must be a string
- `redeemType` - defines whether a promotion is redeemed fully or partially. Accepted values: `FULL`, `PARTIAL`
- `headerName` - the name of promotion that will be displayed on the list of promotions in Synerise UI ( **AI Hub > Regular Promotions**)
- `name` - the name of the promotion visible to end-users
- `type` - the promotion type. Accepted values: `GENERAL`, `MEMBERS_ONLY`, `HANDBILL`, `CUSTOM`
These types correspond to the types you can select in Synerise UI while creating a promotion. You can find more information about them [here](/docs/ai-hub/promotions/creating-promotions-for-entire-basket#type--limits)
For more details about the required and optional columns you can go [here](https://hub.synerise.com/api-reference/loyalty-and-engagement#operation/CreateOrUpdateAPromotion).
## Node configuration
---
No configuration is required. However, this node must be preceded by one of the following nodes:
- [Local File](/docs/automation/operation/local-file-node)
- [SFTP](/docs/automation/integration/sftp-integrations)
- [HTTP](/docs/automation/integration/http-integrations)
## Example of use
---
You can launch an import of a promotion to Synerise which will be available for all your customers.
File used in this example
1. Start the workflow with the **Scheduled Run** node.
2. In the configuration of the node:
1. Set the **Run trigger** to **one time**.
2. Select the **Immediately** tab.
3. Click **Apply**.
3. Add the **Local File** node.
4. In the configuration of the node:
1. Upload a file with a promotion.
2. Click **Apply**.
5. Add the **Import Promotions** node.
6. Add the **End** node.
The final configuration of the import promotions workflow
7. Click **Save & Run**.
**Result**: When the worfklow is completed, the promotion will be available in **AI Hub > Regular Promotions**.
The imported promotion on the list of promotions
# "Filter rows" node
This node allows you to define rules which include or exclude specific rows from the file in result of the transformation. The **Filter rows** node is useful as a means of data cleaning to meet the requirements for data import for example.
In the settings of this node, you must select the columns whose rows will be filtered. You can do this by selecting the column names or you can create a condition (referred to as a _dynamic condition_ further in this article) that the column names must meet in order for the transformation to be performed on their values, for example, the column name must start with the letter "A".
Dynamic conditions are especially helpful when using a JSON file as a sample in the ["Data Input" node](/docs/automation/data-transformation-and-imports/transformations-and-data-operators/data-input). When a JSON file contains an object deeper than the root object, its items will be transferred to the Data Input node as separate columns named `{object}.{parameter}`. When choosing columns manually, you can't add those new columns from a JSON list to the transformation. Dynamic conditions can be set up to include those columns, for example by including columns whose name includes the name of the object they were created from.
## Node configuration
---
Filter rows operation on an example file
1. Double-click the **Filter rows** node.
2. Click **Add rule**.
2. Select one of the **Include** options, by clicking the icon next to **these**:
- **these** - the default; it lets you select the columns in which you want to filter rows. This option keeps the rows which match the condition you will define in the further steps.
- **all except these** - this option lets you check the condition (as defined later in the process) for all unselected columns. If the columns meet the condition, they will be retained; if not, they will be filtered out.
3. Select one of the following options:
- **Select column** - from the dropdown list, you can select the columns which will be included or excluded from the transformation.
- **Define conditions** - you can create a dynamic condition which column must meet to filter values; for this purpose, you can use logical operators such as contain, starts with, ends with, and so on.
You can't combine dynamic conditions with the **Include all except these** option.
For further instructions, select one of the tabs below, depending on the option you have chosen in step 4.
Select column option
4. From the dropdown list, select the first column whose values will be filtered.
5. To add more columns, click icon.
5. In the **Matching condition** field, using the following logical operators, define filter conditions. The filter will be applied to the selected columns and the values which meet the filter conditions will be kept.
- **Equal** - Select this option if you want to filter the values which are equal to the string you provide.
- **Not equal** - Select this option if you want to filter the values which are different from the string you provide.
- **Ends with** - Select this option if you want to filter the values which end with a character or sequence you provide.
- **Starts with** - Select this option if you want to filter the values which start with a character or sequence you provide.
- **Contain** - Select this option if you want to filter the values which contain a substring or character you provide.
- **Not contain** - Select this option if you want to filter the values which do not contain a substring or character you provide.
Define condition option
1. Select one of the following logical operators to define the conditions which column name must:
- **Ends with** - If a column name ends with a specified string, for example, `a`, then the operation will be performed on the columns whose names end with `a`.
- **Starts with** - If a column name starts with a specified string, for example, `pro`, then the operation will be performed on the columns whose name starts with `pro`.
- **Contain** - If a column name contains a specified string, for example `xyz`, then the operation will be performed on the columns whose name contains `xyz`.
- **Not contain** - If a column name doesn't contain a specified string, for example, `123`, then the operation will be performed on the columns whose names doesn't contain `123`.
- **Regex** - You can perform the operation on the column whose name matches the regular expression.
5. To add more conditions, click **Add rule**.
6. Repeat steps 2-4.
5. To define what happens if rows contain errors, select one of the options available in the [Error handling](#handle-errors) section.
### Handle errors
You can define what to do with failed values (for example, as a result of Jinja rendering or in other cases) in cells where data type modification failed.
In the **Handle incomplete data** section, select one of the following options:
- **Skip row if error occurred** - It omits the row when an exception occurs.
- **Skip if result is null or empty string** - It omits rows with empty strings and `null` (which may be the result of rendering Jinja)
- **Stop further transformation** - The transformation stops at the row with an error. The data before the line that caused the error is transformed (and imported if the transformation rule is used in the Data Transformation node).
- **Insert null if error occurred** - Wrong values are replaced with `null`. If you use such a transformation for the import of profiles, the existing value of an attribute is cleared and replaced with the `null` value.
- **Insert empty string if error occurred** - Wrong value is removed and the cell remains empty.
## Example of use
---
Let's assume you want to import a file with USA customers to Synerise, however, the file contains customers from all around the world. To prepare such a file for import, you can modify it by creating a data-transforming workflow that includes the **Filter rows** node.
Later on, you can use this data workflow in a workflow that imports selected customers.
Both stages (preparing data transforming workflow and a workflow that imports customers)
File used in this example
### Creating rules for modifying the file with customer data
1. Enter the name of the data transformation.
1. Start the data transformation workflow with the **Data Input** node. In the configuration of the node, upload the file with customers.
2. As the second node, add the **Filter rows** node. In the configuration of the node:
1. Click **Add rule**.
2. Leave the **Include** option at default (**Include these**).
3. From the dropdown list, select **Equal**.
4. Next to the dropdown list, in the text field, enter the name of the country. In this example, it's `USA`.
The configuration of the Filter rows node
5. Confirm by clicking **Apply**.
3. Add the **Data Output** node. In the settings of the node, you can see the outcome of the modification.
The outcome of the data transformation
4. Click **Save and publish**.
The final configuration of the data transformation workflow
**What's next**: You have created a workflow (data transformation) that contains the rules of transforming the file of a defined structure. The file used in the example contains a column with a unique identifier (in this case, `email`) which is required for importing customers, so it is possible to proceed to creating a workflow that uses this data transformation and imports the USA customers.
### Importing selected customers
5. Go to **Automation Hub > Workflows > New workflow**.
6. Enter the name of the workflow.
7. Start with the **Scheduled Run**. In the configuration of the node:
1. Set the **Run trigger** option to **one time**.
2. Select the **Immediately** tab.
3. Confirm the settings by clicking **Apply**.
8. Add the **Local File** node. In the configuration of the node, upload the original file which you used as input in the data transformation workflow.
9. Add the **Data Transformation** node. In the configuration of the node, from the dropdown list, select the [data transformation you prepared before](#creating-rules-for-modifying-the-file-with-customer-data).
10. Add the **Import Profiles** node. This node doesn't require configuration.
11. Add the **End** node.
The final configuration of the import profiles workflow
12. Click **Save and publish**.
# "Reorder columns" node
The **Reorder columns** node lets you change the order of the columns in a file.
By maintaining a standardized and consistent column order in the files, you ensure that the data can be easily exported into the inventory system without manual adjustments or errors.
This node can be used only with CSV files.
## Node configuration
---
1. To use this node in a data transformation rule, go to **Automation Hub > Data Transformation > New transformation**.
2. Click **Add input**.
3. Select the file you want to transform and confirm by clicking **Apply**.
You can find more information about adding input in the ["Data Input" node](/docs/automation/data-transformation-and-imports/transformations-and-data-operators/data-input) article.
4. Add the **Reorder columns** node.
5. Open its settings by clicking the node.
1. Click **Add rule**.
2. From the **Include** dropdown list, define if you want to create a rule which includes (the **these** option) the columns or excludes (the **all except these** option) the columns which meet the conditions defined in the rules.
The Include option
1. Select columns to include/exclude (according to the **Include** option from the step before) from reordering in one of the following ways:
- **Select column** - from the dropdown list, you can select the columns to be included or excluded from the transformation.
- **Add condition** - you can create a dynamic condition which columns must meet to be reordered; for this purpose, you can use logical operators such as contain, starts with, ends with, and so on.
You can't combine dynamic conditions with the **Include all except these** option.
For further instructions, select one of the tabs below, depending on the option you have chosen in step 3.
4. From the dropdown list, select the first column that will be moved to a different position.
5. To change the position of more columns, click icon.
Define condition option
1. Select one of the following logical operators to define the conditions which the column name must meet:
- **Ends with** - The column name must end with the phrase you enter.
- **Starts with** - The column name must start with the phrase you enter.
- **Contain** - The column name must contain the phrase you enter.
- **Not contain** - The column name can't contain the phrase you enter.
- **Regex** - The column name must match the regular expression you enter.
2. From the **Move columns** dropdown list, select one of the options below.
If more than one column is selected/meets the rule, the columns will be in an order of adding it to the conditions, see [example of use](#example-of-use).
- **To the beginning** - Selected columns/Columns which meet the conditions will be moved to the beginning of the file (far left).
The original position of the column in an example file
The column reordered according to the To the beginning option
- **To the end** - Selected columns/Columns which meet the conditions will be moved to the end of the file (far right).
The original position of the column in an example file
The column reordered according to the To the end option
- **Before column** - Selected columns/Columns which meet the conditions will be placed immediately before (to the left) the selected column.
The original position of the column in an example file
The column changes its place before the email column
- **After column** - Selected columns/Columns which meet the conditions will be placed immediately after (to the right) the selected column.
The original position of the column in an example file
The column reordered according to the After column option
- **To position** - Selected columns/Columns which meet the conditions will be moved according to the position you indicate by a number.
The original position of the column in an example file
When you set the position to **0**
The column reordered according to the To position option
When you set the position to **1**
The column reordered according to the To position option
When you set the position to **2**
The column reordered according to the To position option
3. To add more rules, click **Add rule**, and repeat steps 2-4.
Rules are joined with the **AND** logical operator.
5. Confirm by clicking **Apply**.
### Handle errors
You can define what to do with failed values (for example, as a result of Jinja rendering or in other cases) in cells where data type modification failed.
In the **Handle incomplete data** section, select one of the following options:
- **Skip row if error occurred** - It omits the row when an exception occurs.
- **Skip if result is null or empty string** - It omits rows with empty strings and `null` (which may be the result of rendering Jinja)
- **Stop further transformation** - The transformation stops at the row with an error. The data before the line that caused the error is transformed (and imported if the transformation rule is used in the Data Transformation node).
- **Insert null if error occurred** - Wrong values are replaced with `null`. If you use such a transformation for the import of profiles, the existing value of an attribute is cleared and replaced with the `null` value.
- **Insert empty string if error occurred** - Wrong value is removed and the cell remains empty.
## Example of use
In the following example, we will organize columns in a file so email, name, surname columns will be at the beginning of the file.
The initial state of the file is as follows:
1. As the first node, add **Data Input**.
2. In the configuration of the node, upload a file on which you want to perform data transformation.
3. As the next node, add **Reorder columns**.
4. In the configuration of the node:
1. Click **Add rule**.
2. Leave the **Include** option at default (**these**).
3. Click **Select columns**. From the dropdown list, select the columns in the preferred order, in this case it will be: **email**, **name**, **surname**.
Selected columns
4. Set **Move columns** option to **To the beginning**.
**Result**:
Output of the transformation
5. Confirm the settings by clicking **Apply**.
# Snowflake
To make integration with Snowflake even more convenient, we prepared a ready-made node for configuring the most popular action between Synerise and Snowflake.
## Contents
# "Send Email" node
The **Send Email** node allows you to communicate with your customers through emails based on events and other conditions defined in a workflow.
When a workflow that contains this node is launched, an email campaign is created as a result. You can find its statistics in the **Experience Hub** as well as in the **Send Email** node itself.
The configuration of the node requires:
- selecting an email account from which the message will be sent,
- selecting an email template or creating a new one from scratch,
- defining the subject of the email (which displays in the recipient's inbox)
Optionally, you can:
- define UTM parameters, URL parameters, custom parameters;
- send a test email,
- add static attachments (for example, terms and conditions, instructions, and so on) which do not contain dynamic elements generated for an individual customer,
- add [dynamic attachments](#dynamic-attachments) (for example, documents dedicated for an individual customer)
- Allowed formats: `.png`, `.jpg`, `.pdf`
- Maximum size of all attached files in the **Send Email** node is 10MB
- Allowed size of attachments in a workflow: 20MB
## Dynamic attachments
---
Dynamic attachments is a feature that lets you send tailored attachments through emails to each customer.
### Providing dynamic attachment to Synerise
To be able to send dynamic attachments by means of the **Send Email** node, you must integrate your system that generates files dedicated to customers and upload them to Synerise through the [Synerise API](https://hub.synerise.com/api-reference/asset-management#operation/addClientFiles) (with content encoded in base64).
When the request is successful, an [`attachment.upload`](/docs/assets/events/event-reference/automation#attachmentupload) event is generated in the context of a specific customer. While decoding the file or files, they are scanned to detect any malicious content. The file time to live is configurable and by default it is 30 days.
### Adding a file to the workflow
To use a dynamic file or files uploaded to Synerise, you must use an [`attachment.upload` event](/docs/assets/events/event-reference/automation#attachmentupload) and its parameters to specify an event from which the file or files will be sourced. If the [`attachment.upload` event](/docs/assets/events/event-reference/automation#attachmentupload) contains more than one file, all of them will be included.
1. Use the [`attachment.upload` event](/docs/assets/events/event-reference/automation#attachmentupload) in a workflow (for example, in the **Profile Event** trigger).
2. In the settings of the node that contains this event:
- enter a unique title
- by using the event parameters, identify a specific event from which you want to source the file/files.
There is no possibility to select specific files out of the event.
4. Add the **Send Email** node to the workflow. In the configuration of the node, from the **Dynamic attachment** dropdown list, select the node from which the dynamic file/files will be sourced.
All files from the [`attachment.upload` event](/docs/assets/events/event-reference/automation#attachmentupload) in the selected node will be attached.
List of nodes from which the attachment can be sourced
### Event information
To see the event reference related to attachment upload events, click [here](/docs/assets/events/event-reference/automation).
- When the file is uploaded to Synerise, an [`attachment.upload` event](/docs/assets/events/event-reference/automation#attachmentupload) is generated on the customer's profile.
- You can send several requests with a single file or one request with up to 5 files.
In the case of sending several files in one request, the order of the files matter.
- On the user interface, the attachment parameter names will be preceded by the `attachment.[number].` prefix.
- You can add your own custom parameters in the request body which will let you easily indicate a particular file you want to use.
- When the request for uploading the file or files to Synerise is unsuccessful, the [`attachment.failed` event](/docs/assets/events/event-reference/automation#attachmentfailed) is generated on the customer's profile.
- When the file expires, the [`attachment.expired` event](/docs/assets/events/event-reference/automation#attachmentexpired) is generated on the customer's profile.
Click here to expand the attachment.upload event raw data with one file
## Node requirements
---
- [Create an email account](/docs/campaign/e-mail/configuring-email-account) which you will use to send emails.
More details about configuring and managing emails are available in ["Email"](/docs/campaign/e-mail).
- If you plan to use [dynamic attachments](#dynamic-attachments) to your emails, you must prepare a service that generates files encoded in base64 and send them to this [endpoint](https://hub.synerise.com/api-reference/asset-management#operation/addClientFiles). These files cannot be protected with a password.
## Node configuration
---
1. To create a workflow that lets you send emails to your customers, go to **Automation Hub > Workflows > New workflow**.
2. Select one of the profile trigger nodes, for example [Profile Event](/docs/automation/triggers/client-event-node).
3. Click **THEN > Send Email**.
4. To open the configuration form of the node, click it.
5. Optionally, next to the node name, you can add a custom node title which will be displayed on the node.
6. If you want to assign a tag to the email campaign you will send through the workflow, under the node title, click **Add tag**.
7. From the dropdown list, select the [tag](/docs/assets/tags).
The list contains only the tags which are available in the predefined **campaigns** tag folder.
Assigning tags helps you organize your communications by categorizing campaigns across different channels. Additionally, you can control [communication limits](/docs/settings/configuration/campaign-limits) by applying restrictions to these tags.
### Select sender account
---
In this part of the node configuration, you will define the email account from which the message will be sent and define the email address to which the recipients can send replies.
In the **Sender details** section, choose the sender type:
- **Fixed sender** — sends the email from a single selected account.
- **Dynamic sender** — sends the email from different accounts based on each recipient's profile attributes, using a Brickworks schema. For more information on how dynamic sender works, see [Dynamic email sender](/docs/campaign/e-mail/dynamic-email-sender).
#### Fixed sender
The Sender Details section with Fixed sender selected
1. In the **Sender details** section, select **Fixed sender** and perform the following actions:
1. In the **From email address**, from the dropdown list, select an email account from which the email is sent.
2. In the **From name**, enter the name of the sender that is displayed in the inbox.
3. In the **Reply to email address**, enter the email address to which the responses to the email are delivered. [Dynamic values](/developers/inserts) are allowed in this field.
4. In the **Reply to name**, enter the name of the receiver of responses. [Dynamic values](/developers/inserts) are allowed in this field.
2. Confirm the settings in this section by clicking **Apply**.
#### Dynamic sender
1. In the **Sender details** section, select **Dynamic sender** and:
1. In the **Schema** field, select the Brickworks schema that maps profile attribute values to sender accounts. For instructions on creating the schema, see [Dynamic email sender](/docs/campaign/e-mail/dynamic-email-sender).
2. Optionally, fill in the following fields to override the default settings of the assigned sender accounts:
- **From name** — the sender name displayed in the recipient's inbox.
- **"Reply to" email address** — the email address to which replies are delivered.
- **"Reply to" name** — the name associated with the reply-to address.
If you leave these fields blank, the original settings of each sender account defined in the schema are used.
2. Confirm the settings in this section by clicking **Apply**.
### Prepare email content
---
In this part of the node configuration, you will define the email subject that will be displayed in the recipient's inbox and create the content of the message.
The Content section in the Send Email node
3. In the **Content** section, click **Define**.
1. In the **Subject** field, enter the subject of the email that is shown in the inbox.
2. Optionally, by clicking you can select a [snippet](/docs/assets/snippets) which will let you personalize the message subject.
2. If you want to:
- Select an email template, click **Create message**. From the list of the templates, select the one you want to use.
- If you make changes to the template, click **Save** and then **Use in node**.
- If you don't make changes to the template, click **Use in node**.
- Create a message from scratch, click **Create message > New template**. The template will be available only in this node for preview and modifications.
1. Select one of the builders you want to use to create a message: [email template builder](/docs/campaign/e-mail/creating-email-templates/email-code-editor) or [basic drag&drop builder](/docs/campaign/e-mail/creating-email-templates/creating-custom-html-block-basic-builder). You can also [import email templates](/docs/campaign/e-mail/importing-email-templates) to an email builder.
2. After finishing the template, click **Use in node**.
After the node is configured, the name of the selected template is displayed directly on the node. To preview the template without opening the node settings, click the eye icon on the node. If the template was created directly in the node settings, the ID of the inplace content is displayed on the node instead of the template name.
2. Confirm settings in the section by clicking **Apply**.
### Adding attachments
---
In this part of the node configuration, you will add a static attachment or a [dynamic attachment](/docs/automation/actions/send-email#dynamic-attachments). This part is optional.
1. In the **Attachment** section, click **Define**.
2. To add a static attachment, in the **Attachment** field, upload a file from your device.
This file will be sent with the email when a profile arrives at this node.
5. To add a dynamic attachment, from the **Dynamic Attachment** dropdown list, select the title of the node from which this file will be sourced.
The list will be empty if there is no reference to an [`attachment.upload` event](/docs/assets/events/event-reference/automation#attachmentupload) in any preceding node and/or the node with this event has no title.
3. Confirm by clicking **Apply**.
### Adding UTM and URL parameters
---
In this part of the node configuration, you will define UTM and URL parameters that will be added to the email campaign launched with the start of the workflow. This part is optional.
The UTM & URL parameters section in the Send Email node
4. In the **UTM & URL parameters** section:
- To omit this step, click **Skip step**. Otherwise, you won't be able to save the workflow with this empty section.
- To add UTM and/or URL parameters, click **Define**.
1. Fill in the following fields: **UTM campaign**, **UTM medium**, **UTM source**, and **UTM term**.
2. To add URL parameters, in the **URL parameters** section, click **Add parameter**.
3. Enter values for the **Parameter** and **Value** fields.
2. Confirm by clicking **Apply**.
### Adding additional parameters
---
If you want to add the custom event parameters with constant values to the automatically generated events in the email channel, in the **Additional parameters** section, click **Define**. Add additional parameters according to the instructions in the ["Adding custom parameters"](/docs/campaign/e-mail/creating-email-campaigns#adding-custom-parameters) section.
This part is optional.
### Sending a test email
---
In this part of the node configuration, you can send a test email to users available in [Behavioral Data Hub](/docs/crm/crm-profile) or any external email address. This part is optional.
The **View in browser** option is unavailable in the test emails sent through Automation Hub.
1. In the **Test email** section, click **Define**.
2. In the **Profiles** tab, enter the email address(es) to which you want to send a test message.
3. Click **Add**.
**Result**: The list of email addresses you added is shown.
When you send a test message to a test user who is not added to **Behavioral Data Hub > Profiles** in Synerise, the [inserts](/developers/inserts) will not display in the message.
4. When your message is ready to be sent, in the upper right corner of the section, click **Send test**.
### Defining additional node settings
---
4. To impose a limit on the action, switch the **Action limit** toggle. Enter a number and from the dropdown list, select the time unit. You can define how many times this action can be executed for the whole automation process (**workflow**), or you can define how many times per second/minute/hour/day/week/month can be executed.
4. If you want to make sure that this message is sent to a customer, even it exceeds the global limit of this type of messages for a single customer per day (more information is available [here](/docs/settings/configuration/campaign-limits)), enable the **Ignore limits** toggle. You may apply it to system messages such as a transaction confirmation, notifications about order delays, and so on.
3. If you want to exclude customers who belong to [global control group](/docs/settings/configuration/global-control-group) from the recipients, enable the **Enable Global Control Group** option.
7. Confirm by clicking **Apply**.
## Example of use
---
The purpose of the scenario is to control the number of vouchers granted to users who spend over $100 in an online shop. If the number of vouchers is exceeded, future customers who spend more than $100 get an email with information that the promotion has finished.
Example of an automation process that uses the Send Email action
1. The scenario starts with a **Profile Event** trigger in which the required transaction amount is more than $100.
2. The [Metric Filter](/docs/automation/conditions/metric-filter-node) contains a metric that counts the number of emails with a discount code. The maximum value defined in the condition is 1000.
3. When the customer makes a purchase:
1. If the value defined in the condition is not exceeded, the customer follows the path in which the email with voucher code is sent.
2. If the value defined in the condition is exceeded, the customer receives an email with information that the voucher pool just run out.
4. When an email is sent, the process is completed.
## Example of use with dynamic attachment
---
The purpose of the scenario is to trigger a workflow when an insurance document is generated for a specific customer. Then the email is sent with the generated insurance document for this customer.
1. Start with the **Profile Event** node. In the configuration of the node, select the `attachment.upload` event. Specify the file you want to attach by using the event parameters.
2. Add the **Send email** node. In the configuration of the node:
1. Fill out the configuration form as described in the [Node configuration](#node-configuration).
2. From the **Dynamic attachment** dropdown list, select the title of the node from which the file will be sourced.
3. Add the **End** node.
**Result**:
Example workflow
# "Scheduled Run" node
The **Scheduled Run** node lets you define the time and date of launching your workflow, providing flexible control over when your processes start. You can specify not only a single point in time for immediate or scheduled execution, but also configure recurring triggers that launch the workflow repeatedly at custom intervals you define.
This node is intended for business-oriented workflows, often involving processes or system actors. This makes the node particularly useful for scenarios requiring ongoing automation, such as integrations, data imports, and exports.
Additionally, you can select the timezone in which the scheduled date and time are interpreted, ensuring that your workflows run accurately according to your regional or business time requirements. Whether you need to run a workflow once immediately, schedule it for a future date, or set up a recurring schedule (for example, every hour, daily, or weekly), this node offers the flexibility to tailor execution timings precisely to your needs.
This versatility makes the **Scheduled Run** trigger node ideal for automations that must align with time-sensitive business processes, data synchronization tasks, or any use case where consistent, scheduled execution is critical.
## Node configuration
---
1. Go to **Automation Hub > Workflows > New workflow**.
2. Click the node.
**Result**: A pop-up opens.
3. Select one of the following options:
- **Run once** - It's the default option. This option lets you launch the workflow only once immediately or at the date defined in the settings of the node.
- **Repeat runs** - It lets you set the workflow to be launched repeatedly at the frequency defined in the settings of the node.
For further instructions, select one of the tabs below:
The Run once option selected
1. Select one of the options:
- **Immediately** - It allows you to launch the workflow at once after clicking **Save & Run**.
- **Scheduled** - It allows you to pick the date when the workflow will be launched.
2. Only for **Scheduled**:
1. From the **Timezone** dropdown, select the timezone.
2. In the **Activate date** field, select a date on the calendar and the exact time.
3. Confirm by clicking **Apply**
The All time option on
1. From the **Timezone** list, select the time zone.
2. Select one of the following tabs:
- **Everyday** - It lets you launch the workflow every day at the defined time.
- **Every week** - It lets you select the week days and the exact time when the workflow is launched.
- **Every month** - It lets you define the days of the month and the exact time, when the workflow is launched. The workflow is repeated every month on the defined day(s) at the selected time.
- **Interval** - It lets you define a custom frequency of triggering the node and define the date and time when the interval begins (at this date and time the node is triggered for the first time).
3. If you want to put a limit on the repetitions, enable **Limit repetitions** and enter the maximum number of allowed repetitions.
When you select a day that does not exist in a month (for example, February 30th or September 31st), the workflow will not trigger that month.
| | 29th | 30th | 31st |
|-----------|----|----|----|
| February | * | | |
| April | | | |
| June | | | |
| September | | | |
| November | | | |
`*`- It doesn't concern leap years
## Example of use
---
In this example, you schedule the workflow launch to send alerts with metric results from Synerise to a Slack channel.
Configuration of the workflow that sends alert messages based on the metric results to a Slack channel
This workflow includes the following nodes:
1. The node that launches the workflow periodically (**Scheduled Run**), in this example it is everyday at 7.00 A.M
2. The node that sends a webhook to a Slack channel with a message that contains the metric results
3. The finishing node
The full instructions on how to implement this use case are available [here](/use-cases/slack-integration).
# "Get Profiles" node
This node allows you to get the data of a selected group of customers. This allows you to create workflows in which the system retrieves the data of the selected customer groups at defined frequency, then you can edit the retrieved data by using [data transformation](/docs/automation/data-transformation-and-imports/introduction) (for example, change the value of `newsletter_agreement` from `enabled/disabled` to `true/false`) and send such modified data further, for example to an external server using the SFTP protocol.
### Scope of retrieved data
- [Aggregates](/docs/crm/aggregates) - You can retrieve the values of the selected aggregates.
- [Attributes](/docs/crm/customer-properties) - You can retrieve the values of profile attributes (such as newsletter agreement, first name, last name, date of birth, size) and check if selected [profile tags](/docs/crm/customer-tag) are assigned to the profile.
- [Expressions](/docs/crm/expressions) - You can retrieve the values of the selected expressions.
- [Segmentations](/docs/analytics/segmentations) - You can retrieve information if a profile belongs to the selected segmentations.
| Retrieved data types | Output in the exported file |
|----------------------|---------------------------------------------------------------------------------------------------------------------------------------------------------------------------------------------------------------------------------------------|
| Aggregates | When you choose an aggregate in the node, a new property is added to a file for export with that aggregate's name. Each aggregate property shows the aggregate value for each profile. **Example**: You select an aggregate with the Last purchased item title in the node configuration, the output of this aggregate in the exported file will be as follows: - For `.JSON` files `"Last purchased item": "Sneakers EY0934"`, - For `.CSV` files: A column with `Last purchased item` and row with `Sneakers EY0934` where: - `Last purchased item` is the title of the aggregate, - `Sneakers EY0934` is the value of the aggregate. |
| Attributes | Each attribute creates an property with the value of this property. |
| Expressions | When you choose an expression in the node, a new property is added to a file for export with that expression's name. Each expression property shows the expression value for each profile. |
| Segmentations | When you select a segmentation in the node, a new property is added to a file for export with that segmentation's name. Each segmentation property displays a true or false value which states whether a profile belongs to the segmentation (true) or not (false). |
| Tags | When you select a tag in the node, a new property is added to a file for export with that tag's name. Each tag property displays a true or false value which states whether a profile is assigned with this tag (true) or not (false). |
### Dynamic keys in attributes
---
If analyses selected in the node contain at least one dynamic key, the name of the keys with their default values are displayed in the configuration of the node.
- In the configuration of the **Get Profiles** node, you can enter values for the dynamic keys to use in the calculation.
- You can use static values, [snippets](/docs/assets/snippets) and [inserts](/developers/inserts) as dynamic key values.
- If multiple analyses include a dynamic key with the same name, it's included as a single item on the list. All analyses which contain that dynamic key will be calculated for the specified value.
- If an analysis is modified and the dynamic keys change, the results will be generated for the most recent version. If there is a difference between the keys in the node and the latest analysis version, you will receive information about it in the **Insights** section in the workflows which use this analysis.
The marked area on the screen presents the dynamic key value selected in a metric condition. In this example the $sku parameter must be equal to the value of the id dynamic key (default is 12345678)
### Limits
---
- You can only use a segmentation which contains up to 10,000,000 profiles. If the selected segmentation exceeds the limit at the moment of launching the workflow or triggering the node, an error is logged.
- You can use up to 10 attributes with dynamic values.
- You can use up to 100 attributes with static values.
- These limits apply per a single node and the limits do not combine.
### Recommendations
---
Make sure your attributes have unique names. If you select two attributes with the same name, for example, 2 aggregates: `Last purchased item`, the exported file will contain two properties with the following names:
- `Last purchased item`,
- `Last purchased item1`
## Prerequisites
---
- To be able to retrieve values of [aggregates](/docs/crm/aggregates), [attributes](/docs/crm/customer-properties), [expressions](/docs/crm/expressions), [profile tags](/docs/crm/customer-tag), and [segmentations](/docs/analytics/segmentations), they must exist before you open the node for editing.
- You must be assigned a user role with an **Export profiles** permission within Data export (read, execute, edit)
## Node configuration
---
A blank form in the Get Profiles node
1. Click the node.
2. Select profiles whose data you want to export. You can do it in the following ways:
Select all recognized profiles
Click the Everyone tab. No further configuration is needed.
There is a limit of 10,000,000 records and the file cannot exceed 5GB.
Select profiles who belong to specific segmentations
To select profiles who belong to specific segmentations, click the Segments tab.
Click Select segments.
On the pop-up, next to the segmentations you want to include in the export, select the checkbox.
Confirm your choice by clicking Apply.
Define conditions the profiles must meet to be included in export
To define the conditions profiles must meet to be included in the export, click the Filter profiles tab.
Click Define conditions.
On the pop-up, click Add condition.
You can build conditions based on events, profile attributes, expressions, aggregates, segmentations, and tags. You can read more about building conditions in Filtering.
Confirm the conditions by clicking Apply.
3. To add attributes and profile tags whose values you want to retrieve, under **Attributes values**, click **Select attributes**.
- Each attribute is exported as a property with an assigned value.
- Each selected tag creates a property with its name. They can be assigned a `true` or `false` value;
- `true` if a profile is assigned with the selected tag,
- `false` if they aren't.
4. On the pop-up, select the attributes and profile tags.
5. To select expression values you want to retrieve, under **Expressions values**, click **Select expressions**.
4. On the pop-up, select the expressions whose values you want to extract.
5. To select aggregate values you want to retrieve, under **Aggregate values**, click **Select aggregates**.
4. On the pop-up, select the aggregates whose values you want to extract.
5. To check if a profile belongs to selected segmentations, under **Segmentations**, click **Select segmentations**.
Each selected segmentation creates a property with its name. These properties can be assigned a `true` or `false` value;
- `true` if a profile is belongs to the segmentation,
- `false` if they don't.
4. On the pop-up, select the segmentations which you want to check.
5. Confirm the configuration by clicking **Apply**.
## Example of use
---
In this example, you can select a group of customers and their attributes to pass it further to the external resource (for example, Azure) by using HTTP protocol.
Final workflow configuration
1. Add the **Scheduled Run** node.
2. In the configuration of the node, set it to **immediately**.
3. Add the **Get Profiles** node.
4. In the configuration of the node:
1. Select a segmentation of customers.
2. Select the attributes to be extracted.
3. Confirm by clicking **Apply**.
5. Click **THEN**, from the dropdown list, select **HTTPS > Send File**.
6. In the configuration of the node:
1. Select the authentication method.
- If no connections are available or you want to create a new one, see Add connection.
- If you selected an existing connection, proceed to defining the integration settings.
2. Select the method.
3. Enter the **URL** of the endpoint.
4. Select the format of the file.
5. **Only for CSV files**, verify the following fields: **Delimiter**, **Quotation mark**, **Escape character**, **Charset**, **Line ending**.
6. If required, enter the headers.
7. Confirm by clicking **Apply**.
7. Add the **End** node.
# TrustMate
To make integration with TrustMate even more convenient, we prepared ready-made nodes with the configuration of the most frequently conducted actions between Synerise and TrustMate.
## Contents
# "Regex Replace" node
If you need to collectively edit values in the columns, you can use **Regex Replace** node. It allows you to replace a group of values that share the same pattern with a new value or just a part of the value.
In the settings of this node, you must select the columns from which the values will be edited. You can do this by selecting the column names or you can create a condition (referred to as a _dynamic condition_ further in this article) that the column names must meet in order for the transformation to be performed on their values, for example, the column name must start with the letter "A".
Dynamic conditions are especially helpful when using a JSON file as a sample in the ["Data Input" node](/docs/automation/data-transformation-and-imports/transformations-and-data-operators/data-input). When a JSON file contains an object deeper than the root object, its items will be transferred to the Data Input node as separate columns named `{object}.{parameter}`. When choosing columns manually, you can't add those new columns from a JSON list to the transformation. Dynamic conditions can be set up to include those columns, for example by including columns whose name includes the name of the object they were created from.
## Node configuration
---
Edit values which match regular expression operation on an example file
1. Click **Add rule**.
2. Select one of the **Include** options, by clicking the icon next to **these**:
- **these** - the default; it allows you to select the columns that will be considered.
- **all except these** - this option let you apply the changes to all values which match a regular expression except those in the columns you select.
3. Select columns to include/exclude (according to the **Include** setting above) in one of the following ways:
- **Select column** - from the dropdown list, you can select the columns for the transformation or to exclude them from it.
- **Define conditions** - you can create a dynamic condition which column must meet to edit their values; for this purpose you can use logical operators such as contain, starts with, ends with, and so on.
You can't combine dynamic conditions with the **Include all except these** option.
For further instructions, select one of the tabs below, depending on the option you have chosen in step 3.
4. From the dropdown list, select the column whose values will be edited.
5. To add more columns, click icon.
1. Select one of the following logical operators to define the conditions which column name must:
- **Ends with** - If a column name ends with a specified string, for example, `a`, then the operation will be performed on the columns whose names end with `a`.
- **Starts with** - If a column name starts with a specified string, for example, `pro`, then the operation will be performed on the columns whose name starts with `pro`.
- **Contain** - If a column name contains a specified string, for example `xyz`, then the operation will be performed on the columns whose name contains `xyz`.
- **Not contain** - If a column name doesn't contain a specified string, for example, `123`, then the operation will be performed on the columns whose names doesn't contain `123`.
- **Regex** - You can perform the operation on the column whose name matches the regular expression.
5. In the **Regular expression** field, enter the regular expression.
Regular expression configuration form
6. From the **Replace** dropdown list, select one of the options:
- **Matching pattern** - only the part of the value which matches the regular expression is replaced.
- **Entire value in the cell** - the entire content of the cell is replaced.
7. From the **with** dropdown list, select the method of replacing the matching fragment or entire value in the cell:
- **Static value** - when you select this option, all values in matching cells are replaced with the string entered in the **Type value** field.
If you choose the **Static value** option and leave the **Type value** field empty, the values in the column will be replaced with empty strings.
- **Dynamic value** - This option replaces the original value according to the logic expressed by a [Data transformation insert (Jinja)](/developers/inserts/imports). The use of custom Jinja tags (for example, referring to customer attributes, aggregates, expressions, and so on) is not possible. For example, using the following insert: `{{ root["name"]|replace("Bob", "Robert") }}` transforms all occurrences of `Bob` in the `name` column into `Robert` - only the part of the value which matches will be replaced.
- **No value** - when you select this option, all values in matching cells are removed and the cells remain empty.
If you choose the **No value** option, the values in the column will be null. It means that if you use this transformation for importing profiles and a corresponding attribute exists, it will be deleted.
- **UUID** - when you select this option, all values in matching cells are replaced with a randomly generated UUID v4 (unique for each row).
- **Current date** - when you select this option, all values in matching cells are replaced with the current date (the date and time are generated on an ongoing basis during the transformation). You can select the timezone and [date format](#current-date-option).
5. To add more rules, click **Add rule** and repeat steps from 2 to 7.
You can preview the results in the **Output data** tab.
6. To define what happens if rows contain errors, select one of the options available in the [Error handling](#handle-errors) section.
7. Click **Apply**.
### Current date option
Using the **Current date** option, you can enrich your data with a dynamically injected date and time which can be used, for example, to build an event salt.
To define a rule with **Current date**:
1. Select a timezone.
2. Select one of the available formats:
* ISO (for example 2022-10-05T05:55:16.786596Z)
* Timestamp (for example 1664949342323)
* MMM d, YYYY (for example Oct 5, 2022)
* MMM d, YYYY, HH:mm:ss (for example Oct 5, 2022, 05:57:14)
* YYYY-MM-dd HH:mm (for example 2022-10-05 05:57)
* Custom - you can create [your own date and time format](#custom-date-format).
#### Custom date format
You can use the following elements to build a custom format. The example values use October 05, 2022 as the date.
* MMM - name of month (Oct)
* MM - number of month (10)
* DD - day of year (278)
* dd - day of month (05)
* YYYY - year (2022)
* YY - year (22)
### Handle errors
You can define what to do with failed values (for example, as a result of Jinja rendering or in other cases) in cells where data type modification failed.
In the **Handle incomplete data** section, select one of the following options:
- **Skip row if error occurred** - It omits the row when an exception occurs.
- **Skip if result is null or empty string** - It omits rows with empty strings and `null` (which may be the result of rendering Jinja)
- **Stop further transformation** - The transformation stops at the row with an error. The data before the line that caused the error is transformed (and imported if the transformation rule is used in the Data Transformation node).
- **Insert null if error occurred** - Wrong values are replaced with `null`. If you use such a transformation for the import of profiles, the existing value of an attribute is cleared and replaced with the `null` value.
- **Insert empty string if error occurred** - Wrong value is removed and the cell remains empty.
## Example of use
---
You can replace the part of the domain in the email addresses of your customers - from `.com` to `.co.uk`. You can use this transformation in the further processes, for example, in importing customers to Synerise.
Example of use
1. Start the transformation with the **Data Input** node.
2. Click the node.
3. Upload a file on which you want to perform data transformation.
4. Add the **Regex Replace** node and join it with the **Data Output** node.
5. In the configuration of the **Regex Replace** node:
1. Click **Add rule**.
2. Select **Include these**
3. Select the column with email addresses.
4. In the **Expression** field, enter `(.com)`
5. From the **Replace** dropdown list, select **Matching pattern**.
6. In the **Value** field, enter `.co.uk`
Changes applied
7. Click **Apply**.
8. Add the **Data Output** node.
9. Join the node with the **Regex Replace** node.
# Flow nodes explained
This type of building nodes is meant to help users arrange automation in terms of its flow organization.
## Content
# "Business Filter" node
The Business Filter allows users to control the circumstances in which a workflow can continue. The filter uses data received from external sources thanks to incoming integrations. The capabilities of this node let users build advanced dependencies inside the node, which must be met for the workflow to continue.
Customer-oriented nodes cannot be used in an automation triggered by a business-oriented node.
## Prerequisites
---
Prepare the [Incoming webhook integration](/docs/automation/integration/incoming-webhook-node).
## Node configuration
---
Configuration of the Business Filter node
1. Click the pencil icon on the **Business Filter** node.
**Result**: A pop-up opens.
4. In the **Integration** section, you can select the properties of data received through an [incoming integration](/docs/automation/integration/incoming-webhook-node).
You can use this node in the workflows that start with the **Business Event** node. You can narrow down the conditions of the Business Filter by referring to the parameters of any incoming integration.
1. Click **Choose**.
**Result**: A dropdown list opens.
2. Select one of the integrations available on the list.
3. To select a parameter, click **+ where**.
**Result**: The **Choose** button appears.
4. Click **Choose**.
5. From the dropdown list, select one of the parameters which are sent to Synerise.
The list of available parameters is a result of sending the test request while creating the **Incoming integration**. If there are some parameters missing, go back to the integration in the **Incoming** section and send a request once again. More info on Incoming integration is available [here](/docs/automation/integration/incoming-webhook-node).
6. To define the type of value of the parameter and the value itself, click the **Choose operator** button.
7. Select the [type of value](/docs/analytics/i_events-parameter-operators).
8. Enter the value.
9. To add more parameters, repeat steps from 3 to 8.
5. Confirm by clicking **Apply**.
## Example of use
---
You started a promotional action for a specific stock of items. To monitor the number of items, you can build a workflow that integrates your product database.
Business Filter example of use
The workflow is activated every 20 minutes by an incoming webhook that sends information about the current stock state. Then, you get an email alert when there is fewer than 1000 items of a particular product in stock. When you have fewer than 100 items, you will get a SMS alert.
1. Prepare an incoming integration that sends information from your product database to Synerise. You can find more info [here](/docs/automation/integration/incoming-webhook-node).
Make sure to pass the parameter that signifies the number of items available in the stock
2. After you create the incoming integration, go to **Automation Hub > Workflows > New workflow**.
3. Start the workflow with a **Business Event**.
4. In the settings of the node, select the integration you created in step 1.
5. Select the parameter that signifies the number of items available in stock. Define the range - for example it can be fewer than 1000 items, but more than 100.
Configuration of the Business Event node
6. Add **Email Alert**. When there are fewer than 1000 items, but more than 100 items in stock, you will get an email.
7. In the settings of the node, select the email template and the sending account from which this email will be sent.
You can read more about [creating sending accounts](/docs/campaign/e-mail/configuring-email-account) and [creating email templates](/docs/campaign/e-mail/creating-email-templates).
8. Add **Business Filter** which stops the workflow unless the number of items is below 100:
9. In the settings of the node, select the integration you created in step 1.
2. Set the value of the parameter that signifies the number of items to less than 100.
Configuration of the Business Filter node
10. Add an **SMS Alert**. which sends a reminder that the product is almost out of stock and you can either change communication or finish the promotional action
11. In the settings of the node, select the account from which the SMS is sent.
12. Select the template of the message.
12. Finish the workflow with the **End** node.
# "Encrypt Data" node
The **Encrypt Data** transformation lets you encrypt values in selected columns of a dataset. It enhances data security and confidentiality by encrypting sensitive information with AES-256 key using AES-GCM mode that is unreadable without the proper decryption key.
To decrypt the data, you can use the [**Decrypt data** node](/docs/automation/data-transformation-and-imports/transformations-and-data-operators/decrypt-data) or an external tool.
By using this transformation, you can safeguard your data and comply with privacy regulations while maintaining the integrity of your dataset.
## Requirements
---
- You must have a user role with the following permission: **Settings > Encryption keys > Read** - To preview list of encryption keys, preview list of encryption keys in Encrypt Data and Decrypt Data nodes in Data Transformation;
- [Add an encryption key in Synerise](/docs/settings/data-exchange-encryption)
- Your decryption tool/program must support the Synerise encryption format: `base64encode([IV] + [Encrypted Text] + [Authentication Tag])`, where `IV` is the initialization vector used to initiate the encryption algorithm and `Encrypted Text` is the result of an AES-GCM algorithm with a 256-bit secret.
## Node configuration
---
1. Click the **Encrypt Data** node.
2. Click **Add rule**.
3. Select one of the **Include** options, by clicking the icon next to **these**:
- **these** - the default; it lets you select the columns in which you want to encrypt data.
- **all except these** - this option lets you select the columns in which you do NOT want to encrypt data. Values from the other columns will be encrypted as defined in the further steps.
3. Select columns to include/exclude (according to the **Include** setting above) in one of the following ways:
- **Select column** - from the dropdown list, you can select the columns to be included or excluded from the transformation.
- **Add condition** - you can create a dynamic condition which columns must meet to encrypt their values; for this purpose, you can use logical operators such as contain, starts with, ends with, and so on.
You can't combine dynamic conditions with the **Include all except these** option.
For further instructions, select one of the tabs below, depending on the option you have chosen in step 4.
Select column option
4. From the dropdown list, select the first column whose values will be encrypted.
5. To add more columns, click icon.
5. From the **Encrypt data using** dropdown list, select the key with which the data will be encrypted.
Define condition option
1. Select one of the following logical operators to define the conditions which column name must:
- **Ends with** - for example, if you enter `a`, the operation will be performed on the columns whose names end with `a`.
- **Starts with** - for example, if you enter `pro`, then the operation will be performed on the columns whose name starts with `pro`.
- **Contain** - for example, if you enter `xyz`, the operation will be performed on the columns whose name contains `xyz`.
- **Not contain** - for example, if you enter `123`, the operation will be performed on the columns whose names doesn't contain `123`.
- **Regex** - You can perform the operation on the columns whose names match the regular expression.
5. From the **Encrypt data using** dropdown list, select the key with which the data will be encrypted.
5. To add more rules, click **Add rule** and repeat steps from 3 to 5.
5. You can check the preview of the file after changes in the **Output data** tab.
6. Confirm the settings by clicking **Apply**.
## Example of use
---
You can use the **Encrypt Data** node to encrypt a set of sensitive data. For example, you want to encrypt a column in a CSV file that contains email addresses of your customers. This example of use contains instructions how to create a transformation rule that encrypts a set of sensitive data. You can use this transformation rule in the [Data Transformation node](/docs/automation/operation/data-transformation-node) in a workflow that sends the file to an external source.
Before you proceed to creating a transformation rule that uses this node, ensure that you meet the [requirements](#requirements).
File sample used in the Data Input node
1. As the first node of the transformation rule, add **Data Input**.
2. In the settings of the node, upload a file sample which imitates the structure of the source file (the one which will be used in a workflow which sends the actual file to your external source).
3. Confirm the settings by clicking **Apply**.
3. As the next node, add **Encrypt Data**.
4. In the settings of the node, select the email column.
5. From the **Encrypt data using** dropdown list, select the Synerise encryption key which will be used to encrypt data in this column.
Configuration of the Encrypt Data node
6. Confirm the settings by clicking **Apply**.
7. In the **Output data** tab in the **Encrypt Data** node, you can preview the results of the transformation in the node.
Output of the transformation performed within the Encrypt Data node
7. Add the **Output Data** node.
In the further steps, you can create a workflow that is triggered repeatedly, retrieves customers with email address assigned, encrypts email addresses with the transformation rule created in the previous steps, and sends the encrypted file with SFTP.
Example workflow that uses transformation rule in a workflow
# "Decrypt Data" node
The **Decrypt Data** node lets you decrypt values in selected columns of a dataset. Paired with the [**Encrypt data** node](/docs/automation/data-transformation-and-imports/transformations-and-data-operators/encrypt-data) or an external encryption tool, it enhances data security and confidentiality by encrypting sensitive information with AES-256 key using AES-GCM mode that is unreadable without a decryption key.
By using this transformation, you can safeguard your data and comply with privacy regulations while maintaining the integrity of your dataset.
## Requirements
---
- You must have a user role with the following permission: **Settings > Encryption keys > Read** - To preview list of encryption keys, preview list of encryption keys in Encrypt Data and Decrypt Data nodes in Data Transformation;
- [Create an encryption key in Synerise](/docs/settings/data-exchange-encryption)
- Your must encrypt the column values (**not** the column header) using the AES-GCM encryption algorithm with a 256-bit secret key, in the following format: `base64encode([IV] + [Encrypted Text] + [Authentication Tag])`, where `IV` is the initialization vector used to initiate the encryption algorithm.
## Node configuration
---
1. Double-click the **Decrypt Data** node.
2. Click **Add rule**.
3. Select one of the **Include** options, by clicking the icon next to **these**:
- **these** - the default; it lets you select the columns in which you want to decrypt data.
- **all except these** - this option lets you select the columns in which you do NOT want to decrypt data. Values from the other columns will be decrypted as defined in the further steps.
3. Select columns to include/exclude (according to the **Include** setting above) in one of the following ways:
- **Select column** - from the dropdown list, you can select the columns to be included or excluded from the transformation.
- **Add condition** - you can create a dynamic condition which columns must meet to decrypt their values; for this purpose, you can use logical operators such as contain, starts with, ends with, and so on.
You can't combine dynamic conditions with the **Include all except these** option.
For further instructions, select one of the tabs below, depending on the option you have chosen in step 4.
Select column option
4. From the dropdown list, select the first column whose values will be decrypted.
5. To add more columns, click icon.
5. From the **Decrypt data using** dropdown list, select the key with which the data will be decrypted.
Define condition option
1. Select one of the following logical operators to define the conditions which column name must:
- **Ends with** - for example, if you enter `a`, the operation will be performed on the columns whose names end with `a`.
- **Starts with** - for example, if you enter `pro`, the operation will be performed on the columns whose name starts with `pro`.
- **Contain** - for example, if you enter `xyz`, the operation will be performed on the columns whose name contains `xyz`.
- **Not contain** - for example, if you enter `123`, the operation will be performed on the columns whose names doesn't contain `123`.
- **Regex** - You can perform the operation on columns whose names match the regular expression.
5. From the **Decrypt data using** dropdown list, select the key with which the data will be encrypted.
5. To add more rules, click **Add rule** and repeat steps from 3 to 5.
5. You can check the preview of the file after changes in the **Output data** tab.
6. Confirm the settings by clicking **Apply**.
## Example of use
---
You can use the **Decrypt Data** node to decrypt a set of sensitive data you receive in Synerise. For example, you want to decrypt a column in a CSV file that contains email addresses of your customers. This example of use contains instructions how to create a transformation rule that decrypts a set of sensitive data. You can use the transformation rule from the [Data Transformation node](/docs/automation/operation/data-transformation-node) in a workflow that retrieves the file from an external source, decrypts email addresses, and imports them to Synerise.
Before you proceed to creating a transformation rule that uses this node, ensure that you meet the [requirements](#requirements).
File sample used in the Data Input node
1. As the first node of the transformation rule, add **Data Input**.
2. In the settings of the node, upload a file sample which imitates the structure of the source file (the one which will be received in a workflow which retrieves the actual file from your external source).
3. Confirm the settings by clicking **Apply**.
3. As the next node, add **Decrypt Data**.
4. In the settings of the node, select the email column.
5. From the **Decrypt data using** dropdown list, select the Synerise encryption key which will be used to decrypt data in this column.
Configuration of the Decrypt Data node
6. Confirm the settings by clicking **Apply**.
7. In the **Output data** tab in the **Decrypt Data** node, you can preview the results of the transformation in the node.
Output of the transformation performed within the Decrypt Data node
7. Add the **Output Data** node.
In the further steps, you can create a workflow that is triggered repeatedly, retrieves a file with encrypted email addresses, decrypts email addresses by means of the transformation rule created as described above, and imports customers with these decrypted email addresses to Synerise.
Example workflow that uses transformation rule in a workflow
# Weather API
To make integration with Weather API even more convenient, we prepared a ready-made node with the configuration that lets you retrieve weather data from Weather API and save it in Synerise.
# "Generate Event" node
## Generate Event node
This action allows users to generate an event with defined parameters on a profile card.
### Node configuration
---
1. Click the pencil icon on the node.
2. To impose a limit on the action, switch the **Action limit** toggle. Enter a number and from the dropdown list, select the time unit. You can define how many times this action can be executed for the whole automation process (**workflow**), or you can define how many times per second/minute/hour/day/week/month can be executed.
3. In the **Event name** field, enter the name of the event. Keep the name pattern used for the default event names in Synerise (such as page.visit, transaction.charge, and so on). This name functions as a key name of the event.
4. In the **Body** field, enter the parameters of the event in JSON format.
5. Confirm by clicking **Apply**.
### Example of use
---
Use of the Generate Event action
1. Start with the **Profile Event** node. In the settings of the node, set loyalty point deactivation event (this event doesn't belong to the default Synerise events).
2. Add the **Delay** node to postpone the passage from the trigger to the next step. This way you give some time to your customers to perform necessary actions in the context of this workflow.
3. Add the **Profile Filter**. In the settings of the node define the conditions that must be met by the customers in order to continue the workflow.
4. Those customers who meet conditions in the **Profile Filter** node will be subject to the **Generate Event** action.
5. Add **Generate Event**.
1. In the settings of the action define the event. This is a custom event that deducts the points. This event is available on the activity list on a profile card, when a customer is subject of the action.
2. In the body of the event (in JSON format), use the ID of the [expression](/docs/crm/expressions) that contains a formula which deducts the loyalty points. For example:
```
{
"key1": "value1",
"balance": "{% expression %} 824wtefq-1235tfs-12wdvny5s634-2578284 {% endexpression %}"
}
```
3. Set the action execution limit at `1` to avoid unwanted repetitions of the action.
5. When the points are deducted, the customer receives a mobile push notification about the number of deactivated points.
6. The workflow is completed with the **End** node.
# "Data Output" node
This is the final node that must be added as the last element of the transformation workflow. Apart from showing the outcome of the transformation, in the **Data Output** node, you can:
- [change the data type for every column in the file](#change-data-type)
- [define the behavior of the transformation when the data type change fails](#handle-errors)
## Node configuration
---
To configure the **Data Output** node, click it twice.
In the configuration of this node:
#### Change data type
1. Click **Select column**.
2. From the dropdown list, select a column or columns whose type of value you want to change.
**Result**: The list of selected columns appear.
3. Next to the column name, click the icon.
4. From the dropdown list, select the data type.
5. Perform steps 3 and 4 for the rest of selected columns.
The default output data type for `.CSV` files is string. For `.XML`, `.JSON`, or `.JSONL` files, output data type is the same as before transformation.
If you want to cast a string to an array in a `.csv` file, the values must be delivered in the following form: `"value1,value2,value3"` (values must be separated by commas). Regardless of the value, data is always cast to an array of strings
The paragraph above applies only to the default metacharacters.
#### Handle errors
You can define what to do with failed values (for example, as a result of Jinja rendering or in other cases) in cells where data type modification failed.
In the **Handle incomplete data** section, select one of the following options:
- **Skip row if error occurred** - It omits the row when an exception occurs.
- **Skip if result is null or empty string** - It omits rows with empty strings and `null` (which may be the result of rendering Jinja)
- **Stop further transformation** - The transformation stops at the row with an error. The data before the line that caused the error is transformed (and imported if the transformation rule is used in the Data Transformation node).
- **Insert null if error occurred** - Wrong values are replaced with `null`. If you use such a transformation for the import of profiles, the existing value of an attribute is cleared and replaced with the `null` value.
- **Insert empty string if error occurred** - Wrong value is removed and the cell remains empty.
## Example of use
---
You can create a transformation of a sample file with customers' data by adding a `marketing_agreement` column.
Transformation of a sample file with customer's data
1. Start the transformation with the **Data Input** node.
2. Click the node.
3. In the configuration of the node, upload a sample file with customer data.
4. Add the **Add column** node and join it with the **Data Input**.
5. In the configuration of the **Add column** node:
1. In the **Add column** field, enter `marketing_agreement`.
2. Leave the **Defined** option selected.
3. Next to the **Defined** option, in the field, enter `true`.
Configuration of the Add column node
6. Confirm by clicking **Apply**.
5. Add the **Output data** node and join it with the **Add column** node.
Preview of the file in Data Output
# Automation Hub
Automation Hub is an easy to use and real time processing solution that allows companies of any size, with any kind of staff level to scale safely and quickly by automating internal and external communication, data exchange, and third-party integration. These are just only few examples of use. The flexibility of the Automation Hub is guaranteed by possibility of using Jinjava that simplifies programming efforts and facilitates the use of the data gathered in Synerise, so you can build workflows that match your business needs.
You can save recurring node patterns as [Sequences](/docs/automation/sequences) and reuse them across workflows to speed up workflow creation and keep your team aligned on best practices.
## Required user permissions
See [Automation Hub permissions](/docs/settings/identity-access-management/permissions/automation-permissions).
# Action nodes explained
This type of nodes allows users to define what kind of actions happen in response to circumstances defined in a workflow.
### Usage guidelines
- Actions cannot be used as a starting point of a workflow.
- Actions are not tracked in automations by default. If you want to have statistics or include information about the movement of a customer to a specific action on a customer's profile, you need to turn this option on in the settings of an action.
- You can define how many times an action can be repeated when a customer goes through the same path again.
## Contents
# Integration
The Integration section within Automation Hub allows you to prepare integrations with external systems. There are two types of integrations that can be prepared:
- **Incoming** - Also referred to in the system and documentation as an **Incoming webhook**. This type of integration allows to receive data from external systems and trigger workflows.
- **Outgoing** - Also referred to in the system and documentation as **Outgoing Integration**. This type of integration allows to send data from Synerise to external system. It can be used in the workflow as an action node.
# "Send Mobile Push" node
## Send Mobile Push node
The **Send Mobile Push** node allows you to communicate with your customers through push notifications based on events and other conditions defined in a workflow.
When a workflow that contains this node is launched, a mobile push campaign is created as a result. You can find its statistics in **Experience Hub** as well as in the **Send Mobile Push** node itself.
The configuration of the node requires:
- selecting the type of mobile push notification
- selecting or creating a template
Optionally, you can:
- add UTM and URL parameters,
- add custom event parameters,
- send a test message
### Requirements
---
- You must have your own mobile application.
- You must configure [Synerise SDK](/developers/).
### Node configuration
---
1. Go to **Automation Hub > Workflows > New workflow**.
2. Select one of the profile trigger nodes, for example [Profile Event](/docs/automation/triggers/client-event-node).
3. Click **THEN > Send Mobile Push**.
4. To open the configuration form of the node, click it.
5. Optionally, next to the node name, you can add a custom node title which will be displayed on the node.
6. If you want to assign a tag to the mobile push campaign you will send through the workflow, under the node title, click **Add tag**.
7. From the dropdown list, select the [tag](/docs/assets/tags).
The list contains only the tags which are available in the predefined **campaigns** tag folder.
Assigning tags helps you organize your communications by categorizing campaigns across different channels. Additionally, you can control [communication limits](/docs/settings/configuration/campaign-limits) by applying restrictions to these tags.
#### Select type of notification
1. On the **Mobile push type** section, click **Define**.
2. You can select the following mobile push types:
- **Simple push** - a notification that is displayed in the notification center on mobile devices.
- **Silent push** - a hidden notification that is delivered to the app on a user’s device. Unlike a typical push, it does not cause any interaction with the user. Silent notifications quietly deliver data to the app. You can use it, for example, to let the app know about changes in content.
3. Confirm your choice by clicking **Apply**.
#### Create or select template
3. In the **Content** section, click **Define**.
2. If you want to:
- Select a template, click **Create message**. From the list of the templates, select the one you want to use.
- If you make changes to the template, click **Save** and then **Use in node**.
- If you don't make changes to the template, click **Use in node**.
- Create a message without using an existing template, click **Create message > New template**. The template will be available only in this node for preview and modifications.
1. Select one of the mobile push template builders:
- **Visual builder**
- **Code editor**
1. Prepare the template according to the instructions available in ["Creating mobile push templates"](/docs/campaign/Mobile/creating-mobile-push-templates).
2. After finishing the template, click **Use in node**.
3. If you want to send this message regardless of the marketing consent, select the **Send without marketing agreement** checkbox (not recommended).
After the node is configured, the name of the selected template is displayed directly on the node. To preview the template without opening the node settings, click the eye icon on the node. If the template was created directly in the node settings, the ID of the inplace content is displayed on the node instead of the template name.
2. Confirm settings in the section by clicking **Apply**.
Modifying [the notification type](#select-type-of-notification) after creating content clears the settings in the Content section.
#### Adding additional parameters
---
If you want to add custom event parameters with constant values to the automatically generated events in the mobile push channel, in the **Additional parameters** section, click **Define**. Add additional parameters according to the instructions in the ["Define additional parameters"](/docs/campaign/Mobile/creating-mobile-push#define-additional-parameters) section.
#### Sending a test message
---
In this part of the node configuration, you can send a test mobile push notification **only** to the users available in the [Behavioral Data Hub](/docs/crm/crm-profile), who have the `has_mobile_push_devices` attribute set to `true`.
1. In the **Test** section, click **Define**.
2. In the search box, you can search users who are available in **Behavioral Data Hub > Profiles**
3. In the search results, select the users.
4. In the search box, to confirm the list of recipients of the test push notification, click **Add**.
**Result**: The list of recipients you added is shown.
4. When your test is ready to be sent, in the upper right corner of the section, click **Send test**.
#### Adding UTM and URL parameters
---
In this part of the node configuration, you will define UTM and URL parameters that will be added to the mobile campaign launched with the start of the workflow. This part is optional.
1. In the **UTM & URL parameters** section:
- To omit this step, click **Skip step**. Otherwise, you won't be able to save the workflow with this empty section.
- To add UTM and/or URL parameters, click **Define**.
1. Fill in the following fields: **UTM campaign**, **UTM medium**, **UTM source**, and **UTM term**.
2. To add URL parameters, in the **URL parameters** section, click **Add parameter**.
3. Enter values for the **Parameter** and **Value** fields.
2. Confirm by clicking **Apply**.
#### Defining additional node settings
---
1. To impose a limit on the action, switch the **Action limit** toggle. Enter a number and from the dropdown list, select the time unit. You can define how many times this action can be executed for the whole automation process (**workflow**), or you can define how many times per second/minute/hour/day/week/month can be executed.
2. If you want to make sure that this message is sent to a customer, even it exceeds the global limit of this type of messages for a single customer per day (more information is available [here](/docs/settings/configuration/campaign-limits)), enable the **Ignore limits** toggle. You may apply it to system messages such as a transaction confirmation, notifications about order delays, and so on.
3. If you want to exclude customers who belong to the [global control group](/docs/settings/configuration/global-control-group) from the recipients, enable the **Enable Global Control Group** option.
This option is only visible in workspaces where the global control group is enabled.
### Example of use
---
Example of the workflow that uses the Send Mobile Push action
The purpose of this workflow is to send a mobile push notification with a welcome message informing about access to special offers.
1. The **Data Changed** trigger that reacts to birth date changes.
2. The **Profile Filter** condition node checks if the birthdate change meets the requirement of a segmentation that defines customers as adults.
3. If customers belong to the segmentation, they proceed to the next stage. A mobile push is sent to them.
4. When the push is sent, the workflow ends.
# "Send SMS" node
## Send SMS node
The **Send SMS** node allows you to communicate with your customers through text messages based on events and other conditions defined in a workflow.
When a workflow that contains this node is launched, an SMS campaign is created as a result. You can find its statistics in **Experience Hub** as well as in the **Send SMS** node itself.
The configuration of the node requires:
- selecting an account from which the message will be sent,
- selecting or creating a template
Optionally, you can:
- add custom parameters,
- send a test message
### Requirements
---
- You must integrate a SMS account in Synerise and configure SMS gateway.
You can find more information about the procedures above [here](/docs/settings/configuration/sms-account).
- You must have profiles supplemented with phone numbers of your customers.
### Node configuration
---
1. Go to **Automation Hub > Workflows > New workflow**.
2. Select one of the profile trigger nodes, for example [Profile Event](/docs/automation/triggers/client-event-node).
3. Click **THEN > Send SMS**.
4. To open the configuration form of the node, click it.
5. Optionally, next to the node name, you can add a custom node title which will be displayed on the node.
6. If you want to assign a tag to the SMS campaign you will send through the workflow, under the node title, click **Add tag**.
7. From the dropdown list, select the [tag](/docs/assets/tags).
The list contains only the tags which are available in the predefined **campaigns** tag folder.
Assigning tags helps you organize your communications by categorizing campaigns across different channels. Additionally, you can control [communication limits](/docs/settings/configuration/campaign-limits) by applying restrictions to these tags.
#### Add content
---
In this part of the node configuration, you will select the SMS account from which the message will be sent and create the content of the message.
3. In the **Content** section, click **Define**.
1. From the **From phone number** drodpown list, select an SMS account from which the message will be sent.
2. If you want to:
- Select a template, click **Create message**. From the list of the templates, select the one you want to use.
- If you make changes to the template, click **Save** and then **Use in node**.
- If you don't make changes to the template, click **Use in node**.
- Create a message without using an existing template, click **Create message > New template**.
The template will be available only in this node for preview and modifications.
**Result**: You will be redirected to the SMS template builder.
1. Prepare the SMS template according to the instructions available in ["Creating SMS templates"](/docs/campaign/SMS/creating-SMS-template).
2. After finishing the template, click **Use in node**.
3. If you want to send this text message regardless of the marketing consent, tick **Send without marketing agreement** checkbox (not recommended).
After the node is configured, the name of the selected template is displayed directly on the node. To preview the template without opening the node settings, click the eye icon on the node. If the template was created directly in the node settings, the ID of the inplace content is displayed on the node instead of the template name.
2. Confirm settings in the section by clicking **Apply**.
#### Adding UTM and URL parameters
---
In this part of the node configuration, you will define UTM and URL parameters that will be added to the SMS campaign launched with the start of the workflow. This part is optional.
1. In the **UTM & URL parameters** section:
- To omit this step, click **Skip step**. Otherwise, you won't be able to save the workflow with this empty section.
- To add UTM and/or URL parameters, click **Define**.
1. Fill in the following fields: **UTM campaign**, **UTM medium**, **UTM source**, and **UTM term**.
2. To add URL parameters, in the **URL parameters** section, click **Add parameter**.
3. Enter values for the **Parameter** and **Value** fields.
4. Confirm by clicking **Apply**.
#### Adding additional parameters
---
If you want to add custom parameters to the events generated automatically by this workflow (for example, `sms.send`):
1. In the **Additional parameters** section, click **Define**.
2. Add additional parameters according to the instructions in ["Sending SMS", in the "Adding custom parameters" section](/docs/campaign/SMS/sending-sms#adding-custom-parameters).
#### Sending a test message
---
In this part of the node configuration, you can send a test SMS to users available in [Behavioral Data Hub](/docs/crm/crm-profile) or any external phone number. This part is optional.
1. In the **Test** section, click **Define**.
2. In the search box, you can either search users who are available in **Behavioral Data Hub > Profiles** or enter an external phone number.
3. In the search results:
- If you want to send the text message to existing profiles, select the users.
- If you entered a phone number which is not in the database, click **Add {phohe number}**.
4. In the search box, to confirm the list of recipients of test text message, click **Add**.
**Result**: The list of recipients you added is shown.
When you send a test message to a test user who is not added to **Behavioral Data Hub > Profiles** in Synerise, the [inserts](/developers/inserts) will not display in the message.
4. When your message is ready to be sent, in the upper right corner of the section, click **Send test**.
#### Defining additional node settings
---
1. To impose a limit on the action, switch the **Action limit** toggle. Enter a number and from the dropdown list, select the time unit. You can define how many times this action can be executed for the whole automation process (**workflow**), or you can define how many times per second/minute/hour/day/week/month can be executed.
2. If you want to make sure that this message is sent to a customer, even it exceeds the global limit of this type of messages for a single customer per day (more information is available [here](/docs/settings/configuration/campaign-limits)), enable the **Ignore limits** toggle. You may apply it to system messages such as a transaction confirmation, notifications about order delays, and so on.
3. If you want to exclude customers who belong to the [global control group](/docs/settings/configuration/global-control-group) from the recipients, enable the **Enable Global Control Group** option.
This option is only visible in workspaces where the global control group is enabled.
### Example of use
---
Example of an automation process that uses the Send SMS action
The purpose of this automation is to send a text message with informing a customer about access to special offers.
1. The first step is to add the **Data Changed** trigger that changes the birthdate (without defining a specific date).
2. The next stage of the automation process is the **Profile Filter** node, a condition node, which checks:
- whether the birthdate change meets the requirement of a segmentation that defines customers as adults.
- If customers who meet the above condition have a phone number on their cards (without the phone number this action will not succeed).
3. If customers belong to the segmentation, they proceed to the next stage. A text message is sent to them.
4. When the text message is sent, the process ends.
# Data Transformation
Transforming data is the process of shaping your data into a usable format. Instead of using different individual tools to modify your data, you can do it in Automation Hub thanks to its capability of data transformation and use its outcome at once.
## Contents
# Limits
You can use a few types of limits to define the allowed number of repetitions of single nodes or the entire workflow.
To ensure the clarity of this document, familiarize with the following terms:
- A **workflow**:
- is a sequence of nodes that together describe a scenario and define the course of actions to be performed in defined circumstances. This term refers to the concept of an automated process whose subject is a profile ([customer-oriented workflow](/glossary/#profile-oriented-workflow)) or a process involving retrieving or sending out data ([business workflow](/glossary/#business-workflow)). The structure of the workflow is referred to in the documentation as a **diagram**.
- is a single instance of a [business workflow](/glossary/#business-workflow). Each time the trigger conditions defined in the trigger node are met the system creates a new workflow instance. It concerns the workflows which start with the [Business Event node](/docs/automation/triggers/businees-event-trigger) and [Scheduled Run node](/docs/automation/triggers/scheduled-run). There is a limit of 50 requests per second which can trigger such workflow instance.
- A **path** is a progression of a customer in a workflow. Each time a customer performs an action that triggers a workflow the system records it as a path of that particular workflow. New paths can be started even when the workflow is already triggered. This happens when an [action limit in the trigger node](/docs/automation/automation-capping#trigger-limits) is higher than 1. You can decide if the first path that reaches the final node terminates the remaining paths. This behavior is configurable in the [End node](/docs/automation/flow-control/end-node).
- [Customer-oriented workflows](/glossary/#profile-oriented-workflow)
- Example of terminating remaining paths when one of them reaches the End node:
In the example above, the first path terminates the path which stuck in the Delay node
- Example of allowing finishing other paths:
In the example above, the Delay path could be finished after the first path arrived to the final node.
Each workflow can last 60 days. After those 60 days, if a user is stuck in the workflow (for example, they didn't meet the conditions in an **Event Filter**), the workflow is automatically finished.
## Workflow capping
---
#### How it works
This limit allows a user to define the number of times a workflow can be started by a profile in a specific time unit. The calculation context is the entity (such as a customer) that triggers the workflow, not global.
To define capping, you must first enable the **Limit profile paths** toggle. Then, define the number of paths a profile can start within a specific time period. The timer starts when the journey is triggered.
Limit profile paths toggle in Capping settings
The maximum limit for workflow capping is 20 years.
#### Example of use
Filled workflow capping settings
In this example, a workflow can be triggered up for a single profile to 5 times in 5 minutes. When this limit is exceeded by a profile, a new workflow won't be started.
## Trigger limits
---
#### How it works
This type of limit can be found in the settings of most [triggers](/docs/automation/triggers). It defines the number of paths that can be started within one workflow. The default limit is set at `1` path.
This limit is particularly useful when a user wants to use a frequently occurring event as the trigger (for example, a visit to a main page of an online shop).
#### Example of use
Filled trigger limit settings of the Profile Event trigger
The trigger limit is set at `1` per workflow. This means that a customer who began a workflow, and a path at the same time, cannot begin another path until a workflow is finished.
## Flow control limits
---
#### How it works
This type of limit allows users to narrow down the passages to next steps in the workflow (it resembles the mechanism of a funnel).
#### Example of use
Merge Paths node example
In this example, the workflow is triggered either by a purchase of bottle of soda or a pack of crisps. Later, customers proceed to the profile filter to check whether they visited a particular URL in the specific time. If they did, a mobile push is sent to those customers.
The Merge Paths node in this example fills two functions here:
1. It joins two separate paths.
2. It defines how many times a customer can go through this node in a specific time unit or in a workflow.
Filled Merge Paths node settings
## Action limits
---
#### How it works
This type of limit allows a user to define how many times an action defined in the action node logic can be repeated when customers follow the same path in one workflow.
#### Example of use
If the settings of a workflow facilitate a launch of many paths, you can, for example, limit the execution of actions in the workflow to avoid sending too many messages to your customers. You can use two types of limits available in the action node settings:
- Workflow limits
- Time limits
### Workflow limits
Limits of action performance per workflow
If the action limit is set at 1 per workflow, it means that customers get only one email, even if they go through this node in the same workflow several times. Another message can be sent when customers finish the workflow and start it once again.
### Time limits
Limits of action performance for a specific time unit
The `1 time per 1 hour` configuration ensures users that customers who go through this node many times in one workflow get one email (only if next paths start at the same time as the first email was sent). However, when customers arrive at this node again in one workflow after 60 minutes since sending the first email, another email is sent.
It's important to understand that time limits work within one workflow. In other words, consecutive workflows don't process time limits of preceding workflows, even if the time of launching consecutive workflow coincides with the action time limit of the preceding workflow.
## Ignoring global communication limits in workflows
---
[Communication limits](/docs/settings/configuration/campaign-limits) are defined in a workspace settings to state the number of messages of specific types to be sent to a single customer per day. However, if your workflows send system messages such as transaction confirmations, information about shipping, notifications about delay of the order delivery, and so on, you may want to make exceptions for such kind of the messages.
For such circumstances, in the action nodes: [Send Email](/docs/automation/actions/send-email), [Send Web Push](/docs/automation/actions/send-webpush-node), [Send Mobile Push](/docs/automation/actions/send-mobile-push), and [Send SMS](/docs/automation/actions/send-sms-node), you may enable the **Ignore limits** option, which causes sending the message even if the global limits for messages sent to a customer per day defined in **Settings > Communication Limits** are exceeded.
Enabled Ignore limits option in Send SMS node
# "Send Web Push" node
The **Send Web Push** node allows you to communicate with your customers through wep push notifications based on events and other conditions defined in a workflow.
When a workflow that contains this node is launched, a web push campaign is created as a result. You can find its statistics in the **Experience Hub** and in the **Send Web Push** node itself.
The configuration of the node requires:
- selecting or creating a template
- defining the web push lifespan
Optionally, you can:
- add UTM and URL parameters,
- add custom parameters,
- send a test message
## Requirements
---
- You must implement a tracking code into your website.
- You must configure web push notifications.
- You must have Web Push subscribers.
## Configuration
---
1. Go to **Automation Hub > Workflows > New workflow**.
2. Select one of the profile trigger nodes, for example [Profile Event](/docs/automation/triggers/client-event-node).
3. Click **THEN > Send Web Push**.
4. To open the configuration form of the node, click it.
5. Optionally, next to the node name, you can add a custom node title which will be displayed on the node.
6. If you want to assign a tag to the web push campaign you will send through the workflow, under the node title, click **Add tag**.
7. From the dropdown list, select the [tag](/docs/assets/tags).
The list contains only the tags which are available in the predefined **campaigns** tag folder.
Assigning tags helps you organize your communications by categorizing campaigns across different channels. Additionally, you can control [communication limits](/docs/settings/configuration/campaign-limits) by applying restrictions to these tags.
### Select or create template
---
In this part of the node configuration, you will create the content of the message.
3. In the **Content** section, click **Define**.
2. If you want to:
- Select a template, click **Create message**. From the list of the templates, select the one you want to use.
- If you make changes to the template, click **Save** and then **Use in node**.
- If you don't make changes to the template, click **Use in node**.
- Create a message without using an existing template, click **Create message > New template**.
The template will be available only in this node for preview and modifications.
**Result**: You are redirected to the template builder.
1. Prepare the template according to the instructions available in ["Creating web push templates"](/docs/campaign/Webpush/creating-webpush-templates).
2. After finishing the template, click **Use in node**.
3. If you want to send this text message regardless of the marketing consent, tick **Send without marketing agreement** checkbox (not recommended).
After the node is configured, the name of the selected template is displayed directly on the node. To preview the template without opening the node settings, click the eye icon on the node. If the template was created directly in the node settings, the ID of the inplace content is displayed on the node instead of the template name.
2. Confirm settings in the section by clicking **Apply**.
### Define lifespan
---
Define the time for how long the push service will keep trying to send the notification to the browser. If the push service can’t deliver the notification within that time (for example, due to the user’s device being turned off), the notification will be discarded. The notification is only shown to customers whose browsers are running (also in the background) within this time range.
1. In the **Web push lifespan** section, click **Define**.
2. In the **Webpush lifespan (TTL)** field, enter the number.
3. From the dropdown list, select the time unit.
4. Confirm the settings by clicking **Apply**.
### Adding UTM and URL parameters
---
In this part of the node configuration, you will define UTM and URL parameters that will be added to the links in the web push campaign launched with the start of the workflow. This part is optional.
4. In the **UTM & URL parameters** section, click **Define**.
1. Fill in the following fields: **UTM campaign**, **UTM medium**, **UTM source**, and **UTM term**.
2. To add URL parameters, in the **URL parameters** section, click **Add parameter**.
3. Enter values for the **Parameter** and **Value** fields.
2. Confirm by clicking **Apply**.
### Adding additional parameters
---
If you want to add custom event parameters events generated automatically for the web push channel, in the **Additional parameters** section, click **Define**. Add additional parameters according to the instructions in the ["Define additional parameters"](/docs/campaign/Webpush/creating-webpush-campaigns#adding-custom-parameters) section.
### Sending a test message
---
In this part of the node configuration, you can send a test mobile push notification **only** to the users available in [Behavioral Data Hub](/docs/crm/crm-profile), who have the `has_web_push_devices` attribute set to `true`.
1. In the **Test** section, click **Define**.
2. In the search box, you can search users who are available in **Behavioral Data Hub > Profiles**.
3. In the search results, select the users.
4. In the search box, to confirm the list of recipients of test push notification, click **Add**.
**Result**: The list of recipients you added is shown.
4. When your message is ready to be sent as a test, in the upper right corner of the section, click **Send test**.
### Defining additional node settings
---
1. To impose a limit on the action, switch the **Action limit** toggle. Enter a number and from the dropdown list, select the time unit. You can define how many times this action can be executed for the whole automation process (**workflow**), or you can define how many times per second/minute/hour/day/week/month can be executed.
2. If you want to make sure that this message is sent to a customer, even it exceeds the global limit of this type of messages for a single customer per day (more information is available [here](/docs/settings/configuration/campaign-limits)), enable the **Ignore limits** toggle. You may apply it to system messages such as a transaction confirmation, notifications about order delays, and so on.
3. If you want to exclude customers who belong to the [global control group](/docs/settings/configuration/global-control-group) from the recipients, enable the **Enable Global Control Group** option.
This option is only visible in workspaces where the global control group is enabled.
## Example of use
---
Example of an automation process that uses the Send Web Push action
This scenario sends a welcome web push notification to customers who subscribed to web push notifications.
1. It starts with a **Profile Event** trigger node. In the settings of the trigger, select a web push subscription event.
2. Add **Send Web Push** action. In the settings of the action select the template of the notification (which you need to prepare before) and set the notification lifespan (TTL).
3. When the notification is sent to a customer, the process ends.
# Statistics and tracking automation events
You can view the statistics of your activated, paused, and finished workflows to evaluate their effectiveness, but statistics are also useful for troubleshooting.
You can view [general workflow statistics](#workflow-statistics) on the list of workflows and [the statistics of each node](#node-statistics) in a workflow. The basic information includes the number of profiles for which the action in the node has been executed/which met the node conditions. The full statistics reference is available in the ["Statistics reference" section](#statistics-reference).
The completeness of the profile list depends on the retention for the following events: [`automation.clientStartPath`](/docs/assets/events/event-reference/automation#automationclientstartpath), [`automation.clientPathStep`](/docs/assets/events/event-reference/automation#automationclientpathstep) and [`automation.clientEndPath`](/docs/assets/events/event-reference/automation#automationclientendpath) events. If a profile generated the event further in the past than the retention period, the profile is not included in the list. This is because the profile list is retrieved from the [analytics engine](/docs/analytics) each time. Numerical stats (such as how many profiles entered a node) are stored separately and not affected by retention.
## Workflow statistics
---
1. To access the statistics, go to **Automation Hub > Workflows**.
2. On the workflow list, find the workflow whose statistics you want to see.
In the row with the workflow, the columns show these statistics:
- **Started**: The number of times a workflow was started (a trigger node was activated).
- **In workflow**: The number of workflows currently in progress.
- **Finished**: The number of times the final step (**End** node) of a workflow was reached. The number is not equal to the number of unique completions the workflow - a profile or a process can repeat within a workflow multiple times (if the node and workflow limits allow it).
## Node statistics
---
1. To access the statistics, go to **Automation Hub > Workflows**.
2. On the workflow list, click the workflow you want to see the details of.
After entering the workflow details, each node displays a [chart](#charts) that shows passages/node executions in the last 7 days.
The node statistics preview
3. To preview the statistics of the node, click the node.
**Result**: The **Statistics** tab opens.
The node statistics preview
### Charts
- **Chart on the node**
This is a simplified chart that displays the number of passages through the node over the last 7 days. The data is aggregated on a daily basis, and the chart uses a logarithmic scale. The chart purpose is to show change, not the exact amount of change. Note that 7 days is the maximum date range available for this particular chart.
The chart on the node is available under the description of the node
- **Charts in the Statistics tab**
You can find them in entering the Statistics tab in the node’s details. Some nodes may contain more than one chart. By default, the charts present data covering up to last 30 days. You can customize the displayed date range by using the available [tabs](#tabs).
The Timeline chart is available after entering the details of the node in an active, paused or stopped workflow
Statistics shown in the Timeline charts display data starting from the 20th of November 2025; earlier data is not included
### Tabs
#### Statistics
The tabs allow you to select the date range for the statistics preview, affecting the chart and data displayed as follows:
The date range tabs available in the details of the node
| Date range | Applies to summary numbers | Applies to chart | Description |
|-------------|----------------------------|---------------------------|----------------------------------------------------------|
| **Last 24h** | Yes | Yes | Shows data from now to 24 hours backwards. |
| **Last 30d** | Yes | Yes | Shows data from the current day and previous 29 days. |
| **Last 3mth** | Yes | Yes | Shows data from the last 93 days. |
| **Lifetime** | Yes | No | Shows data since workspace creation; summary numbers only.|
| **Custom** | Yes | Yes (max 93 days) | Allows custom date range up to 93 days maximum. |
#### Campaign stats
The **Campaign stats** tab contains the statistics based on communication events ([email events](/docs/assets/events/event-reference/email), [mobile push events](/docs/assets/events/event-reference/mobile-push), [SMS events](/docs/assets/events/event-reference/sms), and [web push events](/docs/assets/events/event-reference/webpush)). Note that the statistics are limited to a specific period due to the retention policy.
- ["Send Email" node](/docs/automation/actions/send-email)
- ["Send Mobile Push" node](/docs/automation/actions/send-mobile-push)
- ["Send SMS" node](/docs/automation/actions/send-sms-node)
- ["Send Web Push" node](/docs/automation/actions/send-webpush-node)
The type of summary numbers may differ for each node. Full reference of statistics is available in [the "Statistics reference" section](#statistics-reference) in this article.
Campaign statistics in the Send Email node
### Statistics reference
---
The table below contains all statistics you can encounter in the nodes.
| Statistics | Description |
|--------------------------------------|-----------------------------------------------------------------------------------------------------------------------------------------------------------------------------------------------------------------------------------------------|
| **Above limit** | The number of passages that exceeded the ["Flow Limiter" node](/docs/automation/conditions/flow-limiter) limit. |
| **Allocation in the ["ABx Test" node](/docs/automation/conditions/abx-split-node)** | In the **ABx Test** node statistics, you can see the number of profiles allocated to the groups defined in the node. |
| **Below limit** | The number of passages that did not exceed the ["Flow Limiter" node](/docs/automation/conditions/flow-limiter) limit. |
| **Connection errors** | The number of unsuccessful executions due to connection errors during requests to the service targeted by this node. |
| **CTR** | The click-through rate (CTR) for the message (email, mobile push, and web push) sent through a workflow. Clicks from all profiles who passed through this node are included in the calculation. |
| **Entered** | The number of arrivals to the node. |
| **Executed** | The number of the node executions. |
| **Fails** | The number of unsuccessful passages through the node. |
| **Http2xx** | The number of node executions that resulted in 2xx responses to requests sent through the [Outgoing Integration node](/docs/automation/integration) or other [integration nodes](/docs/automation/integration). |
| **Http400** | The number of node executions that resulted in 400 responses (Bad Request) to requests sent through the [Outgoing Integration node](/docs/automation/integration) or other [integration nodes](/docs/automation/integration). |
| **Http401** | The number of node executions that resulted in 401 responses (Unauthorized) to requests sent through the [Outgoing Integration node](/docs/automation/integration) or other [integration nodes](/docs/automation/integration). |
| **Http402** | The number of node executions that resulted in 402 responses (Payment Required) to requests sent through the [Outgoing Integration node](/docs/automation/integration) or other [integration nodes](/docs/automation/integration). |
| **Http403** | The number of node executions that resulted in 403 responses (Forbidden) to requests sent through the [Outgoing Integration node](/docs/automation/integration) or other [integration nodes](/docs/automation/integration). |
| **Http404** | The number of node executions that resulted in 404 responses (Requested resource could not be found) to requests sent through the [Outgoing Integration node](/docs/automation/integration) or other [integration nodes](/docs/automation/integration). |
| **Http405** | The number of node executions that resulted in 405 responses (Method Not Allowed) to requests sent through the [Outgoing Integration node](/docs/automation/integration) or other [integration nodes](/docs/automation/integration). |
| **Http414** | The number of node executions that resulted in 414 responses (URI Too Long) to requests sent through the [Outgoing Integration node](/docs/automation/integration) or other [integration nodes](/docs/automation/integration). |
| **Http415** | The number of node executions that resulted in 415 responses (Unsupported Media Type) to requests sent through the [Outgoing Integration node](/docs/automation/integration) or other [integration nodes](/docs/automation/integration). |
| **Http416** | The number of node executions that resulted in 416 responses (Requested file portion (byte range) cannot be supplied) to requests sent through the [Outgoing Integration node](/docs/automation/integration) or other [integration nodes](/docs/automation/integration). |
| **Http422** | The number of node executions that resulted in 422 responses (Unprocessable Entity due to semantic errors) to requests sent through the [Outgoing Integration node](/docs/automation/integration) or other [integration nodes](/docs/automation/integration). |
| **Http429** | The number of node executions that resulted in 429 responses (Too Many Requests in a given time frame) to requests sent through the [Outgoing Integration node](/docs/automation/integration) or other [integration nodes](/docs/automation/integration). |
| **Http5xx** | The number of node executions that resulted in 5xx responses to requests sent through the [Outgoing Integration node](/docs/automation/integration) or other [integration nodes](/docs/automation/integration). |
| **HttpError** | The number of node executions that ended unsuccessfully due to errors in the request. |
| **HttpTimeout** | The number of times a request sent through the [Outgoing Integration node](/docs/automation/integration) or other integration node timed out. |
| **Jinjava fail** | The number of times a request sent through the [Outgoing Integration node](/docs/automation/integration) or other integration node failed due to a Jinjava render failure (occurs when using Jinjava to insert data not present in Synerise or when the syntax is wrong). |
| **Matched** | The number of passages through the matched path from the [condition nodes](/docs/automation/conditions). |
| **Not found** | The requested resource for the node could not be found. |
| **Not matched** | The number of passages through the unmatched path from the [condition nodes](/docs/automation/conditions). |
| **Open Rate** | The percentage of recipients who opened the email. Openings from all profiles passing through this node in the workflow are included in the calculation. |
| **Response Too Big** | The number of unsuccessful passages through the node due to exceeding the allowed data size in the response. |
| **Sent** | The number of messages sent (email, SMS, and web push). |
| **Show** | The number of times a web push notification was shown to a profile. |
| **SSL Error** | The number of unsuccessful passages due to errors related to establishing a secure connection between a client and a server using SSL/TLS protocols. |
| **Success** | The number of successful passages through the node. The service to which a request from this node was sent responded with a 200 status code. |
| **Unique sent** | The number of unique mobile push notifications sent. |
| **Unauthorized** | The number of unsuccessful passages through the node due to insufficient permissions. |
### Examples
Statistics of an Outgoing Integration nodeStatistics of a Generate Event nodeStatistics of an ABx Test node
## Event tracking
---
In Automation Hub, each activity (movement between steps in the workflow) of the profile is translated into [events](/docs/assets/events/event-reference/automation) and available on the activity list.
All activities connected with Automation Hub are tracked by default. You don't have to enable tracking manually, the events related to moving between the nodes in the workflow will be available in Decision Hub and on the activity list on a profile's card (they are subject to retention).
- Events are kept in the database for a retention period that differs between workspaces. To check the retention of a particular event type, contact your system administrator.
- Events generated in relation to activities in workflows may appear with a slight delay due to overloads caused by increased traffic. This has no impact on workflow execution.
# "Outgoing Integration" node
This action allows you to send requests from Synerise to external systems. This node can reuse existing [outgoing integrations](/docs/automation/integration/outgoing-webhook) or you can define a custom webhook that is configurable only in a specific workflow and node.
Take a look at how you can [integrate with Adform](/use-cases/adform-integration) using the Outgoing Integration node.
## Node configuration
---
### Select outgoing integration type
1. Click on the node.
2. Select the type of the Outgoing Integration.
- **Existing integrations** - If you prepared an [outgoing integration](/docs/automation/integration/outgoing-webhook) earlier, you can use this option.
1. From the dropdown list, select the outgoing integration prepared earlier.
2. Confirm with the **Apply** button.
- **Custom webhook** - Use this option if you want to create outgoing integration from scratch.
The following instructions apply to the **Custom webhook** integration type only - testing requests are available exclusively for this type within the Outgoing Integration node.
### Set up a connection
In this part of the process, you must define how you access your source. By selecting the authentication method and providing the required information, you establish a connection.
1. On the pop-up, select the authentication method:
- **No authentication** - No authentication is required.
- **Login & Password** - This method lets you use basic authentication to authenticate with the remote server.
Click here to see the instructions
Click Select connection.
In the connection list:
If the connection you want to use is in the list, select it and proceed to defining the endpoint.
If the connection list is empty or you don't see a connection, you must:
At the top of the dropdown list, click Add connection.
In the Connection name field, enter the name of your connection (it's visible only in Synerise).
- **Custom connection** - This method sends an authentication token request before executing the main request defined in the Outgoing integration node settings. The token is fetched when the request data is uncached, then cached according to its TTL, and added to the target request.
Click here to see the instructions
Click Select connection.
In the connection list:
If the connection you want to use is in the list, select it and proceed to Defining the request section in this article.
If the connection list is empty or you don't see a connection, you must:
At the top of the dropdown list, click Add connection.
In the Authorization request tab, click Define. Result:
The Request section in the configuration of a custom connection
In the Connection name field, enter the name of your connection (it's visible only on the Select connection dropdown list or on the list of connections in Settings > Connections).
In Secret, enter a value which is required in the request to obtain a token. This value will be anonymized and displayed as asterisks.
In the Headers section, add request headers (in the left field, enter the key; in the right, enter its value).
In the Body field, enter the request body. For example:
{ "api-key": "{{secret}}" }
where {{secret}} retrieves the value of the Secret field to anonymize the token.
Confirm the settings in the Authorization request tab by clicking Apply.
In the Token placement settings section, click Define.
Click Retrieve response. Result:
Retrieved token in the Response section in the custom connection configuration form
If you:
specify the value in the Headers section, the extracted authorization data from the response will be added as a header to the target request.
provide the value in the URL Parameters section, the data will be appended to the target request’s URL as a parameter. You can use the following values to retrieve values from the response:
authResponseBody - a variable that contains the full body of an authentication response
authResponseStatusCode - a variable that contains the status code of an authentication response
authResponseHeaders- a variable that contains the headers of an authentication response For example:
It takes the JSON response body stored in authResponseBody, parses it into a usable structure, and extracts the value of the token field. Outputs a string like: Bearer "eyJhbGciOiJIUzI1NiIsInR5cCI6IkpXVCJ9..."
In TTL field, specify the how long the cached response from the external request will be valid. If you leave this field empty, it's 60 seconds.
Confirm by clicking Apply.
- **Synerise API key** - This method is particularly recommended for the users who use Synerise REST API. It lets you select a connection that includes an [API key](/docs/settings/tool/api) with the required permissions. This way, the requests to Synerise API are executed by this integration and a JWT is not required as it is generated while sending requests and attached to the request headers.
Click here to see the instructions
Click Select connection.
If the connection you want to use is in the list, select it and proceed to defining the endpoint.
If the connection list is empty or you don't see a connection, you must:
At the top of the dropdown list, click Add connection.
In the Connection name field, enter the name of your connection (it's visible only in Synerise).
From API Key dropdown, select API key you want to use. If you don't see any API Keys on the list, verify if you are assigned with a user role that includes permissions to preview API keys.
- **OAuth2 Client Credentials** - This method lets you use your OAuth2 credentials to authorize.
Click here to see the instructions
Click Select connection.
In the connection list:
If the connection you want to use is in the list, select it and proceed to defining the endpoint.
If the connection list is empty or you don't see a connection, you must:
At the top of the dropdown list, click Add connection.
In the Connection name field, enter the name of your connection (it's visible only in Synerise).
In the Token endpoint URL field, enter the URL used to obtain an access token from the authorization server.
In the Client ID field, enter a unique identifier assigned to your application by the service provider.
In the Client secret field, enter a confidential key issued alongside the Client ID. It is used to securely authenticate your application.
Optionally, in the Scope field, define the level of access your application is requesting. Scopes specify which actions or data your application can access (for example, read user data, send messages). Refer to the API documentation for the correct scope values.
- **API Key** - This method lets you authenticate using an API secret by including it in a header of your choice or in a URL parameter — example outputs:
- the authorization header: `Authorization: Bearer [secret]`
- URL parameter: `client_id=[rendered secret]`.
When you use this connection in the Outgoing Integration node, the token will be automatically added to either the request header or the request URL with every request.
Click here to see the instructions
Click Select connection.
If the connection you want to use is in the list, select it and proceed to Defining the request section in this article.
If the connection list is empty or you don't see a connection, you must:
At the top of the dropdown list, click Add connection.
In the Connection name field, enter the name of your connection (it's visible only in Synerise).
In the Secret field, enter an API Key.
If you:
specify the value in the Headers section, the API key will be added as a header to the request. For example, x-api-key: {{secret}} where {{secret}} retrieves the value of the Secret field to anonymize the API key value.
provide the value in the URL Parameters section, the API key will be appended to the request’s URL as a parameter.
- **SHA256-based authentication** - *This method is recommended exclusively for connecting with Eagle Eye*. This method lets you authenticate using the SHA256 algorithm. When a target request is sent, the following headers are added to the request:
- **X-EES-AUTH-CLIENT-ID** – the value is taken from the Client ID field.
- **X-EES-AUTH-HASH** – the value is generated by concatenating the endpoint URI, request body, and client secret, and then hashing the result using SHA256.
Click here to see the instructions
Click Select connection.
In the connection list:
If the connection you want to use is in the list, select it and proceed to Defining the endpoint section in this article.
If the connection list is empty or you don't see a connection, you must:
In the Connection name field, enter the name of the connection. It's used to find the connection on the list.
In Client ID, enter a unique identifier assigned to your application by the service provider.
In Client secret, enter client secret assigned to your application by the service provider.
Confirm by clicking Create.
### Define the endpoint
A blank configuration form of the Ougtoing integration node
All fields that contain accept [snippets](/docs/assets/snippets) or [inserts](/developers/inserts). If you create a [business workflow](/glossary/#business-workflow), profile-related inserts cannot be used.
If you have a cURL command ready, you can use the **Import cURL** option to populate all fields automatically. See [Import and export cURL](#import-and-export-curl).
1. In the **Webhook name** field, enter the value that will be displayed in the `name` parameter of the event which will be generated when a request from this node will be executed.
2. **Optional, recommended:** In the **Event name** field, choose an action name for the [event that will be generated when Synerise receives a response](/docs/assets/events/event-reference/integration#webhookresponse-and-custom-webhook-response-names) from your selected endpoint. We recommend using a meaningful name instead of the default one.
- from the dropdown list, you can select the name of the event (event action) that will be generated when a request from this node will be executed.
- at the bottom of the dropdown list, you can create a new event using the **Create new event** option.
**Result**: A pop-up appears. Fill out the configuration form on the pop-up, according to instructions in step 3 in the [Adding event definitions - in the Web application](/docs/assets/events/event-definitions#in-the-web-application) section.
- If you leave the field blank, the action defaults to `webhook.response`.
3. In the **URL** section, define the HTTP method and enter the URL address to which the data is transmitted.
This field requires a defined domain (for example, `https://example.com`) and the HTTPS protocol. You can't use an IP (for example, `192.0.2.0`) or use Jinjava for defining the domain as a dynamic value.
4. **Optional**: Add key-value pairs for headers.
5. **Optional:** In the **Body** section, enter the body of the request.
If the webhook requests are used in the workflows triggered by an event, they will be processed in real-time. In the case of webhooks used in the workflows triggered by the [Audience node](/docs/automation/triggers/audience-node), they will be added to a separate queue and the time of processing will depend on load.
### Import and export cURL
In the **Definition** section, you can use the **Import cURL** and **Export cURL** buttons to configure the webhook from a cURL command or to generate a cURL based on the current configuration. This is useful when working from API documentation that provides ready-to-use cURL examples, as it eliminates the need to manually re-enter headers, parameters, and body content.
#### Import
1. Click **Import cURL**.
2. In the **cURL command** field, paste the cURL command.
3. Click **Import**.
**Result**: The URL, HTTP method, headers, body, and parameters in the configuration form are populated based on the pasted command.
4. Fill out **Webhook name** and optionally **Event name**.
Explanation to the fields is available in the ["Define the endpoint" section](#define-the-endpoint).
- If the node already contains a configuration, an **Overwrite settings?** confirmation pop-up appears. Review the **Changes list** to see which fields will be updated, then to apply the changes, click **Yes, overwrite** or to keep the current settings, click **No, cancel**. If the imported command is identical to the current configuration, the **Changes list** displays **No changes**.
- The syntax of the pasted command is validated. If it is invalid, an error is displayed and the import is blocked.
#### Export
This is only possible when the form is filled out.
The exported cURL command contains only data from **URL**, **Headers**, and **Body**. Other fields in the configuration form — such as **Additional event parameters** — are not part of the outgoing request itself, but supplement it by enriching the response event.
To export the configuration of the webhook, click **Export cURL**.
**Result**: A cURL command representing the current webhook configuration is copied to the clipboard.
### Custom response event parameters
You can add up to 10 custom parameters in each event that is generated from the response to the request that was sent. This solution allows for even more precise identification of response events, the creation of more detailed analyses and reports, and more accurate error handling.
1. To define the custom event parameters, in the **Additional event parameters** section, click **Add parameter**.
3. In the **Parameter** field, enter the name of the parameter.
- The name must not contain special characters or exceed 128 characters
- The following parameters cannot be sent:
- `eventUUID`
- `status`
- `statusDescription`
- `uuid`
- `clientId`
- `diagramId`
- `diagramName`
- `blockId`
- `blockName`
- `req`
- `name`
- `body`
4. In the **Value** field, enter the parameter value.
- The value is always sent as a string when the event's JSON payload is generated. The maximum length of the value is 230 characters.
- You can use dynamic values in the **Value** field.
5. If you want to add more parameters, click **Add parameter**, and repeat steps 3-4.
### Enable timeout events
By default, when an endpoint fails to respond, the workflow stops at the failing node without signalling the problem. You can enable generating an event instead.
1. If you want to save a [`webhook.timeout`](/docs/assets/events/event-reference/integration#webhooktimeout) event when the endpoints fails to respond, enable the **Produce timeout event** toggle.
### Save the configuration
1. After finishing the configuration of the node, at the bottom of the pop-up, click **Apply**.
### Test integration
---
You can run a test request. If the request body contains a dynamic reference to a profile attribute and/or an event data from preceding nodes, then you can define the context using [test profile data](/docs/settings/configuration/test-profiles).
Complete description of the feature is available in [Testing outgoing integrations](/docs/automation/test-requests-for-outgoing-integrations).
1. In the **Test integration** section, click **Send test request**.
**Result**: A test request builder opens. If:
- a request body contains dynamic references, the request preview appears after you select the context of test profiles and events.
- a request body contains static data, the preview of the body request appears immediately.
An empty test request builder
2. If your request contains dynamic references (otherwise, the options aren't available):
- From the **Test profile** dropdown, select a test profile in the context of whom the test request will be performed.
- From the **Event context** dropdown list, you can select a particular occurrence of an event whose values/information will be used for the test request.
1. Select a test profile.
**Result**: A history of test profile events appears.
A stream of events of a test profile
2. From the list of events, select one whose data you want use as a context. If there is no event you can use, in the upper-right corner of the pop-up, click **Define own event** and provide the body of the event.
3. Confirm by clicking **Apply**.
3. Verify the request body. If there is something you want to change, come back to the node settings from previous steps.
3. If the request body is ready to test, in the upper-right corner, click **Send request**.
**Result**: The response section appears and the **Update response event** button becomes active.
4. Optionally, you can update response event with new parameters by clicking **Update response event** in the upper-right corner.
## Example of use
---
- [Send offline events to Facebook](/use-cases/sending-offline-transactions-facebook)
- [Send customers to Custom Audience in Facebook](/use-cases/send-custom-audience-webhook)
Example of an automation process that uses the Outgoing Integration action
The purpose of this automation is to send a notification on a Slack channel every time a user submits a form on a website.
1. It starts with a **Profile Event** trigger node. In the settings of the trigger, select the `form.submit` event. This event may not be the Synerise default event. In such case, you need to add this event to Synerise on your own in **Data Modeling Hub > Events**.
2. Add the **Outgoing Integration** action. Configure the Webhook settings by defining the Endpoint URL, body request, and so on.
3. When the message is sent to the Slack channel, the automation process is completed.
# Reusing event context from preceding nodes
While defining the settings of a node, you can use data (event parameters) received in the preceding nodes in a diagram. This enables inserting dynamic values (for example, a customer's name or ID) in the input of the following nodes in a workflow or a request in a webhook. Such reuse in workflows is called the *event context*.
The complete documentation, instructions, and examples are available in ["Event parameters" section](/developers/inserts/automation#event-parameters) in [Automation inserts](/developers/inserts/automation).
If you're not familiar with the Automation-related terms, check them in the [dictionary](/glossary/).
# Using event expressions in Automation Hub
You can create an event expression to enrich the parameters of this event and use it while creating different types of analyses (for example, metrics, segmentations, funnels, and so on) and also in the specific nodes in Automation Hub. This means that you can use the result of the event expression as a special parameter of that event.
Segmentation, expression, and aggregate definitions are cached for 20 minutes after a node with the analysis is activated in a journey.
When another journey in the Automation Hub requests a result of the same analysis in that period, the cached definition is used to calculate the results. This means that if you edit a segmentation, aggregate, or expression used in a workflow, it takes 20 minutes for the new version to start being used in journeys.
This includes definitions of segmentations, expressions, and aggregates nested in other analyses and used in Inserts.
Event expression for the product.buy event available in the Audience node
You can find more information about creating event expressions [here](/docs/crm/expressions/creating-event-expression).
## Event expressions in nodes
---
You can use event expressions only in the following nodes:
- [Audience](/docs/automation/triggers/audience-node)
- [Profile Filter](/docs/automation/conditions/client-filter-node)
### Examples of use
---
You can use event expressions to build the filter conditions based on the values calculated on the fly.
Example workflow
1. Create an expression based on the `product.buy` which multiplies the quantity by the volume of the item. This way, you can calculate the number of sold liters.
1. Go to Automation Hub, create a workflow that starts with the **Audience** node.
1. In the segment, select customers who bought more than 3 liters of any item you sell.
Configuration of the Audience node
2. Add the **Send SMS** to the workflow and select a template that contains a discount code.
Configuration of the Send SMS node
3. Complete the workflow with the **End** node.
## FAQ
---
## Can I use event expressions in Event Filter or Profile Event nodes?
No. Both nodes are triggered instantly when a defined event occurs, and no request is made to Decision Hub at that point. Because the system does not pause to evaluate expressions, dynamic parameters based on event expressions cannot be calculated within Event Filter or Profile Event nodes. For more information, see ["Event Filter" node](/docs/automation/conditions/client-event-filter-node).
# "Send Offline Conversion" node
In Synerise, you can collect information about offline conversion after clicking an ad and send such data to Google Ads. This way, you can get the full picture of customer journey and find out who sees ads online but ultimately completes an offline transaction with your business by buying after visiting your brick and mortar shop or speaking with a salesperson by phone.
You define what conversion is, it may be a purchase but also submitting a form, and so on.
Through the **Send Offline Conversion** node, you will send the following data to Google Ads:
- the ID of your Google Ads account,
- the value of the `gclid` parameter - In order to send the value of the `gclid` parameter for each profile who will go through a workflow, you can extract it from the `page.visit` event by [an expression](#create-an-expression) and then [an aggregate](#create-an-aggregate) which extracts the `gclid` value from the `page.visit`.
- the conversion action ID,
- the date when the conversion occurred,
- the value of the conversion for the advertiser (optional),
- currency (optional).
## Prerequisites
---
- [Implement SDK to a website](/developers/web/installation-and-configuration) to which a profile is referred after clicking the ad.
- [Implement sending events about completing offline conversion](https://hub.synerise.com/api-reference/data-management#operation/CustomEvent).
- Create a Google Ads account.
- Launch an ad campaign through Google Ads.
## Create an expression
---
In this part of the process, you can create an [event expression](/docs/crm/expressions/creating-event-expression) for the page.visit event (an event generated after a visit of a profile to the website) to extract the `gclid` parameter from the URL of visited website. After saving the expression, it becomes a parameter of the `page.visit` event, which can be used while creating other analyses. This expression will be used in the [next part of the process](#create-an-aggregate) in which the value of the `gclid` parameter will be retrieved from the specific `page.visit` event.
1. Go to **Behavioral Data Hub > Expressions > New expression**.
2. Enter the name of the expression.
3. Set the **Expression for** option to **Event**.
4. From the **Choose event** dropdown list, select an event generated after a visit to the page.
5. In the **Formula definition** dashboard, click **Select**.
6. From the dropdown list, select **Functions > Regexp**.
7. Click the left **Select** node.
8. From the dropdown list, select **Event attribute**.
9. Click the **Unnamed** node.
10. From the **Choose parameter** dropdown list, select the parameter that signifies URL address.
11. Click the right **Select** node.
12. From the dropdown list, select **Constant**.
13. Click the **0** node.
14. In the text field, enter the following formula: `(?<=gclid=)(.+?)(?=$)`
The configuration of the expression that retrieves the value of gclid parameter from the URL
15. Click **Publish**.
## Create an aggregate
---
In this part of the process, you can create an aggregate that retrieves the value of the `gclid` parameter from the latest page visit to your website. This way, you can inject the result of the aggregate in the form of a Jinjava tag in step 2 in the [Define the integration settings](#define-the-integration-settings) in which you must provide the value of the `gclid` parameter.
1. Go to **Behavioral Data Hub > Live Aggregates > Create aggregate**.
2. Enter the name of the aggregate.
3. Set the **Aggregate** option to **Last**.
The choice of an aggregator depends on your business needs. The aggregator you choose in this step will define which clicked ad you will attribute the conversion to. For example, by selecting the **Last** aggregator, the conversion will be attributed to the last ad clicked before the conversion. You can additionally modify the conditions of the aggregate by specifying a specific time period or date of a specific event.
4. From the **Choose event** dropdown list, select an event generated after a visit to the page.
5. From the **Choose parameter** dropdown list, click **> Expressions** and select [the expression you created in the previous part of the process](#create-an-expression).
6. Click **+ where**.
7. From the **Choose parameter** dropdown list, select the parameter that signifies URL address.
8. As the logical operator, select **Contain (String)**.
9. In the text field, enter `gclid=`.
10. In the right bottom corner, click the calendar icon and set the date range to **Lifetime**.
The configuration of the aggregate that retrieves the value of gclid parameter from the latest visit to the page
11. Click **Save**.
## Node configuration
---
1. Click **Google Ads > Send Offline Conversion**.
2. Click **Select connection**.
3. From the dropdown list, select the connection.
- If no connections are available or you want to create a new one, see [Create a connection](#create-a-connection).
- If you selected an existing connection, proceed to [defining the integration settings](#define-the-integration-settings).
### Create a connection
To allow the data exchange, establish a connection between Synerise and Google Ads.
1. At the bottom of the **Select connection** dropdown list, click **Add connection**.
2. On the pop-up, click **Sign in with Google**.
3. Select a Google account which has access to the Google Ads account that you want to use.
4. Follow the instructions on the interface.
5. After successful authentication, click **Next**.
6. In the **Connection name** field, enter the name of the connection.
It's used to find the connection on the list.
7. Click **Apply**.
**Result**: A connection is created and selected.
### Define the integration settings
A blank configuration form in Send Offline Conversion (Google Ads)
Fields marked with the icon accept [snippets](/docs/assets/snippets) or [inserts](/developers/inserts). This integration allows usage of profile-related inserts.
1. In the **Google Ads customer ID** field, enter the number of the Google Ads account. It can't contain dashes. [Learn how to find this number](https://support.google.com/google-ads/answer/1704344?hl=en).
2. In the **The Google click ID (GCLID) associated with this conversion** field, enter the part of the URL that starts with `?gclid=`.
For that purpose, you can enter a Jinjava tag that inserts the value of the [aggregate you created in the previous part of the process](#create-an-aggregate): `{% aggregate AGGREGATE_ID %}{{ aggregate_result[0] }}{% endaggregate %}`. Replace the `AGGREGATE_ID` with an actual ID of the aggregate, you can find it in the URL while previewing the aggregate.
5. In the **Conversion action ID** field, enter the ID of the conversion. You can find it in the Google Ads panel. When you go to conversion action details, the URL contains the “ctld” parameter (for example, “ctId=123456789") whose value is the conversion action ID. [Learn more about conversion action in Google Ads](https://support.google.com/google-ads/answer/6032150?hl=en).
6. In the **Conversion time** field, enter the time of the conversion in the following format: `yyyy-mm-dd hh:mm:ss+|-hh:mm`.
For that purpose, you can use [a Jinjava code](/developers/inserts/automation) that inserts date of conversion dynamically. For example, `{{ event.params.time|timestamp_to_time|datetimeformat('%y-%m-%d %H:%M:%S+2:00') }}`.
7. Optionally, in the **Conversion value** field, enter the value. For that purpose, you can use [a Jinjava code](/developers/inserts/automation) that inserts the value dynamically.
8. Optionally, in the **Currency of the conversion value** field, enter the currency. For that purpose, you can use [a Jinjava code](/developers/inserts/automation) that inserts the value dynamically.
9. In **Customer match consent import script**, provide a static value (`GRANTED`, `DENIED`, `UNSPECIFIED`, `UNKNOWN`) or a Jinjava code that retrieves a consent value from your database.
10. In **Ad Personalization consent import source**, provide a static value (`GRANTED`, `DENIED`, `UNSPECIFIED`, `UNKNOWN`) or a Jinjava code that retrieves an ad personalization consent value from your database.
9. Confirm the settings by clicking **Apply**.
**Result**: When the Send Offline Conversion node is executed, a [`googleAds.sendOfflineConversion` event](/docs/assets/events/event-reference/integration#googleadssendofflineconversion) is generated on the activity list of the profile who is the actor in the workflow.
### Test integration
---
You can run a test request. If the request body contains a dynamic reference to a profile attribute and/or an event data from preceding nodes, then you can define the context using [test profile data](/docs/settings/configuration/test-profiles).
Complete description of the feature is available in [Testing outgoing integrations](/docs/automation/test-requests-for-outgoing-integrations).
1. In the **Test integration** section, click **Send test request**.
**Result**: A test request builder opens. If:
- a request body contains dynamic references, the request preview appears after you select the context of test profiles and events.
- a request body contains static data, the preview of the body request appears immediately.
An empty test request builder
2. If your request contains dynamic references (otherwise, the options aren't available):
- From the **Test profile** dropdown, select a test profile in the context of whom the test request will be performed.
- From the **Event context** dropdown list, you can select a particular occurrence of an event whose values/information will be used for the test request.
1. Select a test profile.
**Result**: A history of test profile events appears.
A stream of events of a test profile
2. From the list of events, select one whose data you want use as a context. If there is no event you can use, in the upper-right corner of the pop-up, click **Define own event** and provide the body of the event.
3. Confirm by clicking **Apply**.
3. Verify the request body. If there is something you want to change, come back to the node settings from previous steps.
3. If the request body is ready to test, in the upper-right corner, click **Send request**.
**Result**: The response section appears and the **Update response event** button becomes active.
4. Optionally, you can update response event with new parameters by clicking **Update response event** in the upper-right corner.
# "Publish Raw Message" node
We recommend publishing data in Google Pub/Sub using the CloudEvents standard. To publish data using this standard, proceed with the ["Publish Message" node](/docs/automation/integration/google-cloud-pubsub/publish-message).
[Google Could Pub/Sub](https://cloud.google.com/pubsub/docs/overview) is a messaging service for exchanging event data among applications and services. It lets you create systems of event producers and consumers, called **publishers** and **subscribers**. Publishers communicate with subscribers asynchronously by broadcasting events to a **topic**, without regard to how or when these events are to be processed. Pub/Sub then delivers events to all the subscribers of that topic, and each subscriber has its own logic of reacting to the event.
The integration between Synerise and this tool opens up possibilities of exporting data collected in Synerise. With the **Publish Raw Message** node, you can push data from Synerise to Pub/Sub in the form of messages published to Pub/Sub queues in [the CloudEvents standard](https://cloudevents.io/). You can use this connection in various scenarios, such as exporting transactions, event data, customer information (such as marketing agreements), results of [metrics](/docs/analytics/metrics), [aggregates](/docs/crm/aggregates/introduction-to-aggregates), [expressions](/docs/crm/expressions/introduction-to-expressions), [reports](/docs/analytics/reports/introduction-to-reports), and many more to Google Cloud Pub/Sub. This lets you seamlessly integrate Synerise with third-party tools or other Google Tools such as Google Analytics, Google Ads, Google BigQuery, Google Sheets.
During the configuration of the node, you can use [Jinjava inserts](/developers/inserts/automation) which let you dynamically refer to the profile attributes and event parameters in the workflow.
This node is not optimized for batch operations that send large volumes of data (for example, updating all events for each profile). Use it to export changes within one event, profile attribute (for example, marketing agreement), analysis results, and so on.
## Prerequisites
---
- Set up [the Google Cloud Console project](https://console.cloud.google.com/) and enable the Pub/Sub API for that project.
- Configure [publishing and consuming messages in Pub/Sub](https://cloud.google.com/pubsub/docs/publish-receive-messages-console).
- Become familiar with [building message frames in Google Cloud Pub/Sub](https://cloud.google.com/pubsub/docs/reference/rest/v1/PubsubMessage).
### Node configuration
---
1. Click **Google Cloud Pub/Sub > Publish Raw Messages**.
2. Click **Select connection**.
3. From the dropdown list, select the connection.
- If no connections are available or you want to create a new one, see [Create a connection](#create-a-connection).
- If you selected an existing connection, proceed to [defining the integration settings](#define-the-integration-settings).
### Create a connection
To allow the data exchange, establish a connection between Synerise and Google Cloud Pub/Sub.
1. At the bottom of the **Select connection** dropdown list, click **Add connection**.
2. On the pop-up, click **Sign in with Google**.
3. Select a Google account which has:
- Access to the project and topic in Google Cloud Pub/Sub that you want to use.
- Permissions to publish messages in that project and topic.
4. Follow the instructions on the interface.
5. After successful authentication, click **Next**.
6. In the **Connection name** field, enter the name of the connection.
It's used to find the connection on the list.
7. Click **Apply**.
**Result**: A connection is created and selected.
### Define the integration settings
In this step, fill in the form that allows you to publish a message in Google Cloud Pub/Sub in CloudEvents standard.
A blank configuration form in Publish Raw Messages
Fields marked with the icon accept [snippets](/docs/assets/snippets) or [inserts](/developers/inserts). This integration allows usage of profile-related inserts.
1. In the **Project ID** field, enter the unique identifier of your project in Google Cloud Console.
You can learn how to find the project ID [here](https://support.google.com/googleapi/answer/7014113).
2. In the **Topic ID** field, enter the unique identifier of the topic (a named resource that represents a feed of messages).
Learn more about [creating and managing topics](https://cloud.google.com/pubsub/docs/create-topic).
5. In the **Messages** field, enter a JSON array with messages to be published. [Learn more about building messages in Pub/Sub](https://cloud.google.com/pubsub/docs/reference/rest/v1/PubsubMessage).
- Each message object must contain the `data` or `attributes` parameter.
- the `data` parameter of the message object must be encoded in Base64. You may use [Jinjava filter to encode your data](/developers/inserts/filter#base64-encodedecode).
Click here to see example of the Messages array
6. Confirm the settings by clicking **Apply**.
**Result**: When the Publish Raw Messages node is executed, a [`pubSub.publishRawMessages` event](/docs/assets/events/event-reference/integration#pubsubpublishrawmessages) is generated on the activity list of the profile who is the actor in the workflow.
### Test integration
---
You can run a test request. If the request body contains a dynamic reference to a profile attribute and/or an event data from preceding nodes, then you can define the context using [test profile data](/docs/settings/configuration/test-profiles).
Complete description of the feature is available in [Testing outgoing integrations](/docs/automation/test-requests-for-outgoing-integrations).
1. In the **Test integration** section, click **Send test request**.
**Result**: A test request builder opens. If:
- a request body contains dynamic references, the request preview appears after you select the context of test profiles and events.
- a request body contains static data, the preview of the body request appears immediately.
An empty test request builder
2. If your request contains dynamic references (otherwise, the options aren't available):
- From the **Test profile** dropdown, select a test profile in the context of whom the test request will be performed.
- From the **Event context** dropdown list, you can select a particular occurrence of an event whose values/information will be used for the test request.
1. Select a test profile.
**Result**: A history of test profile events appears.
A stream of events of a test profile
2. From the list of events, select one whose data you want use as a context. If there is no event you can use, in the upper-right corner of the pop-up, click **Define own event** and provide the body of the event.
3. Confirm by clicking **Apply**.
3. Verify the request body. If there is something you want to change, come back to the node settings from previous steps.
3. If the request body is ready to test, in the upper-right corner, click **Send request**.
**Result**: The response section appears and the **Update response event** button becomes active.
4. Optionally, you can update response event with new parameters by clicking **Update response event** in the upper-right corner.
## Example of use
---
Refer to this use case to see how you can use this node:
- [Sending NPS survey results to Google Cloud Pub/Sub](/use-cases/send-nps-event-to-pubsub)
# "Get Weather Information" node
The **Get Weather Information** node allows you to retrieve information about weather at a specific location. This kind of information can be a great basis for communication with customers. You can use it to recommend winter accessories on your website when cold season approaches or send a push notification to your customers on a hot day with a promotion code for cold beverages and ice cream.
Weather information can be stored in Synerise in multiple ways. By default, it is saved on the profile of the customer as a `weatherapi.getWeatherInfo` event. The parameters of this event contain the weather details. You may also choose to store this information in a catalog for particular locations as presented in [this use case](/use-cases/data_with_current_weather_information).
While configuring the integration settings, you can decide about the time range you want to get weather forecast:
- at the moment
- for the next 14 days
- for the next 300 days (counting from the 14th day in advance to the current date)
- historical weather data
### Accepted location formats
---
While configuring the integration settings, you need to define the location you want to get weather information about. This field accepts the following formats:
| Accepted format | Example |
|--------------------------------------|----------------------------|
| Latitude and longitude | `48.8567,2.3508` |
| City name (in English) | `Paris`, `Barcelona` |
| US zip code | `85001`, `96162` |
| UK postcode | `PO1`, `SW1` |
| Canada postal code | `G2J`, `G2G` |
| metar: | `metar:EGLL`, `metar:KLAX` |
| iata:<3 digit airport code> | `iata:DXB`, `iata:LAX` |
| auto:ip IP lookup | `auto:ip` |
| IP address (IPv4 and IPv6 supported) | `100.0.0.1` |
`*`- Enter the English equivalent of the city name
## Prerequisites
---
A Weather API API key is required.
- If you're not sure if a key is already added to Synerise, you will be able to check it while configuring the node.
- If you want to create a WeatherAPI API key, go to [https://www.weatherapi.com/](https://www.weatherapi.com/).
## Node configuration
---
1. Click the node.
2. Click **Select connection**.
3. From the dropdown list, select the connection.
- If no connections are available or you want to create a new one, see [Create a connection](#create-a-connection).
- If you selected an existing connection proceed to [defining the integration settings](#define-the-integration-settings).
### Create a connection
If you want to use an existing connection, you can proceed to [defining the integration settings](#define-the-integration-settings).
To allow the data exchange, establish the connection between Synerise and Weather API.
1. At the bottom of the **Select connection** dropdown list, click **Add connection**.
2. In the **API key** field, enter the API key (you can find it in your WeatherAPI account).
3. Click **Next**.
4. In the **Connection name** field, enter the name for the connection.
5. Click **Apply**.
**Result**: A connection is created and selected.
### Define the integration settings
In this part of the process, fill in the configuration form so that Synerise can retrieve weather information from Weather API.
A blank configuration form in the Get Weather Information node
Fields marked with the icon accept [snippets](/docs/assets/snippets) or [inserts](/developers/inserts). This integration allows usage of profile-related inserts.
1. In the **Weather data period** field, select one of time ranges from which you want to receive weather information:
- **Current weather**
- **Past weather** - Allows you to enter a date in the past to receive historical weather data.
- **Forecast for the next 14 days** - Allows you to receive weather forecast for 14 days in advance (from the current day).
- **Forecast for the next 300 days** - Allows you to receive weather forecast for between 14 and 300 days in advance (counted from the current day).
2. Follow the instructions according to the option you selected in step 1.
2. In the **Location** field, enter the details of location you want to get weather information ([accepted formats of location](#accepted-location-formats)) for.
3. Optionally, in the **Language** field, you can enter the language the weather information will be returned in. See [full list of supported languages](https://www.weatherapi.com/docs/#intro-request).
4. Confirm by clicking **Apply**.
2. In the **Location** field, enter the details of location you want to get weather information ([accepted formats of location](#accepted-location-formats)).
3. Optionally, in the **Language** field, you can enter the language the weather information will be returned in. See [full list of supported languages](https://www.weatherapi.com/docs/#intro-request).
4. In the **Date** field, enter the date for which weather information will be returned, in the `YYYY-MM-DD` format. The earliest date you can enter is `2010-01-01`.
4. Confirm by clicking **Apply**.
2. In the **Location** field, enter the details of location you want to get weather information ([accepted formats of location](#accepted-location-formats)).
3. Optionally, in the **Language** field, you can enter the language the weather information will be returned in. See [full list of supported languages](https://www.weatherapi.com/docs/#intro-request).
4. In the **Time range of the forecast** field, enter the number of days (values between 1 to 14) for which you want to receive weather information. For example, if you enter 3, you will get weather for the next 3 days (including current day).
4. Confirm by clicking **Apply**.
2. In the **Location** field, enter the details of location you want to get weather information ([accepted formats of location](#accepted-location-formats)).
3. Optionally, in the **Language** field, you can enter the language the weather information will be returned in. See [full list of supported languages](https://www.weatherapi.com/docs/#intro-request).
4. In the **Date** field, enter the date in the `YYYY-MM-DD` format. The allowed range of dates is between 14 to 300 days from today.
4. Confirm by clicking **Apply**.
**Result**: After a profile completes the **Get Weather Information** node, the [`weatherapi.getWeatherInfo` event](/docs/assets/events/event-reference/integration#weatherapigetweatherinfo) is generated on the activity list on the profile in **Behavioral Data Hub > Profiles**. The event contains weather information in its parameters in accordance with the node configuration.
The weatherapi.getWeatherInfo event details
### Test integration
---
You can run a test request. If the request body contains a dynamic reference to a profile attribute and/or an event data from preceding nodes, then you can define the context using [test profile data](/docs/settings/configuration/test-profiles).
Complete description of the feature is available in [Testing outgoing integrations](/docs/automation/test-requests-for-outgoing-integrations).
1. In the **Test integration** section, click **Send test request**.
**Result**: A test request builder opens. If:
- a request body contains dynamic references, the request preview appears after you select the context of test profiles and events.
- a request body contains static data, the preview of the body request appears immediately.
An empty test request builder
2. If your request contains dynamic references (otherwise, the options aren't available):
- From the **Test profile** dropdown, select a test profile in the context of whom the test request will be performed.
- From the **Event context** dropdown list, you can select a particular occurrence of an event whose values/information will be used for the test request.
1. Select a test profile.
**Result**: A history of test profile events appears.
A stream of events of a test profile
2. From the list of events, select one whose data you want use as a context. If there is no event you can use, in the upper-right corner of the pop-up, click **Define own event** and provide the body of the event.
3. Confirm by clicking **Apply**.
3. Verify the request body. If there is something you want to change, come back to the node settings from previous steps.
3. If the request body is ready to test, in the upper-right corner, click **Send request**.
**Result**: The response section appears and the **Update response event** button becomes active.
4. Optionally, you can update response event with new parameters by clicking **Update response event** in the upper-right corner.
## Example of use
---
For example of use, refer to the [use case that describes updating weather information in a catalog](/use-cases/data_with_current_weather_information).
# "Upload Data to Table" node
The integration between Synerise and Google BigQuery opens up possibilities of exporting data collected in Synerise. By means of the **Upload Data to Table** node, you can push data from Synerise to add it in the form of rows in a BigQuery tables. You can use this connection in various scenarios such as exporting transactions, event data, customer information (such as marketing agreements), results of [metrics](/docs/analytics/metrics), [aggregates](/docs/crm/aggregates/introduction-to-aggregates), [expressions](/docs/crm/expressions/introduction-to-expressions), [reports](/docs/analytics/reports/introduction-to-reports), and many more to Google BigQuery.
During the configuration of the node, you can use [Jinjava inserts](/developers/inserts/automation) which let you dynamically refer to the profile attributes and event parameters in the workflow.
This node is not optimized for batch operations that send large volumes of data (for example, updating all events for each profile). Use it to export changes within one event, profile attribute (for example, marketing agreement), analysis results and so on.
## Prerequisites
---
- You must have a Google BigQuery project created.
- Make sure that billing is enabled for your project. [Learn how to check if billing is enabled on a project](https://cloud.google.com/billing/docs/how-to/verify-billing-enabled).
- Check the [quota policy for streaming data](https://cloud.google.com/bigquery/quotas#streaming_inserts).
- You must create a dataset and a table in a BigQuery project.
- You must define the schema of the BigQuery table (column definitions).
### Node configuration
---
1. Click **Google BigQuery > Upload Data to Table**.
2. Click **Select connection**.
3. From the dropdown list, select the connection.
- If no connections are available or you want to create a new one, see [Create a connection](#create-a-connection).
- If you selected an existing connection, proceed to [defining the integration settings](#define-the-integration-settings).
### Create a connection
To allow the data exchange, establish a connection between Synerise and Google BigQuery.
1. At the bottom of the **Select connection** dropdown list, click **Add connection**.
2. On the pop-up, click **Sign in with Google**.
3. Select a Google account which has write access to the dataset that contains your destination table. [Learn about required permissions](https://cloud.google.com/bigquery/docs/streaming-data-into-bigquery#required_permissions).
4. Follow the instructions on the interface.
5. After the successful authentication, click **Next**.
6. In the **Connection name** field, enter the name of the connection.
It's used to find the connection on the list.
7. Click **Apply**.
**Result**: A connection is created and selected.
### Define the integration settings
In this step, fill in the form that allows you to send data from Synerise to a table in Google BigQuery.
A blank configuration form in Upload Data to Table (Google BigQuery)
Fields marked with the icon accept [snippets](/docs/assets/snippets) or [inserts](/developers/inserts). This integration allows usage of profile-related inserts.
1. In the **Project ID** field, enter the unique identifier of your project in Google BigQuery.
You can learn how to find the project ID [here](https://support.google.com/googleapi/answer/7014113).
2. In the **Dataset ID** field, enter the unique identifier of the dataset in the BigQuery project.
3. In the **Table ID** field, enter the unique identifier of the table in the dataset.
4. In the **Rows** field, enter JSON with rows which you want to upload to BigQuery project.
- Optionally, you can add the `insertId` parameter to the request body. It is a property used in the BigQuery streaming API to ensure the uniqueness of records being inserted into a BigQuery table. When you stream data into BigQuery, `insertId` acts as a unique identifier for each record. To ensure an automatic generation of the `insertId` parameter value, we recommend using the following Jinjava: `{{ currentStep.actionId }}`. This will generate a unique value of this parameter for each request sent from Synerise to BigQuery.
You can read more about insert ID in the [Google Big Query documentation](https://cloud.google.com/bigquery/docs/streaming-data-into-bigquery#dataconsistency).
- Each object in the array of the request body inserts data into a row. The `json` property contains keys (columns names) and values (column values). You can use [Jinjava inserts](/developers/inserts/automation) as the values of columns to dynamically send data stored in Synerise. This way, Jinjava dynamically fills in values (for example, ID, email address, expression/aggregate result) for each profile/item.
Click here to see example of the request body
4. Confirm the settings by clicking **Apply**.
**Result**: When the Upload Data to Table node is executed, a [`bigQuery.uploadData` event](/docs/assets/events/event-reference/integration#bigqueryuploaddata) is generated on the activity list of the profile who is the actor in the workflow.
### Test integration
---
You can run a test request. If the request body contains a dynamic reference to a profile attribute and/or an event data from preceding nodes, then you can define the context using [test profile data](/docs/settings/configuration/test-profiles).
Complete description of the feature is available in [Testing outgoing integrations](/docs/automation/test-requests-for-outgoing-integrations).
1. In the **Test integration** section, click **Send test request**.
**Result**: A test request builder opens. If:
- a request body contains dynamic references, the request preview appears after you select the context of test profiles and events.
- a request body contains static data, the preview of the body request appears immediately.
An empty test request builder
2. If your request contains dynamic references (otherwise, the options aren't available):
- From the **Test profile** dropdown, select a test profile in the context of whom the test request will be performed.
- From the **Event context** dropdown list, you can select a particular occurrence of an event whose values/information will be used for the test request.
1. Select a test profile.
**Result**: A history of test profile events appears.
A stream of events of a test profile
2. From the list of events, select one whose data you want use as a context. If there is no event you can use, in the upper-right corner of the pop-up, click **Define own event** and provide the body of the event.
3. Confirm by clicking **Apply**.
3. Verify the request body. If there is something you want to change, come back to the node settings from previous steps.
3. If the request body is ready to test, in the upper-right corner, click **Send request**.
**Result**: The response section appears and the **Update response event** button becomes active.
4. Optionally, you can update response event with new parameters by clicking **Update response event** in the upper-right corner.
## Example of use
---
You can use the integration to send information about complaint to Google BigQuery. So every time the complaint event is generated, the data from the event will be sent automatically to BigQuery. In this example, we use a custom event - `complaint.filed`. If you want to collect such event in your workspace, you must [implement it](/docs/assets/events/event-definitions) first.
Configuration of the workflow
1. Start the workflow with the **Profile Event** node. In the configuration of the node:
1. Enter the following title to the node: `complaint`.
2. Select the event that signifies a customer's complaint.
Click here to see example event and its parameters for an example customer
2. As the next step of the workflow, select **Upload Data to Table** node. In the configuration of the node:
1. Fill out the form according to the instructions in the [Define the integration settings](#define-the-integration-settings) section.
2. In the **Rows** field, enter the JSON that extracts name, surname, complaint number and the contents of complaint from the event selected in the **Profile Event** node. The example body contains the [Automation inserts](/developers/inserts/automation) that retrieve data from the event included in the **Profile Event** node.
3. As the finishing node, add the **End** node.
**Result**: The event data is sent to a BigQuery table.
# "Remove From Customer List" node
The following instructions will show you how to configure a native integration with Google Ads that lets you remove customers stored in Google Ads customer list.
Depending on the configuration of the **Scheduled Run** trigger, you may create different types of workflows that remove customers from the customer lists:
- **one time** that removes a single set of customers from the Google Ads list on demand,
- **cyclical** that runs periodically.
Taking the above into account, you may remove contacts that belong to the specific [segmentation](/docs/automation/actions/synerise-integrations/get-profiles), a [static file with contacts](/docs/automation/operation/local-file-node) or contact list fetched from [the external service](/docs/automation/integration).
## Prerequisites
---
Access to a Google Ads Account that meets the requirements to access [Customer Match](https://support.google.com/adspolicy/answer/6299717).
## Node configuration
---
1. To create a workflow that lets you remove customers from the customer list in Google Ads, go to Automation Hub > Workflows > New workflow.
2. Select one of the business trigger nodes, for example [Scheduled Run](/docs/automation/triggers/scheduled-run).
3. Click **THEN > Google Ads > Remove From Customer List**.
2. Familiarize yourself with the required data to be provided, then click **Next**.
3. Click **Select connection**. From the dropdown list, select the connection.
- If no connections are available or you want to create a new one, see [Create a connection](#create-a-connection).
- If you selected an existing connection, proceed to [defining the integration settings](#define-the-integration-settings).
### Create a connection
To allow the data exchange, establish a connection between Synerise and Google Ads.
1. At the bottom of the **Select connection** dropdown list, click **Add connection**.
2. On the pop-up, click **Sign in with Google**.
3. Select a Google Ads Account that meets the requirements to access [Customer Match](https://support.google.com/adspolicy/answer/6299717).
4. Follow the instructions on the interface.
5. After the successful authentication, click **Next**.
6. In the **Connection name** field, enter the name of the connection.
It's used to find the connection on the list.
7. Click **Apply**.
**Result**: A connection is created and selected.
### Define the integration settings
In this step, fill in the form that allows you to remove customers from the Google Ads customer list.
A blank configuration form in Remove from New Customer List (Google Ads)
Fields marked with the icon accept [snippets](/docs/assets/snippets) or [inserts](/developers/inserts). But, you can’t use profile-related inserts.
1. In the **Google Ads Manager Account ID** field, provide the manager account number.
2. In the **Google Ads customer ID (optional)** field, provide the number of your Google Ads account. If it's left empty, Google Ads Manager Account ID will be applied. Learn how to find a [Google Ads customer ID](https://support.google.com/google-ads/answer/1704344).
3. In the **Customer list ID** field, enter the identifier of the customer list from which would like to remove customers.
4. Confirm by clicking **Apply**.
## Example of use
---
The workflow demonstrates the process of removing customers from Google Ads customer list. Initially, a static file containing the customer list is provided to the workflow. Next, the file is sent to the Google Ads list, from which the listed customers will be deleted.
### Prerequisites
1. [A customer list must exist in your Google Ads account](https://support.google.com/google-ads/answer/6276125?hl=en).
2. Create a file with customers to be removed. The file must meet the following formatting guidelines in order to be accepted.
- the file must be in the CSV format with comma-separated values,
- the file must contain one of the required ID listed below:
- **Email address matching**: Use `Email` as the column header name in your data file.
- **Phone matching**: Use `Phone` as the column header name in your data file.
- **Mobile Device ID matching**: Use `mobileDeviceId` as the only column header in your data file.
Regardless of the method of providing a file (using local file to export contacts or [fetching contacts from the specific segmentation](/docs/automation/actions/synerise-integrations/get-profiles)), you may use [Data Transformation rules](/docs/automation/data-transformation-and-imports/creating-data-transformation) to adjust your file to the required specification, for example by changing column names.
### Process
Create a one-time workflow that sends the file with contacts to the customer list in Google Ads.
1. Start the workflow with the **Scheduled Run** node. In the configuration of the node:
1. Set the **Run trigger** option to **one time**.
2. Select the **Immediately** tab.
2. As the next node, select **Local File**. In the configuration of the node:
1. Upload the file.
2. Confirm by clicking **Apply**.
4. To send the file with customers data, add **Google Ads > Remove From Customer List**. Fill in the configuration form in the node.
5. Add the **End** node.
**Result**:
Final configuration of the workflow
# Synerise collection
If you need to import profiles, events, transactions of external sources or to retrieve a group of customers for further actions, you may use the nodes below for these purposes.
### Import nodes overview
---
#### Import Profiles
This node allows you to initiate an import of profiles to Synerise. The node doesn't require any configuration.
To learn more, click [here](/docs/automation/actions/synerise-integrations/import-customers).
#### Import Transactions
This node allows you to initiate an import of transactions to Synerise. The transactions are imported as `transaction.charge` events into a profile's history.
In the configuration of the node, you can find a list of required columns in the imported file.
You can also use the option of automatic revenue calculation. To do so, you must first indicate the column which contains the price of a single piece of the item. Then, during import, the system aggregates data based on the `orderId` and multiplies the single piece price by the quantity bought. The result of the calculation will be saved in the `revenue.amount` and `revenue.value` parameters of the `transaction.charge` event.
To learn more, click [here](/docs/automation/actions/synerise-integrations/import-transactions).
#### Import Events
This node allows you to initiate an import of events to Synerise. The node doesn't require any configuration.
To learn more, click [here](/docs/automation/actions/synerise-integrations/import-events).
#### Import Promotions
This node allows you to initiate an import of promotions to Synerise. The node doesn't require any configuration.
To learn more, click [here](/docs/automation/actions/synerise-integrations/import-promotions).
#### Import to Catalogs
This node initiates the import of data to a catalog created in **Data Modeling Hub > Catalogs**. The catalog can be empty.
In the configuration of the node:
1. Select the catalog to which the file will be imported.
2. As the primary key, enter the name of the column which contains the unique identifiers of the items.
3. Confirm by clicking **Apply**.
To learn more, click [here](/docs/automation/actions/synerise-integrations/import-to-catalog).
### Example with transformation
---
Single import of transactions to Synerise
#### When to use
If the files you want to import to Synerise don't meet the requirements, you can create a [data transformation](/docs/automation/data-transformation-and-imports/creating-data-transformation) and use it in the Data Transformation node.
#### Workflow structure
1. [Scheduled Run node](/docs/automation/triggers/scheduled-run) - This node allows you to define the frequency of importing the file.
2. [Local File node](/docs/automation/operation/local-file-node) - This node allows you to upload a file from your device to be modified. You can also upload data through [SFTP](/docs/automation/integration/sftp-integrations) or [HTTP](/docs/automation/integration/http-integrations).
3. [Data Transformation node](/docs/automation/operation/data-transformation-node) - This node allows you to prepare your file to meet Synerise requirements.
4. Import nodes - The scope of the nodes include: **Import Profiles**, **Import Transactions**, **Import Events**, **Import to Catalog**. These nodes don't require configuration, they list the requirements for the files to be imported.
5. The **End** node.
### Example without transformation
---
Single import of customers to Synerise
The data will be imported as customer data without any transformation.
#### When to use
If the file you want to import to Synerise meets the requirements, you don't need to use the Data Transformation node.
#### Workflow structure
1. [Scheduled Run node](/docs/automation/triggers/scheduled-run) - This node allows you to define the frequency of importing the file.
2. [Local File node](/docs/automation/operation/local-file-node) - This node allows you to upload a file from your device. You can also upload data through [SFTP](/docs/automation/integration/sftp-integrations) or [HTTP](/docs/automation/integration/http-integrations).
3. Import nodes - The scope of the nodes include: [Import Profiles](/docs/automation/actions/synerise-integrations/import-customers), [Import Transactions](/docs/automation/actions/synerise-integrations/import-transactions), [Import Events](/docs/automation/actions/synerise-integrations/import-events), [Import to Catalog](/docs/automation/actions/synerise-integrations/import-to-catalog). These nodes don't require configuration, they list the requirements for the files to be imported.
4. The **End** node.
# "Publish Message" node
[Google Could Pub/Sub](https://cloud.google.com/pubsub/docs/overview) is a messaging service for exchanging event data among applications and services. It lets you create systems of event producers and consumers, called **publishers** and **subscribers**. Publishers communicate with subscribers asynchronously by broadcasting events to a **topic**, without regard to how or when these events are to be processed. Pub/Sub then delivers events to all the subscribers of that topic, and each subscriber has its own logic of reacting to the event.
The integration between Synerise and this tool opens up possibilities of exporting data collected in Synerise. With the **Publish Message** node, you can push data from Synerise to Pub/Sub in the form of messages published to Pub/Sub queues in [the CloudEvents standard](https://cloudevents.io/). You can use this connection in various scenarios, such as exporting transactions, event data, customer information (such as marketing agreements), results of [metrics](/docs/analytics/metrics), [aggregates](/docs/crm/aggregates/introduction-to-aggregates), [expressions](/docs/crm/expressions/introduction-to-expressions), [reports](/docs/analytics/reports/introduction-to-reports), and many more to Google Cloud Pub/Sub. This lets you seamlessly integrate Synerise with third-party tools or other Google Tools such as Google Analytics, Google Ads, Google BigQuery, Google Sheets.
During the configuration of the node, you can use [Jinjava inserts](/developers/inserts/automation) which let you dynamically refer to the profile attributes and event parameters in the workflow.
This node is not optimized for batch operations that send large volumes of data (for example, updating all events for each profile). Use it to export changes within one event, profile attribute (for example, marketing agreement), analysis results, and so on.
We recommend publishing data in Google Pub/Sub using the CloudEvents standard, however if you want to publish a message out of this standard or if you want to publish more than one message at once, proceed with ["Publish Raw Message" node](/docs/automation/integration/google-cloud-pubsub/publish-raw-messages).
## Prerequisites
---
- Set up [the Google Cloud Console project](https://console.cloud.google.com/) and enable the Pub/Sub API for that project.
- Configure [publishing and consuming messages in Pub/Sub](https://cloud.google.com/pubsub/docs/publish-receive-messages-console).
- Become familiar with [building message frames in Google Cloud Pub/Sub](https://cloud.google.com/pubsub/docs/reference/rest/v1/PubsubMessage).
- Become familiar with the [CloudEvents standard](https://cloudevents.io/) that Synerise uses to send data.
- [Learn how CloudEvents are sent within the Pub/Sub message](https://github.com/google/knative-gcp/blob/main/docs/spec/pubsub-protocol-binding.md#32-structured-content-mode).
### Node configuration
---
1. Click **Google Cloud Pub/Sub > Publish Message**.
2. Click **Select connection**.
3. From the dropdown list, select the connection.
- If no connections are available or you want to create a new one, see [Create a connection](#create-a-connection).
- If you selected an existing connection, proceed to [defining the integration settings](#define-the-integration-settings).
### Create a connection
To allow the data exchange, establish a connection between Synerise and Google Cloud Pub/Sub.
1. At the bottom of the **Select connection** dropdown list, click **Add connection**.
2. On the pop-up, click **Sign in with Google**.
3. Select a Google account which has:
- Access to the project and topic in Google Cloud Pub/Sub that you want to use.
- Permissions to publish messages in that project and topic.
4. Follow the instructions on the interface.
5. After successful authentication, click **Next**.
6. In the **Connection name** field, enter the name of the connection.
It's used to find the connection on the list.
7. Click **Apply**.
**Result**: A connection is created and selected.
### Define the integration settings
In this step, fill in the form that allows you to publish a message in Google Cloud Pub/Sub in CloudEvents standard.
A blank configuration form in the Publish Message node
Fields marked with the icon accept [snippets](/docs/assets/snippets) or [inserts](/developers/inserts). This integration allows usage of profile-related inserts.
1. In the **Project ID** field, enter the unique identifier of your project in Google Cloud Console.
You can learn how to find the project ID [here](https://support.google.com/googleapi/answer/7014113).
2. In the **Topic ID** field, enter the unique identifier of the topic (a named resource that represents a feed of messages). Learn more about [creating and managing topics](https://cloud.google.com/pubsub/docs/create-topic).
3. In the **Attributes (optional)** field, enter a JSON key-value object with message attributes.
This can be used to filter messages in the subscription. Learn more about [building the "attributes" object](https://cloud.google.com/pubsub/docs/reference/rest/v1/PubsubMessage). The Attributes object can contain up to 100 attributes.
Click here to see example of Attributes object
{ "cardID": "XXX" }
4. In the **CloudEvent type** field, enter the type of data sent in the CloudEvent.
Learn more about [CloudEvent types](https://github.com/cloudevents/spec/blob/v1.0.2/cloudevents/spec.md#type).
5. In the **Data (optional)** field, enter the event data.
It will be sent to Pub/Sub as the `data` object in a [CloudEvent JSON Object](https://github.com/cloudevents/spec/blob/v1.0.2/cloudevents/formats/json-format.md). The CloudEvent object will be automatically encoded with base64 and sent as the `data` field in a [Pub/Sub Message](https://cloud.google.com/pubsub/docs/reference/rest/v1/PubsubMessage).
Click here to see example of the Data field
{ "name": "John", "age": 30, "hasCard": true }
6. Confirm the settings by clicking **Apply**.
**Result**: When the Publish Message node is executed, a [`pubSub.publishMessage` event](/docs/assets/events/event-reference/integration#pubsubpublishmessage) is generated on the activity list of the profile who is the actor in the workflow.
When publishing the message in CloudEvents standard to Pub/Sub, Synerise ads the following parameters automatically to `data` object in the message body:
- `specversion` with the value `1.0`,
- `type` with the value entered in **CloudEvent type** field,
- `time` with the time of publishing the message,
- `source` with the value `/synerise/automation/{workflowID}`, where `{workflowID}` part is replaced with the ID of the automation workflow,
- `id` with the unique hash generated automatically,
- `datacontenttype` with the value `application/json; charset=utf-8`,
- `subject` with `/synerise/automation/journeyId/{journeyID}` value, where `{journeyID}` is replaced with the ID of the automation journey.
### Test integration
---
You can run a test request. If the request body contains a dynamic reference to a profile attribute and/or an event data from preceding nodes, then you can define the context using [test profile data](/docs/settings/configuration/test-profiles).
Complete description of the feature is available in [Testing outgoing integrations](/docs/automation/test-requests-for-outgoing-integrations).
1. In the **Test integration** section, click **Send test request**.
**Result**: A test request builder opens. If:
- a request body contains dynamic references, the request preview appears after you select the context of test profiles and events.
- a request body contains static data, the preview of the body request appears immediately.
An empty test request builder
2. If your request contains dynamic references (otherwise, the options aren't available):
- From the **Test profile** dropdown, select a test profile in the context of whom the test request will be performed.
- From the **Event context** dropdown list, you can select a particular occurrence of an event whose values/information will be used for the test request.
1. Select a test profile.
**Result**: A history of test profile events appears.
A stream of events of a test profile
2. From the list of events, select one whose data you want use as a context. If there is no event you can use, in the upper-right corner of the pop-up, click **Define own event** and provide the body of the event.
3. Confirm by clicking **Apply**.
3. Verify the request body. If there is something you want to change, come back to the node settings from previous steps.
3. If the request body is ready to test, in the upper-right corner, click **Send request**.
**Result**: The response section appears and the **Update response event** button becomes active.
4. Optionally, you can update response event with new parameters by clicking **Update response event** in the upper-right corner.
## Example of use
---
Refer to this use case to see how you can use this node:
- [Sending NPS survey results to Google Cloud Pub/Sub](/use-cases/send-nps-event-to-pubsub)
# "Add Item To Catalog" node
The **Add Item To Catalog** node lets you add or update a single item in a [Synerise catalog](/docs/assets/catalogs) directly within a profile workflow. You define the item key and its JSON body inline in the node configuration — no file source node is required.
### Update mode
When importing data into your catalog, you can choose how to handle existing and new records. You can use the following options:
1. **Create or overwrite records**
**How it works:**
- If an item does not exist in the catalog, it will be created as a new record.
- If the item already exists, the entire record will be fully updated, replacing all existing parameters with the new data.
**When to use it**:
You want to discard some or all items in the catalog and replace them with their new versions, without keeping any of their old data.
**Example:**
Before import:
Item A:
{
"Name": "Widget",
"Price": 10,
"Color": "Red"
}
Imported data:
{
"Name": "Widget",
"Price": 12
}
Results after import:
{
"Name": "Widget",
"Price": 12
}
(Color removed)
2. **Create or partial update**
**How it works:**
- If an item does not exist, it will be created as a new record.
- If the item already exists, only the parameters included in the import will be updated or added; existing parameters not mentioned remain unchanged.
**When to use it:**
You want to update specific parts of existing records without losing any other data, allowing incremental or additive changes.
**Example**:
Before import
Item A:
{
"Name": "Widget",
"Price": 10,
"Color": "Red"
}
Imported data:
{
"Price": 12
}
After import
{
"Name": "Widget",
"Price": 12,
"Color": "Red"
}
### Summary
| Option | Creates new records? | Updates existing records? | Update type | When to use |
|----------------------------|---------------------|--------------------------|-------------------|----------------------------------|
| Create or overwrite records | Yes | Yes | Full replacement | Completely refresh existing data |
| Create or partial update | Yes | Yes | Partial / additive| Incrementally update or add parameters |
### Comparison with the Import to Catalog node
| | **Add Item To Catalog** | **Import to Catalog** |
|---|---|---|
| **Input** | Item key and JSON body defined directly in the node | File from a preceding source node (Local File, SFTP, Amazon S3, and so on) |
| **Volume** | Single item per workflow execution | Batch — all records in the imported file |
| **Workflow context** | Profile and business-oriented workflows | Business-oriented workflows |
| **Requires a file source node** | No | Yes |
## Prerequisites
---
- [Create a catalog](/docs/assets/catalogs/creating-catalogs). The catalog can be empty.
- You must be assigned a user role to:
- [create and edit workflows](/docs/settings/identity-access-management/permissions/automation-permissions#create-and-edit-workflows);
- [work with catalogs](/docs/settings/identity-access-management/permissions/data-management-permissions#work-with-catalogs)
## Node configuration
---
1. To configure the node, click it.
**Result**:
A blank Add Item To Catalog node configuration
2. From the **Select catalog** dropdown, select the catalog to which the item will be added or updated.
3. In **Item key**, enter the value that uniquely identifies the item in the catalog.
This field accepts [Jinjava](/developers/inserts/automation).
4. In **Item value**, define the JSON body of the item.
5. In the **Update mode** section, select how existing records are handled:
- **Create or partial update** - if the item exists in the catalog, only the provided fields are updated; existing fields not included in the request are preserved.
- **Create or overwrite** - if the item exists in the catalog, the entire record is replaced with the new data.
You can learn more in the [Update mode section](#update-mode).
6. Confirm by clicking **Apply**.
## Example of use
---
You can use this node in a profile workflow to update a customer's record in a catalog when a qualifying event occurs.
1. Start the workflow with a profile event trigger.
2. Add the **Add Item To Catalog** node.
3. In the configuration of the node:
1. Select the catalog you want to update.
2. In **Item key**, enter the value that uniquely identifies the item, for example, a product ID from the event payload using a Jinja expression.
3. In **Item value**, define the JSON body with the fields you want to add or update.
4. Select the update mode appropriate for your use case.
5. Click **Apply**.
4. Add the **End** node.
# "Create New Customer List" node
The following instructions will show you how to configure a native integration with Google Ads that lets you create a new Customer List in Google Ads with contacts stored in Synerise.
We recommend to use this node to create one time exports with the set of contacts to be added to the newly created Customer List. To create a cyclical export that runs periodically, use the ["Update Customer List"](/docs/automation/integration/google-ads/google-ads-send-profiles-to-list) node.
Taking the above into account, you may export:
- contacts that belong to the specific [segmentation](/docs/automation/actions/synerise-integrations/get-profiles),
- contacts in a [static file with contacts](/docs/automation/operation/local-file-node),
- a contact list fetched from [the external service](/docs/automation/integration).
## Prerequisites
---
Access to a Google Ads Account that meets the requirements to access [Customer Match](https://support.google.com/adspolicy/answer/6299717).
## Node configuration
---
1. Click **Google Ads > Create New Customer List**.
2. Click **Select connection**.
3. From the dropdown list, select the connection.
- If no connections are available or you want to create a new one, see [Create a connection](#create-a-connection).
- If you selected an existing connection, proceed to [defining the integration settings](#define-the-integration-settings).
### Create a connection
To allow the data exchange, establish a connection between Synerise and Google Ads.
1. At the bottom of the **Select connection** dropdown list, click **Add connection**.
2. On the pop-up, click **Sign in with Google**.
3. Select a Google Ads Account that meets the requirements to access [Customer Match](https://support.google.com/adspolicy/answer/6299717).
4. Follow the instructions on the interface.
5. After the successful authentication, click **Next**.
6. In the **Connection name** field, enter the name of the connection.
It's used to find the connection on the list.
7. Click **Apply**.
**Result**: A connection is created and selected.
### Define the integration settings
In this step, fill in the form that allows you to send data from Synerise to Google Ads.
A blank configuration form in Create New Customer List (Google Ads)
Fields marked with the icon accept [snippets](/docs/assets/snippets) or [inserts](/developers/inserts). But, you can’t use profile-related inserts.
1. In the **Google Ads Manager Account ID** field, provide the manager account number.
2. In the **Google Ads customer ID (optional)** field, provide the number of your Google Ads account. If it's left empty, Google Ads Manager Account ID will be applied. Learn how to find a [Google Ads customer ID (optional)](https://support.google.com/google-ads/answer/1704344).
3. In the **Customer list ID** field, enter the ID of the new customer list to which would like to add profiles.
4. In the **TTL** field, enter the number of days data will be stored on the list. Maximum number is 540.
5. From the **Ad user data consent** dropdown list, select the consent status (**Granted**, **Unspecified**, and **Unknown**) of all customers whose data you send to Google Ads. Consent status will be applied to all records you will send.
6. From the **Ad personalization consent** dropdown list, select the consent status (**Granted**, **Unspecified**, and **Unknown**) for ads personalization. Consent status will be applied to all records you will send.
7. Confirm by clicking **Apply**.
## Example of use
---
The exemplary workflow shows the process of sending contacts from a static file to Google Ads list.
### Prerequisites
Create a file with contacts to be exported. The file must follow specific formatting guidelines in order to be accepted. Incorrect formatting can lead to an upload error or a low number of matched records:
- the file must be in the comma separated CSV format,
- the columns in the file must follow one of the specifications below:
- **Email address matching**: Use `Email` as the column header name in your data file.
- **Phone matching**: Use `Phone` as the column header name in your data file.
- **Postal address matching**: For postal address matching, your data file must contain these 4 column headers: `First Name`, `Last Name`, `Country`, and `Zip`. If any of the required column header names are missing, your upload will fail.
- **Combined email address, postal address, and phone matching**: Your file must contain these 6 column headers: `Email`, `Phone`, `First Name`, `Last Name`, `Country`, and `Zip`. If you have multiple email addresses, postal addresses, or phone numbers for a single customer, your file may include multiple `Email`, `Zip`, or `Phone` columns. You only have to include data fields that you find relevant to your customers. You may upload one data field, such as email addresses, or multiple data fields, such as postal addresses and phone numbers.
- **Mobile Device ID matching**: Use `Mobile Device ID` as the only column header in your data file.
Familiarize with the full specification of preparing a file with contacts [here](https://support.google.com/google-ads/answer/7475964). Regardless of the method of providing a file (using local file to export contacts or [fetching contacts from the specific segmentation](/docs/automation/actions/synerise-integrations/get-profiles)), you may use [Data Transformation rules](/docs/automation/data-transformation-and-imports/creating-data-transformation) to adjust your file to the required specification, for example by changing column names.
### Process
Create a one-time workflow that sends the file with contacts to the customer list in Google Ads.
1. Start the workflow with the **Scheduled Run** node. In the configuration of the node:
1. Set the **Run trigger** option to **one time**.
2. Select the **Immediately** tab.
2. As the next node, select **Local File**. In the configuration of the node:
1. Upload the file.
2. Confirm by clicking **Apply**.
4. To send the file with customers data, add **Google Ads > Create New Customer List**. Fill in the configuration form in the node.
5. Add the **End** node.
# "Update Customer List" node
The following instructions will show you how to configure a native integration with Google Ads that lets you add contacts stored in Synerise to Google Ads customer list.
You may create different types of workflows that add contacts to customer lists:
- **one time export** that adds a single set of contacts to the Google Ads list on demand,
- **cyclical export** that runs periodically.
Taking the above into account, you may export contacts that belong to the specific [segmentation](/docs/automation/actions/synerise-integrations/get-profiles), a [static file with contacts](/docs/automation/operation/local-file-node) or contact list fetched fron [the external service](/docs/automation/integration).
## Prerequisites
---
Access to a Google Ads Account that meets the requirements to access [Customer Match](https://support.google.com/adspolicy/answer/6299717).
## Node configuration
---
1. Click **Google Ads > Update Customer List**.
2. Click **Select connection**.
3. From the dropdown list, select the connection.
- If no connections are available or you want to create a new one, see [Create a connection](#create-a-connection).
- If you selected an existing connection, proceed to [defining the integration settings](#define-the-integration-settings).
### Create a connection
To allow the data exchange, establish a connection between Synerise and Google Ads.
1. At the bottom of the **Select connection** dropdown list, click **Add connection**.
2. On the pop-up, click **Sign in with Google**.
3. Select a Google Ads Account that meets the requirements to access [Customer Match](https://support.google.com/adspolicy/answer/6299717).
4. Follow the instructions on the interface.
5. After the successful authentication, click **Next**.
6. In the **Connection name** field, enter the name of the connection.
It's used to find the connection on the list.
7. Click **Apply**.
**Result**: A connection is created and selected.
### Define the integration settings
In this step, fill in the form that allows you to send data from Synerise to Google Ads.
A blank configuration form in Update Customer List (Google Ads)
Fields marked with the icon accept [snippets](/docs/assets/snippets) or [inserts](/developers/inserts). But, you can’t use profile-related inserts.
1. In the **Google Ads Manager Account ID** field, provide the manager account number.
2. In the **Google Ads customer ID (optional)** field, provide the number of your Google Ads account. If it's left empty, Google Ads Manager Account ID will be applied. Learn how to find a [Google Ads customer ID (optional)](https://support.google.com/google-ads/answer/1704344).
3. In the **Customer list ID** field, enter the identifier of the customer list to which would like to add profiles.
4. In the **Select action** dropdown list, select one of available options:
1. **Add customers to the existing list** - adds new records to the existing records in the list
2. **Overwrite the existing list** - existing records will be overwritten by new ones, you will lose previous data.
5. From the **Ad user data consent** dropdown list, select the consent status (**Granted**, **Unspecified**, and **Unknown**) of all customers whose data you send to Google Ads. Consent status will be applied to all records you will send.
6. From the **Ad personalization consent** dropdown list, select the consent status (**Granted**, **Unspecified**, and **Unknown**) for ads personalization. Consent status will be applied to all records you will send.
7. Confirm by clicking **Apply**.
## Example of use
---
The exemplary workflow shows the process of sending contacts from a static file to Google Ads list.
### Prerequisites
1. [Create a customer list in your Google Ads account](https://support.google.com/google-ads/answer/6276125?hl=en).
2. Create a file with contacts to be exported. The file must follow specific formatting guidelines in order to be accepted. Incorrect formatting can lead to an upload error or a low number of matched records:
- the file must be in the comma separated CSV format,
- the columns in the file must follow one of the specifications below:
- **Email address matching**: Use `Email` as the column header name in your data file.
- **Phone matching**: Use `Phone` as the column header name in your data file.
- **Postal address matching**: For postal address matching, your data file must contain these 4 column headers: `First Name`, `Last Name`, `Country`, and `Zip`. If any of the required column header names are missing, your upload will fail.
- **Combined email address, postal address, and phone matching**: Your file must contain these 6 column headers: `Email`, `Phone`, `First Name`, `Last Name`, `Country`, and `Zip`. If you have multiple email addresses, postal addresses, or phone numbers for a single customer, your file may include multiple `Email`, `Zip`, or `Phone` columns. You only have to include data fields that you find relevant to your customers. You may upload one data field, such as email addresses, or multiple data fields, such as postal addresses and phone numbers.
- **Mobile Device ID matching**: Use `Mobile Device ID` as the only column header in your data file.
Familiarize with the full specification of preparing a file with contacts [here](https://support.google.com/google-ads/answer/7475964). Regardless of the method of providing a file (using local file to export contacts or [fetching contacts from the specific segmentation](/docs/automation/actions/synerise-integrations/get-profiles)), you may use [Data Transformation rules](/docs/automation/data-transformation-and-imports/creating-data-transformation) to adjust your file to the required specification, for example by changing column names.
### Process
Create a one-time workflow that sends the file with contacts to the customer list in Google Ads.
1. Start the workflow with the **Scheduled Run** node. In the configuration of the node:
1. Set the **Run trigger** option to **one time**.
2. Select the **Immediately** tab.
2. As the next node, select **Local File**. In the configuration of the node:
1. Upload the file.
2. Confirm by clicking **Apply**.
4. To send the file with customers data, add **Google Ads > Update Customer List**. Fill in the configuration form in the node.
5. Add the **End** node.
**Result**:
Final configuration of the workflow
Refer to this use case for more detailed information on how to use this node:
- [Send a list of profiles from Synerise to Google Ads](/use-cases/send-customer-segmentation-to-google-ads)
# Tagging workflows
[Tags](/docs/assets/tags) are a method of organizing and managing your workflows. By assigning relevant tags from the predefined **automations** folder, you can keep your workflows structured and easy to navigate.
- There is no limit to how many tags you can assign to a single workflow.
- Tags are case sensitive. For example, `newsletter` and `Newsletter` are considered two different tags.
- You can edit tags (for example, rename them) even after assignment.
Using tags effectively will help you keep your workflow organized, improve searching and filtering, and make reporting easier.
## Benefits
- Keeps your workflows well-organized
- Allows you to filter workflows by tags
- Makes reporting and analysis clearer
## Creating automation tags
---
To assign tags to a workflow, the tags must first be created in the **automations** tag folder:
1. Go to **Data Modeling Hub > Tags**,
2. On the left panel, click the predefined **automations** folder.
3. In the upper-right corner, click **Add tag**.
4. Follow the instructions in the ["Adding tags" section](/docs/assets/tags#adding-tags).
The list of tags in the predefined automations folder
### Assigning tags to workflow
- You can add tags while saving the workflow, the instructions are available in the ["Save as draft" section](/docs/automation/creating-automation#save-as-draft).
- You can also add tags to a workflow after saving it.
1. In **Automation Hub > Workflows**, find the workflow you want to assign a tag to.
2. On the far right, click .
3. From the dropdown list, select **Workflow details**.
**Result**:
Example workflow details
4. Click **Add tags**.
**Result**: A dropdown list appears. The list contains tags only from the **automations** tag folder.
5. Select a tag or tags from the list.
### Assigning tags to nodes in a workflow
Communication-sending nodes can be tagged only with tags from the **campaigns folder**. Tagging these nodes enables more efficient filtering and tracking of the communications sent through them. Additionally, campaigns sent through these tagged nodes will be subject to applicable [sending limits](/docs/campaign/tagging-campaigns#managing-campaign-limits).
The sending nodes that can be tagged include:
- ["Send Email" node](/docs/automation/actions/send-email)
- ["Send Mobile Push" node](/docs/automation/actions/send-mobile-push)
- ["Send SMS" node](/docs/automation/actions/send-sms-node)
- ["Send Web Push" node](/docs/automation/actions/send-webpush-node)
## Filtering workflows by tags
You can filter and search workflows on the list using tags from the **automation** folder. When you select multiple tags, the filter uses an **AND** rule, meaning only campaigns with *all* selected tags will show up in the results.
# WhatsApp
# "Get Statistics" node
The **Get Statistics** node lets you retrieve Synerise campaign statistics sent manually or through Automation Hub and incorporate them into a workflow. This way, you can distribute campaign statistics to external services where these data is crucial for business operations.
The campaign scope includes **emails**, **SMS**, **web push notifications**, and **push notifications**. You can select specific campaigns for statistical export or choose to export statistics for campaigns launched within a specified time period (with a 30-day limitation). Exporting a mix of campaign types is not permitted.
You can also choose whether to report campaigns with multiple versions (A/B testing) as a single aggregated record or as separate entries. Additionally, you can select scheduled campaigns, but you must make sure that the workflow trigger date aligns with the campaign send date.
In a workflow with the Get Statistics node, the logs will have two stages: Get File and Export. Even if the campaign is not found or if the campaign selection is missing in the node settings, the Get File log may still show a successful status. However, the Export log will fail because the retrieved file will be empty in these situations.
## Prerequisites
---
- Create an [email](/docs/campaign/e-mail/creating-email-campaigns)/[SMS](/docs/campaign/SMS/sending-sms)/[web push](/docs/campaign/Webpush/creating-webpush-campaigns)/[push notification campaign](/docs/campaign/Mobile/creating-mobile-push).
- You must be assigned a user role with an **Export campaign statistics** permission within Data export (read, execute, edit)
## Node configuration
---
1. To create a workflow that lets you export campaign results, go to **Automation Hub > Workflows > New workflow**.
2. Select one of the business trigger nodes, for example [Scheduled Run](/docs/automation/triggers/scheduled-run).
3. Click **THEN > Synerise > Get Statistics**.
4. Select one of the following tabs:
- **By campaign** - You can select campaigns whose statistics you want to export.
- **By time range** - It lets export statistics from selected time range from a specific campaign type. In this variant, you can select campaigns that were launched by Automation Hub.
5. Perform the instructions based on the selection in the previous step.
Blank configuration form in the By campaign tab
1. From the **Campaign type** dropdown, select from which campaign type you would like to export statistics.
Selecting a mix of campaign types is impossible.
2. From the **Select campaigns** dropdown list, select the campaigns whose statistics you want to export.
2. Optionally, at the bottom of the **Select campaigns** dropdown, by switching on the **Show drafts** option, you can include scheduled campaigns on the list.
If you select scheduled campaigns, set the trigger date that comes after the scheduled launch of the campaigns.
2. Optionally, if you want to export variants of one campaign as separate records, enable **Breakdown by variants**.
By default, if statistics of a campaign selected for export contains more than one version (due to A/B testing), the statistics for each variant are a single aggregated record.
5. Before exporting campaign statistics to an external resource, you can transform the file structure.
- To obtain a sample file for input in [a data transformation rule](/docs/automation/data-transformation-and-imports/creating-data-transformation), click **Download example data** and select the desired file format (.csv, .json, .jsonl) from the dropdown list. All mentioned file formats are allowed as data input in a transformation rule.
- The workflow which modifies the campaign statistics file must use the [Data Transformation node](/docs/automation/operation/data-transformation-node) after the **Get Statistics** node.
3. Confirm by clicking **Apply**.
Blank configuration form in the By time range tab
1. From the **Campaign type** dropdown list, select the campaign type that you would like to export statistics for.
2. In the **Set time range** field, select the time range from which you would like to export statistics.
You can either select a period up to 30 days backwards from the current date or relative time range (for example, last 5 days).
3. The default setting includes statistics for manually sent campaigns only. If you also want to include statistics for campaigns launched through Automation Hub, enable the **Include automation statistics** option.
If this option is selected, the output will include campaigns set up by Automation Hub that meet one of the following criteria:
- the date of creation is within the indicated time range,
- at least one sending event has occurred in the indicated time range
4. Optionally, if you want to export variants of one campaign as separate records, enable **Breakdown by variants**.
By default, if statistics of a campaign selected for export contains more than one version (due to A/B testing), the statistics for each variant are a single aggregated record.
5. Before exporting campaign statistics to an external resource, you can transform the file structure.
- To obtain a sample file for input in [a data transformation rule](/docs/automation/data-transformation-and-imports/creating-data-transformation), click **Download example data** and select the desired file format (.csv, .json, .jsonl) from the dropdown list. All mentioned file formats are allowed as data input in a transformation rule.
- The workflow which modifies the campaign statistics file must use the [Data Transformation node](/docs/automation/operation/data-transformation-node) after the **Get Statistics** node.
6. Confirm by clicking **Apply**.
## Example of use
---
You can launch a workflow that exports the campaign statistics to Google Cloud Storage.
1. Start the workflow with the **Scheduled Run** node. In the configuration of the node:
1. Set the **Run trigger** to **one time**.
2. Select the **Immediately** tab.
2. Add the **Get Statistics** node. Configure the node according to the instruction in this article.
3. Add the **Google Cloud Storage > Send File**. In the configuration of the node:
1. Select the connection.
- If no connections are available or you want to create a new one, see [Create a connection](/docs/automation/integration/google-cloud-storage/send-file-to-gcp#create-a-connection).
- If you selected an existing connection, proceed to [defining the integration settings](/docs/automation/integration/google-cloud-storage/send-file-to-gcp#define-the-integration-settings).
4. Add the **End** node.
**Result**:
The configuration of the workflow
# "Get Data - Reverse ETL" node
By means of the **Get Data - Reverse ETL** node, you can pull data from Google BigQuery to Synerise in any form.
This node lets you connect to a dataset in a BigQuery project through Google Service Account (using a private key). You can easily test this connection and get a preview of the retrieved data through an SQL query, with a preview limit set to 10 records.
You can download the previewed data in JSON or CSV format, which can serve as a data sample for creating [data transformation rules](/docs/automation/data-transformation-and-imports/creating-data-transformation). These rules can be applied within a workflow to modify the data imported from BigQuery, ensuring it meets Synerise's requirements. Thus, you gain flexibility in customizing the data format while importing from BigQuery.
The SQL query allows usage of non-profile [Jinjava inserts](/developers/inserts/automation), which means you cannot use any Jinjava inserts that access the properties of the profile that is the context of the automation (`{% customer %}` and `{{ customer. }}.
The integration also lets you retrieve incremental data, eliminating the need to pull all the data each time. This way, you can import only the data that has been added since the last import. This is possible through the Jinjava tag: `{{lastRunDate}}`
{{< important >}} This node is not optimized for batch operations that send large volumes of data (for example, updating all events for each profile). Use it to import changes within one event, profile attribute (for example, marketing agreement), analysis results, and so on. {{< /important >}}
## Prerequisites
---
- If you use a firewall or an allowlist, make sure to allow the IP addresses listed below:
{{% include "/reuse/user-guide/automation/etl-nodes-ip.md" %}}
- You must have a Google BigQuery project created.
- Make sure that billing is enabled for your project. [Learn how to check if billing is enabled on a project](https://cloud.google.com/billing/docs/how-to/verify-billing-enabled).
- Check the [quota policy for streaming data](https://cloud.google.com/bigquery/quotas#streaming_inserts).
- You must create a dataset and a table in a BigQuery project.
- You must define the schema of the BigQuery table (column definitions).
- Grant the following roles/permissions to Google Service Account:
- **BiqQuery Job User** (`roles/bigquery.jobUser`) on the project level. Needed to create temporary jobs necessary to make API requests.
- **BigQuery Read Session User** (`roles/bigquery.readSessionUser`) on the dataset level. Needed to create and use read sessions.
- **BigQuery Data Viewer** (`roles/bigquery.dataViewer`) on the dataset level. That makes it possible for the service account [to query only the dataset you granted the permission on](https://cloud.google.com/bigquery/docs/control-access-to-resources-iam#granting_access_to_a_dataset). It is also possible to grant `roles/bigquery.dataViewer` [on table level](https://cloud.google.com/bigquery/docs/control-access-to-resources-iam#create), what will restrict access to only a specific table.
- Maximum file size: 5 GB (5 000 000 000 bytes).
- Maximum database rows in the file: 20 000 000.
### Best practices
- **Create a new database user.**
You should have a database user with the minimum required permissions specifically for Synerise import/synchronization operations. This user only requires read permissions with access limited to the tables you want to synchronize from.
- **Avoid using your main database for this purpose.**
It's better to create a separate database that is read-only and set up replication. This helps reducing the workload on your main database and minimizes the risk of data loss.
- **Synchronize only the data that you’ll use in Synerise.**
This improves performance and reduces the chance of exposing sensitive information. Select only the columns that are important to you and use the `{{lastRunDate}}` Jinjava tag to limit synchronization to data that has changed since the last synchronization.
- **Set a reasonable synchronization size of data and interval to avoid overwhelming your database.**
Monitor the initial synchronizations to make sure they don't affect the security and performance of your system. You can send **maximum 20,000,000 rows** per journey and the data will be processed 1,000,000 per 2 minutes
- **Keep in mind regional data regulations.**
If your database is in the US, but your Synerise workspace is based in Europe, you need to comply with GDPR and other data regulations. Before connecting your database to Synerise, ensure you are following the rules for your region.
## Node configuration
---
1. Go to **Automation Hub > Workflows > New workflow**.
2. Start the workflow with a trigger node that doesn't contain a customer's context (for example, Scheduled Run).
3. On the trigger node, click **THEN**.
4. From the dropdown list, click **Google BigQuery > Get Data - Reverse ETL**.
2. To allow the data exchange, establish a connection between Synerise and Google BigQuery, click **Select connection**.
3. From the dropdown list, select the connection.
- If no connections are available or you want to create a new one, see [Create a connection](#create-a-connection).
- If you selected an existing connection, proceed to [defining the integration settings](#define-the-integration-settings).
### Create a connection
If you haven't established any connection yet or you want to create another, establish a connection between Synerise and Google BigQuery that facilitates the exchange of data.
1. In the **Connection name** field, enter the name of the connection.
It's used to find the connection on the list.
2. Upload a JSON file with private key. You can find this file in the Big Query service.
You can download this file from **Google Cloud Console > IAM & Admin > Service Accounts > Service Account Actions > Manage Keys**.
Retrieving private key from Google Service Account
3. Click **Apply**.
**Result**: A connection is created and selected.
### Define the integration settings
In this step, define the dataset and scope of data to be fetched to Synerise.
A blank configuration form in Get Data - Reverse ETL (Google BigQuery)
{{< note >}}
{{% include "/reuse/user-guide/automation/snippet-note-integration.md" %}}
{{< /note >}}
1. In the **Dataset name** field, enter the unique identifier of the dataset in the BigQuery project.
2. In the **Query** field, enter the SQL formula that retrieves specific data from the dataset in Big Query.
You can optimize your query in the following way:
- Find out whether you are charged for query or data amount pulled within a query.
- Querying large data sets may result in timeouts.
- Retrieve up to 20,000,000 rows in one request.
- Limit requests to 1 request in 3 hours.
- As the column names, instead of using `*`, use the `colName` aliases.
- Retrieve incremental data using the `{{ lastRunDate }}` tag:
- Your resource in Big Query must contain a column with the date of the latest update (recommended time format: `BigQuery Timestamp type`)
- Add the `{{ lastRunDate }}` tag to your query, for example:
{{< highlight sql >}}
SELECT * FROM myTableName WHERE columnWithModificationDate > {{lastRunDate}}
{{< /highlight >}}
- The value of the `{{ lastRunDate }}` is saved by Synerise with each successful data pull from BigQuery within a specific workflow
3. To test the connection and preview data that will be retrieved, click **Preview data**.
The preview includes up to 10 records.
1. To download a file with preview data, click **Download Sample Data**.
2. Select the format file:
- **.json file** (recommended)
- **.csv file**
3. If you want to use this sample to configure Data Transformation to modify the data according to Synerise requirements, click **Open Data Transformation**.
This feature lets you create data transformation rules according to which the data will be modified, for example, you can make operations on the column names (to comply with the Synerise import requirements), on the values inside the columns, and so on. Later on, you can add the [Data Transformation node](/docs/automation/operation/data-transformation-node) to the workflow, after the **Get Data - Reverse ETL** node, and in the configuration of the node select the data transformation rule to modify the incoming data.
4. Confirm by clicking **Apply**.
We recommend monitoring the workflows that use the Get Data - Reverse ETL node. You can do it by:
- previewing [the statistics of the node directly in the settings of the active workflow](/docs/automation/automation-activity-tracking#node-statistics).
- previewing the **Transformation logs** tab in the workflow view.
## Example of use
---
This example shows how to send your customers' opinions about your company stored in Google Big Query by means of a periodic import.
An example of the data used in the example:
| description | rate | email |
|-------------------------------------------------------------------|------|------------------------|
| This product is life-changing. Finally, I have comfortable shoes. | 5 | john.doe@example.com |
| I'm satisfied with my purchase. | 5 | joan.smith@example.com |
These opinions will be imported to Synerise as a custom `opinion.import` event and will be available on the profiles of customers. This event will contain the following information:
- the descriptive part of the opinion, contained in the `description` parameter.
- the rating, which will take values from 1 to 5 (1 being the lowest), contained in the `rate` parameter.
Additionally, this example contains a process of creating a transformation rule based on the preview data received from the Get Data - Retrieve ETL node. This way, we will prepare the incoming data to comply with the Synerise requirements to be imported as events.
Workflow configuration
1. Start your workflow with the **Scheduled Run** node. In the configuration of the node:
1. Change the **Run trigger** option to **all time**. Define the frequency of triggering this node (for example, once a day).
2. Select **Immediately**.
3. Confirm by clicking **Apply**.
2. As the next node, add the **Get Data - Retrieve ETL** node.
1. Configure the node as described in the [Node configuration](#node-configuration) section.
2. In the **Query** field, enter a query that retrieves email, opinion, and rating. The snippets below contain queries that:
- create a table
- retrieve all data from the table (which is treated as the first import; then the import date is rendered to `1970-01-01T00:00`)
- retrieve the incremental data since the date of the latest import.
{{< content-tabs >}}
{{% tab name="Create a table" %}}
{{< highlight sql >}}
CREATE TABLE events (
       event_id STRING,
       email STRING,
       opinion STRING,
       rate TINYINT,
       updated_at TIMESTAMP
       );
{{< /highlight >}}
{{% /tab %}}
{{% tab name="Retrieve data" %}}
{{< highlight sql >}}
SELECT event_id, email, opinion, rate FROM events;
{{< /highlight >}}
{{% /tab %}}
{{% tab name="Retrieve incremental data" %}}
{{< highlight sql >}}
SELECT event_id, email, opinion, rate
       FROM events
       WHERE updated_at > {{lastRunDate}};
{{< /highlight >}}
{{% /tab %}}
{{< /content-tabs >}}
3. Preview the data and download it as a JSON file.
4. Click **Open Data Transformation**.
5. Transform the file as follows:
- Add the following columns and values:
| Column name | Column value |
|-------------|-------------------------------------|
| `action` | `opinion.import` |
| `label` | `Import of opinions from Big Query` |
| `type` | `custom` |
- Rename the column name with the customer email to: `client.email`
- Optionally, you can change the names of columns which contain the descriptive opinion and rating.
6. Save the transformation rule.
3. Add the **Data Transformation** node. In the configuration of the node, select the transformation rule you created in the previous step.
4. Add the **Import Events** node. This node doesn't require configuration.
5. Add the **End** node.
7. Click **Save & Run**.
**Result**: When the workflow is launched, the `opinion.import` event will be generated on the activity list of the customers who left an opinion on your company. You can later prepare analyses based on this event and its parameters and implement marketing strategy towards these customers.
# WhatsApp (partner integration)
This is a different integration than the [WhatsApp integration](/docs/automation/integration/whats-app).
## Contents
# "Get Metrics" node
The **Get Metrics** node lets you retrieve results of up to 50 metrics created in **Decision Hub** and incorporate them into workflows to distribute metrics results to external services where the metrics data is crucial for business operations. You can use this node only in [business workflows](/glossary/#business-workflow).
### How does it work?
The **Get Metric** node exports a file to the workflow which contains 3 columns:
- `id` (the ID of the metric),
- `name` (the title of the metric),
- `result` (the result of the metric)
When the Get Metrics node is reached, the workflow will only progress after the requested metric results are calculated. The workflow uses the most recent metric versions.
If a metric can't be calculated, an error is logged on the **Transformation logs** tab
### Node settings
In the node settings, you can:
| Action | More information |
|----------------------------------------------------------|---------------------------------------------------------------------------------------------------------------------------------------------------------------------------------------------------------------------------------------------------------------------------------------------------------------------------------------------------------|
| Select metrics | You can select up to 50 metrics. |
| Select the period from which you want to get the results | The workflow's time range settings will take precedence over the original metric settings. For instance, if a metric is set to the last 7 days, but the **Get Metrics** node in the workflow requests results from the last 30 days, the 30-day range will be used. |
| Define the value of a dynamic key or dynamic keys | If the system detects dynamic keys in the conditions of the selected metrics, they are displayed in the node. |
### Dynamic keys in metrics
If the metrics selected in the node contain at least one dynamic key, the name of the keys with their default values are displayed in the settings of the node. You can see an example dynamic key used in a metric in Figure 1 below.
- In the settings of the **Get Metrics** node, you can enter values for the dynamic keys to use in the calculation.
- You can use static values, [snippets](/docs/assets/snippets), and [inserts](/developers/inserts) as dynamic key values.
- If multiple metrics include a dynamic key with the same name, it's included as a single item on the list. All metrics which contain that dynamic key will be calculated for the specified value.
- If the metric is modified and the dynamic keys change, the results will be generated for the most recent metric version. If there is a difference between the keys in the node and the latest metric version, you will receive information about it in the **Insights** section in the workflows which use this metric.
The marked area on the screen presents the dynamic key value selected in a metric condition. In this example the $sku parameter must be equal to the value of the id dynamic key (default is 12345678)
## Prerequisites
---
- [Create a metric](/docs/analytics/metrics).
- You must be granted a user role that includes the `Data export > Export metrics result` permission.
## Node configuration
---
1. To create a workflow that lets you export the results of metrics, go to **Automation Hub > Workflows > New workflow**.
2. Select one of the business trigger nodes, for example [Scheduled Run](/docs/automation/triggers/scheduled-run).
3. Click **THEN > Synerise > Get Metrics**.
4. Open the configuration form of the node by clicking it.
The configuration form of the Get Metrics node
1. Optionally, in the **Time range** field, on the calendar, select the time range from which you want to get the results of the metric or metrics. The time range you select will override the original time range settings of the metrics.
2. In the **Select metrics** field, select one or more metrics whose results you want to extract.
If the selected metrics contain a dynamic key, you will be shown a list of the keys used in metrics. You can replace a default key value with your own using a static value, such as `123` string or [inserts](/developers/inserts), so the results for the metrics which contain dynamic key will be generated for that value.
7. Confirm the settings by clicking **Apply**.
You can transform the data from the metric. First, you must [prepare a transformation rule](/docs/automation/data-transformation-and-imports/creating-data-transformation). To get a data sample for the transformation rule, click **Download example data** in the configuration of the **Get Metrics** node and select CSV format. After the rule is complete, use it in the [Data Transformation node](/docs/automation/operation/data-transformation-node) added after the **Get Metrics** node.
## Example of use
---
You can launch a workflow that exports the number of event occurrences from the day before the current day.
In the example, metrics for the following events are used (you must create the metrics yourself):
- [`product.addToCart`](/docs/assets/events/event-reference/items#productaddtocart)
- [`transaction.charge`](/docs/assets/events/event-reference/items#transactioncharge)
- [`product.buy`](/docs/assets/events/event-reference/items#productbuy)
The workflow will be launched every day at 2:00 A.M.
1. Start the workflow with the **Scheduled Run** node. In the configuration of the node:
1. Set the **Run trigger** to **all time**.
2. Select the timezone in which the workflow will be launched.
3. Select the **Everyday** tab.
4. In the field with time, set the value to `02:00`.
5. Confirm by clicking **Apply**.
2. Add the **Get Metrics** node. In the configuration of the node, select the three metrics and set the time range to the day before the current day.
3. Add the **Azure Blob Storage > Send File**. In the configuration of the node:
1. Select the connection.
- If no connections are available or you want to create a new one, see [Create a connection](/docs/automation/integration/azure-blob-storage/send-file-azure-blob-storage#create-a-connection).
- If you selected an existing connection, proceed to [defining the integration settings](/docs/automation/integration/azure-blob-storage/send-file-azure-blob-storage#define-the-integration-settings).
4. Add the **End** node.
**Result**:
The final configuration of the workflow
# "Flow Limiter" node
This node lets you apply universal limits to all profiles (customers) within a workflow. For setting individual limits for each profile, you can use:
- [trigger limits](/docs/automation/automation-capping#trigger-limits),
- [flow control limits](/docs/automation/automation-capping#flow-control-limits),
- [action limits](/docs/automation/automation-capping#action-limits),
- [workflow capping](/docs/automation/automation-capping#workflow-capping)
The **Flow Limiter** node lets you set the limit of passages through any stage of a workflow. The node branches out into two paths allowing you to specify scenarios in which the limit is exceeded (**over limit** path) or not (**below limit** path). You can use this node in [business](/glossary/#business-workflow) and [customer-oriented workflows](/glossary/#profile-oriented-workflow).
The Flow Limiter node on the canvas
The limit applies to passages even in a customer-oriented workflows and it's shared by all customers. For example, setting a limit to `100` within a node in a customer-oriented workflow means that the 101st passage by any customer will follow the path defined for "over limit".
In the configuration of the node, you can set the limit to apply to just one node or to be shared with other nodes in the workflow.
## Node configuration
---
1. To create a workflow, go to **Automation Hub > Workflows > New workflow**.
2. Select any trigger node, for example [Profile Event](/docs/automation/triggers/client-event-node).
3. Click **THEN > Flow Limiter**.
4. To open the configuration form of the node, click the node.
The blank configuration form of the Flow Limiter node
5. From the **Flow Limiter mode** dropdown list, select one of the following modes to define how limits will be counted:
- **Standalone** - This mode lets you define an individual limit for this node. It's recommended to use when you want to define individual limits for each workflow path.
- **Workflow** - This mode lets you define a global limit for the entire workflow. It's recommended to use when your workflow contains several paths and you want to count the passages through the limiters to one, shared limit. You must apply identical settings for these **Flow Limiter** nodes.
6. In the **Limit** field, enter the maximum number of passages.
For example, if you enter `100`, the 100th passage will be still within the limit.
7. In the **Timezone** field, select the timezone in which the value in **Time window** will be counted.
8. In the **Time window** field, select the time after which the counter resets:
- **1 hour** - Full clock hour, for example, if you select **1 hour** and set the limit to `100`, this means that the first 100 passages in one hour will continue through the **below limit** path. The limit resets after 60 minutes.
When the workflow is launched at 12:12, the passages are counted until 12:59. The counter resets to zero at 13:00 and starts counting passages towards the limit again from 13:00 to 14:00.
- **1 day** - A full day is the time range from 00:00:00 to 23:59:59. When the day changes, the limit will be reset.
9. Additionally, you can enable the **Generate transition events** option. Selecting this option will generate an `automation.flowLimiterCount` event, which includes, among other details, a number indicating the order in which a given profile passes through the Flow Limiter node.
Events are created for transitions below the node limit in the configuration. When using time windows, new events after the time window reset will show the transition order in the new cycle.
## Example of use
---
You are preparing to launch an SMS campaign with a daily limit of 100 text messages. The campaign's objective is to send discount codes to club members after they visit a particular product page, while also prompting non-members to join the club through text messages triggered by their visit. To achieve this, you can establish a workflow for the campaign.
This workflow will use the **Flow Limiter** nodes with the workflow mode, each passage through any limiter node contributes to a shared limit of 100 text messages.
1. Go to **Automation Hub > Workflows > New workflow**.
2. As the trigger node, select **Profile Event**. In the configuration of the node, select a page visit event and as the event parameter, use URL and set its value to the URL of the product.
3. As the next node, select **Profile Filter**. In the configuration of the node, select the customer attribute which signifies club membership and set its value to `true`.
4. To both paths (**Matched** and **Not matched**), add the **Flow Limiter** nodes. In the configuration of the nodes, set their mode to **Workflow**, limit to `100` and time window to **1 day**.
5. In the **matched** path, to the **below limit** connector, add the [Send SMS node](/docs/automation/actions/send-sms-node) and configure it according to your business assumptions to send codes to club members. After that node, add the [End node](/docs/automation/flow-control/end-node).
6. In the (**not matched**) path, at the **below limit** connector, add the [Send SMS node](/docs/automation/actions/send-sms-node) and configure it according to your business assumptions to send SMS messages that encourage joining the club. After that node, add the [End node](/docs/automation/flow-control/end-node).
7. To the paths for exceeded limits, add the [End node](/docs/automation/flow-control/end-node).
**Result**:
The final workflow configuration
# Webhooks from Meta
**Webhooks from Meta** is an option within the [Incoming integration feature](/docs/automation/integration/incoming-webhook-node). This option lets you set up an endpoint (incoming integration) in Synerise for receiving data from Meta through webhooks. After you create such incoming integration from Meta, you can use it as a trigger in your [workflows](/docs/automation/creating-automation) and further recycle customer data received from the Meta platform, for example:
- for creating a profile in Synerise of a Meta user,
- for generating custom events based on a customer's Meta activity (such as post interactions, comments) directly on the profile card in Synerise.
## Requirements
---
- Data sent to the endpoint must be in the JSON format.
- Retrieve the **App secret** from the Meta console.
[More information on retrieving the App secret](https://developers.facebook.com/docs/development/create-an-app/app-dashboard/basic-settings/).
## Creating a Meta incoming integration
---
This procedure is executed in the Synerise platform and Meta console and describes how to create a webhook from Meta in Synerise.
1. In Synerise, go to **Automation Hub > Incoming > New integration**.
**Result**: A pop-up appears.
2. On the pop-up, select **Webhook from Meta**.
**Result**:
Blank configuration form
### Defining endpoints in Synerise and Meta
3. In the **Endpoint** section, click **Define**.
**Result**: A form appears with the **Verification token** field filled out.
Blank Endpoint section
4. In the **App secret** field, enter the app secret you retrieved as a part of [requirements](#requirements).
5. In a notepad, save the values from **URL** and **Verification token** which will be needed further in the process.
3. Optionally, you can personalize the integration by adding an icon in **Node icon**.
6. Confirm the settings by clicking **Apply**.
7. In a new browser tab, open the Meta console.
8. Start creating a Meta Webhook as described in [Configuring the Webhooks Product procedure](https://developers.facebook.com/docs/graph-api/webhooks/getting-started#configure-webhooks-product). During the configuration:
1. In the **Callback URL** field, paste the value of **URL** from Synerise.
2. In the **Verify token** field, paste the value of **Verification token** from Synerise.
3. Confirm the settings by clicking **Verify and save**.
4. Keep the tab with Meta console open for later.
### Retrieving data by sending verification request
10. Go back to the tab with the Synerise configuration form of the incoming integration from Meta.
11. On the **Incoming data** section, click **Define**.
12. To receive the verification request from Meta, click **Retrieve data**.
13. Go back to the tab with the Meta console.
14. Next to the action you want to send to Synerise, click **Test**.
In case of any issues, read the [community thread on not receiving test webhooks in development mode](https://developers.facebook.com/community/threads/1422484661684866/).
**Result**: In the **Incoming data** section in the settings of the incoming integration in Synerise, a list of variables is saved.
Example of retrieved data
15. Go back to the tab with the Synerise configuration form of the incoming integration from Meta.
### Deduplicating requests
This part of the process is optional.
Deduplication is the process that Incoming Integration uses to ensure your workflow only triggers for new information, avoiding duplicates. To prevent duplicated requests, it is possible to select the request parameters from which the deduplication hash will be calculated.
1. To select request parameters, you must first perform instructions described in the "Retrieving data by sending verification request" section in this document.
2. In **Deduplication hash generator** section, click **Define**.
3. Select up to 5 parameters from which the deduplication hash is to be built. You can use any incoming data from request body and headers.
2. Confirm the settings by clicking **Apply**.
Before you start using request deduplication, it's worth reviewing the key concepts:
- all deduplication keys are stored for the 7 days. It means that Synerise deduplicates requests with the same deduplication hash for a period of only 7 days from the last sent request.
- if a duplicated request is sent, Synerise will return `204` HTTP status code.
- for non-duplicated request, Synerise will return `200` HTTP status code.
- if you would like to provide your own deduplication hash, you can do so by including it in the request headers. In this case, choose only your header in the **Deduplication hash generator** section in the **Incoming Integration** settings.
### Saving integration
1. To save the integration as a draft, click **Save**.
2. To save the integration and make it available for use in workflows, click **Save and publish**.
**Result**: The integration is added to the list in **Incoming integrations**.
## Further steps
---
You can use this integration in workflows by means of the [**Business Event** node](/docs/automation/triggers/businees-event-trigger). It will be available on the list of integrations in this node.
The ["Request context" section](/developers/inserts/automation#request-context) further describes how to reference parameters received through the webhook and use them in [Outgoing integration node](/docs/automation/actions/webhook-node) to generate an event.
# Workflow scheduler
A workflow scheduler is a feature that you can use when creating a workflow (it becomes available after adding the first node on the canvas). It lets you create a set of rules which automatically change the workflow status at a given date and time.
This feature is helpful when you need to activate a workflow at a later date or when you're handling multiple workflows and want to avoid the hassle of remembering when to change their status.
The workflow can receive the following statuses:
- **Pending**: A workflow which is scheduled to be activated on a future date. A pending workflow can be run or stopped.
- **Active**: A workflow will perform operations when its trigger conditions are met. The workflow remains active until you manually stop it or 62 days have passed since the last trigger. An active workflow can also be paused or stopped.
- **Paused**: A workflow is temporarily paused. In a customer-oriented workflow, customers are paused at their current stage, while in a business-oriented workflow, the processes are paused at their current stage. A paused workflow can be re-activated and stopped permanently. When re-activated, the customers and processes will resume from where they left off.
- **Stopped**: A workflow is permanently stopped. In a stopped workflow, customers and processes complete the workflow from their current stage. A stopped workflow cannot be paused or re-activated.
The following logic is allowed:
- Draft > Pending > Active
- Draft > Active > Pause > Stop
### Difference between scheduler and Scheduled Run node
The workflow scheduler feature allows you to automate workflow status changes (active, paused, stopped) based on a schedule you set. On the other hand, the ["Scheduled Run" node](/docs/automation/triggers/scheduled-run) serves as a workflow trigger that specifies the date and time for starting the defined process within the workflow, as long as the workflow is active.
### Important
- Resuming stopped workflows is impossible, however, you can duplicate the stopped workflow and activate the duplicate;
- The scheduler does not validate whether rules overlap or whether their execution order is correct. As a result, it is your responsibility to ensure that all defined rules align with your business logic and do not produce unintended outcomes. Before running the scheduler, carefully review your configuration to make sure the rules behave as expected.
- If you resume a paused workflow, then:
- if a profile paused at the ["Delay" node](/docs/automation/flow-control/delay-node) and the workflow is resumed before the delay time passes, a profile will continue the journey,
- if a profile paused at the ["Event Filter" node](/docs/automation/conditions/client-event-filter-node) and there is no time limit or the time limit isn't exceeded, the journey will continue if the event defined in the filter occurs,
- if a profile paused at the ["ABx Test" node](/docs/automation/conditions/abx-split-node), ["Metric Filter" node](/docs/automation/conditions/metric-filter-node), ["Flow Limiter" node](/docs/automation/conditions/flow-limiter), or ["Delay" node](/docs/automation/flow-control/delay-node), and the node received a response (for example, metric result has been received) before pausing, a profile will stuck in the journey or an [automation.clientPathAborted](/docs/assets/events/event-reference/automation#automationclientpathaborted) event will be generated and the profile finishes the journey.
- the possibility of pausing at the action node is slim
- When the status of the workflow is changed by the scheduler, the system validates the workflow diagram. If any part of the diagram has been removed (for example, a segmentation used in the **Audience** node has been removed from the workspace), the rule will be skipped and the scheduler will make an attempt to execute the next rule according to the timeline.
## Creating schedule rules
1. Go to **Automation Hub > Workflows > New workflow**.
2. Prepare the workflow you want to launch.
To learn basics on how to create a workflow, refer to the [Creating workflows](/docs/automation/creating-automation) article.
3. In the upper-right corner, click **Define scheduler**.
This option appears on the canvas after adding the first node.
Define scheduler option
**Result**: A pop-up appears.
A blank workflow scheduler configuration
1. Click **Add rule**.
2. From the dropdown list, select the action to be performed:
- Activate
- Pause
- Stop
3. To define details of the schedule rule, click it.
**Result**: A pop-up appears.
5. Leave the **One time** option at default.
4. In the date field, select the date and time when the workflow changes its status to the one defined by the rule you're creating.
**Result**: A rule is added.
Example rule
5. To add more rules, repeat steps 4-8.
The transition between statuses will be performed according to the dates.
6. To preview the scheduled statuses for the workflow, click the **Statuses** tab.
If you create two or more subsequent rules for the same action, the status only changes once and is visible only once on the **Statuses** tab.
One Active status
Two Activate actions
7. To preview the actions which will be executed in the context of the workflow, click the **Actions** tab.
Actions correspond to the statuses scheduled for the workflow.
8. By navigating through **Prev** and **Next**:
- on the **Statuses** tab, you can preview upcoming statuses;
- on the **Actions** tab, you can preview executed and planned actions.
9. From the **Timezone** dropdown list, select the timezone for which the rules will be interpreted.
10. Confirm by clicking **Apply**.
## Activating workflow with scheduled rules
The following instructions concern a scenario in which a draft workflow is activated.
- to save it as a draft, click **Save**.
- to save and activate it by enabling: **Run workflow immediately**, or **Activate schedule rules**, or combine these options. The table below presents outcome for every combination:
| Run workflow immediately | Activate schedule rules | Outcome |
|--------------------------|--------------------------|---------|
| | | The schedule rules will be disabled, the workflow will be immediately activated; any status changes will need to be done manually. |
| | | The workflow will remain in a Pending status until the scheduled activation date, and it will then proceed according to the schedule rules. |
| | | The workflow will be immediately set to Active status, and the schedule rules will be enforced; if the first schedule rule is activation, it will be ignored since the workflow will already be active at that time. |
- confirm your choice by clicking **Yes, activate**.
A pop-up that appears after clicking Save & Run for a workflow with schedule rules
# "Get Analytics Report" node
The **Get Analytics Report** node allows you to retrieve any report you have created in Decision Hub and incorporate it into a workflow. This enables you to distribute report results to external services where the report data is crucial for business operations.
The report is exported to the workflow as a file and can contain up to 250,000 records. You can set or change the limit on the number of records within the report. For example, if the report settings restrict the results to 3 records, the node configuration allows you to override this setting and include more results in the report.
## Prerequisites
---
- [Create a report](/docs/analytics/reports/creating-reports).
- You must be assigned a user role with an **Export analytics report** permission within Data export (read, execute, edit)
## Node configuration
---
1. To create a workflow that lets you export the results of the report, go to **Automation Hub > Workflows > New workflow**.
2. Select one of the business trigger nodes, for example [Scheduled Run](/docs/automation/triggers/scheduled-run).
3. Click **THEN > Synerise > Get Analytics Report**.
4. To open the configuration form of the node, click it.
5. From the **Select report to export** dropdown list, select the report you want to fetch into the workflow.
6. The default and maximum limit that can be retrieved is 250,000 records. If you need to narrow down the results of your report, you can define a lower limit.
7. Confirm the settings by clicking **Apply**.
The configuration of the node
You can transform the data from the report. First, you must [prepare a transformation rule](/docs/automation/data-transformation-and-imports/creating-data-transformation). To get a data sample for the transformation rule, go to the settings of the report (**Decision Hub > Report**) and download a report in the form of the CSV file. After the rule is complete, use it in the [Data Transformation node](/docs/automation/operation/data-transformation-node) added after the **Get Analytics Report** node.
## Example of use
---
You can launch a workflow that exports the result of the report to Google Cloud Storage.
1. Start the workflow with the **Scheduled Run** node. In the configuration of the node:
1. Set the **Run trigger** to **one time**.
2. Select the **Immediately** tab.
2. Add the **Get Analytics Report** node. Configure the node according to the instruction in this article.
3. Add the **Google Cloud Storage > Send File**. In the configuration of the node:
1. Select the connection.
- If no connections are available or you want to create a new one, see [Create a connection](/docs/automation/integration/google-cloud-storage/send-file-to-gcp#create-a-connection).
- If you selected an existing connection, proceed to [defining the integration settings](/docs/automation/integration/google-cloud-storage/send-file-to-gcp#define-the-integration-settings).
4. Add the **End** node.
**Result**:
The configuration of the workflow
# "Get Catalog Data" node
The **Get Catalog Data** node lets you export all data from a [Synerise catalog](/docs/assets/catalogs) in the form of JSON or JSON Lines file to external services which can help you repurpose collected data for your business operations.
If the data format in the Synerise catalog is not compliant with the requirements of the external resource, you can add the [Data Transformation node](/docs/automation/operation/data-transformation-node) within the same [workflow](/glossary/#workflow) to format the data (for example, rename columns, edit values, select only some fields, and so on) before exporting.
### Limitations
- Data cannot be exported as a CSV file.
- A file can contain up to 20,000,000 records and cannot exceed 5 GB.
- You can export one catalog per one node.
## Prerequisites
---
- [Create a catalog](/docs/assets/catalogs/creating-catalogs)
- You must be assigned a user role with an **Export catalog data** permission within Data export (read, execute, edit)
## Node configuration
---
1. To create a workflow that lets you export data from a catalog, go to **Automation Hub > Workflows > New workflow**.
2. Select one of the business trigger nodes, for example [Scheduled Run](/docs/automation/triggers/scheduled-run).
3. Click **THEN > Synerise > Get Catalog Data**.
4. To open the configuration form of the node, click it.
**Result**:
A blank node configuration form
5. From the **Catalog list** dropdown, select a catalog you want to export.
6. Confirm your choice by clicking **Apply**.
## Example of use
---
You can launch a workflow that exports catalog to Google Cloud Storage.
1. Start the workflow with the **Scheduled Run** node. In the configuration of the node:
1. Set the **Run trigger** to **one time**.
2. Select the **Immediately** tab.
2. Add the **Get Catalog Data** node. Configure the node according to the instruction in this article.
3. Add the **Google Cloud Storage > Send File** node. In the configuration of the node:
1. Select the connection.
- If no connections are available or you want to create a new one, see [Create a connection](/docs/automation/integration/google-cloud-storage/send-file-to-gcp#create-a-connection).
- If you selected an existing connection, proceed to [defining the integration settings](/docs/automation/integration/google-cloud-storage/send-file-to-gcp#define-the-integration-settings).
4. Add the **End** node.
**Result**:
Final configuration of the workflow
# "Save File" node
The **Save File** node initiates an export job to generate a file containing data retrieved in the workflow. You can download the file directly from the [export list](/docs/crm/exporting-profiles#accessing-the-exported-files) view or in the **Transformation logs** tab (you can access it in the workflow view).
The **Save File** node must be preceded by a node which retrieves data, for example: **Get Profiles** node or any **Get File** node available within the native integrations (such as [Amazon S3](/docs/automation/integration/amazon-s3-bucket), [Google Cloud Platform](/docs/automation/integration/google-cloud-storage), and so on).
You can only use this node in [business workflows](/glossary/#business-workflow).
## Prerequisites
---
- If the exported data must follow specific requirements (for example, specific column names), create a [data trasnformation rule](/docs/automation/data-transformation-and-imports/creating-data-transformation).
- You must be assigned with a [user role](/docs/settings/identity-access-management/permissions) with the following [permissions](/docs/settings/identity-access-management/permissions#permissions):
- to preview the **Save File** node configuration: **Data export > Save file** - **Read**
- to run and resume workflows containing the **Save File** node: **Data export > Save file** - **Execute**
- to edit the **Save File** node configuration: **Data export > Save file** - **Edit**
## Limits
---
There are some limits you must follow:
- You can export up to 10,000,000 profiles per a single export.
- The file containing profiles cannot exceed 5GB in size.
## Node configuration
---
1. Click the node.
**Result**: A pop-up opens.
An empty configuration form of the Save File node; you can open it by clicking the node on the canvas
2. In the **File name** field, provide the name of the exported file.
It can't be longer than 128 characters.
3. Optionally, you can add the date suffix to the file name, by selecting **Date** from the **File name suffix** dropdown list.
As a result, the file will be exported as: `[name of the file] - [current date]`
4. Optionally, in the **File expiration** field, define how long the exported file will be available for download.
- The minimum value is 30 minutes.
- If you leave this field empty, a default expiration period of 7 days will apply.
5. Confirm the settings by clicking **Apply**.
## Example of use
---
You can use the **Save File** node to create a workflow which periodically [exports](/docs/crm/exporting-profiles) a specific group of customers to a file which you can download to your device.
1. As the trigger node, select **Scheduled Run**.
In the configuration of the node, define the frequency of triggering the workflow. You can learn more about this node in ["Scheduled Run" node](/docs/automation/triggers/scheduled-run).
2. As the next node, add **Get Profiles**.
In the configuration of the node, select the group of customers you want to export and, optionally, select the attributes to include in the export.
You can learn more about this node in ["Get Profiles" node](/docs/automation/actions/synerise-integrations/get-profiles).
3. Add the **Save File** node.
This way, the customers and their information selected in the Get Profiles node will be exported to a file.
4. As the final node, add **End**.
You can download the file directly from the [export list](/docs/crm/exporting-profiles#accessing-the-exported-files) view or in the **Transformation logs** tab (you can access it in the workflow view).
**Result**:
The final configuration of a workflow exporting a group of customers to a file
# "Send Template Message" node
By connecting Synerise to WhatsApp, you can send personalized message templates to your customers directly from a Synerise workflow using the Send Template Message node. WhatsApp supports a wide range of message types, and by combining it with customer data collected in Synerise, you can send business-initiated messages tailored to each recipient.
This integration uses an embedded sign-in flow, meaning authentication to Meta is handled directly within the Synerise interface.
This is a different integration from the [WhatsApp integration](/docs/automation/integration/whats-app).
## Differences from the WhatsApp integration
The table below shows the differences between the [WhatsApp integration](/docs/automation/integration/whats-app) and the WhatsApp partner integration.
| | WhatsApp integration | WhatsApp partner integration |
|---|---|---|
| Authentication | Permanent access token obtained by the customer | Embedded sign-in — no token management required |
| Meta app review | Required | Not required |
| Setup complexity | More technical setup required | Focused on business configuration only |
## Requirements
Before proceeding with the integration, make sure you are familiar with the following:
- **Opt-in requirement**: You must obtain explicit consent from customers before sending them WhatsApp messages.
- **Content rules**: WhatsApp enforces [content guidelines](https://business.whatsapp.com/policy) that all message templates must comply with. Review Meta's content policies before creating templates.
- **Compliance**: Ensure your use of this integration complies with all applicable [Meta policies](https://www.whatsapp.com/legal/?lang=en) and Synerise terms of service.
- **24-hour conversation window**: After a business sends a template message or a customer sends a message, both parties can exchange messages freely for 24 hours. Once the window closes, the business must send a new approved template to restart the conversation.
- **Initiating conversations**: Customers can start a conversation at any time. Businesses can only initiate a conversation using an approved message template.
- **A dedicated phone number for sending messages**: The number must not be associated with any existing WhatsApp account.
- **Customer profiles with contact data in Synerise**: Profiles must contain at least one of the following:
- Minimum: a phone number (`phone`)
- Recommended: `whatsapp_id` and/or `receive_whatsapp_messages`
`whatsapp_id` is a customer identifier in WhatsApp that replaces a standard phone number. `receive_whatsapp_messages` is a boolean attribute that stores the customer's consent to receive WhatsApp messages.
If your customer profiles do not include these parameters, you can [import them](/docs/assets/imports/importing-clients) by uploading a file or import them from SFTP.
## Setting up the connection
1. In Synerise, go to **Settings > Connections > New connection**.
2. On the pop-up, select **WhatsApp (partner integration)**.
**Result**:
A blank configuration form for setting up a connection with WhatsApp through partner
3. On the left-hand menu, select the authentication type for the connection:
- **Infobip account** — authenticate using your Infobip API credentials (API Key, Entity ID, Application ID, and Base URL).
- **Embedded sign up** — authenticate directly through your Meta Business Portfolio using the **Log in with Meta** flow.
Follow the instruction based on your choice of connection authentication type.
A blank configuration form for WhatsApp partner integration by means of Infobip account
1. In the **Connection name** field, provide the name of the connection.
It will be visible only on the list of connections.
2. Log in to your Infobip account to retrieve the following data:
- **API Key**
- **Entity ID**
- **Application ID**
- **Base URL**
When you obtain the information, provide them in appropriate fields.
3. In **Phone number**, provide the number from which WhatsApp messages will be sent.
4. Click **Create**
1. In the **Connection name** field, provide the name of the connection.
It will be visible only on the list of connections.
2. Click **Log in with Meta** to authenticate through your Meta Business Portfolio.
**Result**:
A preview of the first step setting up a connection through Log in with Meta
3. Review the terms and conditions, then click **Continue**.
**Result**:
Selection/Creation of business portfolio and WhatsApp Business account
4. From the dropdown, select the business portfolio to share with Synerise. A business portfolio is a centralized hub for managing Facebook Pages, Instagram accounts, ad accounts, pixels, datasets, WhatsApp accounts, and catalogs. If you do not have a portfolio yet, from the dropdown list, select **Create**.
5. Select or create a WhatsApp Business account. If you do not have a WhatsApp Business account, from the dropdown list, select **Create**.
6. Click **Next**.
7. Add your WhatsApp phone number.
Selecting/Adding a WhatsApp number
8. Click **Next**.
**Result**: The connection between WhatsApp and Synerise is made.
WhatsApp account and Synerise are connected
9. Click **Finish**.
**Result**: You are back to the new connection pop-up in Synerise.
10. In **Phone number**, enter the phone number you used for the integration.
11. Click **Create**.
**Result**: The connection is now ready to use in Synerise workflows.
To configure additional sender settings, see [Configuring WhatsApp sender account settings](#configuring-whatsapp-sender-account-settings).
## Configuring WhatsApp sender account settings
This step is optional.
Some settings that affect how your messages appear to customers — such as the sender's display name and profile — are managed in [Meta Business Suite](https://business.facebook.com/), not in Synerise. Message templates are also created there, while personalization is added later in Synerise. In Meta Business Suite, you can configure the following:
- **Display name**: Go to **Phone Numbers** to edit and submit a display name. Meta requires the display name to accurately represent your business.
- **Business profile**: Add a profile picture, description (up to 256 characters), address, and website in **Settings > Profile**.
- **Messaging limits**: Unverified businesses start with a limit of 250 conversations per day. Verified businesses start with 2,000. These limits can increase based on message quality.
- **Multiple phone numbers**: You can add multiple phone numbers to a single WhatsApp Business Account (WABA).
For more information, refer to the following Meta resources:
- [WhatsApp Business Accounts](https://developers.facebook.com/documentation/business-messaging/whatsapp/whatsapp-business-accounts/)
- [How to register in the WhatsApp Business application](https://faq.whatsapp.com/1344487902959714/?helpref=hc_fnav)
- [WhatsApp Business configuration in Meta Business Suite](https://www.facebook.com/business/help/353293243562513)
- [Adding WhatsApp numbers to a business portfolio](https://www.facebook.com/business/help/713785646327651)
## Create a template message in WhatsApp
Message templates define the structure and content of messages sent to customers. You create and submit templates for approval in Meta Business Suite. Once approved, you reference a template by name in the **Send Template Message** node in Synerise, where you add personalization.
### Template requirements
Before creating a template, keep the following in mind:
- **Category**: must be Marketing (the only category currently supported by Synerise)
- **Supported media types for headers**: Image, video, document, and location
- **Supported button types**: All button types except **Call on WhatsApp** and **Call Phone Number**
### Creating a template
1. Log in to Meta Business Suite and go to your WhatsApp Business account.
2. Go to **Message Templates** and click **Create Template**.
3. As the category, select **Marketing**.
4. As the name the template use a descriptive, unique name. You will reference this name later in the **Send Template Message** node in Synerise.
5. Select the language of the message.
6. Build the template content:
- **Header** (optional): Choose a header type — text, image, video, document, or location. Media headers are personalized later in Synerise.
- **Body**: Write the message text. Use numbered placeholders (`{{1}}`, `{{2}}`, and so on) wherever you want to insert dynamic values.
- **Footer** (optional): Add short supplementary text.
- **Buttons** (optional): Add action buttons. All button types are supported except **Call on WhatsApp** and **Call Phone Number**.
7. Submit the template for review — Meta will approve or reject the template. Approval typically takes from a few minutes to a few days.
### Personalizing the template
Meta supports two variable types: named variables (for example, `{{name}}`) and numbered variables (for example, `{{1}}`). Synerise supports only numbered variables.
#### Body
Use only numbered placeholders in the message body to mark where dynamic values will be inserted. For example:
`We found a perfect match for you! New {{1}} is waiting for you!`
Where `{{1}}` is replaced with values defined in Synerise when the workflow runs.
Creating a template in the Meta portal. {{1}} is a placeholder whose values will be defined in Synerise.
Dynamic values are drawn from customer profiles in your Synerise workspace — for example, a customer's first name, loyalty points balance, or the name of the last purchased product.
#### Header media (image, video, document, location)
Select the appropriate header type when building the template in Meta. The actual media — a file URL or a file from Synerise storage — is defined in the **Send Template Message** node in Synerise.
#### Buttons
You can add multiple buttons to a template.
To add a button:
1. In the Meta template editor, click **Add button**.
2. Fill out the **Call to action** section.
You can enter a sample value in Meta. The final value used when the message is sent is defined in the **Send Template Message** node in Synerise.
For **Visit Website** buttons:
- The URL can be static or dynamic.
- For dynamic URLs, only the URL suffix (the part after the domain) can be personalized. The domain must be fixed. The dynamic suffix is defined in the **Send Template Message** node in Synerise.
## Configuring the Send Template Message node
1. Go to **Automation Hub > Workflows > New workflow**.
2. Use nodes to build an automated scenario.
3. As one of the nodes, select **WhatsApp (partner integration) > Send a template message**.
4. Click **Select connection**.
5. From the dropdown list, select the connection.
- If no connections are available or you want to create a new one, see [Create a connection](#setting-up-the-connection).
- If you selected an existing connection, proceed to [defining the integration settings](#define-the-integration-settings).
### Define the integration settings
1. In the **Content** section of the node, configure the following:
- In **Template message name**, enter the exact name of the approved template from Meta.
- In **Language code**, select the language of the template. Make sure the template you created in Meta supports the selected language.
2. (Optional) In the **Message components**, define dynamic values for the template. In each field, you can enter a static value or use the insert button to add a [snippet](/docs/assets/snippets).
1. To define the values for dynamic parameters in the body of the message, enable the **Body** toggle. Each placeholder from the template (for example, `{{1}}`) appears as a separate parameter row. To add more parameters, click **+ Add parameter**.
Defining values for variables in the body of the message for the template message
2. To define the header settings, enable the **Header** toggle. Select the header type, then enter the placeholder value, provide a link to the media file, or select a file from Synerise storage.
Defining the header settings
3. To define the personalization of the buttons in the message, enable the **Buttons**.
- Only buttons with dynamic elements appear here — such as Quick Reply, dynamic URL, and Copy Code buttons. Static buttons (for example, a URL without a dynamic suffix) defined in the Meta template do not require configuration and are not listed. Each button appears as a separate entry.
1. Select the **Button type** (for example, QUICK_REPLY or URL) and enter the value.
2. To add more buttons, click **+ Add button**.
3. To track button clicks:
1. In Meta, [define the Synerise domain](/developers/inserts/email#configuring-a-custom-domain-for-redirect-url) (pay attention to the instance on which Synerise is hosted for you: Azure, Azure US, Google Cloud Platform because links differ).
2. Return to the **Buttons** settings in the Send Template Message node in Synerise and use the following snippet: `{% preparelink skipDomain=true %} https://redirect.me/here {% endpreparelink %}` (replace the link with your link).
3. As a result, the [whatsapp.click](/docs/assets/events/event-reference/integration#whatsappclick) event is generated.
Percent-encode any special characters in the link before you add it to the snippet — for example, encode a space as `%20`. For the encoding rules, see [RFC 3986: Uniform Resource Identifier (URI): Generic Syntax](https://www.rfc-editor.org/info/rfc3986/).
Defining the button settings
3. (Optional) Enable **Send without customer consent** to send the message regardless of the customer's consent status for communication through WhatsApp. When disabled, the message is sent only to customers who have given their consent.
4. Confirm by clicking **Apply**.
**Result**: When you activate the workflow, execution of the node generates one of the following events:
- [whatsApp.bounce](/docs/assets/events/event-reference/integration#whatsappbounce)
- [whatsApp.click](/docs/assets/events/event-reference/integration#whatsappclick)
- [whatsaApp.notSent](/docs/assets/events/event-reference/integration#whatsappnotsent)
- [whatsApp.show](/docs/assets/events/event-reference/integration#whatsappshow)
- [whatsApp.send](/docs/assets/events/event-reference/integration#whatsappsend)
# "Send File" node
The integration between Synerise and Amazon S3 Bucket opens up possibilities of exporting data collected in Synerise. By means of the Send file node, you can push data from Synerise to add it as a file a public cloud storage resource in Amazon Web Services. You can use this connection in various scenarios such as exporting transactions, event data, customer information (such as marketing agreements), results of metrics, aggregates, expressions, reports, and many more to Amazon S3 Bucket.
## Prerequisites
---
You must have an account on AWS.
## Node configuration
---
1. Click **Amazon S3 Bucket > Send File**.
2. Click **Select connection**.
3. From the dropdown list, select the connection.
- If no connections are available or you want to create a new one, see [Create a connection](#create-a-connection).
- If you selected an existing connection, proceed to [defining the integration settings](#define-the-integration-settings).
### Create a connection
To allow the data exchange, establish a connection between Synerise and Amazon S3 Bucket.
1. At the bottom of the **Select connection** dropdown list, click **Add connection**.
2. In the **Access key** field, enter an access key identifier which you can find in the AWS panel.
3. In the **Secret key** field, enter the secret key which you can find in the AWS panel.
3. Confirm by clicking **Apply**.
### Define the integration settings
In this step, fill in the form that allows you to send data from Synerise to Amazon S3 Bucket.
A blank configuration form for Send File (Amazon S3)
Fields marked with the icon accept [snippets](/docs/assets/snippets) or [inserts](/developers/inserts). But, you can’t use profile-related inserts.
2. In the **Container** field, enter the name of an existing container in your storage.
3. In the **Path to directory** field, enter the path to the existing bucket in which the file will be saved.
2. In the **File name** field, enter the name of the file you want to send to the storage. If the file already exists, the contents of the file will be overwritten.
In this field, you can use Jinjava.
3. From the **File format** dropdown list, select the format in which the file will be saved in the storage.
If you select the **CSV [*.csv]** option, follow the instructions below:
1. From the **Delimiter** dropdown, select the character that marks the end of a column.
2. From the **Quotation mark** dropdown list, select the characters that contain the text.
3. From the **Escape character** dropdown lists, select the character changes the default interpretation of a character or a string followed by the character.
5. From the **Line ending** dropdown list, select:
- **Line feed** - This option shifts the cursor to the next line vertically.
- **Carriage return and line feed** - This option points the cursor to the beginning of the line horizontally and shifts the cursor to the next line vertically.
6. The **No Byte Order Mark** option is currently unused.
7. To wrap the values with characters selected in the **Quotation mark** field when the delimiter occurs in the value, select the **Quoting style only if required** option. For example, for the following values:
- one
- two,three,four
The output with the enabled **Quoting style only if required** option will be as follows:
- one,
- "two,three,four"
4. Confirm by clicking **Apply**.
## Example of use
---
As an example of use, you can create a workflow that is triggered one time in order to export the customer database (email addresses and newsletter agreements) to the storage.
As a prerequisite for this example, create a segmentation of customers who have email addresses and enabled newsletter agreement. This segmentation will be used in the [Get Profiles node](/docs/automation/actions/synerise-integrations/get-profiles) that will be a part of the workflow.
Example of the segmentation conditions
In the configuration of the workflow:
1. Start the workflow with the **Scheduled Run** node. In the configuration of the node, set the **Run trigger** to **one time**. Select the **Immediately** tab.
2. To retrieve customers data to the workflow, as the next node, select **Synerise > Get Profiles**. In the configuration of the node:
1. Select a segmentation from which you want to extract customers' data.
2. Select the customer attributes to be exported. In this example, it's an email address and email marketing agreement.
4. To send the file with customers data, add **Amazon S3 Bucket > Send File**. Fill in the configuration form in the node.
5. Add the **End** node.
**Result**:
Final configuration of the workflow
# "Get File" node
The integration allows you to download files embedded on Amazon S3 bucket to Synerise. You can use this connection in various scenarios such as importing transactions, event data, customer information (such as marketing agreements).
## Prerequisites
---
- You must have an account on AWS.
- Maximum file size: 5 GB (5 000 000 000 bytes).
## Node configuration
---
1. Click **Amazon S3 Bucket > Get File**.
2. Click **Select connection**.
3. From the dropdown list, select the connection.
- If no connections are available or you want to create a new one, see [Create a connection](#create-a-connection).
- If you selected an existing connection, proceed to [defining the integration settings](#define-the-integration-settings).
### Create a connection
To allow the data exchange, establish a connection between Synerise and Amazon S3 Bucket.
1. At the bottom of the **Select connection** dropdown list, click **Add connection**.
2. In the **Access key** field, enter an access key identifier which you can find in the AWS panel.
3. In the **Secret key** field, enter the secret key which you can find in the AWS panel.
3. Confirm by clicking **Apply**.
### Define the integration settings
In this step, fill in the form that allows you to get data from Amazon S3 Bucket.
A blank configuration form for Get File (Amazon S3)
Fields marked with the icon accept [snippets](/docs/assets/snippets) or [inserts](/developers/inserts). But, you can’t use profile-related inserts.
2. In the **Container** field, enter the name of an existing container in your storage.
3. In the **Path to directory** field, enter the path to the existing bucket from which the file will be downloaded.
2. In the **File name** field, enter the name of the file you want to get from the storage. You can use Jinjava to build dynamic file name configuration.
3. From the **File format** dropdown list, select the format in which the file will be delivered.
If you select the **CSV [*.csv]** option, follow the instructions below:
1. From the **Delimiter** dropdown, select the character that splits the column.
2. From the **Quotation mark** dropdown list, select the characters that contain the text.
3. From the **Escape character** dropdown lists, select the character that changes the default interpretation of a character or a string followed by the escape character.
4. Confirm by clicking **Apply**.
## Example of use
---
As an example of use, you can create a workflow that is triggered one time in order to import the customer database (email addresses and newsletter agreements) to Synerise.
In the configuration of the workflow:
1. Start the workflow with the **Scheduled Run** node. In the configuration of the node, set the **Run trigger** to **one time**. Select the **Immediately** tab.
2. To feed the workflow with data, as the next node, select **Amazon S3 > Get File**. Fill in the configuration form in the node.
4. To import data to Synerise, select **Synerise > Import Profiles**. Make sure the data in the retrieved file meet the requirements defined in the Import profile node. If you need to adjust your data, you can use [Data Transformation node](/docs/automation/operation/data-transformation-node) to transform values in your file.
5. Add the **End** node.
**Result**:
Final configuration of the workflow
# Testing outgoing integrations
This feature allows users to test outgoing integrations from workflows, specifically targeting HTTP-type integrations that connect to external APIs or services (for example, [Send offline conversion (Google Ads)](/docs/automation/integration/facebook/send-offline-transactions), [Send Custom Event (Facebook)](/docs/automation/integration/facebook/send-custom-event), [Outgoing Integration node](/docs/automation/actions/webhook-node)). You can run test requests for both business workflows and customer-oriented workflows in draft, paused, and active statuses.
This feature is available in the node settings in the **Test integration** section. This section opens a builder in which you can simulate integration requests by providing context from test profiles and historical events, enabling you to verify credential validity, connection status, and detect dynamic templating errors before deploying workflows live. Thanks to this, you can minimize errors, ensure proper rendering of dynamic values, and improve the reliability of integrations in production.
Testing requests works exclusively with test data (test profiles and their generated events); testing on production data is not possible.
A preview of a request body in a test request builder
## Prerequisites
---
Your workspace must contain [test profiles](/docs/settings/configuration/test-profiles).
## Key features
---
### Selecting data for context
Not all integrations convey dynamic data, as some requests transmit static data. However, if the request body contains dynamic references — such as [profile attributes](/developers/inserts/automation#profile-attributes) (`{{ customer.firstName }}`) or an [event reference](/developers/inserts/automation#event-parameters), then in the test request builder, you must:
- Select a **test profile** to provide context values related to profile information.
- Select an **event** (for example, `page.visit`) from the test profile’s historical events.
- If the event doesn’t exist, you can create a custom event payload for testing.
### Dynamic context rendering
If your outgoing request includes dynamic values — such as [event context](/developers/inserts/automation#event-parameters), profile attributes, item catalog fields, or analytics data — these will be rendered automatically. This makes it easy to validate your syntax, confirm business assumptions, and review the final rendered output.
### Response handling
- The test result can be saved as an event in **Data Modeling Hub > Events**. Depending on the tested integration, the response action event will be either the one specified in the integration configuration (the name of the event is included in the request body preview) or the [predefined action corresponding to a given integration](/docs/assets/events/event-reference/integration).
- If the response event already exists, you can update it with new parameters.
- This response event can then be reused in workflows.
### Error detection
- The test verifies credential validity and connection status (for example, expired tokens or invalid credentials).
- Dynamic templating errors (for example, missing or failing variable rendering in the integration request) are surfaced during the test.
- You get immediate feedback if values cannot be rendered properly or if the external service returns an error.
### No impact on live workflows
- Test requests are sent on a separate path that does not affect active workflows or production data.
- You can run multiple tests repeatedly without pausing or disrupting live integrations.
### Audit logging
- Every test request is logged in **Settings > Audit Log** with full traceability.
- This ensures transparency and accountability of test executions, preventing unauthorized or accidental data transmissions.
## Flow
---
Detailed instructions on filling out the **Test integration** section is available in the documentation of the nodes in which this section is available, for example, [Send offline conversion (Google Ads)](/docs/automation/integration/facebook/send-offline-transactions), [Send Custom Event (Facebook)](/docs/automation/integration/facebook/send-custom-event), [Outgoing Integration node](/docs/automation/actions/webhook-node)
1. Fill out the integration node configuration (for example, [Outgoing Integration node](/docs/automation/actions/webhook-node)) as usual and in the **Test integration** section, click **Send test request**.
2. In the test request builder:
- provide a profile context, if required.
- provide the event context, if required.
The right-hand panel used to supply the test with data context is built dynamically based on the integration configuration. If there are no references to profile data or event context, it may be empty (you don't need to do anything). However, if there is a reference to event context and the right-hand panel remains empty, make sure that the nodes you are referencing have assigned names.
You can [refer to the event context from the preceding nodes](/developers/inserts/automation#event-parameters) only by using the following syntax in the request body: `{{ automationPathSteps['nodeName'].event.params['paramName']`
A preview of a request body in a test request builder
3. Send the test request to the external integration endpoint.
4. The system receives and displays the response immediately in a readable format (JSON or parameters view).
**Result**: An `AutomationTest` entry in the Audit Log (**Settings > Audit Log**) is generated by the `automation-bat` service.
A preview of a response to a test request in a test request builder
5. Optionally, you can update the response event with new parameters, by clicking **Update response event** in the upper-right corner.
A pop-up with a summary of updated parameters in a response event
6. Confirm by clicking **Yes, save**.
**Result**: You can select these parameters across filters in the Synerise platform.
# "Send Channel Message" node
The **Send Channel Message** node lets you create a workflow for sending notifications to your team members in a Microsoft Teams channel. For example, you may send notifications immediately after a deviation occurs in your workspace.
## Prerequisites
---
1. Go to Power Automate to create [a workflow from a channel in Teams](https://support.microsoft.com/en-us/office/creating-a-workflow-from-a-channel-in-teams-242eb8f2-f328-45be-b81f-9817b51a5f0e). Save workflow to generate incoming webhook URL.
2. Edit the created workflow by filling out the **TeamId** and **ChannelId** fields. These values will be suggested. If not:
- To get the value of **TeamId**, go to the MS Teams application and retrieve a link to the team. **TeamId** is the part of generated URL groupId=XXXX.
- To get the value of **ChannelId**, go to the MS Teams application and retrieve a link to the channel. **ChannelId** is a part of generated URL channel/XXXXXXXX.
3. Save the changes in the workflow.
4. If you want to send an interactive message (such message can contain links, simple surveys, sections), prepare it in [AdaptiveCard](https://adaptivecards.io/designer/).
#### Recommended
Optionally, you can test the integration by posting a request to the webhook URL generated as a part of prerequisites. Body of the request must be as follows:
{
"type": "message",
"attachments": [
{
"contentType": "application/vnd.microsoft.card.adaptive",
"contentUrl": null,
"content": { // your AdaptiveCard goes here
"type": "AdaptiveCard",
"$schema": "http://adaptivecards.io/schemas/adaptive-card.json",
"version": "1.3" // webhook integrations support only 1.3 version!
}
}
]
}
## Node configuration
---
Fields marked with the icon accept [snippets](/docs/assets/snippets) or [inserts](/developers/inserts). This integration allows usage of profile-related inserts.
1. Click the node.
2. On the pop-up, click **Create connection**.
3. In the **Incoming webhook URL** field, enter the webhook you created [earlier](#prerequisites).
3. Click **Next**.
4. In the **Connection name** field, enter the name for the connection you created.
5. Click **Apply**.
**Result**: A connection is created and selected.
Blank node configuration form
4. From the **Type of message** dropdown list, select the type of the message you want to create:
- **Simple text message** - Choosing this option lets you write a plain text.
- **Interactive message (JSON)** - Choosing this option lets you build messages with sections, buttons, links, simple surveys.
5. Follow the scenario according to the message type you selected:
- If you selected the Simple message option:
1. In the **Text of message** field, enter the text you want to include in the message.
- If you selected the Interactive message (JSON) option:
1. In the **JSON body of message** field, enter the structure of the message you have prepared in AdaptiveCard as a part of prerequisites.
6. Confirm by clicking **Apply**.
**Result**: When the Send Channel Message node is executed, a [`MSteams.sendChannelMessage` event](/docs/assets/events/event-reference/integration#msteamssendchannelmessage) event is generated on the activity list of the profile who is the actor in the workflow.
### Test integration
---
You can run a test request. If the request body contains a dynamic reference to a profile attribute and/or an event data from preceding nodes, then you can define the context using [test profile data](/docs/settings/configuration/test-profiles).
Complete description of the feature is available in [Testing outgoing integrations](/docs/automation/test-requests-for-outgoing-integrations).
1. In the **Test integration** section, click **Send test request**.
**Result**: A test request builder opens. If:
- a request body contains dynamic references, the request preview appears after you select the context of test profiles and events.
- a request body contains static data, the preview of the body request appears immediately.
An empty test request builder
2. If your request contains dynamic references (otherwise, the options aren't available):
- From the **Test profile** dropdown, select a test profile in the context of whom the test request will be performed.
- From the **Event context** dropdown list, you can select a particular occurrence of an event whose values/information will be used for the test request.
1. Select a test profile.
**Result**: A history of test profile events appears.
A stream of events of a test profile
2. From the list of events, select one whose data you want use as a context. If there is no event you can use, in the upper-right corner of the pop-up, click **Define own event** and provide the body of the event.
3. Confirm by clicking **Apply**.
3. Verify the request body. If there is something you want to change, come back to the node settings from previous steps.
3. If the request body is ready to test, in the upper-right corner, click **Send request**.
**Result**: The response section appears and the **Update response event** button becomes active.
4. Optionally, you can update response event with new parameters by clicking **Update response event** in the upper-right corner.
## Example of use
---
For example of use, refer to our [Send an alert to Microsoft Teams channel use case](/use-cases/teams-integration).
# "Get a Lead" node
The **Get a Lead** node sends a request to Salesforce CRM to retrieve lead information based on a provided lead ID. This node allows you to fetch up-to-date details about a specific lead directly from Salesforce, enabling workflows that require real-time lead data for further processing or decision-making within Synerise.
The response from the Salesforce CRM with lead data will be available in a [salesforce.getLead event](/docs/assets/events/event-reference/integration#salesforcegetlead).
This node is available only in the [customer-oriented workflows](/glossary/#profile-oriented-workflow).
## Node configuration
---
1. Go to **Automation Hub > Workflows > New workflow**.
2. Create a workflow by adding nodes and arranging them in an order that aligns with your business requirements and the intended logic.
You can read more about the workflow basics in [Creating workflows](/docs/automation/creating-automation).
3. As one of the nodes, select **Salesforce CRM > Get a Lead**.
2. To allow the data exchange, establish a connection between Synerise and Salesforce CRM, click **Select connection**.
3. From the dropdown list, select the connection.
- If no connections are available or you want to create a new one, see [Create a connection](#create-a-connection).
- If you selected an existing connection, proceed to [defining the integration settings](#define-the-integration-settings).
### Create a connection
If you haven't established any connection yet or you want to create another, establish a connection between Synerise and Salesforce CRM that facilitates the exchange of data.
A blank configuration form for establishing connection between Synerise and Salesforce
1. In the **Connection name** field, enter the name of the connection.
It's used to find the connection on the list.
2. In **Token endpoint URL**, enter the URL used to obtain an access token from the authorization server.
2. In **Client ID**, enter a unique identifier assigned to your application by Salesforce CRM.
3. In **Client secret**, enter client secret assigned to your application by Salesforce CRM.
4. Confirm by clicking **Create**.
**Result**: You will be redirected to the form in which you will define the integration settings. The connection you created is available in **Settings > Connections**.
We recommend setting the app-specific token timeout in Salesforce to at least 1 hour. Read more about [Salesforce OAuth Settings](https://help.salesforce.com/s/articleView?id=xcloud.connected_app_create_api_integration.htm&type=5).
## Define the integration settings
In this part of the process, fill in the configuration form so that you can retrieve lead data.
A blank configuration form of the Get a Lead node
1. In **Lead ID**, provide the lead identifier.
- You can use Jinjava in this field
- You can check how to find a lead ID in the [Salesforce documentation](https://trailhead.salesforce.com/trailblazer-community/feed/0D54S00000A7yrrSAB).
1. In the **Additional event parameters** section, you can add parameters (jinjava in values not allowed) which will be added to the automatically generated [salesforce.getLead](/docs/assets/events/event-reference/integration#salesforcegetlead) event.
1. In the **Parameter** field, provide the name of the event parameter.
2. In **Value**, provide the value of the event parameter.
8. Confirm by clicking **Apply**.
**Result**: When the Get a Lead node is executed, a [`salesforce.getLead` event](/docs/assets/events/event-reference/integration#salesforcegetlead) is generated on the activity list of the profile who is the actor in the workflow. The event contains information about lead in Salesforce CRM.
## Example of use
---
You can create a workflow targeting a specific group of Synerise profiles. Within this workflow, you retrieve the lead IDs of the selected profiles and then send their information to Salesforce CRM.
1. As the first node, add **Audience**. In the settings of the node, define the group of profiles for whom the workflow will be triggered.
More instructions on the node is available in ["Audience" node](/docs/automation/triggers/audience-node).
2. As the next node, add **Get a Lead**. In the settings of the node, specify the lead ID. You can use inserts to [dynamically retrieve the profile attribute](/developers/inserts/automation#profile-attributes) value in which the lead ID is kept.
3. Add the **Event Filter** node to wait for the response from the Salesforce API. The condition checks whether the lead exists in Salesforce; if it does, it moves on to the next step.
4. Add the **Update a Lead** node. Fill out the configuration of the node according to instructions in ["Update a Lead" node](/docs/automation/integration/salesforce-crm/update-lead).
5. As the final node, add **End**.
**Result**:
Final workflow configuration
# "Get Data - Reverse ETL" node
By means of the **Get Data - Reverse ETL** node, you can pull data from Amazon Redshift to Synerise in any form.
You can easily test this connection and get a preview of the retrieved data through an SQL query, with a preview limit set to 10 records.
You can download the previewed data in JSON or CSV format, which can serve as a data sample for creating [data transformation rules](/docs/automation/data-transformation-and-imports/creating-data-transformation). These rules can be applied within a workflow to modify the data imported from Amazon Redshift, ensuring it meets Synerise's requirements. Thus, you gain flexibility in customizing the data format while importing from Amazon Redshift.
In the SQL query, you can use [Jinjava inserts](/developers/inserts/automation), except dynamic references to the Profile context (such as expressions, aggregates, or `{% customer %}` and `{{ customer. }}`).
The integration also lets you retrieve incremental data, eliminating the need to pull all the data each time. This allows you to import only the data that has been added since the last import. This is possible through the Jinjava tag: `{{lastRunDate}}`
## Prerequisites
If you use a firewall or an allowlist, make sure to allow the IP addresses listed below:
- Azure EU
- `52.146.154.208/29` (whole range in use: `52.146.154.208` - `52.146.154.215`)
- `20.67.16.0/28` (whole range in use: `20.67.16.0` - `20.67.16.15`)
- Azue US
- `23.100.20.128/30` (whole range in use: `23.100.20.128` - `23.100.20.132`)
- `23.100.20.228/30` (whole range in use: `23.100.20.228` - `23.100.20.232`)
- `23.100.22.32/30` (whole range in use: `23.100.22.32` - `23.100.22.35`)
- Google Cloud Platform
- `35.205.120.121`
- `35.233.100.131`
- `34.77.196.142`
- `34.140.213.162`
- `104.155.38.106`
- `34.79.223.232`
- `34.77.87.13`
- `34.78.208.88`
- Maximum size of the retrieved data: 5 GB (5,000,000,000 bytes).
- Maximum database rows in the file: 20,000,000.
### Best practices
- **Avoid using your main database for this purpose**.
It's better to create a separate database that is read-only and set up replication. This helps reduce the workload on your main database and minimizes the risk of data loss.
- **Synchronize only the data that you’ll use in Synerise**.
This improves performance and reduces the chance of exposing sensitive information. Select only the columns that are important to you and use the `{{lastRunDate}}` Jinjava tag (the instructions are further in this article) to limit synchronization to data that has changed since the last synchronization.
- **Set a reasonable synchronization size of data and interval to avoid overwhelming your database**.
Monitor the initial synchronizations to make sure they don't affect the security and performance of your system. You can send **maximum 20,000,000 rows** per journey and the data will be processed approximately 1,000,000 rows per 2 minutes.
- **Keep in mind regional data regulations**.
If your database is in the US, but your Synerise workspace is based in Europe, you need to comply with GDPR and other data regulations. Before connecting your database to Synerise, ensure you are following the rules for your region.
## Node configuration
---
1. Go to **Automation > Workflows > Create new**.
2. Start the workflow with a trigger node that doesn't contain a customer's context (for example, Scheduled Run).
3. On the trigger node, click **THEN**.
4. From the dropdown list, click **Redshift > Get Data - Reverse ETL**.
2. To establish a connection between Synerise and Amazon Redshift and allow the data exchange, click **Select connection**.
3. From the dropdown list, select the connection.
- If no connections are available or you want to create a new one, see [Create a connection](#create-a-connection).
- If you selected an existing connection, proceed to [defining the integration settings](#define-the-integration-settings).
### Create a connection
If you haven't established any connection yet or you want to create another, establish a connection between Synerise and Amazon Redshift that facilitates the exchange of data.
1. In the **Connection name** field, enter the name of the connection.
It's used to find the connection on the list.
2. In **Host**, provide the name of the server.
3. In **Port**, provide the port number the server is listening on.
4. In **Username**, provide the database user on whose behalf the connection is being made.
5. In **Password**, provide database user’s password.
3. Optionally, you can enable SSH tunneling for additional security for the connection by enabling the **Enable SSH tunneling** option. From **SSH connection type** dropdown list, select one of the following types:
- **Public Key** – It lets you authenticate using a pair of cryptographic keys instead of a password. You will be able to generate them and download a public key, which you will need to add to the server.
1. In **Login**, provide the PostgreSQL user name on whose behalf the connection is being made.
2. Optionally, in **Password**, provide the user's password.
3. In **Port**, provide the number of port the server is listening on.
4. In the **Public key** section, generate the key and download it.
4. Confirm by clicking **Create**.
- **Username & Password** - It lets you authenticate with a username and password.
1. In **Username**, provide the PostgreSQL user name on whose behalf the connection is being made.
2. In **Password**, provide the user's password.
3. In **Port**, provide the number of port the server is listening on.
4. Confirm by clicking **Create**.
## Define the integration settings
In this step, fill in the form that allows you to get data from the storage.
Empty node configuration form
1. In **Database name**, enter the name of the database from which you want to retrieve data.
2. In the **Query** field, enter the SQL query that retrieves specific data from Amazon Redshift.
To optimize your query, consider the following:
- Find out whether you are charged for query or data amount pulled within a query.
- Querying large data sets may result in timeouts.
- Retrieve up to 20,000,000 rows in one request.
- Limit requests to 1 request per hour.
- Retrieve incremental data using the `{{ lastRunDate }}` tag:
- Your resource in Redshift must contain a column with the date of the latest update (recommended time format: ISO-8601)
- Add the `{{ lastRunDate }}` tag to your query, for example:
SELECT * FROM myTableName WHERE columnWithModificationDate > {{lastRunDate}}
- The value of the `{{ lastRunDate }}` is saved by Synerise with each successful data pull from Amazon Redshift within a specific workflow.
3. To test the connection and preview data that will be retrieved, click **Preview data**.
The preview includes up to 10 records.
1. To download a file with preview data, click **Download Sample Data**.
2. Select the format file:
- **.json file** (recommended)
- **.csv file**
3. If you want to use this sample to configure Data Transformation to modify the data according to Synerise requirements, click **Open Data Transformation**.
This feature lets you create data transformation rules according to which the data will be modified, for example, you can make operations on the column names (to comply with the Synerise import requirements), on the values inside the columns, and so on. Later on, you can add the [Data Transformation node](/docs/automation/operation/data-transformation-node) to the workflow, after the **Get Data - Reverse ETL** node, and in the configuration of the node select the data transformation rule to modify the incoming data.
4. Confirm by clicking **Apply**.
We recommend monitoring the workflows that use the Get Data - Reverse ETL node. You can do it by:
- previewing [the statistics of the node directly in the settings of the active workflow](/docs/automation/automation-activity-tracking#workflow-statistics).
- previewing the **Transformation logs** tab in the workflow view.
## Example of use
---
This example shows how to send your customers' opinions about your company stored in Amazon Redshift by means of a periodic import.
An example of the data used in the example:
| description | rate | email |
|-------------------------------------------------------------------|------|------------------------|
| This product is life-changing. Finally, I have comfortable shoes. | 5 | john.doe@example.com |
| I'm satisfied with my purchase. | 5 | joan.smith@example.com |
These opinions will be imported to Synerise as a custom `opinion.import` event and will be available on the profiles of customers. This event will contain the following information:
- the descriptive part of the opinion, contained in the `description` parameter.
- the rating, which will take values from 1 to 5 (1 being the lowest), contained in the `rate` parameter.
Additionally, this example contains a process of creating a transformation rule based on the preview data received from the Get Data - Reverse ETL node. This way, we will prepare the incoming data to comply with the Synerise requirements to be imported as events.
Workflow configuration
1. Start your workflow with the **Scheduled Run** node. In the configuration of the node:
1. Change the **Run trigger** option to **all time**. Define the frequency of triggering this node (for example, once a day).
3. Confirm by clicking **Apply**.
2. As the next node, select **Redshift > Get Data - Reverse ETL**.
1. Configure the node as described in the [Node configuration](#node-configuration) section.
2. In the **Query** field, enter a query that retrieves email, opinion, and rating. The snippets below contain queries that:
- create a table
- retrieve all data from the table (which is treated as the first import; then the import date is rendered to `1970-01-01T00:00`)
- retrieve the incremental data since the date of the latest import.
These example queries serve as demonstrations, and their specific structure may vary depending on the data structure in your database.
SELECT event_id, email, opinion, rate FROM events;
SELECT event_id, email, opinion, rate
        FROM events
        WHERE updated_at > {{lastRunDate}};
3. Preview the data and download it as a JSON file.
4. Click **Open Data Transformation**.
5. Transform the file as follows:
- Add the following columns and values:
| Column name | Column value |
|-------------|-------------------------------------|
| `action` | `opinion.import` |
| `label` | `Import of opinions from Redshift` |
| `type` | `custom` |
- Rename the column name with the customer email to: `client.email`
- Optionally, you can change the names of columns which contain the descriptive opinion and rating.
6. Save the transformation rule.
3. Add the **Data Transformation** node. In the configuration of the node, select the transformation rule you created in the previous step.
4. Add the **Import events** node. This node doesn't require configuration.
5. Add the **End** node.
7. Click **Save & Run**.
**Result**: When the workflow is launched, the `opinion.import` event will be generated on the activity list of the customers who left an opinion on your company. You can later prepare analyses based on this event and its parameters and implement marketing strategy towards these customers.
# "Create Coupon" node
The **Create Coupon** node lets you send requests for creating coupons in the AIR Wallet in Eagle Eye. This integration simplifies coupon generation by automating the communication between Synerise and Eagle Eye’s API, allowing marketers to efficiently manage promotions and engage customers.
This node is available for profile-oriented and business-oriented workflows.
Execution of the node in a workflow generates an [`eagleEye.couponCreated` event](/docs/assets/events/event-reference/integration#eagleeyecouponcreated) on the activity list of a profile who is an actor in the workflow.
## Prerequisites
---
You must have account in Eagle Eye. You will need the following data from Eagle Eye:
- client ID
- client secret
- EES AIR Wallet ID
- EES AIR Campaign ID
## Node configuration
---
1. Go to **Automation Hub > Workflows > New workflow**.
2. Create a workflow by adding nodes and arranging them in an order that aligns with your business requirements and the intended logic.
You can read more about the workflow basics in [Creating workflows](/docs/automation/creating-automation).
3. As one of the nodes, select **Eagle Eye > Create coupon**.
2. To allow the data exchange, establish a connection between Synerise and Eagle Eye, click **Select connection**.
3. From the dropdown list, select the connection.
- If no connections are available or you want to create a new one, see [Create a connection](#create-a-connection).
- If you selected an existing connection, proceed to [defining the integration settings](#define-the-integration-settings).
### Create a connection
If you haven't established any connection yet or you want to create another, establish a connection between Synerise and Eagle Eye that facilitates the exchange of data.
1. In the **Connection name** field, enter the name of the connection.
It's used to find the connection on the list.
2. In **Client ID**, enter a unique identifier assigned to your application by Eagle Eye.
3. In **Client secret**, enter client secret assigned to your application by Eagle Eye.
4. Confirm by clicking **Create**.
**Result**: You will be redirected to the form in which you will define the integration settings. The connection you created is available in **Settings > Connections**.
## Define the integration settings
In this part of the process, fill in the configuration form so that you can create a coupon in AIR Wallet in Eagle Eye.
The empty configuration form of the Create Coupon node
1. In **Wallet ID**, enter EES AIR Wallet ID.
You can add [snippets](/docs/assets/snippets) by clicking the icon in the field.
2. In **Campaign ID**, enter EES AIR Campaign ID.
You can add [snippets](/docs/assets/snippets) by clicking the icon in the field.
3. Optionally, in **Related Accounts**, define if you want to show all related accounts created with that account in the `eagleEye.couponCreated` event.
4. Optionally, in **Tokens**, define if you want to show up to 100 active tokens associated with the account in the [`eagleEye.couponCreated` event](/docs/assets/events/event-reference/integration#eagleeyecouponcreated).
5. Optionally, in **Environment**, choose the environment in which the coupon will be created.
6. In **Body**, provide custom parameters which you can send to Eagle Eye.
You can add [snippets](/docs/assets/snippets) by clicking the icon in the field.
7. Optionally, in **Additional parameters**, you can add parameters which will be added to the event generated after request response (the [`eagleEye.couponCreated` event](/docs/assets/events/event-reference/integration#eagleeyecouponcreated)).
1. In the **Parameter** field, enter the name of the parameter.
- The name must not contain special characters or exceed 128 characters
- The following parameters cannot be sent:
- `eventUUID`
- `status`
- `statusDescription`
- `uuid`
- `clientId`
- `diagramId`
- `diagramName`
- `blockId`
- `blockName`
- `req`
- `name`
- `body`
2. In the **Value** field, enter the parameter value.
- The value is always sent as a string when the event's JSON payload is generated. The maximum length of the value is 230 characters.
- You can use [snippets](/docs/assets/snippets) in the **Value** field.
8. Confirm by clicking **Apply**.
**Result**: When the Create Coupon node is executed, the [`eagleEye.couponCreated` event](/docs/assets/events/event-reference/integration#eagleeyecouponcreated) is generated on the activity list of the profile who is the actor in the workflow.
### Test integration
---
You can run a test request. If the request body contains a dynamic reference to a profile attribute and/or an event data from preceding nodes, then you can define the context using [test profile data](/docs/settings/configuration/test-profiles).
Complete description of the feature is available in [Testing outgoing integrations](/docs/automation/test-requests-for-outgoing-integrations).
1. In the **Test integration** section, click **Send test request**.
**Result**: A test request builder opens. If:
- a request body contains dynamic references, the request preview appears after you select the context of test profiles and events.
- a request body contains static data, the preview of the body request appears immediately.
An empty test request builder
2. If your request contains dynamic references (otherwise, the options aren't available):
- From the **Test profile** dropdown, select a test profile in the context of whom the test request will be performed.
- From the **Event context** dropdown list, you can select a particular occurrence of an event whose values/information will be used for the test request.
1. Select a test profile.
**Result**: A history of test profile events appears.
A stream of events of a test profile
2. From the list of events, select one whose data you want use as a context. If there is no event you can use, in the upper-right corner of the pop-up, click **Define own event** and provide the body of the event.
3. Confirm by clicking **Apply**.
3. Verify the request body. If there is something you want to change, come back to the node settings from previous steps.
3. If the request body is ready to test, in the upper-right corner, click **Send request**.
**Result**: The response section appears and the **Update response event** button becomes active.
4. Optionally, you can update response event with new parameters by clicking **Update response event** in the upper-right corner.
## Example of use
---
You can create a workflow that grants a coupon to a user when they subscribe to the newsletter. The Synerise workflow triggers an API call to Eagle Eye. Eagle Eye generates or assigns a unique coupon code to the user.
It is important to enforce limits within this workflow to ensure that only one coupon reward is granted per newsletter subscription.
1. Start the workflow with **Profile Event**. In the settings of the node, select an event which signifies newsletter subscription.
2. As the next node, add **Create coupon**. Fill out the configuration form in the node as described earlier in the article.
3. As the final node, add **End**.
**Result**:
Final workflow configuration
# "Update a Lead" node
The **Update a Lead** node is a native integration between Synerise and Salesforce CRM that enables seamless updating of existing lead data. Whenever lead information changes within Synerise, you can create a workflow that automatically sends a request to the Salesforce API to update the corresponding lead in Salesforce. This integration ensures that Salesforce CRM stays fully synchronized with Synerise, so both systems maintain consistent and up-to-date lead information.
This node is available only in the [customer-oriented workflows](/glossary/#profile-oriented-workflow).
## Node configuration
---
1. Go to **Automation Hub > Workflows > New workflow**.
2. Create a workflow by adding nodes and arranging them in an order that aligns with your business requirements and the intended logic.
You can read more about the workflow basics in [Creating workflows](/docs/automation/creating-automation).
3. As one of the nodes, select **Salesforce CRM > Update a Lead**.
2. To allow the data exchange, establish a connection between Synerise and Salesforce CRM, click **Select connection**.
3. From the dropdown list, select the connection.
- If no connections are available or you want to create a new one, see [Create a connection](#create-a-connection).
- If you selected an existing connection, proceed to [defining the integration settings](#define-the-integration-settings).
### Create a connection
If you haven't established any connection yet or you want to create another, establish a connection between Synerise and Salesforce CRM that facilitates the exchange of data.
A blank configuration form for establishing connection between Synerise and Salesforce
1. In the **Connection name** field, enter the name of the connection.
It's used to find the connection on the list.
2. In **Token endpoint URL**, enter the URL used to obtain an access token from the authorization server.
2. In **Client ID**, enter a unique identifier assigned to your application by Salesforce CRM.
3. In **Client secret**, enter client secret assigned to your application by Salesforce CRM.
4. Confirm by clicking **Create**.
**Result**: You will be redirected to the form in which you will define the integration settings. The connection you created is available in **Settings > Connections**.
We recommend setting the app-specific token timeout in Salesforce to at least 1 hour. Read more about [Salesforce OAuth Settings](https://help.salesforce.com/s/articleView?id=xcloud.connected_app_create_api_integration.htm&type=5).
## Define the integration settings
In this part of the process, fill in the configuration form so that you can update lead data.
A blank configuration form of the Update a Lead node
1. In **Lead ID**, provide the lead identifier.
- You can use Jinjava in this field
- You can check how to find a lead ID in the [Salesforce documentation](https://trailhead.salesforce.com/trailblazer-community/feed/0D54S00000A7yrrSAB).
1. In **Body**, provide information in the `JSON` format with which the lead information will be updated in Salesforce CRM.
- You can add custom information.
- You can add standard information (make sure the parameter names you use conform with the Salesforce API requirements).
- You can use Jinjava in this field.
1. In the **Additional event parameters** section, you can add parameters (jinjava in values not allowed) which will be added to the automatically generated [salesforce.leadUpdated](/docs/assets/events/event-reference/integration#salesforceleadupdated) event.
1. In the **Parameter** field, provide the name of the event parameter.
2. In **Value**, provide the value of the event parameter.
8. Confirm by clicking **Apply**.
**Result**: When the Update a Lead node is executed, a [`salesforce.leadUpdated` event](/docs/assets/events/event-reference/integration#salesforceleadupdated) is generated on the activity list of the profile who is the actor in the workflow.
## Example of use
---
You can create a workflow that sends a request to Salesforce to update a lead each time a lead's data changes in Synerise.
1. As the first node, add **Data Changed**. In the settings of the node, select the attribute whose modification triggers the workflow.
2. As the next node, add **Update a Lead**. Fill out the node settings according to the instructions in the ["Define the integration settings"](#define-the-integration-settings).
You can use data received from the event selected in the **Data Changed** node and include them in the request body to the Salesforce. To learn how to insert this data dynamically, see ["Event parameters" section](/developers/inserts/automation#event-parameters).
3. As the final node, add **End**.
**Result**:
Final workflow configuration
# "Create a Lead" node
The **Create a Lead** node is a native integration between Synerise and Salesforce CRM that enables seamless synchronization of lead data. Whenever a new lead appears on the Synerise radar (for example, a visitor to the website submits a form), you can create a workflow that automatically sends a request to the Salesforce API to create that lead in Salesforce CRM. This integration ensures real-time lead transfer and helps you keep your Salesforce CRM updated.
This node is available only in the [customer-oriented workflows](/glossary/#profile-oriented-workflow).
## Node configuration
---
1. Go to **Automation Hub > Workflows > New workflow**.
2. Create a workflow by adding nodes and arranging them in an order that aligns with your business requirements and the intended logic.
You can read more about the workflow basics in [Creating workflows](/docs/automation/creating-automation).
3. As one of the nodes, select **Salesforce CRM > Create a Lead**.
2. To allow the data exchange, establish a connection between Synerise and Salesforce CRM, click **Select connection**.
3. From the dropdown list, select the connection.
- If no connections are available or you want to create a new one, see [Create a connection](#create-a-connection).
- If you selected an existing connection, proceed to [defining the integration settings](#define-the-integration-settings).
### Create a connection
If you haven't established any connection yet or you want to create another, establish a connection between Synerise and Salesforce CRM that facilitates the exchange of data.
A blank configuration form for establishing connection between Synerise and Salesforce
1. In the **Connection name** field, enter the name of the connection.
It's used to find the connection on the list.
2. In **Token endpoint URL**, enter the URL used to obtain an access token from the authorization server.
2. In **Client ID**, enter a unique identifier assigned to your application by Salesforce CRM.
3. In **Client secret**, enter client secret assigned to your application by Salesforce CRM.
4. Confirm by clicking **Create**.
**Result**: You will be redirected to the form in which you will define the integration settings. The connection you created is available in **Settings > Connections**.
We recommend setting the app-specific token timeout in Salesforce to at least 1 hour. Read more about [Salesforce OAuth Settings](https://help.salesforce.com/s/articleView?id=xcloud.connected_app_create_api_integration.htm&type=5).
## Define the integration settings
In this part of the process, fill in the configuration form so that you can send lead data.
A blank configuration form of the Create a Lead node
1. In **Body**, provide information about the lead in `JSON` format which will be created in Salesforce CRM.
- You can add custom information.
- You can add standard information (make sure the parameter names you use conform with the Salesforce API requirements).
For further information, check the [Salesforce createLead endpoint documentation](https://developer.salesforce.com/docs/marketing/marketing-cloud-growth/references/mc-rest-leads?meta=createLead).
- You can use Jinjava in this field.
1. In the **Additional event parameters** section, you can add parameters (jinjava in values not allowed) which will be added to the automatically generated [salesforce.leadCreated](/docs/assets/events/event-reference/integration#salesforceleadcreated) events.
1. In the **Parameter** field, provide the name of the event parameter.
2. In **Value**, provide the value of the event parameter.
8. Confirm by clicking **Apply**.
**Result**: When the Create a Lead node is executed, a [`salesforce.leadCreated` event](/docs/assets/events/event-reference/integration#salesforceleadcreated) is generated on the activity list of the profile who is the actor in the workflow.
## Example of use
---
You can create a workflow that sends a request to Salesforce CRM to create a lead each time a profile submits the form.
1. As the first node, add **Profile Event**. In the settings of the node, select the event which signifies submitting data in a form.
2. As the next node, add **Create a Lead**. Fill out the node settings according to the instructions in the ["Define the integration settings"](#define-the-integration-settings).
You can use data received from the event selected in the **Profile Event** node and include them in the request body to the Salesforce CRM. To learn how to insert this data dynamically, see ["Event parameters" section](/developers/inserts/automation#event-parameters).
3. As the final node, add **End**.
**Result**:
Final workflow configuration
# "Get Data - Reverse ETL" node
By means of the **Get Data - Reverse ETL** node, you can pull data from PostgreSQL to Synerise in any form.
You can easily test this connection and get a preview of the retrieved data through an SQL query, with a preview limit set to 10 records.
You can download the previewed data in JSON or CSV format, which can serve as a data sample for creating [data transformation rules](/docs/automation/data-transformation-and-imports/creating-data-transformation). These rules can be applied within a workflow to modify the data imported from PostgreSQL, ensuring it meets Synerise's requirements. Thus, you gain flexibility in customizing the data format while importing from PostgreSQL.
In the SQL query, you can use [Jinjava inserts](/developers/inserts/automation), except dynamic references to the Profile context (such as expressions, aggregates or `{% customer %}` and `{{ customer. }}`).
The integration also lets you retrieve incremental data, eliminating the need to pull all the data each time. This allows you to import only the data that has been added since the last import. This is possible through the Jinjava tag: `{{lastRunDate}}`
## Prerequisites
If you use a firewall or an allowlist, make sure to allow the IP addresses listed below:
- Azure EU
- `52.146.154.208/29` (whole range in use: `52.146.154.208` - `52.146.154.215`)
- `20.67.16.0/28` (whole range in use: `20.67.16.0` - `20.67.16.15`)
- Azue US
- `23.100.20.128/30` (whole range in use: `23.100.20.128` - `23.100.20.132`)
- `23.100.20.228/30` (whole range in use: `23.100.20.228` - `23.100.20.232`)
- `23.100.22.32/30` (whole range in use: `23.100.22.32` - `23.100.22.35`)
- Google Cloud Platform
- `35.205.120.121`
- `35.233.100.131`
- `34.77.196.142`
- `34.140.213.162`
- `104.155.38.106`
- `34.79.223.232`
- `34.77.87.13`
- `34.78.208.88`
- Maximum size of the retrieved data: 5 GB (5 000 000 000 bytes).
- Maximum database rows in the file: `20,000,000`.
### Best practices
- **Avoid using your main database for this purpose**.
It's better to create a separate database that is read-only and set up replication. This helps reduce the workload on your main database and minimizes the risk of data loss.
- **Synchronize only the data that you’ll use in Synerise**.
This improves performance and reduces the chance of exposing sensitive information. Select only the columns that are important to you and use the `{{lastRunDate}}` Jinjava tag (described further in this article) to limit synchronization to data that has changed since the last synchronization.
- **Set a reasonable synchronization size of data and interval to avoid overwhelming your database**.
Monitor the initial synchronizations to make sure they don't affect the security and performance of your system. You can send **maximum 20,000,000 rows** per journey and the data will be processed 1,000,000 per 2 minutes.
- **Keep in mind regional data regulations**.
If your database is in the US, but your Synerise workspace is based in Europe, you need to comply with GDPR and other data regulations. Before connecting your database to Synerise, ensure you are following the rules for your region.
## Node configuration
---
1. Go to **Automation > Workflows > Create new**.
2. Start the workflow with a trigger node that doesn't contain a customer's context (for example, Scheduled Run).
3. On the trigger node, click **THEN**.
4. From the dropdown list, click **PostgreSQL > Get Data - Reverse ETL**.
2. To establish a connection between Synerise and PostgreSQL and allow the data exchange, click **Select connection**.
3. From the dropdown list, select the connection.
- If no connections are available or you want to create a new one, see [Create a connection](#create-a-connection).
- If you selected an existing connection, proceed to [defining the integration settings](#define-the-integration-settings).
### Create a connection
If you haven't established any connection yet or you want to create another, establish a connection between Synerise and PostgreSQL that facilitates the exchange of data.
1. In the **Connection name** field, enter the name of the connection.
It's used to find the connection on the list.
2. In **Host**, provide the name of the server.
3. In **Port**, provide the port number the server is listening on
4. In **Username**, provide the database user on whose behalf the connection is being made.
5. In **Password**, provide database user’s password
3. Optionally, you can enable SSH tunneling for additional security for the connection by enabling the **Enable SSH tunneling** option. From **SSH connection type** dropdown list, select one of the following types:
- **Public Key** – It lets you authenticate using a pair of cryptographic keys instead of a password. You will be able to generate them and download a public key, which you will need to add to the server.
1. In **Login**, provide the PostgreSQL user name on whose behalf the connection is being made.
2. Optionally, in **Password**, provide the user's password.
3. In **Port**, provide the number of port the server is listening on.
4. In the **Public key** section, generate the key and download it.
4. Confirm by clicking **Create**.
- **Username & Password** - It lets you authenticate with a username and password.
1. In **Username**, provide the PostgreSQL user name on whose behalf the connection is being made.
2. In **Password**, provide the user's password.
3. In **Port**, provide the number of port the server is listening on.
4. Confirm by clicking **Create**.
## Define the integration settings
In this step, fill in the form that allows you to get data from the storage.
Empty node configuration form
1. In **Database name**, enter the name of the database from which you want to retrieve data.
2. In the **Query** field, enter the SQL query that retrieves specific data from the PostgreSQL.
To optimize your query, consider the following:
- Find out whether you are charged for query or data amount pulled within a query.
- Querying large data sets may result in timeouts.
- Retrieve up to 20,000,000 rows in one request.
- Limit requests to 1 request per hour.
- Retrieve incremental data using the `{{ lastRunDate }}` tag:
- Your resource in PosgreSQL must contain a column with the date of the latest update (recommended time format: ISO-8601)
- Add the `{{ lastRunDate }}` tag to your query, for example:
SELECT * FROM myTableName WHERE columnWithModificationDate > {{lastRunDate}}
- The value of the `{{ lastRunDate }}` is saved by Synerise with each successful data pull from PostgreSQL within a specific workflow.
3. To test the connection and preview data that will be retrieved, click **Preview data**.
The preview includes up to 10 records.
1. To download a file with preview data, click **Download Sample Data**.
2. Select the format file:
- **.json file** (recommended)
- **.csv file**
3. If you want to use this sample to configure Data Transformation to modify the data according to Synerise requirements, click **Open Data Transformation**.
This feature lets you create data transformation rules according to which the data will be modified, for example, you can make operations on the column names (to comply with the Synerise import requirements), on the values inside the columns, and so on. Later on, you can add the [Data Transformation node](/docs/automation/operation/data-transformation-node) to the workflow, after the **Get Data - Reverse ETL** node, and in the configuration of the node select the data transformation rule to modify the incoming data.
4. Confirm by clicking **Apply**.
We recommend monitoring the workflows that use the Get Data - Reverse ETL node. You can do it by:
- previewing [the statistics of the node directly in the settings of the active workflow](/docs/automation/automation-activity-tracking#workflow-statistics).
- previewing the **Transformation logs** tab in the workflow view.
## Example of use
---
This example shows how to send your customers' opinions about your company stored in PostgreSQL by means of a periodic import.
An example of the data used in the example:
| description | rate | email |
|-------------------------------------------------------------------|------|------------------------|
| This product is life-changing. Finally, I have comfortable shoes. | 5 | john.doe@example.com |
| I'm satisfied with my purchase. | 5 | joan.smith@example.com |
These opinions will be imported to Synerise as a custom `opinion.import` event and will be available on the profiles of customers. This event will contain the following information:
- the descriptive part of the opinion, contained in the `description` parameter.
- the rating, which will take values from 1 to 5 (1 being the lowest), contained in the `rate` parameter.
Additionally, this example contains a process of creating a transformation rule based on the preview data received from the Get Data - Reverse ETL node. This way, we will prepare the incoming data to comply with the Synerise requirements to be imported as events.
Workflow configuration
1. Start your workflow with the **Scheduled Run** node. In the configuration of the node:
1. Change the **Run trigger** option to **all time**. Define the frequency of triggering this node (for example, once a day).
3. Confirm by clicking **Apply**.
2. As the next node, select **PostgreSQL > Get Data - Reverse ETL**.
1. Configure the node as described in the [Node configuration](#node-configuration) section.
2. In the **Query** field, enter a query that retrieves email, opinion, and rating. The snippets below contain queries that:
- create a table
- retrieve all data from the table (which is treated as the first import; then the import date is rendered to `1970-01-01T00:00`)
- retrieve the incremental data since the date of the latest import.
These example queries serve as demonstrations, and their specific structure may vary depending on the data structure in your database.
SELECT event_id, email, opinion, rate FROM events;
SELECT event_id, email, opinion, rate
        FROM events
        WHERE updated_at > {{lastRunDate}};
3. Preview the data and download it as a JSON file.
4. Click **Open Data Transformation**.
5. Transform the file as follows:
- Add the following columns and values:
| Column name | Column value |
|-------------|-------------------------------------|
| `action` | `opinion.import` |
| `label` | `Import of opinions from PostgreSQL` |
| `type` | `custom` |
- Rename the column name with the customer email to: `client.email`
- Optionally, you can change the names of columns which contain the descriptive opinion and rating.
6. Save the transformation rule.
3. Add the **Data Transformation** node. In the configuration of the node, select the transformation rule you created in the previous step.
4. Add the **Import events** node. This node doesn't require configuration.
5. Add the **End** node.
7. Click **Save & Run**.
**Result**: When the workflow is launched, the `opinion.import` event will be generated on the activity list of the customers who left an opinion on your company. You can later prepare analyses based on this event and its parameters and implement marketing strategy towards these customers.
# "Send Channel Message" node (deprecated)
Due to [retirement of Office 365 connectors within Microsoft Teams](https://devblogs.microsoft.com/microsoft365dev/retirement-of-office-365-connectors-within-microsoft-teams/), this node will be deprecated. From now on, you can make use of [Send channel message node](/docs/automation/integration/microsoft-teams/send-message-to-teams-channel-v2) which is built upon connector type recommended by Microsoft.
The **Send Channel Message** node allows you to create a business-oriented workflow for sending notifications to your team members in a Microsoft Teams channel. For example, you may send notifications immediately after a deviation occurs in your workspace.
## Prerequisites
---
Create [an incoming webhook in Microsoft Teams](https://docs.microsoft.com/en-us/microsoftteams/platform/webhooks-and-connectors/how-to/add-incoming-webhook) and [learn how to build it JSON request body](https://docs.microsoft.com/en-us/microsoftteams/platform/webhooks-and-connectors/how-to/connectors-using?tabs=cURL).
## Node configuration
---
1. Click the node.
2. On the pop-up, click **Create connection**.
3. In the **Incoming webhook URL** field, enter the webhook you created [earlier](#prerequisites).
**Result**:
A blank configuration form in Send message to channel node (Slack)
4. From the **Type of message** dropdown list, select the type of the message you want to create:
- **Simple message** - Choosing this option lets you write a plain text.
- **Interactive message (JSON)** - Choosing this option lets you build messages with sections, buttons, links, simple surveys.
5. Follow the scenario according to the message type you selected:
- If you selected the Simple message option:
1. In the **Text of message** field, enter the text you want to include in the message.
- If you selected the Interactive message (JSON) option:
1. In the **JSON body of message** field, enter the structure of the message as the JSON body.
6. Confirm by clicking **Apply**.
## Example of use
---
For example of use, refer to our [Send an alert to Microsoft Teams channel use case](/use-cases/teams-integration).
# "Get Brickworks Schema Records" node
This node is available in private preview mode, meaning it is accessible only on selected workspaces.
In Synerise, [Brickworks](/docs/assets/brickworks/what-makes-brickworks-different) let you create and manage structured data tailored to your needs. You start by [creating a schema](/docs/assets/brickworks/quick-start/creating-a-schema) that defines the structure and fields of your data. Optionally, you can specify the target audience for that schema. Then, you add data submissions, where each submission creates a single [record](/docs/assets/brickworks/quick-start/creating-a-record) based on the schema.
The **Get Brickworks Schema Records** node lets you retrieve a JSON or JSON Lines file with all records from a selected schema. You can combine this node with others, like [Send File to Amazon S3](/docs/automation/integration/amazon-s3-bucket/send-file-amazon-s3-bucket) or [Send File to Google Cloud Store](/docs/automation/integration/google-cloud-storage/send-file-to-gcp), to export the data to external systems.
Alternatively, use this node and ["Save File" node](/docs/automation/actions/synerise-integrations/save-file) to export schema records to a file you can download directly from the Synerise platform (then, the file will be available in **Data Modeling > Export > Automation**).
### What you can do with this node
- Select the schema to retrieve records from.
- Preview example data from the file to check its structure and content before exporting.
- If needed, modify the data using a [data transformation rule](/docs/automation/data-transformation-and-imports/creating-data-transformation) applied through the [Data Transformation node](/docs/automation/operation/data-transformation-node) placed right after the **Get Brickworks Schema Records** node in your workflow.
This node can be used only in [business workflows](/glossary/#business-workflow).
## Prerequisites
---
- [Create a schema](/docs/assets/brickworks/quick-start/creating-a-schema)
- [Add records to schema](/docs/assets/brickworks/quick-start/creating-a-record)
- To retrieve a file with schema records, you must be assigned with a role with the following permissions:
- [access Automation Hub](/docs/settings/identity-access-management/permissions/automation-permissions#access-the-automation-hub)
- [create workflows](/docs/settings/identity-access-management/permissions/automation-permissions#create-and-edit-workflows)
- [access Brickworks](/docs/settings/identity-access-management/permissions/data-management-permissions#work-with-brickworks)
- [export data](/docs/settings/identity-access-management/permissions/settings-permissions#export-data)
- [export data to downloadable files](/docs/settings/identity-access-management/permissions/data-management-permissions#export-data-to-downloadable-files)
## Node configuration
---
1. To create a workflow that lets you export the file with schema records, go to **Automation Hub > Workflows > New workflow**.
2. Select one of the business trigger nodes, for example [Scheduled Run](/docs/automation/triggers/scheduled-run).
3. Click **THEN > Synerise > Get Brickworks Schema Records**.
4. Open the configuration form of the node by clicking it.
**Result**:
A blank node configuration form
5. From the dropdown list, select a schema whose records will be retrieved.
6. Optionally, to get a preview of a file, click **Download example data**.
This way, you can find out what a sample data structure for export from the Brickworks schema looks like.
7. Optionally, to prepare a transformation rule that will modify the file with schema records, click **Open Data Transformation**.
## Example of use
---
You can find instructions on workflow exporting schema records in the ["Export through Automation Hub" section](/docs/assets/brickworks/exporting-records#export-through-the-automation-hub).
# "Send File" node
The integration between Synerise and Azure Blob Storage opens up possibilities of exporting data collected in Synerise. By means of the Send file node, you can push data from Synerise to add save it as a blob in your Azure storage. You can use this connection in various scenarios such as exporting transactions, event data, customer information (such as marketing agreements), results of metrics, aggregates, expressions, reports, and many more to Azure Blob Storage.
## Prerequisites
---
You must have an account on Azure AD.
## Node configuration
---
1. Click **Azure Blob Storage > Send File**.
2. Click **Select connection**.
3. From the dropdown list, select the connection.
- If no connections are available or you want to create a new one, see [Create a connection](#create-a-connection).
- If you selected an existing connection, proceed to [defining the integration settings](#define-the-integration-settings).
### Create a connection
To allow the data exchange, establish a connection between Synerise and Azure Blob Storage.
1. At the bottom of the **Select connection** dropdown list, click **Add connection**.
2. In the **Blob SAS URL**, enter the [Blob shared access signature (SAS) URL](https://learn.microsoft.com/en-us/azure/storage/common/storage-sas-overview) that allows access to a storage account and/or containers and blobs. You can generate it in your Azure AD account.
3. Confirm by clicking **Apply**.
### Define the integration settings
In this step, fill in the form that allows you to send data from Synerise to Azure Blob Storage.
A blank configuration form for Send File (Azure)
Fields marked with the icon accept [snippets](/docs/assets/snippets) or [inserts](/developers/inserts). But, you can’t use profile-related inserts.
1. In the **Container** field, enter the name of an existing container in your storage.
If this field is already filled out, it means that the URL used in the [connection](#create-a-connection) settings contains the name of the container.
2. In the **Blob name** field, enter the name of the blob (file) you want to send to the storage.
If this field is already filled out, it means that the URL used in the [connection](#create-a-connection) settings contains the name of the blob. In such case, the contents of the blob will be overwritten.
You can use Jinjava in this field.
3. From the **File format** dropdown list, select the format in which the file will be saved in the storage.
If you select the **CSV [*.csv]** option, follow the instructions below:
1. From the **Delimiter** dropdown, select the character that separates fields in a row.
2. From the **Quotation mark** dropdown list, select the characters that contain the text.
3. From the **Escape character** dropdown list, select the character which changes the default interpretation of a character or a string followed by the character.
5. From the **Line ending** dropdown list, select:
- **Line feed** - This option shifts the cursor to the next line vertically.
- **Carriage return and line feed** - This option points the cursor to the beginning of the line horizontally and shifts the cursor to the next line vertically.
6. The **No Byte Order Mark** option is currently unused.
7. To wrap the values with characters selected in the **Quotation mark** field when the delimiter occurs in the value, select the **Quoting style only if required** option. For example, for the following values:
- one
- two,three,four
The output with the enabled **Quoting style only if required** option will be as follows:
- "one",
- "two,three,four"
4. Confirm by clicking **Apply**.
## Example of use
---
You can create a workflow that is triggered one time in order to export the customer database (email addresses and newsletter agreements) to the storage.
As a prerequisite for this example, create a segmentation of customers who have email addresses and enabled newsletter agreements. This segmentation will be used in the [Get Profiles node](/docs/automation/actions/synerise-integrations/get-profiles) that will be a part of the workflow.
Example of the segmentation conditions
In the configuration of the workflow:
1. Start the workflow with the **Scheduled Run** node. In the configuration of the node, set the **Run trigger** to **one time**. Select the **Immediately** tab.
2. To retrieve customers data to the workflow, as the next node, select **Synerise > Get Profiles**. In the configuration of the node:
1. Select a segmentation from which you want to extract customers' data.
2. Select the customer attributes to be exported. In this example, it's an email address and email marketing agreement.
4. To send the file with customers data, add **Azure Blob Storage > Send File**. Fill in the configuration form in the node.
5. Add the **End** node.
**Result**:
Final configuration of the workflow
# "Get File" node
The integration allows you to download files embedded on Azure Blob Storage to Synerise. You can use this connection in various scenarios such as importing transactions, event data, customer information (such as marketing agreements).
## Prerequisites
---
- You must have an account on Azure AD.
- Maximum file size: 5 GB (5 000 000 000 bytes).
## Node configuration
---
1. Click **Azure Blob Storage > Get File**.
2. Click **Select connection**.
3. From the dropdown list, select the connection.
- If no connections are available or you want to create a new one, see [Create a connection](#create-a-connection).
- If you selected an existing connection, proceed to [defining the integration settings](#define-the-integration-settings).
### Create a connection
To allow the data exchange, establish a connection between Synerise and Azure Blob Storage.
1. At the bottom of the **Select connection** dropdown list, click **Add connection**.
2. In the **Blob SAS URL**, enter the [Blob shared access signature (SAS) URL](https://learn.microsoft.com/en-us/azure/storage/common/storage-sas-overview) that allows access to a storage account and/or containers and blobs. You can generate it in your Azure AD account.
3. Confirm by clicking **Apply**.
### Define the integration settings
In this step, fill in the form that allows you to get data from Azure Blob Storage.
A blank configuration form for Get File (Azure)
Fields marked with the icon accept [snippets](/docs/assets/snippets) or [inserts](/developers/inserts). But, you can’t use profile-related inserts.
1. In the **Container** field, enter the name of an existing container in your storage.
If this field is already filled out, it means that the URL used in the [connection](#create-a-connection) settings contains the name of the container.
2. In the **Blob name** field, enter the name of the blob (file) you want to get from the storage. You can use Jinjava to build dynamic file name configuration.
If this field is already filled out, it means that the URL used in the [connection](#create-a-connection) settings contains the name of the blob.
3. From the **File format** dropdown list, select the format in which the file will be delivered.
If you select the **CSV [*.csv]** option, follow the instructions below:
1. From the **Delimiter** dropdown, select the character that separates fields in a row.
2. From the **Quotation mark** dropdown list, select the characters that contain the text.
3. From the **Escape character** dropdown list, select the character which changes the default interpretation of a character or a string followed by the escape character.
4. Confirm by clicking **Apply**.
## Example of use
---
You can create a workflow that is triggered one time in order to import the customer database (email addresses and newsletter agreements) to Synerise.
In the configuration of the workflow:
1. Start the workflow with the **Scheduled Run** node. In the configuration of the node, set the **Run trigger** to **one time**. Select the **Immediately** tab.
2. To feed the workflow with data, as the next node, select **Azure Blob Storage > Get File**. Fill in the configuration form in the node.
4. To import data to Synerise, select **Synerise > Import Profiles**. Make sure the data in the retrieved file meet the requirements defined in the Import profile node. If you need to adjust your data, you can use [Data Transformation node](/docs/automation/operation/data-transformation-node) to transform values in your file.
5. Add the **End** node.
**Result**:
Final configuration of the workflow
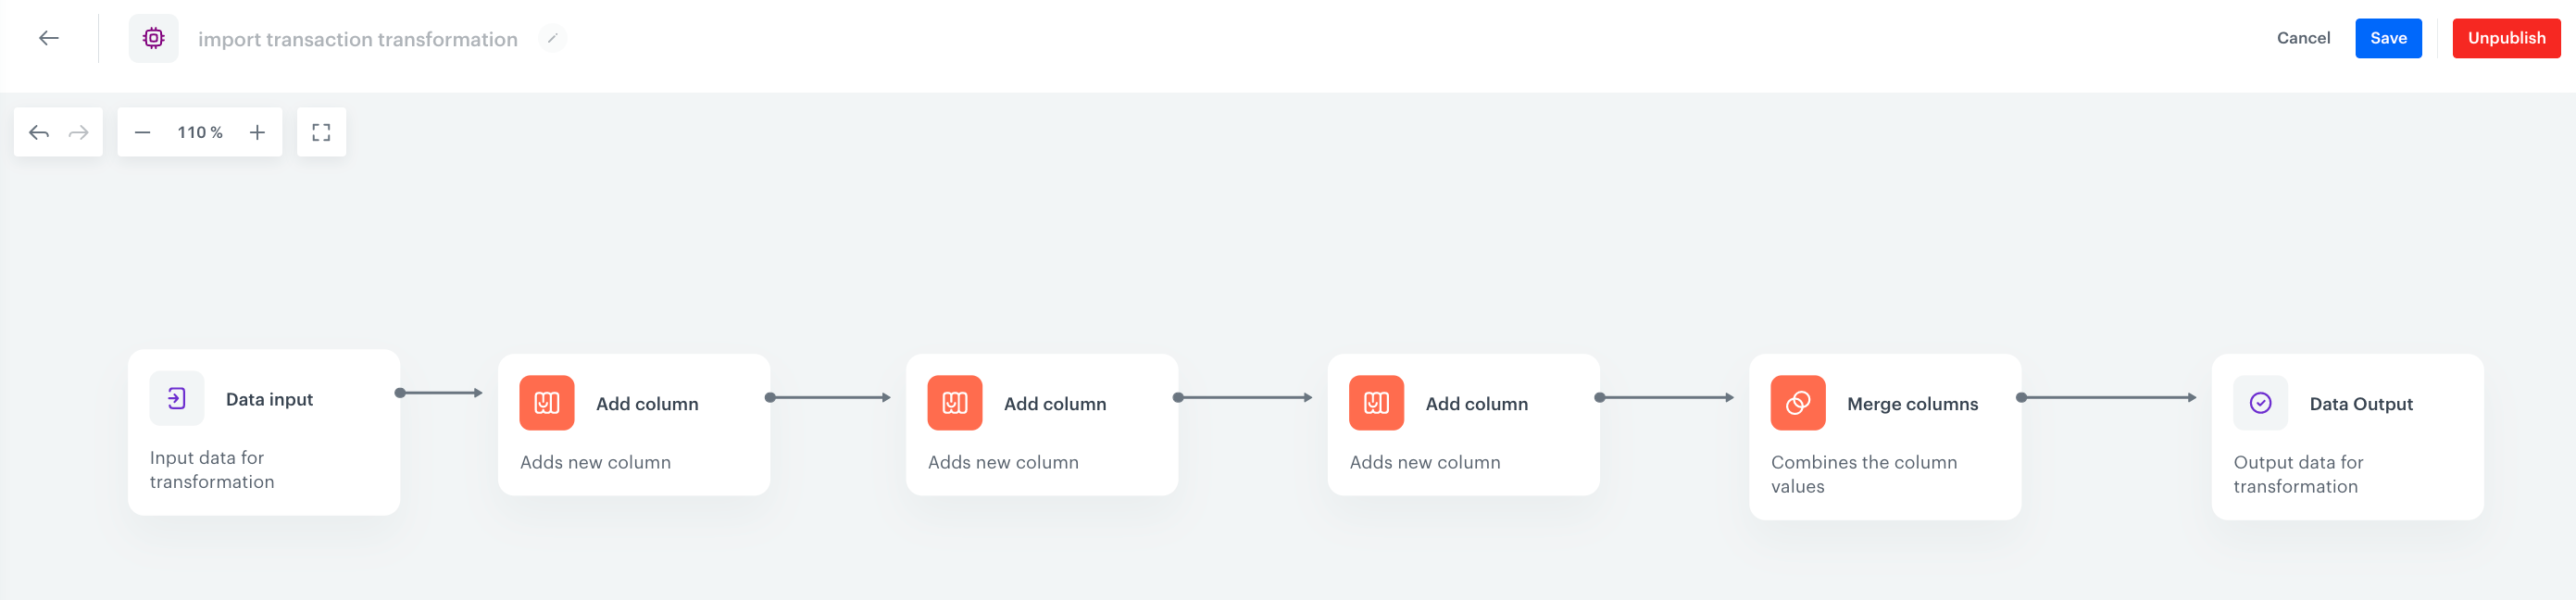
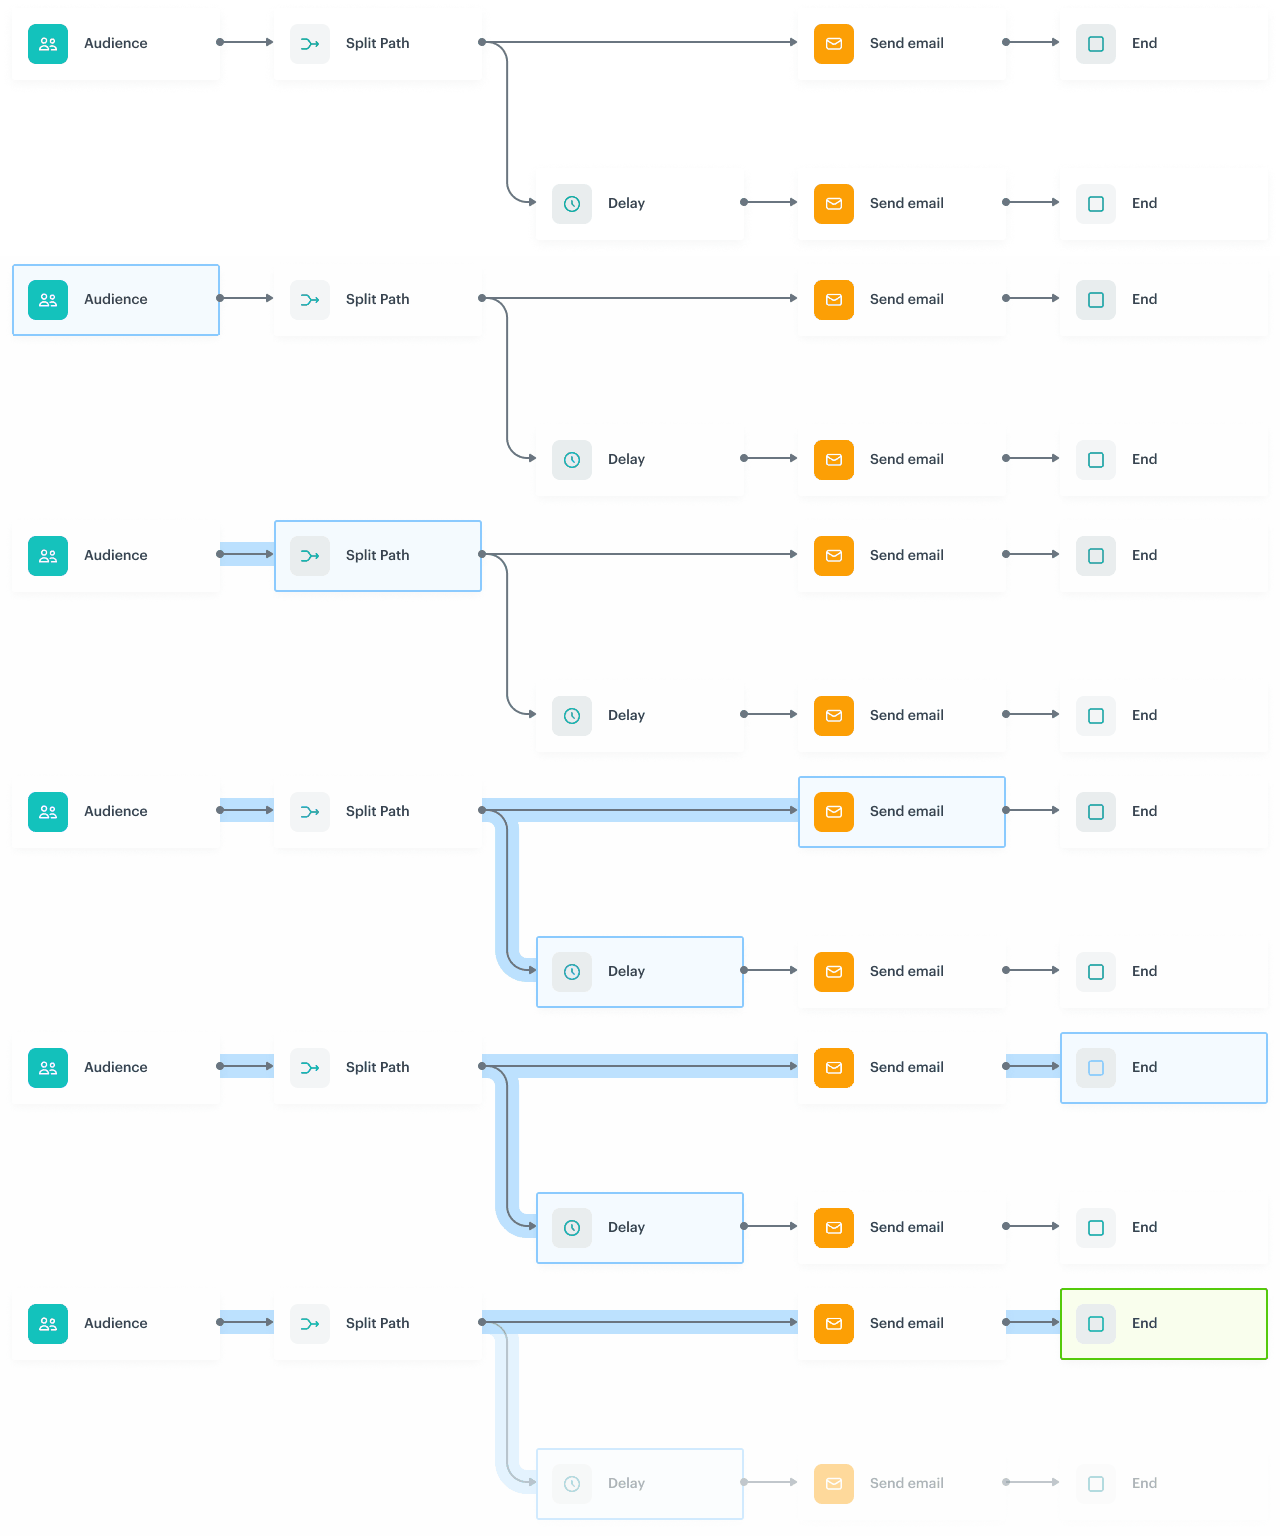 In the example above, the first path terminates the path which stuck in the Delay node
- Example of allowing finishing other paths:
In the example above, the first path terminates the path which stuck in the Delay node
- Example of allowing finishing other paths:
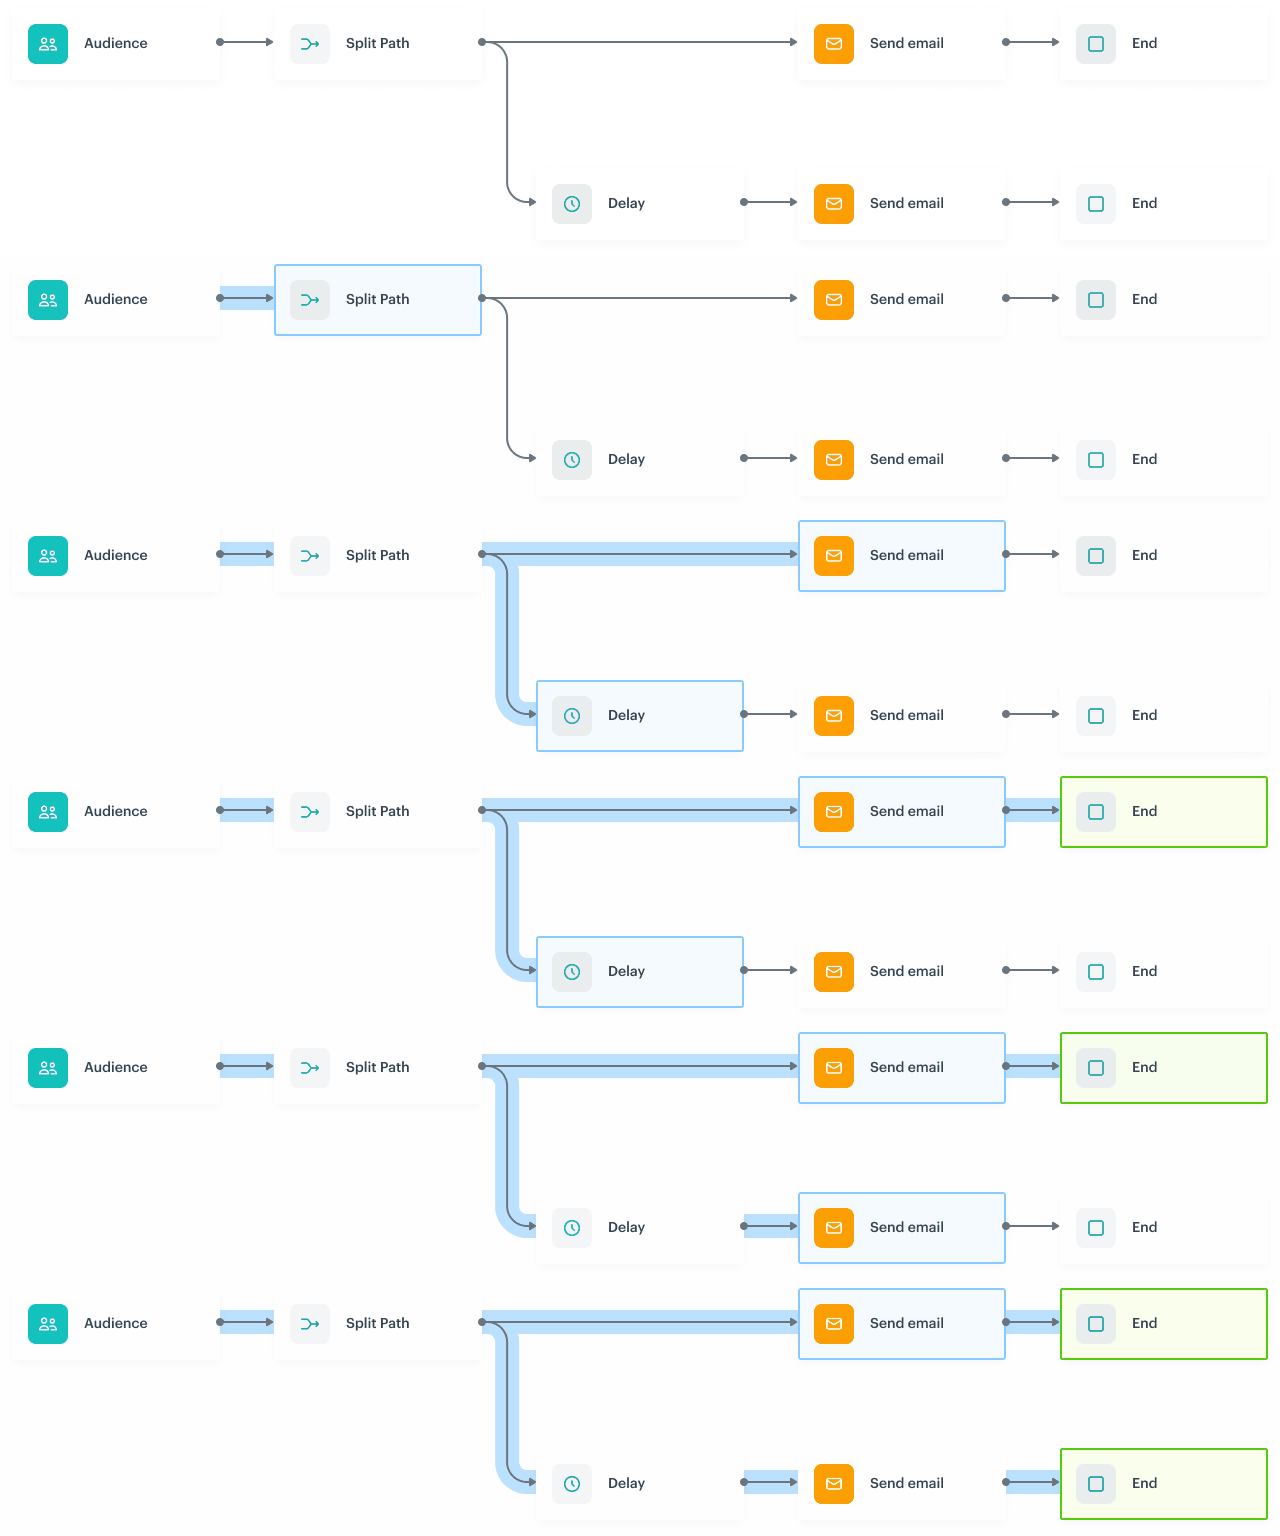 In the example above, the Delay path could be finished after the first path arrived to the final node.
### Nodes
Nodes are the elements that a workflow is built with. There are seven types of nodes:
- [Triggers](/docs/automation/triggers) - When their conditions are met, they launch a workflow.
- [Conditions](/docs/automation/conditions) - Condition nodes narrow down the number of customers and eliminate those who shouldn't be the subject of further actions.
- [Actions](/docs/automation/actions) - Action nodes define the type of activity undertaken towards the audience as a response of the circumstances defined in a workflow.
- [Flow control](/docs/automation/flow-control) - These nodes organize the flow of a workflow.
- [Transformations and data operators](/docs/automation/data-transformation-and-imports/transformations-and-data-operators) - These nodes are used to build data transformation workflows.
- [Operation](/docs/automation/operation) - These nodes let you transfer files and reuse the [transformation rules](/docs/automation/data-transformation-and-imports/creating-data-transformation)
In the example above, the Delay path could be finished after the first path arrived to the final node.
### Nodes
Nodes are the elements that a workflow is built with. There are seven types of nodes:
- [Triggers](/docs/automation/triggers) - When their conditions are met, they launch a workflow.
- [Conditions](/docs/automation/conditions) - Condition nodes narrow down the number of customers and eliminate those who shouldn't be the subject of further actions.
- [Actions](/docs/automation/actions) - Action nodes define the type of activity undertaken towards the audience as a response of the circumstances defined in a workflow.
- [Flow control](/docs/automation/flow-control) - These nodes organize the flow of a workflow.
- [Transformations and data operators](/docs/automation/data-transformation-and-imports/transformations-and-data-operators) - These nodes are used to build data transformation workflows.
- [Operation](/docs/automation/operation) - These nodes let you transfer files and reuse the [transformation rules](/docs/automation/data-transformation-and-imports/creating-data-transformation)
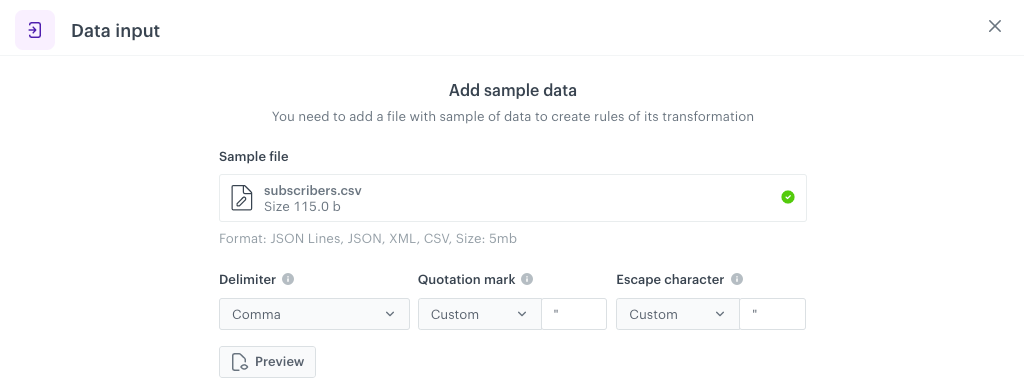
 **Automation Hub > Control Center**.
### Workflows by status
Shows the number of workflows currently in each state: Active, Pending, Paused, Stopped, or Draft. This overview helps you quickly determine the health and activity level of your entire automation setup. By understanding how many workflows are running or paused, you can better prioritize maintenance, troubleshooting, or optimization efforts.
**Automation Hub > Control Center**.
### Workflows by status
Shows the number of workflows currently in each state: Active, Pending, Paused, Stopped, or Draft. This overview helps you quickly determine the health and activity level of your entire automation setup. By understanding how many workflows are running or paused, you can better prioritize maintenance, troubleshooting, or optimization efforts.
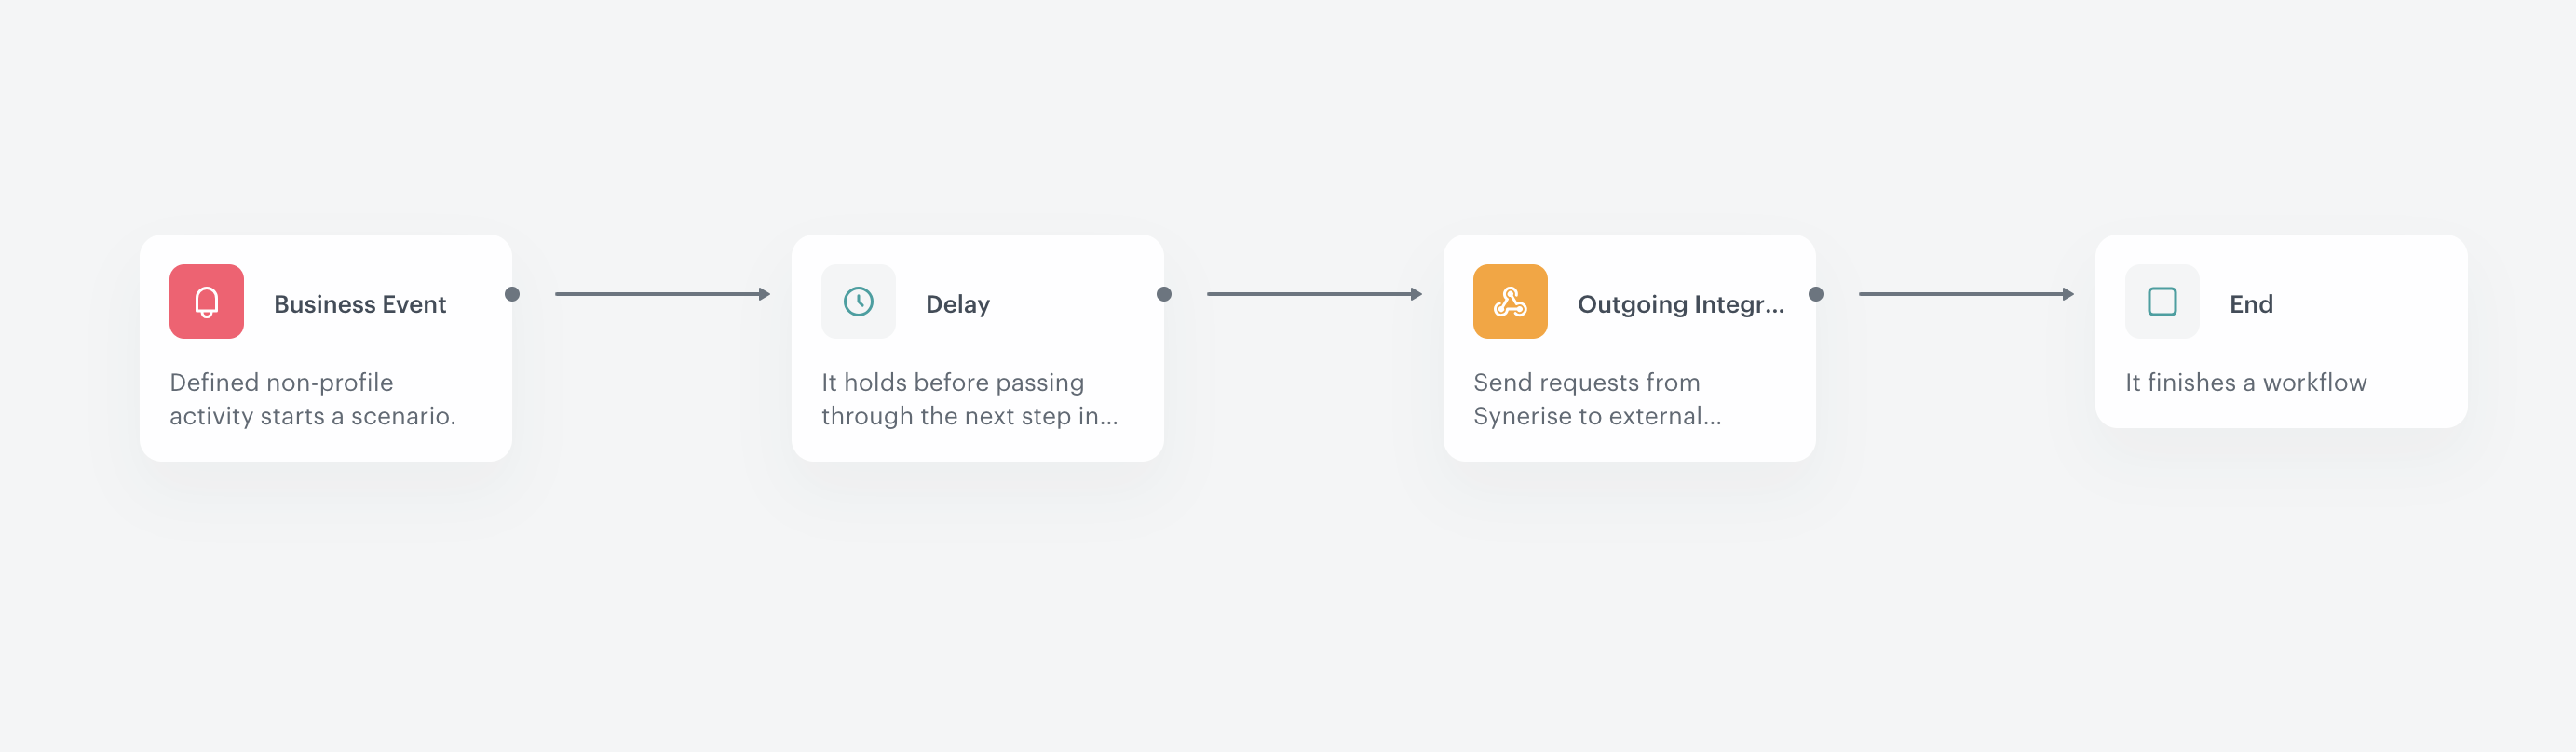 | More workflow instances can exist at a time. In the example below, a workflow is launched by an incoming request and the process is stuck in the **Delay** node, the next occurrences of incoming requests begin other workflow instances. However, there is a limit of **50 requests per second**.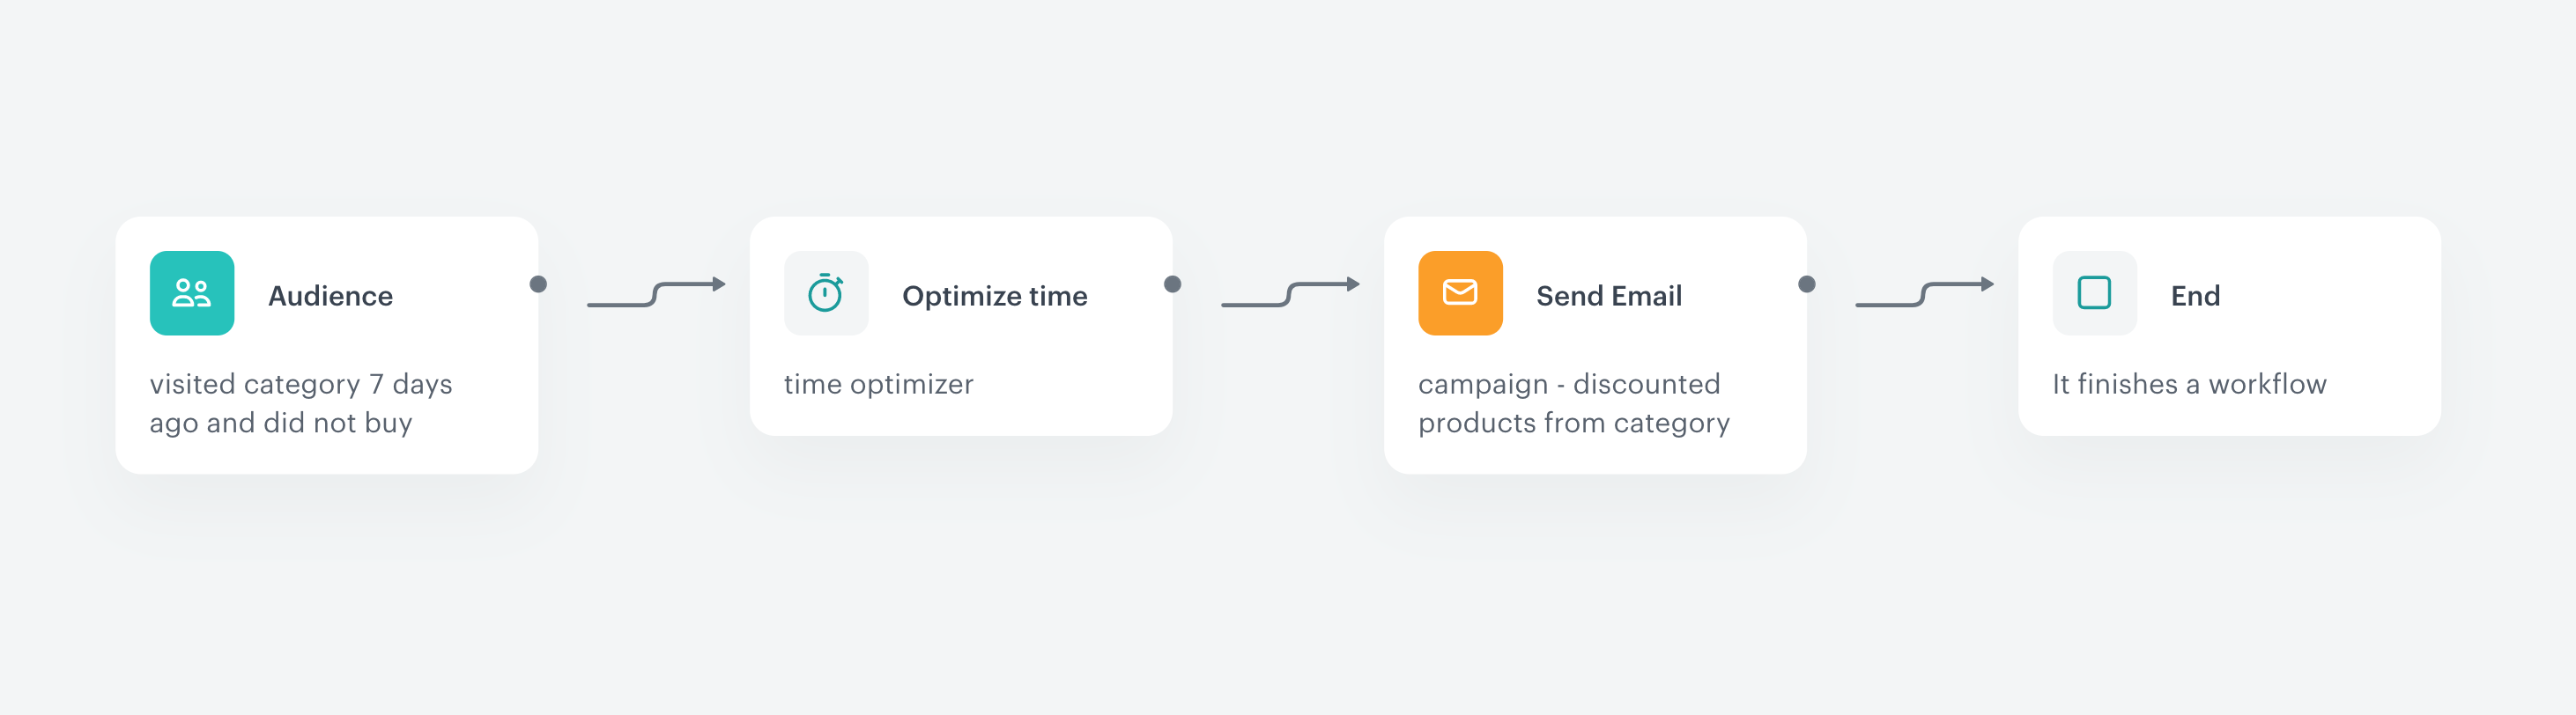
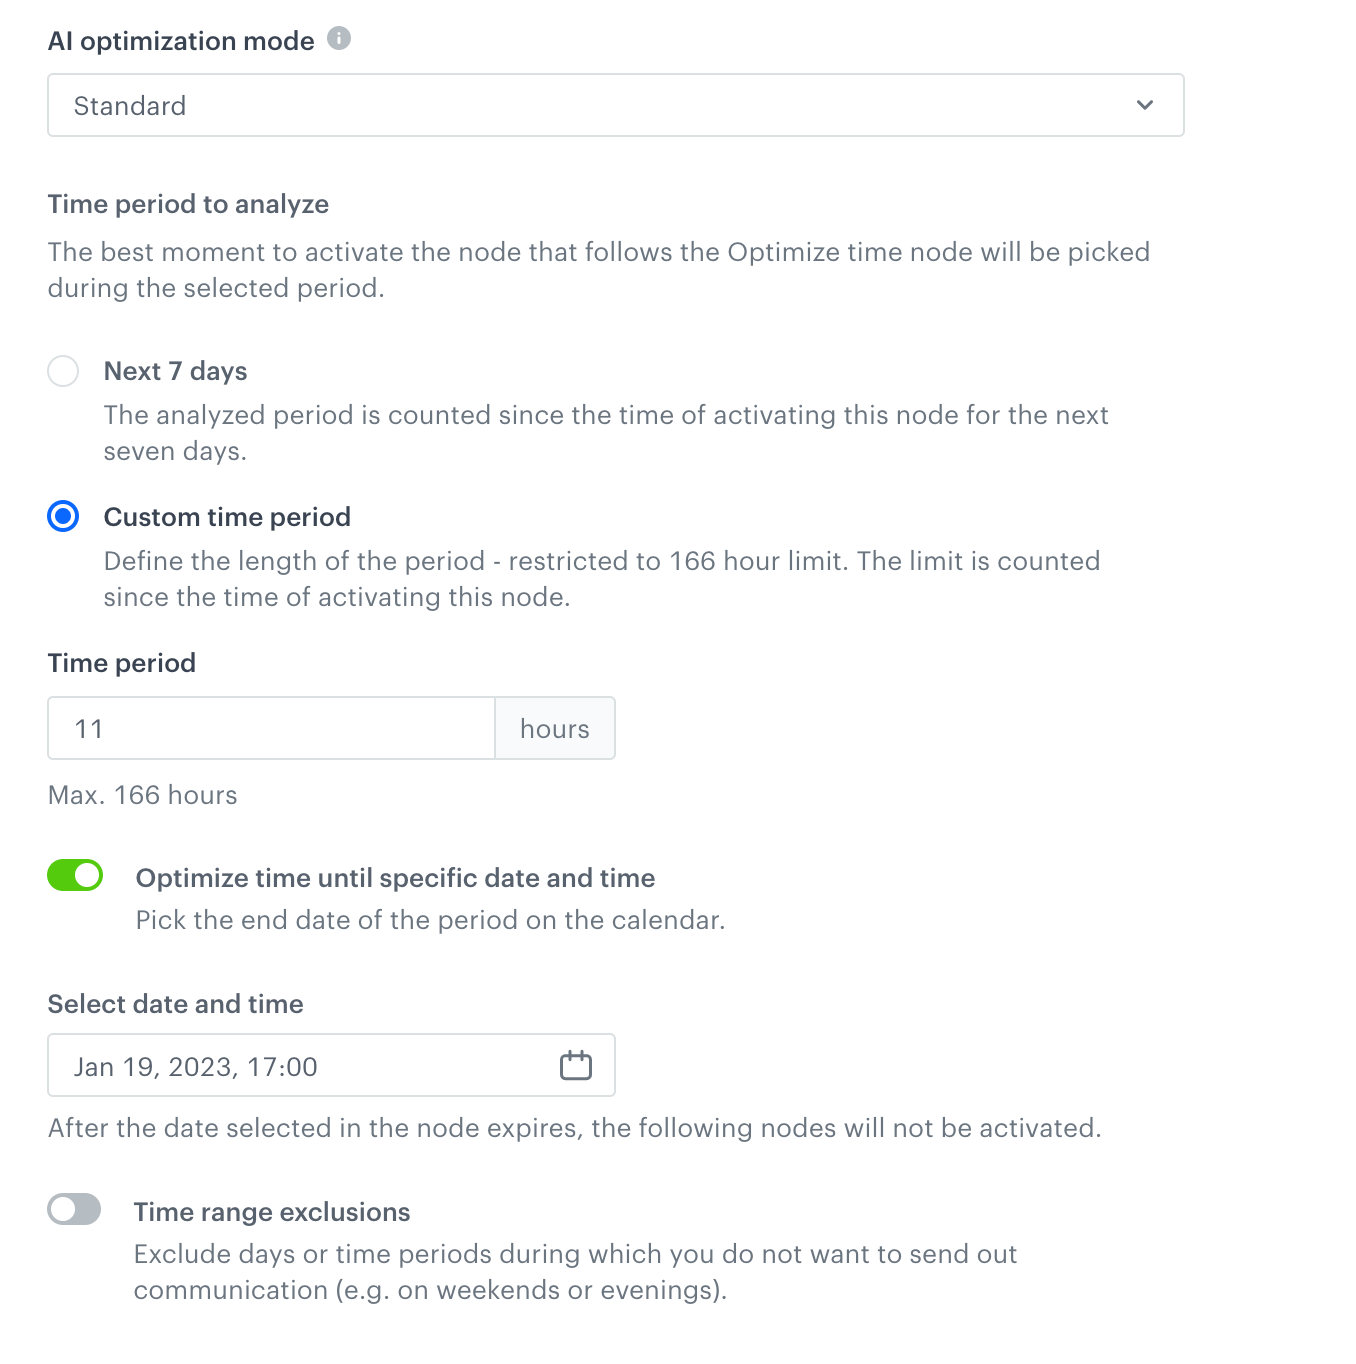
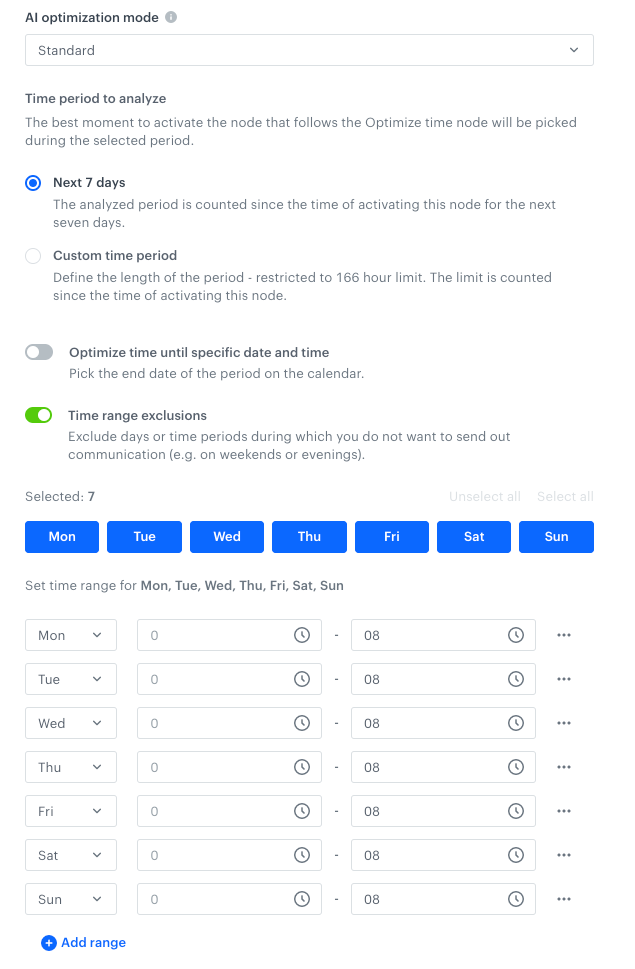
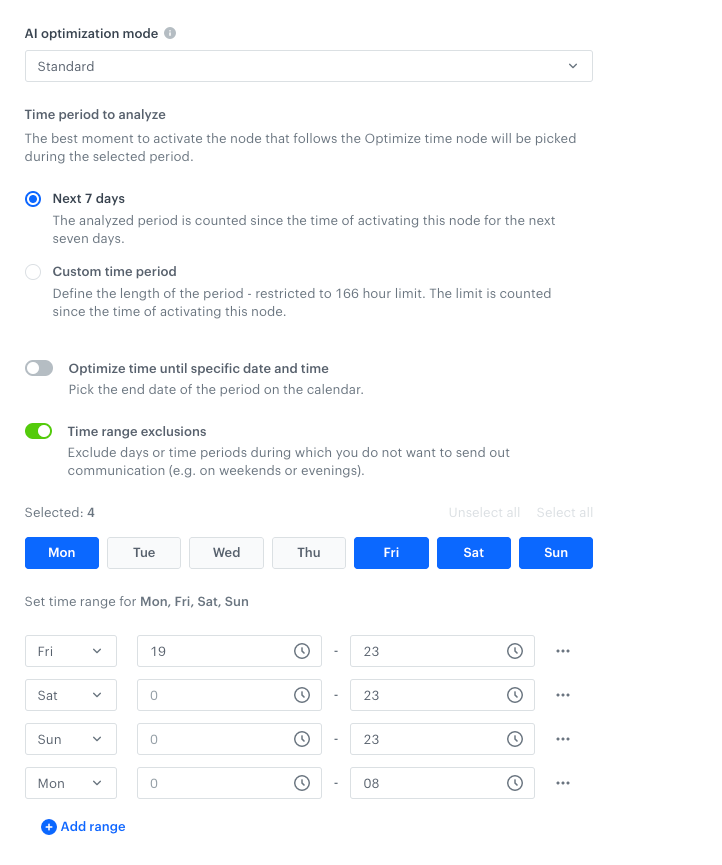
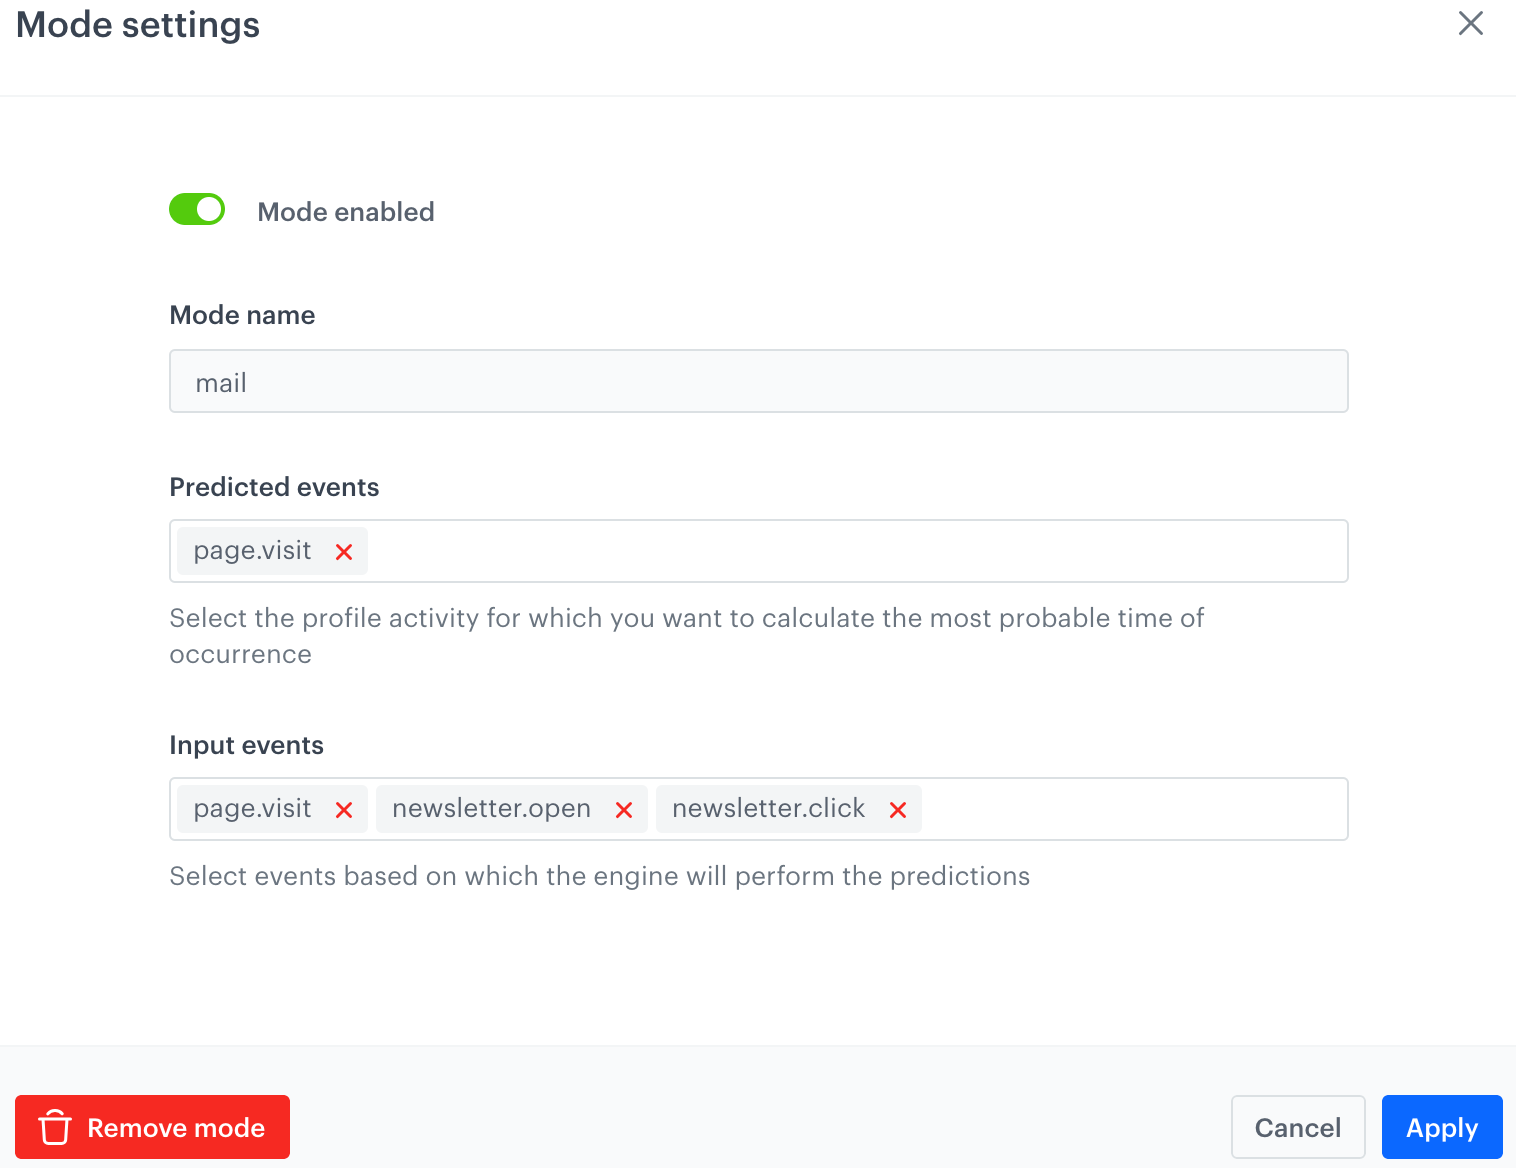
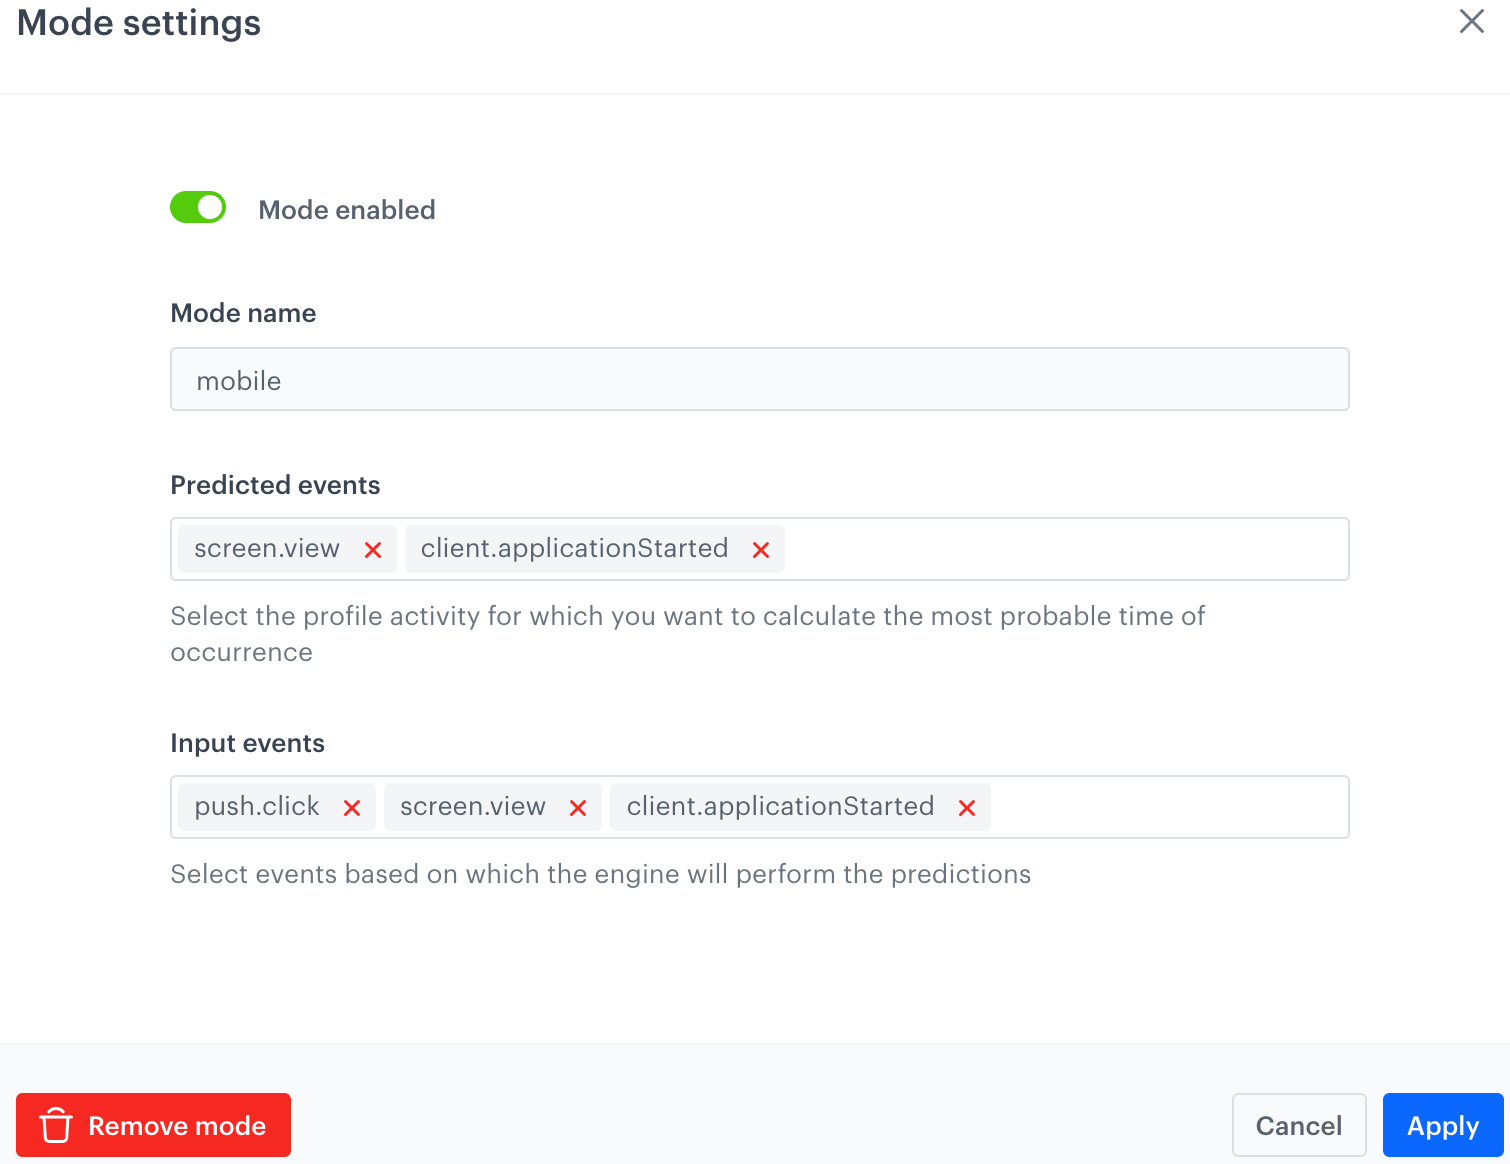
 icon accept [snippets](/docs/assets/snippets) or [inserts](/developers/inserts). This integration allows usage of profile-related inserts.
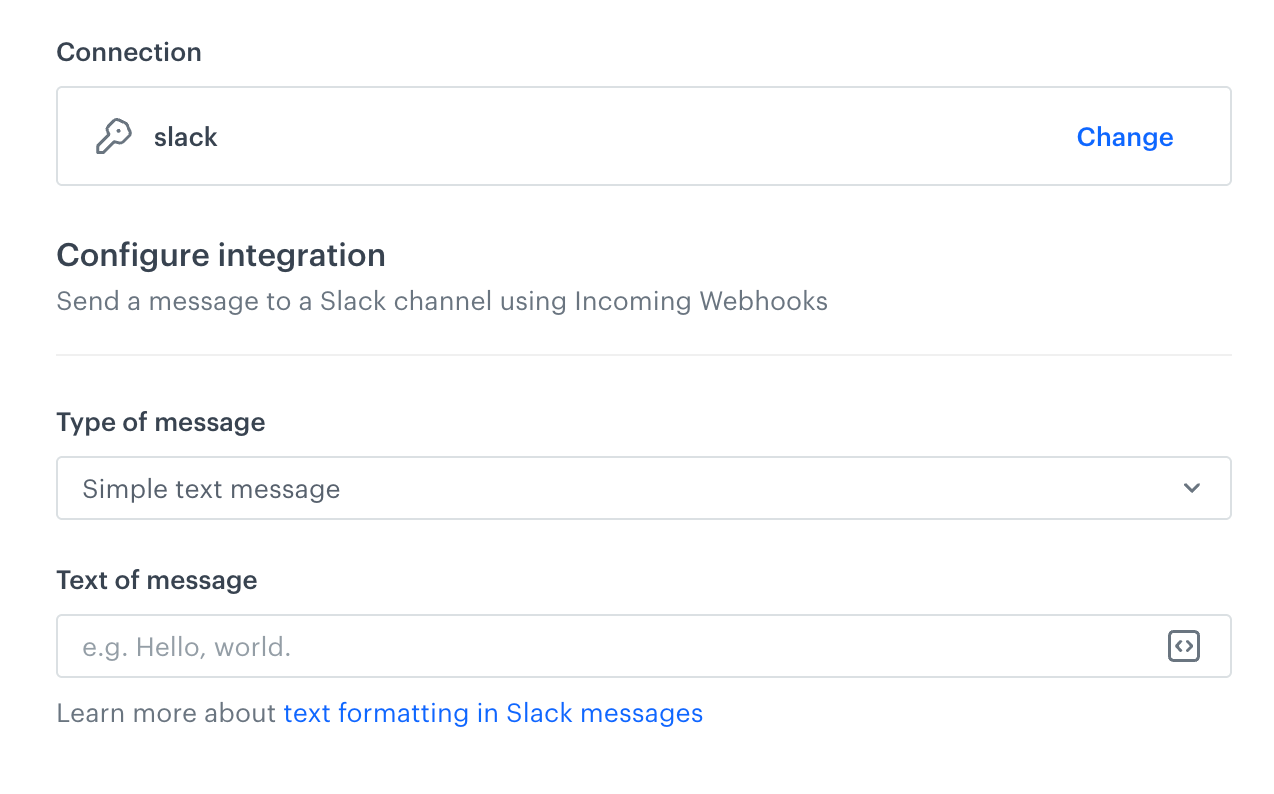
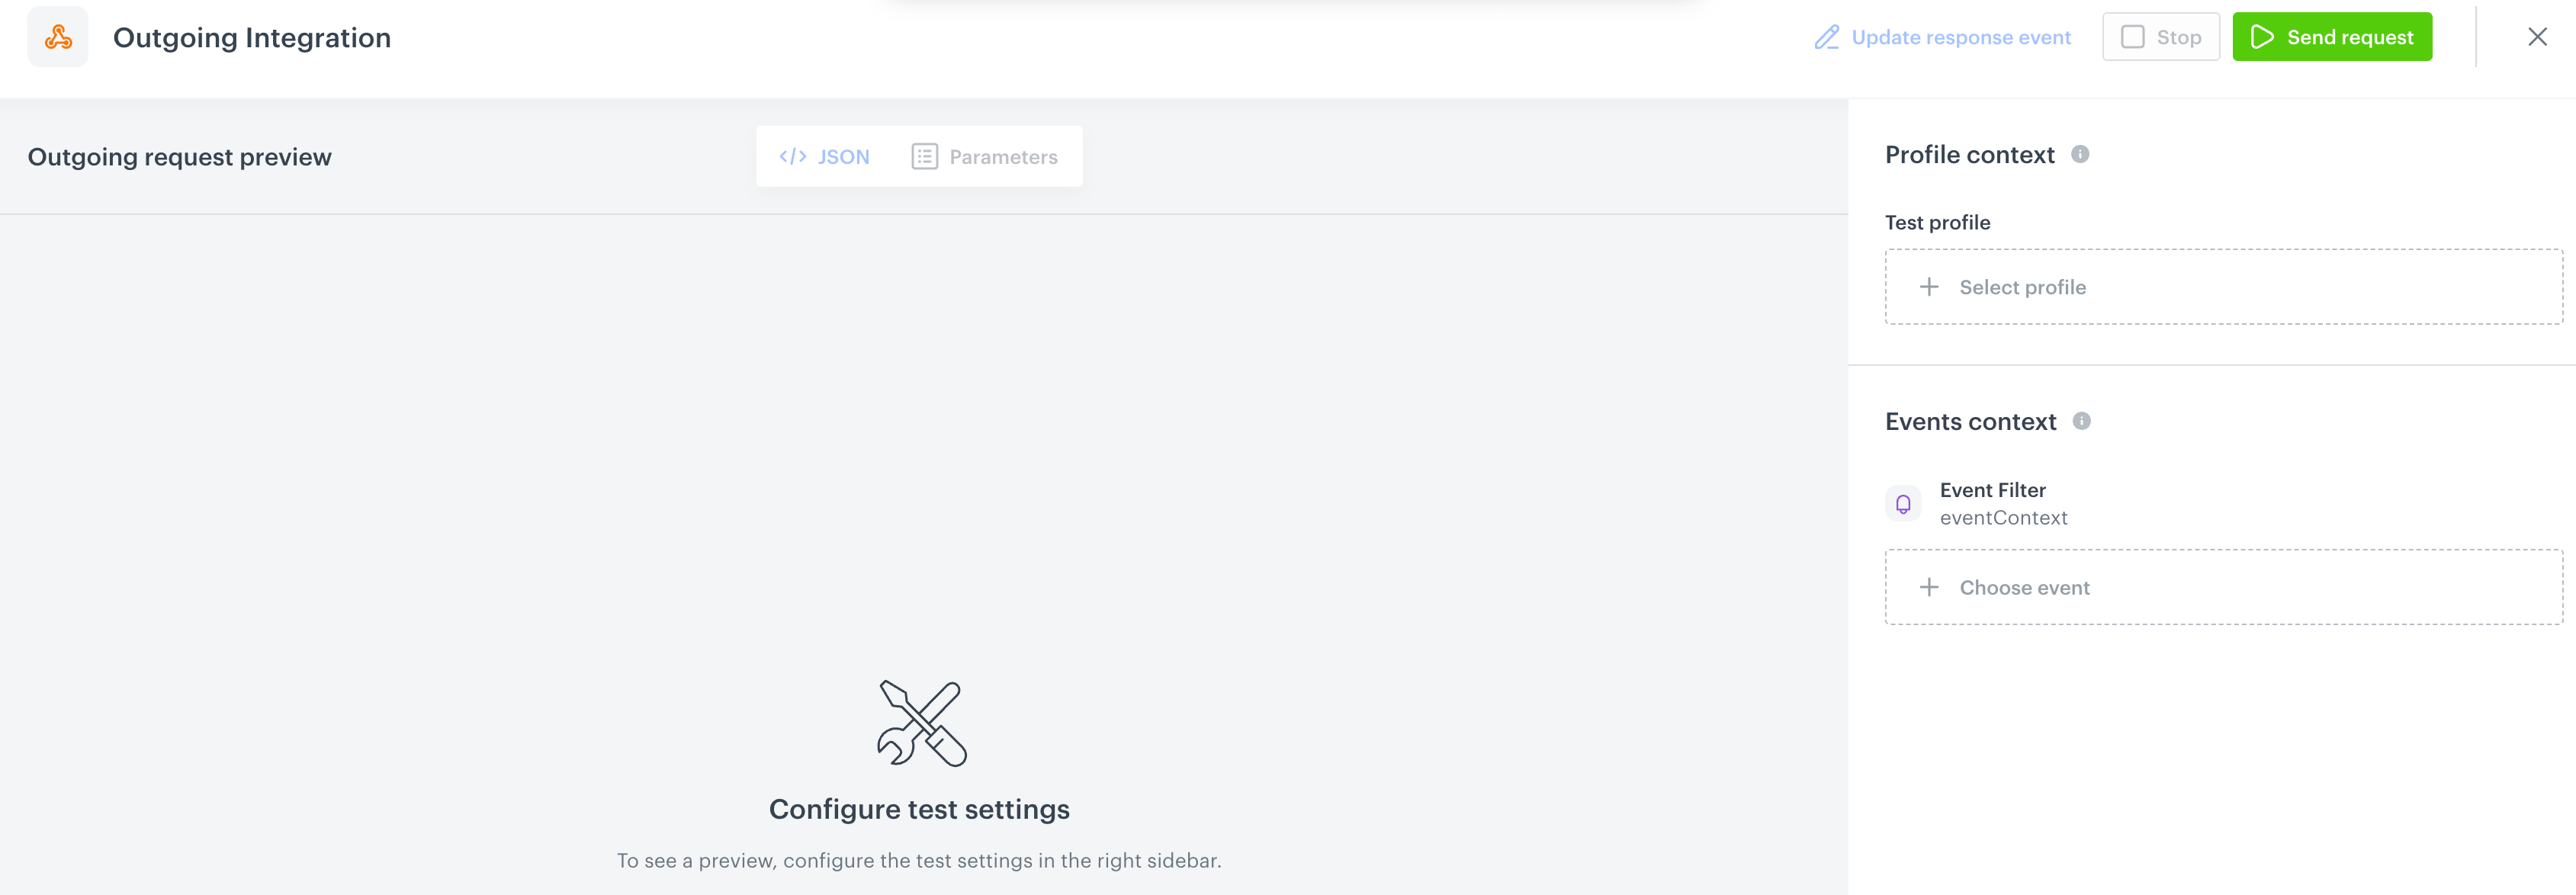
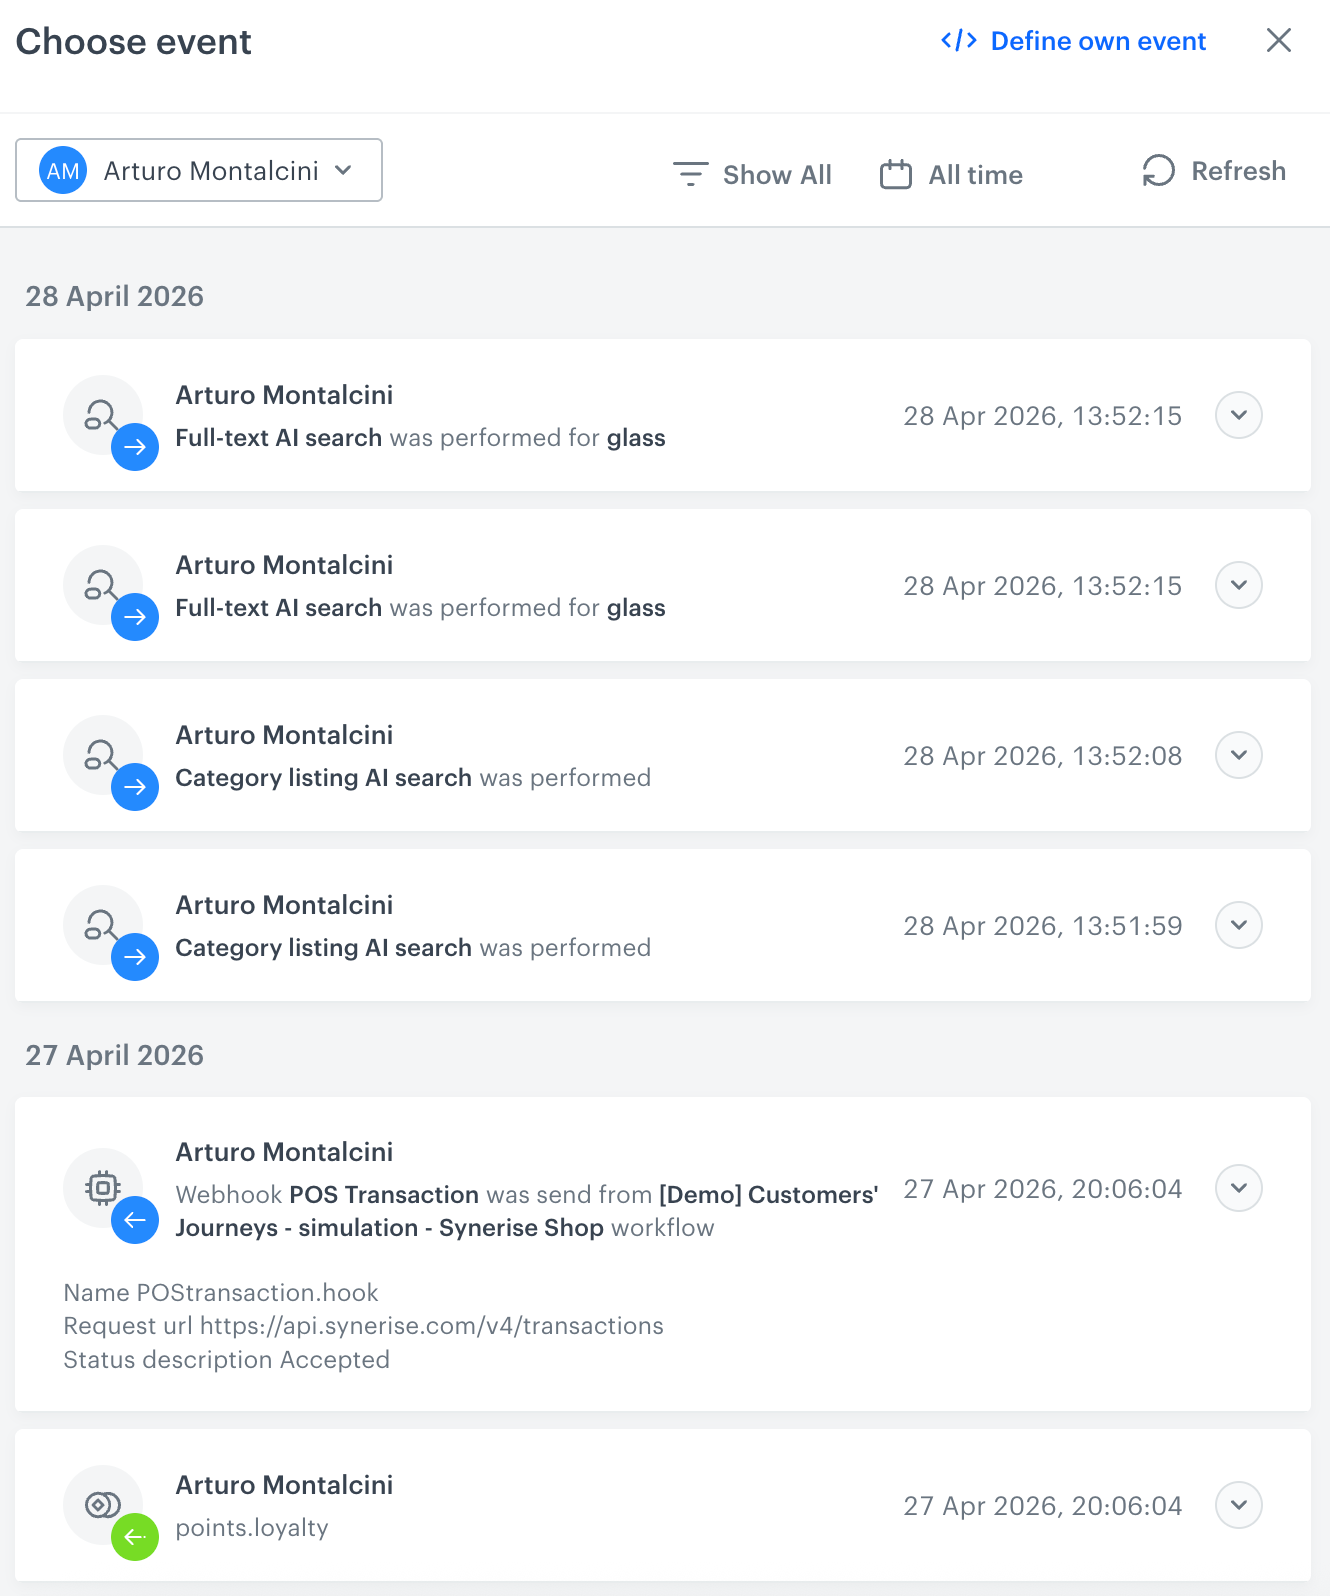
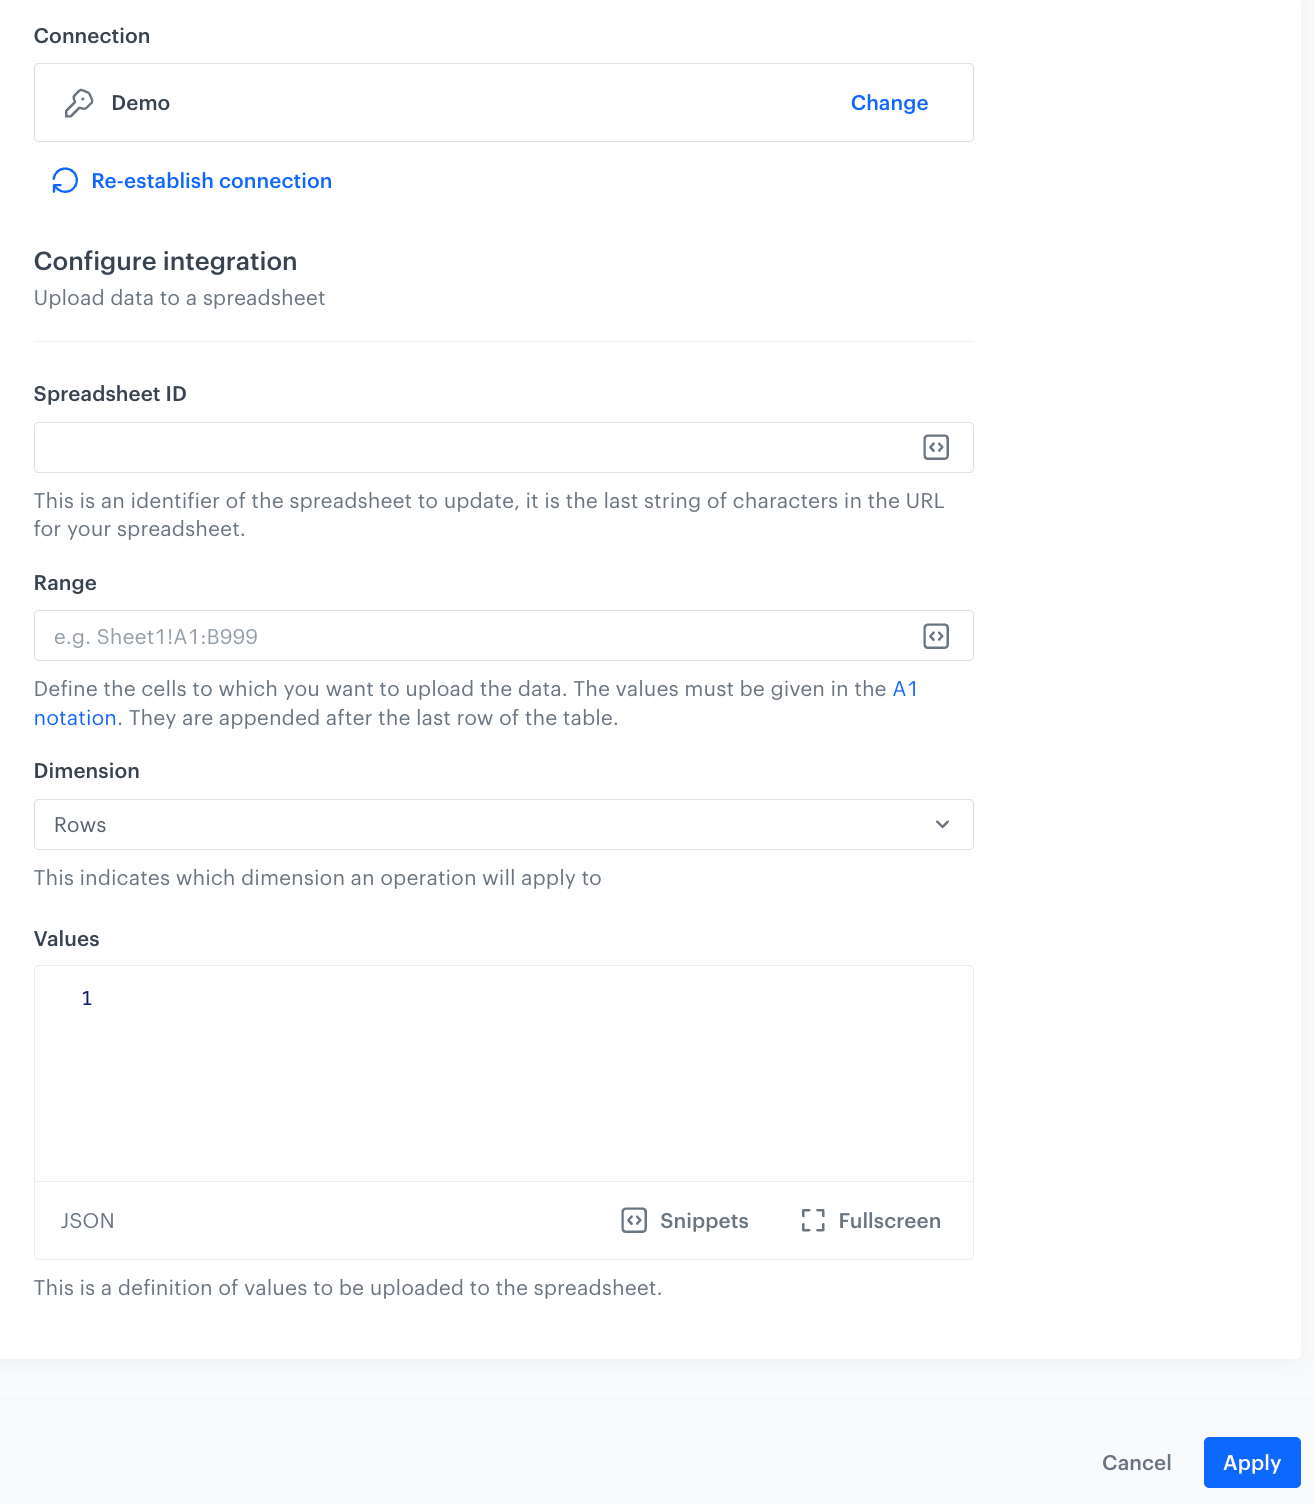
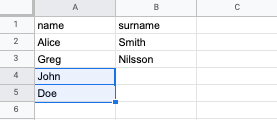
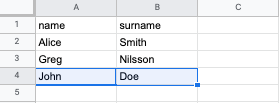
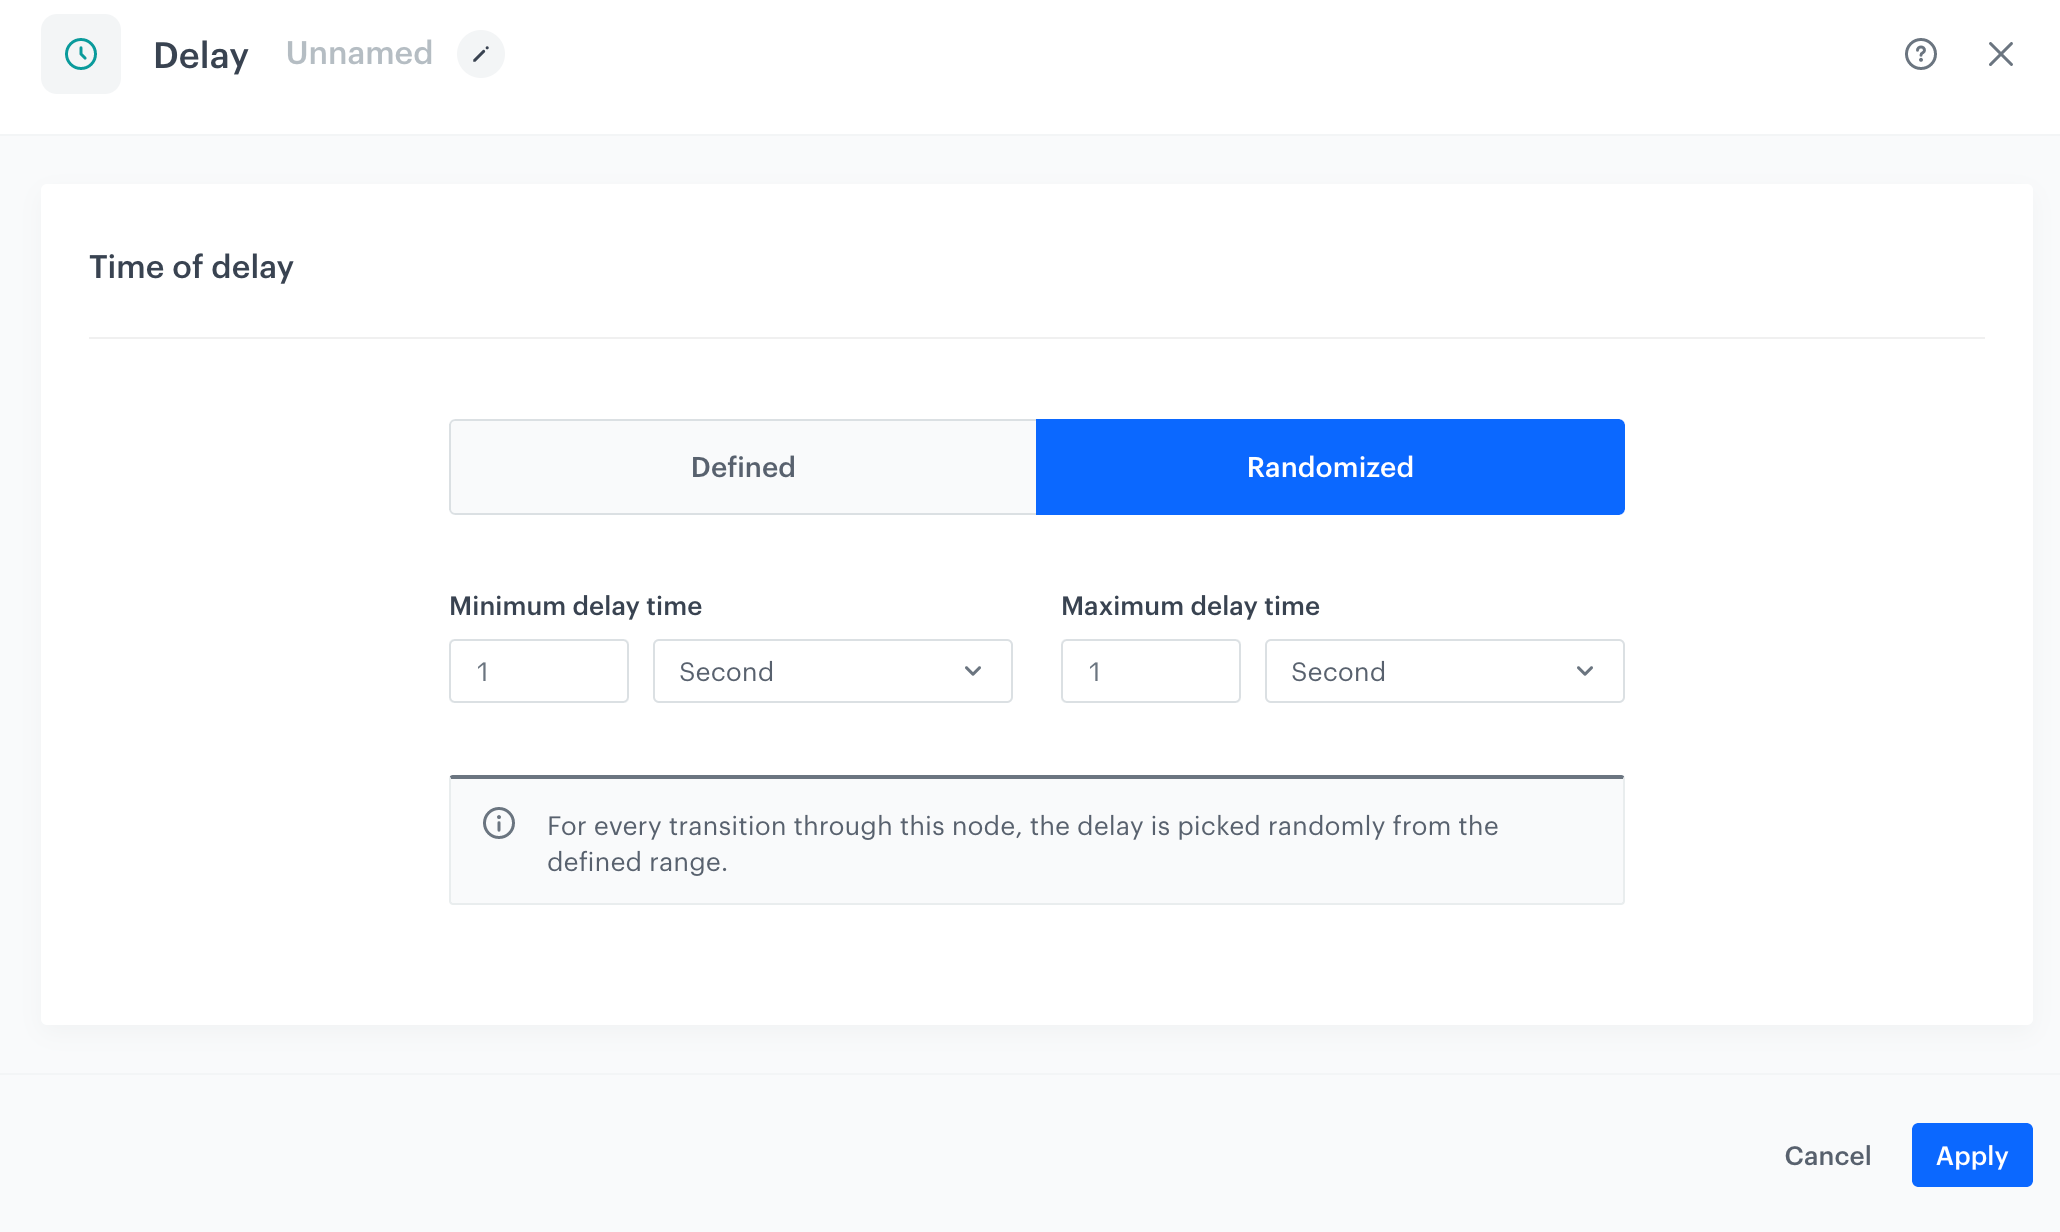
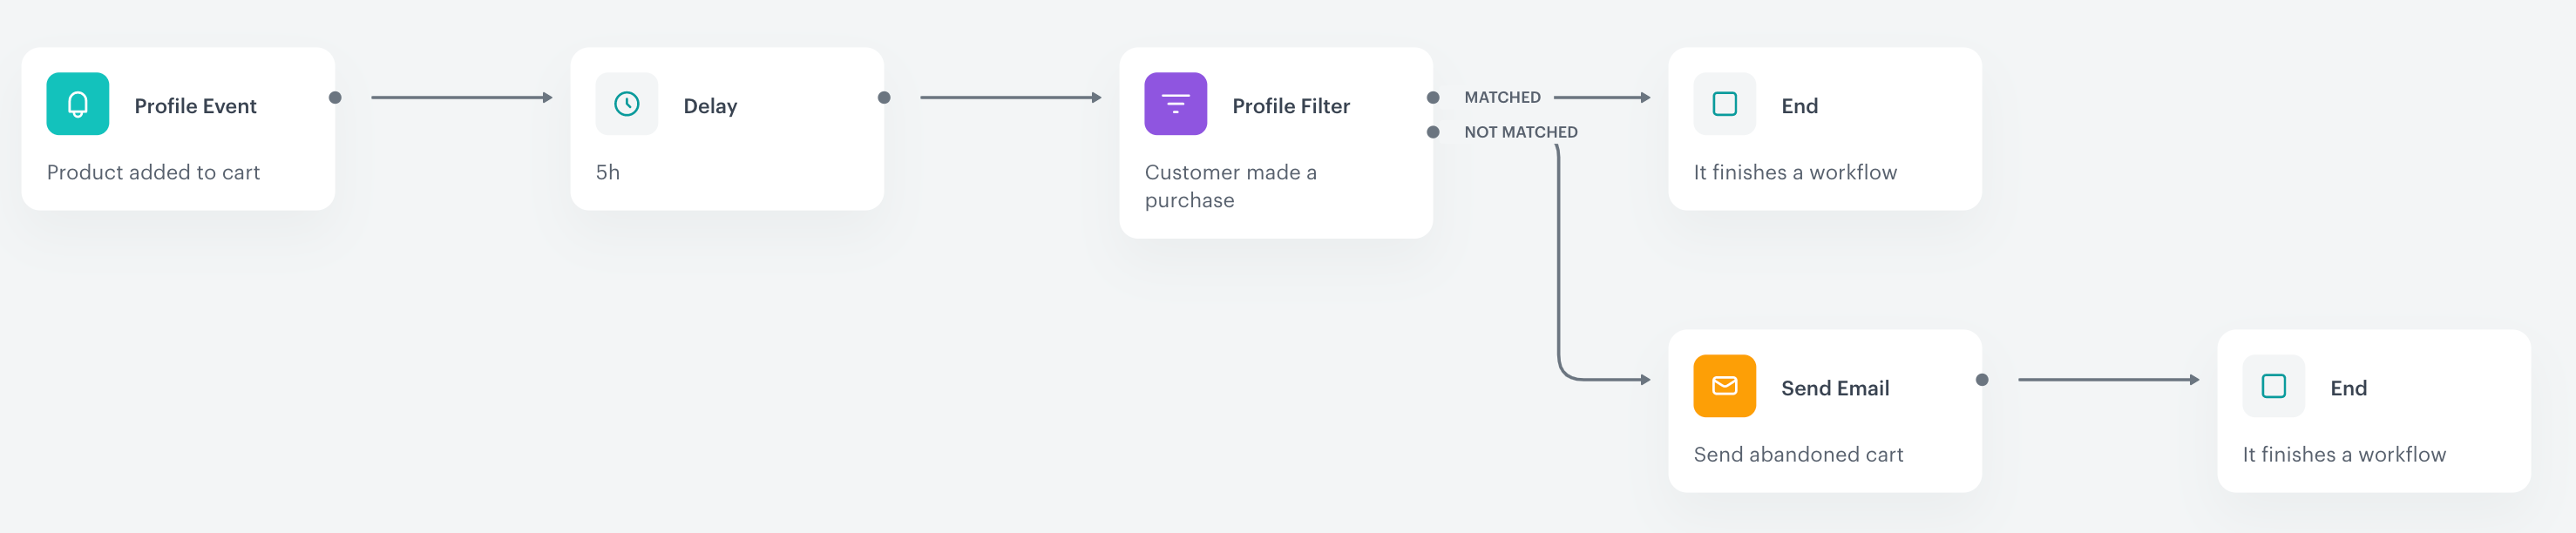
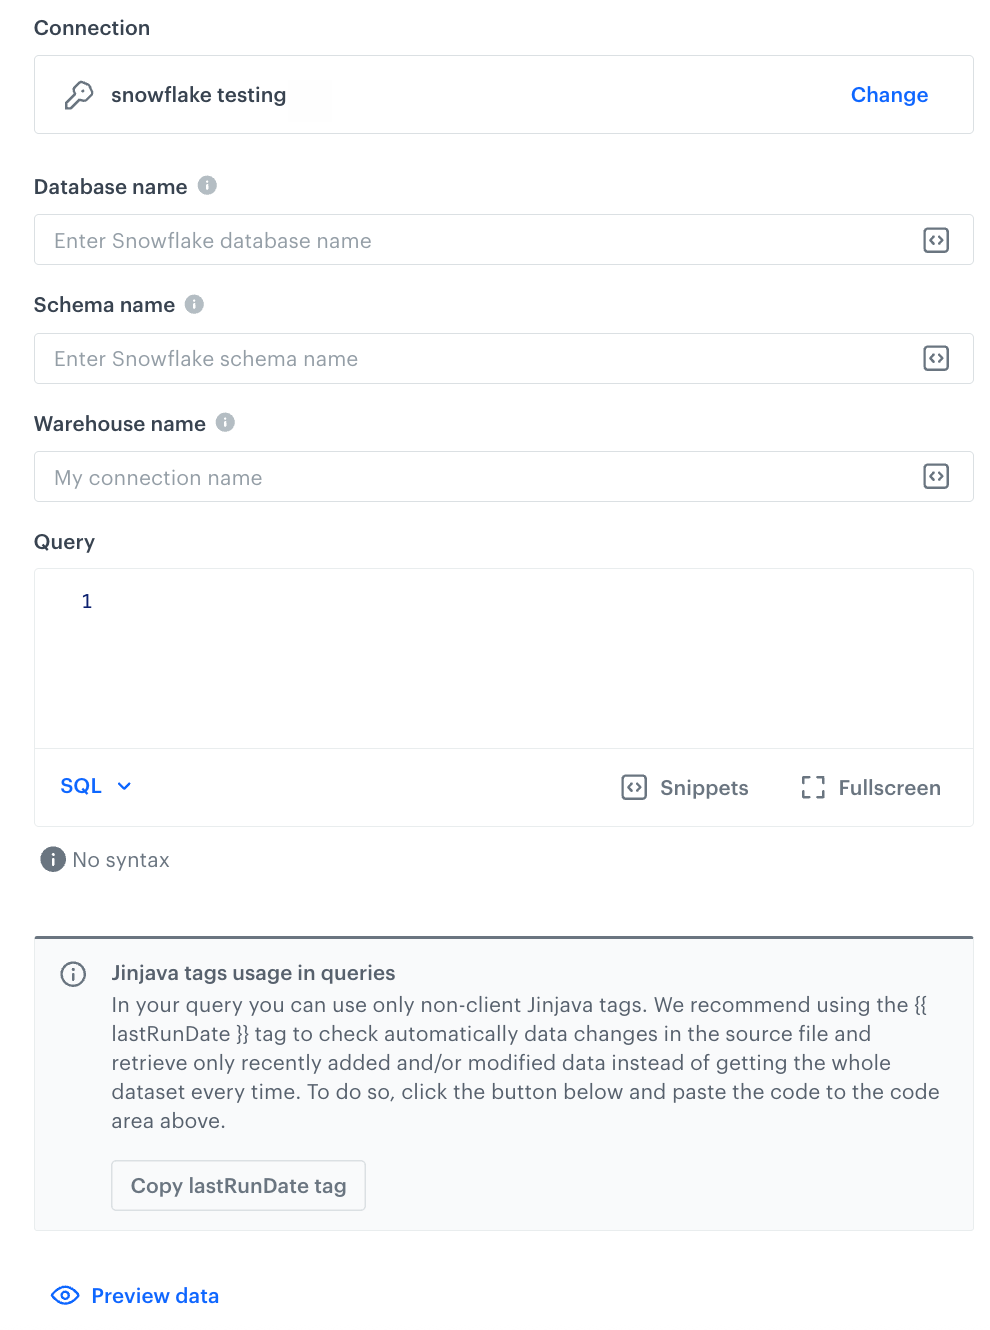

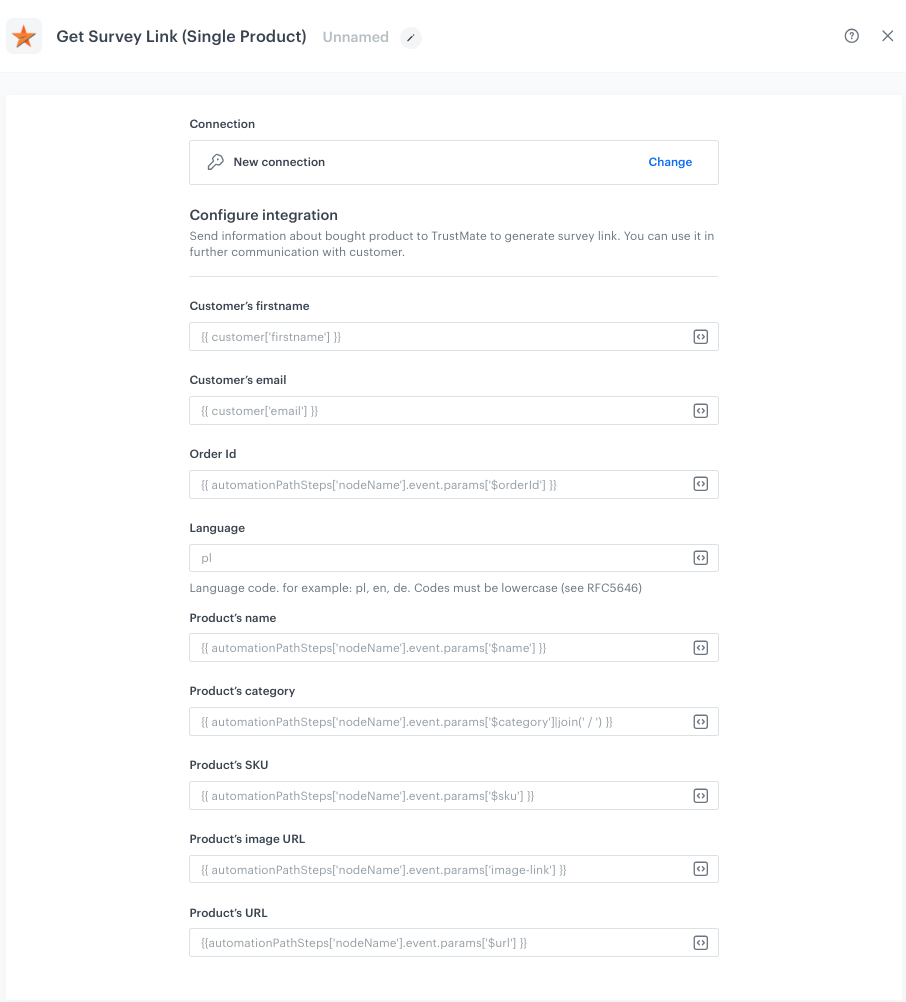
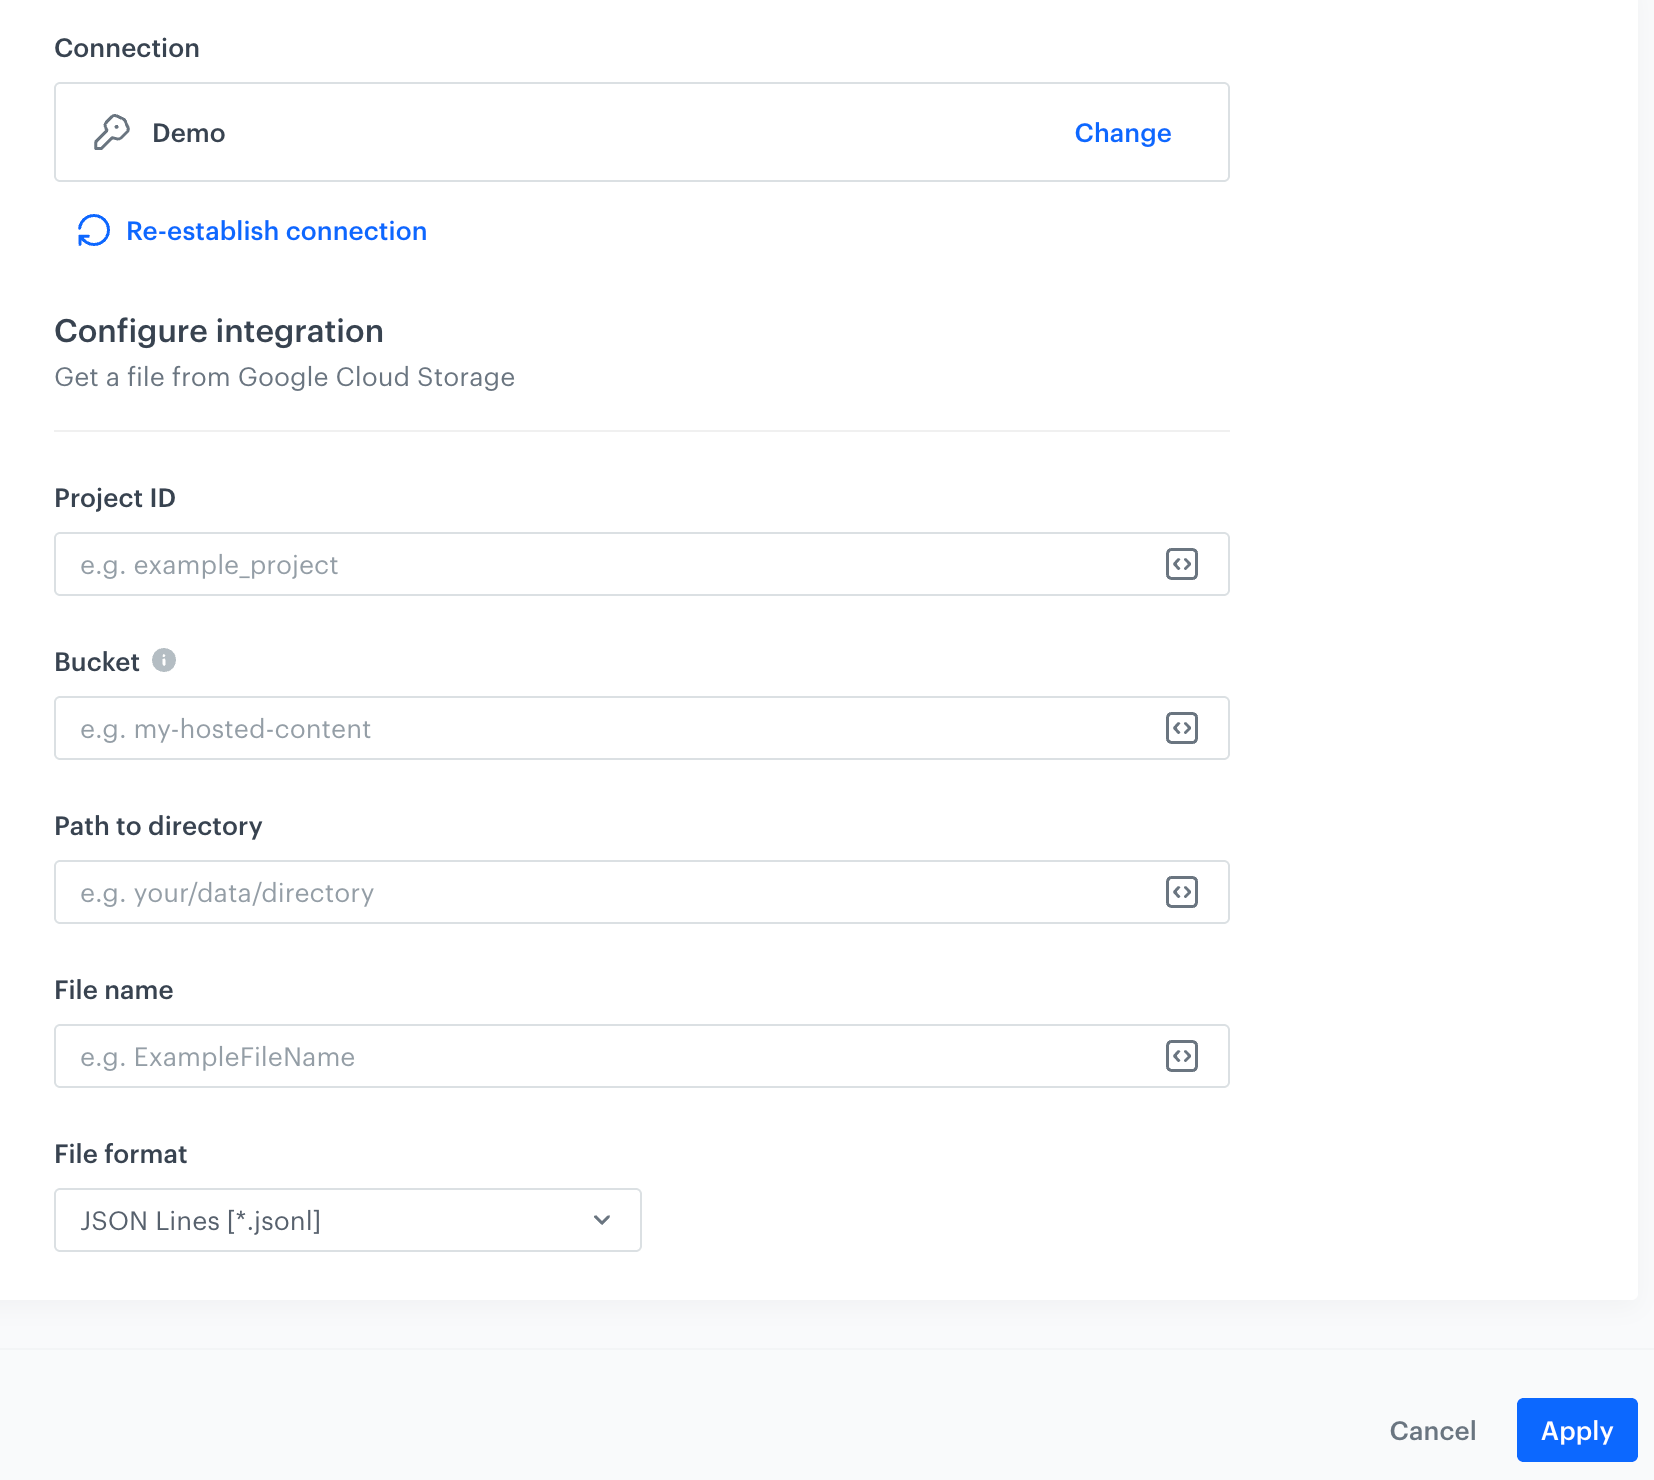

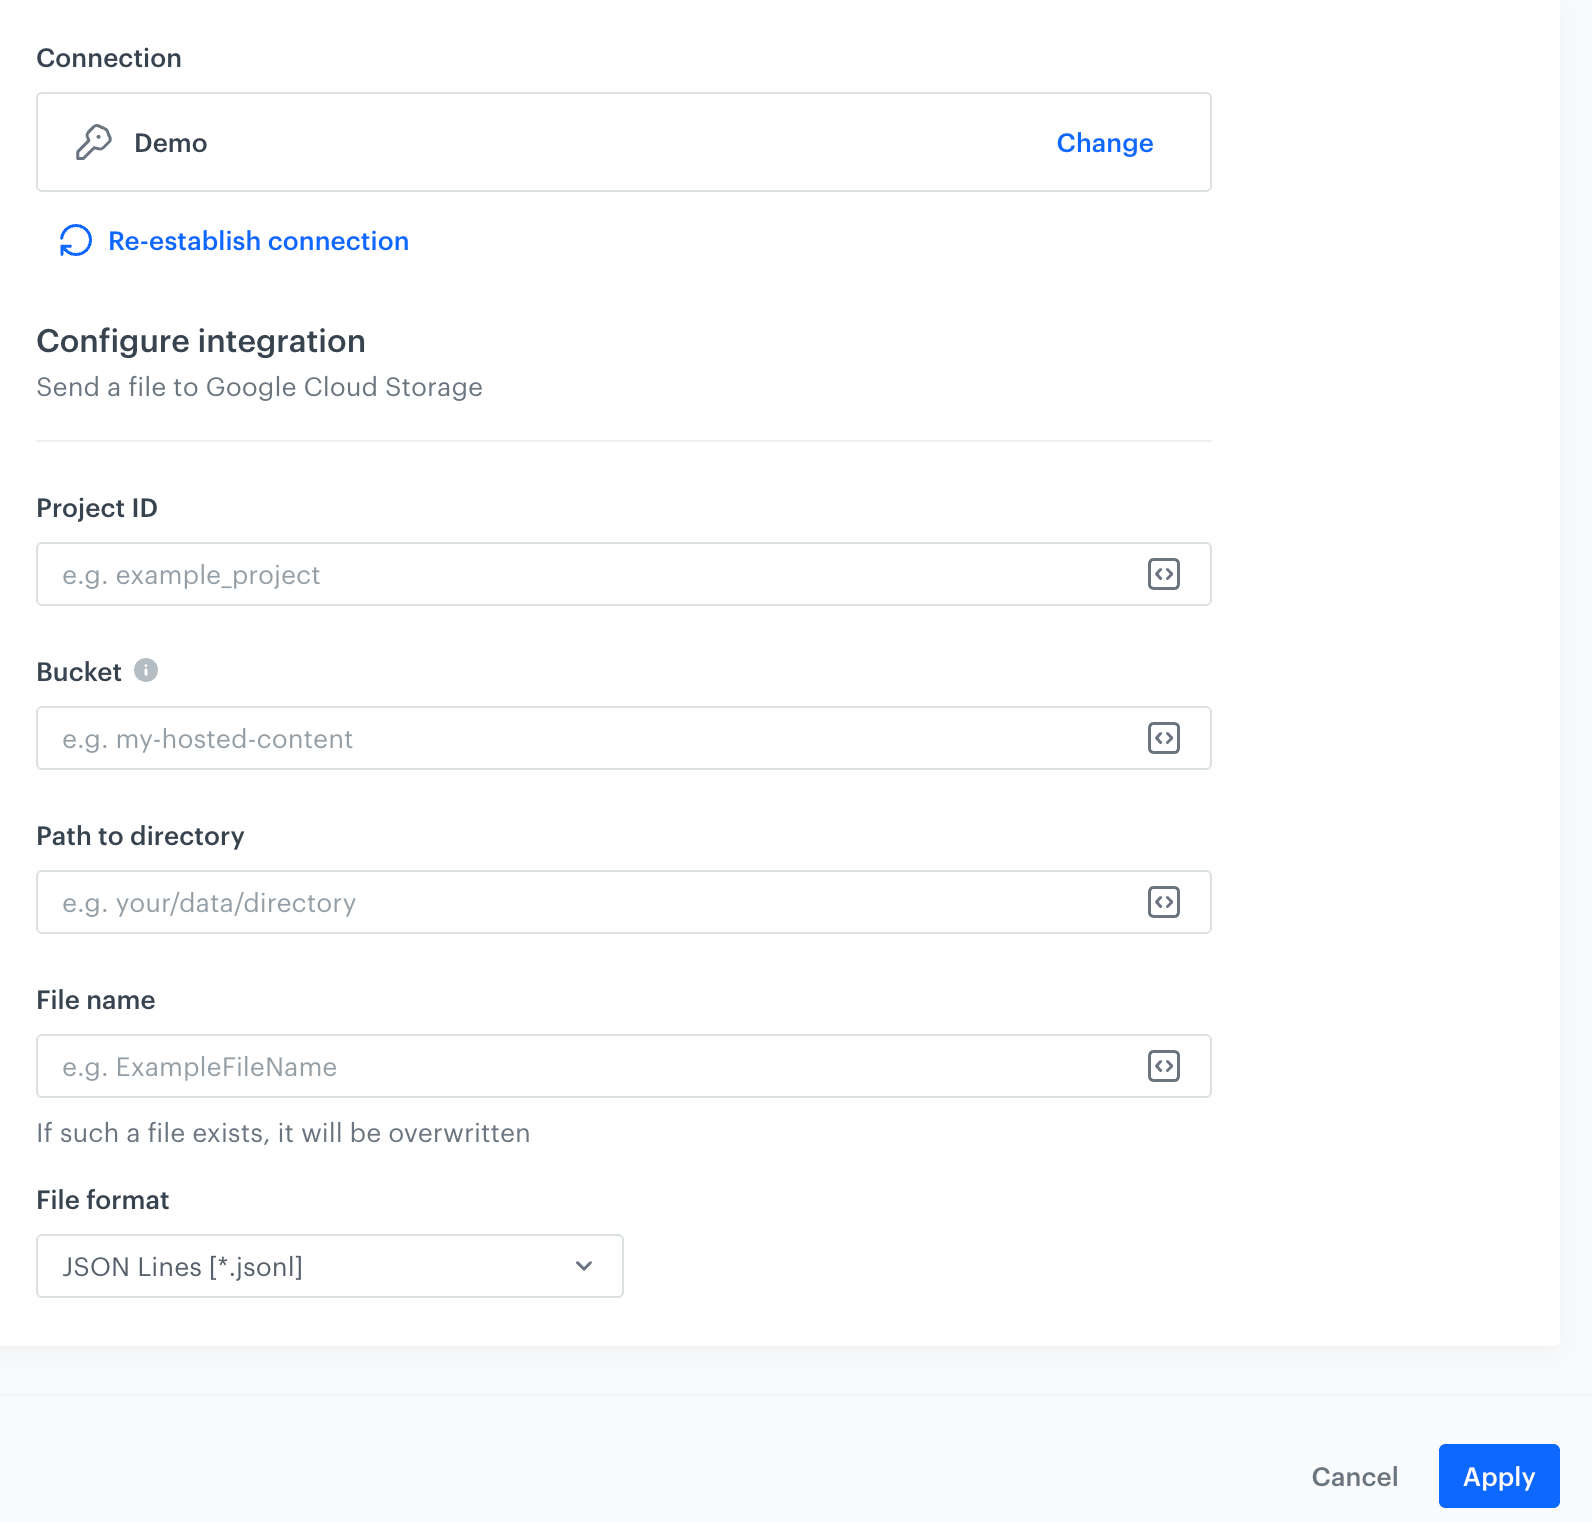
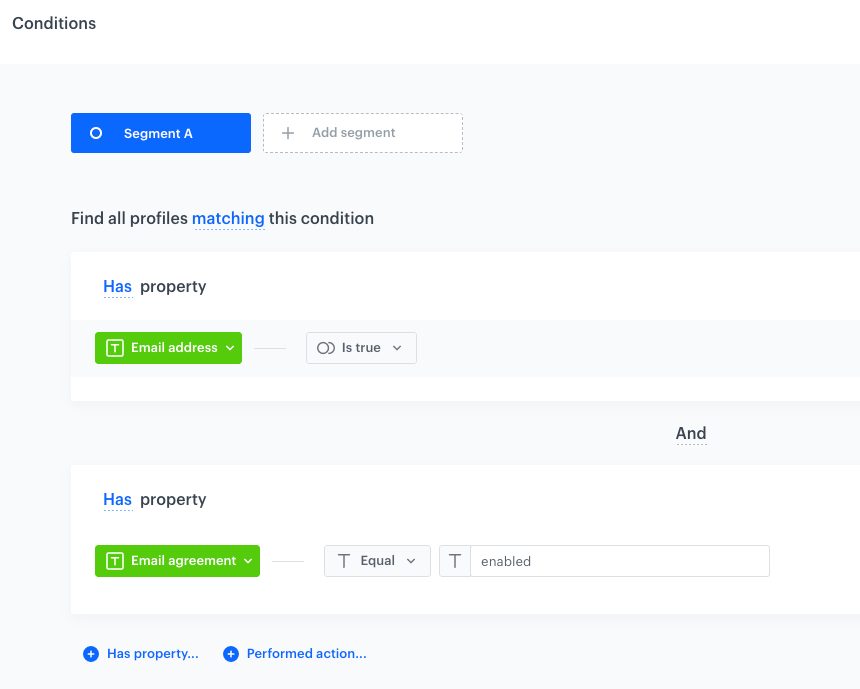

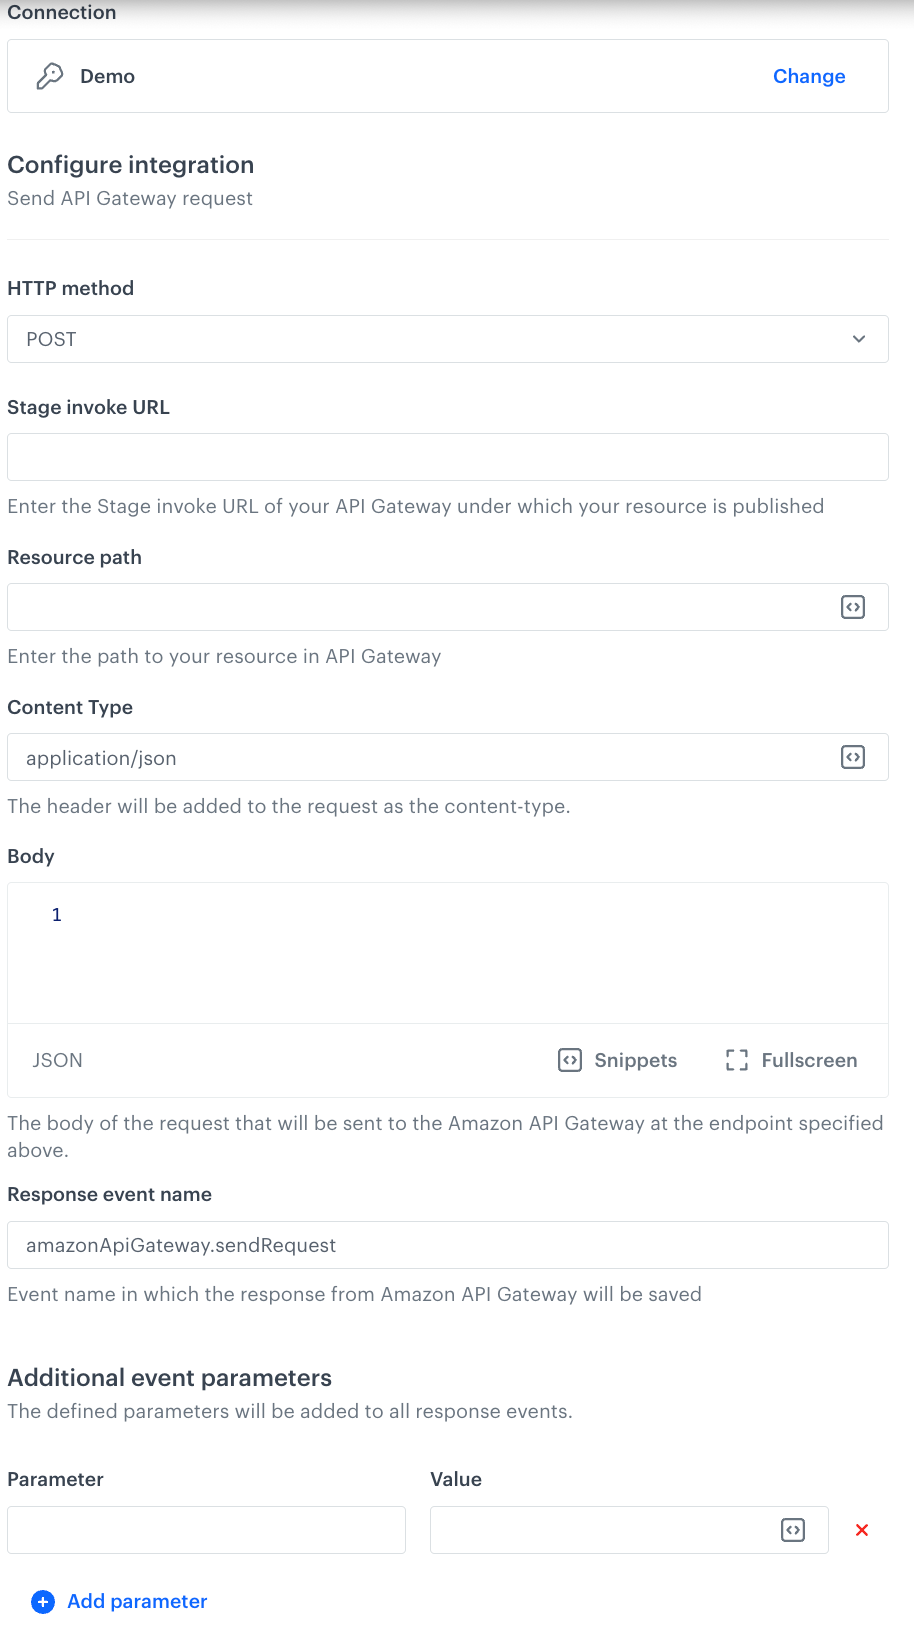

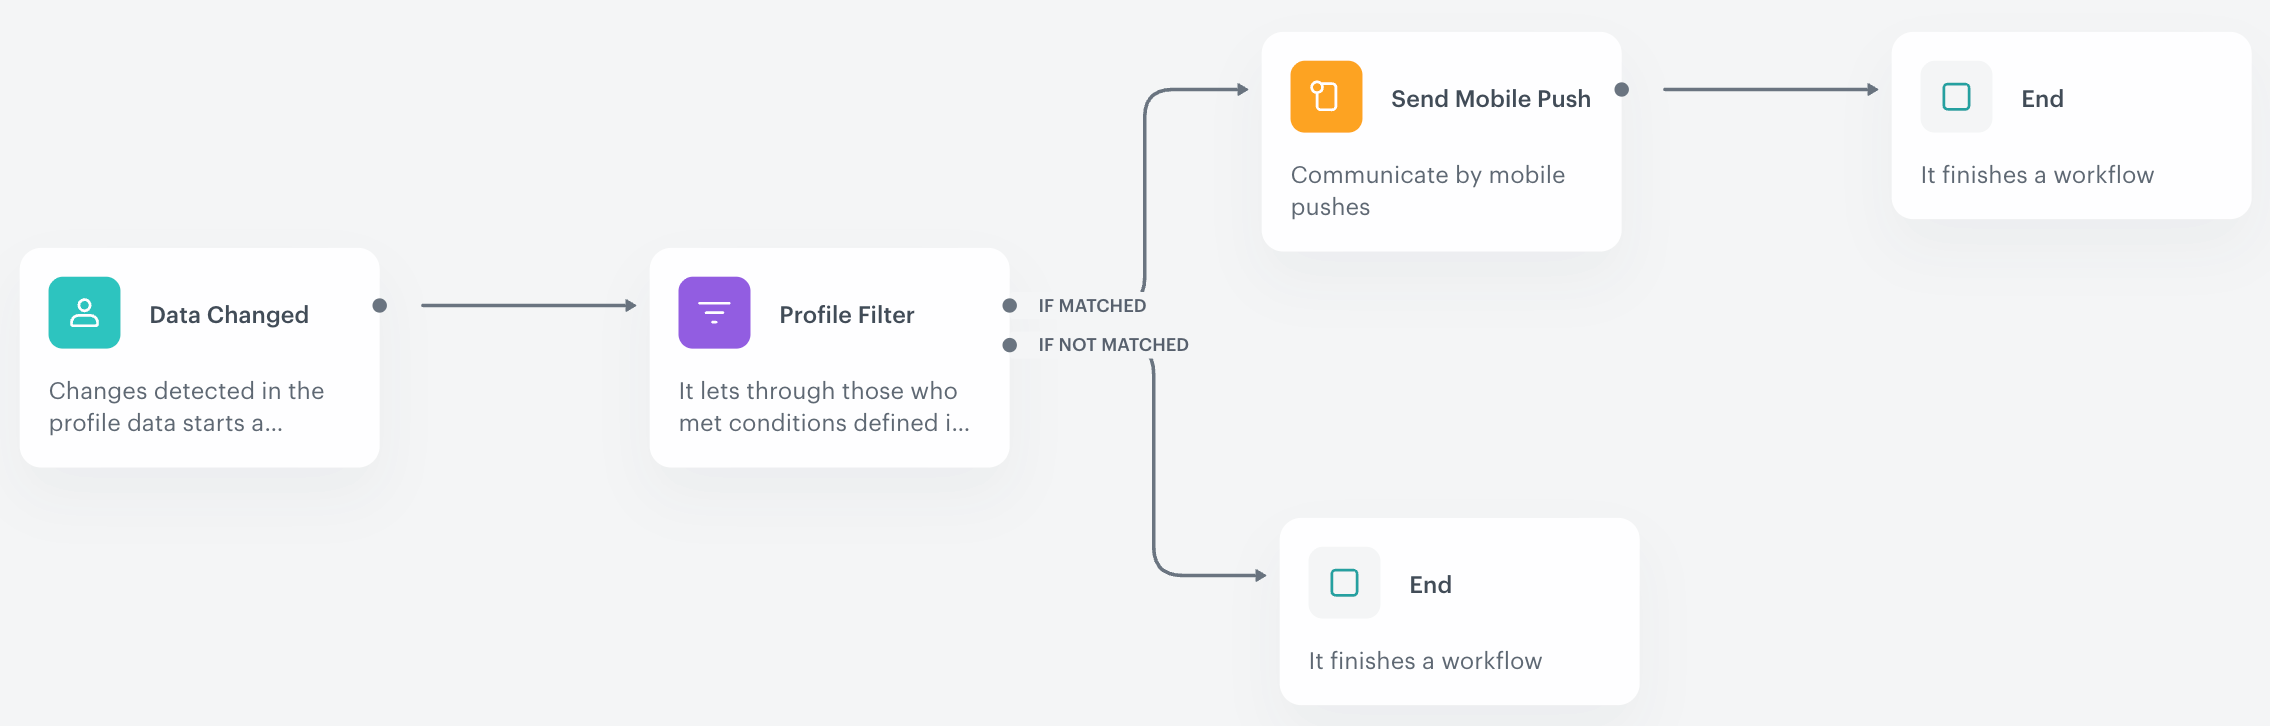
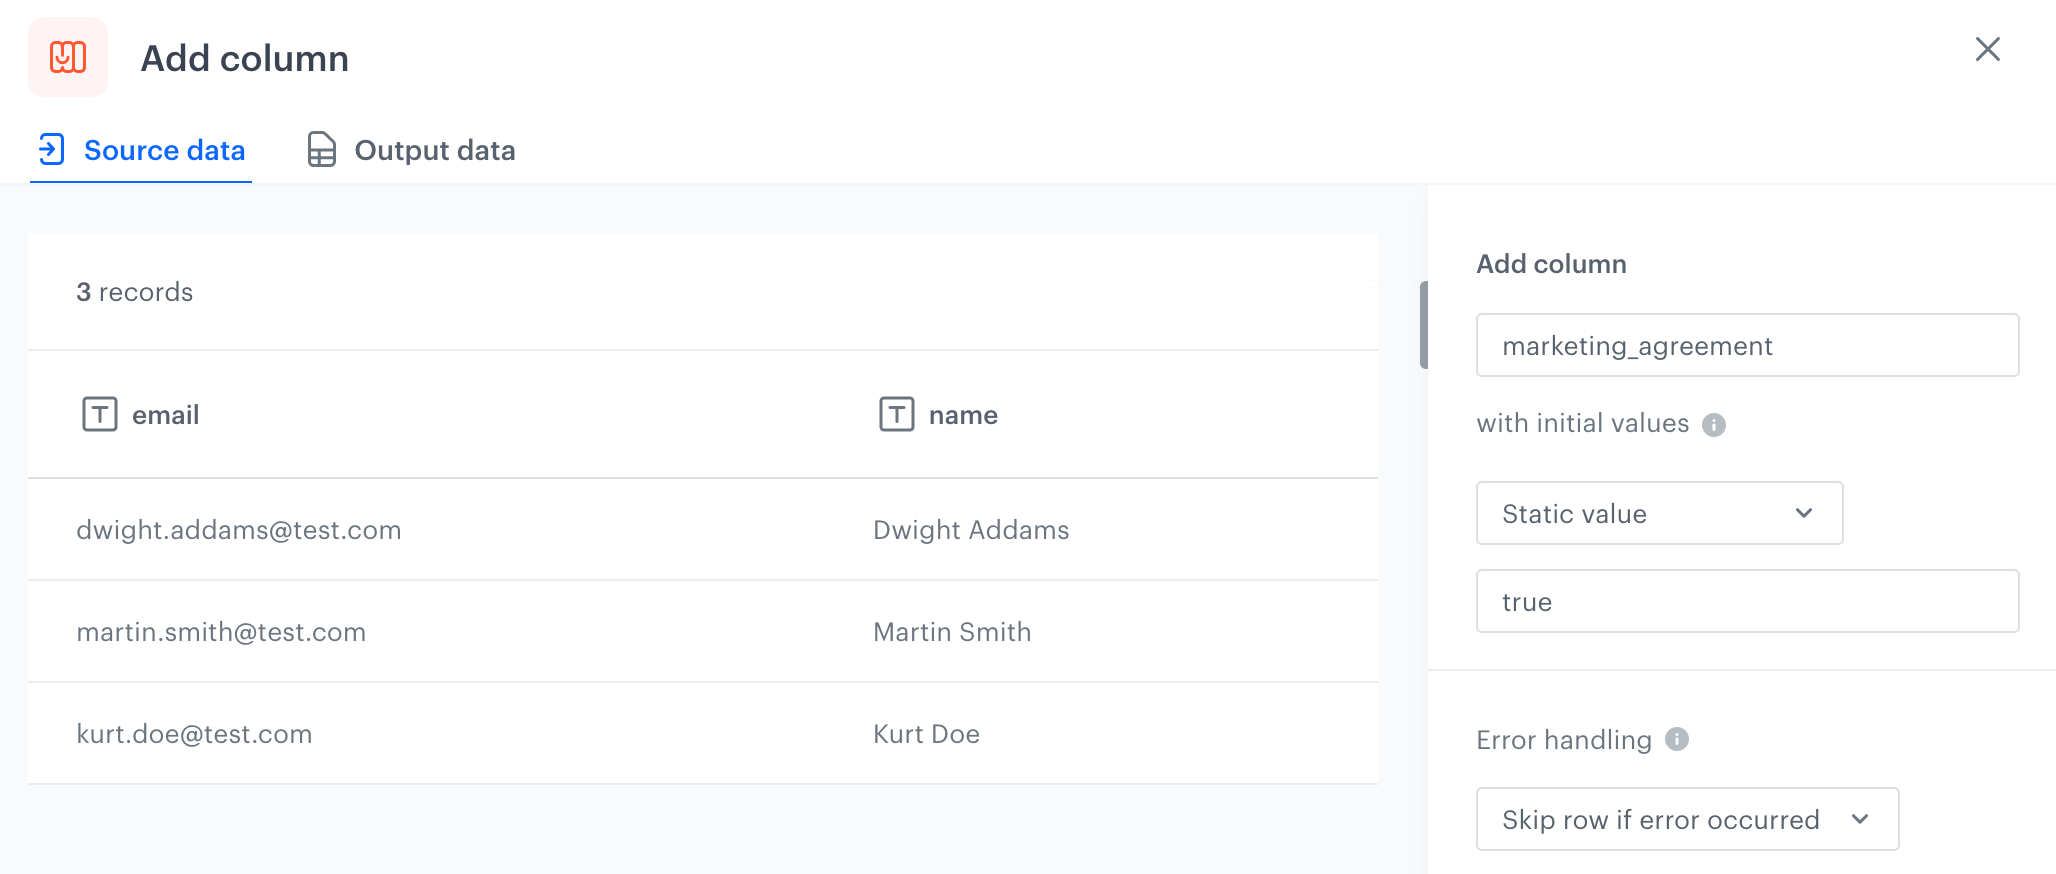
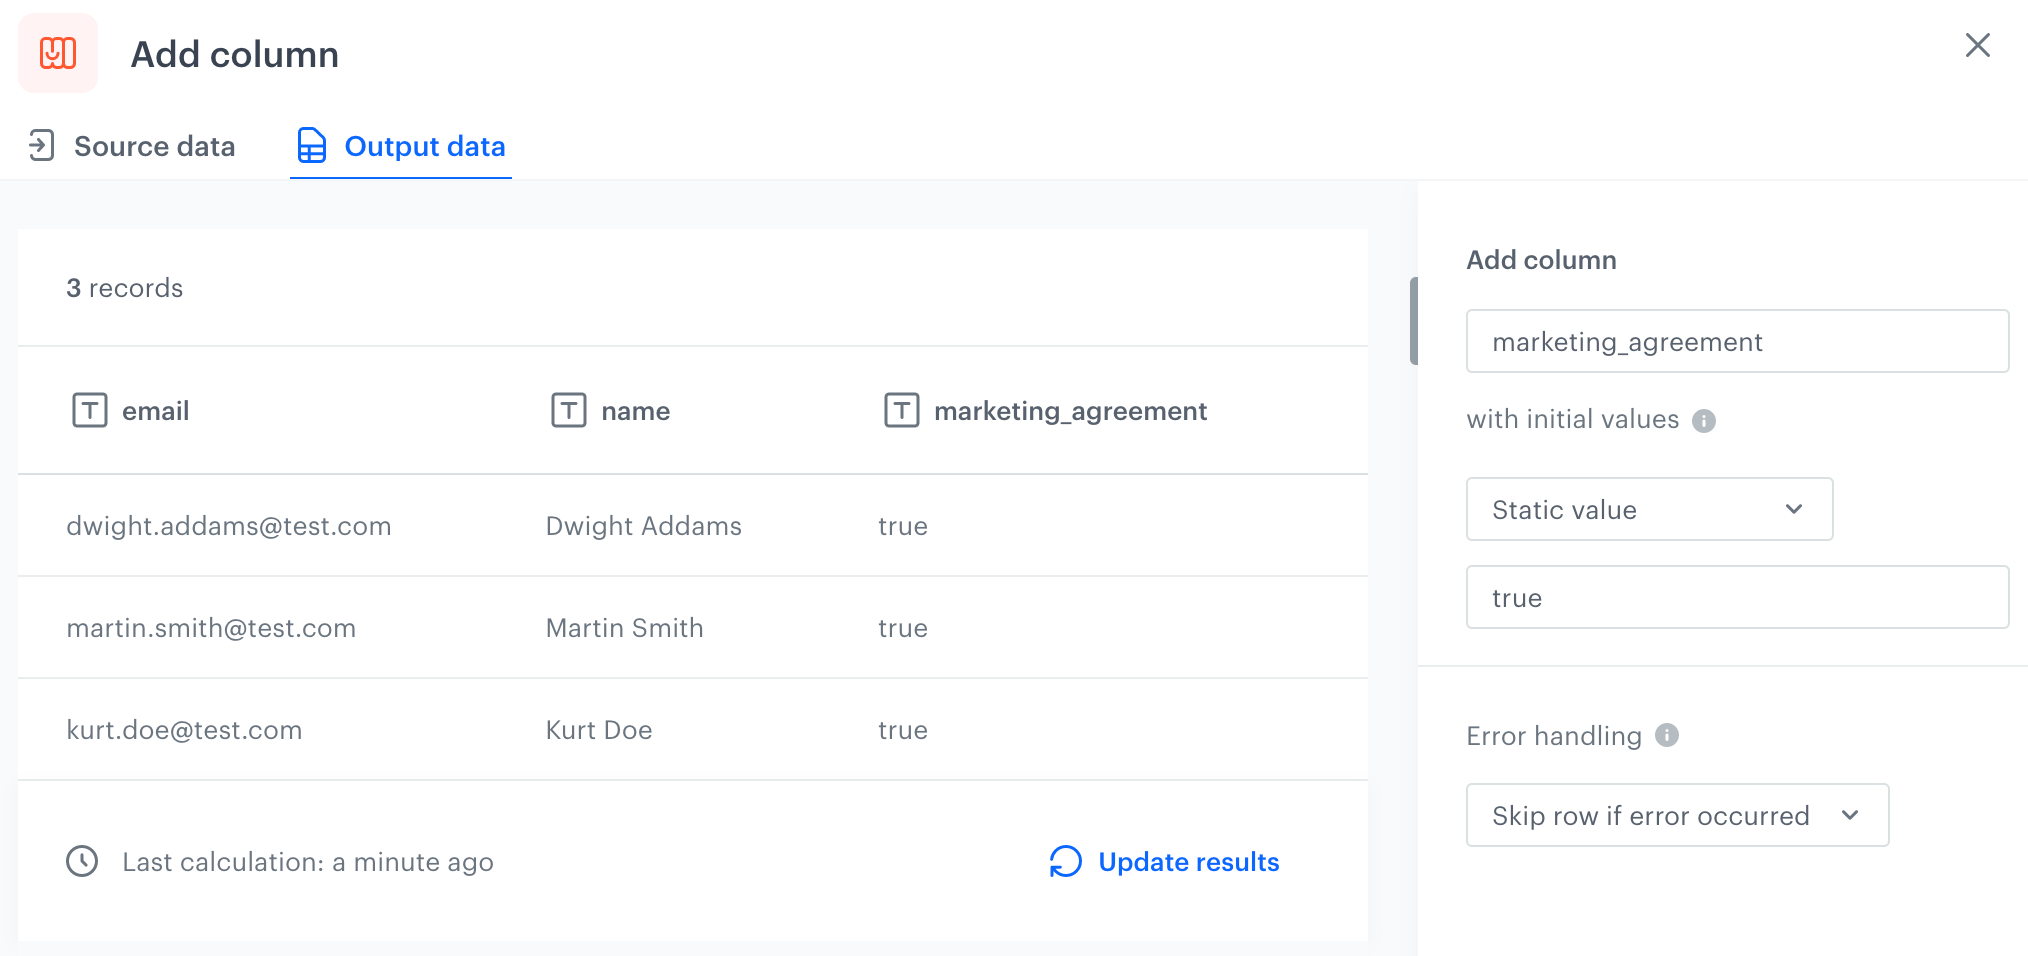
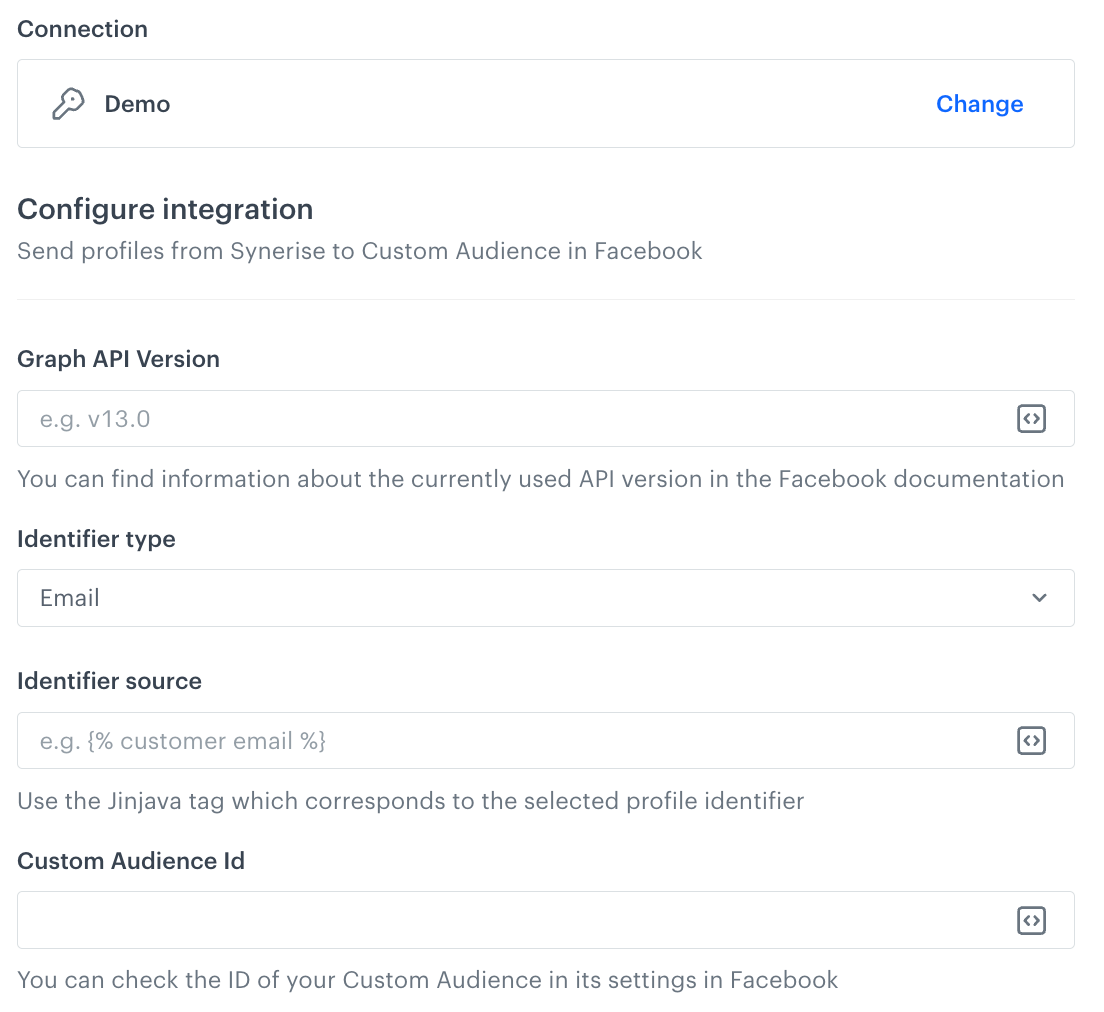
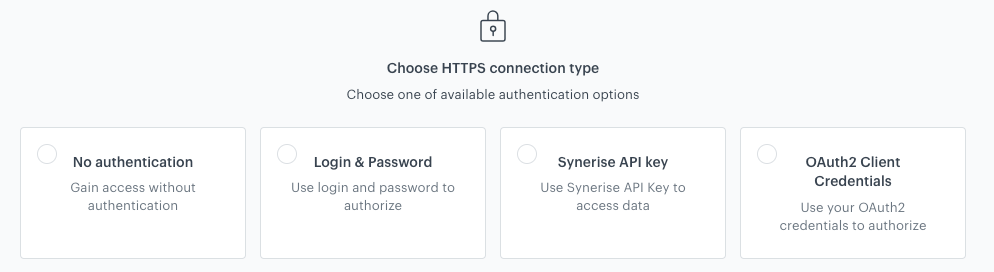
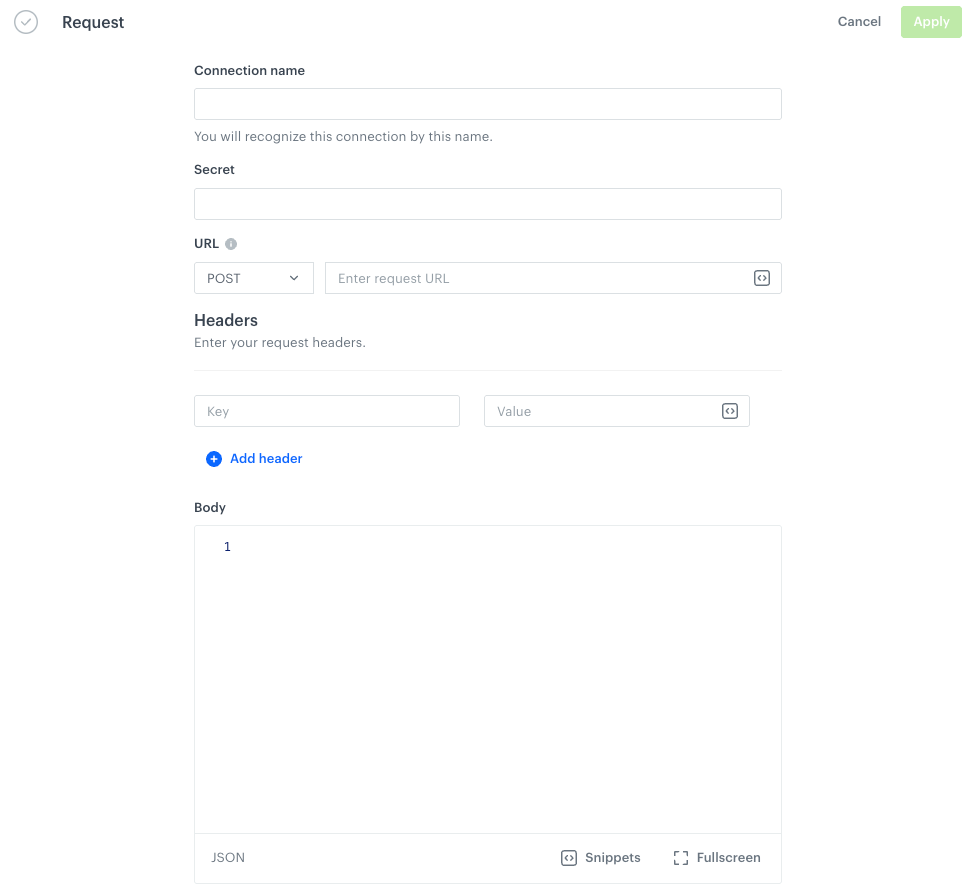
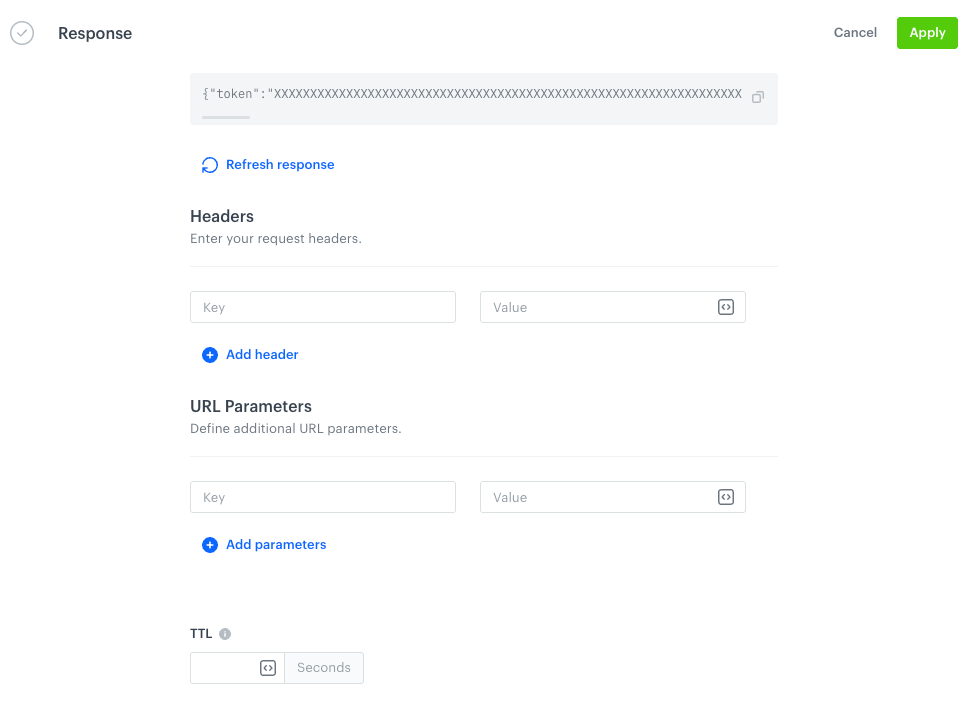
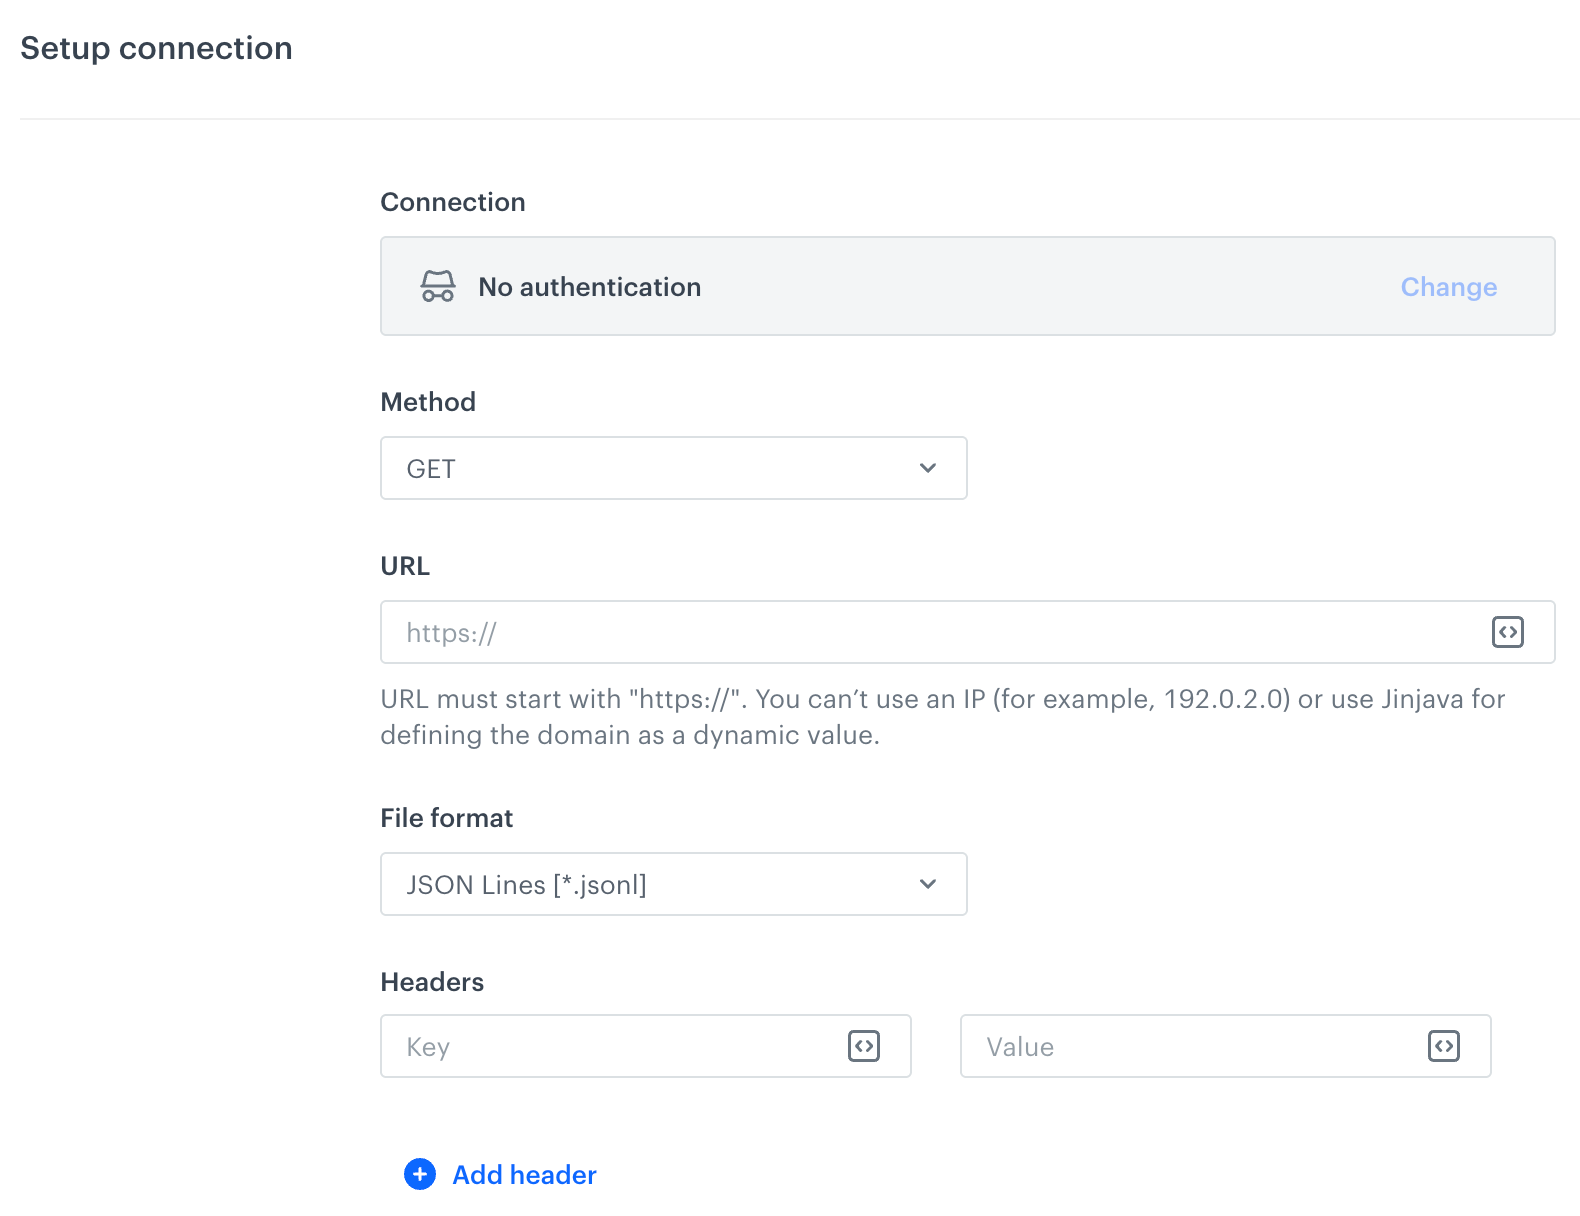


 **Behavioral Data Hub > Profiles**.
- Profile tags help you organize your profiles into groups for better communication and management.
To find out more about profile tags, you can refer to [Profile tags](/docs/crm/customer-tag).
The actions available in the **Update Profiles** node vary depending on whether the attributes are custom or default.
**Behavioral Data Hub > Profiles**.
- Profile tags help you organize your profiles into groups for better communication and management.
To find out more about profile tags, you can refer to [Profile tags](/docs/crm/customer-tag).
The actions available in the **Update Profiles** node vary depending on whether the attributes are custom or default.
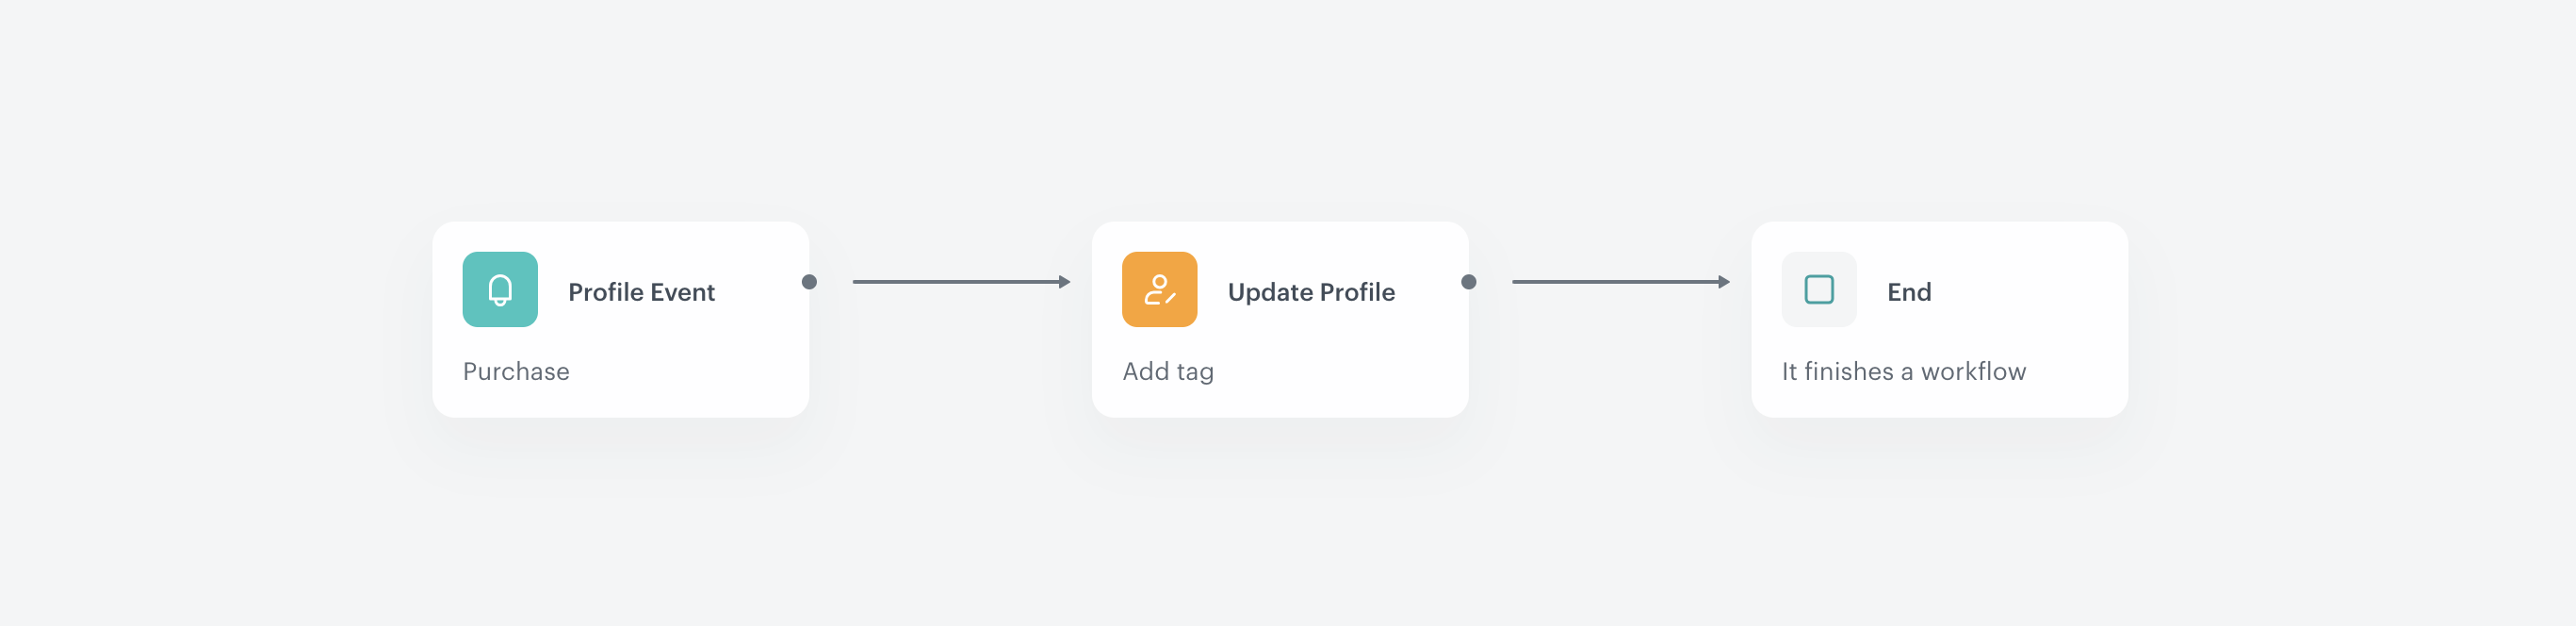

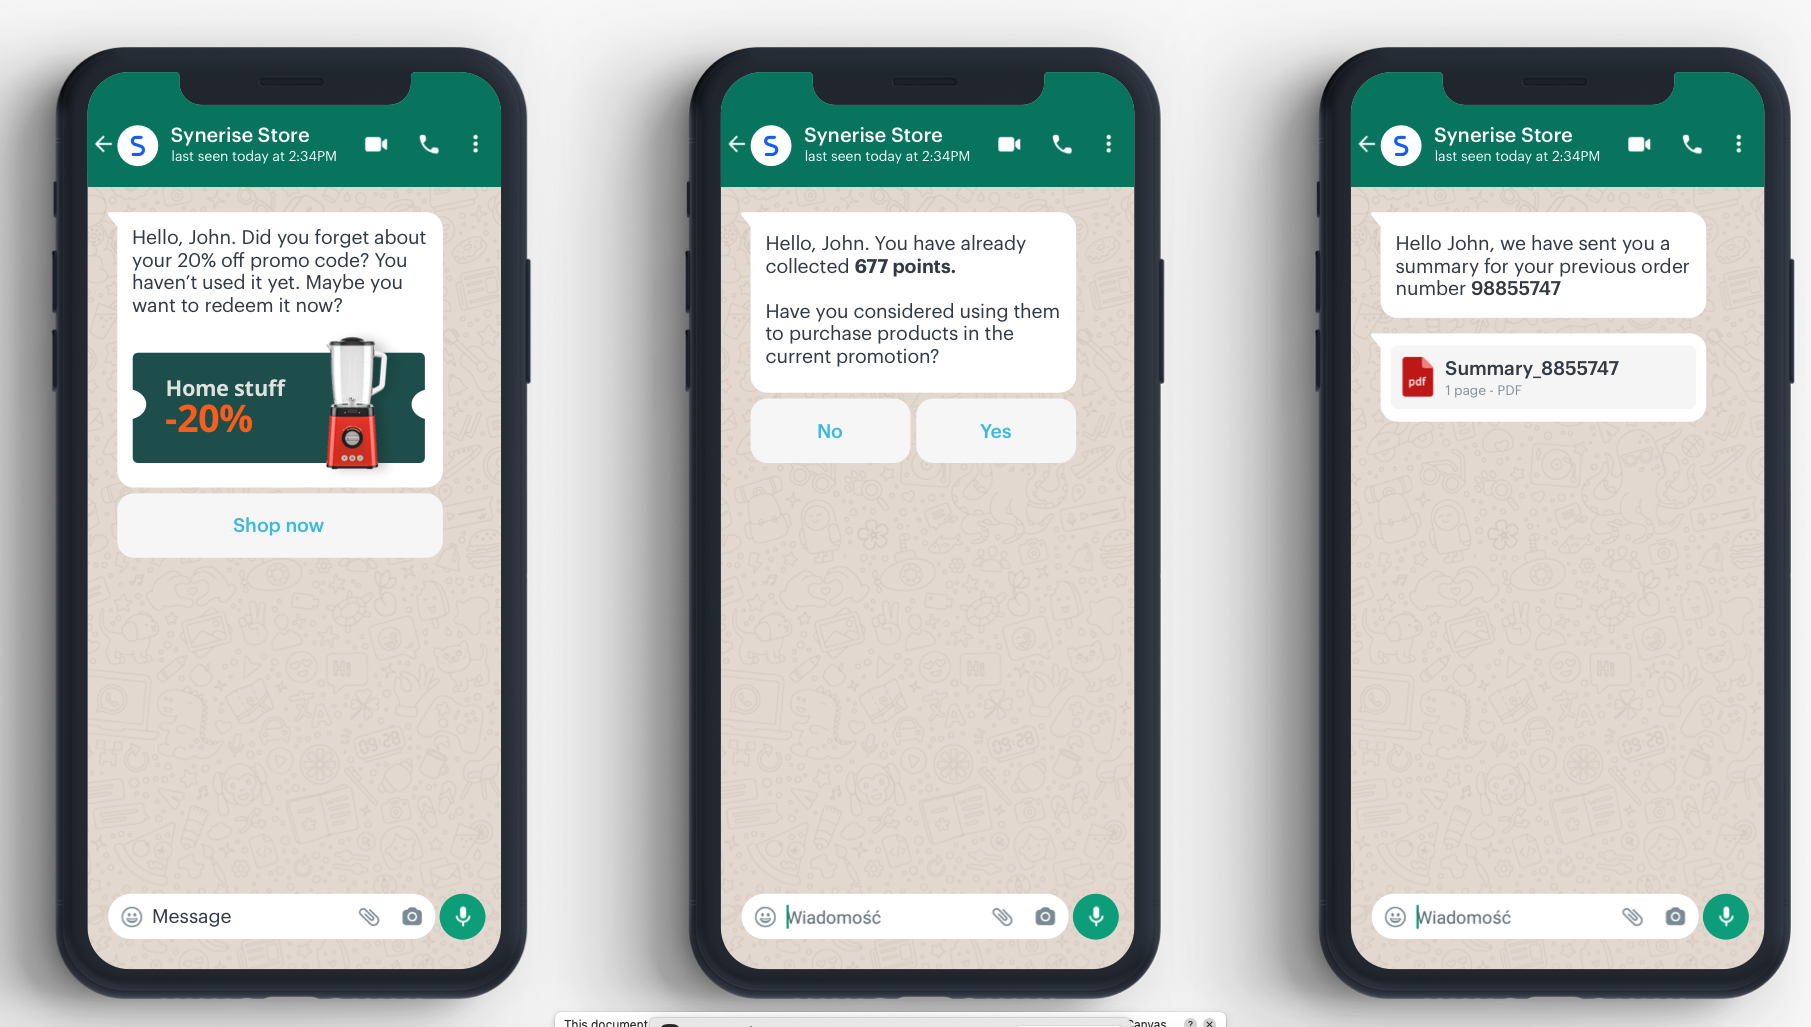
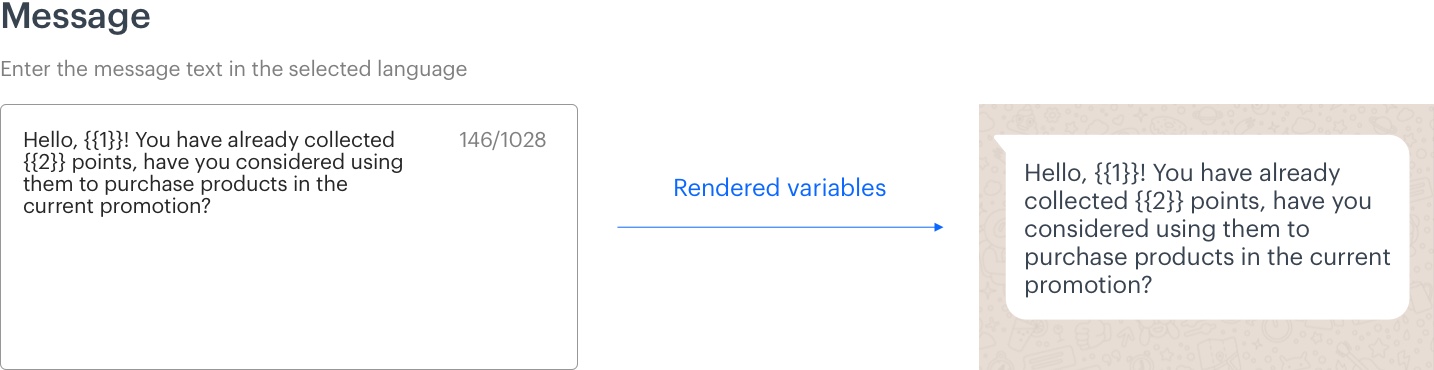
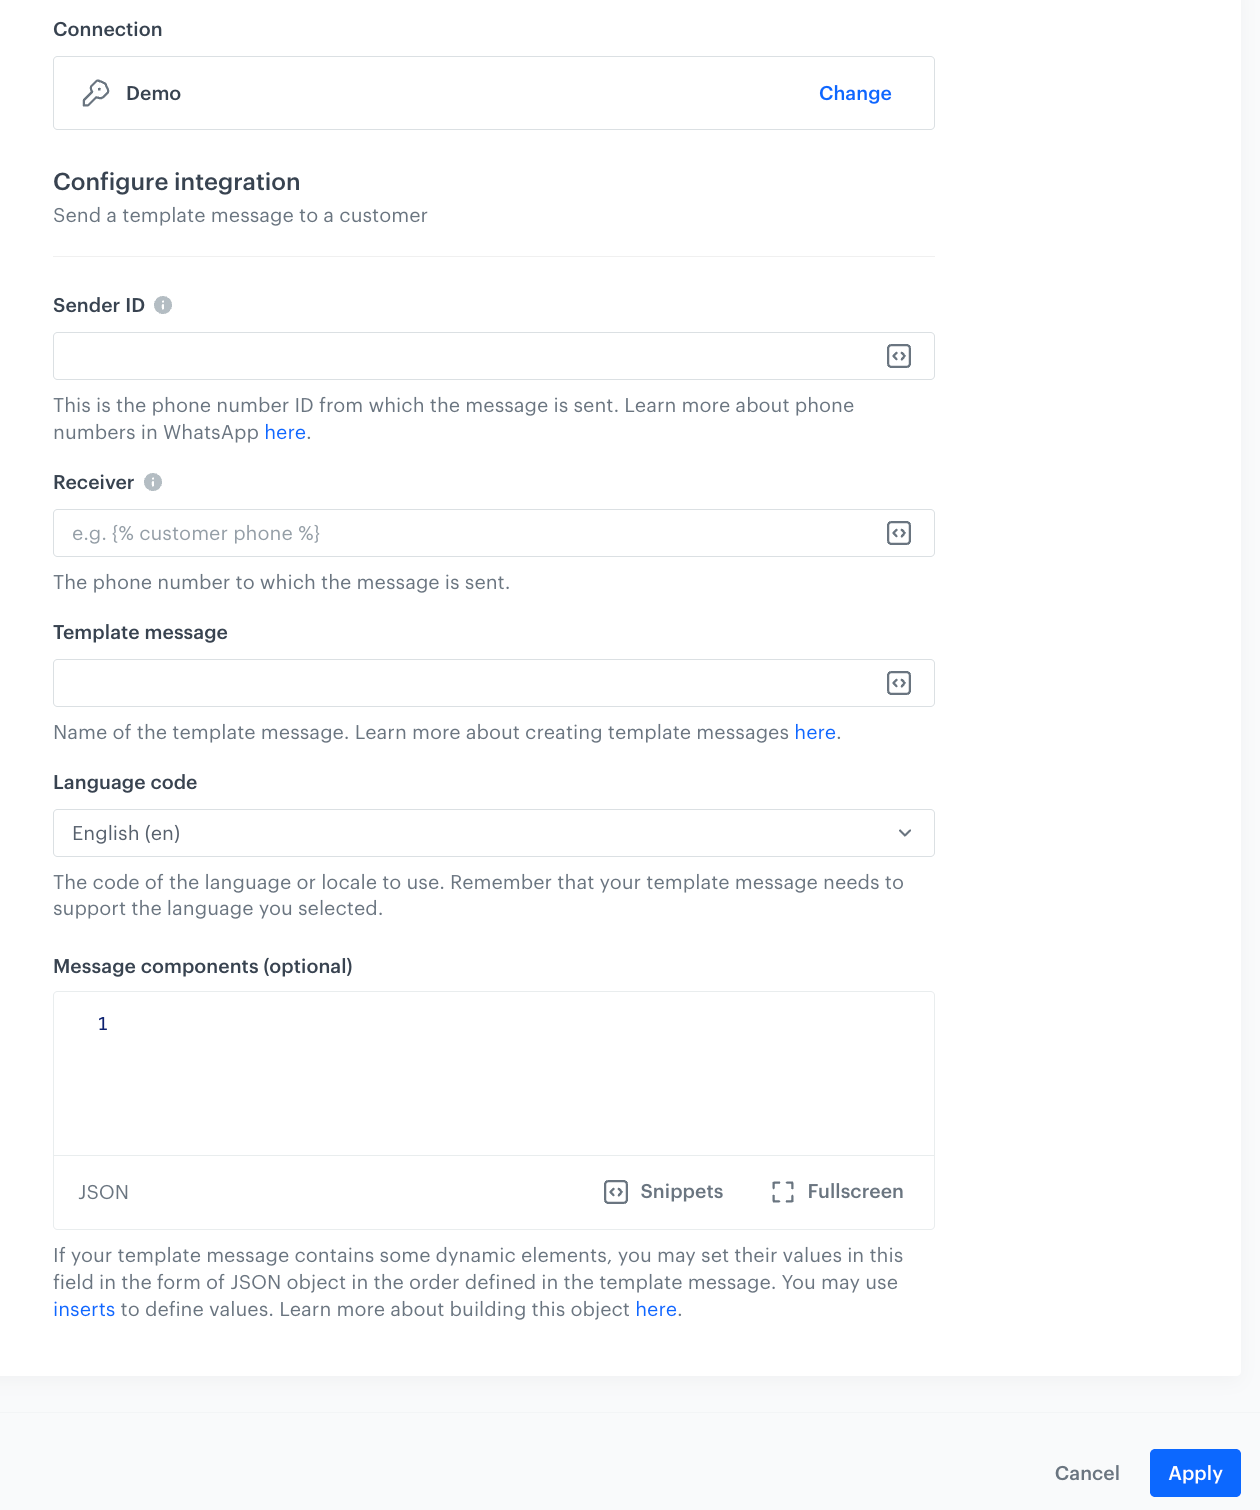
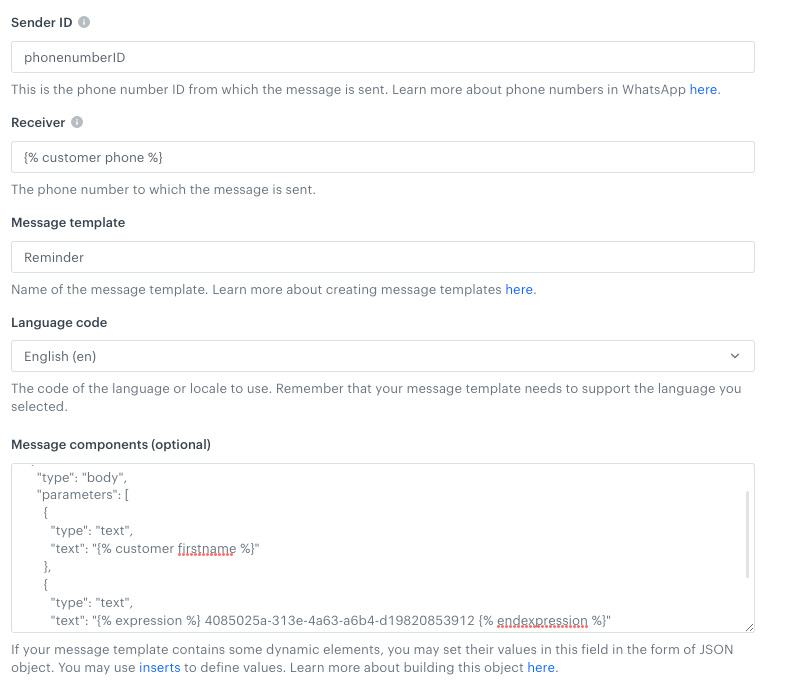
 **Settings > Connections**.
### Define the integration settings
**Settings > Connections**.
### Define the integration settings
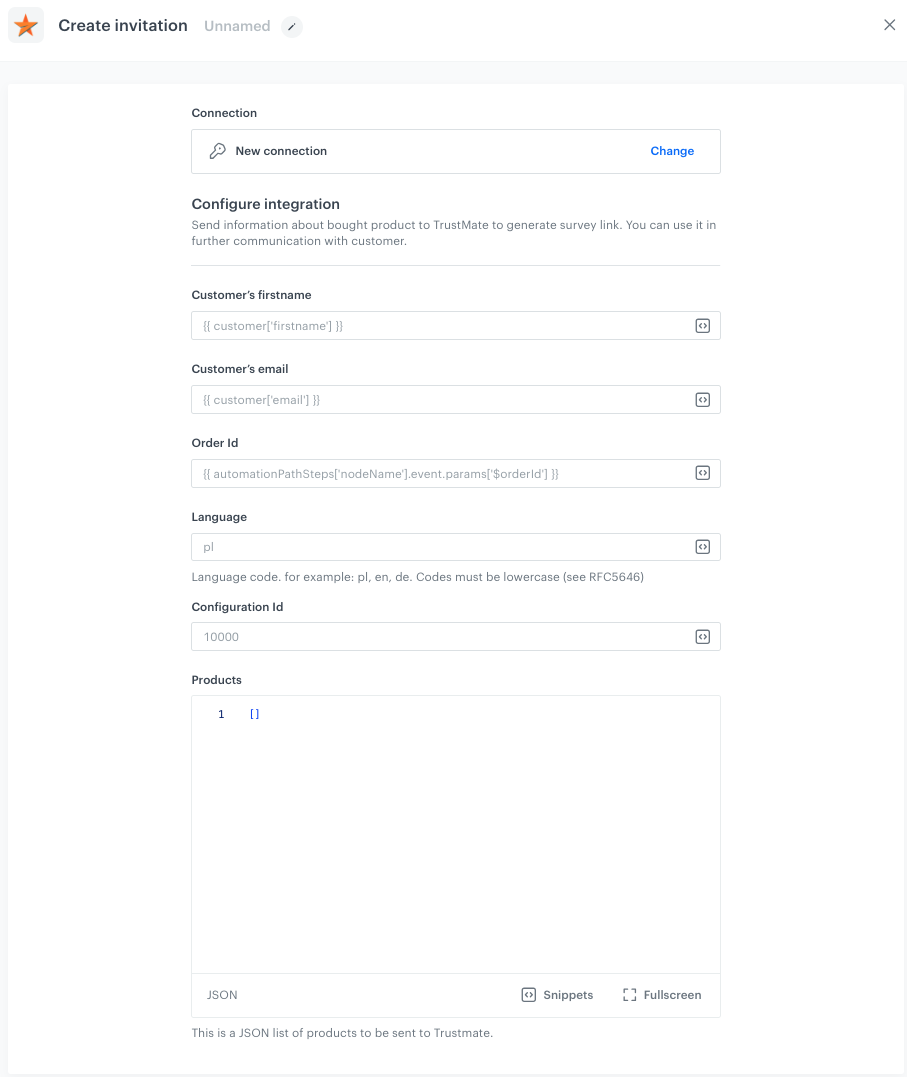
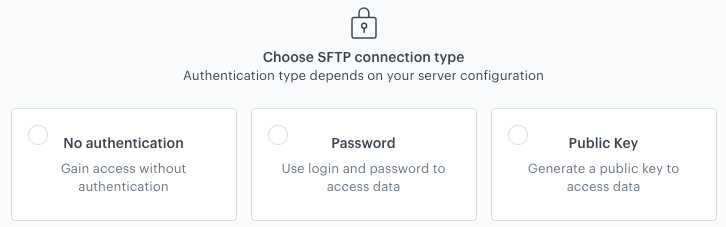
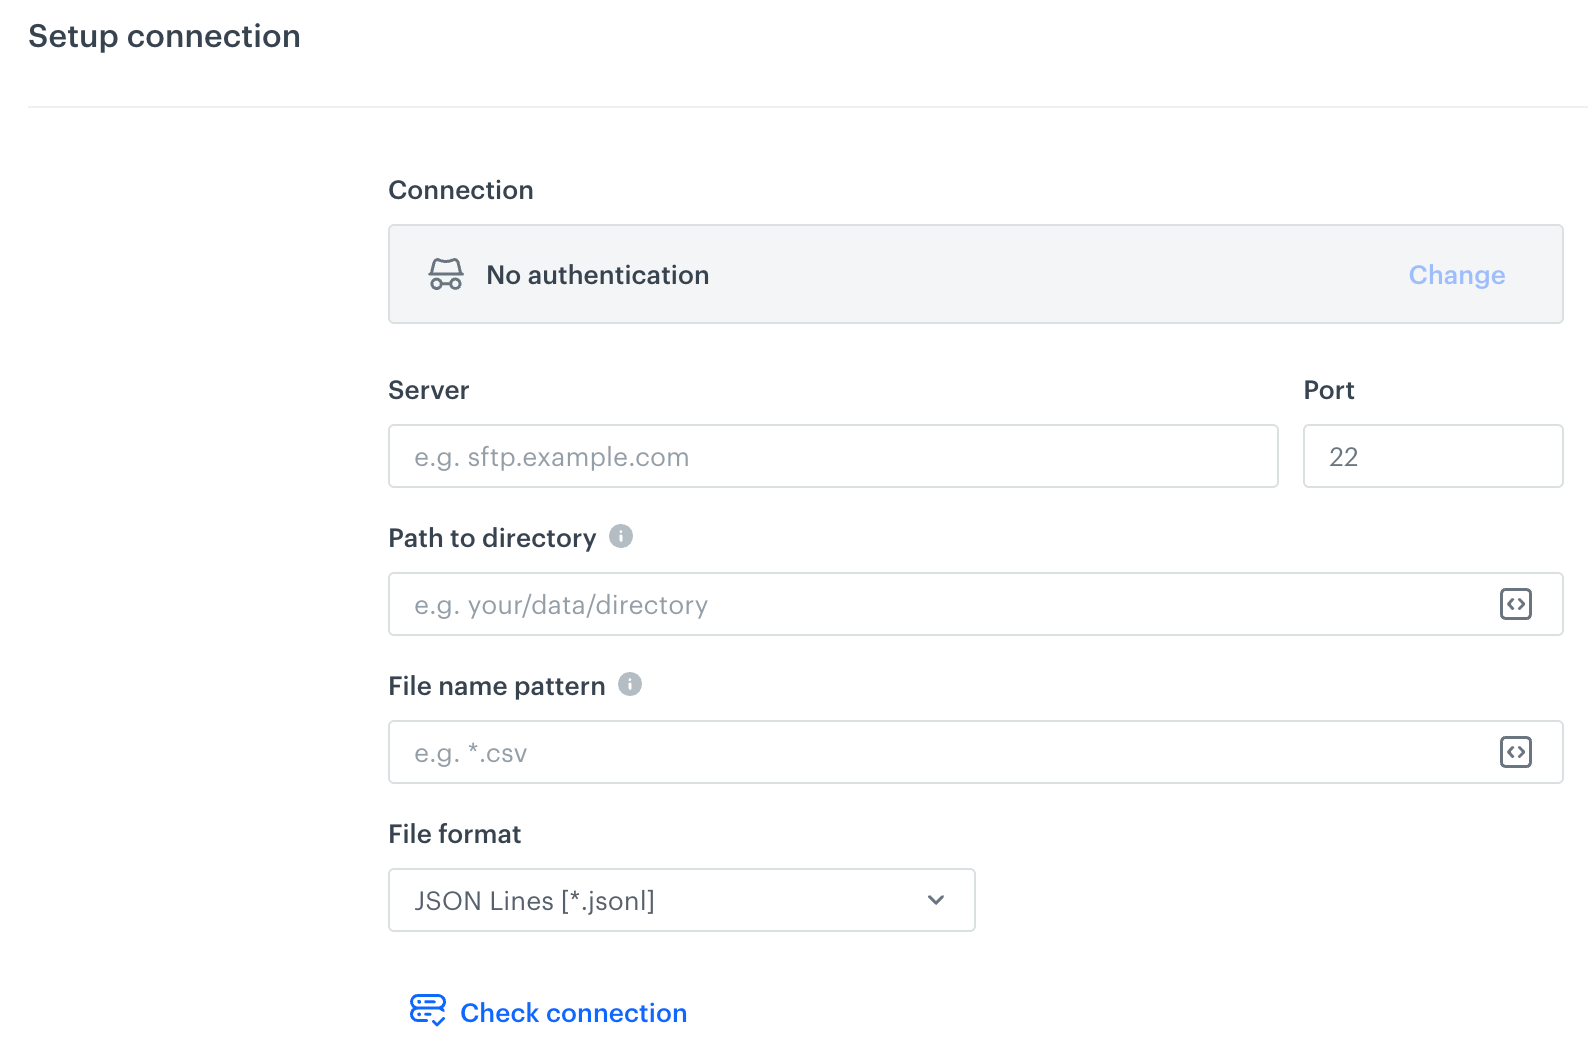

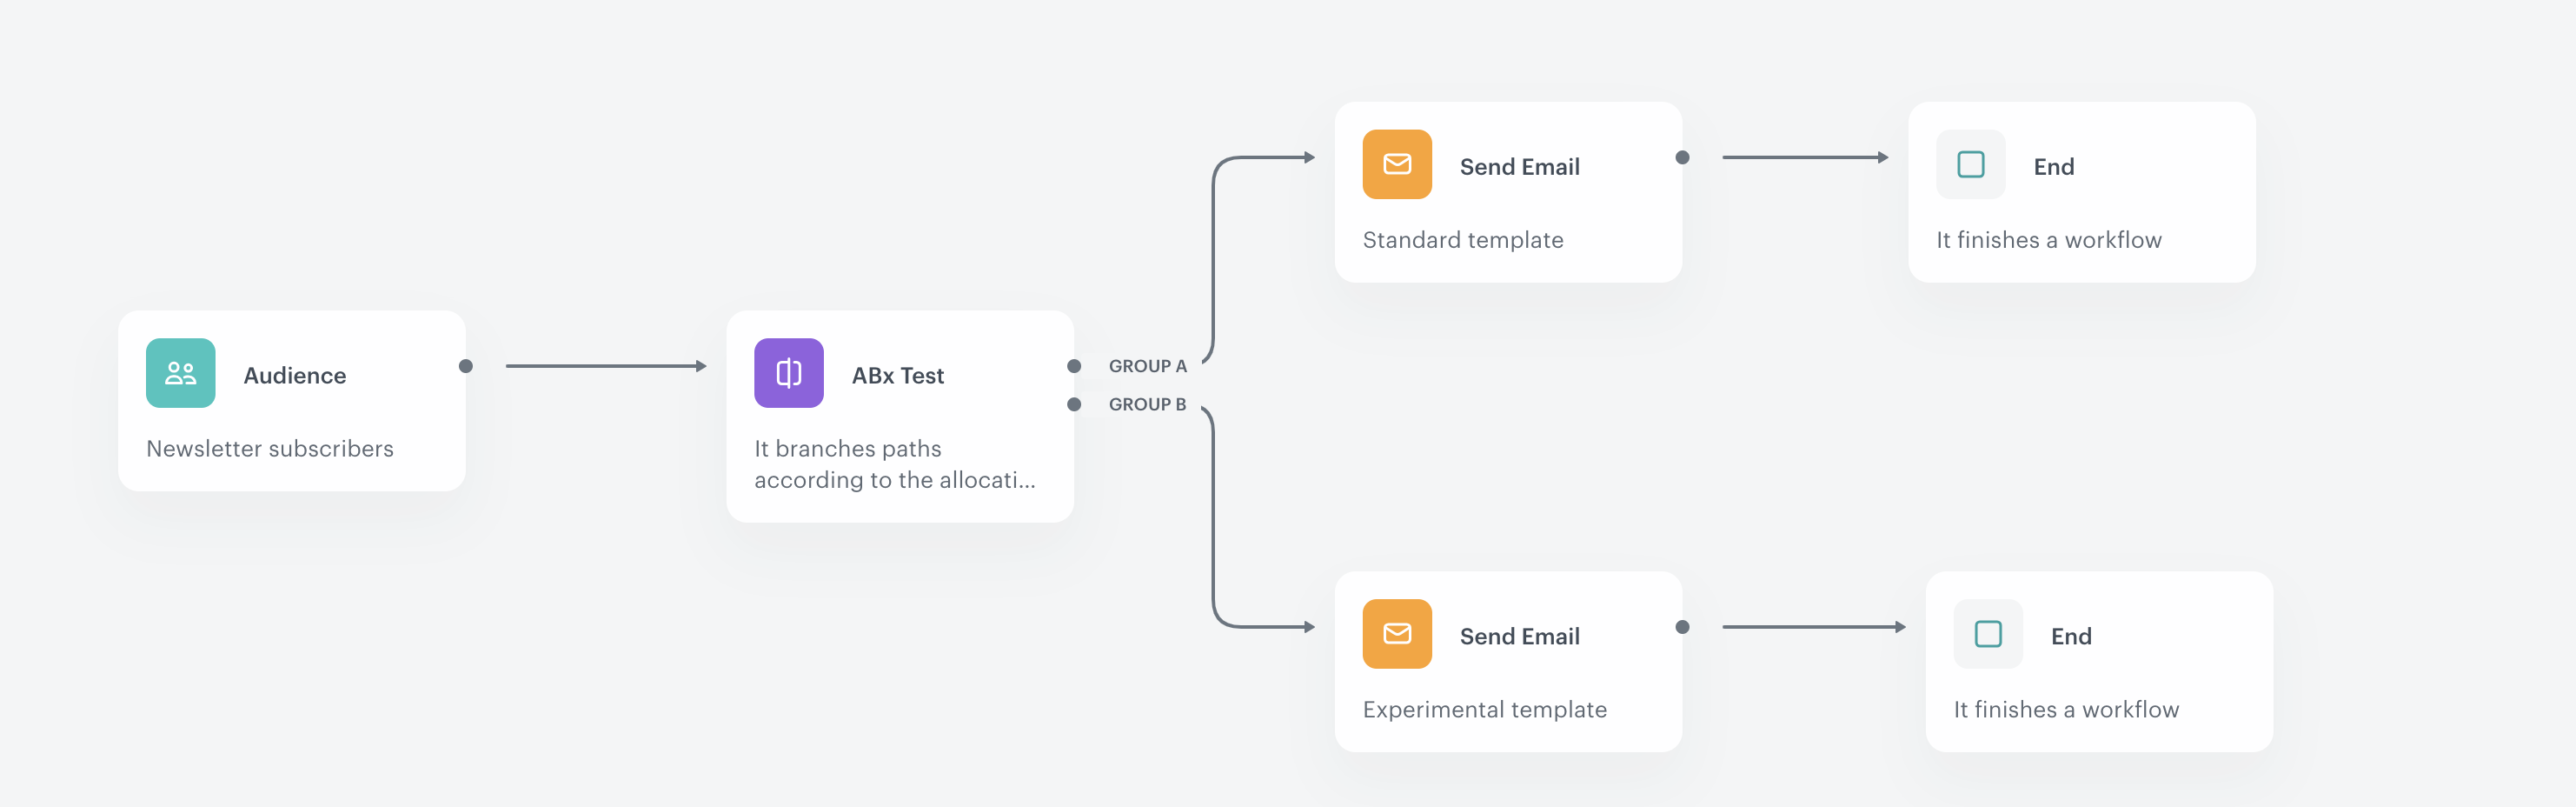
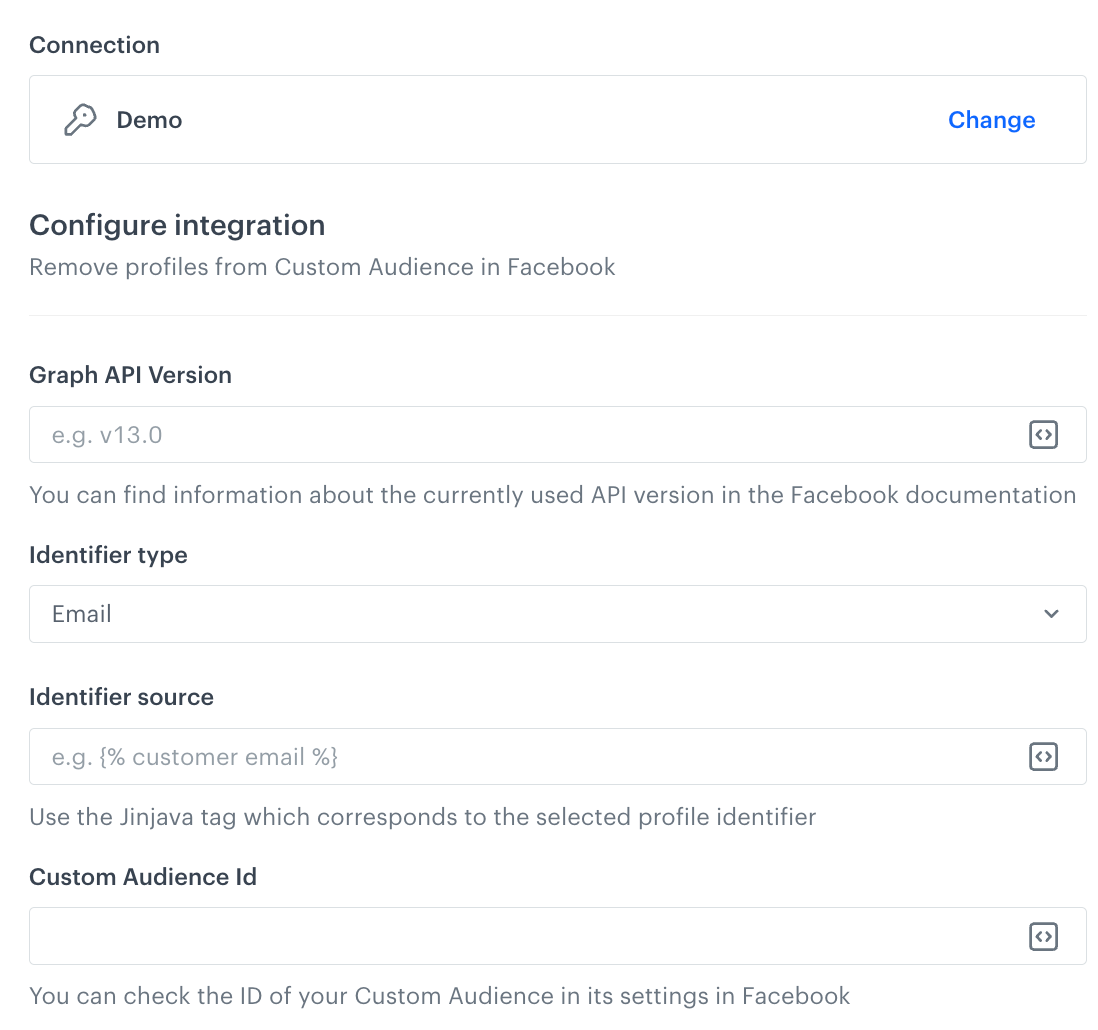

 icon.
2. Select one of the following options:
- **Remove columns** - This option deletes columns that match the conditions you define in the further steps.
- **Keep columns** - This option keeps only the columns that match the conditions you define in the further steps. The columns that don't match the conditions are removed.
3. From the dropdown list, select one of the logical operators:
- **Equal**
- **Not equal**
- **Ends with**
- **Starts with**
- **Contain**
- **Not contain**
4. In the text field, enter the value.
5. To add more conditions, click **Add condition**.
6. Repeat steps 1-4.
5. To define what happens if rows contain errors, select one of the options available in the [Error handling](#handle-errors) section.
6. Confirm the settings by clicking **Apply**.
### Handle errors
You can define what to do with failed values (for example, as a result of Jinja rendering or in other cases) in cells where data type modification failed.
In the **Handle incomplete data** section, select one of the following options:
- **Skip row if error occurred** - It omits the row when an exception occurs.
- **Skip if result is null or empty string** - It omits rows with empty strings and `null` (which may be the result of rendering Jinja)
- **Stop further transformation** - The transformation stops at the row with an error. The data before the line that caused the error is transformed (and imported if the transformation rule is used in the Data Transformation node).
- **Insert null if error occurred** - Wrong values are replaced with `null`. If you use such a transformation for the import of profiles, the existing value of an attribute is cleared and replaced with the `null` value.
- **Insert empty string if error occurred** - Wrong value is removed and the cell remains empty.
## Example of use
---
While importing a list of transactions, you can edit out unnecessary columns. In this example, these are any columns that include an underscore in their name (`import_type`, `payment_info`) and columns whose name is exactly `customers`.
icon.
2. Select one of the following options:
- **Remove columns** - This option deletes columns that match the conditions you define in the further steps.
- **Keep columns** - This option keeps only the columns that match the conditions you define in the further steps. The columns that don't match the conditions are removed.
3. From the dropdown list, select one of the logical operators:
- **Equal**
- **Not equal**
- **Ends with**
- **Starts with**
- **Contain**
- **Not contain**
4. In the text field, enter the value.
5. To add more conditions, click **Add condition**.
6. Repeat steps 1-4.
5. To define what happens if rows contain errors, select one of the options available in the [Error handling](#handle-errors) section.
6. Confirm the settings by clicking **Apply**.
### Handle errors
You can define what to do with failed values (for example, as a result of Jinja rendering or in other cases) in cells where data type modification failed.
In the **Handle incomplete data** section, select one of the following options:
- **Skip row if error occurred** - It omits the row when an exception occurs.
- **Skip if result is null or empty string** - It omits rows with empty strings and `null` (which may be the result of rendering Jinja)
- **Stop further transformation** - The transformation stops at the row with an error. The data before the line that caused the error is transformed (and imported if the transformation rule is used in the Data Transformation node).
- **Insert null if error occurred** - Wrong values are replaced with `null`. If you use such a transformation for the import of profiles, the existing value of an attribute is cleared and replaced with the `null` value.
- **Insert empty string if error occurred** - Wrong value is removed and the cell remains empty.
## Example of use
---
While importing a list of transactions, you can edit out unnecessary columns. In this example, these are any columns that include an underscore in their name (`import_type`, `payment_info`) and columns whose name is exactly `customers`.

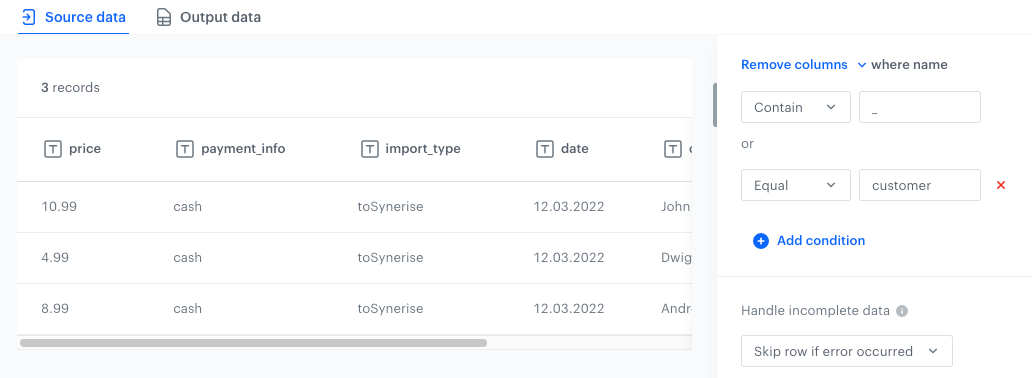
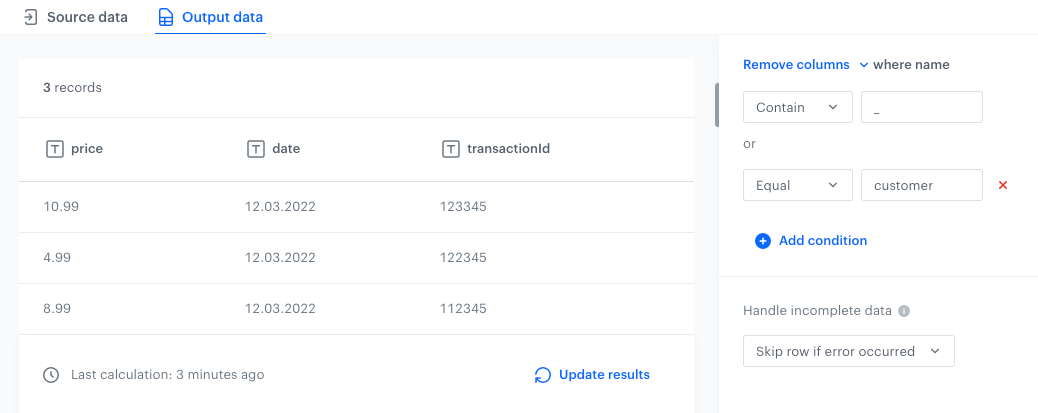
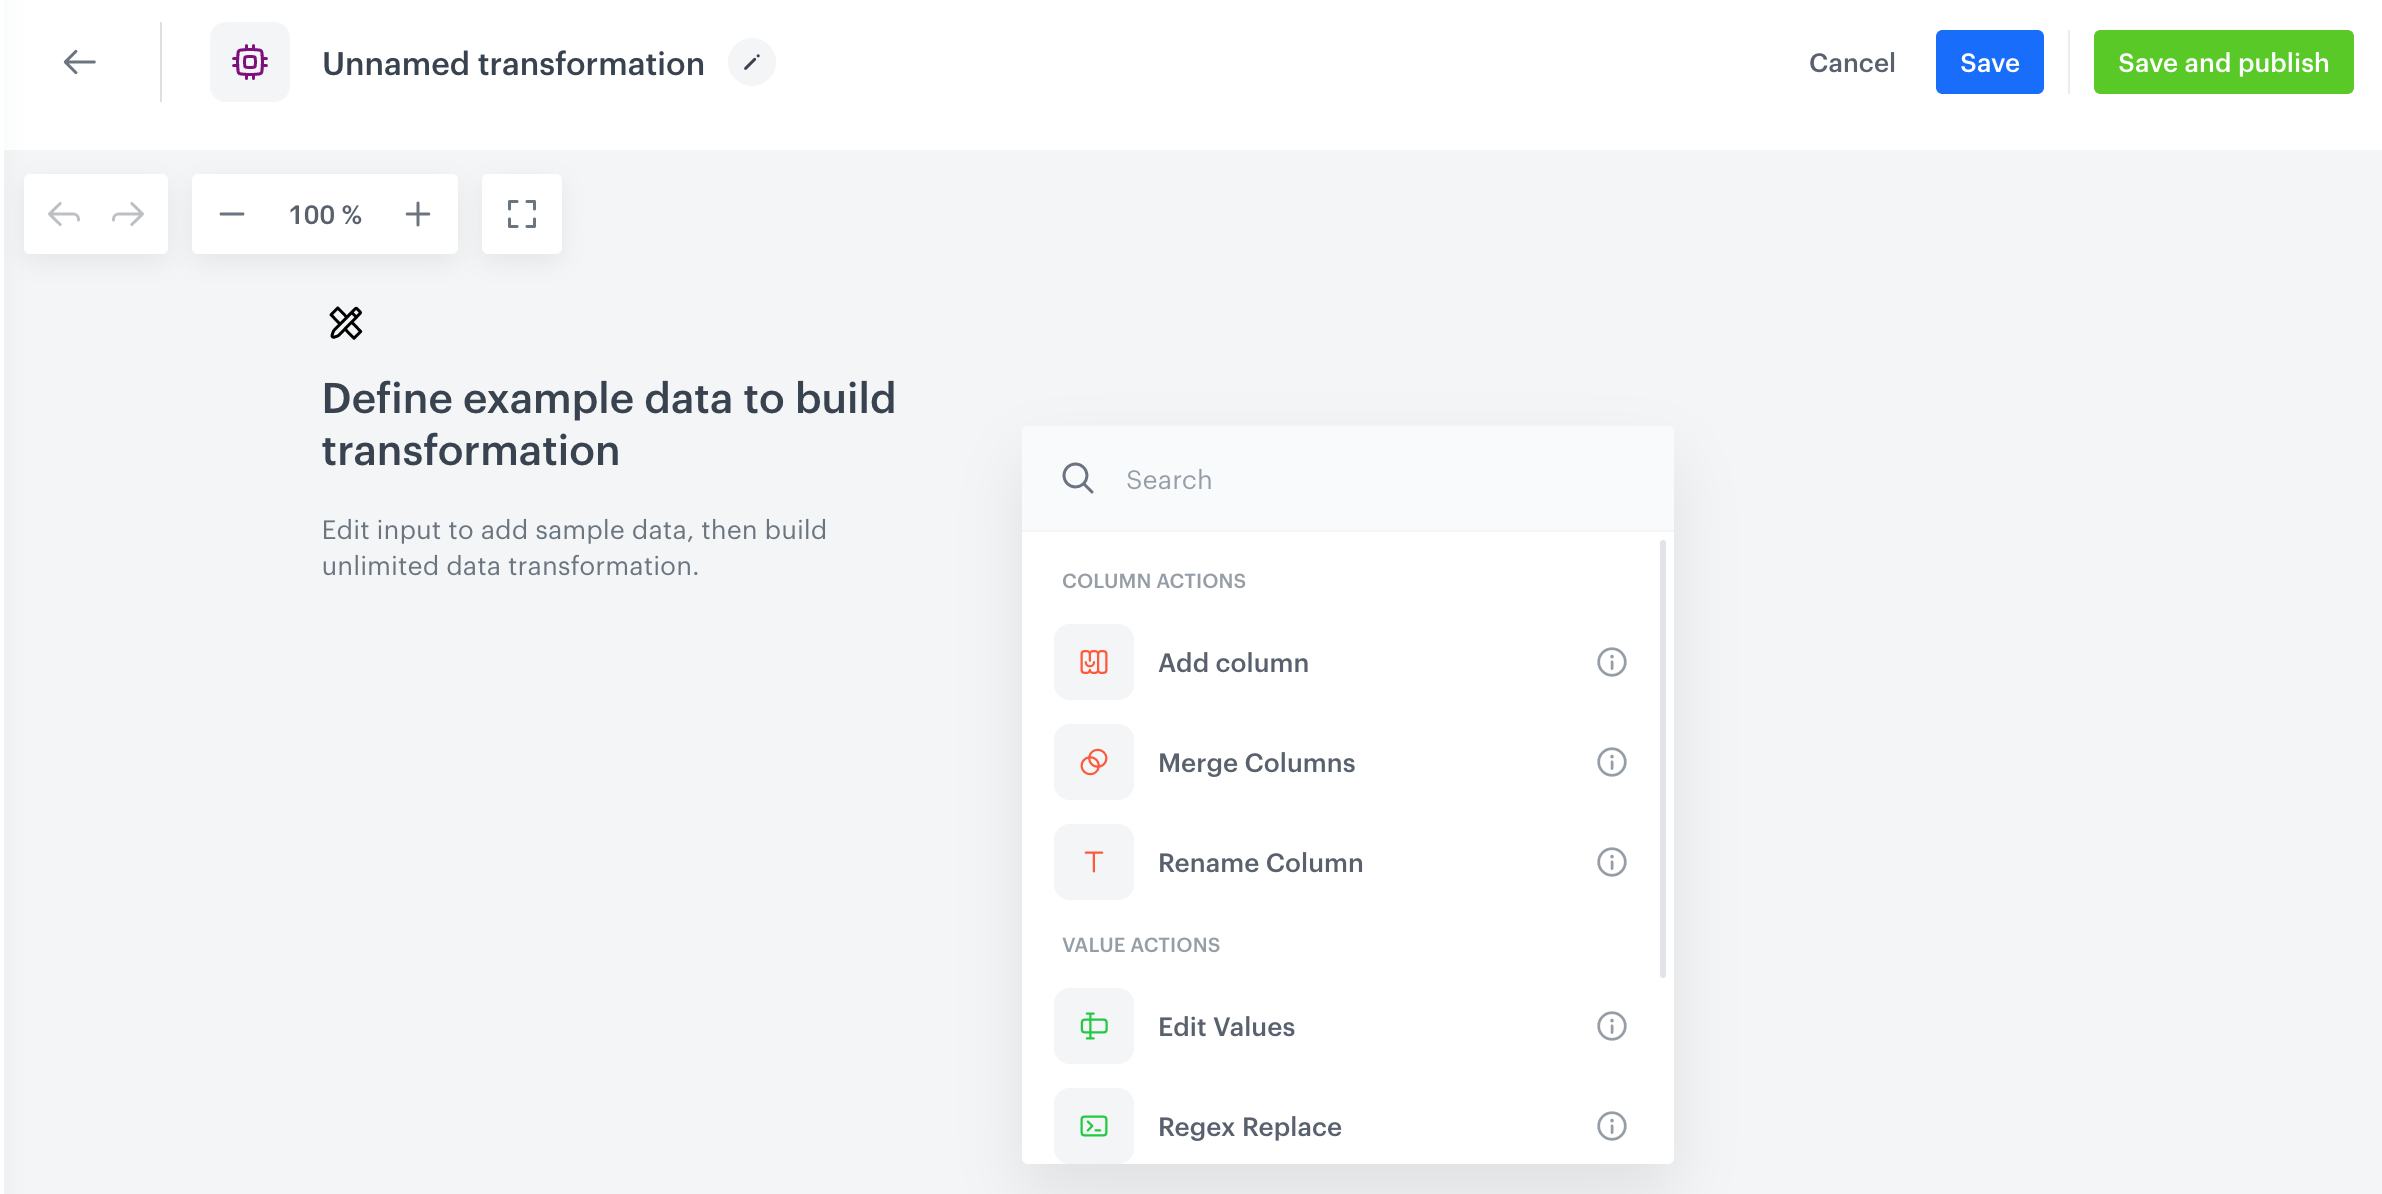
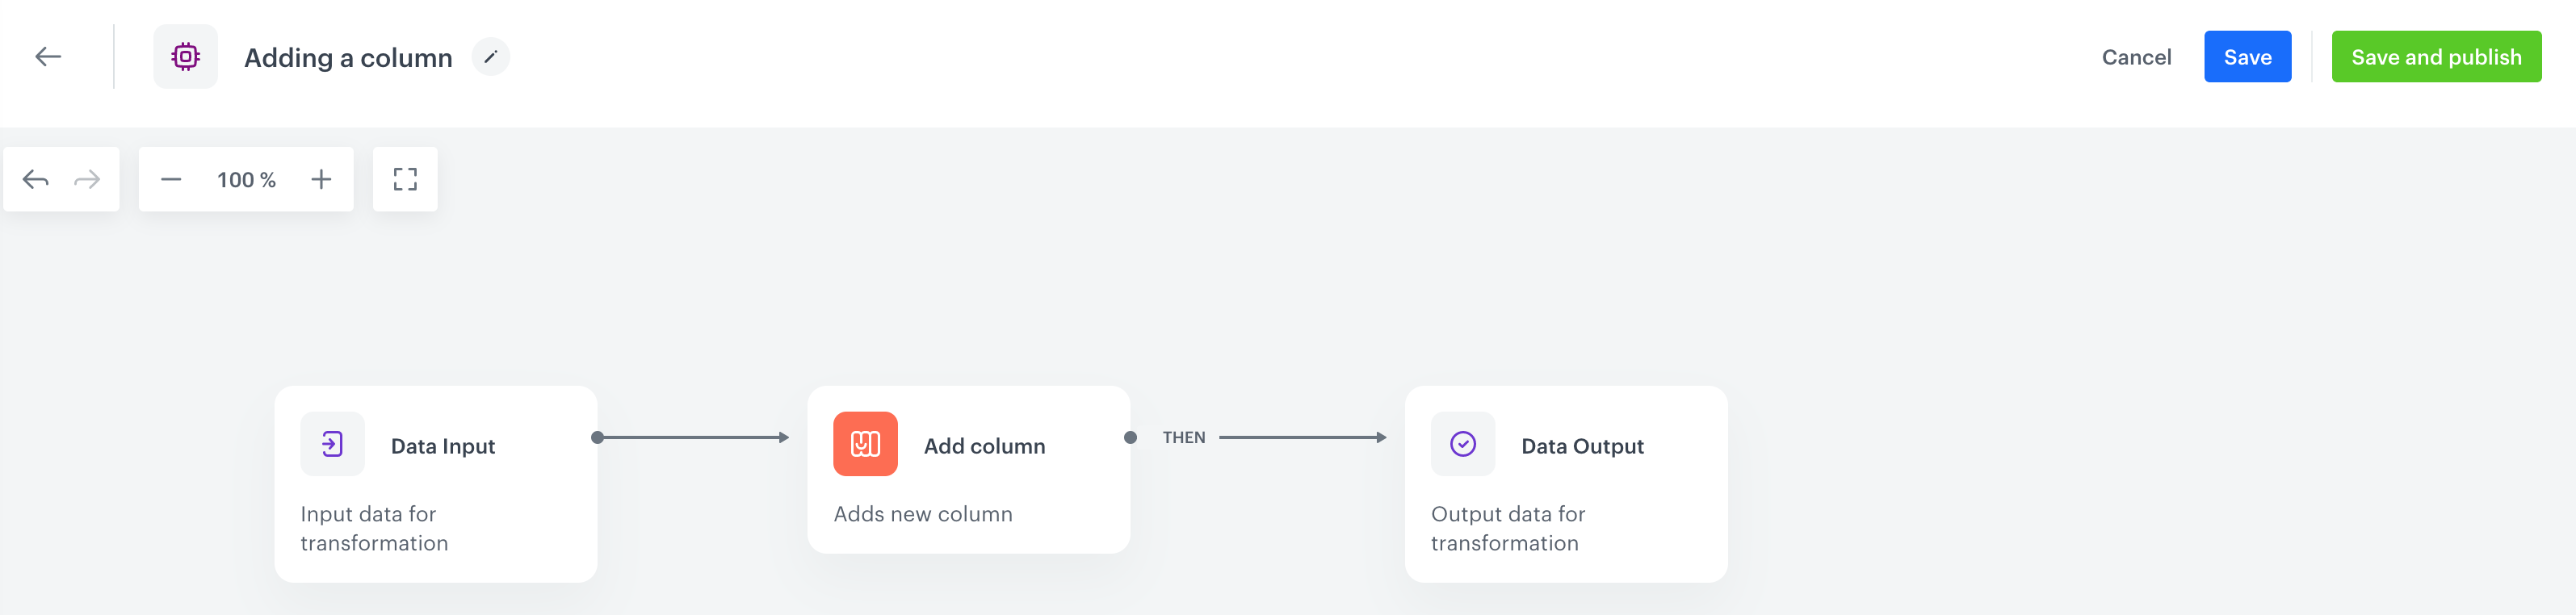
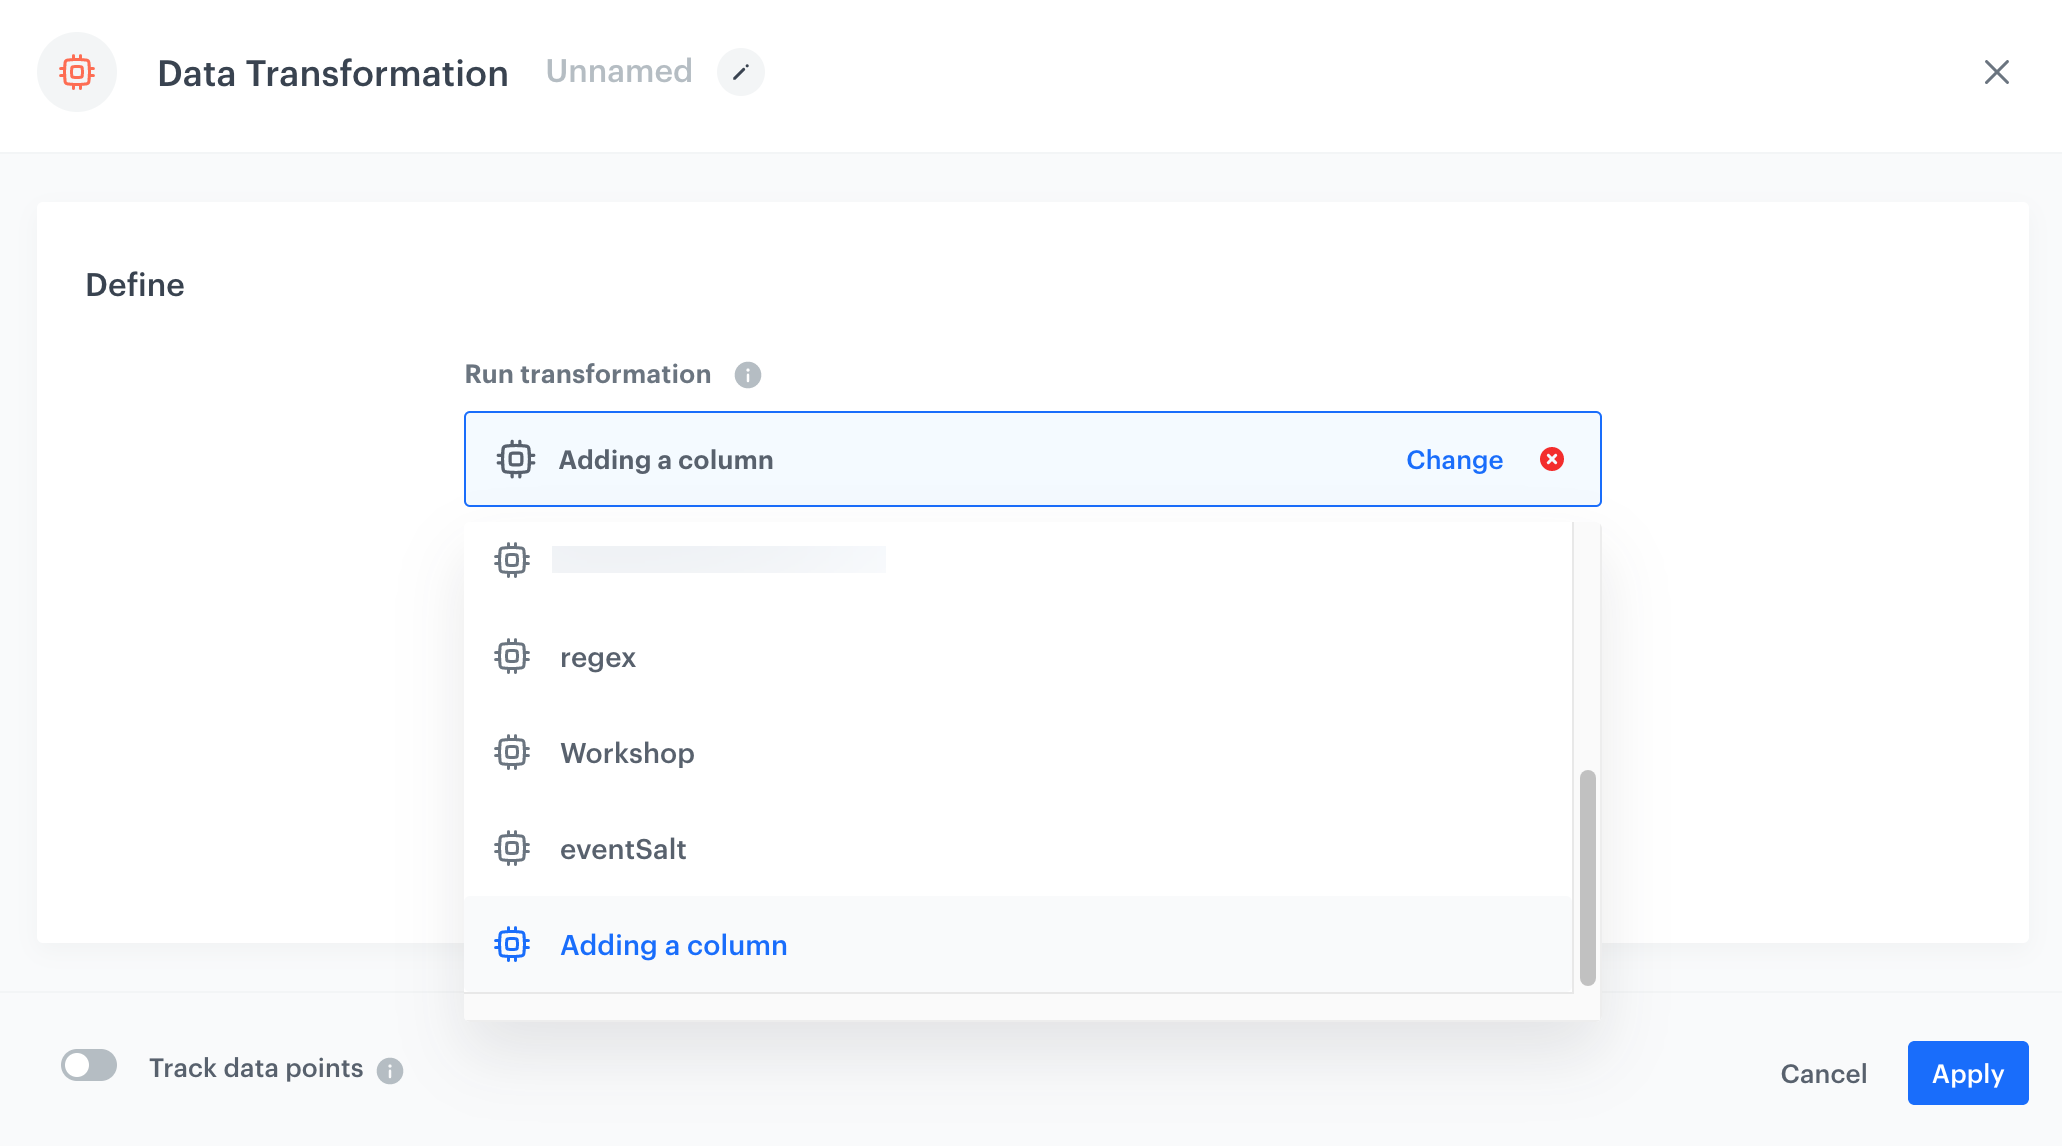
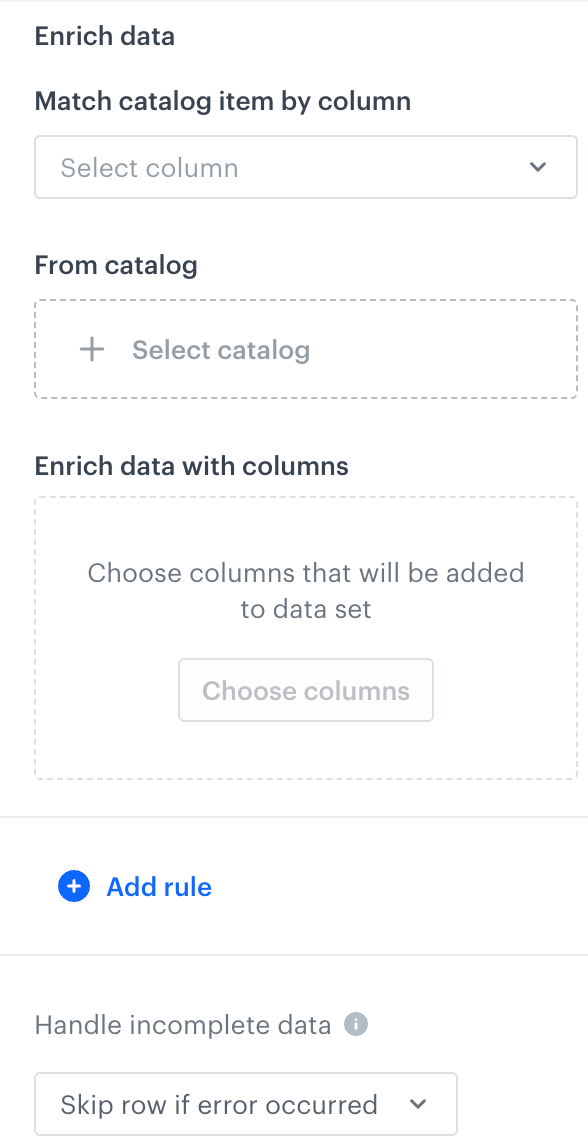


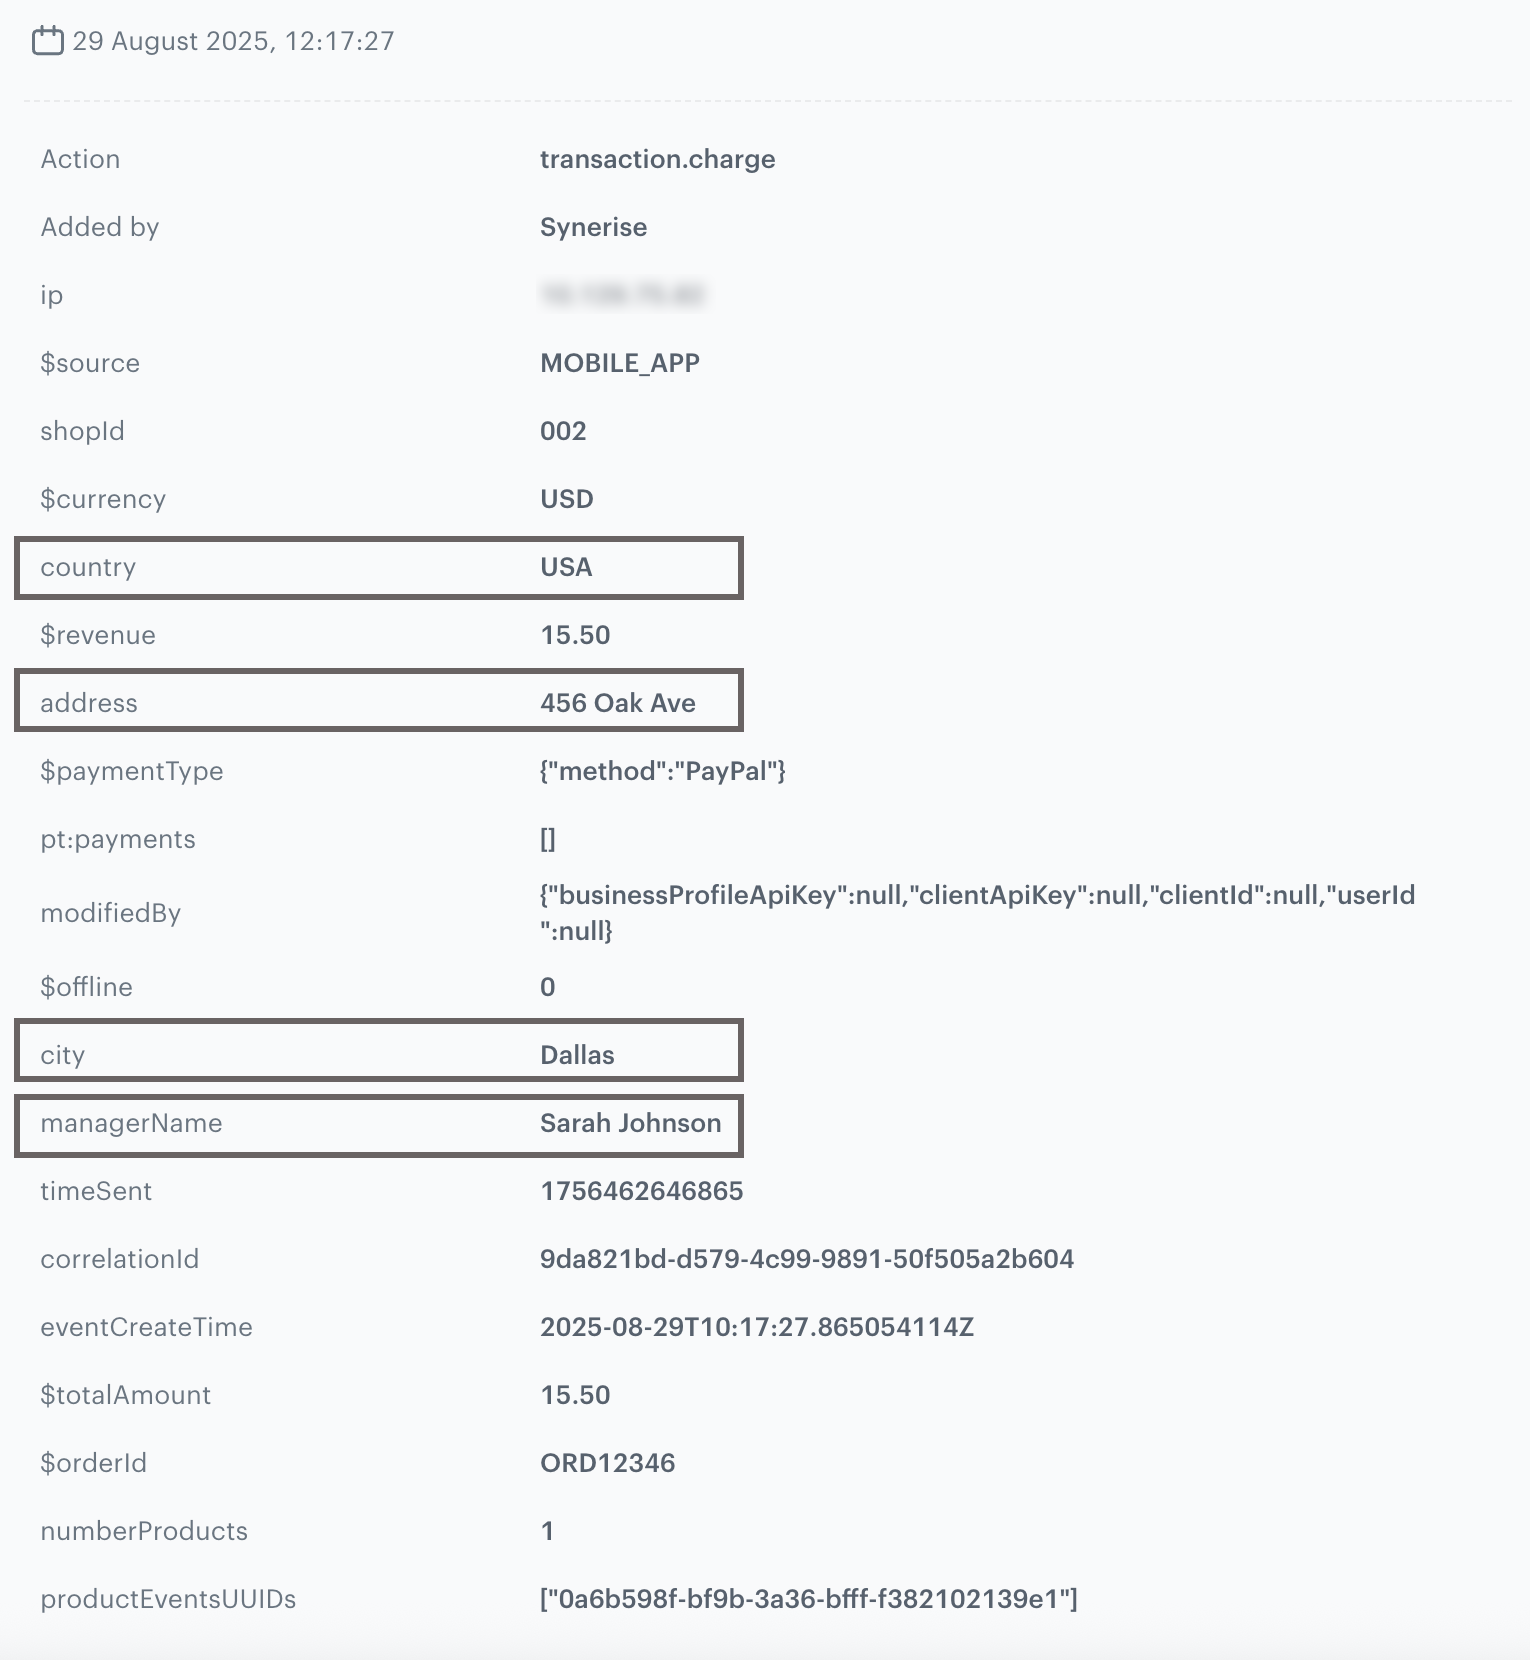
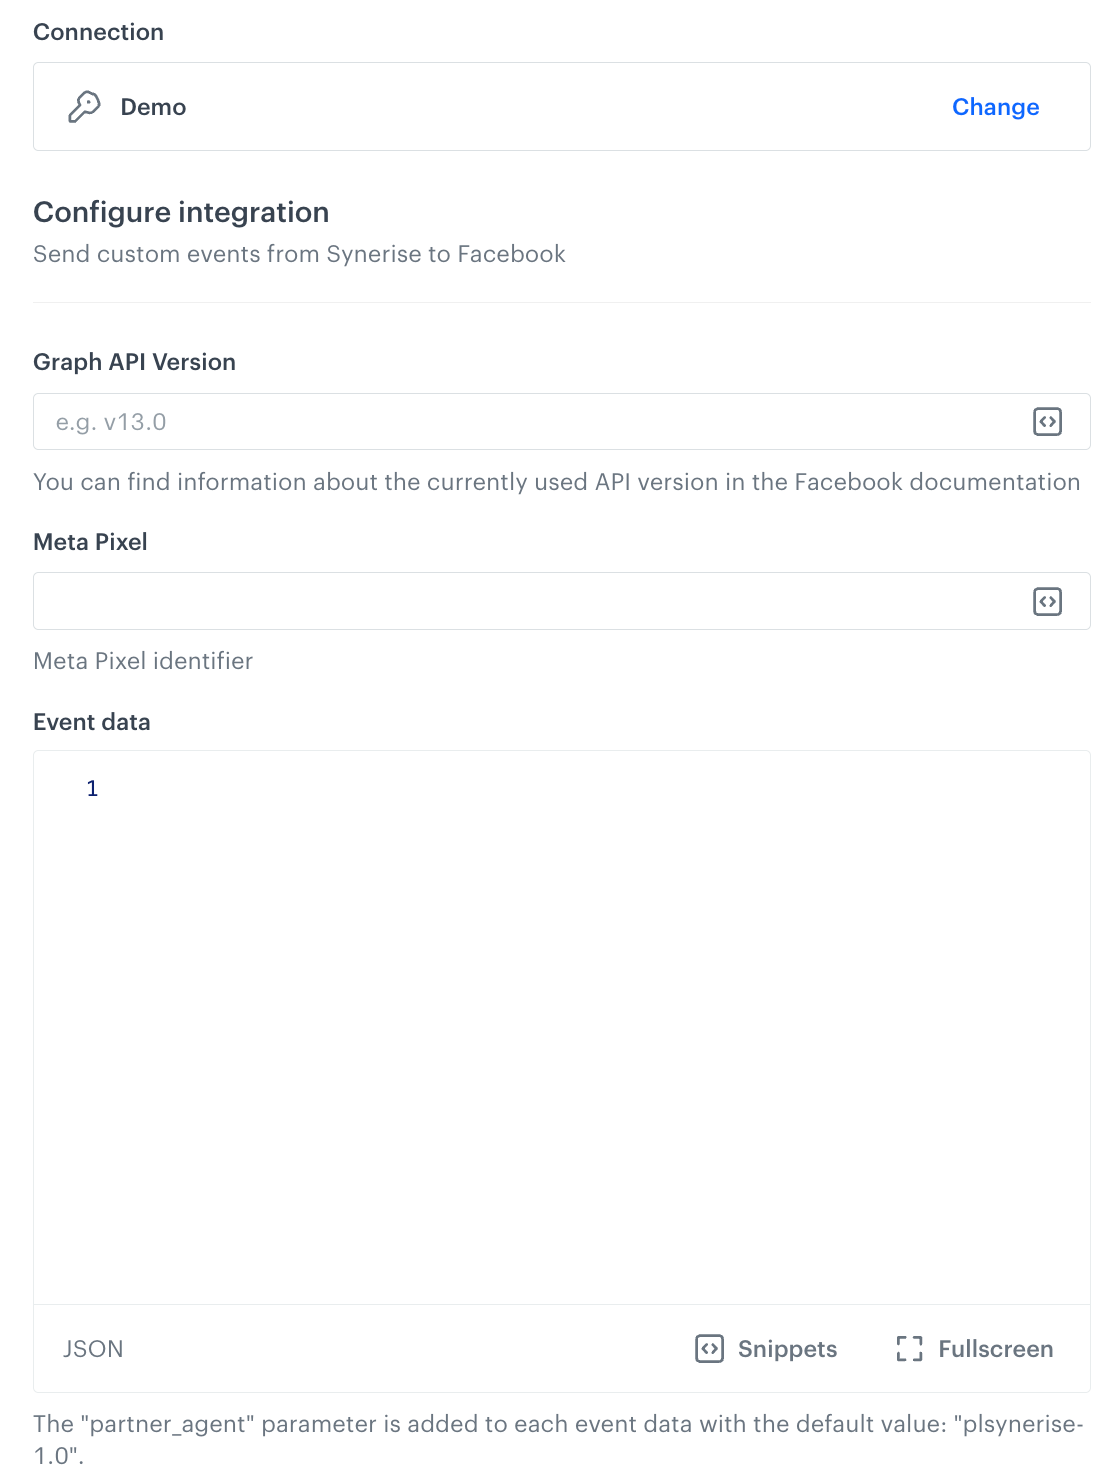
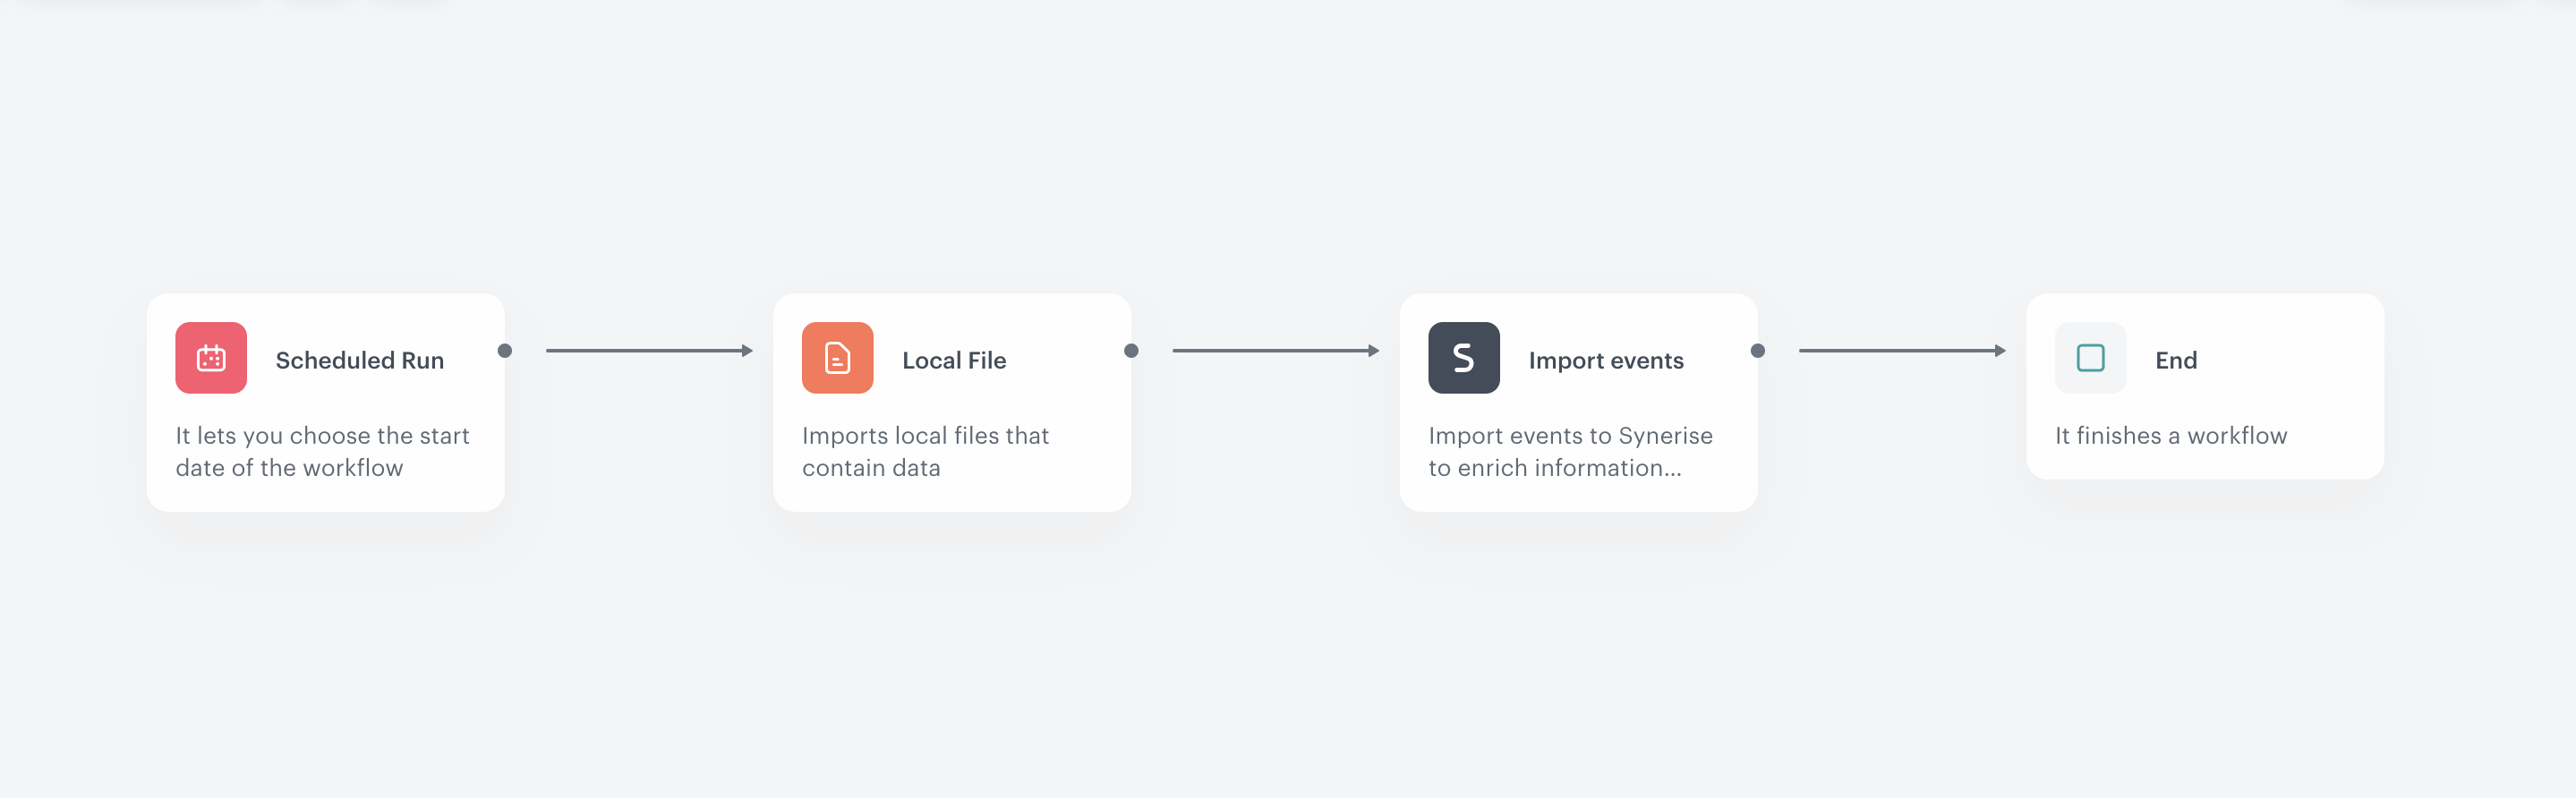
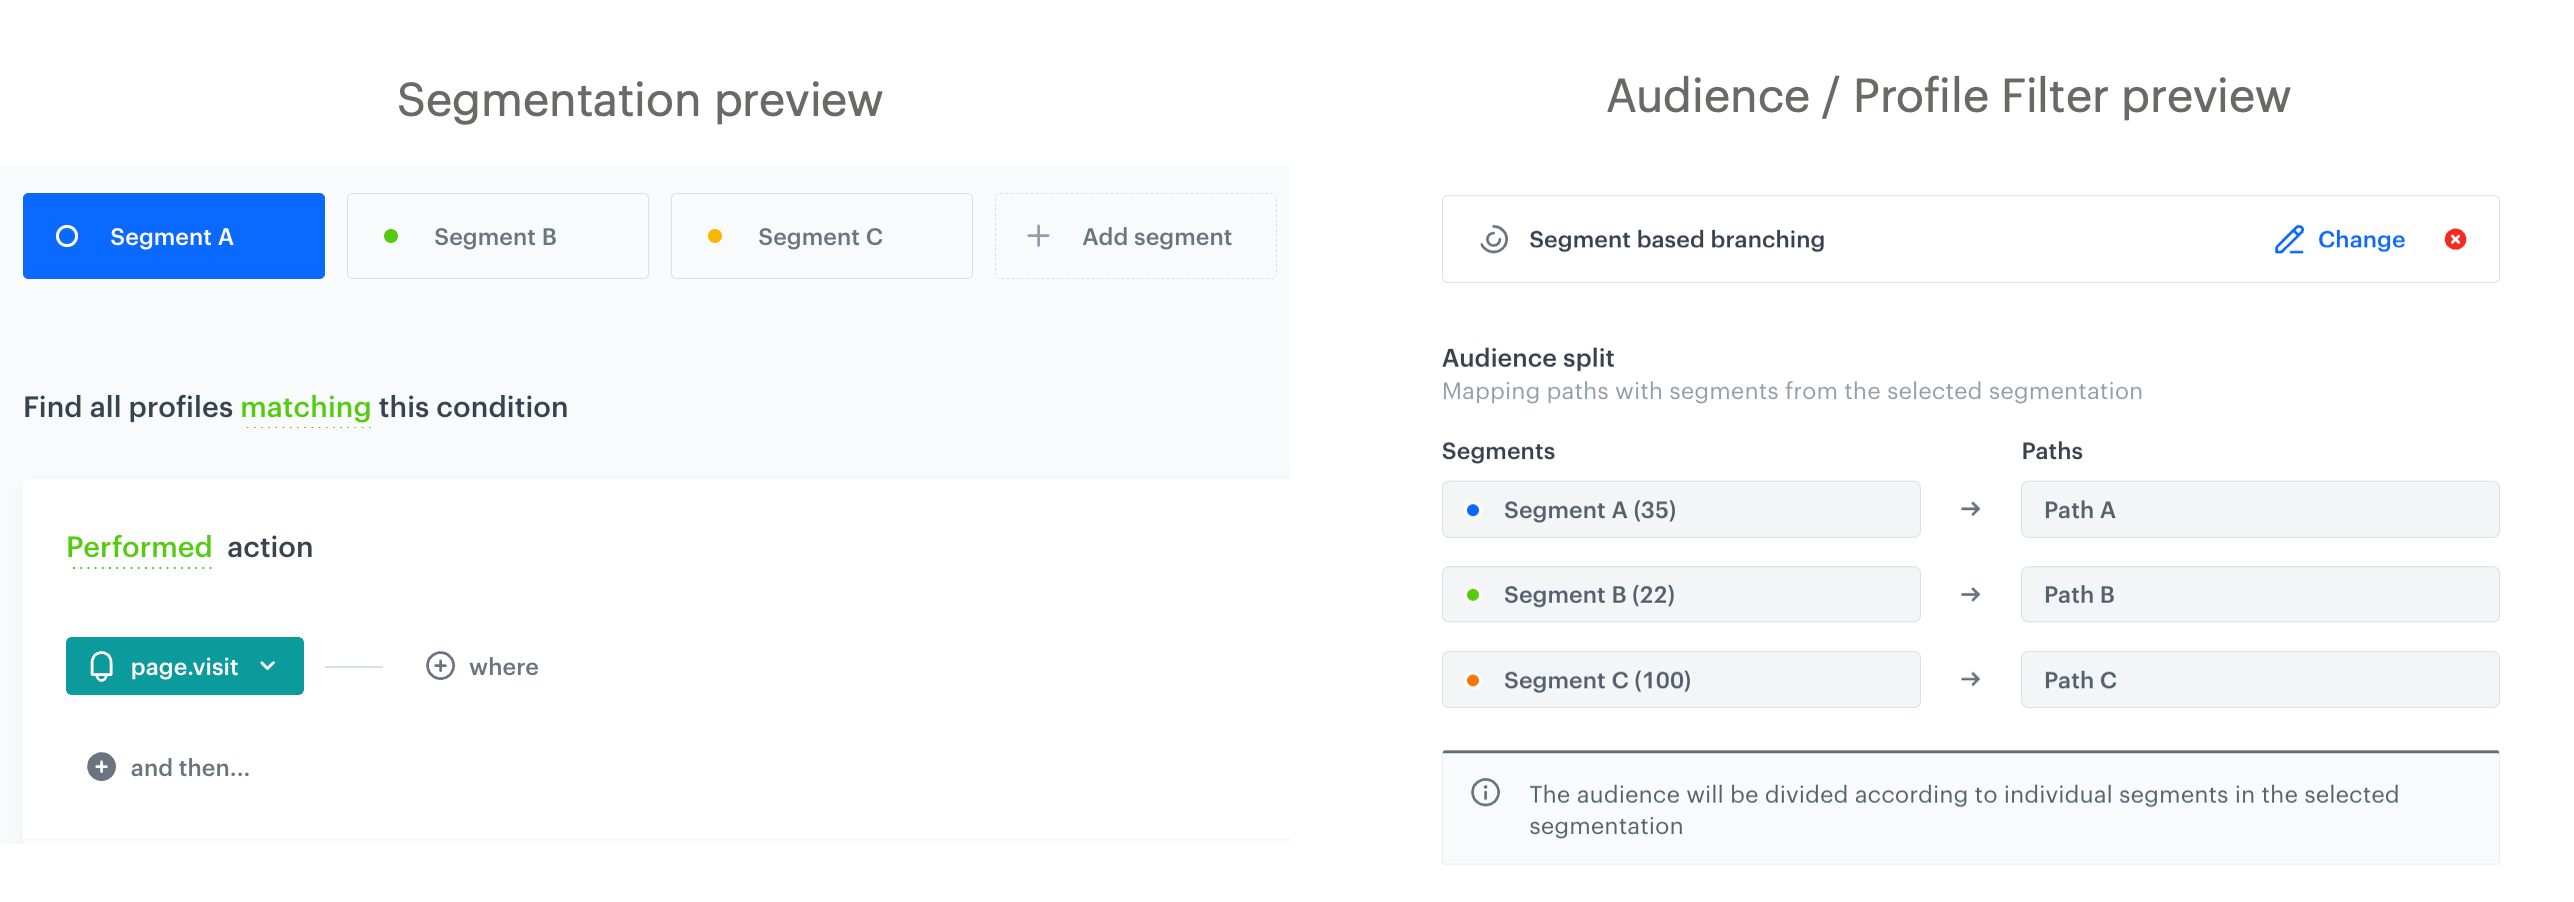
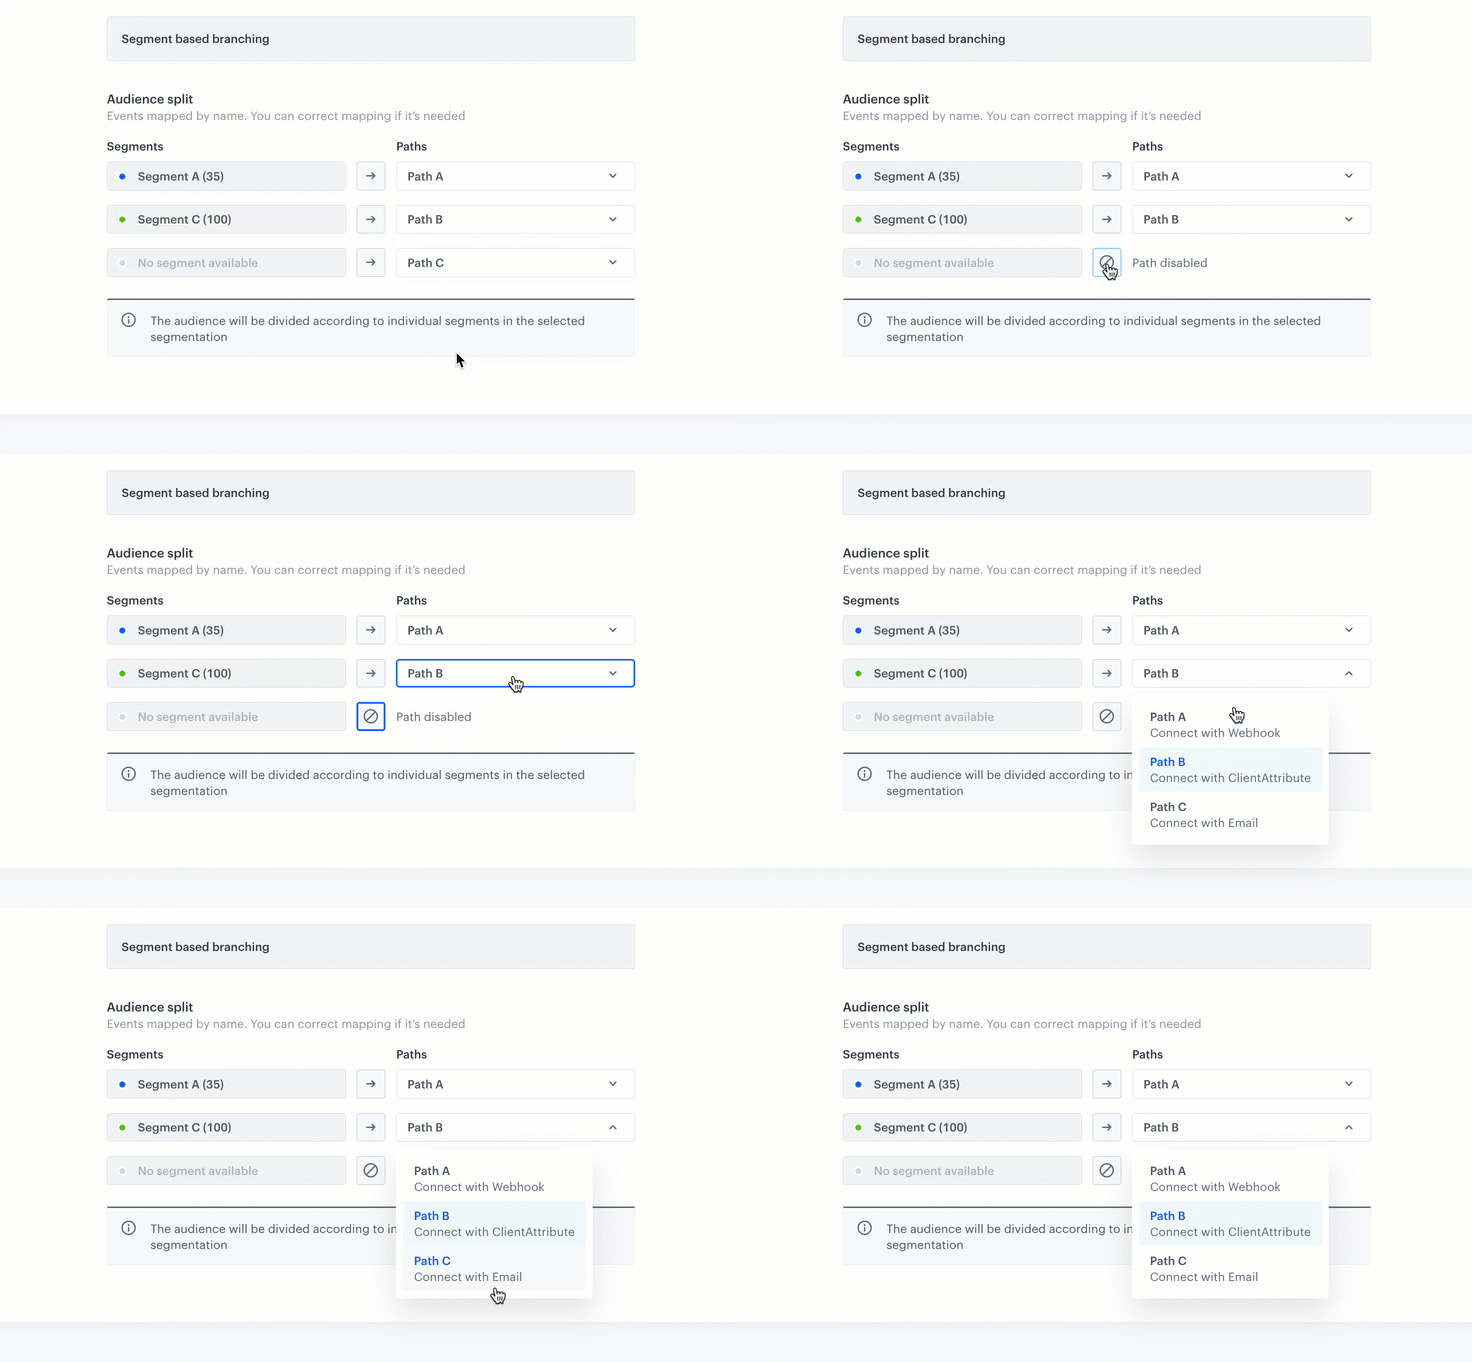
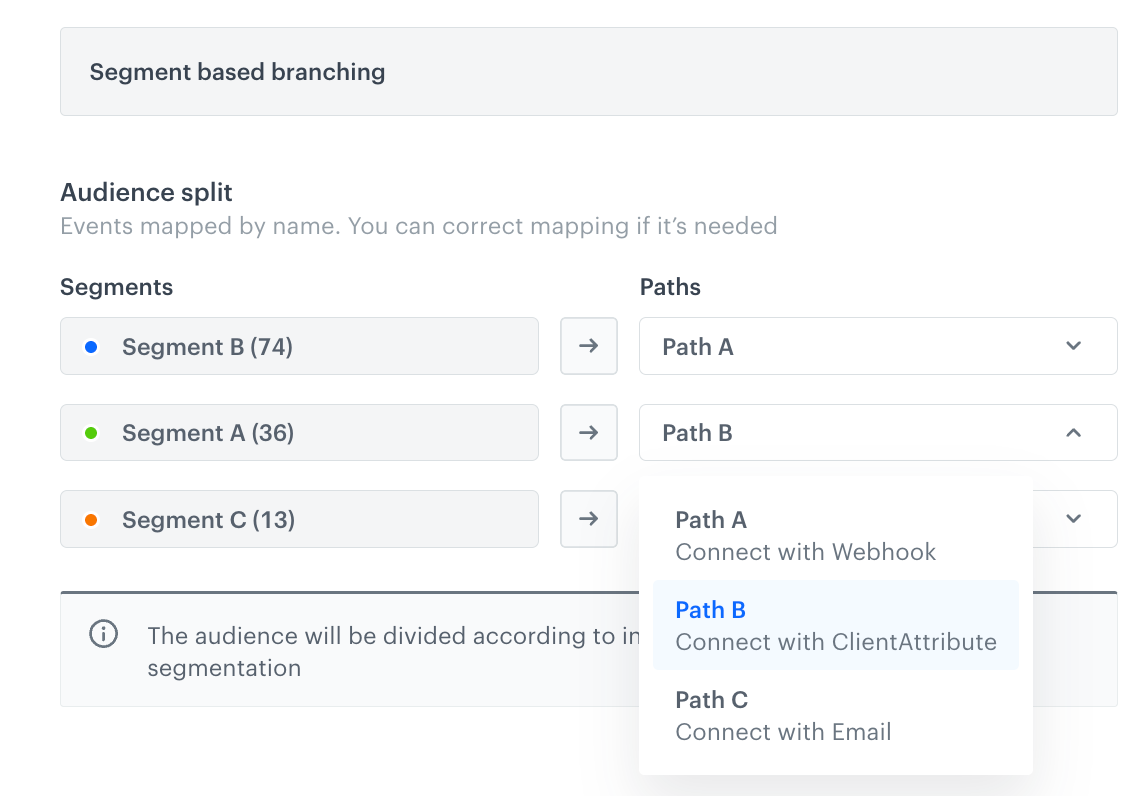
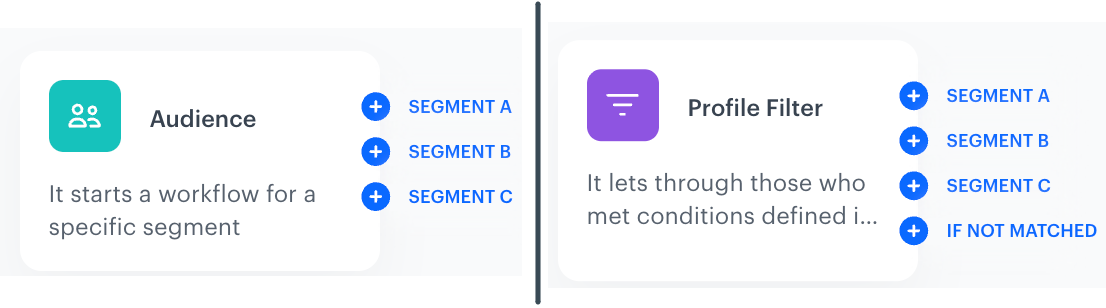
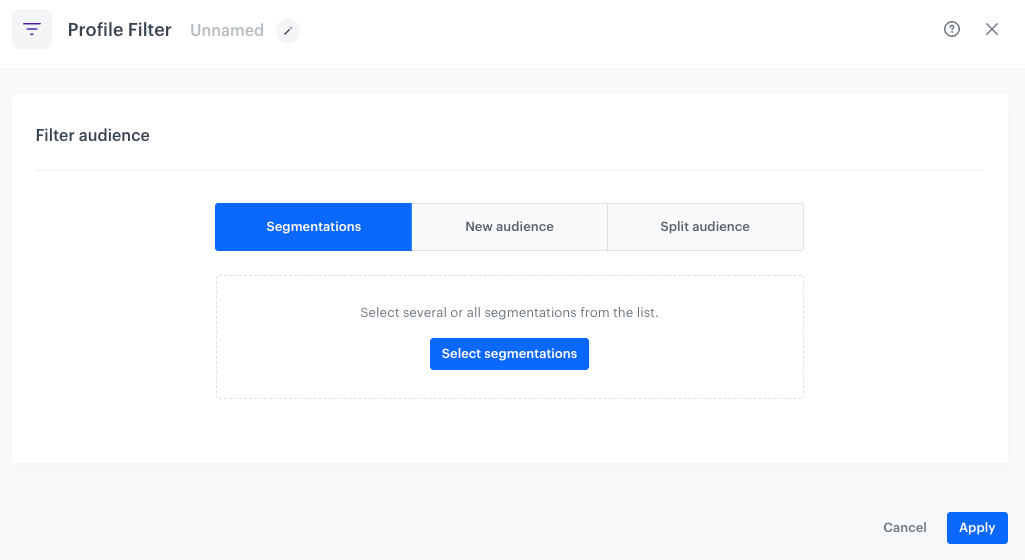
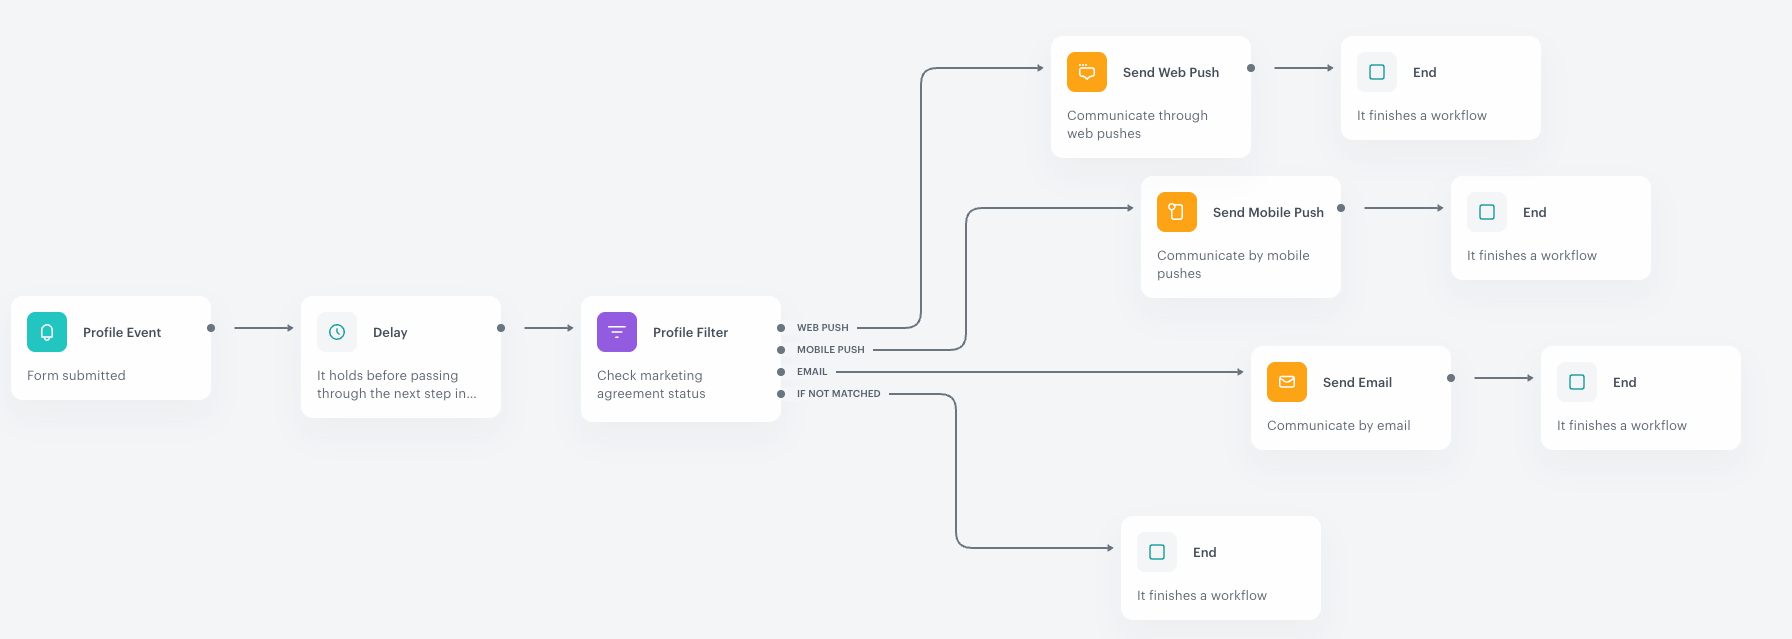
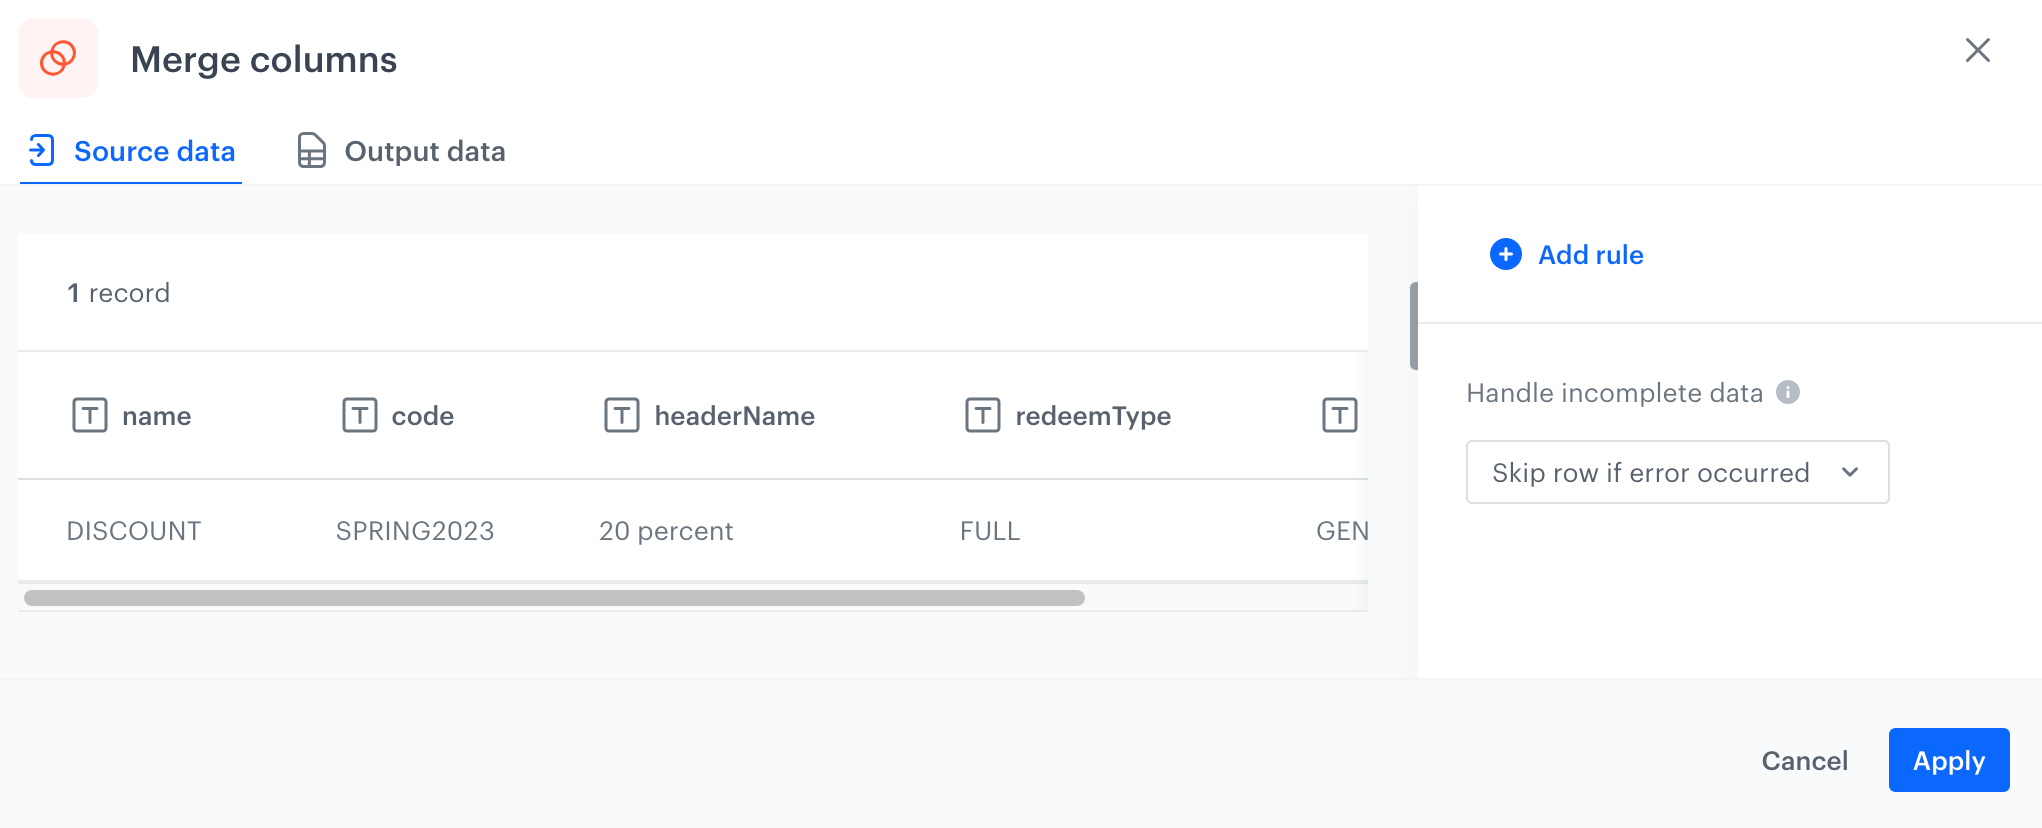
 icon and select the column from the list.
5. In the **New column name** field, enter the name of the column that will be added.
- If you selected **Include these** at the beginning of the procedure, the new column will contain values from columns you selected for merging.
- If you selected **Include all except these** at the beginning of the procedure, the new column will contain values from all the other columns that you didn't select.
6. In the **Separator** field, enter the character which will function as a separator among values of the columns that are being merged.
icon and select the column from the list.
5. In the **New column name** field, enter the name of the column that will be added.
- If you selected **Include these** at the beginning of the procedure, the new column will contain values from columns you selected for merging.
- If you selected **Include all except these** at the beginning of the procedure, the new column will contain values from all the other columns that you didn't select.
6. In the **Separator** field, enter the character which will function as a separator among values of the columns that are being merged.
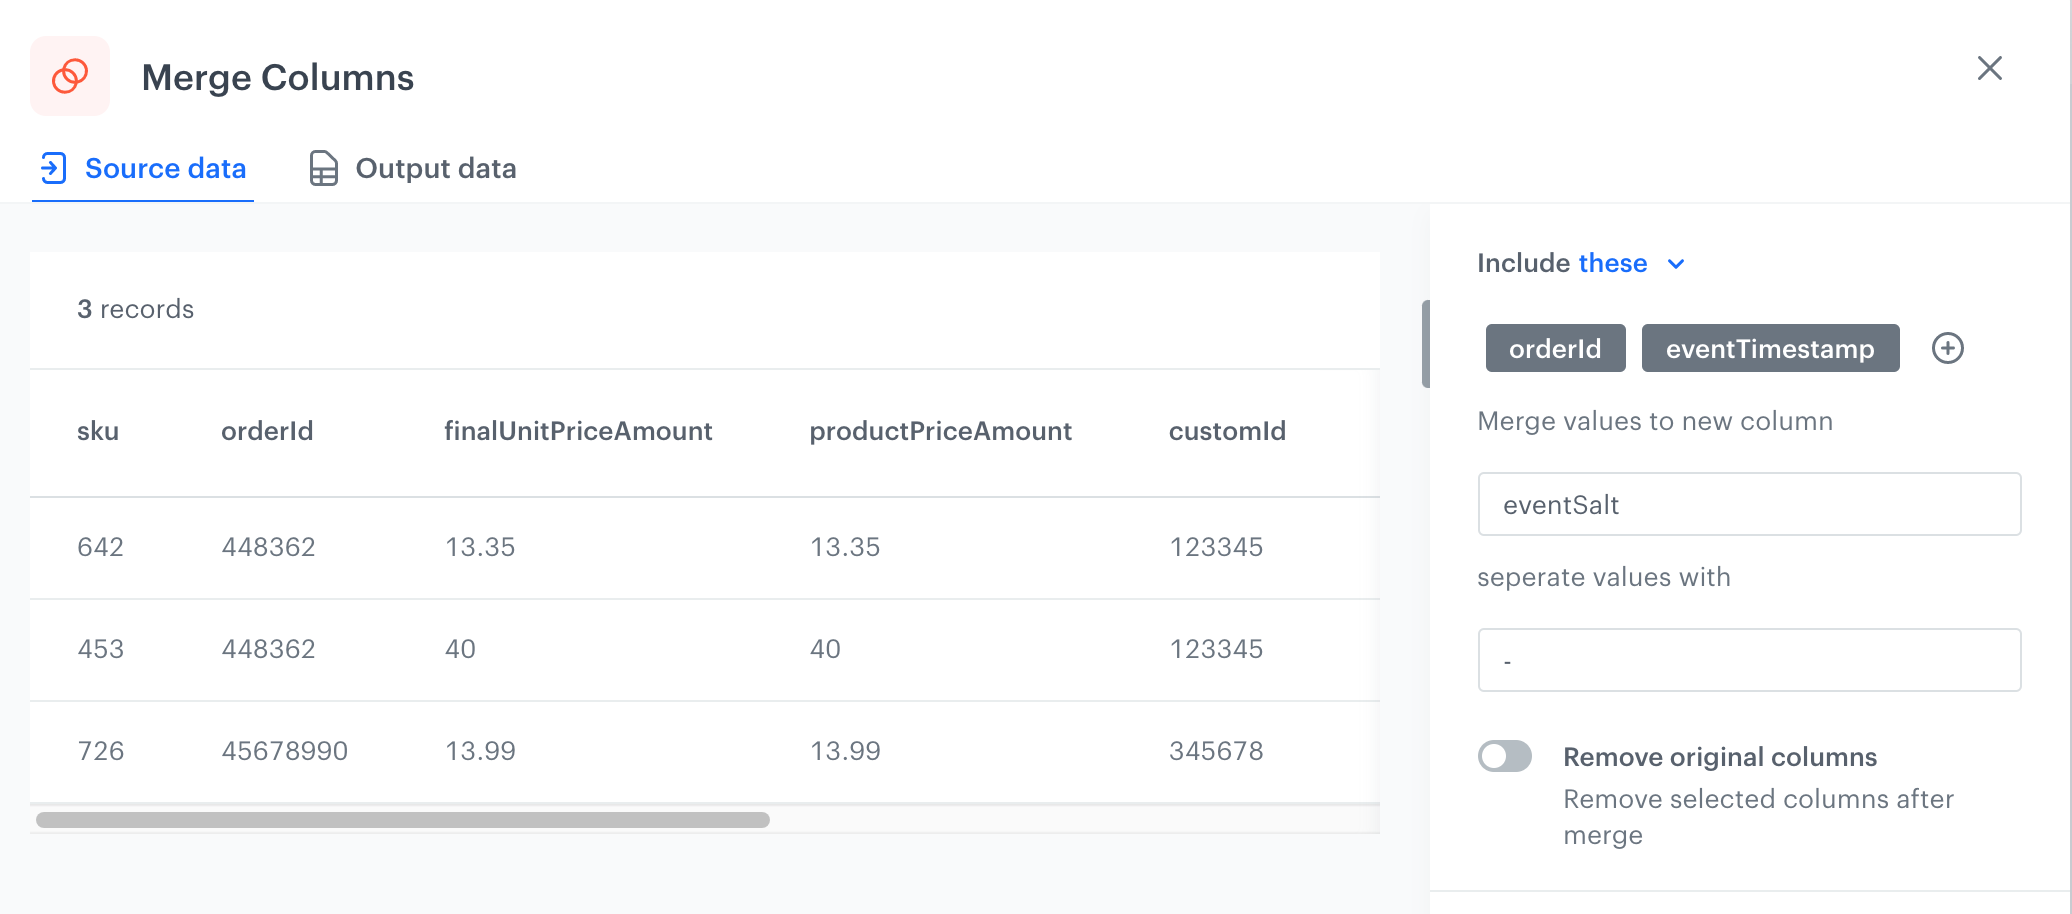
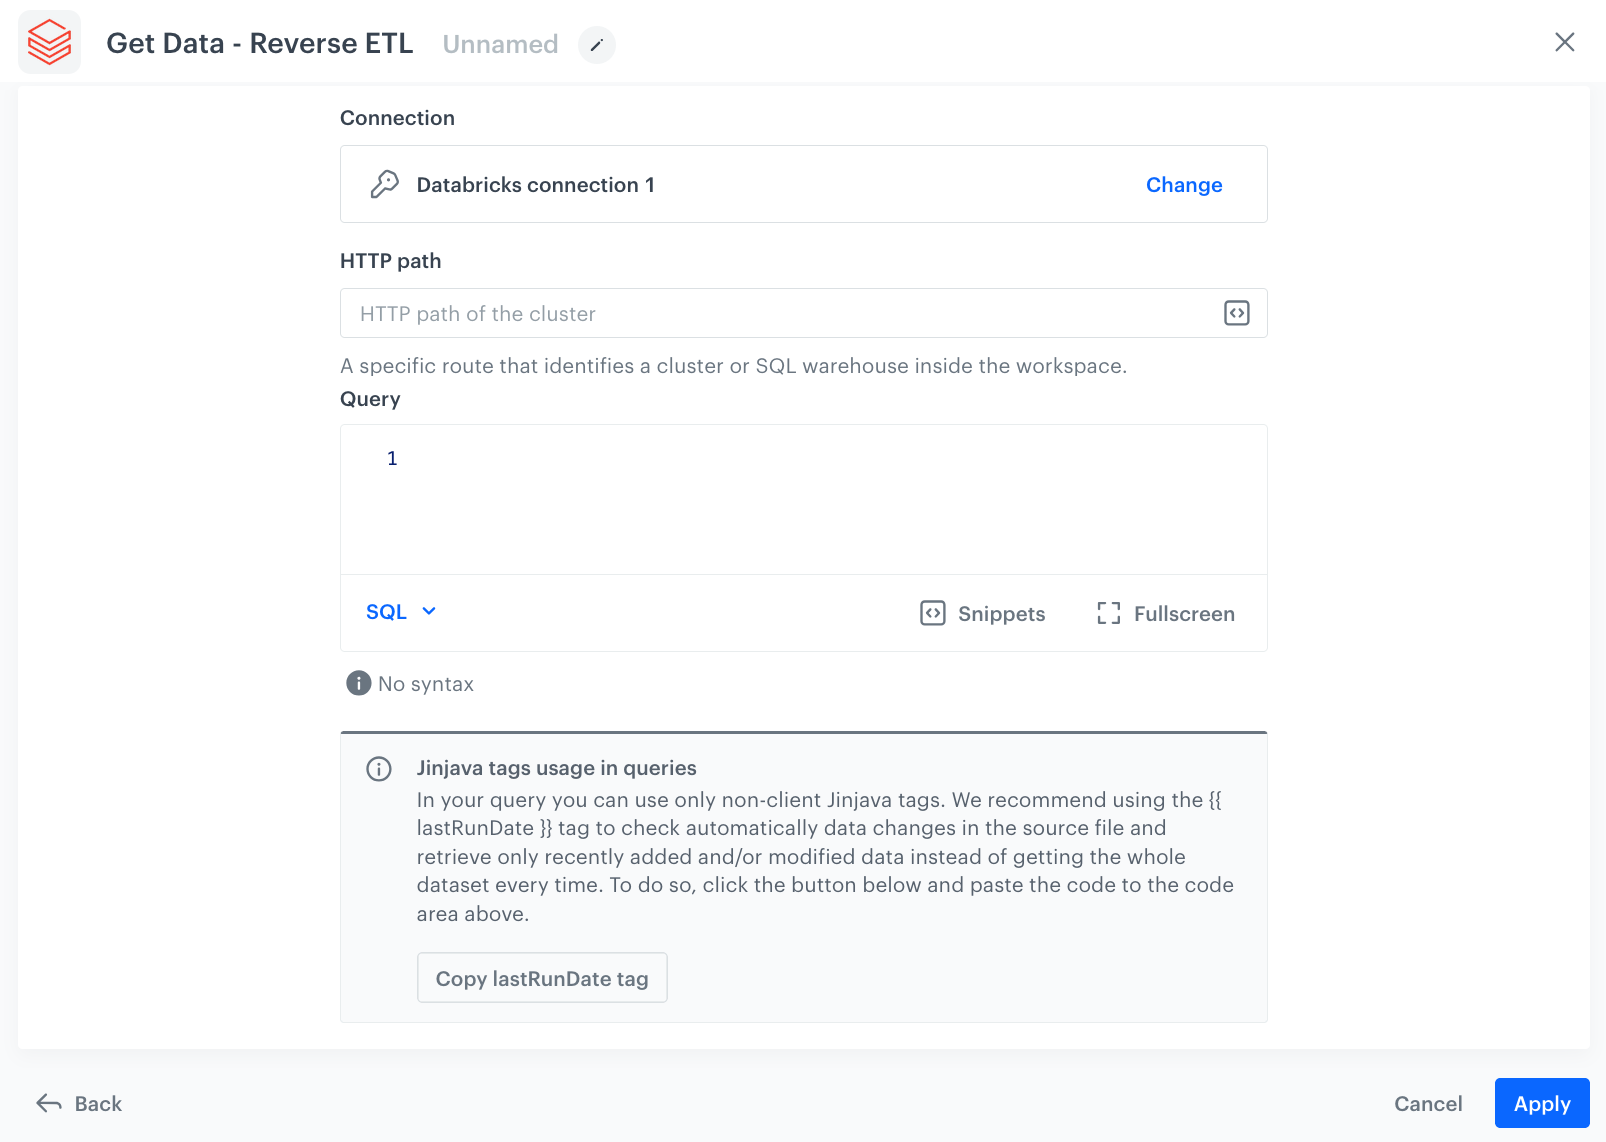

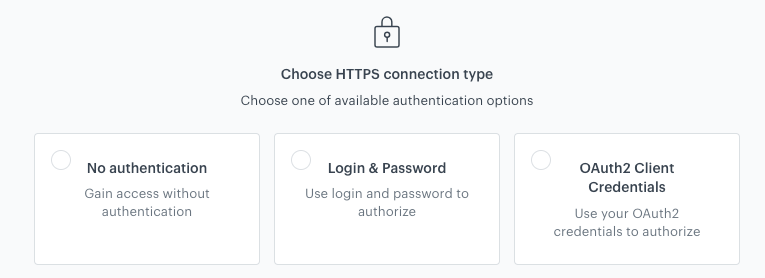
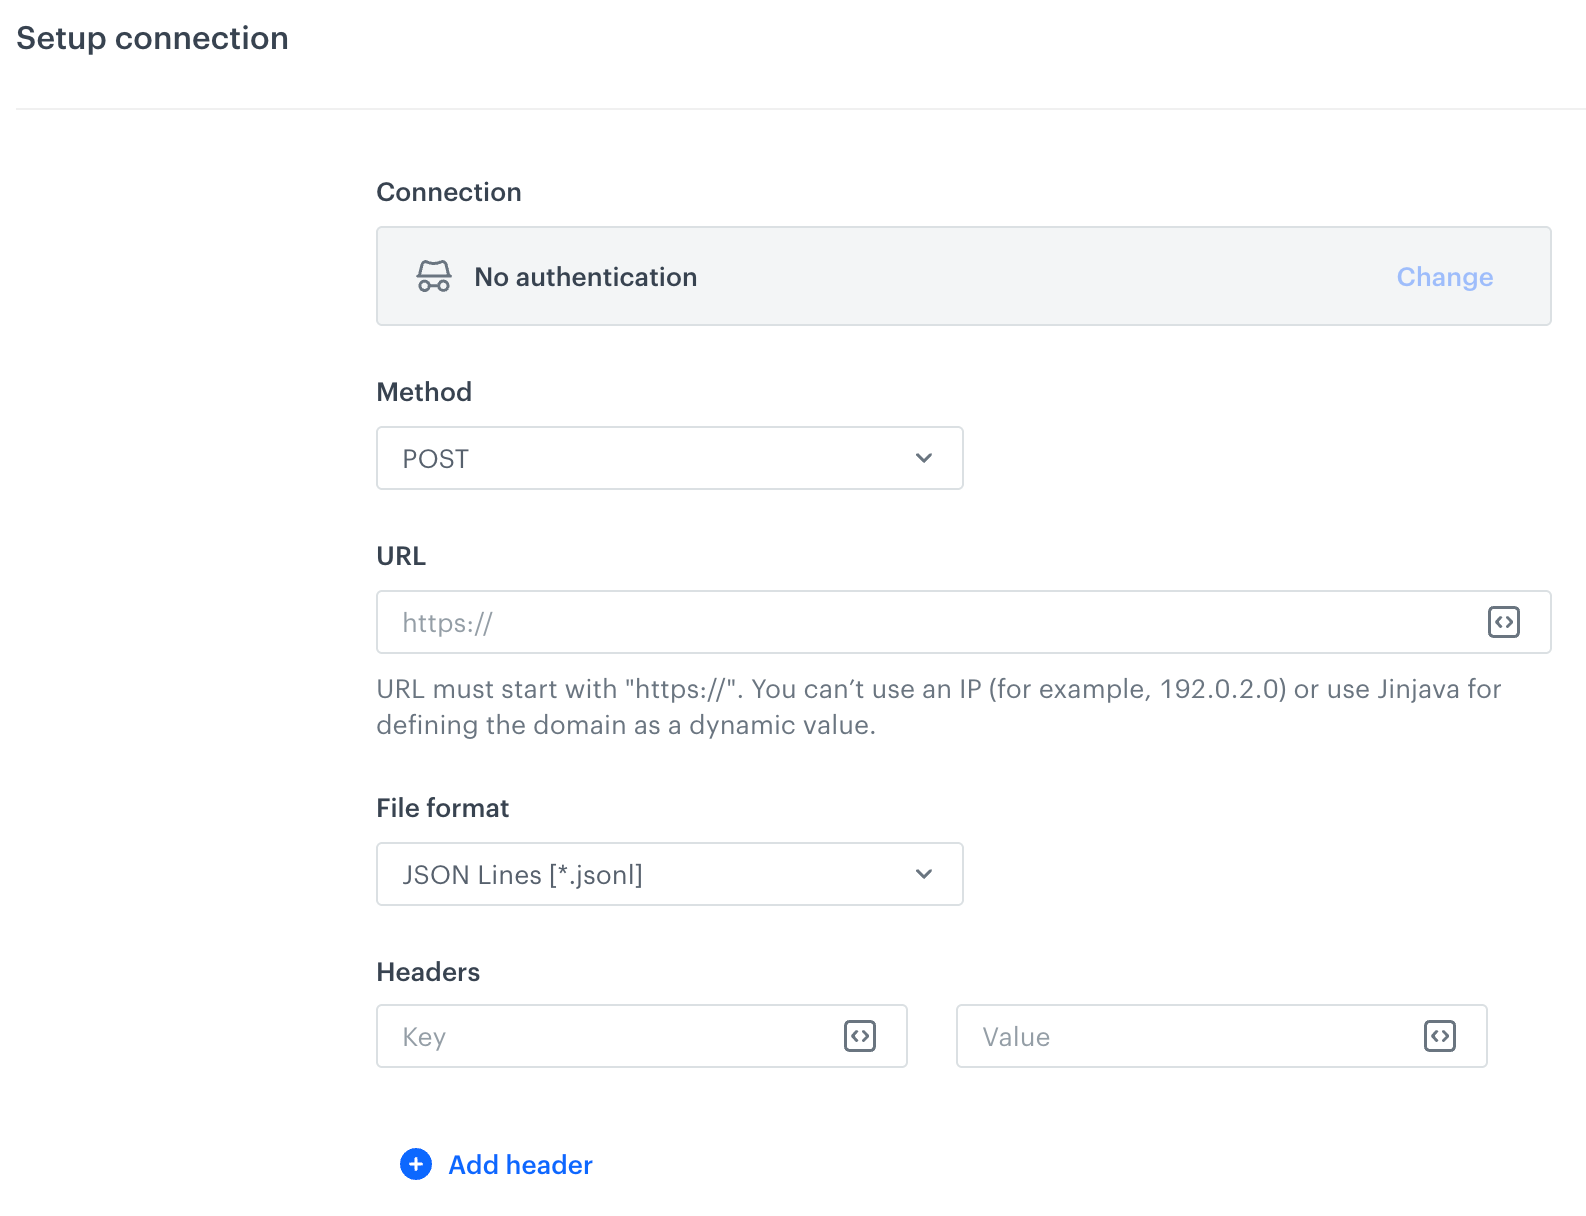

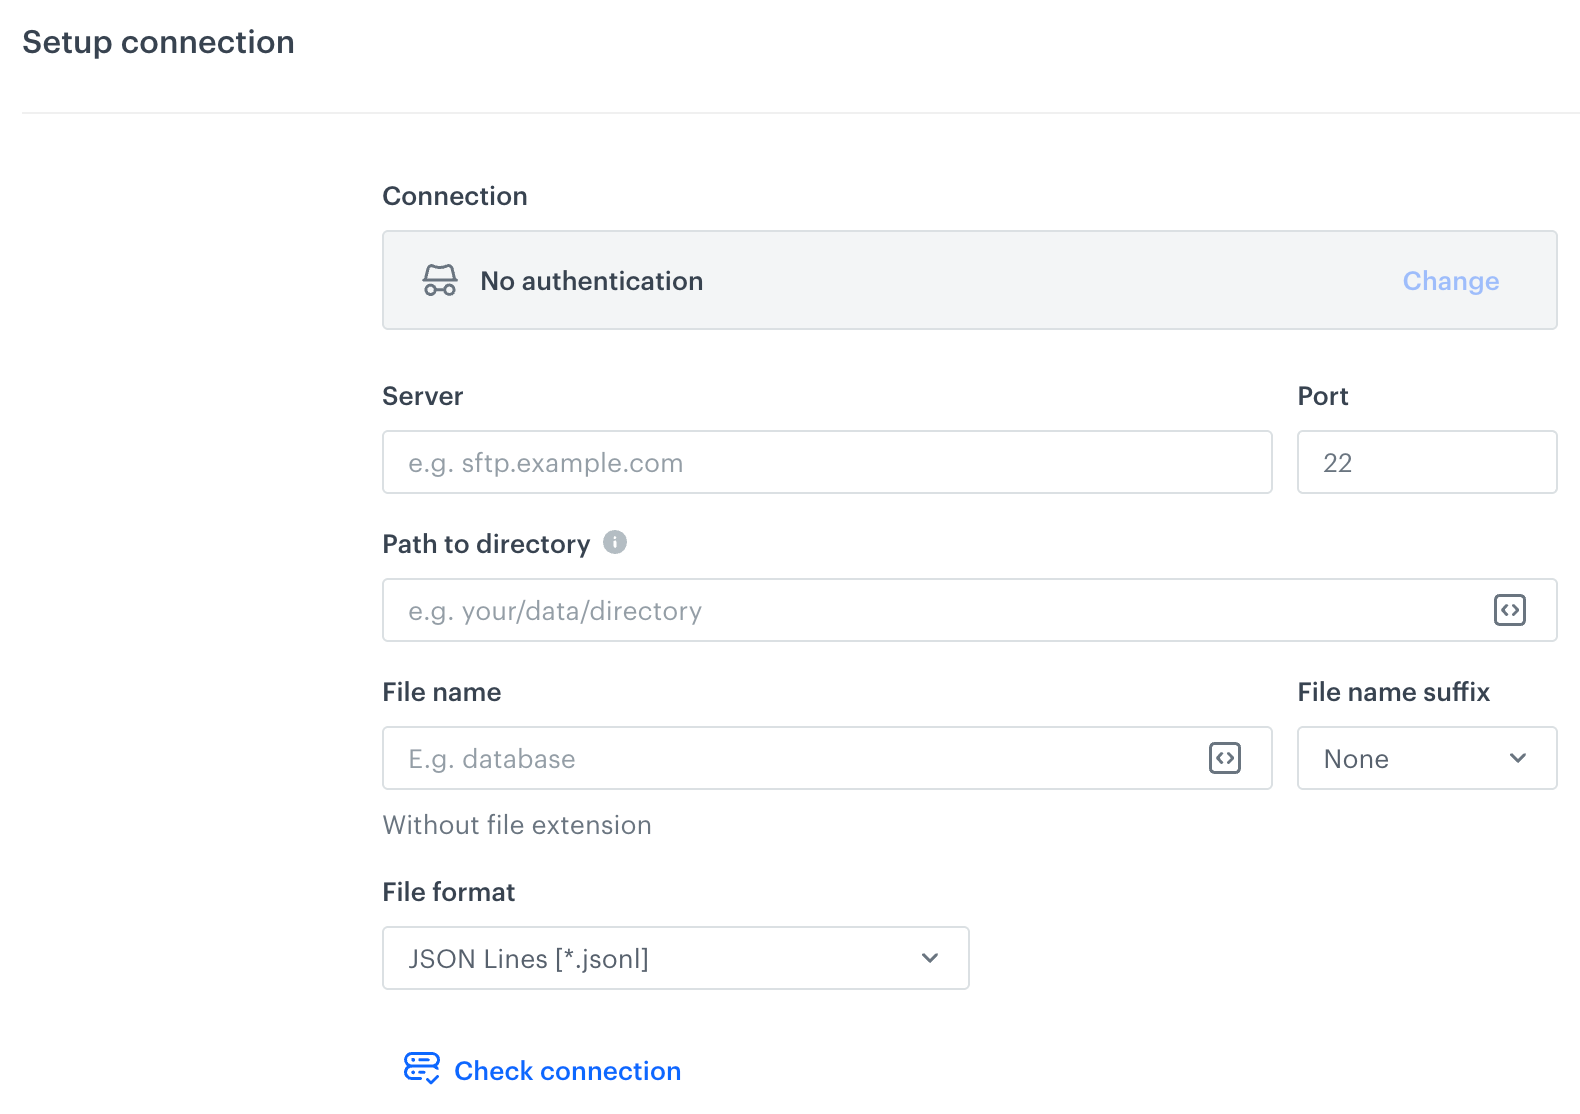
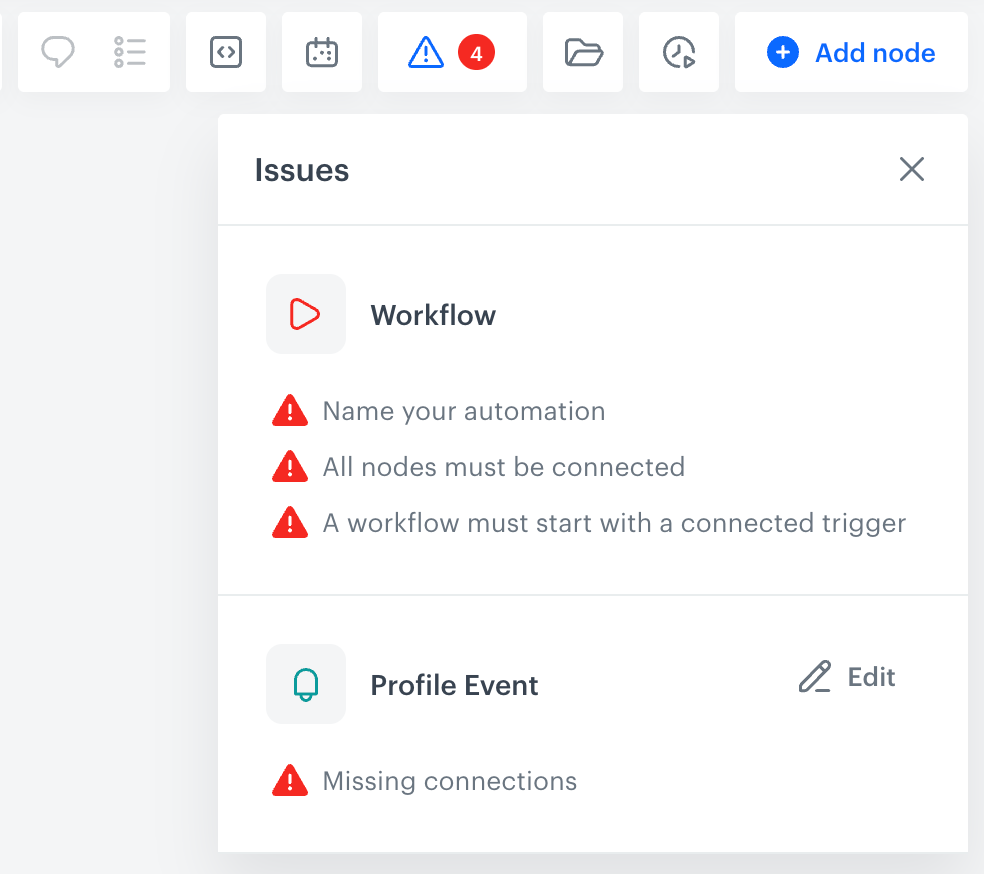
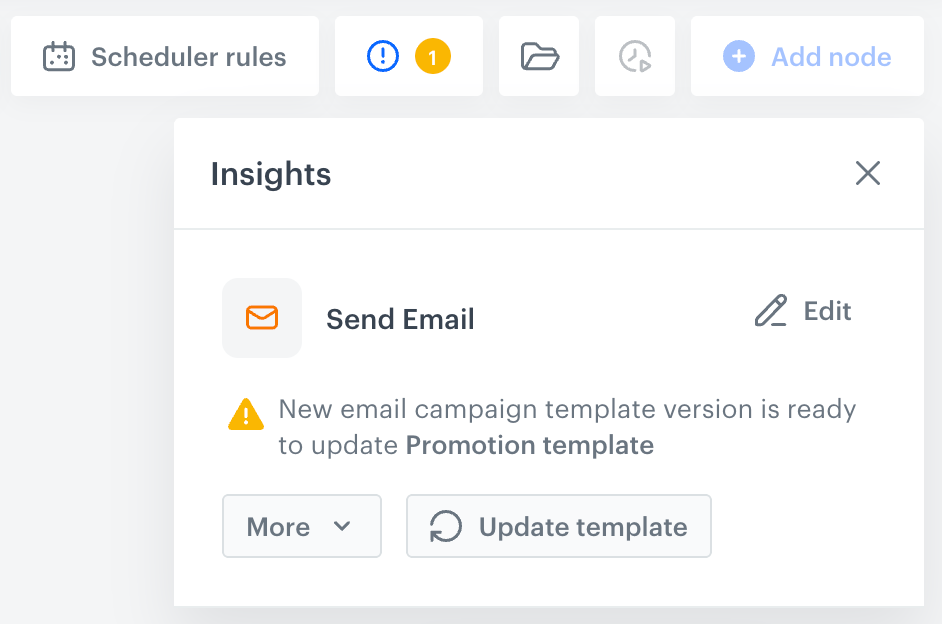
 , you can [add notes to nodes](#adding-notes) in a workflow to inform other users about the purpose and assumptions of the node.
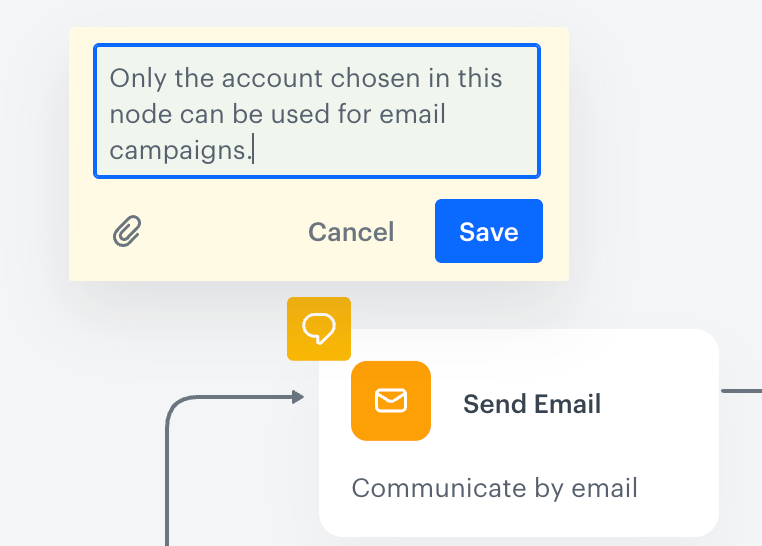
 , you can define an automatic change or changes of the workflow status. This option lets you create schedule rules according to which the workflow changes status at a given date and time.
You can find the detailed instructions in the [Workflow scheduler](/docs/automation/workflow-scheduler) article.
- By clicking
, you can define an automatic change or changes of the workflow status. This option lets you create schedule rules according to which the workflow changes status at a given date and time.
You can find the detailed instructions in the [Workflow scheduler](/docs/automation/workflow-scheduler) article.
- By clicking  , you can get information about objects used in a workflow, such as segmentations, metrics, templates, email and SMS accounts, connections, and outgoing integrations (includes only integrations which are available in **Automation Hub > Outgoing**), and open the configuration of each in a separate tab.
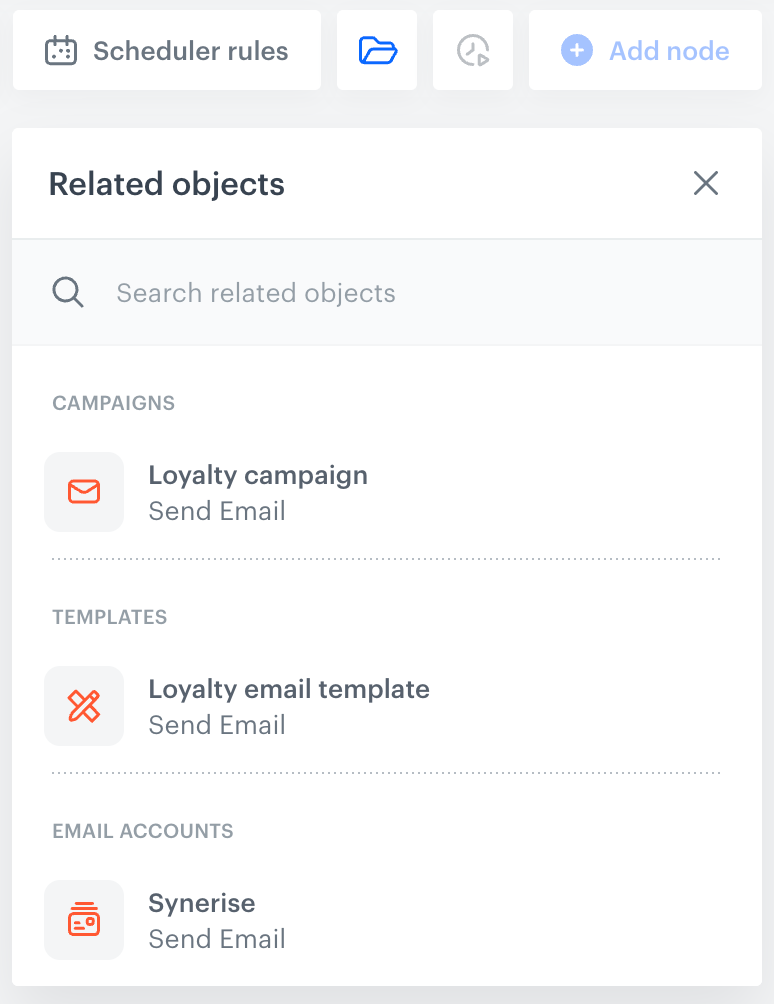
 , you can use workflow [limits](/docs/automation/automation-capping) that let you restrict the number of repetitions in the context of a particular workflow and nodes used in a workflow, as well as ignore the global limit of messages.
- By clicking **Add node**, you can select any node to add at a random place on a canvas.
7. You can [preview node statistics](/docs/automation/automation-activity-tracking) for activated workflows and access [Control Center](/docs/automation/automation-control-center) to get a comprehensive overview of activities within the Automation Hub.
, you can use workflow [limits](/docs/automation/automation-capping) that let you restrict the number of repetitions in the context of a particular workflow and nodes used in a workflow, as well as ignore the global limit of messages.
- By clicking **Add node**, you can select any node to add at a random place on a canvas.
7. You can [preview node statistics](/docs/automation/automation-activity-tracking) for activated workflows and access [Control Center](/docs/automation/automation-control-center) to get a comprehensive overview of activities within the Automation Hub.
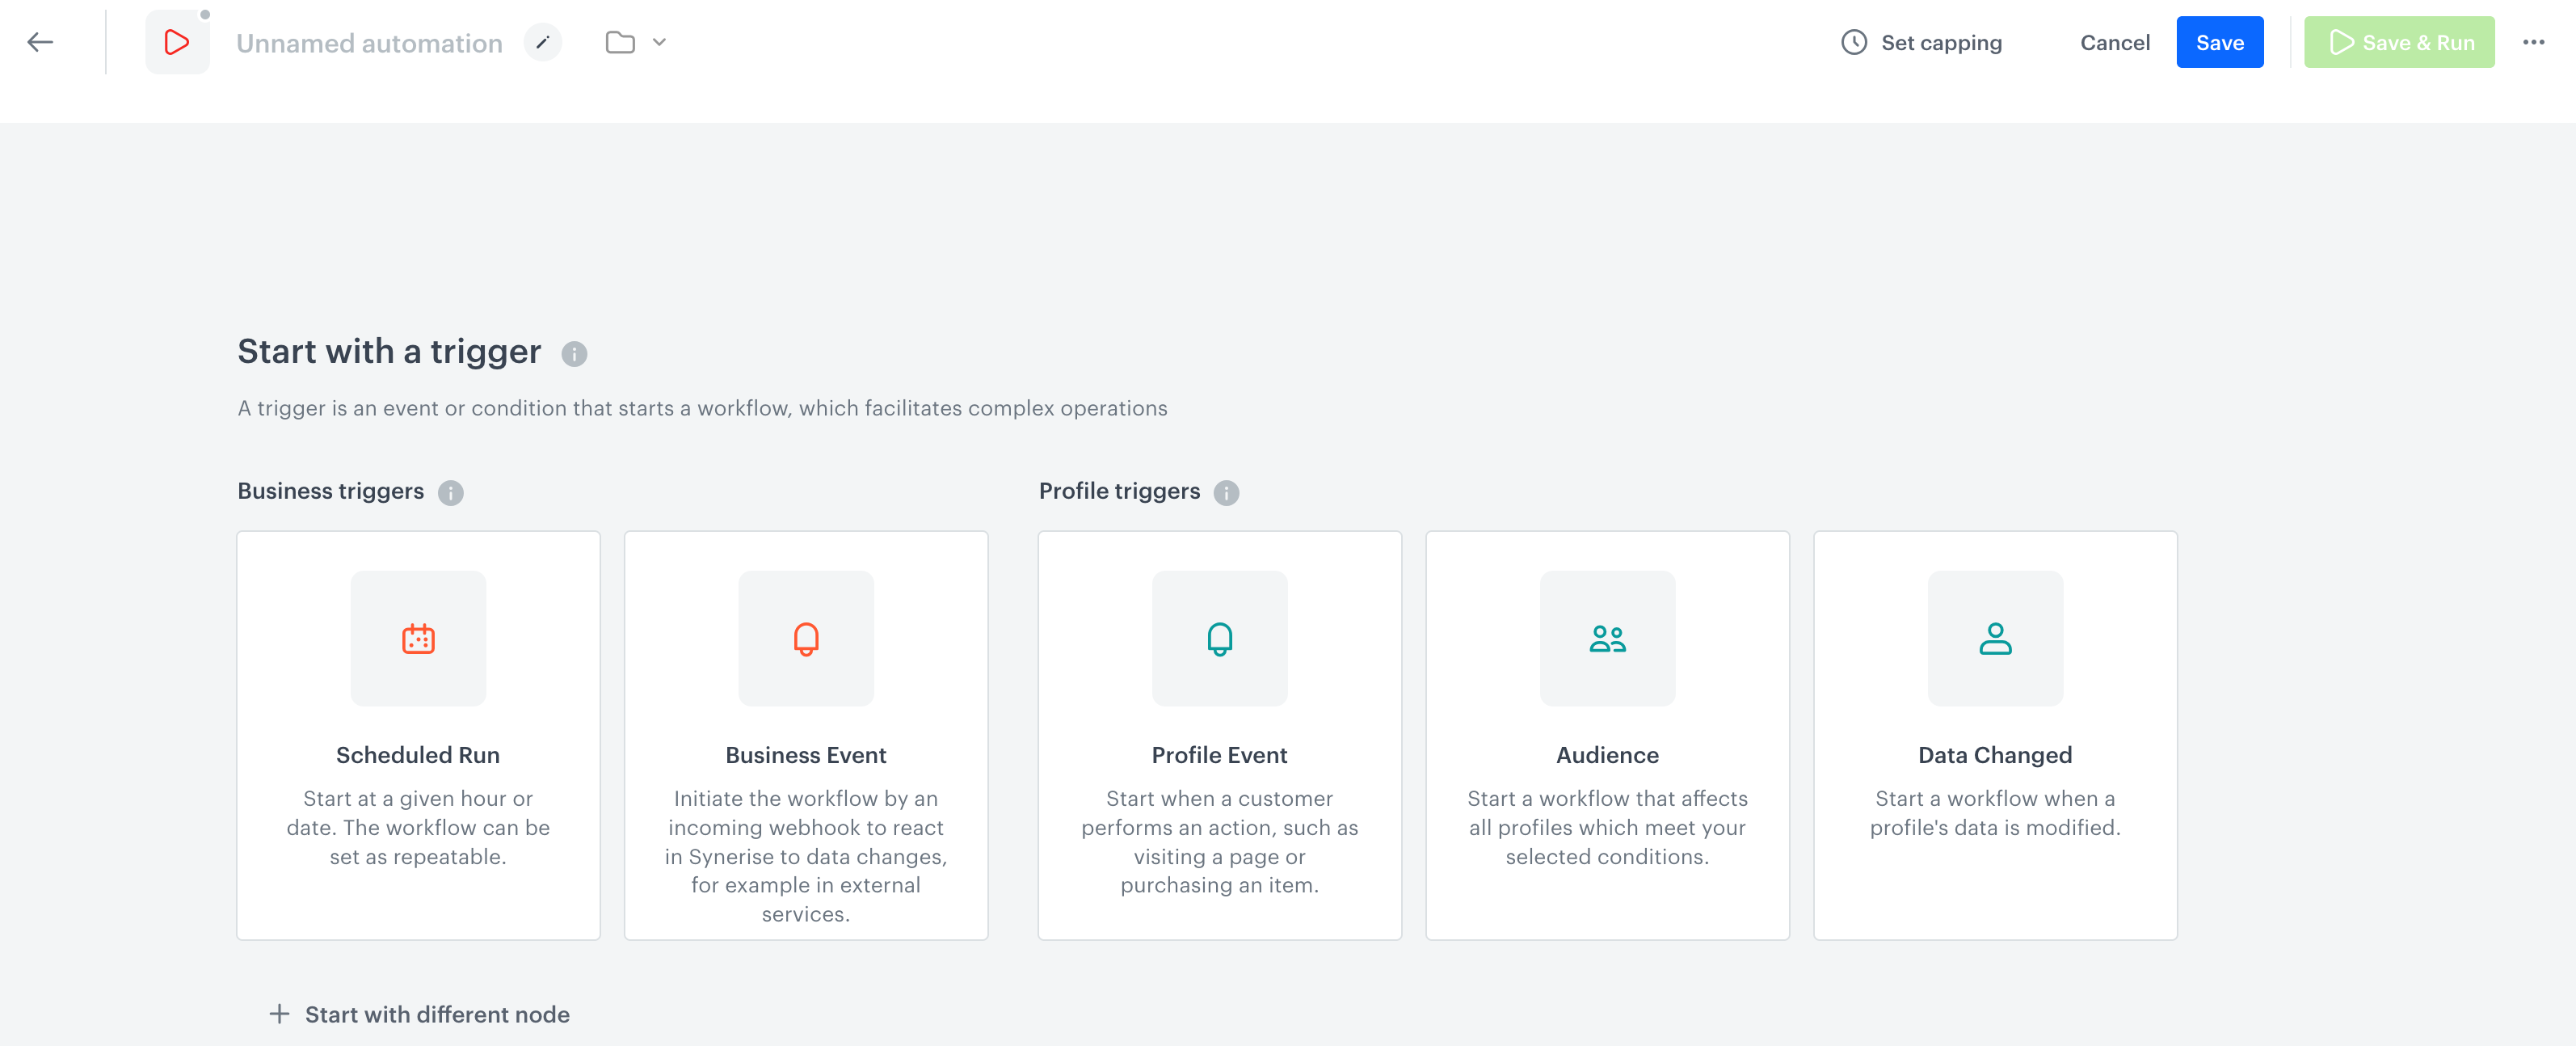
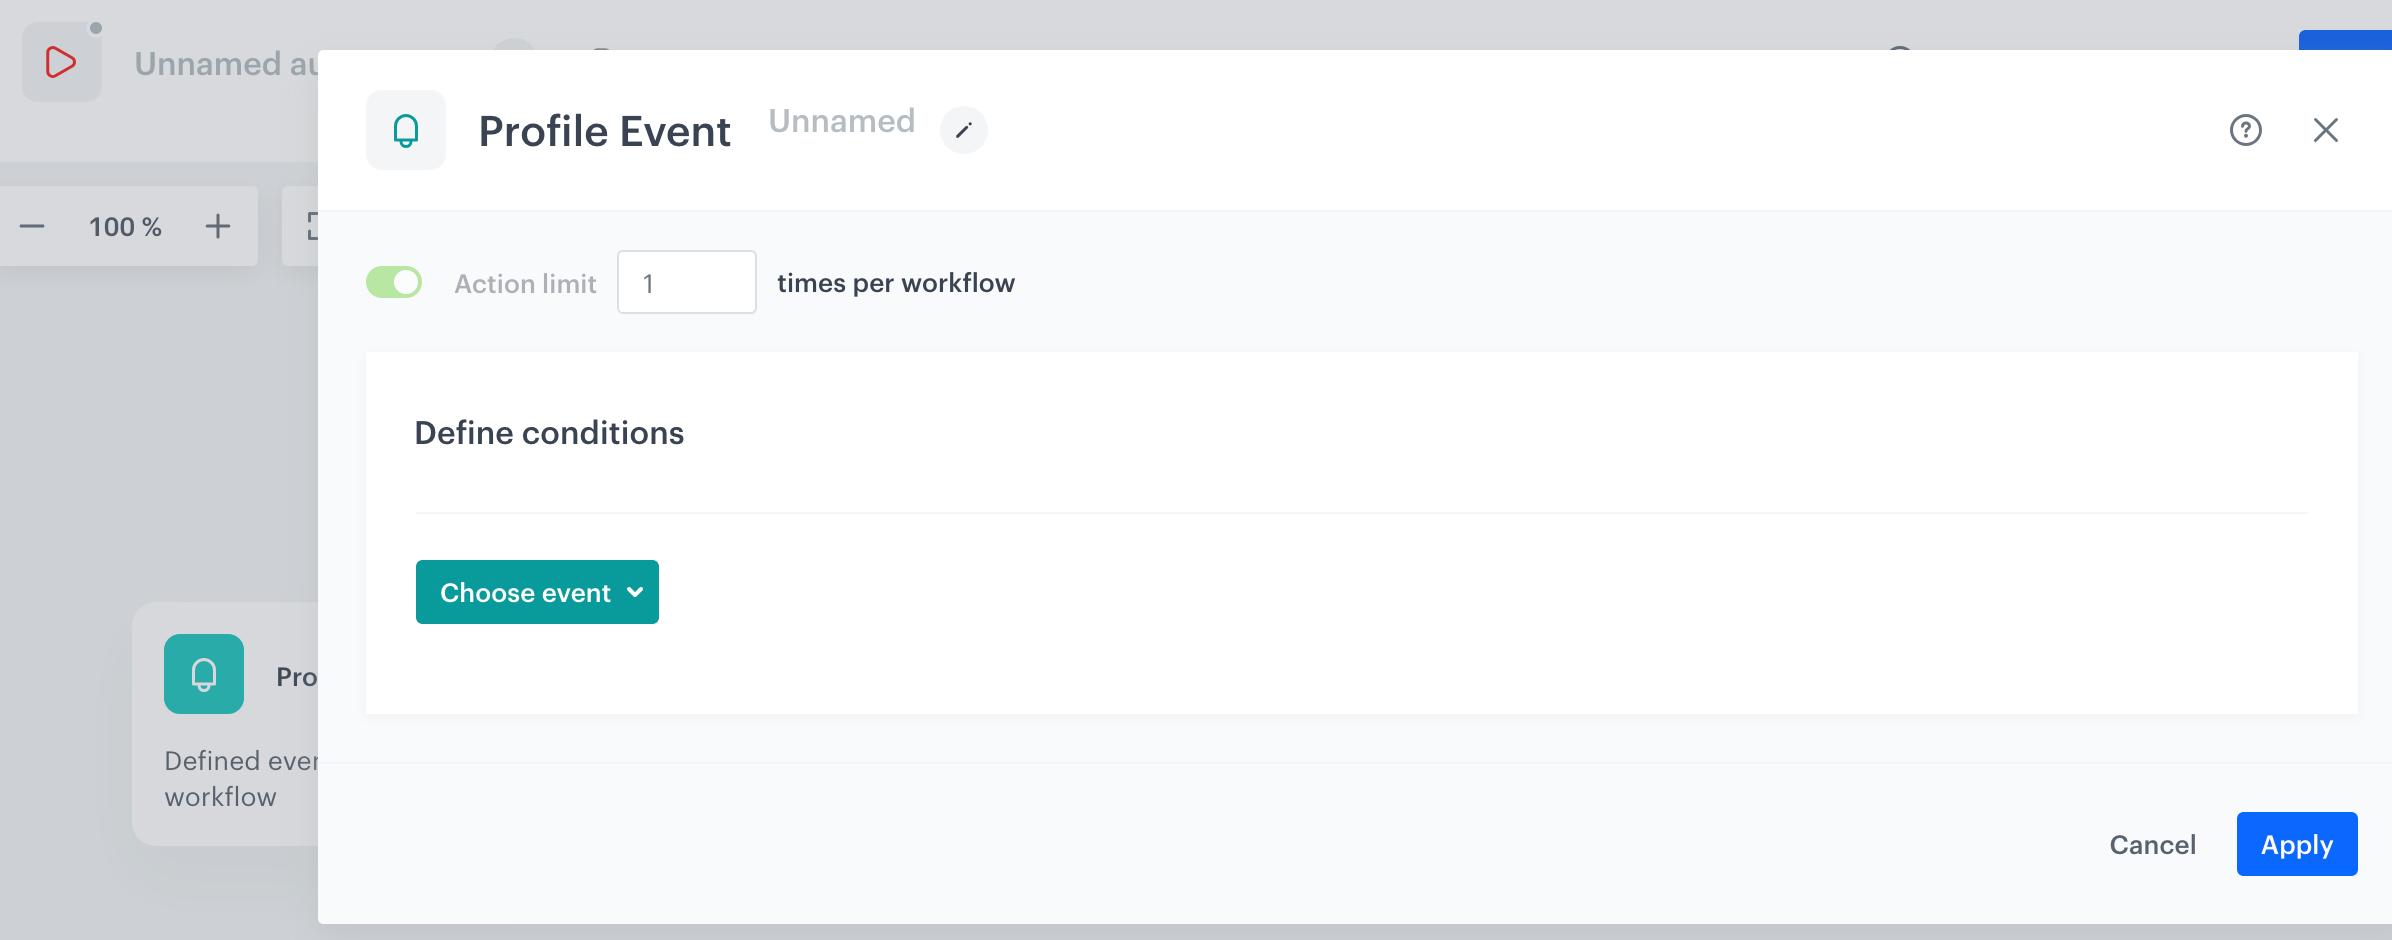
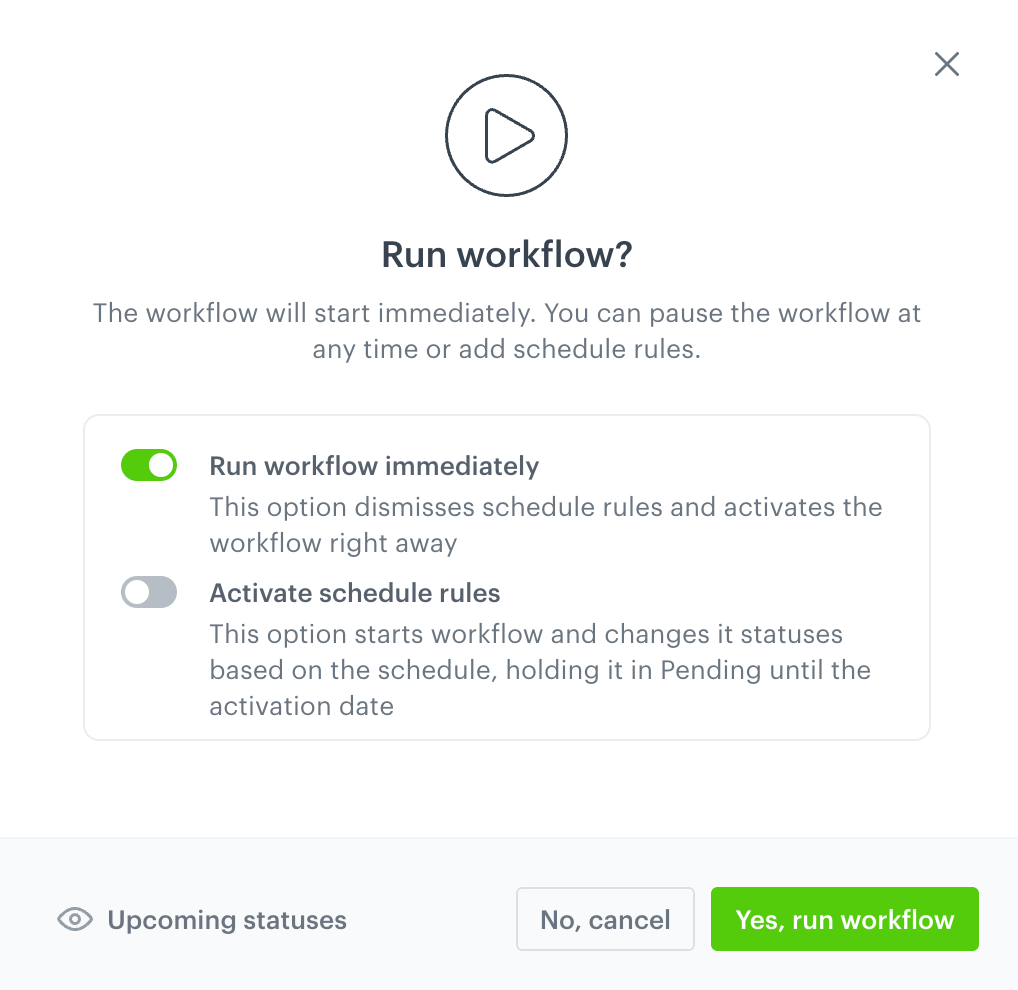
 |
|  |
| 

 3. From the dropdown list, select **Add note**.
4. In the text field, enter the text of the note.
**Result**:
3. From the dropdown list, select **Add note**.
4. In the text field, enter the text of the note.
**Result**:
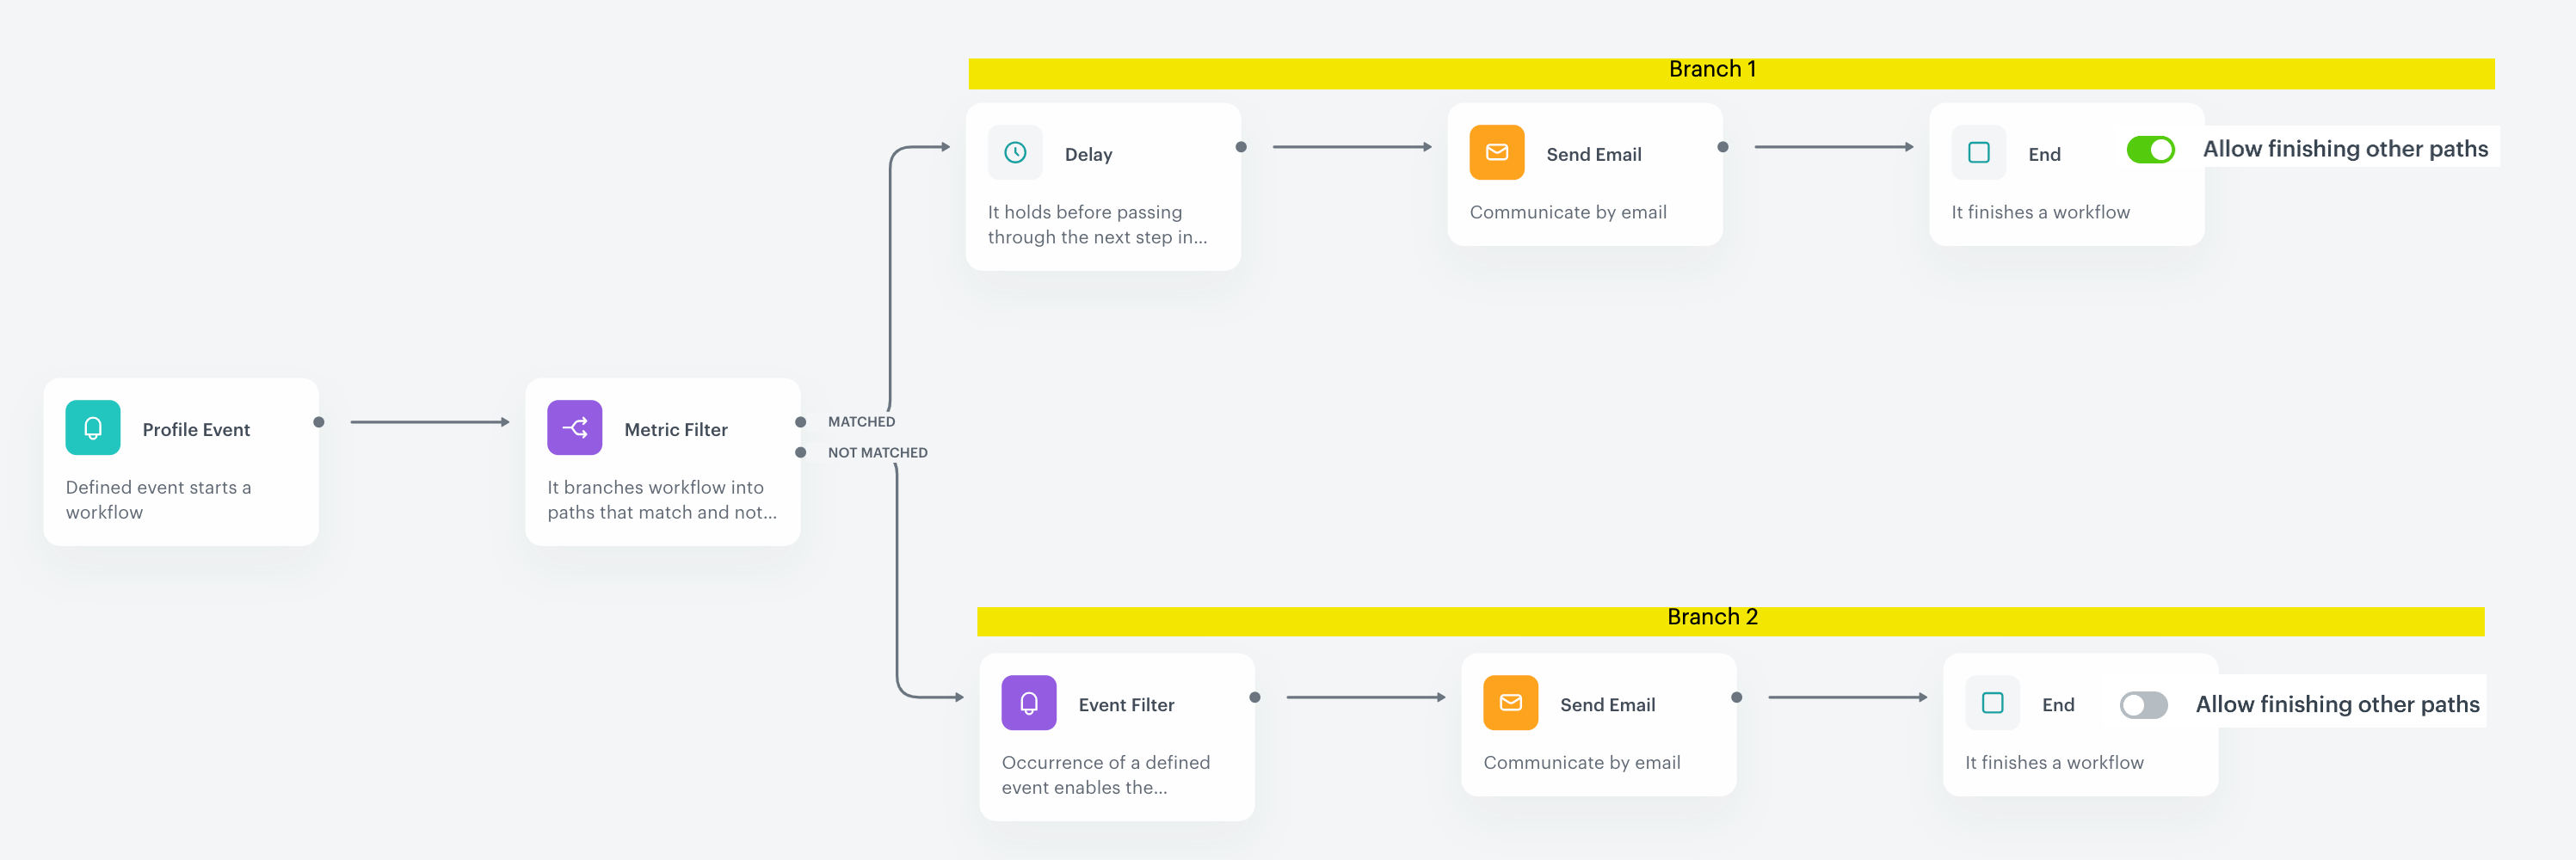

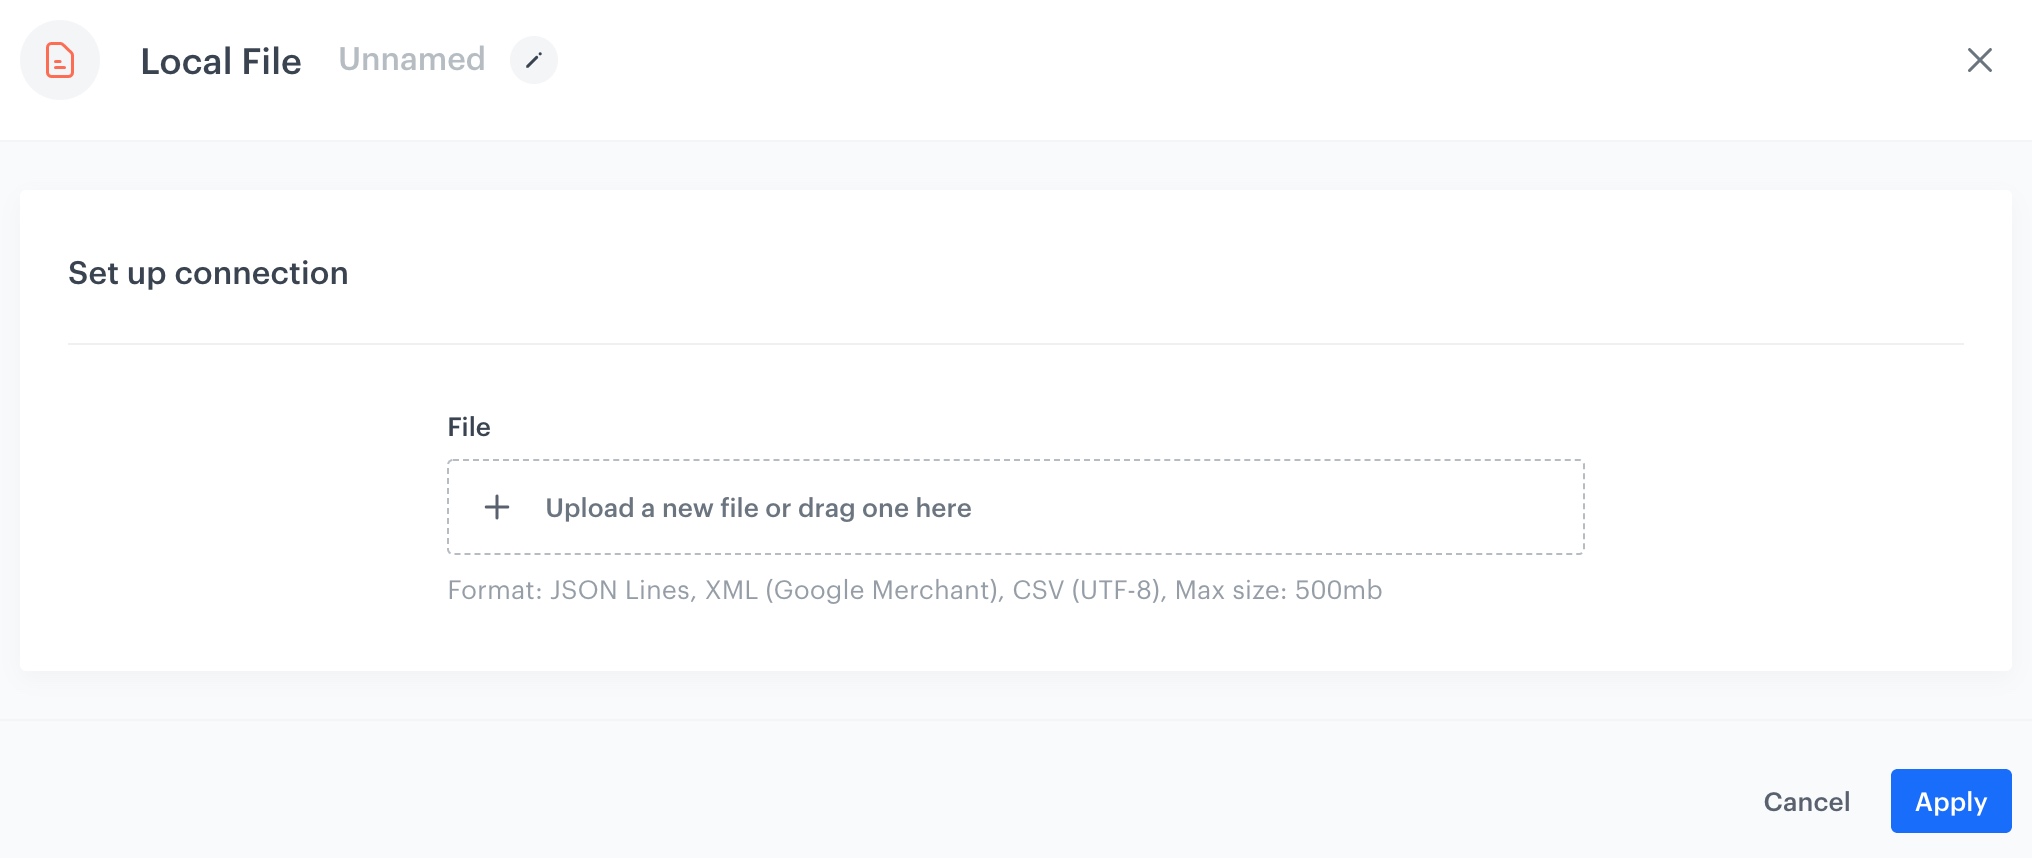

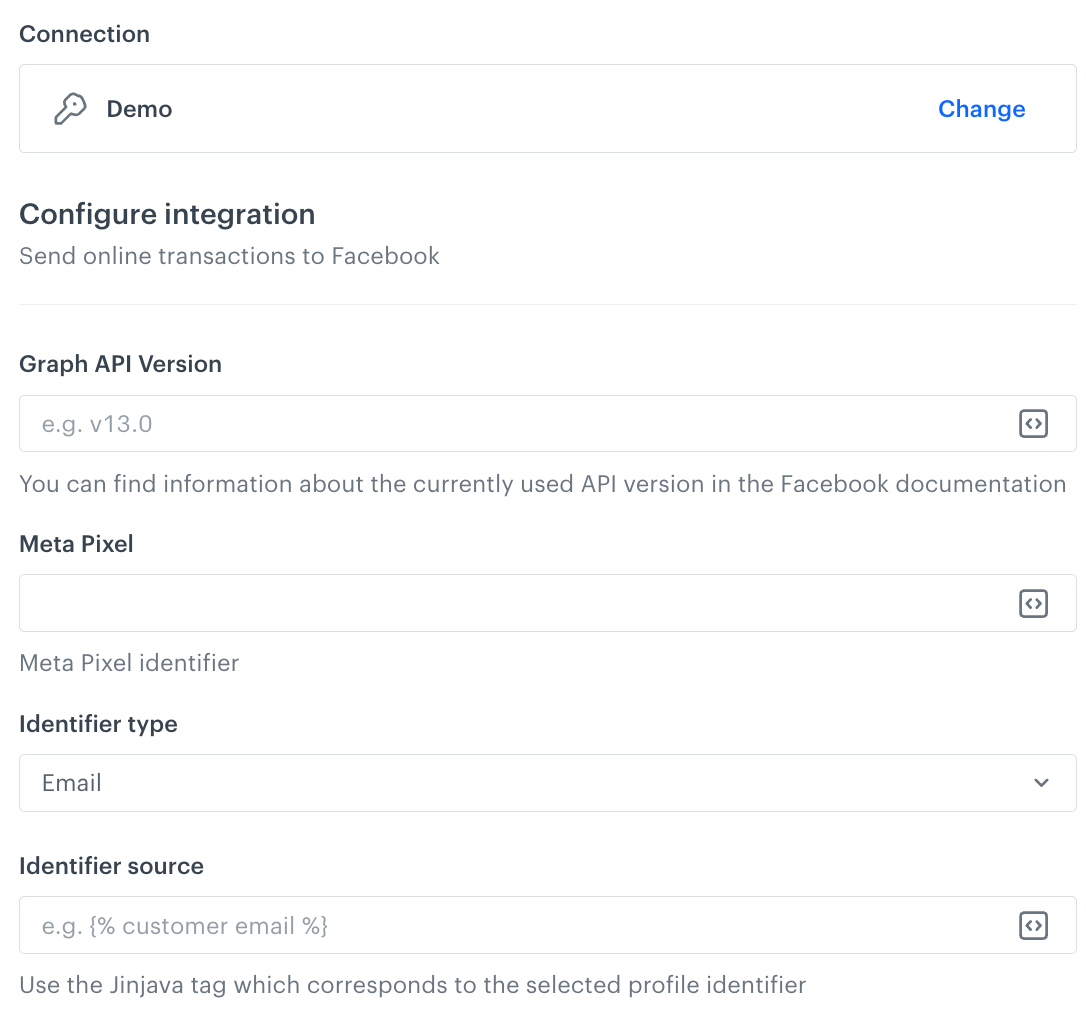
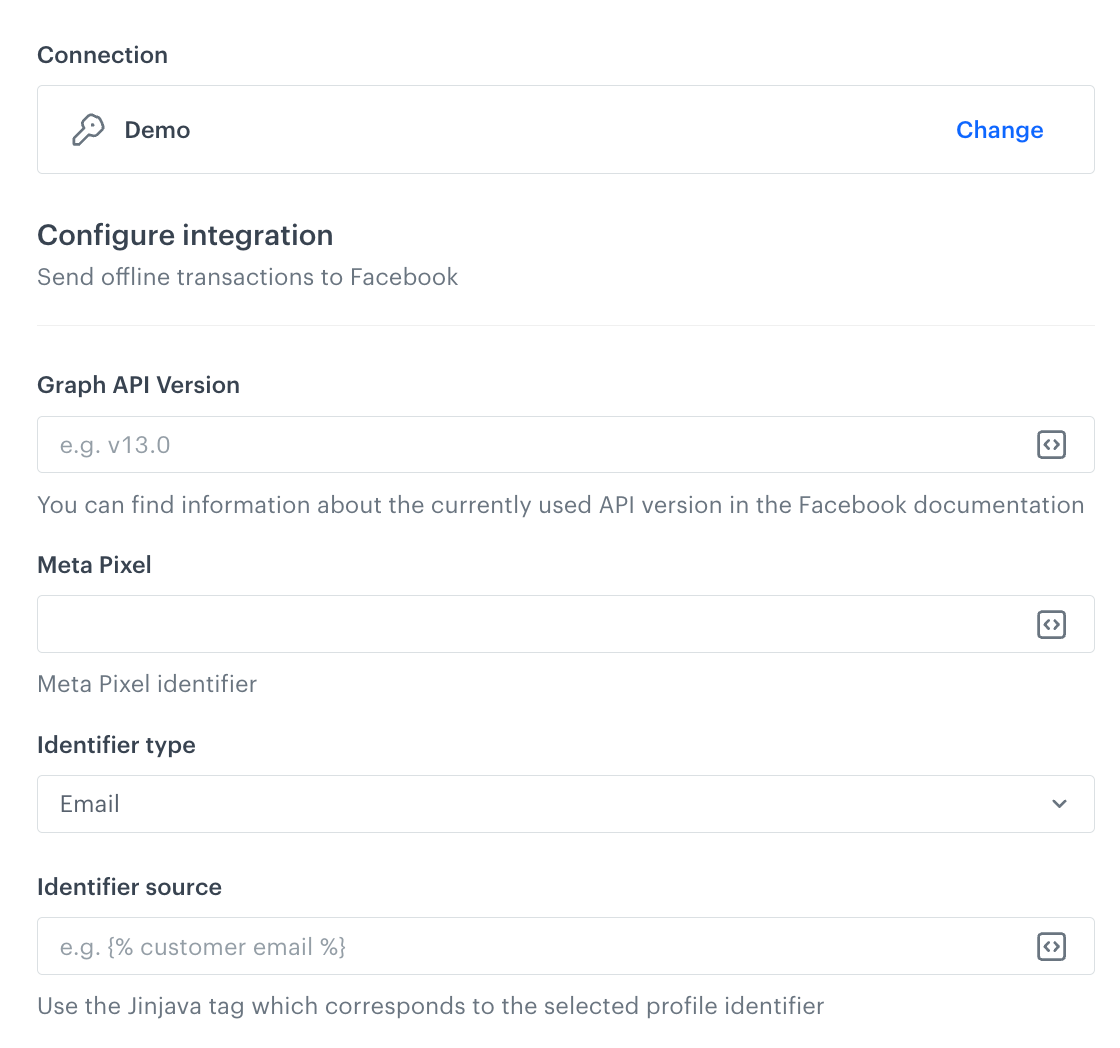
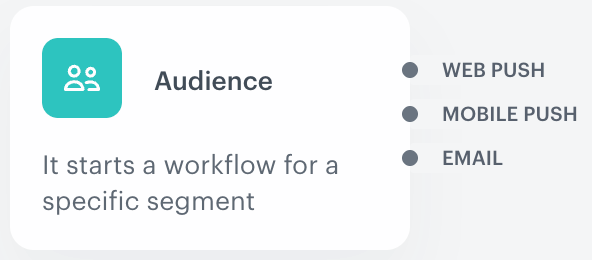
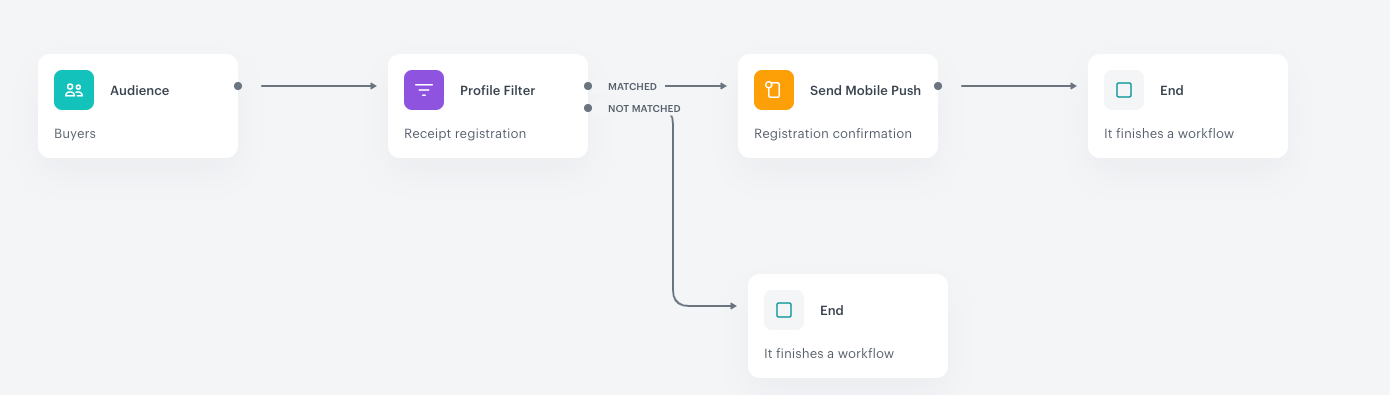
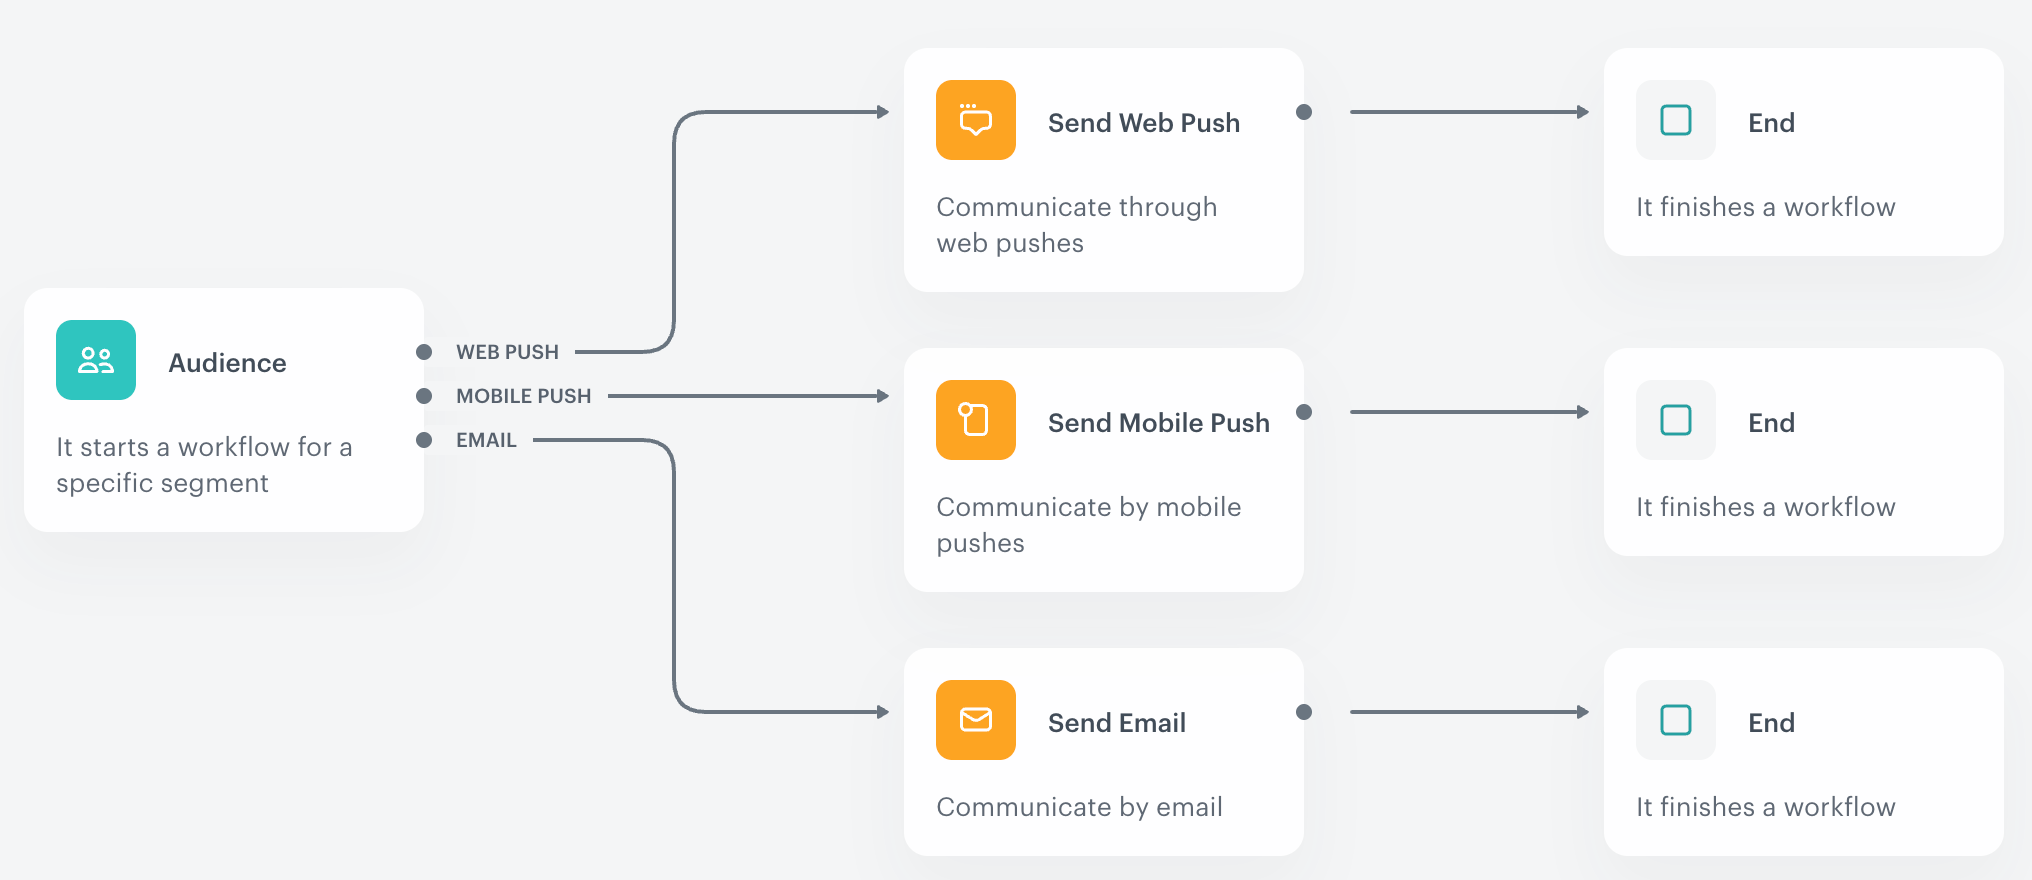
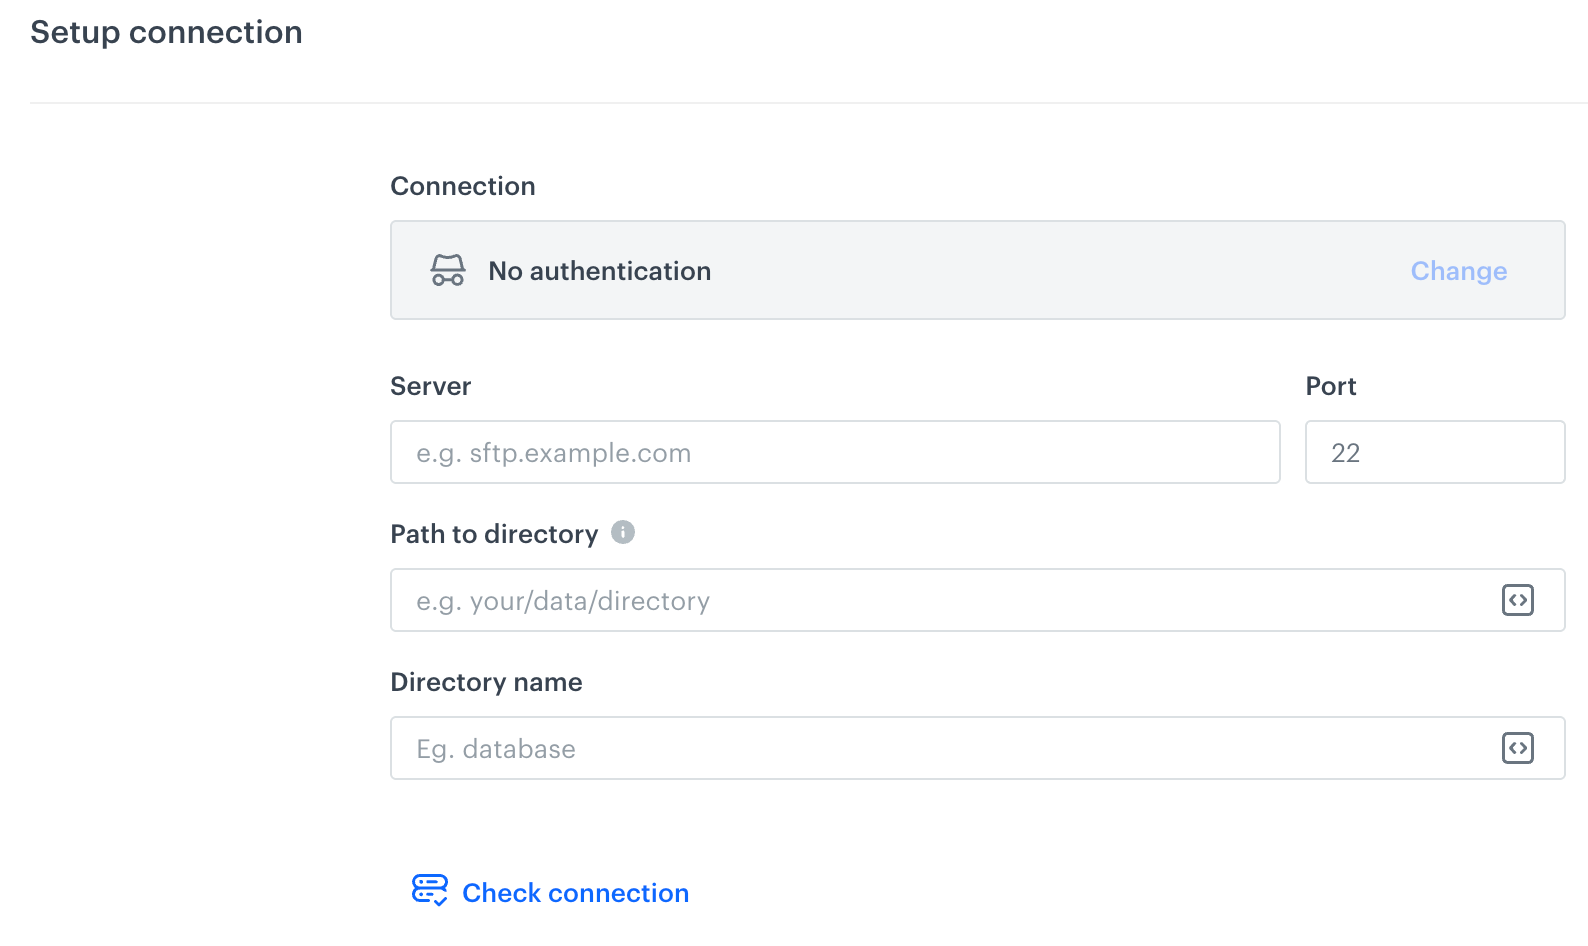

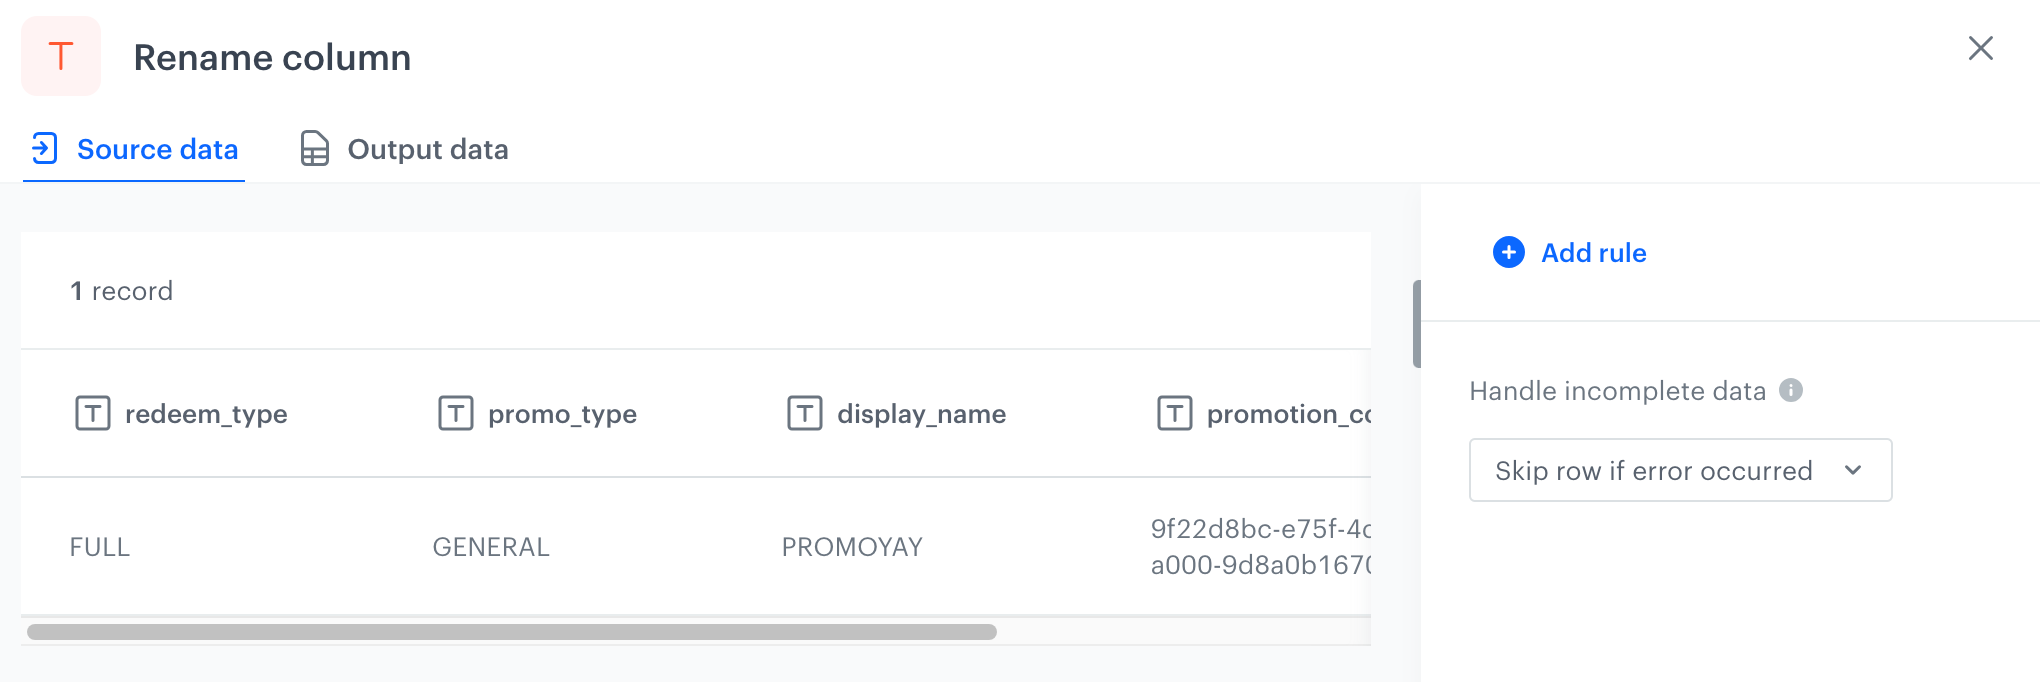
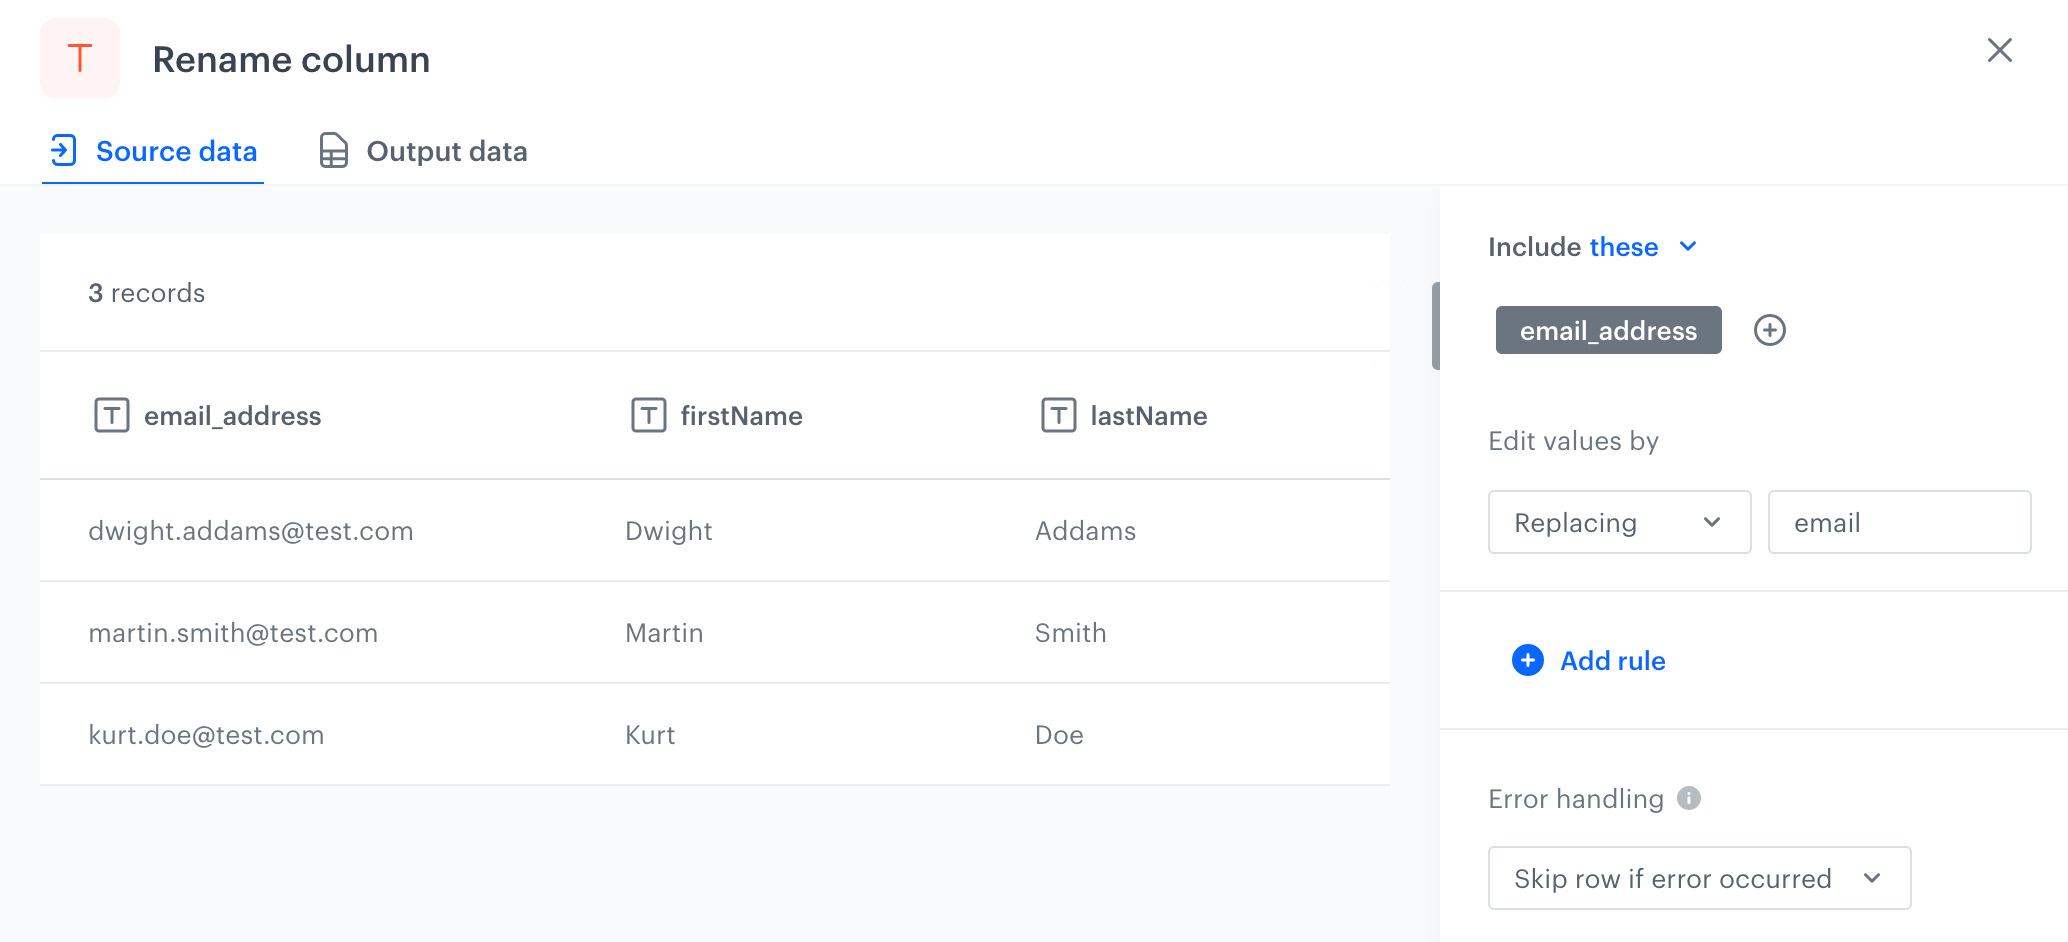

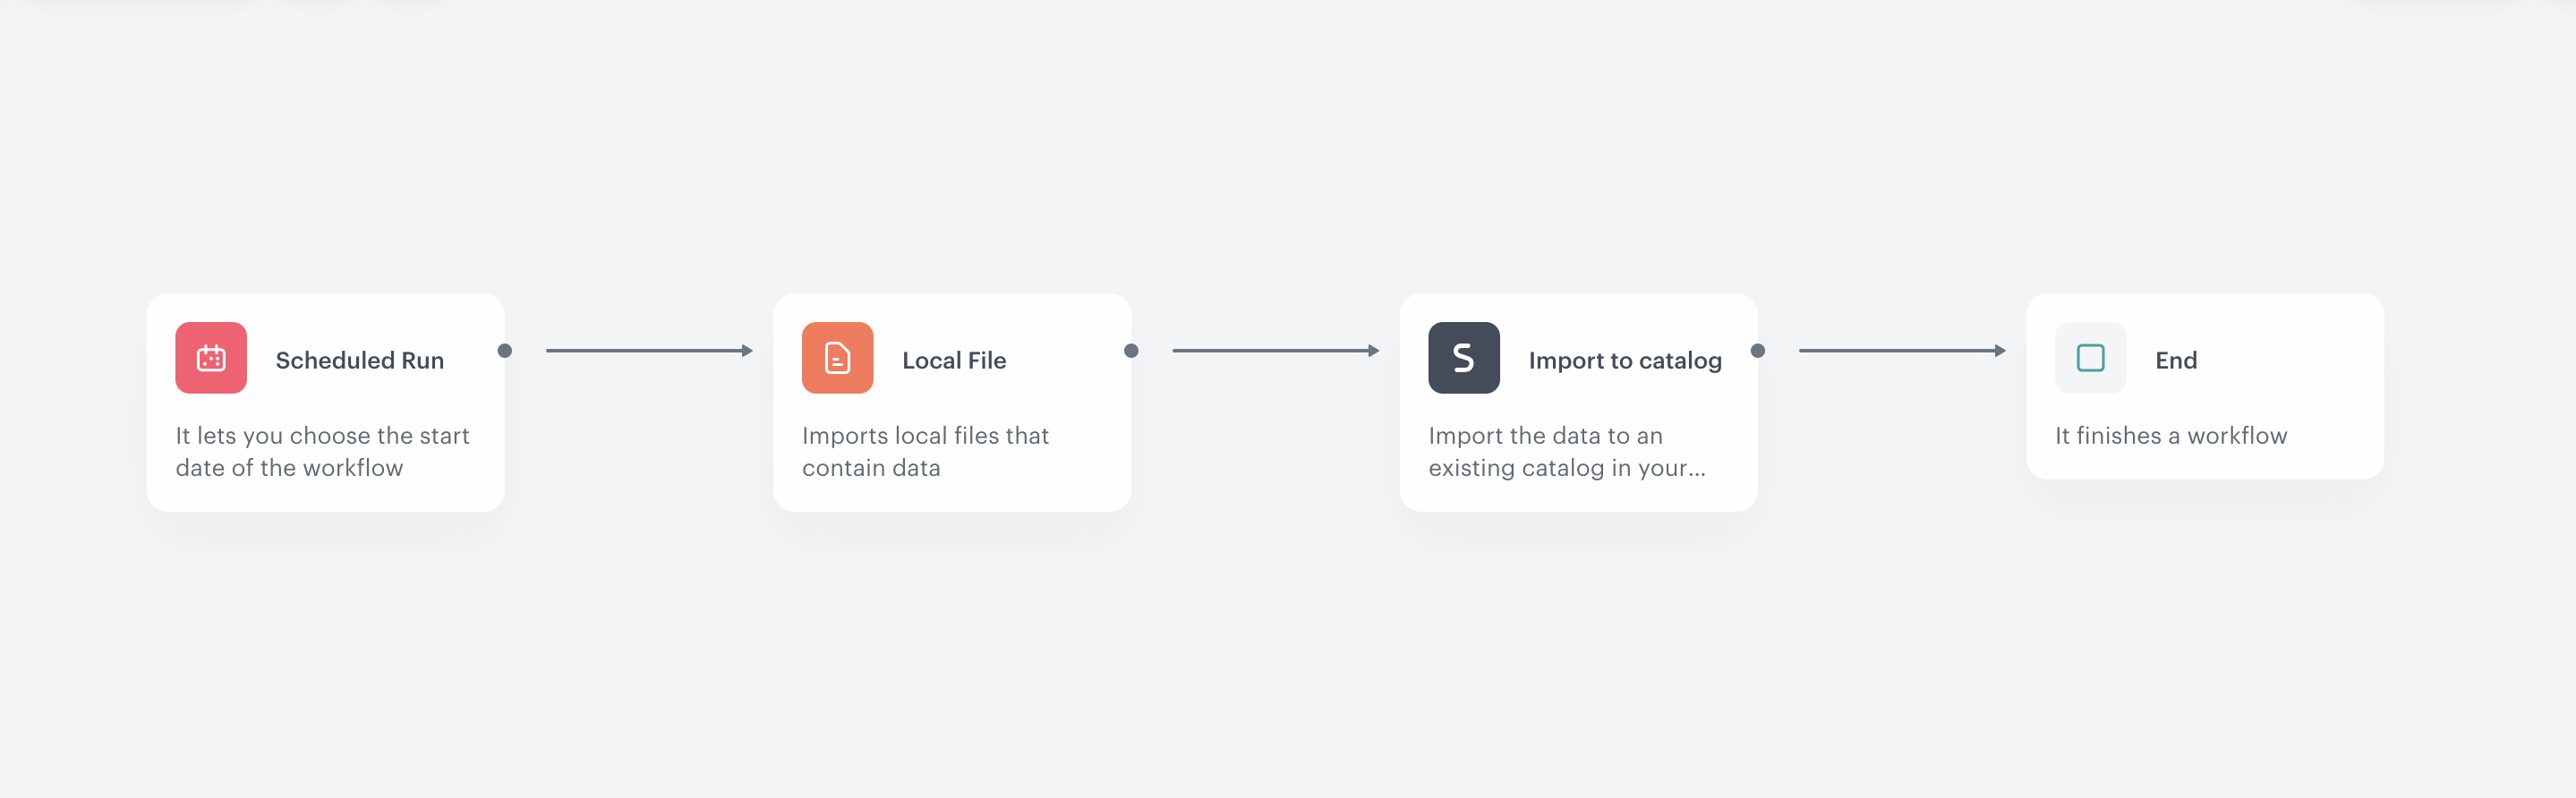
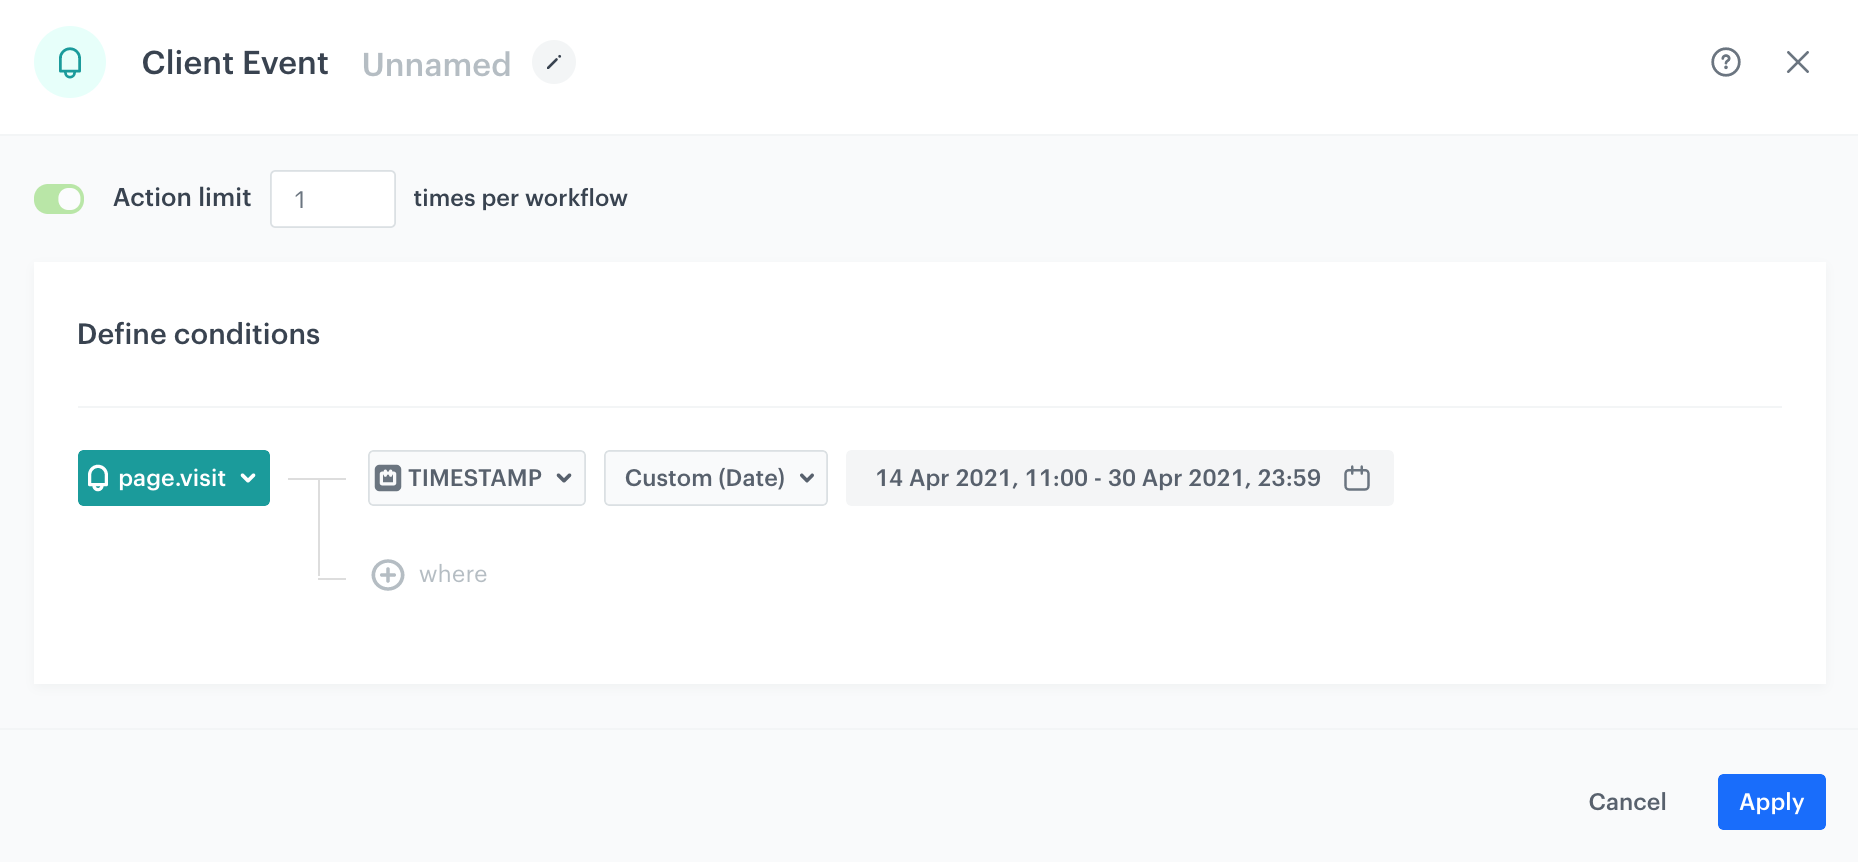
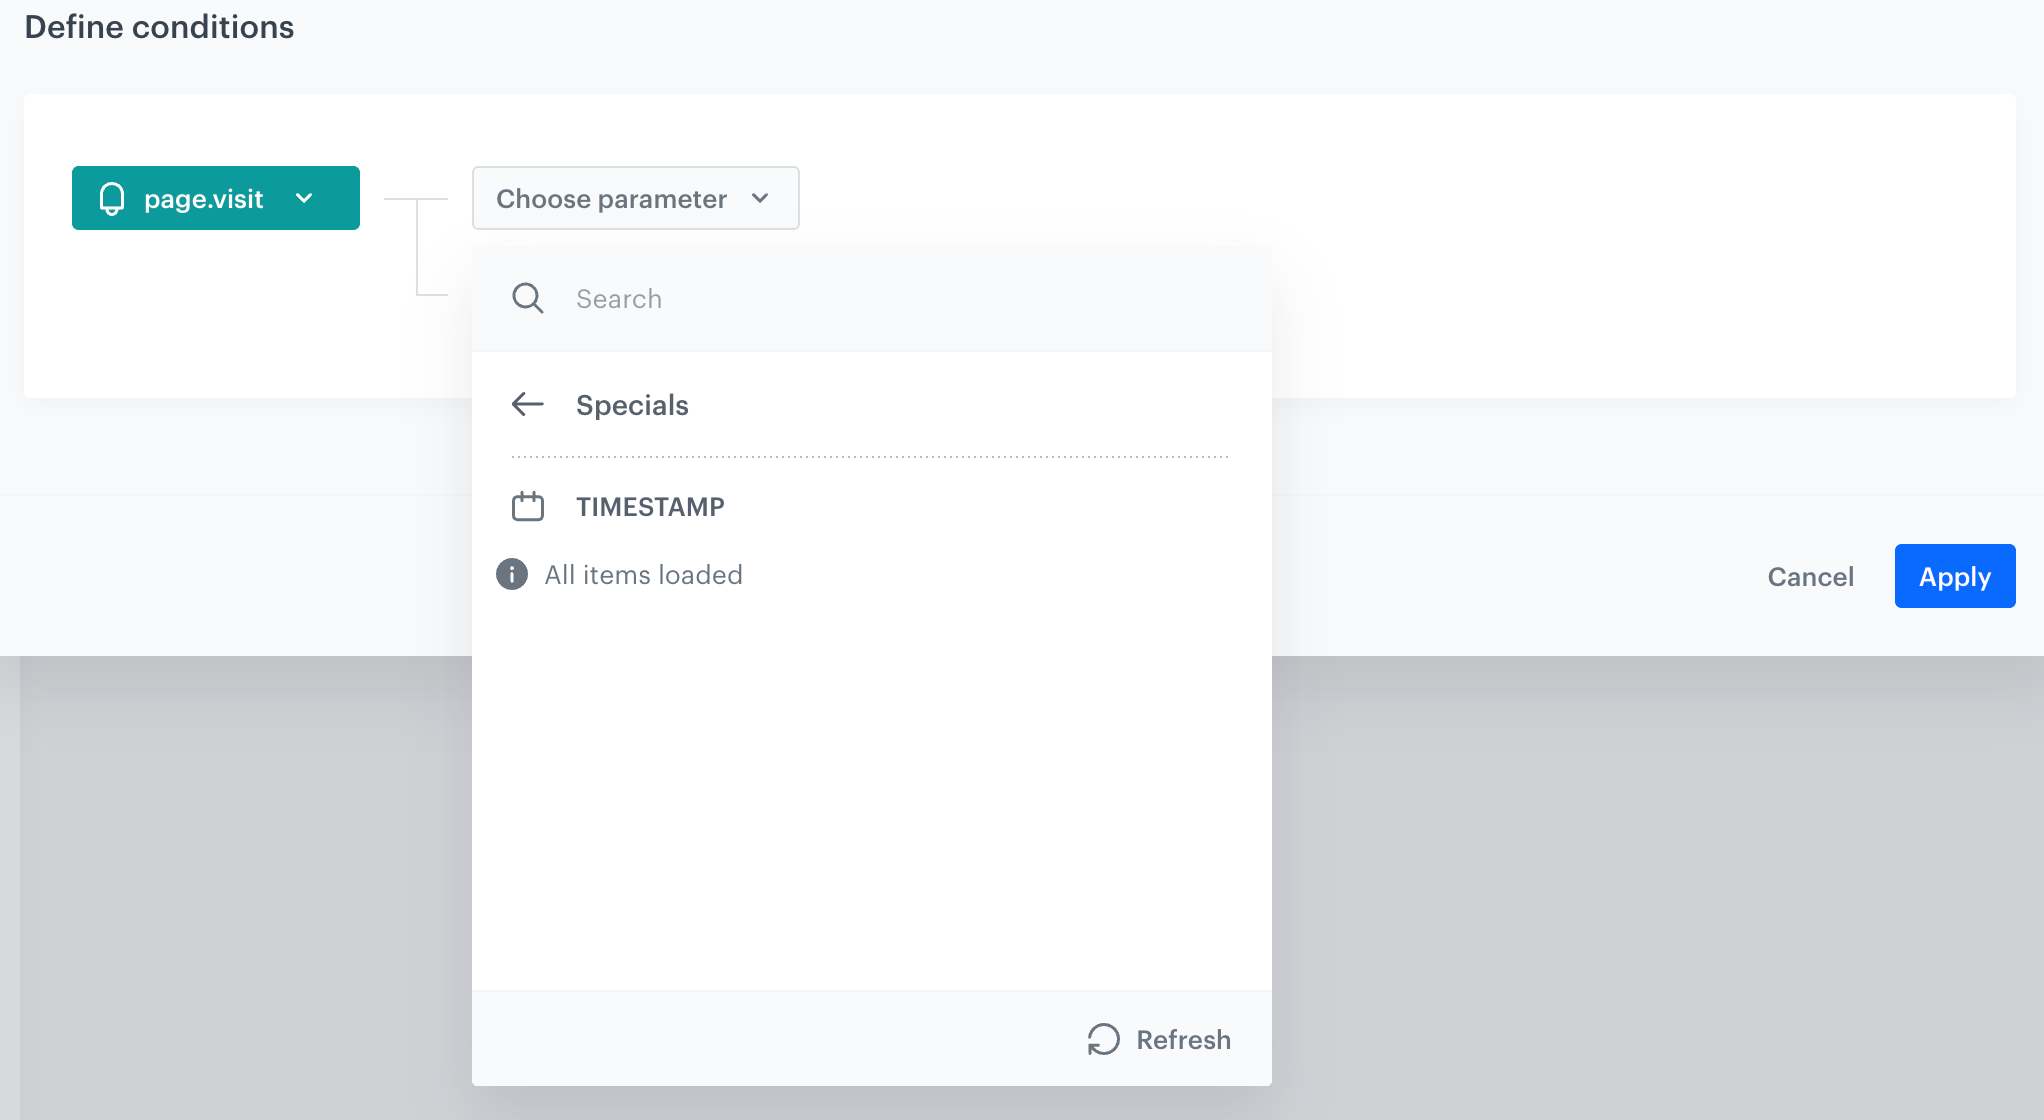
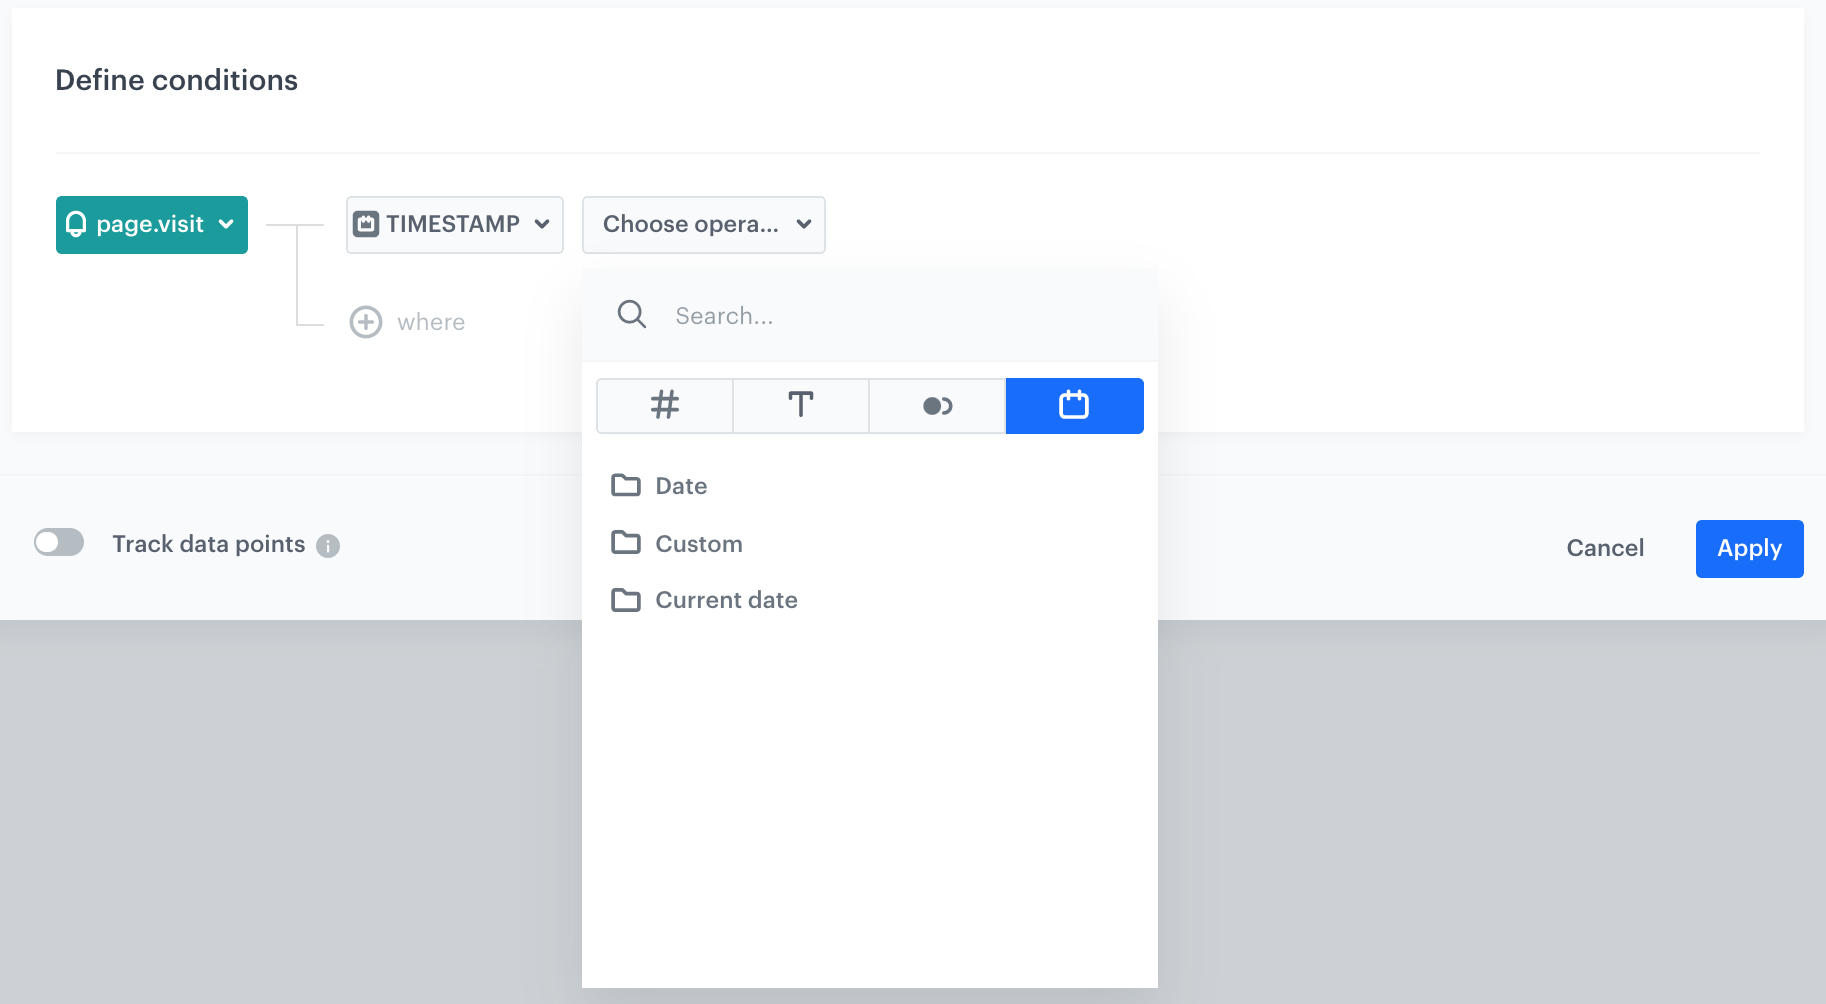

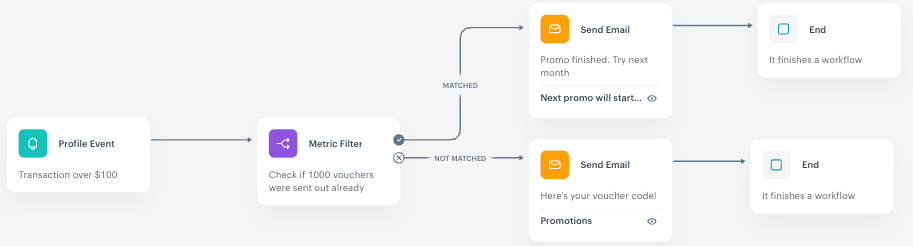
 icon.
4. If the received data has the expected structure, confirm by clicking the **Apply** button.
icon.
4. If the received data has the expected structure, confirm by clicking the **Apply** button.
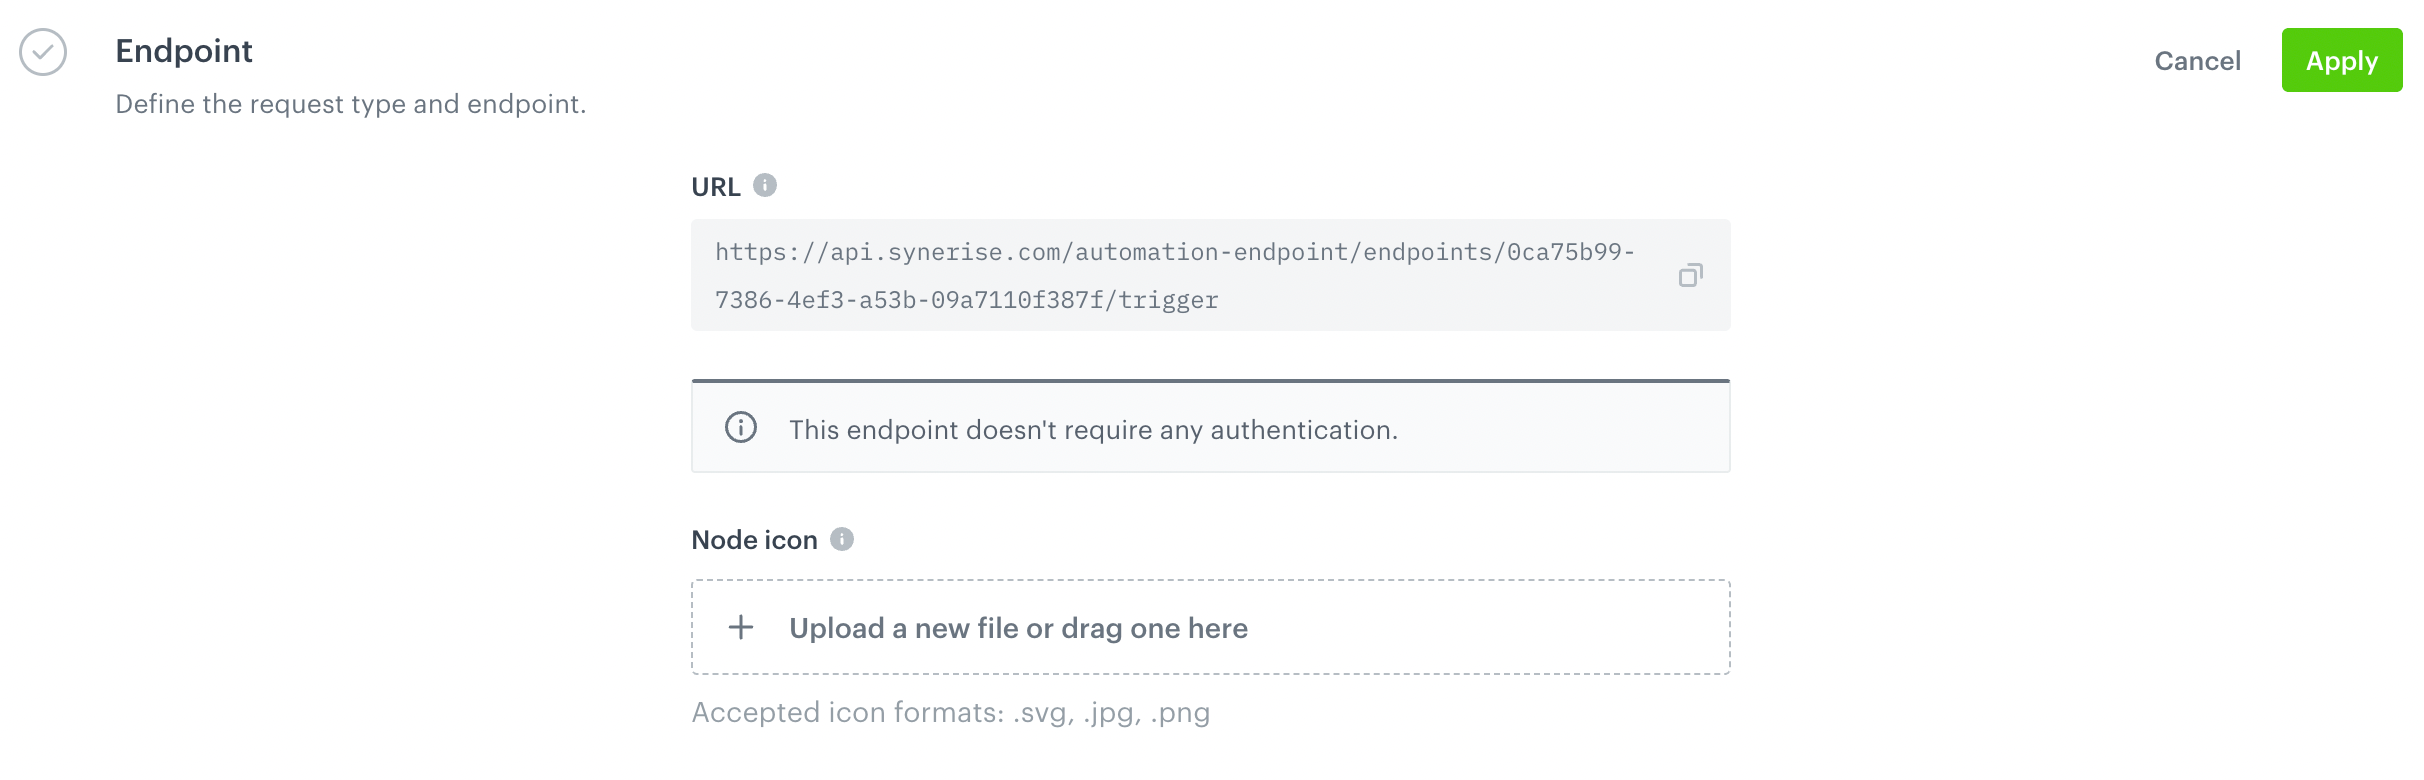
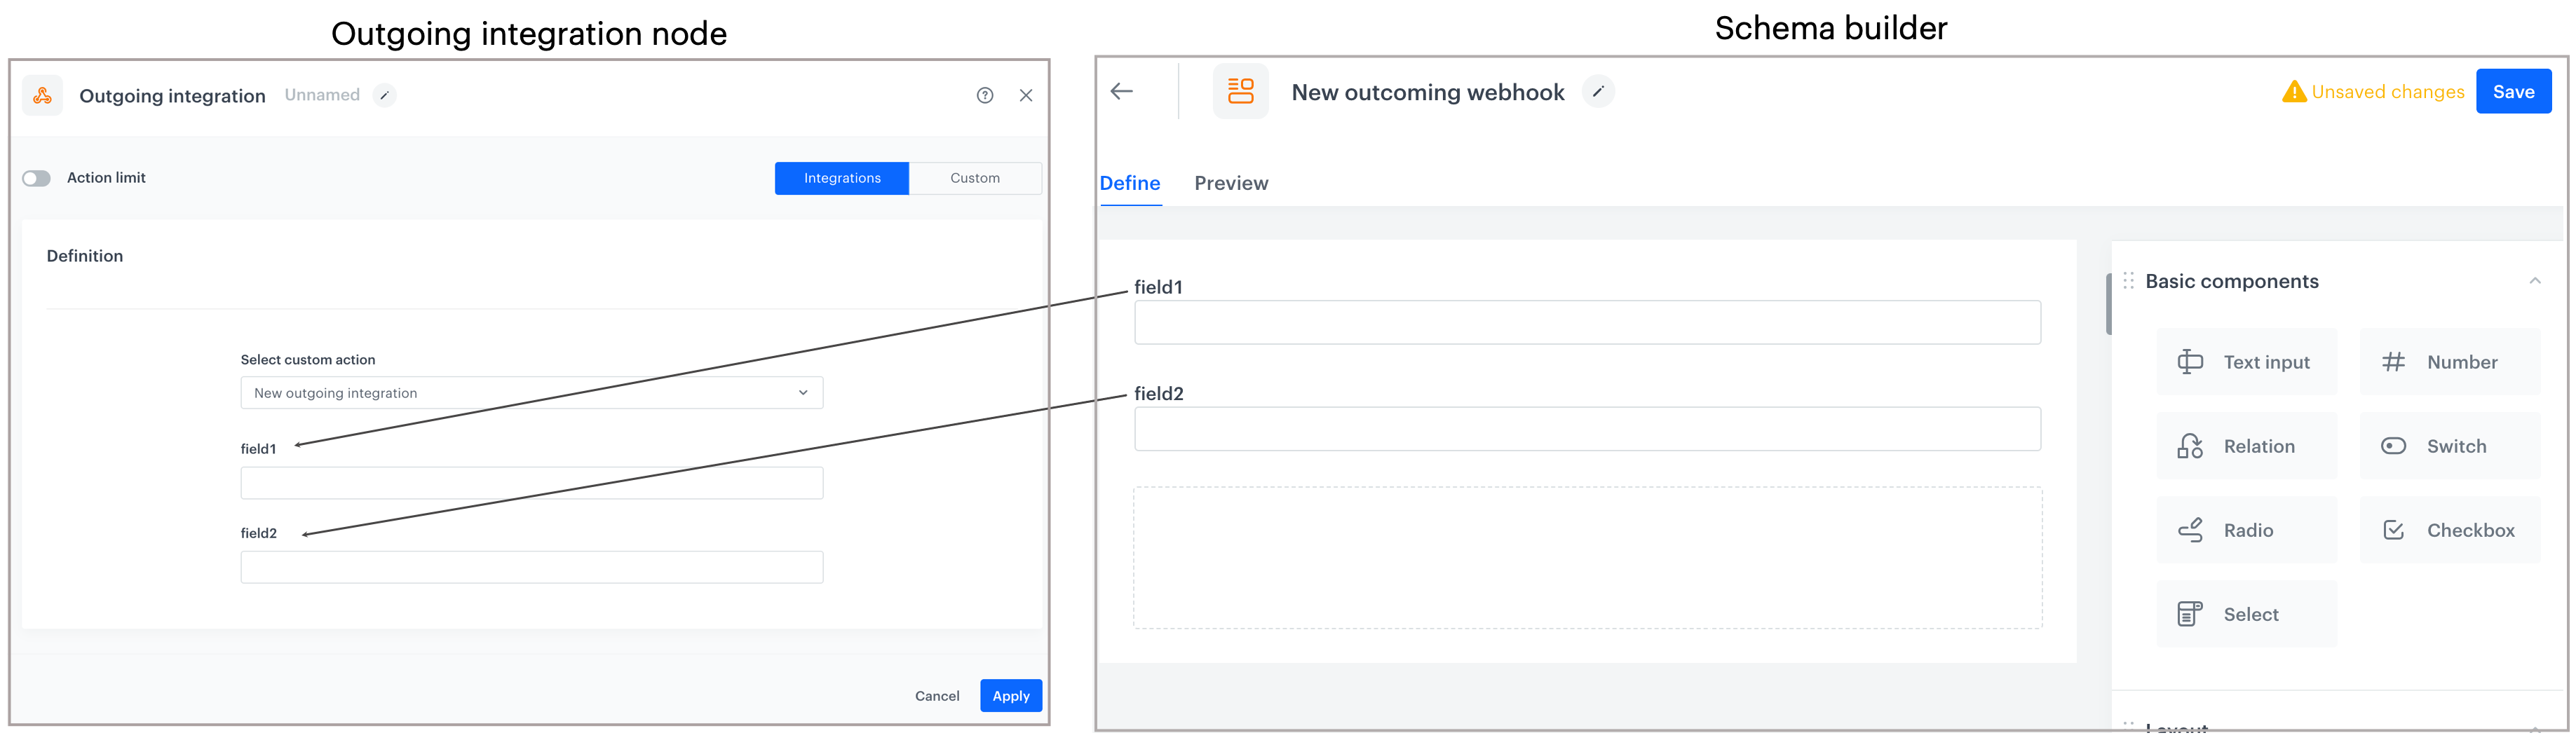
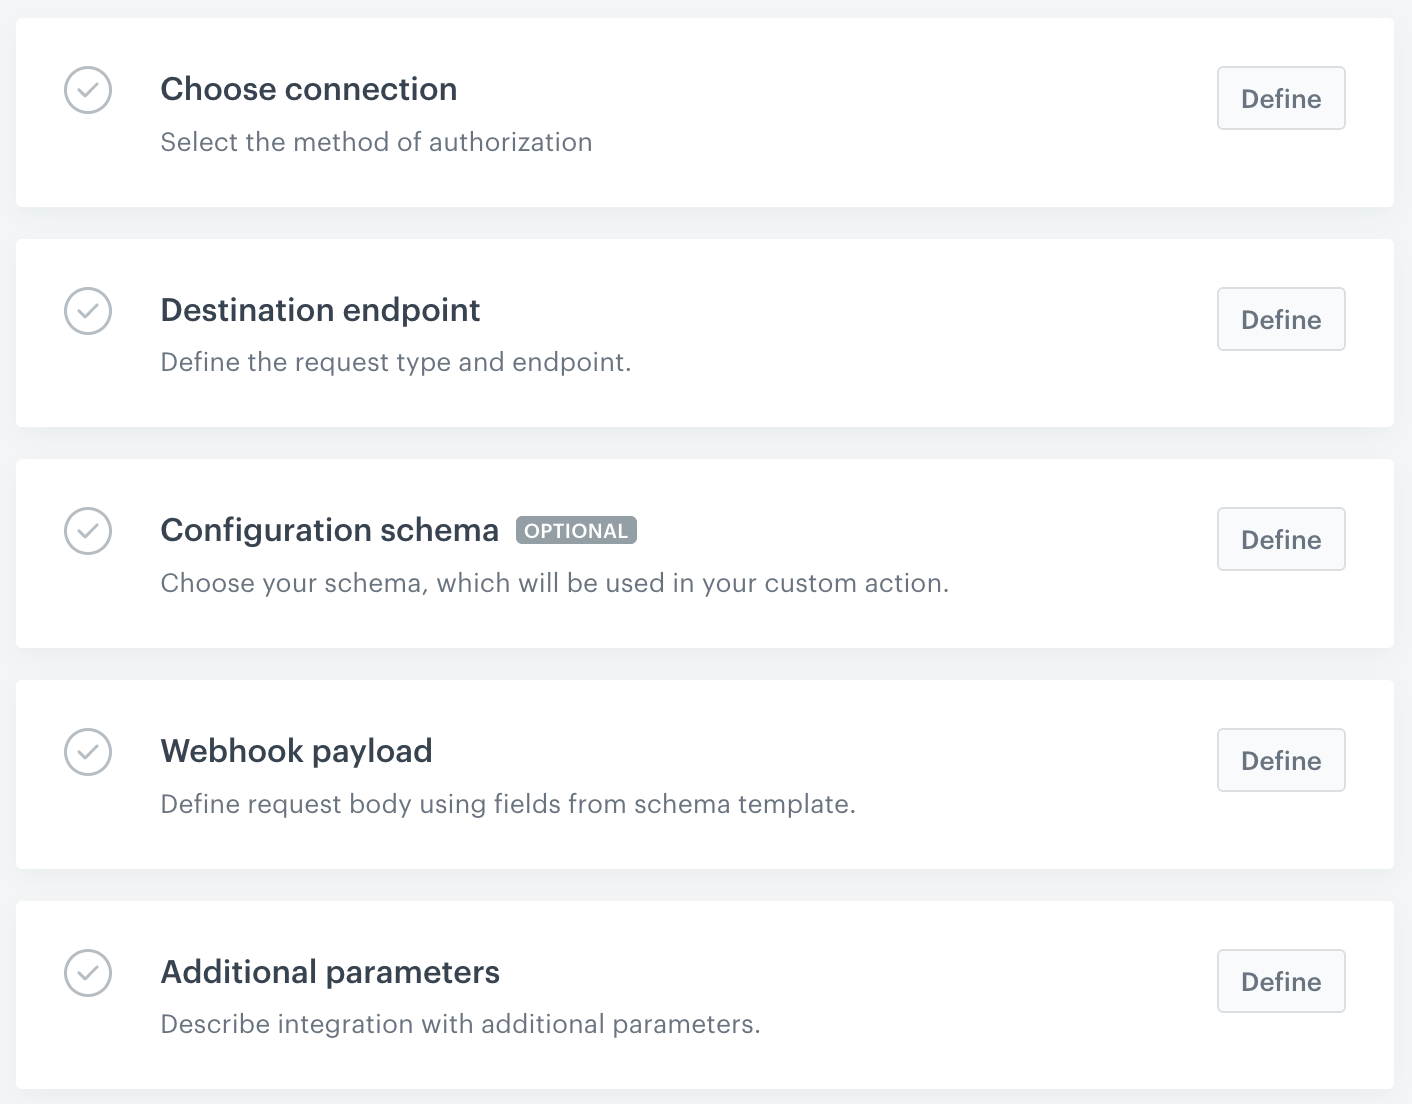
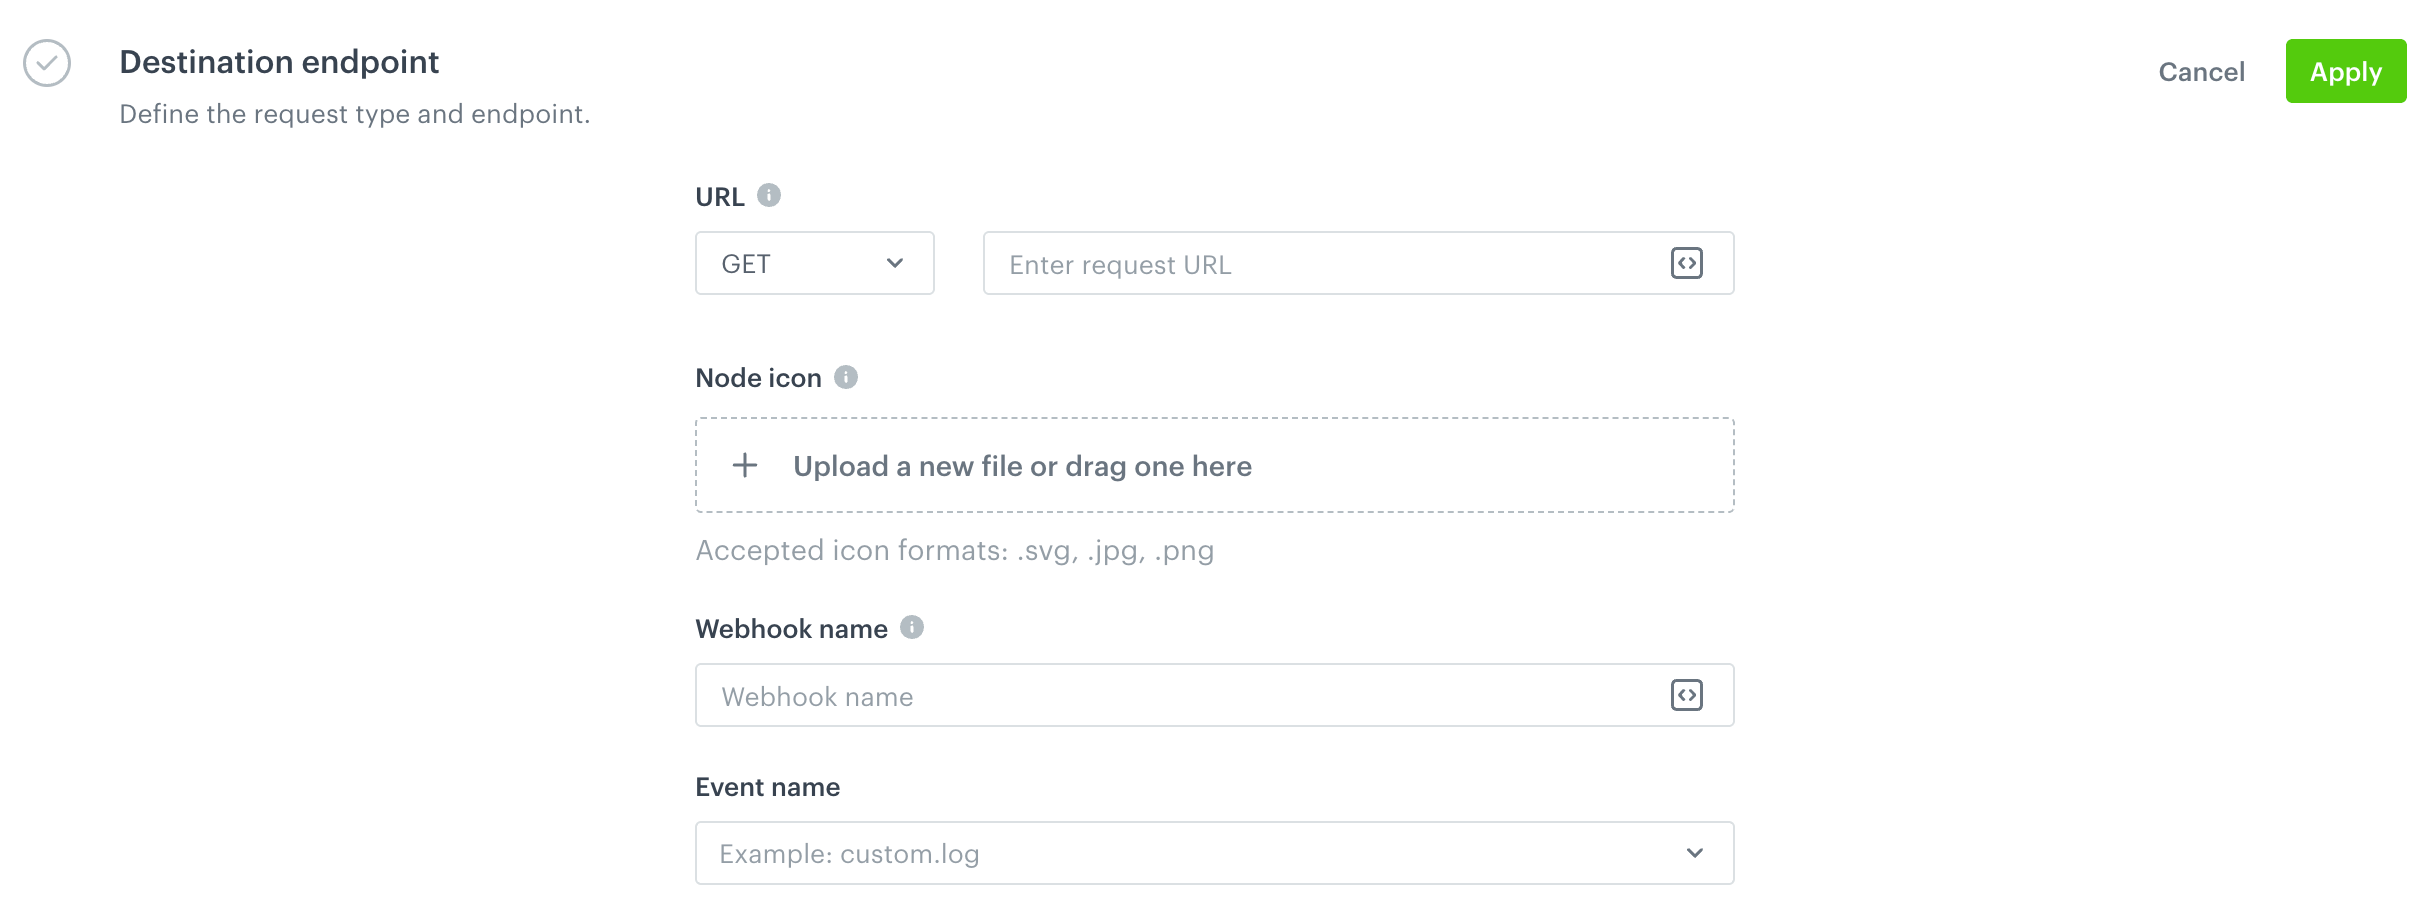

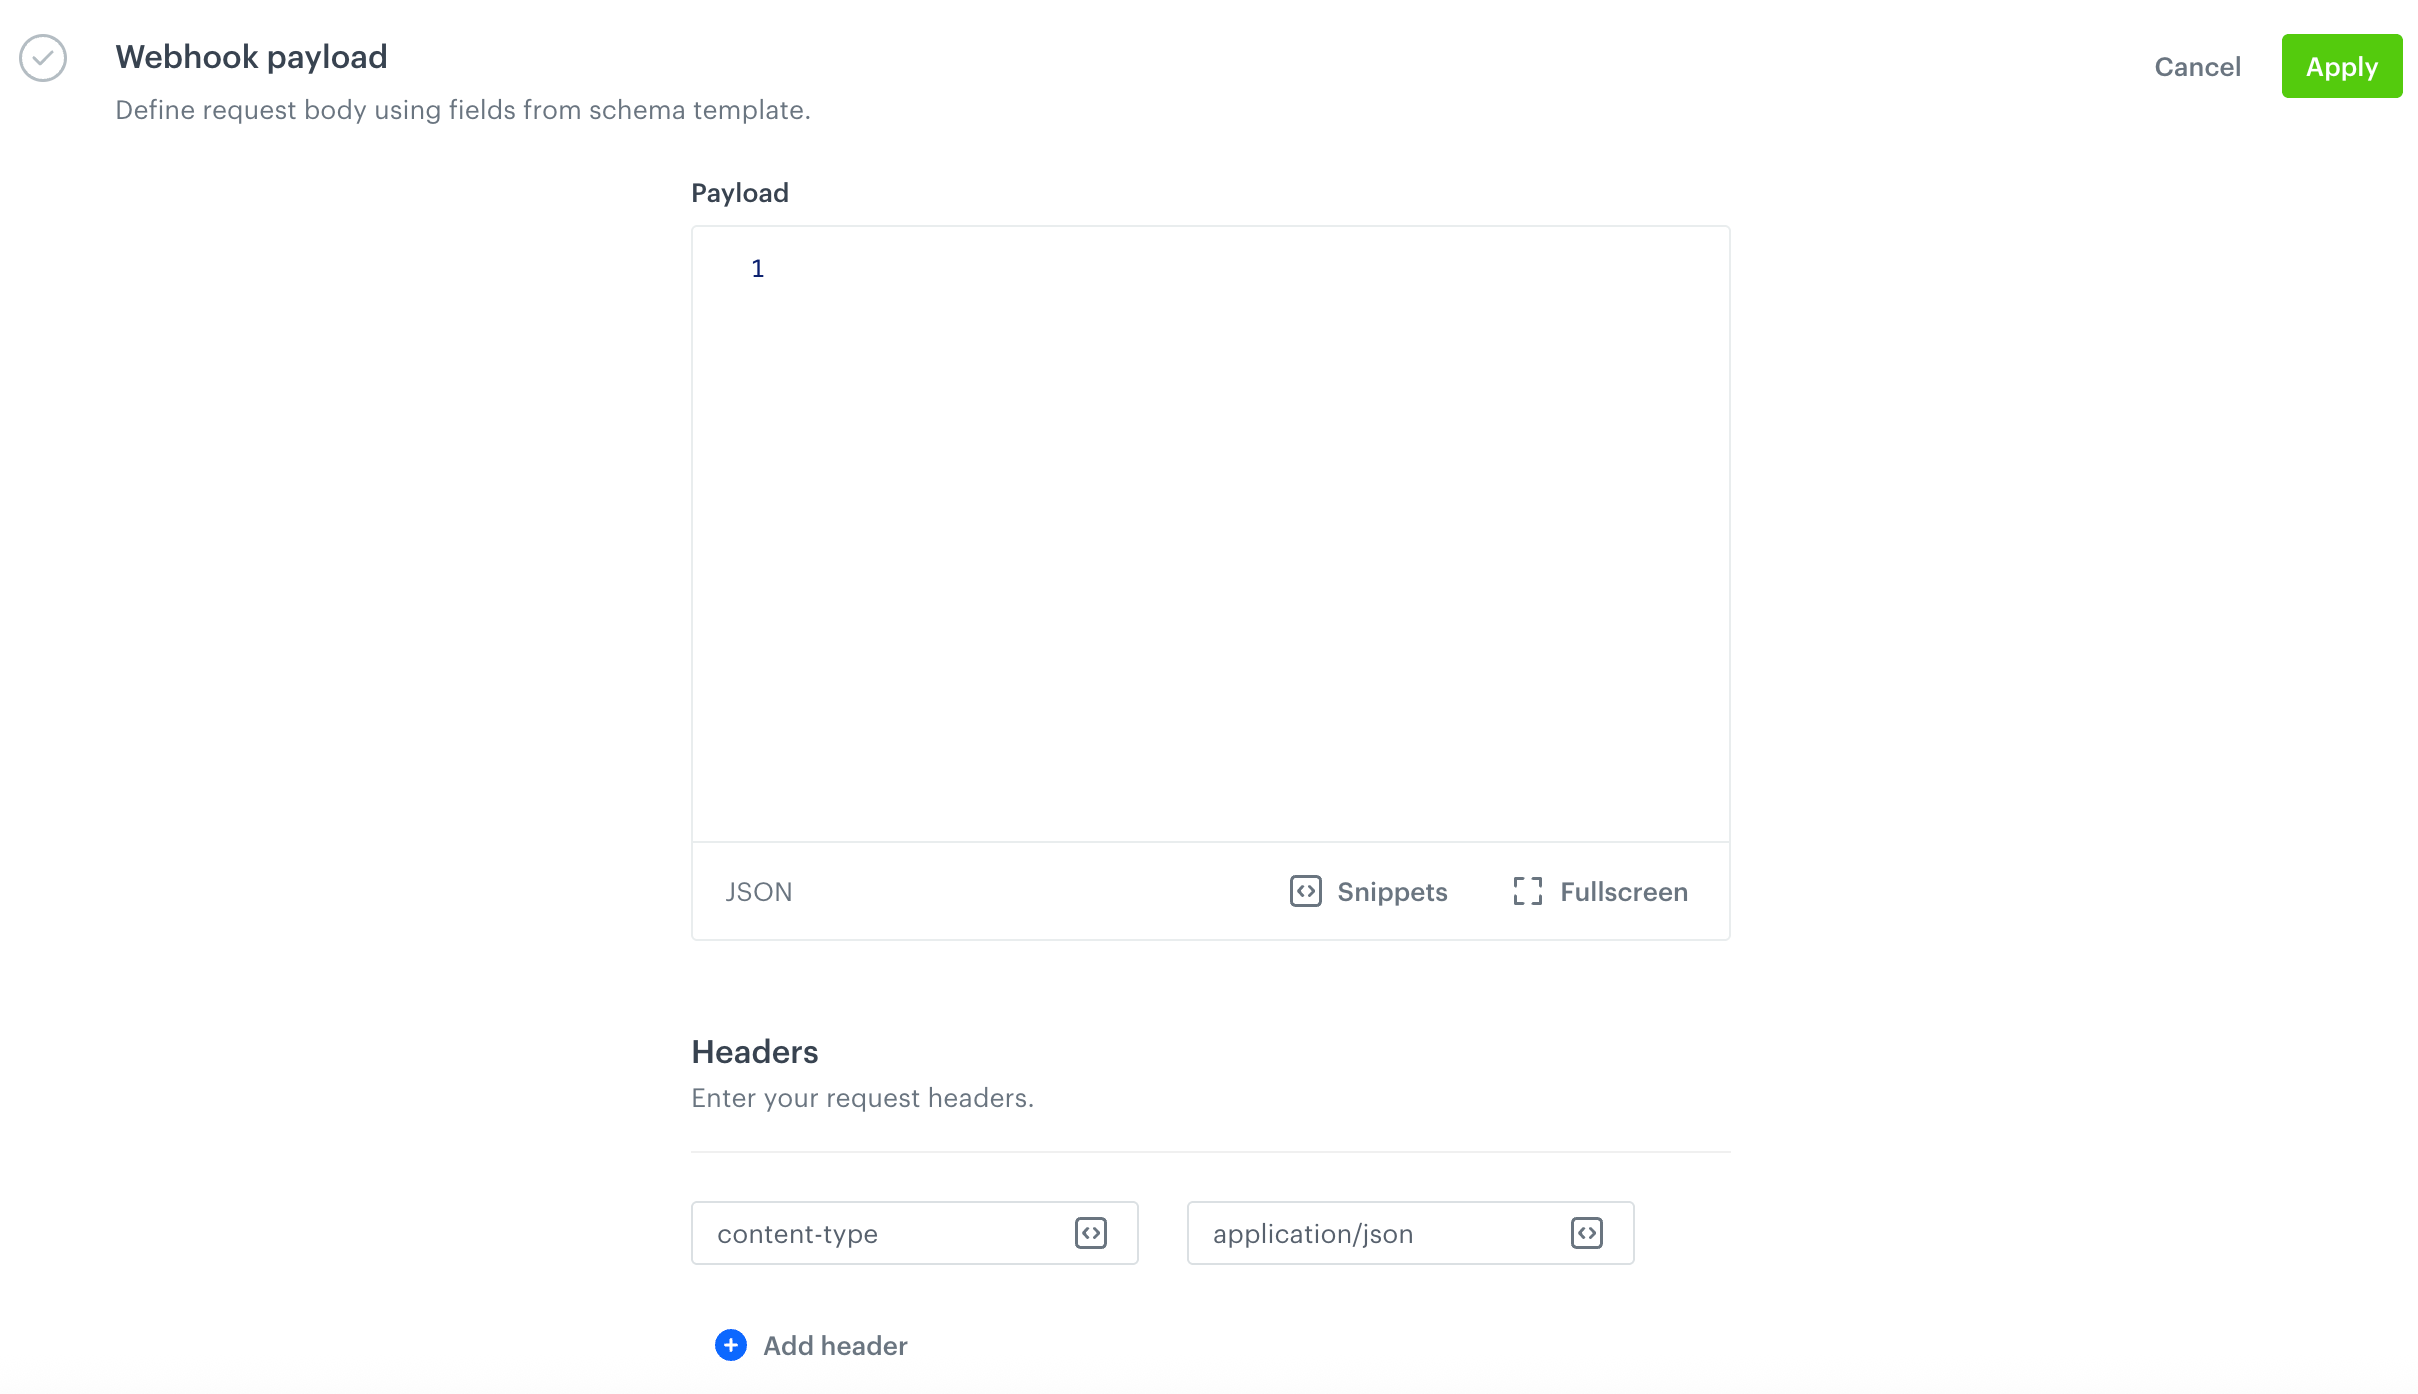
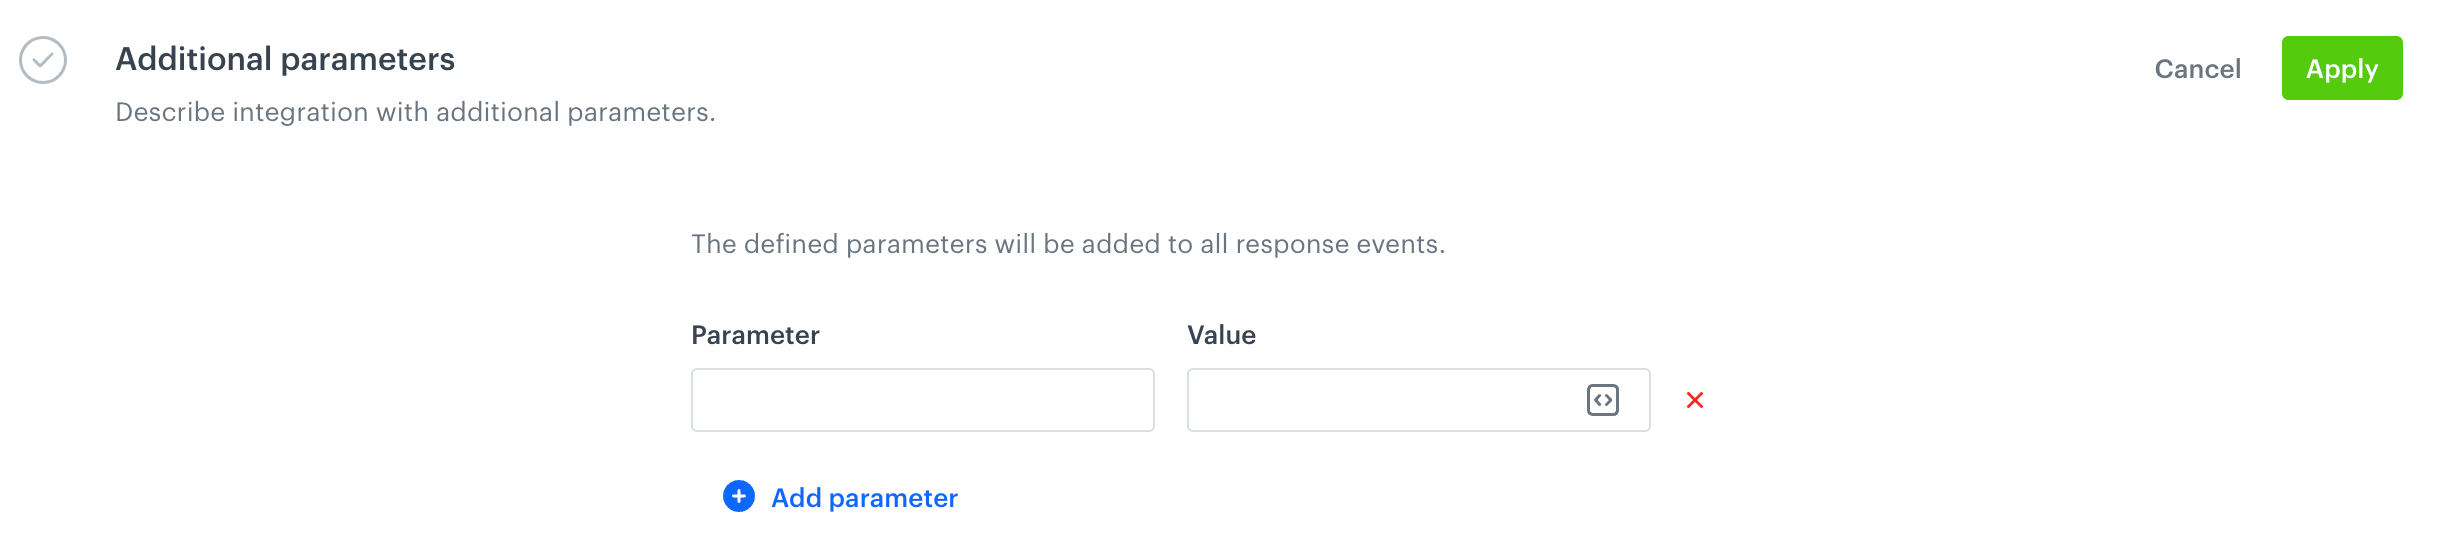
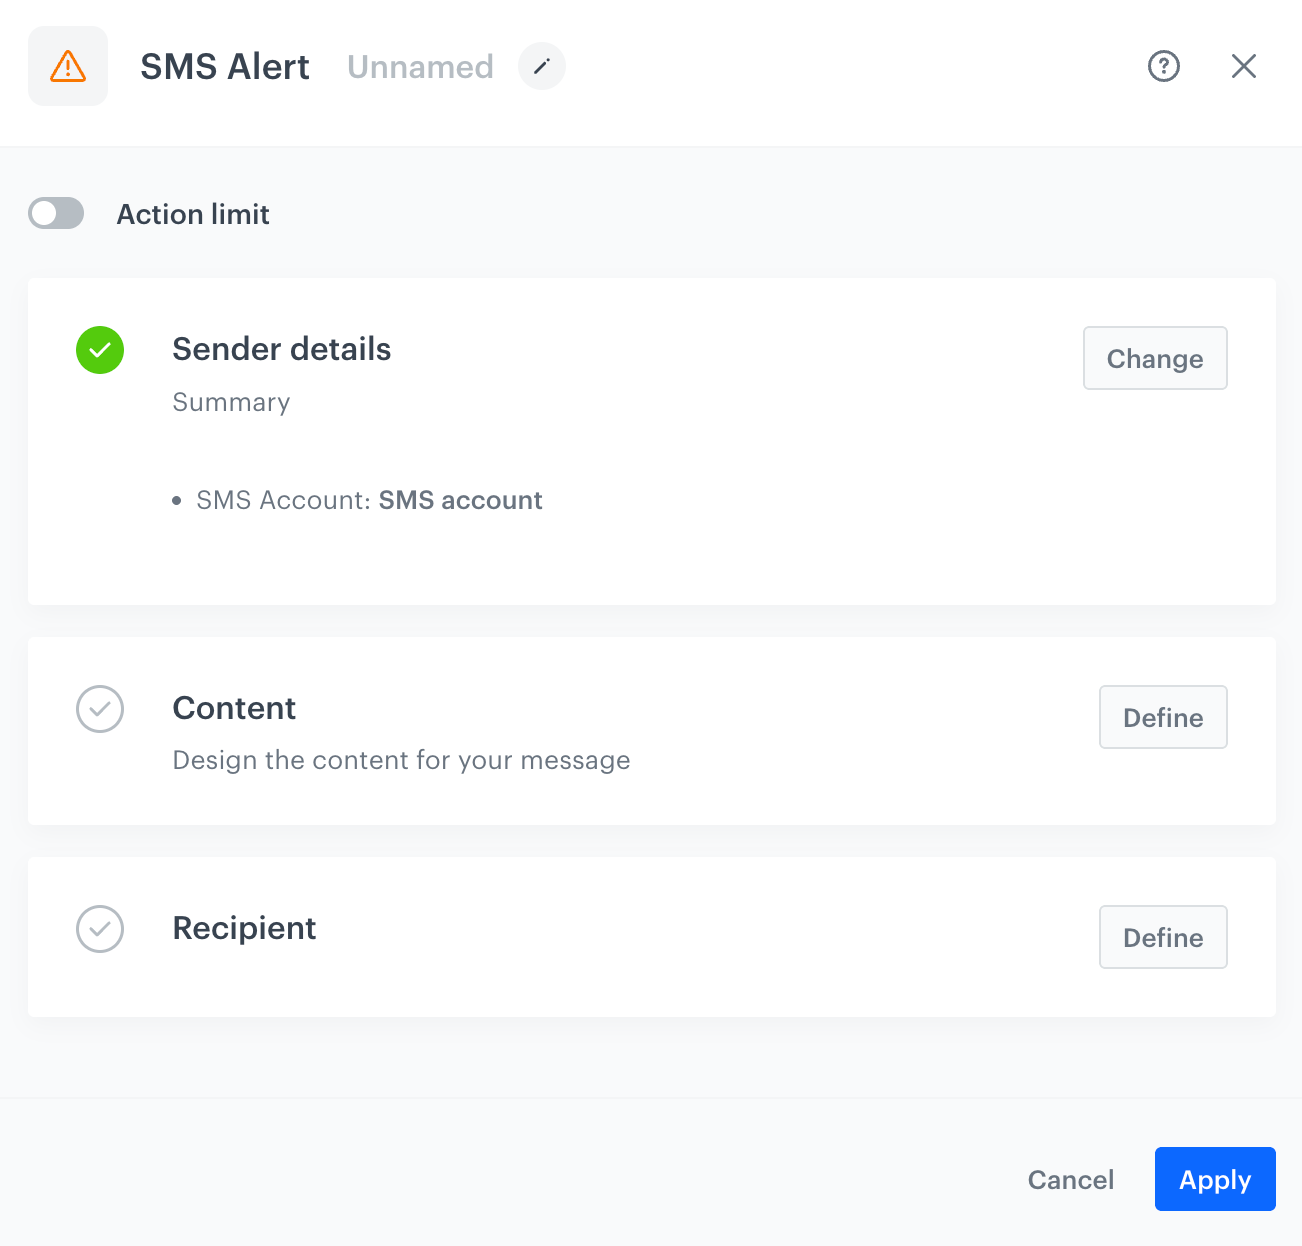
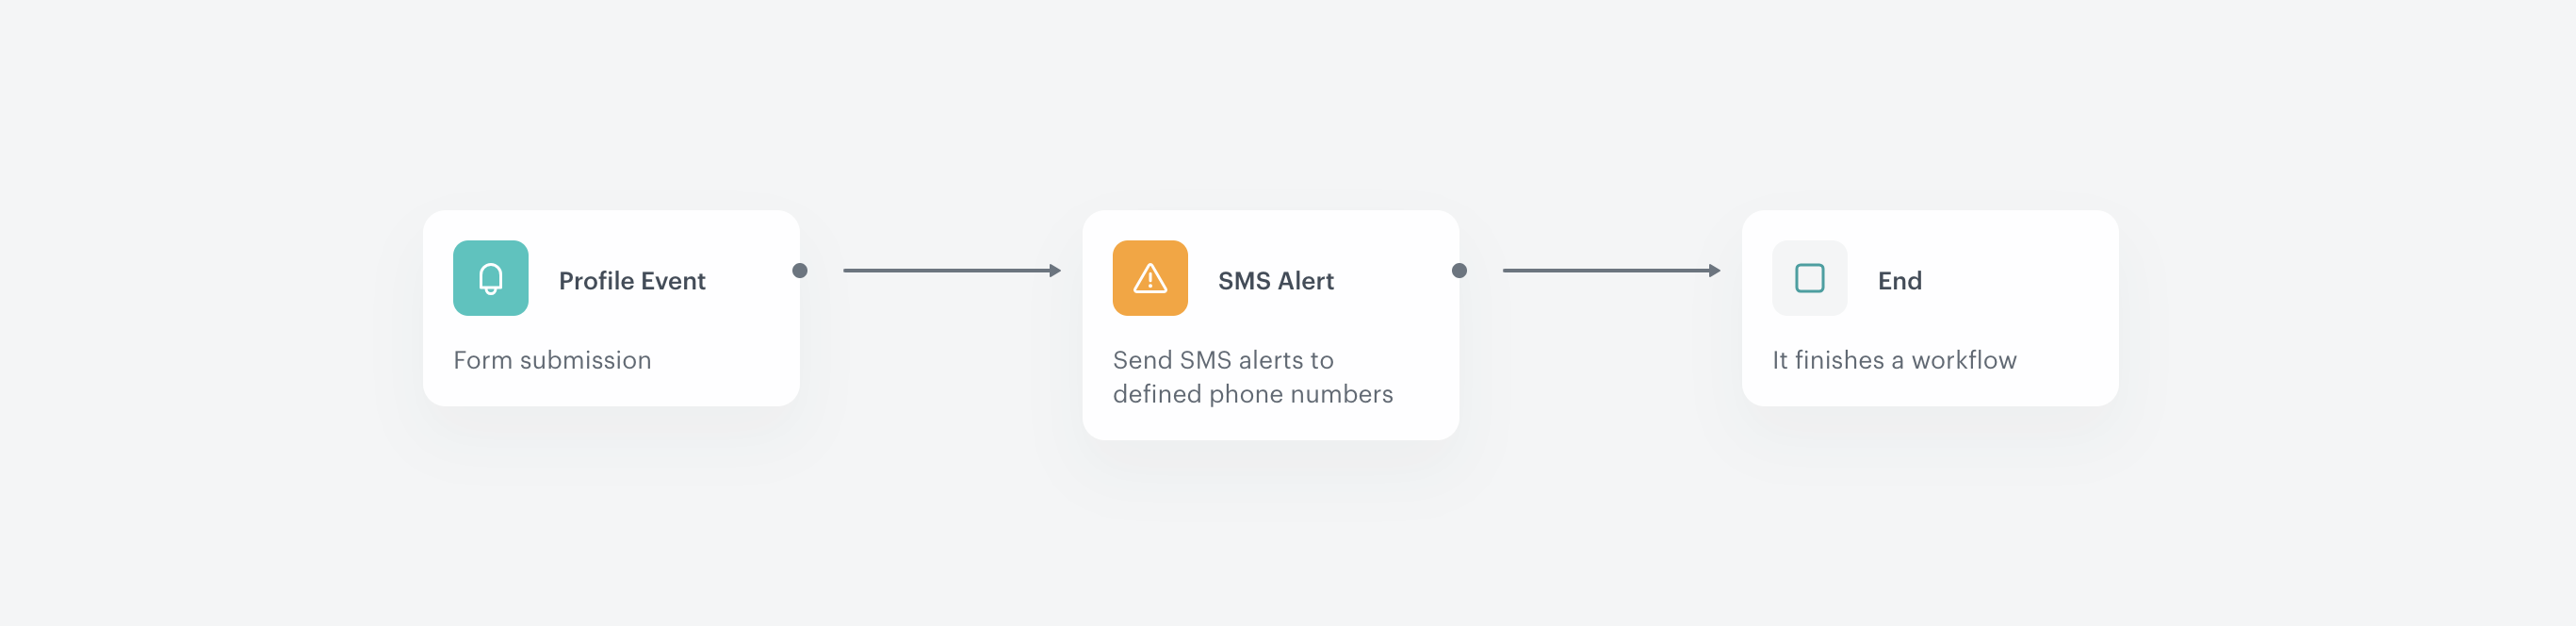
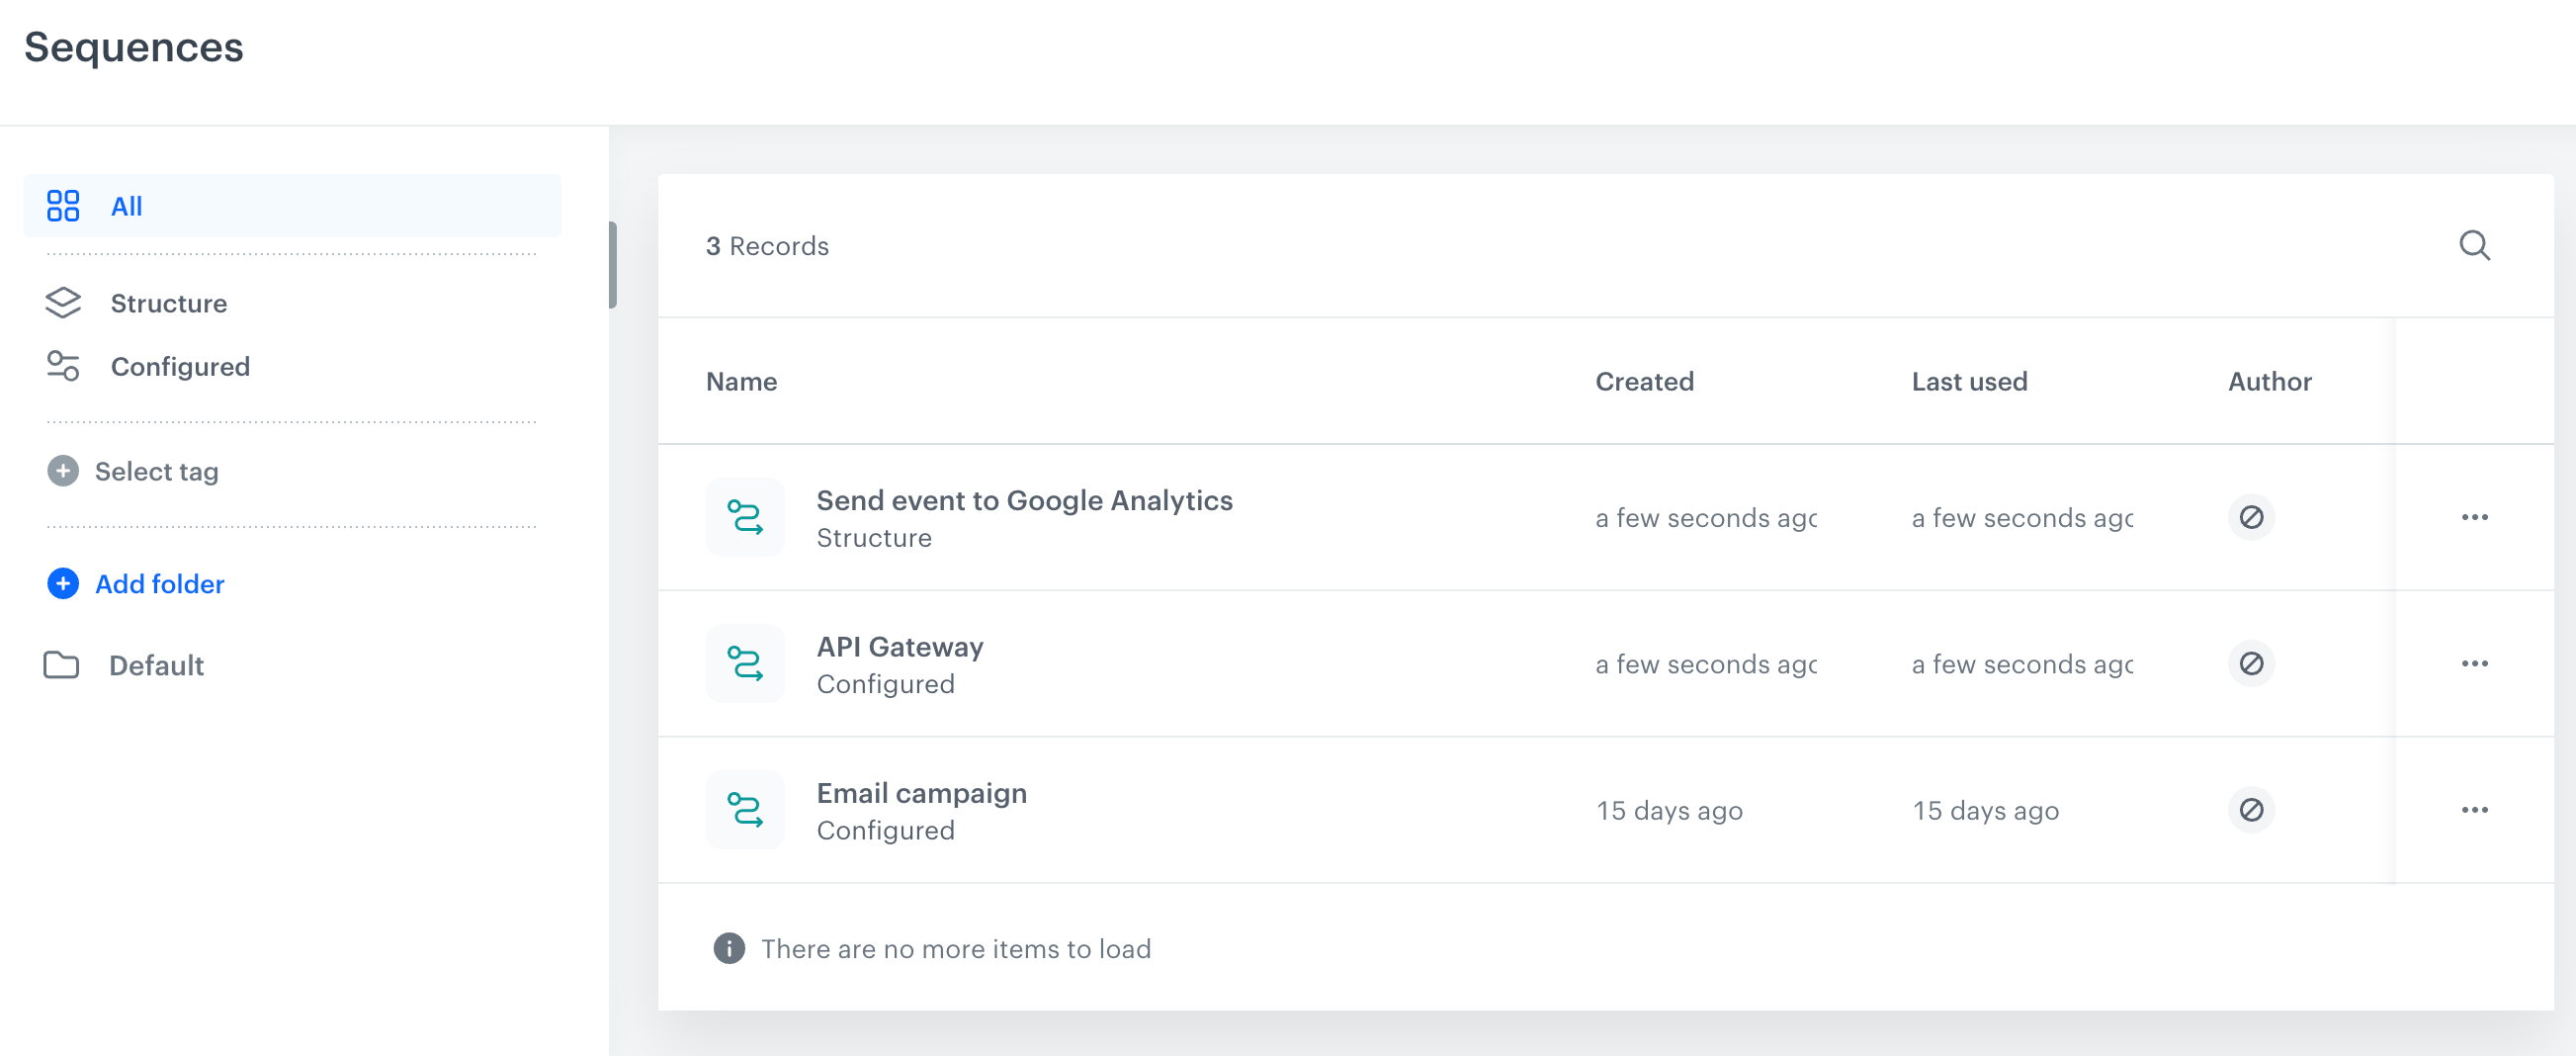
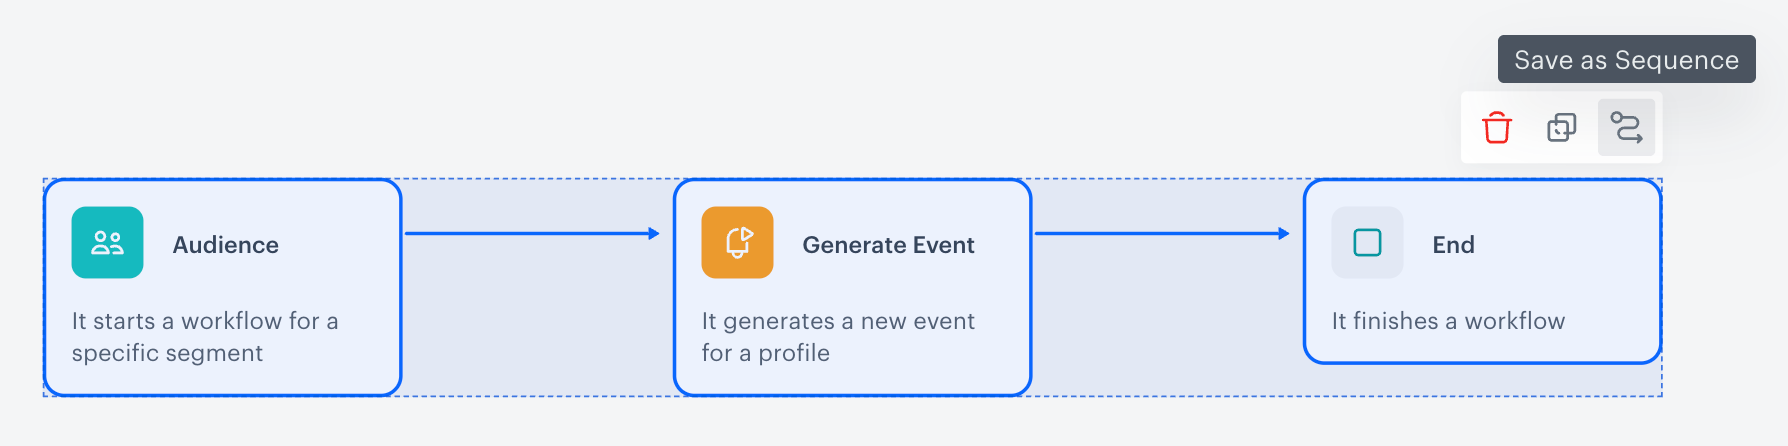
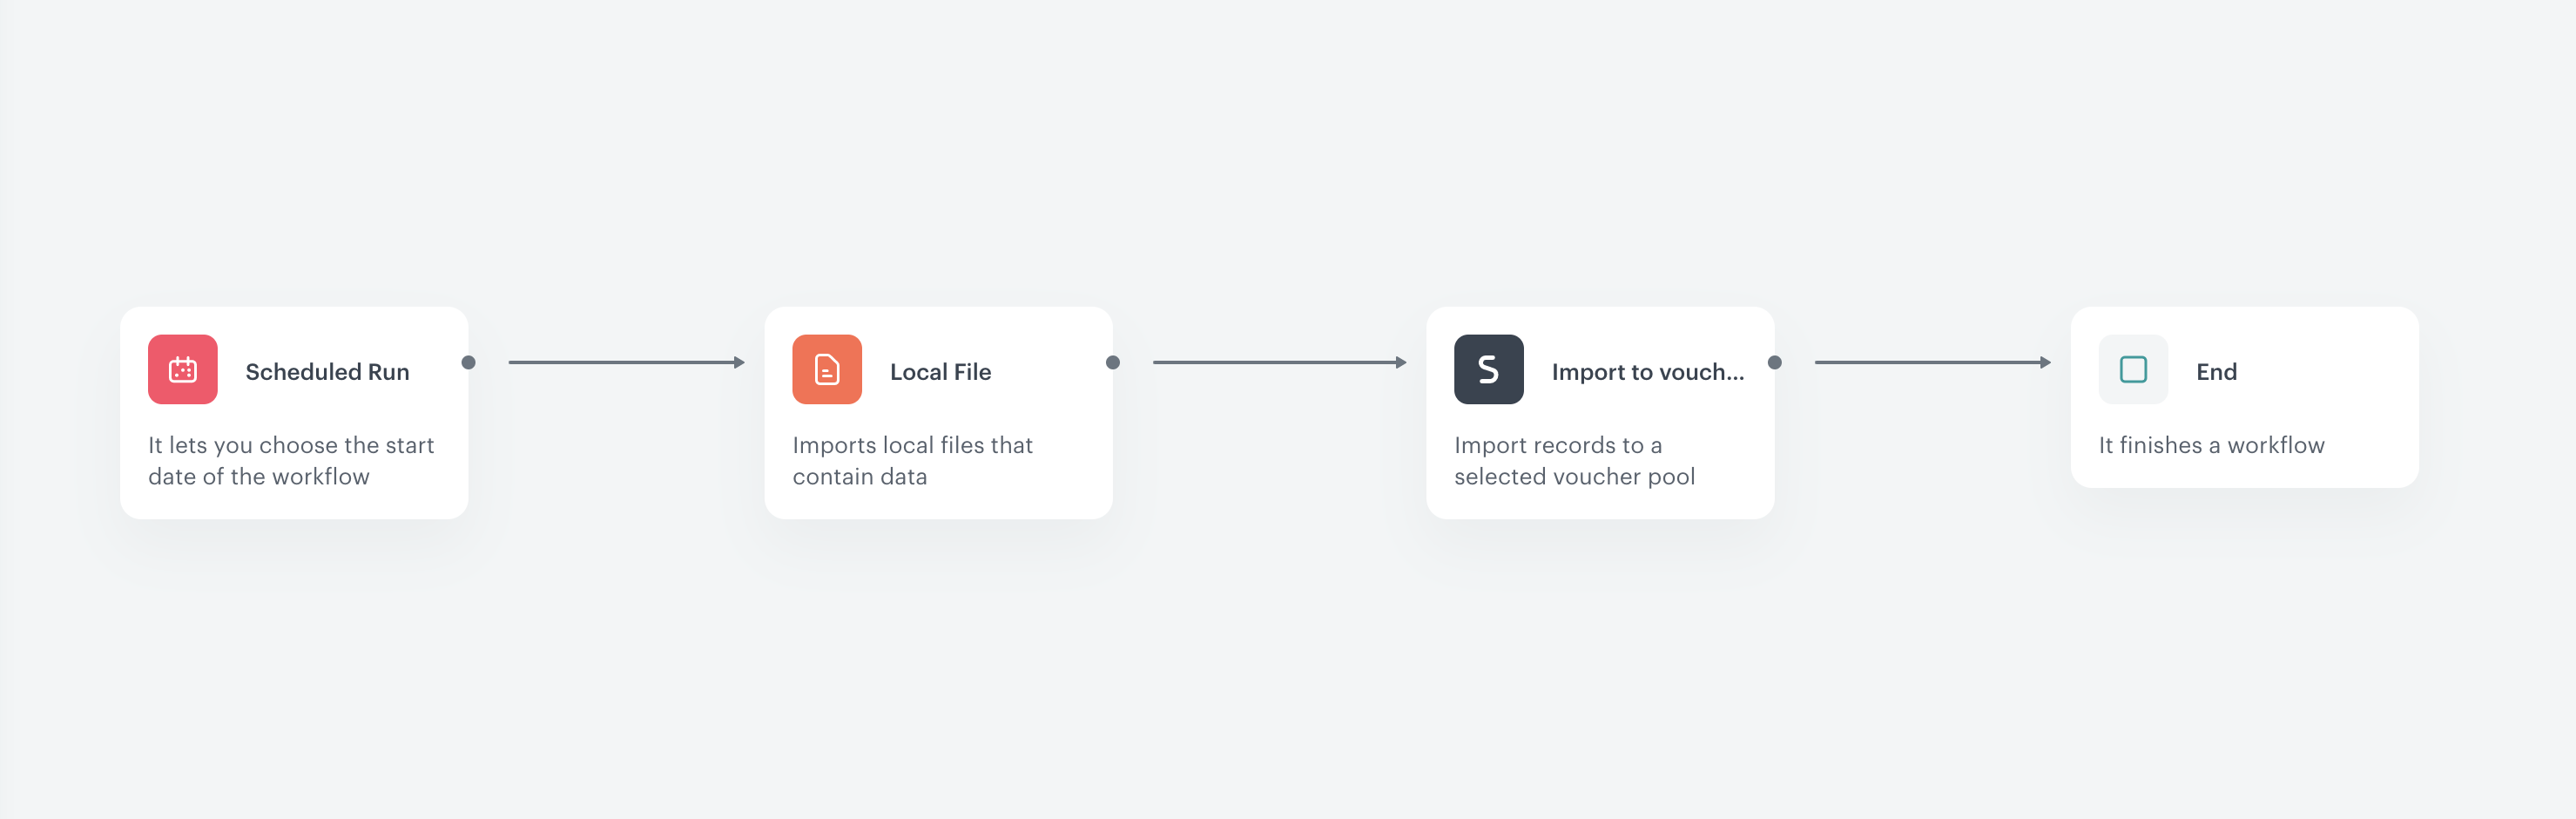

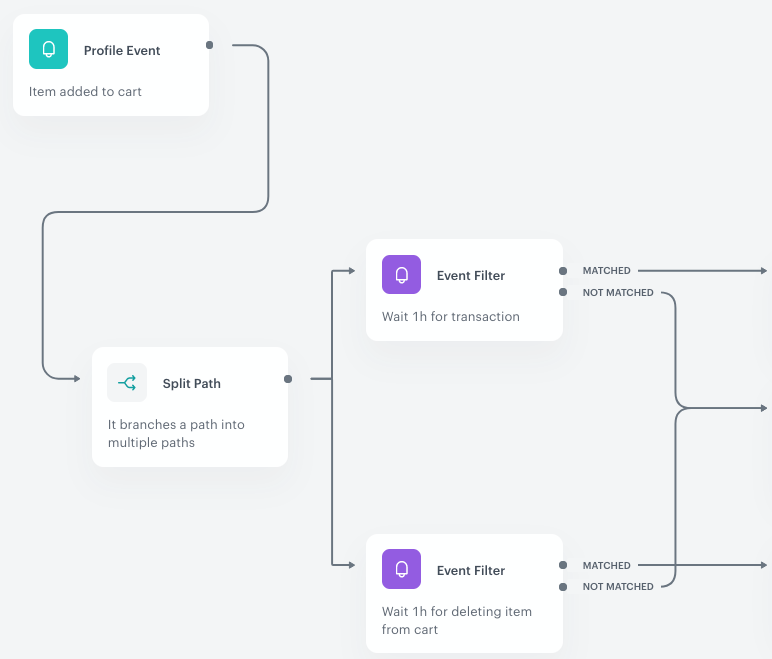
 icon.
### Example of use
---
icon.
### Example of use
---
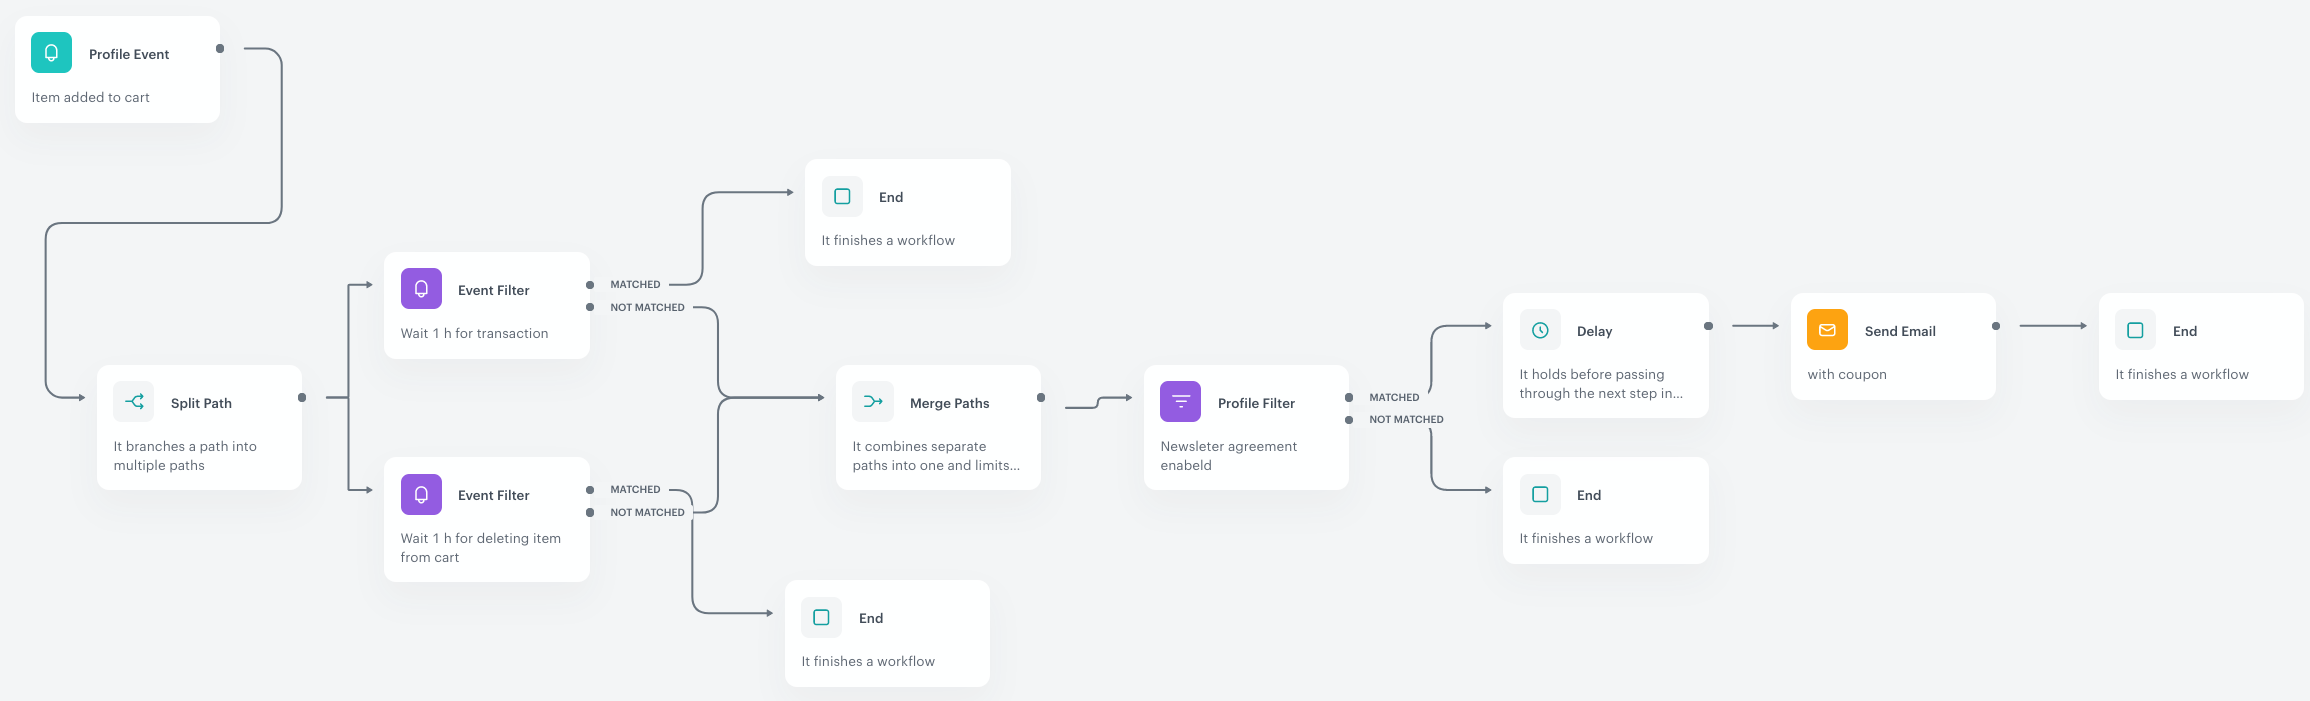
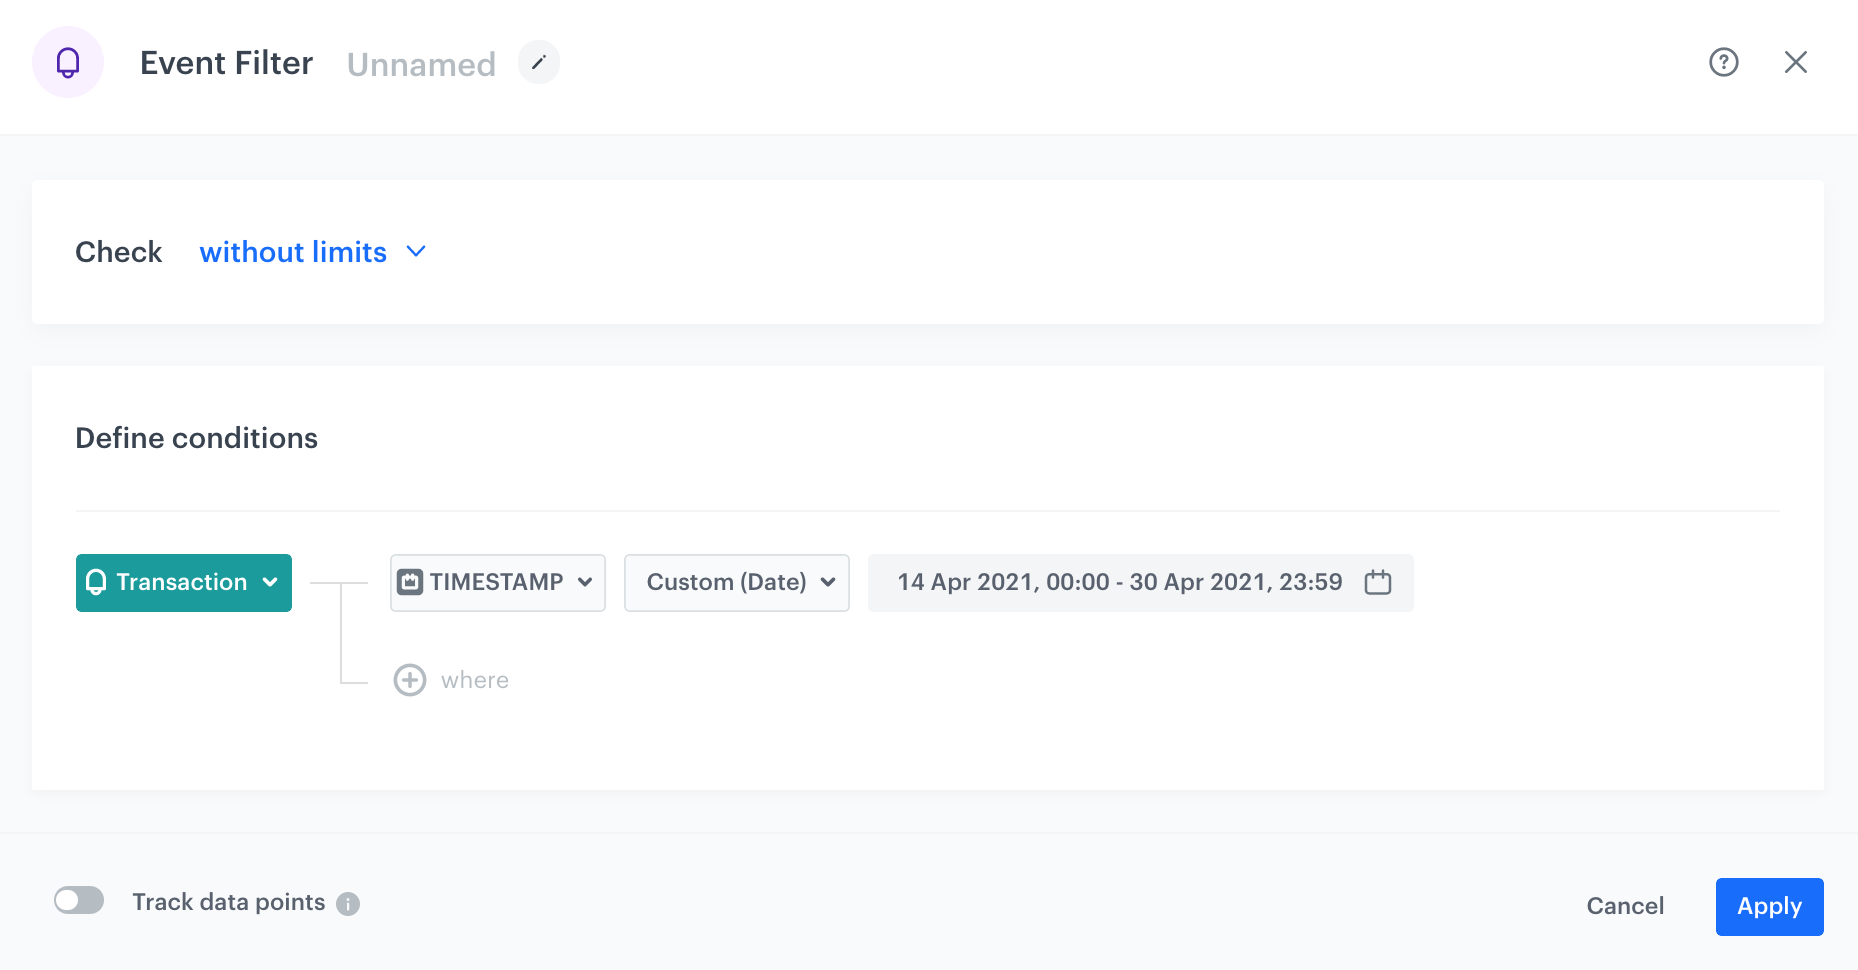
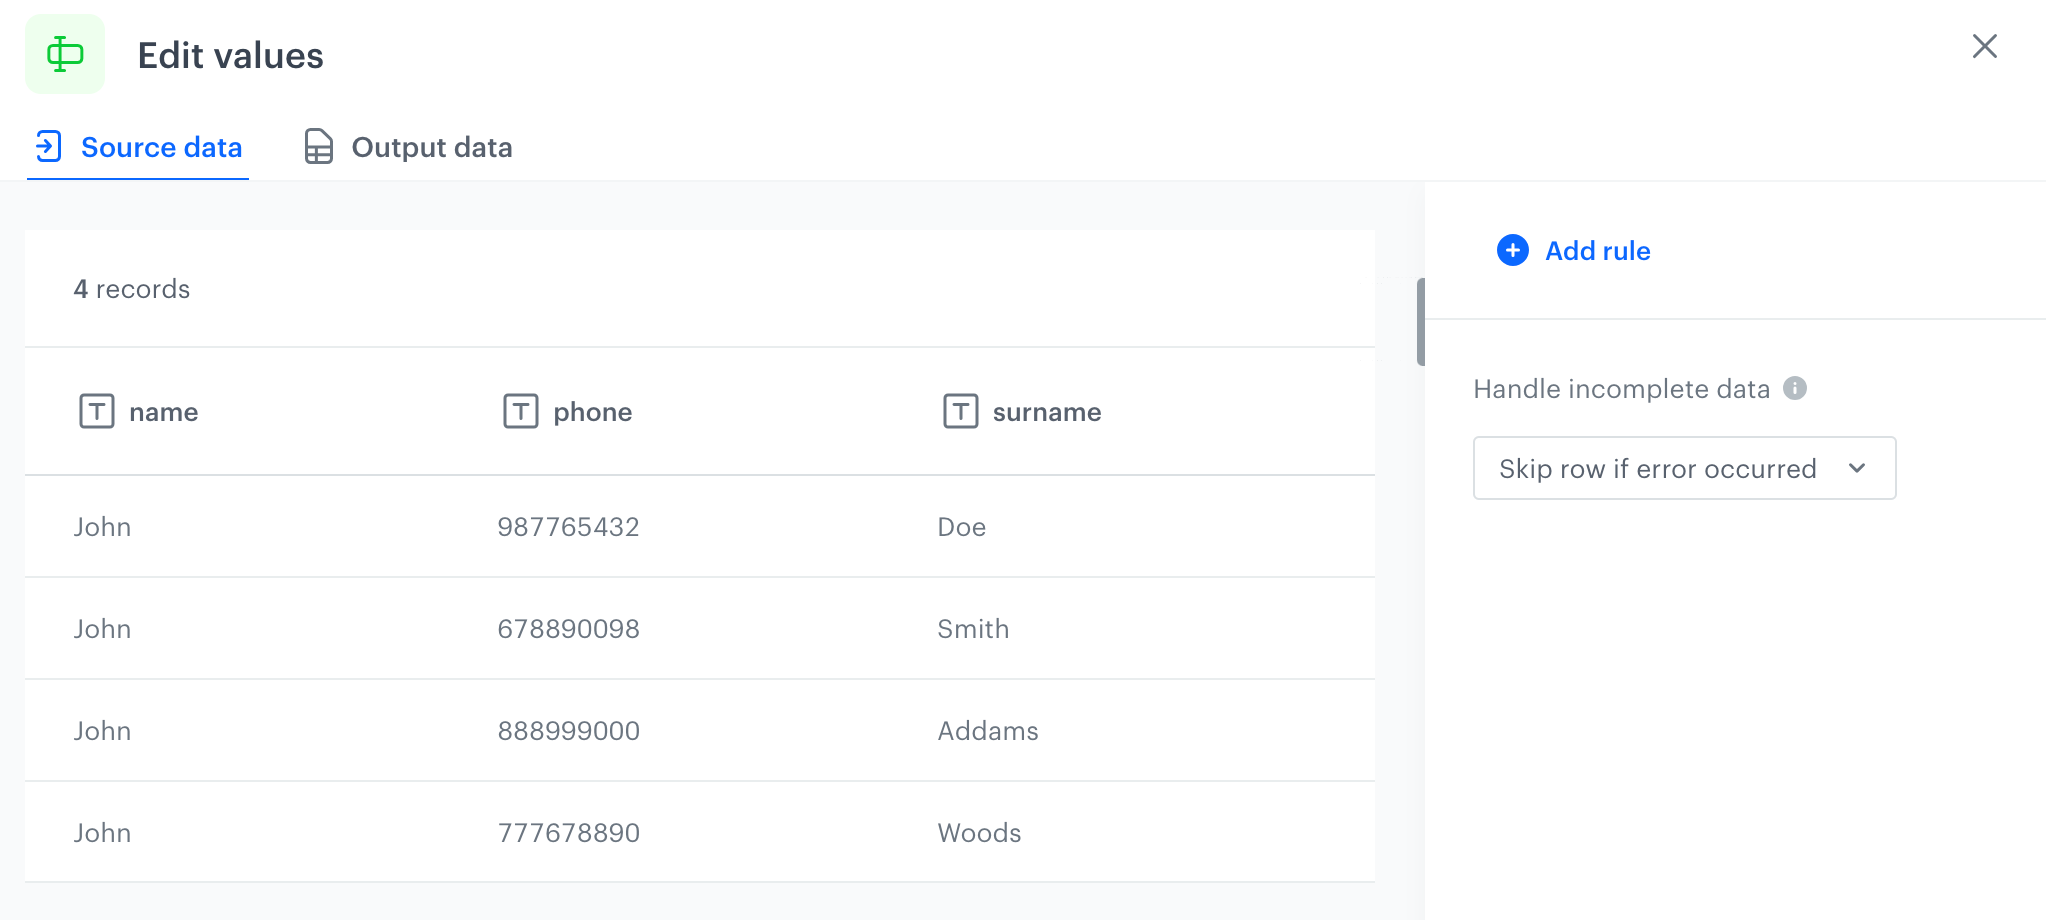
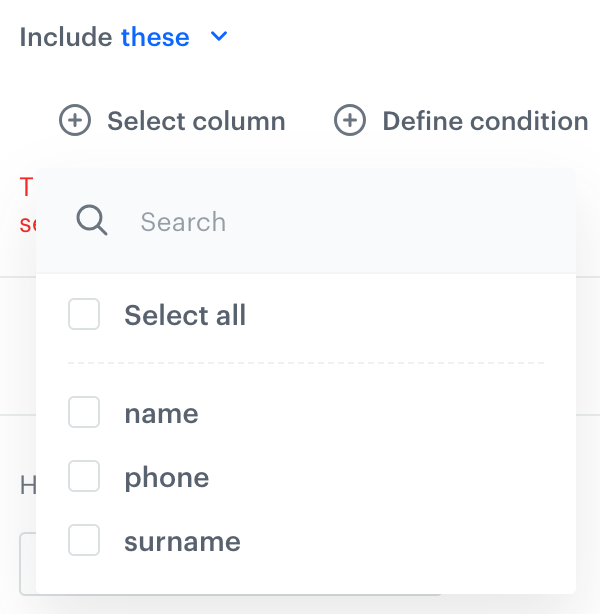
 icon.
**Result**: The filter settings appear:
icon.
**Result**: The filter settings appear:
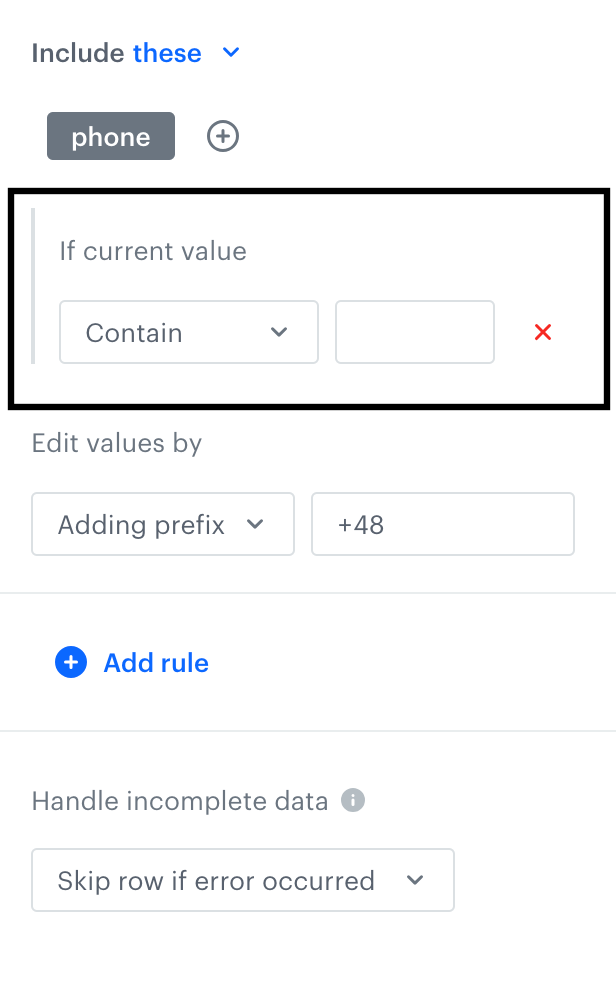
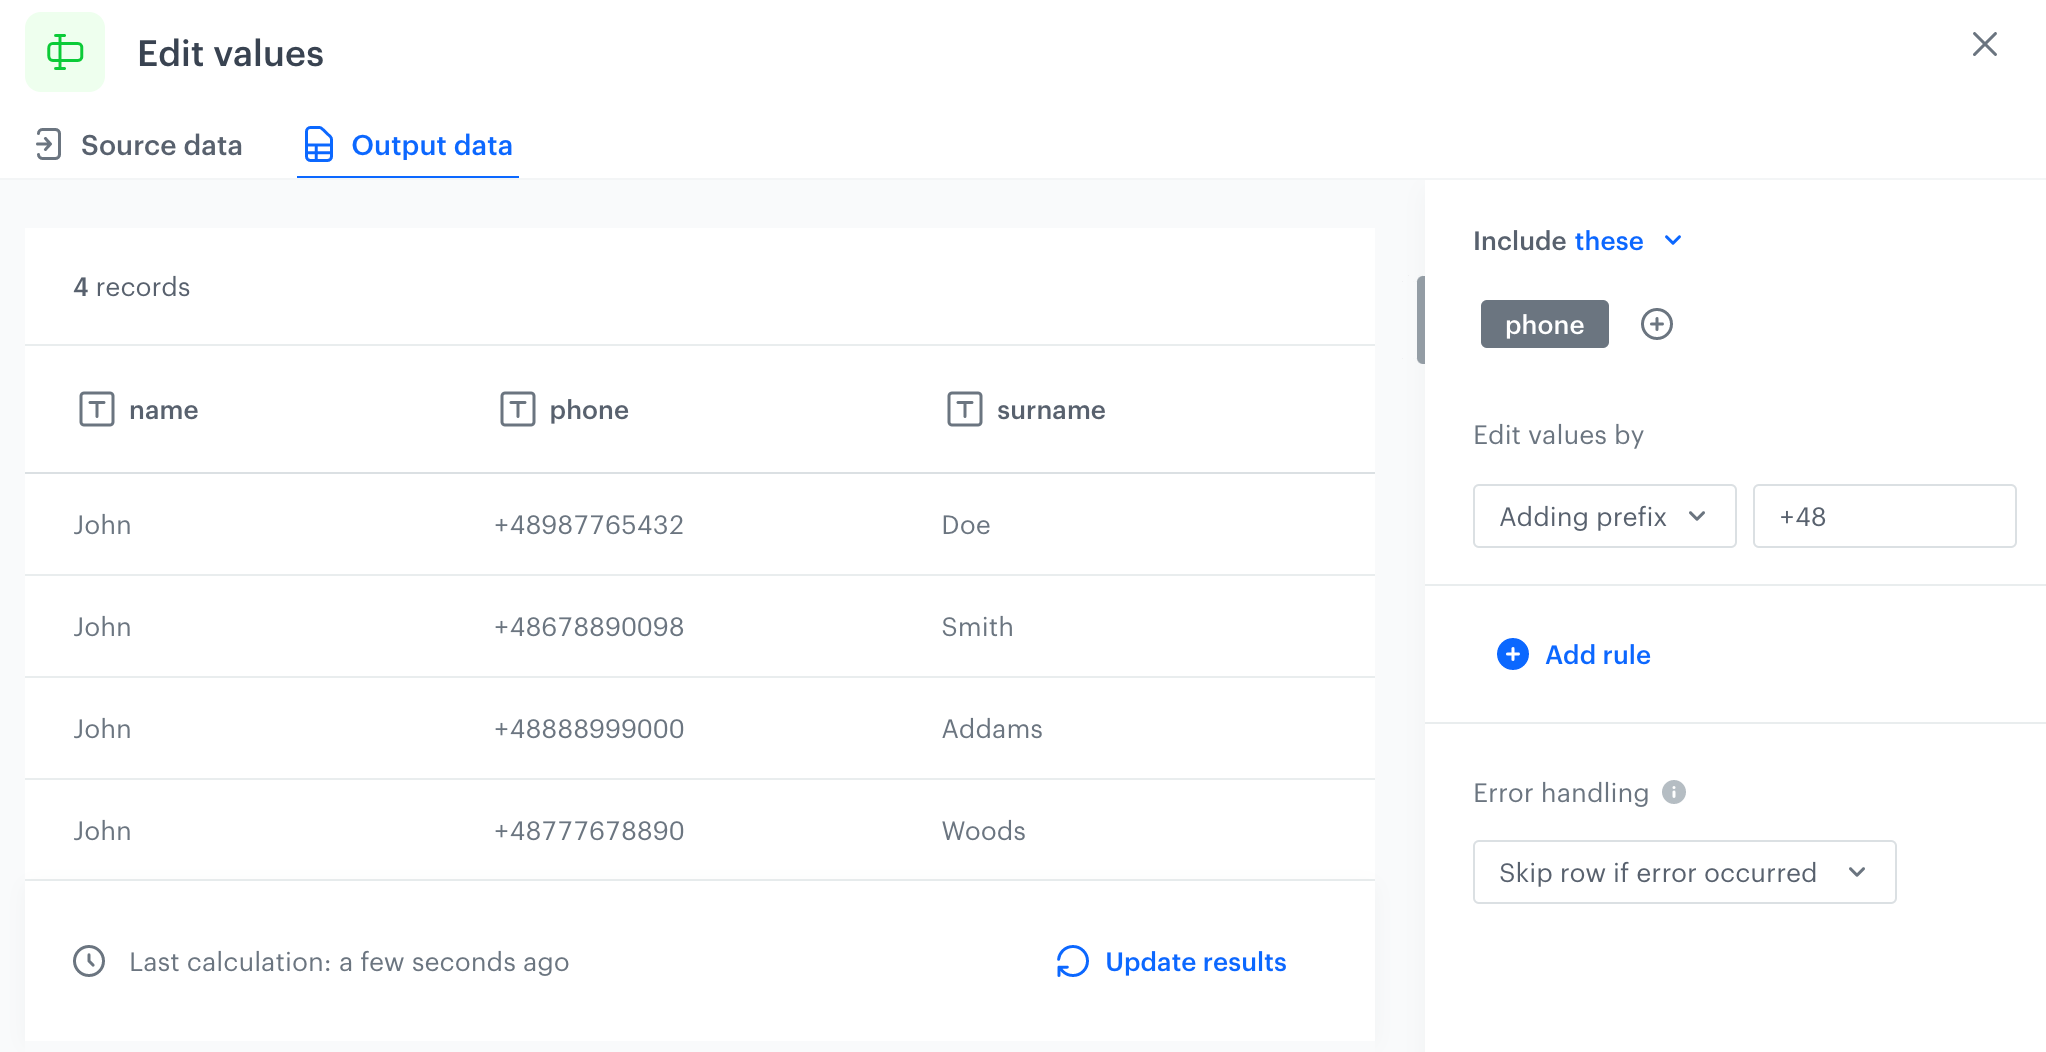
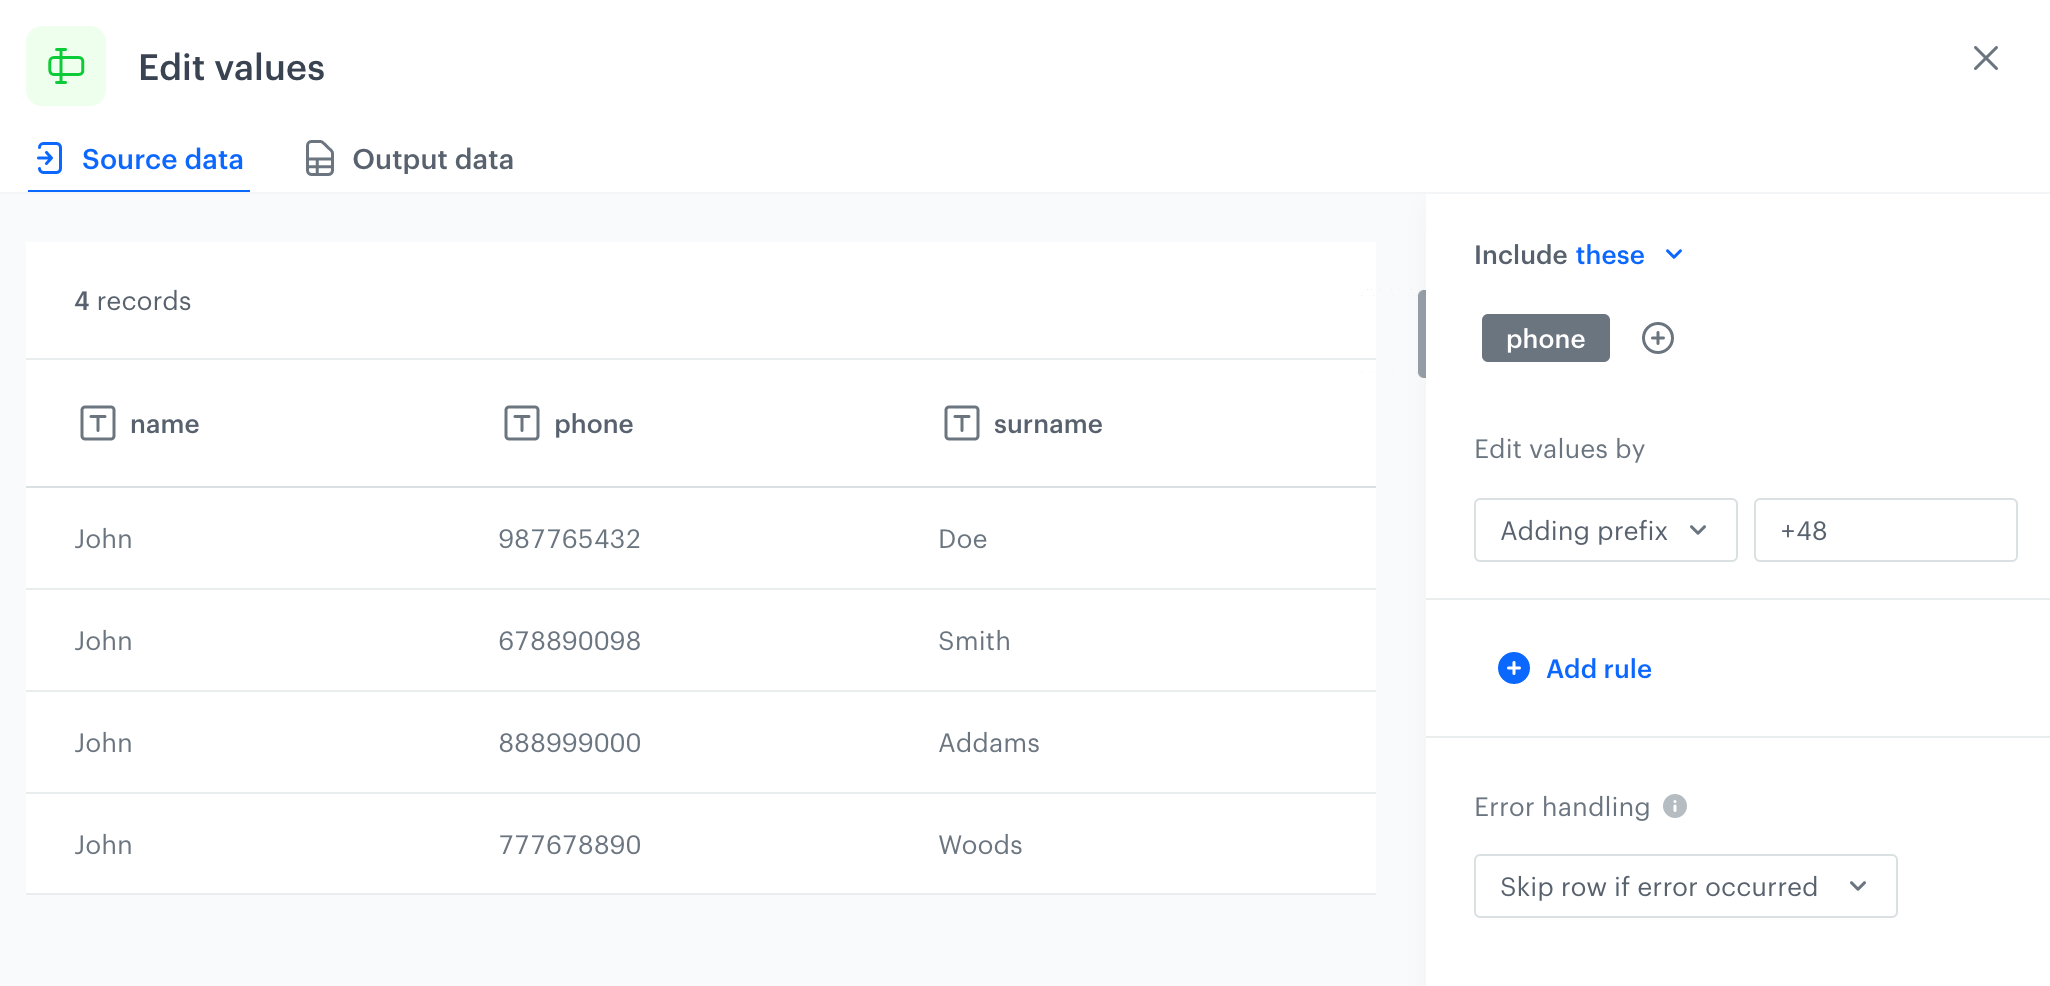

 **AI Hub > Regular Promotions** in the draft status.
The node doesn't require any further configuration - it contains a list of required parameters a file must contain to be imported.
## Requirements
---
The file must contain the following columns:
- `code` - ID of the promotion - it must be a string
- `redeemType` - defines whether a promotion is redeemed fully or partially. Accepted values: `FULL`, `PARTIAL`
- `headerName` - the name of promotion that will be displayed on the list of promotions in Synerise UI (
**AI Hub > Regular Promotions** in the draft status.
The node doesn't require any further configuration - it contains a list of required parameters a file must contain to be imported.
## Requirements
---
The file must contain the following columns:
- `code` - ID of the promotion - it must be a string
- `redeemType` - defines whether a promotion is redeemed fully or partially. Accepted values: `FULL`, `PARTIAL`
- `headerName` - the name of promotion that will be displayed on the list of promotions in Synerise UI (

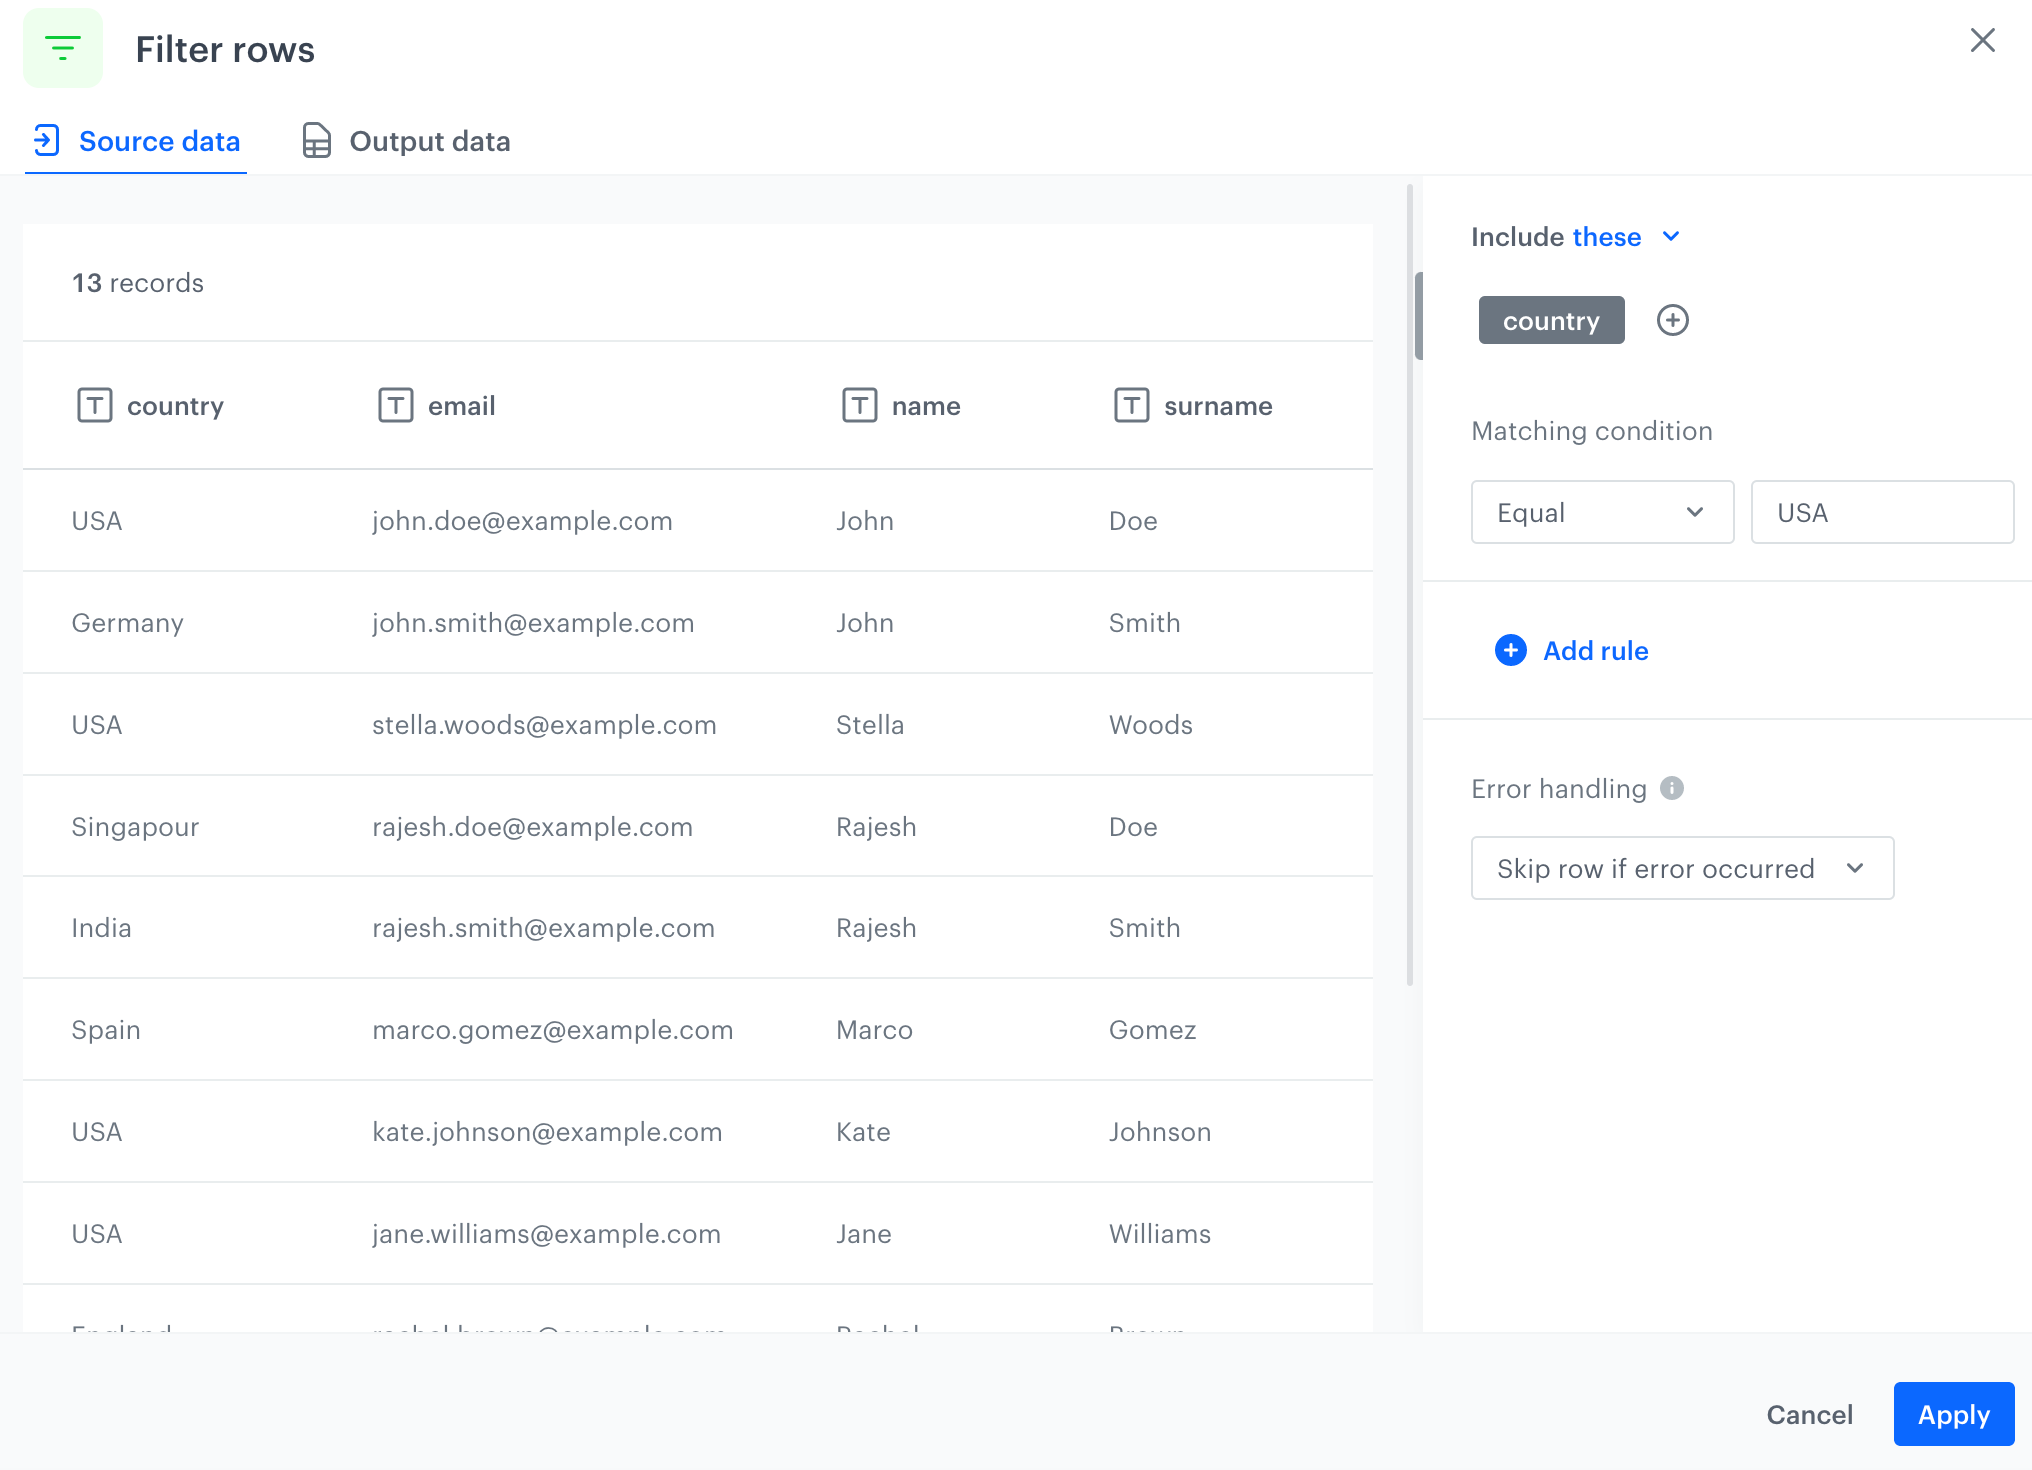
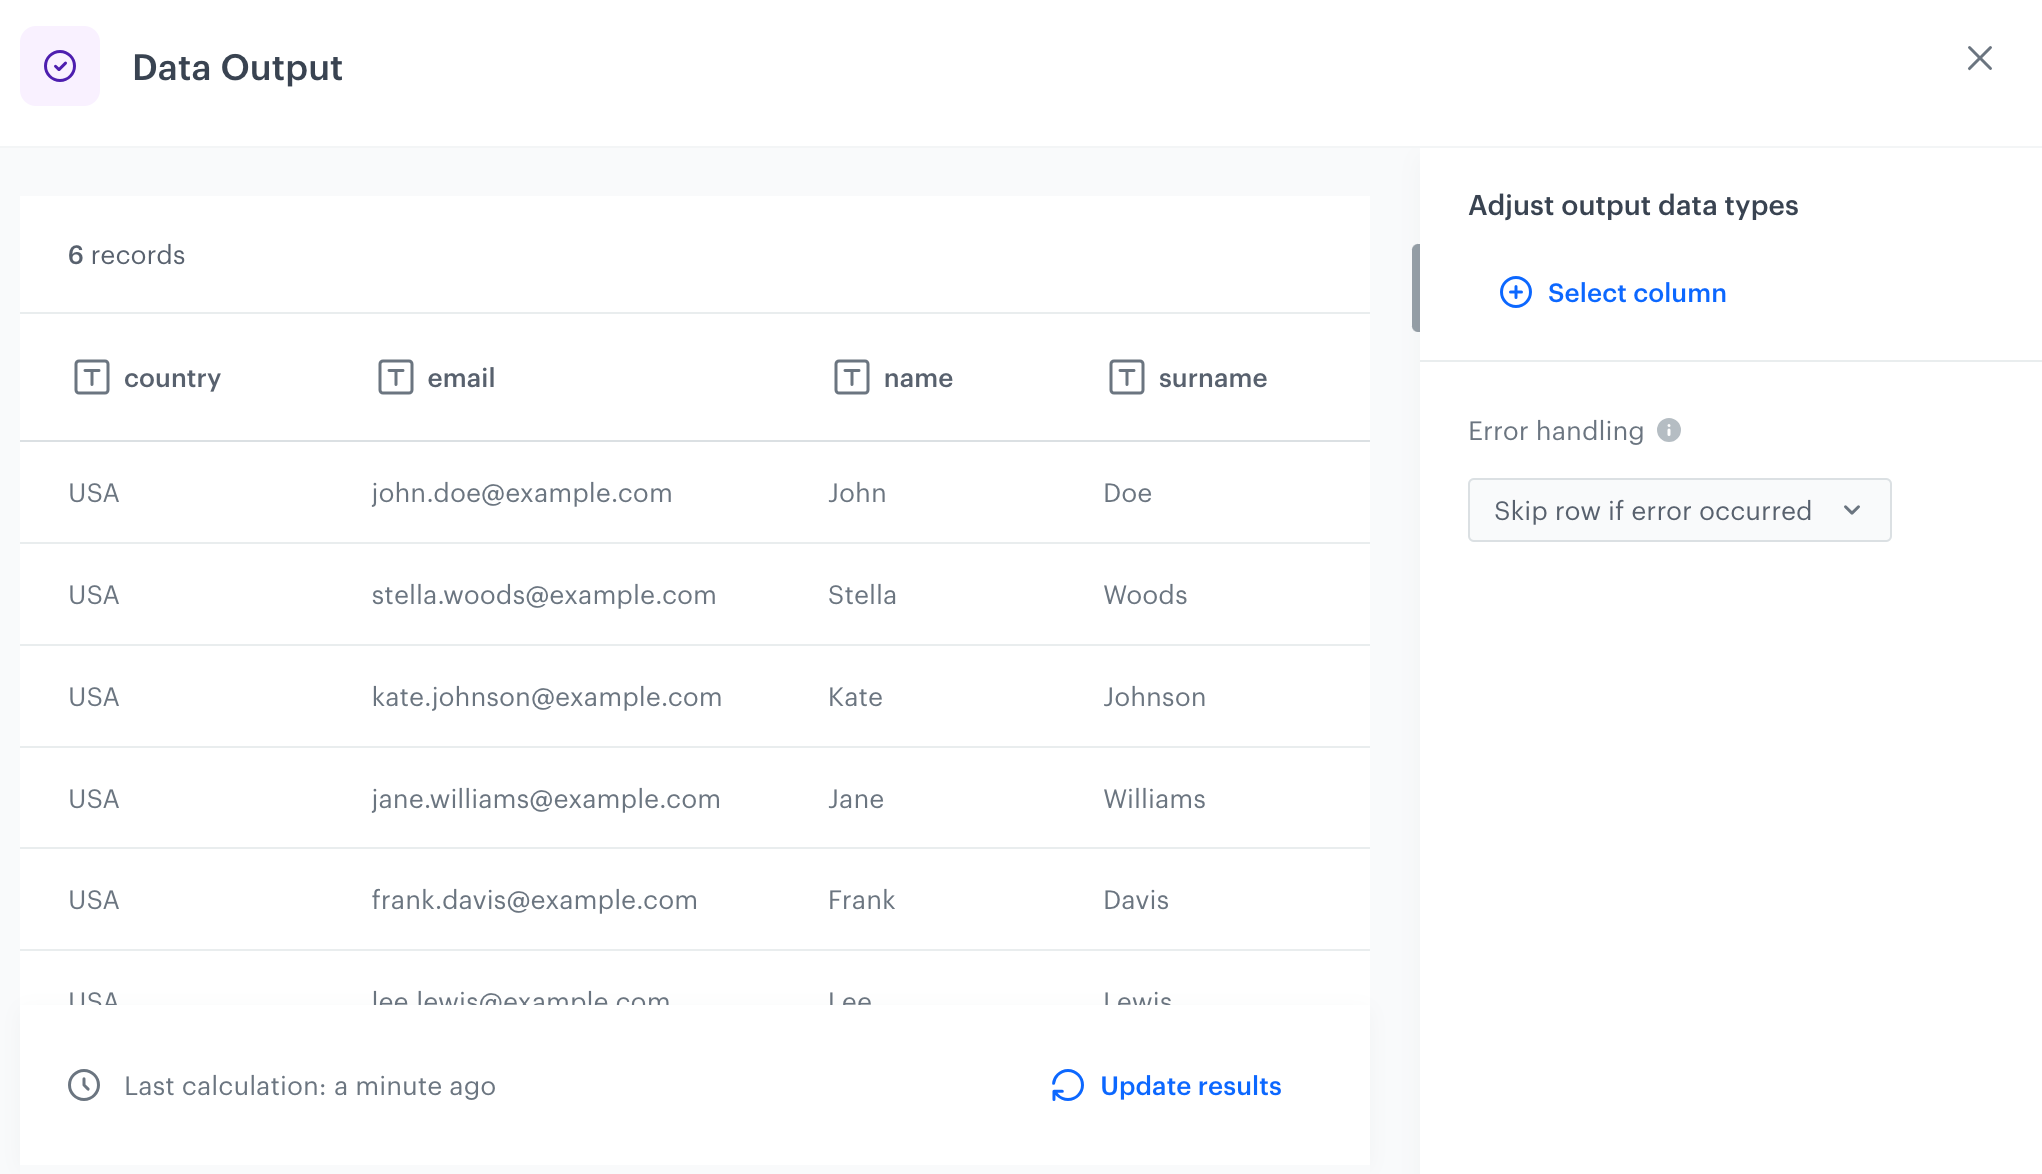


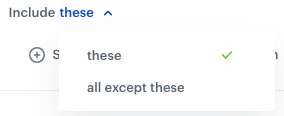
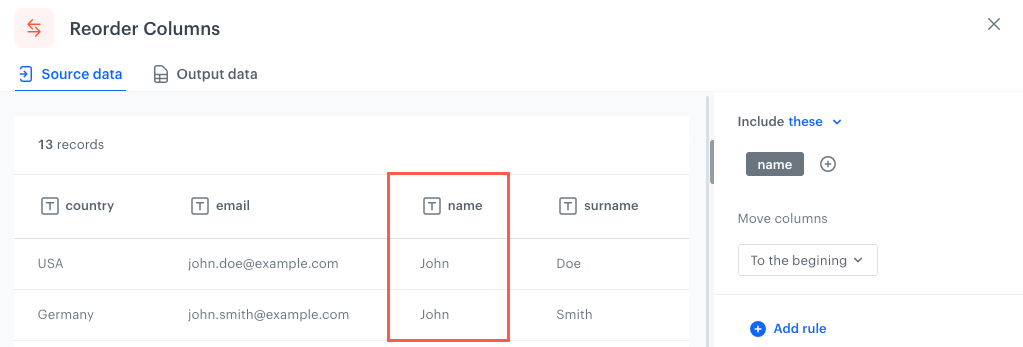
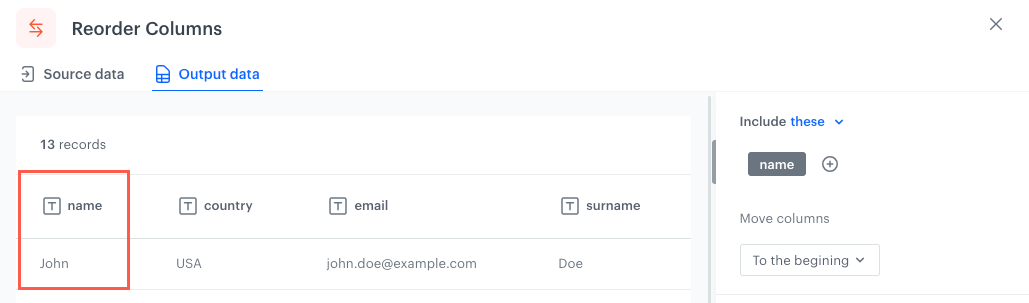
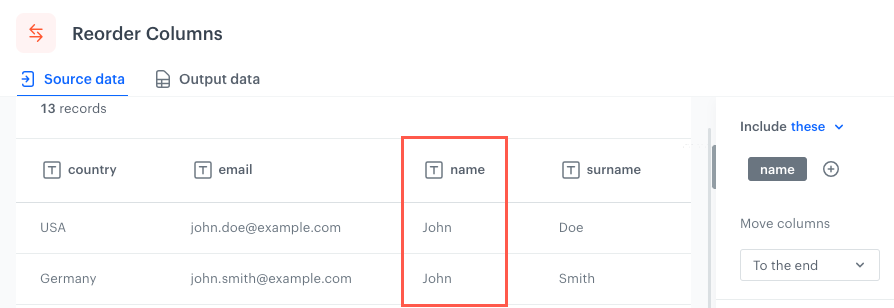
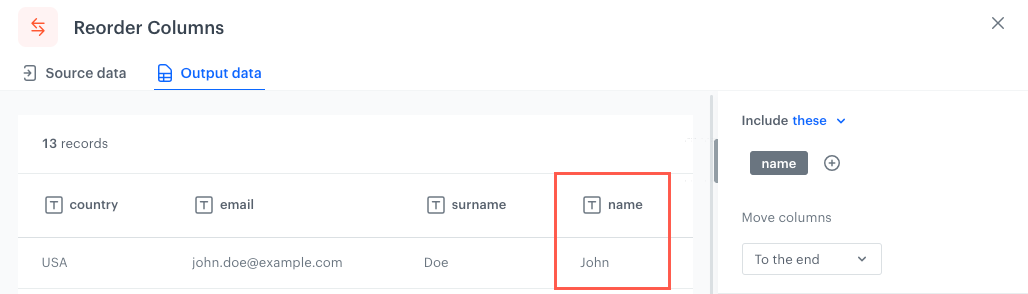
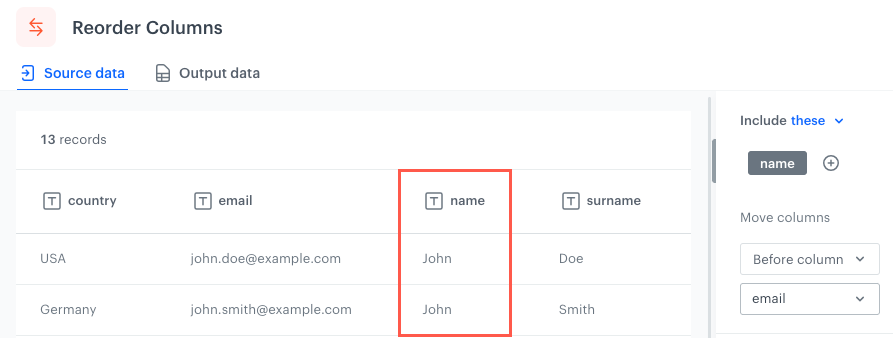
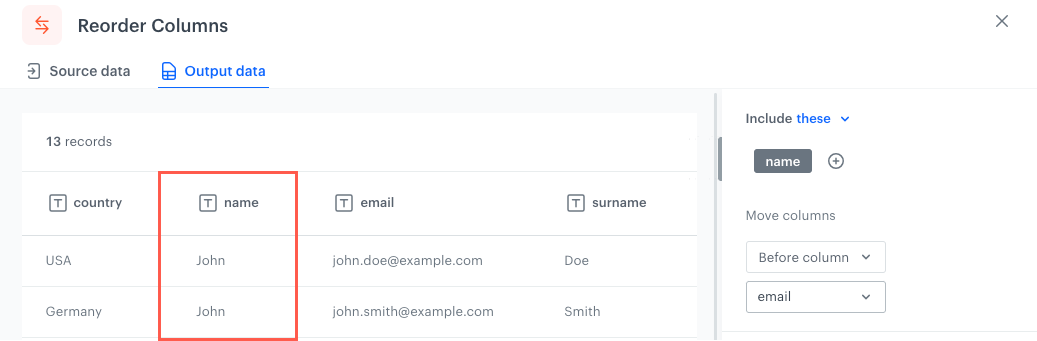
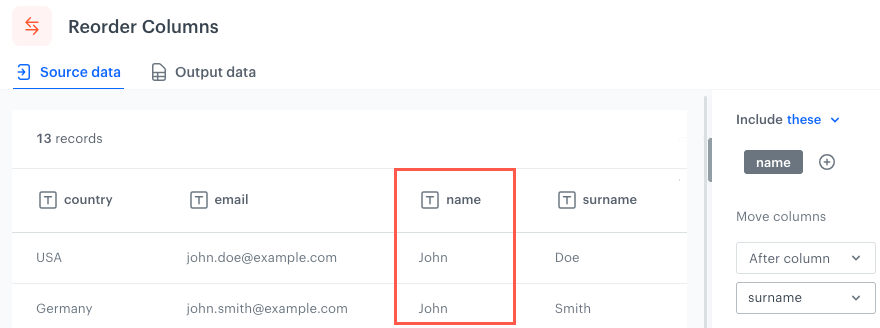
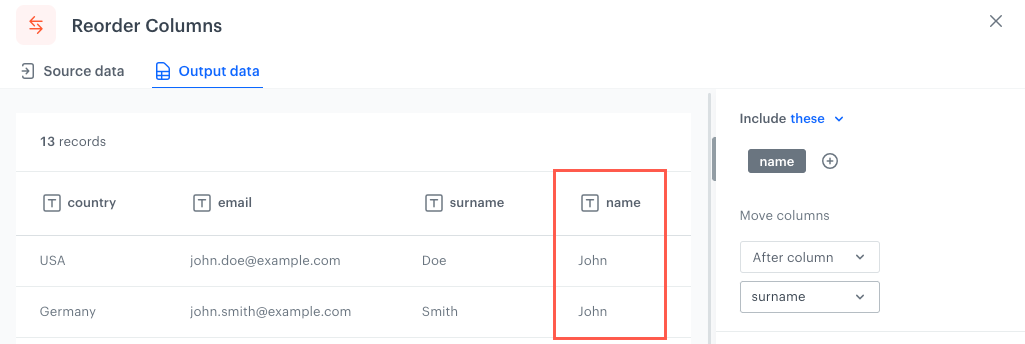
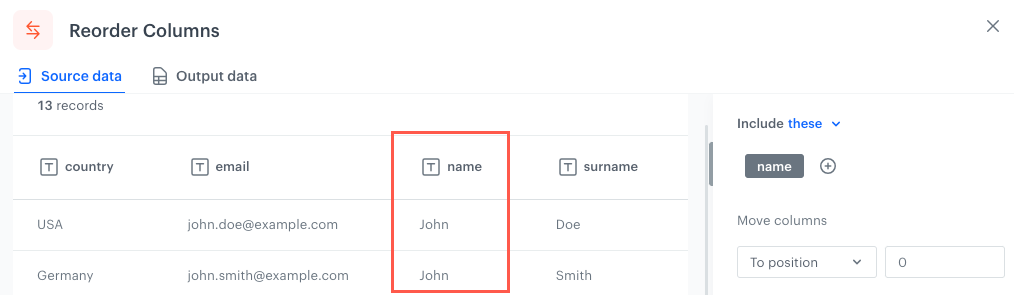
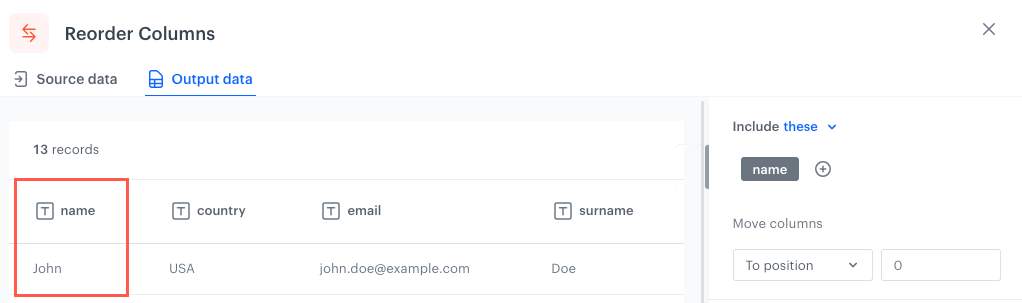
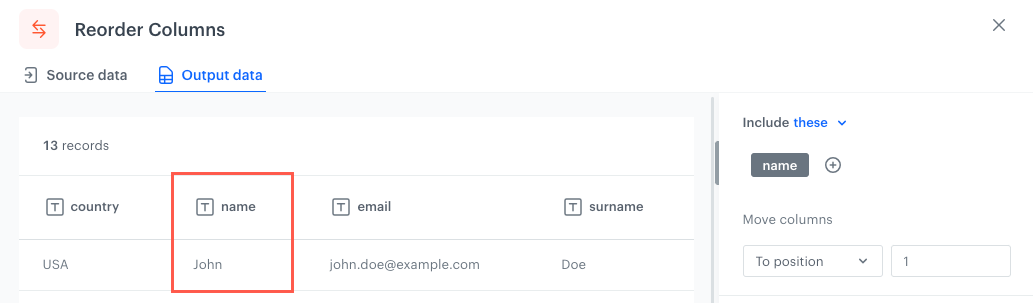
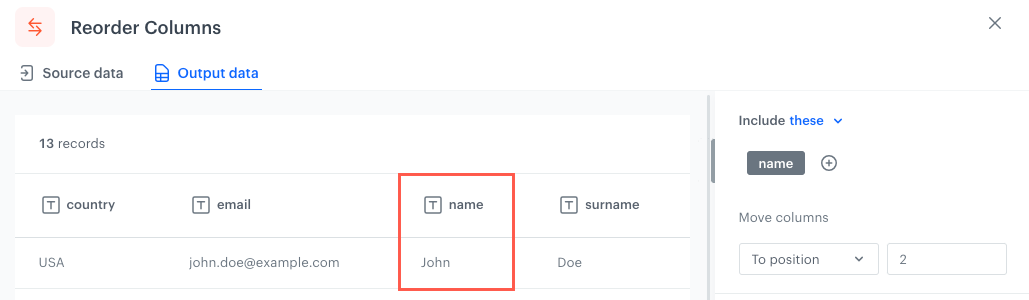
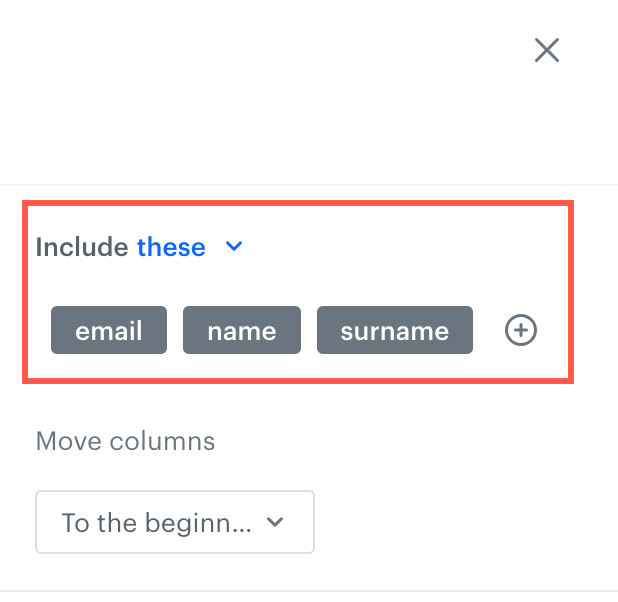
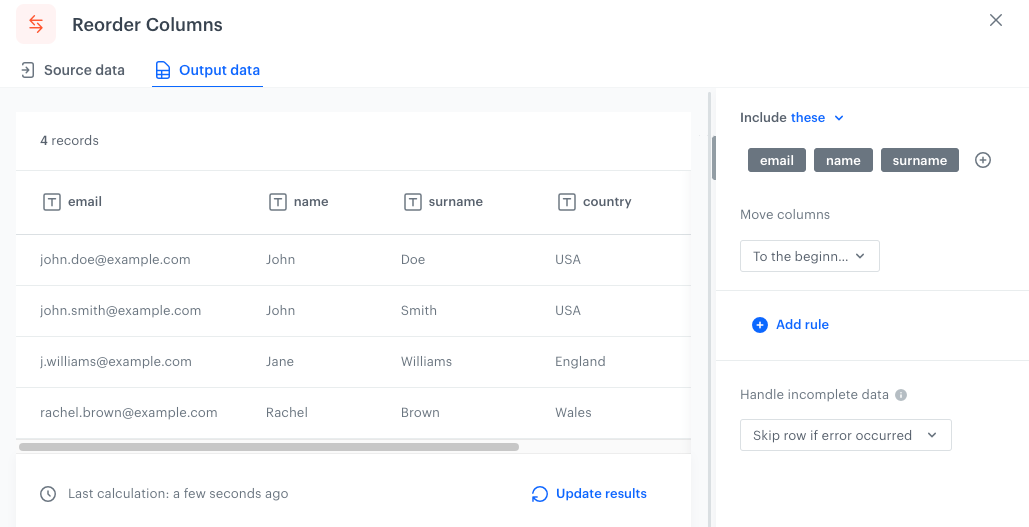
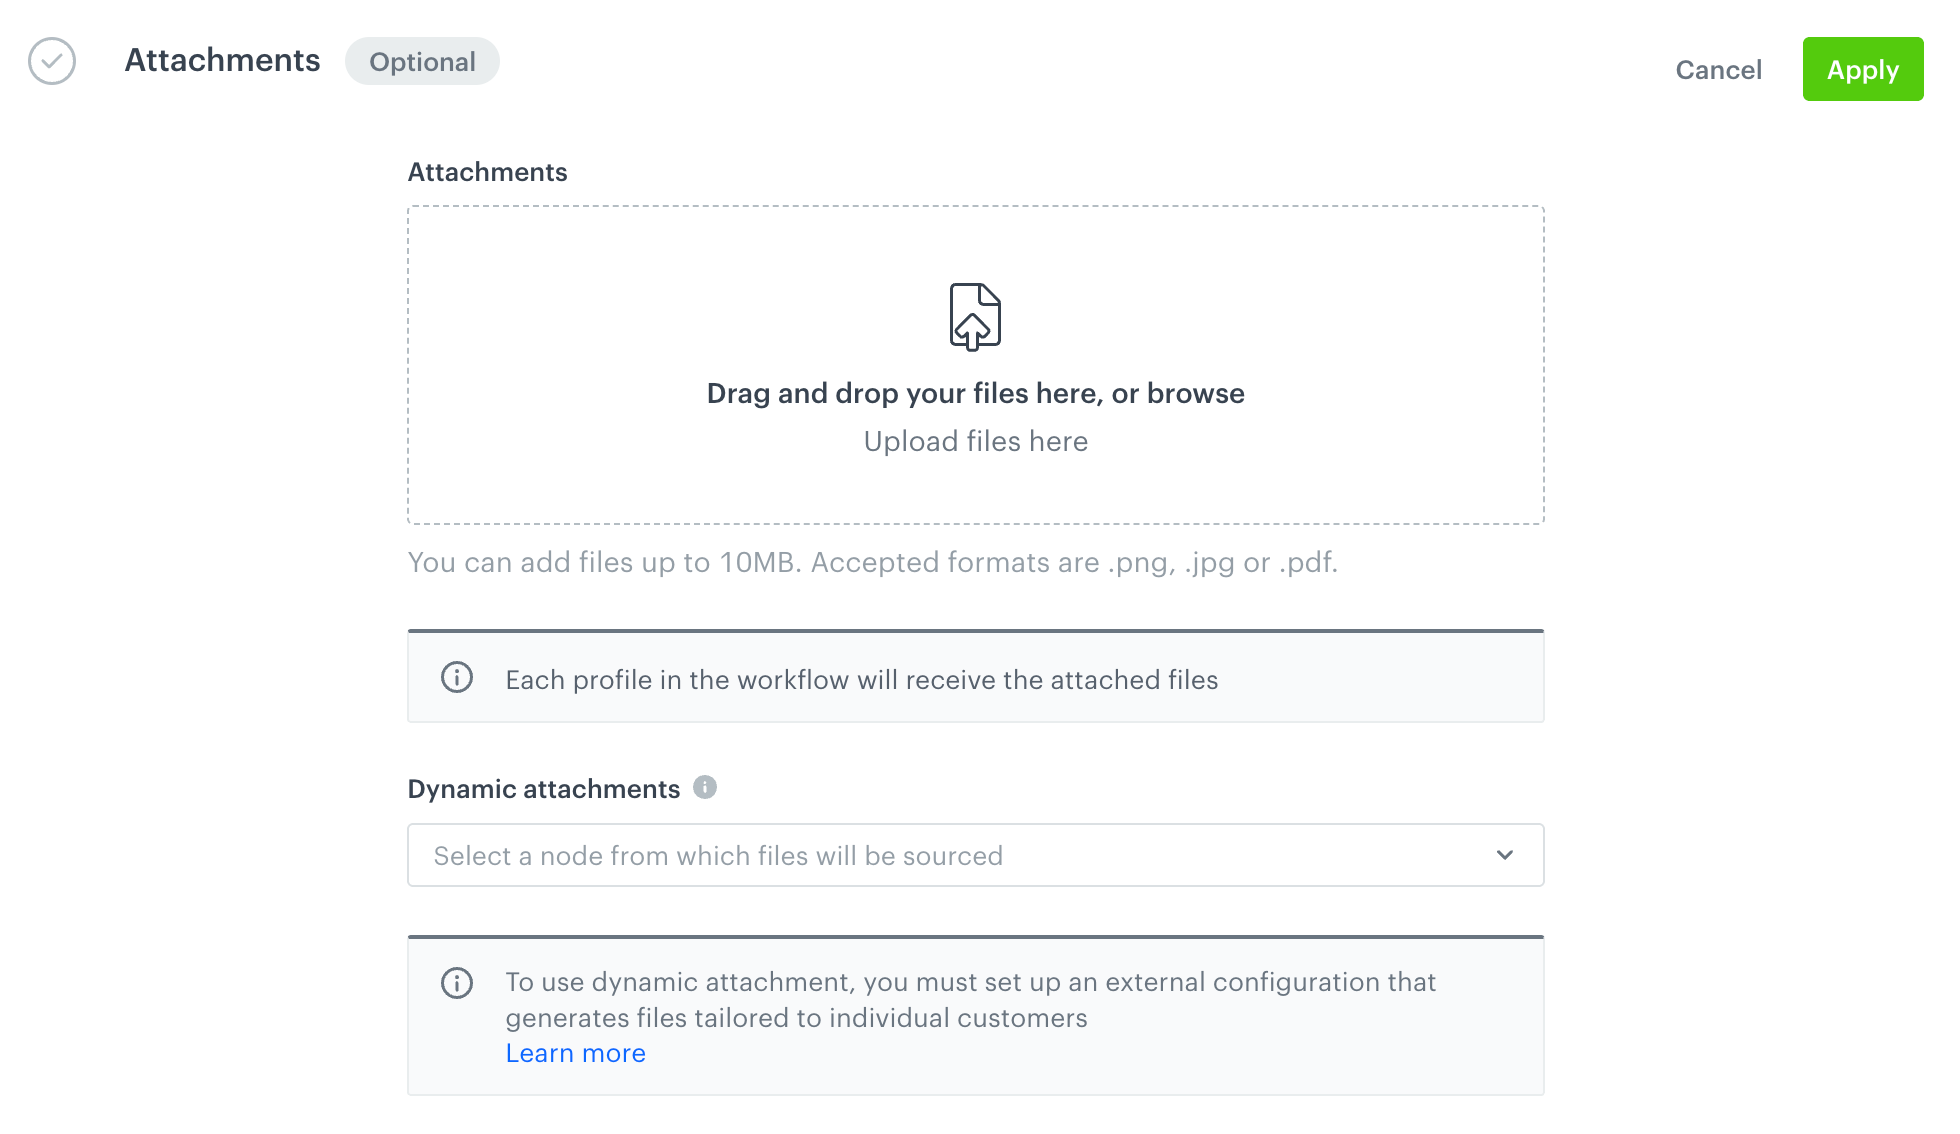

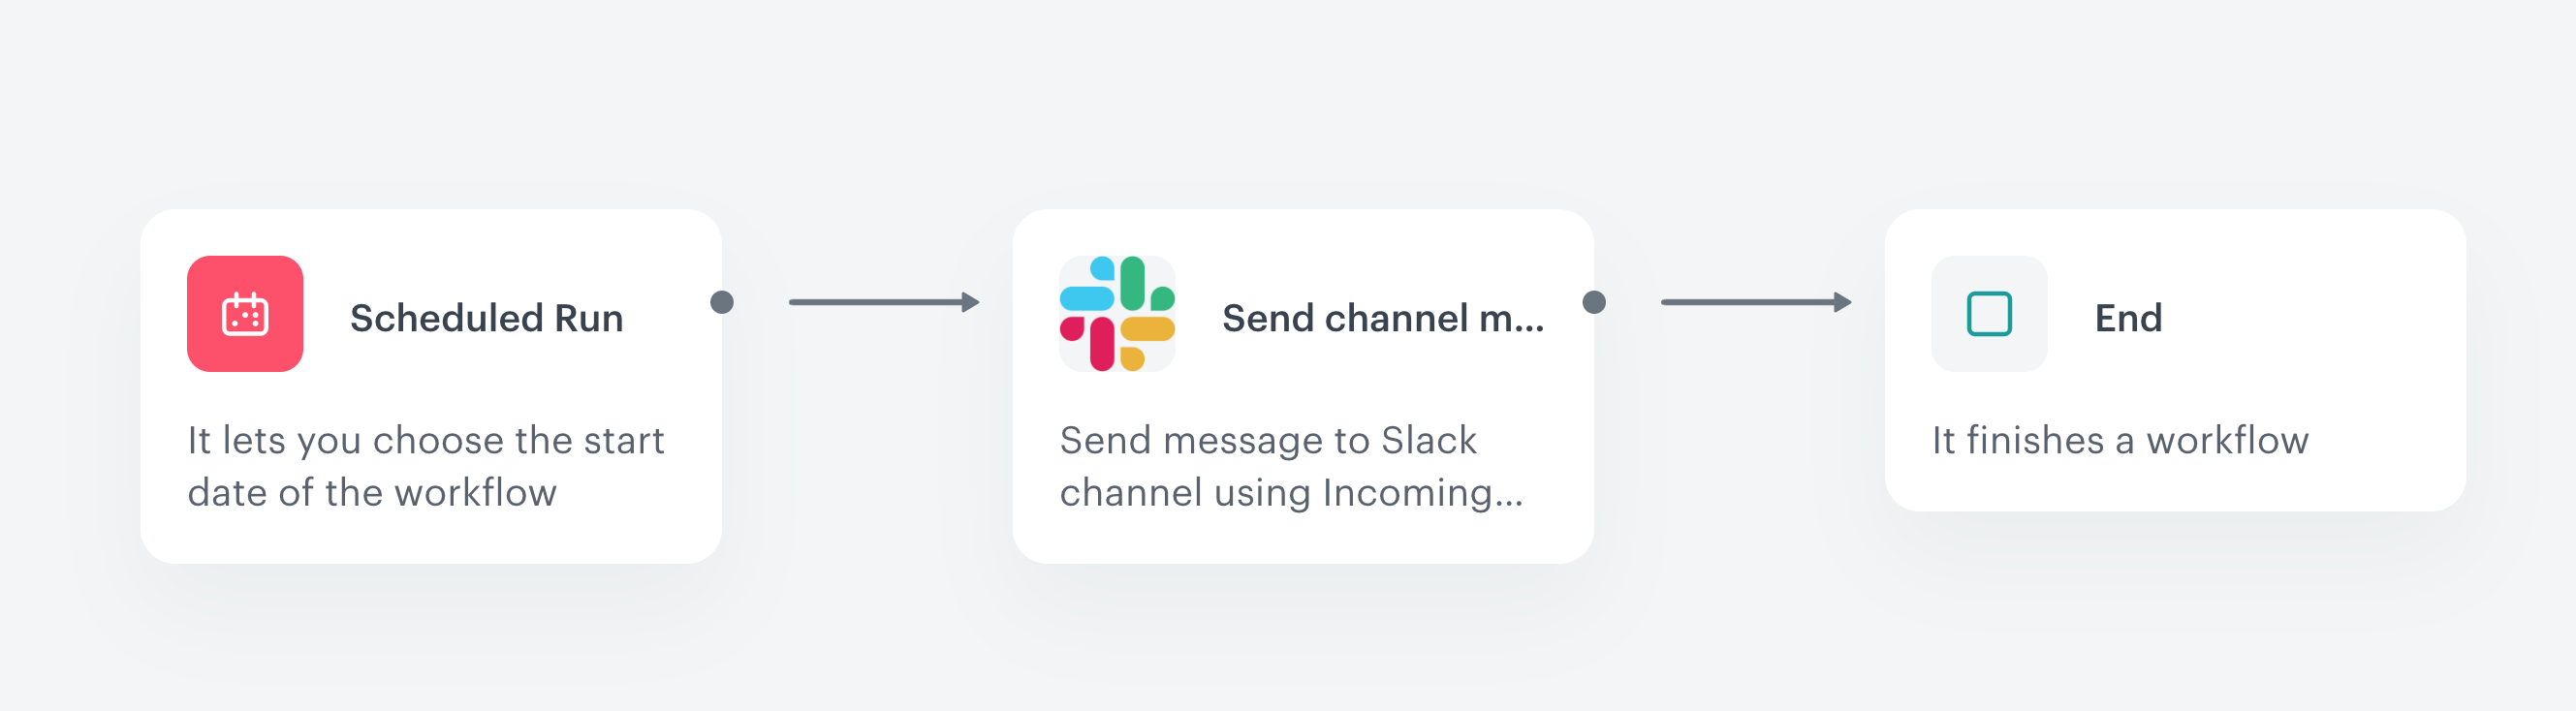

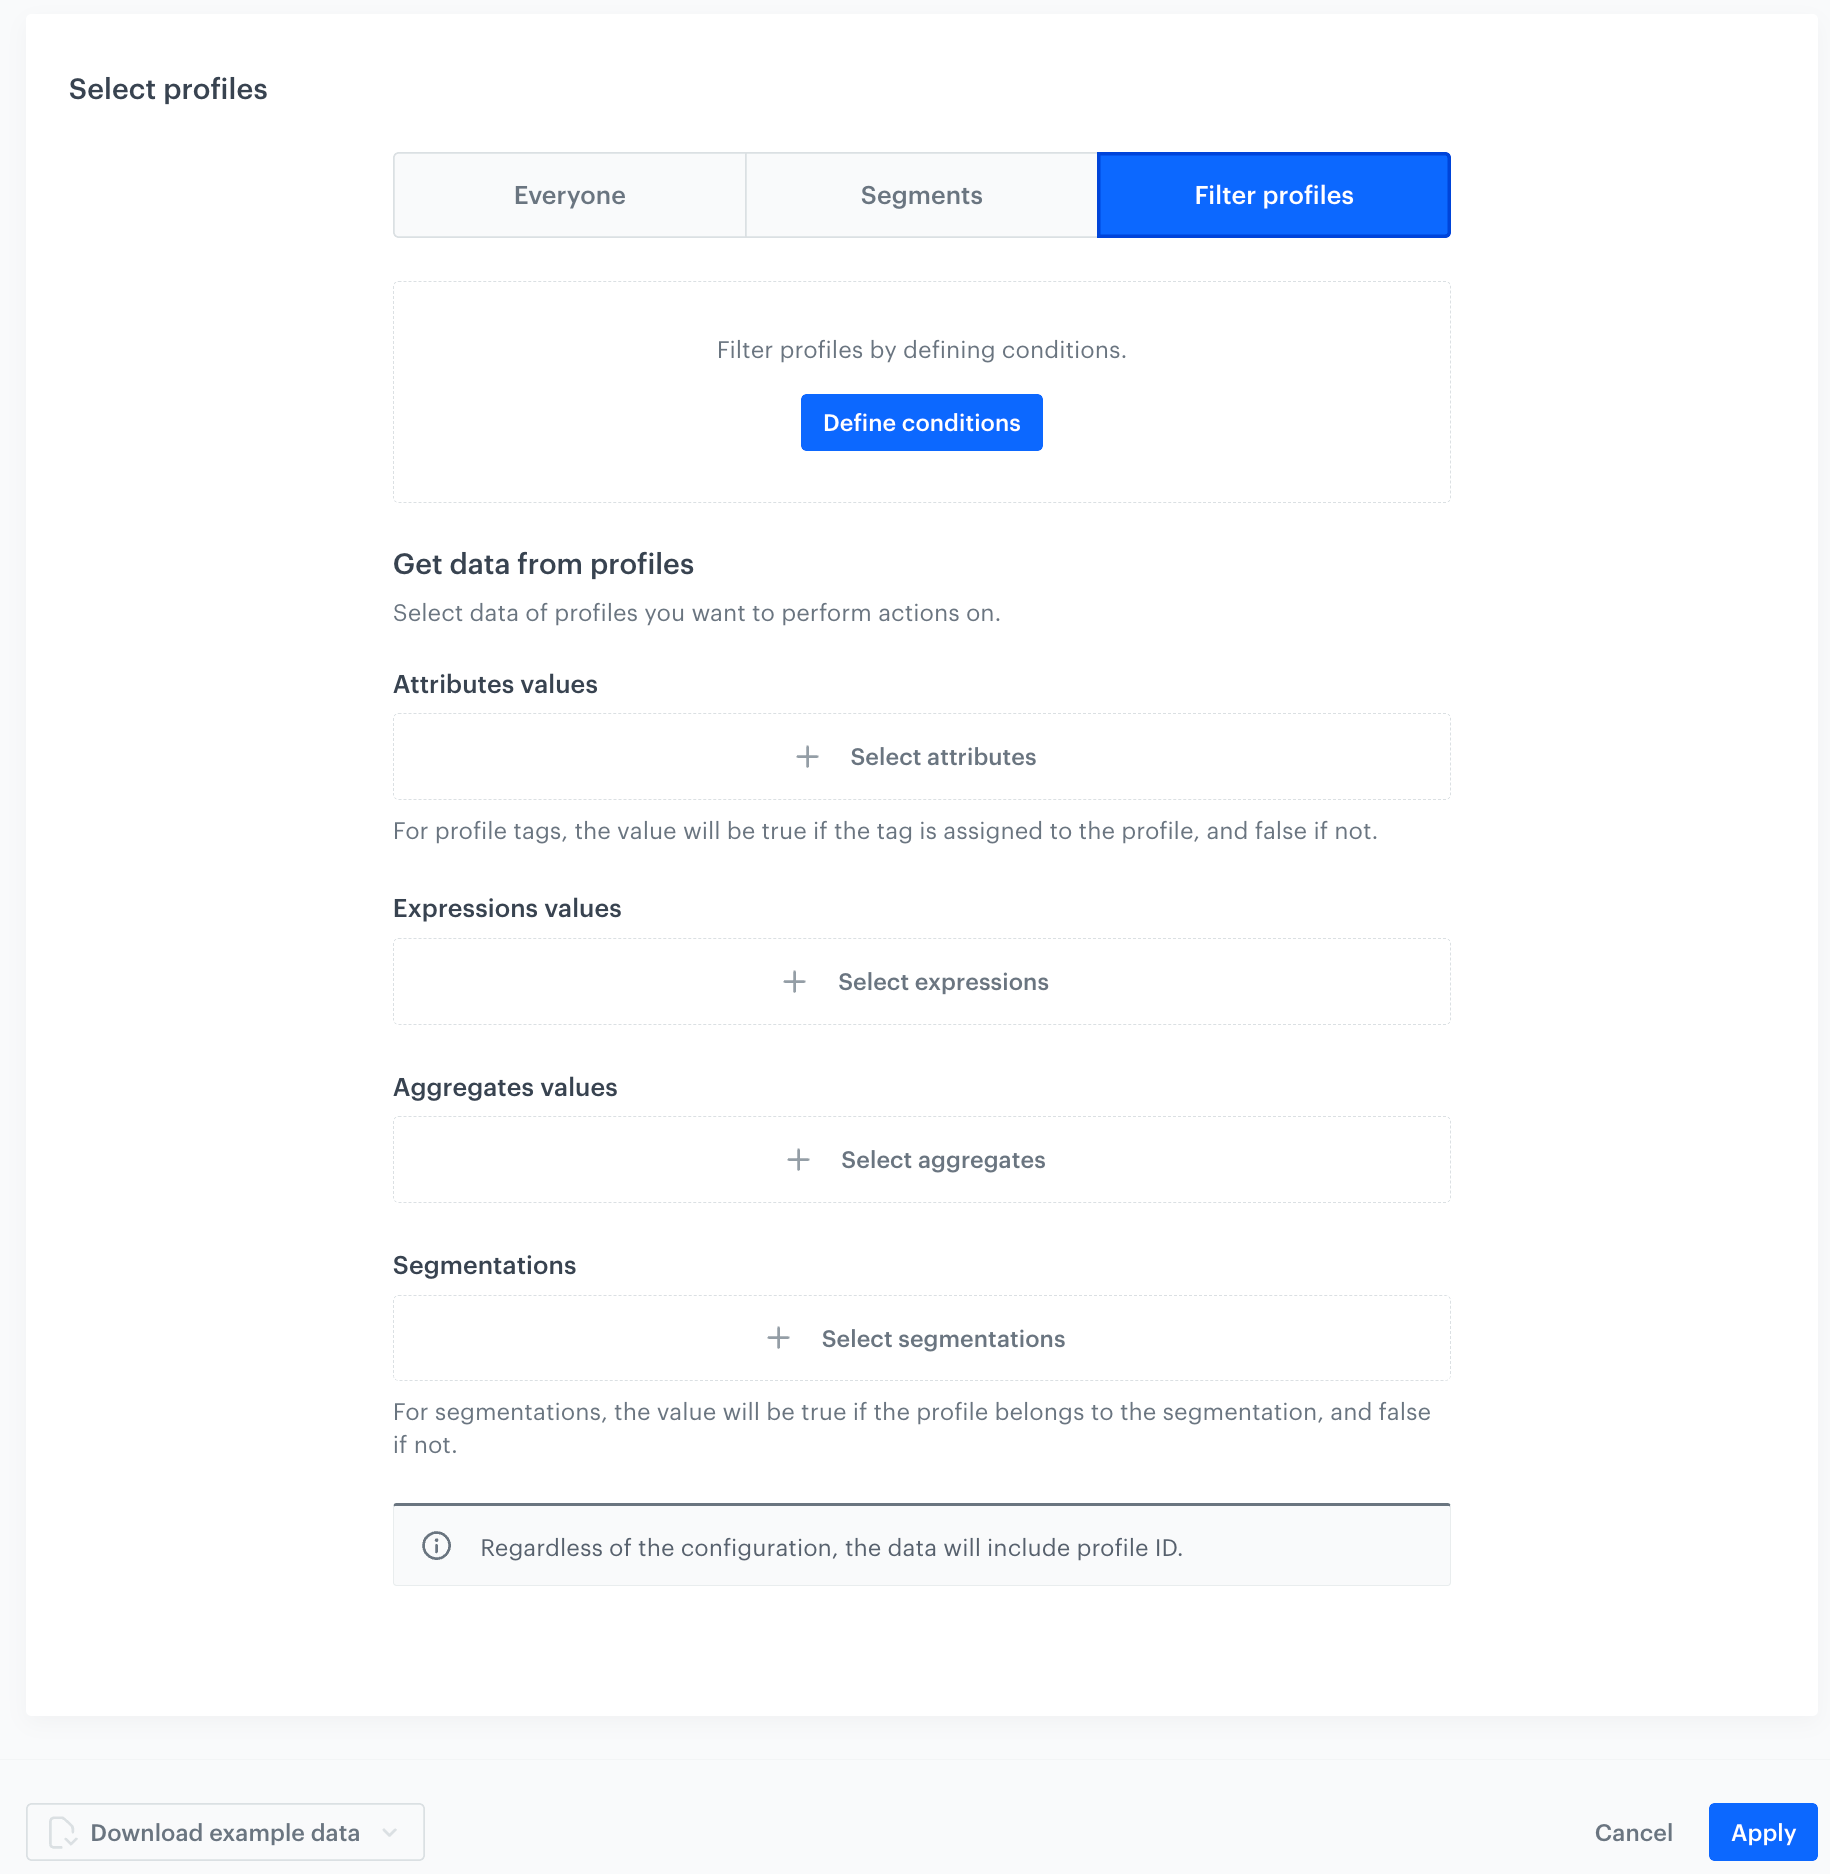
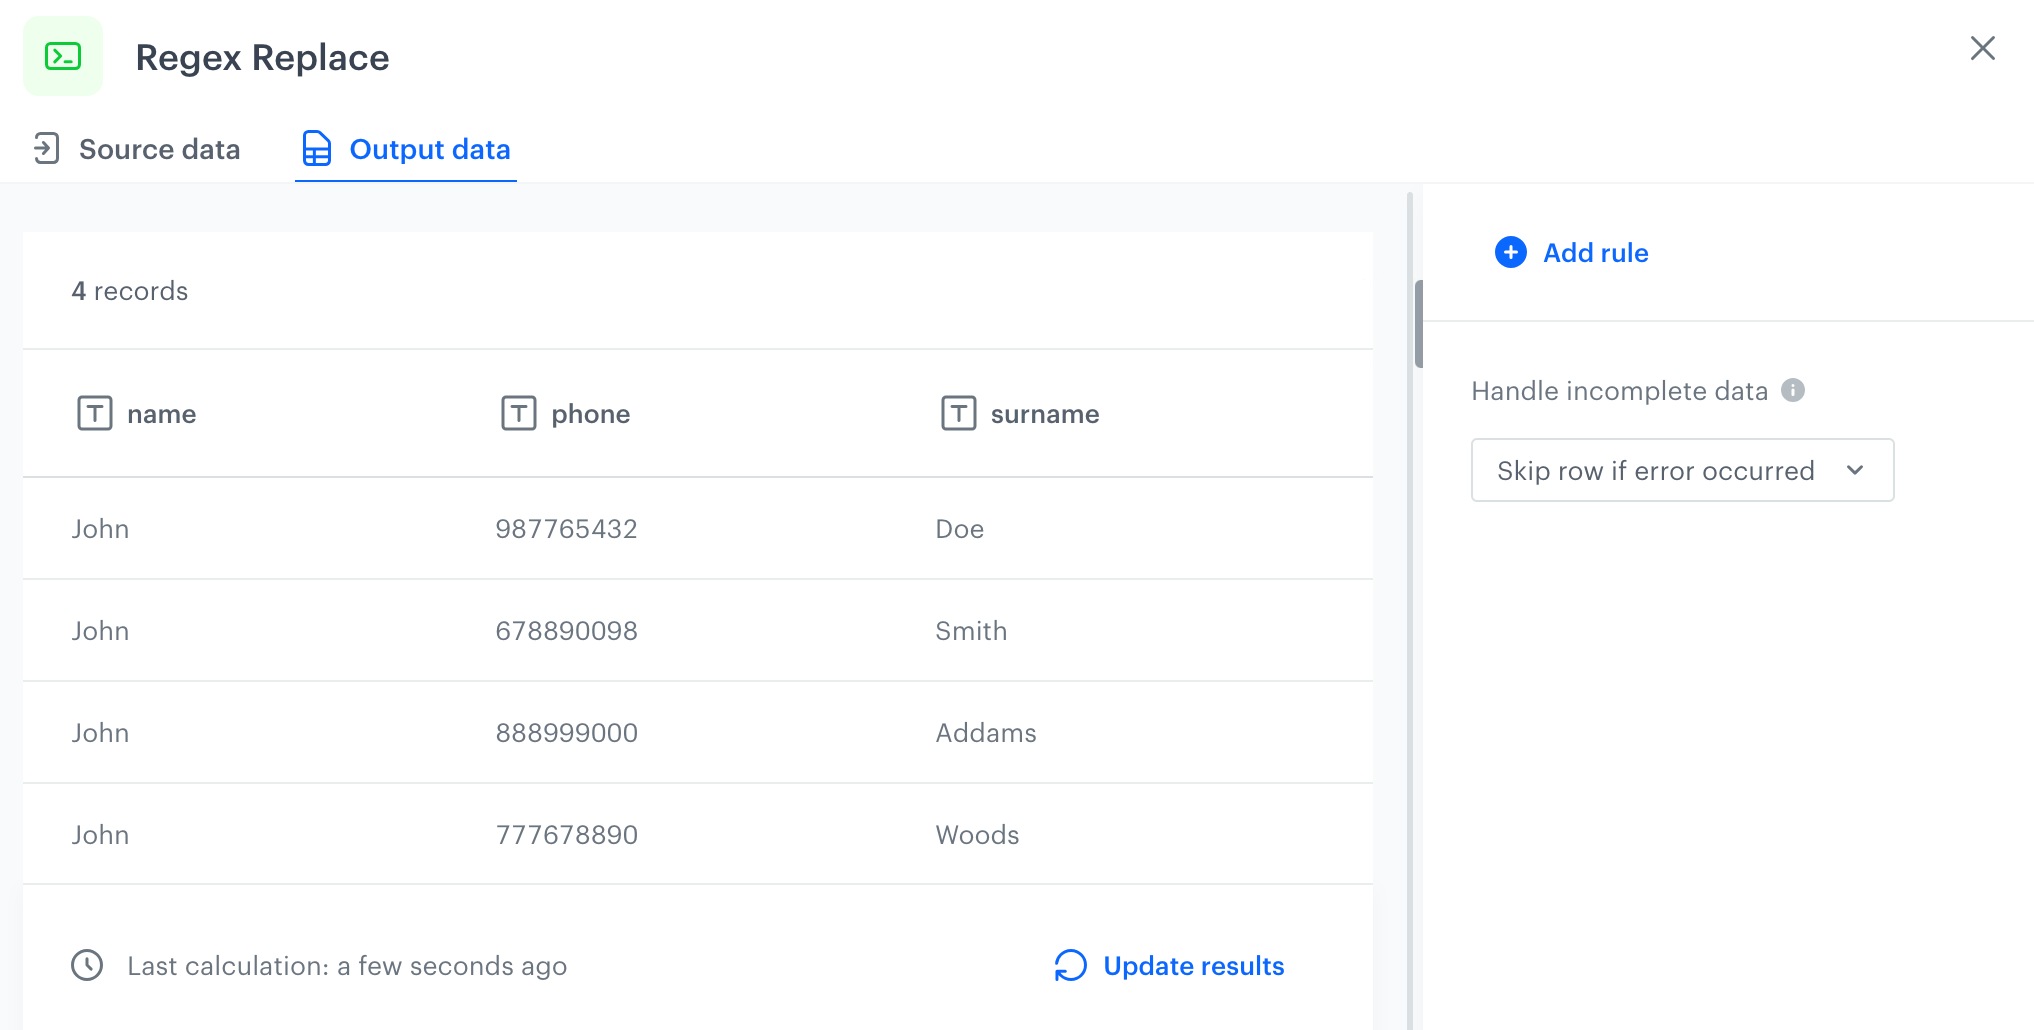
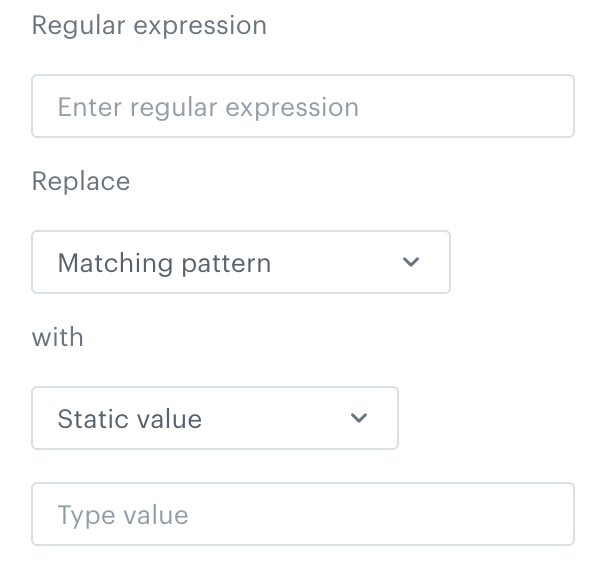

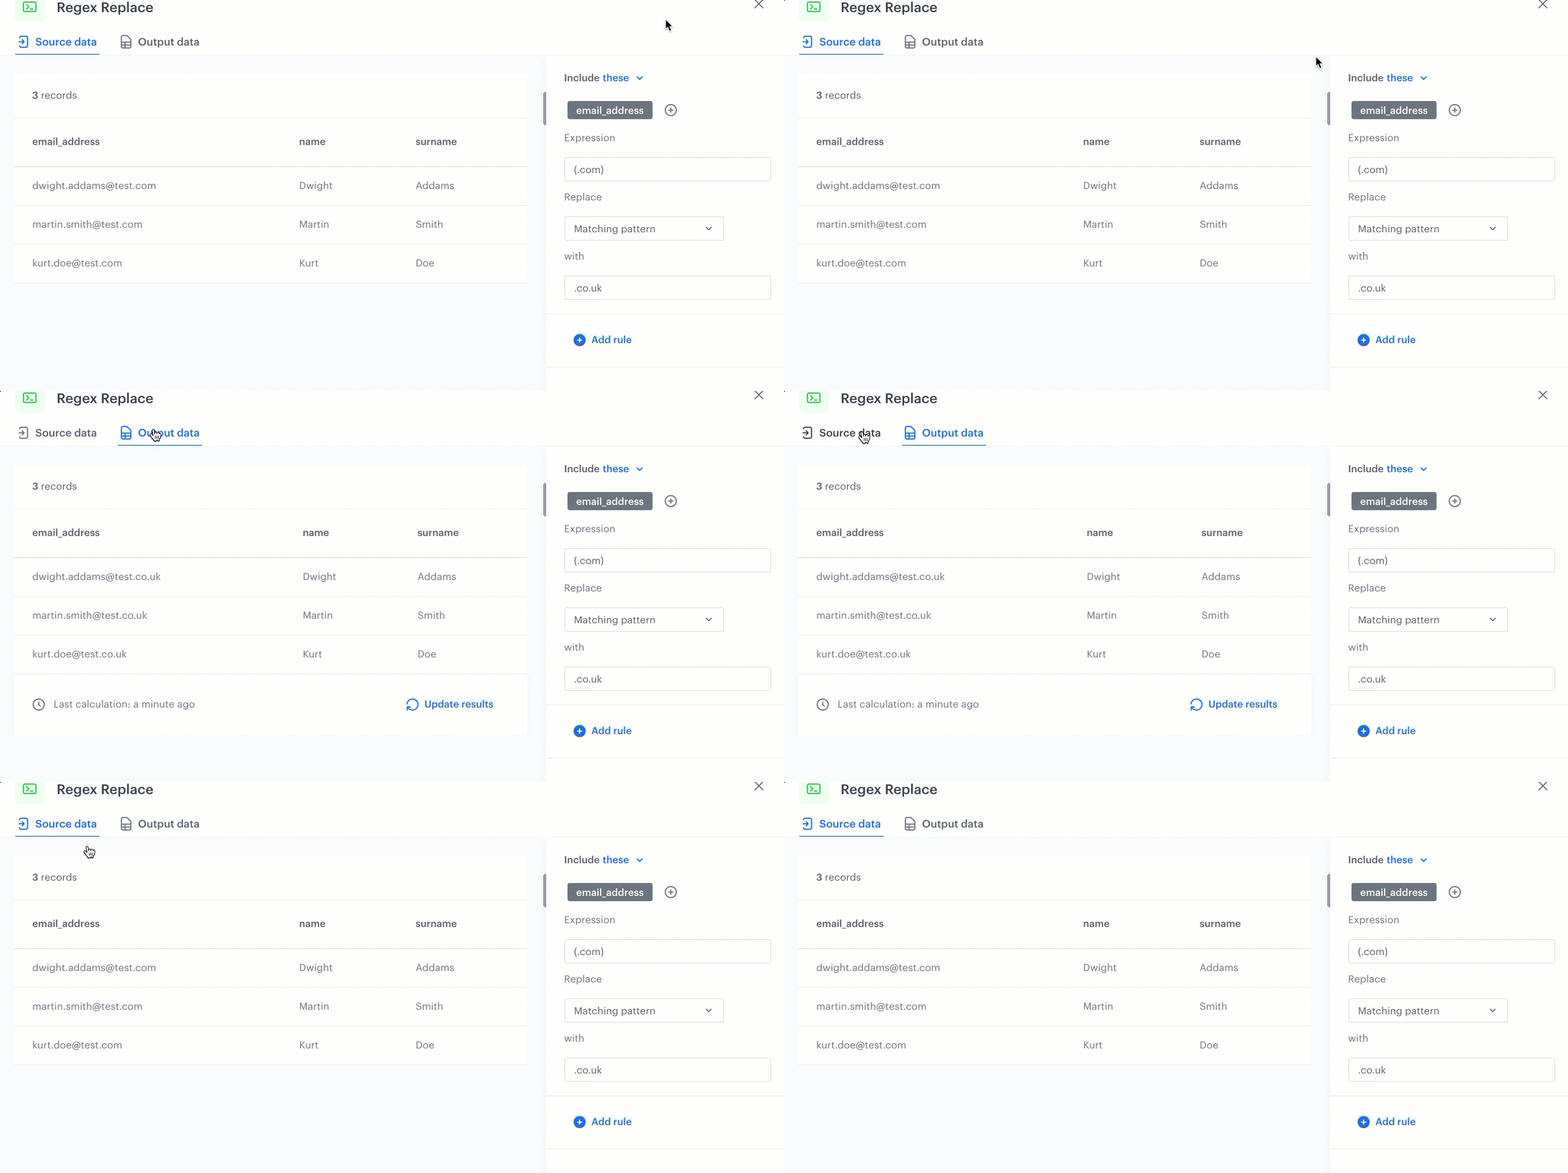
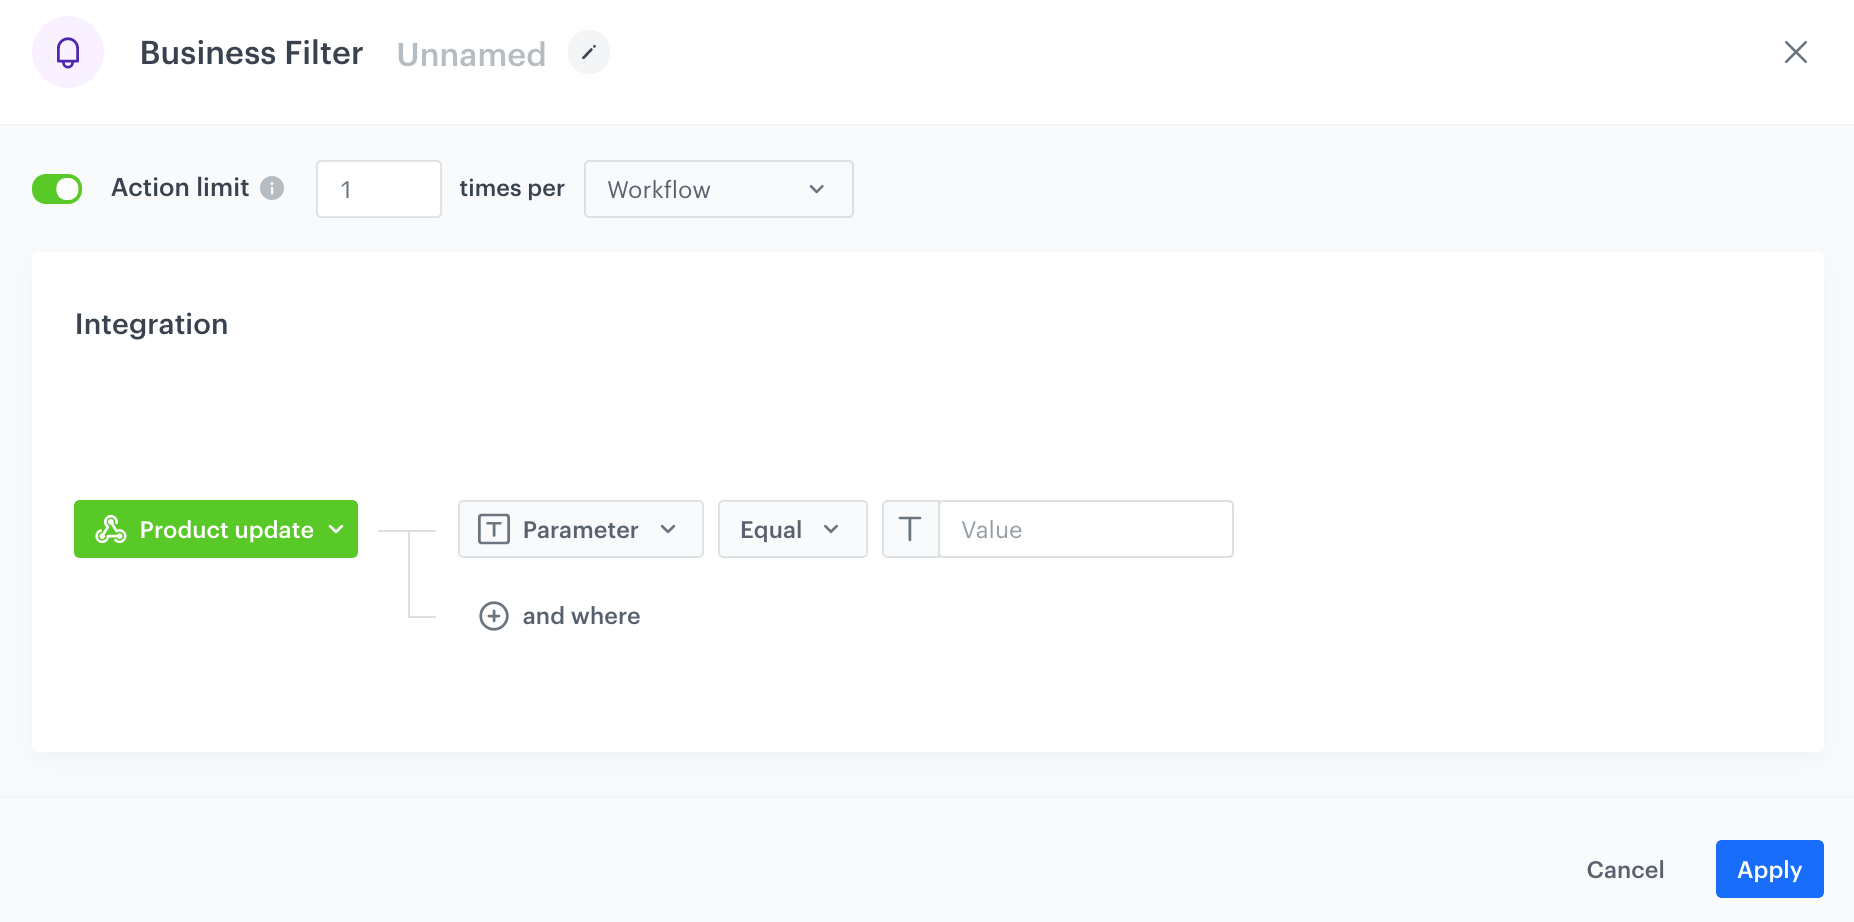
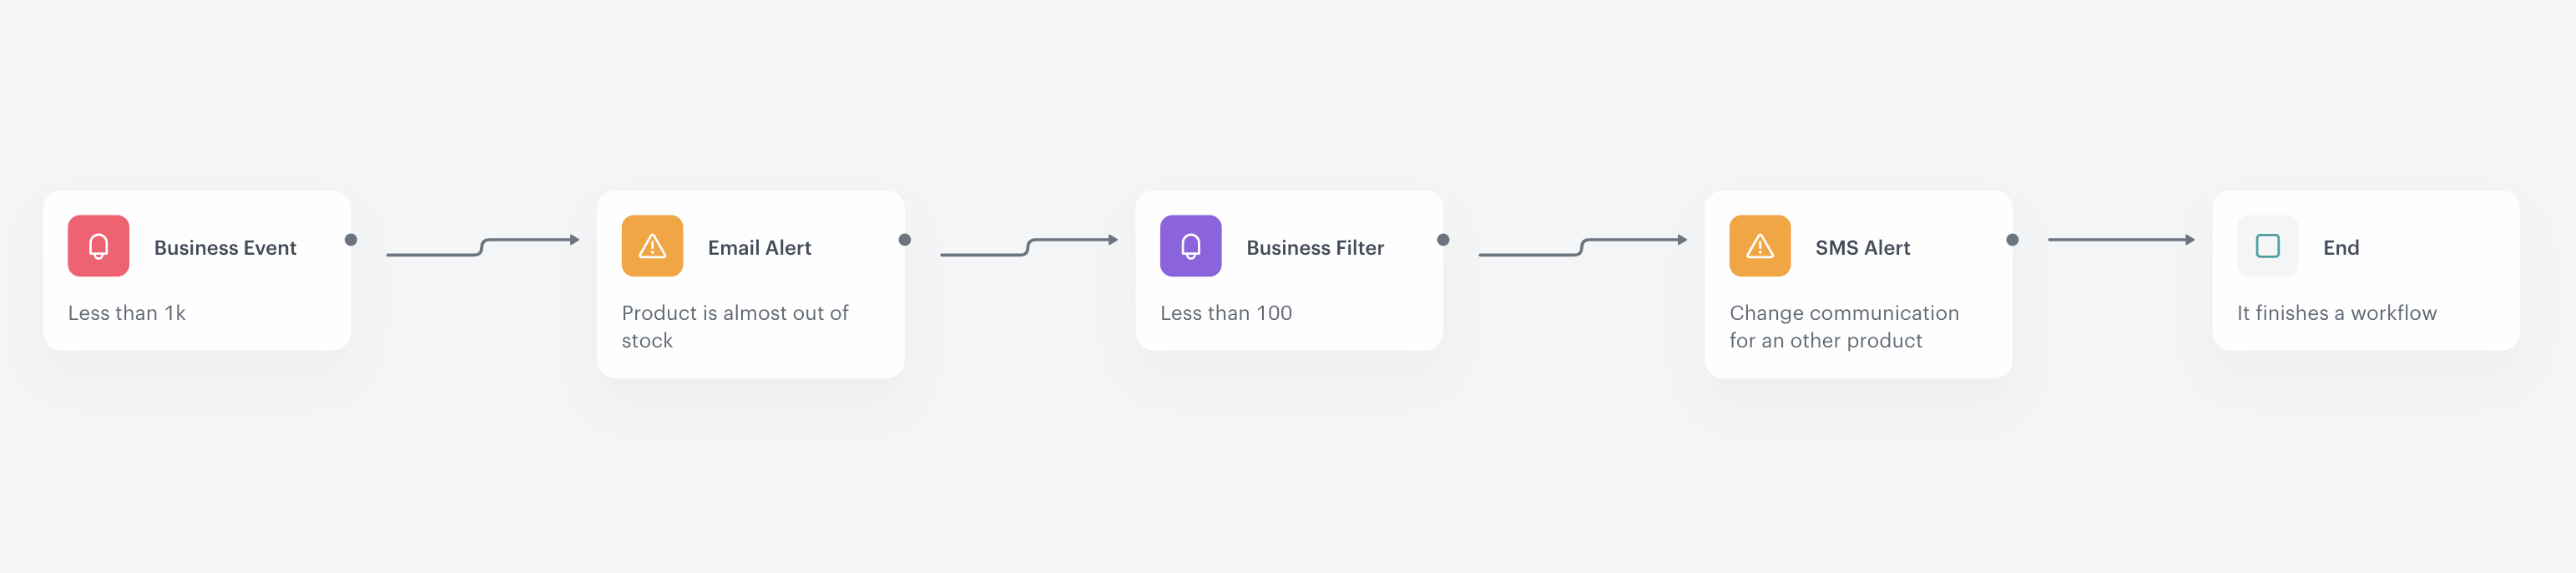
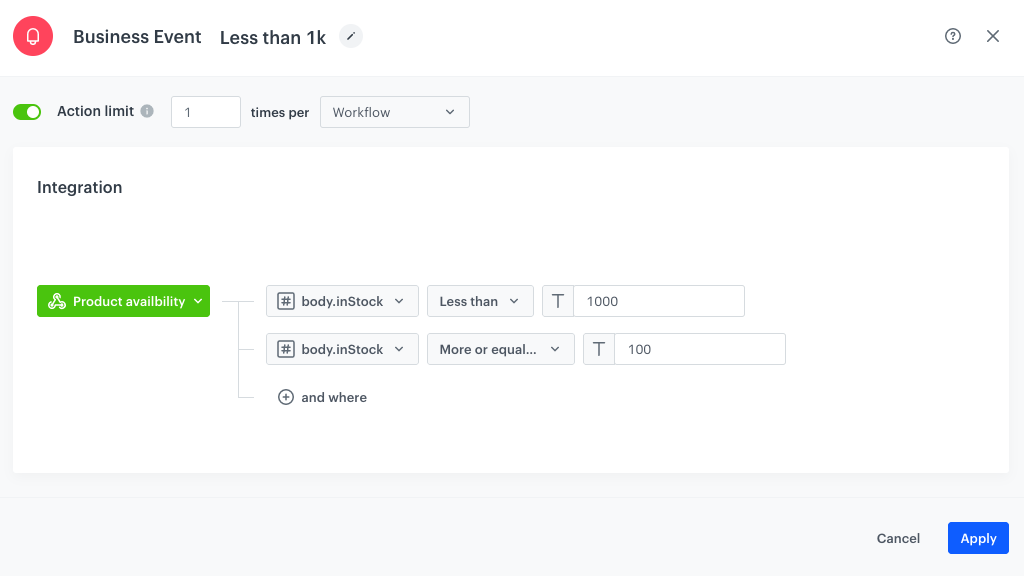
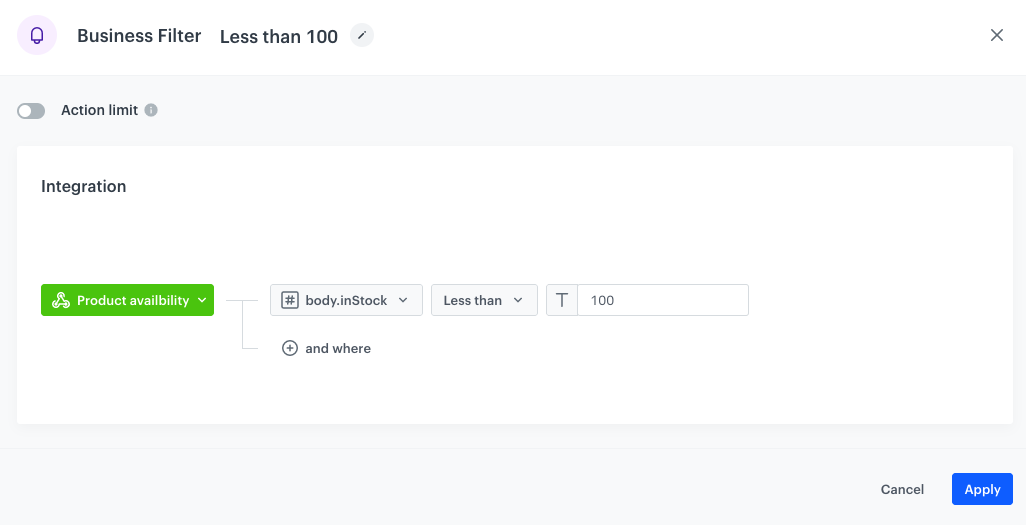
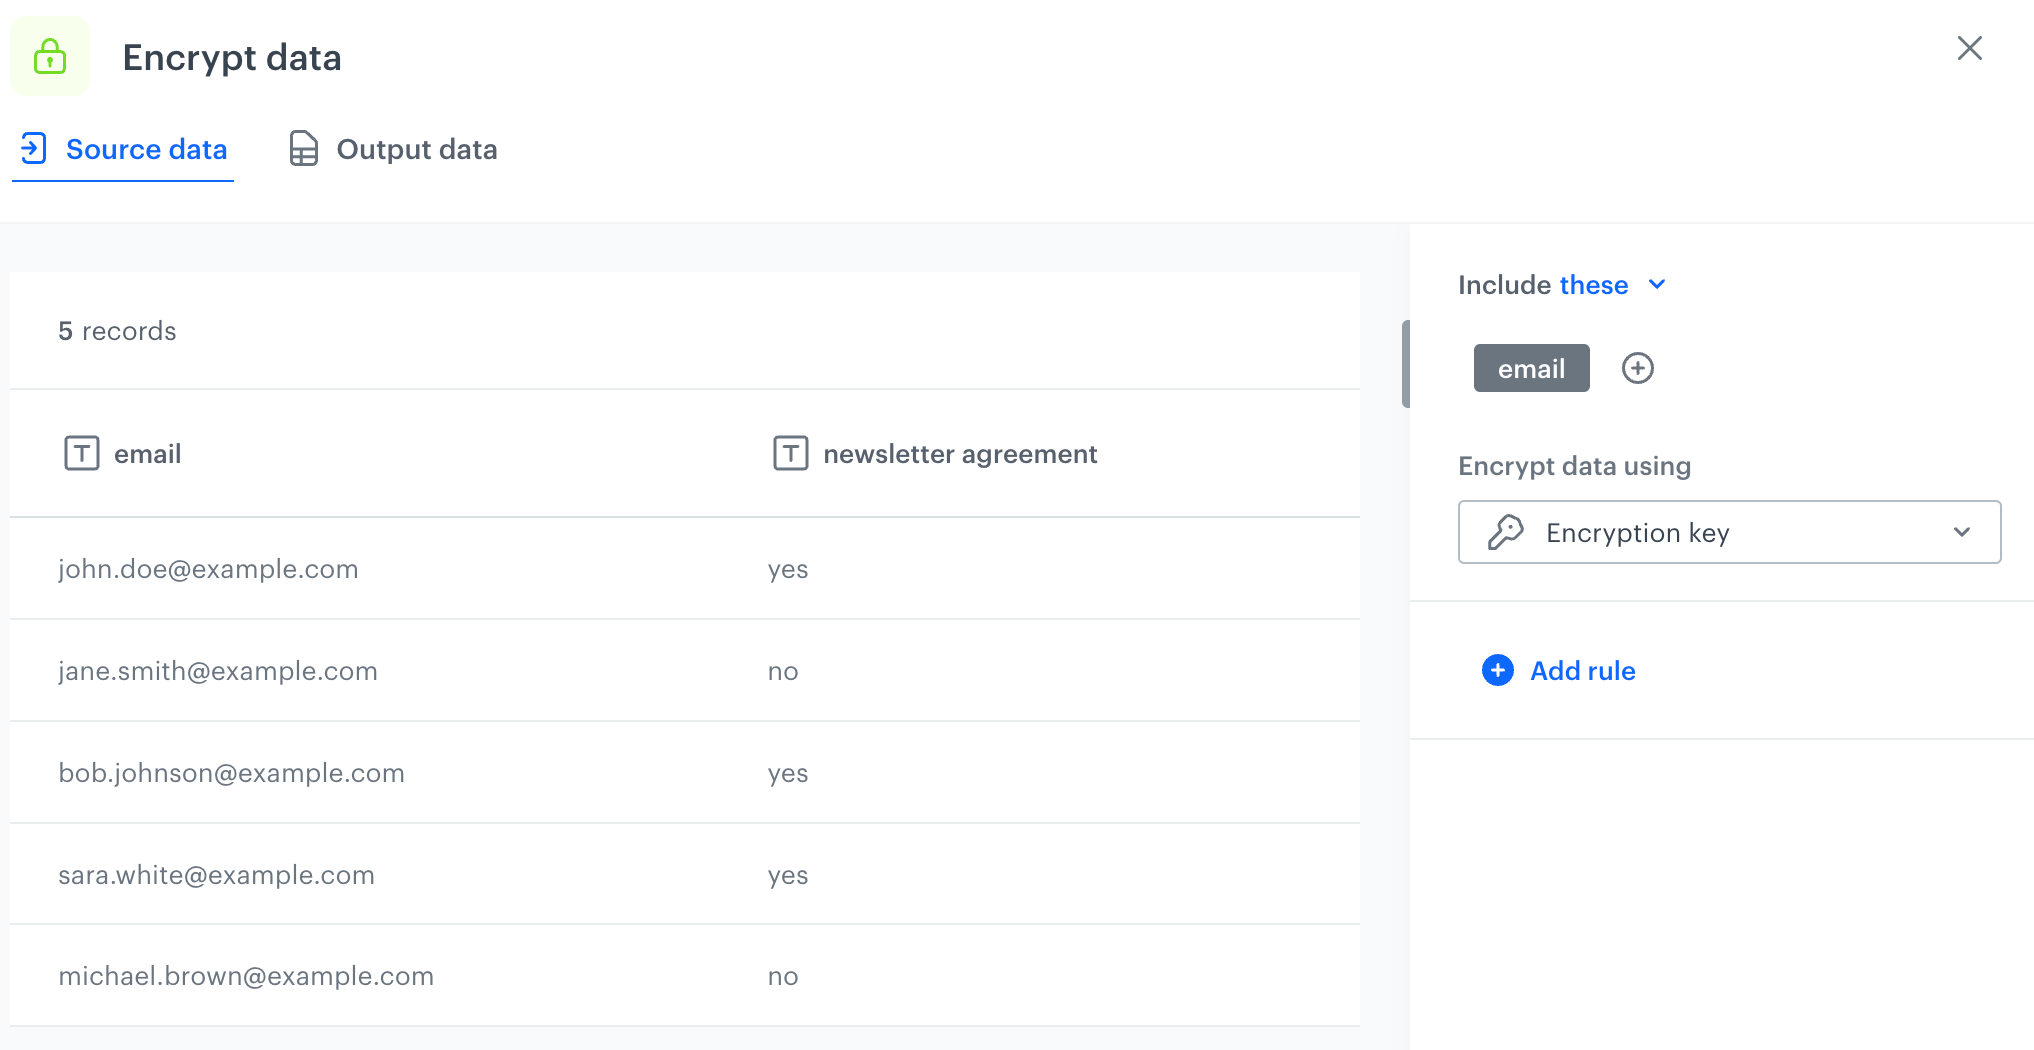
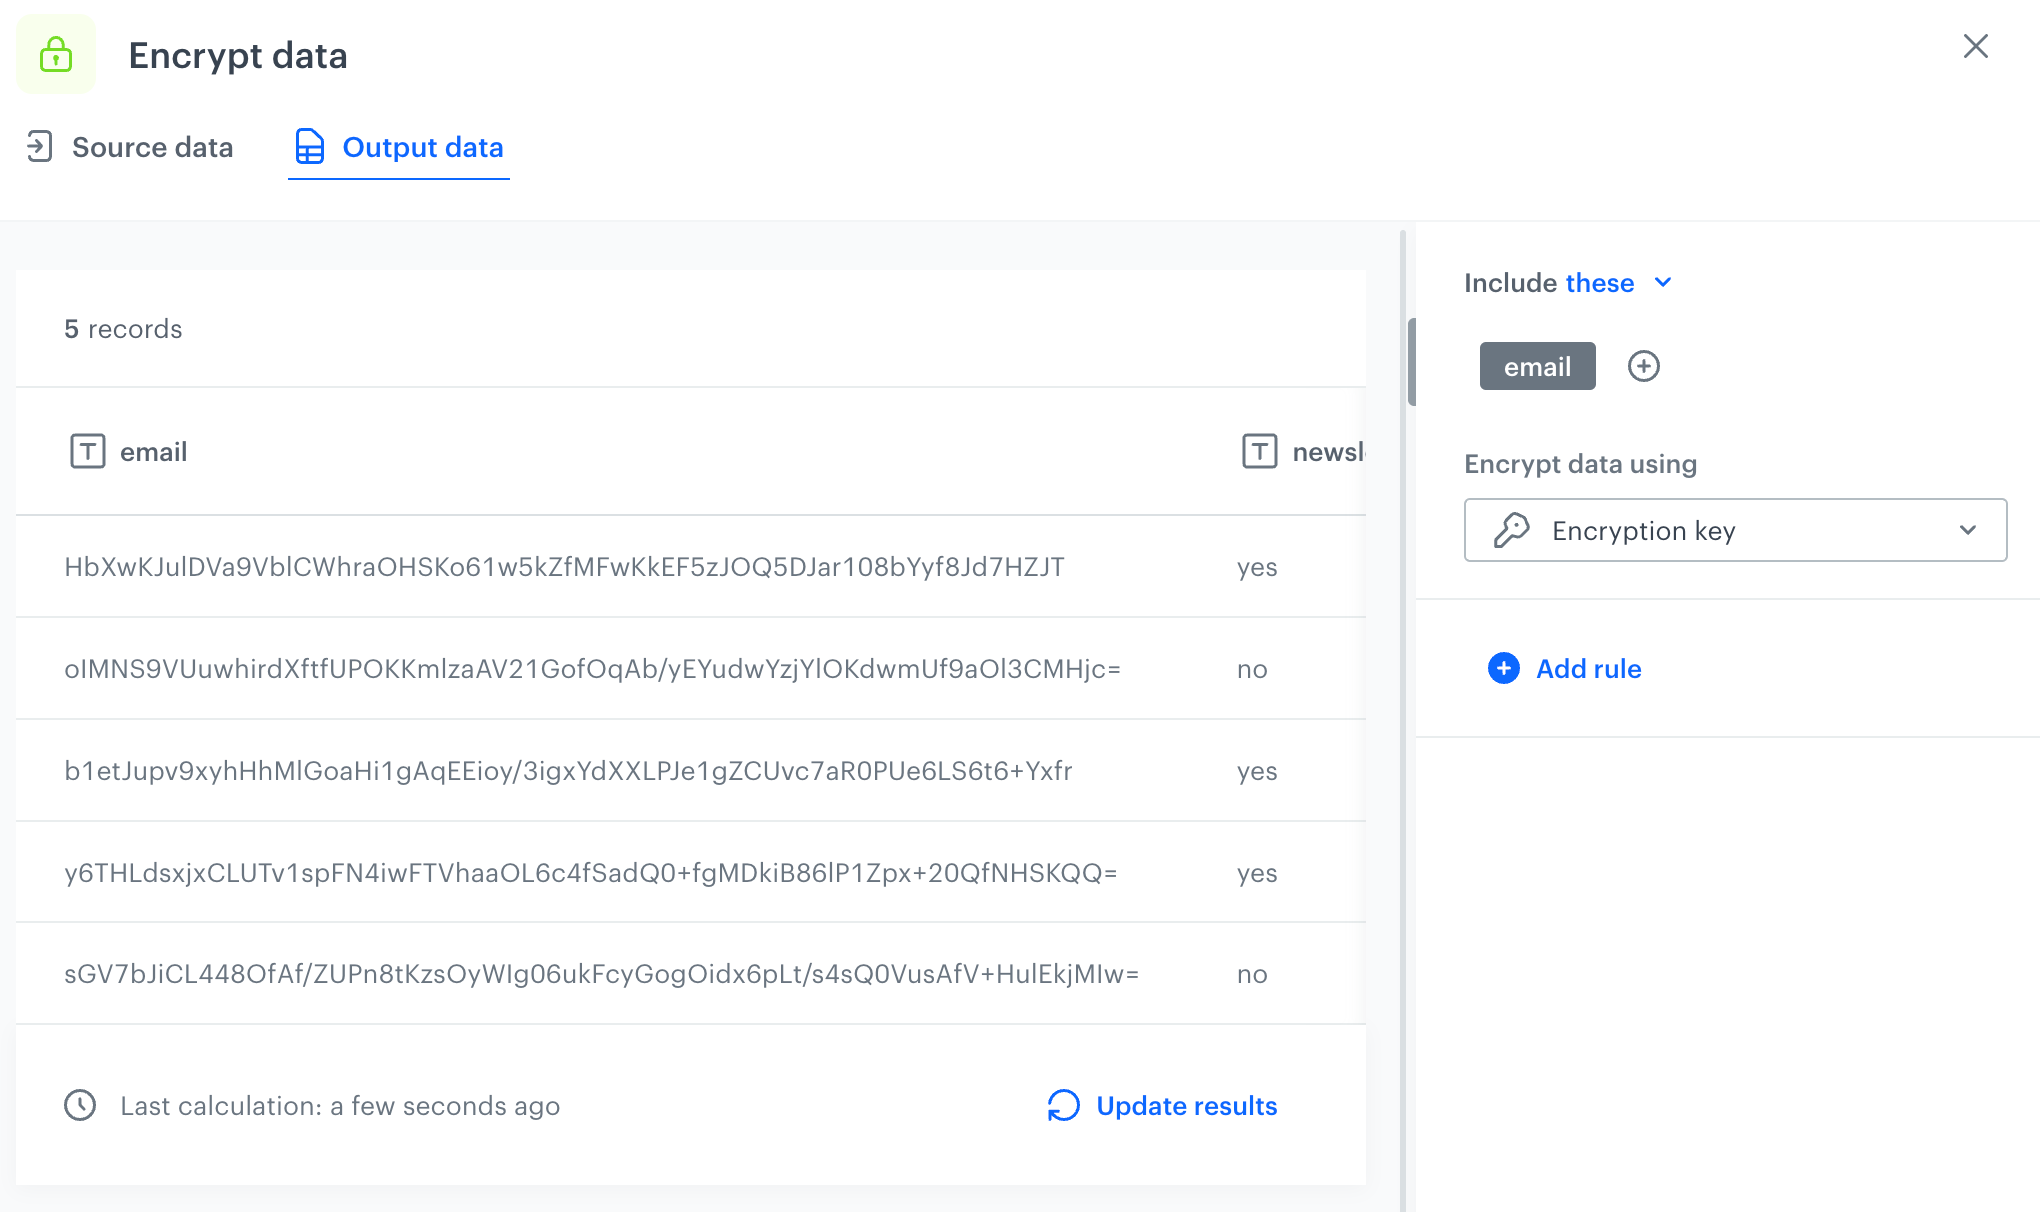

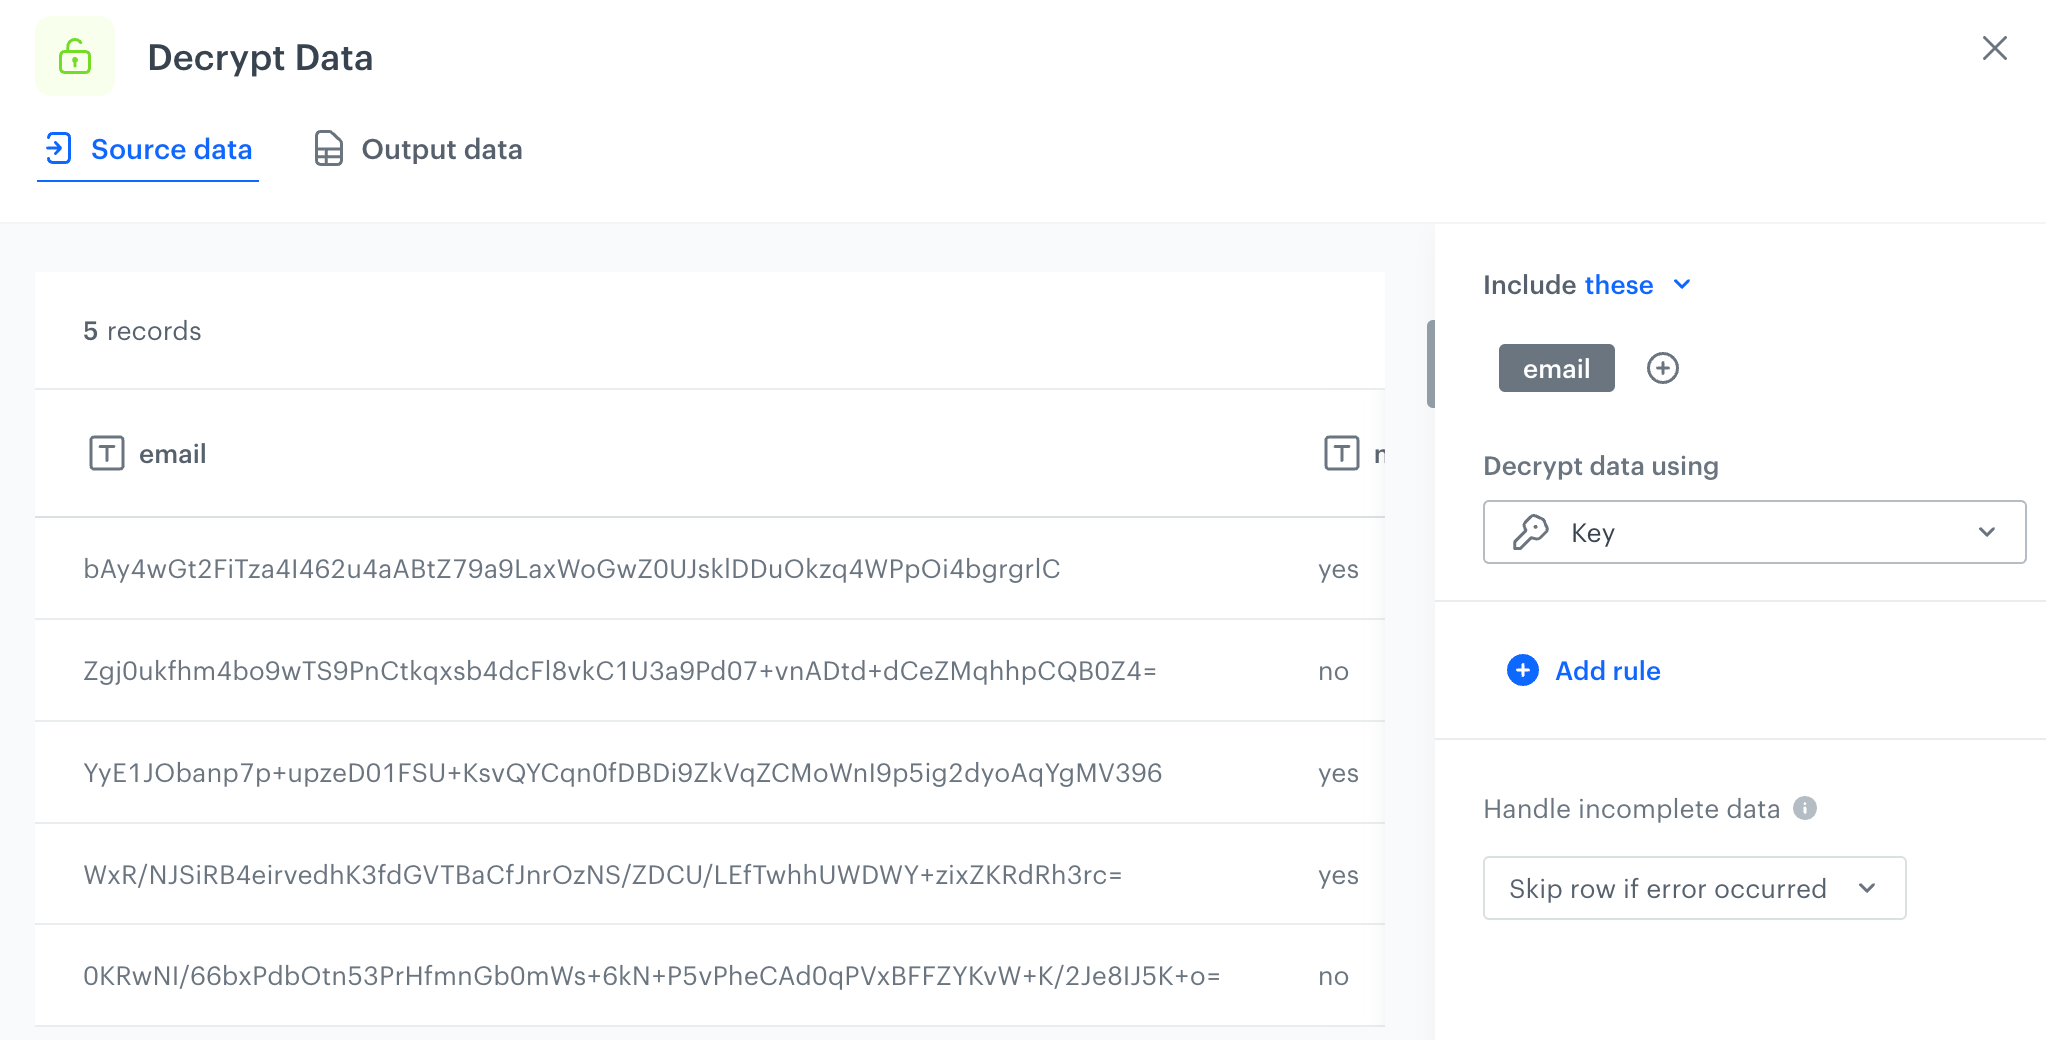
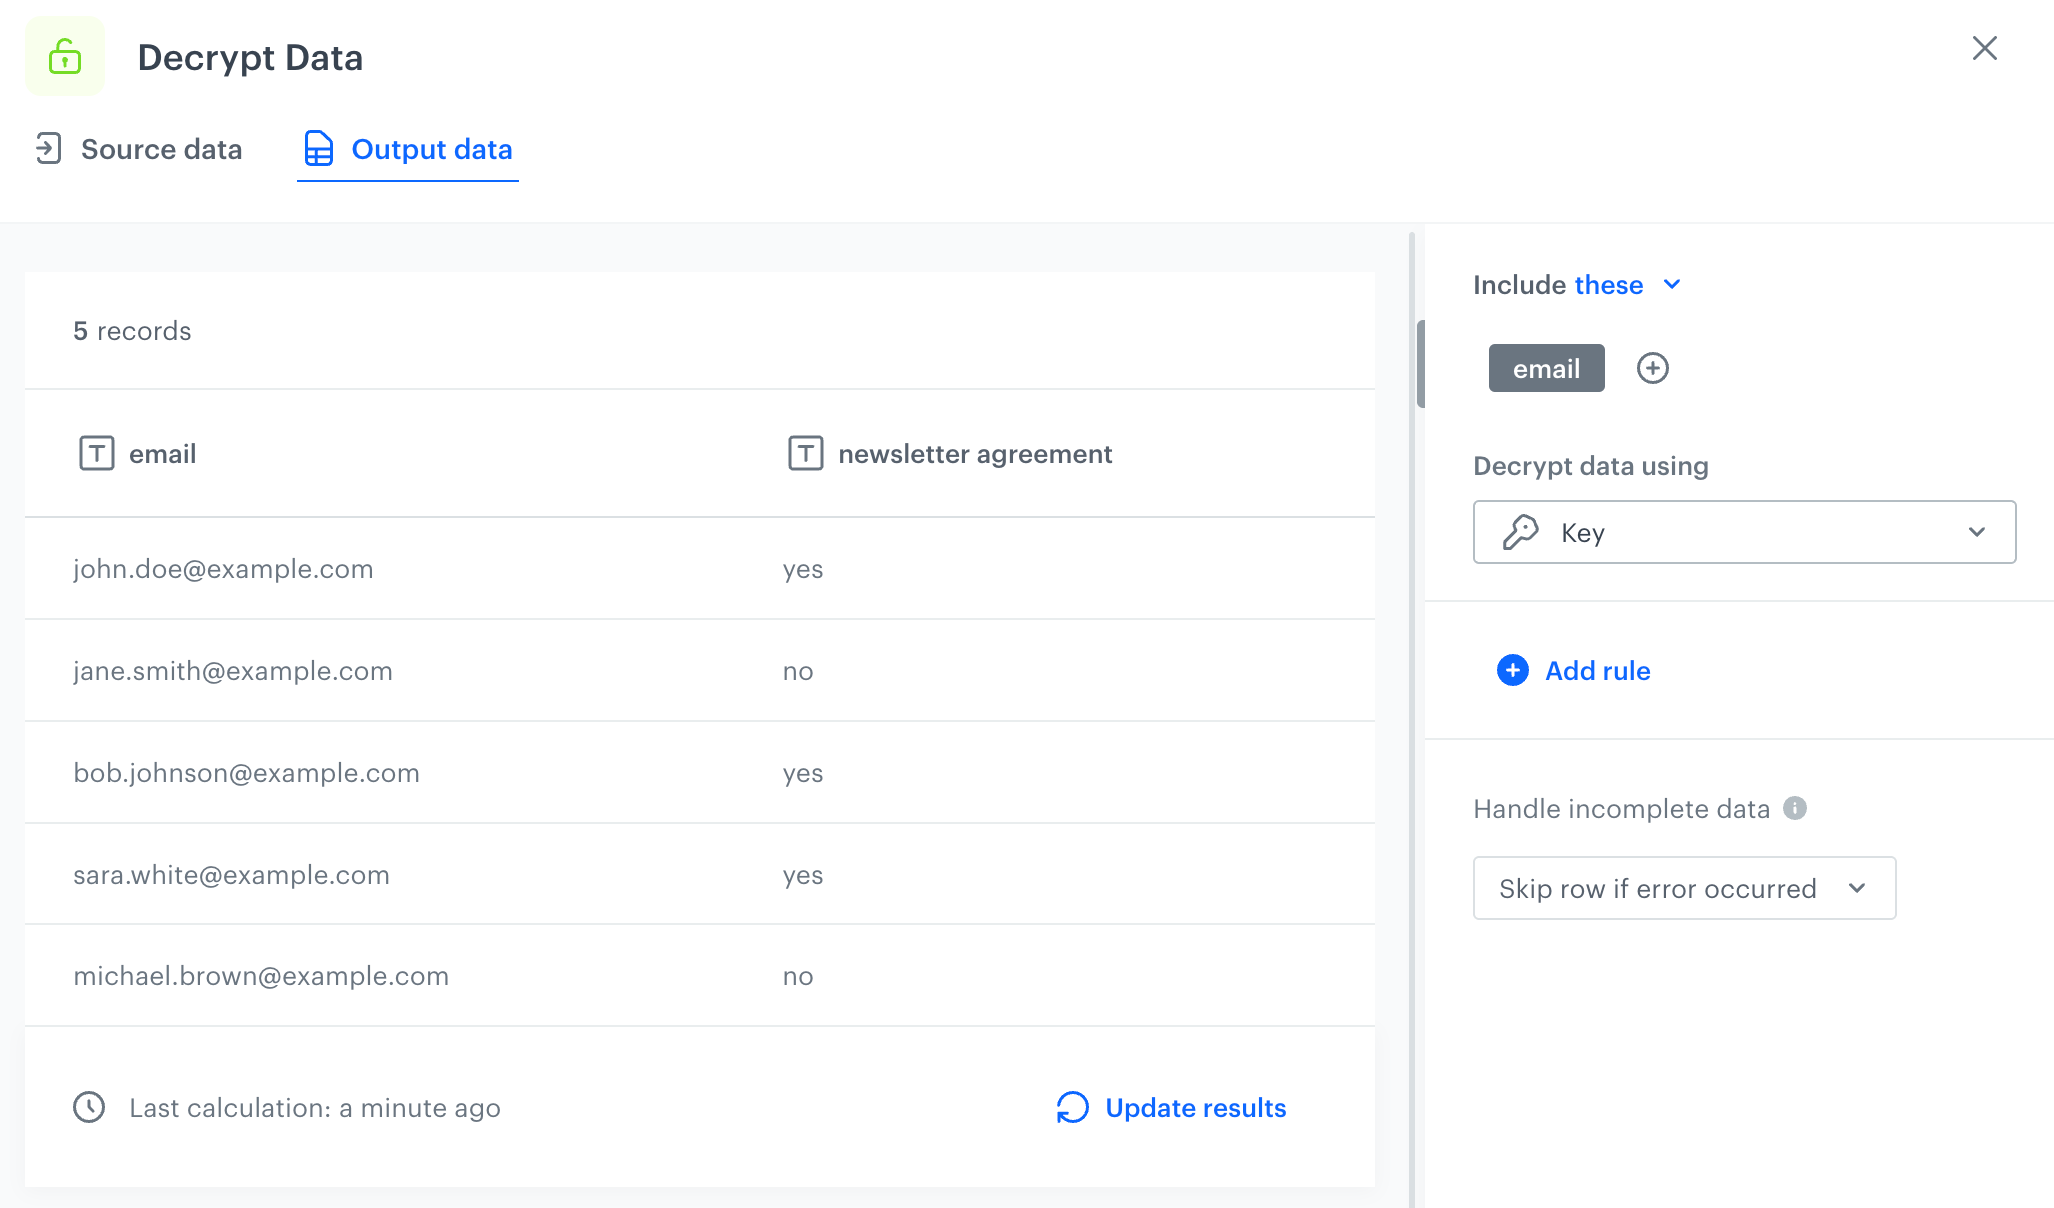

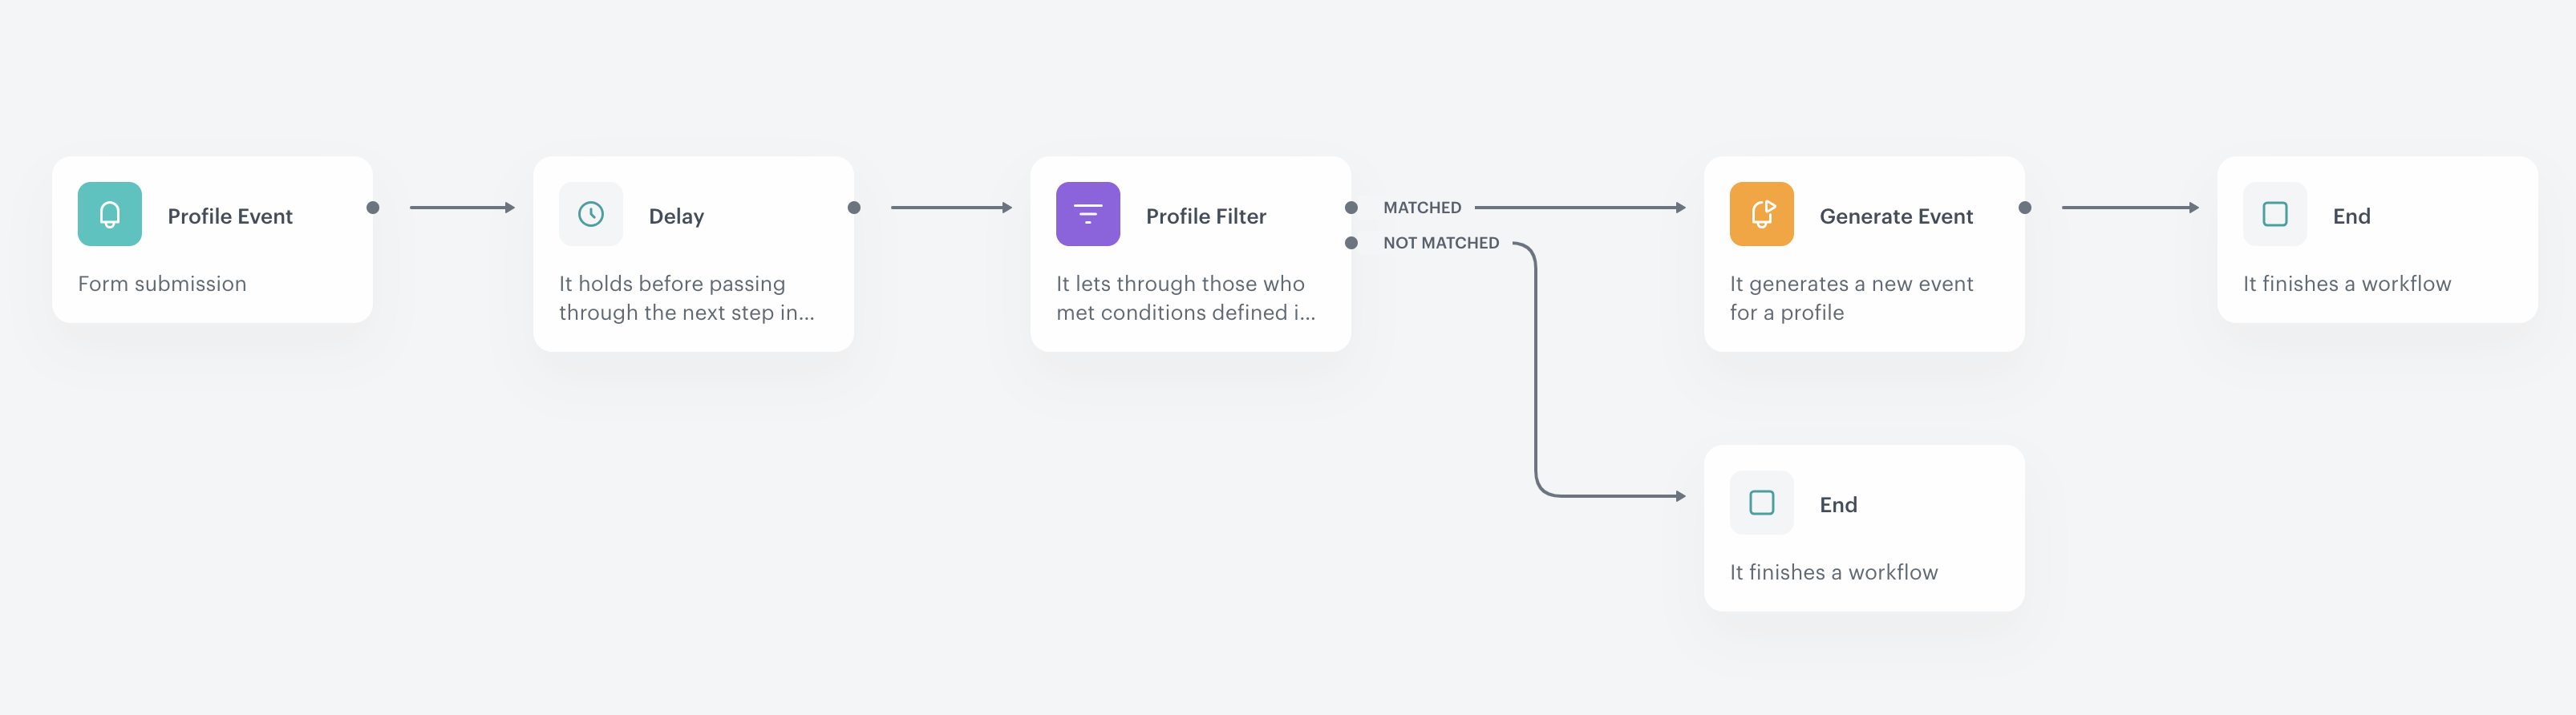
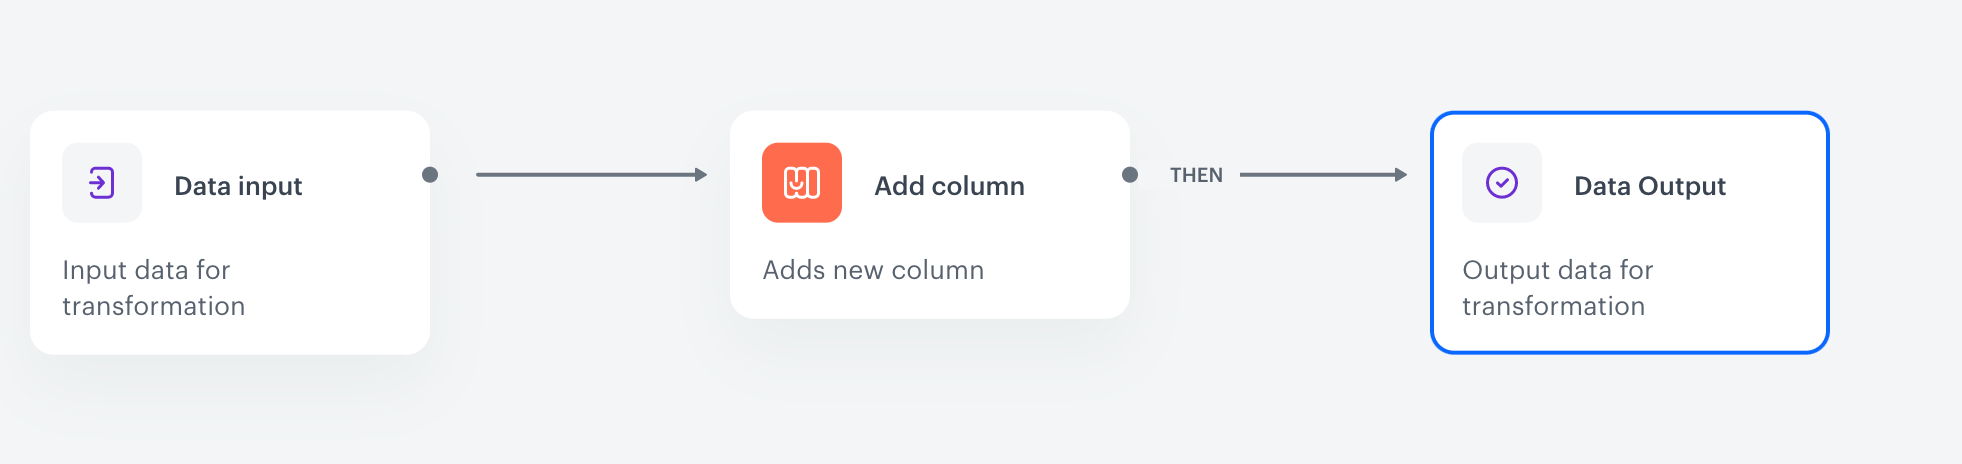
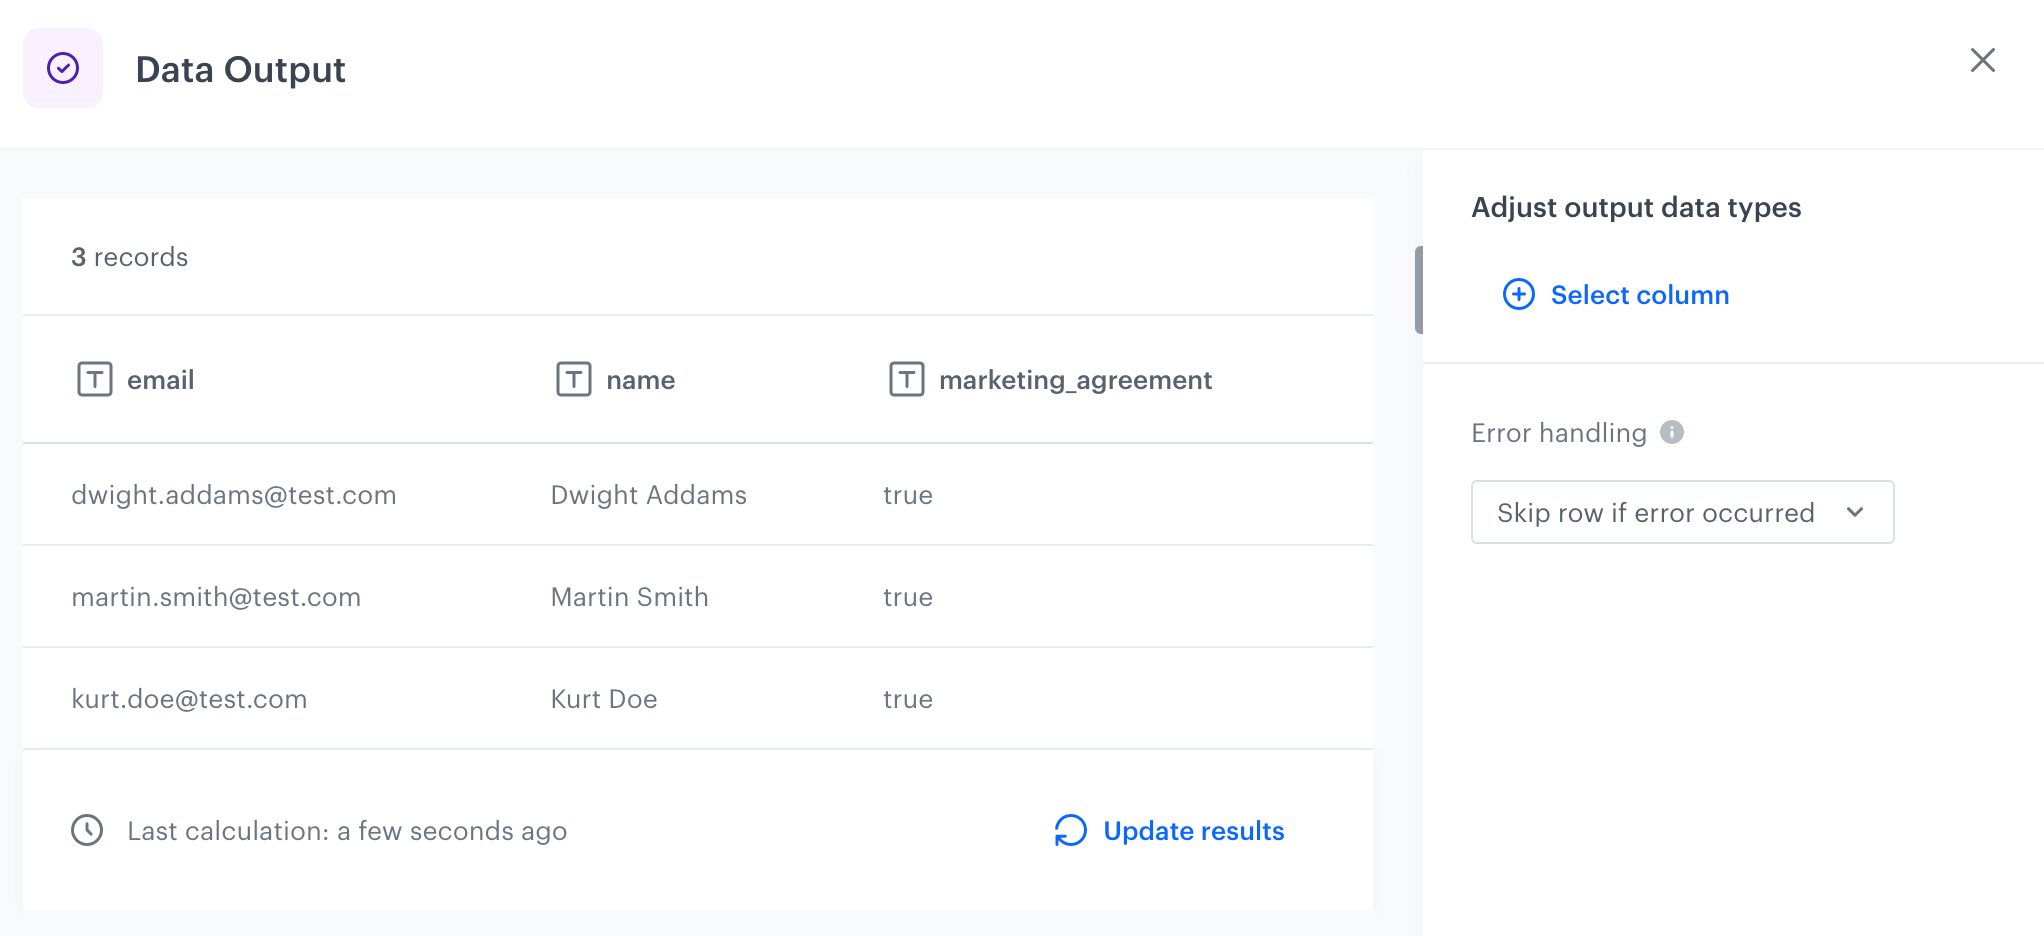
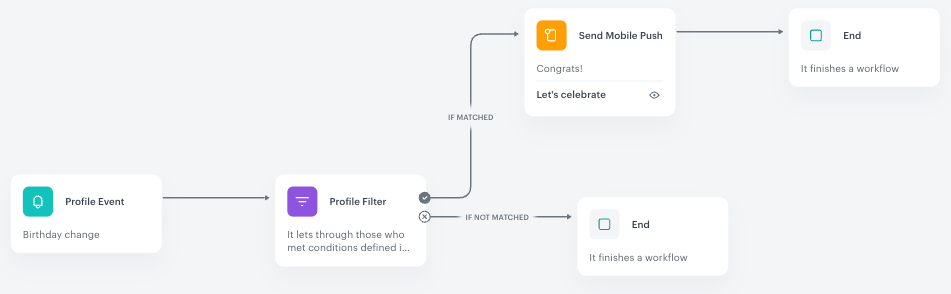
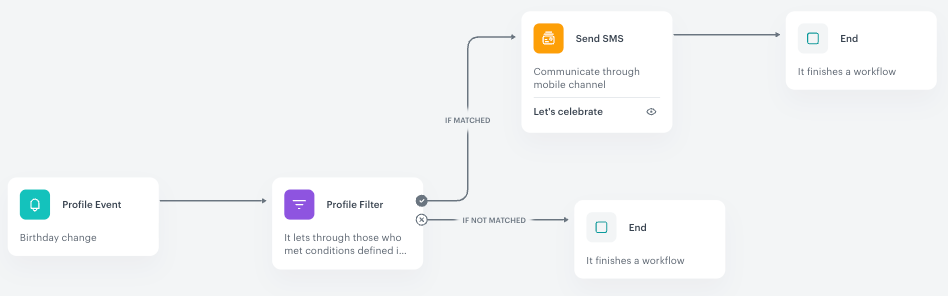
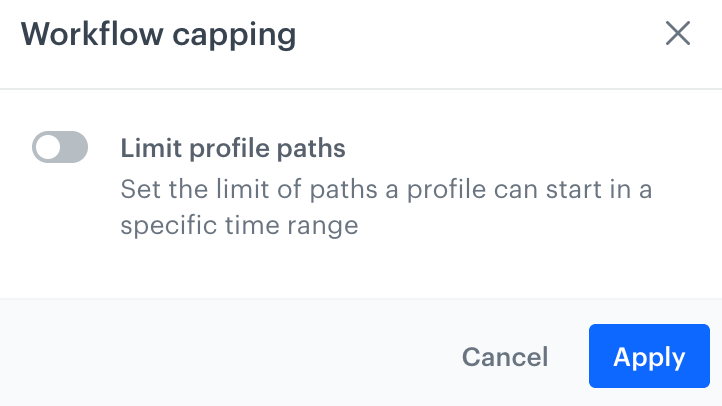
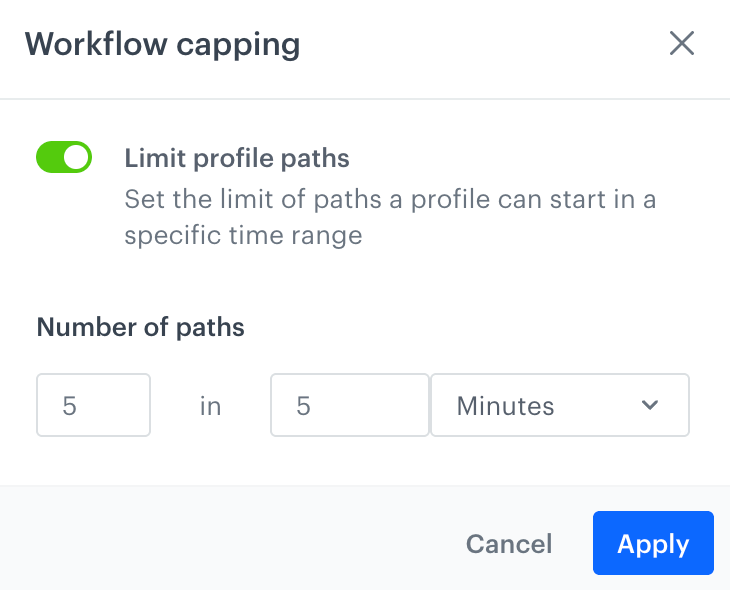
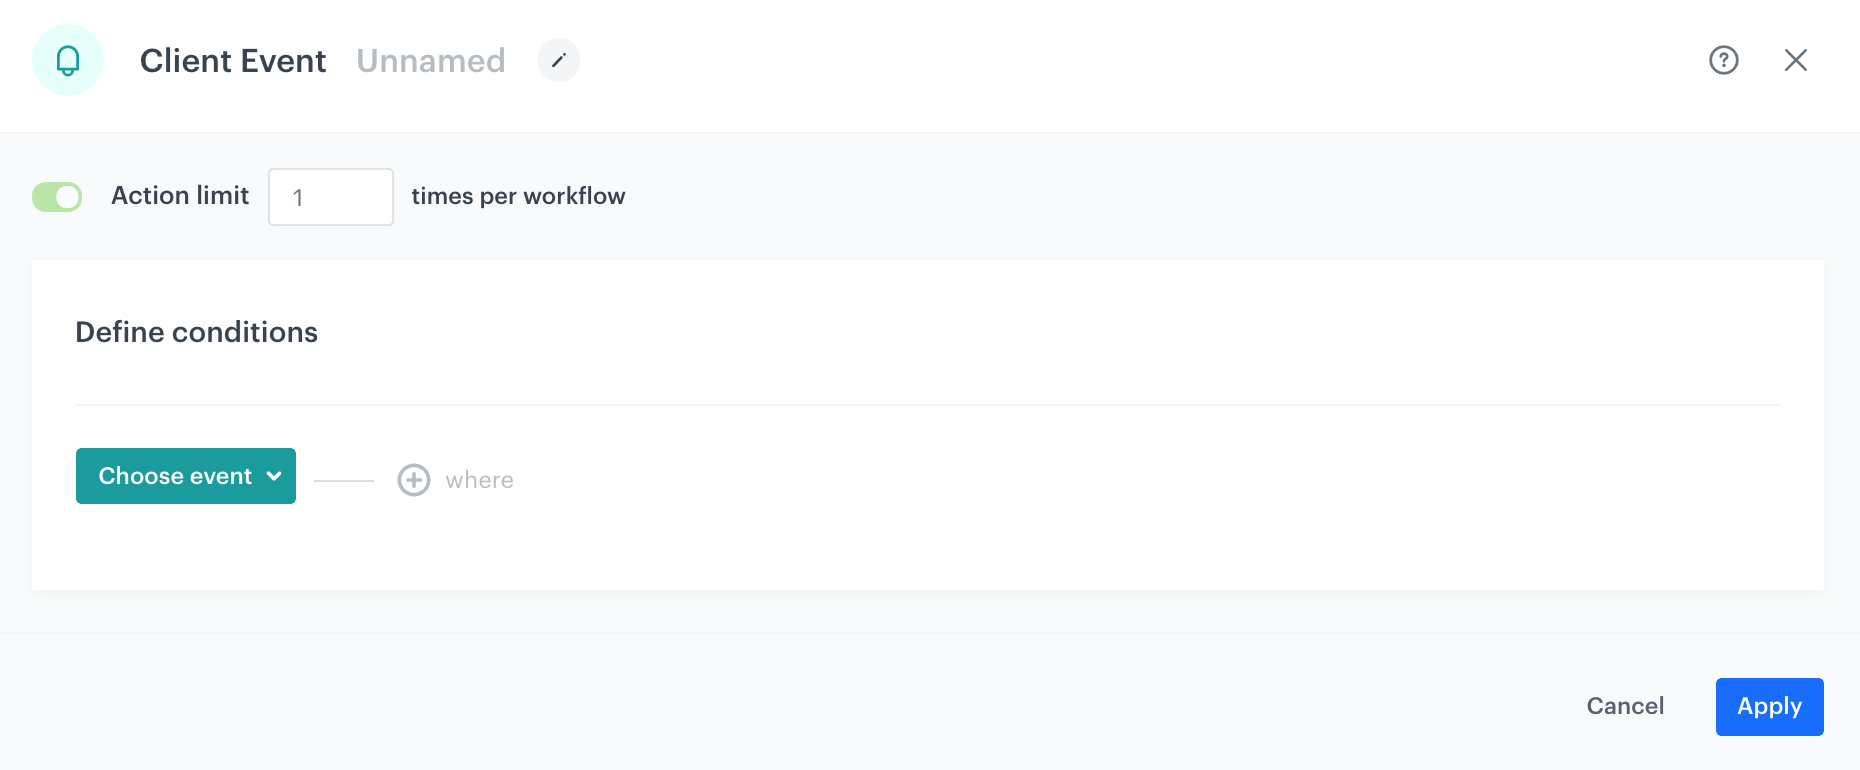
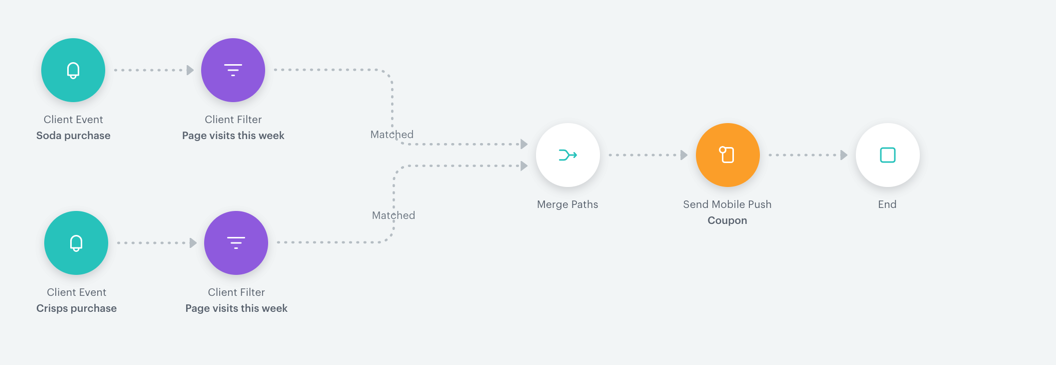
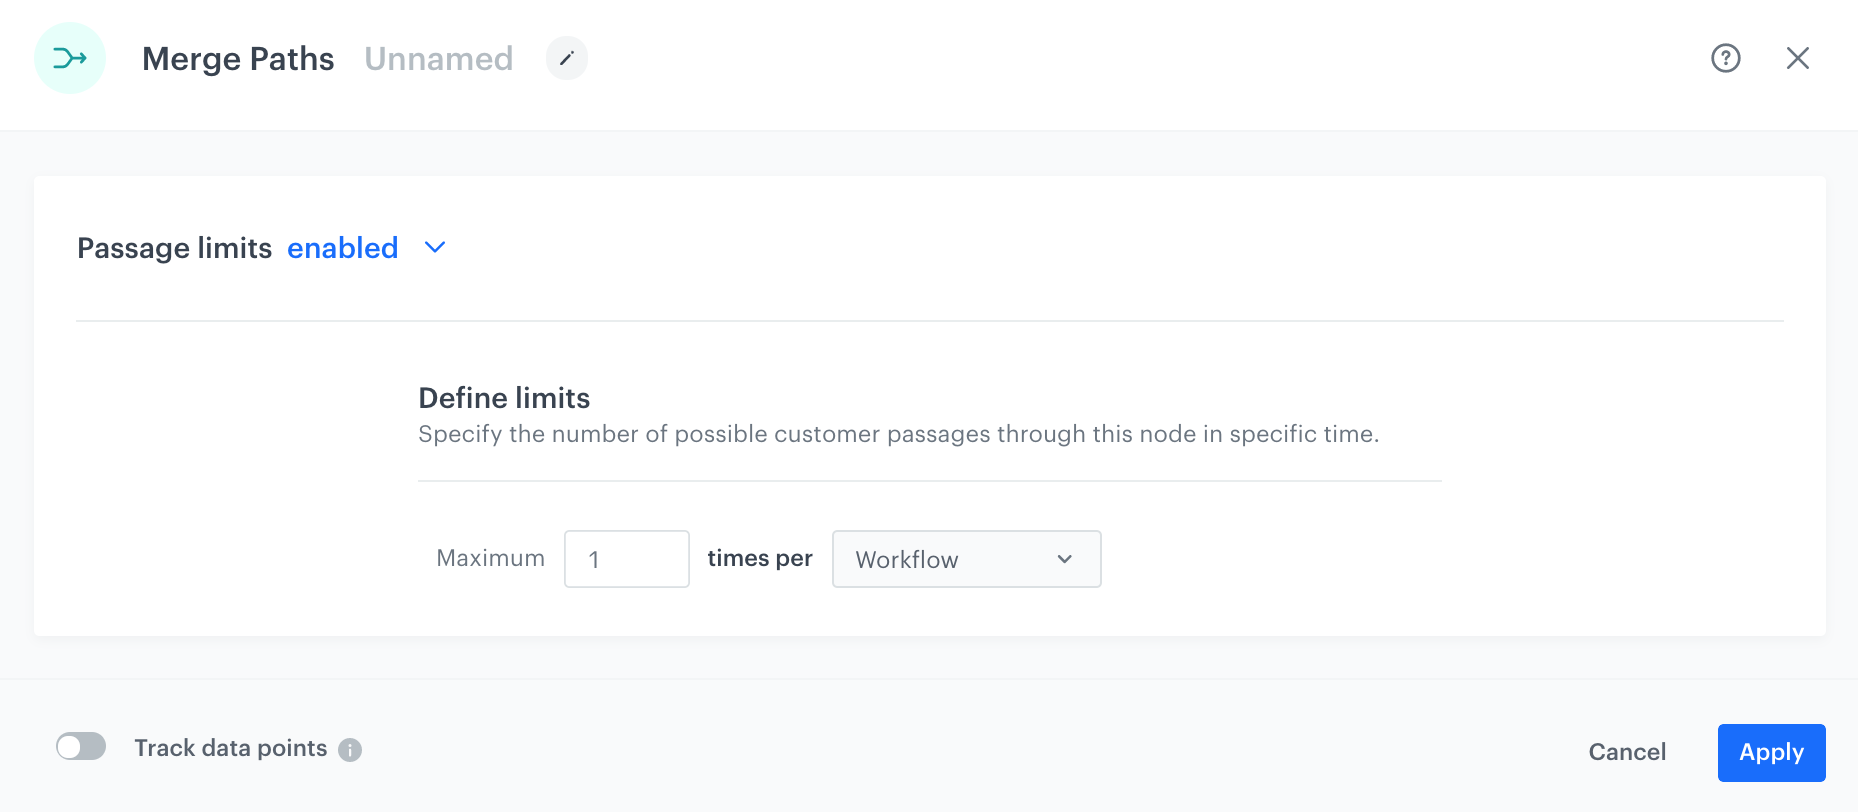
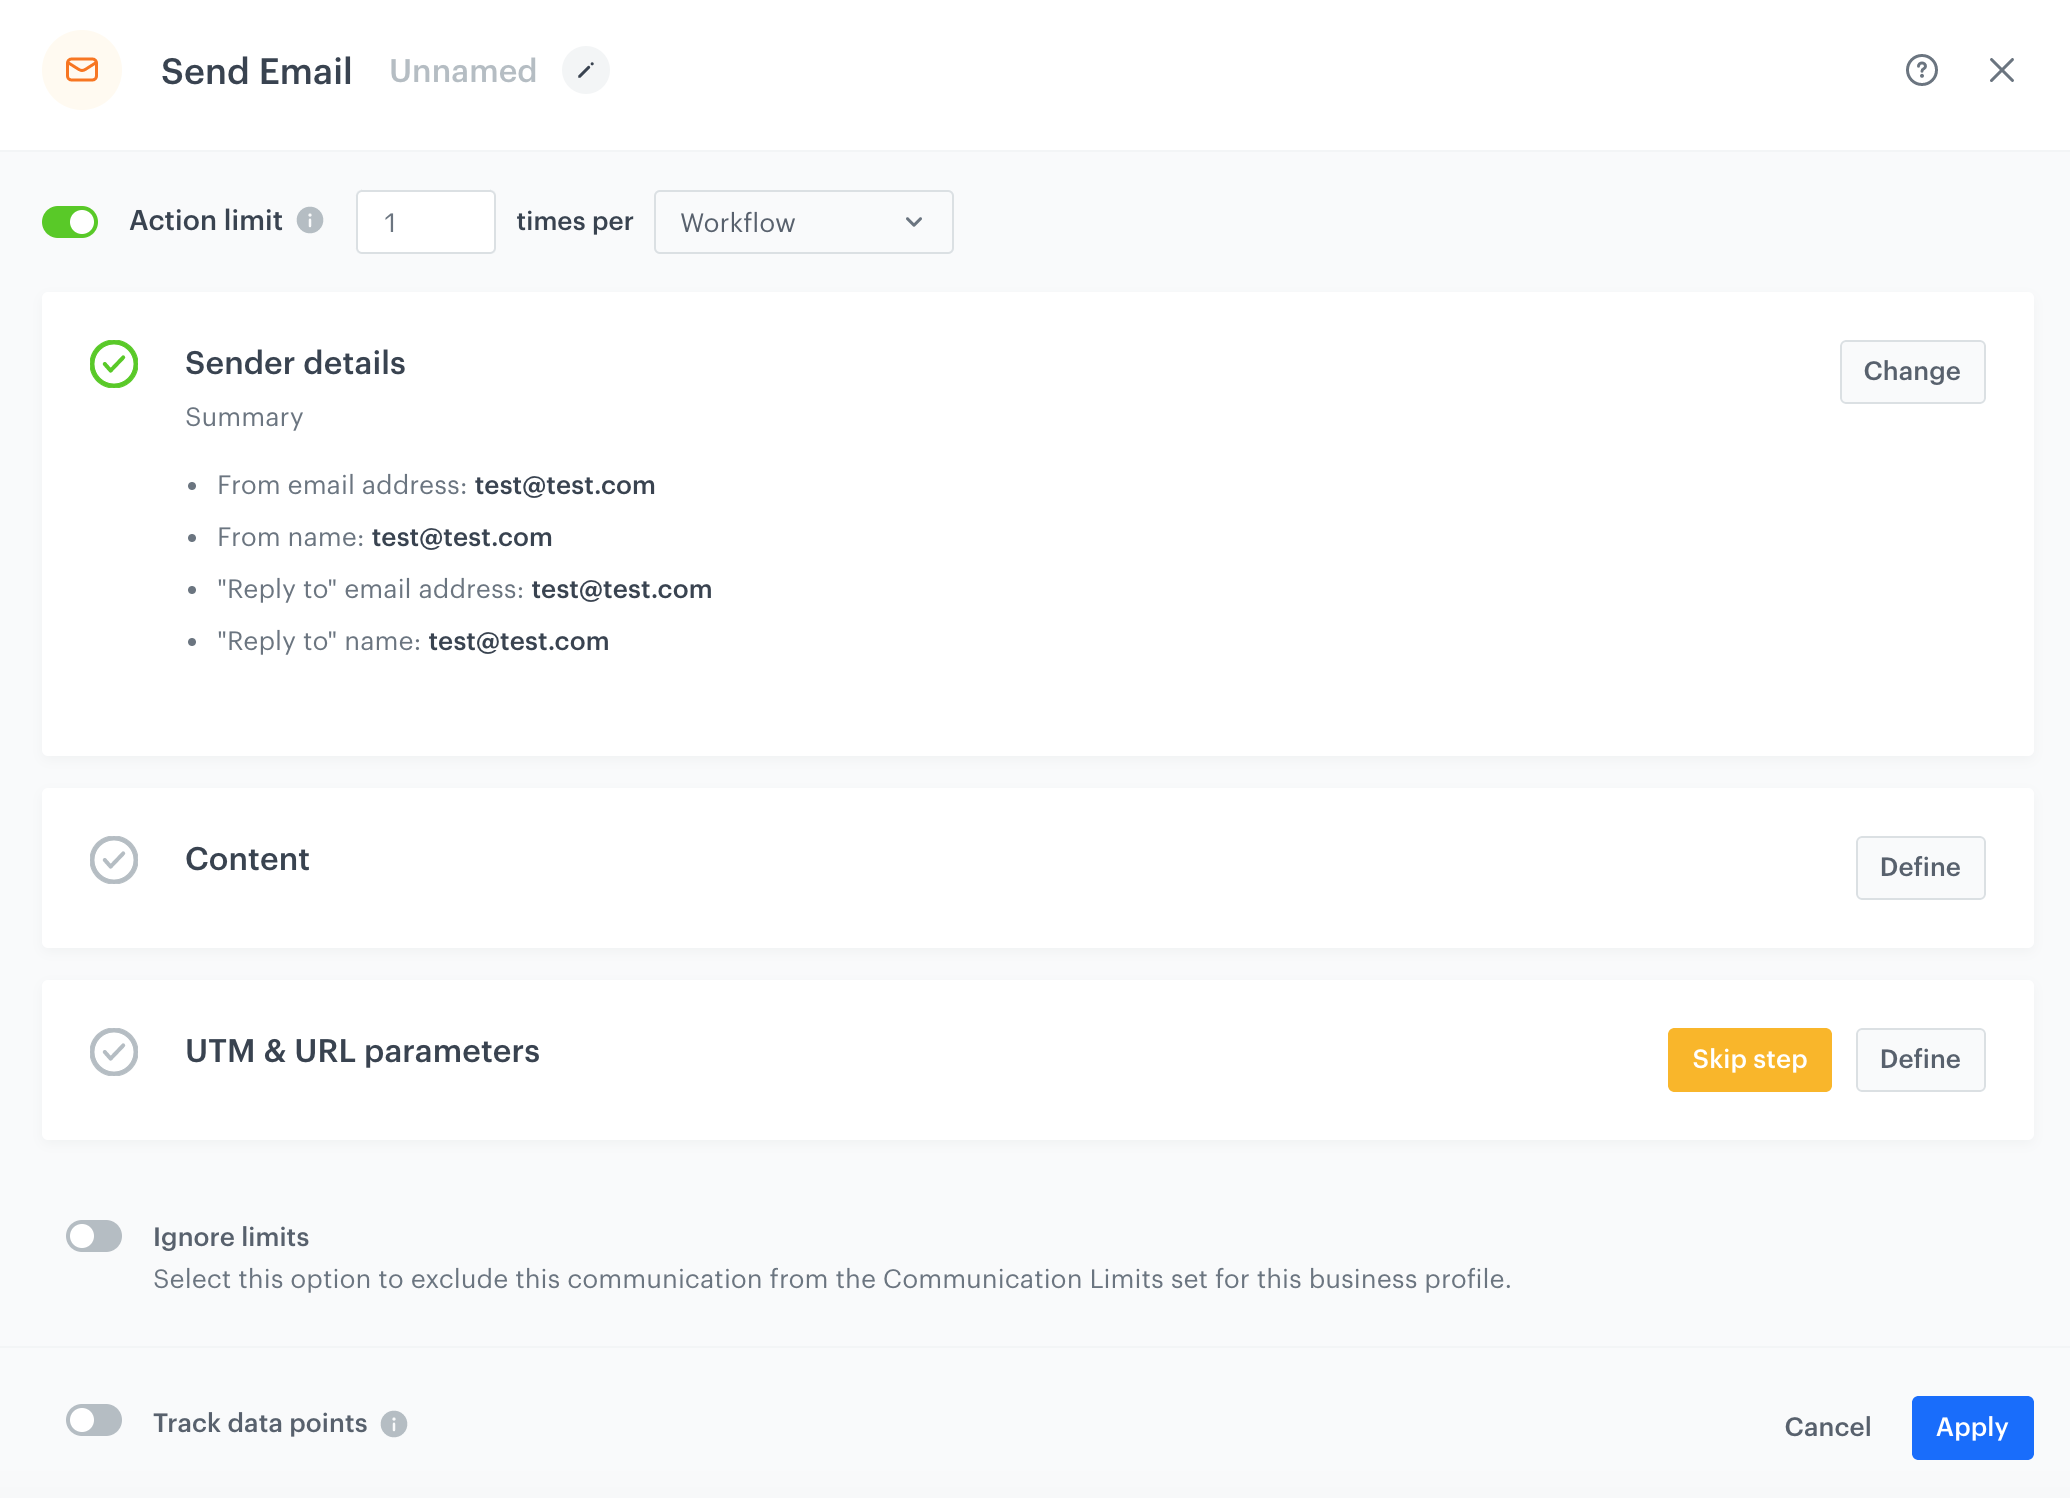
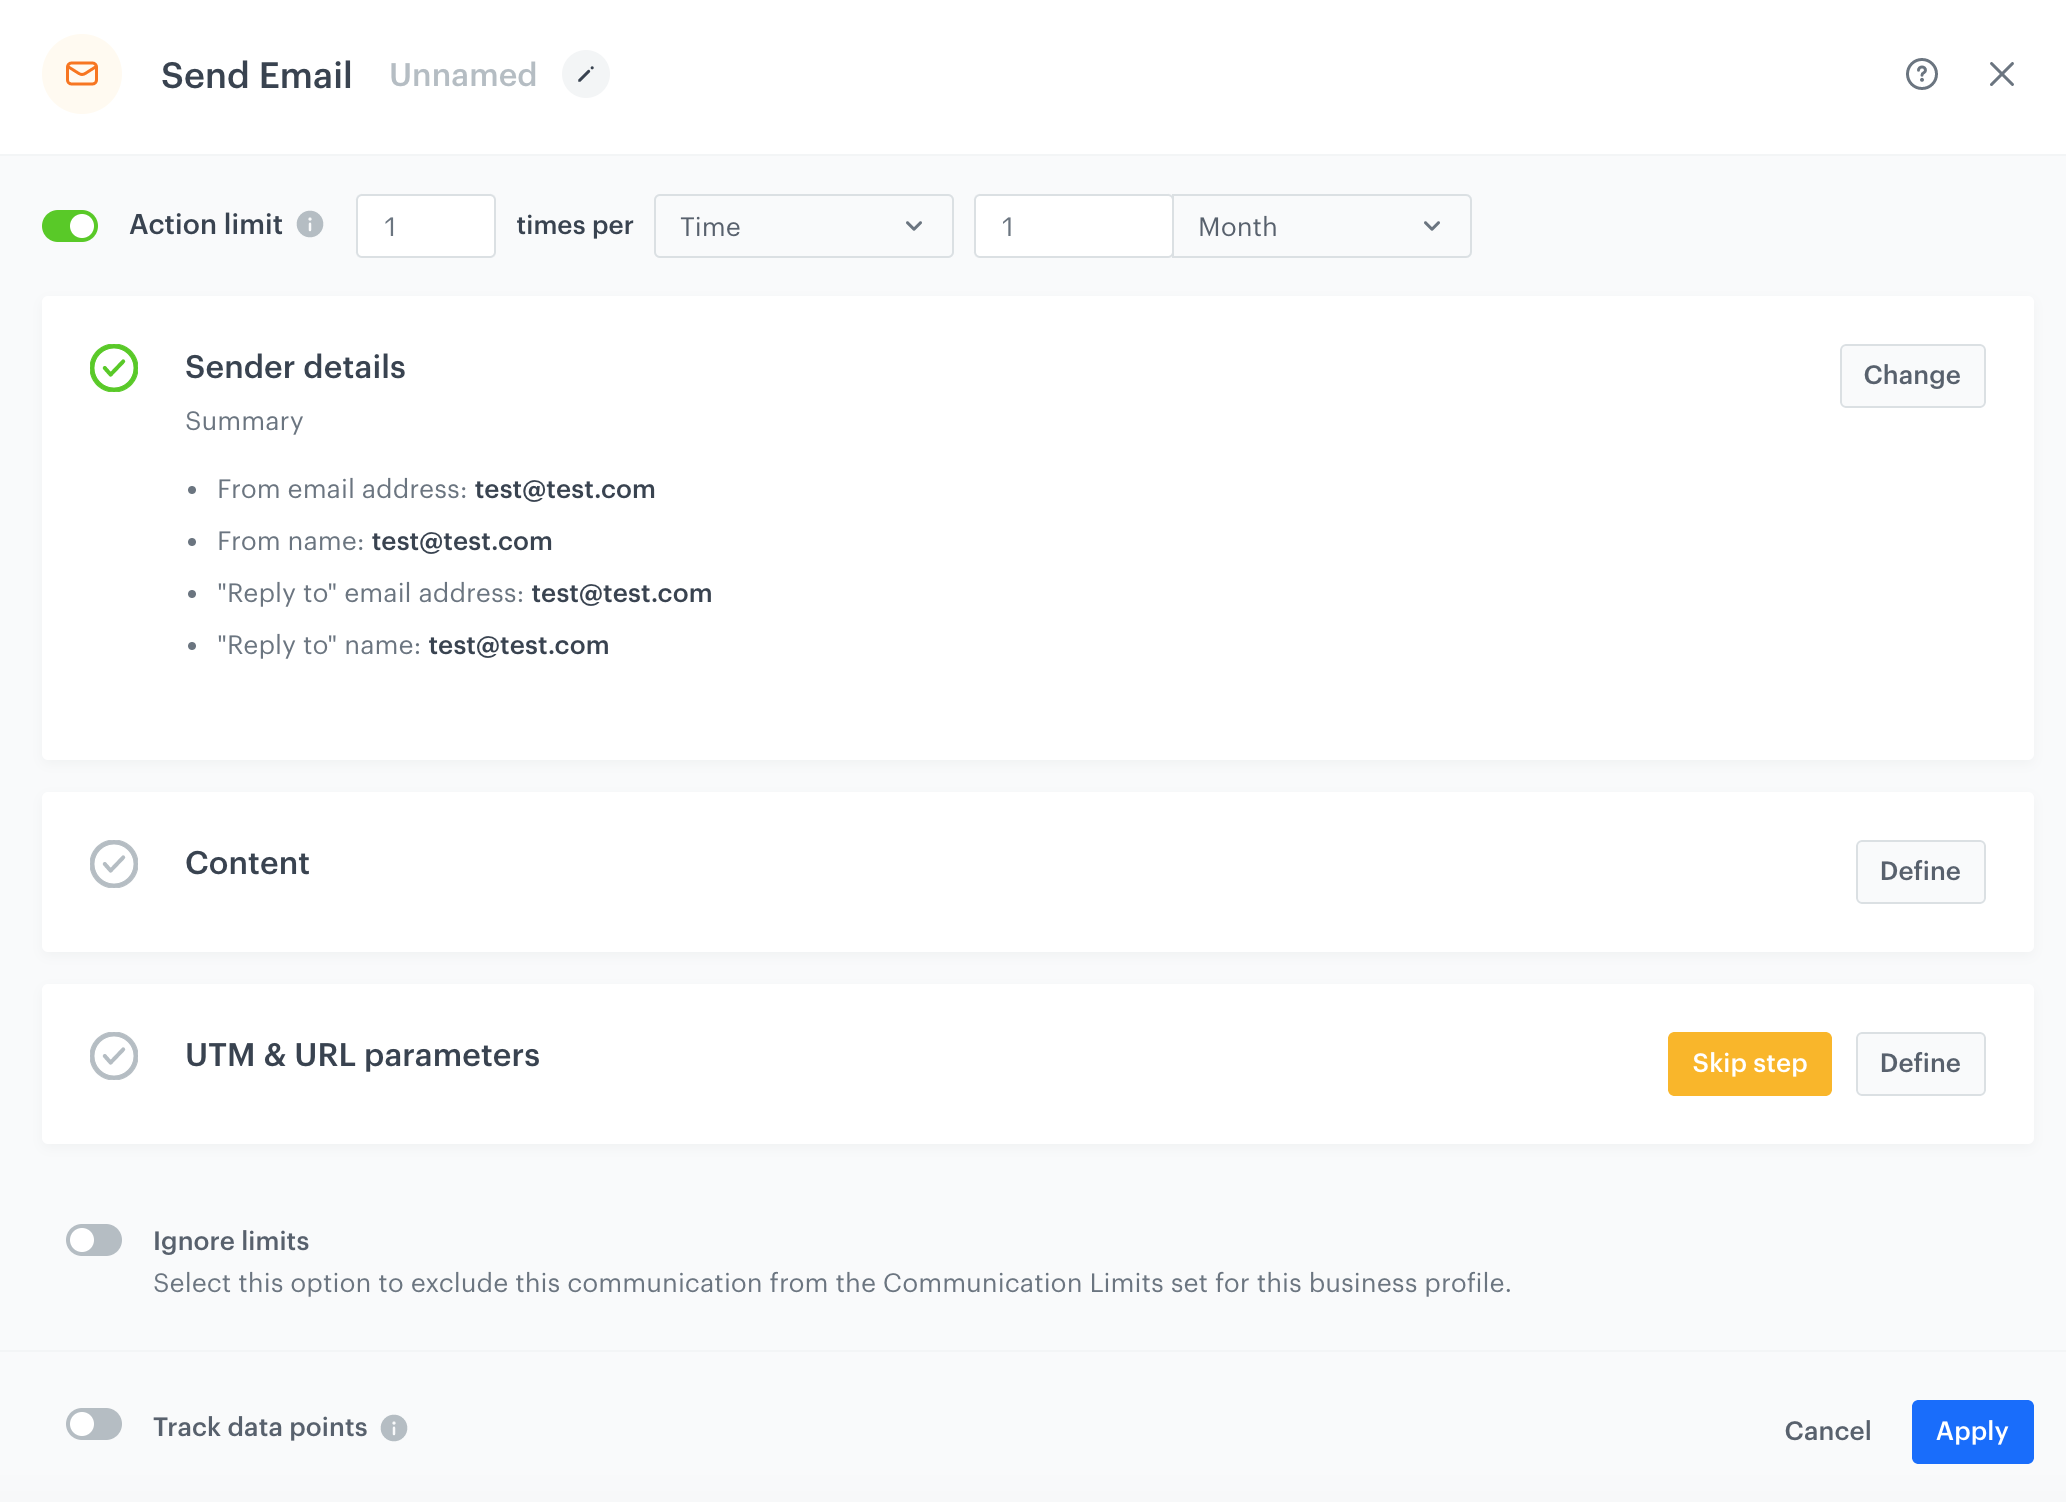
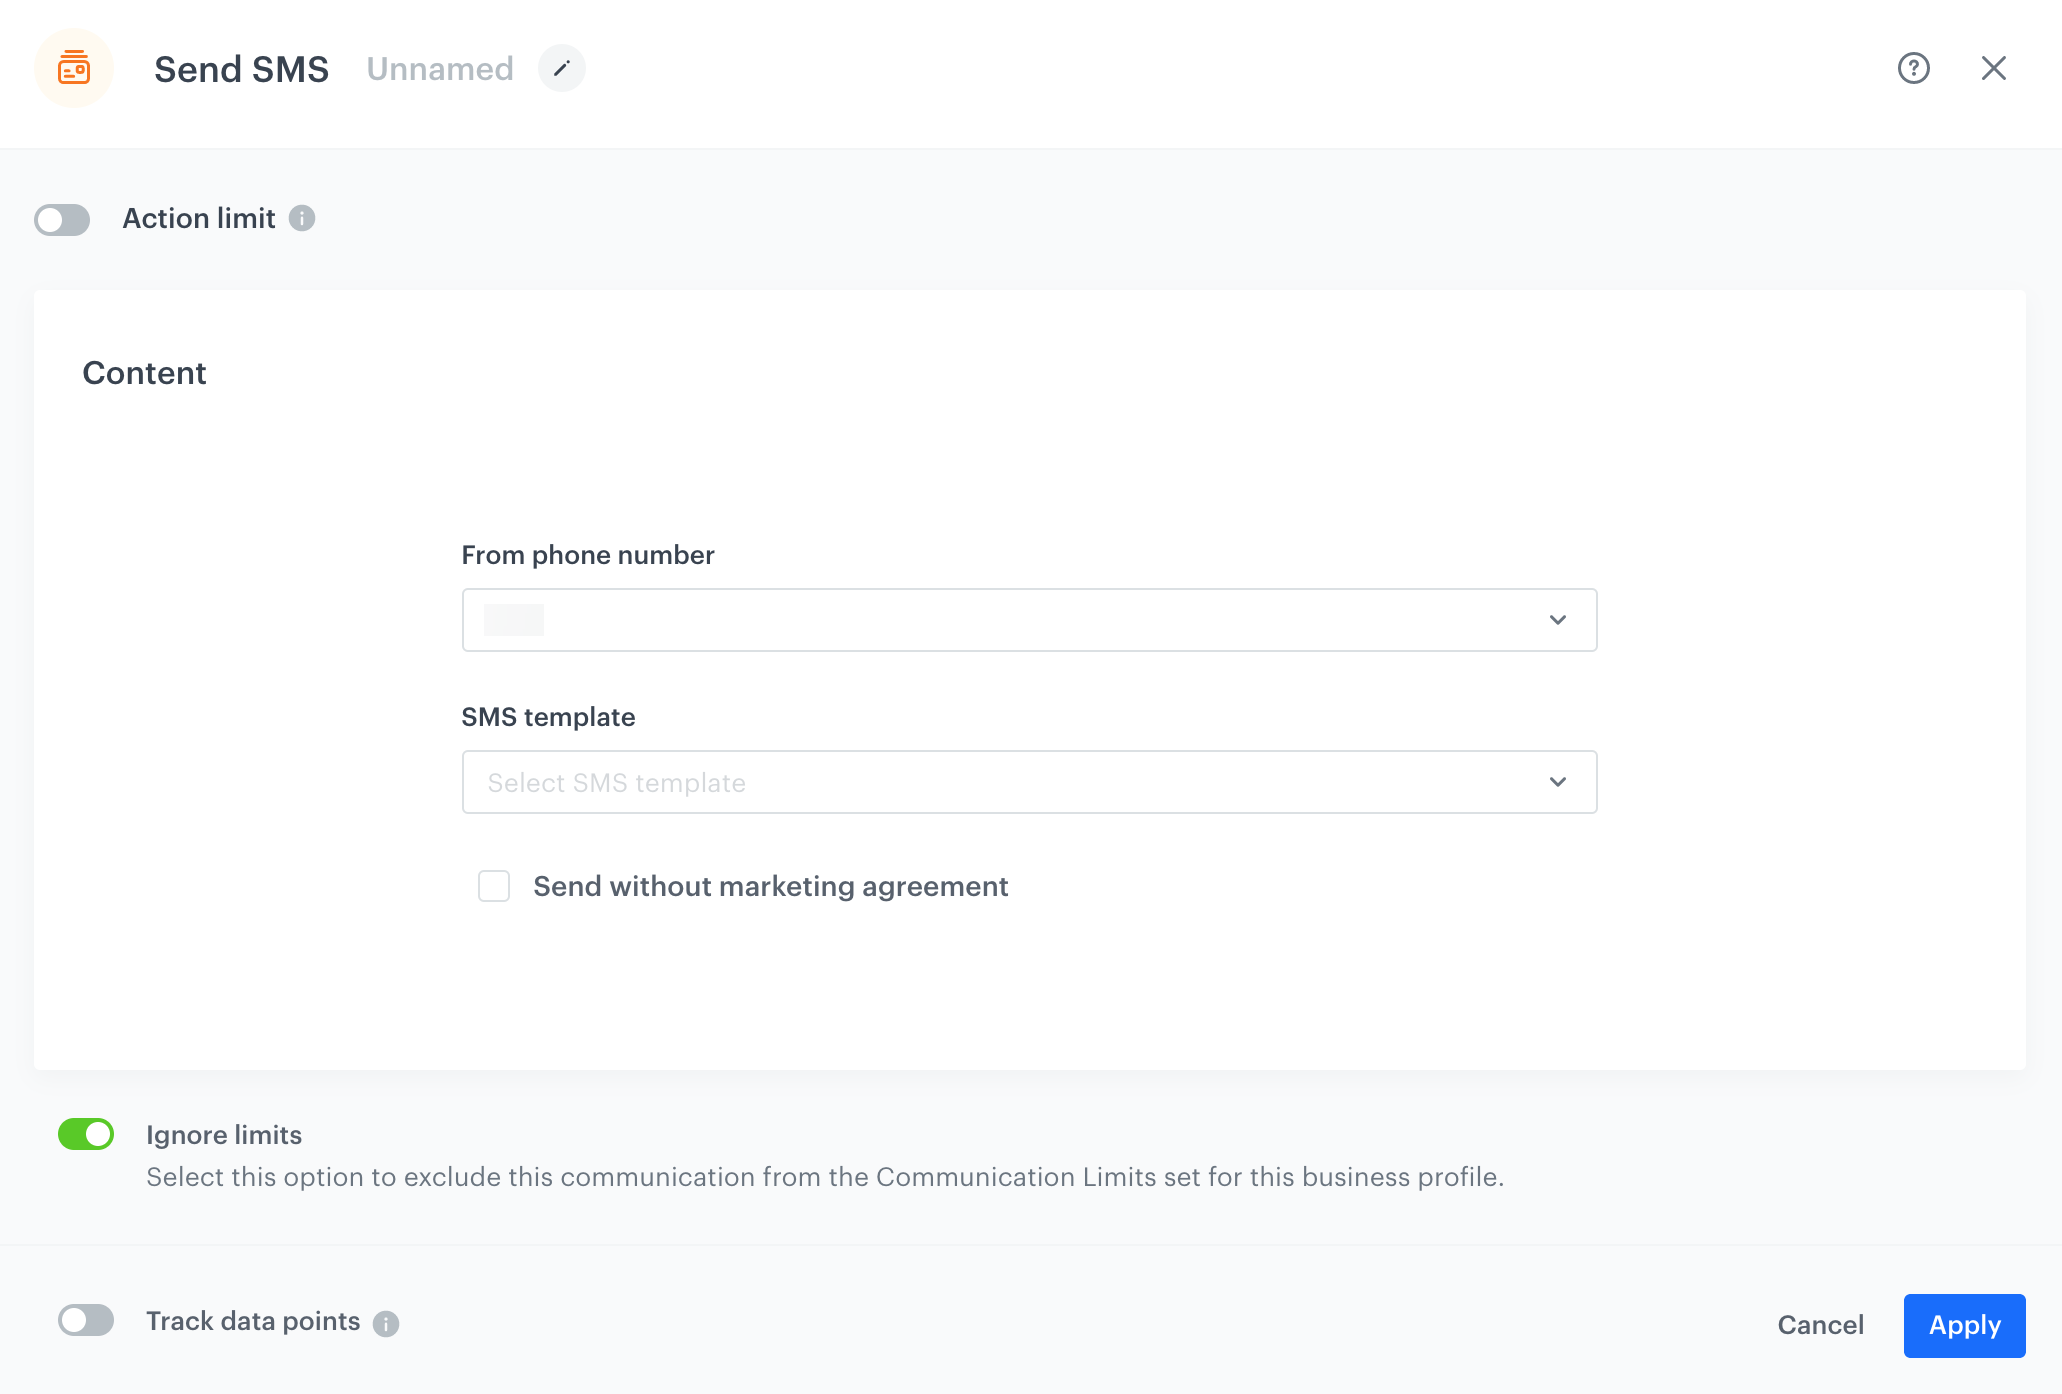
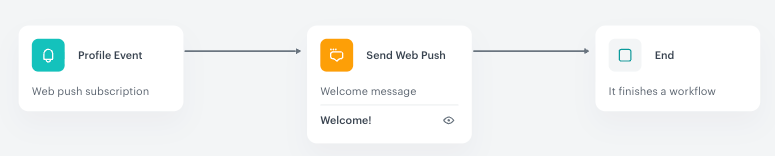
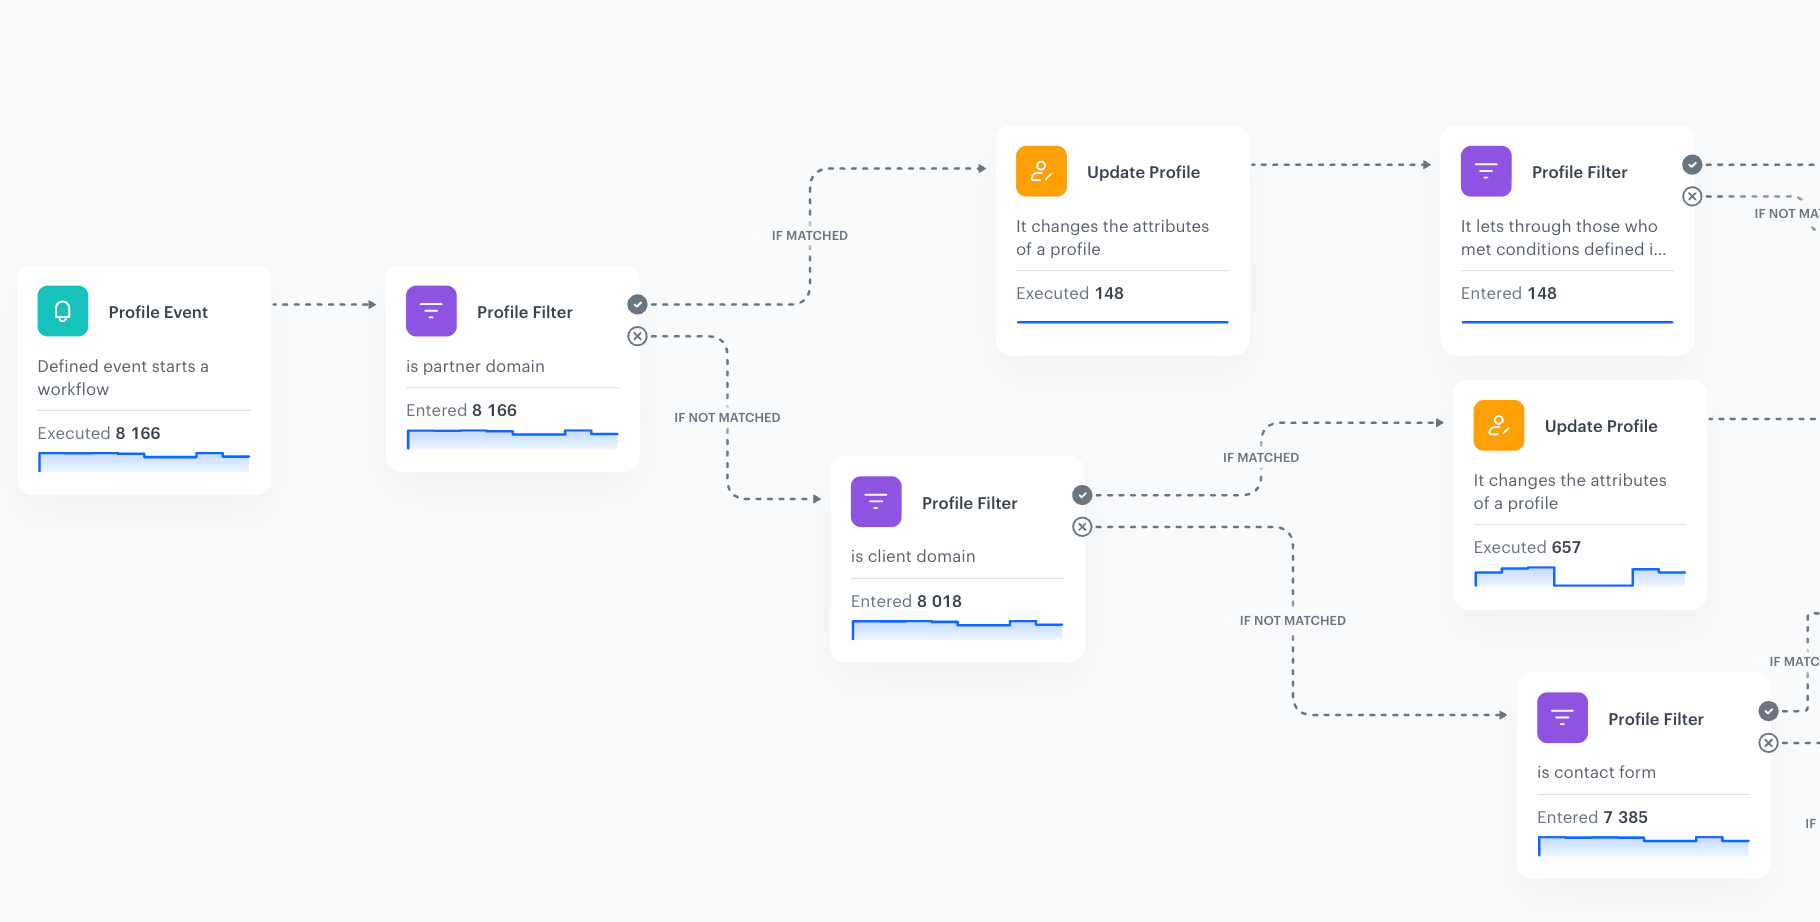
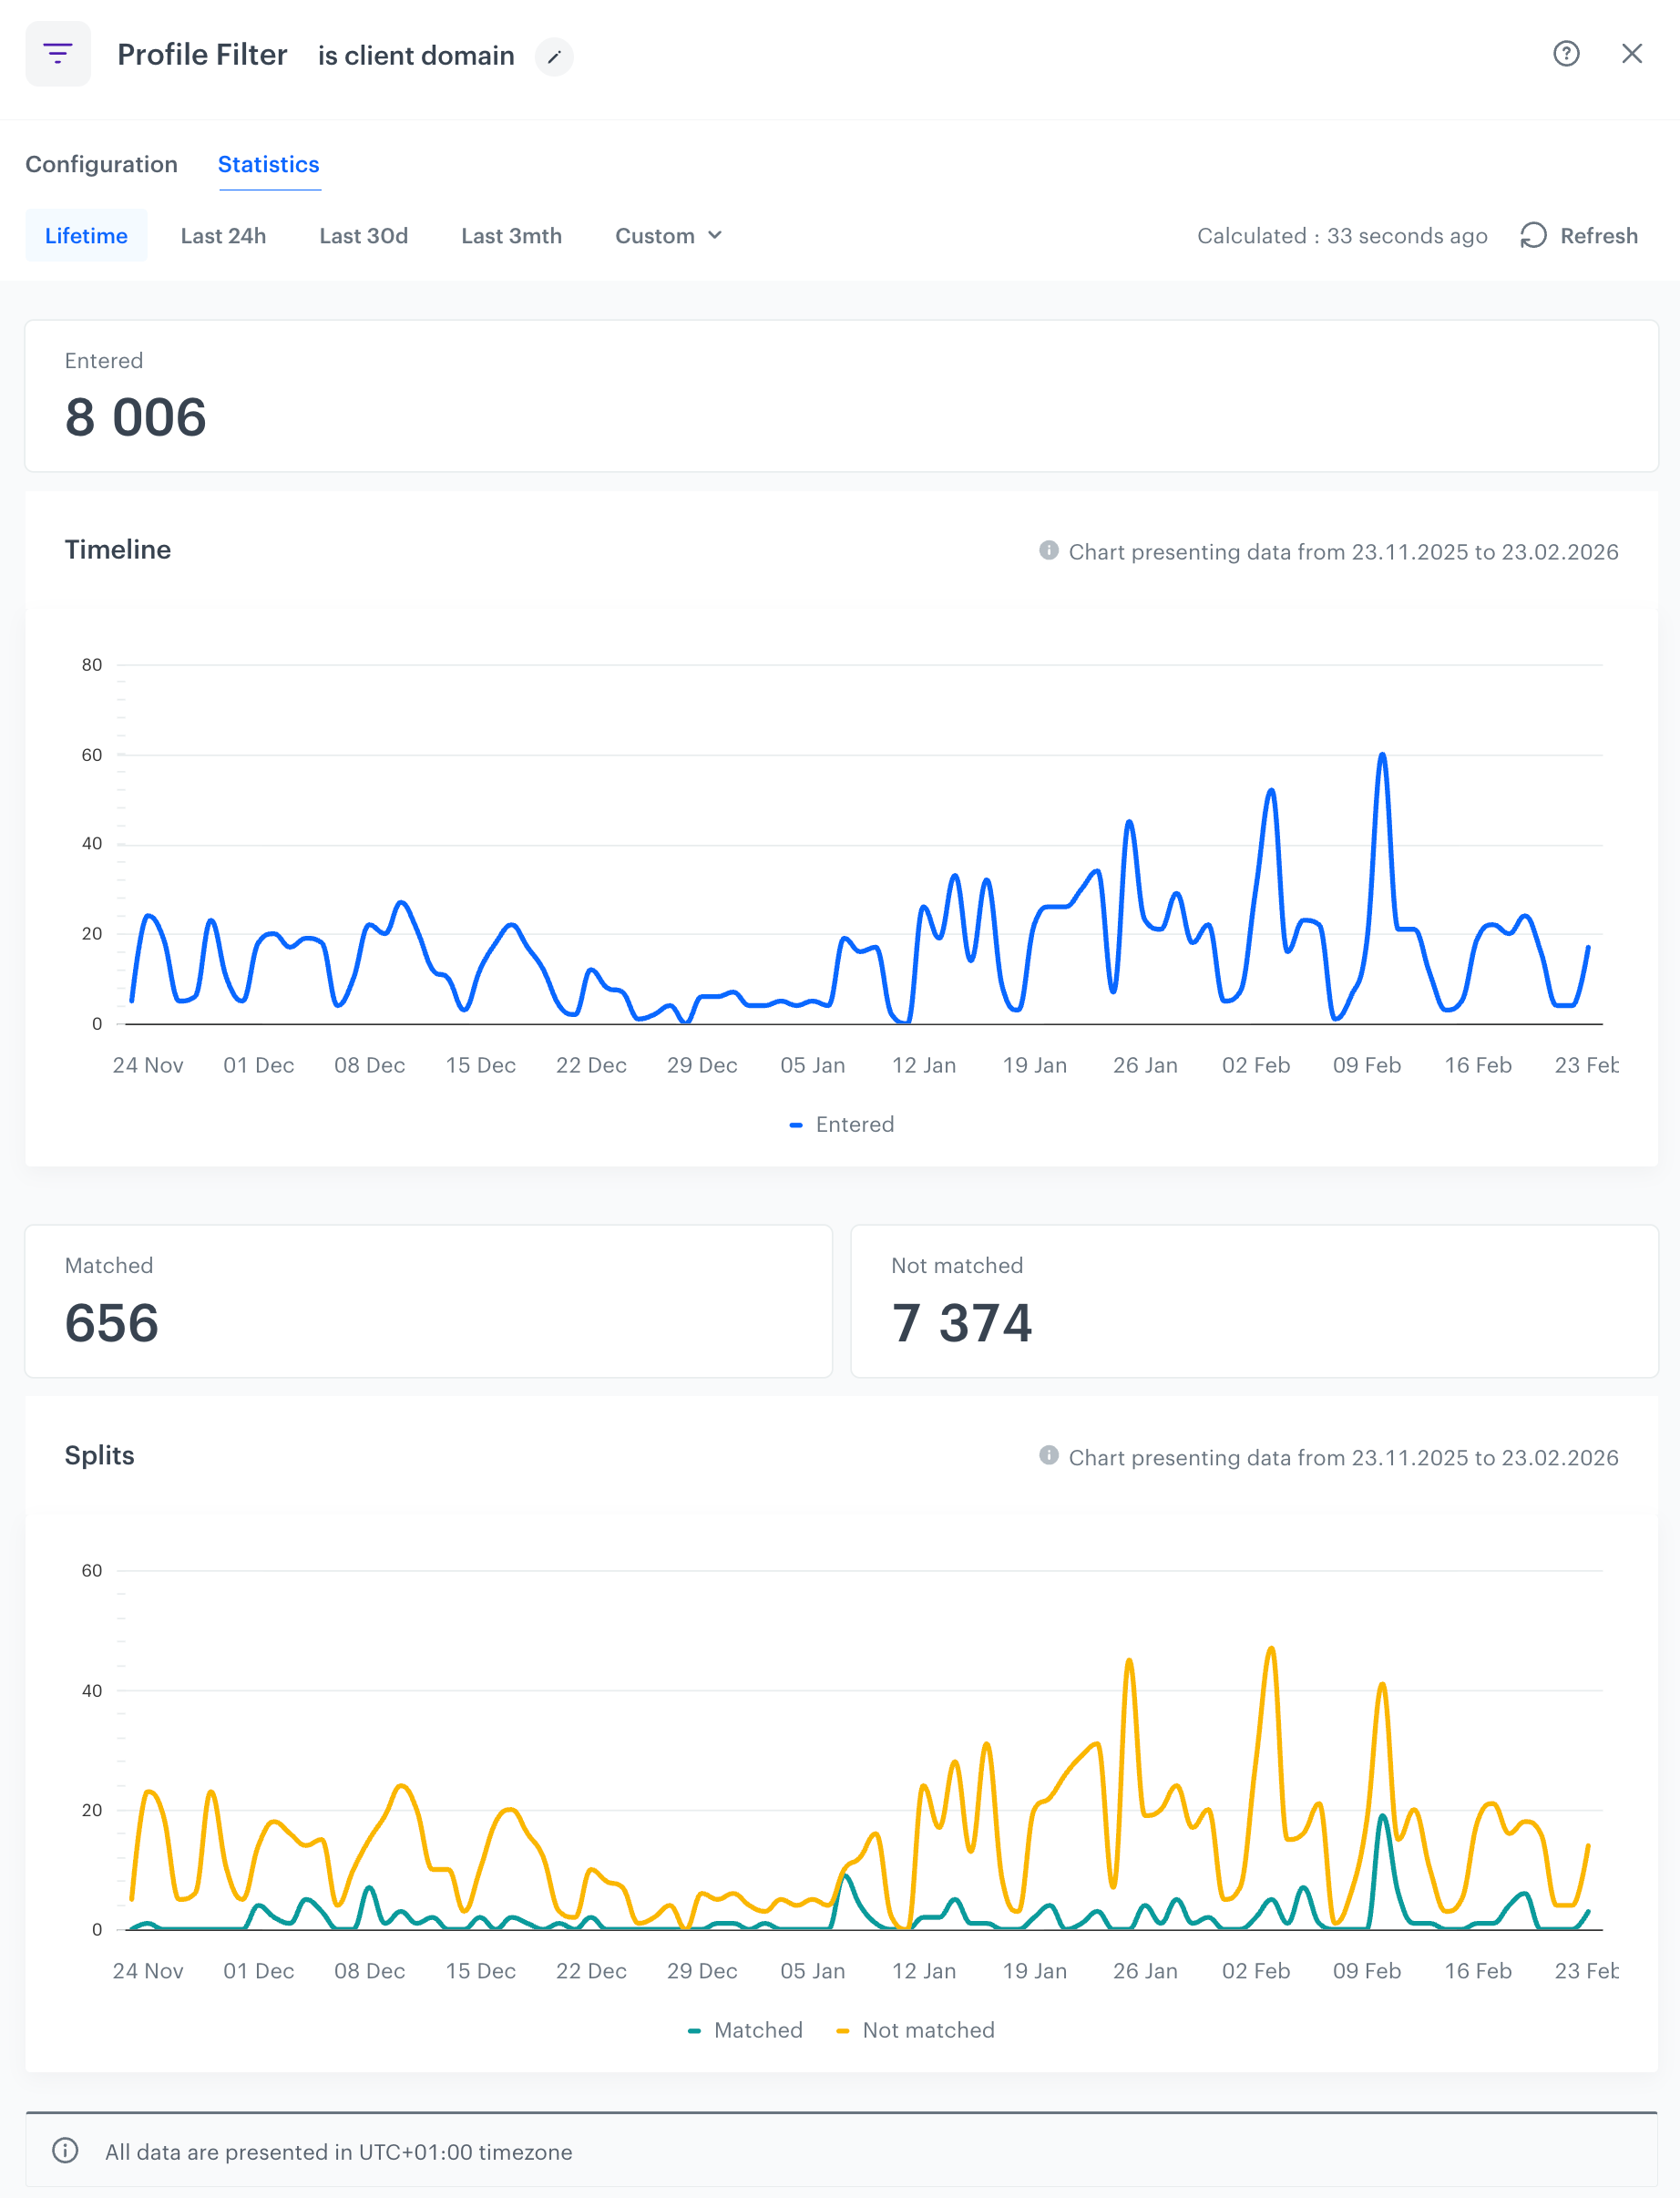
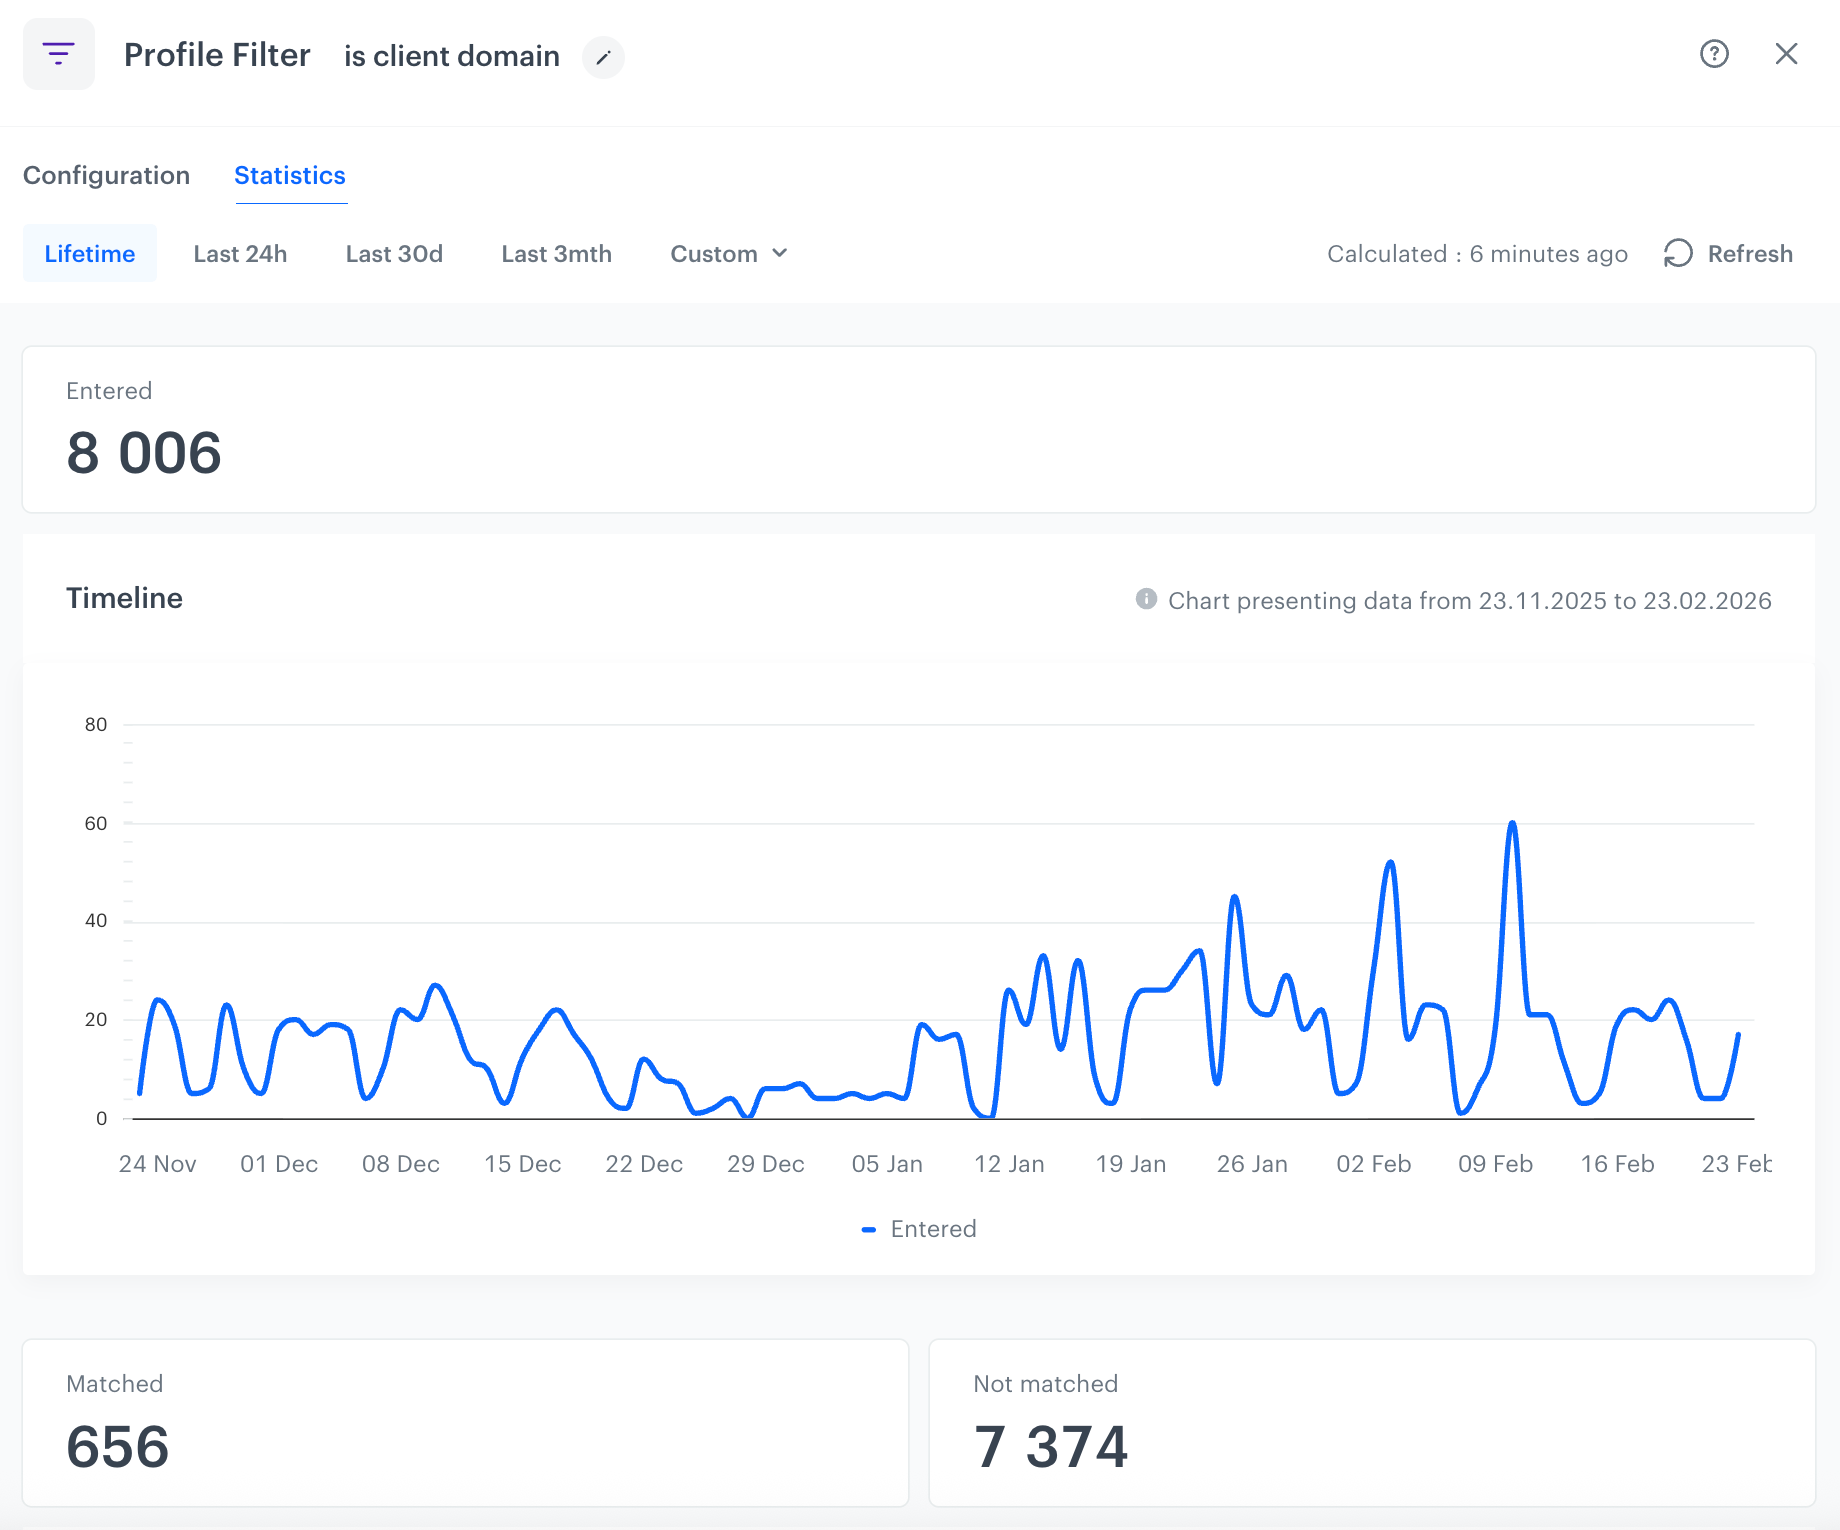
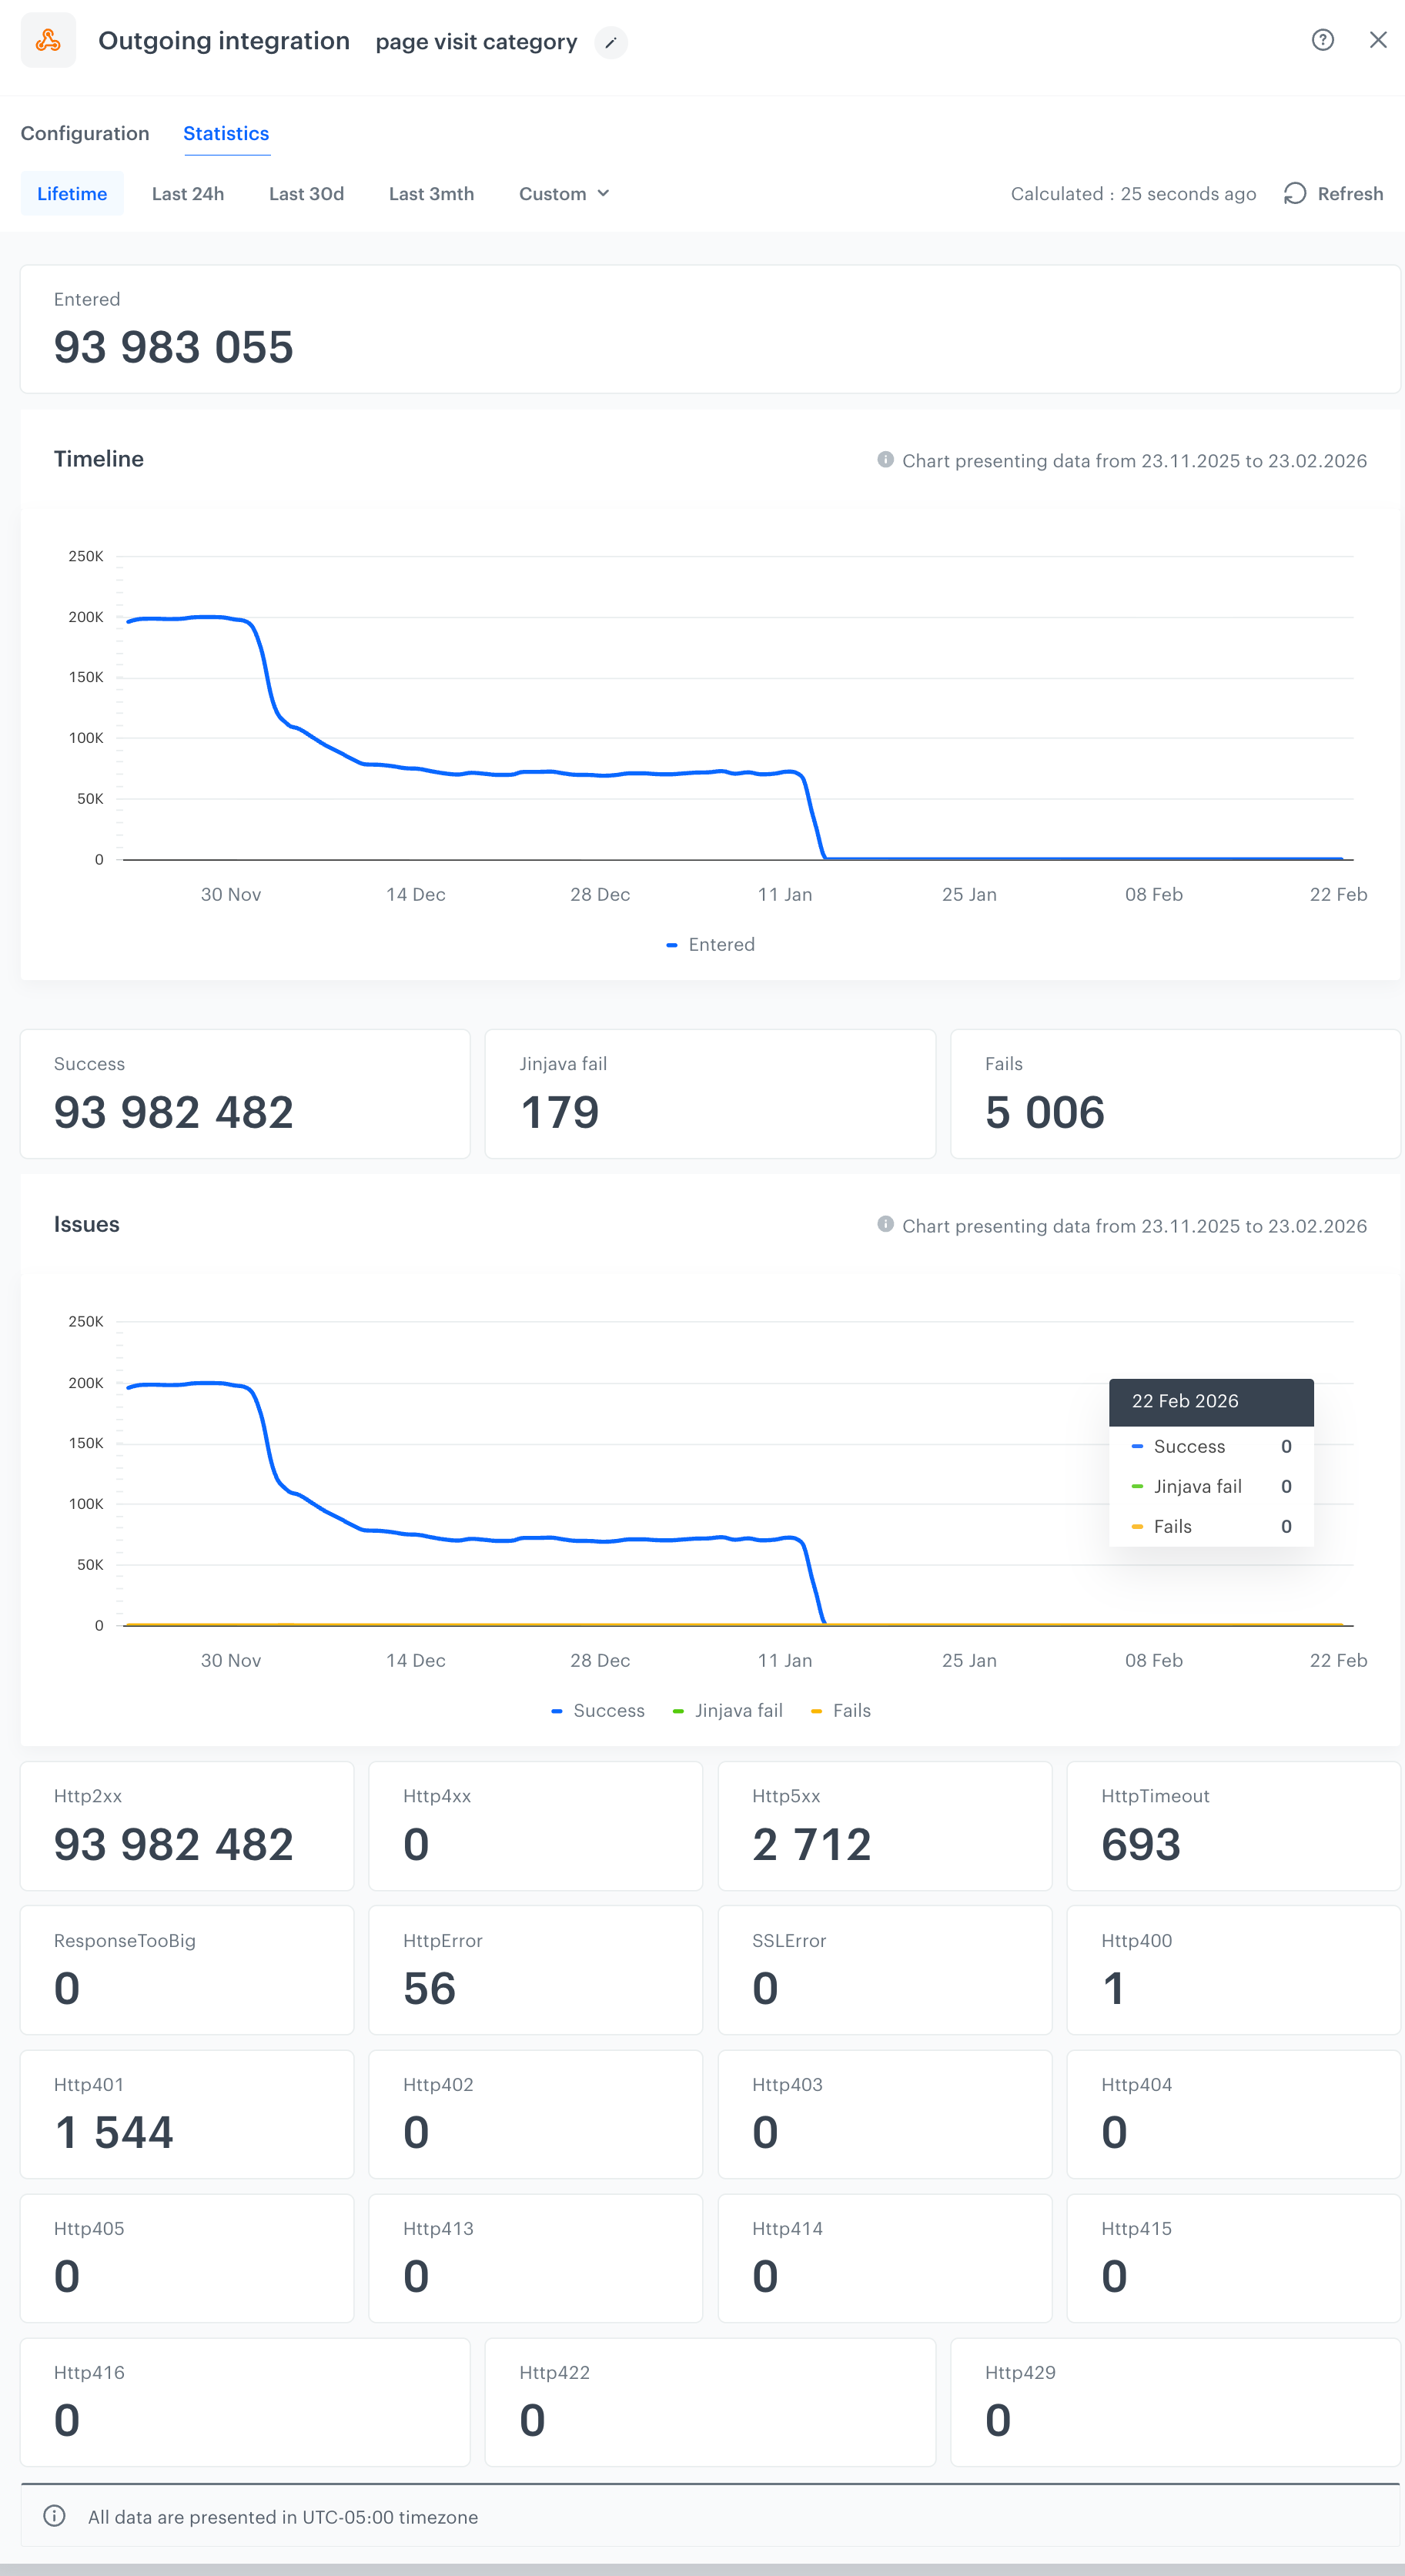
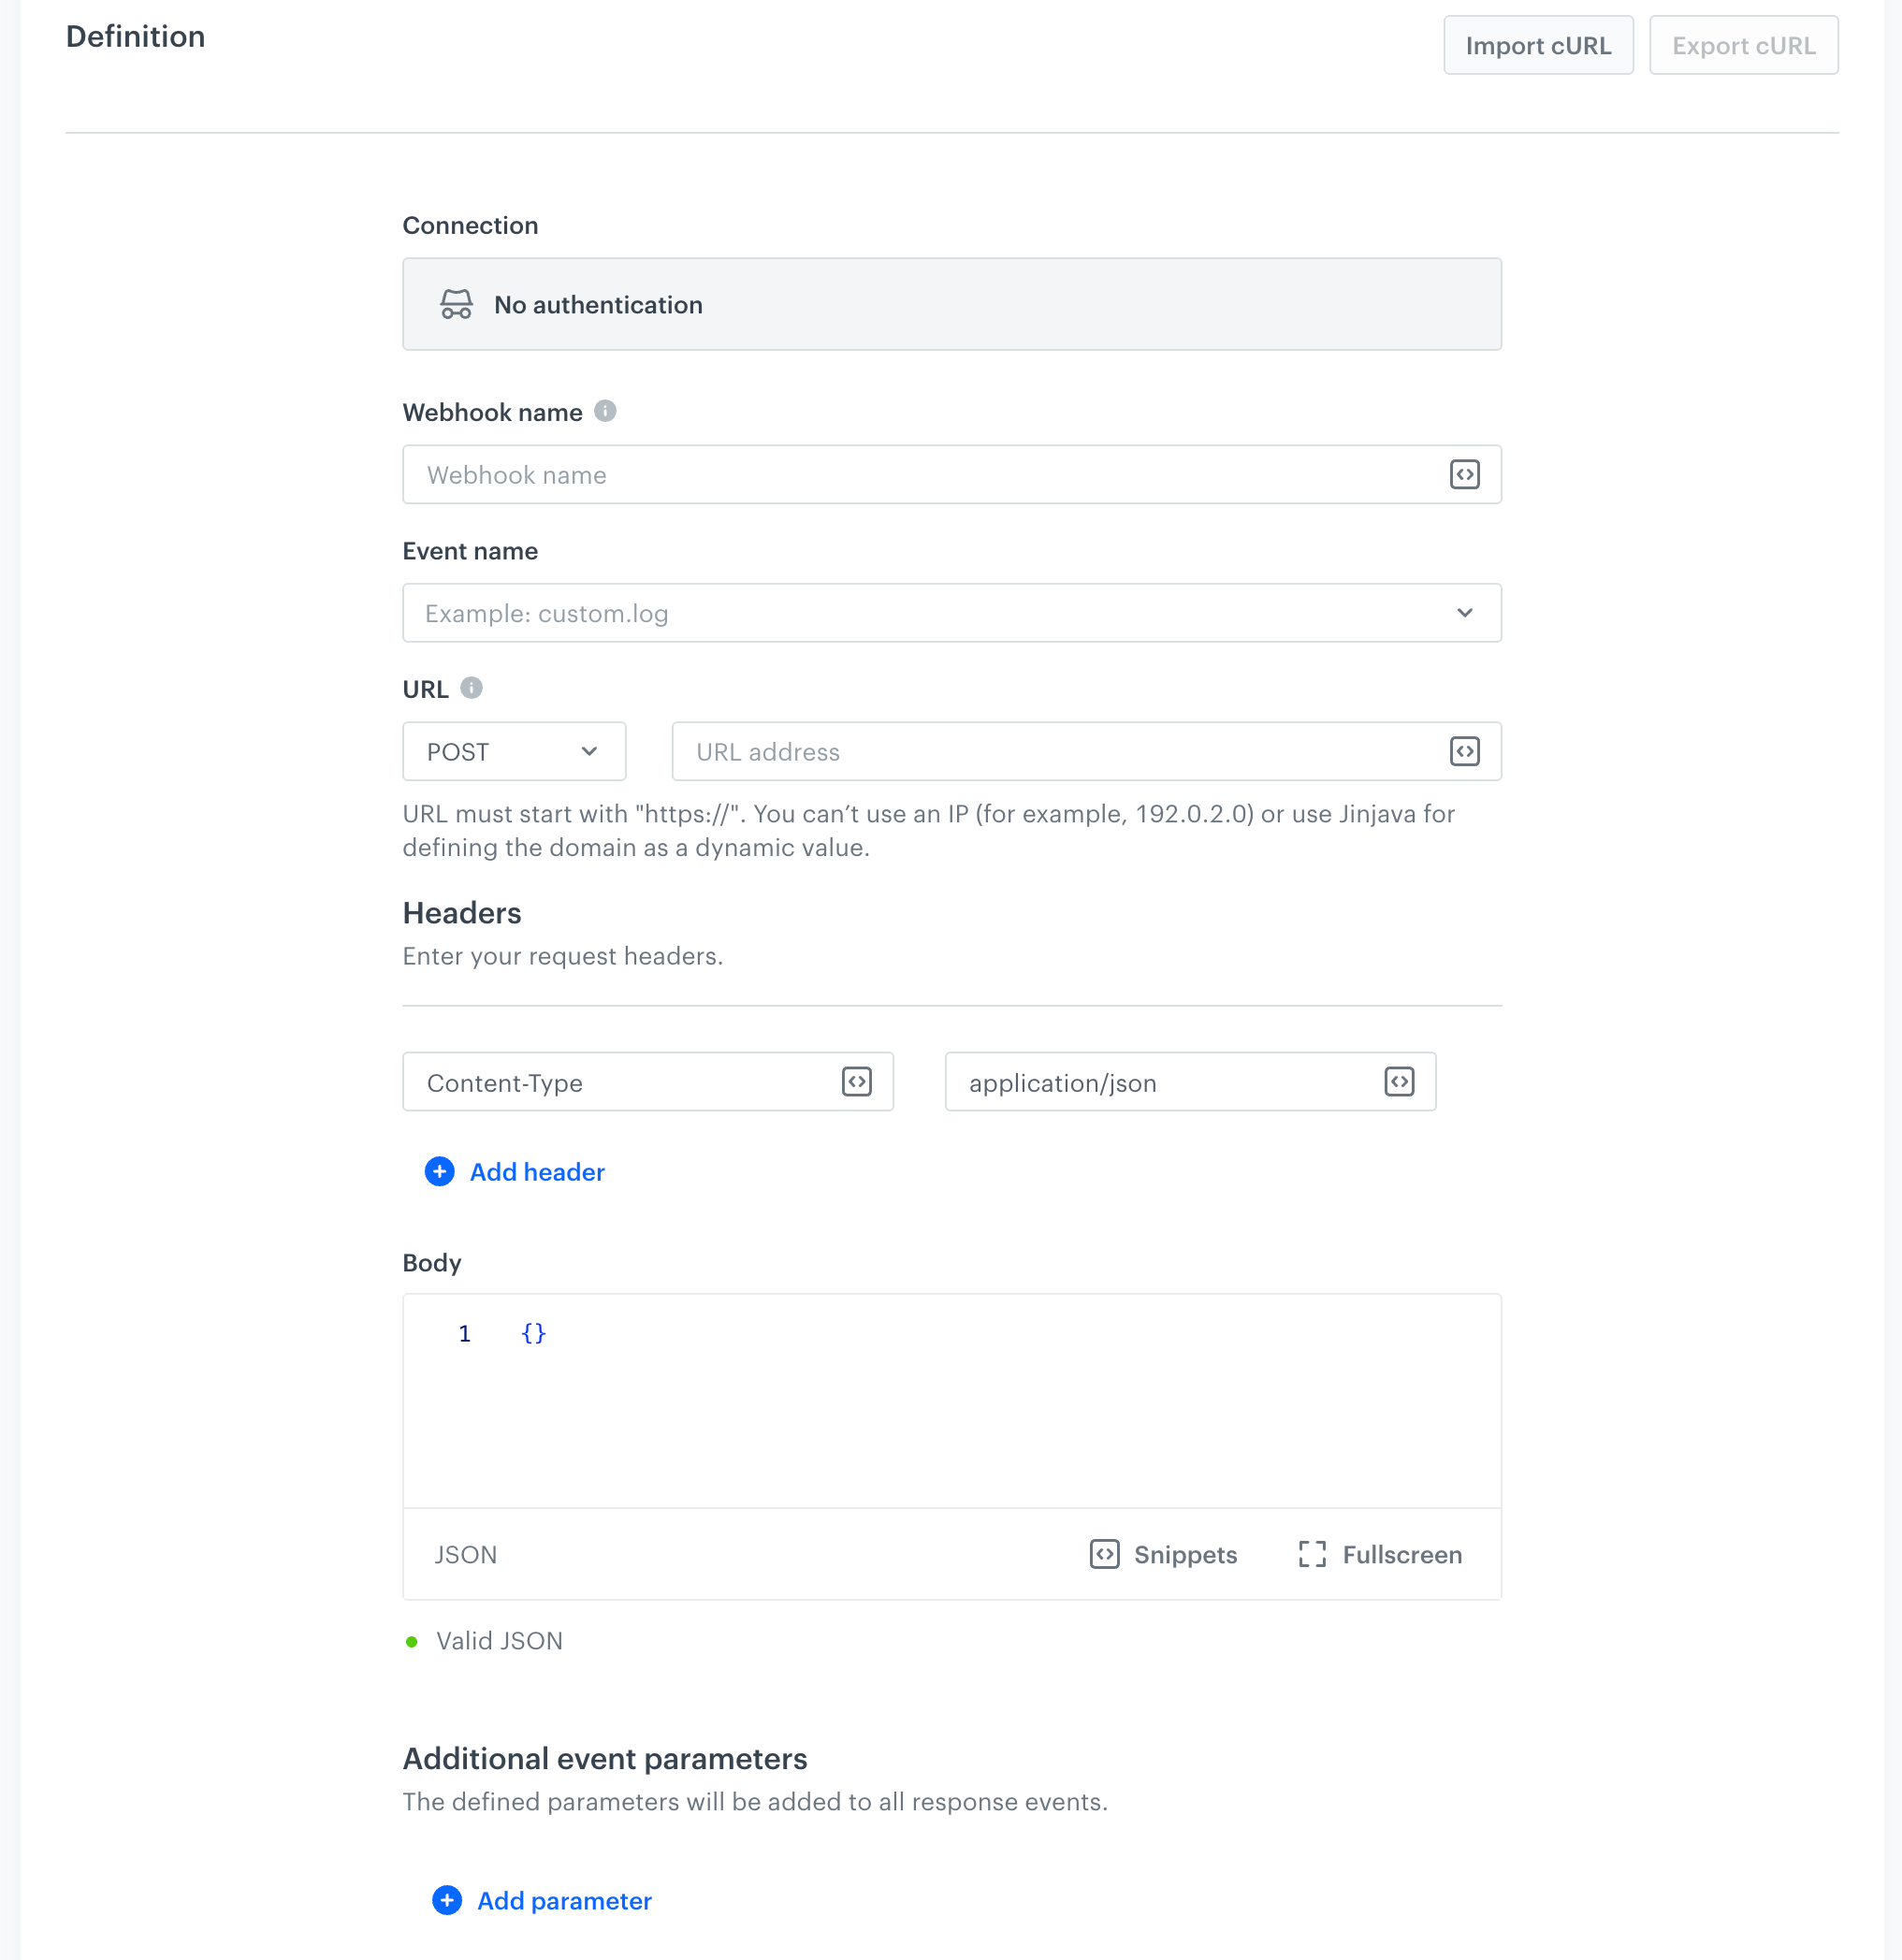

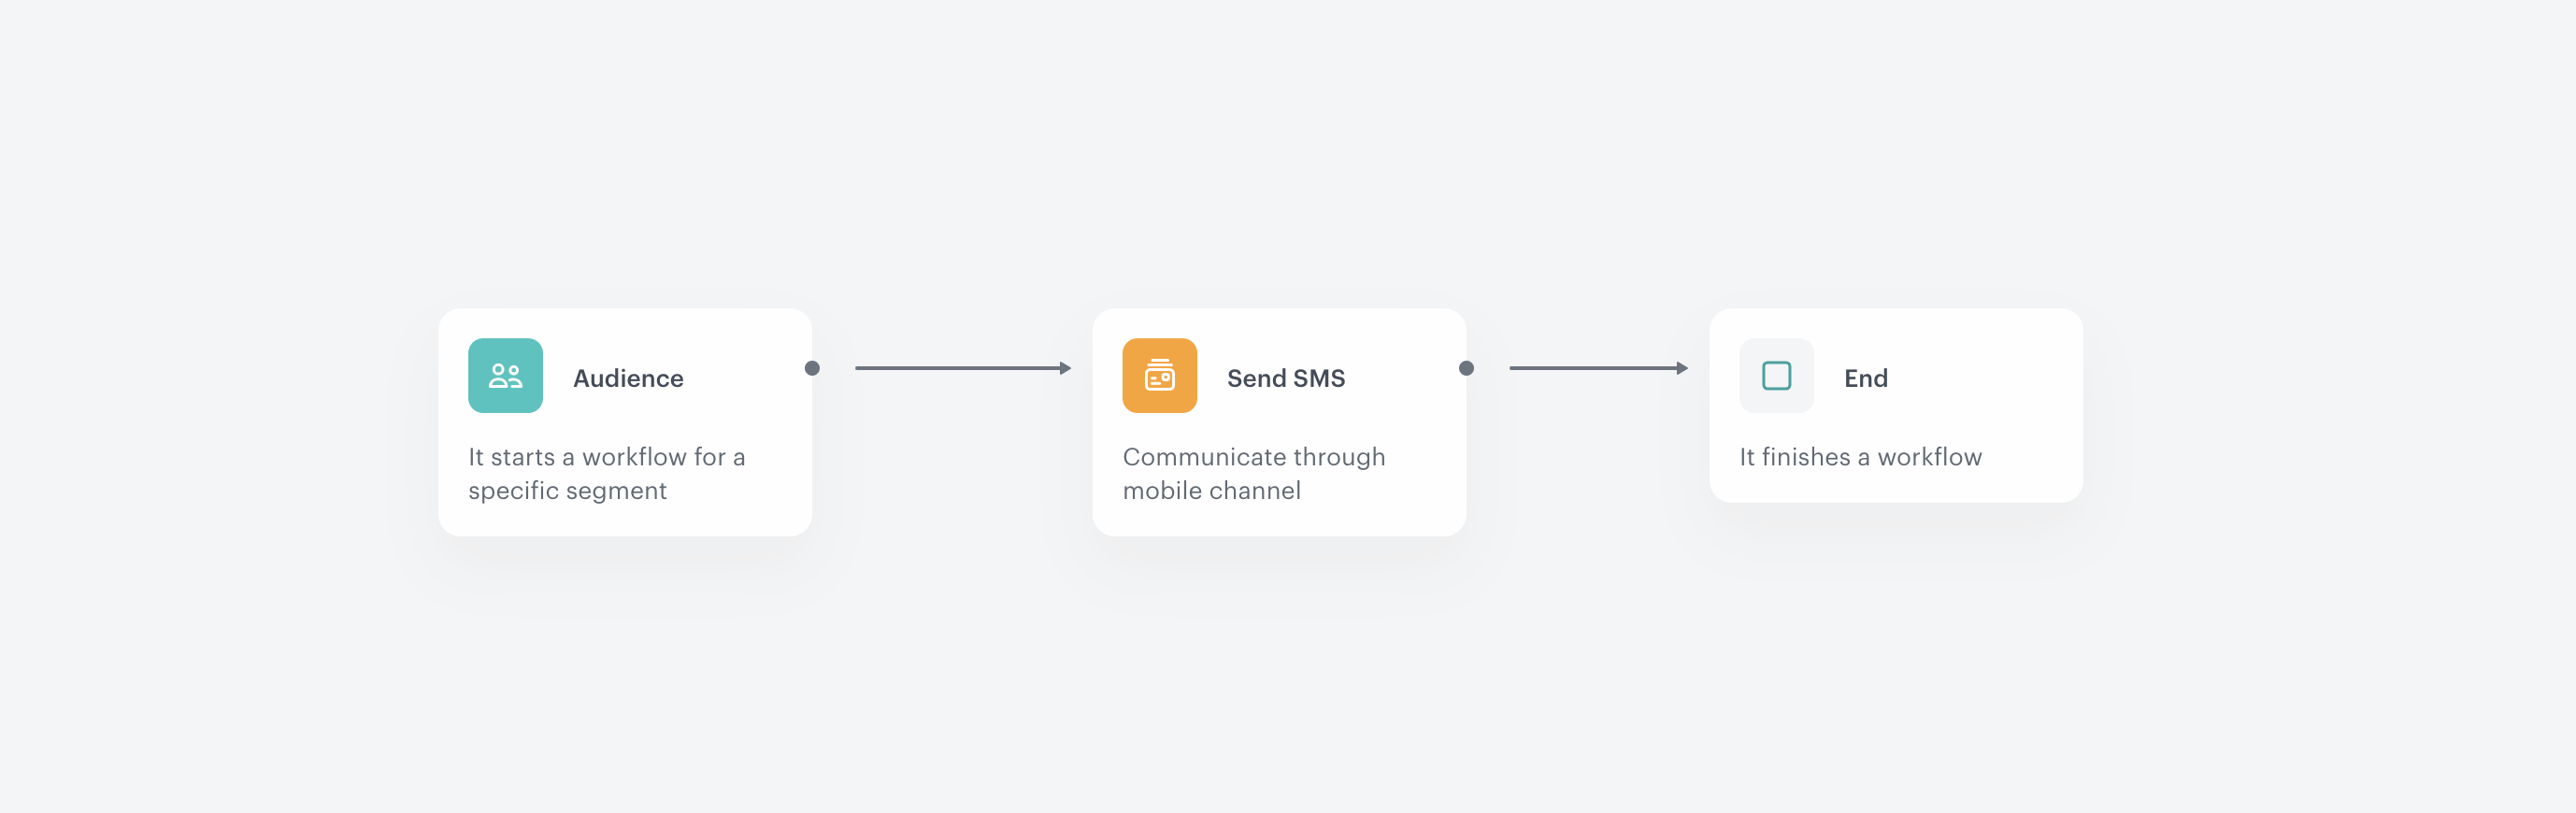
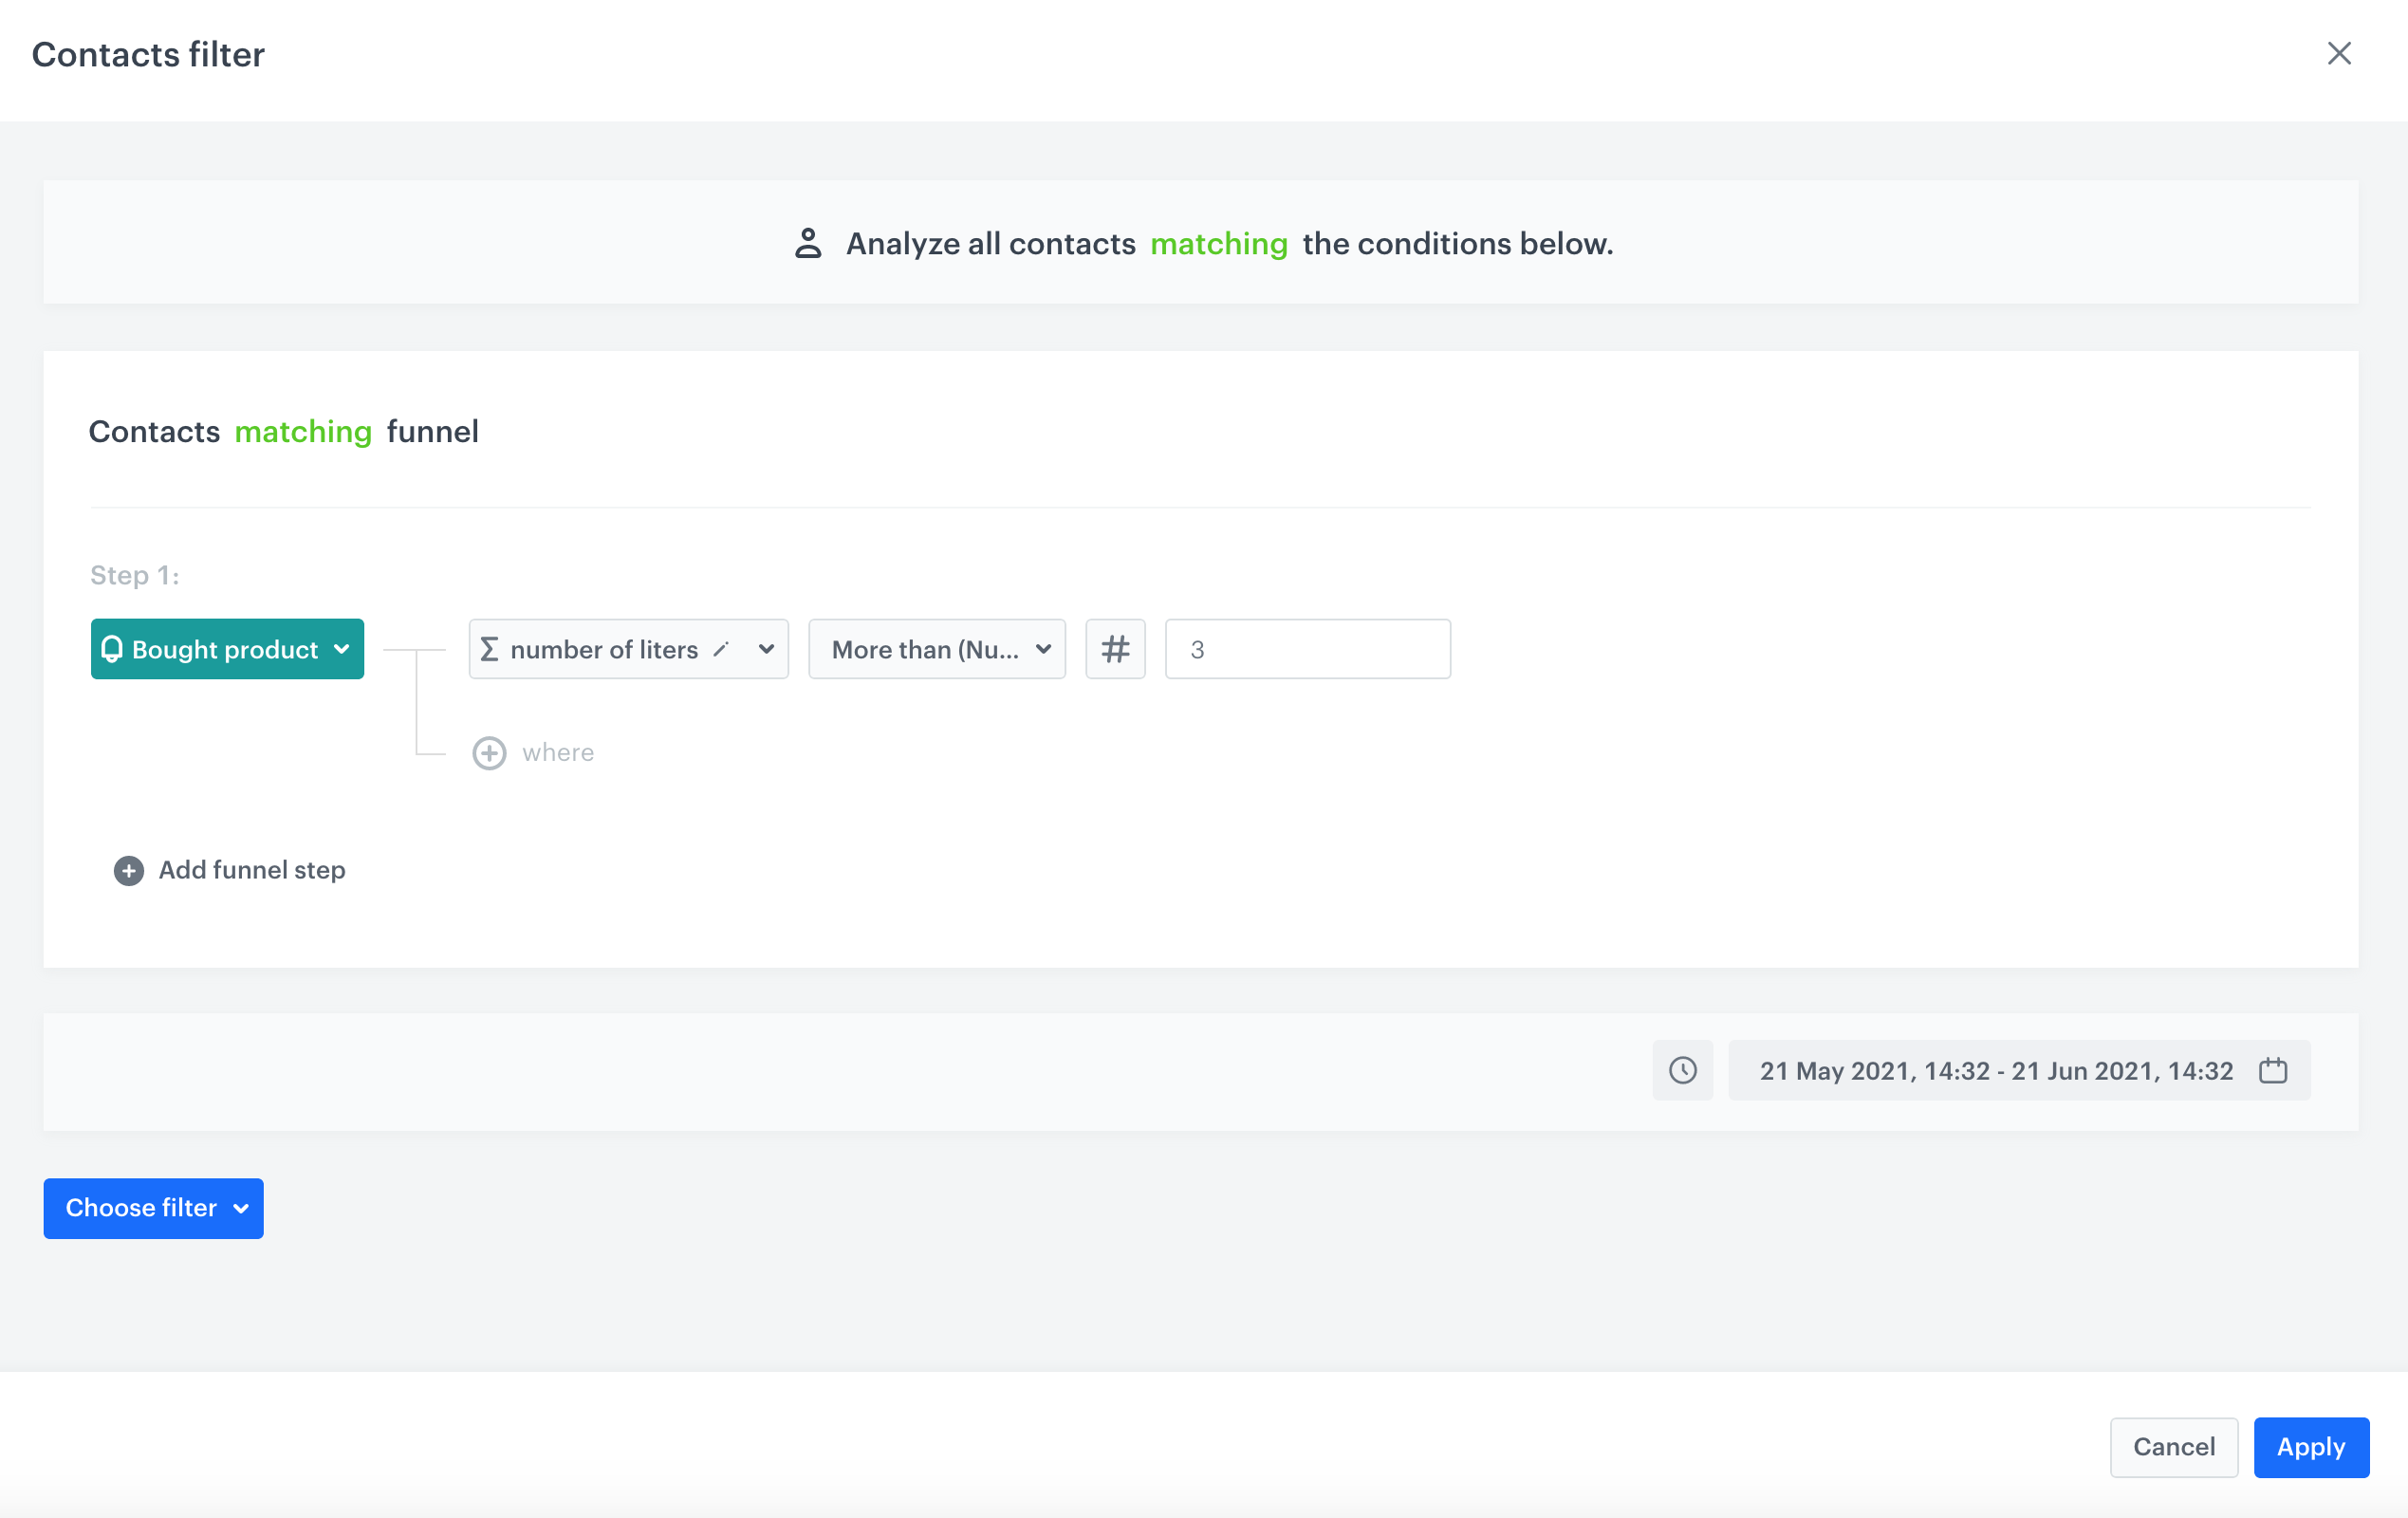
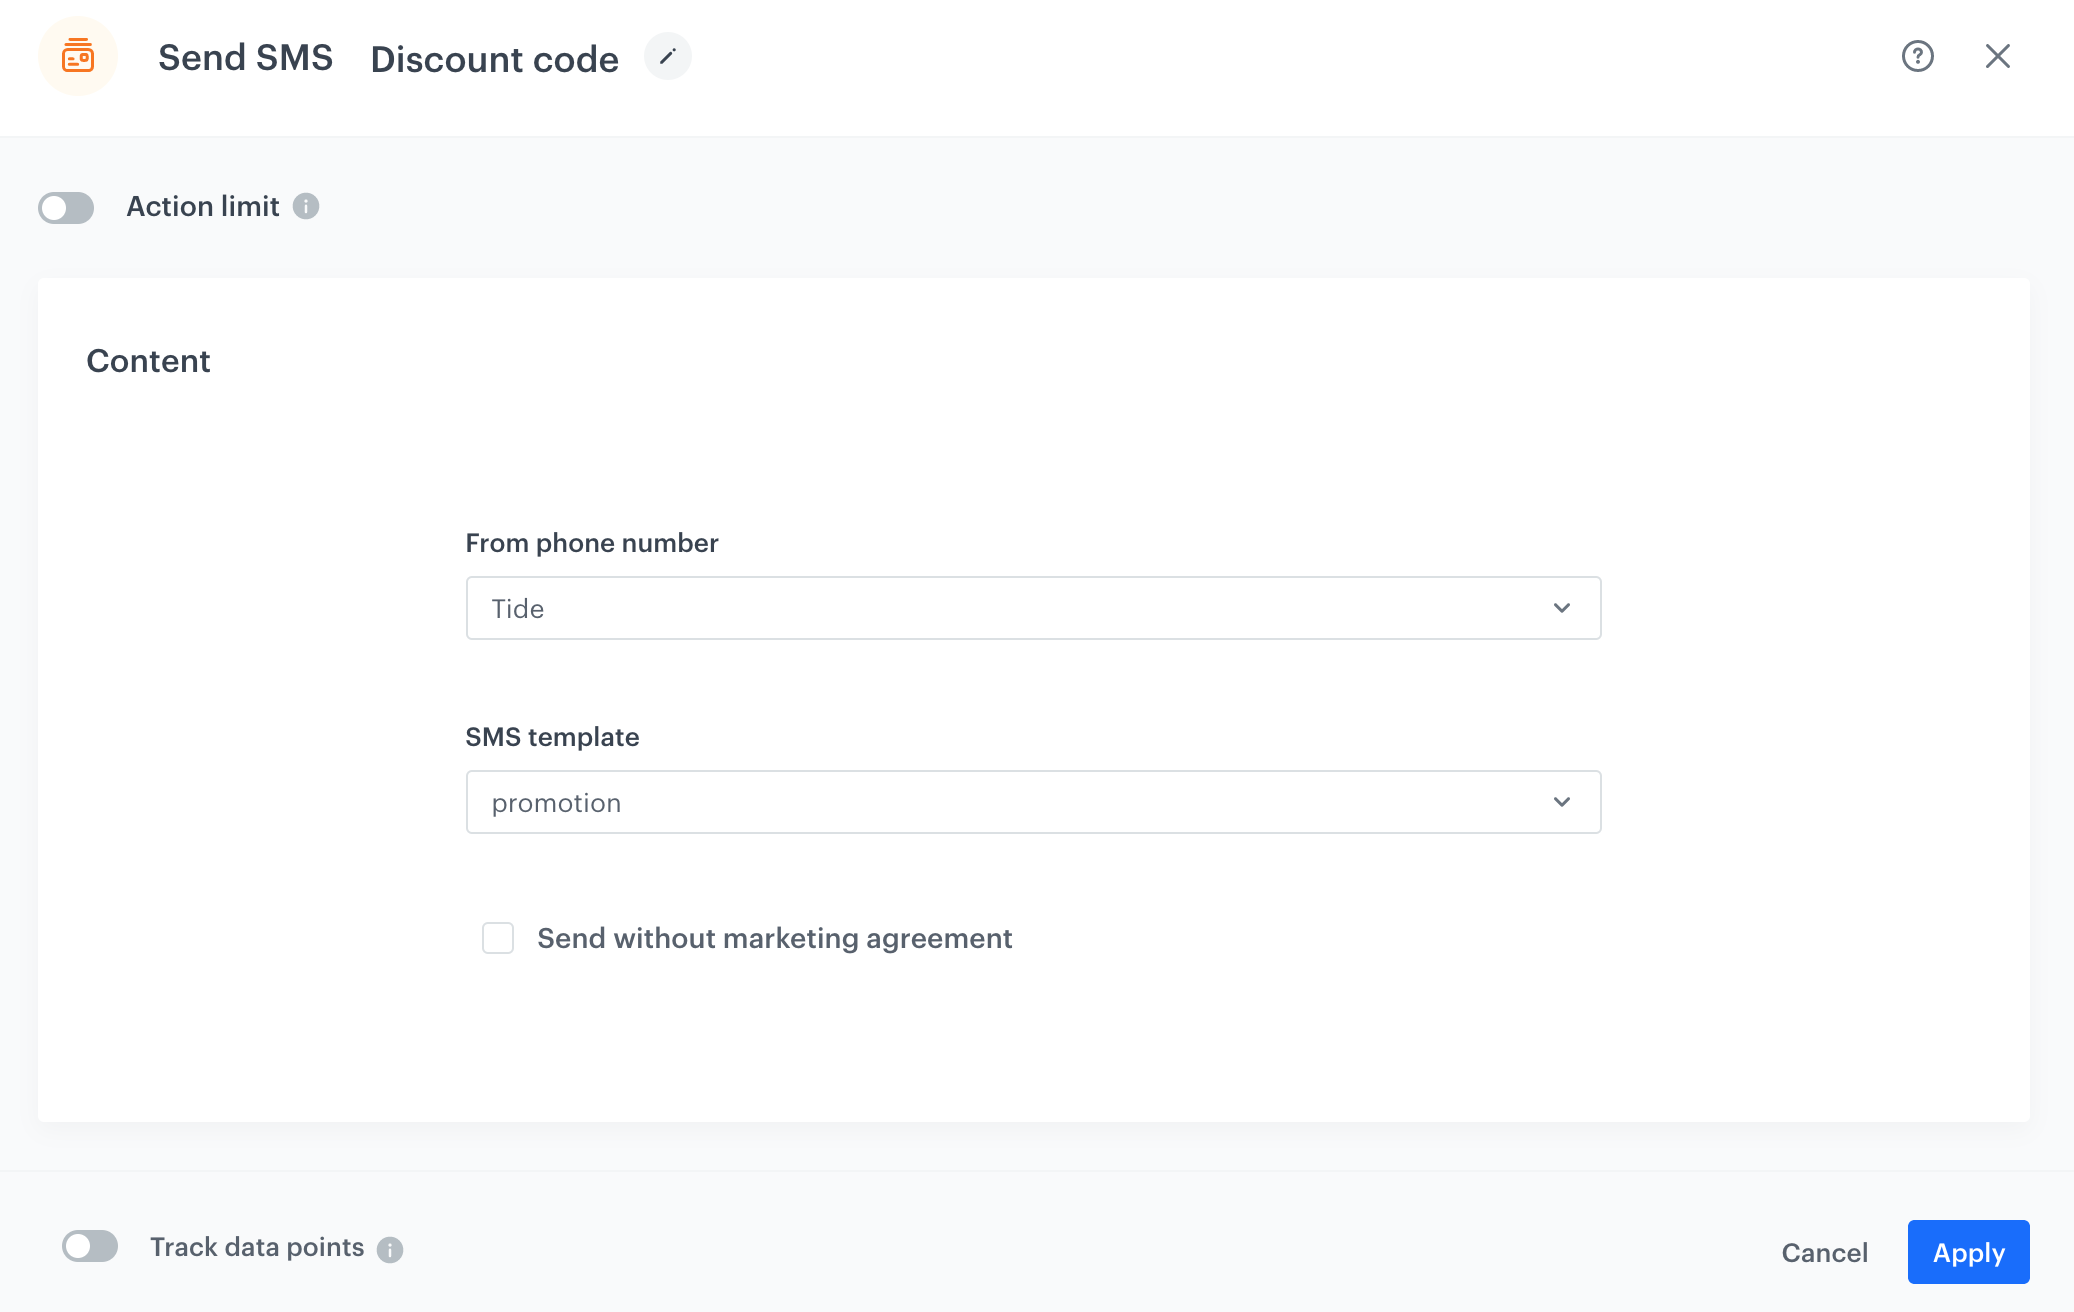
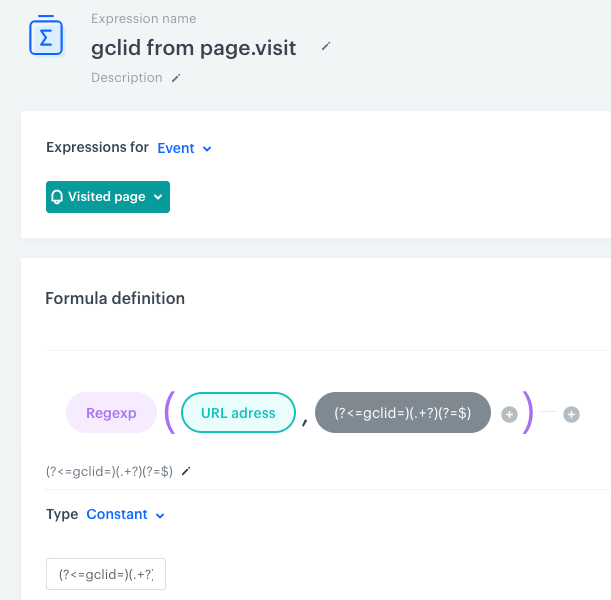
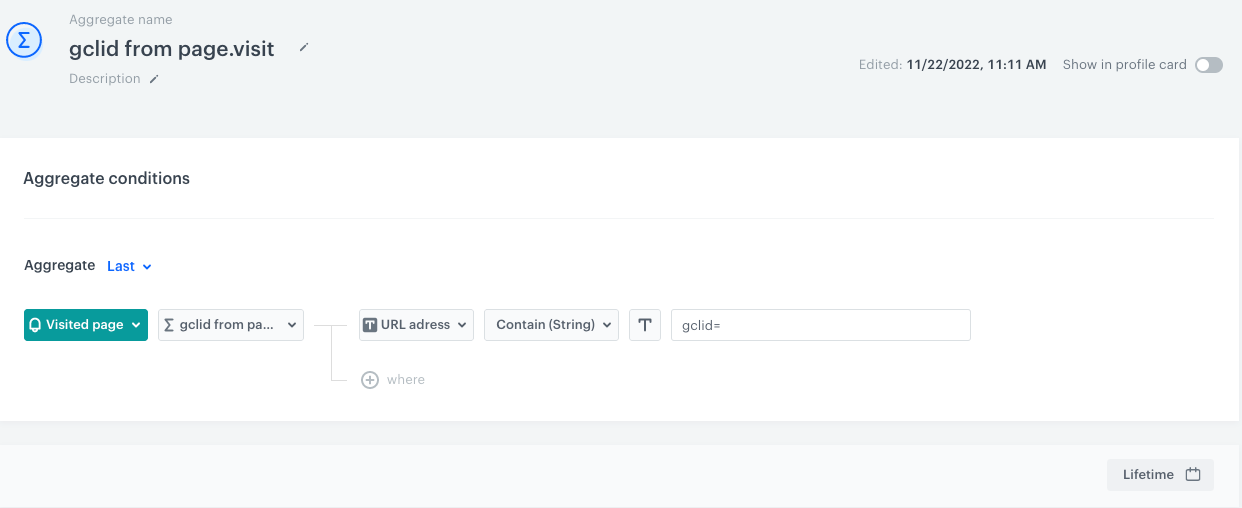
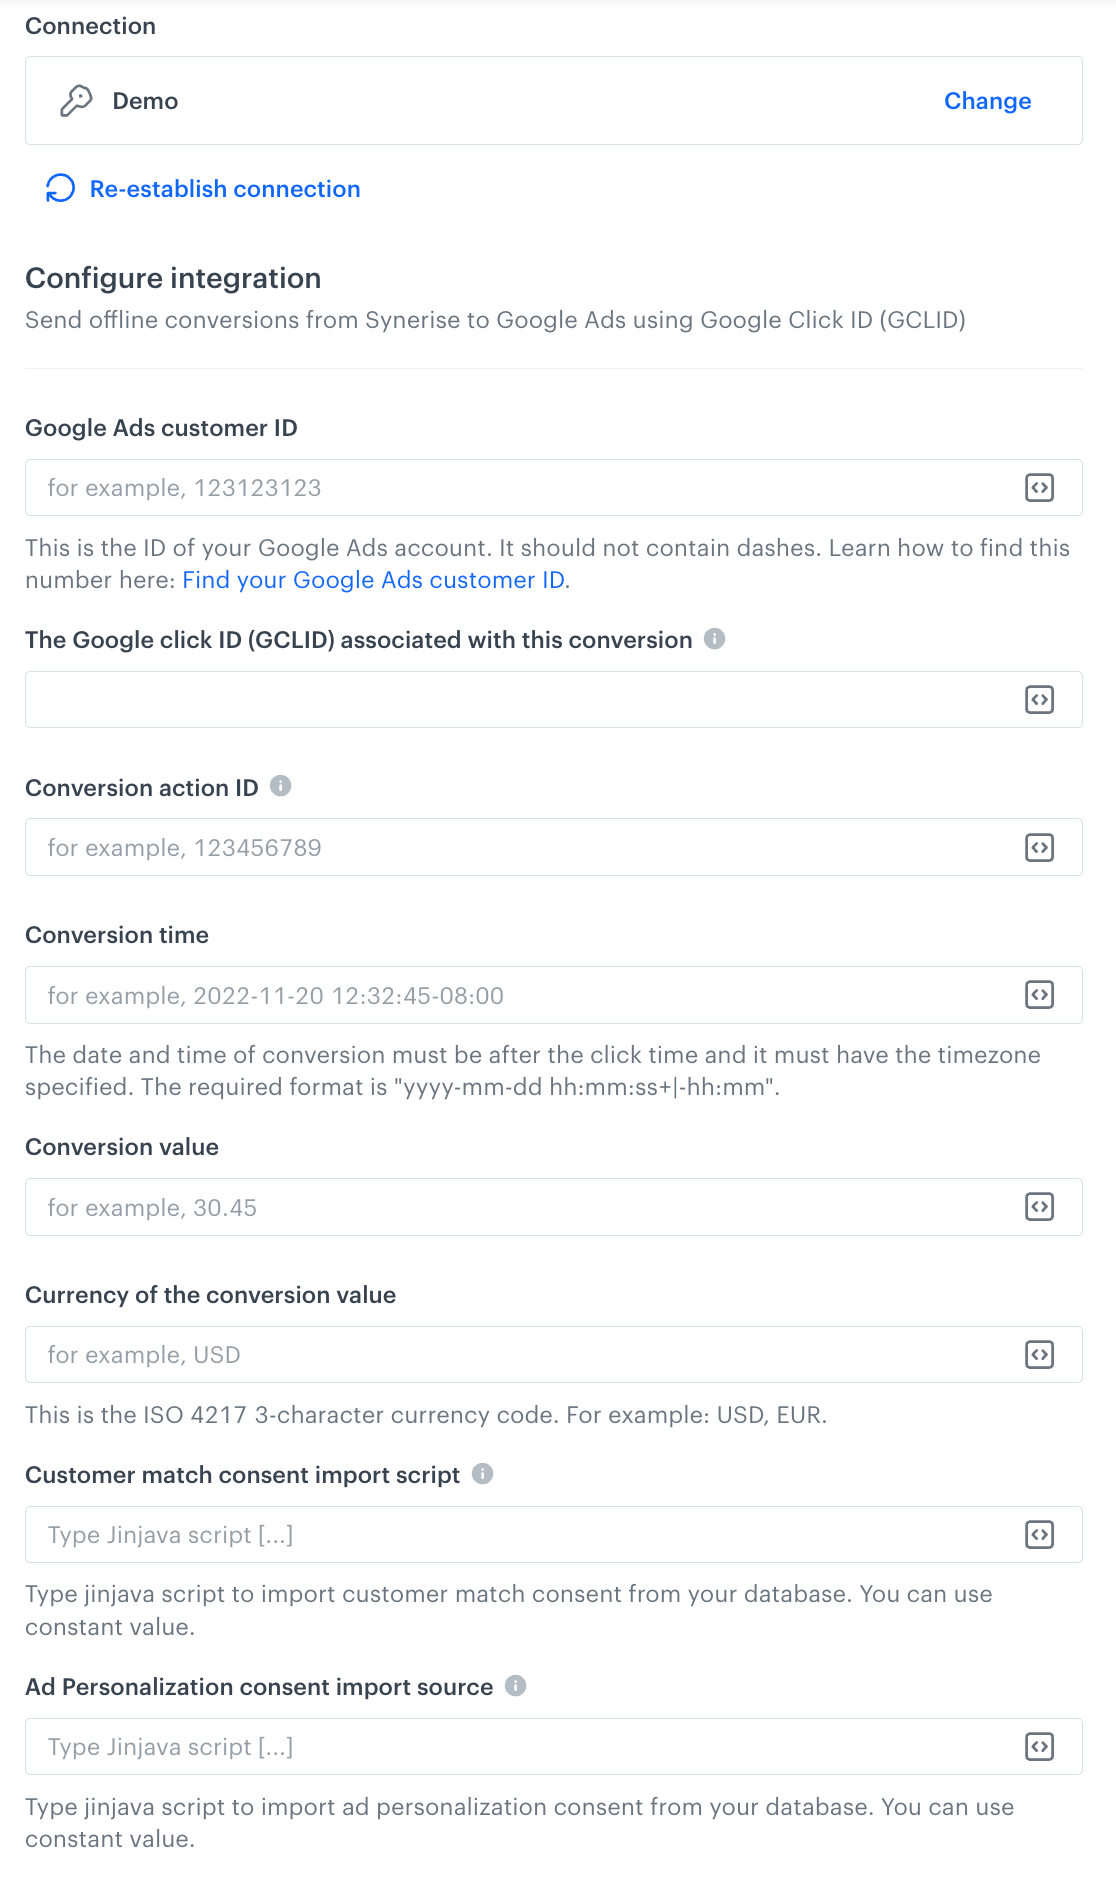
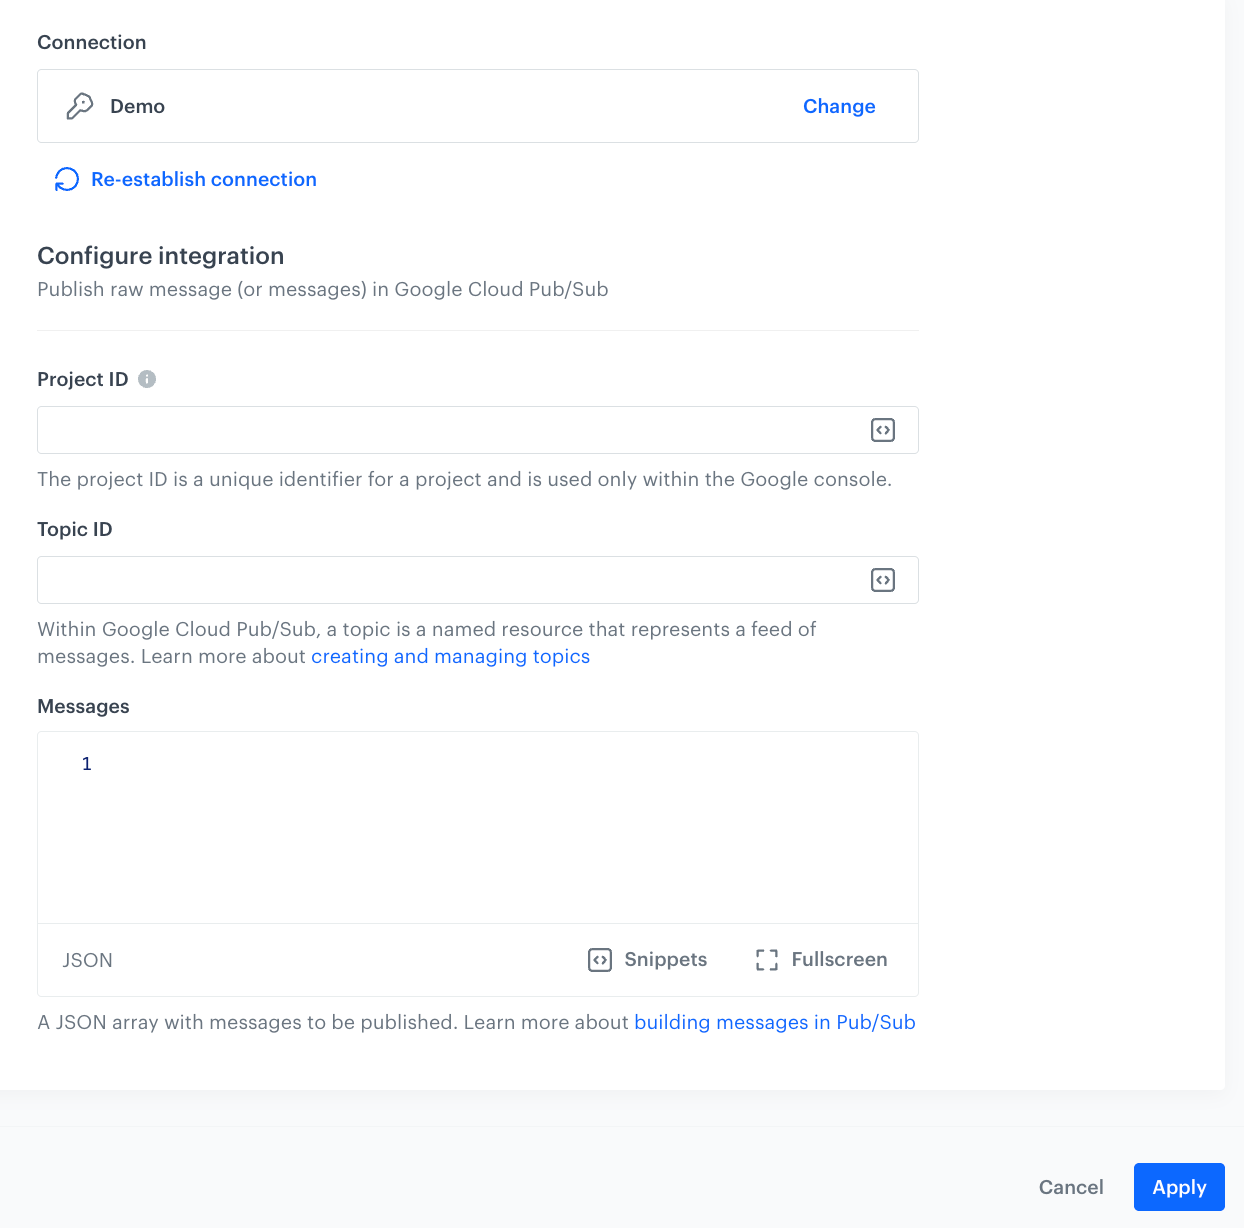
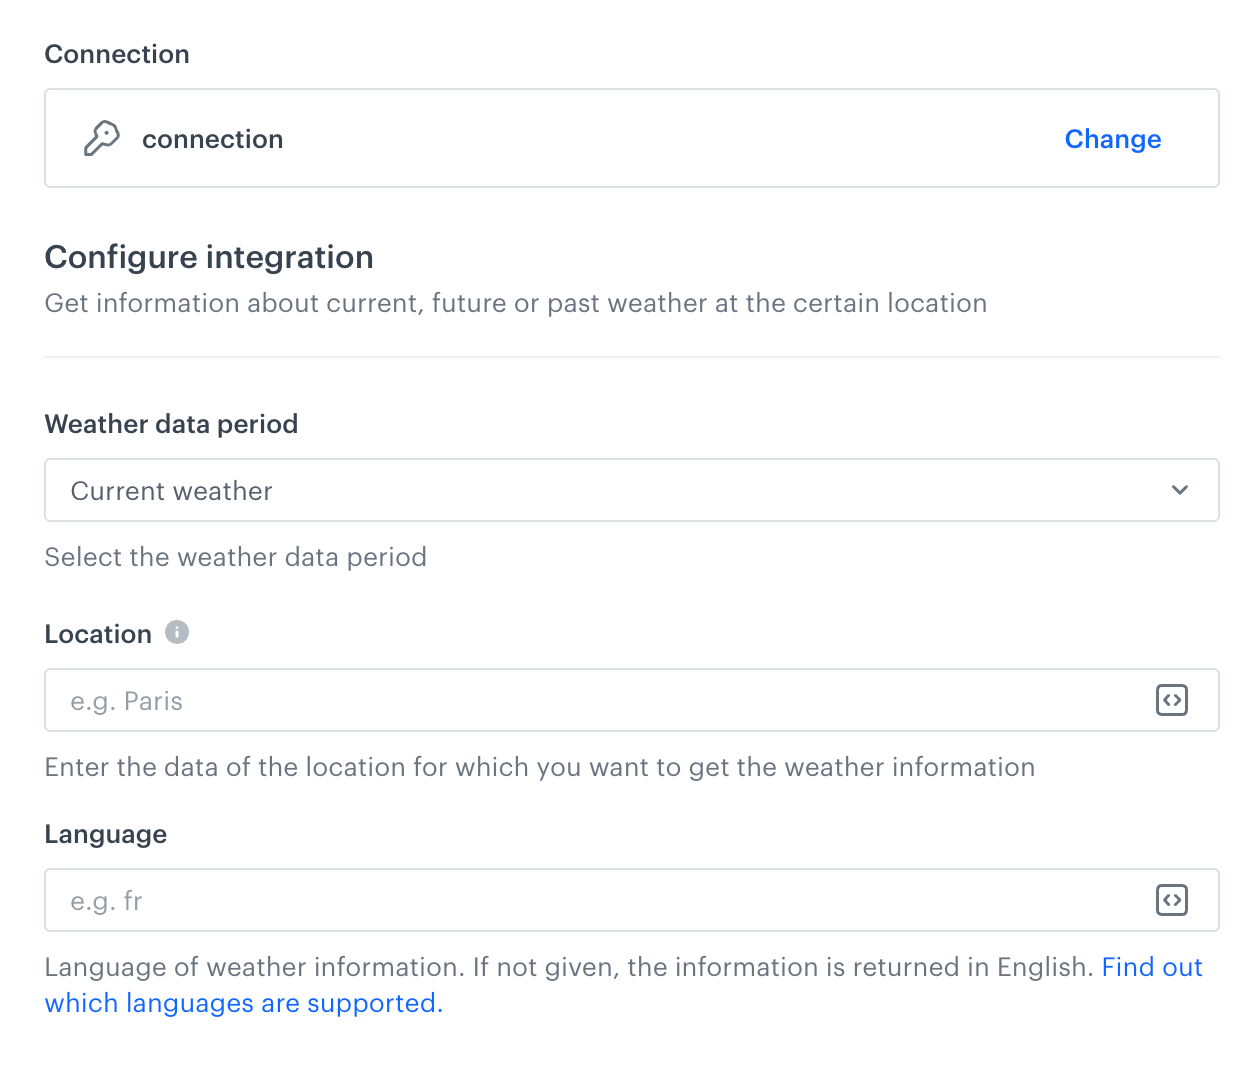
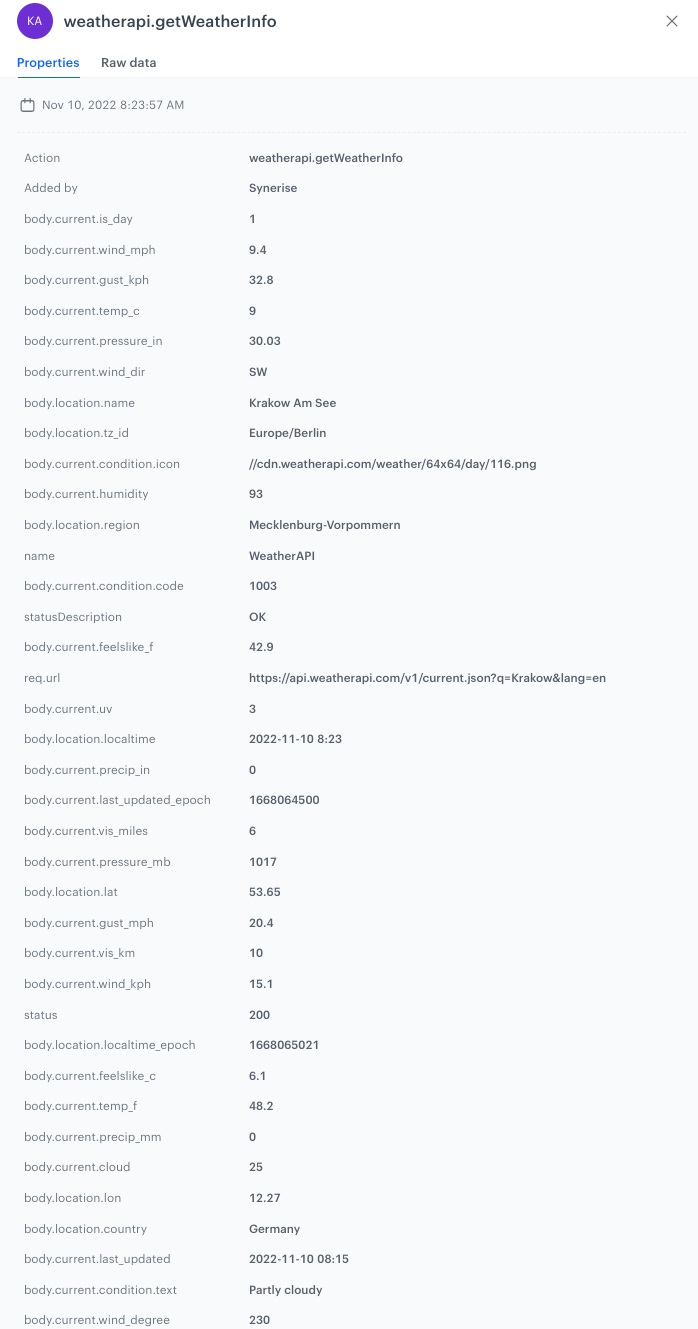
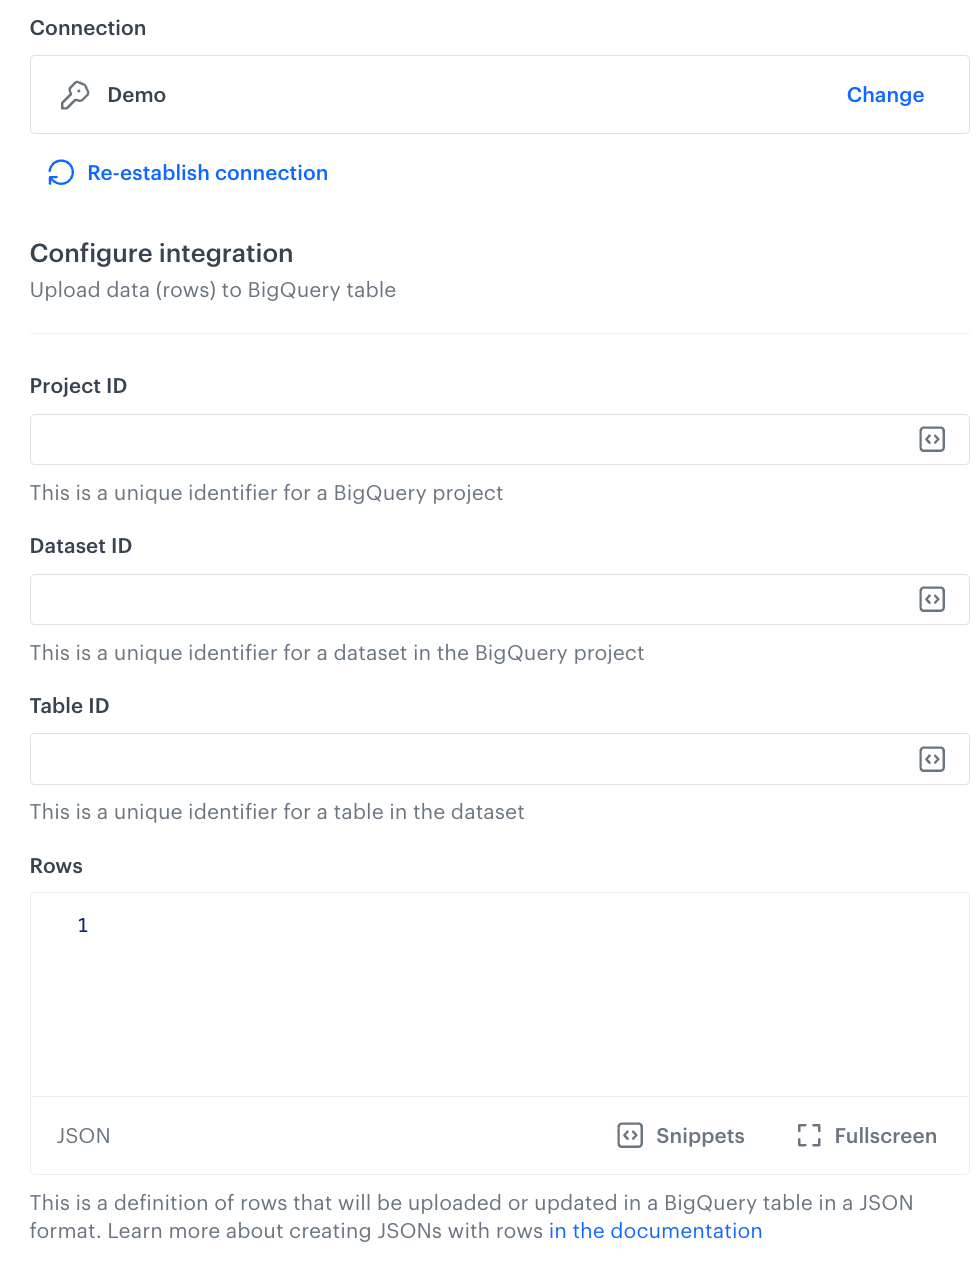
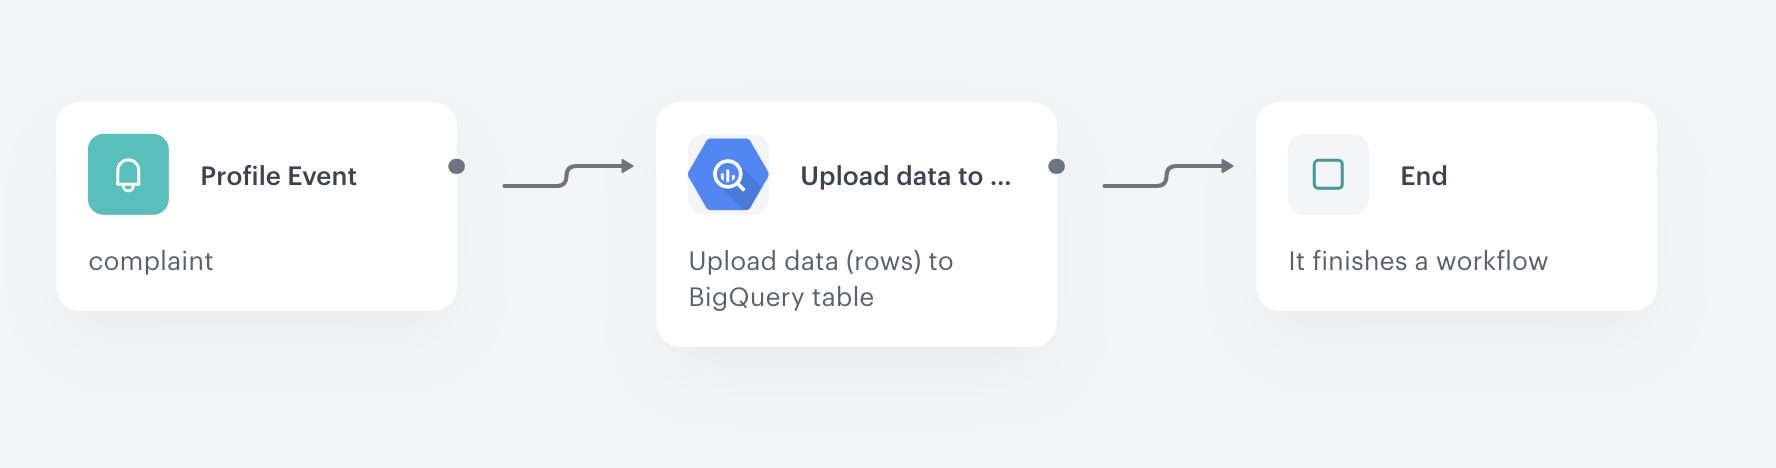
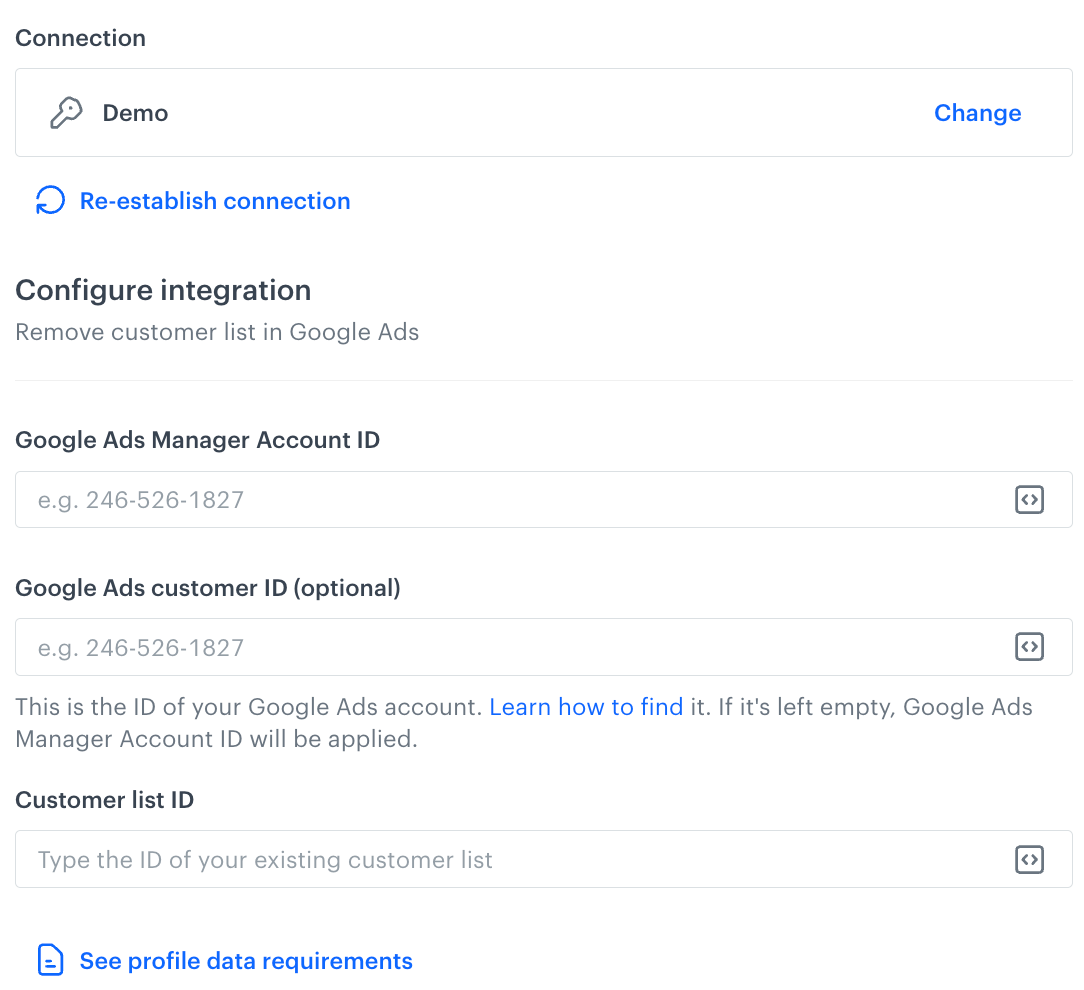
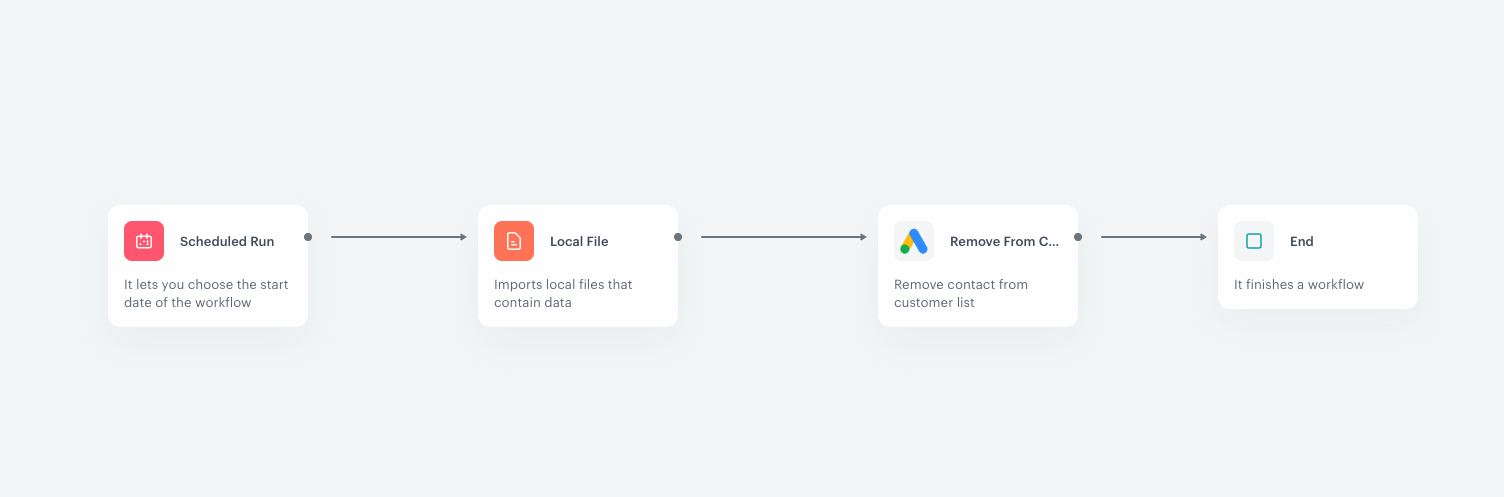
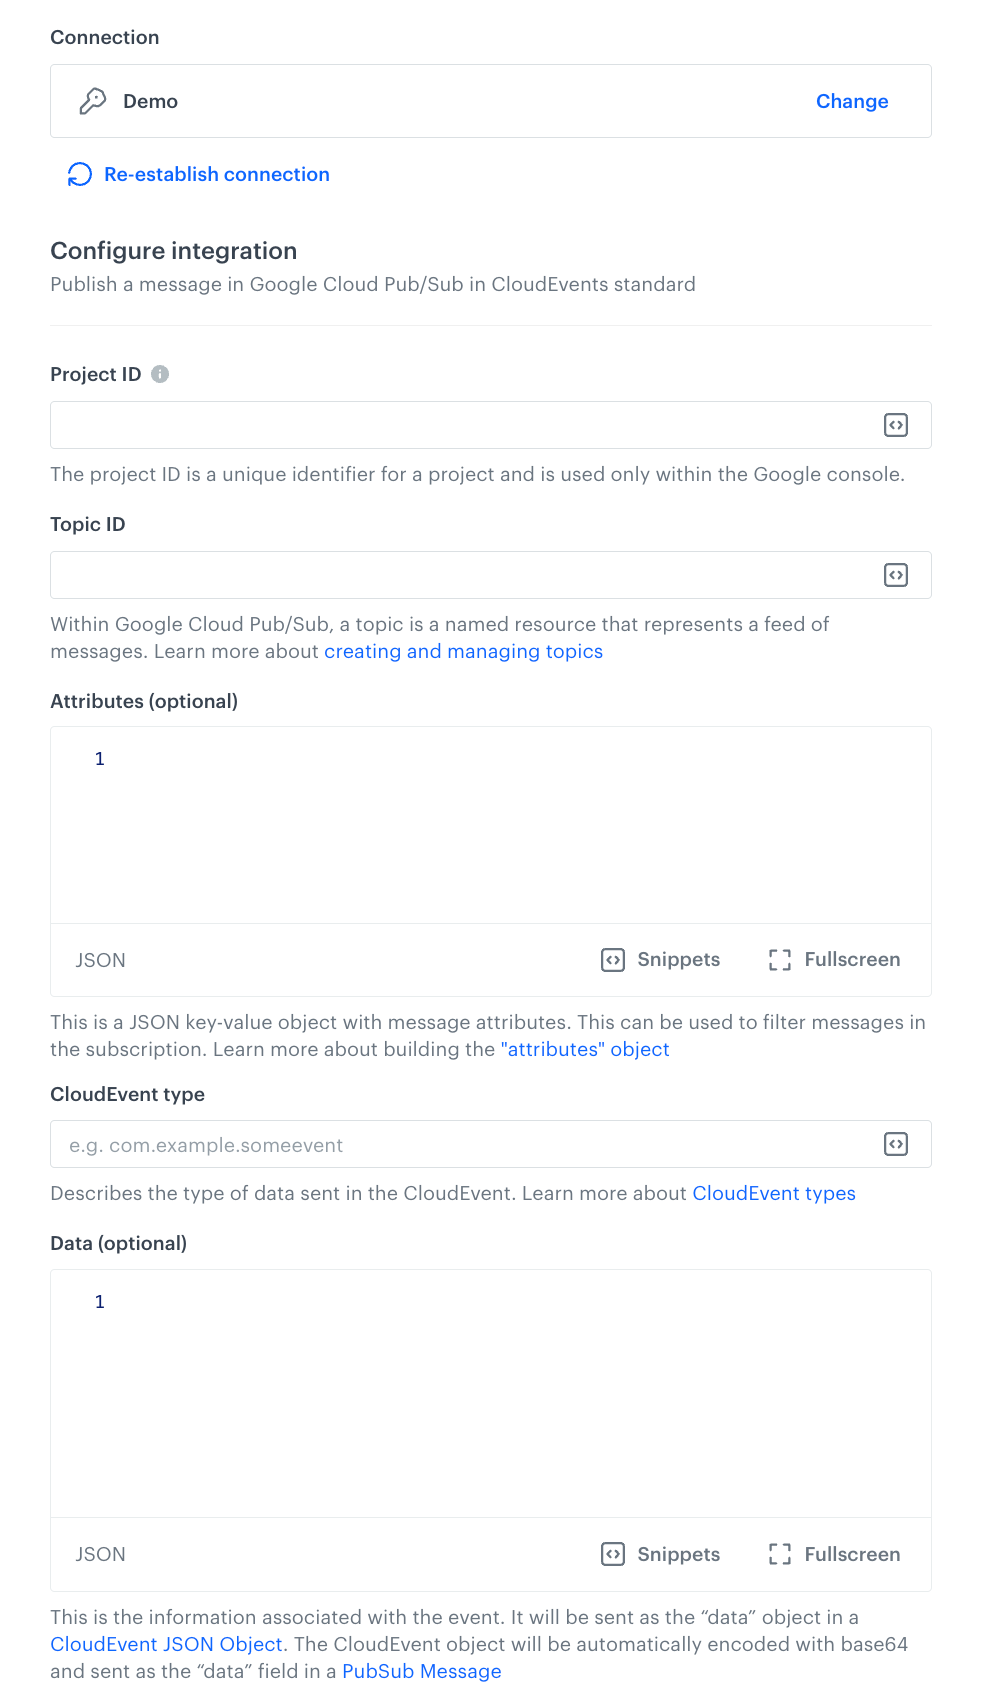
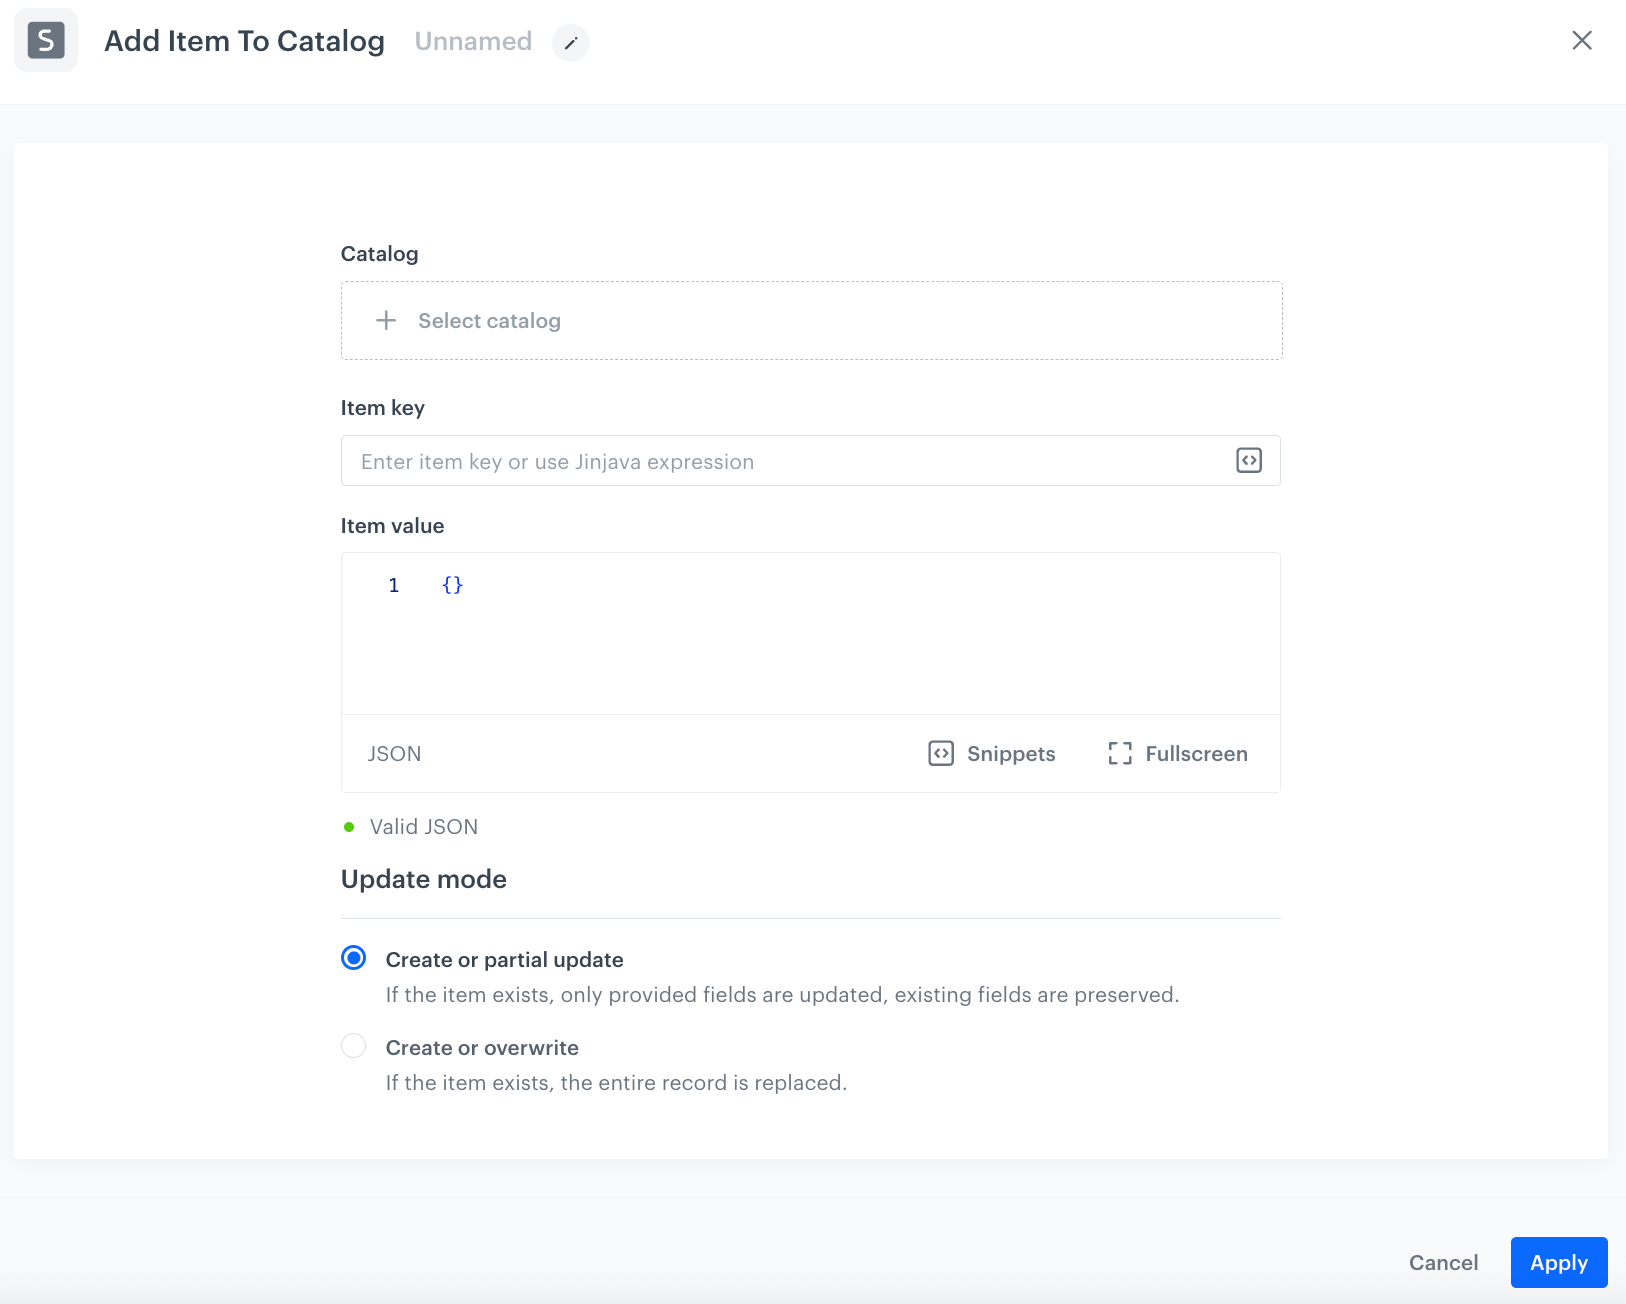
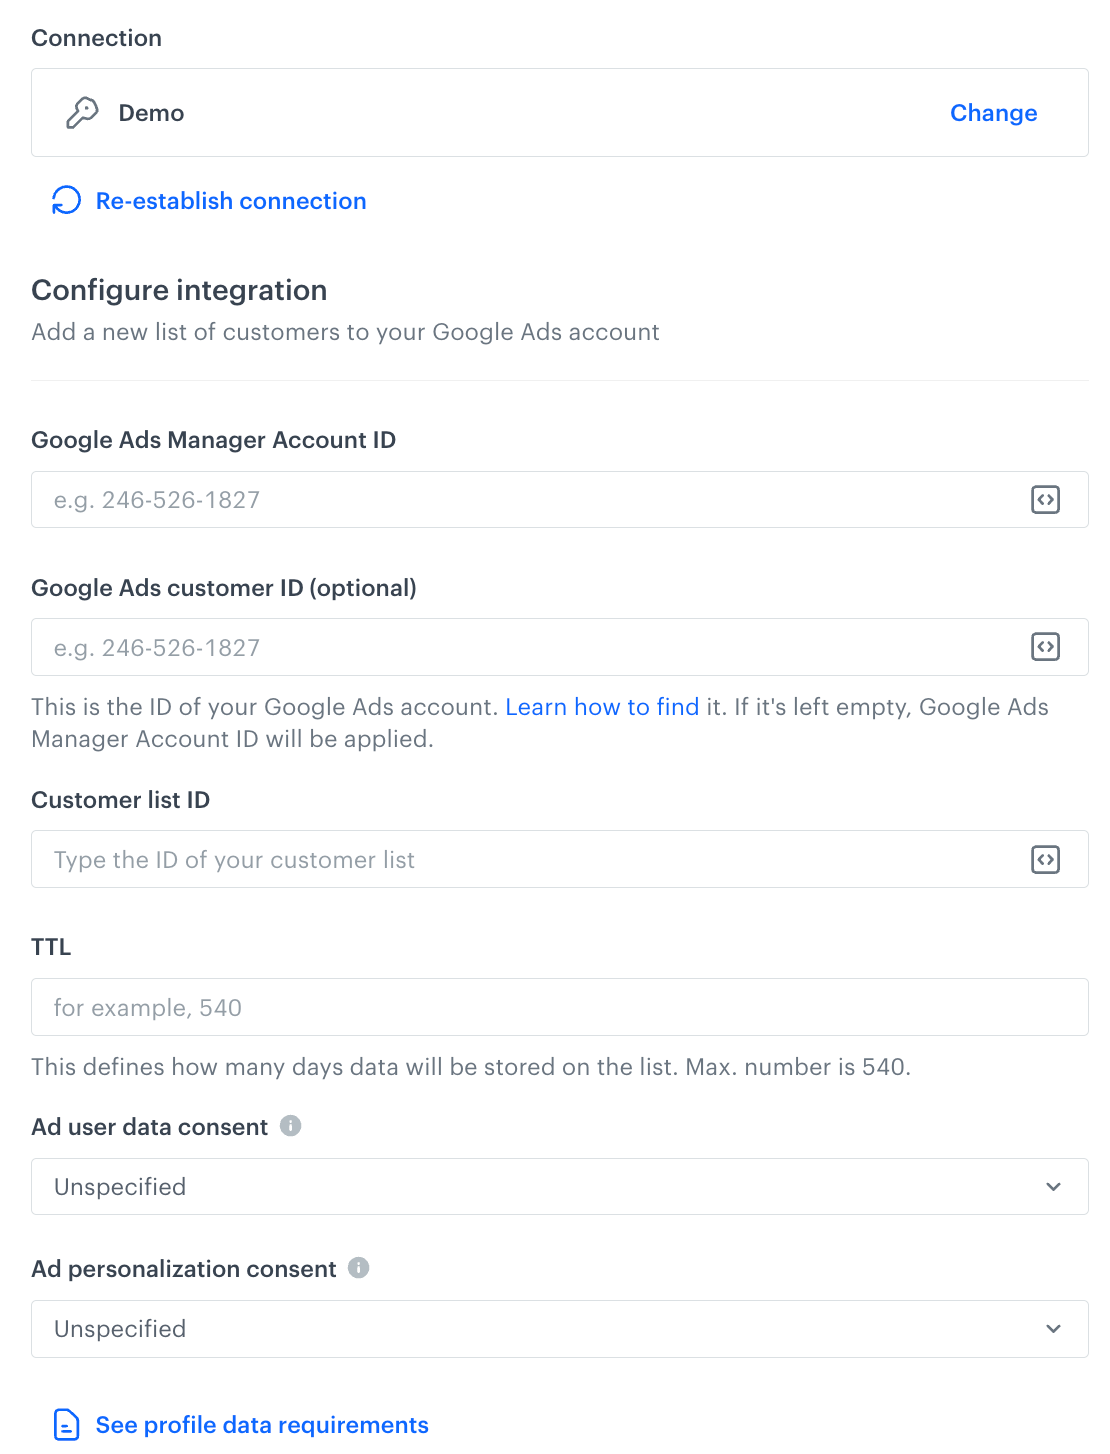
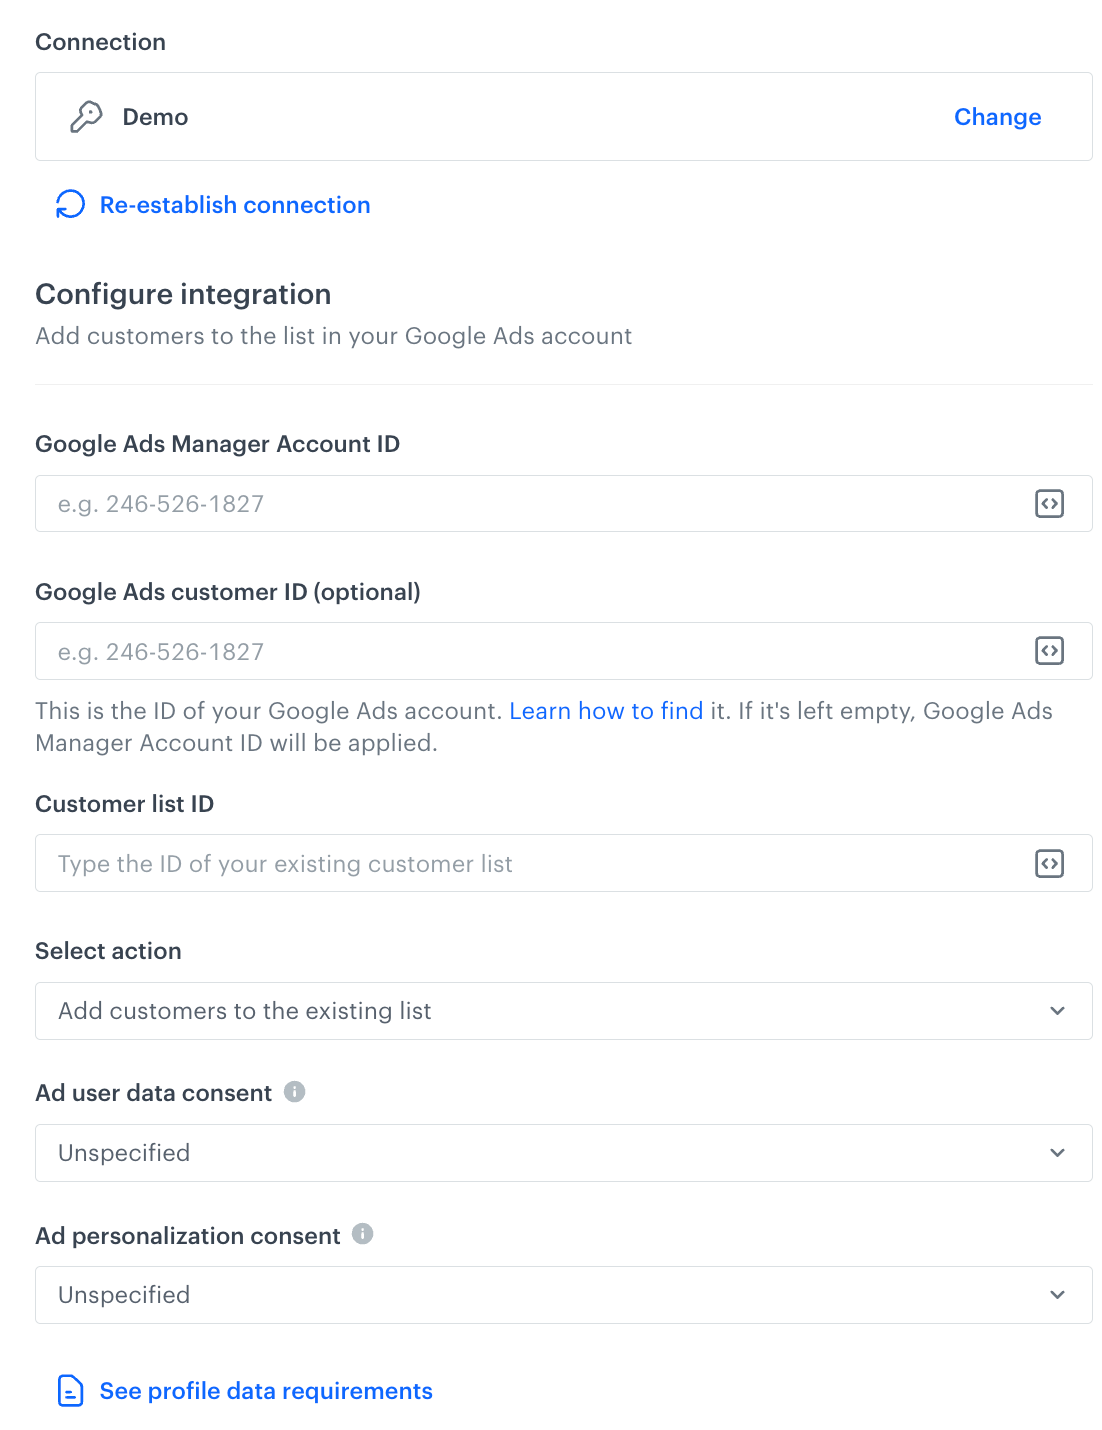
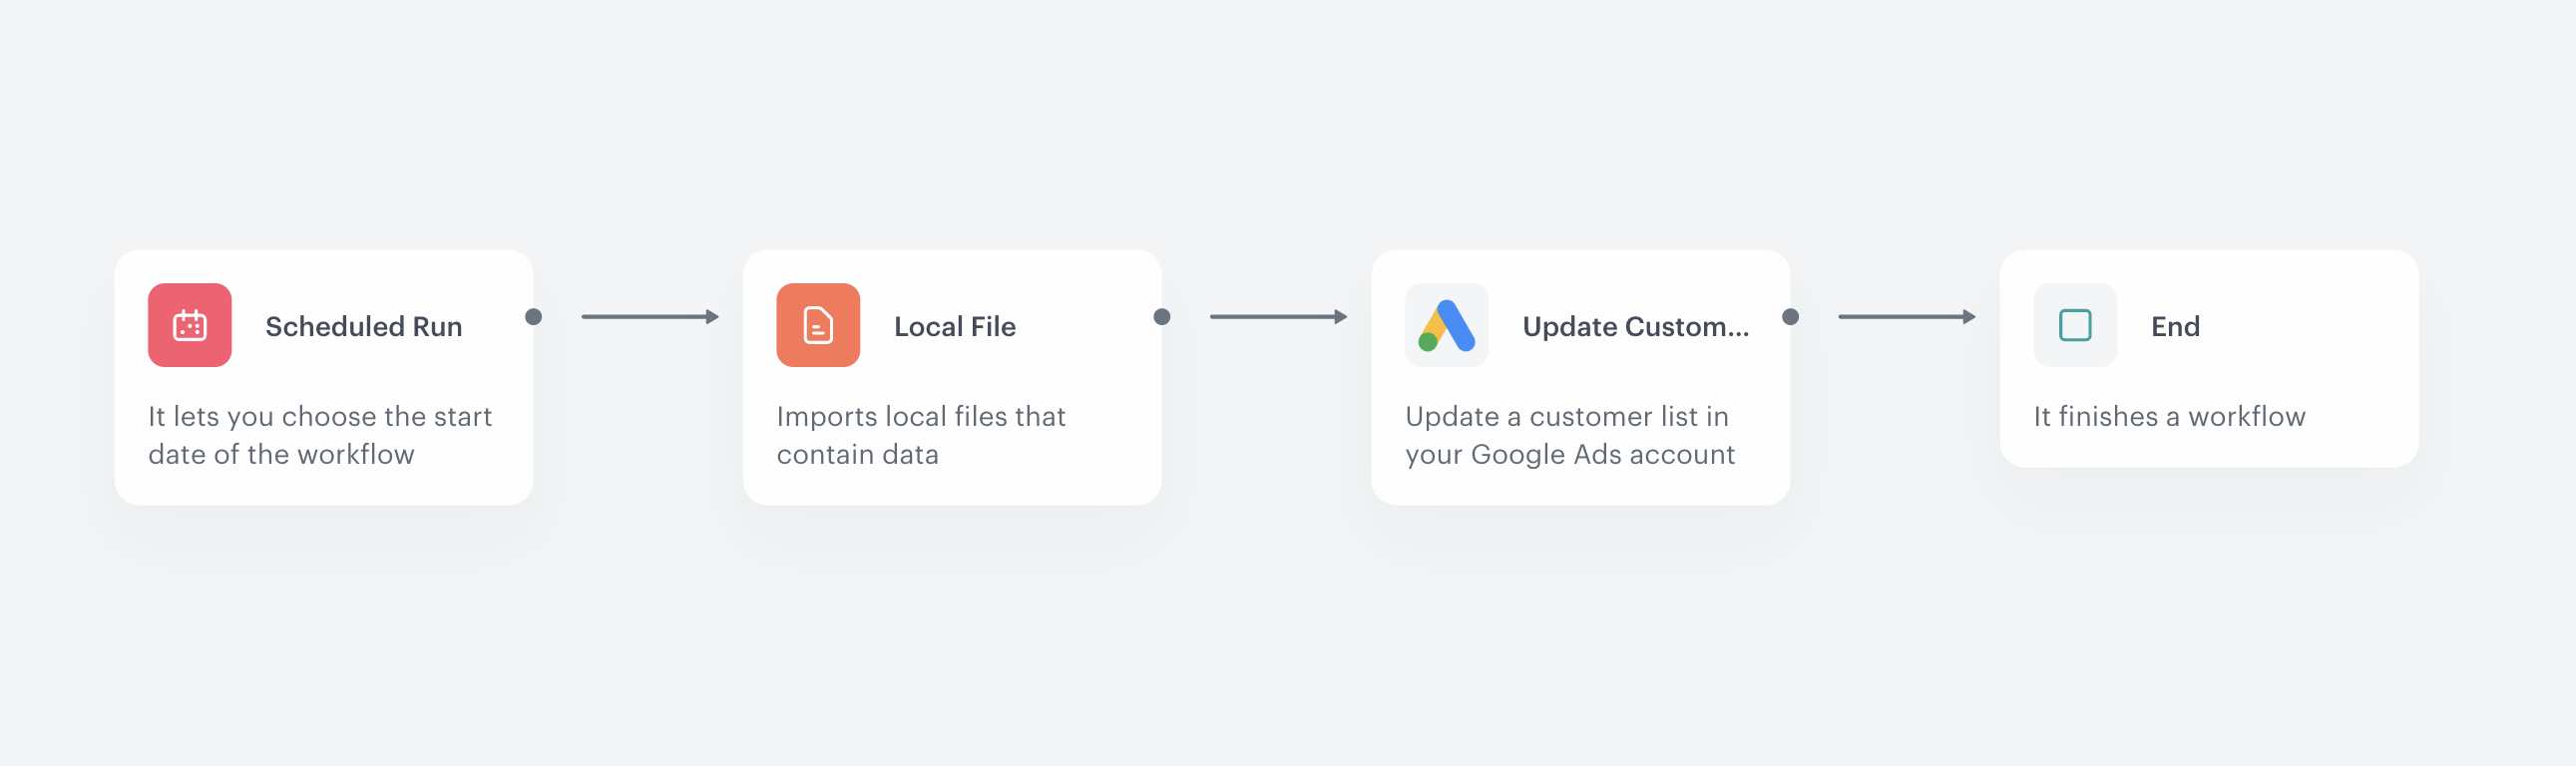
 **Data Modeling Hub > Tags**,
2. On the left panel, click the predefined **automations** folder.
3. In the upper-right corner, click **Add tag**.
4. Follow the instructions in the ["Adding tags" section](/docs/assets/tags#adding-tags).
**Data Modeling Hub > Tags**,
2. On the left panel, click the predefined **automations** folder.
3. In the upper-right corner, click **Add tag**.
4. Follow the instructions in the ["Adding tags" section](/docs/assets/tags#adding-tags).
 .
3. From the dropdown list, select **Workflow details**.
**Result**:
.
3. From the dropdown list, select **Workflow details**.
**Result**: