Importing your customer database to Synerise is a great way to get started with your email marketing efforts, as it will allow you to immediately start building relationships with your customers.
In this use case, we will focus on how to use Automation Hub to easily import a ready-to-use data base from a CSV file without any transformation.
Prerequisites
- Create a CSV file with your customer database. You can add a few basic columns:
firstName,lastName,email. Prepare your file based on this document. You can also find the general requirements for the.CSVfile format here.
Example CSV file might look like this:
firstName,lastName,email,
Dwight,Addams,dwight.addams@test.com,
Martin,Smith,martin.smith@test.com,
Kurt,Doe,kurt.doe@test.com,
John,Smith,john.smith@website.com,
If you decide to import without a transformation diagram (without data transformation), it is very important to name the columns in the file appropriately, because they will later be connected with client's attributes. The column names should correspond with the API fields described here. Any additional column outside this list in the API documentation will be treated as a custom client attribute.
If you are importing a newsletter database, apart from the email attribute, we suggest that you should also add columns with a marketing agreement called agreements.email with a value 1 or 0.
Prepare a workflow
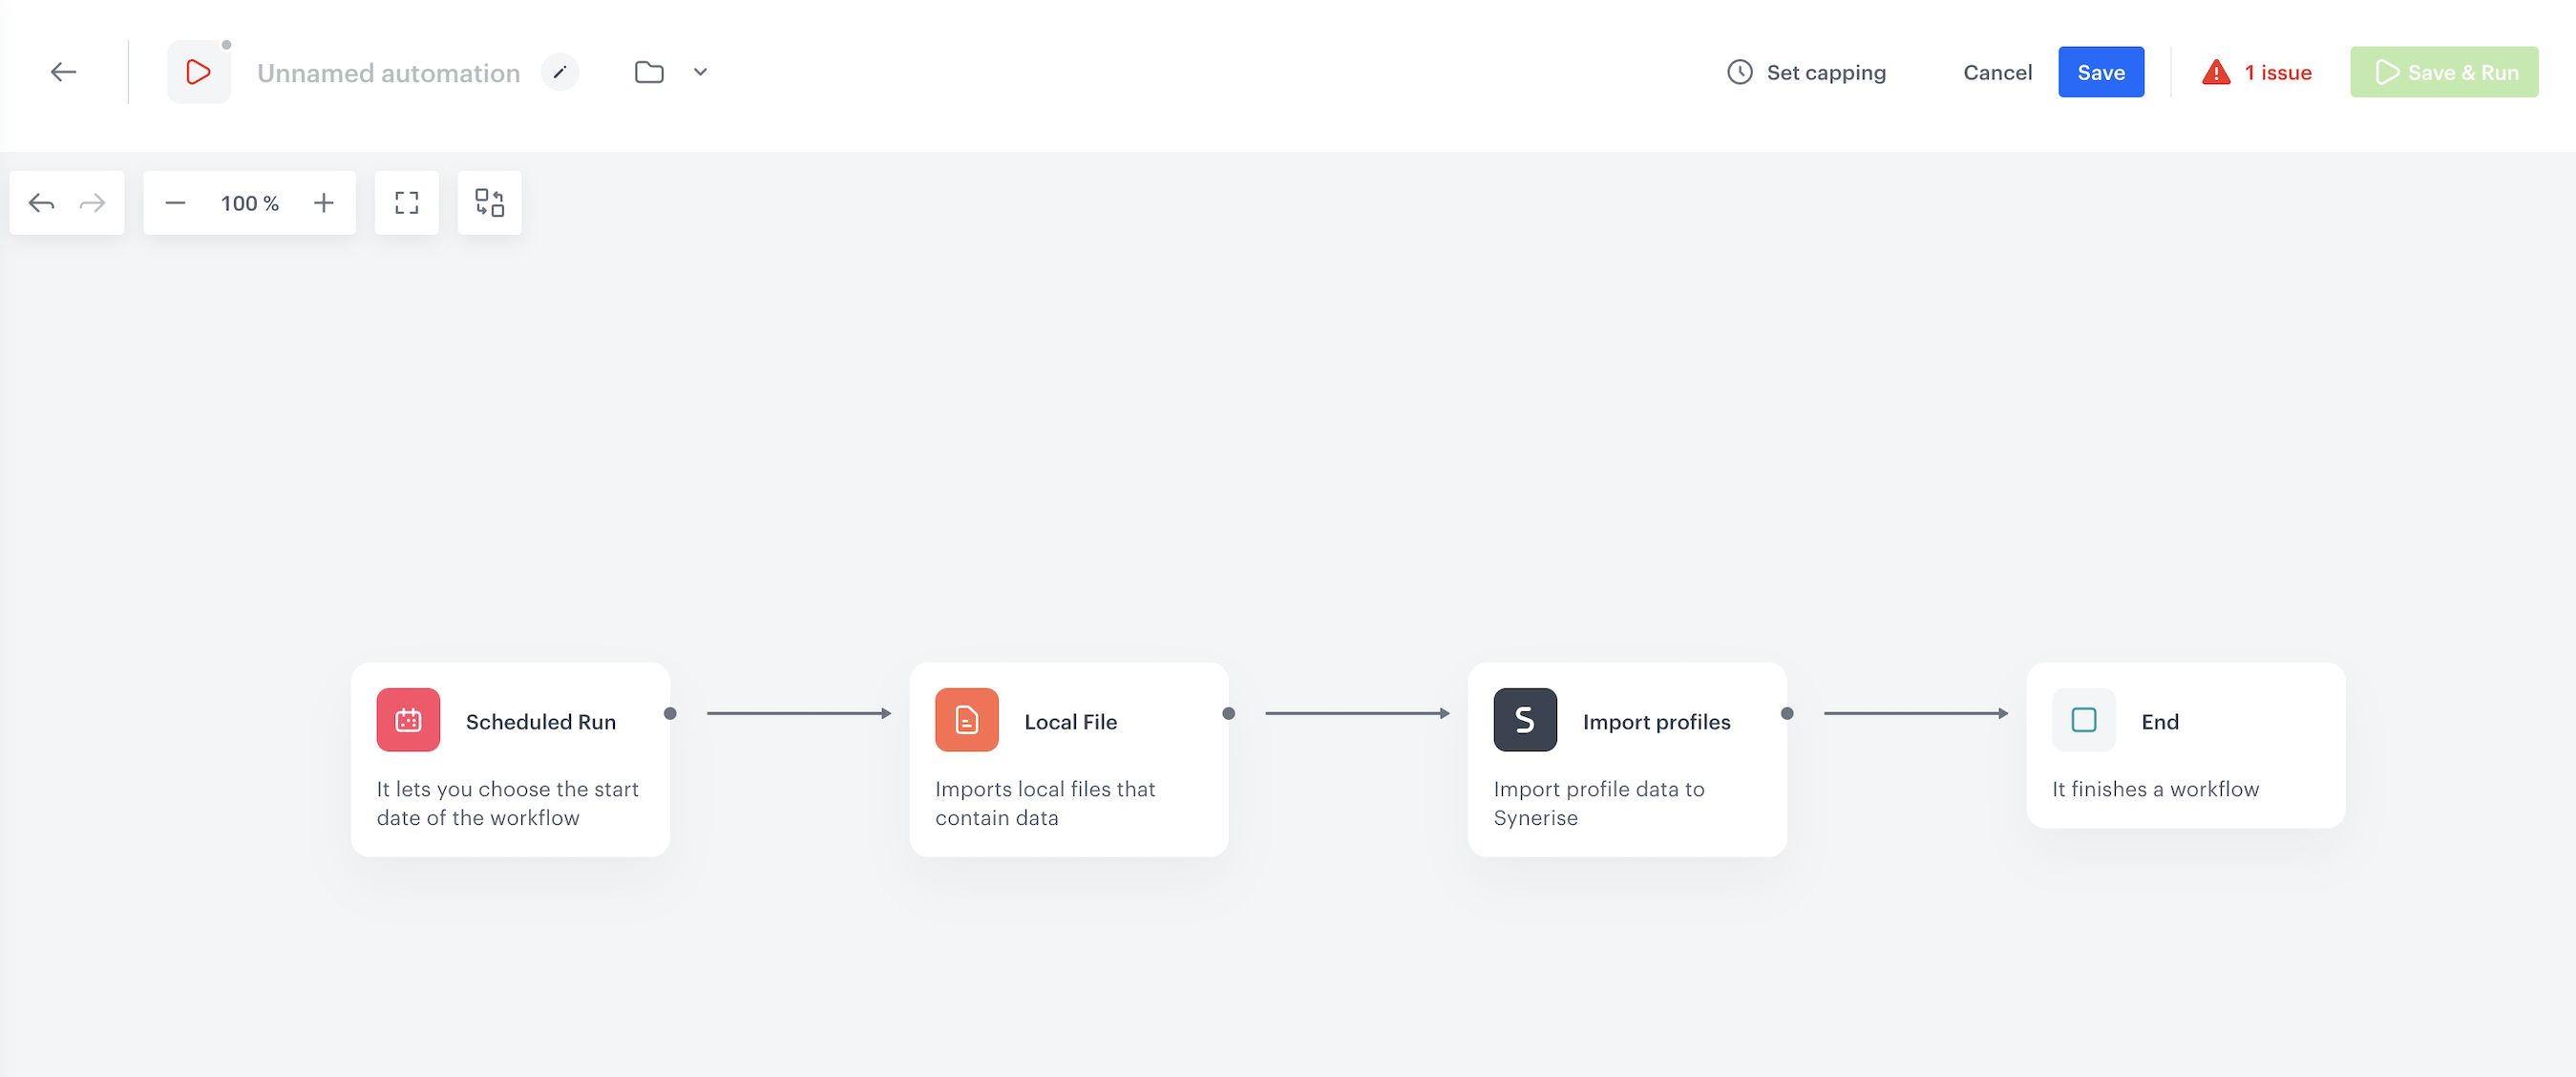
The scenario for this use case involves a one-time import of .csv file with a customer database directly to Synerise.
- Go to
 Automation Hub > Workflows > New workflow.
 - Enter the name of the workflow.
Define the launch date
- As the trigger node, add Scheduled Run.
In the configuration of the node:
- Change the Run trigger option to one time.
- Select Immediately.
- Confirm by clicking Apply.
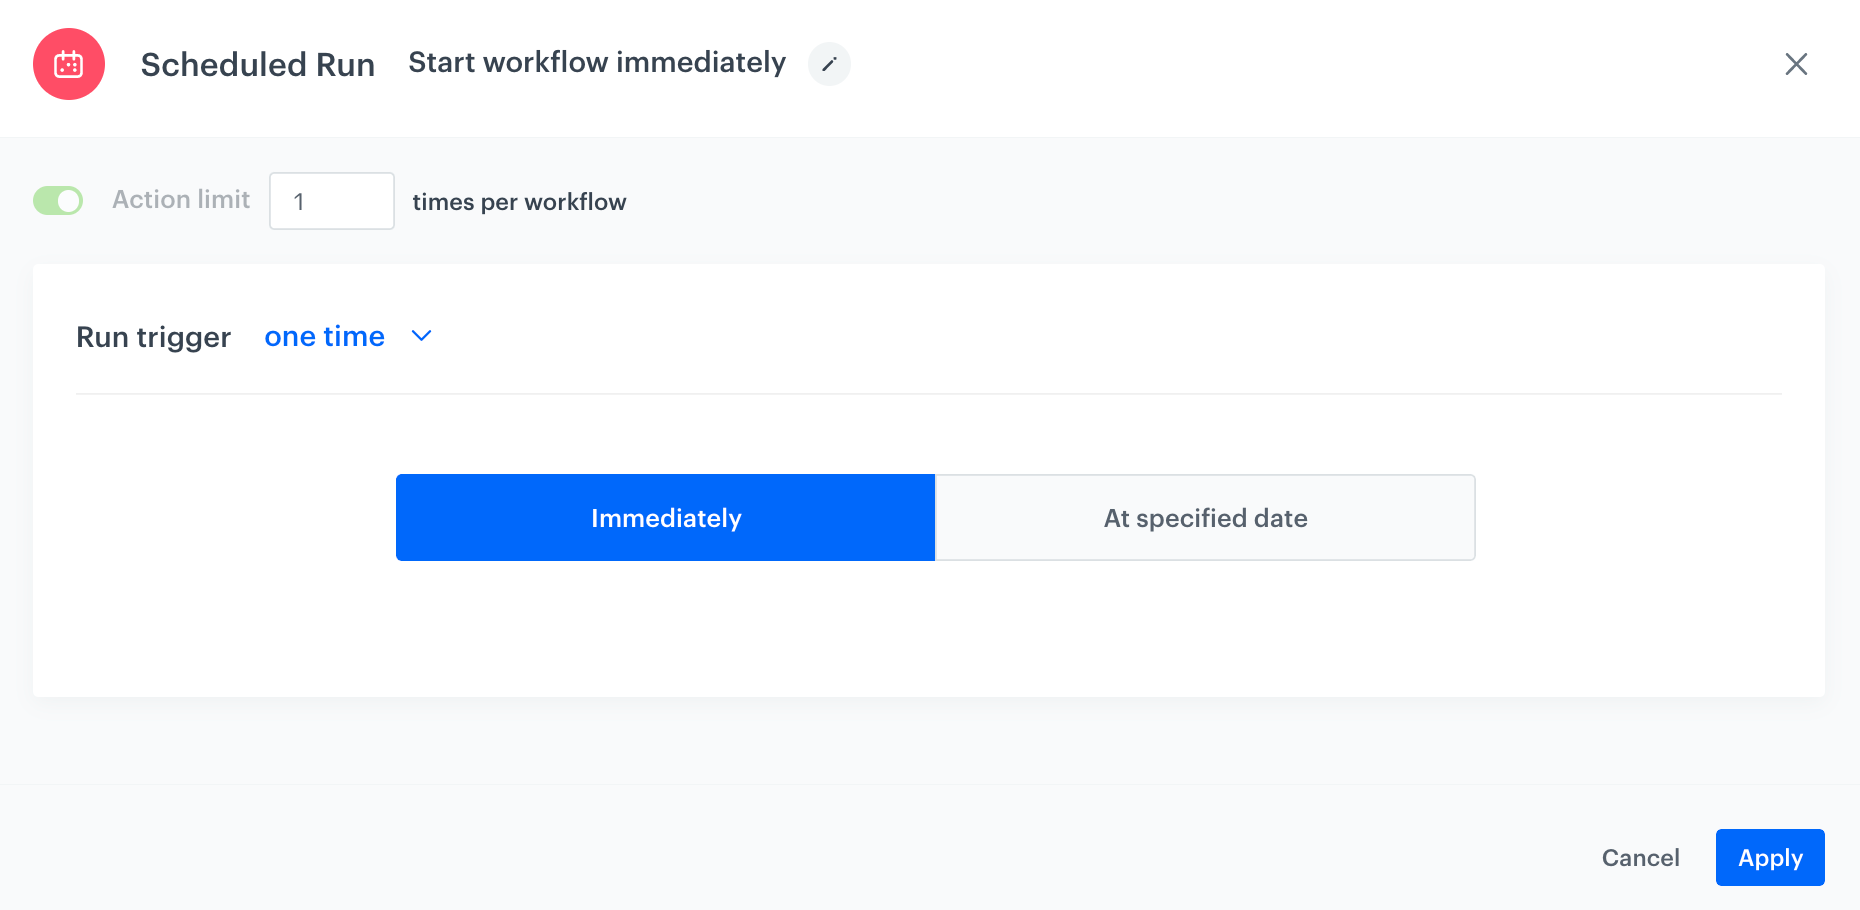
The configuration of the Scheduled Run node
Select file to import
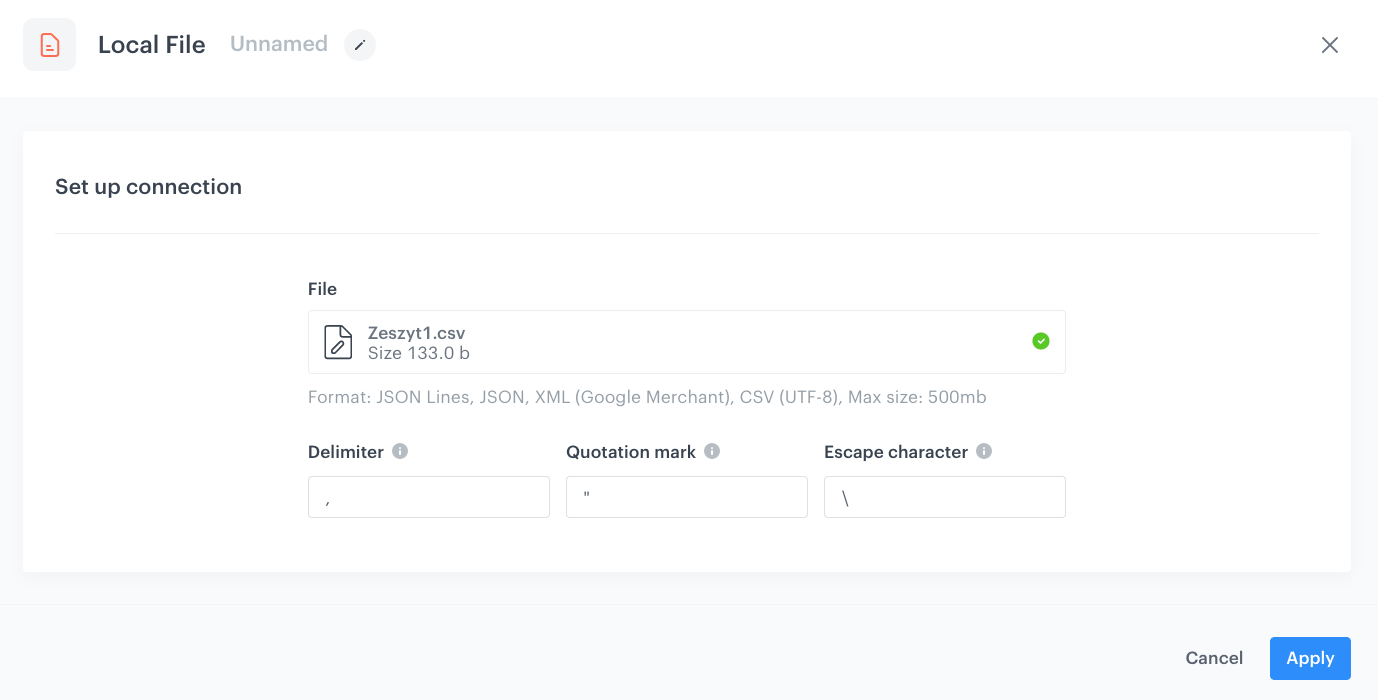
- Add a Local File node.
- In the configuration of the node:
- Upload the file.
- Confirm by clicking Apply.
Add Import Profiles node
- Choose Synerise node.
- On the Local File node, click THEN.
- From the list that opens, select Synerise > Import Profiles.
Add the finishing node
- Add the End node.
- In the upper right corner, click Save & Run.
Imported profile
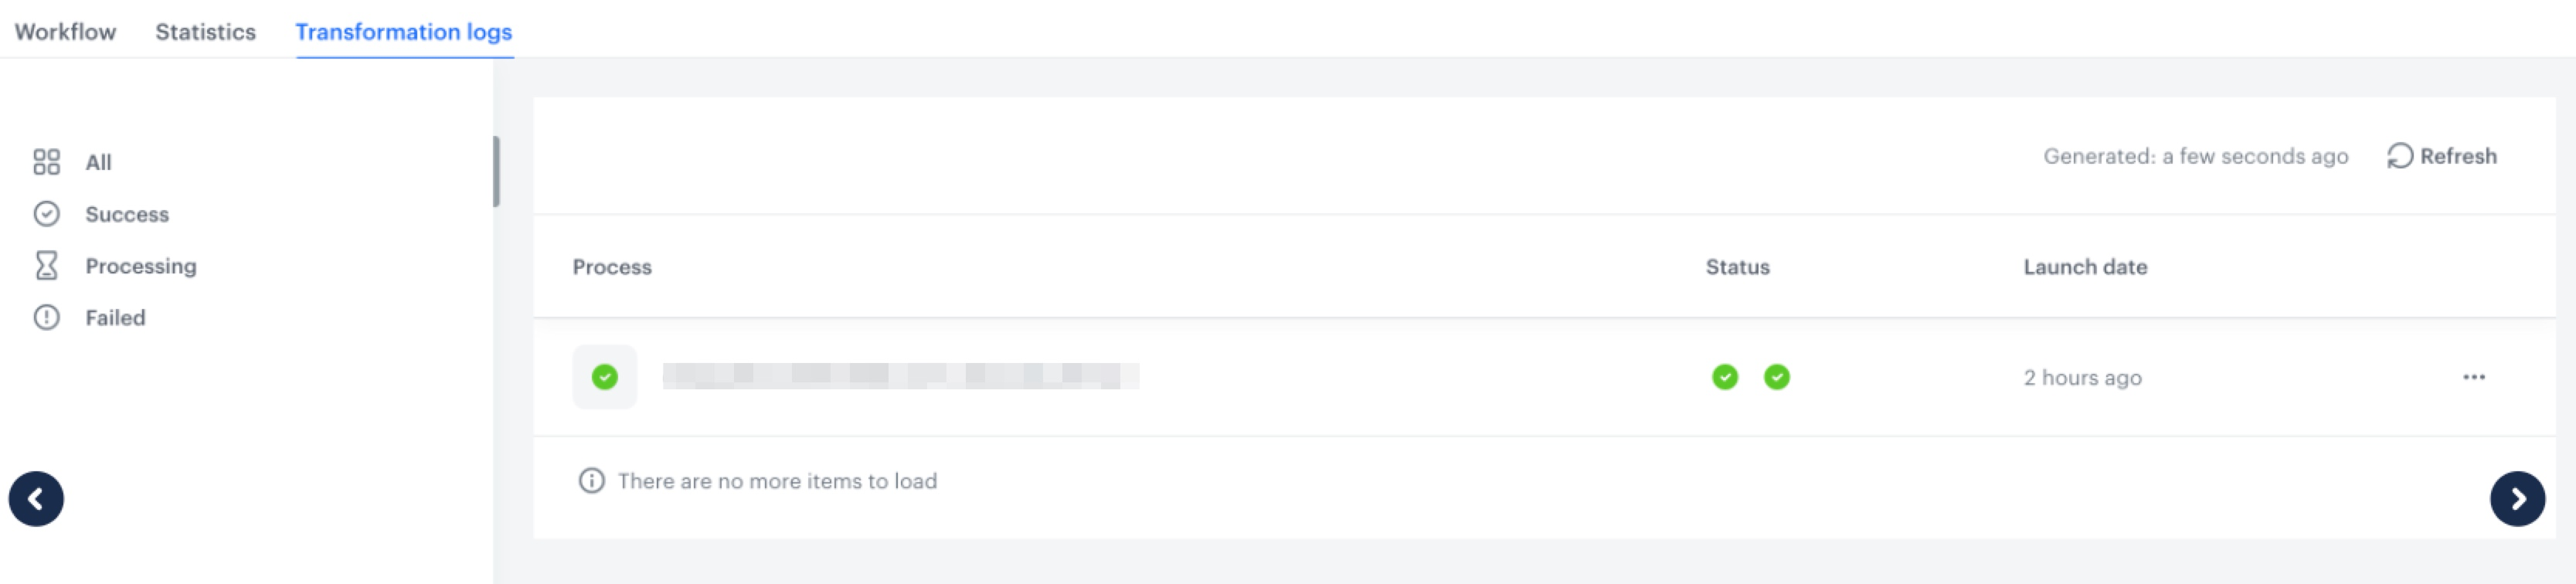
You can monitor the flow of the workflow in the Transformation logs tab. It contains information about each execution of the workflow.
Result: New imported profiles can be visible in Behavioral Data Hub > Profiles.
Check the use case set up on the Synerise Demo workspace
You can check the workflow configuration directly in Synerise Demo workspace.
If you’re our partner or client, you already have automatic access to the Synerise Demo workspace (1590), where you can explore all the configured elements of this use case and copy them to your workspace.
If you’re not a partner or client yet, we encourage you to fill out the contact form to schedule a meeting with our representatives. They’ll be happy to show you how our demo works and discuss how you can apply this use case in your business.