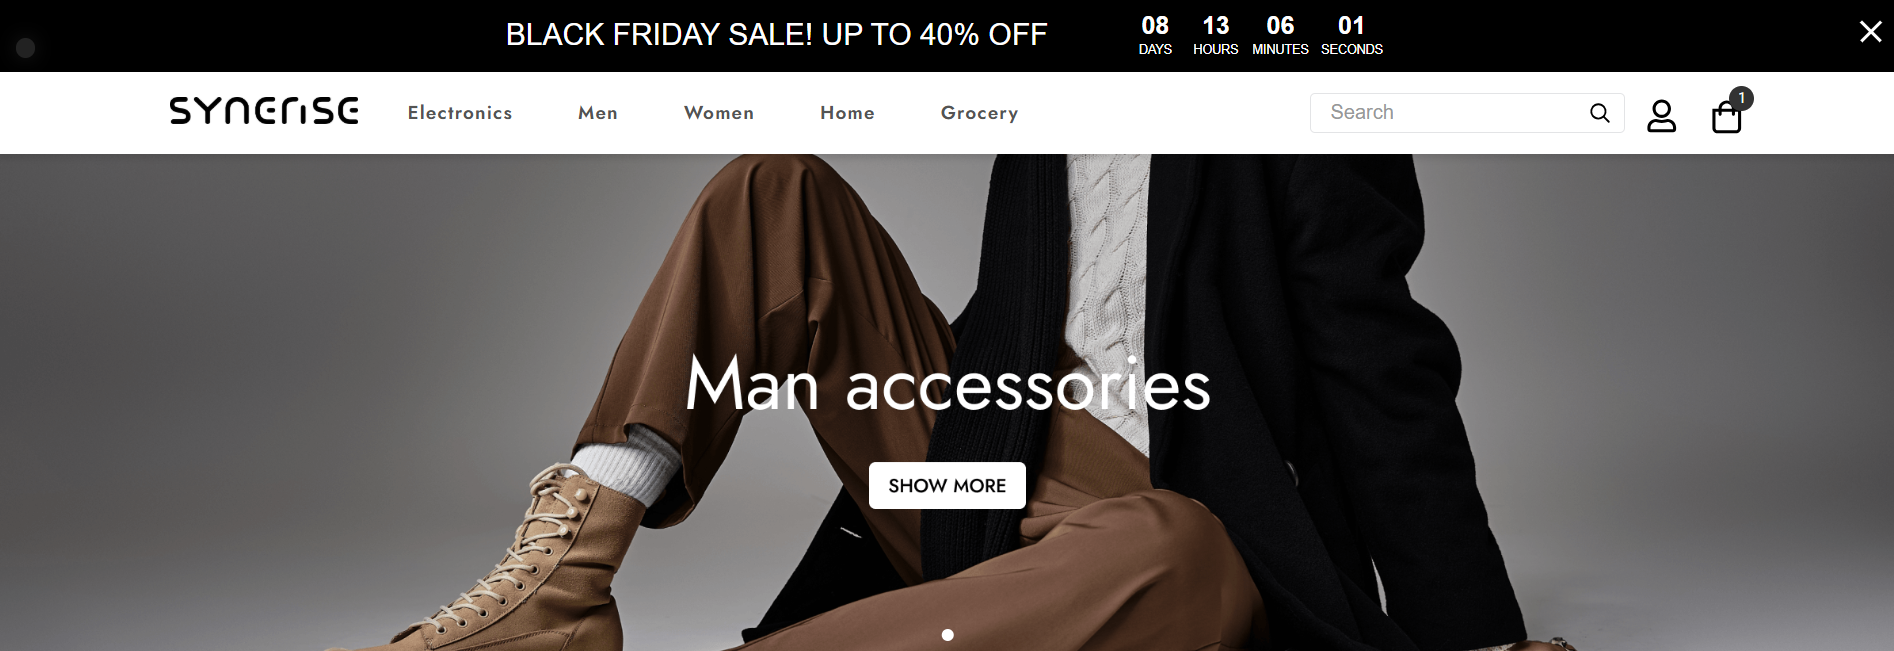
Creating a sense of urgency is one of the most effective ways to increase customer engagement and drive conversions. A countdown timer bar, which is a dynamic banner displayed at the top of a webpage, helps brands highlight time-sensitive promotions. By showing exactly how much time is left until the end of a deal, businesses can encourage faster decision-making, reduce hesitation, and boost overall campaign performance. Whether used for seasonal discounts, exclusive member offers, or last-minute deals, a countdown timer bar is a simple yet powerful tool for maximizing promotional results.
In this specific use case, we intend to introduce a dynamic countdown timer bar that displays real-time remaining promotion time to all website visitors.
This use case provides you with an instruction how to use a ready-made dynamic content template that can be used 1:1 in a business scenario. The template is flexible – disabling the timer allows you to reuse it for alternative communication scenarios.
Prerequisites
Create a dynamic content
Create a dynamic content campaign that will be displayed to all website visitors. We will use a predefined template for this communication, so there is no need to create a template from scratch.
- Go to
 Experience Hub > Dynamic Content > Create new.
 - Enter the name of the content.
- Choose the Insert object type.
Define audience
- To select the recipients of the dynamic content, on the Audience tab, click Define.
- Select Everyone.
- Click Apply.
Define content
In the next step, you will create the content of the dynamic content with the help of a ready-made template.
- In the Content section, click Define.
- Click Create message and from the list of template folders, select Insert object templates.
- Select the Countdown timer bar template.
Result: You are redirected to the code editor. - Edit the template according to your needs. In the Config tab, you'll find a comprehensive list with descriptions of the core components that make up your countdown bar. Remember to set the correct end date of your promotion. Optionally, you can enable a button that redirects users to your promotional landing page. You can also activate or deactivate the countdown freely, depending on the needs of your communication.
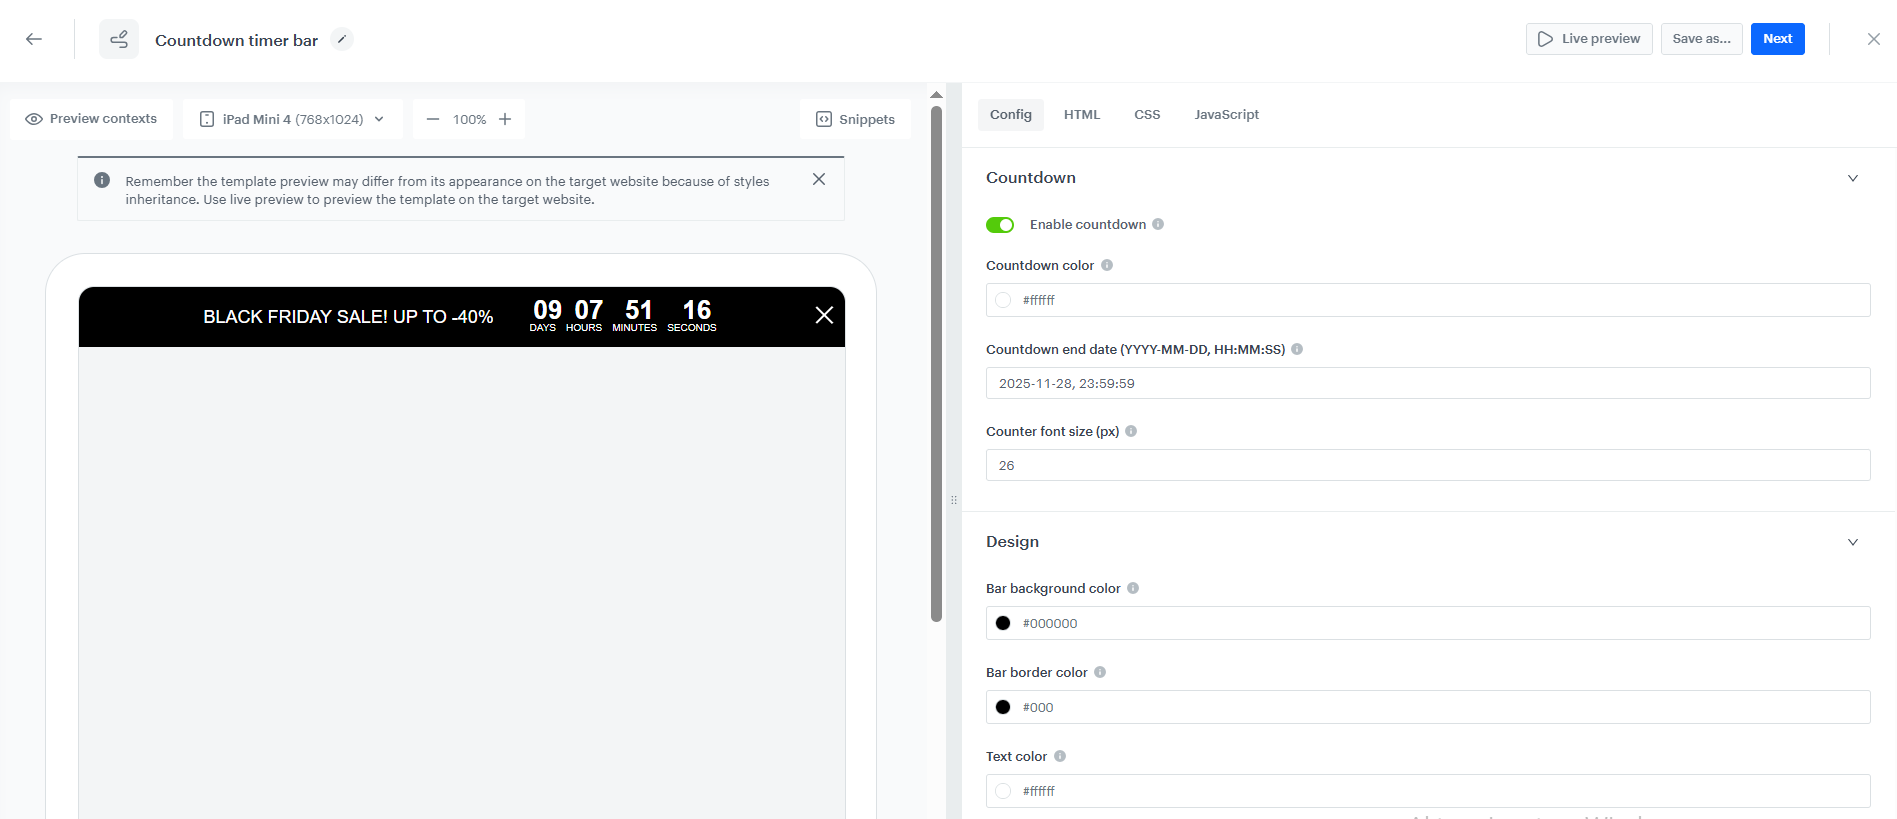
Config panel - After customising your countdown bar, save the template.
- Set an appropriate CSS selector to define the placement of the countdown bar. The correct selector depends on your website’s structure, so make sure to reference an element that ensures the bar is displayed in the intended position.
- Click Apply.
Define schedule and display settings
As the final part of the process, you will define the display settings of the dynamic content such as schedule, triggers, and delay.
- In the Schedule section, click Define and set the time when the campaign will be active. Make sure that the campaign’s display period aligns with the countdown end date. If the end date is exceeded while the campaign is still active, the dynamic content will not render on the website.
- Click Apply.
- In the Display Settings section, click Define. If you want the countdown bar to be displayed to all users continuously across the website upon landing, keep the default settings.
- Click Apply.
- Optionally, you can define the UTM parameters and additional parameters for your dynamic content campaign.
- Click Activate.
Check the use case set up on the Synerise Demo workspace
You can check the dynamic content configuration directly in Synerise Demo workspace.
If you’re our partner or client, you already have automatic access to the Synerise Demo workspace (1590), where you can explore all the configured elements of this use case and copy them to your workspace.
If you’re not a partner or client yet, we encourage you to fill out the contact form to schedule a meeting with our representatives. They’ll be happy to show you how our demo works and discuss how you can apply this use case in your business.