A profile is a comprehensive collection of all information about an entity, like a customer, that is gathered by the application. This includes personal details as well as a complete record of activity within the application and website, such as page visits or adding items to a shopping cart. The profile also includes information about the segmentations to which the profile belongs, screen view campaigns they are the audience of as well as results of the expressions and aggregates.
In addition, you can customize the profile view by adding a custom dashboard which can provide you with overview of purchases, page visits, distribution of purchased item categories, to name a few, for the individual profile.
Furthermore, the profile serves as a hub for various actions to be taken, such as sending a message, manually generating an event for a profile, adding tags, and more.
Why do you need profiles in your workspace
- having a register of all profiles interacting with your brand, whether they are anonymous or recognized, lets you better track of user interactions and help you build a comprehensive database,
- to understand your audience by building segmentations which organize profiles in terms of similar qualities or behavior,
- to measure performance of your campaign efforts by creating reports, metrics, trends, and so on,
- to predict profile behavior, inclination to a purchase, best item for a profile, and compare two segments of customers and find those who display similar qualities of performance,
- to create and send personalized messages and reach the right people with the right messages,
- to improve the overall customer experience (for example, automated notifications and updates regarding order status, shipping, and delivery to keep profiles informed and engaged with their purchase)
Profile status
Anonymous
An anonymous profile refers to data that doesn't contain identifiable information, such as names or contact details. These profiles represent visitors or users whose identities are unknown or haven't been captured yet.
Recognized
A recognized profile belongs to known individuals whose information has been captured. These profiles are associated with identified customers or prospects, enabling personalized marketing efforts based on their behaviors, preferences, and interactions.
Profile identifiers
By default, an email address is a unique identifier of a profile created in the Synerise app and it’s used to recognize customers. However, you may change this configuration, so the customID becomes the primary identifier in your workspace.
You can read more about establishing other identifiers for recognizing profiles in Identifiers
You can find the list of identifiers in "Identities and identifiers" section in the Profile overview article.
Methods of adding profiles
- Add manually - This method is recommended for adding single profiles. A profile you add is anonymous, unless you provide one of the identifiers which make a profile recognized.
- Import - If you have already a database with profiles, you can import them to Synerise.
- Through a form submission - When a profile submits a form, a profile is created or updated if it exists already in the workspace.
- Implementation of the tracking code - When you implement a tracking code into your website, the SDK assigns a UUID for anonymous users on your website, if they already have a UUID, it recognizes them. You can preview then both anonymous and recognized profiles on the list of the profiles.
You can learn more about a method for recognizing already logged users
Adding manually
You can add a new profile to your database manually.
- Go to
 Behavioral Data Hub > Profiles.
 - At the top of the list, click Add new.
- From the dropdown list, select Profile.
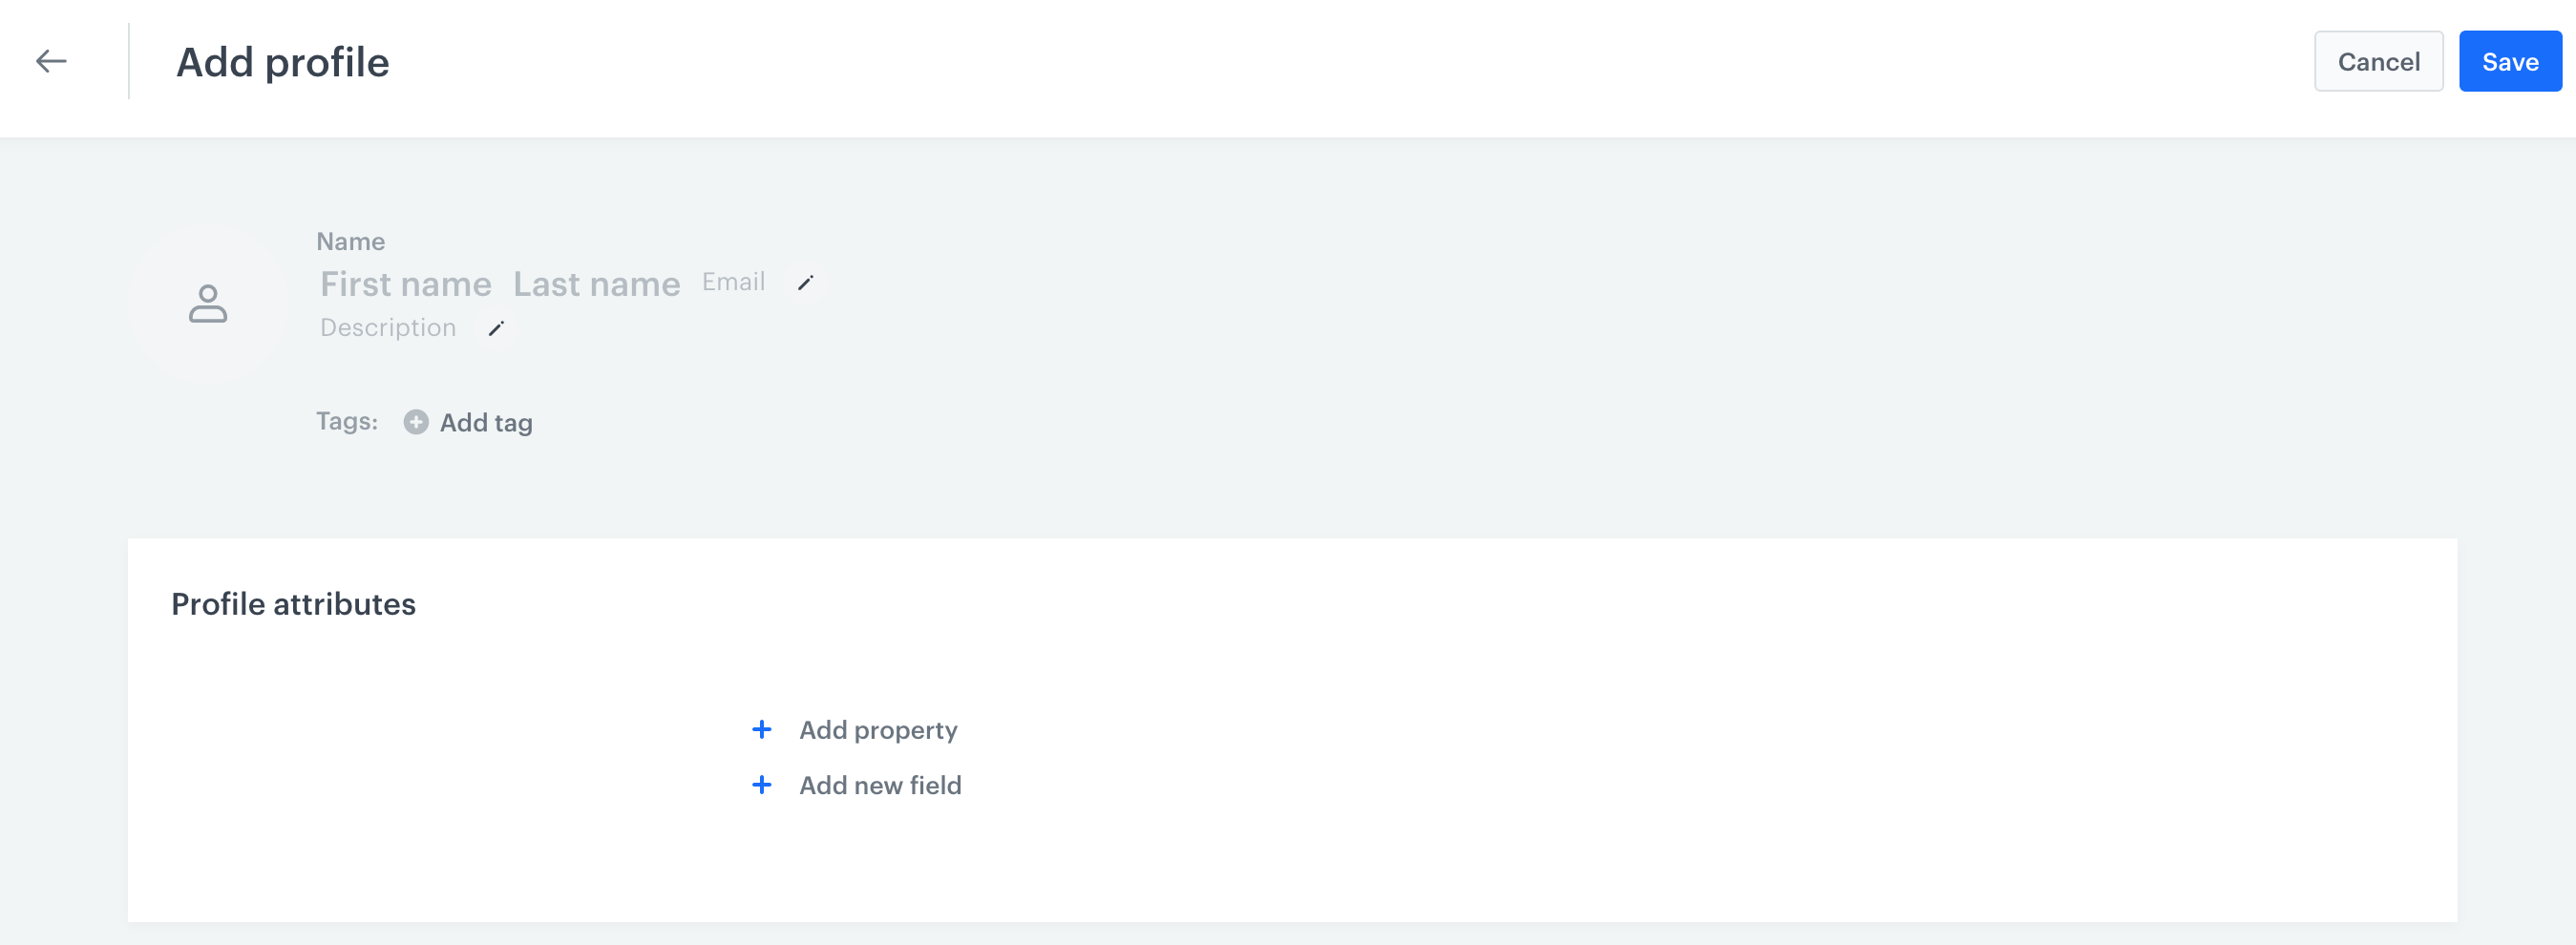
You can save a profile without any data at this stage and add them directly on the profile card. - Optionally, you can fill in the following fields:
- email address,
- first name,
- last name
- Optionally, you can add attributes (properties) to the profile you add:
- Click Add attribute.
- From the dropdown list, from the attributes available in your workspace, select the name of the attribute.
- In the Value text field, enter the value of the attribute (for example,
New Yorkfor theCityattribute). - To add more attributes, click Add attribute.
Defining attributes
In this part of the process, you can create attributes, however, you are not allowed to create reserved parameters.
Optionally, you can define new attributes.
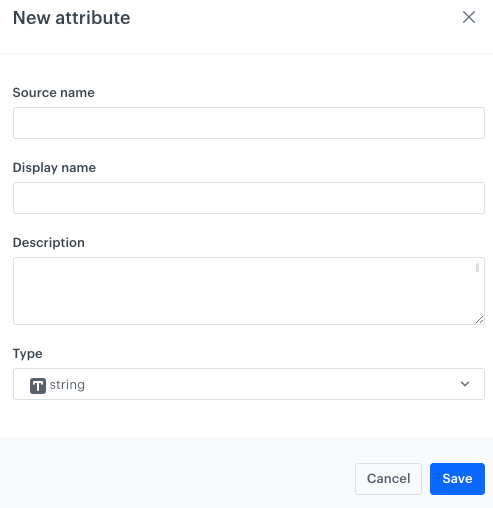
- Click New attribute.
- In the Source name field, enter the name of the attribute as sent by the SDKs/API.
- In the Display name field, enter a human-readable label for display in the Synerise portal.
- Optionally, in the Description field, you can add an explanation about the purpose of this attribute.
- From the Type dropdown list, select the format of the attribute value as sent by the SDKs/API.
- Confirm by clicking Save.
Adding a new property
Result: The attribute is available in Behavioral Data Hub > Attributes.
- To save a new profile, click Save.