The activity of your website's visitors is saved in Synerise as events. For example, opening the page is saved as the page.visit event.
Sometimes, events also define the activities directed to the user, such as sending an email (message.send) or a web push notification (webpush.send).
The application can generate these events thanks to the implementation of a tracking code and/or mobile SDK.
The events are identified by their action property, which takes a <domain>.<occurrence> format.
You can add custom event definitions in the following ways:
- Through the interface (described in this article)
- Through the API by using the Custom event method. When you use that method to send an action which is not known in the system, a definition is created automatically from the new data.
By default, the custom events you add have a 30-day retention period.
Requirements
You must have permissions to access Data Modeling Hub and perform operations there.
User interface of the event manager
Event list
This section explains the columns on the list of events.
You can define the event data displayed in the columns described below in the "Adding event definitions" section.

| Column name | Description |
|---|---|
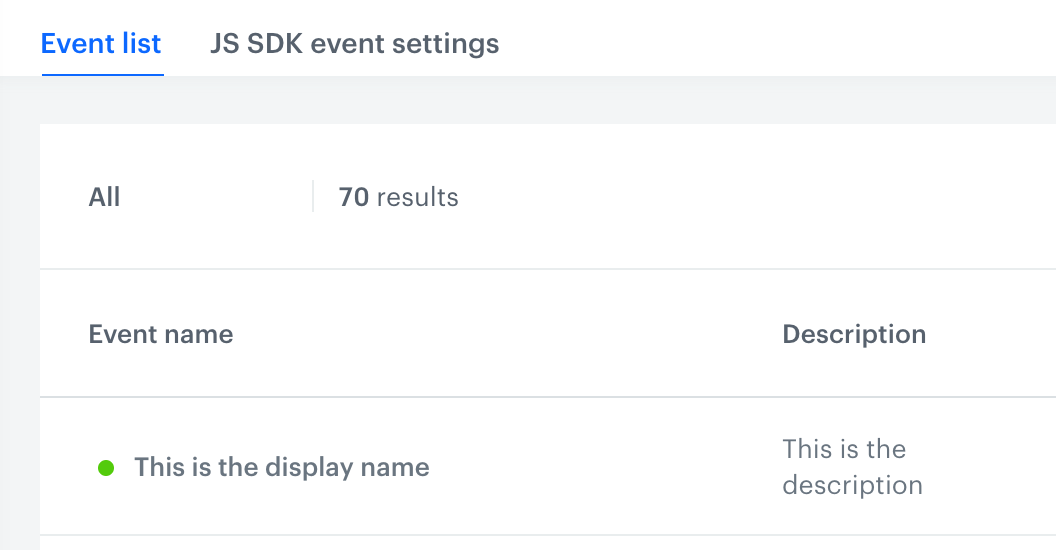
| Name | This column contains both names of the event: display name (top one) and source name (bottom one). It identifies the name of the event and lets you search the list with it. |
| Description | This column contains the event description, this description is taken from the Description field from the Overview tab in the event details. We strongly encourage you to add description to the events you create, so other workspace users know the event purpose. |
| Enriched by | This column contains the catalog names which are used to enrich event information. |
| Visibility | This column shows you the status of the event visibility in the filters across the Synerise platform. You can change it, by hovering a mouse cursor over the eye icon and clicking it.  |
List of parameters in event preview
This section explains the table in the Parameter section in the event details preview.
You can find instruction on adding parameters to events in the "Adding parameters to events" section.

| Column name | Description |
|---|---|
| Name | Lists the event parameters attached to this event. For each parameter, it shows two versions of the parameter name: the Display Name (shown at the top) which is user-friendly, and the Event name (shown below) which is the original technical identifier used internally. |
| Overwritten | Indicates whether the event parameter uses the default settings inherited from the event (OFF), or if custom settings are applied specifically for this parameter within the selected event context (ON). For example, in the screenshot, the name parameter of the client.addTag uses custom settings - the name parameter is overwritten by tagName across the filters. You can change state of this setting by clicking 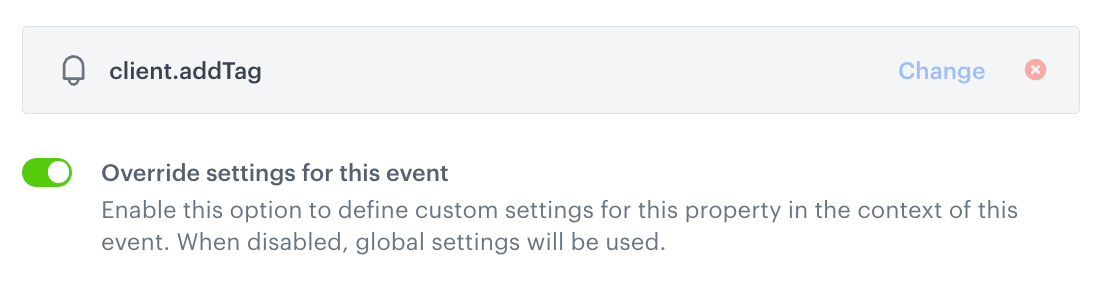 |
| Parameter description | Contains a description explaining the purpose of the event parameters, providing context for other workspace users. |
| Visibility | Displays the current visibility status of the event parameter within filter lists across the Synerise platform. The status is expressed by the eye icon. The color reflects the parameter's overriding state: greyed-out means disabled, active means enabled 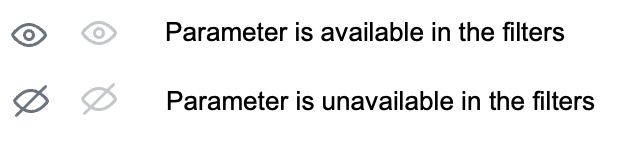 When overriding is enabled for a specific event parameter, you can manage its visibility using the Visibility override (Show parameter) toggle. To access this option, click the |
Adding event definitions
In the Web application
- Go to
 Data Modeling Hub > Events.
 - Click New event.
Result: A pop-up appears. On the pop-up, fill in the fields:
- Event name is the system name of an event, usually in an
context.actionformat, for examplepage.visit.- This name can't be changed later.
- It must be 2-32 characters long.
- Diacritic characters aren't allowed.
- The following special characters are allowed:
-,_,. - In event data, this value is saved in the
actionparameter.
- Display name is a human-readable name shown in the Data Modeling Hub > Events, Automation and Decision Hubs.
- Description is shown in the Data Modeling Hub > Events menu.
- The JS SDK event settings determine how the JS SDK can use the event. Make sure you have already configured a certificate to validate authentication tokens. For more details, see Event authentication settings.
Display name and description from the Settings tab shown in the event definition list after saving the settings - Availability in Analytics and Automation cannot be changed when adding a new event. You can change this setting later.
- Event name is the system name of an event, usually in an
Click Create and define settings.
Result: You are redirected to the view of event settings.In Overview, you can find a summary of the settings you already defined (event name, label, value type, visibility).
In Event enrichment, you can select a catalog or catalogs from which you can supply information about the event.
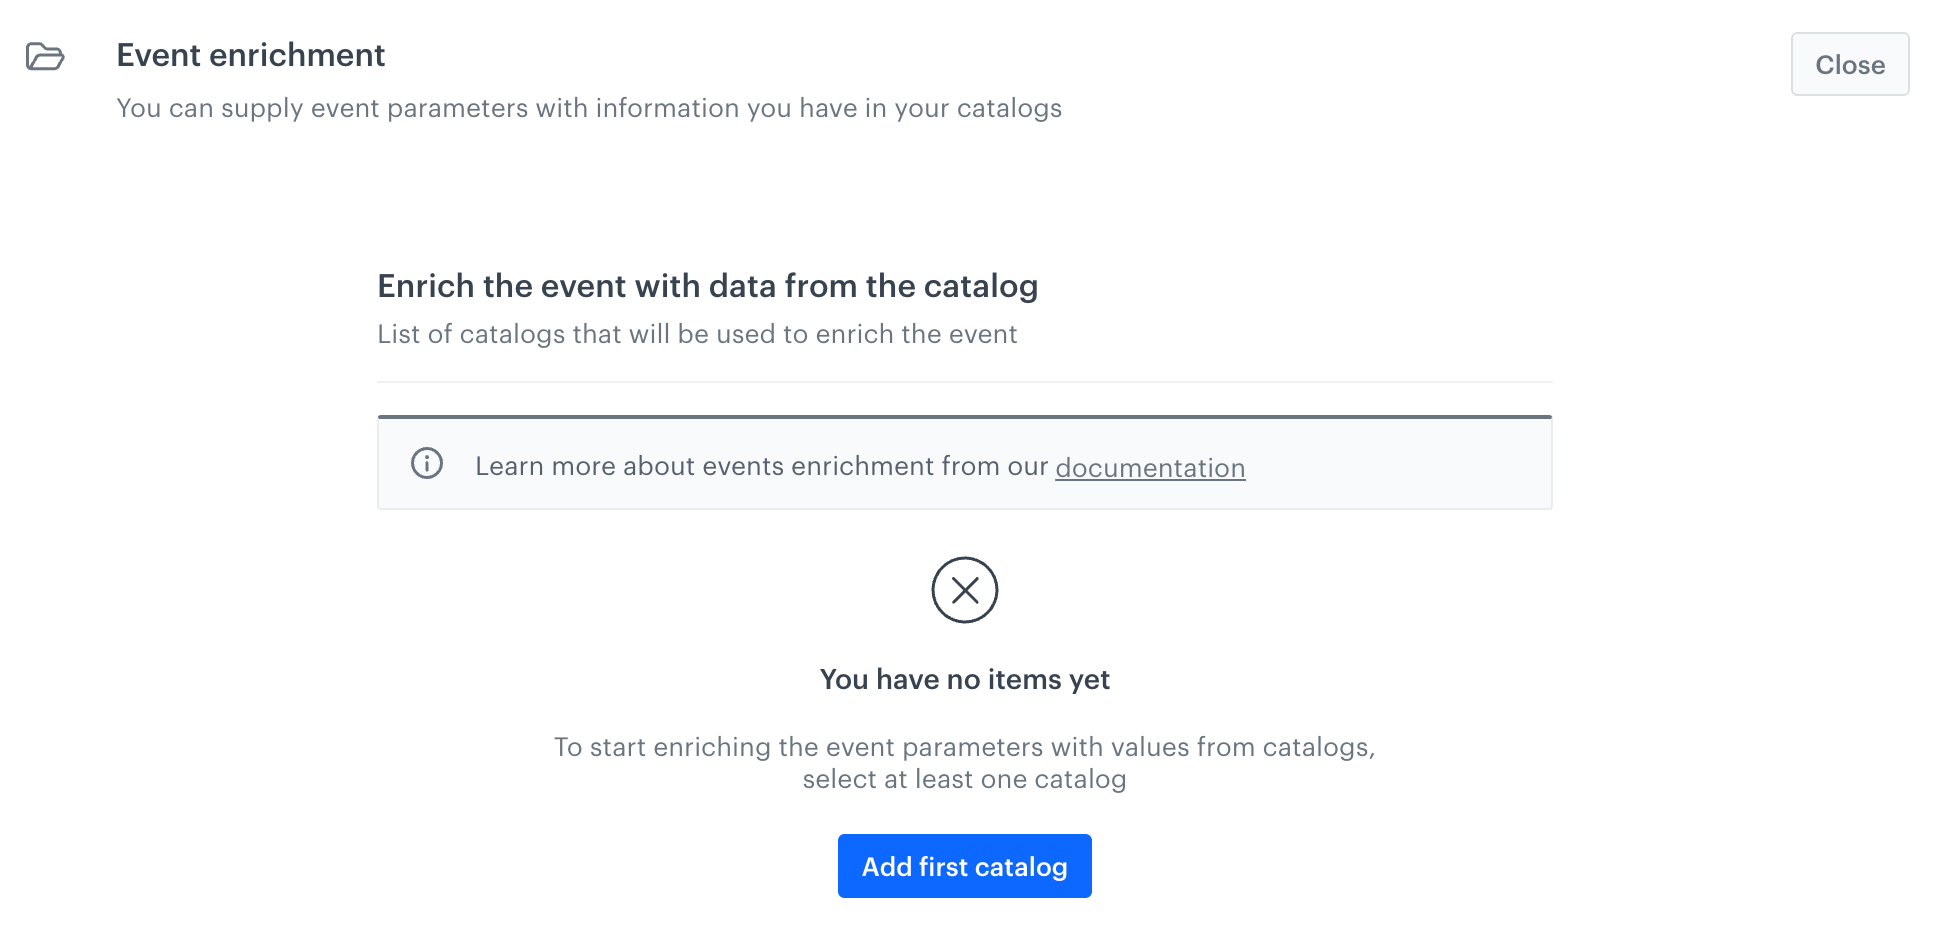
Unconfigured event enrichment section in the settings of an event - Click Open.
- Click Add first catalog.
Result: A pop-up appears. - From the Catalog dropdown list, select a catalog whose data will be used to enrich event parameters.
Result: The Catalog item key and Event parameter fields appear. - From the Event parameter dropdown list, match the event parameter with the primary key of the catalog. By clicking the eye icon next to Primary key, you can preview values from the primary key column.
When the value of the selected parameter is the same as the value in the primary key column of the catalog, the event will be enriched with data available in the corresponding row of the catalog. You can learn more about it in Event parameters and enrichment. - To add more catalogs, click Add catalog and repeat steps III and IV.
- Confirm by clicking Apply.
In Parameters, you can add event parameters which will contain information related to a particular occurrence of an event.
Click Define.
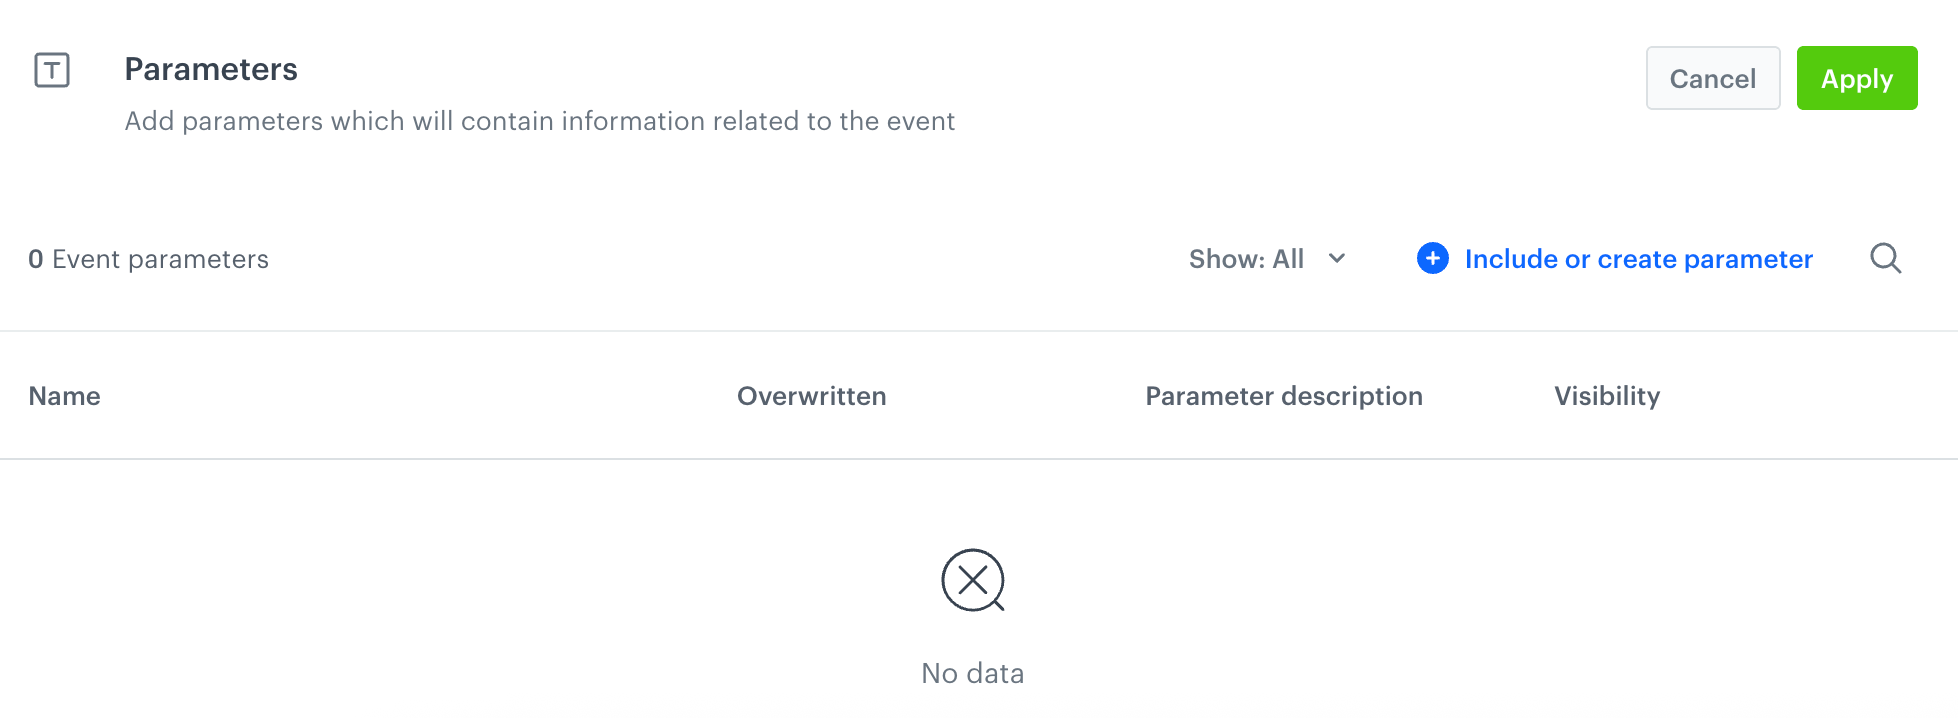
Unconfigured event parameters section in the settings of an event In the "List of parameters in event preview" section, you can find description of the table available in the screen above.
- Click Include or create parameter.
To add existing event parameters:
- Click Include event parameter.
Result: A pop-up appears. - On the pop-up, select the parameters which you want to include in the event information.
- Optionally, if you want to apply custom settings to the parameter for a particular event, enable Override settings for this event. Fill out Display name override, Description override, Value type override, and Visibility override, to define custom display name, description, event parameter type, and visibility.
- Confirm by clicking Apply.
- Click Include event parameter.
To create a parameter:
- Click Create parameter.
Result: A pop-up appears. - Fill out the configuration form according to instructions in Adding parameters to events.
- Click Create parameter.
Optional: On the Display settings tab, fill in the fields:
- Display name is a short event title shown in a Profile's event history.
- Description is a longer description shown in a Profile's event history.
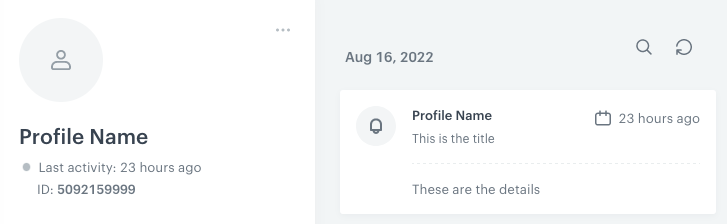
Display name and description from the Display settings tab shown in a Profile's event history In Display name and Description, you can use Jinjava to refer to the event's parameters or add logic. See instructions and examples.
By sending an event to the API
When you send a previously unknown event to the /v4/events API, the event's definition and parameters are automatically added to the Data Modeling Hub > Events view.
Such an event has no display name, description, title, or details, and is visible in analytics.
The event's parameters are also added, without any descriptions, and are available in analytics.
You can edit the event definition and parameters to fill in the additional data.
Editing event definitions
You can update an existing event. Some settings cannot be edited.
The changes may take up to an hour to apply.
- Go to Data Modeling Hub > Events.
- In the list of events, find the event you want to edit.
- Click the
 .
. - From the list, select Edit.
- In the window that appears, edit the data in the same way as when adding the definition.
Changing event visibility in analytics
By default, each event is visible in analytics.
You can enable or disable the visibility of an event in the analytics:
- In the list of events, hover over the visibility icon of an event.
- Switch the toggle that appears.
Adding parameters
See Event parameters and enrichment.
Managing enrichment
See Event parameters and enrichment
Using variables for displaying event data in Profiles
If you want insert dynamic values or even logic into an event's summary on a Profile's card, you can use Jinjava.
Inserting event parameters
Additional parameters which can be used as variables are stored in the params object in the event's data. They are accessed with the {{ params.paramName }} syntax.
You can also access the system parameters outside of the params object, for example {{ action }}. The label parameter is an exception and is always treated as an empty value.
Example
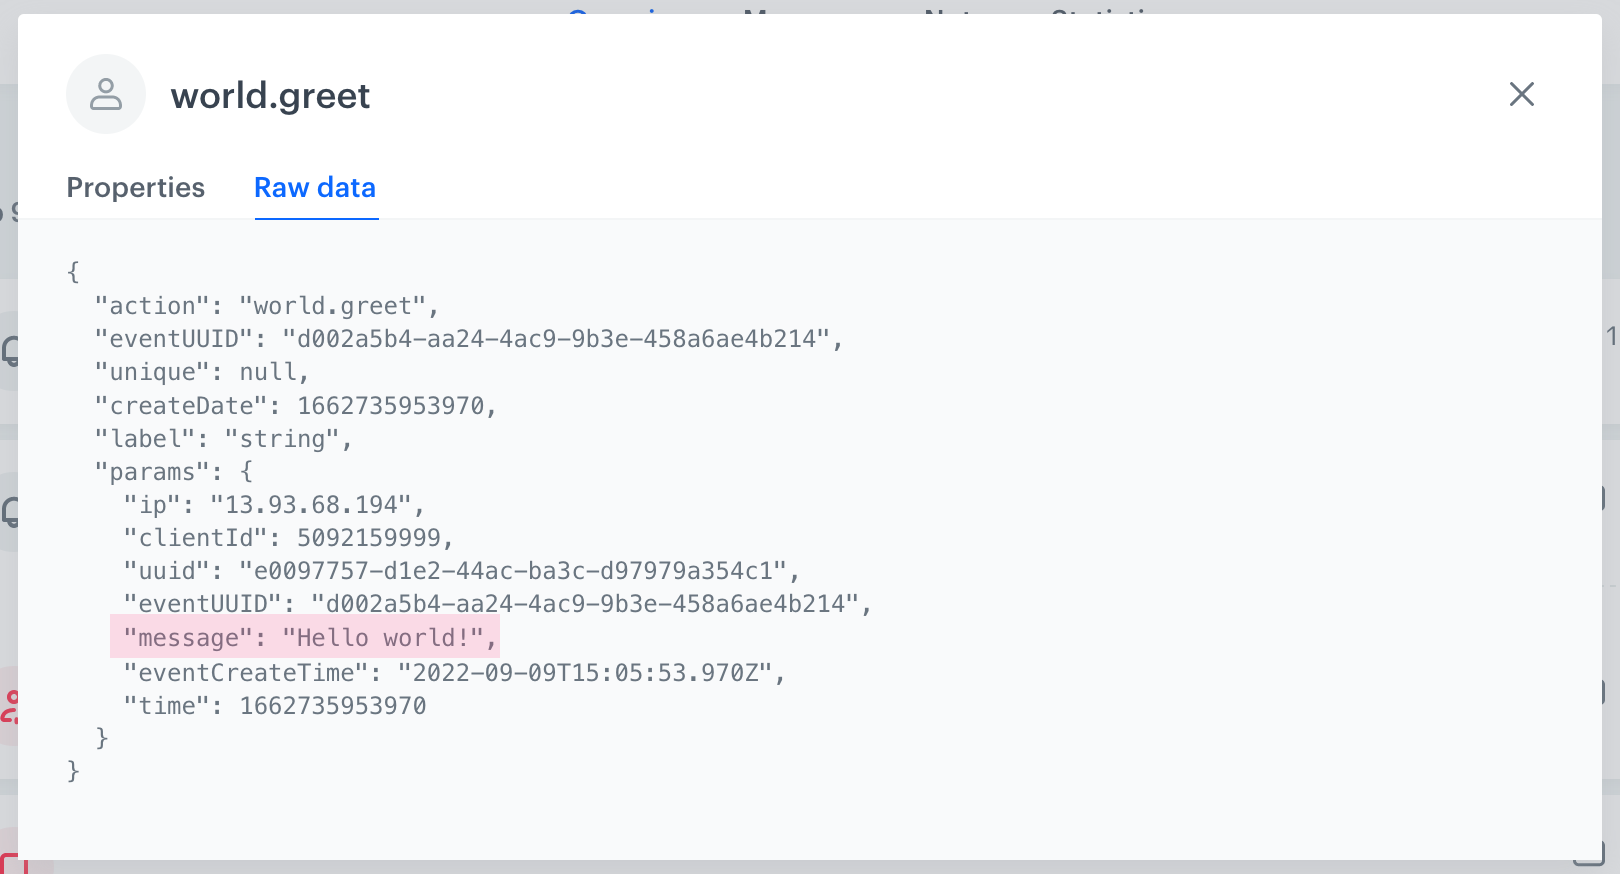
You can use the params.message property of the event from the figure below to display a dynamic Title and Details.
In this example, a world.greet event with a custom message parameter is saved to the Profile's history:
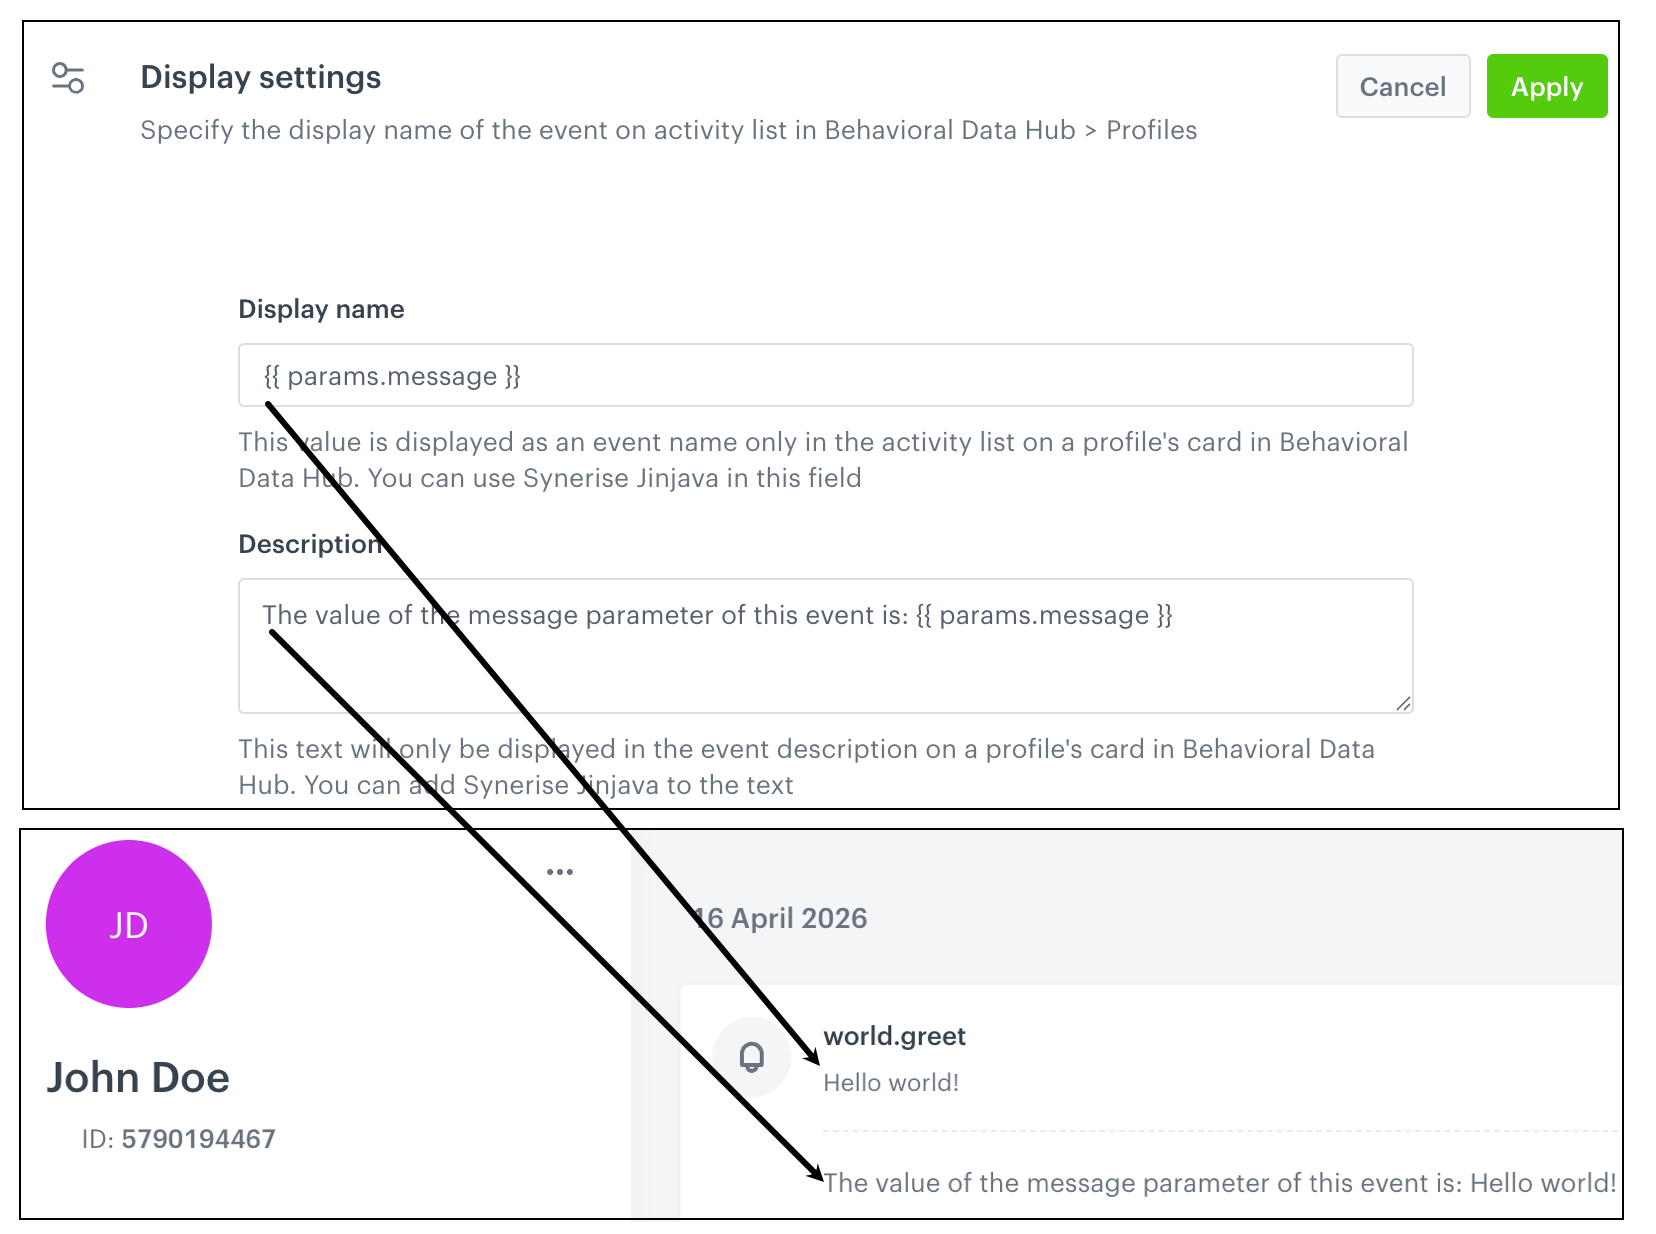
In the event definition for world.greet, {{ params.message }} is added to Display name and Description, the variable is processed and displayed in the event summary:
Advanced usage
You can use Jinjava elements from the following articles:
Example
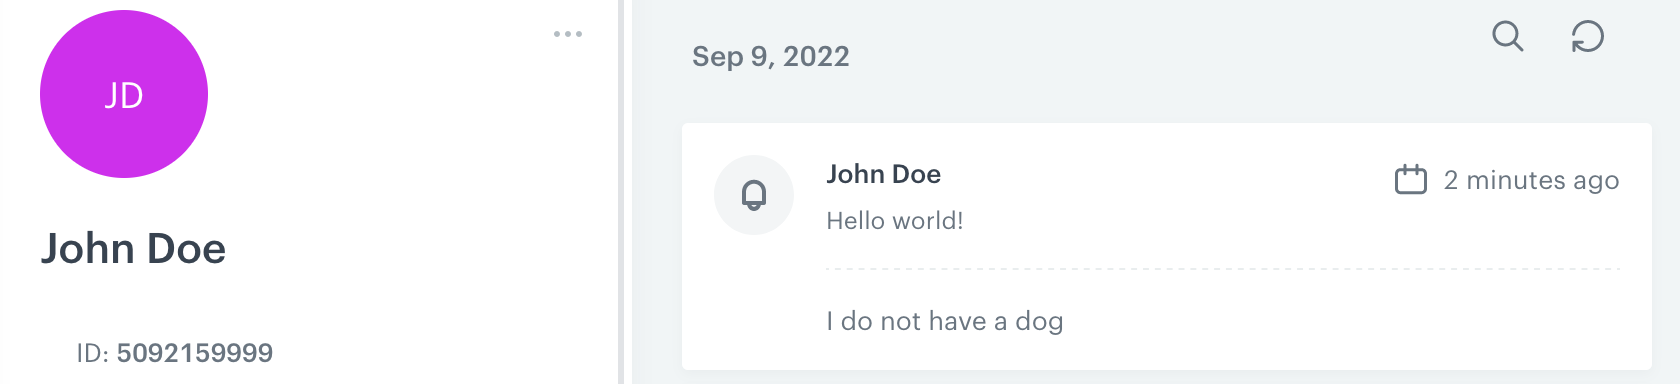
If a parameter does not exist or is an empty string, you can insert a placeholder value.
If the parameter is null, its value is processed as the string "null".
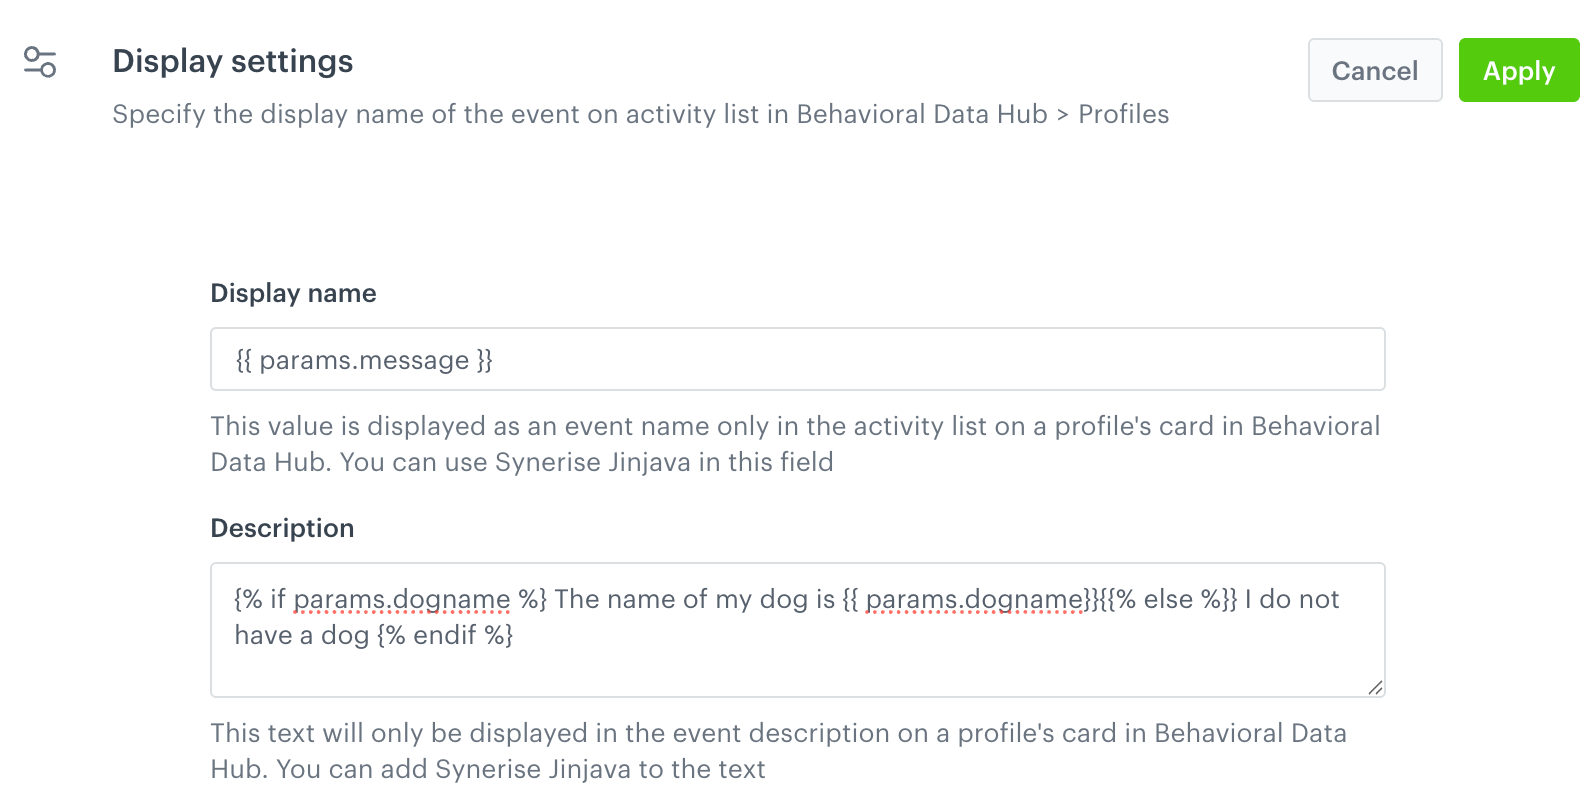
In this example, the dogname parameter does not exist in an event's data.
In the event definition for world.greet, the following Jinjava is added:
On a Profile card, the variables are processed and displayed in the event summary: