By importing data to a catalog, you can:
- create an item feed in Synerise,
- create a metadata catalog in Synerise
- create a catalog with unique phone numbers,
- and much more.
Importing data to the catalog is an asynchronous process, which means your data is added to a queue and will become available after processing.
Import modes
When importing data into your catalog, you can choose how to handle existing and new records. You can use the following options:
Create or overwrite records
How it works:- If an item does not exist in the catalog, it will be created as a new record.
- If the item already exists, the entire record will be fully updated, replacing all existing parameters with the new data.
When to use it:
You want to discard some or all items in the catalog and replace them with their new versions, without keeping any of their old data.
Example:Before import Imported data Results after import Item A:
{ "Name": "Widget", "Price": 10, "Color": "Red" }Item A: { "Name": "Widget", "Price": 12 }Item A:
(Color removed){ "Name": "Widget", "Price": 12 }Item B does not exist Item B:
{ "Name": "Gadget", "Price": 25 }Item B:
{ "Name": "Gadget", "Price": 25 }Create or partial update
How it works:- If an item does not exist, it will be created as a new record.
- If the item already exists, only the parameters included in the import will be updated or added; existing parameters not mentioned remain unchanged.
When to use it:
You want to update specific parts of existing records without losing any other data, allowing incremental or additive changes.
Example:Before import Imported data Results after import Item A:
{ "Name": "Widget", "Price": 10, "Color": "Red" }Item A:
{ "Price": 12 }Item A:
{ "Name": "Widget", "Price": 12, "Color": "Red" }Item B does not exist Item B:
{ "Name": "Gadget", "Price": 25 }Item B:
{ "Name": "Gadget", "Price": 25 }
Summary
| Option | Creates new records? | Updates existing records? | Update type | When to use |
|---|---|---|---|---|
| Create or overwrite records | Yes | Yes | Full replacement | Completely refresh existing data |
| Create or partial update | Yes | Yes | Partial / additive | Incrementally update or add parameters |
Requirements
- You need user permissions that grants you access to Simple Imports and/or Automation.
- Create a catalog.
- Prepare a file with data:
- To import a single file one time, prepare a
.csvfile. - To schedule import in Automation Hub, prepare a file in one of the following formats:
csv,.json,.jsonl, or.xml
- To import a single file one time, prepare a
Tips for preparing a CSV file
- Recommended file metacharacters:
- The character that separates columns (delimiter):
, - The character that is used to contain text (quotation mark):
" - The character (escape character) that changes the default interpretation of a character or string which follows escape character:
\
- The character that separates columns (delimiter):
- Spaces and special characters in the column headers are not allowed.
.csvfiles must be UTF-8 encoded- The file cannot contain empty fields. If you want to leave empty fields, enter the
nullvalue. - Maximum file size: 200 MB.
Procedure
Selecting the file for import
In this part of the process, you will upload a file from your device.
- Go to
 Data Modeling Hub > Imports > New import.
 - As the data type for import, select Catalog's records.
- As the import method, select one of the following options:
Import a local file - To import a single
.csvfile to Synerise.Import in Automation - To import a .
csv,.json,.jsonl, and.xmlfiles and execute periodical imports.- Upload the
.csvfile by using the + Upload file or drop one here field. - Optionally, you can customize the file metacharacters by clicking the arrow down icon.
- From the Delimiter dropdown, select the character that marks the end of a column.
- From the Quotation mark dropdown list, select the characters that contain the text or data type.
- From the Escape character dropdown lists, select the character which changes the default interpretation of a character or a string followed by the escape character.
- To proceed to the next step, click the Next button.
Selecting catalog
In this part of the process, you will select the catalog to which the data will be imported, provide the name of the column which contains the unique identifiers of the items, and select the import mode.
If you opened the import creator from the view of a catalog, (Data Modeling Hub > Catalogs), that catalog will be selected automatically.
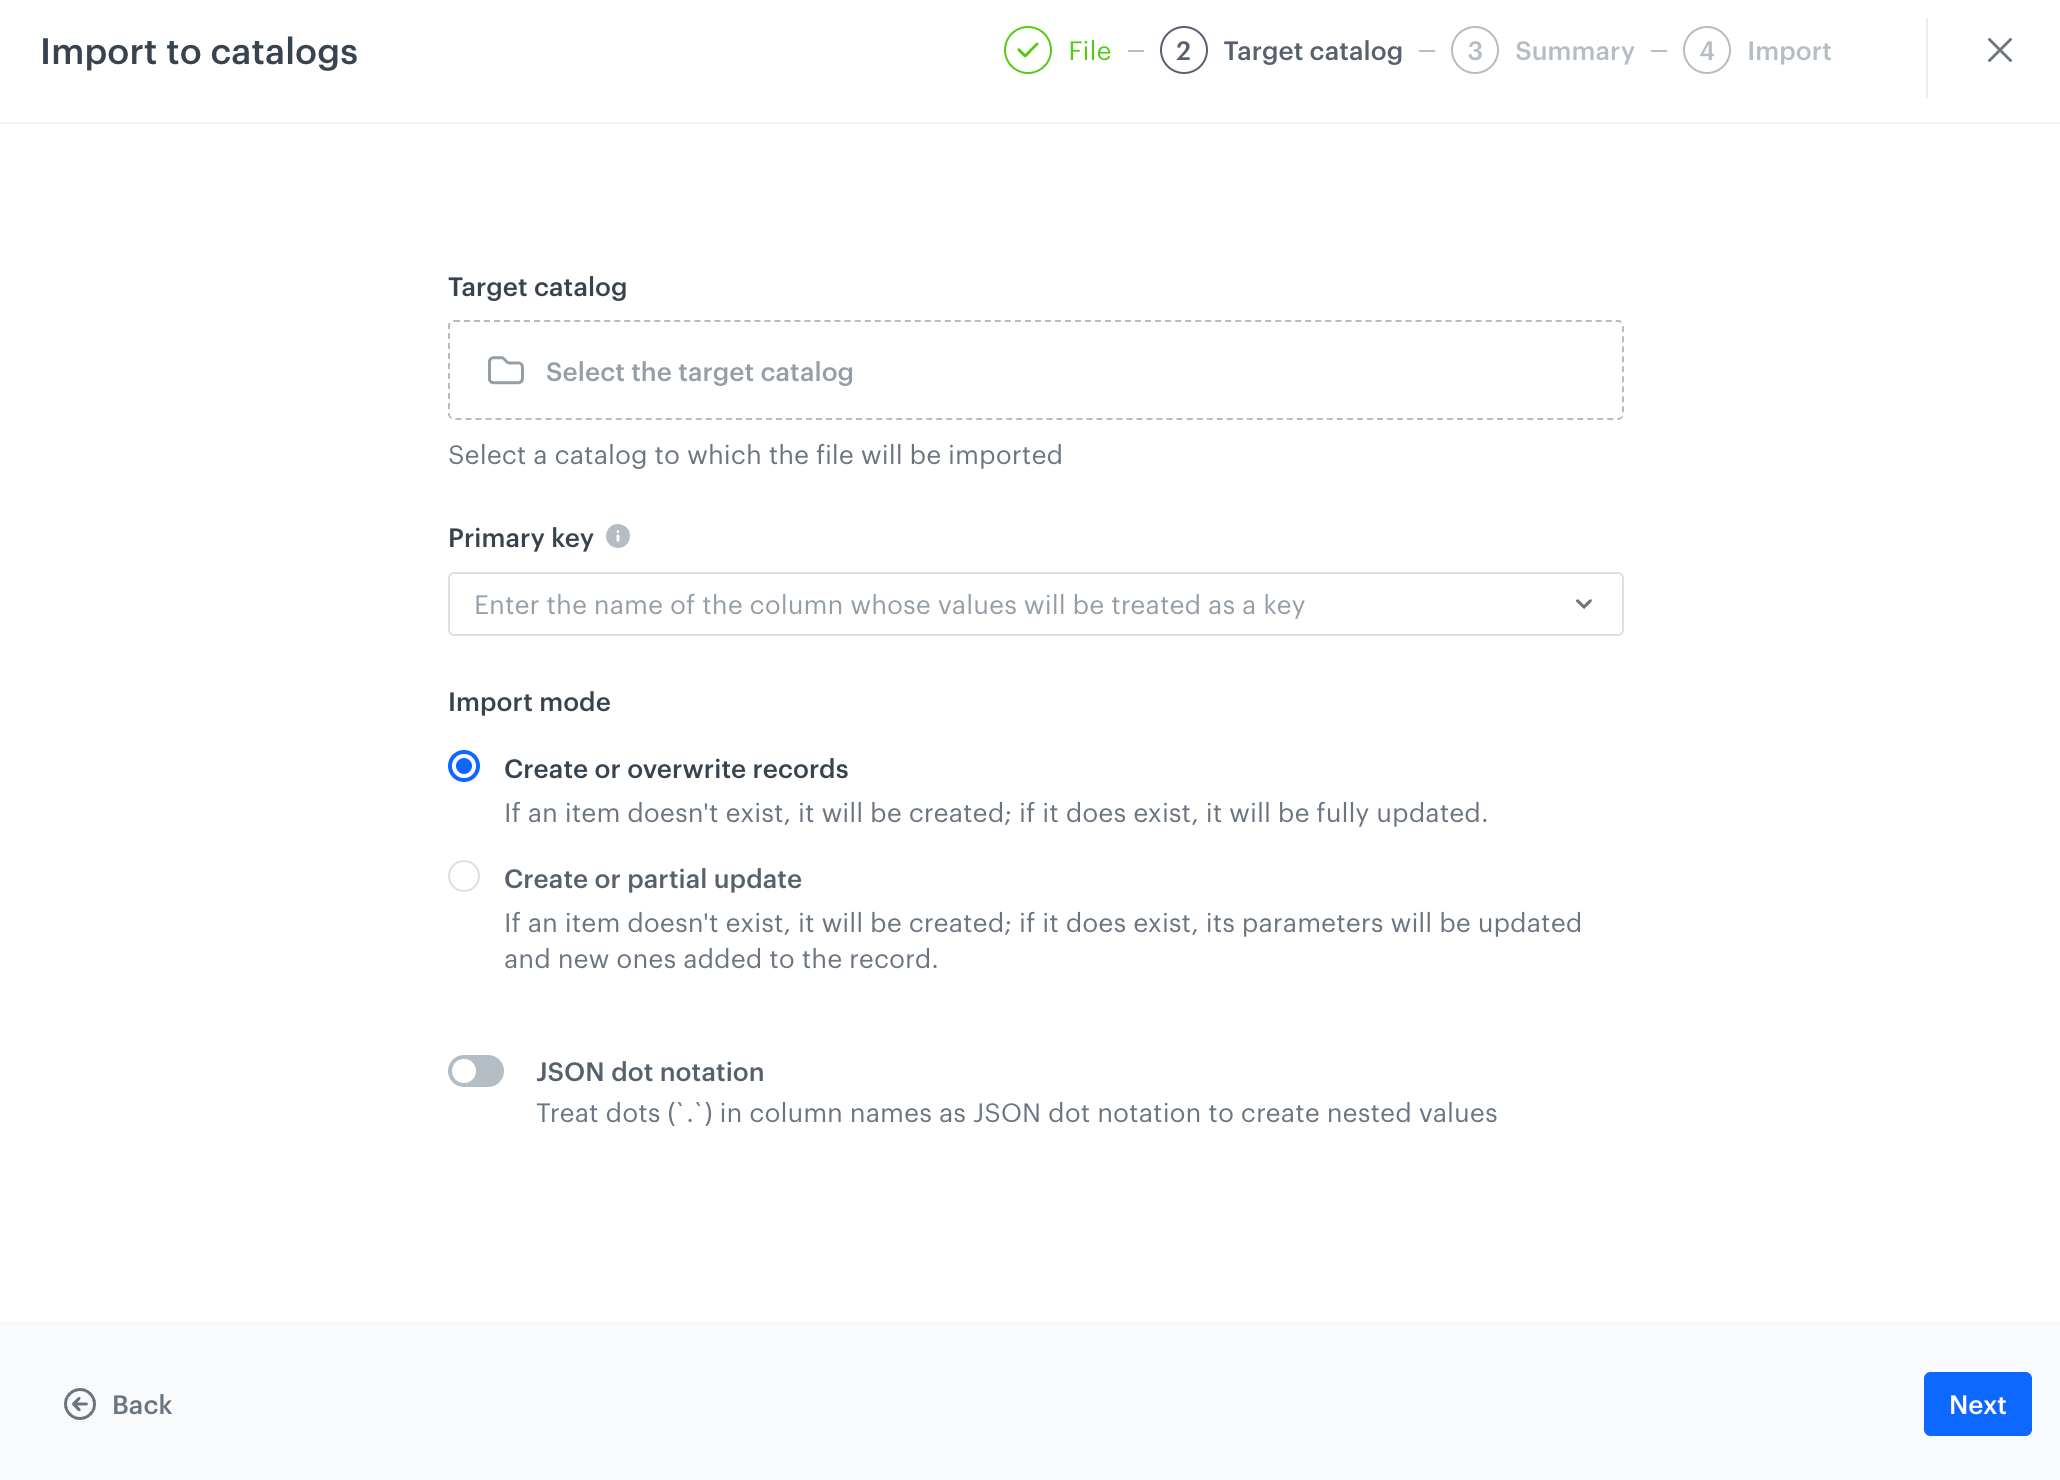
Selection of the catalog - From the Select catalog dropdown list, select the catalog to which the data from the file will be imported.
- In Primary key, enter the name of the column which contains the unique identifiers of the items.
This field accepts snippets and inserts. - In the Import modes section, select how data will be updated in the catalog:
- Create or overwrite records - if an item from the file exists in the catalog, the entire record in the catalog is overwritten with data from the file;
- Create or partial update - if an item from the file exists in the catalog, the record is modified - new parameters are added, matching parameters are updated. If a parameter doesn't exist in the file, it's not modified in the catalog. You can learn more about import modes in Import modes section.
- Click Next.
Launching import
After selecting the column that contains a primary key you can launch the import by clicking Run import.
- Select the method of delivering the file:
- Local File - Uploads a file from your device.
- SFTP - Uploads a file from a server using the SFTP protocol.
- HTTPS - Uploads a file from a server using the HTTPS protocol.
- Amazon S3 - Uploads a file from Amazon S3 bucket.
- Azure - Uploads a file from Azure Blob Storage.
- Google Cloud Storage - Uploads a file from Google Cloud Storage.
- Click Go to import template.
- Define the settings of the Scheduled Run node.
- Depending on the method of delivering the file, configure the settings of Local File or the Get File node available within the integrations listed in step 1.
- If the data requires modification, configure the settings of the Data Transformation node. If you have prepared the transformation rules for the data structure of the imported file, select it from the dropdown list. If not, create it from scratch.
You can remove this node if your data doesn't require transformation. - Configure the settings of the Import to catalog node according to the instructions in the "Node configuration" section.
- If your workflow is ready, click Save & Run.
- Upload the