If you manage a large number of segmentations, having their metadata in one exportable file makes it easier to compare and analyze them as a whole.
This use case describes how to build an automated workflow that retrieves the list of your segmentations from the Synerise API, converts the JSON response into flat rows with the Run Code node, and saves the result as a file you can download and open in a spreadsheet application. This gives you a self-service way to filter, sort, and analyze your segmentations — for example, to identify segmentations that haven't been used in a long time, or to audit which segmentations were created by which author — without needing to query the API manually.
The same pattern (retrieving a list from a Synerise API endpoint, reshaping it with Run Code, and exporting it as a file) can be reused for other list-type endpoints, such as automations, message templates, or recommendation configurations.
Prerequisites
- You must have segmentations created in
 Decision Hub > Segmentation.
 - You must have a workspace API key with the
ANALYTICS_BACKEND_SEGMENTATIONS_LIST_READpermission, used to authorize the request to the Segmentations - List endpoint. - You must be assigned a user role with the Data export > Save file - Read, Edit, and Execute permissions, required to configure and run the Save File node.
- Basic knowledge of JavaScript, required to configure the Run Code node.
Prepare a workflow
Create a workflow which retrieves your list of segmentations from the Synerise API, transforms the response into rows, and exports it as a downloadable file.
- Go to
 Automation Hub > Workflows > New workflow.
 - Enter the name of the workflow.
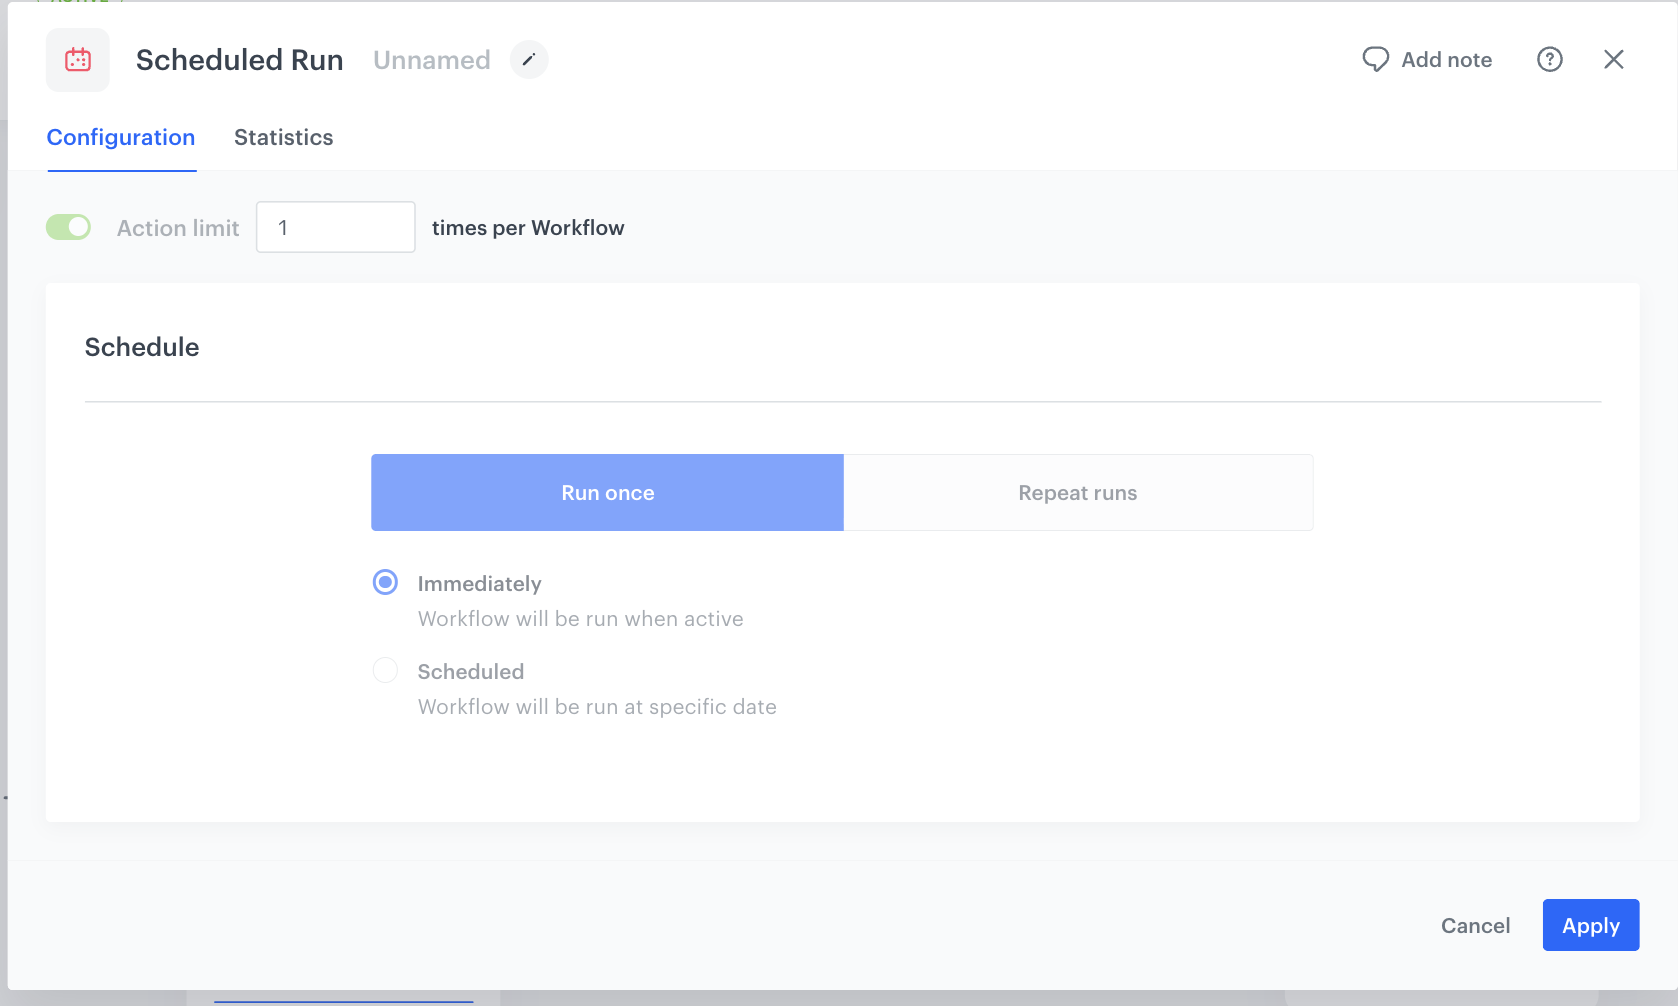
Trigger the workflow on a schedule
As the first part of the process, define when the workflow runs, so the segmentation list is refreshed automatically without you having to launch the process manually.
- As the trigger node, add Scheduled Run.
- In the configuration of the node select the Repeat runs tab, where the workflow runs on a recurring basis. Repeat runs is the recommended option if you want the segmentation export to refresh automatically at regular intervals, for example once a day.
- From the Timezone dropdown list, select the time zone consistent with the timezone selected for your workspace.
- Define the frequency of the workflow — for example, once a day at a fixed time — according to how often you want the segmentation list refreshed.
- Confirm by clicking Apply.
Retrieve the list of segmentations from the Synerise API
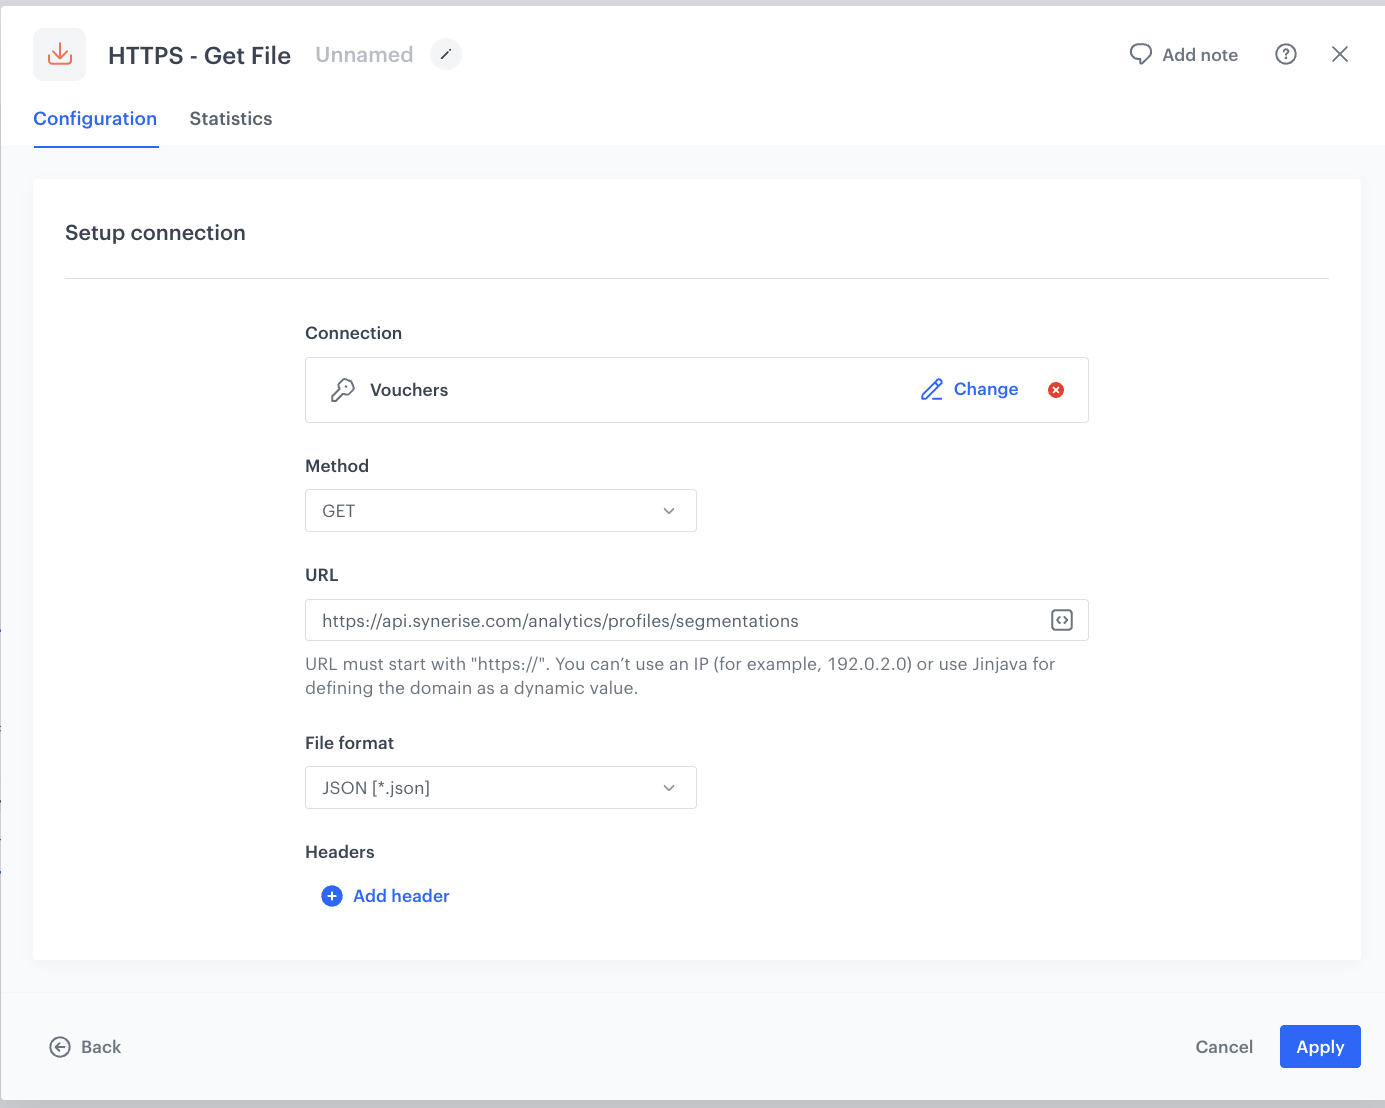
In this part of the process, you configure an HTTP request that retrieves the current list of your segmentations from the Synerise API.
- Add the HTTPS - Get File node and configure the connection with an API key that has the
ANALYTICS_BACKEND_SEGMENTATIONS_LIST_READpermission. - Set the Method to GET, the URL to
https://api.synerise.com/analytics/profiles/segmentations, and the File format to JSON.
NOTE: The Segmentations - List endpoint accepts parameters you can append to the URL to narrow down the returned set of segmentations, for example: page and limit (pagination), search (search by name), sortBy (sorting, for example name:asc or author:desc), directoryId (segmentations from a specific directory), and ids (a comma-separated list of specific segmentation IDs).
Transform the raw API response into individual rows
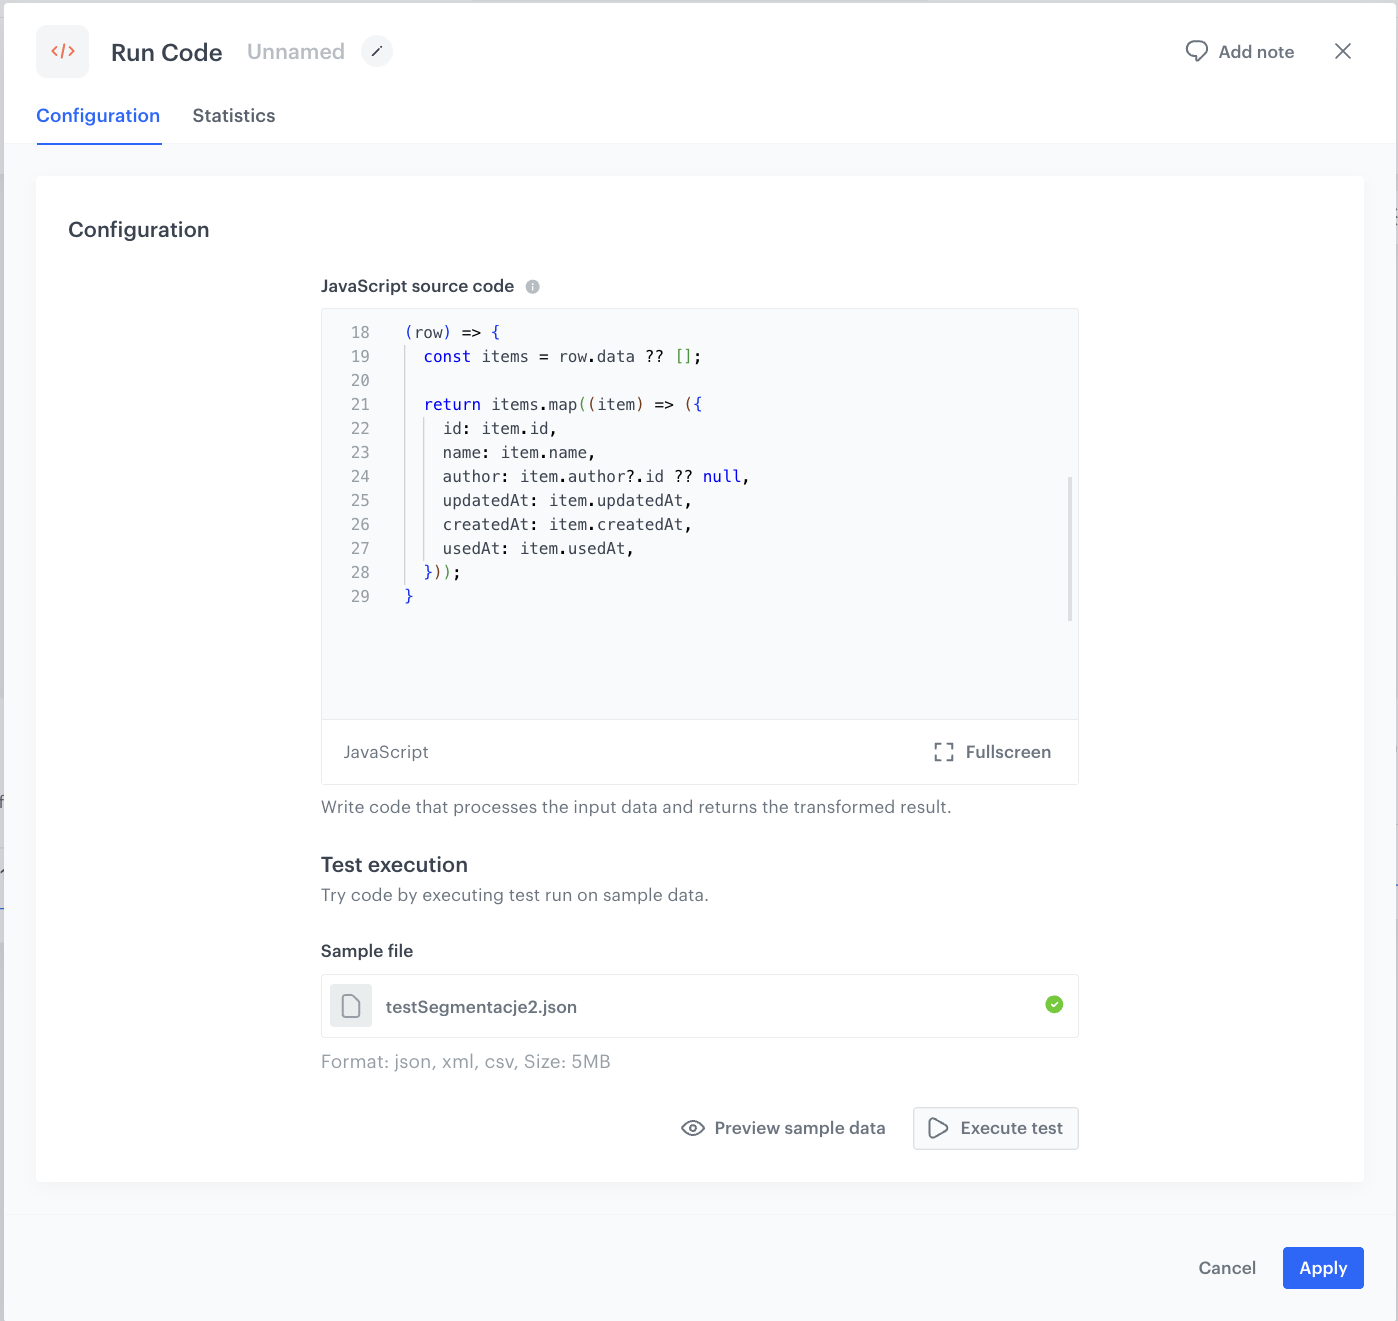
The API response has the structure { "meta": {...}, "data": [...] }. This entire object arrives at the Run Code node as a single row, and the a function in the node reaches into the data field and returns an array of objects with the selected fields. Returning an array of objects means each element becomes a separate output row, which is how a single API response turns into a full set of rows ready to be saved as a file.
- Click THEN and add the Run Code node.
- In the JavaScript source code field, enter the following function:
(row) => { const items = row.data ?? []; return items.map((item) => ({ id: item.id, name: item.name, author: item.author?.id ?? null, updatedAt: item.updatedAt, createdAt: item.createdAt, usedAt: item.usedAt, })); } - Under Test execution, in the Sample file field, upload a sample JSON file with the same structure as the API response (for example, a response exported earlier from the same endpoint), to preview how your code reads the data.
- Click Preview sample data to check the structure, then click Execute test to run the function against the sample and confirm the output contains the expected fields.
- Confirm by clicking Apply.
Export the transformed data to a downloadable file
As the final part of the process, save the rows produced by the Run Code node as a file you can download.
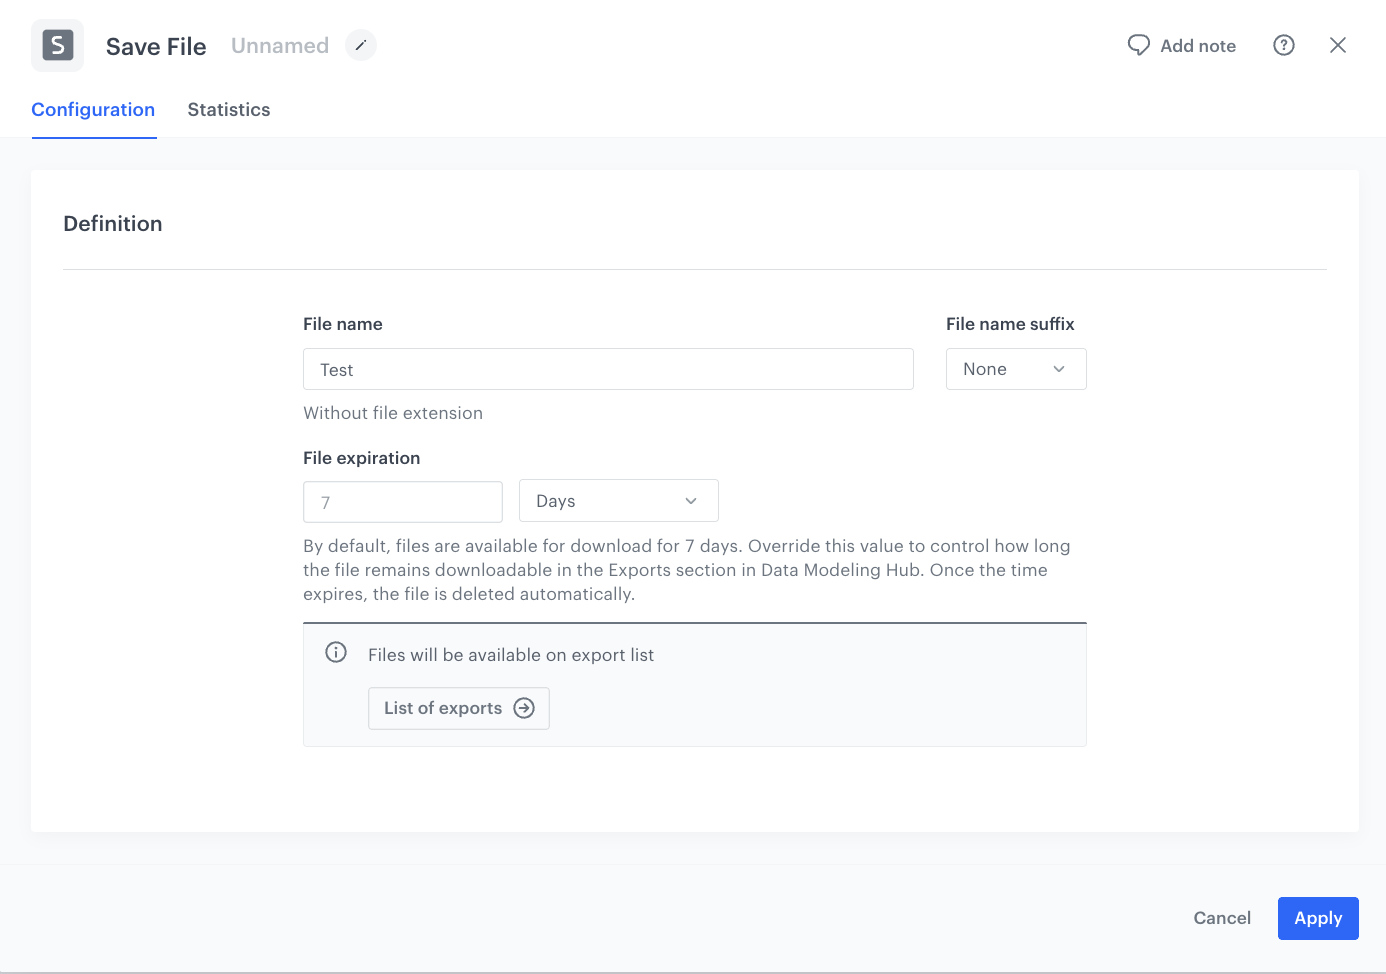
- Click THEN and add the Save File node.
- In the configuration of the node:
- In the File name field, enter the name of the exported file (up to 128 characters).
- Optionally, from the File name suffix dropdown list, select Date to add the current date to the file name.
- Optionally, in the File expiration field, define how long the exported file will be available for download. The minimum value is 30 minutes; if left empty, the default expiration period is 7 days.
- Confirm by clicking Apply.
Add the finishing node
- Add the End node and connect it to the Save File node.
- In the upper-right corner, click Save & Run.
Result: The file is available for download, both as JSON and as CSV, from Data Modeling Hub > Export, or from the Transformation logs tab in the workflow view.
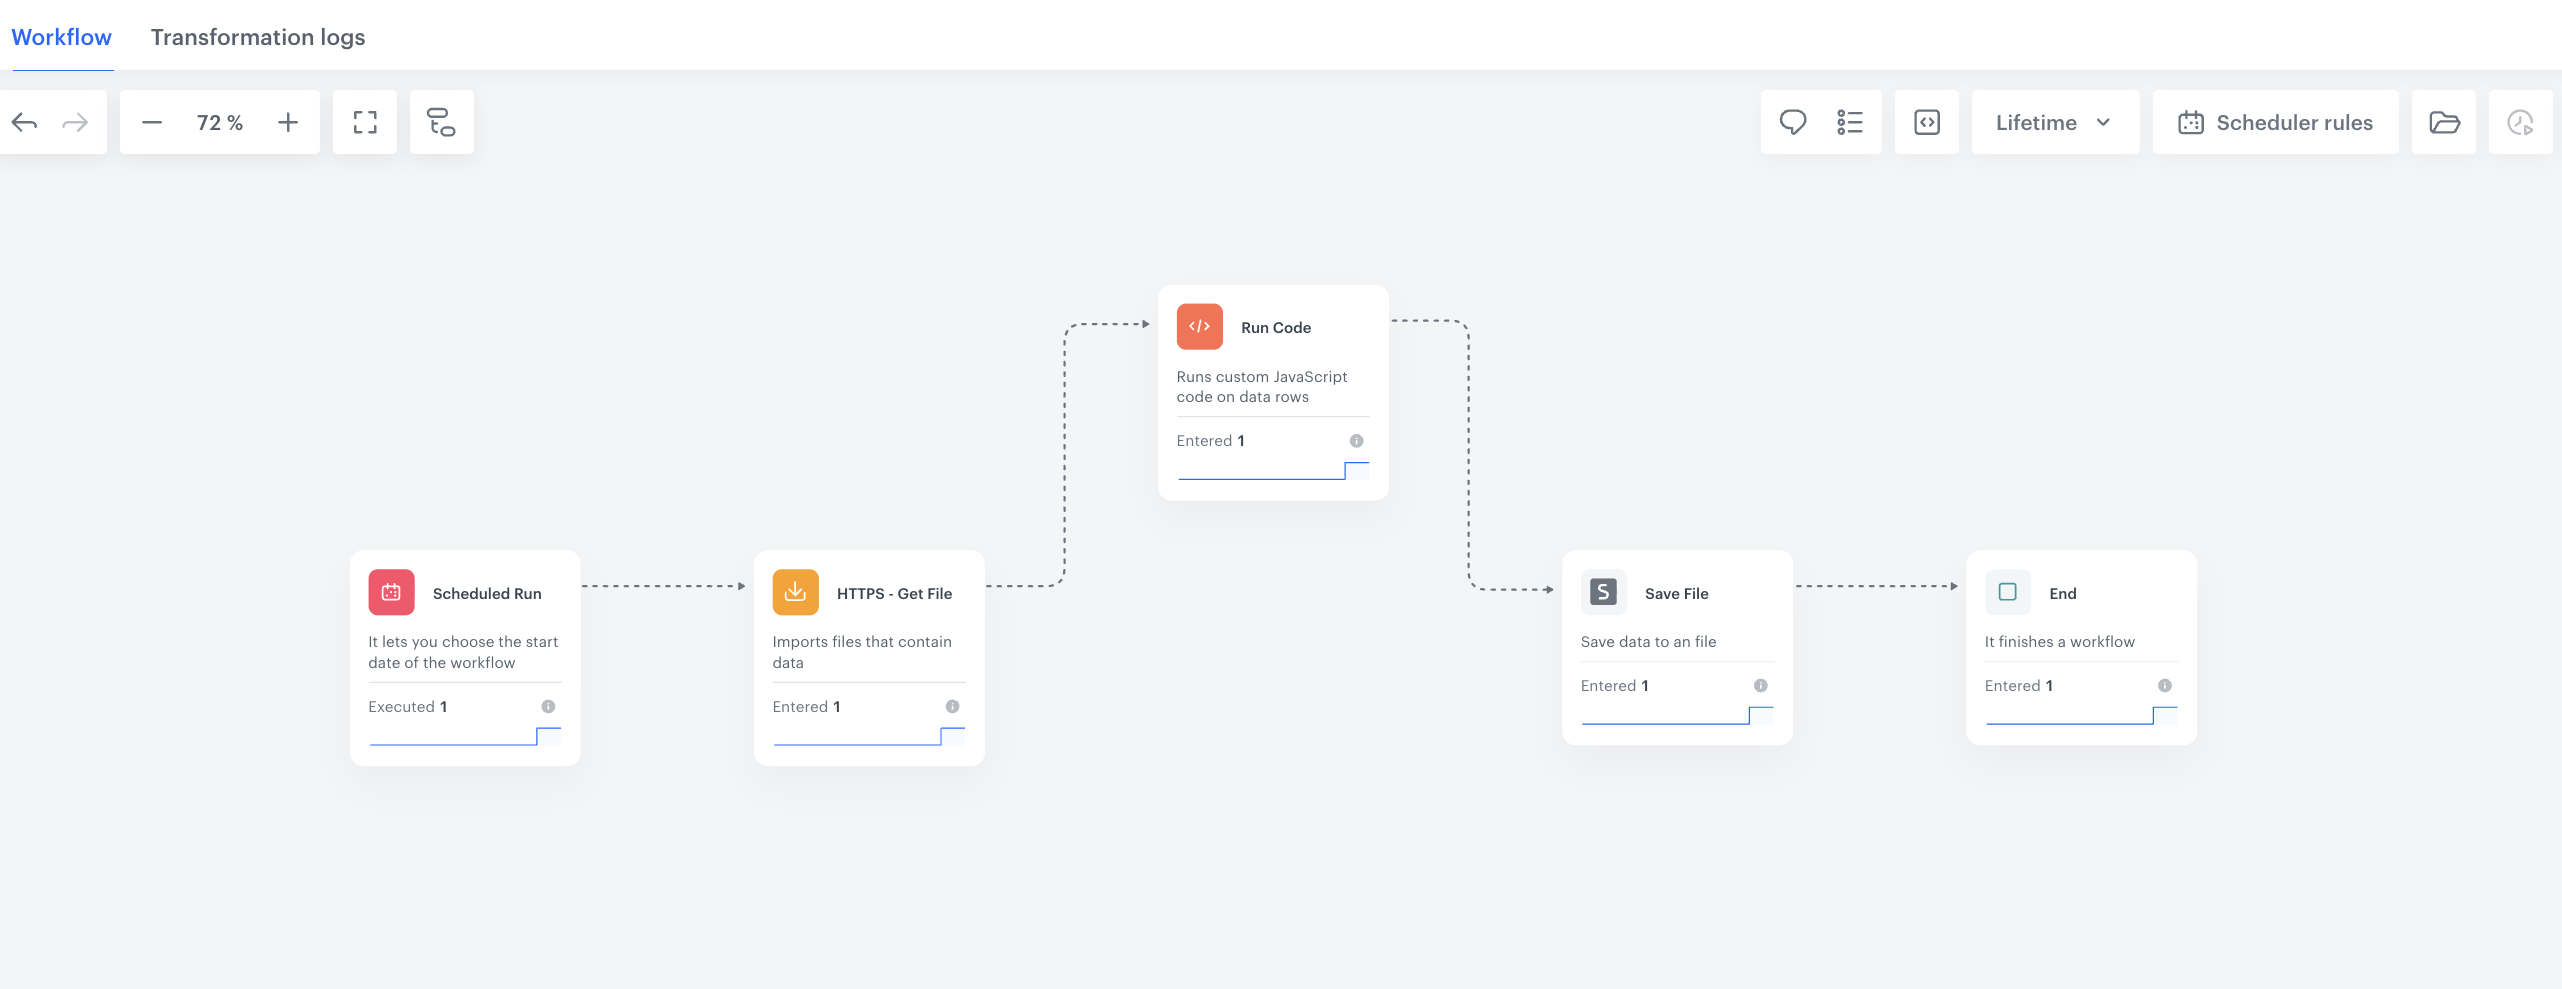
The workflow configuration
What's next
The combination of an HTTPS - Get File node pointed at a Synerise API list endpoint and a Run Code node that flattens the response can be reused for other data you'd like to export as a file, such as lists of automations, message templates, or recommendation configurations — as long as a corresponding "list" endpoint is available in the API Reference.
If the client needs the file to be delivered automatically to an external system instead of being downloaded manually, the Save File node can be replaced with a Send File node for SFTP, HTTPS, Amazon S3, Azure Blob Storage, or Google Cloud Storage.