The Save File node initiates an export job to generate a file containing data retrieved in the workflow. You can download the file directly from the export list view or in the Transformation logs tab (you can access it in the workflow view).
The Save File node must be preceded by a node which retrieves data, for example: Get Profiles node or any Get File node available within the native integrations (such as Amazon S3, Google Cloud Platform, and so on).
You can only use this node in business workflows.
Prerequisites
- If the exported data must follow specific requirements (for example, specific column names), create a data trasnformation rule.
- You must be assigned with a user role with the following permissions:
- to preview the Save File node configuration: Data export > Save file - Read
- to run and resume workflows containing the Save File node: Data export > Save file - Execute
- to edit the Save File node configuration: Data export > Save file - Edit
Limits
There are some limits you must follow:
- You can export up to 10,000,000 profiles per a single export.
- The file containing profiles cannot exceed 5GB in size.
Node configuration
- Click the node.
Result: A pop-up opens.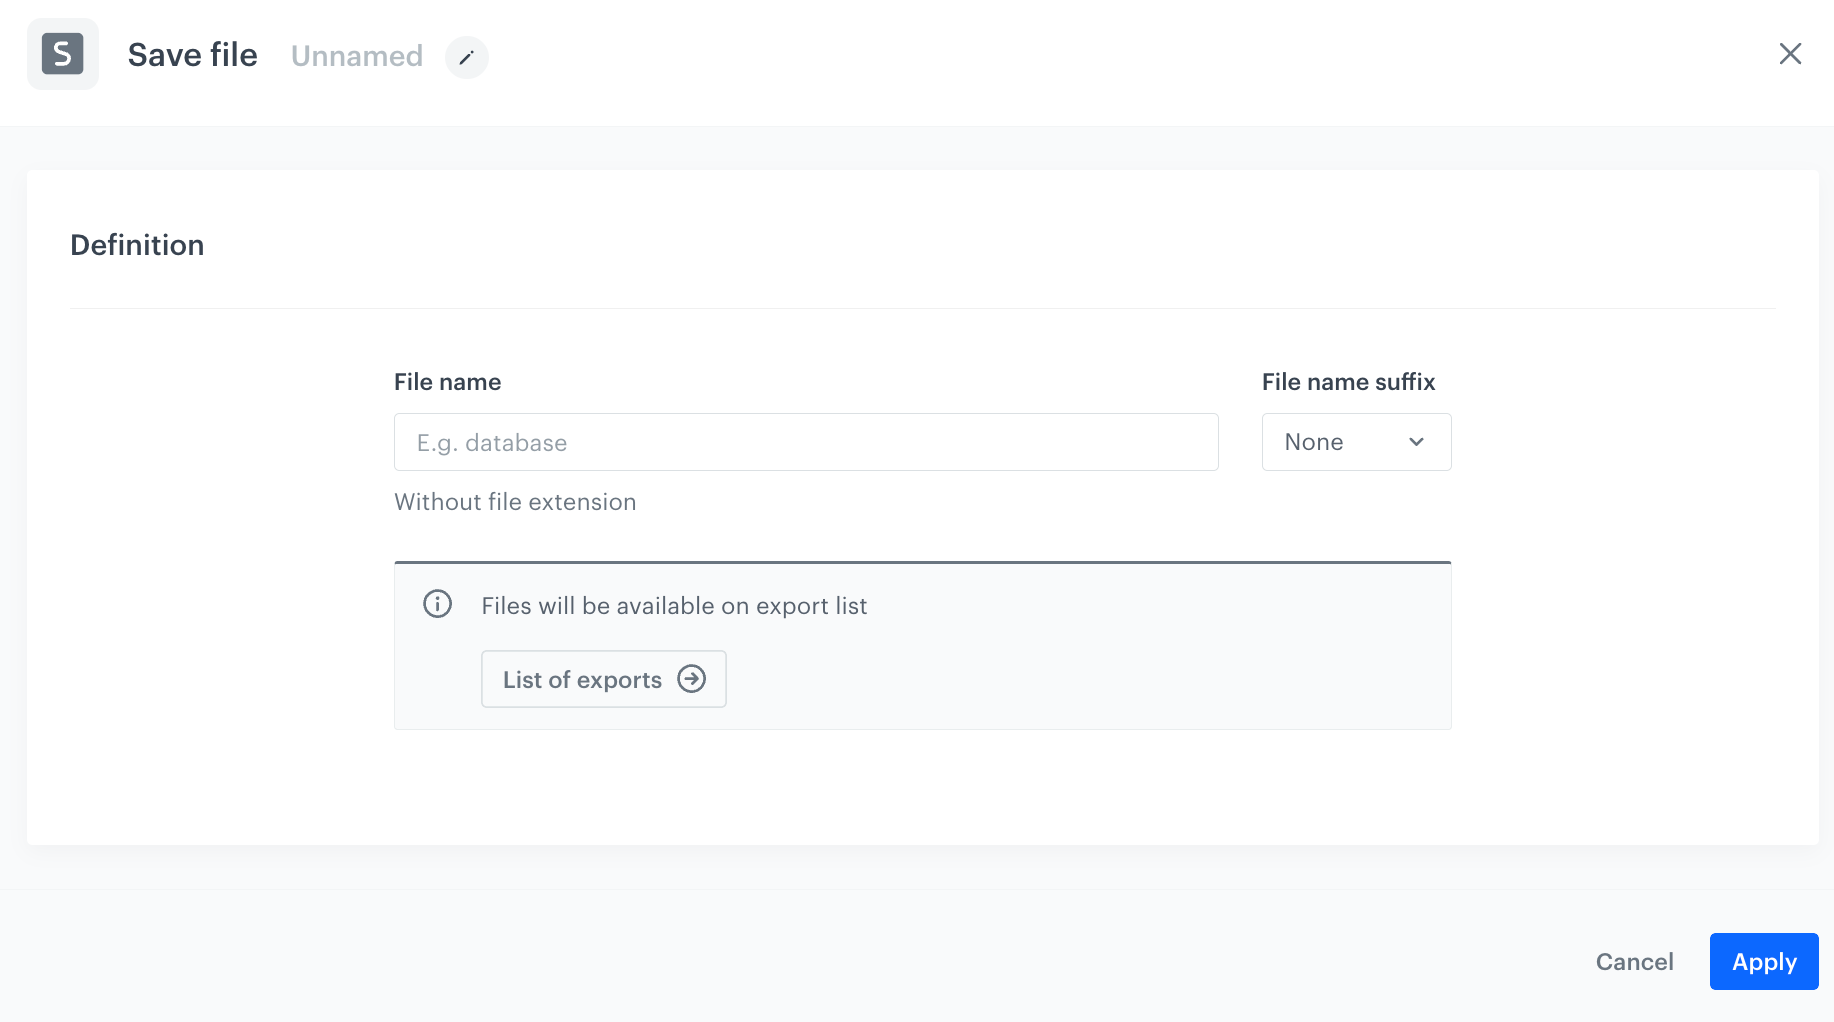
An empty configuration form of the Save File node; you can open it by clicking the node on the canvas - In the File name field, provide the name of the exported file.
It can't be longer than 128 characters. - Optionally, you can add the date suffix to the file name, by selecting Date from the File name suffix dropdown list.
As a result, the file will be exported as:[name of the file] - [current date] - Optionally, in the File expiration field, define how long the exported file will be available for download.
- The minimum value is 30 minutes.
- If you leave this field empty, a default expiration period of 7 days will apply.
- Confirm the settings by clicking Apply.
Example of use
You can use the Save File node to create a workflow which periodically exports a specific group of customers to a file which you can download to your device.
- As the trigger node, select Scheduled Run.
In the configuration of the node, define the frequency of triggering the workflow. You can learn more about this node in "Scheduled Run" node. - As the next node, add Get Profiles.
In the configuration of the node, select the group of customers you want to export and, optionally, select the attributes to include in the export.
You can learn more about this node in "Get Profiles" node. - Add the Save File node.
This way, the customers and their information selected in the Get Profiles node will be exported to a file. - As the final node, add End.
You can download the file directly from the export list view or in the Transformation logs tab (you can access it in the workflow view).
Result:
The final configuration of a workflow exporting a group of customers to a file