Creating catalogs
You can create catalogs and upload there a CSV file with data that can be used to further actions in the application.
You can also upload JSON and XML files to catalogs through API or by importing.
- Uploading JSON through API
- Requirements for importing JSON and XML files
- Importing product feed to a catalog
Requirements
- Permissions that allow access to Catalogs section and adding new catalogs.
- CSV files only:
- Values in one column must be unique because the column itself serves as the key. Otherwise, the values may be overwritten.
- Avoid spaces and special characters in the column names and the name of the file.
- A file can contain up to 200 000 records.
Creating a catalog

- Go to
 Data Modeling Hub > Catalogs > New Catalog.
Result: A pop-up opens. - Enter the name of the catalog.
You can use the following characters:a-z;A-Z;0-9,-
Important: Spaces ( - Confirm creating the catalog by clicking Apply.
Result: A catalog appears on the list. Its position on the list is defined by alphabetic order (the list is arranged from Z-A).
Importing data into the catalog
To learn how to import data to a catalog, see this article.
Records imported into a catalog will be available on the Records list tab.

Enriching events with data from catalog
You can use the data in catalog parameters (columns) to enrich event information. This takes place when the value of a selected event parameter matches the value of the primary key selected in the catalogs’s event enrichment settings.
You can find more information about enriching event with catalog data and its limits in the “Enriching events with data from catalogs” section of the “Event parameters and enrichment” document.
-
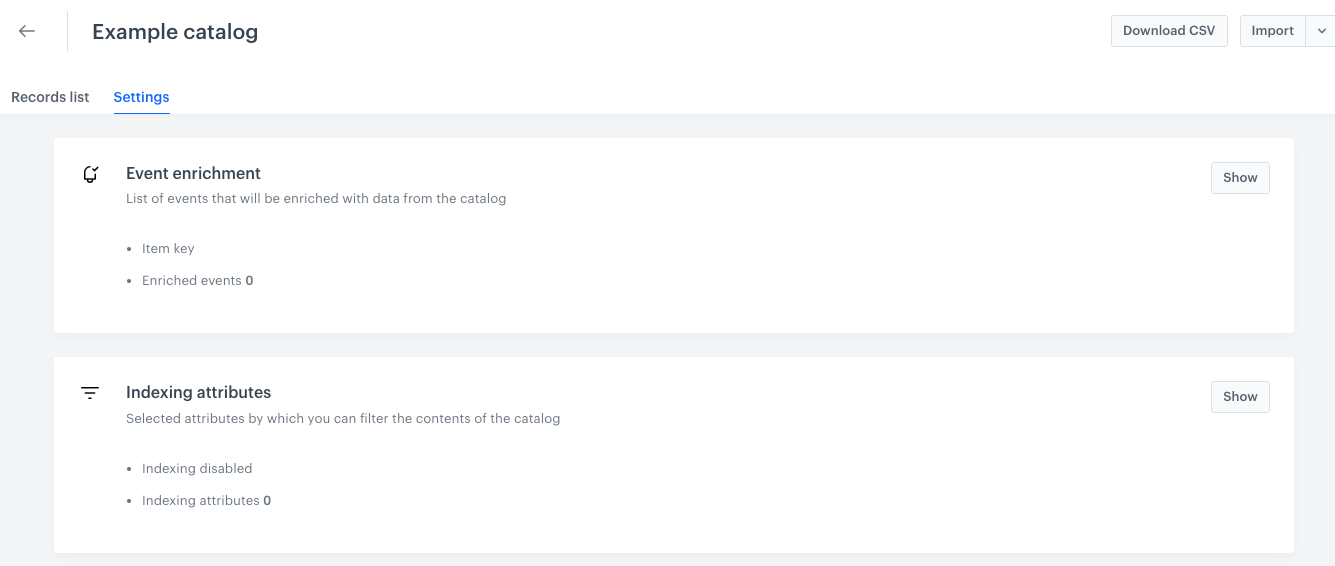
Go to the Settings tab.
-
On the Event enrichment section, click Show.
Result:
The Event enrichment section -
In the Primary key name field, enter the name of the column whose values need to match the value of the event parameter you will select later.
-
In the Primary key description field, enter the description for the primary key which makes it easy for you and other workspace users to identify the key.
-
To select the first event for enrichment, in the Enriched events section, click Enrich first event.
If it’s not your first event, click Enrich an event button.
Result: A pop-up appears. -
From the Event name dropdown list, select the event you want to enrich.
-
Follow the instructions from the “Procedure” section the in Event parameters and enrichment article, step 5.
Indexing catalogs
Indexing a catalog lets you use catalog columns as attributes while creating filter conditions for promotions and previewing AI recommendations (if the catalog was used for AI Engine Configuration). You can select up to 10 columns.
For new catalogs
-
Go to the Settings tab.
-
On the Indexing attributes section, click Show.
Result:
The Indexing attributes section -
Enable the Index this catalog option.
-
Click Select attributes.
Result: A pop-up appears. -
To select the attributes for indexing, next to the parameter name, select the checkbox.
You can select up to 10 attributes. -
Confirm your choice by clicking Apply on the pop-up.
WARNING: The selection of attributes can only be changed by re-enabling the indexing. -
Confirm the settings by clicking Apply on the Indexing attributes section.
For old catalogs
Catalogs created before the 27th of May, 2025 are considered old.
All columns in the catalog are indexed automatically by default. To change indexing settings (for example, change scope of indexed columns), you must remove the index from a catalog and re-enable indexing by following the procedure for new catalogs.

Check dependencies
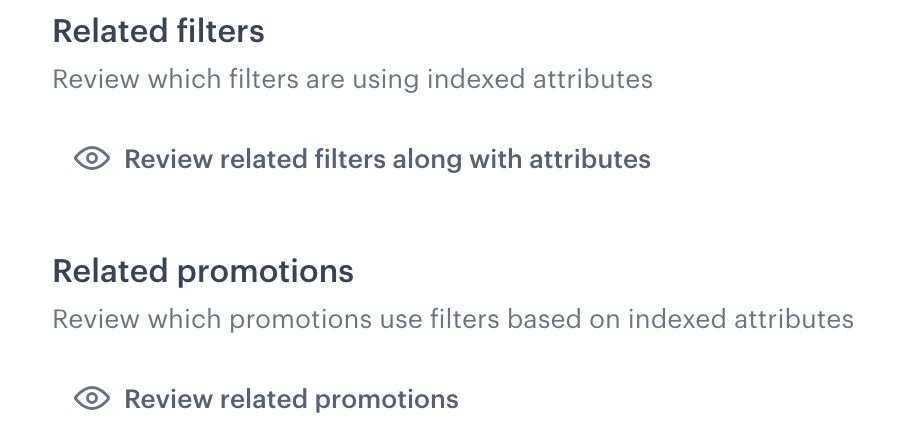
You can check where the indexed columns are used in promotion filters and recommendations. It’s a useful thing to do before making changes to the scope of indexing settings or removing it from the catalog.

Removing indexing
- Go to the Settings tab.
- On the Indexing attributes section, click Show.
- At the bottom of the section, click Remove the index for this catalog.
Result: A pop-up appears. - On the pop-up, review related filters and promotions.
- You can remove releated filters by enabling Remove related filters.
- Confirm index removal by clicking Remove the index from this catalog.