
A landing page is a destination where users are directed after clicking a link, such as in an email or a Facebook ad. It can function as an independent website with valuable information or as a microsite within a larger web domain. These pages are indispensable tools in promotional campaigns aimed at showcasing specific products or services.
Using landing pages unlocks extensive multichannel engagement possibilities, enabling you to share links in emails, SMS, mobile push notifications, and more to drive traffic, generate leads, promote offerings, and boost brand visibility and customer interaction.
Feature overview
- Personalization: You can use inserts both in landing page content (in all template builders) and in configuration sections in the form (for example, in the URL, SEO, and Customize sections). This lets you incorporate Synerise objects such as recommendations, vouchers, promotions, metric, aggregates, expressions or customer attributes in a landing page to personalize its content.
- User-friendly template configuration: You can create user-friendly configuration forms for landing page templates in the code editor. This lets non-developer users modify the design of the template.
Tracking traffic: By default, Synerise tracks the following events in landing pages:
To maximize the effectiveness of your landing pages, you can additionally implement the tracking code in one of the steps in the configuration form (instructions are available in "Customizing landing page" section in this article).
<details class="accordion"><summary>Click to see advantages of adding a tracking code to your landing page</summary><div class="accordion-content"><ul> <li><a href="/docs/assets/events/event-reference/web-and-app/">Website interaction events</a> will be generated on the profile of the customer who visits the landing page; this will let you track user sessions and analyze their duration, you will have information about the page that the user was on before visiting the landing page, and so on.</li> <li>Access to context management for rendering Jinjava on the landing page (for example, if a customer submits a form on a landing page, the customer context will reset like it does on the webpage in which the Synerise JS SDK implemented). You can read more about customer context in the <a href="#establishing-customer-context">"Establishing customer context" section</a>.</li> <li>When a customer interacts with the Synerise objects embedded in the landing page, the events will be generated, for example, <a href="/docs/assets/events/event-reference/recommendations/">recommendation events</a>, <a href="/docs/assets/events/event-reference/search/">AI search events</a>, <a href="/docs/assets/events/event-reference/loyalty/">loyalty events</a>, and so on.</li> </ul></div></details>- Visitor tracking control: You can disable personalization and collecting events for the visitors who disabled tracking in their browsers.
Domain configuration options: You can choose one of the following landing page domain configurations:
- You can create a landing page under Synerise's domain - in such case, the address of the landing page will contain
.snrpage, for example:yourdomain.snrpage.com, there are no requirements for this configuration; - You can create a landing page under your own domain - in such case, you must meet these requirements
- You can create a landing page under Synerise's domain - in such case, the address of the landing page will contain
Requirements for custom domains
If you want to publish a landing page within your own domain, you must:
- Send the SSL certificate or give an approval for generating a certificate through Let's Encrypt.
- Configure DNS - add the
CNAMErecord. Depending on the cloud where your workspace is hosted:- for Microsoft Azure EU, set the CNAME to
lp.synerise.com - for Microsoft Azure USA, set the CNAME to
lp.azu.synerise.com - for Google Cloud Platform, set the CNAME to
lp.geb.synerise.com
- for Microsoft Azure EU, set the CNAME to
- If you want to provide your own certificate, make sure it is in
X.509format and you must provide a private key. - Submit a customer service request for configuring your domain in Synerise and adding this domain to the Domain dropdown list available in the configuration form of the landing page.
Establishing customer context
Customer context is crucial for content personalization on landing pages. Depending on how much information we have about the visitor of a landing page, we can adjust the content accordingly and train our AI models on the basis of the customer's behavioral history.
Identification of a customer is based on the snrs_uuid cookie, which stores the visitor's UUID. If the cookie exists when the customer visits the landing page, the stored UUID is used as the context for rendering Jinjava. If the cookie doesn't exist, Synerise generates a new UUID as the context for Jinjava rendering, creates a new anonymous profile in CRM, and sets the snrs_uuid cookie in the browser.
The customer context (the value of snrs_uuid cookie) may be established or changed in various circumstances. You can do it by:
Retrieving UUID from an existing cookie - When a visitor enters a landing page with the
snrs_uuidcookie set in the browser, the UUID is used as the context for the landing page.- Example 1: A user visited
example-domain.comand received a UUID. In the same browser, the user entered a landing pageoffer.example-domain.com(a landing page created within the custom domain). As the cookie is shared between domain and subdomain, during the visit to the landing page, the cookie with UUID is used as the context for the landing page. - Example 2: A user visited
example-domain.comand received a UUID. In the same browser, the user entered a landing pageoffer.example-domain.snrpage.com(a landing page created within the Synerise domain). These two domains are different, so a new UUID is generated and saved in a cookie.
In this scenario, to address potential customer anonymity on the landing page, we strongly recommend adding the UUID in the landing page link as described below.
- Example 1: A user visited
Passing UUID in the landing page link - By passing the UUID in the landing page link, you can be sure that its content will be rendered exactly for the customer who is redirected there from a different channel or a different domain, for example when sending a mobile push or SMS with the link to personalized offer on a landing page.
To pass UUID in the link to the landing page, you can:
- include a
snrs_clparameter in it and use an insert:https://your.landingpage.com?snrs_cl={{customer.uuid}}. The example link to a landing page above includes an insert which retrieves UUID of a user. - by inserting the link using
{% preparelink %}YOUR_LANDING_PAGE_URL{% endpreparelink %}tags which automatically adds thesnrs_clparameter to the link.
Passing UUID in the link is particularly recommended for landing pages whose content is personalized and it is created within the Synerise domain.
- include a
- The UUID specified in the URL parameter always takes priority. Even if a cookie containing the UUID is present in the browser, it will be replaced by the UUID included in the URL parameters, which serves as the context for rendering Jinjava. This overwriting process is exclusive to the landing page domain (for example,
offer.example-domain.snrpage.com), while cookies stored for the main domain (example-domain.com) remain unaffected.
Creating landing pages
- Go to Experience Hub > Landing Pages > Create new.
- Enter the name of the landing page for the purposes of identifying the landing page on the list of landing pages.
- Create a landing page according to the instructions in this article:
- To:
- save and publish your landing page, click Publish.
- save your work for later, click Save as draft.
The status of a landing page is available on the list of landing pages. In the Communication statuses article, you can check the statuses which can be assigned to landing page.
Create content of landing page
To create content for your landing page or select the template:
- In the Content section, click Define.
- Click Create message.
Result: You are redirected to the template library. You can:
- Select the existing template for your landing page.
- Use the ready-made template from the "Predefined templates" folder.
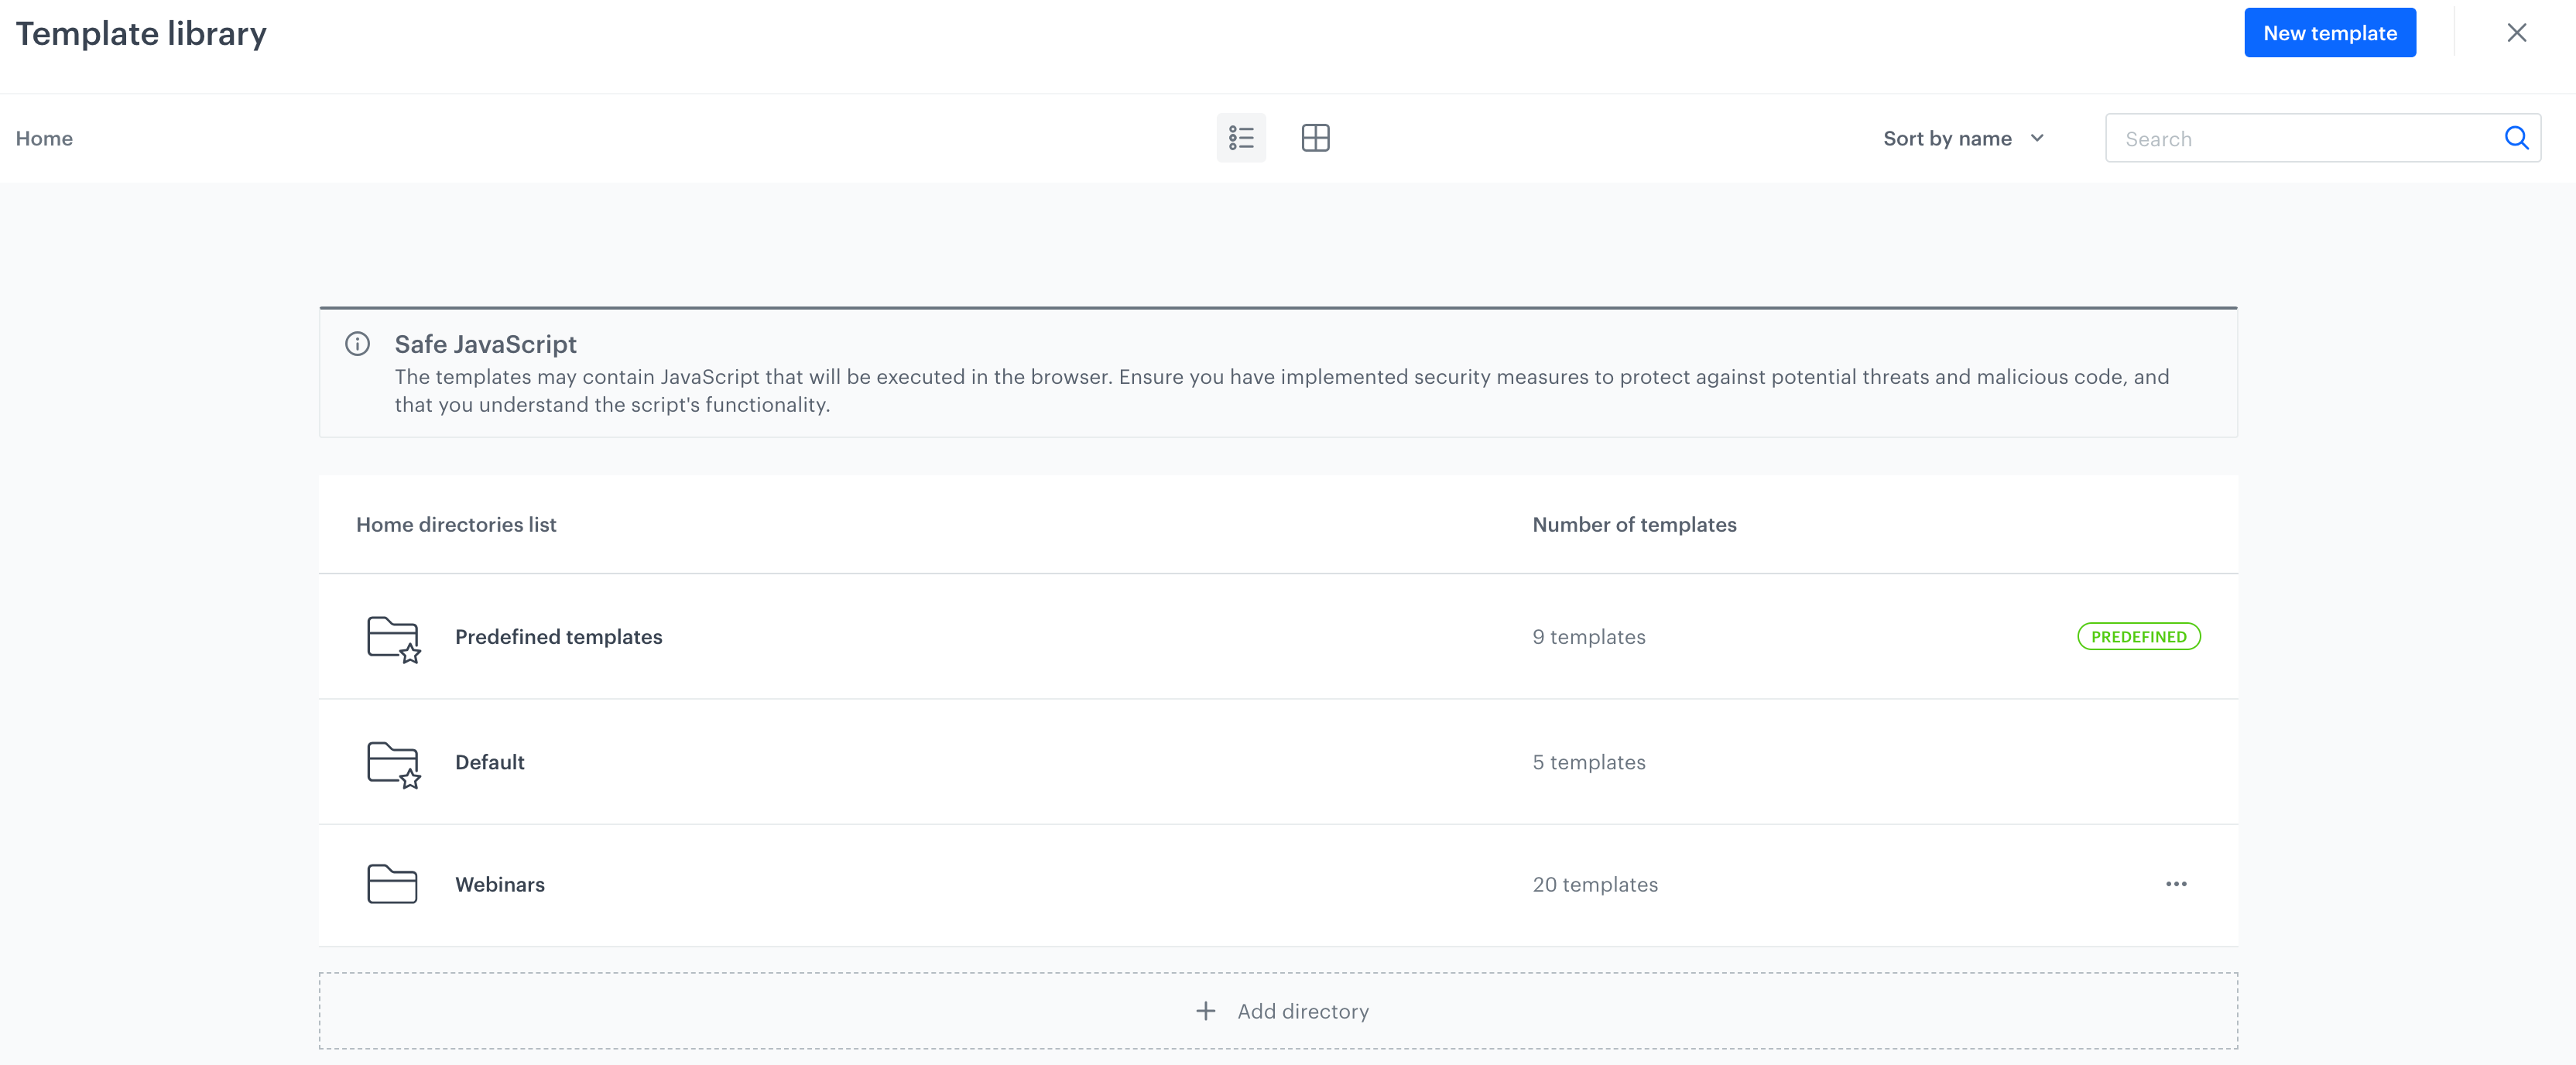
The example template library with the Predefined templates folder - Create a new one by clicking New template. Then, you can select one of the following template builders:
- After you complete the template, in the upper right corner, click Use in communication.
- To confirm the content for the landing page, in the Content section, click Apply.
Schedule the display
In this part of the process, you can decide when your landing page will be active.
- In the Schedule section, click Define.
- From the Timezone dropdown list, choose the time zone that will serve as a reference point while selecting the start and end date of a landing page.
- In Start date, decide when the landing page will be launched.
- Immediately - The landing page will be available immediately after publishing it.
- Scheduled - You can select the exact date and time of launching the landing page. After finishing the configuration of the landing page, you must publish it, so it can be visible at selected time and date.
- In End date, decide when the landing page will expire.
- Never end - The landing page will be available all the time until you manually stop it.
- Select date - You can select the exact date and time of the landing page expiration.
- Optionally, in Type of period, you can narrow down the display of the landing page to selected time of the day, week or month. You can use one period type at a time.
- After configuring settings in this section, click Apply.
Adjust SEO
In this part of the process you can define technical details concerning search engine optimization and increase the chances of placing high in search results.
- In the SEO section, click Define.
- In Page title, enter the title of the landing page. It will be displayed on the browser tab.
- In Description, enter the description of your landing page. This description will be visible in the results of search engines under the title of the website.
- To display this landing page in search results in web search engines, enable the Index this page toggle.
- In Advanced options, to make the landing page responsive, add the following metadata:
<meta name="viewport" content="width=device-width">
The data added in this field will be added to the website's <head> element.
Define landing page URL
In this part of the process, define the URL address of your landing page.
By default, the landing page will be published within the Synerise domain (example format: www.example.snrpage.com). If you want to use your domain, you must meet the requirements.
- In the URL section, click Define.
- From the Domain dropdown list, select the address of your landing page. The list already contains the URL to your landing page.
- If you're creating a landing page on the Synerise domain, the value you entered in the Workspace subdomain field in Settings > Workspace Details > Basic info is part of the URL.
- If you're creating a landing page on the custom domain, the URL will be available on the list provided you met the requirements.
- Optionally, if you want to add a part to the address after the domain, in Nice URL provide this part, for example,
dresses-and-skirts(don't use a slash, it is added automatically). - In URL for redirecting users when the landing expires (optional) enter the URL to which you will redirect users after the landing page expires.
- Optionally, in Fallback URL enter the URL to which users will be redirected if your landing page is unavailable due to errors (for example, when it can't be rendered due to Jinjava syntax error). If you leave this field empty, users will be redirected to a generic error page.
- In URL preview, you are provided with a final link to your landing page. The preview is in real time, so if you fill a domain or URL, you get the preview of the address simultaneously.
- Confirm the settings by clicking Apply.
Disabling tracking
Optionally, you can disable tracking and personalization on your landing page for visitors who did not agree to tracking. You can only use this option if you implemented a Do Not Track mechanism. It involves the implementation of a cookie that must be stored in the browsers of visitors who rejected cookie consent. When the cookie is detected, the landing page is generated for an anonymous visitor, preventing the creation or updating of profiles, as well as the generation and storage of events and UUIDs in the system.
To disable tracking on a landing page, in the Custom cookie name field, enter the name of the cookie that indicates the Do Not Track setting.
Adding HTTP headers
In this part of the process, you can add custom HTTP headers to your landing page. In the HTTP headers section, in Key and Value fields, enter a header and its value, respectively.
Customizing landing page
In this part of the process, you can add CSS and scripts to your landing page. You can define the URLs to external sources or paste the snippets in this section.
In the JS section under the Advanced options option, to enable tracking users on your landing page, you can paste the tracking code.
- In the Customize section, click Define.
- In External URL for CSS, enter a URL link your external source with CSS.
- In External URL for JS, enter URL to your external source with JS.
- If you want to use of specific icons, in Favicon URL, enter URL to the source with favicons.
- In the JS section under the Advanced options option, to enable tracking users on your landing page, you can paste the tracking code.
- Confirm the settings by clicking Apply.
Versioning landing page
Versioning only applies to published landing pages. The system doesn't save versions of landing page drafts. In this part of the process, you can:
- preview current or earlier versions of your landing page. For the preview of current version of the landing page, you get the preview in a context of a customer or you can generate a preview for an anonymous customer. It's not possible for preview of older versions.
- create a new version of the existing landing page
Previewing current version
- On the top bar, click Preview.
- On the pop up:
- to generate a preview for a specific customer, from the Customer Context dropdown, select a customer and confirm by clicking Apply.
- to generate a preview for an anonymous customer, click Preview for anonymous.
Previewing older versions
- On the top bar, click
 icon.
icon. - On the sidebar, find the version which you want to get the preview of.
- Click
 .
. - From the dropdown list, select Preview.
Creating new version
- On the list of landing pages, select a published landing page.
- On the top bar, click the field with the version.
- On the list of versions, click icon on the version that you want to create another version from.
- From the dropdown list, click Edit.