This is a guide to the integration between Synerise and Auth0, which lets your users authorize with their Auth0 accounts.
Benefits
Centralized user management - With Auth0, you get to administer users from one central place in your organization.
Increased security - The benefit of a single user account in many applications helps to maintain a single identity and credentials, so users don’t have to remember too many credentials. Authentication takes place only with Auth0, with a single set of security-related policies regardless of the application.
Improved user experience - Your users only need to sign in once to use multiple applications. This approach ensures faster authentication, saves time and relieves users from remembering multiple credentials.
Prerequisites
You must have an account with an Auth0 identity provider service and create a SAML application within that account.
You must be granted a user role that allows access to Settings and perform Identity provider configuration in Synerise.
Configuring Auth0 as an Identity Provider in Synerise
Log in to Synerise.
Select the workspace you want to configure single sign-on for.
Go to Settings > Access Control > Single Sign-On (SSO).
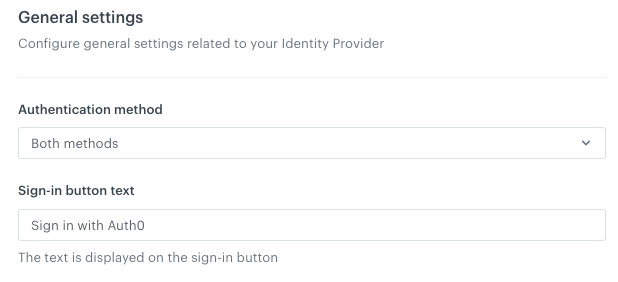
In the General settings section:
From the Authentication methods dropdown list, select the authentication method to the value of your choice. Learn more about it in "Make log-in screen modifications" section.
At the beginning, we suggest setting it to Both methods unless you have a separate account that’s in different domain than you will be setting up SSO for.
In the Sign-in button text field, type the name that is displayed on the sign-in button, for example Sign in with Auth0.
General settings
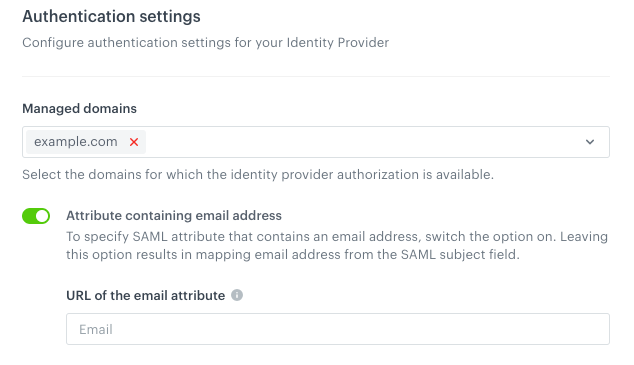
In the Authentication settings section:
From the Managed domains, select the domains you want to use for your SSO.
Enable Attribute containing email address. Result: The URL of the email attribute text field appears. Authentication settings
In URL of the email attribute, enter the value of the email attribute which is available in the settings in your Auth0 account.
The email attribute which is available in the settings on Auth0 account
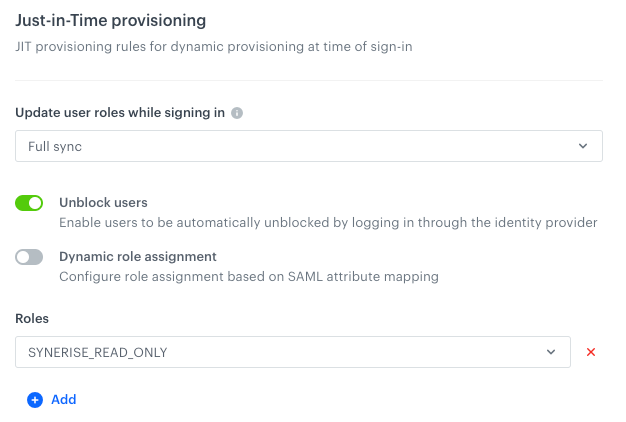
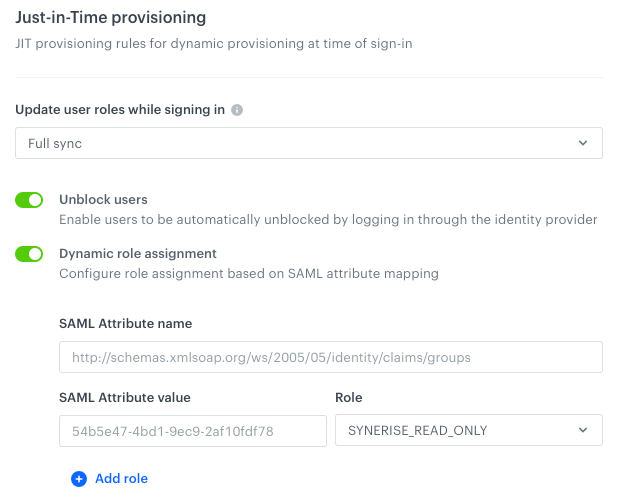
If you kept the default role assignment: Filled in dynamic assignment settings Result: In this model, every authenticated person has a role (or roles) assigned according to the settings defined here regardless of any configuration on Auth0 side and depending on setup in the Update user roles while signing in field.
If you selected dynamic role assignment: Filled in dynamic assignment settings Result: Every authenticated person has a role (or roles) assigned based on group/role mapping between Auth0 and Synerise depending on setup in the Update user roles while signing in field.
For the SAML protocol settings section, you must retrieve the values from the settings of the SAML application on the account of your provider:
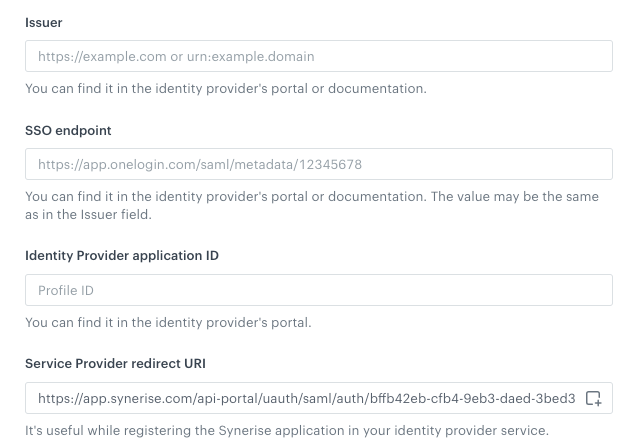
Blank SAML settings form
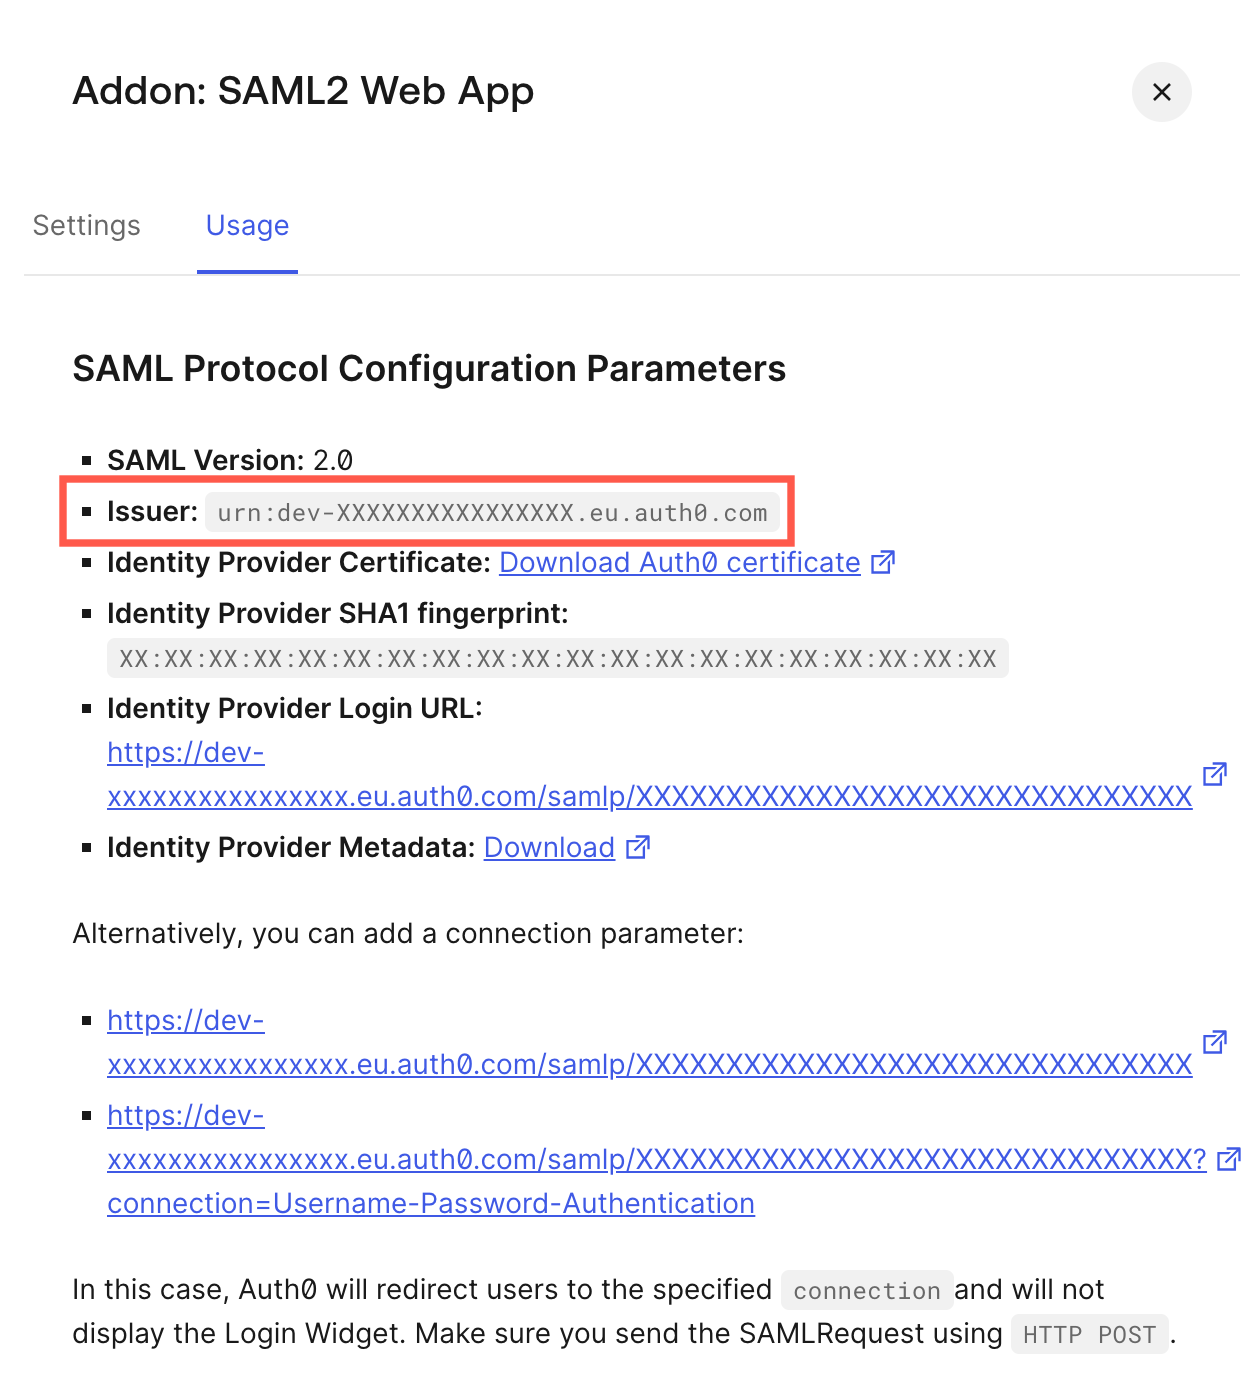
In the Issuer field, enter the value of the Issuer field, which can be either URL or URN (we recommend this for security reasons).
The value for the Identity Provider Entity ID in Auth0
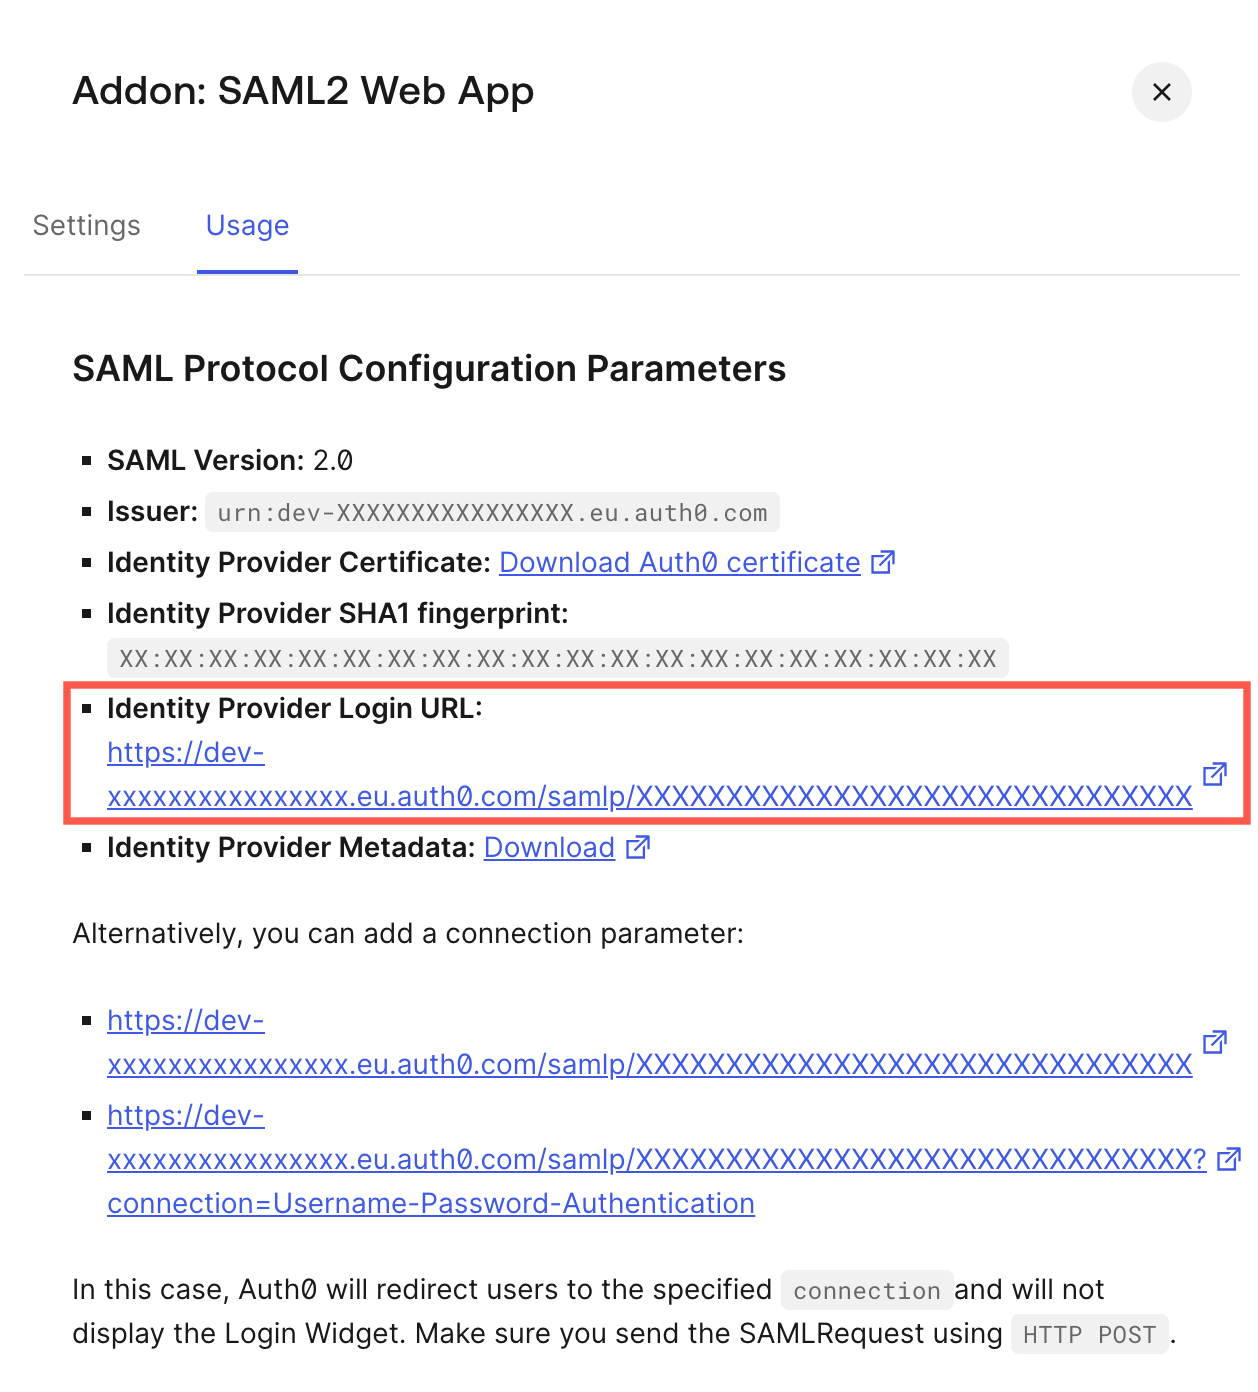
In the SSO endpoint fields, enter the value from the Identity Provider Login URL. The value for the SSO endpoint (https) in Auth0
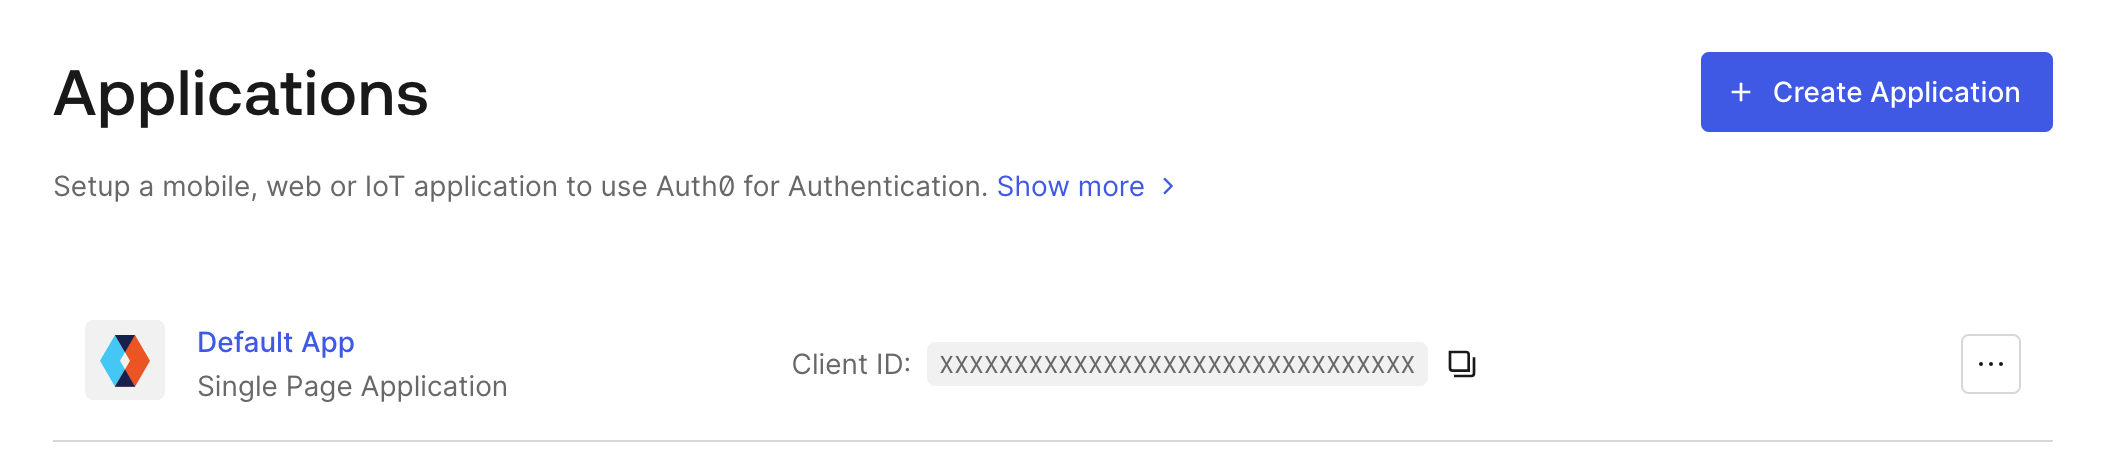
In the Identity Provider application ID field, enter the value of the Client ID field. The value for Identity Provider application ID in Auth0
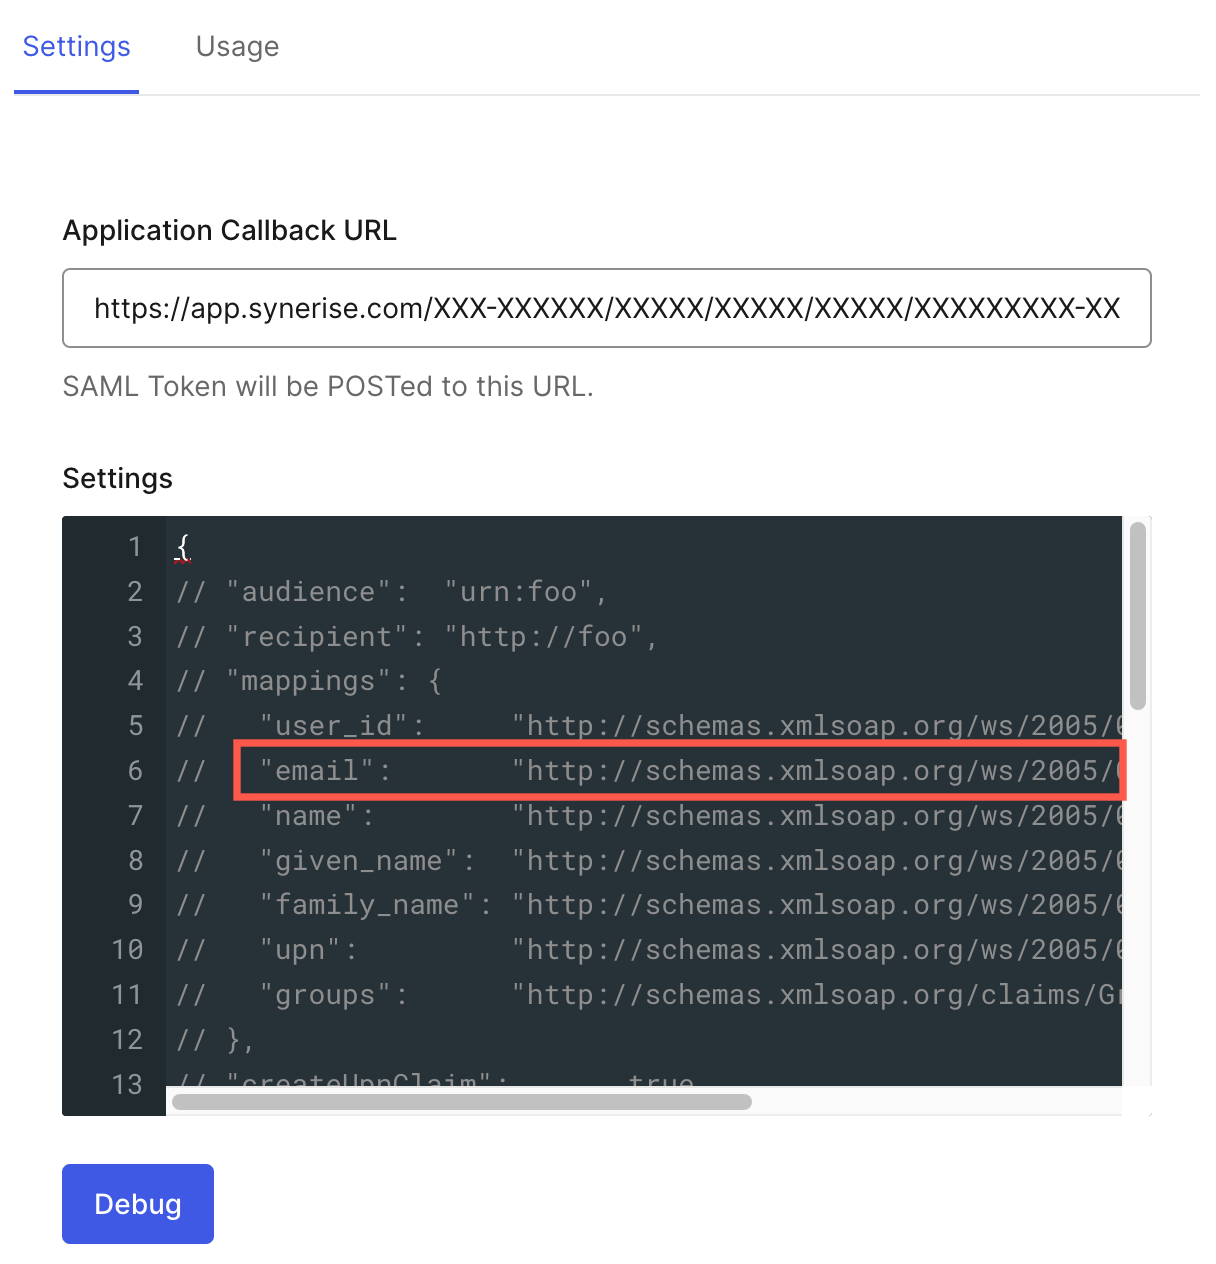
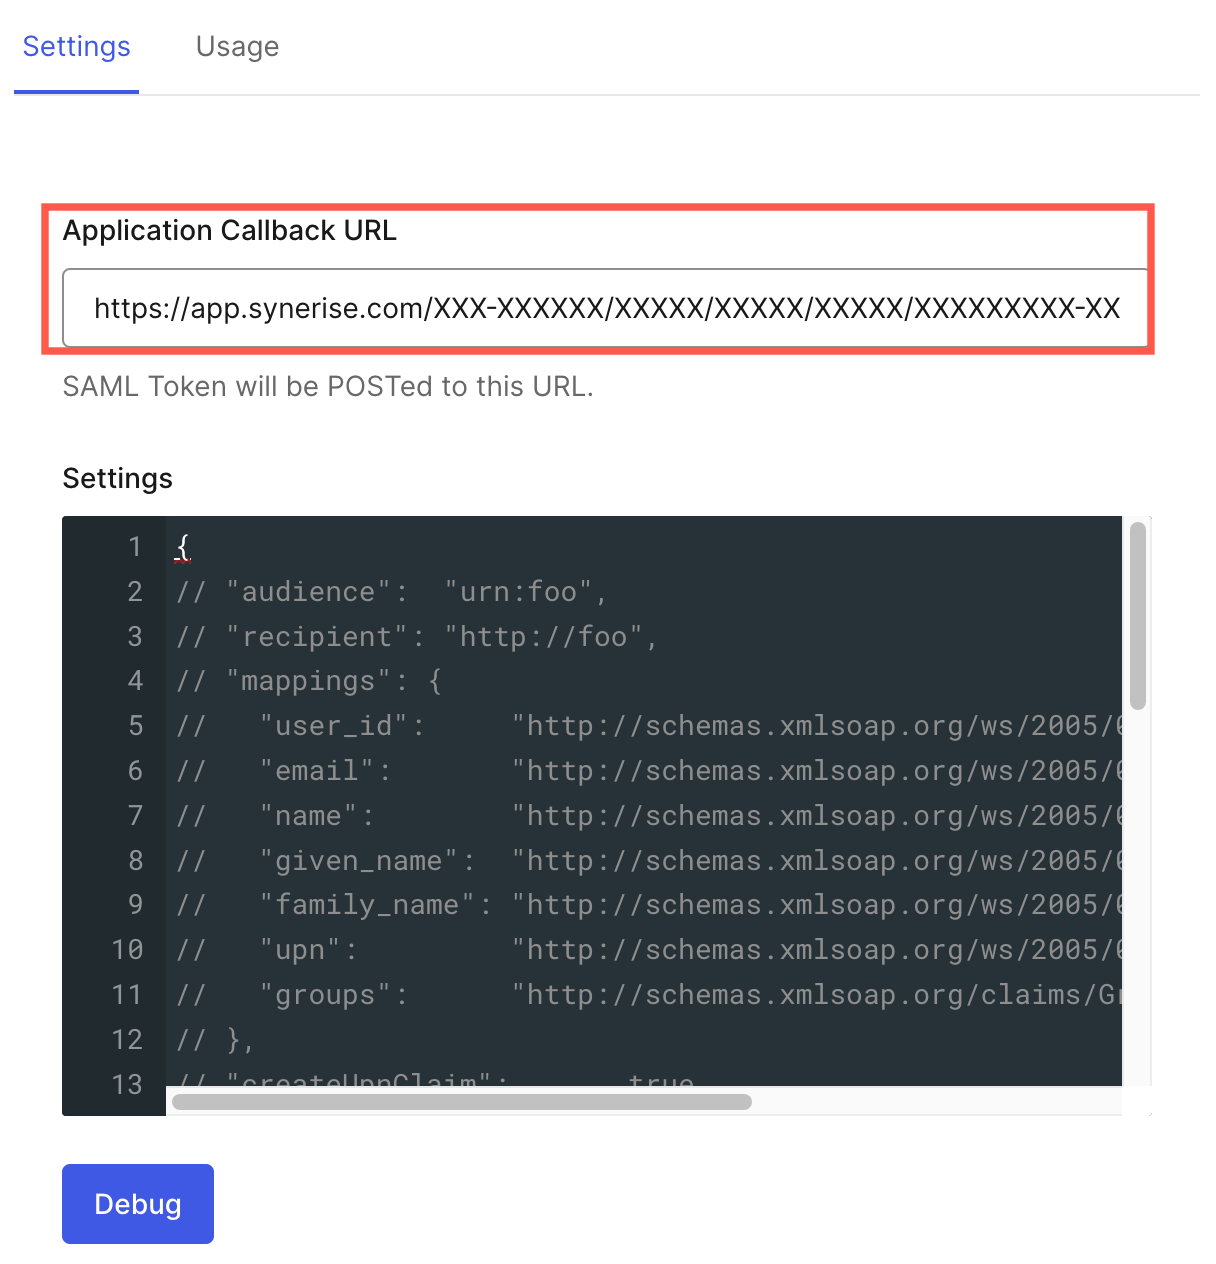
The Service Provider redirect URI is filled in by default, copy this link and paste it to Application Callback URL in Auth0. A user who authenticates will be redirected to this URL. The value for Application Callback URL which must be provided in Auth0
In Request binding, select the method of communication between the requestors and responders.
In Response signature verification, select where the SAML signature is available.
In Response validation method, select Static.
In the Identity Provider signature certificate field, upload the certificate from your Identity Provider account. Certificate in Auth0
Optionally, you can configure the rest of the fields in the configuration form. See the reference of configuration parameters.
Next to the Identity Providers headline, click Apply.
Click the Sign in with Auth0 (the text on the button depends on the value you entered in this step). Result: You will be redirected to Auth0 Identity Provider where you will be authenticated immediately if there is an active session or you will be asked to authenticate and as a result you'll be redirected back to Synerise.
When the process works as expected, you can switch the Authentication Mode setting, so only the SSO authentication method is allowed, excluding the option of authorizing through email and password.
 Settings > Access Control > Single Sign-On (SSO).