Event Filter node
This condition allows a customer to proceed in the process only if they performed a specific action (in other words, if a specific event occurred in the context of a customer). Such actions are called events and they define customer activity in the touchpoints integrated with Synerise.
Requirements
You must implement a tracking code into the website.
Configuration
-
Click the pencil icon on the node.
Result: A pop-up opens. -
Define the event, its parameters and their values. If you choose several parameters of one event, it means that the customer needs to perform an action that covers all the values defined in the event parameters.
-
Define the limits.
- By default, an Event Filter is set without limits. This means that the occurrence of any action defined in the settings of the condition allows the customer to continue the process. In such a limit configuration, this node has only one MATCHED path.
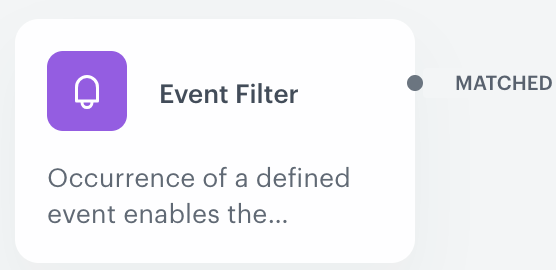
Event Filter one branch configuration - You can set the time limit of the filter. In such a limit configuration, this node branches into two paths: MATCHED and NOT MATCHED.
- If the event occurs within the specified time, the customer follows the MATCHED path.
- If the conditions of the filter are not met in the specified time, the customer follows the NOT MATCHED path.
- If you change the limit configuration from specific limits to no limits, the connections with the nodes followed by the Event Filter are removed.
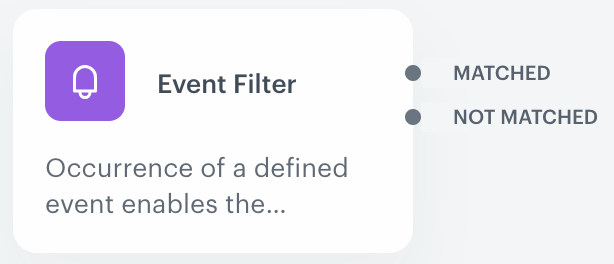
Event Filter two branch configuration -
If
If you want to monitor the entries into this step, switch the Track datapoints toggle on. As a result, events related to the movement between nodes (
automation.clientPathStep) will be available in the Analytics module to use. These events (automation.clientPathStep,automation.clientEndStep,automation.startPath) are displayed on the activity list on the profile card regardless of the configuration of this option. -
Confirm the settings by clicking Apply.
Defining the date of event occurrence
You can determine when a customer qualifies to move forward based on the occurrence of a specific event. In the example in the screenshot, the workflow continues only when a user visits a website between 0:00 on the 14th of April and 23:59 on the 30th of April, 2021.
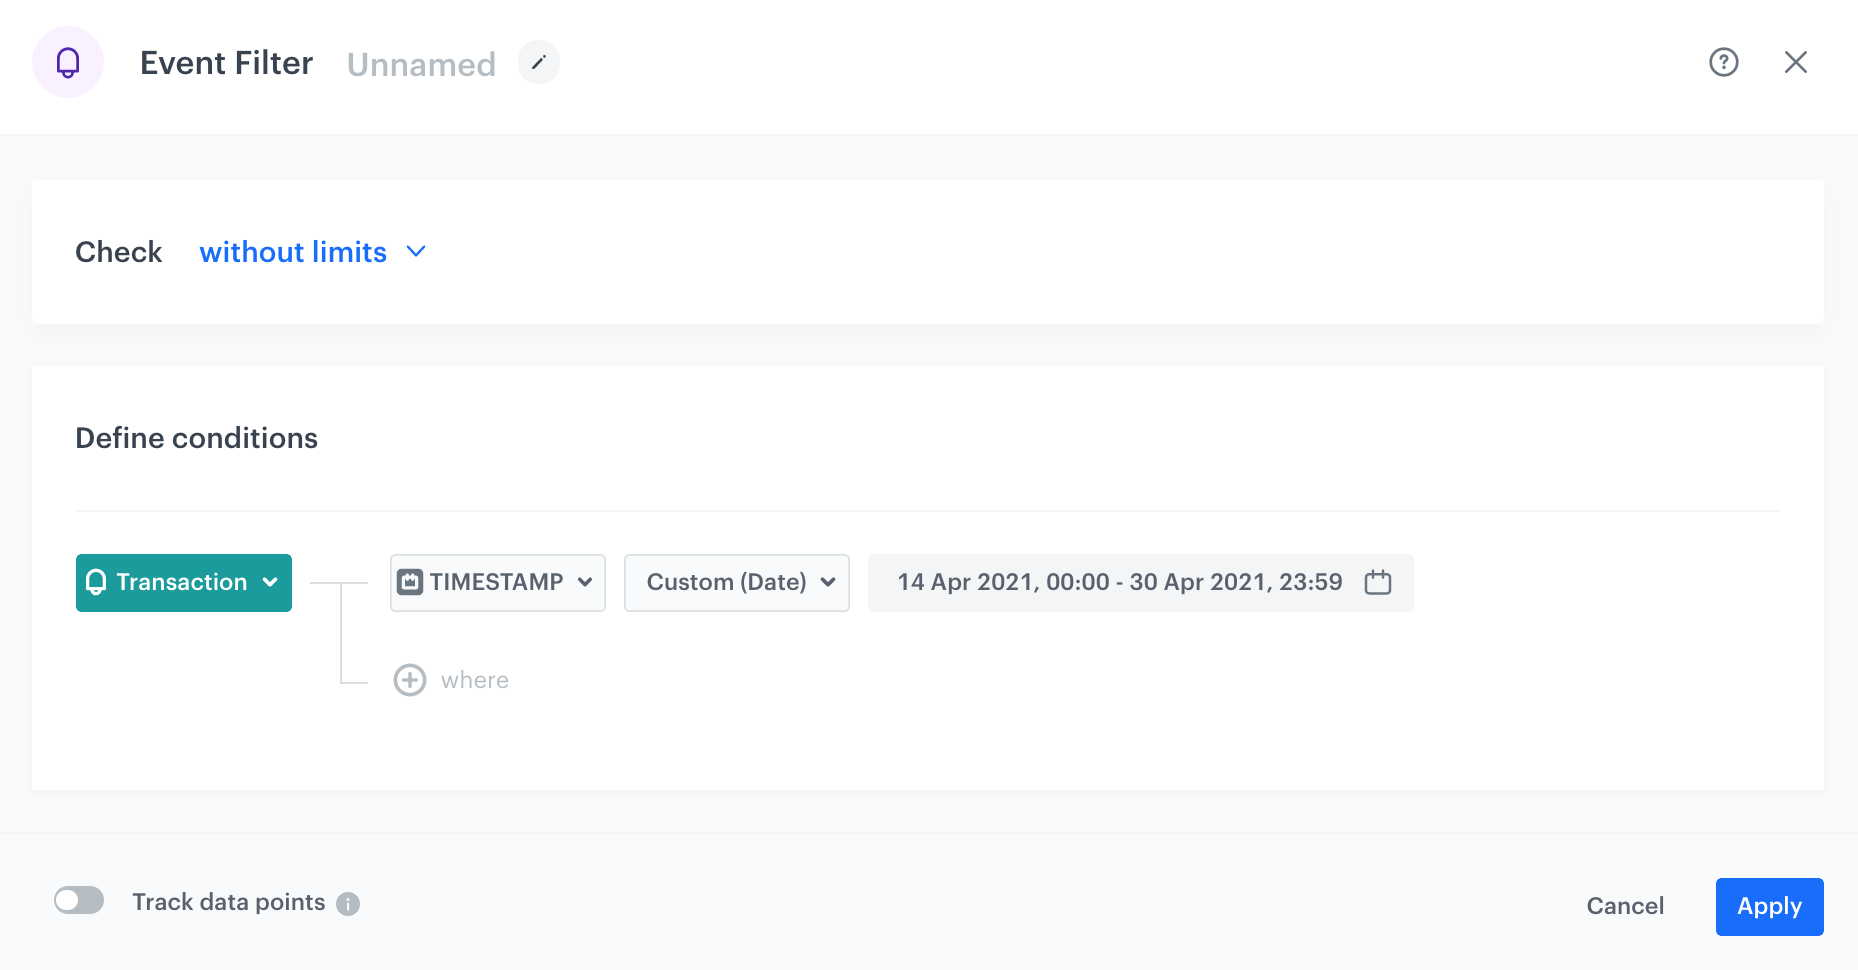
-
From the Choose event dropdown list, select the event.
-
Click + where button.
-
In the list of parameters, click the
 tab.
tab. -
Select Specials.
-
Select TIMESTAMP.
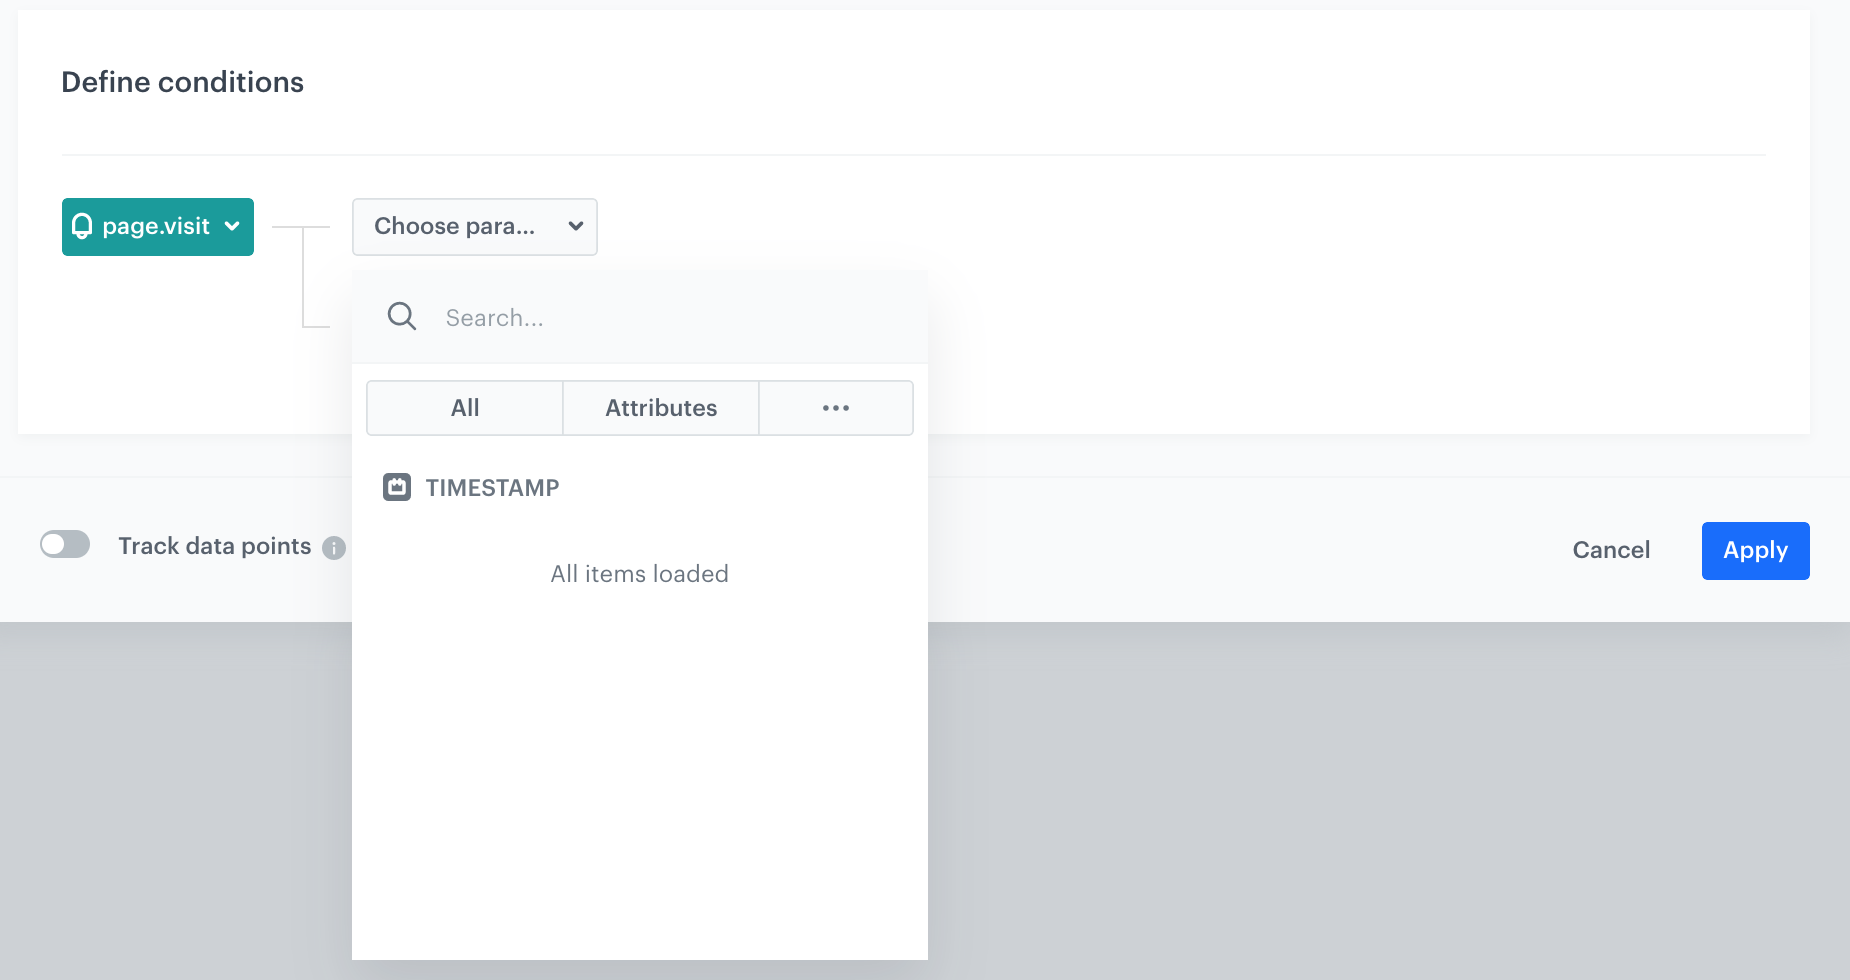
Timestamp parameter -
From the Choose operator list, select:
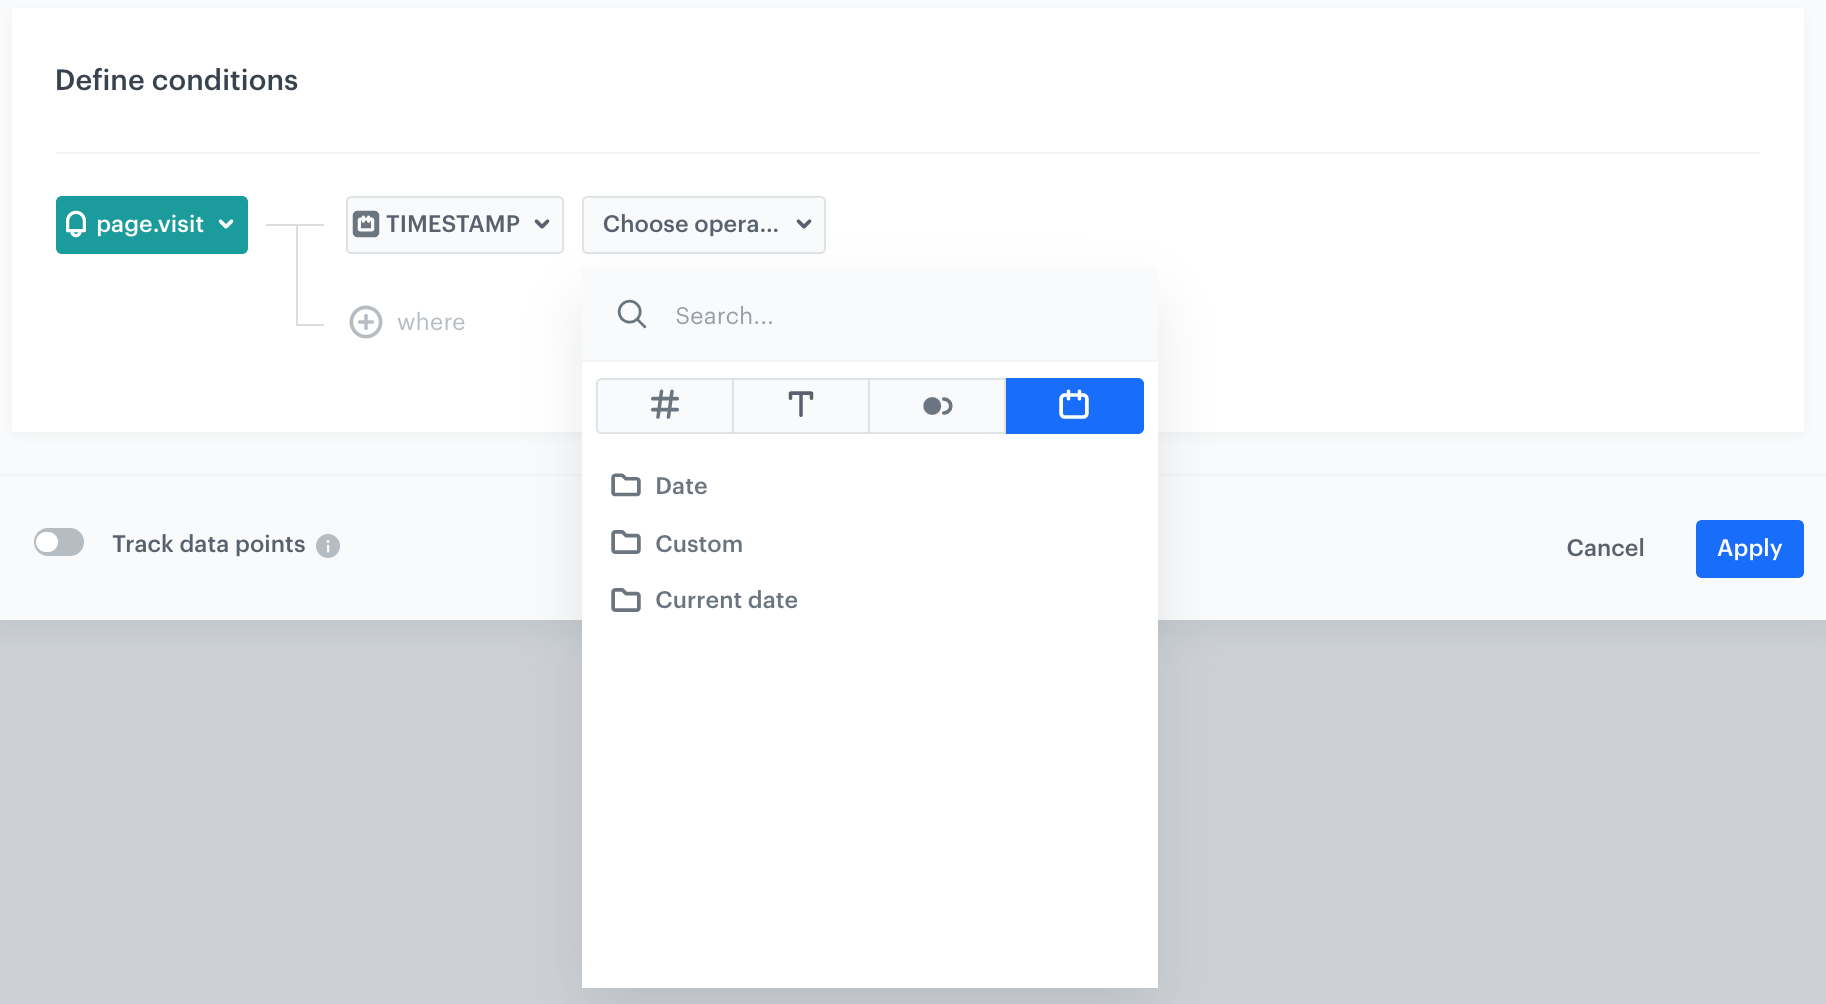
Timestamp parameter -
Date - if you want to select a start or end date
Click to see the explanation of operator options- More than - You choose dates after the selected date (including the selected date).
- Less than - You choose dates before the selected date (including the selected date).
-
Custom - apart from standard date ranges, you can use non-standard (dynamic) dates, for example, everyday from 8:00 to 14.00; Mondays and Thursdays between 15:00 and 17:00; the first and the fourteenth day of the month, and so on.
Tip: To use non-standard (dynamic) dates, click this option in the calendar.
The Enable date filter option -
Current date - if you want to include those event occurence that happen.
Click to see the explanation of operator options- Matches the current hour - matches only date that fits the current hour, day, month, and year (example: if current date is 2024-05-20 17:00:00, dates from 2024-05-20 17:00:00.000 to 2024-05-20 17:59:59.999 matches)
- Matches current day - matches only date that fits the current day, month, and year (example: if current day is 2024-05-20, only 2024-05-20 matches)
- Matches current month - matches any date that fits the current month in current year (example: if current month is May 2024, dates from 2024-05-01 to 2024-05-31 match)
- Matches current year - matches any date that fits the current year (example: if current year is 2024, dates from 2024-01-01 to 2024-12-31 match)
-
Example of use

The purpose of the workflow is to allow the customers to register a receipt in a lottery directly after a purchase, but also to give this possibility to customers who made a transaction the week before.
- It starts with the Audience trigger node. In the settings of the trigger, define the customer groups who participate in the workflow.
- Add an Event Filter condition node. It checks if customers have registered their receipts within a time range.
- Customers who register a receipt within the given time range receive a push notification.
- When the push is sent, the workflow is completed.