Business Event node
The Business Event is a node that receives information from external systems, such as the product storage changes, price changes, and so on. This way you can automate your business activities and build integrations between them. The node can receive multiple requests at a time, each trigger launches a separate workflow instance, however, it has a maximum capacity of 50 requests per second (when this limit is exceeded, the HTTP 429 error is returned).
By using the Business Event node as a trigger, the workflow is automatically categorized as a business workflow. This means that:
- the customer context is not incorporated into the workflow
- you can’t use the
{{ customer.attribute }}and{% customer attribute %}inserts. - you can’t use the customer-oriented nodes in a workflow.
If the data sent to Synerise contains a customer ID, you can use the Outgoing Integration node to produce the event on the profile card of the customer.
Prerequisites
Prepare the Incoming integration.
How it works
- To create a workflow that is triggered by the Business Event node, go to Automation > Workflows > New workflow.
- On the canvas, select Business Event.
- To open the settings of the node, click it
Result: A pop-up opens. - From the Choose dropdown, select the incoming integration you have prepared before.
- Confirm by clicking Apply.
Example of use
The aim of the workflow is to receive data that contains indirect customer information and then to process and to transform the data in such a way that further actions become customer oriented.
-
Add a Business Event trigger node.
-
Use the incoming webhook integration by means of which the system receives data about products in the cart and the email as the identifier.
-
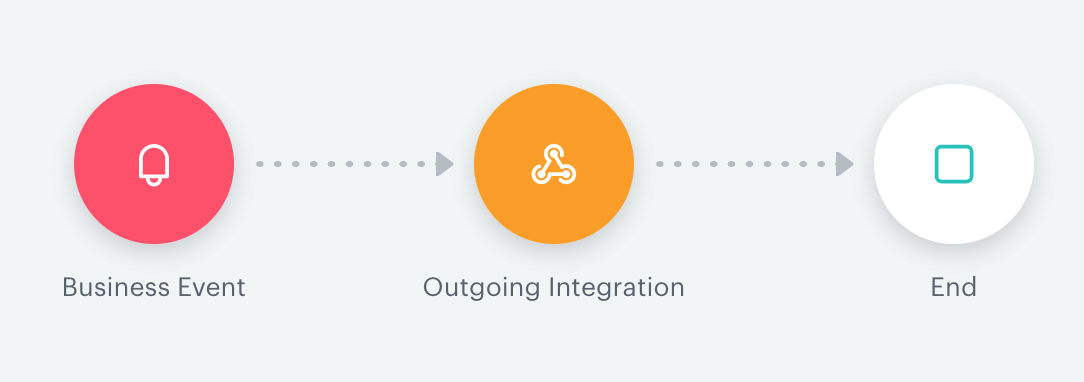
Connect the Business Event trigger node with the Outgoing Integration node. In the Outgoing integration node, we will send a request to Synerise API to generate a profile event. All data from the incoming webhook can be transferred to the Outgoing integration node using Jinjava described below. In this example, the Outgoing integration uses the endpoint documented here. To pass further the values received through the Incoming integration, you can use Jinja.
{{request.body.paramName}} for the parameters in the request body
{{request.headers.headerName}} for the parameters in the request headers
Below you can find an example of data received from the external service to an endpoint indicated in the Incoming integration settings.
{ "body": { "parameter1": "value1" }, "businessProfileId": 611, "endpointId": "XXXX-XXXX-XXXX-XXXX-XXXXXXXXXX", "eventId": "XXXXX-XXXX-XXXX-XXXX-XXXXXXXXXXXX", "headers": { "X-Request-ID": "XXXXXXXXXXXXXXXXXXX", "X-Forwarded-Host": "example host", }, "method": "POST", "time": 1583206296408 }- To pass the value of
parameter1, in the body of the Outgoing Integration enter:
{{request.body.parameter1}} - To pass the value of the
X-Request-IDheader, in the body of the Outgoing Integration enter:
{{request.headers["X-Request-ID"]}}
Result: A new event appears on the activity list on the customer card.
- To pass the value of
-
Connect the Outgoing Integration with the End node.